Meeting Tulin and Finding the Stormwind Ark
Table of Contents
After speaking with Purah in Lookout Landing, Link discovers that the four major regions of Hyrule have been plagued with strange phenomena that are putting the residents’ lives in peril.
In the northwestern portion of Hyrule, the Hebra Region, Link must seek out the Rito people and help them restore peace to their home.
This guide covers portions of Tears of the Kigndom‘s “Regional Phenomenon” and “Tulin of the Rito Tribe” main quests.
Reaching the Rito Village

To begin this portion of the “Regional Phenomenon” main quest, Link must travel to the Rito Village. The Rito Village is located in the heart of the Hebra Region, south of the Hebra Mountain Range.
Useful items to bring with you
- Full armor set (Any type) for defense
- Cold-protection meals
- Fire-producing items (Firefruit, Fire Chu-chu Jelly, Flint, etc.)
- Multiple melee weapons, shields, arrows, and bows.
Starting from Lookout Landing, follow the road heading northwest toward Hebra. There are various locations to explore, enemies and overworld bosses to defeat, and additional quests to unlock between Lookout Land and your destination. One side adventure you would do well to investigate on the way is the “Impa and the Geoglyphs,” which begins at the geoglyph next to the New Serenne Stable. None of these explorable features are essential for reaching the Rito Village, however, so you may complete or ignore whichever you want.
As you follow the trail and arrive at the foot of the Hebra Mountain Range, the climate will change to severe cold temperatures. Use one of your cold-protection meals to protect Link from the cold before proceeding any further.
The trail will bend at the mountain and turn south. Continue following the trail, and visit the Snowfield Stable and the nearby Orochium Shrine as you do. You do not need to complete the shrine now, but you should activate it to create a fast-travel point. Once you are done with the shrine and the stable, continue southward down the trail.
The trail will turn west and lead you directly toward Rito Village. Before you reach the end of the trail, however, you can find the Lucky Clover Gazette HQ. If you visit the headquarters, you can learn how to begin the “Potential Princess Sightings!” side adventures. Return to the trail after you’re done in the HQ.
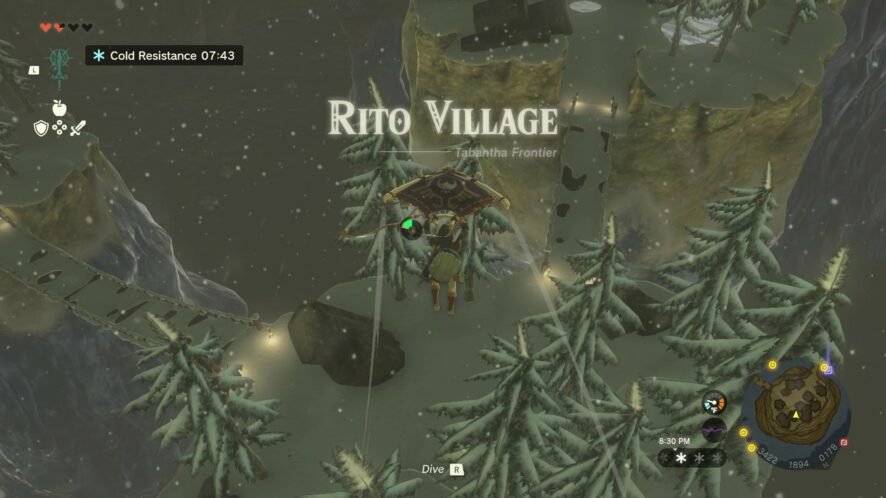
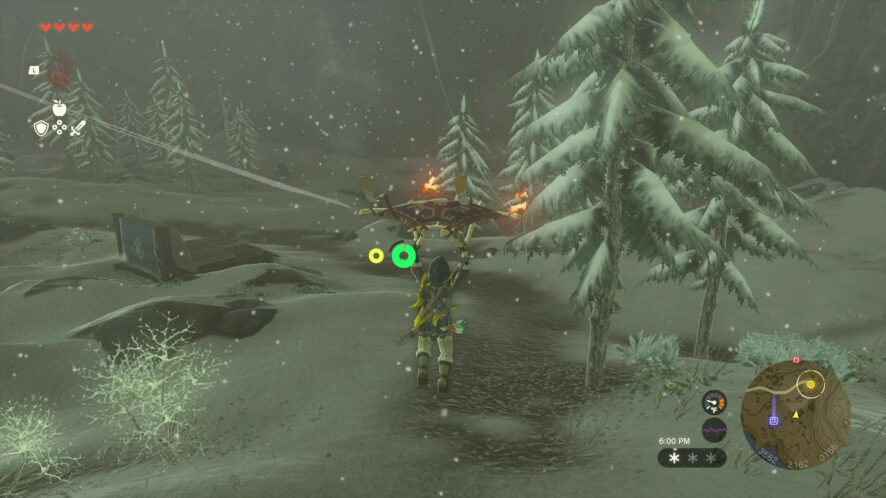
When you reach the end of the trail and the intended entrance to the Rito Village, you will find that the bridge to the village is gone. Without it, it is impossible for anyone to reach the village on foot. To circumvent this, you need to find a way to ascend into the air and use your paraglider to progress.
The simplest option is to collect a Hylian Pinecone and ignite it at the cliff’s edge. When pinecones ignite, they produce a large updraft. Search at the base of some nearby trees to find at least one pinecone. Return to the cliffside, drop the pinecone in front of you, and use a fire-producing item to ignite it. The pinecone will instantly burst and produce an updraft. Jump into the updraft, pull out the paraglider, and use the height it generates to float over to the Rito Village.
Meeting Teba and Tulin and Learning about the Rito’s Situation
When you reach the steps that lead up to the village, turn to your right to find the Gatakis Shrine. Activate that shrine to create a fast-travel point. Then, return to the steps and enter the village.
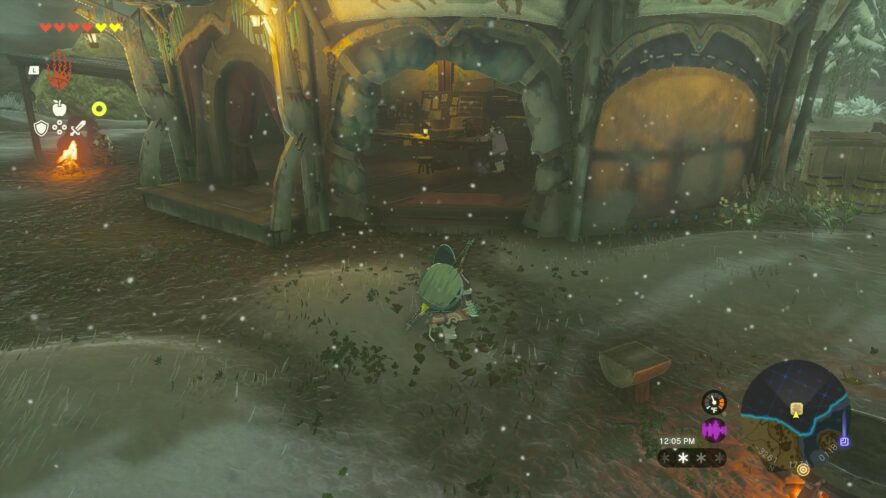
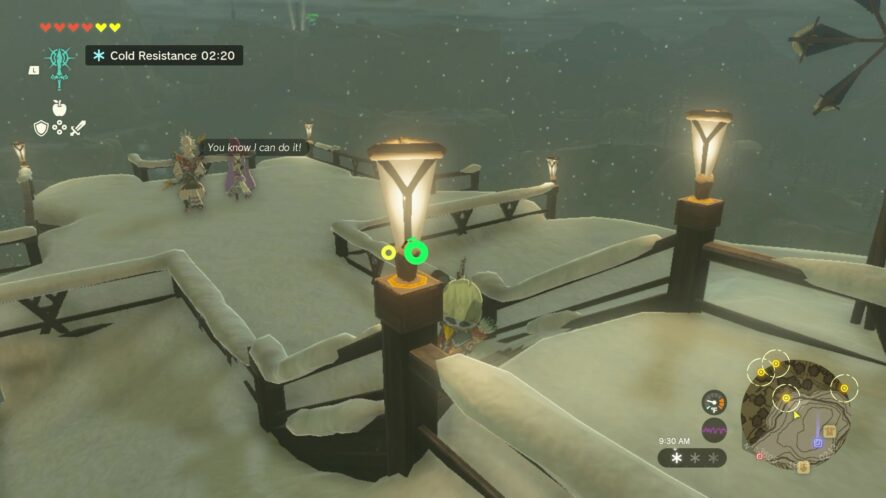
Upon close inspection, you will see that few of the adult Rito are present within the village. Most of the remaining residents are children. Of the few adults still remaining, one of them is the village leader, Teba. You will find Teba on the landing platform halfway up the village’s spiral pathway. His wife, Saki, and his son, Tulin, are present on the platform as well.
Speak with Teba to begin a cutscene that introduces you to Tulin and teaches you more details about the Rito’s situation. After Tulin leaves, Link and Teba will speak some more about the situation, and Teba eventually suggests that Link meets with his friend Harth, who might have a lead about Princess Zelda.
Finding and helping Tulin
Mark the location of the torches on your map, then glide toward it from the landing platform. When you reach the location, enter the cabin to speak with Harth. Unfortunately, Harth has no information to share regarding the princess, but he does suggest that you meet with Tulin. Tulin went with Gesane and Laissa further up the mountain in search of food in the Hebra South Summit Cave.
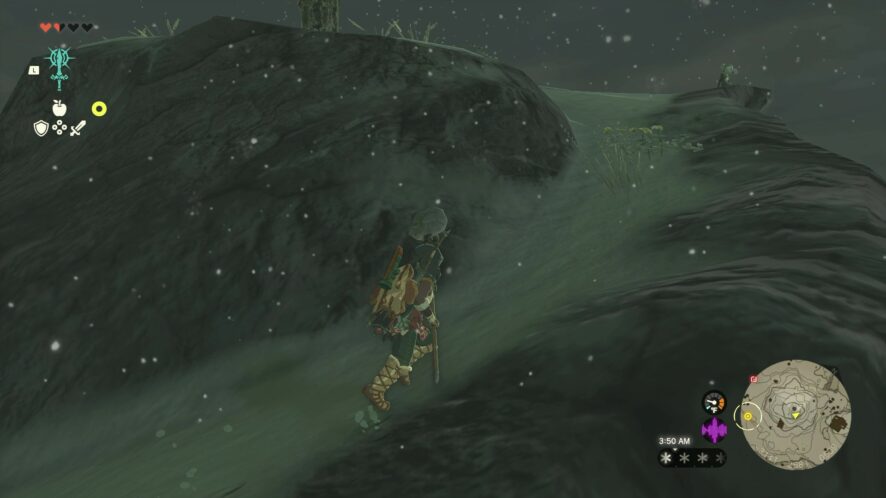
To find Tulin, climb the ladders outside of Harth’s cabin and ascend the mountain trail. There are additional torches that lead up the path you must take. Scale halfway up the mountain, then look to your left to spot a bonfire near the mouth of the cave. Laissa is near the cave’s entrance, guarding a crate of supplies. Speak with her to learn that Tulin and Gesane are farther inside the cave scavenging for food.
To reach the end of the cave, you will need to destroy the brambles blocking your path. If you do not have any fire items to fuse to your arrows or melee weapons, you can use the nearby bonfire to ignite your arrows or any wooden weapons. Strike the bramble to set them ablaze and burn them down.
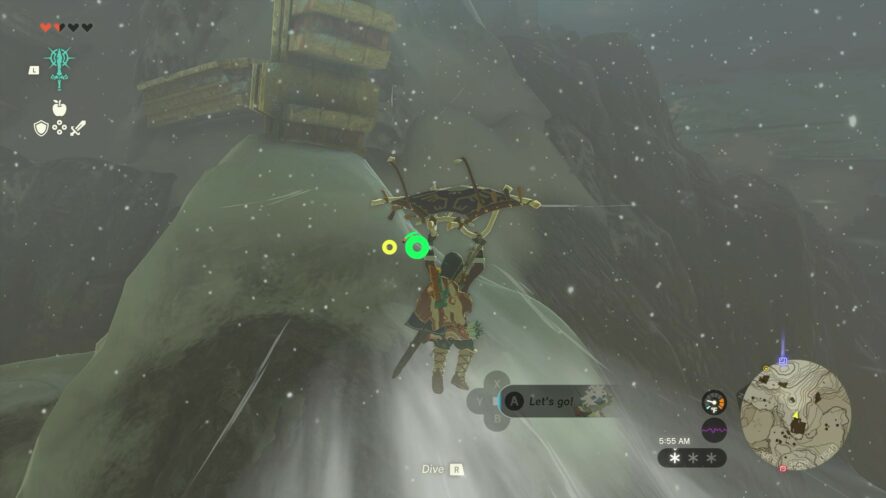
Turn right past the bramble you burned and continue up into the cave. You will eventually reach a larger opening with an updraft blowing toward the roof of the cave. Jump into the updraft, deploy your paraglider, and let the winds carry you as high as they will go. While floating at the top of the updraft, turn north and float into another pathway. There is a Horriblin in this cave, so be prepared to defeat it before climbing further through the cave.

Past the Horriblin, you’ll find another large open area, this one with a small patch of ground surrounded by water. On the patch of land is a campfire, a piece of flint, and two barrels. There are pine cones in the barrels if you do not have some in your inventory. Use the flint or any fire item to ignite the campfire, then throw a pinecone on the fire to create an updraft. Similar to before, ride the updraft to the top. The next pathway you want to take is to the south. Float over to it and continue ascending the cave’s trail.
Defeat the Stone Pebblits in your way and climb up to another open area. This is where you will finally find Gesane, along with his collection of supplies and a campfire. Speak with Gesane to learn that Tulin has flown off on his own to track a number of flying monsters to their nest. Gesane will also explain that the last place they saw the monsters was near a lone cedar tree on Talonto Peak and that Tulin most likely followed them there. Continue up the trail to finally reach the end of the cave and emerge on the other side of the mountain.
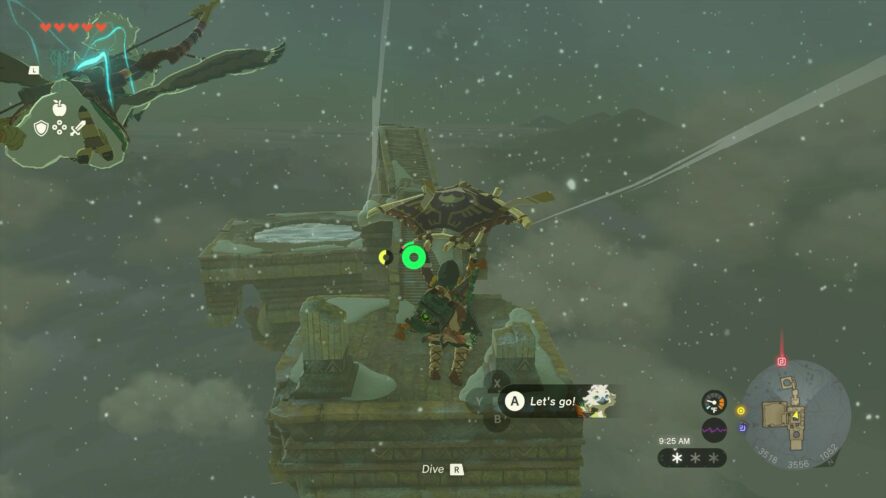
The cave’s exit is next to the peak in question, so climb to its zenith to find the lone cedar tree and Tulin. Speak with the young Rito to learn that one of the monsters, which is currently flying around a piece of fallen ruins, had managed to steal his bow. Offer to help Tulin retrieve his bow, and he will help you do so by allowing you to use his Power of Wind.
Use Tulin’s power to paraglide over to the ruins so you can engage the monster. When you see an opening, shoot the Aerocluda with an arrow. It will die and drop the bow, giving Tulin the opportunity to reclaim it.
However, defeating the Aerocluda will prompt other Aerocludas to fly down and drop a number of Bokoblins onto the ruins to retaliate. But, now that Tulin has his bow, you and he can team up to defeat them.
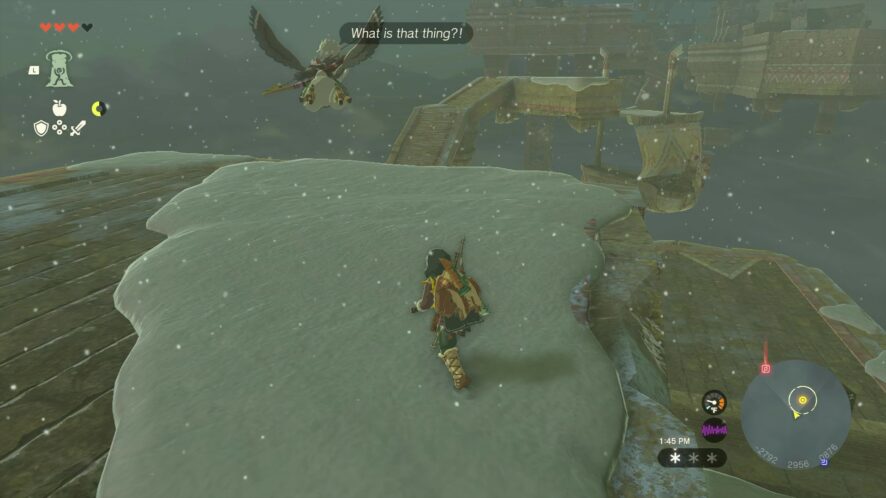
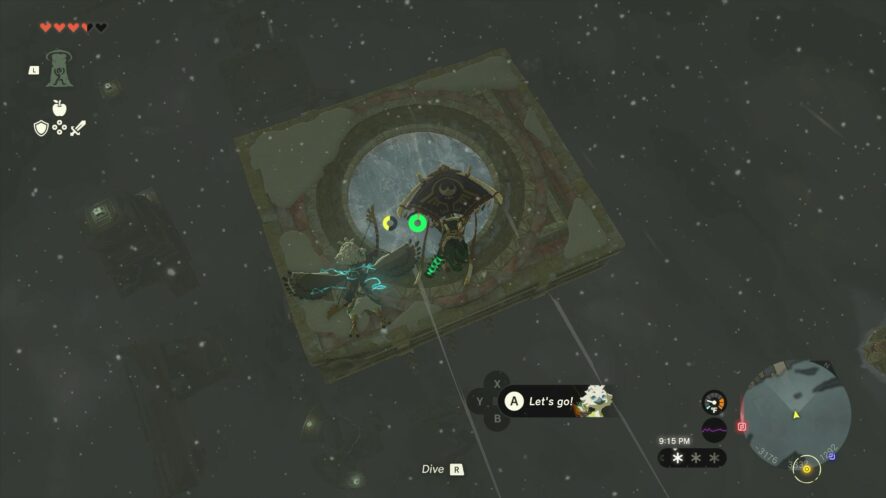
Once you defeat the monsters, Harth and Gesane will arrive. After the Ritos all speak, they will decide that it’s best if Tulin accompanies Link as he tries to reach and then explore the large cloud.
Climbing to the Stormwind Ark
Use the paraglider and Tulin’s power to reach Hebra Peak, northeast of your location. Once there, scale the mountain to reach another piece of the fallen ruins. Across from this piece are a cluster of floating ruins. Use Tulin’s power to reach those floating ruins. You’ll find two blocks that you can move with Ultrahand. Fuse them together to make a two-step pillar, climb to the top of them, and use Ascend to rise through the platform above you. From this platform, paraglide to the next island.
Climb to the top of this next set of ruins, then glide toward a lower ruin west of you. Stand underneath the pillar above you and use Ascend to reach its top.
At the top, you’ll spot a flying boat. There are boats like this floating throughout the skies in this area. If you jump onto their sales, they will bounce you high into the sky. Use this first boat to reach the next set of ruins. The Mayaumekis Shrine is one of these ruins. Activate it to create a valuable fast-travel point.
Continue across the trail of ruins, using Tulin’s power as needed. There are numerous Guardian Constructs and Flex Constructs dwelling on the islands, but you are not required to defeat any of them. Defeat or ignore any enemies and collect any materials or treasures as you continue ascending up the islands.
When you reach an area with more movable blocks, you must combine them to create platforms to use Ascend from. Use this method to reach the top of half-circle ruins that wrap around a floating pillar. Shoot the icicles covering a hole in the pillar, then glide into the hole. Use Ascend into the hole to reach the top of the pillar. From there glide to the next set of ruins.
Ahead is a floating ruin with a circle of frozen ice in its center. Beneath the island is another ship. Break through the ice by jumping on it repeatedly, fall onto the ship’s sail, and let it bounce you up. From your new elevation, glide to the next cluster of ruins. This cluster has a Flux Construct at the bottom. You can fight it or leave it be.
Climb or paraglide to the upper portion of the ruins with the breakable boulders in the middle. Use a Bomb or Bomb Arrow to destroy the boulders, then jump down onto the ship beneath you to launch yourself skyward. Sail southwest to reach some ruins with sets of steps on them.
There is another platform with a breakable ice circle in its center. Break through the ice to find another ship. Use that ship to ascend and reach the next set of ruins and ships.
This next stretch of ruins creates a linear path of progression. You must run, glide, and Ascend from one ruin to the next in a straight path, collecting any materials and defeating any enemies you wish to as you do.
At the end of this stretch of ruins is a platform with many Zonaite devices on it. Combine the devices to create a hot-air balloon, which you must then ride to the next desired elevation. Glide from the balloon to the next island. Once there, use Ascend to reach the top of the pillar above you. Jump on the sail of the ship stationed next to the pillar so you can reach the next ruins. Here you will find another ship, but this one is flying in a circular pattern.
Use Tulin to reach the pillar north of you, then wait for the ship to pass by. Jump from the pillar onto the ship, then use the achieved height from its sail to reach the platform with an ice center. Break through that ice to land on another ship. The ship sail will launch you further up to another piece of the ruins. Straight ahead of you is the Kahatanaum Shrine. Activate it to create another fast-travel point.
Next to the shrine is another stationary ship. Use its sail to reach the next floating ruin to the south. Then, use this next stationary ship to reach the ones that are circling the cloud.
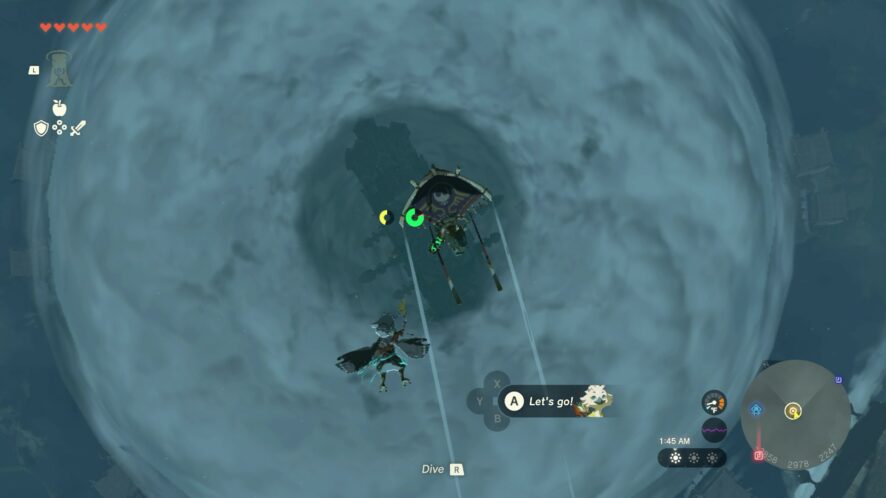
This section is a bit reminiscent of platformer games, as you must jump from ship to ship to continue your climb. These ships are also moving in circular patterns around the large storm cloud. You must time your jumps and use your Paraglider to safely reach each new level of ships.
After jumping from ship to ship a few times, you’ll arrive at another small island with a stairway leading to another stationary ship. Use this ship’s sail to reach four ships that are circling the top of the cloud. Land on one of these ships, then launch from it to enter the cloud and reach the Stormwind Ark.