


Similar to his exploration of the Earth Temple with Medli, Link’s objective is to reach the temple’s sacred chamber with the newly appointed Wind Sage, Makar, and offer up a prayer to the gods to restore the full splendor of the Master Sword. As he and Makar enter the first room of the temple, it is clear by the stillness in the air, contrasted by the contained pillars of wind meant to keep intruders out and the Wizzrobe and Stalfos meant to put intruders down, that trials equal in danger to the ones found in the previous temple await. But Link’s presence in the temple is proof that the previous challenges were no match for him, and, with some help from Makar, these won’t be, either.
This is why Makar’s capture only three rooms into the dungeon is such a problem. Perhaps the monsters of the temple were watching from the shadows, because they seem to know how important preventing Makar from opening more paths with his fast-growing sprouts is. Link can only watch in horror as a group of Floormasters suck Makar into the darkness and whisk him away. It’s a setback, to say nothing else, so Link needs to find Makar as soon as possible.
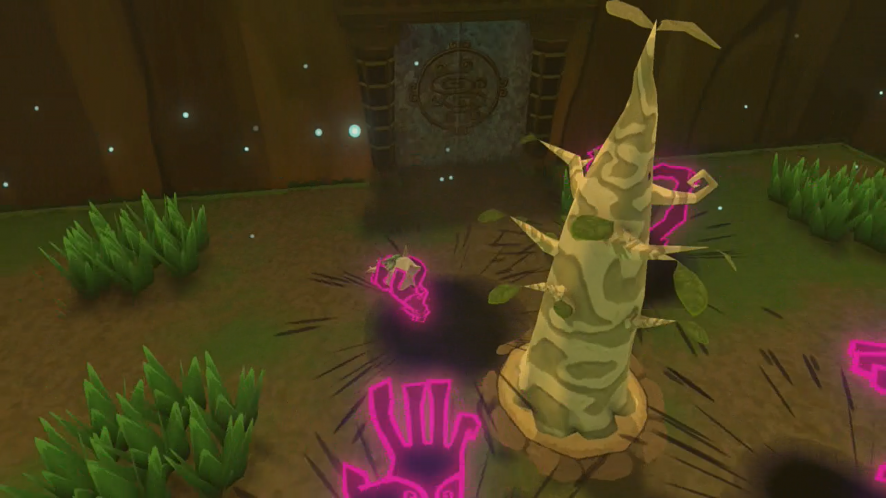
As soon as possible comes even sooner than Link expects. Upon entering the next available room, Link sees that it is a massive, multi-storied chamber with multiple doors leading to other rooms, but he also sees and hears Makar, who has been placed in a prison cell in the western portion of the chamber and on the same floor that Link is on. He’s right there, but Link and Makar cannot reunite, because the entrance to the cell is blocked by a massive and immovable stone statue too heavy for even Link (equipped with the Power Bracelets) to lift.
Link has the heft to deal with it, thanks to the Iron Boots, but not the leverage, so he temporarily leaves Makar behind to explore the dungeon. His hero’s intuition must be working on him, or maybe it’s simply because of past trends in other dungeons, but he knows the solution to freeing Makar must be somewhere in the temple.
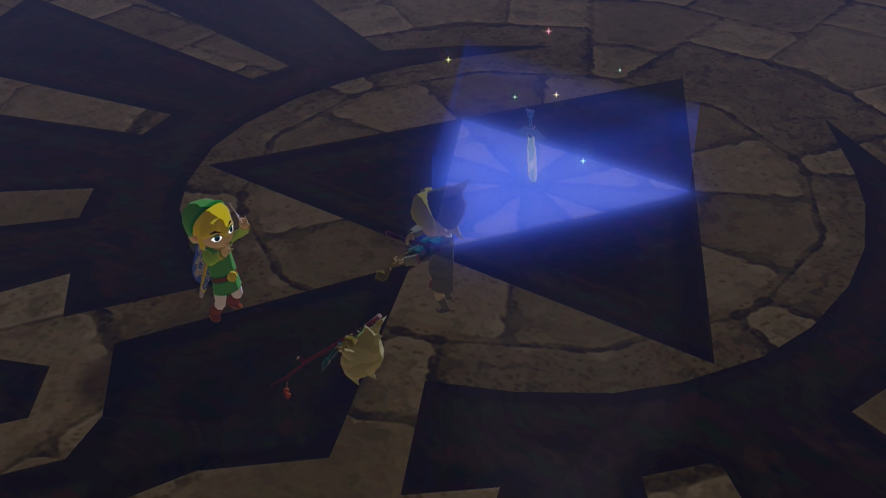
It does not take Link long to find the key to Makar’s release. Past a few more rooms dotted with the now-expected challenges of riding the wind and felling foes, Link learns that he has moved in a circular path and is now at a higher point in the large, circular room. In front of him are a ledge and one of the petals that can only be pressed down by the force of Iron Boots. Link hops on, and with a solid “thud” and the clank of the steel to confirm it had been activated, the switch causes the floor of the chamber to split apart and open.
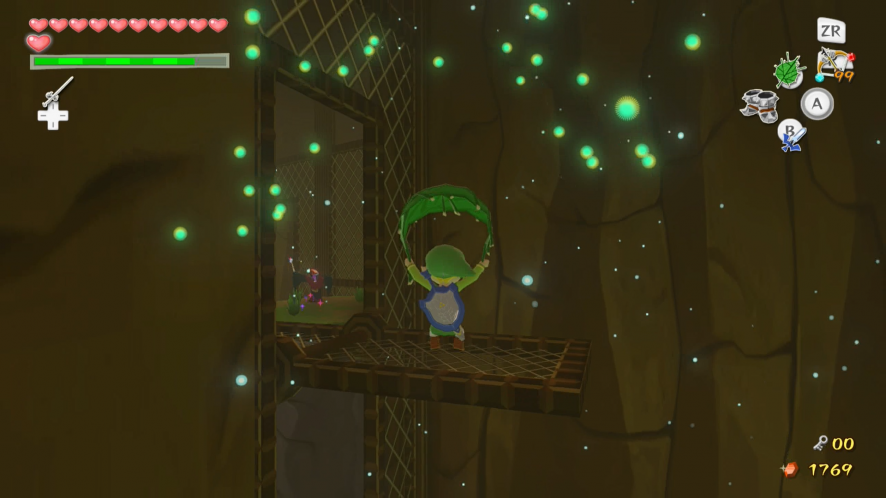
Once the rumbling stops and the hidden gears fall silent, Link peers over the ledge to see that not only is the floor gone, but that a subsection of the chamber has been revealed, and it’s as large as the upper part. Knowing that something good always comes from plunging into a pit, Link leaps from the pedal into the newly opened area. Though, he does so while having a firm grip on his Deku Leaf.

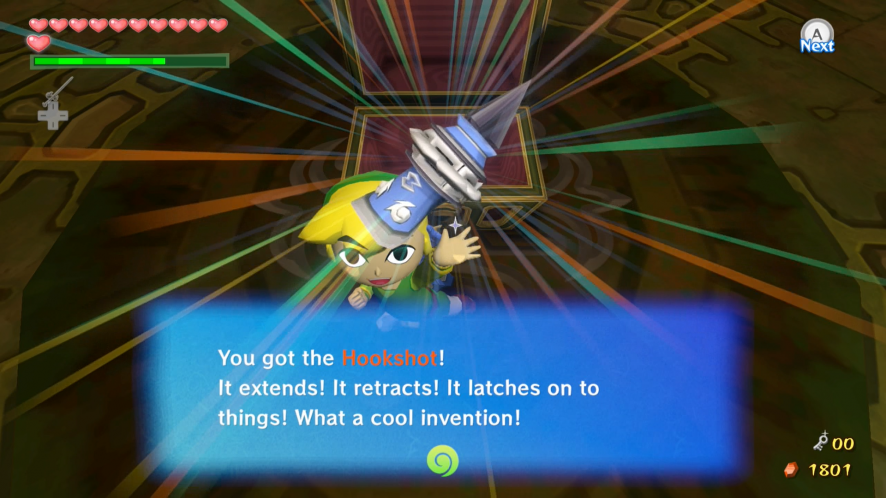
Down at the bottom, through a slew of Peahats, another door, and an elusive Wizzrobe mid-boss, Link finally throws open a hard-won treasure chest containing the secret to opening Makar’s cell: the Hookshot. Now armed with the coolest piece of tech in Hyrule, Link returns to his friend and, with the combination of the Hookshot, the Iron Boots, and ever-reliable gravity, the statue falls away and apart.
Makar is now free and rejoins Link to explore the rest of the dungeon, but Link’s immediate use of the “Command Melody” to make Makar do what he wants certainly seems like a whole other type of imprisonment. Yes, he already used it on Makar before, but he could let Makar have a few minutes to collect himself.
However Makar wishes to look at the mental intrusion, the two make quick progress in scouring the remainder of the temple, and they eventually activate the unnecessarily large fan at the bottom of the chamber, which allows them to reach the top of the chamber and find the key needed to enter the last remaining rooms located beneath the fan.
These final areas, long stretches of mostly empty and cave-like hallways, create a sense that the temple is stalling, trying to keep the duo at bay and away from their goal. It’s apparent, and it only makes Link and Makar eager and slightly annoyed. They find the door to the sacred center of the temple, that ominous and gold-plated warning to all daring heroes. Link is unfazed, much like he had been every other time he’s seen this door, and he plunges forward to face the guardian beast lurking on the other side, the mighty Molgera.
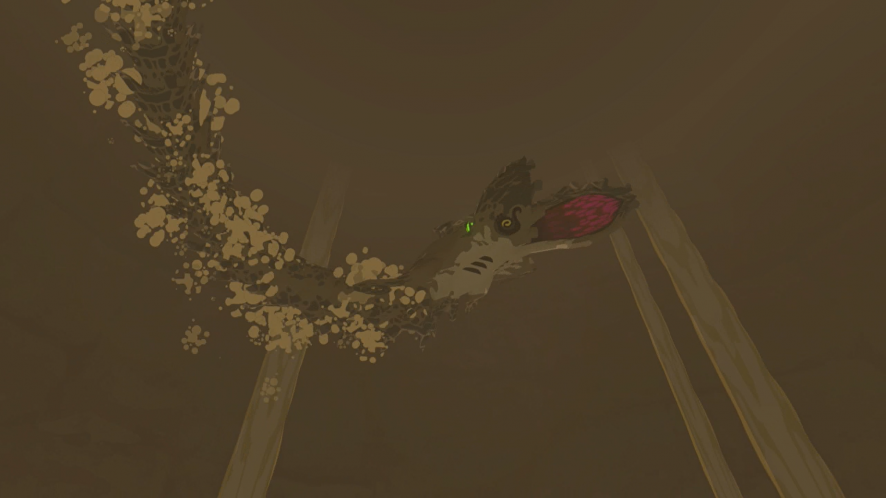
Thanks to the Hookshot, this encounter is nothing Link cannot handle, and the massive sandworm is reduced to dust. The chamber returns to normal, and Link and Makar, along with the spirit of the former sage, Fado, play the “Wind God’s Aria.” The goddesses hear the prayer and show their favor by way of the bright and holy glow now emanating from the Master Sword, the sign that its power is once again full.
Link departs from the temple and leaves Makar to continue praying. The Master Sword is now ready, Link even more ready, and all that the dangers contained within the Wind Temple managed to do was give the hero plenty of practice with a shiny, new, and spring-loaded toy.


")

")

