Meeting Riju and Finding the Lightning Temple
Table of Contents
After speaking with Purah in Lookout Landing, Link discovers that the four major regions of Hyrule have been plagued with strange phenomena that are putting the residents’ lives in peril.
In the southwestern portion of Hyrule, the Gerudo Desert, Link must seek out the Gerudo tribe and help them restore peace to their home.
This guide covers portions of Tears of the Kigndom‘s “Regional Phenomenon” and “Riju of Gerudo Town” main quests.
Reaching the Kara Kara Bazaar
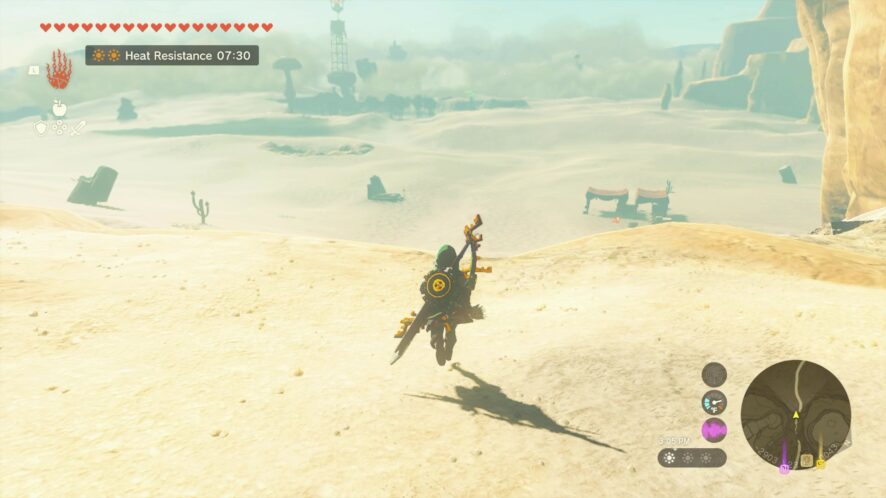
To begin this portion of the “Regional Phenomenon” main quest, Link must travel to the Gerudo Desert. The desert consists of the entire southwest corner of Hyrule.
Useful items to bring with you
- A full armor set (any type) for defense
- health-restoring items and meals
- Heat-resisting meals
- Lightning-resistant meals or armor
- Multiple melee weapons, shields, arrows, and bows.
Starting from Lookout Land, travel southwest to reach the Gerudo Canyon Pass. You will find it past the Outskirt Stable heading south. There are various locations to explore, enemies and overworld bosses to defeat, and additional quests to unlock between Lookout Landing and your destination. None of these explorable features are essential for reaching Gerudo Town, however, so you may complete or ignore anything you want.
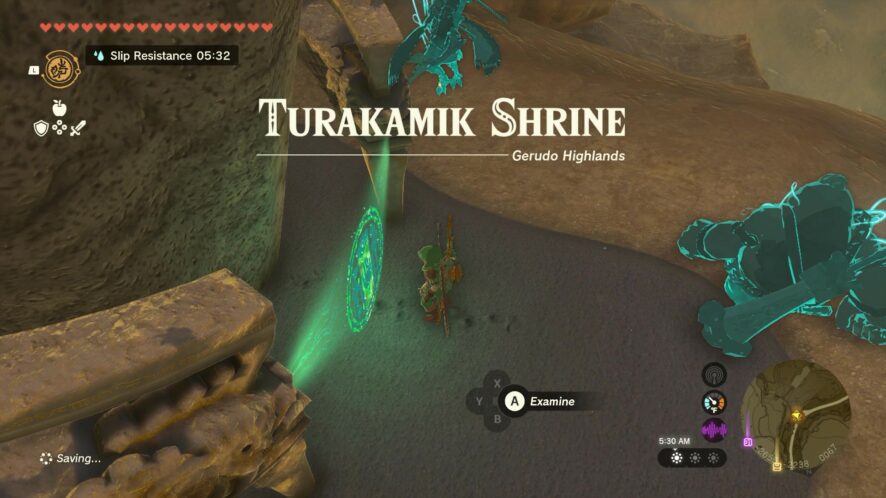
Similar to the path from Lookout Landing to Gerudo Canyon Pass, you explore and complete any sidequests you find as you travel through the pass. Before you reach the end of the pass and the closed Gerudo Canyon Stable, you will be able to find the Turakamik Shrine on a land bridge over the trail. Climb the walls and use Ascend to reach and activate the shrine. This shrine is the closest travel point to the Gerudo’s Desert’s entrance.
Continue following the trail to enter the Gerudo Desert. Past the entrance and to the right of the trail is a stall renting out sand seals. You can rent a seal to more quickly traverse the desert, but it is not required.
You can also speak with the Gerudos working there to learn about a dangerous sand shroud that has covered Gerudo Town and how it might be best to only visit the Kara Kara Bazaar. That is where you must head next. Luckily, you can see the bazaar from this shop, so it’s not far to travel. Whether by foot or by seal, keep following the trail to reach the bazaar.
When you arrive as the oasis that the bazaar is built around, first head over to the nearby Mayatat Shrine and activate it to create a travel point. With that active, you can explore the bazaar. There are multiple characters to meet and stores to shop at, and some of the characters will have sidequests you can unlock. Once you are done seeing what the bazaar has to offer, resume your trek down the main trail.
Finding Gerudo Town
The sand shroud covers the rest of the desert past the bazaar. As you draw closer to Gerudo Town, your vision will be obstructed and the map will be inoperable. You must reach the town while effectively having no sense of direction.
The best way to overcome this handicap is to use the updrafts you come across and your paraglider to soar into the sky and drift over the shroud whenever possible. When you are above the shroud, you’ll be able to see Gerudo Town in the distance and your map will work again.
You’ll also see some taller ruins that fell from the sky. Drift over to those ruins and climb to their tops to keep your vantage point. Keep using the higher elevations to track Gerudo Town’s position as you make your way forward.
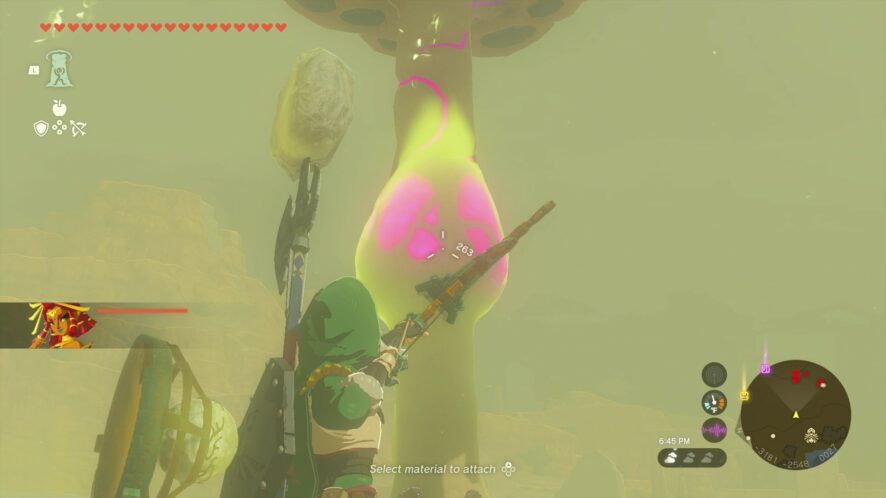
NOTE: Gibdo and Flying Gibdo enemies are found throughout the desert. The resistant to most forms of attacks except for fire and lighting-type attacks. Use any items or weapons with those elements to weaken them. Once they are weak, you can damage them with any type of attack.
There will be times when you need to travel by foot. When that happens and you lose visibility, do your best to stay in a straight line as you move forward, and head toward the first tall ruins or updrafts you see. As long as you continue to follow the trail of pillars and updrafts, you’ll eventually reach the town.
Finding The Gerudos
Upon inspection of Gerudo Town, you’ll find that it has been completely deserted. Due to the sand shroud and the Gibdos, the Gerudos seemed to have been forced to flee from their home. But, clues spread throughout town indicate that they may have hidden themselves underground rather than leaving.
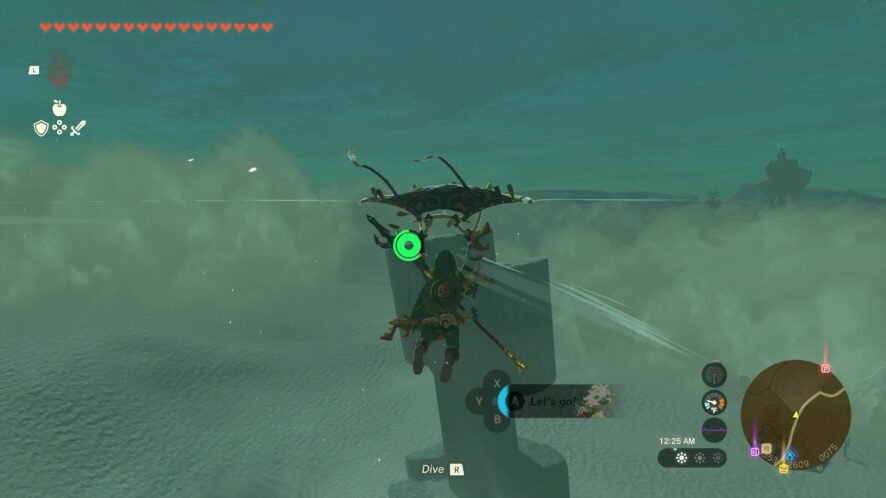
To infiltrate the Gerudos’ underground hiding spot, go to the throne room and use Ultrahand to pick up the bust of the sand seal sitting behind the throne. This will reveal the well underneath it. Dive into the well and drop into the pit in front of you to find the Gerudos and their refuge.
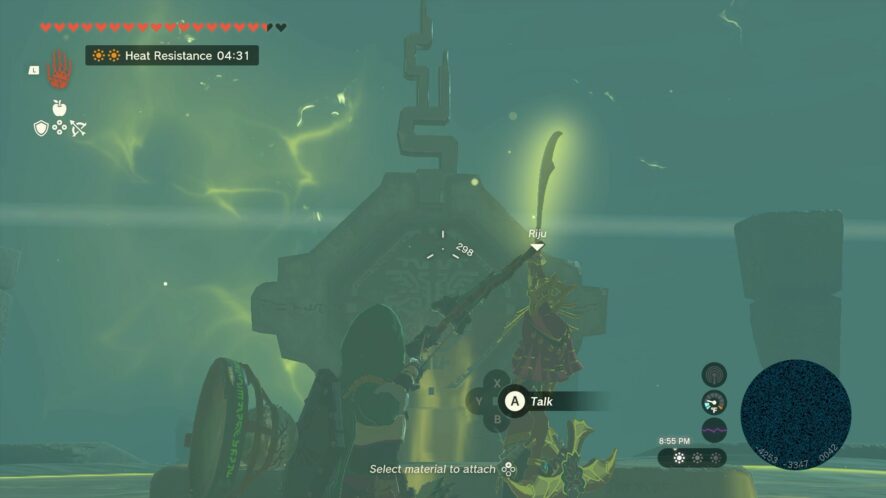
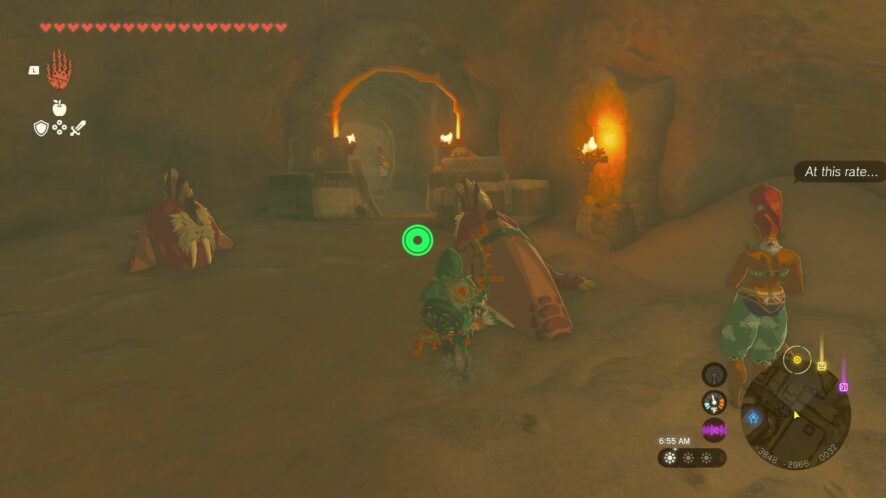
After meeting with the Gerudos underground, Buliara will tell you to meet with their leader, Lady Riju. Riju is currently in the ruins north of Gerudo Town, training to fight the Gibdos. To reach the ruins, you’ll need to travel through an underground path that connects the Gerudo’s hiding spot with the ruins.
Finding Riju
The entrance to the underground path, the Valley of Silent Statues, is in the northeastern corner of the bunker, next to the makeshift stable for the sand seals. Follow the trail to reach a large room with a sunken floor and a raised ceiling.
You need to crop the gap to reach the other side of the broken stairway in front of you. Be aware, though, that the stone piece that makes up the end of the side you’re on will begin to fall when you step on it. Be ready to quickly jump a paraglider to the other side. You won’t have enough height from that stone to reach the other side, so you will need to drift over to the wall, cling to it, and climb the rest of the way.
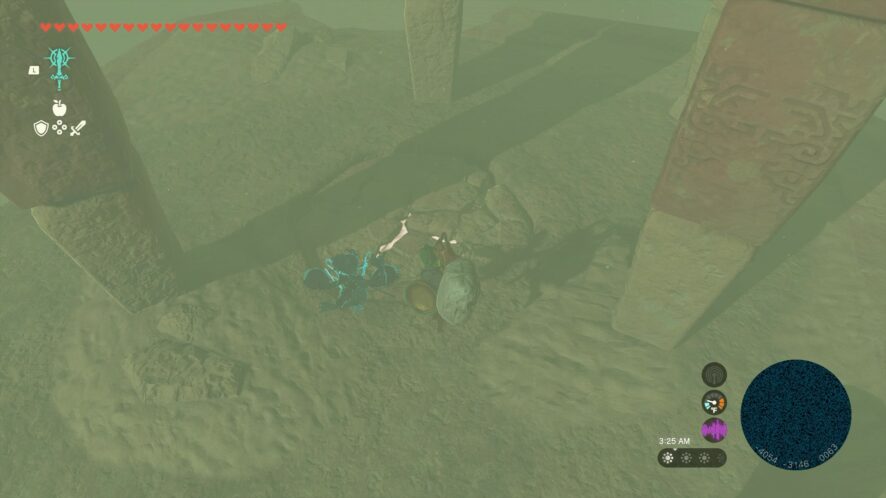
On the other side and in the middle of the room, you can spot a large crack up on the opposite wall. If you hit the cracked wall with a bomb arrow, you’ll create an opening for light to enter the room. You can then use the light and the Zonai mirrors scattered nearby to activate a number of light-sensitive switches to reveal optional treasure.
After you’re done exploring and collecting resources, resume following the trail to reach another tunnel that leads back to the surface and near the ruins. There are multiple Gibdos lurking in this tunnel, so be ready to attack them with lightning or fire-type weapons. When you reach the exit, you’ll find the ruins Builiara mentioned and Riju training within them.
Approach Riju to initiate a cutscene and a training sequence to learn how to use her Power of Lightning. Shoot the mannequin target to help aim Riju’s lightning. After a couple of rounds of practice, another cutscene will play. This time a Gerudo warriors arrives to tell Riju that Gibdos are attacking the Kara Kara Bazaar and that everyone needs help.
Defending Kara Kara Bazaar

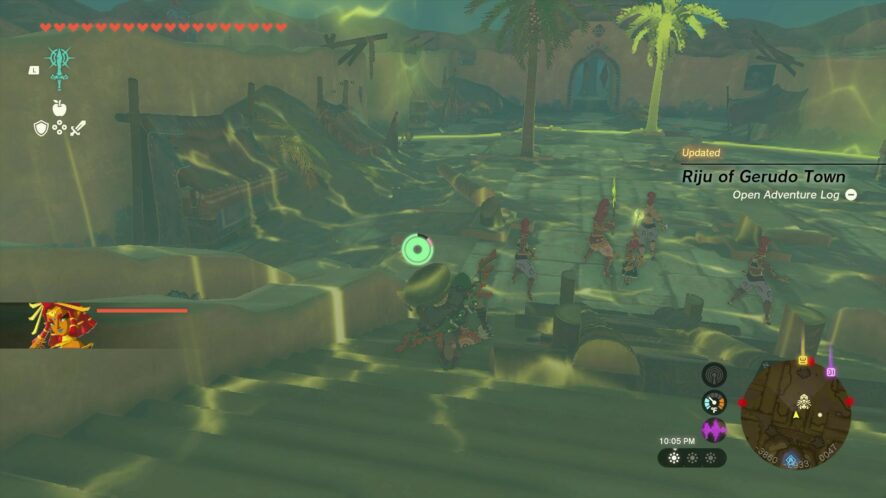
Use the Purah Pad to fast travel to the Mayatat Shrine. After the next cutscene plays, join forces with Riju to defeat the groups of Gibdos. Similar to the training sequence, fire in the middle of the Gibdos to hit all of them at once.
There are multiple groups of Gibdos at any given moment, and they spawn infinitely from the mushroom-shaped pillar of sand that grew next to the bazaar. You must destroy the pillar to defeat the Gibdos permanently.
The pillar can only be destroyed when its core glow purple. The glow indicates that it’s about to spawn new Gibdos, so you need to work quickly. Use Riju’s power or some lightning-infused arrows to attack the weak point and instantly destroy the pillar. After the pillar is gone, destroy any remaining Gibdos to prompt another cutscene.
Defending Gerudo Town
Now that the Gerudos know how to defeat the Gibdos, their next goal is to reclaim their hometown. Fast travel back to Gerudo Town and speak with Riju and Buliara in the throne room to initiate the planning phase for how to defend the town. Buliara will tell you to speak with Captain Teake in the training yard to determine where the Gerudo forces should go.
NOTE: Before beginning the fight sequence against the Gibdos, you might want to explore the town. There are a number of weapons and materials you can gather to help you fight them.
The best option for deploying the forces is to send one group to each gate. The Gibdos come in waves through the gates while more of the pillars form by them, so it’s best to have support that can slow down the Gibdos’ advancements.
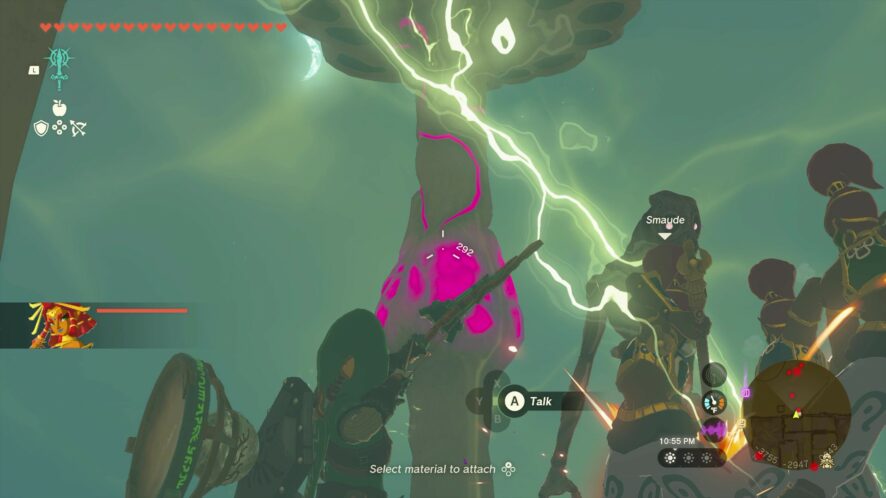
When the battle sequence starts, head for any entrance you wish. You need to destroy all three pillars, but the order in which you destroy them doesn’t matter. Same as before in the bazaar, you need to avoid the Gibdos while you wait for the pillar to glow. When the weak point is glowing, shoot it with a lightning arrow or use Riju’s power to destroy it. Repeat this process with the two other pillars and destroy any remaining Gibdos to end the fight.
Unearthing the Lightning Temple
Per Riju’s request, join her in the underground chamber to investigate a mural. The inscription on the mural will provide clues for how to find an hidden location that Riju suspects is connected to the appearance of the sand shroud and the Gibdos.
“Standing back-to-back with the throne, witness red pillars across a vast sea,
“Unite the pillars in light to reveal the lightning stone and open the new way,
“You who can hear my voice, come to me. I await you.”
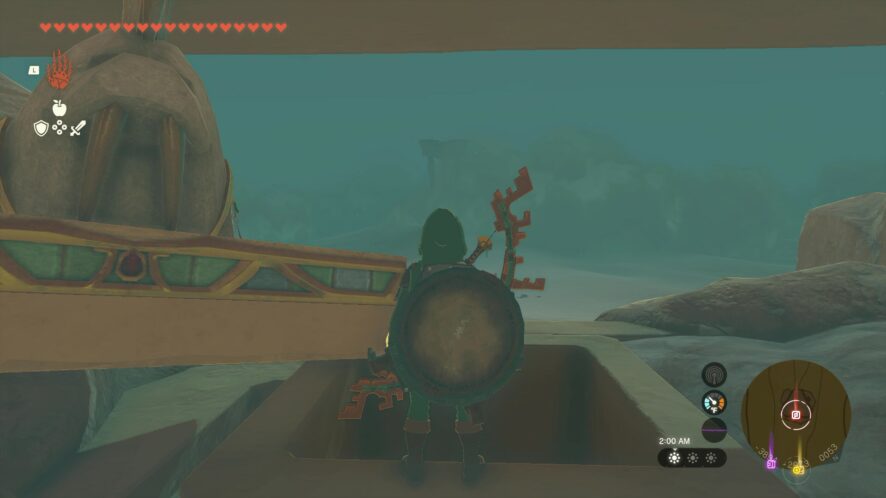
Return to the throne room, stand behind the throne and look out across the desert to spot a large structure. Use the Purah Pad to pin its location on your map before leaving Gerudo Town and heading toward it.
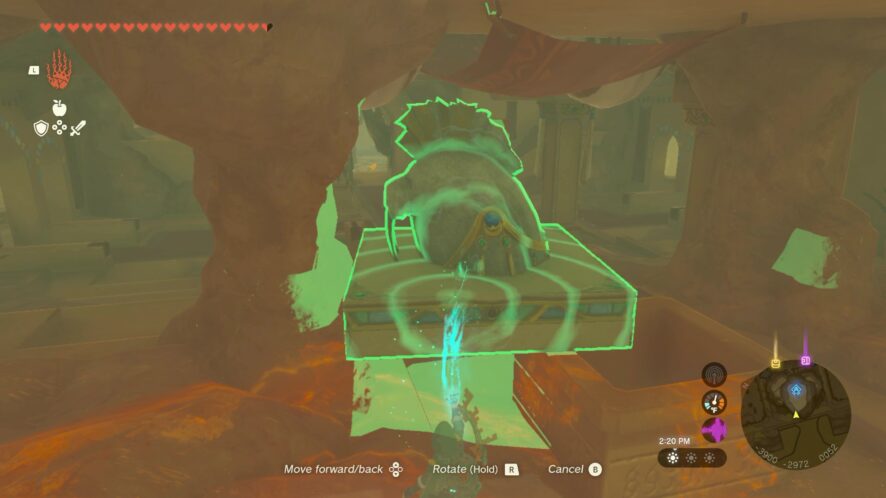
When you find the structure, climb onto it to find that part of its floor has a crack in it. Break this part of the floor with a bomb or bludgeoning weapon to reveal a beam of light that shoots into the sky. The light will hit a mirror fixed to the ceiling above you and send the light in another direction.
Follow the direction of the light to find another structure. It can be difficult to track the light in the shroud, so keep alert for any updrafts you can use to cover more distance and improve visibility as you go.
The next structure you’ll reach is shorter than the first. This is because part of it is sunken into the sand, which means the light beam cannot strike the mirror on it. To fix this, look for a nearby pillar. Climb to the top of it to find a hand crank. Spin the crank counter-clockwise to make the structure ascend. The mirror will eventually connect with the light beam and send it in a new direction.
Again, follow the beam to find another structure. Use the nearby updraft to reach the very top of it to find another hand crank system. This one, however, is missing a handle. Repair the crank by using Ultrahand to fuse one of your weapons to the center gear.
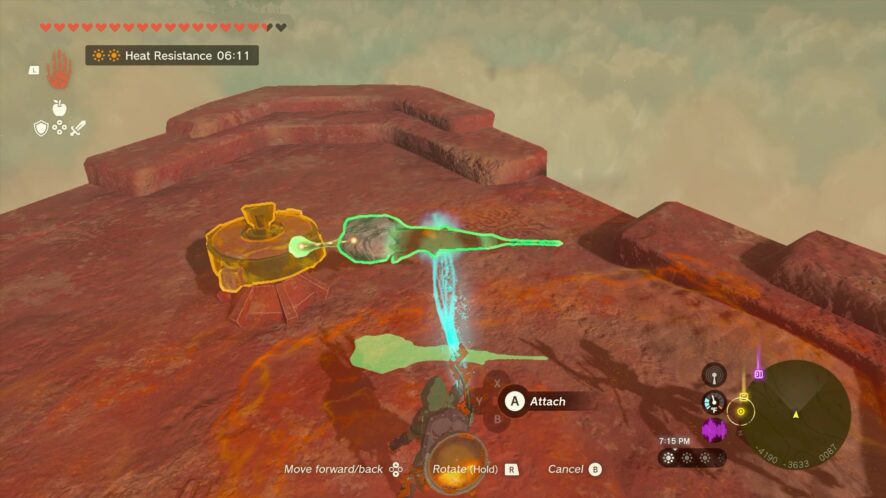
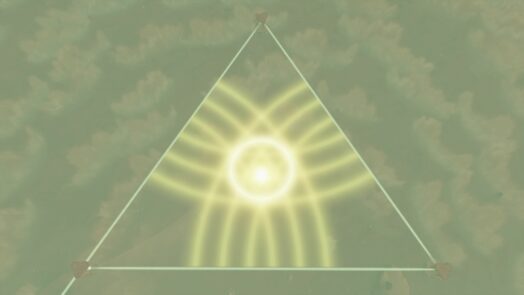
Push the crank counterclockwise to align this structure’s mirror with the light. If you align it correctly, the beams of light will form a giant triangle and a strange monument will emerge from the sand in the middle of all three structures.
Paraglide from the third structure to reach the monument and reunite with Riju, who has come to join your investigation. Use her Power of Lightning to strike the monument. The monument will then begin to glow and cause the Lightning Temple to rise from the sands in front of Link and Riju.