


Exploring Great Sky Island and searching for Zelda
Table of Contents
Opening Sequence
This is a linear opening to the game where Link and Zelda delve into a mysterious cavern to find clues about the gloom that has been infecting Hyrule. You can freely explore the area as you descend, but there are no secrets or optional objectives to complete. The only thing you need to do is follow the path.
Halfway through this portion of the game, you will enter a larger room with a raised ceiling. Keese will fly down to attack you, and you must defeat all of them to advance.
Link awakes
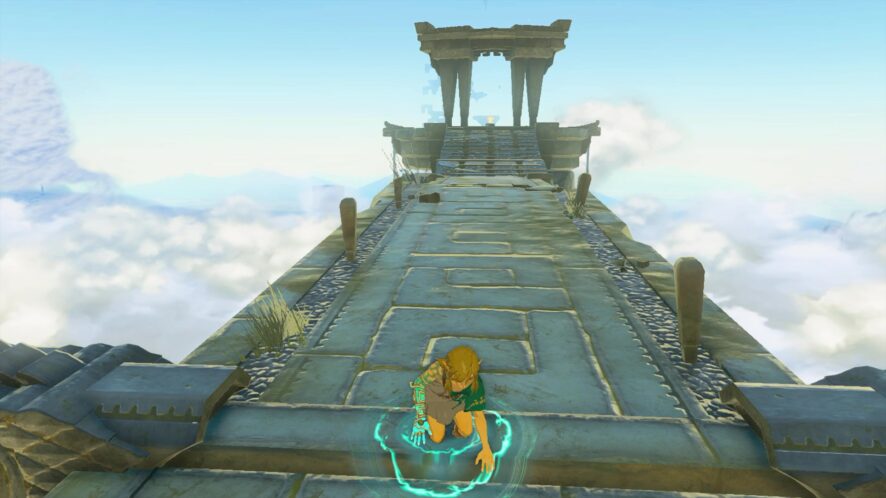
After Link and Zelda encounter the mummy and Zelda falls into the chasm, Link will awaken in an unfamiliar area. Once Link is alert and standing, you can resume playing and head for the exit. Pick up the Master Sword along your way. (You can use the Master Sword as a weapon, but it will lose its power quickly and be unusable after.)
These first few rooms you can explore are linear. Use Link’s new hand to activate the green, glowing circle in the center of the room to open a door. Go through that door to the next area and continue through the next two rooms. At the end of the second room is a very high diving platform. You won’t receive any damage when you dive into the water from that height, so don’t be afraid to do so.
On the shore of this next room, you’ll find a treasure chest. Open it to find the Archaic Legwear. Clothes help increase your defensive capabilities, so collect and wear them as you find them. There is nothing else to find in this room, so go through the next door, which leads outside to another diving platform.
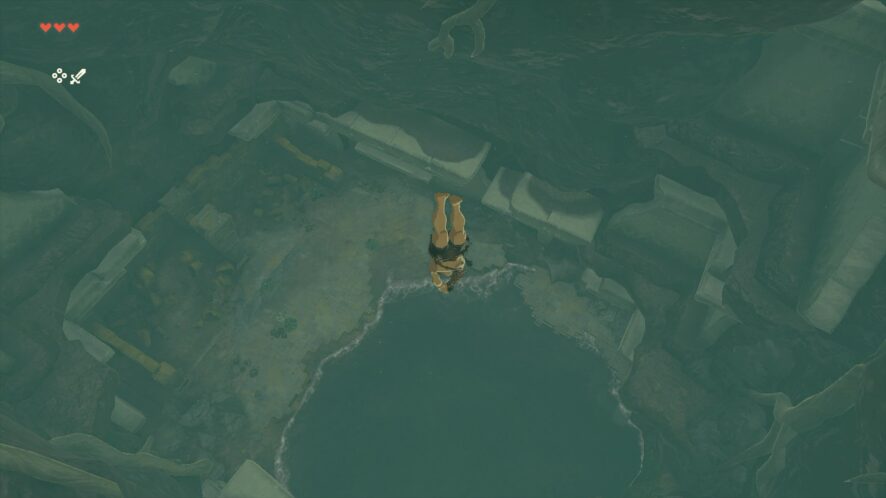
Dive off of the platform. As you descend, steer toward the large pond below you and dive into the water for a safe landing.
Searching for Zelda and the Voice’s Owner
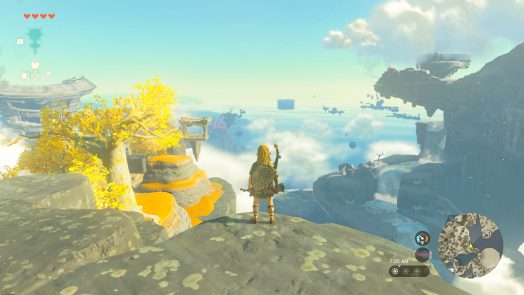
Swim toward the stone archway and follow the stone path toward the edge of the island. (We strongly advise you to explore your surroundings to start gathering materials as early as possible, but you are not required to do so.)
Near the edge of the island, you’ll see a green object to your left, and another island floating nearby. You cannot reach the other island on your own, so approach the green object. This is a helpful Steward Construct. The construct will tell you that it has been waiting for your arrival and gives you Zelda’s Purah Pad. It also tells you that Zelda is at the Temple of Time, which is the large tower on a nearby island. The Purah Pad has a map, so you must use it and its markers to make your way toward the princess.
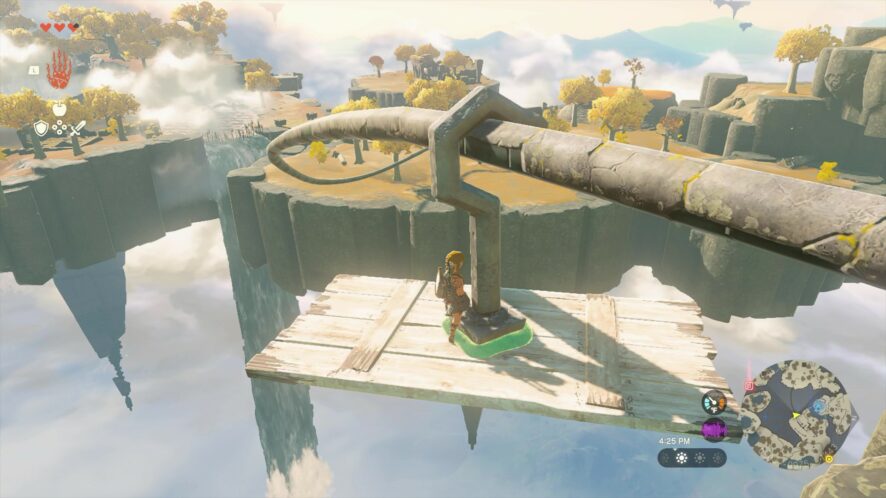
Once you have finished speaking with the construct, A stone half-circle next to you will generate another glowing, green circle. Activate that circle to form a bridge that leads to the next island. There is another diving platform on this new island. Dive off of it to reach the main portion of Great Sky Island.
Travel to the Temple of Time
Follow the marker on your map to find the Temple of Time. You’ll eventually reach a stone arch that leads to the steps of the temple. To the left of that arch is a construct that can teach you how to cook food ingredients to cook food and create meals. When you are done listening or roasting ingredients, swim across the pond to the steps leading to the temple.
At the top of the steps is a Soldier Construct wielding a sword and a shield. You can either fight him or avoid him. If you choose to fight him, you must be mindful of his weapons. The sword deals much more damage than the sticks used by most other constructs, and the shield forces you to wait for openings. But if you do defeat it, you can take its weapons, which will be very useful while exploring the rest of the island.
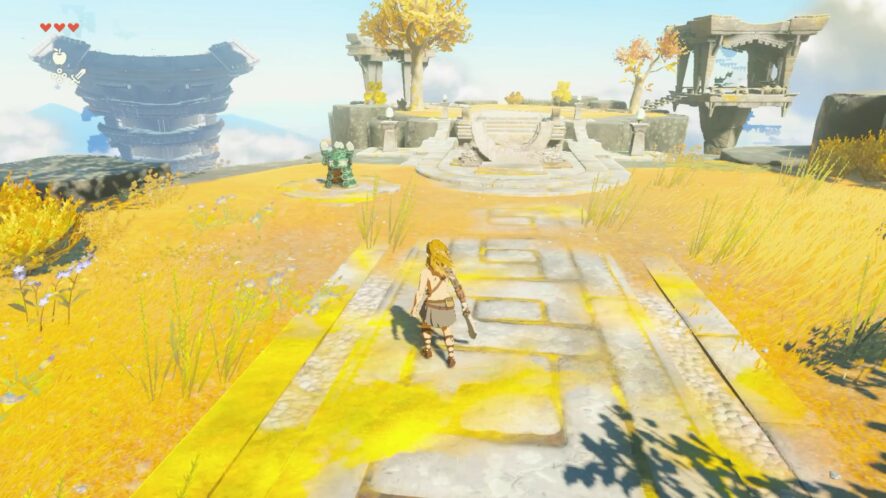
Go to the temple’s main entrance and try to open it. Link will not be able to, which is when the spirit of Rauru, the owner of the voice, will appear and tell you that you must visit three Shrines on the island to receive the power to open the door.
Visit Ukouh Shrine
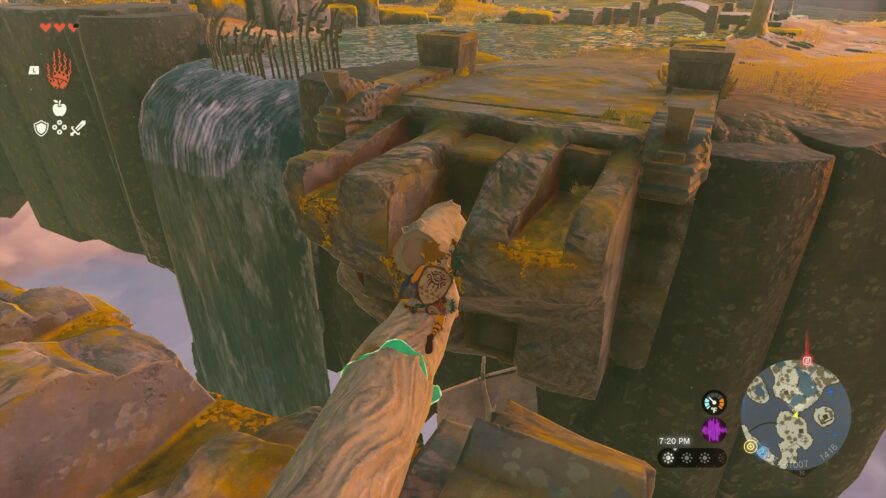
Start by visiting the Shrine shown in the cutscene. It is the one on a small peak directly west of your location. Climb the spiraling staircase around the peak to reach Ukouh Shrine, and use your hand to open it.

Inside, Rauru will return and give you the Ultrahand ability. Use Utrahand to complete Ukouh Shrine. Once you’re outside, Rauru appears again. He mentions that you should use the Scope and Pins on the Purah Pad to mark the locations of the other two Shrines, which you will want to do. After you mark their locations, continue westward toward the next Shrine.
(Note: You can visit the next two Shrines in either order, but we suggest starting with the closest one, as it is the easier of the two to reach.)
Visit In-Isa Shrine
Backtrack slightly from Ukouh Shrine to the other small peak you passed before. At the top of it is a stone rail system, stone hooks, and some boards. Use Ultrahand to combine a hook and board to create a platform that can slide down the rail to reach the next island.
You need to continue south toward the next Shrine, but the bridge to the next island is broken. Talk to the Maker Construct who is cutting down trees to learn more about tree cutting and to receive a Stone Axe. Cut down some trees to make some logs, then use Ultrahand to combine them to make a bridge. Use the bridge to reach the next island.
Follow the path until you find another construct. This one will teach you more about hunting, with one of the important strategies being to crouch so you can quietly approach things. Hunt the nearby animals if you wish, then continue toward the Shrine.
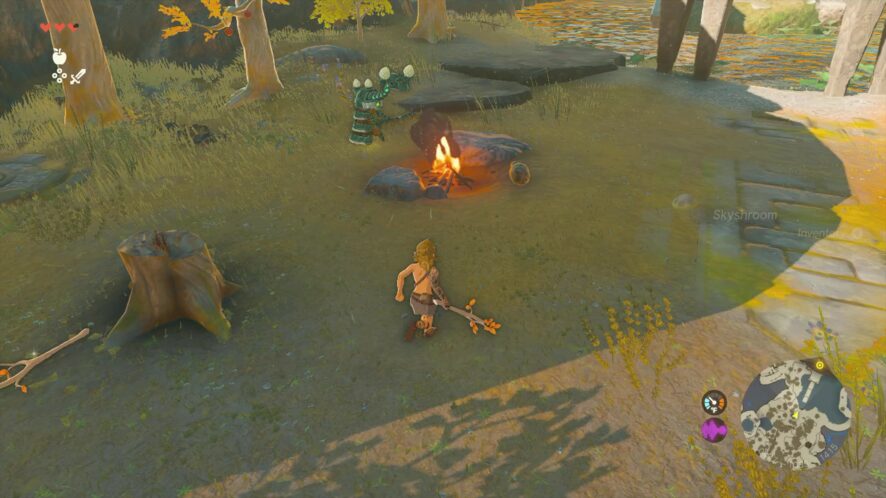
Again, as you make your way westward toward the Shrine, you’ll find another construct in some decayed ruins. This one will teach you about cooking meals in pots. Creating meals will be crucial throughout the entire game, so pay close attention to the construct’s information.
Eventually, you’ll reach a cliff edge that overlooks a large pond. On the other side of this pond is the Shrine. Don’t try to climb down the cliff. Instead, head north to find another rail system and more materials to create a platform. Combine the hook and logs to create your platform and use it to ride down to a small island.
Note: Next to the rail system is a Korok wearing a large backpack. This Korok was separated from its friend, who is on the island you want to go to. You can use Ultrahand to pick up Koroks that wear backpacks. Take him with you to the next island to reunite him with his friend. Doing so will earn you two Korok Seeds.
There is another rail system and more materials on this island. Repeat the process you just completed to create another platform and ride it down to the next island. You’ll see a sail with the materials. You’ll need a sail for the next step, but ignore this one. There are more sails further up, and it’s less hassle to use one of those than trying to take the first one with you down the rail.
Sailing Across the Pond
At the bottom of the cliff near the pond’s shore are more materials, including the mentioned sails. Combine them to make a raft, then set the raft in the water. Quickly get on the raft, as the winds will begin pushing the raft across the pond.

Once across, climb up the hill to find In-Isa Shrine. Enter the Shrine to obtain the Fuse ability. Use Fuse to complete the Shrine, then make your way toward the third Shrine.
Visit Gutanbac Shrine
Head south from In-Isa Shrine and follow the main path. Eventually, you’ll come upon a small pond where a couple of enemy constructs dwell. Next to this pond is the entrance to Ponside Cave. Pass through the cave to reach your next destination, collecting materials and defeating enemies as you go.

Near the end of the cave is a treasure chest that contains the Archaic Tunic, which will complete the outfit with your Archaic Trousers. To the right of the treasure chest is the cave’s exit.
Learning About Zonai Devices
Outside you’ll find Maker Constructs standing by some materials. They also have Zonai devices with them, which are tools you can combine with materials. The tools found here are fans. The constructs won’t allow you to take the materials next to them, but there are other materials and fans nearby. More importantly, they will give you an Energy Cell, which is necessary to power any Zonai device.
- Use Ultrahand to combine three logs into a raft.
- Attach two fans to one end of the raft to serve as propellers.
- Get on the raft and strike the fan with a weapon to activate it. The fan will push you and the raft across the water to reach the other side.

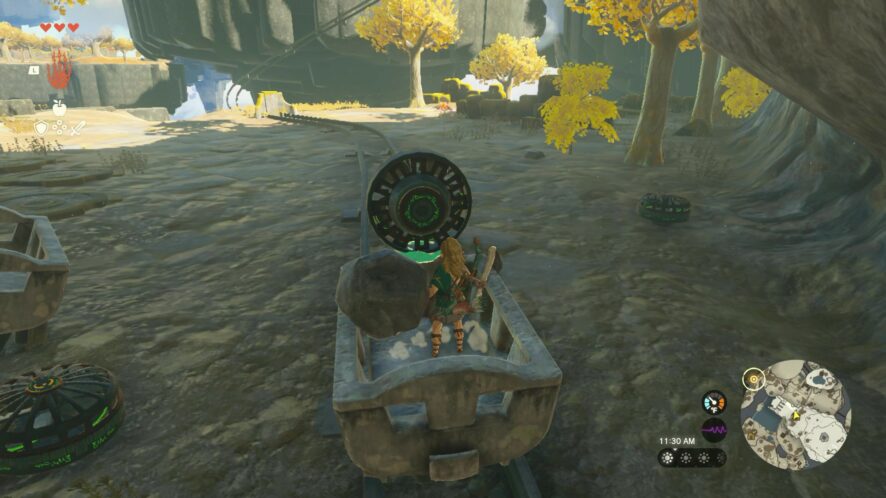
When you reach the shore, follow the trail to the Mining Cave. There are fans and mine carts near the entrance of the cave. Combine them using Ultrahand and set the cart on the tracks.
- Use Ultrahand to place one of the carts onto the tracks.
- Once the cart is on the tracks, attach a fan to the end of the cart facing outside of the cave. Position the fan so it blows away from the cave.
- Climb into the cart and strike the fan.
Exploring the Mining Cave
When you reach the end of this segment of tracks, you’ll meet a Mining Construct who will teach you about Brightbloom Seeds. Use the sets to light your way through the remainder of the cave.
At the end of the cave, you’ll find multiple Mining Constructs mining and smelting ore. Speak with the construct near the furnace to learn about Zonaite. It here that you can trade any Zonaite you’ve collected for Zonai Charges and Crystalized Charges. Zonai Charges can replenish Energy Cells, and Crystalized Charges are used to create additional cells.
Continue to the cave’s exit. Near there is another construct that will teach you about Zonai Capsules. The capsules allow you to carry multiple copies of the various Zonai Devices with you. The construct will also give you a few capsules, one of which contains a fan. Combine that fan with a nearby mining cart and place the cart on the tracks leading outside of the cave. Same as before, climb into the cart, strike the fan, and let the cart carry you to the end of the tracks.
Once you reach the end of the tracks, you’ll spot a large, spherical object near the edge of the island. Approach the object and the Maker Construct working on it. The construct will tell you this is a Device Deispener, which allows you to trade construct parts or Zonai charges for more Zonai Capsules. Trade some materials for capsules you want to, then head northeast toward the direction you came from. You’ll see a small cave entrance at the base of the mountain. Use the entrance to find Pit Cave.

Preparing for Cold Temperatures
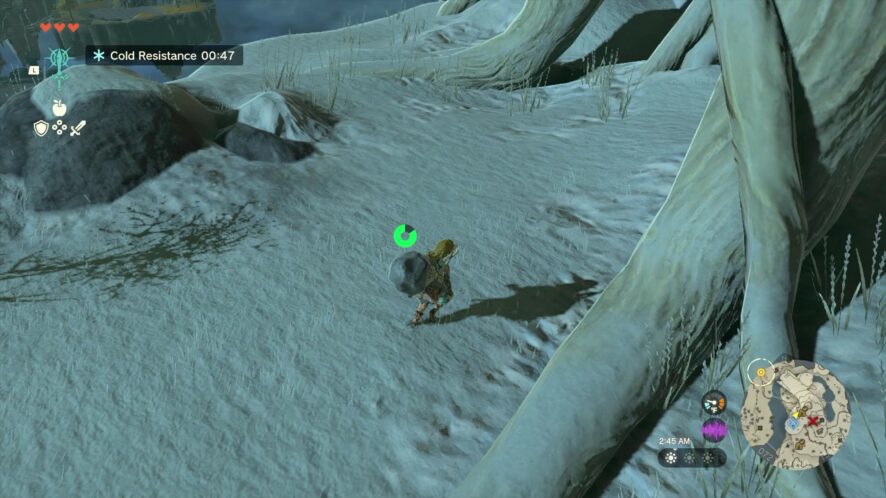
You need to ascend through the cave, but before you do, collect the Spicy Peppers at the cave’s entrance. Use the cooking pot nearby to create some Spicy Sauteed Peppers. The temperatures are going to drop drastically once you reach the top of the cave, so you will need this meal to protect yourself against the cold. Use three, four, or five peppers at a time and create multiples of the meal. The effects of Spicy Sauteed Peppers have time limits, so you’ll want multiples in case you take too long to reach the Shrine.
Eat one of the Spicy Sauteed Peppers to protect yourself from the cold before continuing in the direction of the Shrine. Cross this icy field, avoiding or fighting Ice Chu-Chus and constructs as you go, to reach the cliff face at the end. There you will find the entrance to the Bottomless Cave.
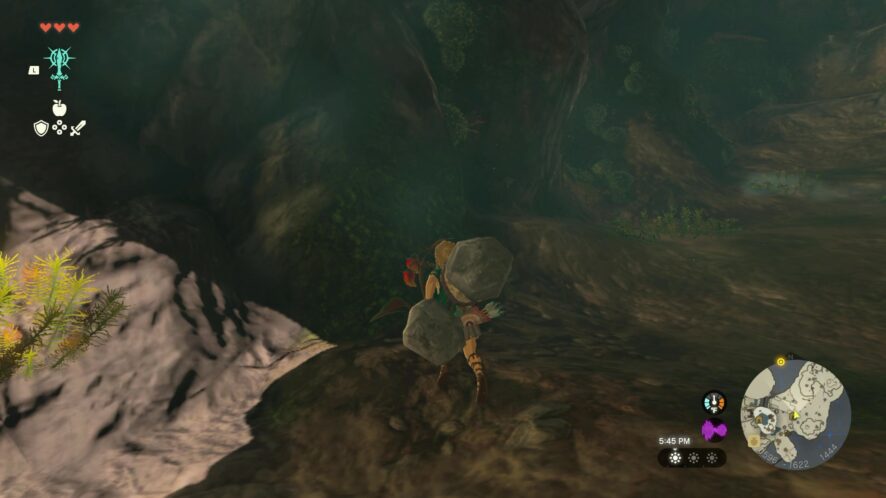
Climb the cave to reach its exit, avoiding or destroying the Like Likes inside as you do. Like Likes drop treasure chests when you defeat them, so you might want to destroy them if you wish to collect as much treasure as you can.
Once outside, you’ll find some large vines to your right. Climb those vines to reach the top of the mountain and Gutanbac Shrine. Inside the Shrine, Rauru will appear again and give you the Ascend ability. Use Ascend to complete the Shrine and return outside. Rauru will meet you outside of the Shrine to tell you to return to the Temple of Time.
Return to the Temple of Time
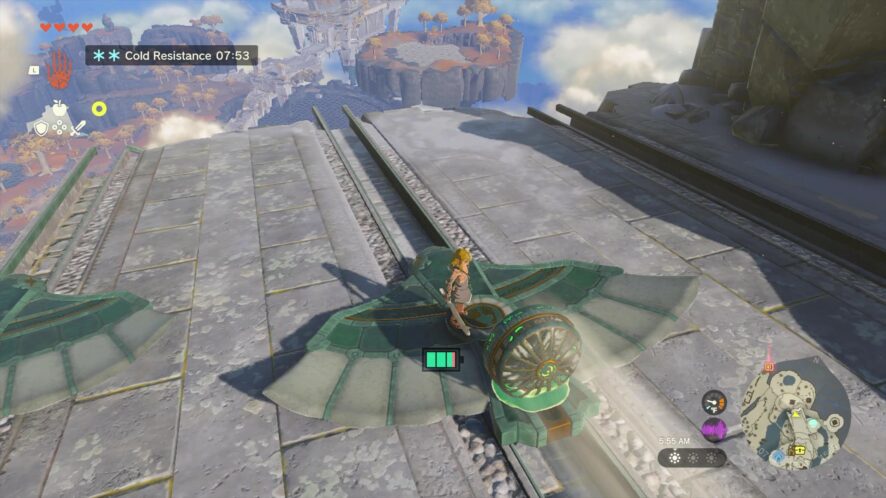
Use Ascend to reach the strange cliff formation near the Shrine. Continue down the open path to find an area with another Device Dispenser and a number of gliders. Obtain a Fan Zonai Device from the dispenser if you do not have one, then climb back down to where the gliders are.
Combine a fan with one of the gliders. Set the glider on the groove in the ground leading to the cliff edge, climb on, and strike the fan. Let the glider then fly you back toward the Temple of Time. Once you are over the pond next to the temple, jump off of the glider to land safely in the water. Swim to the temple’s steps and return to the door.
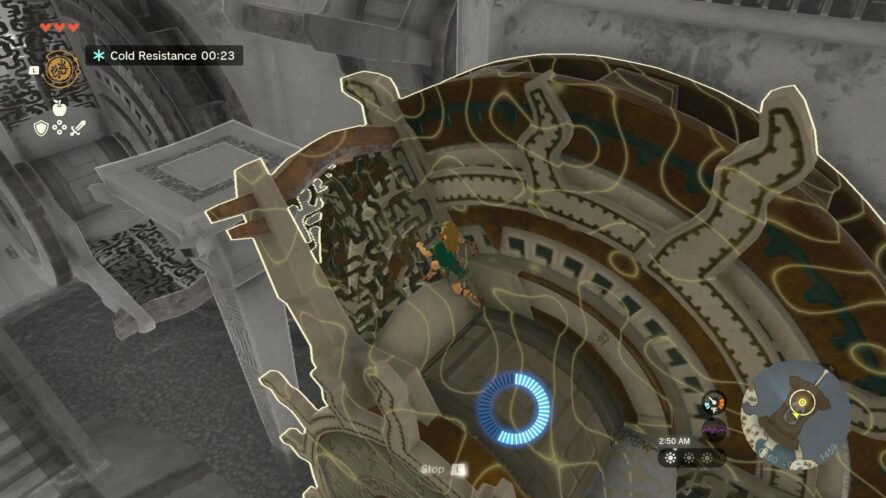
Learning the Recall Ability
Link will now be able to open the door. At this point, a vision of Zelda will appear and gives you the Recall ability, which allows you to move objects backward through time. You must use Recall to reach the next part of the temple.
- Cause one of the spinning gears in front of you to turn in the opposite direction.
- Climb onto one of its platforms and let it carry you to the center block.
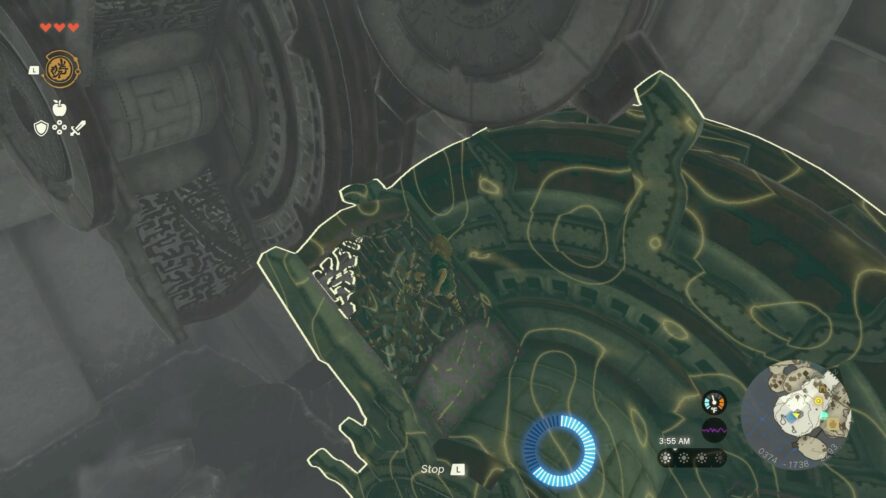
- Use Ascend on the smaller gear in front of you to reverse its direction.
- Climb onto one of its platforms so you can ride it to the top.
There is a large door and a Goddess Statue in this upper room. Ignore the statue for now, and try to open the door. Link will not be able to because he does not have enough physical strength. Rauru will appear again and suggest that you should seek more health from the Goddess Statue for more health. To do that, you’ll need one more blessing from one more Shrine.
Visit Nachoyah Shrine
It turns out that there is a fourth Shrine on Great Sky Island. If Link finds and completes that Shrine, he will receive the fourth blessing he needs.
Use the Purah Pad to travel to the Room of Awakening. Use Recall on the gear to your left and ride to reach the next gear. Use Recall on that next gear to reach a small cliff and a cave entrance. Enter the cave to find the Nachoyah Shrine. Use Recall to complete this Shrine and earn a fourth blessing.
Opening the Door
Use the Purah Pad to warp to Ukouh Shrine, and return to the Temple of Time from there. Climb all the way back up to the Goddess Statue and pray to it for a new Heart Container. With the extra health, you can now open the door.
Beyond the door is a long hanging platform. However, it is broken in multiple places, with some parts having dropped down. To get across, use Ascend to move from each lower part to each upper part.
When you reach the end, Zelda will appear again and take the Master Sword from you. A dragon will also emerge from the clouds, clearing the sky in the process and creating a clear path for you to see Hyrule below. As you have done before, jump off of the platform, dive toward the surface, and land in the large pond beneath you.