


Chapter 9: Tower of the Gods
Table of Contents
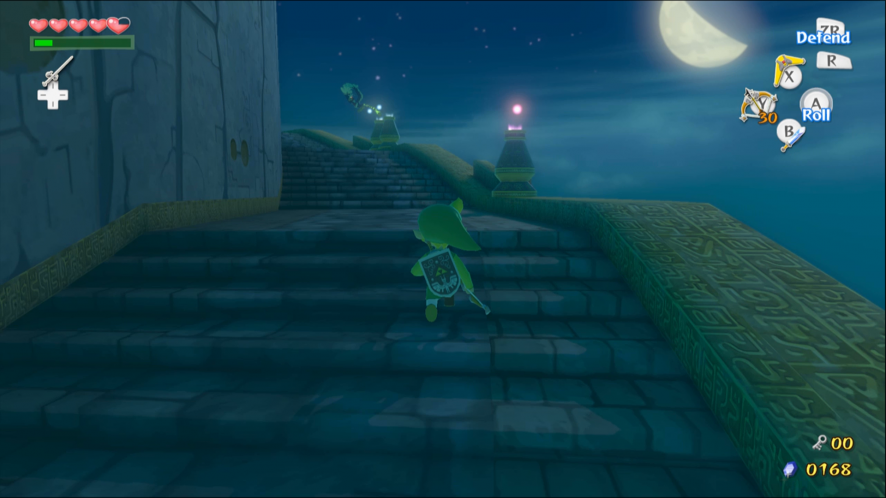
Floor 1
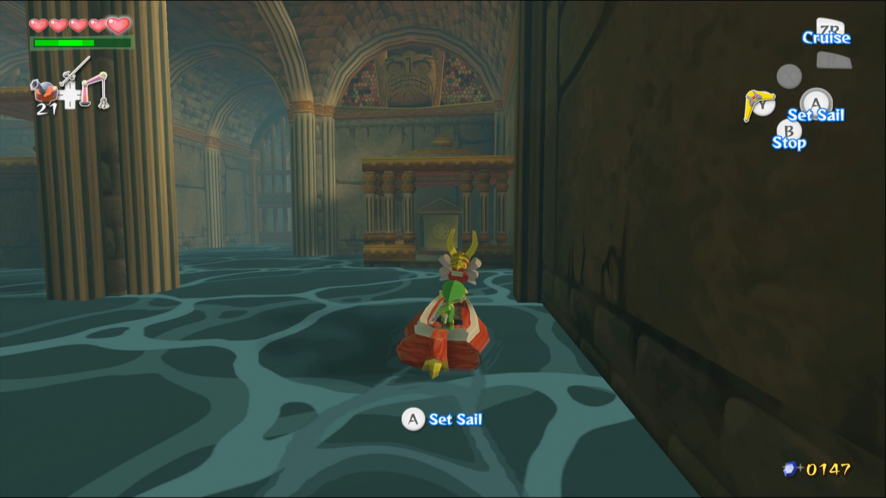
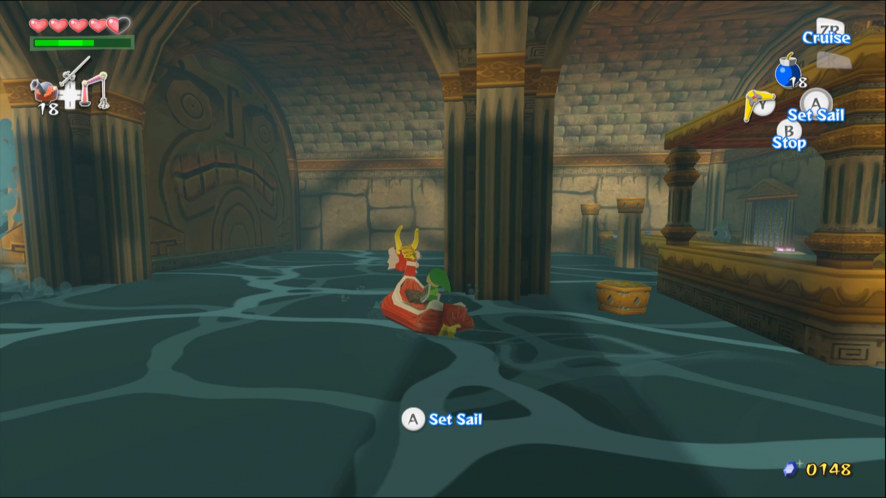
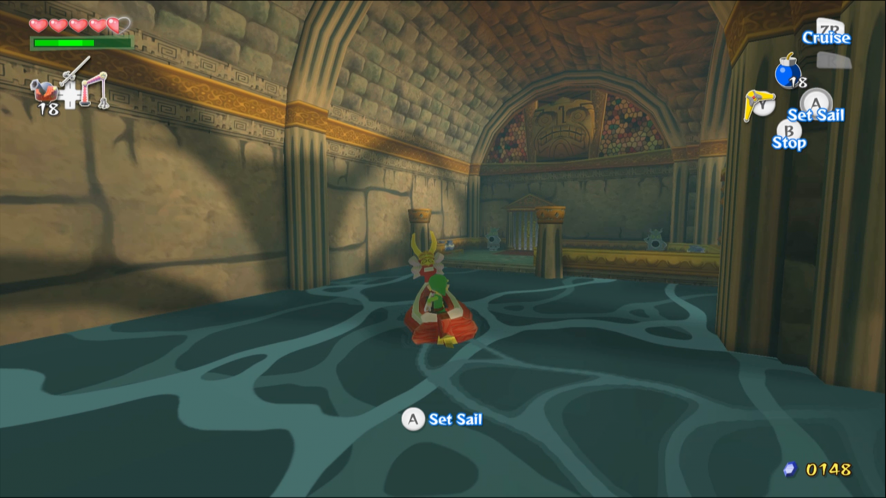
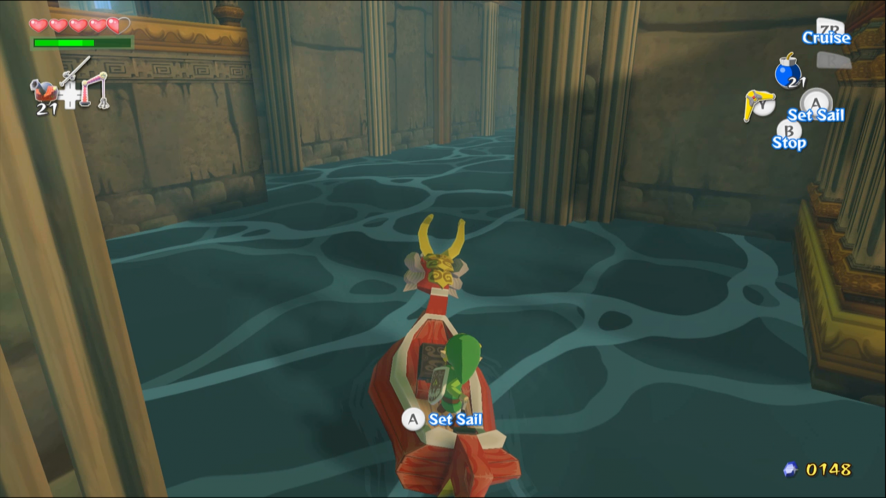
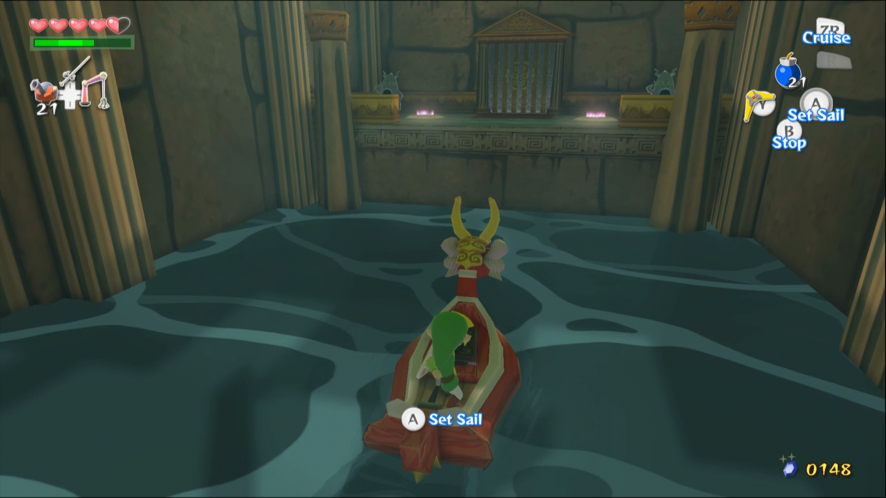
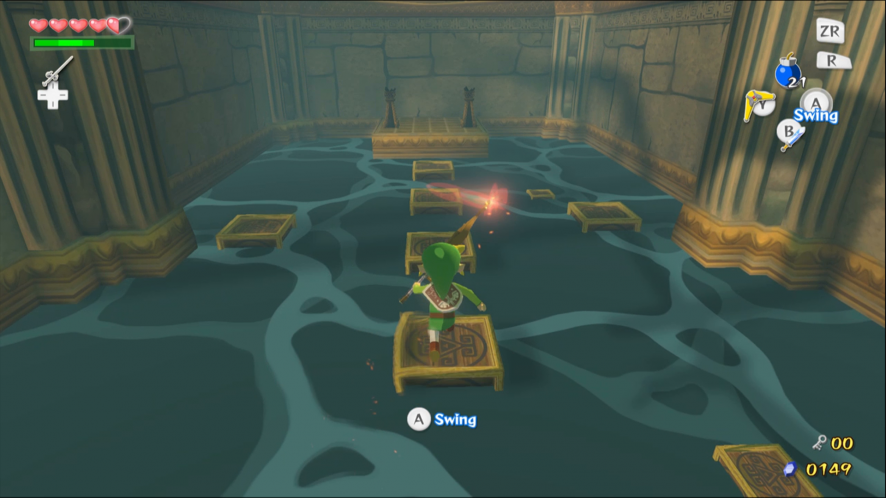
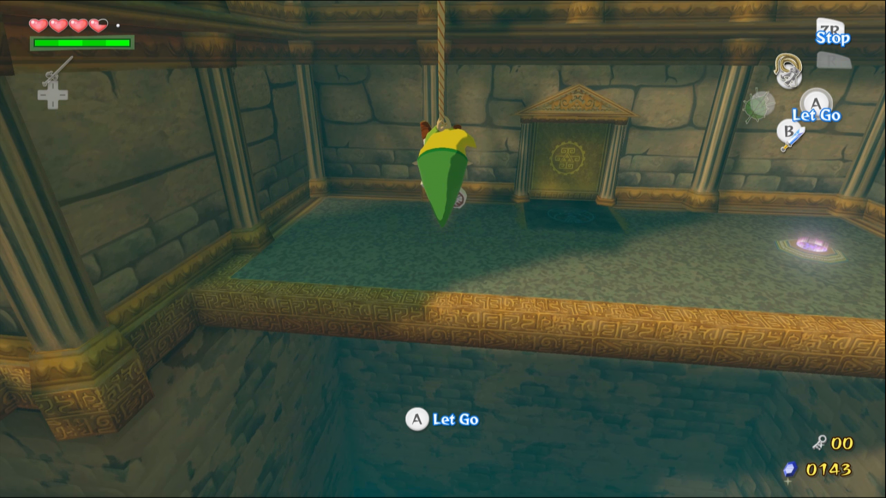
The lower floor of the tower is flooded, so you can cruise around in the King of Red Lions. Periodically the water level will rise and fall, allowing you to reach different rooms. Head right from the entrance and wait for the water level to drop. Get out of the boat and go through the door in the bottom corner.
The Yellow Chuchu is surrounded by an electric field that will harm you if you touch it. Use a ranged weapon – like the Boomerang – to stun the Chuchu first.
Wait for the water level to rise and climb onto the ledge on the right hand side. Place a Bomb here to demolish the cracked wall. Behind it is a Treasure Chest containing the Dungeon Map. More Yellow Chuchus appear after you open the Treasure Chest.


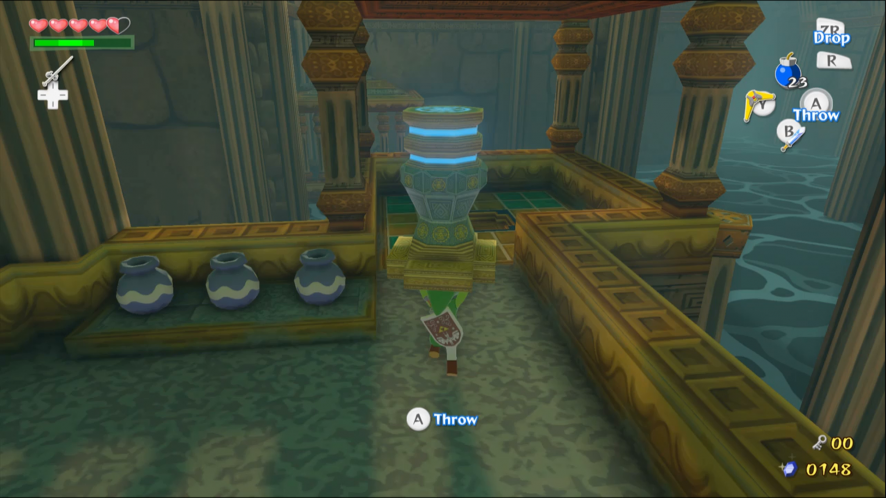
There is a Joy Pendant behind the wall on the far left, but there is no ledge to stand on. To reach it you will need to push a crate near to the wall. Either throw a Bomb from a distance with good timing or push the crate right next to the wall and place the Bomb on top. Bombs will destroy the crates too, but there are plenty of them in the room. Watch out for the Chuchu hiding near the Joy Pendant.
The other alcoves are of little or no interest.
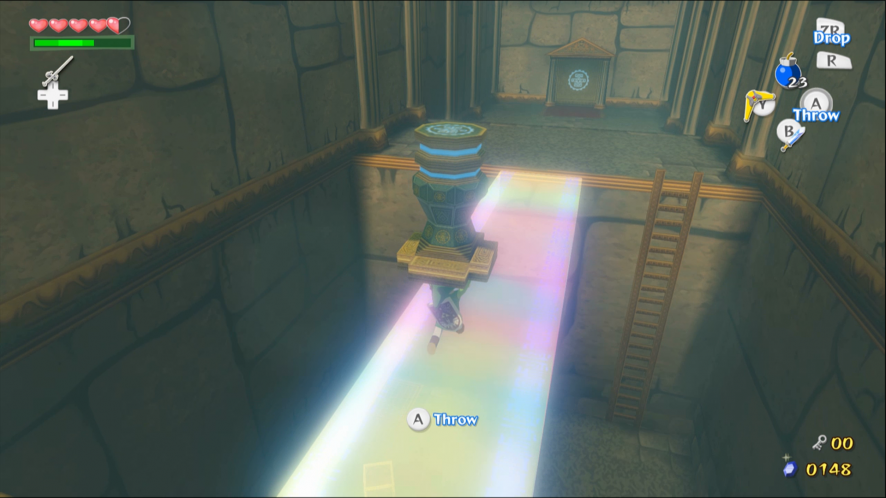
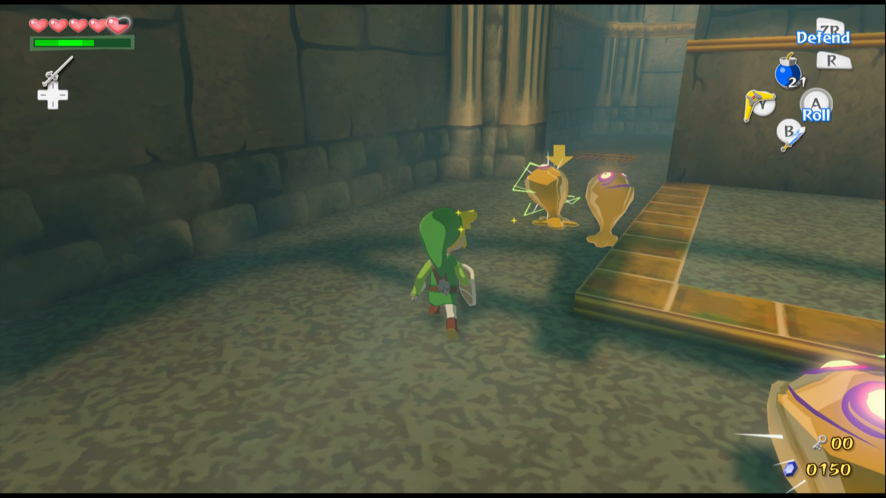
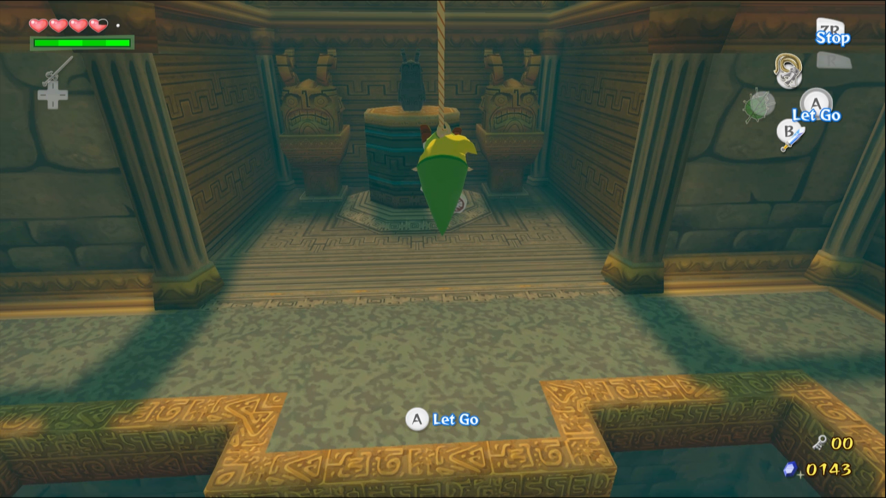
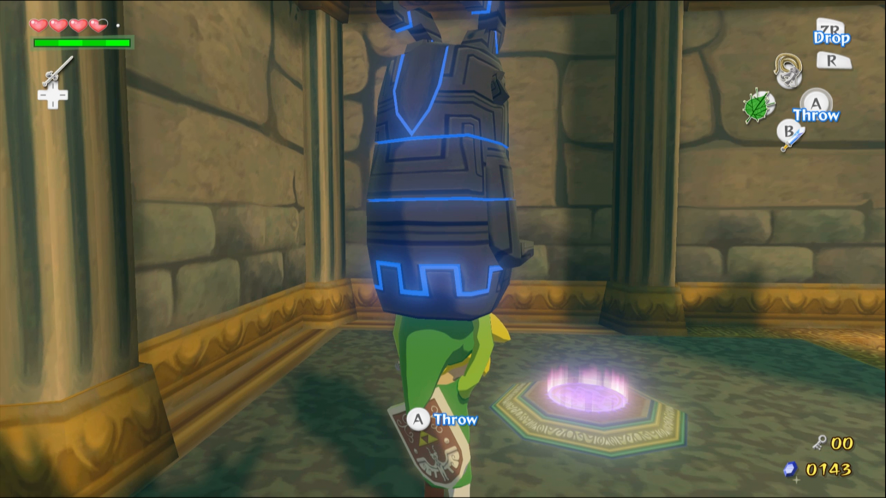
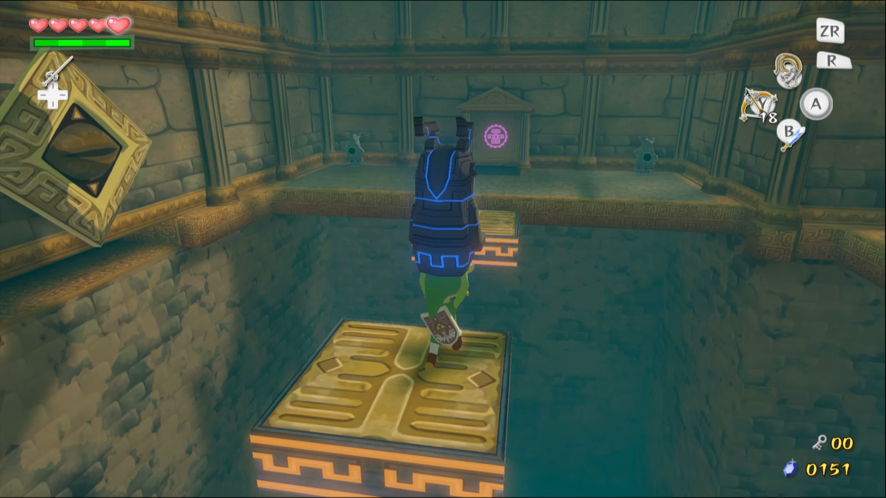
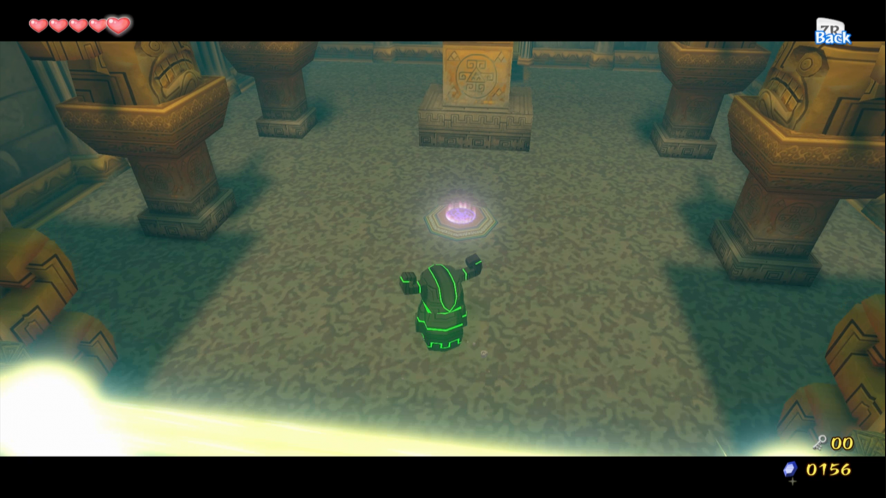
Return to the main area. Wait for the water level to rise so you can reach the area in the top corner. Pick up the statue on the right and place it on the glowing circle to unlock the door.
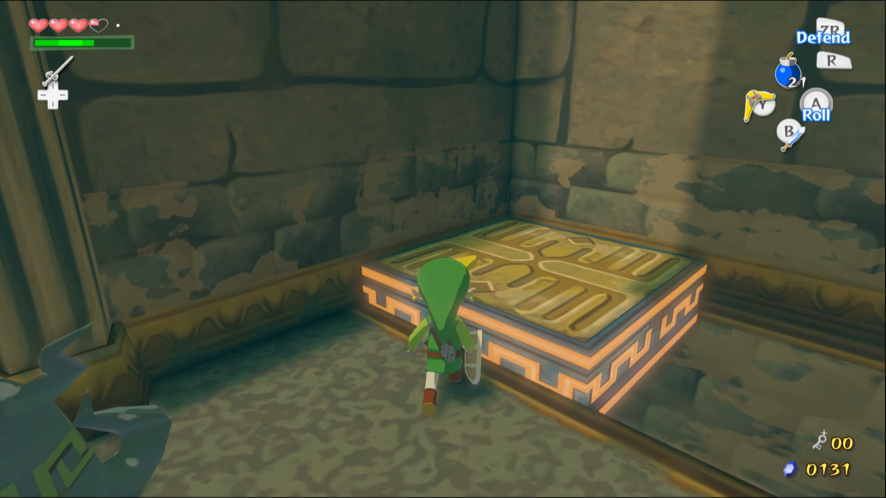
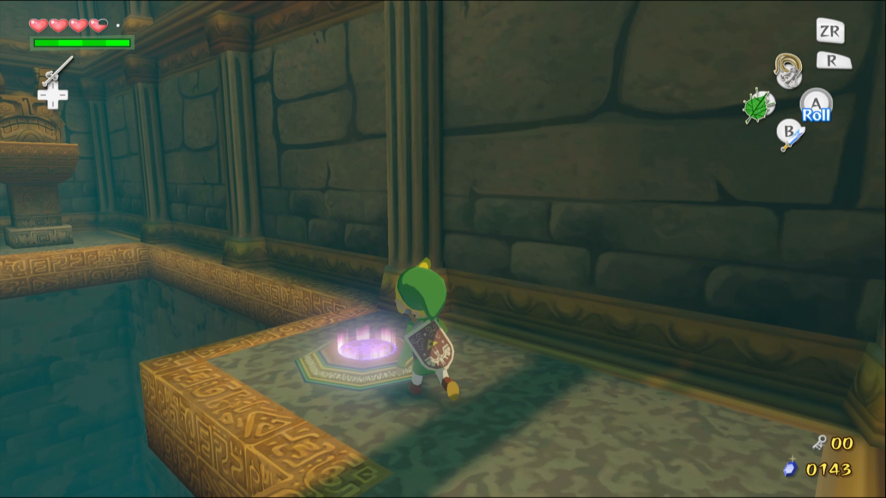
Wait for the water level to drop and jump down into the pit. Pick up a small crate and place it on the glowing switch to create a bridge. The rising water level will lift the crate off of the switch, but it will activate the bridge every time the water recedes.
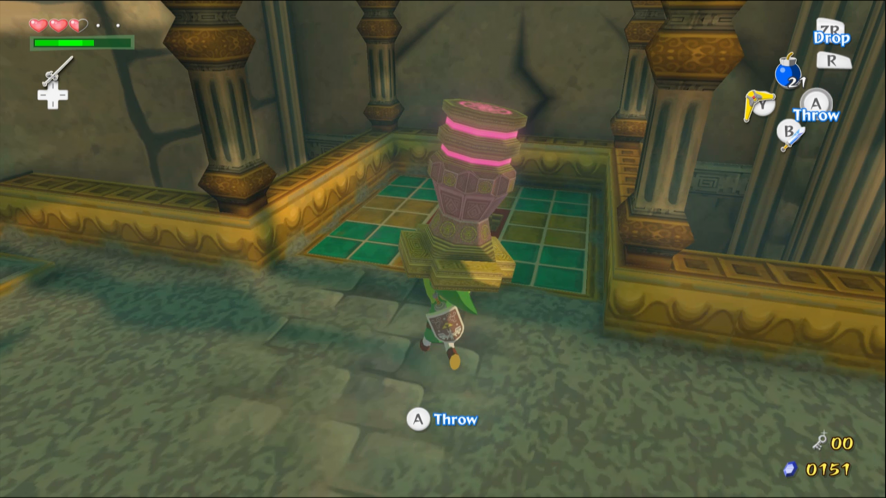
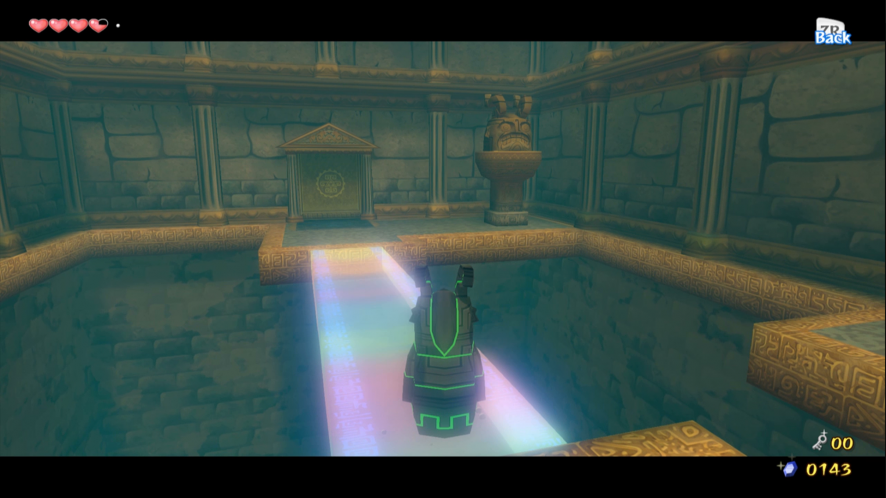
Cross the bridge and pick up the stone pillar. Carry the pillar back through the door to the previous room. Put the pillar down in the socket over to your left to open the gate nearby.
Pilot your boat to the newly accessible area and wait for the water level to rise. Place statues on both of the glowing switches to unlock the door.
Wait for the water level to drop and jump into the pit. Move some crates so that there are four of them evenly spaced across the floor. Leave the first crate where it is to get a sense of the correct distance. Wait for the water level to rise in order to get out of the pit.
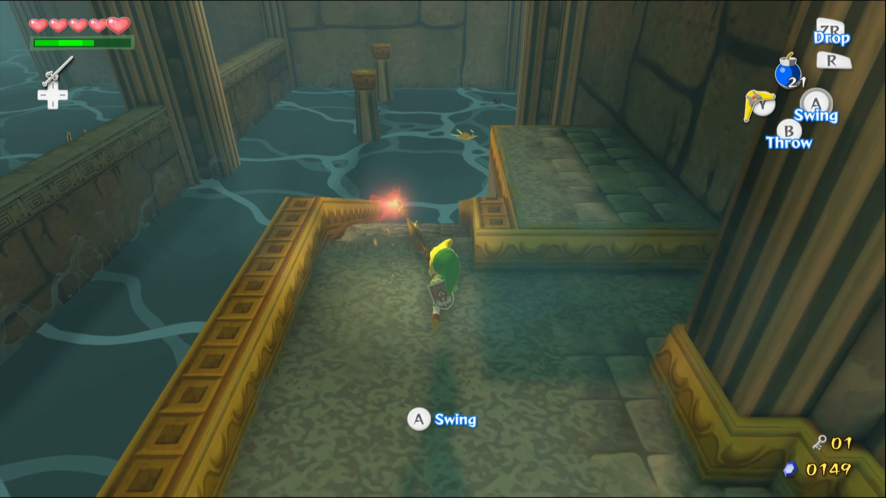
Smash a pot and grab a Boko Stick. Light the Boko Stick while the water is high and use the crates to reach the other side of the pit. Light both of the torches to reveal a Treasure Chest containing a Small Key. Go back to the door, watching out for the Chuchus that appeared when you opened the Treasure Chest.
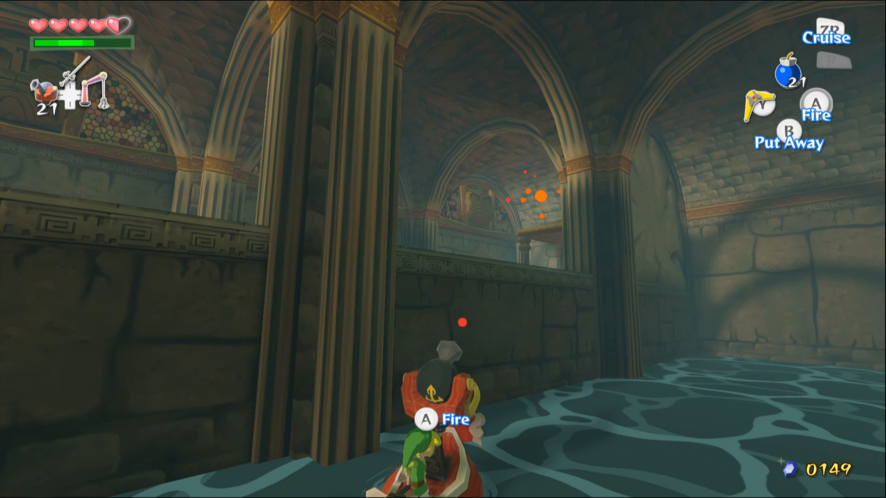
Pilot your boat to the left hand side of the room. Use the Cannon to demolish at least one of the cracked walls. Climb over the ledge when the water level is high.
To get another Joy Pendant, light both of the torches next to the lower of the two doors. There are some Boko Sticks and lit torches by the other door. Wait for the water level to drop first.
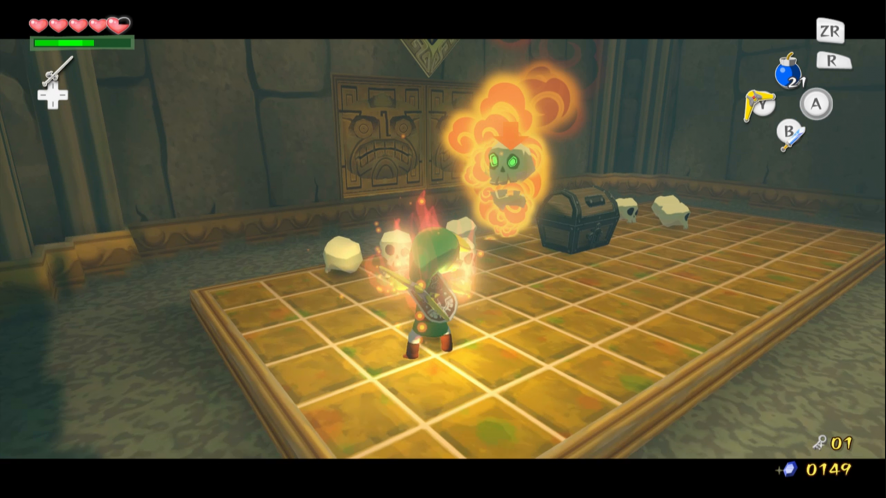
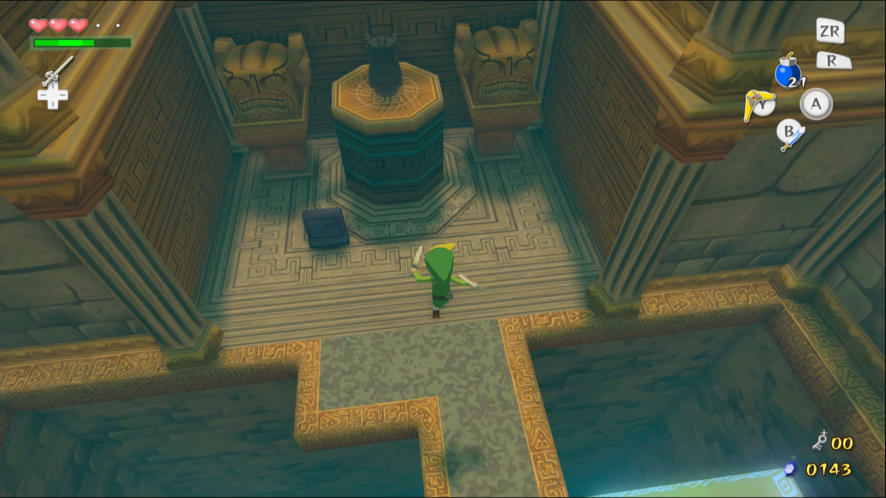
Enter the room at the top of the steps. Defeat the Red Bubble with your sword to reveal the Treasure Chest holding the Compass. If you’re having trouble with the Bubble, use the Deku Leaf to stun it.
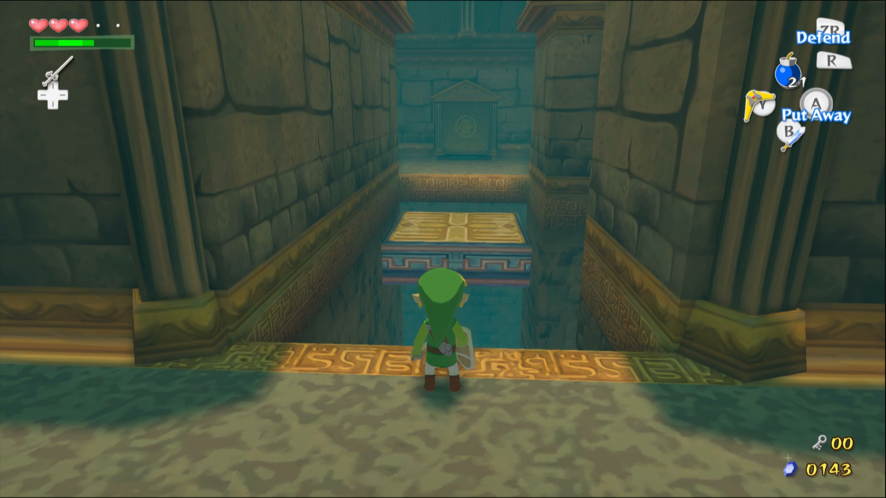
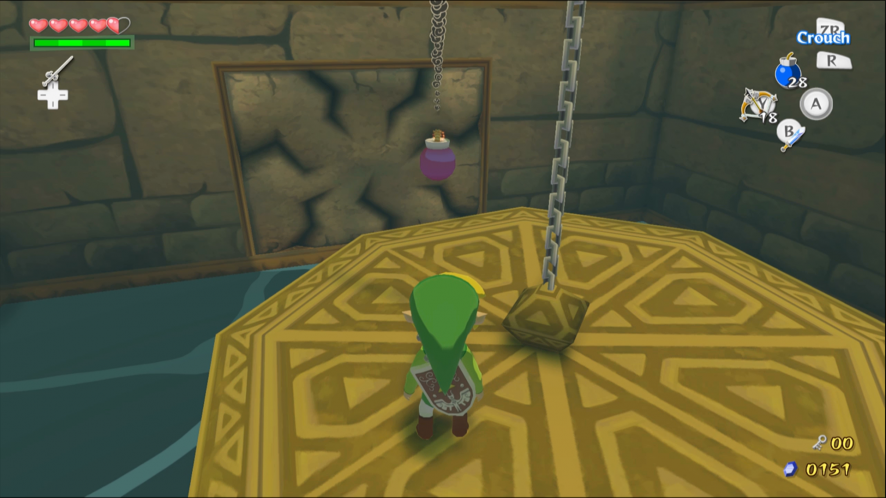
Wait for the water to recede. Use the Small Key to unlock the room at the bottom of the steps. Defeat the Chuchus while the water level is low to create a staircase up to the podium. Pick up the stone pillar like you did with the one earlier. Wait for the water level to drop so you can leave the room.
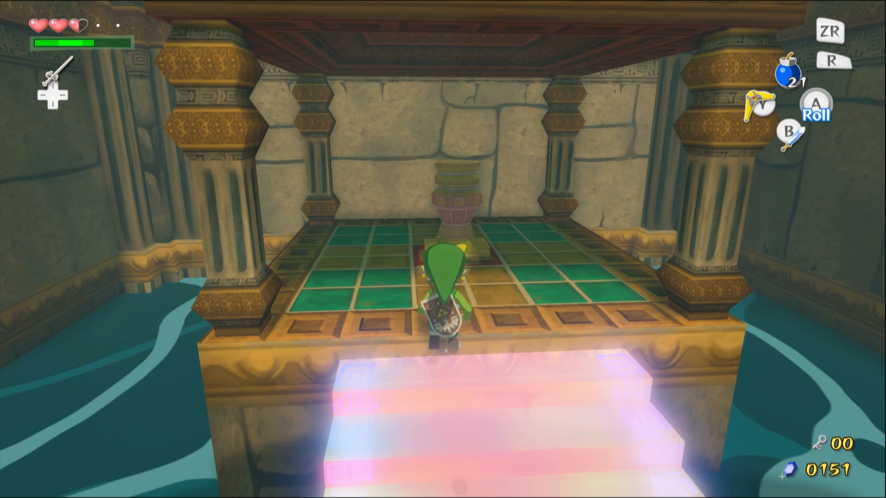
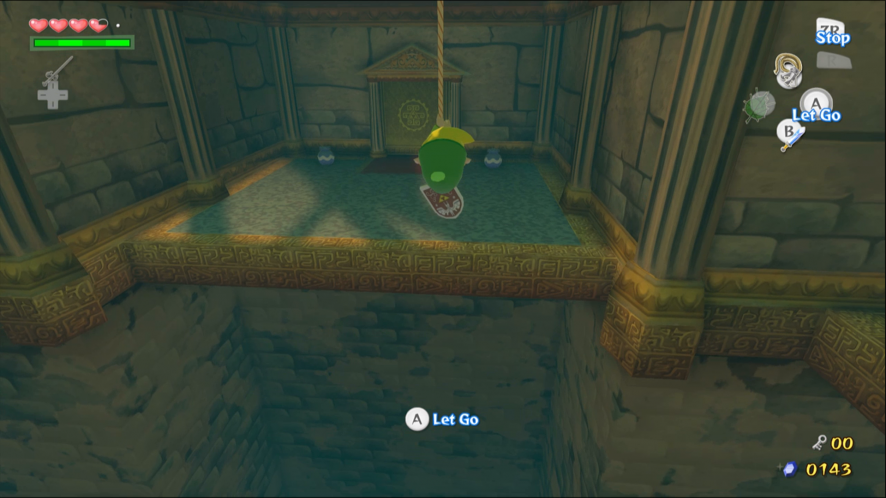
Carry the pillar up the steps before the water comes back and place it in the socket. The water fountain opposite the entrance will stop working, revealing a door behind it. Wait for the water level to rise so you can reach it.
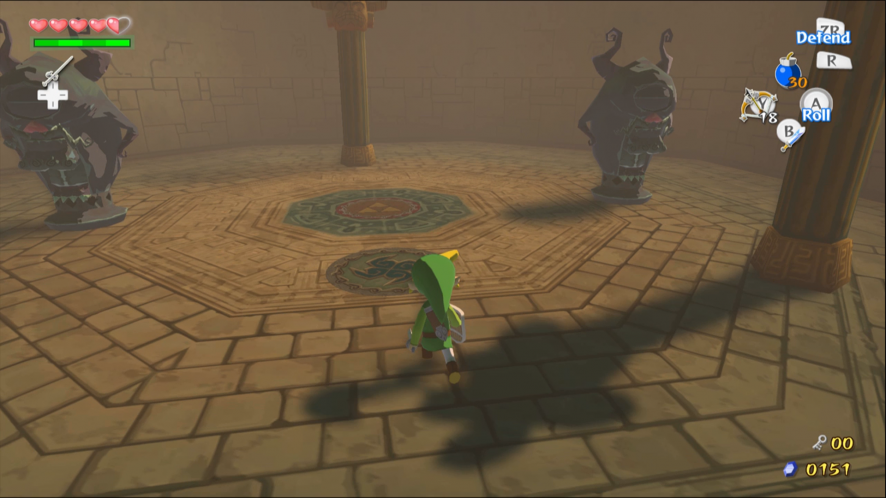
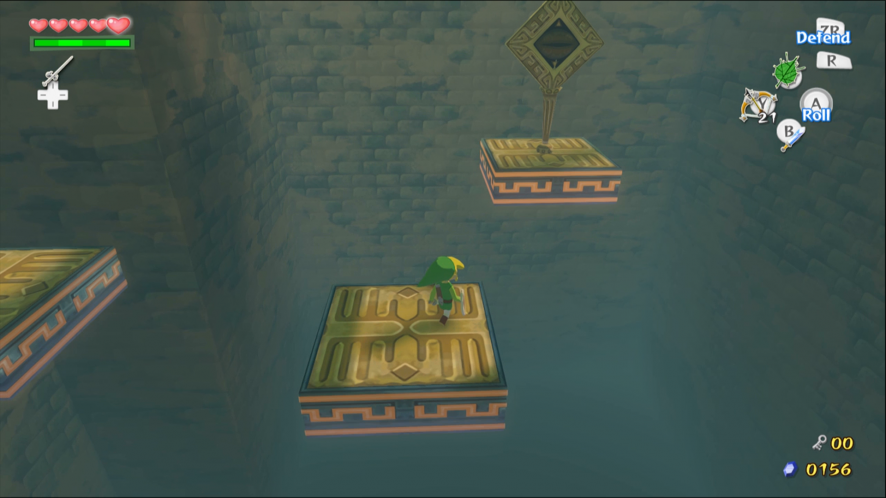
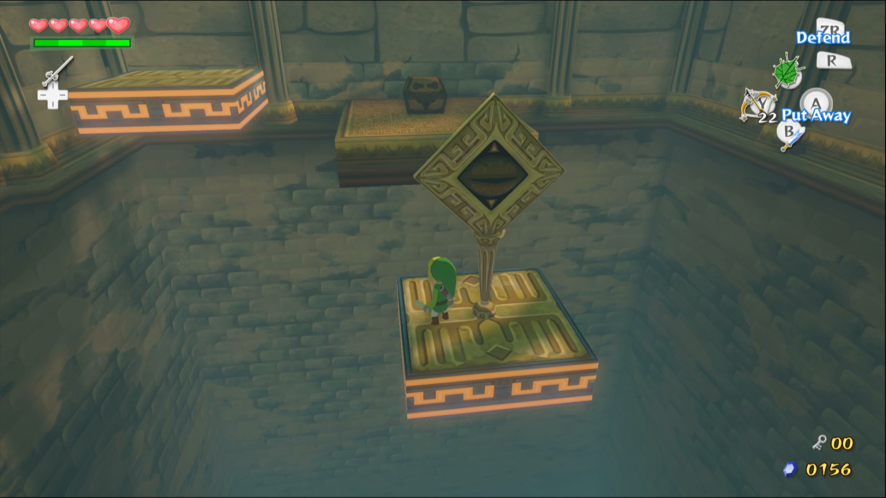
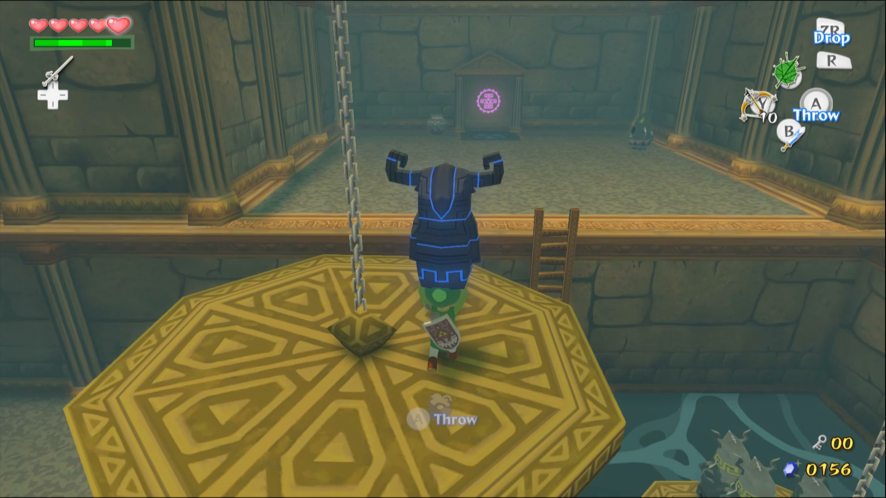
Grab one of the statues next to the door and run straight across the room. If you get hit by the Beamos’ laser, you will drop the statue. Place the statue on a switch and go back for the other one. Stand on the final switch to activate all three at once. Jump from platform to platform to reach the exit.
Floor 2
Only the door on the right is unlocked. Ride the moving platform across the bottomless pit. There are Chuchus at both ends, so be careful.

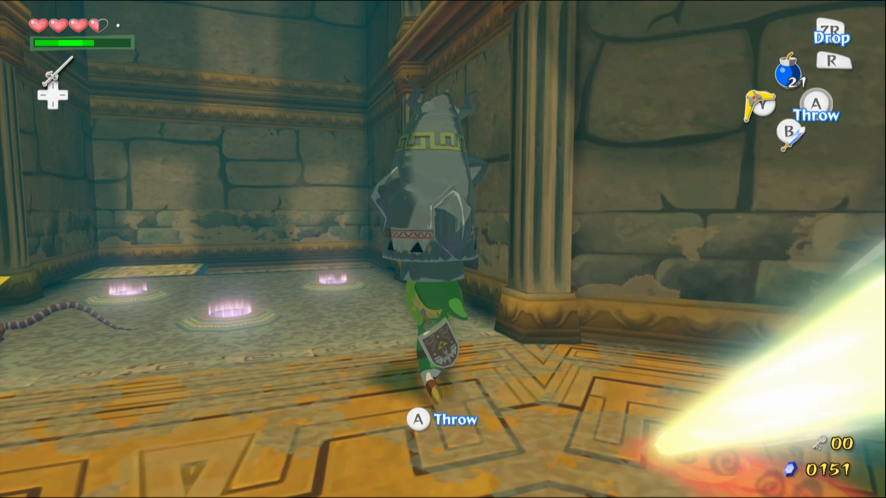
Stand next to the enchanted statue and press R to make it follow you underneath the low ceiling. Go slowly and press R again if it stops following you. Pick the statue up and jump across the pit. Carry the statue into the next room.

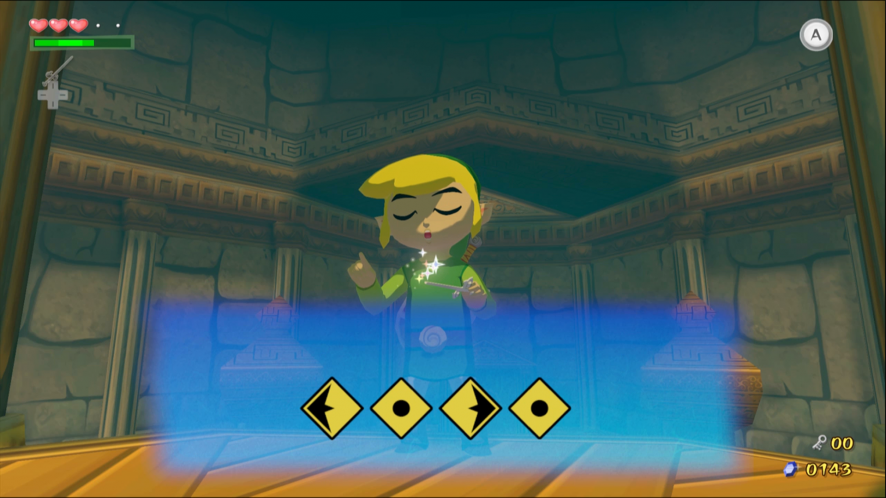
Ride the platform back to the other side. When you reenter the central chamber, the statue will move itself onto one of the pedestals. A tablet will appear with a new song for the Wind Waker. Play the notes to learn the Command Melody. This is the first song in 4/4 time.
Open the door on the left, which is now unlocked. Defeat the Red Bubbles to stop them getting in your way, then use the Grappling Hook to cross the bottomless pit. Enter the next room.
Cross the pit using the Grappling Hook.
Call to the new statue to activate it. Stand on the switch to create a bridge for the statue to use. Play the Command Melody to assume control of the statue and maneuver it across the bridge. Return to your own body and carry the statue into the next room.
Place the statue on the switch to unlock the other door leading off from this room. Use the Grappling Hook again, but this time stop swinging and turn around to face the area on your right. Swing to the other side and enter the side chamber.
Miniboss: Darknut
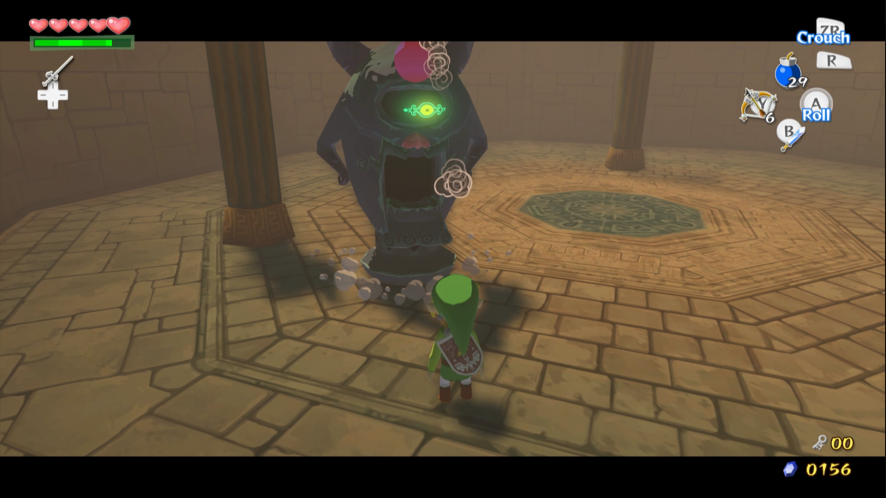
The Miniboss of the Tower of the Gods is a heavily armored Darknut. You can remove the Darknut’s armor by cutting the straps on its back. Parry Attacks are the best way to get behind it. Enough pounding with your sword will eventually break the armor too. The Darknut will move and attack faster without armor, so be wary. Exposing its head makes it vulnerable to L-targeting with ranged weapons.
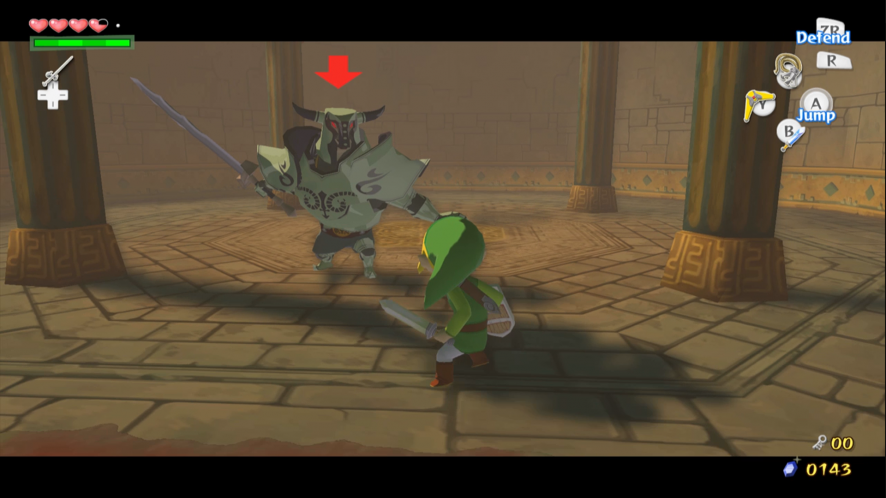
Darknuts become a common enemy later, so you’d better get used to fighting them.
Defeating the Darknut causes a Treasure Chest to appear. Inside is the Hero’s Bow. Take it and leave the room.
The Red Bubbles are easy to defeat now you have the Bow. Fire another arrow into the diamond-shaped eye on the wall to activate a moving platform. Use your Grappling Hook to return to the statue, which is where you left it. Pick up the statue and use the platforms to reach the other side.
The statues next to the door are really Armos. Now that you have the Bow they will try to attack you when you get close. Shoot an arrow into the front to stun them, then smash the jewels on their backs to destroy them. Since you are holding the statue it is easier just to leave the room.
Bringing the statue to the central chamber will unlock the final door. One more statue remains.
Behind the final door is room with a giant set of scales. To get a Treasure Chart, jump onto the scale on the left. Then throw a Bomb with good timing to demolish the cracked wall. Behind the wall is a door to another room. Stand on the tiles that depict wind and play the Wind’s Requiem to reveal a Treasure Chest. Take the Treasure Chart inside it.
The two Armos Knights behind the Treasure Chest will come to life and attack you. Throw Bombs into their mouths when they stop moving to destroy them. Shooting them in the eye with arrows will force them to open their mouths. If you don’t have any Bombs, run away.
Return to the room with the scales. Open the door on the right hand side to find a Small Key.
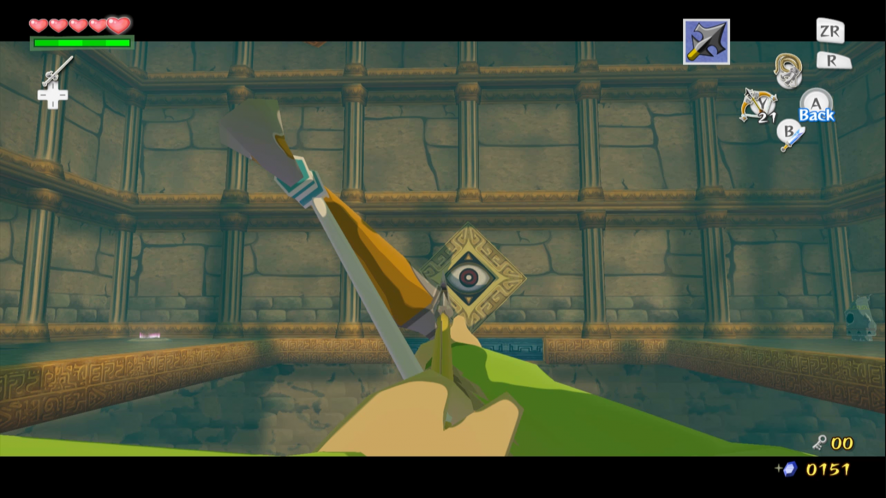
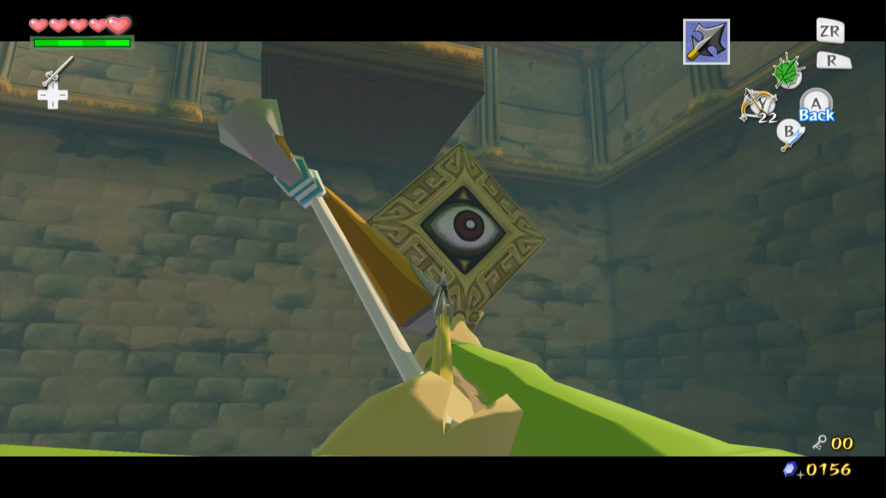
Jump to the first moving platform. Wait until you are close enough to the next platform to jump to it. Keep going until you can see an eye switch on one of the platforms. Shoot the eye switch with the Hero’s Bow to make the platform move up and down.
Ride the platform up and jump to the next platform. Open the Treasure Chest to get the Small Key.
Shoot the eye switch on the far side of the room to activate another platform. Make your way to this platform and face the entrance. Shoot the eye switch above the door to reveal a Treasure Chest. Jump across to the Treasure Chest and open it to get a Joy Pendant.

Return to the room with the scales. Climb up the ladder and find some statues. Throw at least two statues onto one of the scales to lift the other one up. Jump to the highest scale and then to the ledge above. Unlock the door and go to the next room.
Climb on top of the block in the center and use the Deku Leaf to glide over the laser beams. Call the statue, then take control of it with the Command Melody. Maneuver the statue onto the switch to stop the lasers. Go to the statue and pick it up off of the switch, then go back to the previous room.
Defeat the Wizzrobe that has appeared in this room. Pick up the caretaker statue again and jump to one of the scales. Put the caretaker down and climb up the ladder. Throw at least three regular statues onto the other scale to counterbalance the combined weight of you and the caretaker.
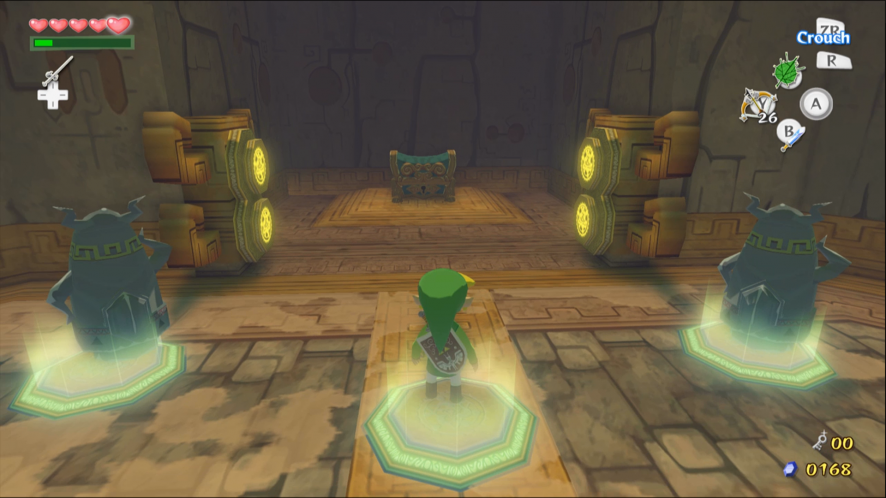
Carry the statue back to the central chamber. With all three statues in their places, a beam of light will appear in the center. This light will carry you to the floor above when you step inside.
There are several Treasure Chests left in the Tower of the Gods. To find one of them, enter the second floor room on the right. Jump on the moving platform and look for the eye switch on your right. Shoot the switch to activate another platform, which will take you to the door above. Watch out for the Wizzrobe that has appeared in this room.
Defeat both of the Armos Knights to reveal a Treasure Chest. Inside is a Joy Pendant.
To find another Treasure Chart, return to the first floor room where you got the Compass. Shoot the eye switch to reveal a hidden compartment with a Treasure Chest. Watch out for the Armos that come to life when you open it.

Floor 3
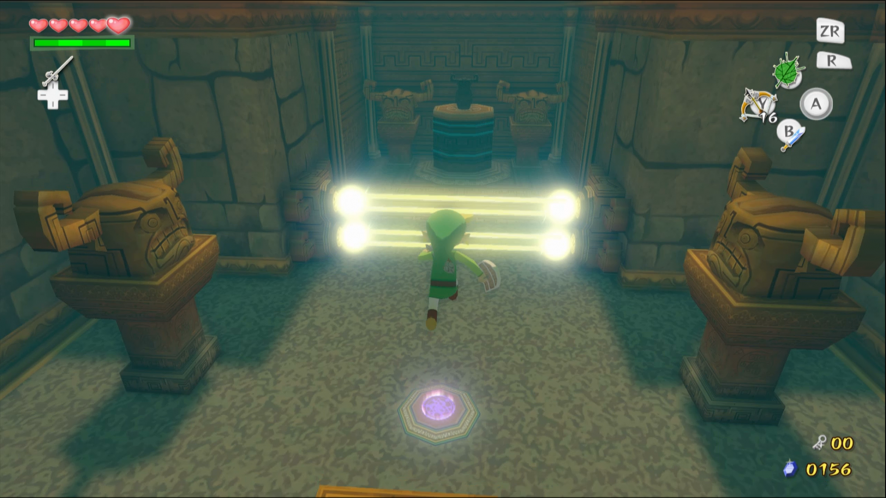
Use the beam of light to reach the top floor. Pick up the statues by the door and place them on two of the three switches. Stay close to the middle of the room to avoid the Beamos. Stand on the third switch to deactivate the lasers. Open the Treasure Chest to obtain the Big Key.

The Armos become active when you open the Treasure Chest. Defeat both of them to unlock the door.
Open the door to the outside of the tower. Climb the steps to reach the Boss Door. The Blue Beamos won’t aim directly at you, but can bar your progress. L-target them and shoot an arrow into the core while they are firing to destroy them. This works on Red Beamos too, except it’s a lot harder. Keep an eye open for Kargarok as well.
Gohdan
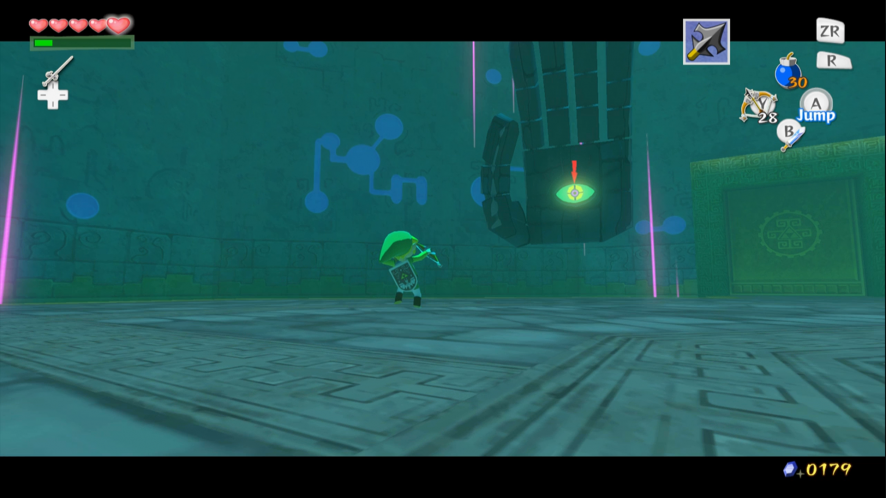
This machine is the final test in the Tower of the Gods. Shoot two arrows into the eyes on each hand to deactivate them. L-targeting is essential. During this phase the hands will try to smash you or push you around. Avoid the floor around the edge of the room as it is electrified.
Once both hands are deactivated, Gohdan’s head joins the fight. When the head goes dull and tilts forward, it is about to shoot a barrage of energy at you. Keep moving to avoid taking damage. Shoot two arrows into each eye to stun the head, then toss a Bomb into its mouth.

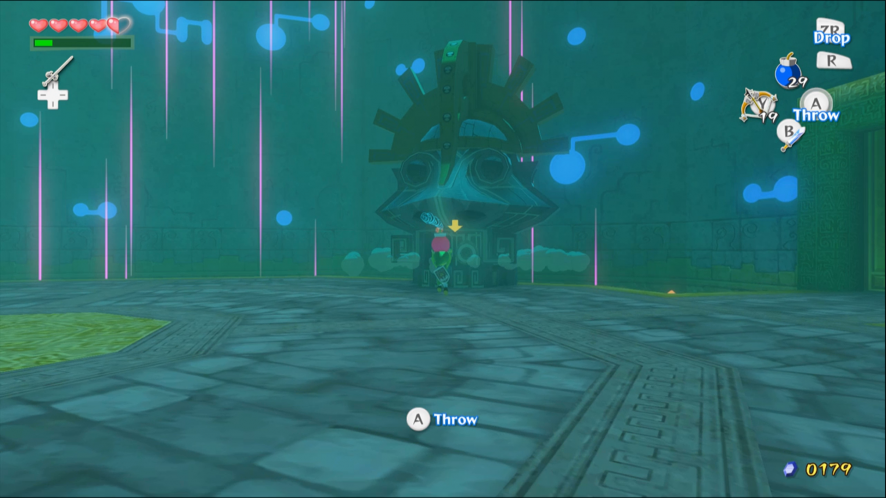
After taking damage, Gohdan returns to its first phase. Repeat this process twice more to defeat Gohdan. If you run out of arrows, the head will drop some more. Don’t be too grateful though, as a disabled hand will be instantly rejoin the fight, even during the second phase.
When the boss fight is over, step into the beam of light to reach the belltower on top of the dungeon. Climb the ladder and throw the Grappling Hook at the bell’s tongue to ring it. You can now enter a secret location.