


Chapter 7: The Forbidden Woods
Table of Contents
The Compass
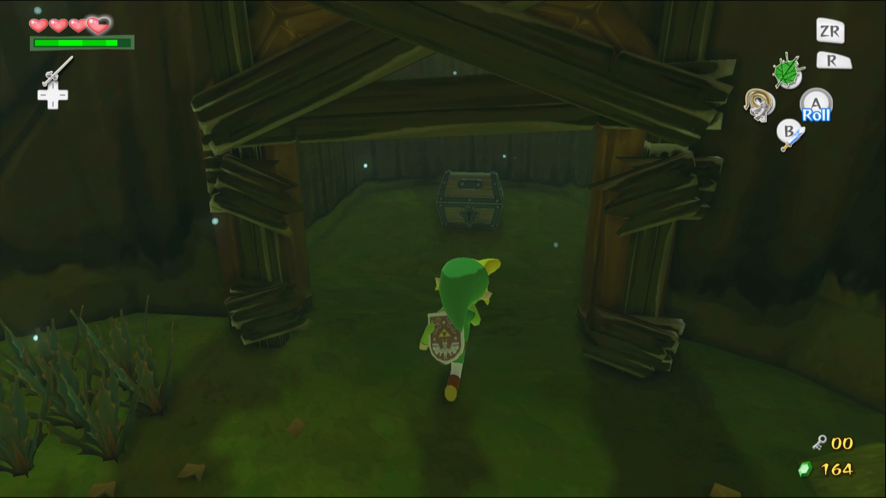
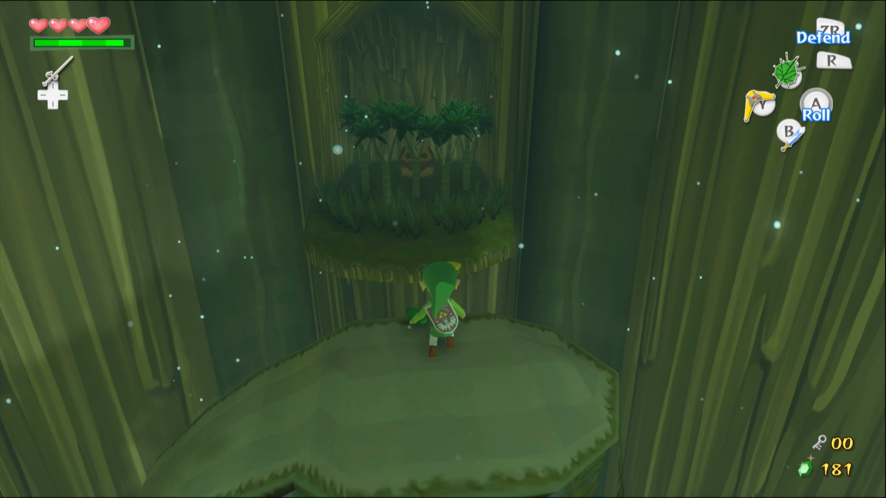
The beginning of the Forbidden Woods is full of Green Chuchus and it is best to clear them all out first. The Treasure Chest on the right holds the Dungeon Map, so make sure to get it.
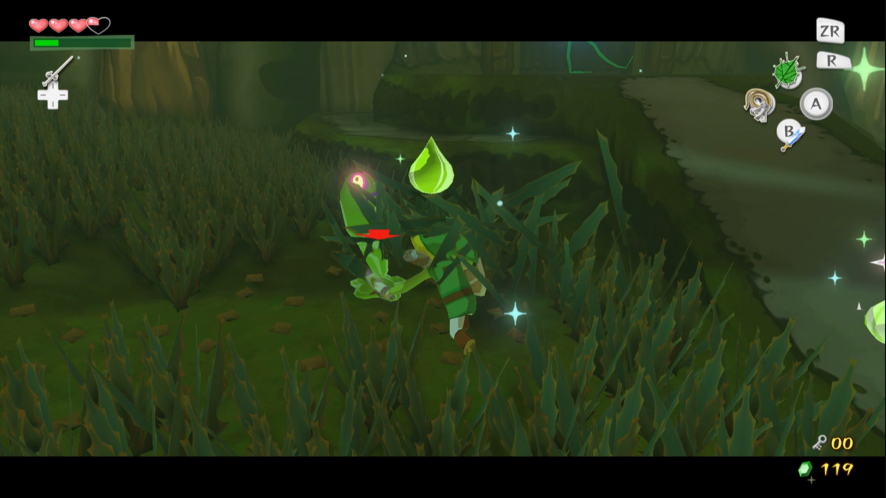

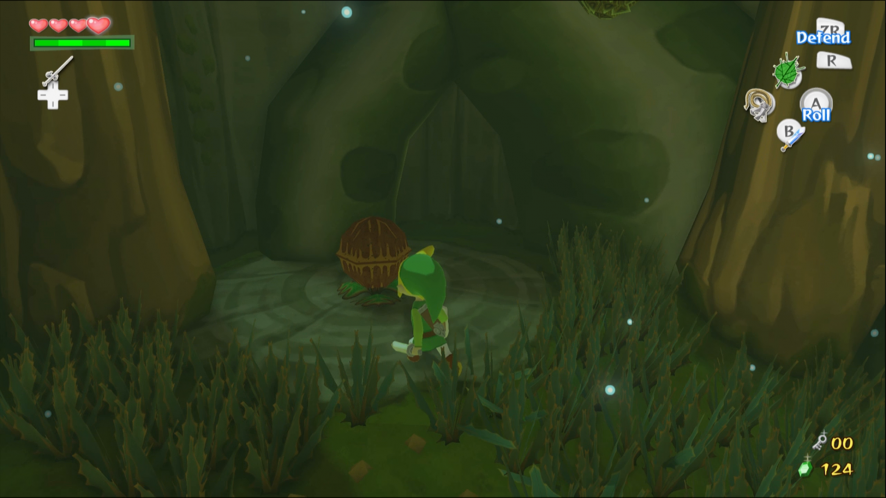
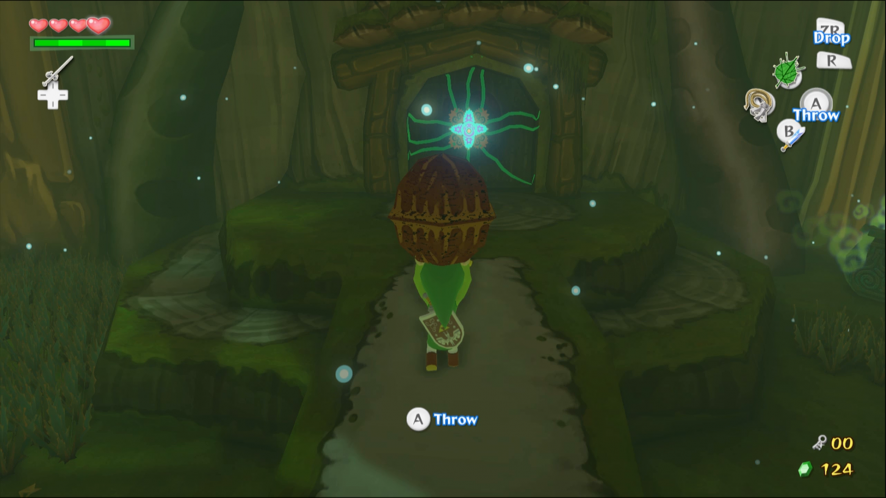
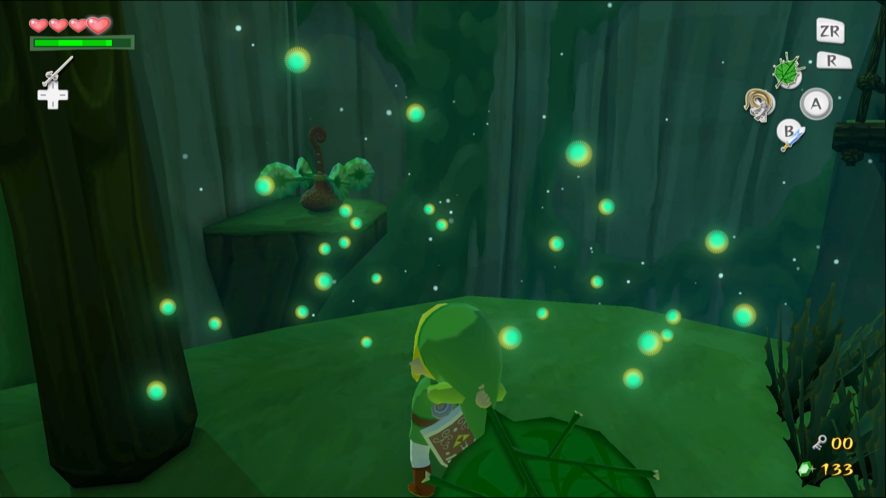
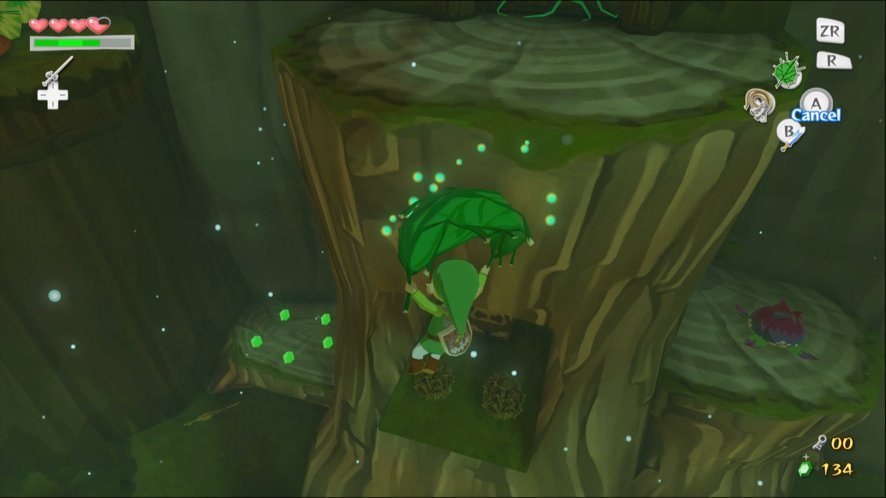
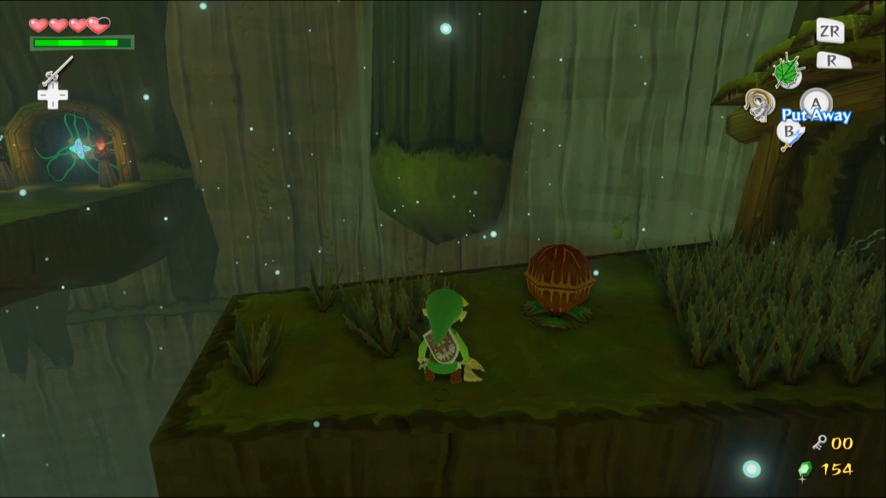
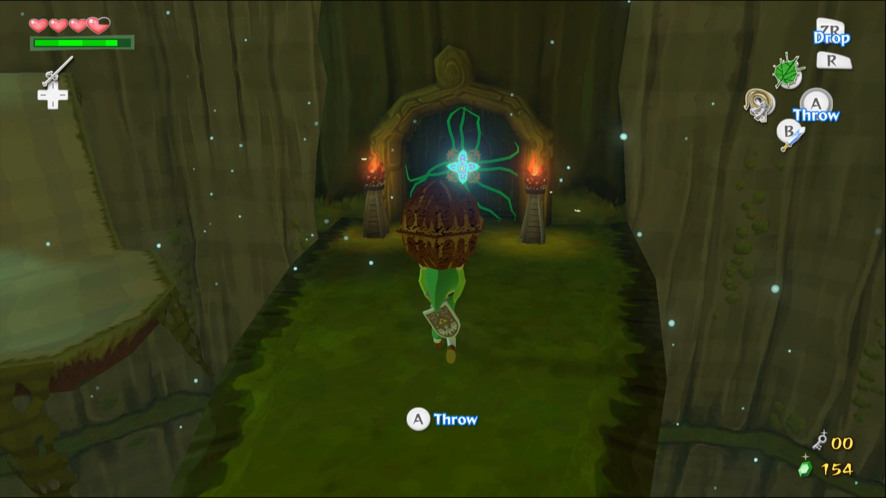
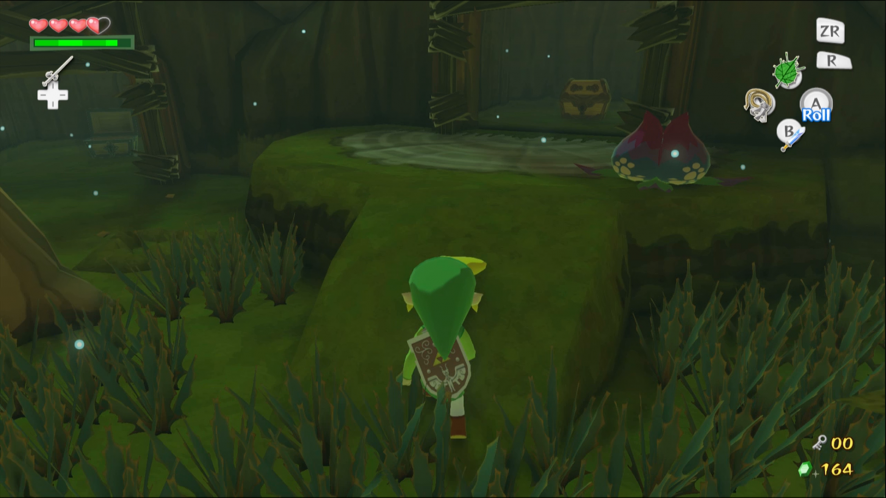
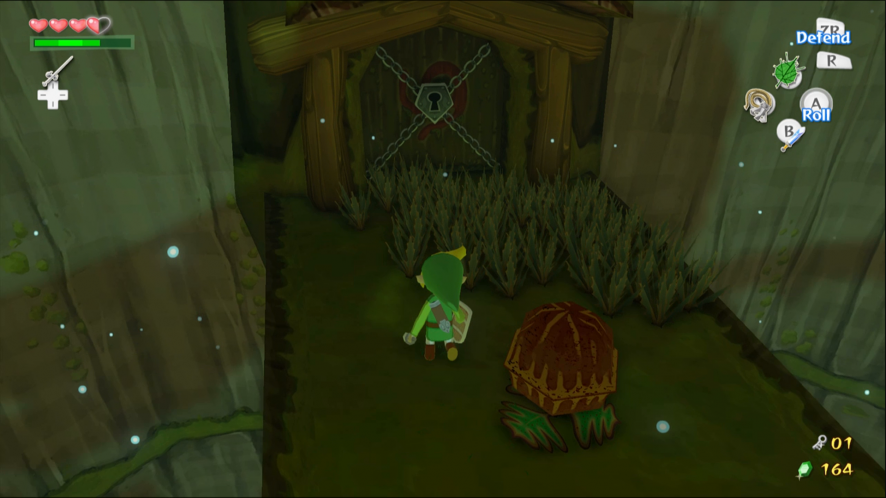
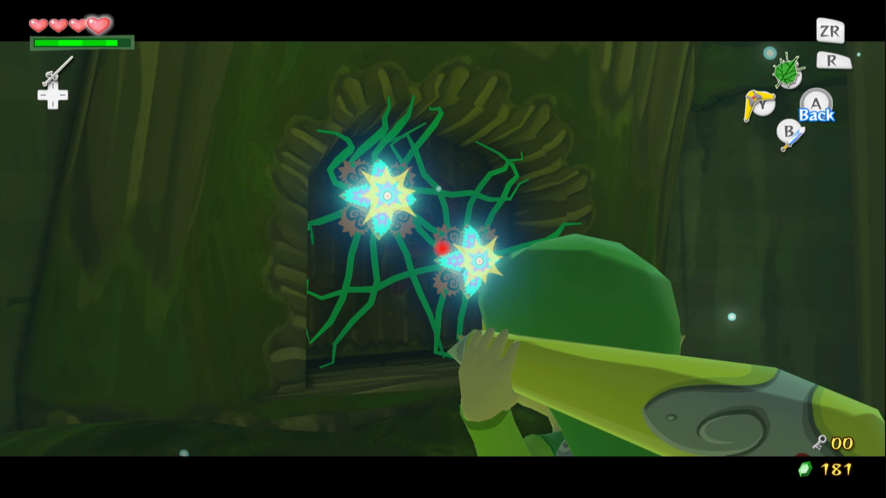
The door to the next room is covered by strange plant that closes its hard outer shell if you get too close. Pick up the large seed pod on the left side of the room and throw it at the plant from a distance to destroy it.
It is impossible to fly all the way across the room in one go. Try to land in the Baba Bud on the platform to the right. From here it takes one more Baba Bud to reach the exit. Don’t worry if you fall to the bottom: find the Baba Bud on the lower level and work you way up.
There is a Treasure Chest on the lower floor, but another one of those plants is growing on it. You may have noticed that Boko Babas drop Boko Sticks upon death. You can light a Boko Stick on one of the torches and use it to burn down the plant. Your reward is a Knight’s Crest.
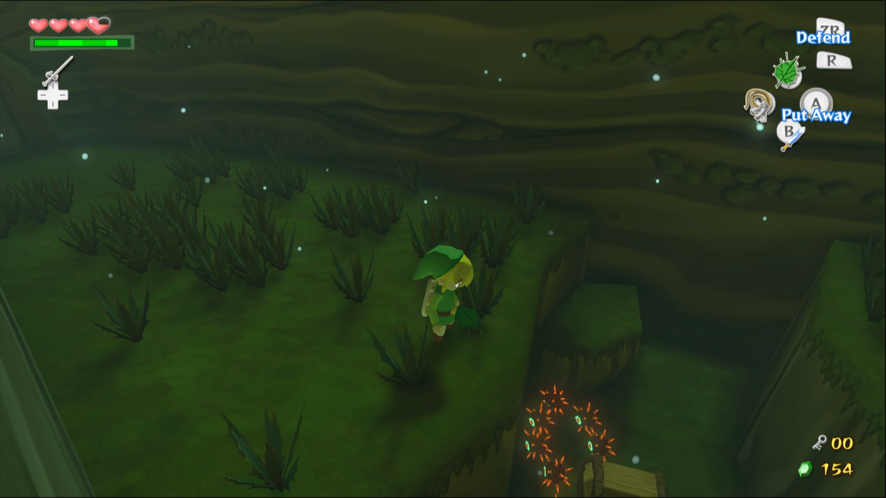
Another plant is blocking the exit. Search the long grass for some Bomb Flowers and use one to destroy the plant from a distance. Watch out for the Chuchus hiding in the grass.

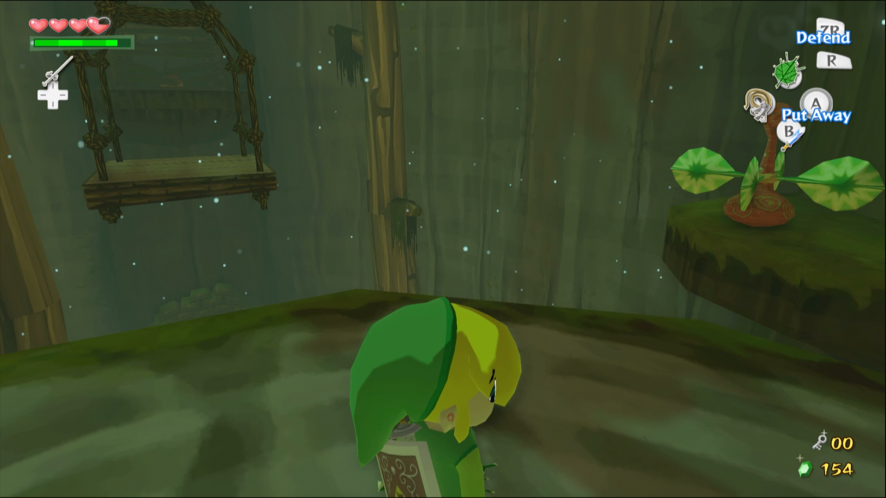
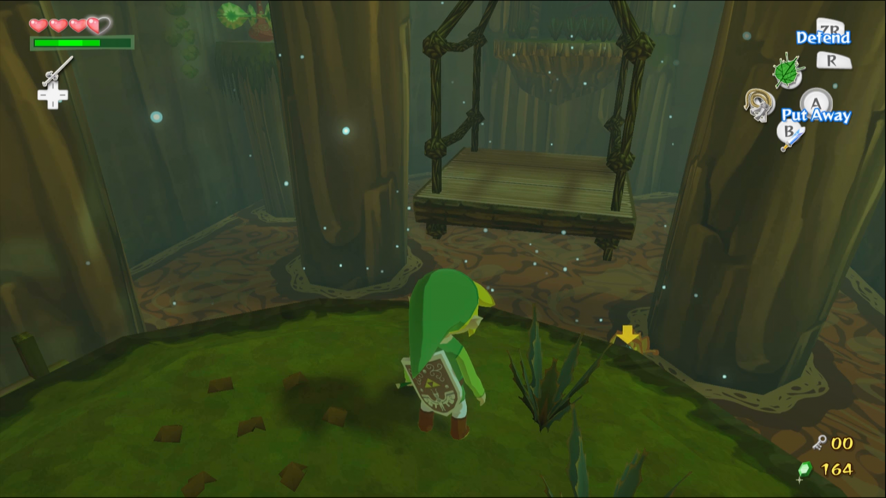
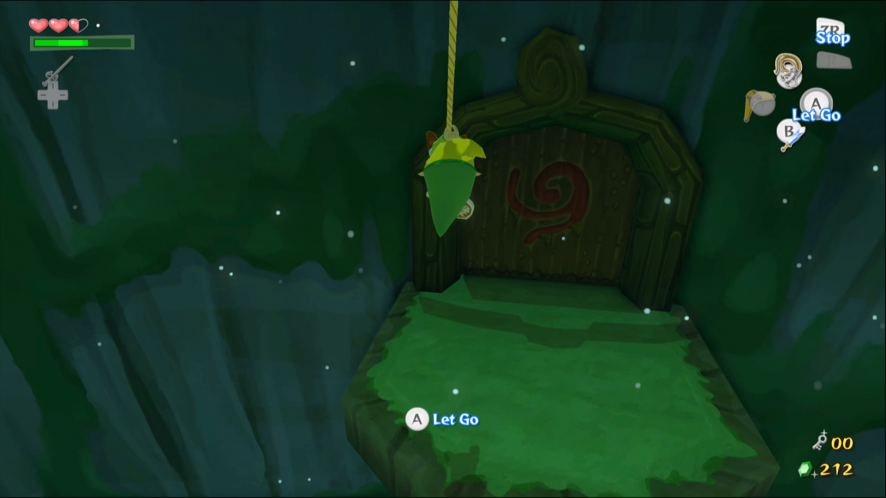
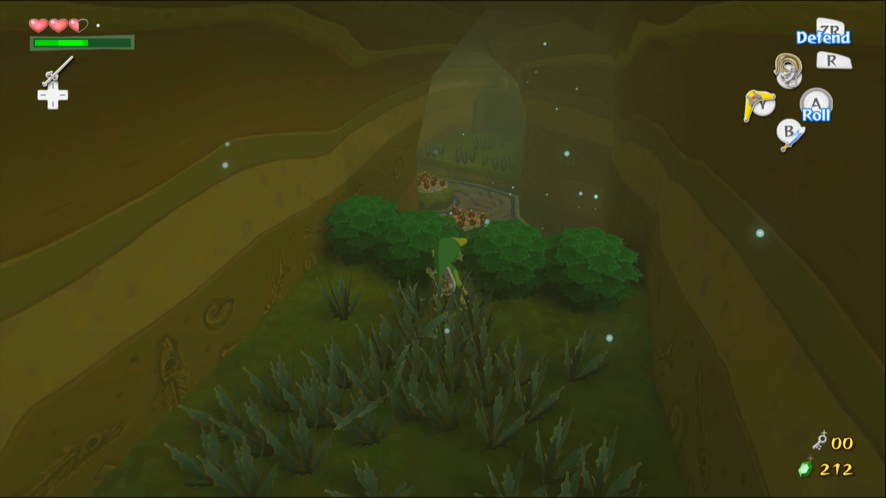
The next room contains a primitive cable car. Use the Deku Leaf to launch a blast of wind at the windmill on your left to bring the cable car over to you. Jump onboard and turn your back to where you want to go. Use the Deku Leaf to propel the cable car toward the exit.
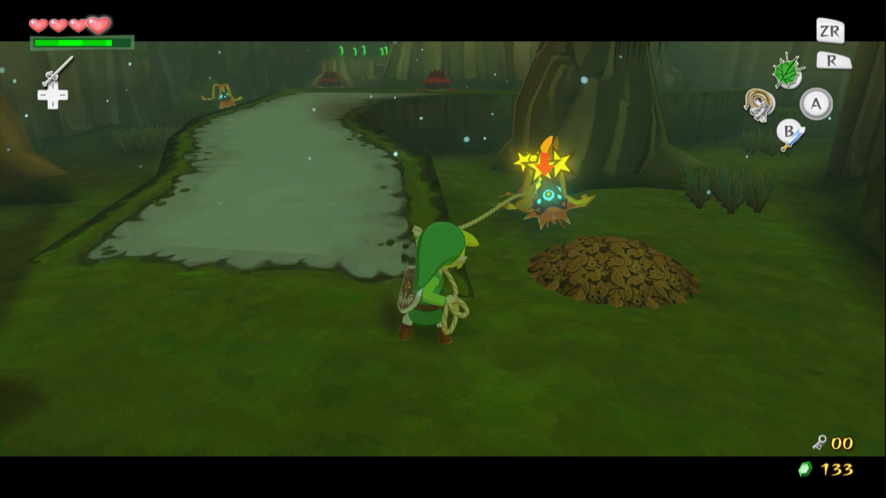
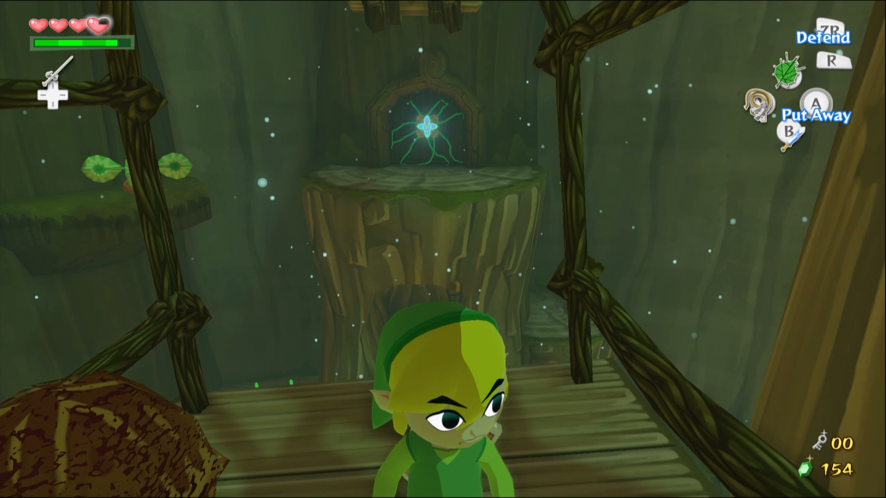
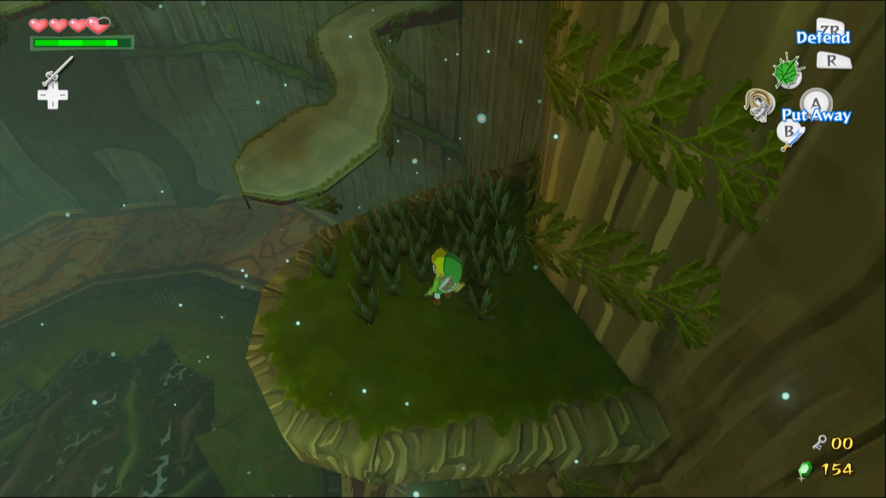
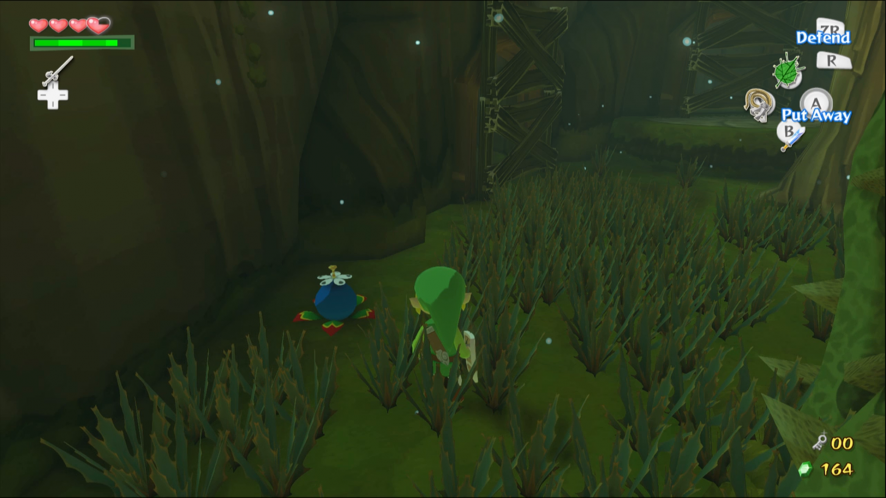
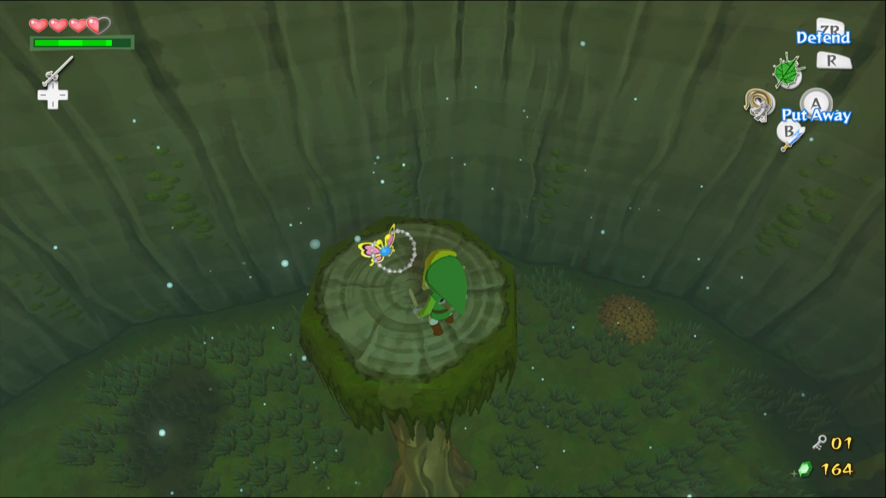
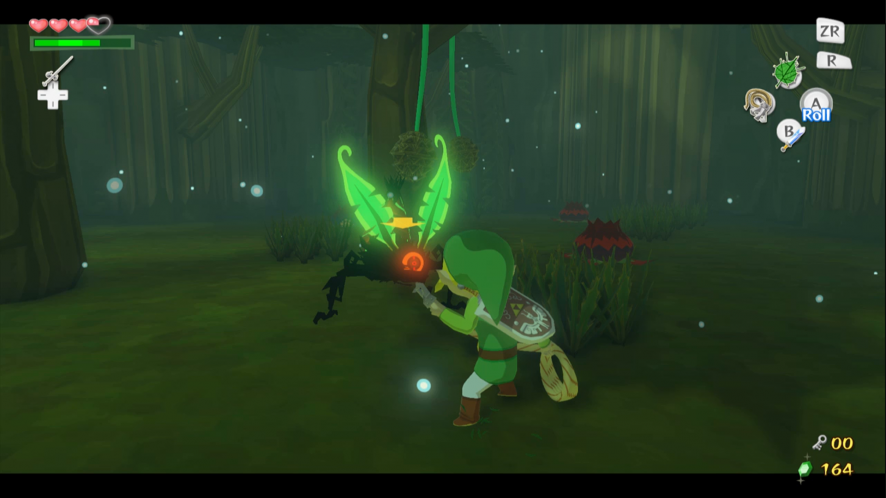
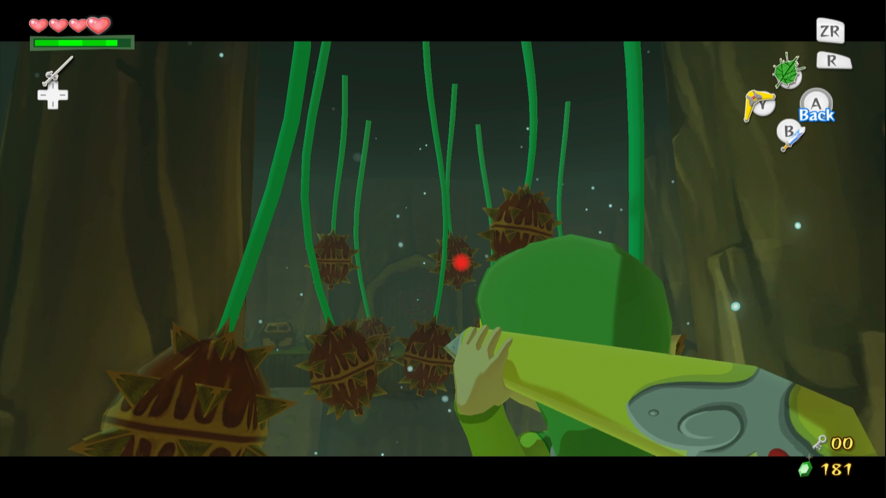
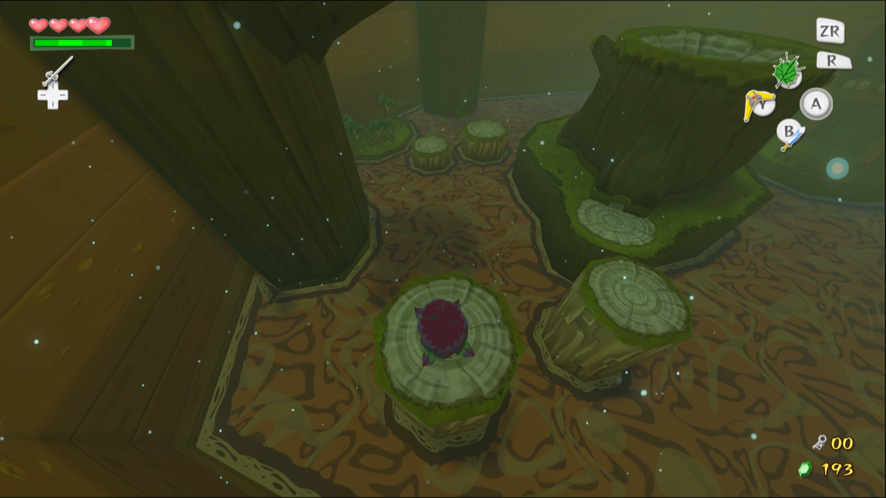
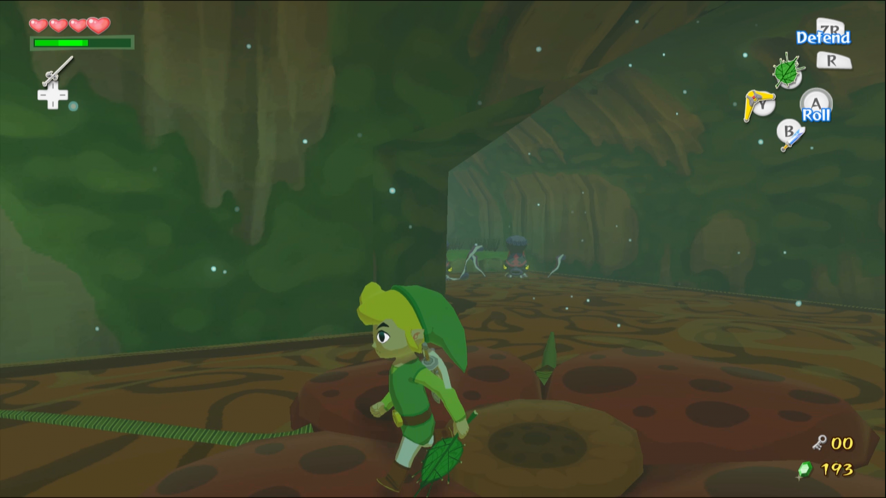
Enter the next room and defeat the Peahats first. By the way, using the Grappling Hook on a Peahat will net you a rare Golden Feather. Investigate the big tree stump at the other end of the room to find some Boko Babas. The one on the right will leave behind a Baba Bud after death. Climb inside and make your way to the top of the stump.
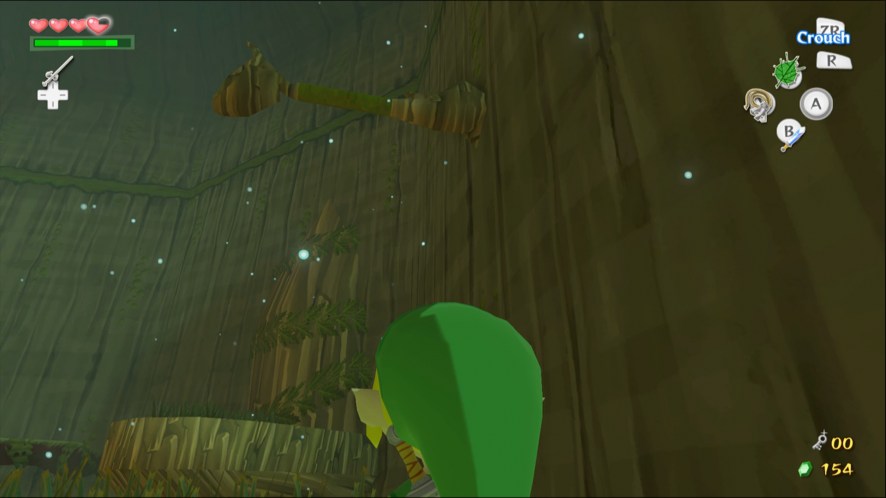
There is a hole in the stump with a Treasure Chest inside that contains a Red Rupee (20). If you want to get it, use the Deku Leaf to float down to it.
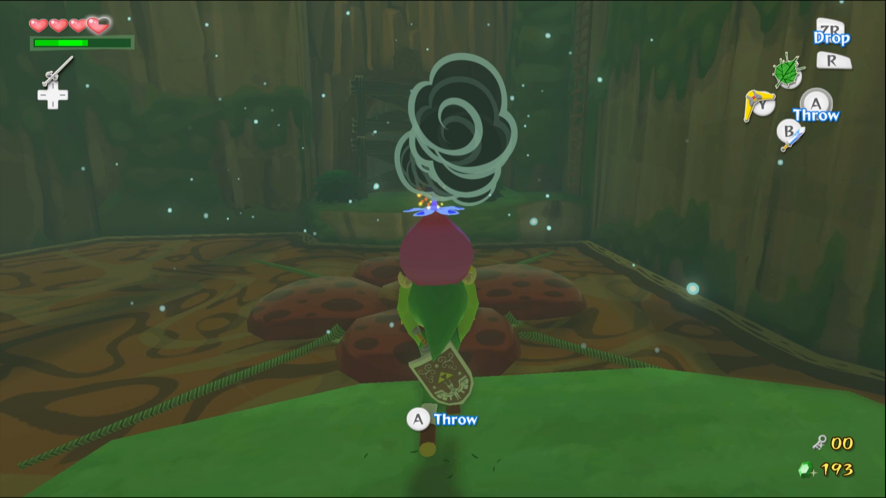
Yet another door blocked by a plant. Look for the windmill that will bring the cable car over to you. Get on the cable car and travel across to the other side of the room. Pick the seed pod and carry it onto the cable car. Put the seed pod down in front of you, so that it doesn’t get blown away by the wind from the Deku Leaf. Use the seed pod to destroy the plant and open the door.
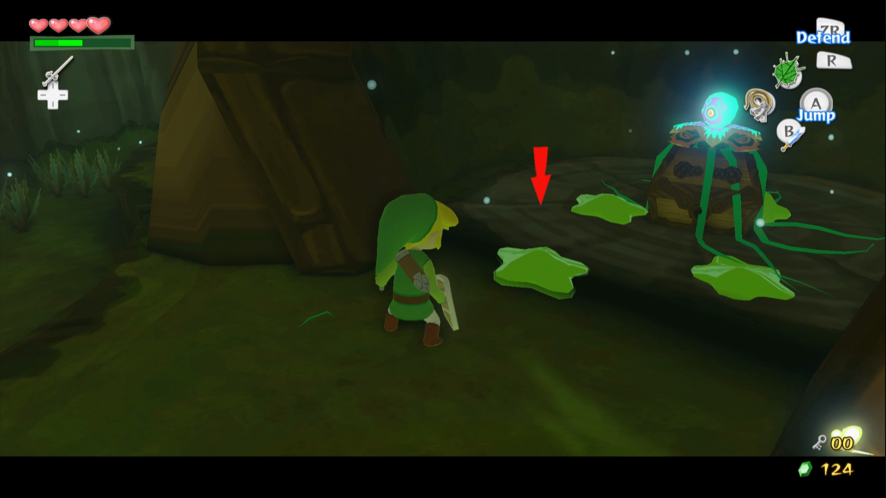
The seed pod in this room is guarded by tentacles that appear if you get close. Use a blast of wind from the Deku Leaf to roll the seed pod out of the danger zone. Destroy the plant on the exit just as you did before.

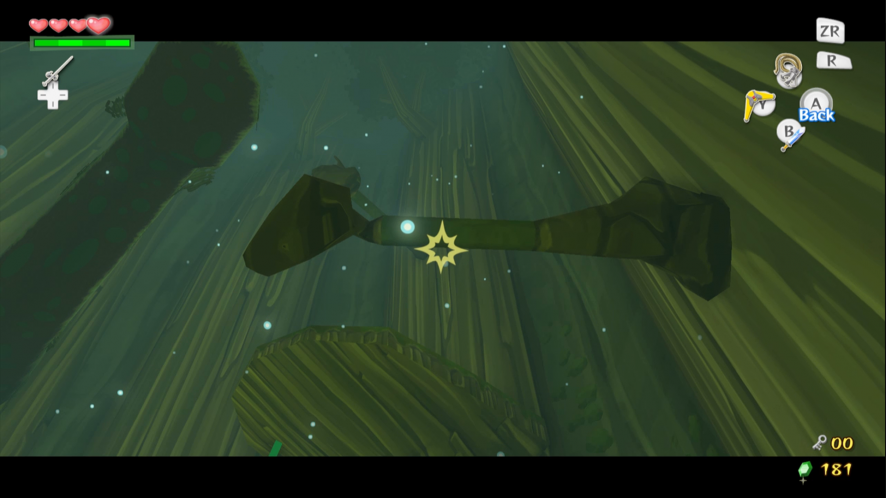
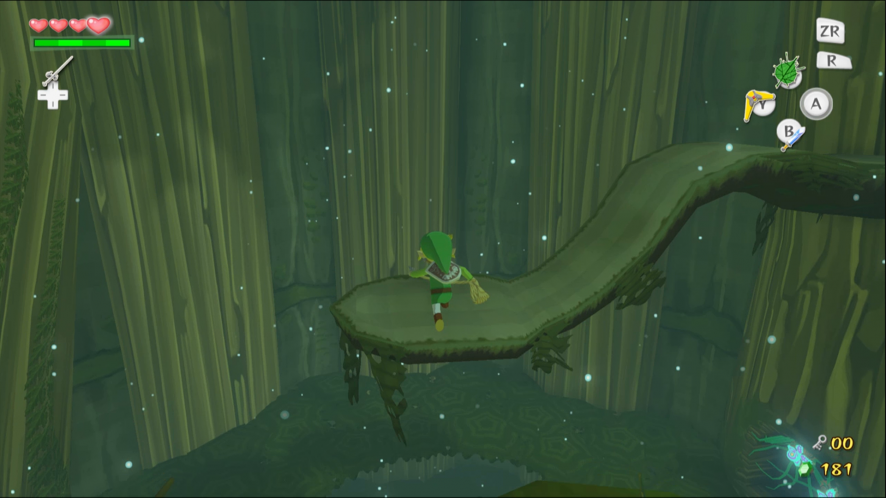
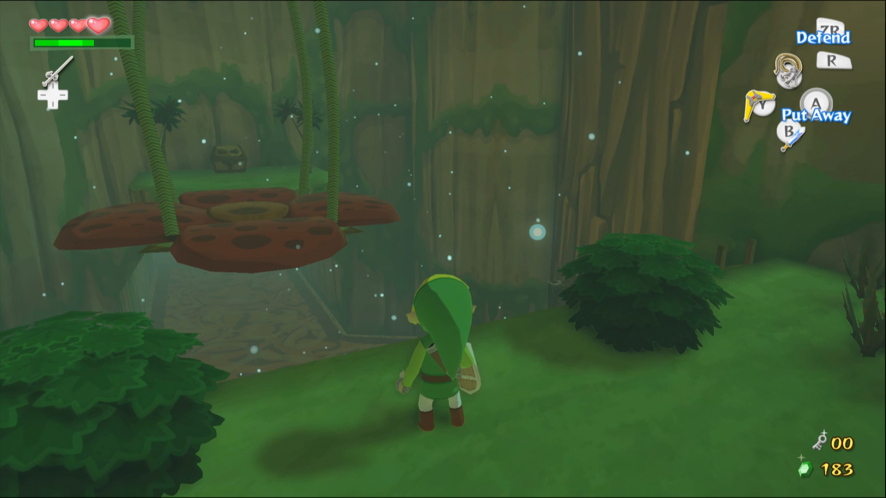
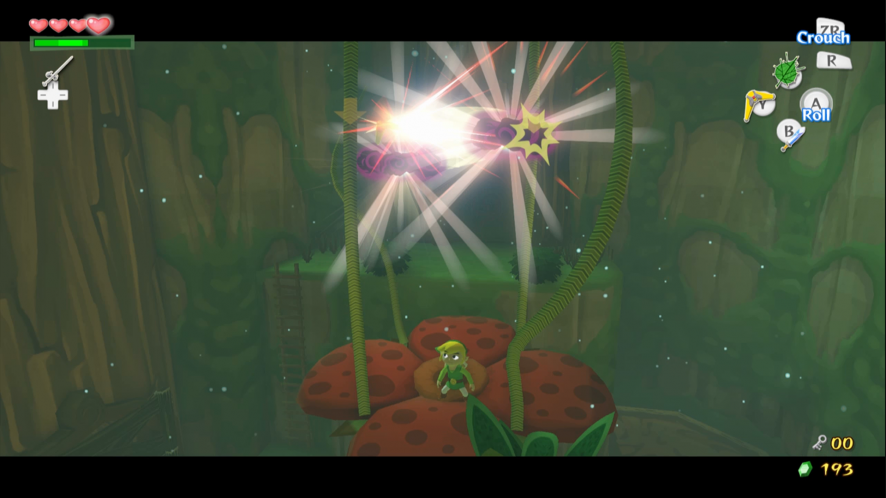
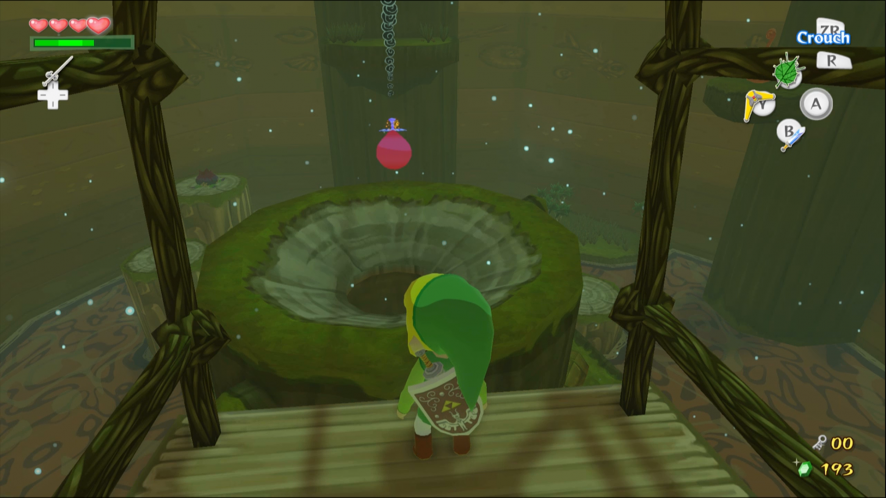
The focal point of this room is the huge hanging flower. Ignore it for now and circle around the edge of the room. Use the Grappling Hook to cross the first gap. The next set of platforms are actually moving branches. Wait for the nearest one to get within range and jump onto it. Jump across to the next branch when it gets closer. Finally, jump onto the ledge.
Ignore the locked door and grab the seed pod. Jump onto the edge of the hanging flower and around to the next ledge. Throw the seed pod at the plant blocking the door to kill it.
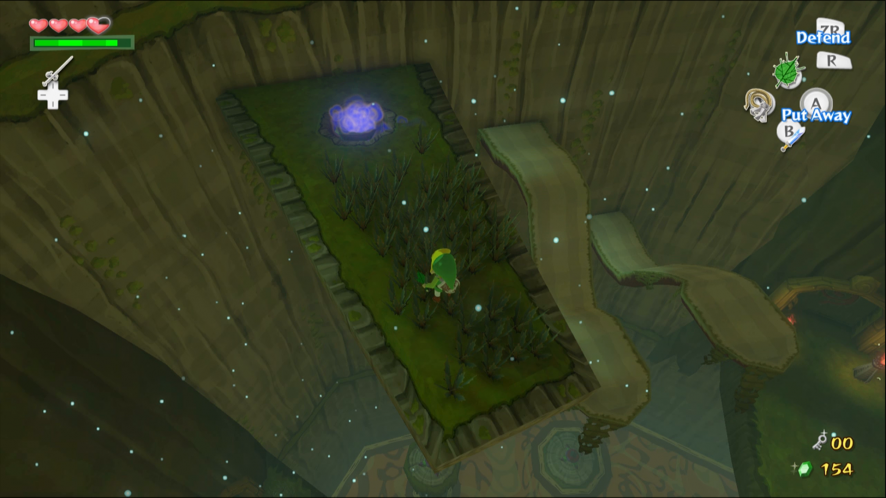
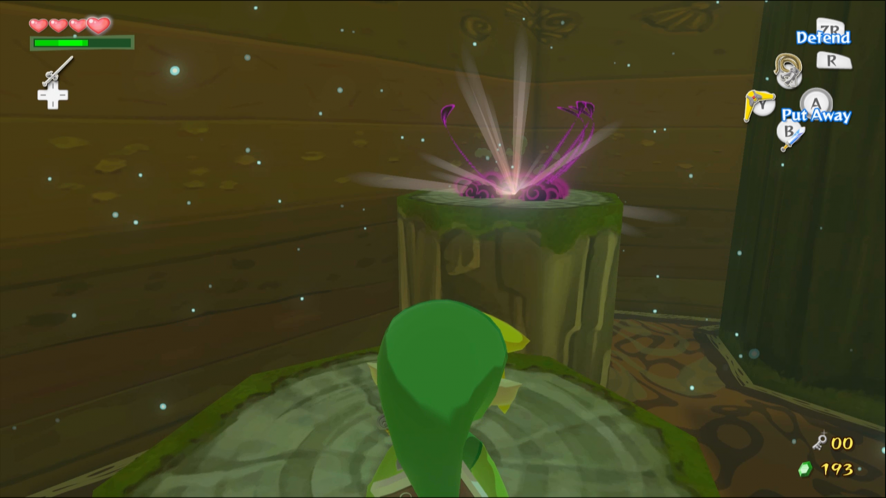
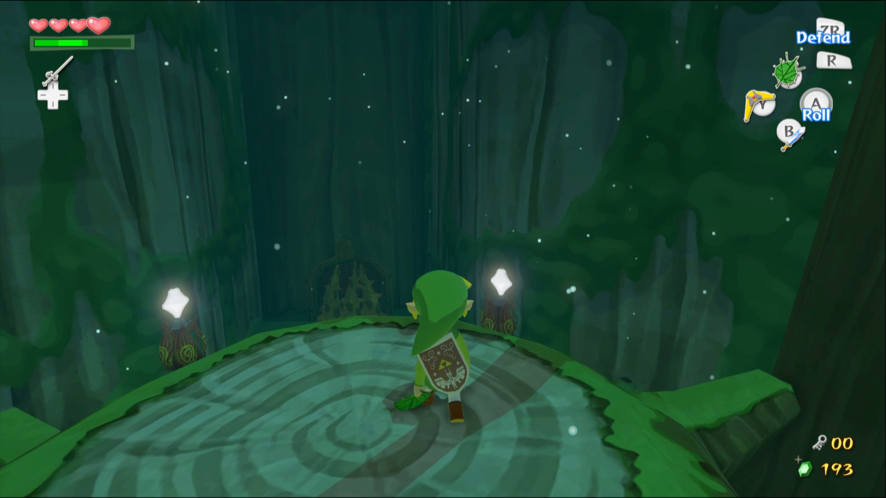
Near to one of the doors is another series of moving platforms. At the top is a Warp Cauldron covered by fallen leaves. Blow them away with the Deku Leaf.
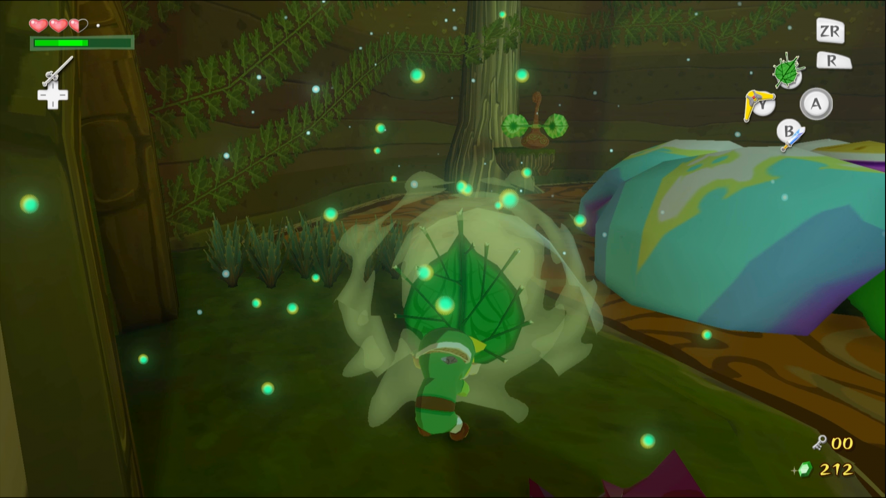
There is a Treasure Chest containing a Yellow Rupee in the trench. However, the brittle seed pods on the edge of the trench are full of Morths and you will be swarmed by these creatures when you get close. Although incapable of hurting you, Morths will cling to you, which in large numbers will slow you down. Roll or perform a spin attack to shake them off.
The next room is a maze of tentacles that will only emerge when you get close, so tread carefully. From the entrance go up, left, down, left and up. Pick a Bomb Flower and throw the Bomb over the tentacles to demolish the wooden bars. You can also destroy some bars nearby to get the Compass.

Head back to the entrance and go right. Then go up, right, up, left, up, left, down, left and up to reach the back of the room. Open the Treasure Chest to get a Small Key.
Use the Baba Buds to get back to the beginning of the room quickly (and look out for the Joy Pendant in the highest pot).
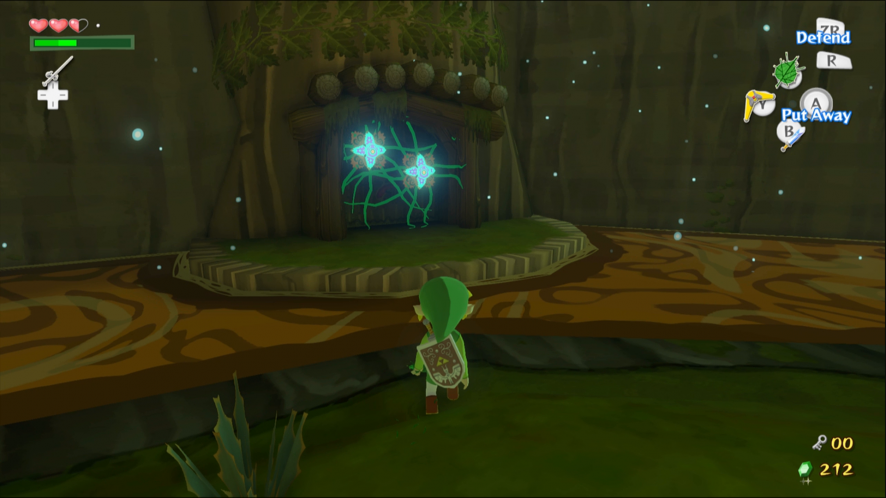
Head back to the room with the hanging flower and retrace your steps to the locked door. Open it with the Small Key and enter the next room.
This room is similar to the one with the first cable car, except there is water at the bottom. There are also two Peahats flying around, which are hard to kill. Cross the room in the same way as before and enter the next room.
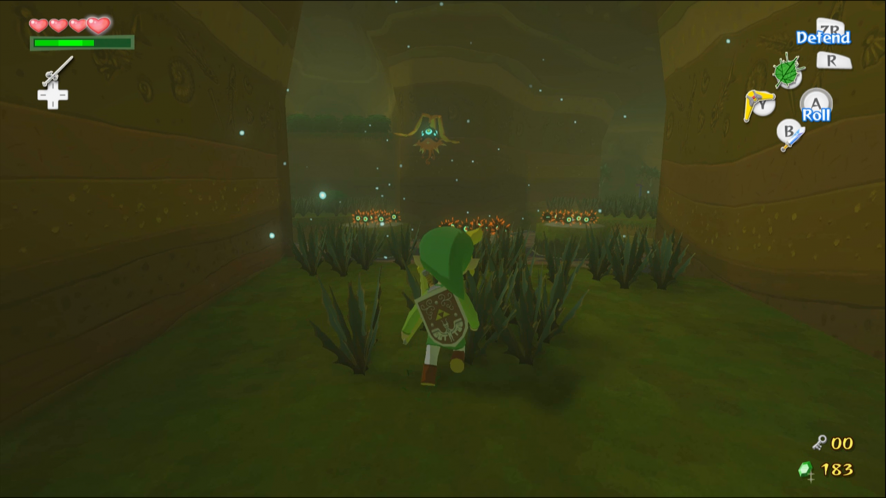
Beware the Mothula in this room: it’s fast and aggressive, plus it spawns Morths. The Boko Babas in this room leave behind Baba Buds after death. Use Baba Buds to get up to the third level. Take the door that isn’t blocked by a plant.
This room also contains a Joy Pendant. Attach the Grappling Hook to the branch growing out of the wall. Stop swinging and climb up to the top so that you can stand up. Jump to the ledge. Grapple to the next branch, then stop swinging and drop down. Jump onto the moving branch and wait for it to lift you up. Jump across to the next branch and repeat. At the top is a Treasure Chest containing the Joy Pendant.

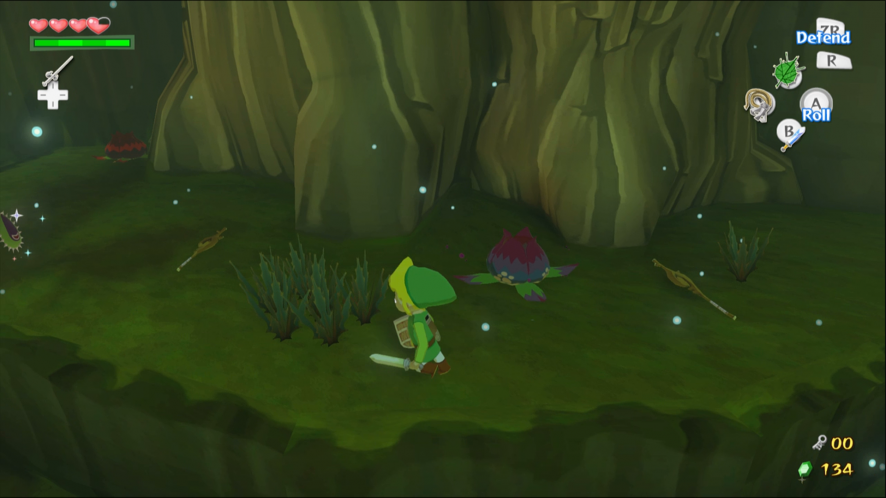
Miniboss: Winged Mothra
This is the dungeon’s miniboss: a winged Mothula. The Mothula will hover out of reach, then charge across the room at high speed. The Morths that it spawns can slow you down and make it difficult to avoid if you don’t kill them. The Deku Leaf is capable of stunning it, at which point you can draw your sword and hit it before it recovers. Well timed Parry Attacks can hit, although there is a risk of burning yourself on its flames.
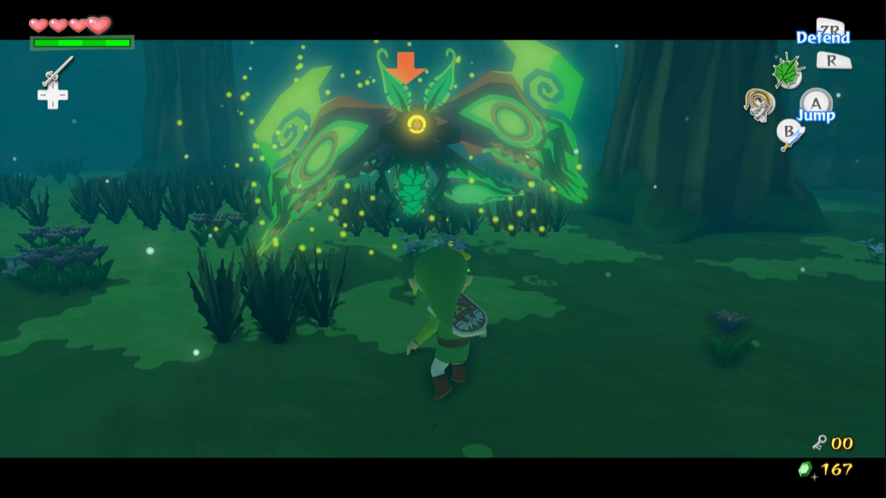
When all of the Mothula’s wings are cut off it will fight on the ground like the one from before. A few more hits will kill it.
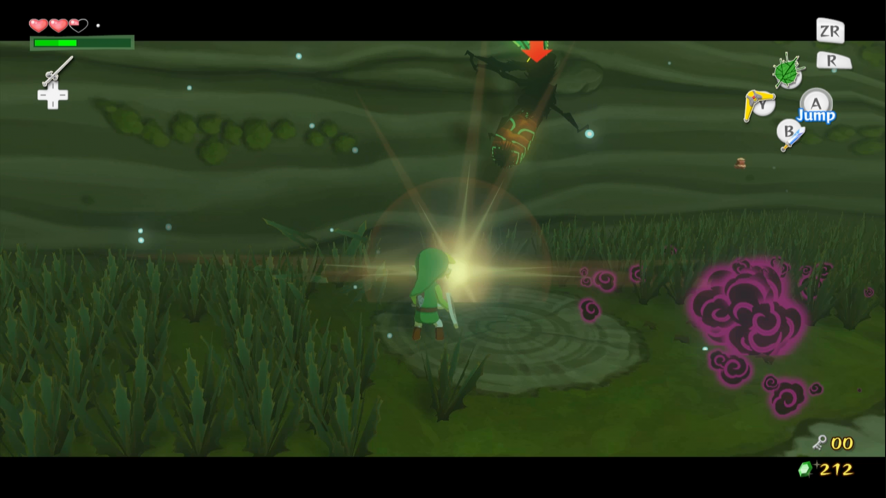
Open the Treasure Chest to get the Boomerang. Hit both switches above the door with one throw of the Boomerang to raise the bars and return to the previous room.

The Boomerang makes it easy to destroy those annoying plants blocking all of the doors. Try it on the one in here. You still need to keep your distance though.
This route goes back through the room with the cable car. Use the Boomerang to sever the vines until you have a clear path to the other side. Use the Deku Leaf to fly across the room. Try stowing the Deku Leaf at the end so that you can grab the ledge with your hands.

The Treasure Chest contains another Joy Pendant.
You will emerge at the top of the room with the hanging flower. Use the Boomerang to cut the vines attaching the flower to the ceiling. All five vines must be cut with the same throw of the Boomerang. The structure will smash into the ground beneath it, opening up the basement. Drop through the hole and open the door.

Avoid the Morths and jump across the platforms on the right. Avoid the tentacles near the exit that try to sap your magic; if they grab you, cut them down.
There is a Yellow Rupee in the Treasure Chest opposite you.
Cut down the hanging flower to drop it into the water. Jump down onto the flower.
You can get another Treasure Chart in the room on the right. Pick the Bomb Flower on one side of the room and destroy the bars on the door.
Defeat the Peahats and Boko Babas with the Boomerang to reach the central island. Go around to the back and jump across the platforms to reach the Baba Bud left behind by a Boko Baba. Bring the cable car over to you, then ride it to the other side of the room. Pick the Bomb Flower and jump onto the cable car. Throw the Bomb into the hole in the top of the building. This should destroy the plant sitting on the Treasure Chest.

Grab the Treasure Chart and crawl out through the hole in the wall. Return to the previous room.
Use the Deku Leaf to raft along the tunnel on top of the flower until you reach the end. Beware the Octoroks in the water. Run past the tentacles and enter the next room.
Go to the top of the structure and take out the Boomerang. Hit all of the switches in a single throw to open the gate below. Start from the switch next to the tree and go clockwise. Open the Treasure Chest to get the Big Key. Defeat the two Moblins that drop from the sky to unlock the exit. Use the Grappling Hook to reach the door.
Take the shortcut back to the room that the giant flower fell into. Use the Deku Leaf on the windmill to activate a whirlwind. Jump toward the flower and take out the Deku Leaf to fly up to the floor above.
Remove the two plants that are blocking the door nearby. Defeat the Mothula in the next room to reveal a Treasure Chest with a Joy Pendant inside.
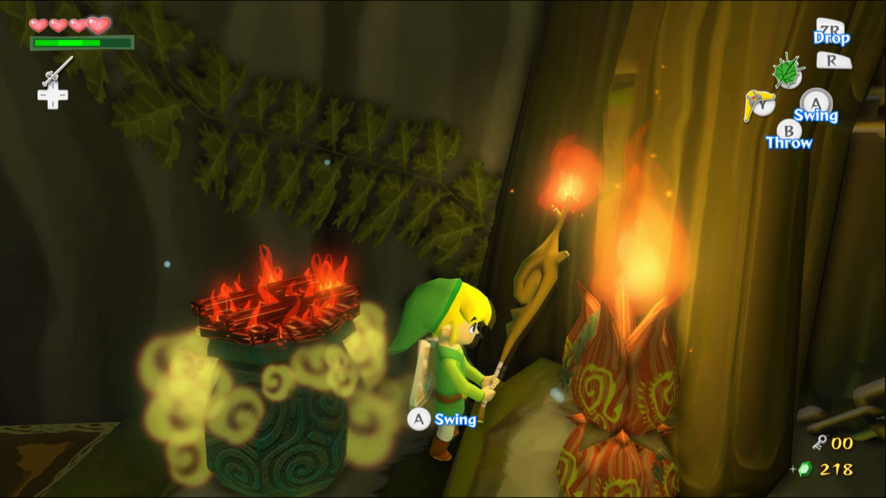
The final room contains another Warp Cauldron. Smash a pot full of Boko Sticks and light one on the torches. Use the lit Boko Stick to burn the cover off of the Warp Cauldron.
You can return to the second room of the dungeon to get a Treasure Chart. There is an alcove high up in the wall on the left hand side. Use the Baba Bud by the door to the next room to reach it. Use the Boomerang to kill the plant on top of the Treasure Chest. Fly across to the alcove on the other side of the room to find a Joy Pendant.

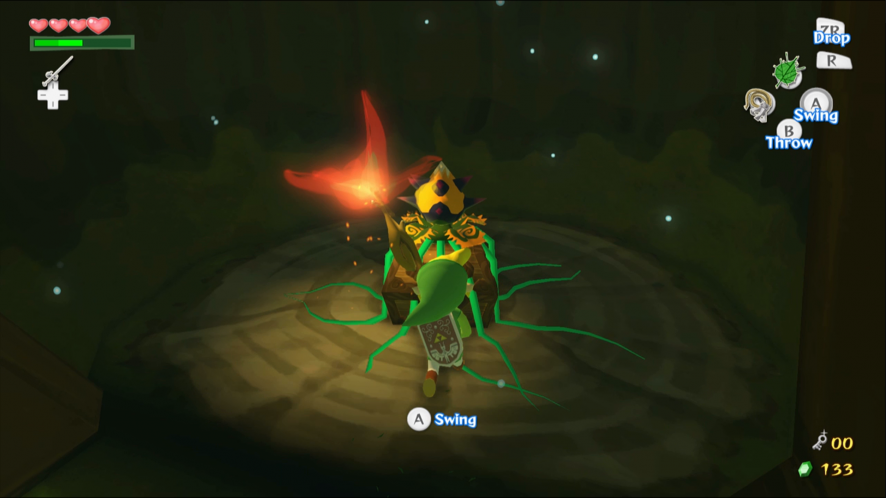
Kalle Demos
Use the Boomerang to cut the tentacles attaching Kalle Demos to the ceiling. Watch out for the “arm” tentacles – a flashing arm is about to slam into the ground. When all of the tentacles dig into the ground, stop targeting the supports and focus on avoiding the attacks from below.

When all of the supporting tentacles are cut, the core will be briefly exposed. There is time for one or two sword cuts before the petals close again. Try to avoid getting trapped inside because this will REALLY hurt. It is possible to kill the Boss using the Boomerang alone, but it takes a long time.


After the flower closes again, Kalle Demos will lash out with all of its arms. Stay away from the arms while this happens, then repeat the strategy to expose the core again. Keep going until the Boss is defeated.
Step into the wind to return to the Forest Haven with Makar. After the Koroks’ ceremony is completed you will receive Farore’s Pearl.