


Chapter 5: Dragon Roost Cavern
Table of Contents
The Compass
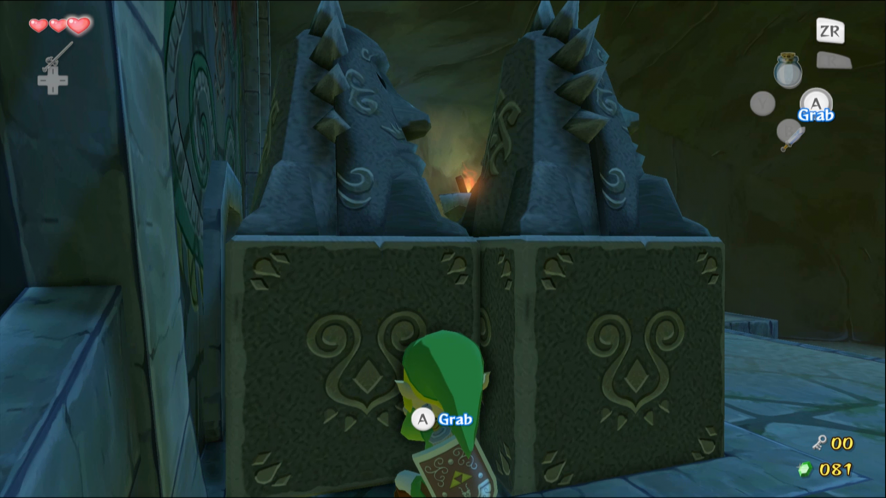
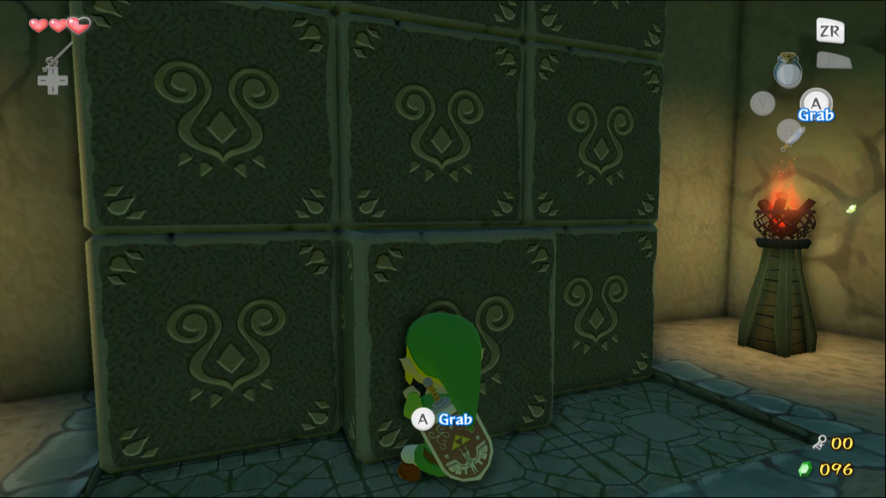
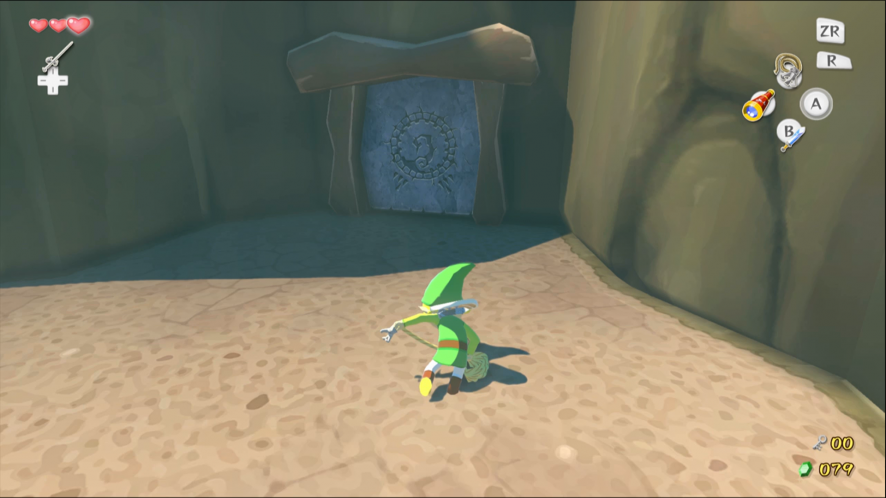
Grab the block on the left and pull it out. Grab the second block and pull it into the free space to reveal a hole in the wall.
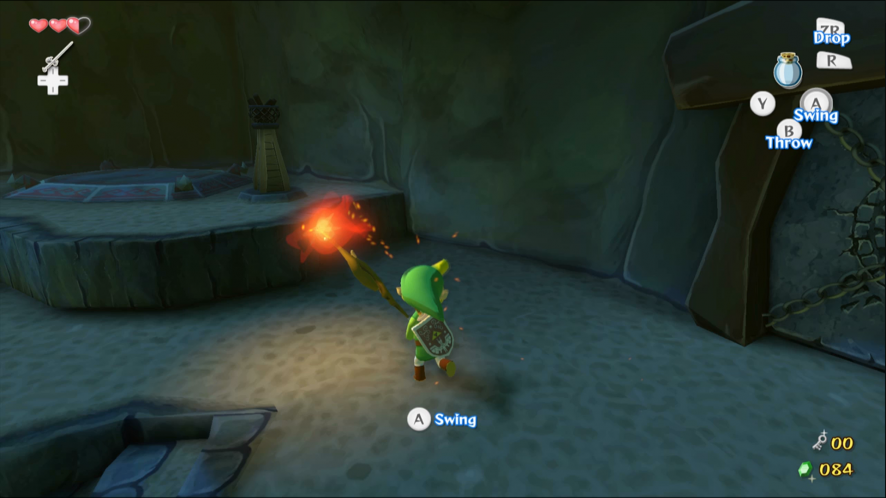
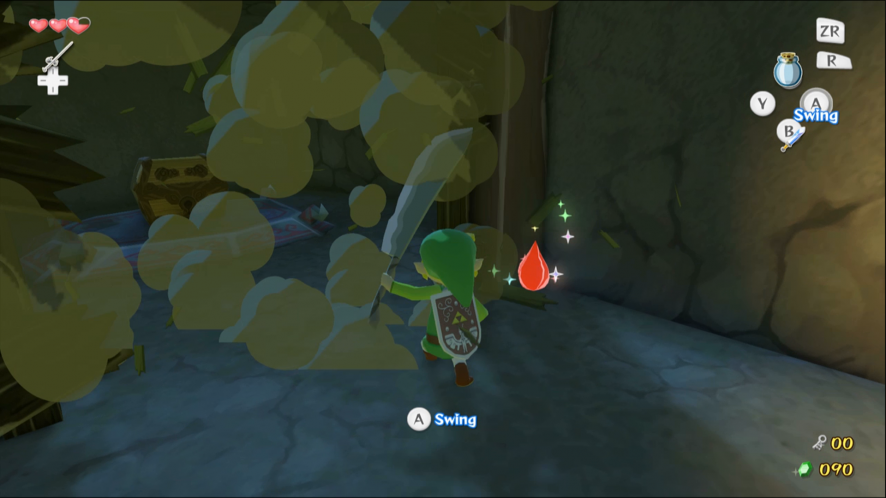
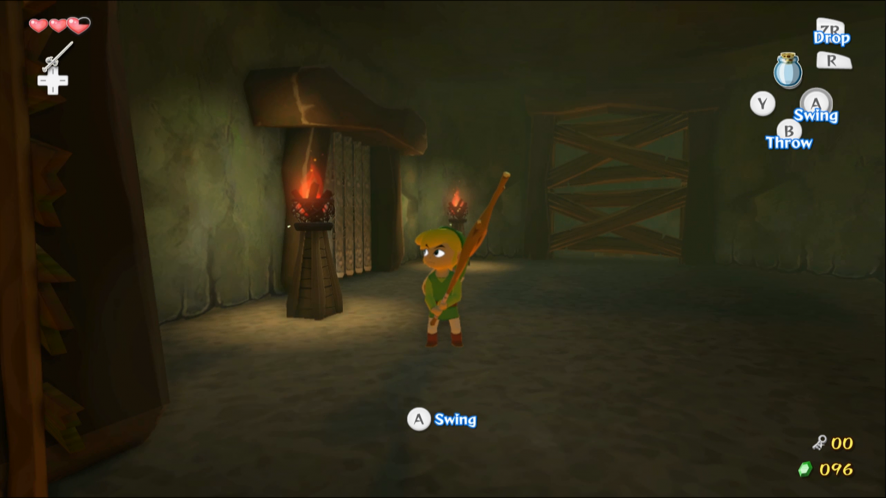
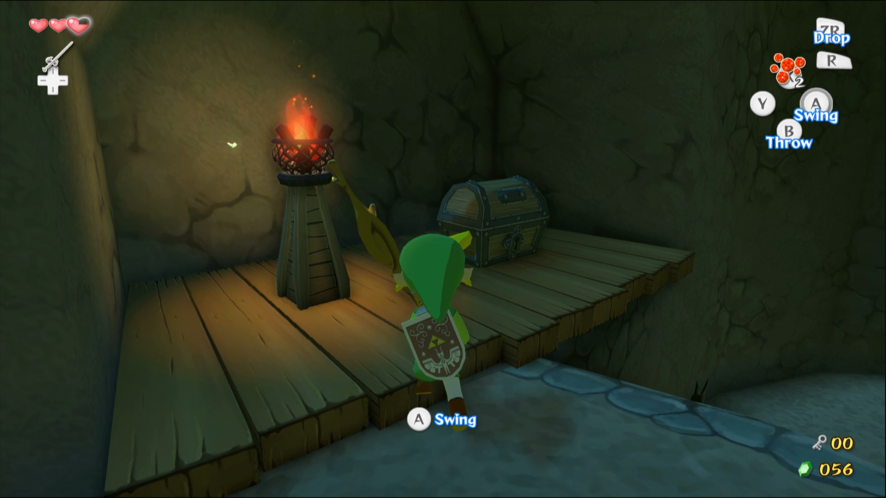
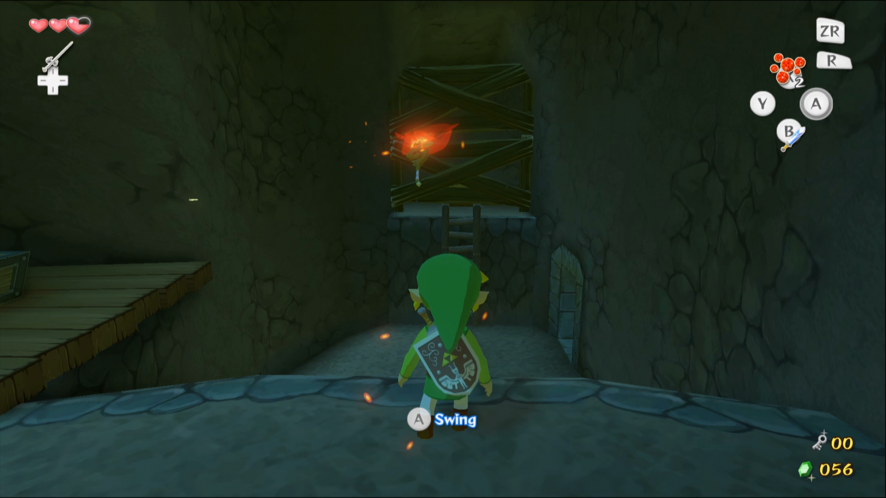
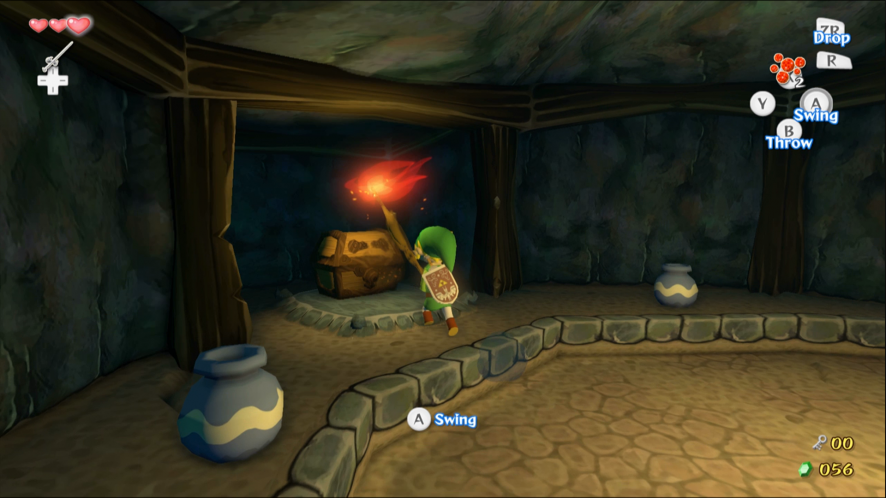
Defeat the Bokoblins in the next area. Pick up one of their Boko Sticks. Move next to a torch to set the Boko Stick on fire, if it isn’t already. Light both of the torches on the left to reveal a Treasure Chest. Inside is a Small Key. Use it to unlock the door.

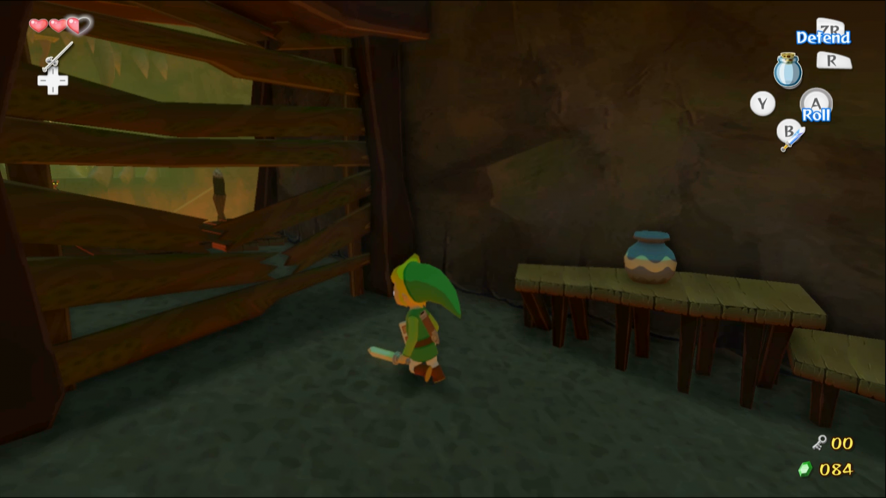
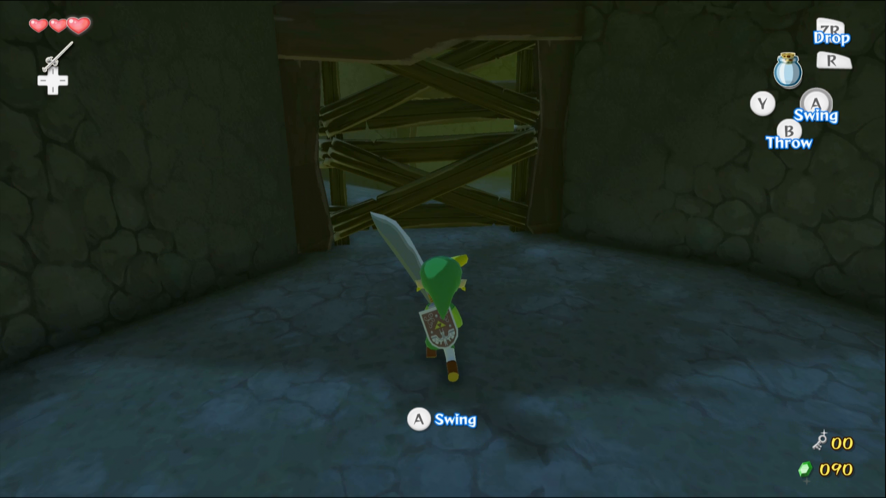
Smash the wooden bars with your sword. Ignore the locked door on the left and head clockwise around the room. Drop down from the ledge and pull out the block that has been pushed into the wall. Climb onto the block and jump up to the next walkway.
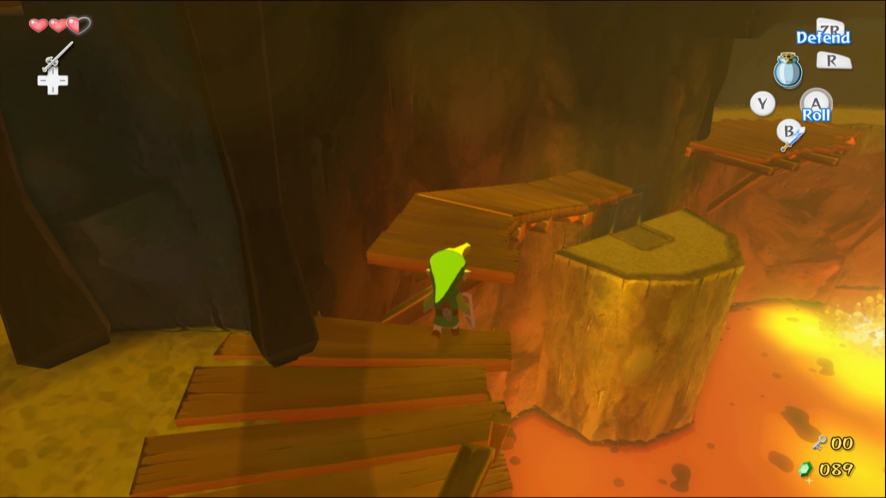
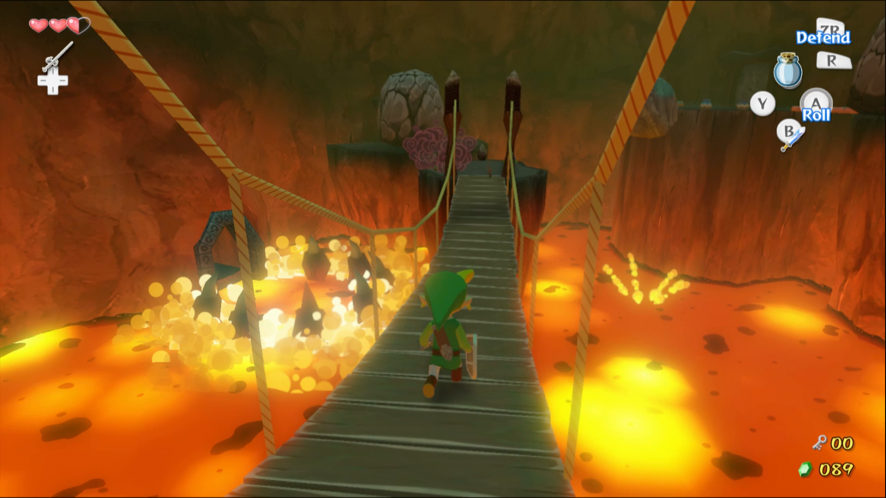
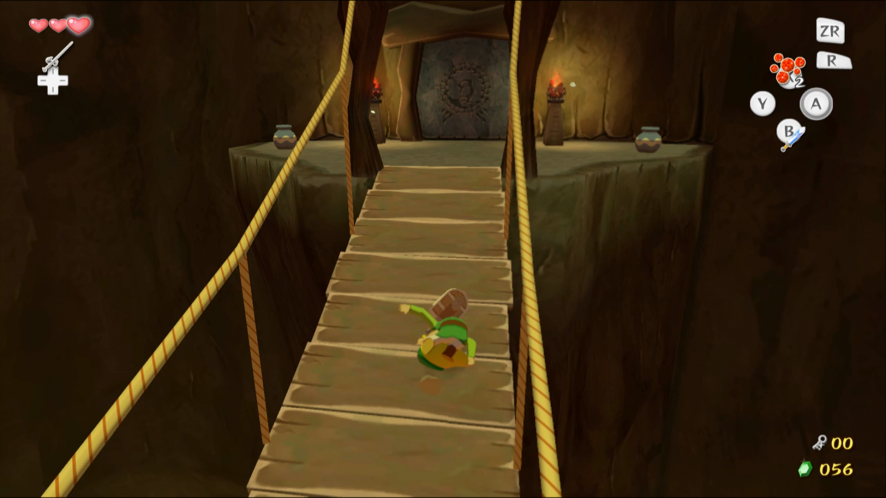
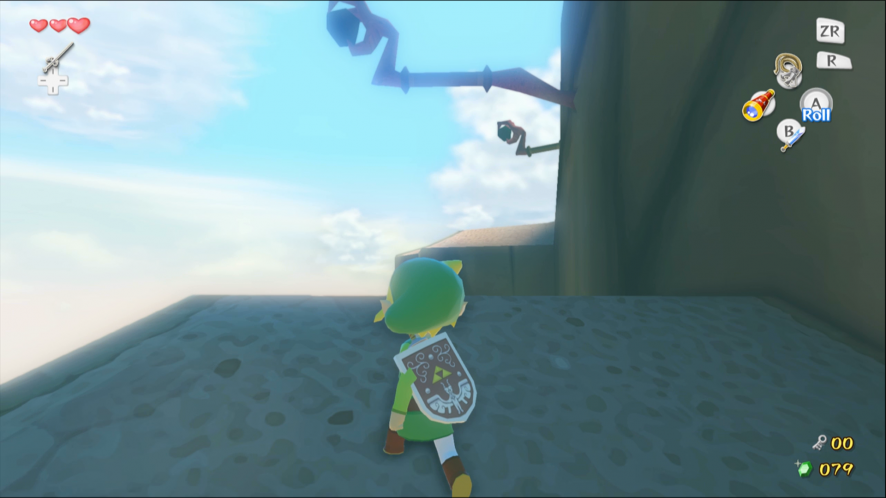
Run across the bridge to avoid falling rocks. Pick a Bomb Flower and use it to destroy the boulder nearby. Enter the room behind the boulder.
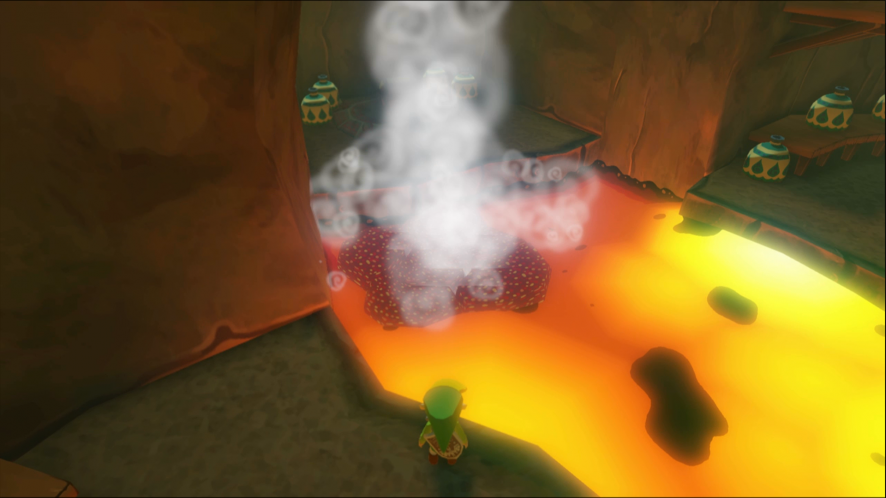
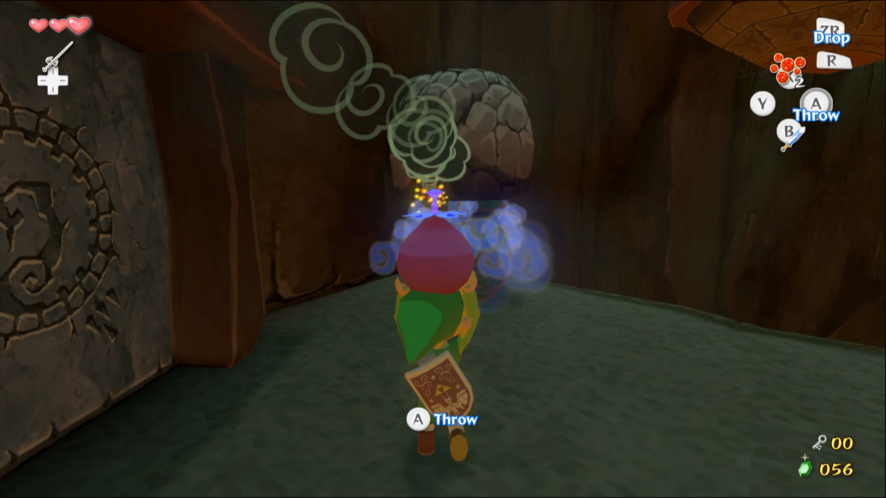
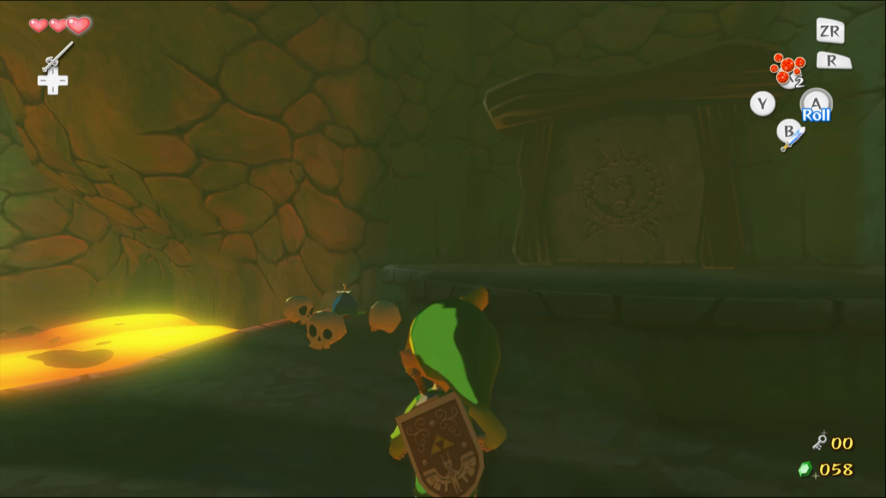
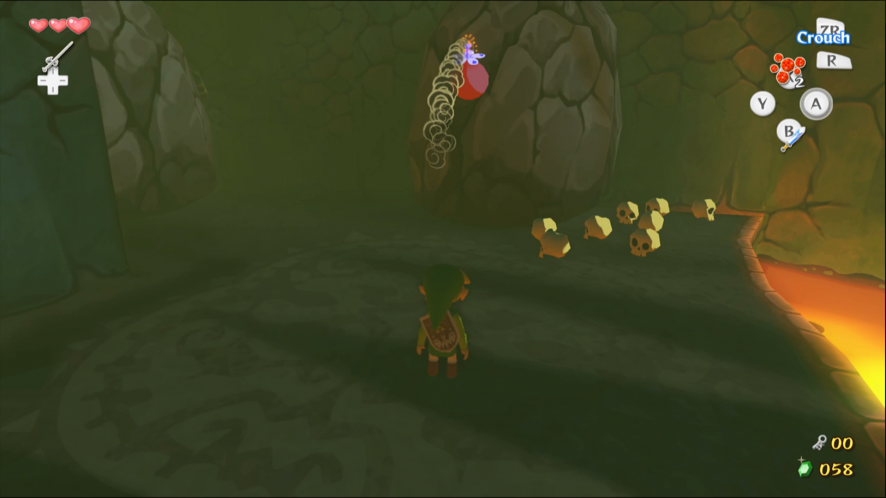
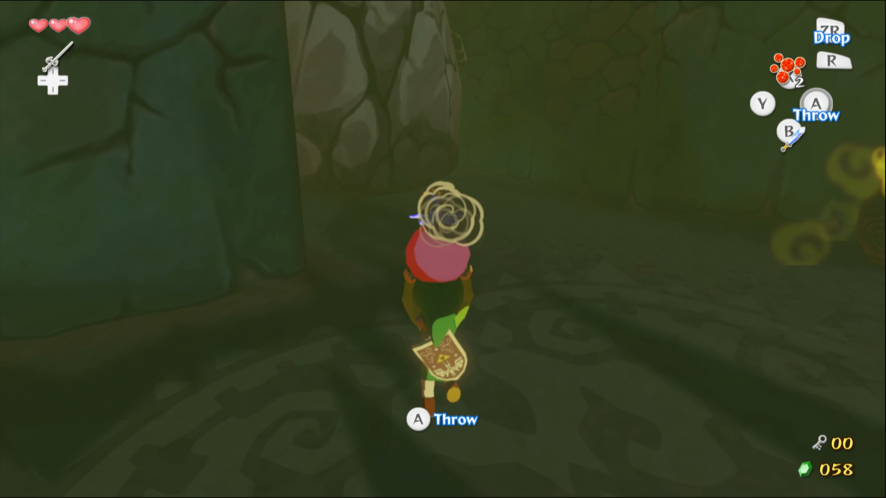
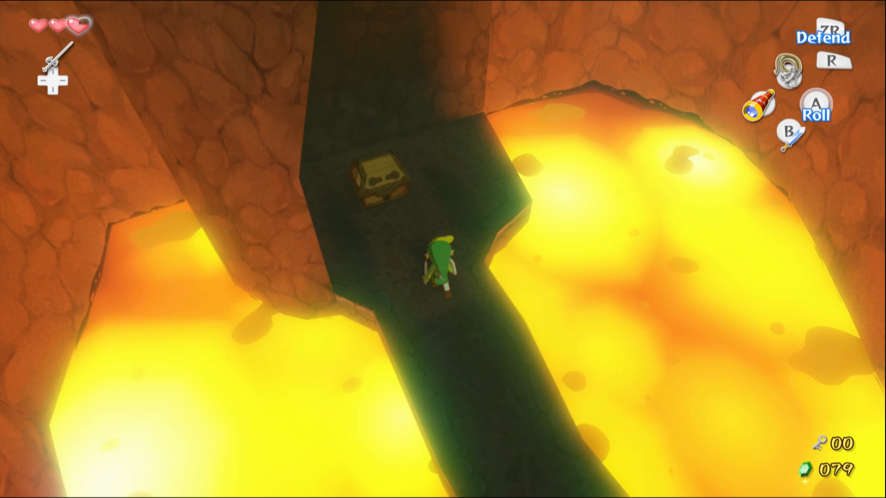
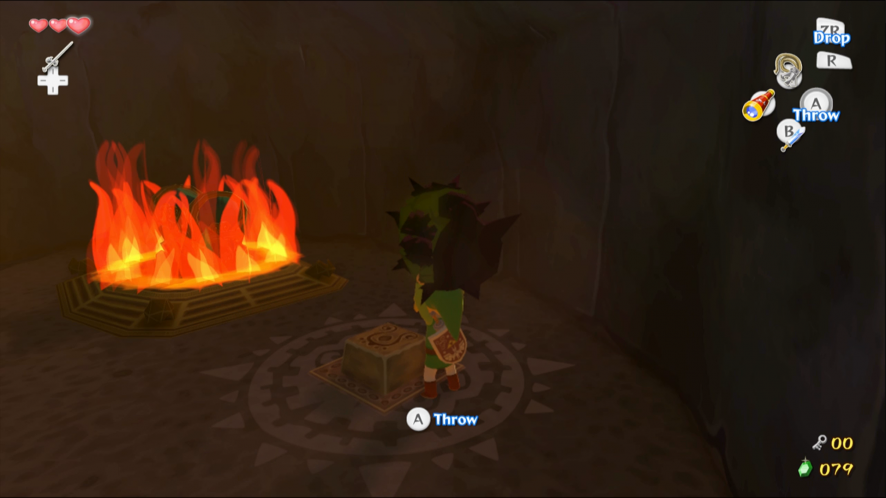
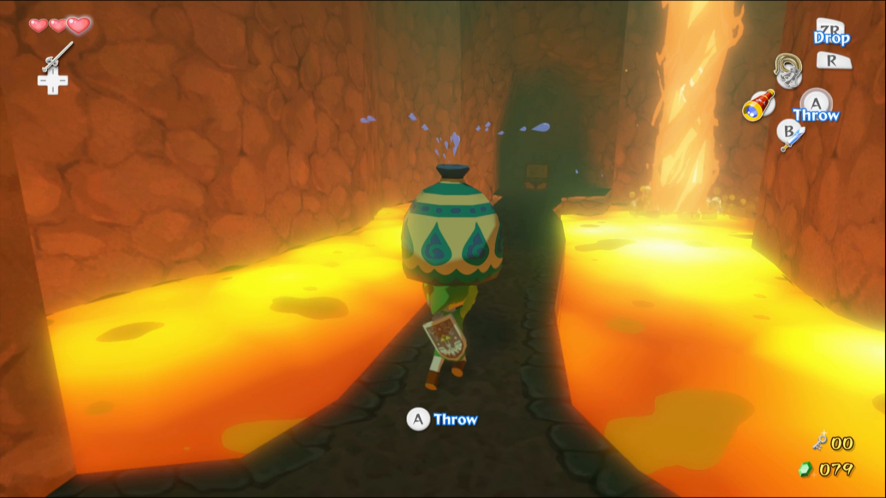
Pick up one of the large pots full of water. Throwing a pot into the lava creates a temporary platform. Use these to reach the area on the left and open the Treasure Chest to get the Dungeon Map. Get across the lava and climb the ladder, but beware the Chu Chu at the top. Enter the next room.

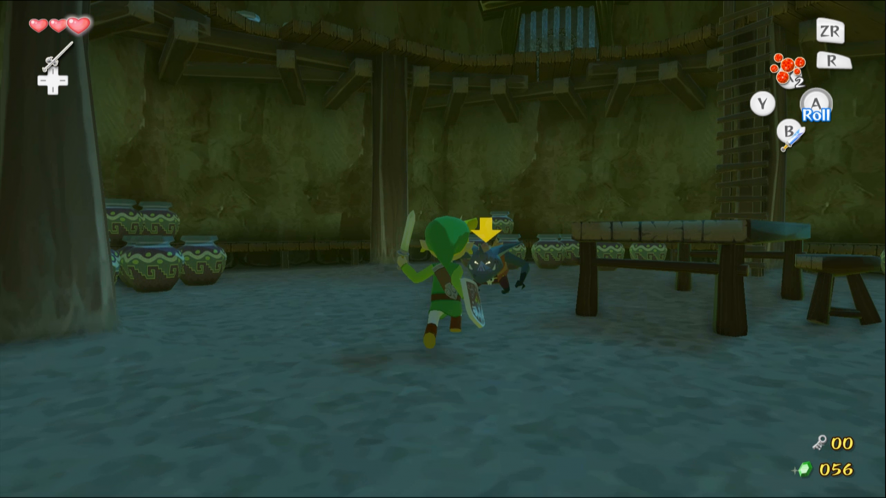
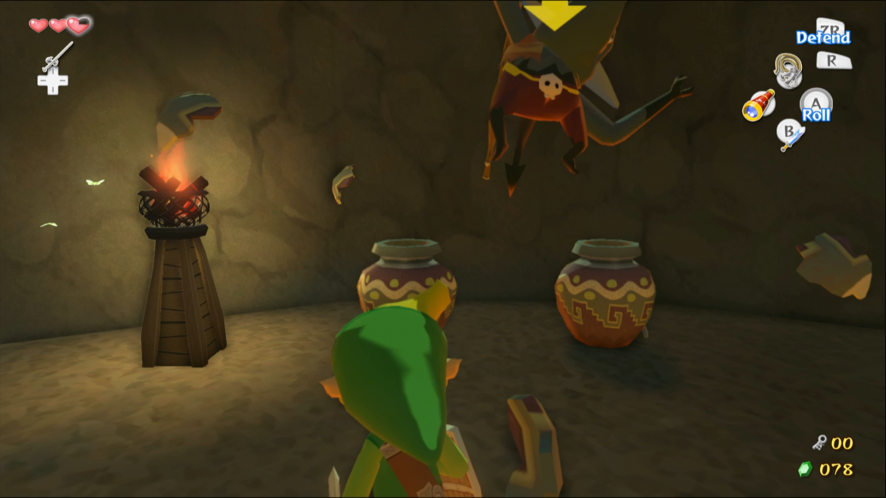
Approach the wooden bars on the left with your shield up. A Bokoblin will burst out of a pot and smash the bars with its machete. Defeat the Bokoblin and use its sword to smash through the bars on the other side of the room. Smash the next set of bars and open the Treasure Chest to collect a Small Key. Take the exit to return to the large room.
Use a sword thrust or throw a rock to detonate the Bomb Flowers on the wall. The chain reaction will destroy the boulder. Go to the locked door and use the Small Key to open it.
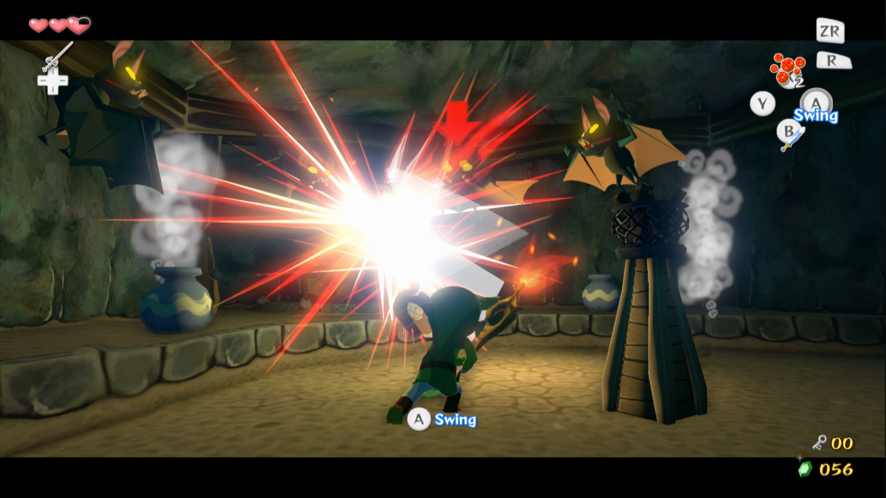
The area on the right is inaccessible until you get a new item. Defeat the Chu Chus and investigate the alcove on the left. Defeat the Bokoblin and take its Boko Stick.
Light the Boko Stick and touch the wooden bars on the right to burn them down. Press the switch to unlock the exit.

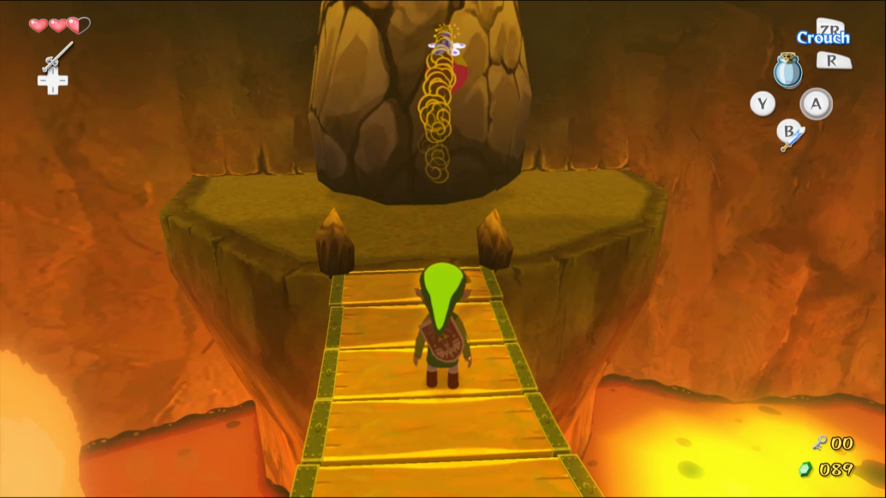
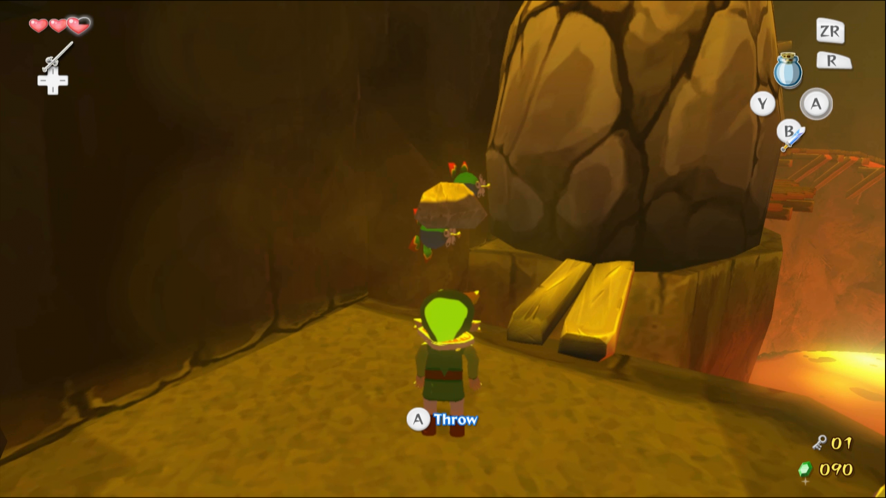
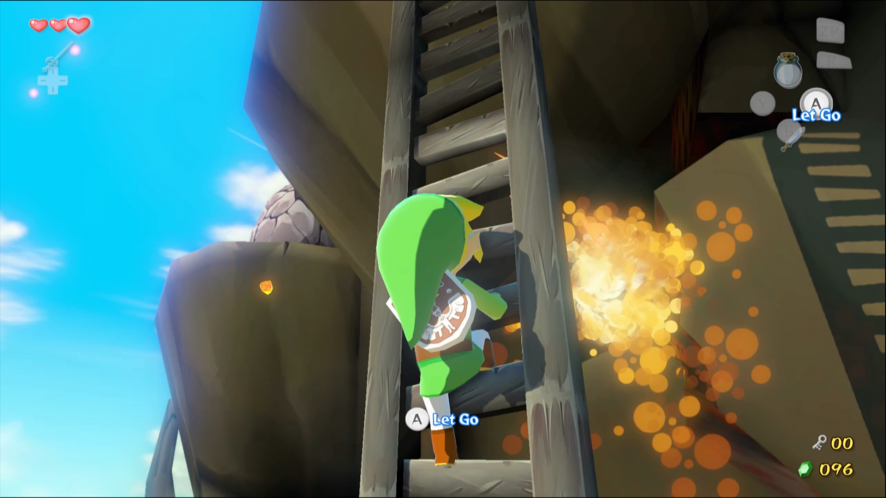
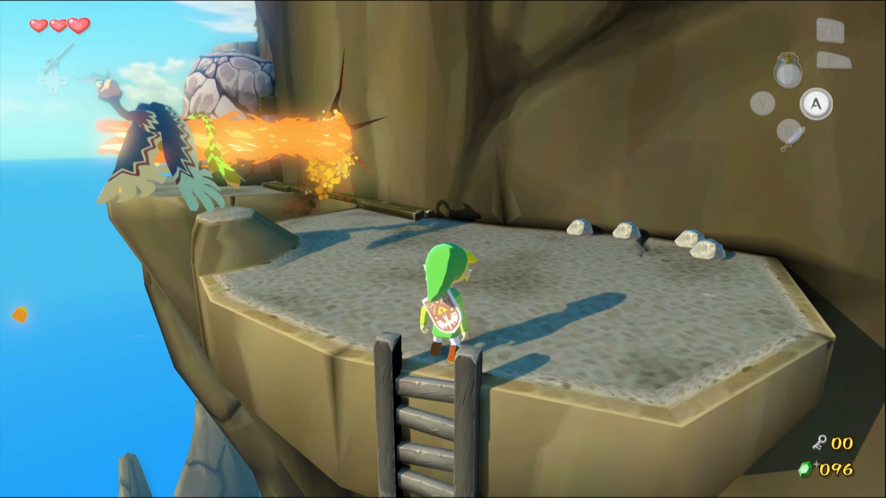
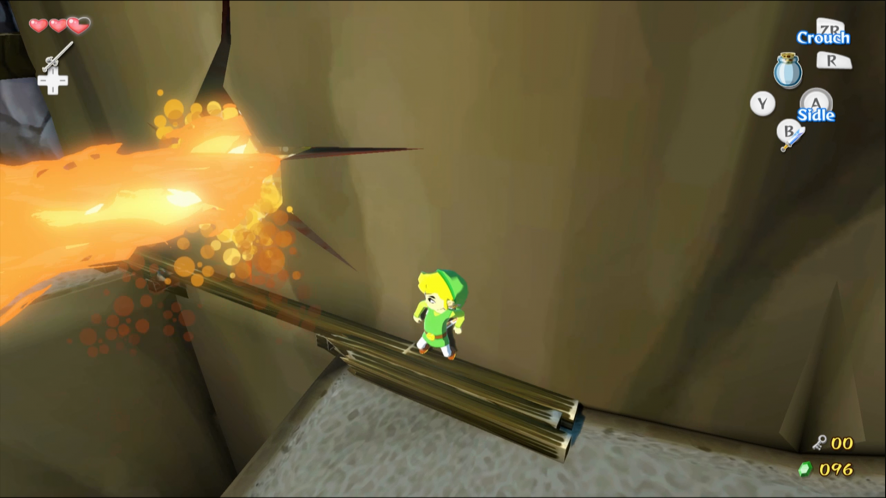
Cross the bridge and defeat the Bokoblin. Start to climb the ladder and get as close to the lava spout as you can. When the lava dies down, climb up the rest of the way.
Defeat the Kargarok, then sidle along the ledge, again waiting for a pause in the eruption to get past.
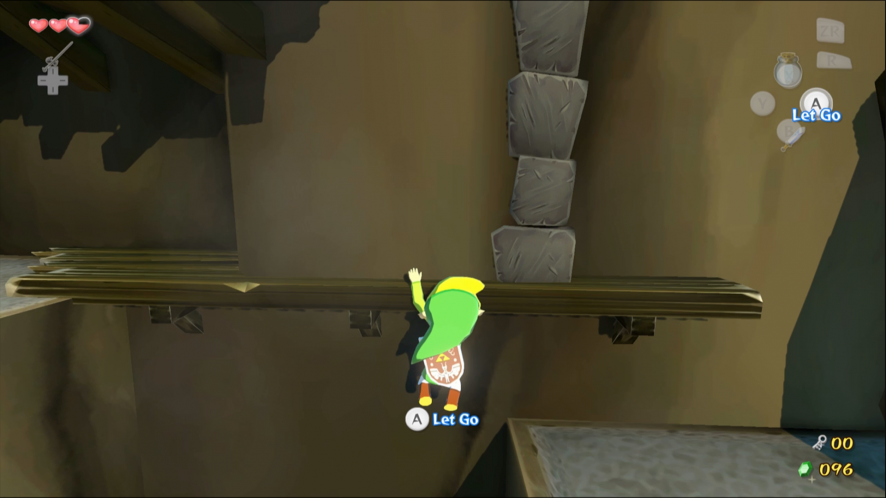
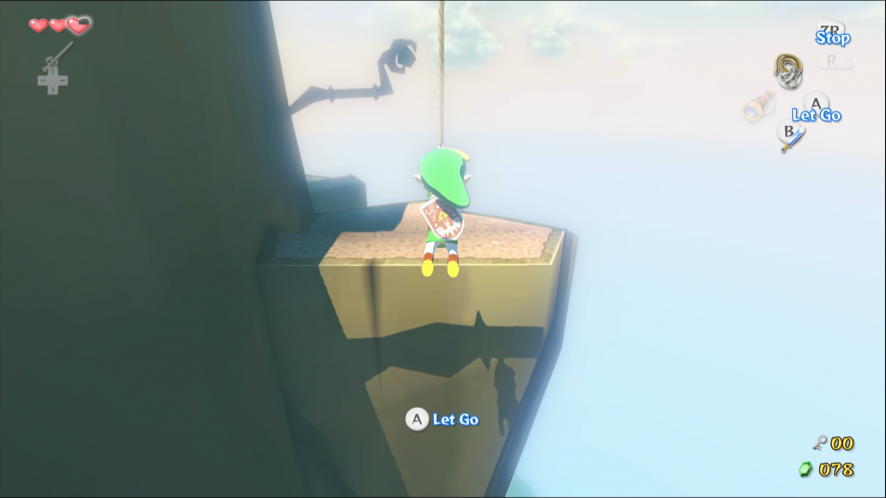
Go past the door and grab hold of the ledge, but don’t climb up. Move to the left until you can climb up properly. Use a Bomb Flower to destroy the boulder. Go back inside.
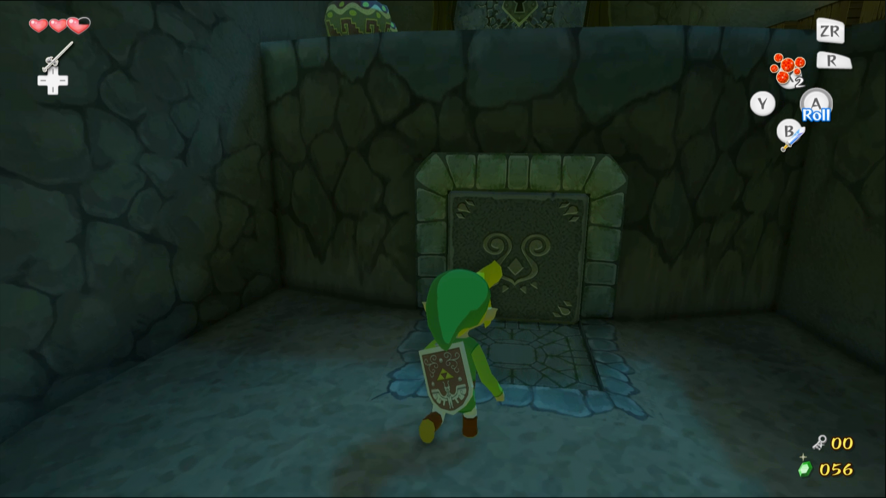
Grab the block in the middle and pull it all the way out. Climb on top of the block. Grab the block above the first and pull it halfway out. Climb the remaining blocks to reach the next area.
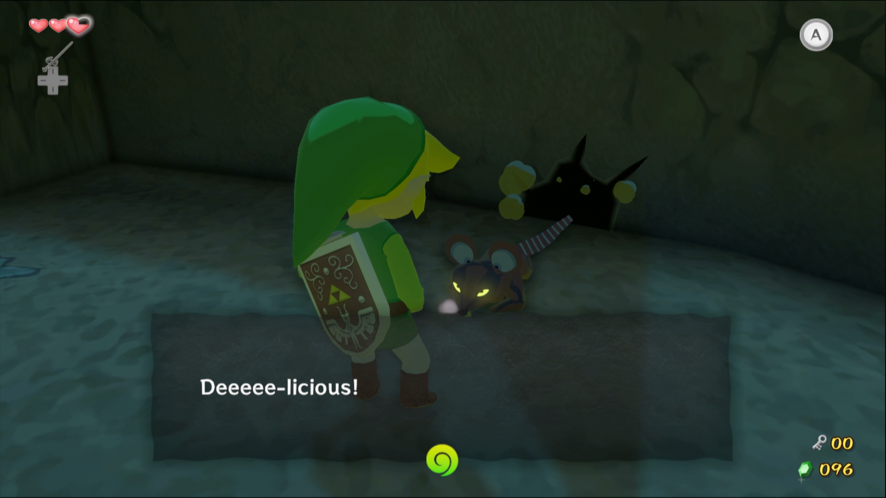
The Rats are not much of a threat, but be careful. If you have some Bait you can put it down by the Rats’ nest to stop them attacking you.
Pull out the block from the wall and climb up to the ledge. Open the Treasure Chest to get the Compass.
Find Medli
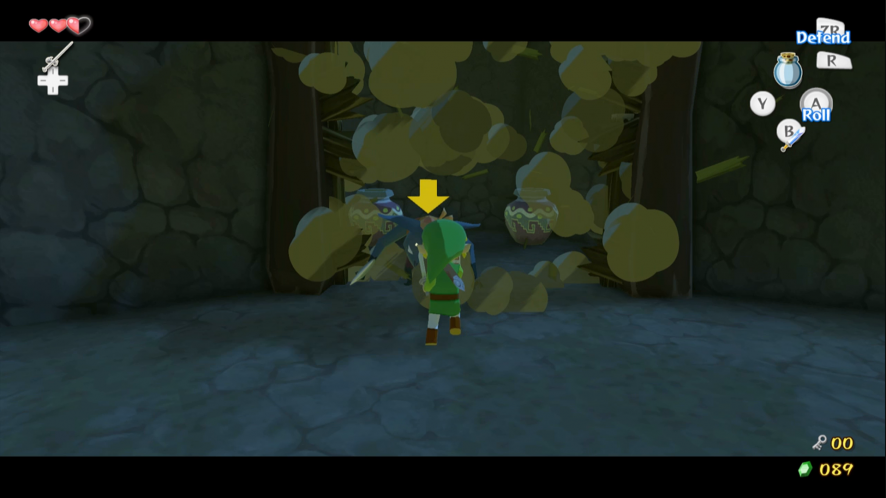
Smash the pot and pick up a Boko Stick. Light the Boko Stick on the torch and throw it at the wooden bars on the other side of the room to burn them away. Climb the ladder and take the Small Key from the Treasure Chest. Unlock the exit and go outside again.
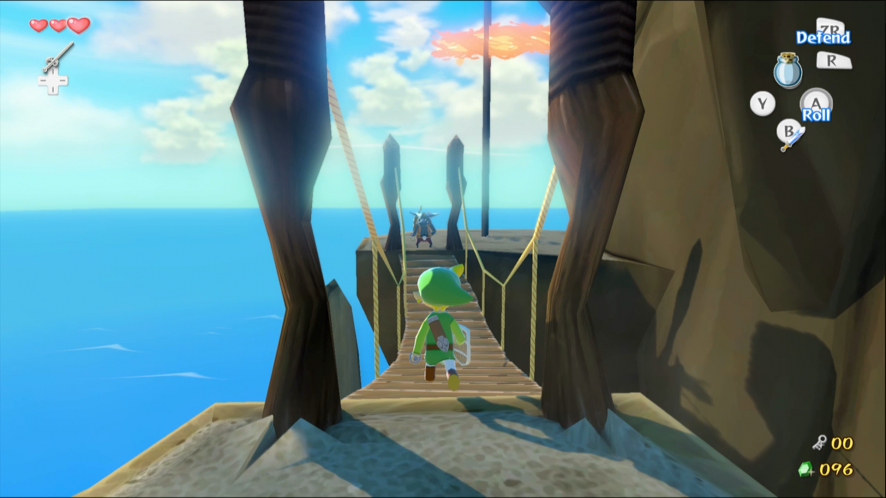
Jump the gaps in the staircase to reach the top. The door up ahead is locked, but you haven’t missed a Small Key somewhere. Walk out to the bird’s nest on the precipice and defeat the Kargarok. The Small Key is hidden in the nest.
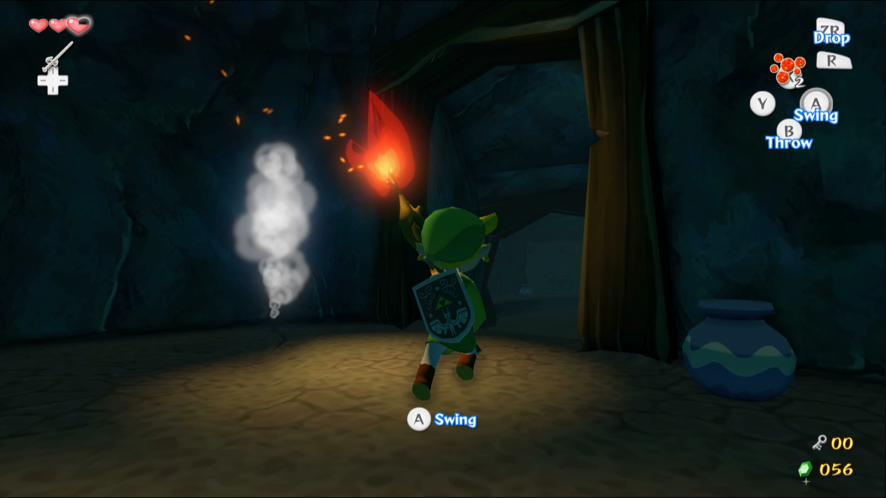
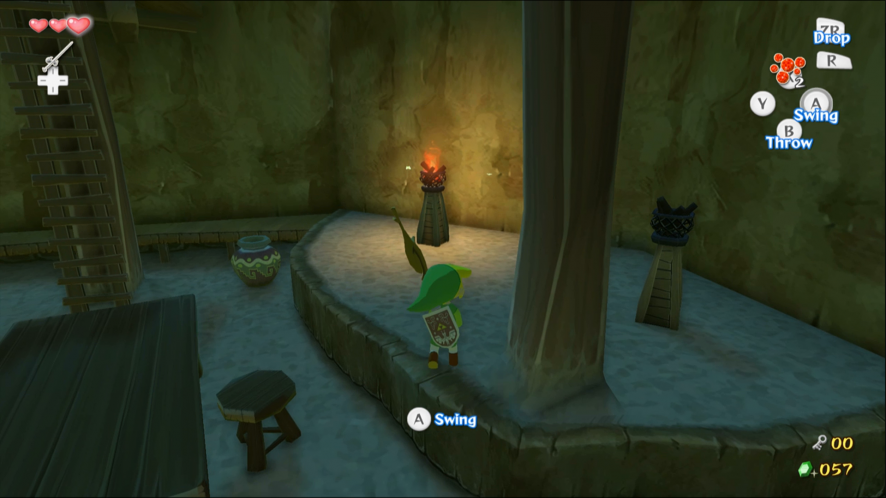
Pick up a Boko Stick and light it using the torch. Carry the Boko Stick through to the next cave and burn through the wooden bars. Watch out for the Keese hanging from the ceiling.
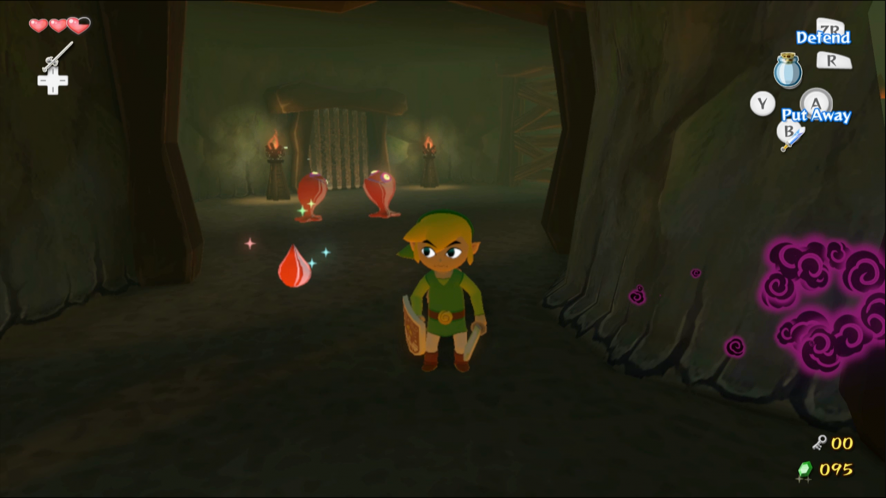
There is a Joy Pendant in the Treasure Chest nearby. Relight the Boko Stick if necessary and carry it to the exit. Light both torches to unlock the door.
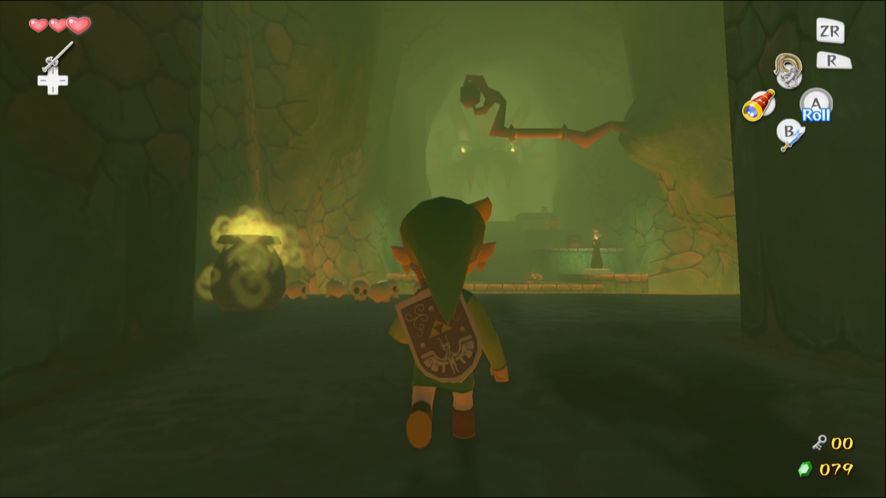
Note the cauldron over to one side, just like the one near the start of the dungeon. This is a Warp Cauldron. Destroy the boulder covering the top of the Warp Cauldron and you can climb inside it to move between here and the entrance.
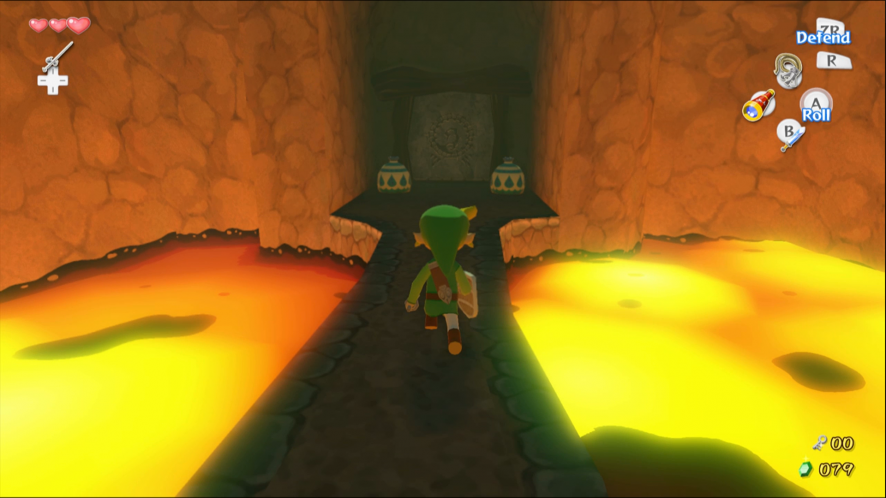
Head across the bridge, keeping an eye out for falling rocks. Open the door to the next room.
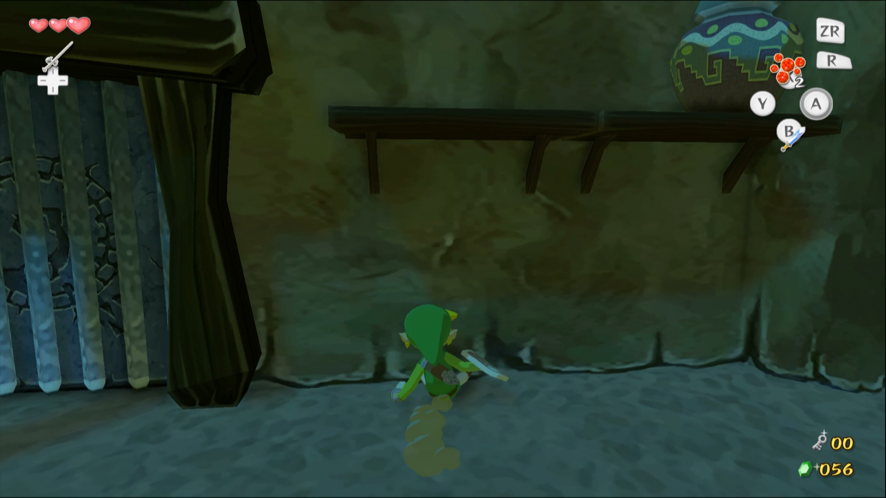
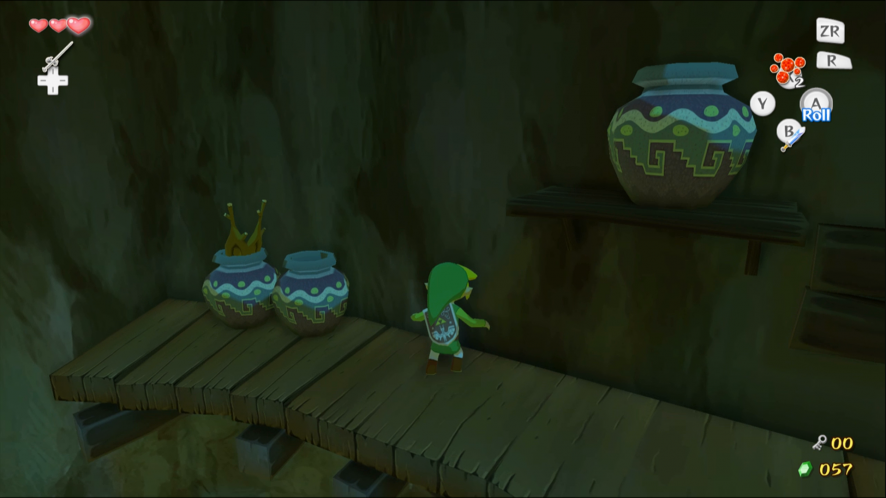
The doors will unlock if you defeat all three Bokoblins in the room. One is in plain sight. Another is hiding in a jar along the side of the room. The third Bokoblin is in a jar on top of a shelf, just to the left of the entrance. Rolling into the wall beneath it is the easiest way to expose this one.
Find a Boko Stick and light the second torch to reveal a Treasure Chest. Inside it is a Treasure Chart for an island somewhere on the Great Sea. There are no enemies on the upper walkway, but there is a Joy Pendant inside a jar on the shelf. Roll into the wall to knock it down.
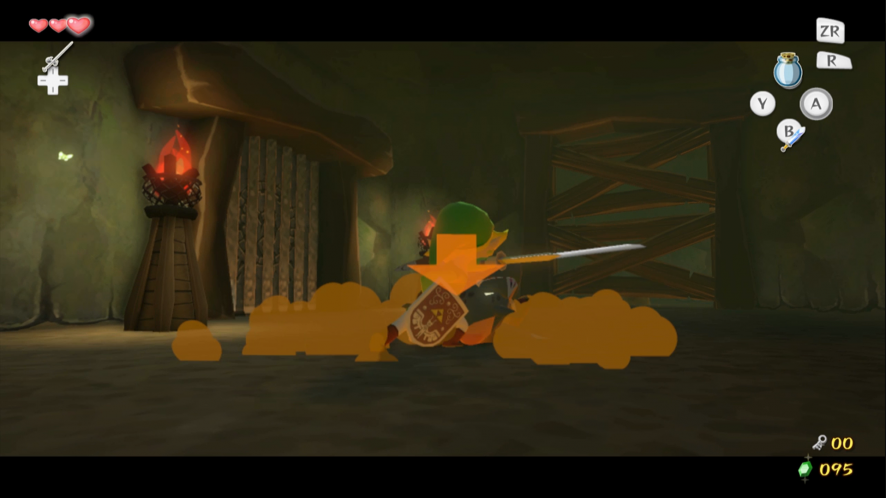
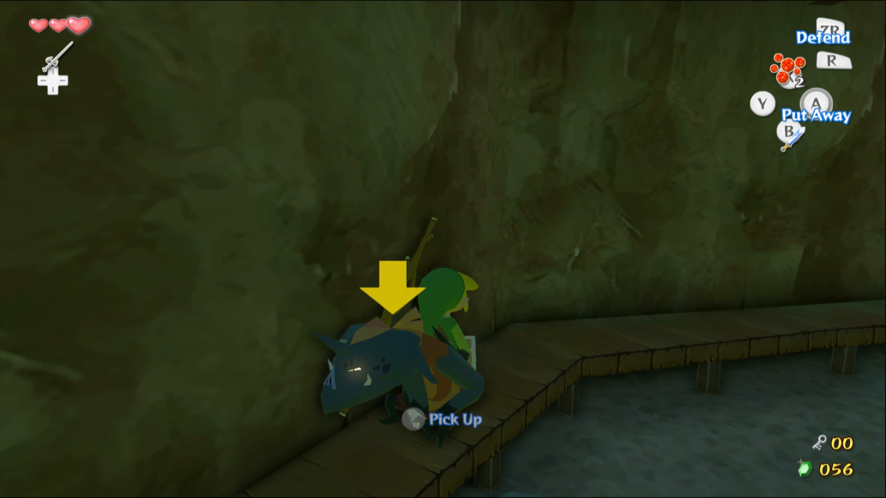
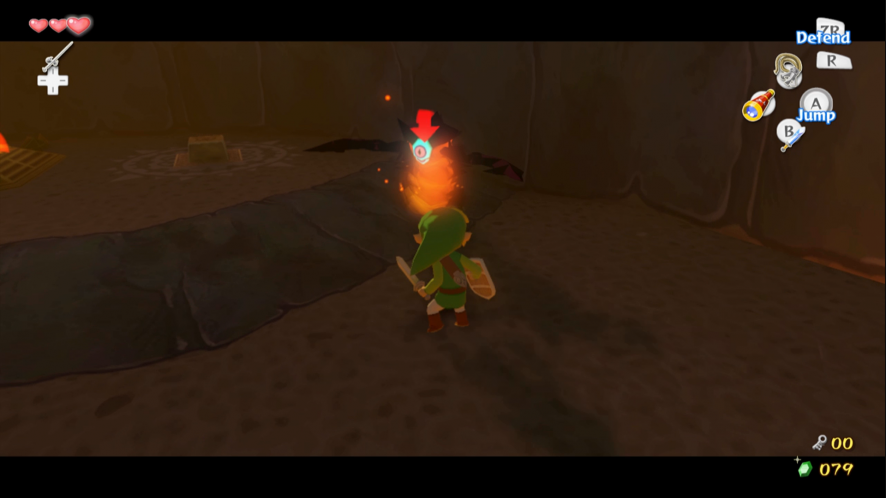
The Magtail can be stunned with one or two slashes at its eye, but only when it opens its pincers to attack. A well timed Parry Attack can instantly kill it, but you may backflip into the lava if you try it here. A stunned Magtail will curl into a ball for a while and can be destroyed with repeated attacks. However, lava does no damage to it.
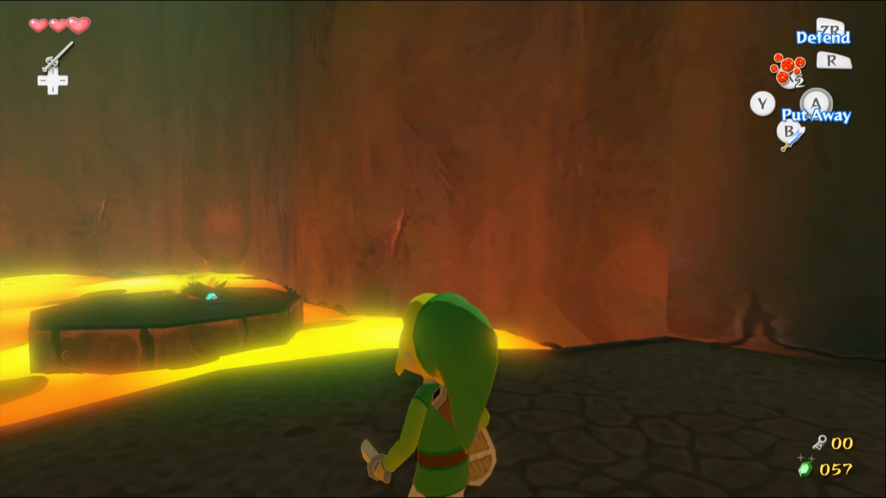
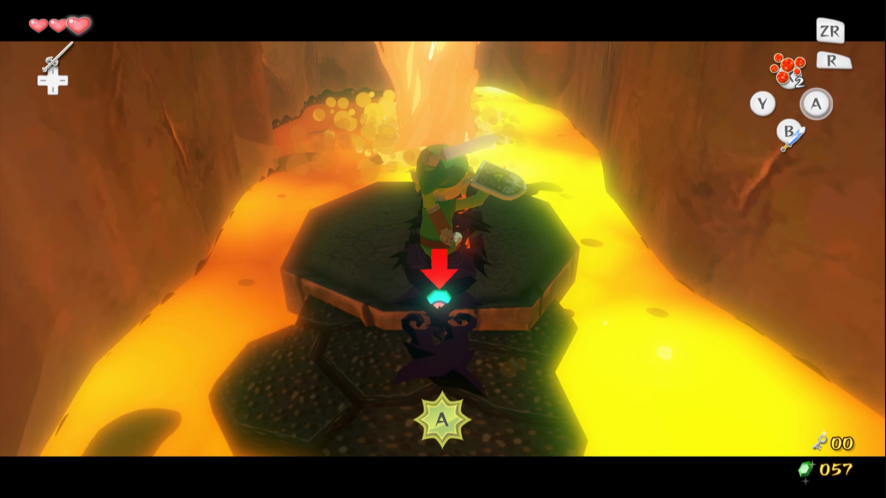
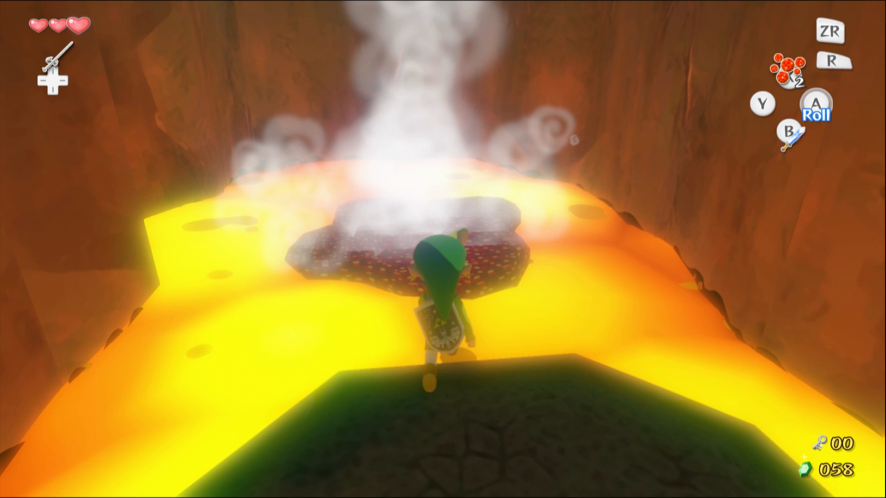
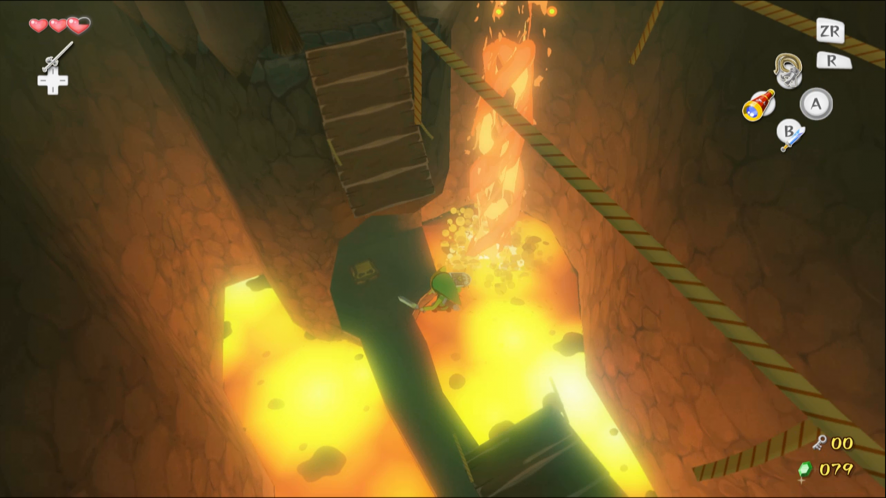
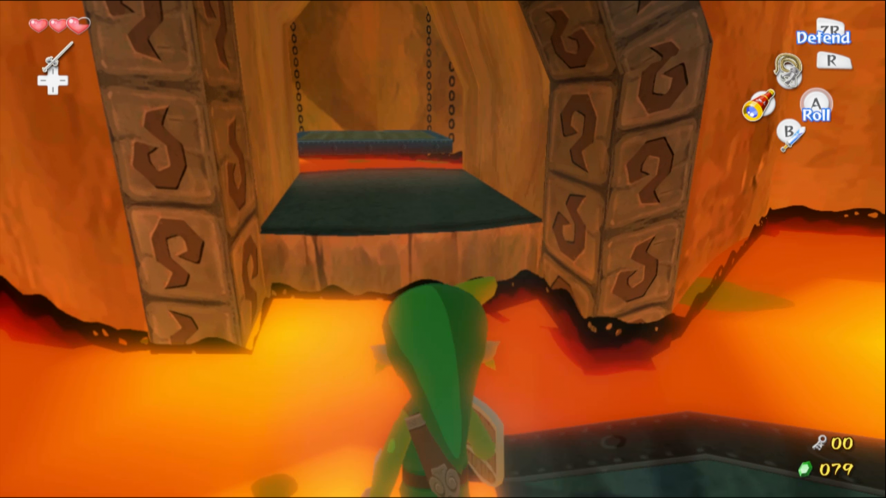
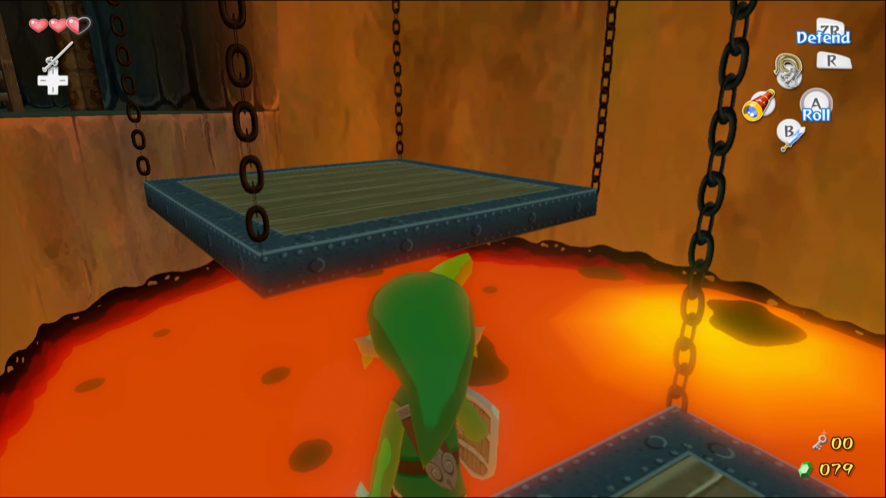
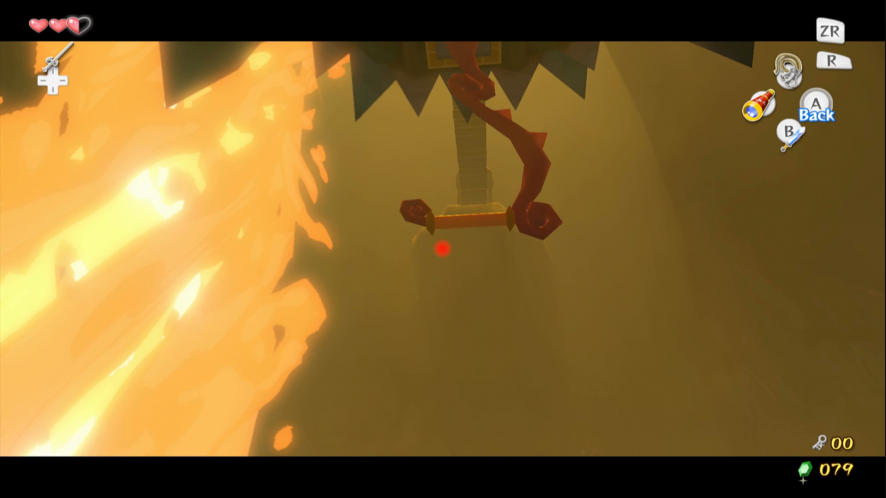
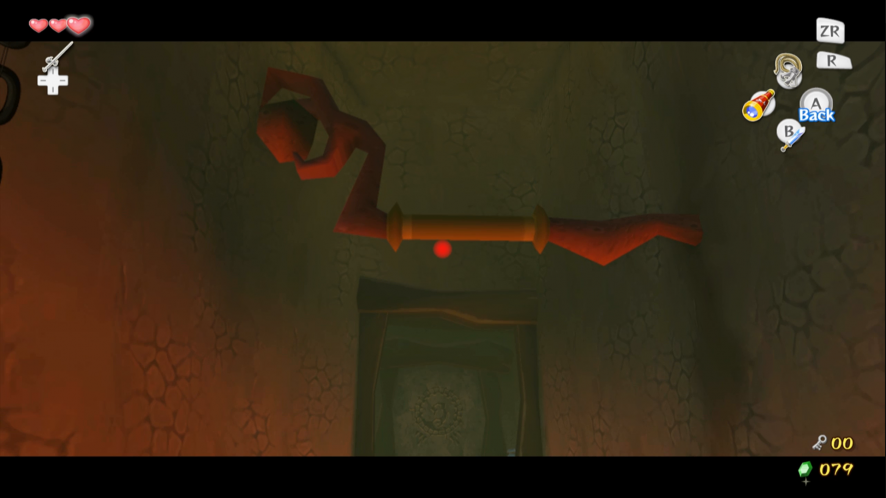
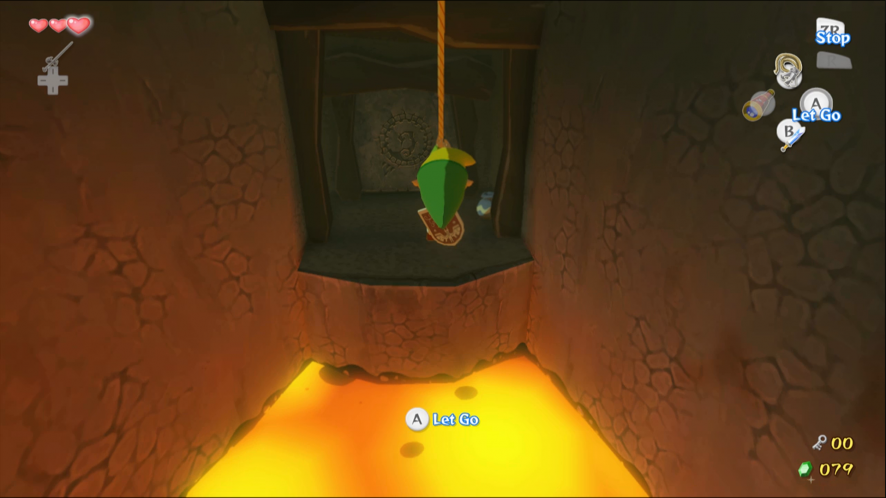
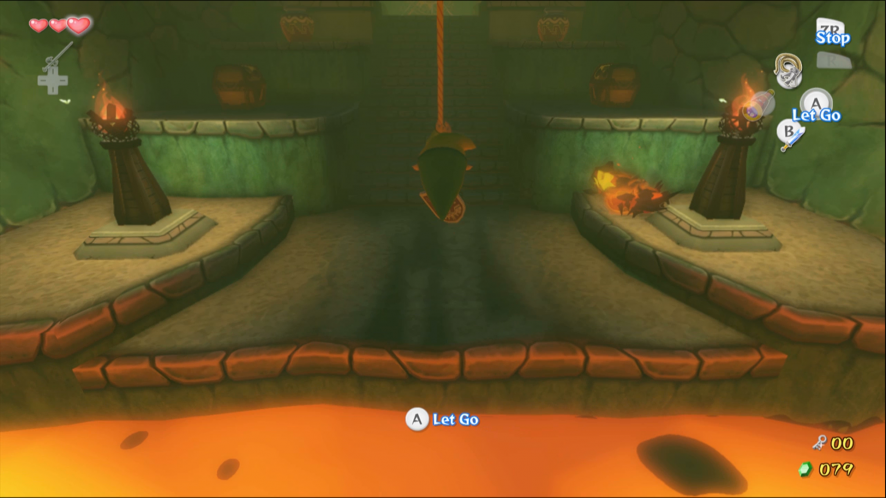
Grab a jar of water and jump across to the island in the center. Let the eruption die down, then throw the jar of water into the middle of the lava. Jump onto the platform you have created and let the eruption lift it up to the floor above. Jump over to the door and enter the next room.
There are some Bomb Flowers on your right. Use them to destroy the rock covering the third Warp Cauldron. You can now warp from point A to B, point B to C and point C to A. Destroy the giant boulder around the corner and go outside.
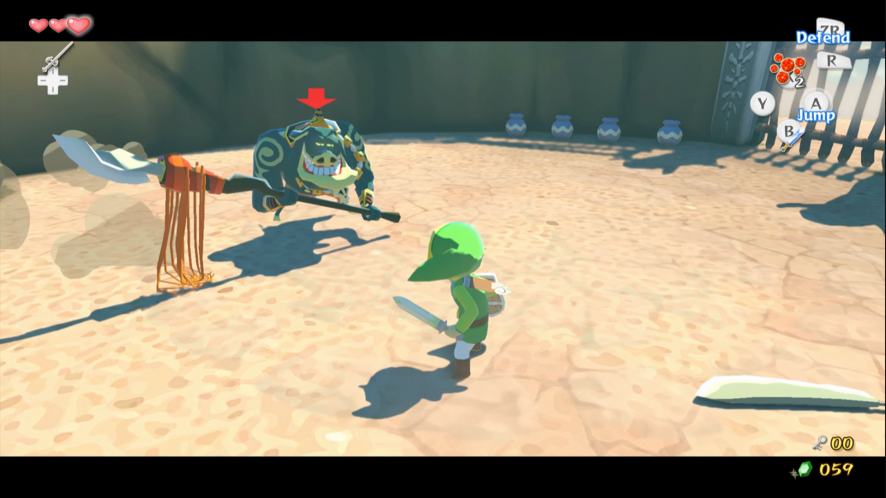
Run up the staircase. It will collapse as you climb it. At the top is an arena, where Medli is being held prisoner.

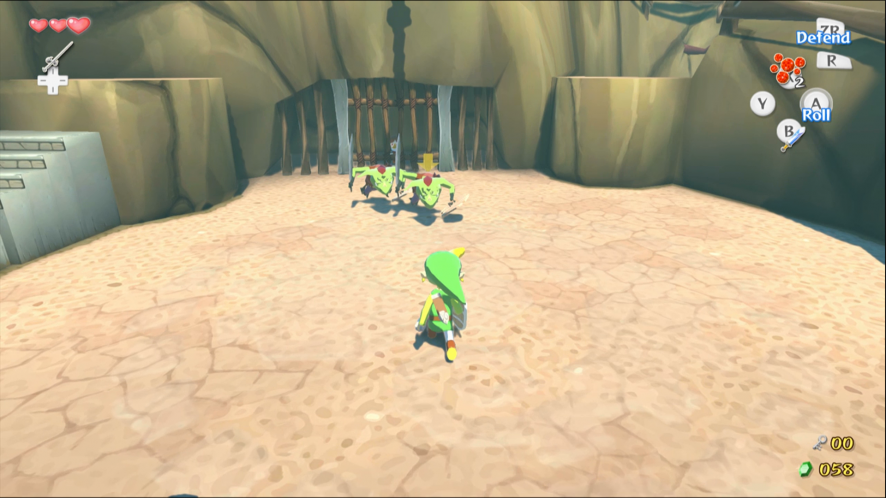
Defeat both of the Bokoblins, then defeat the Moblin that is airdropped in. This is the first time you have actually fought one, but it is not much more difficult to beat than a Bokoblin.
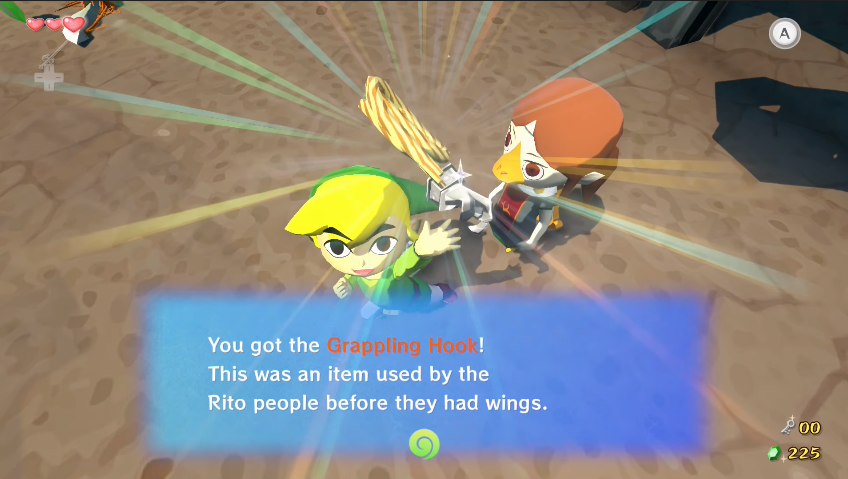
The Grappling Hook
Now that Medli is free, go and talk to her. She will explain the cause of Valoo’s anger and give you the Grappling Hook.
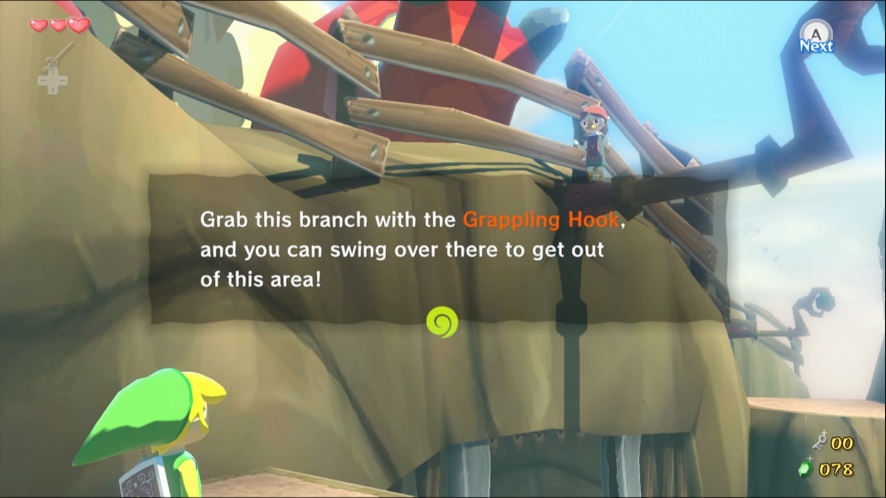
Walk up the steps and aim the Grappling Hook at the branch overhead. Once you have grabbed hold of the target it is like swinging on the ropes in the Pirate Ship. Use the Grappling Hook to cut through the gap and and smash through the wooden bars at the end.
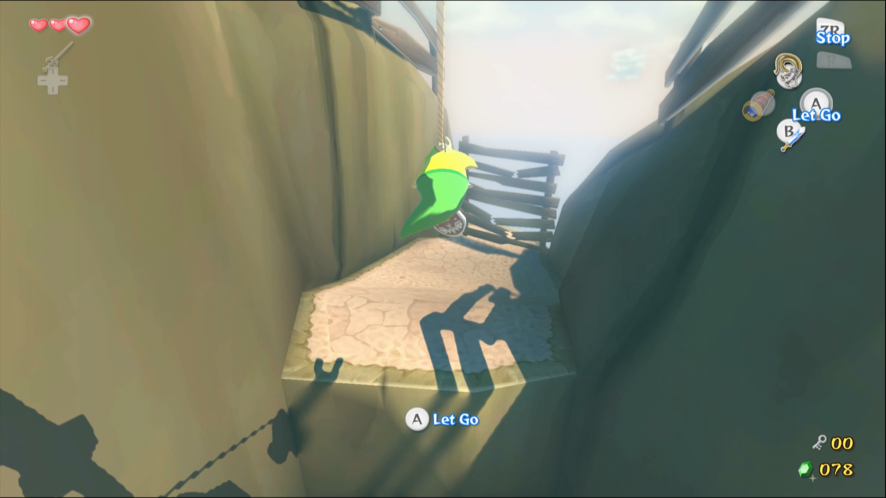
Turn left and use the Grappling Hook to reach another door. Go back inside.
A Treasure Chest containing a Joy Pendant will appear nearby if you defeat the two Bokoblins on the top floor of this room.
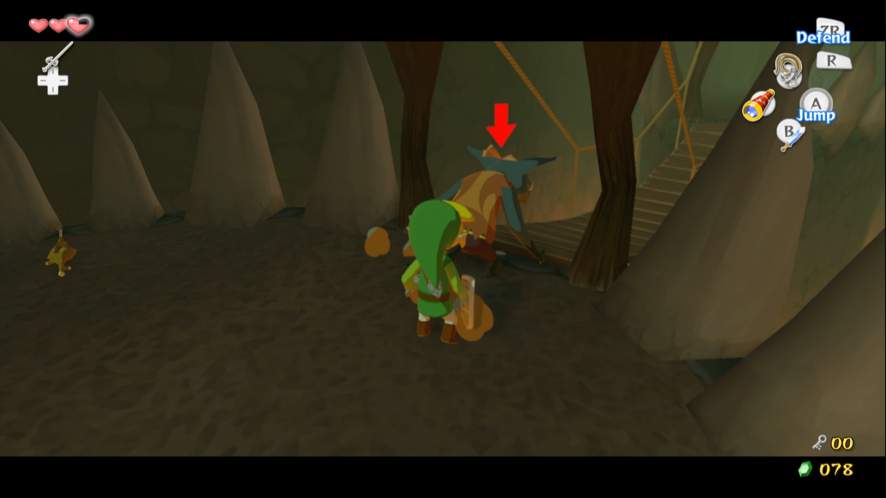
Stand on the bridge and cut through the ropes. The bridge will collapse, causing you to drop down to the floor below. Take the door beneath the bridge.

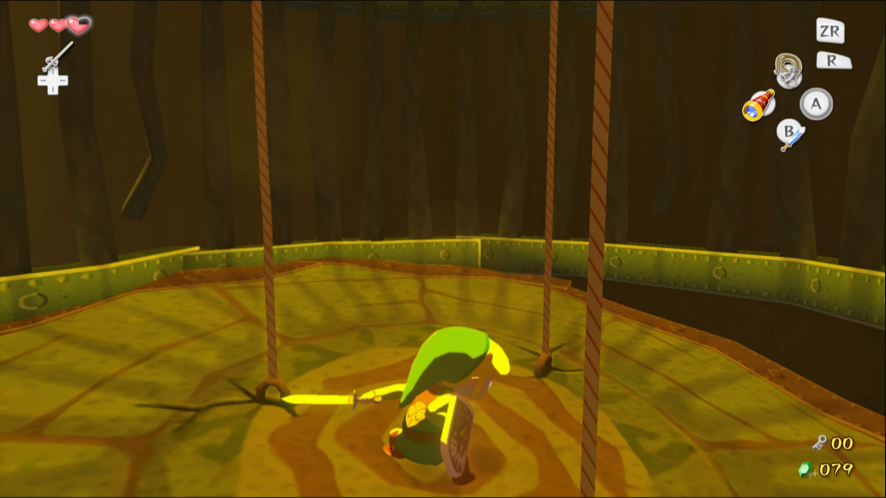
Stand in the middle of the cage and cut through all of the ropes with a single spin attack. The platform that you are standing on will become a kind of elevator. Ride the platform down, then jump through the hole in the wall.
Cross the hanging platforms and climb up the ladder. Face toward the middle of the cave and aim the Grappling Hook at the branch hanging from the ceiling. This is attached to the switch that unlocks the door to the next room. Let go of the rope as you swing backward to land safely.
Attach the Grappling Hook to the target on the ceiling. Stop swinging and rotate to the right to see the way forward. You may need to drop down a bit or you won’t be able to jump far enough. Start swinging again until you get enough momentum to make the jump. Jump across the three platforms, then swing to the door using the Grappling Hook.
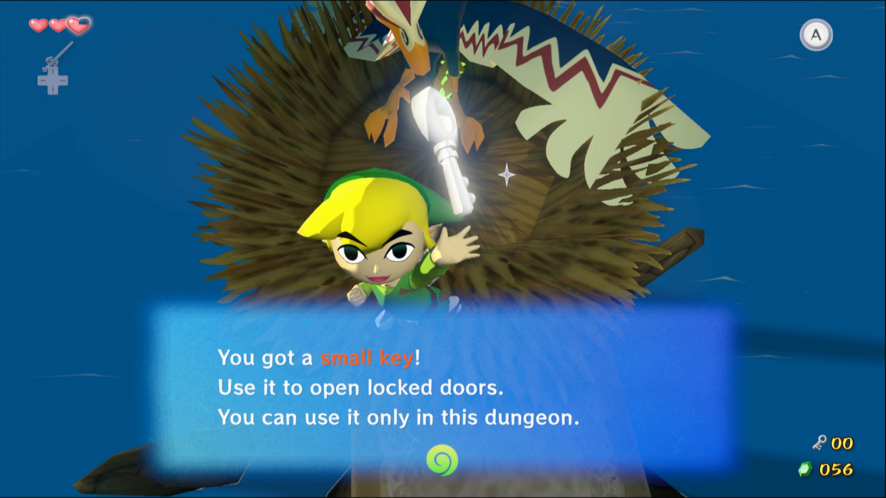
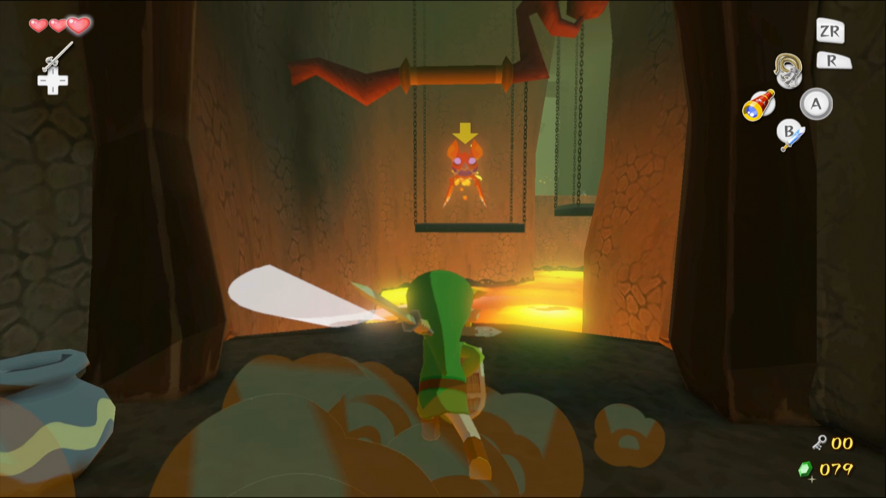
Force the Magtail to curl up in a ball by hitting its eye. Pick up the Magtail while it is stunned and place it on the switch. The flames around the Treasure Chest will be extinguished. Open the Treasure Chest before the Magtail comes around and take the Big Key.
Backtrack through the previous room. Watch out for the Fire Keese that have started to appear. Return to the platform that you cut down and ride it back to the floor above.
Enter the room where you cut down the bridge. Grab a jar of water and make a platform in the lava to the right of the Treasure Chest. Ride the platform back up to the entrance and go outside. Use the Grappling Hook to return to the room with the third Warp Cauldron.
Use the Grappling Hook to cross the lava.
The Treasure Chest on the left contains a Yellow Rupee (10). The other Treasure Chest contains a Knight’s Crest. If you have room in your Empty Bottle you can catch a Fairy that is hiding in one of the pots. It will restore all of your health automatically if you die.
Use the Big Key to unlock the Boss Door and enter the room underneath Valoo’s shrine.
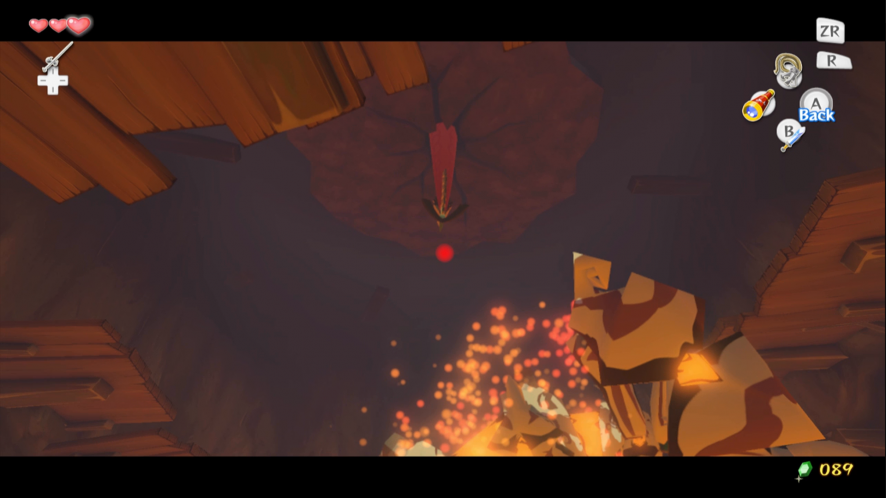
Gohma

Dodging is the only way to avoid Gohma’s attacks. If it traps you using both of its claws and starts to inhale, roll underneath the gaps in the claws to escape. This attack provides a good opportunity to take out your Grappling Hook and throw it at Valoo’s tail. Swing from Valoo’s tail, then let go. A sheet of rock will fall on Gohma’s head, cracking its armor.
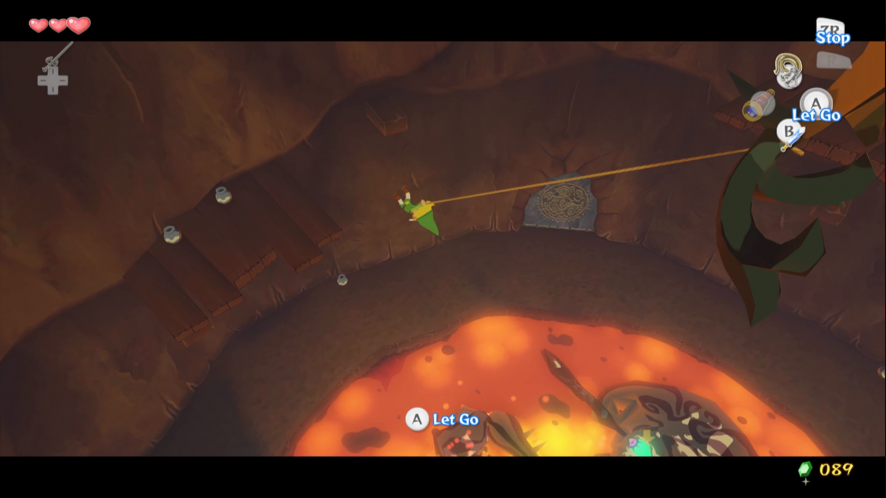
Try to land on the wooden platforms near the top of the room, where Gohma can’t reach you. It will soon try to burn them down, but you will have more than enough time to aim the Grappling Hook at Valoo’s tail again.
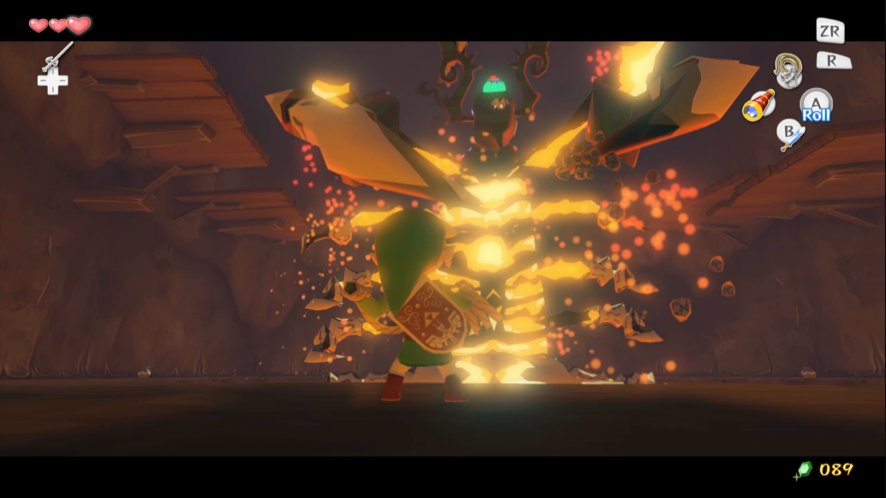
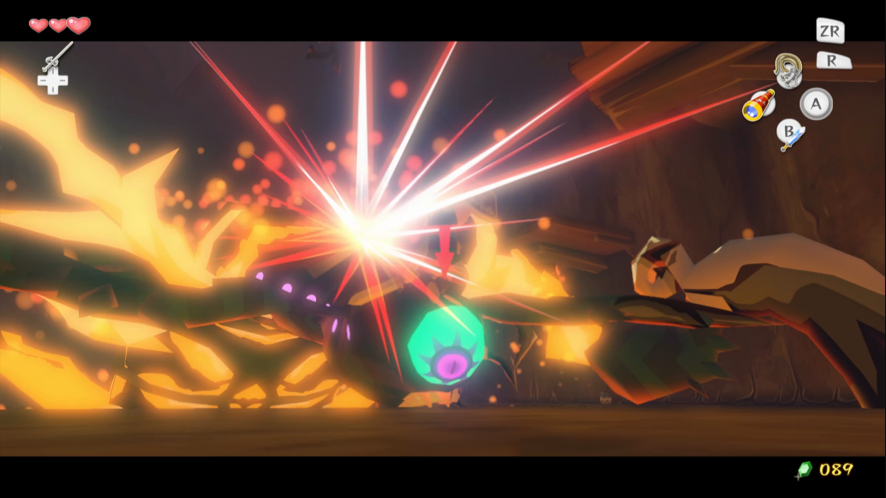
After dislodging the sheet of rock three times, Gohma will break free from its armor. The music speeds up at this point and so does the Boss. L-Target Gohma’s eye and throw the Grappling Hook at it to stun the Boss. Follow up with your sword. Repeat once or twice more and Gohma will explode.
If you’re feeling really brave, it’s possible to complete the second phase without the Grappling Hook. Gohma’s eye is vulnerable when it drops down to your level and prepares to breathe fire, if you can dodge the attacks from its mouthparts.
Take the Heart Container that the Boss left behind and step into the whirlwind. Back on the beach, Prince Komali will give you Din’s Pearl, while Medli and Valoo name you a true hero.