Chapter 3: The Forsaken Fortress
Table of Contents
1.1 Entering the Fortress
Thanks to Tetra’s bad aim, your sword is now lying at the top of the tower. Without a weapon, you will have to resort to stealth. However, Tetra can give you advice through a Gossip Stone as you try to sneak through the fortress. Check your map to keep track of your current location.
Walking into a searchlight or being seen by the hulking Moblins will get you thrown into a prison cell. Fortunately, there is a way to escape:
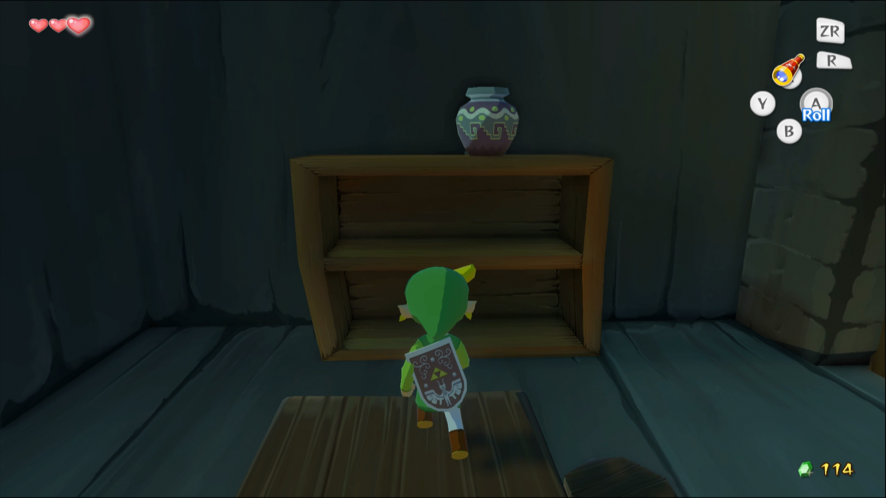
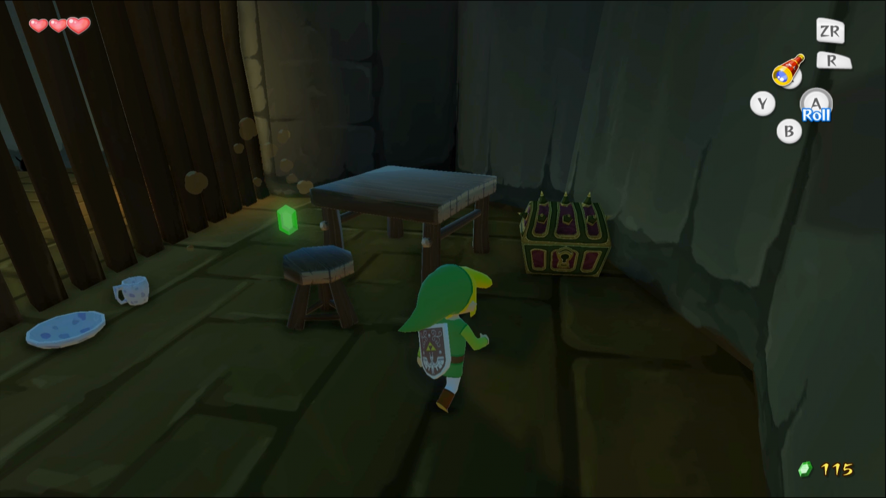
Jump from the table to the cabinet and smash the pot to reveal a hole.
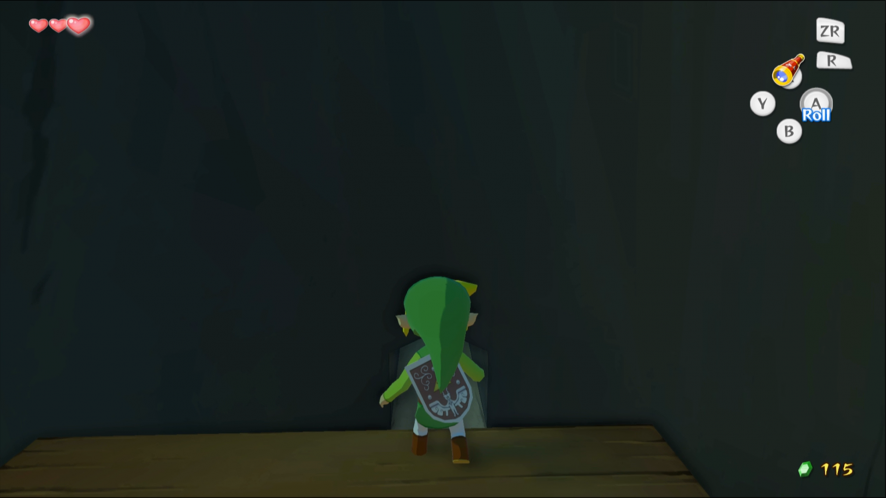
Crouch down to crawl through and emerge on the other side.
This is a good way to get into the fortress. The Dungeon Map is in a Treasure Chest nearby.
There is a Piece of Heart on the floor below: find a switch behind some barrels to open the cell.
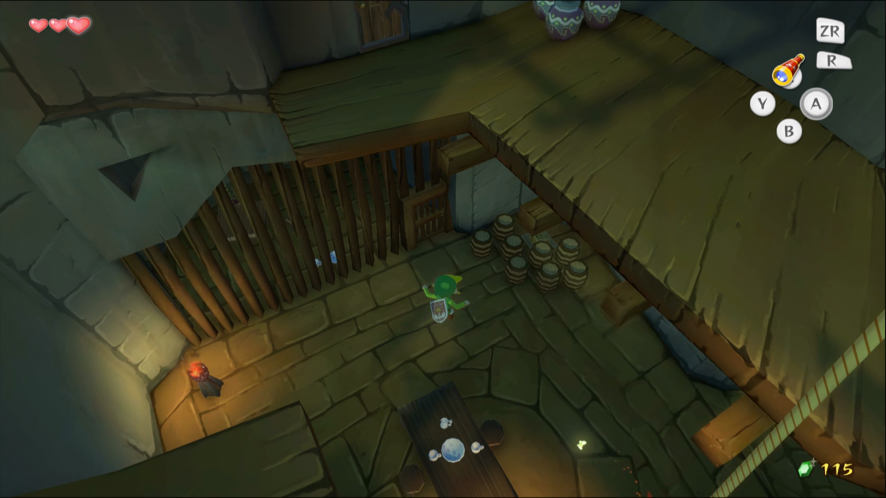
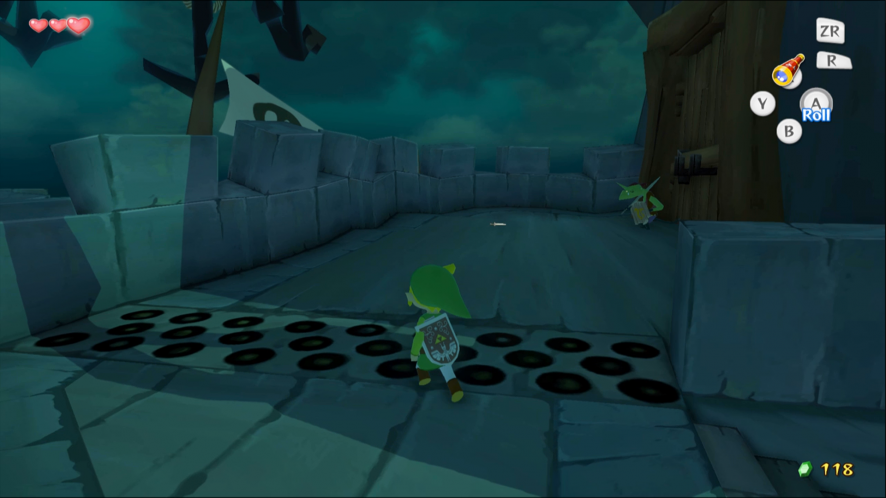
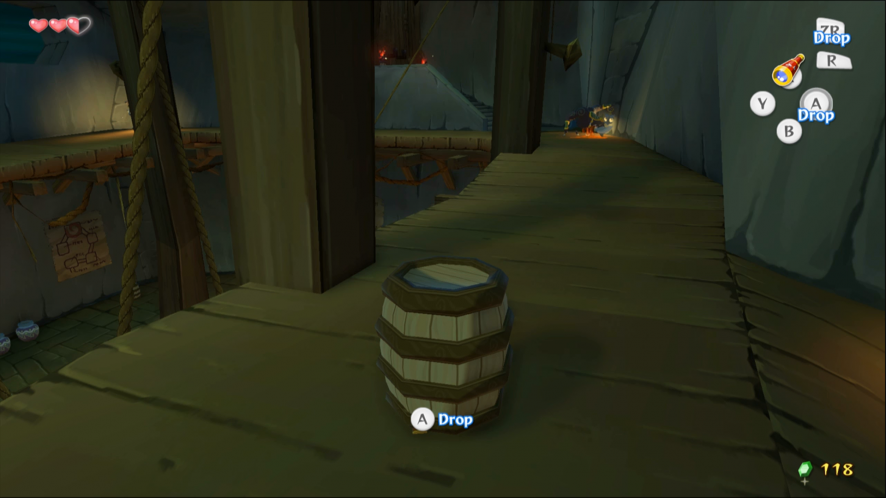
Look out for the barrels lying around. Picking them up allows you to conceal yourself inside while still being able to walk around. While you are hiding underneath a barrel the searchlights and Moblins will not detect you, unless they see you moving.
1.2 Disabling the Searchlights
There are three sets of searchlights on the walls of the fortress. The searchlights on top of the southwest tower must be disabled in order to reach the tower. The other searchlights are less important. The ladder to the southwest tower can be found by going clockwise from the second floor prison room. Alternatively, you can go counterclockwise from the room with the Moblin statue.

The searchlights are operated by Bokoblins. You can make them drop their weapons by blocking their attacks with your shield, or you can smash the jars nearby and pick up a spare weapon.

Remember that enemy weapons handle a bit differently to your own.
The first floor is patrolled by lots of Moblins, but you can move around undetected on most of the second floor. The stairs on the right hand side of the main courtyard go straight to the second floor. Once you get past the searchlights you can go either left or right. The ramp on the right leads to another of the searchlights.
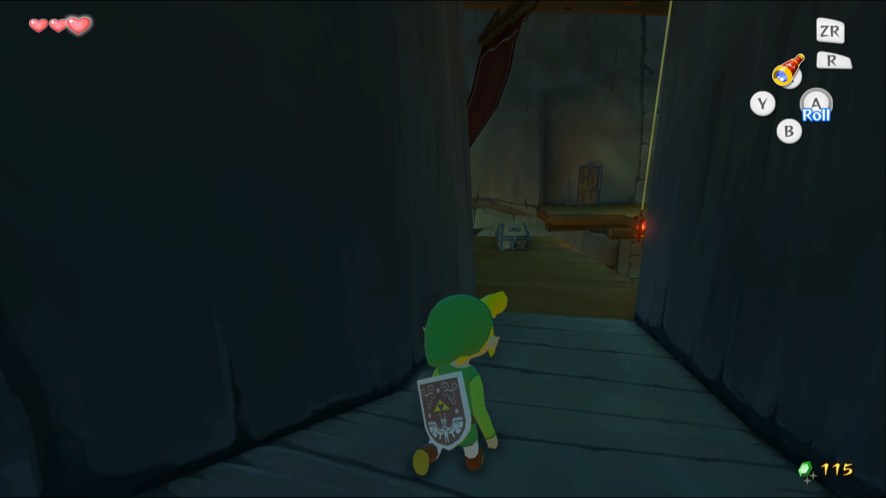
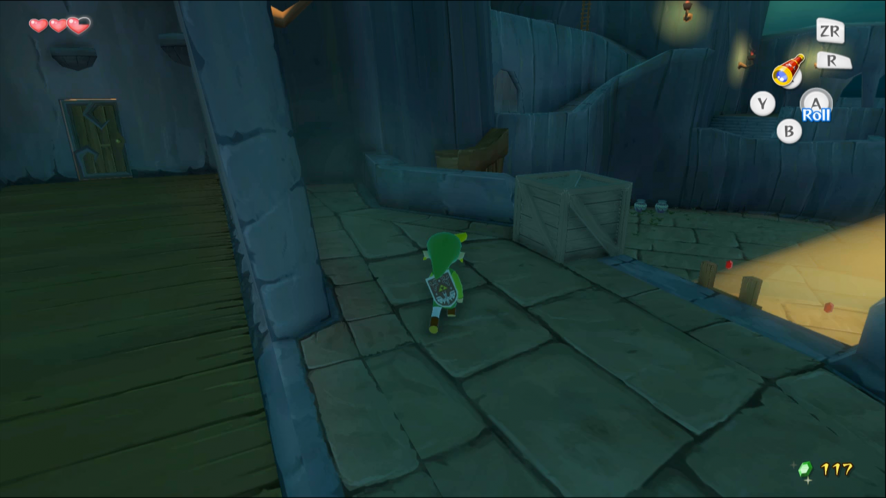
The door that goes up to the tower is in the northern section of the fortress. You can approach this room from either direction but it is easier to sneak through from the east side. Coming from this direction also allows you to open a shortcut. Find the wooden crate and push it over the ledge.
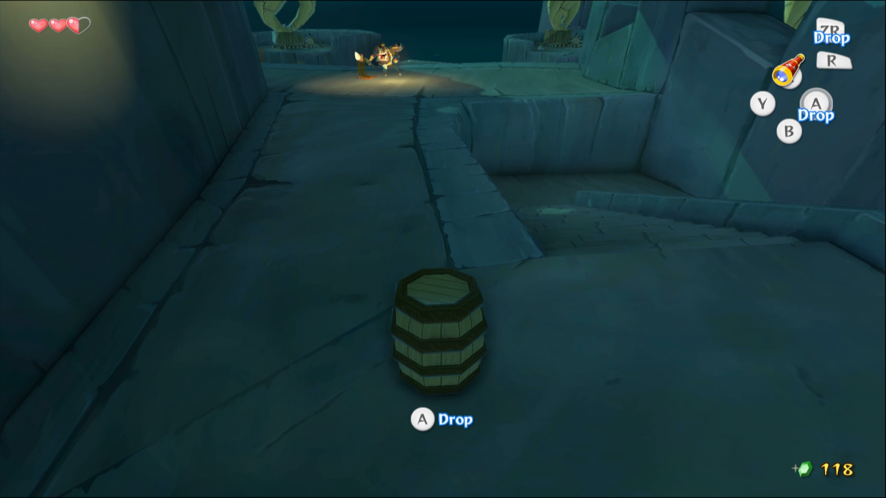
Make use of the barrels to sneak past the Moblins when their backs are turned and go out the door at the back. There is one last Moblin patrolling outside. Stay out of sight until it is looking the other way, then hide underneath the barrel. Stay hidden until you get past the Moblin.
1.3 The Hero’s Sword
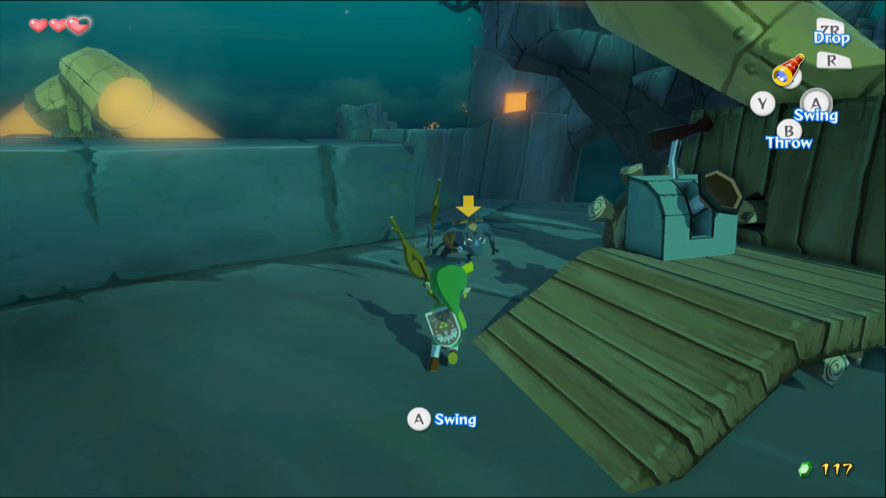
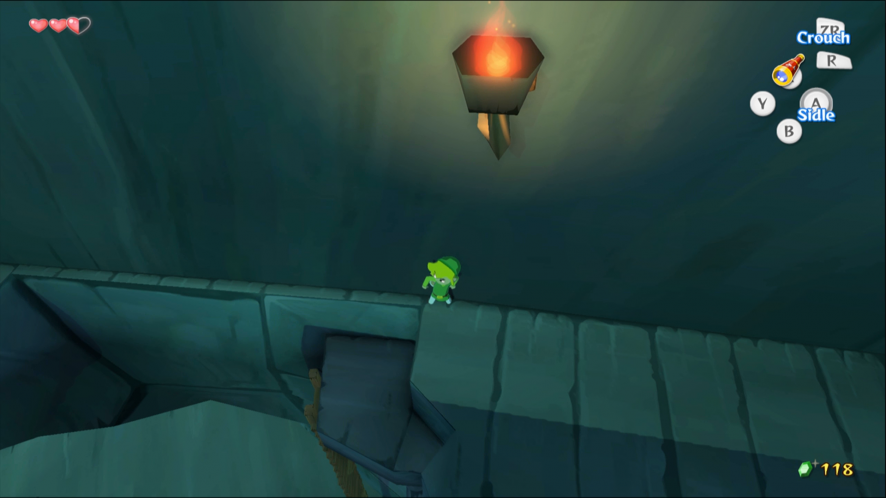
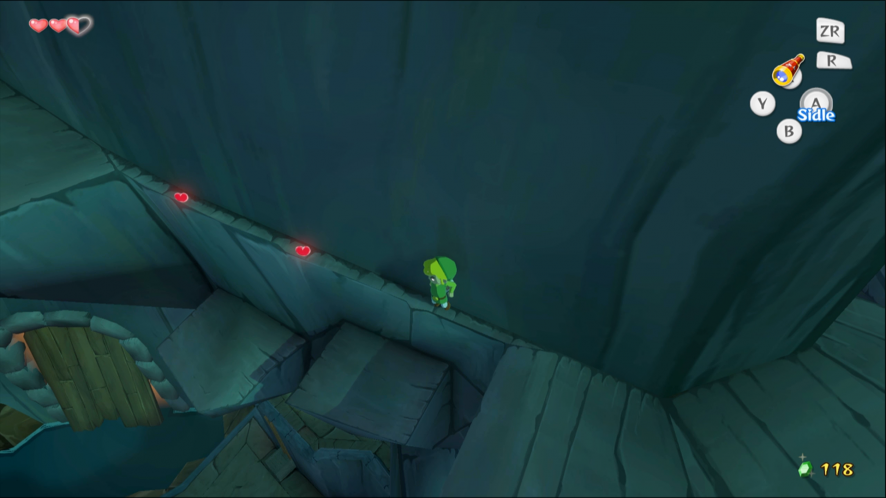
Some of the walkway has collapsed, so you have to sidle along two narrow ledges to reach the final area. If you haven’t disabled the southwest searchlight you will be caught. Just below the first ledge is a wooden crate, which can be pushed over the side to create another shortcut.
Pick up the Hero’s Sword and defeat the Bokoblin. It is more dangerous than the ones before because it has a shield, but you are now fully equipped too. Enter the tower to find Aryll. The Helmaroc King appears at this point and throws you into the sea.