


Chapter 15: The Wind Temple
Table of Contents
1.1 The First Warp Caldron
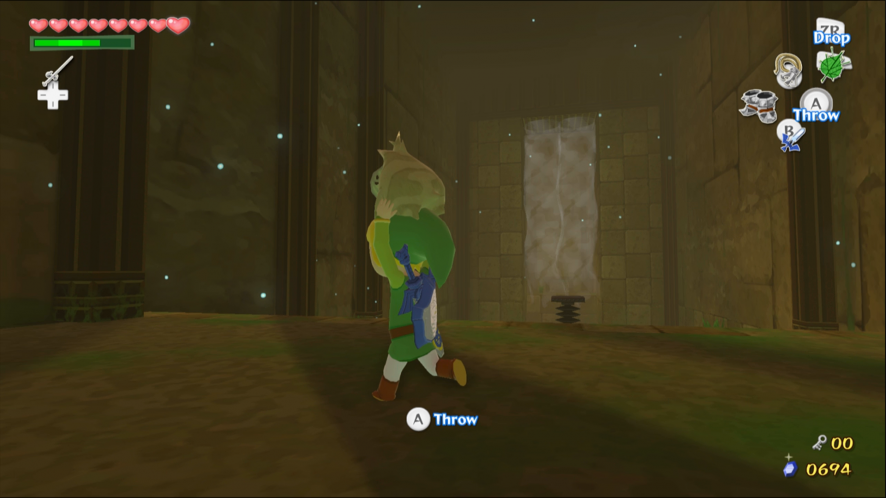
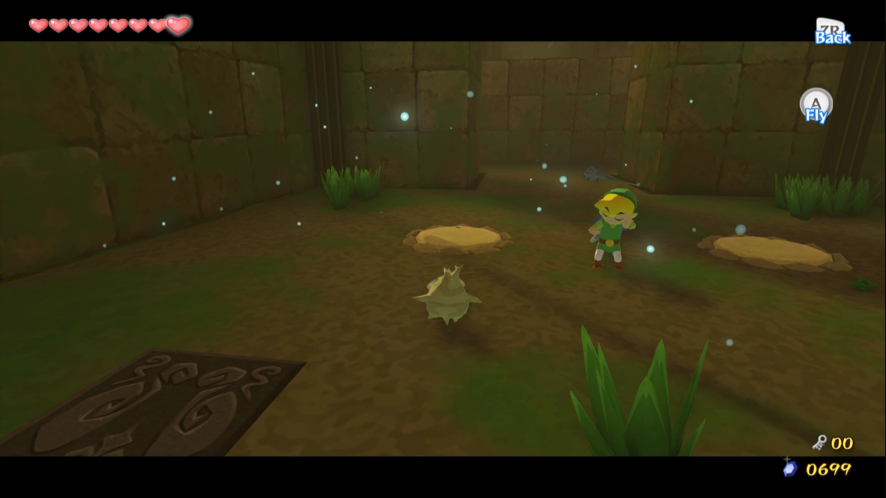
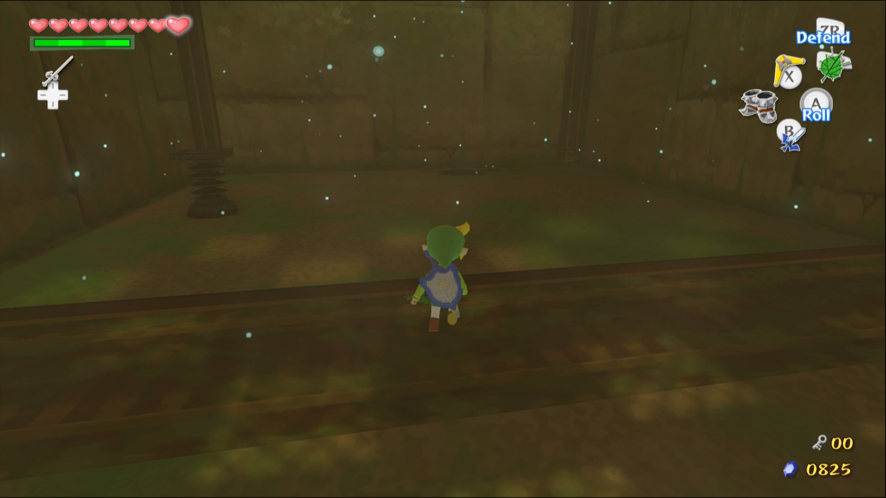
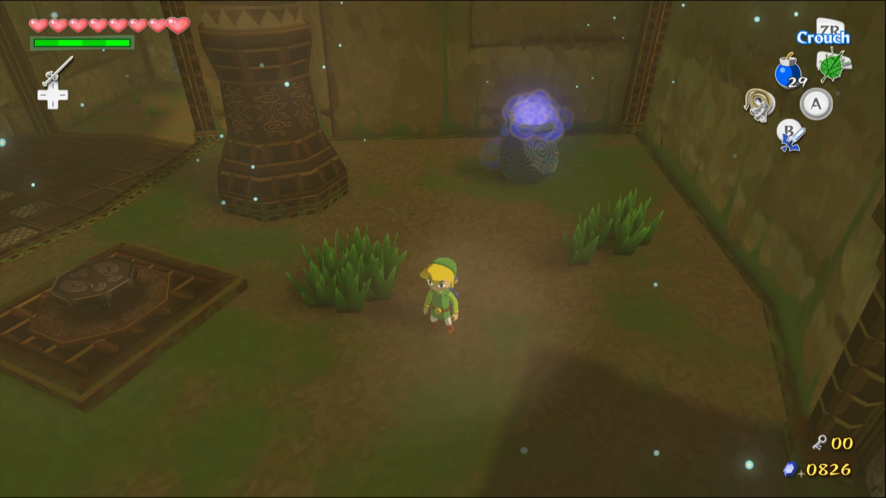
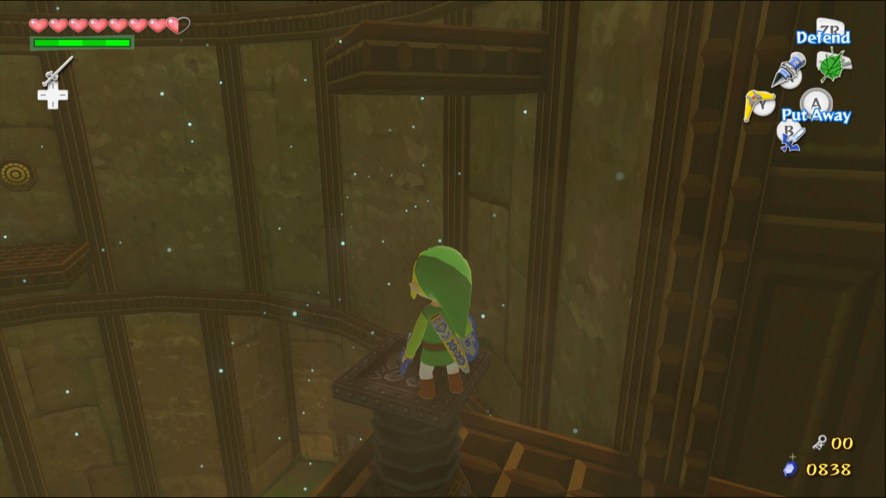
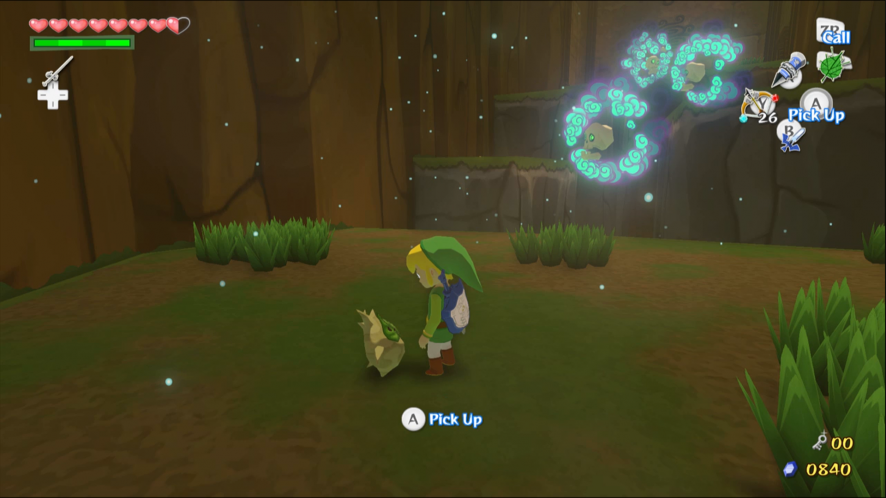
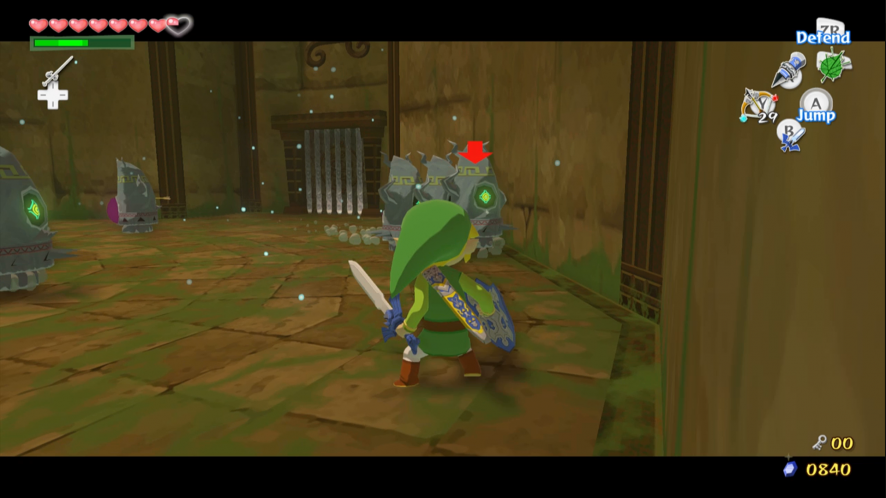
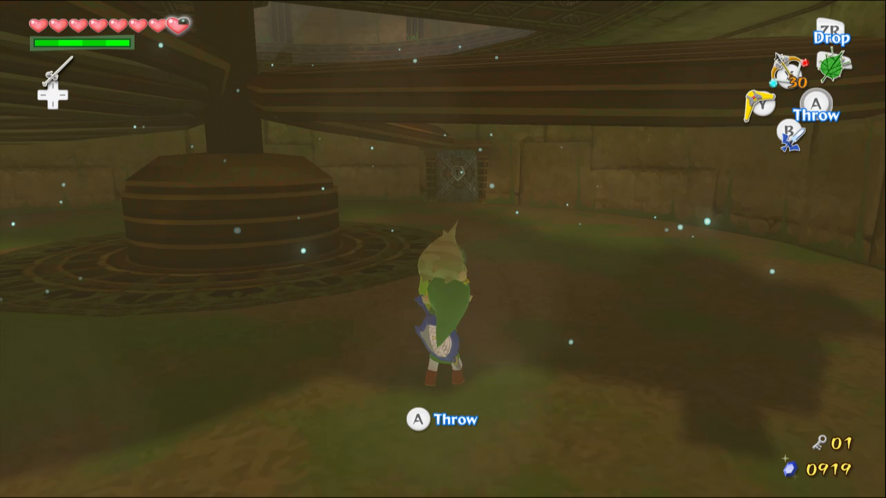
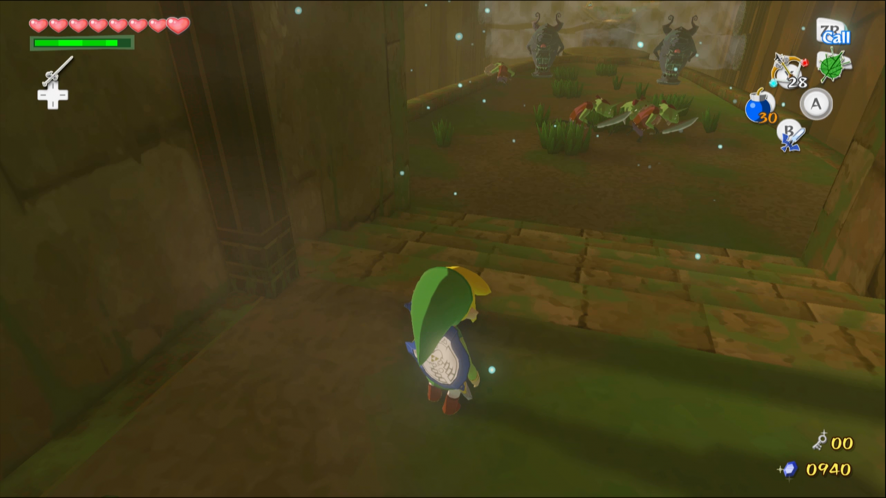
Pick up Makar and head through the first door. Jump down to the area below and defeat the Wizzrobe. Explore a bit further ahead to find the first Warp Cauldron, guarded by a Stalfos.
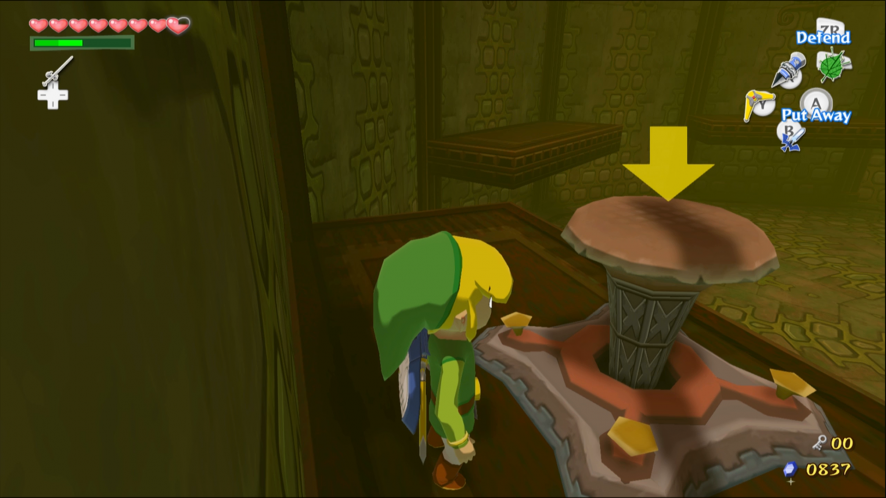
Use a Bomb or Fire Arrow to destroy the lid on the Warp Cauldron.
Use the Command Melody to take control of Makar.
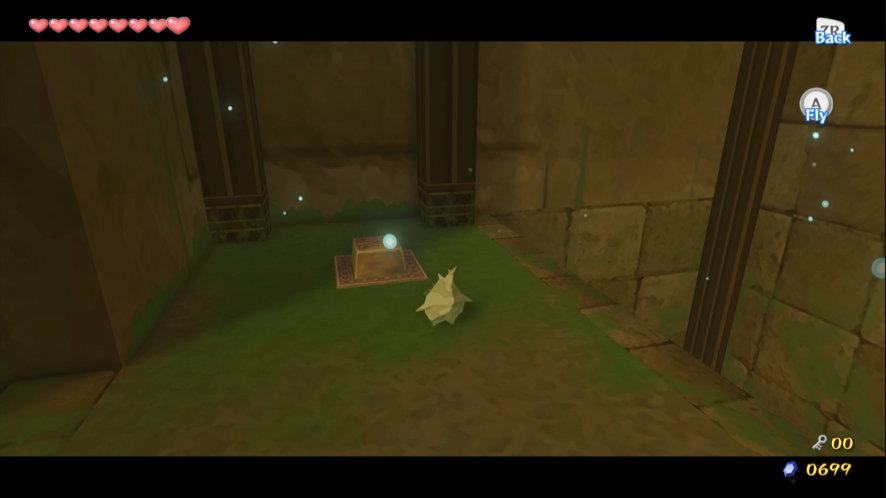
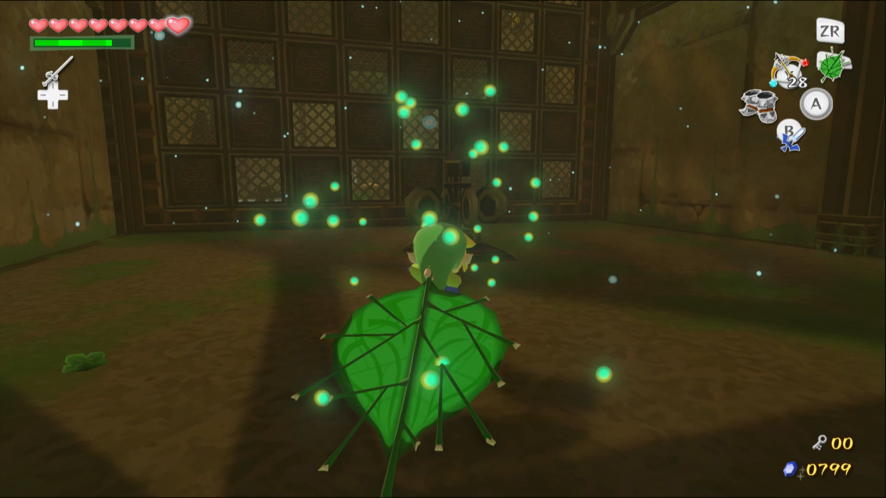
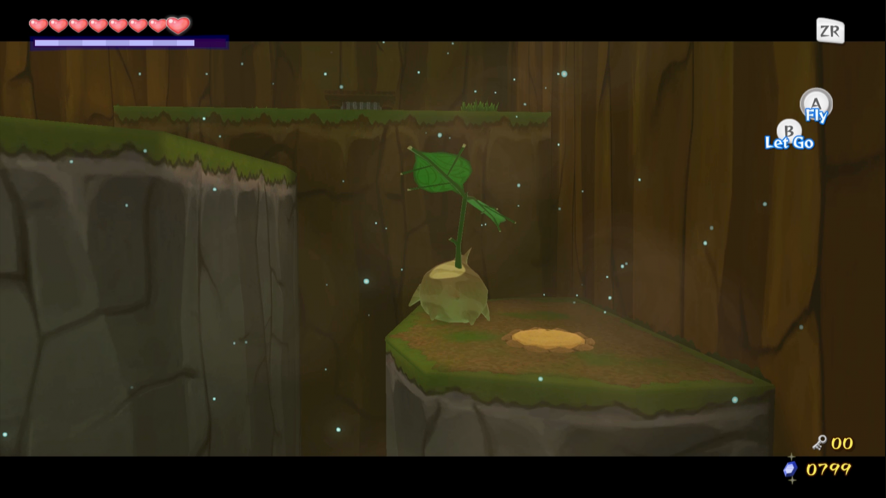
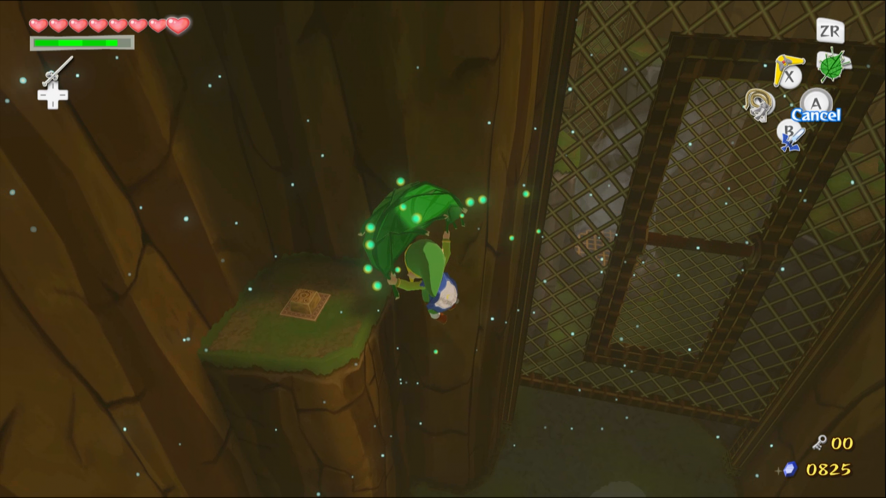
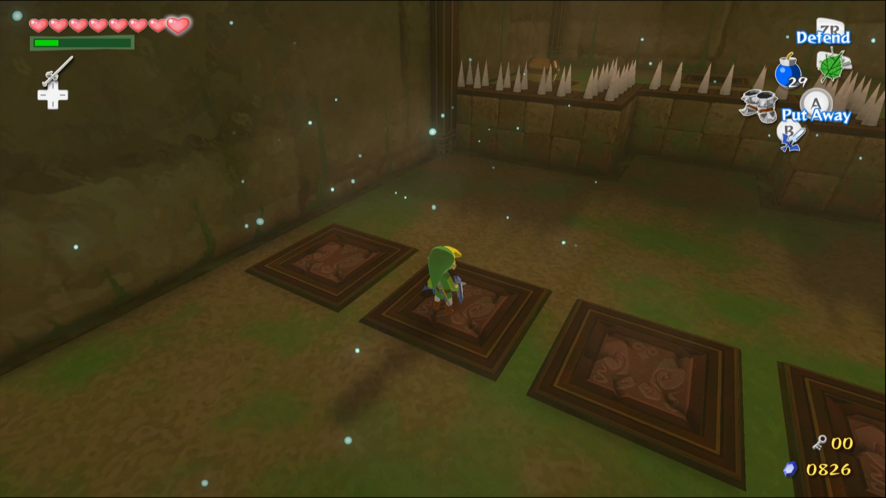
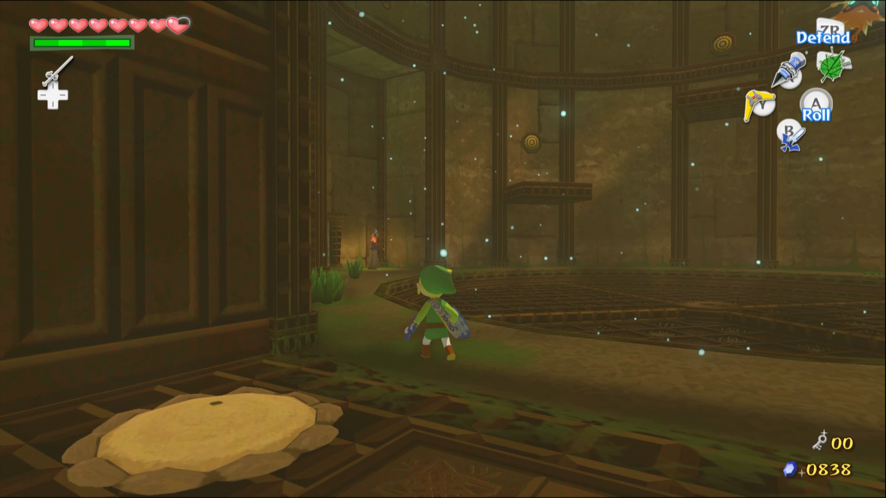
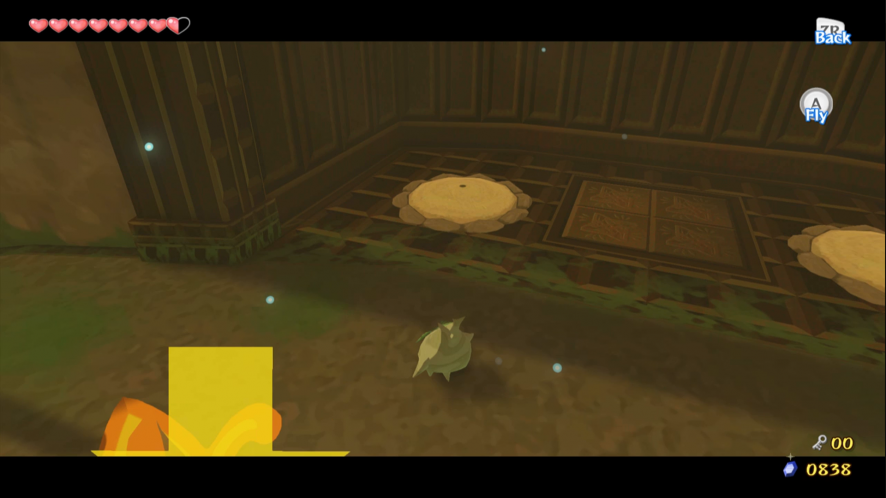
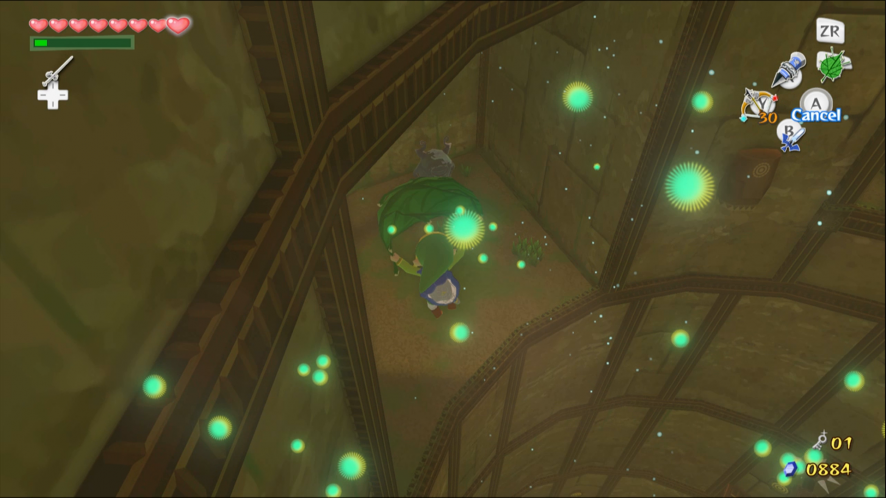
Examine the soft patches of earth and plant a seed in each of the holes. A Treasure Chest containing an Orange Rupee will appear.
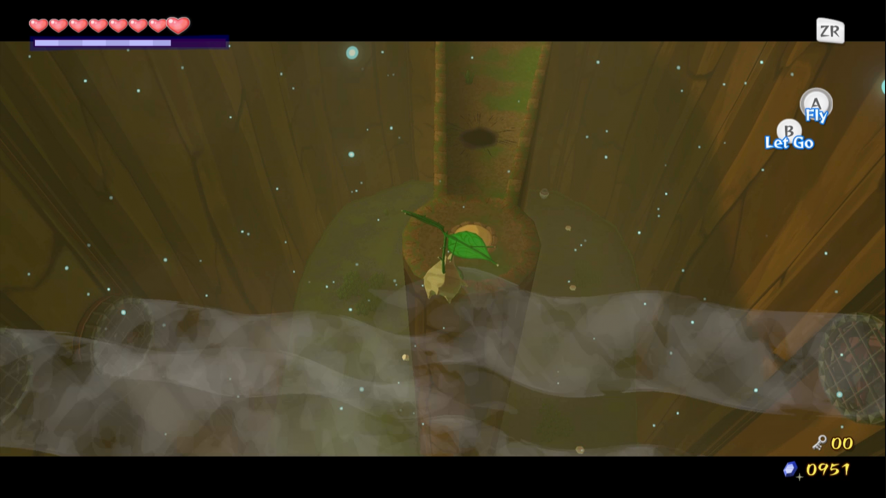
As Makar, walk underneath the strong winds, then fly up to the ledge above. Step on the switch to deactivate the fans permanently.
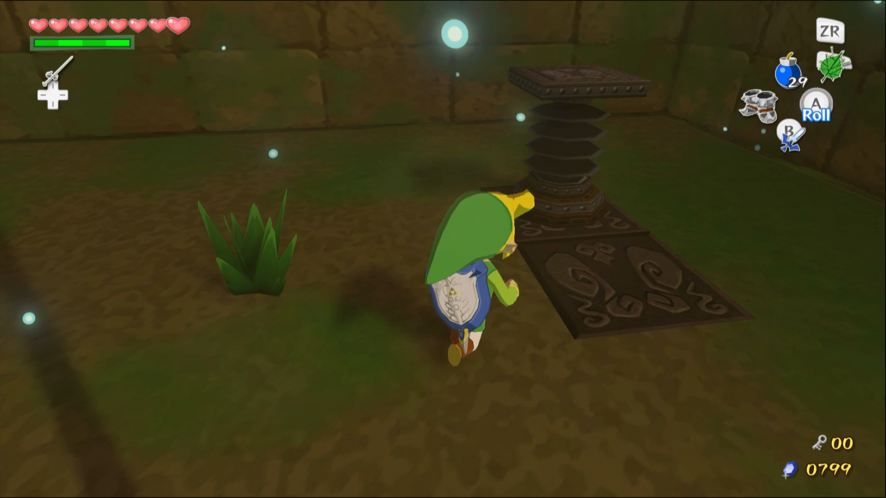
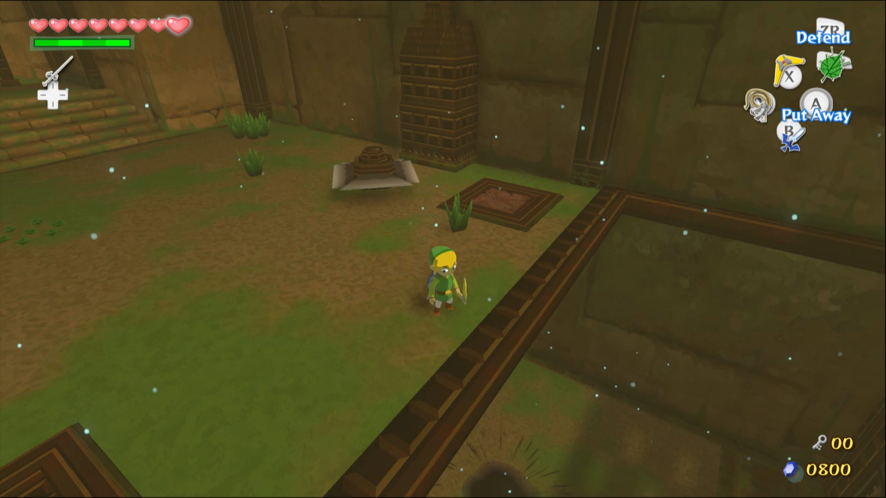
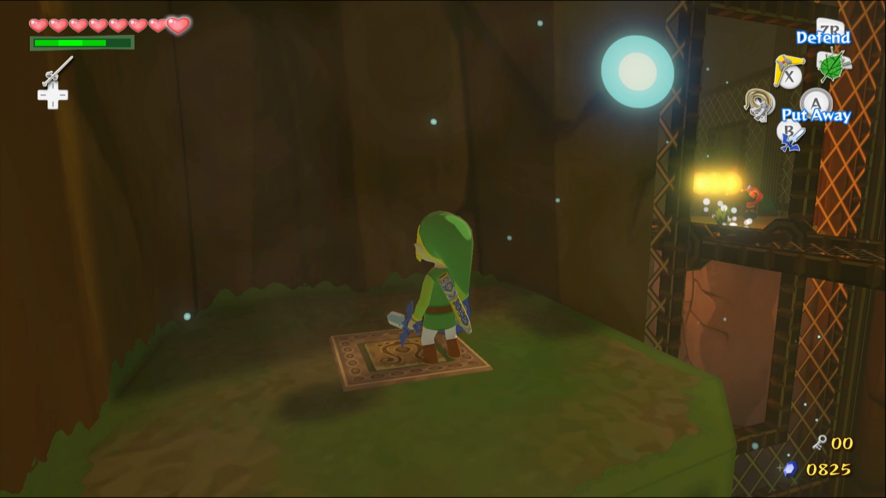
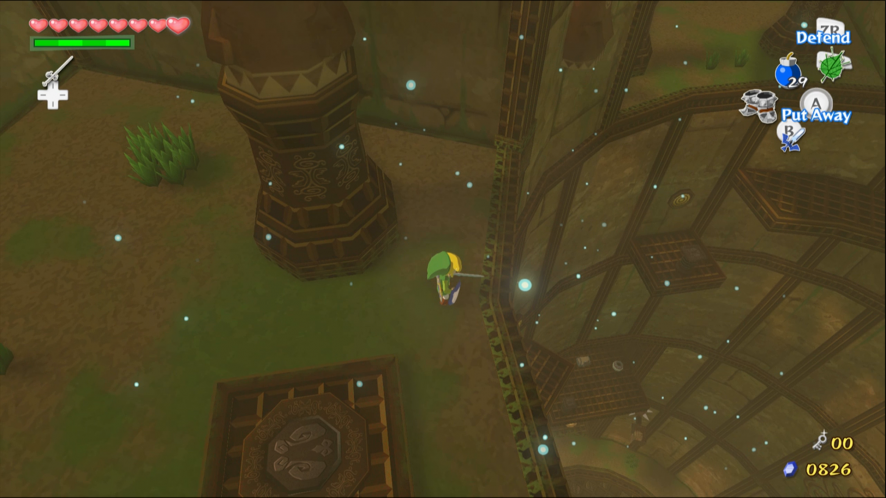
Return to your body. Climb onto the metal device near the ledge and equip the Iron Boots. The spring beneath you will compress under your weight. Take off the Iron Boots to spring high into the air and land on top of the ledge.
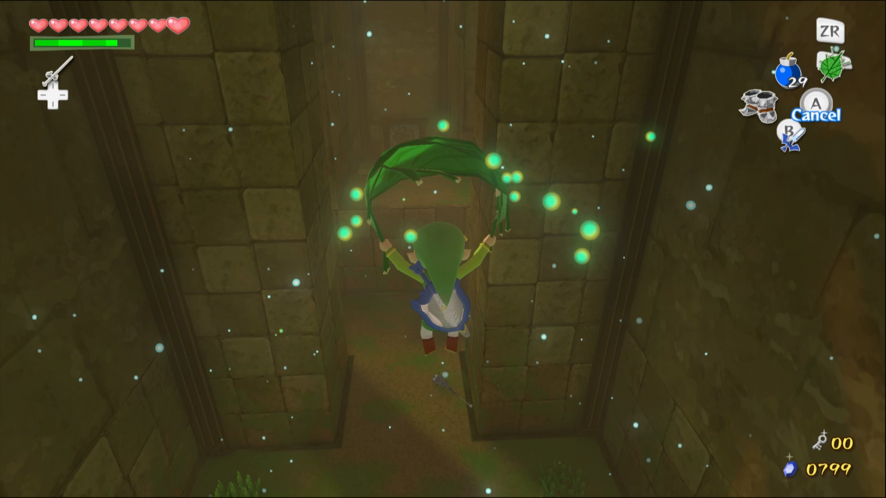
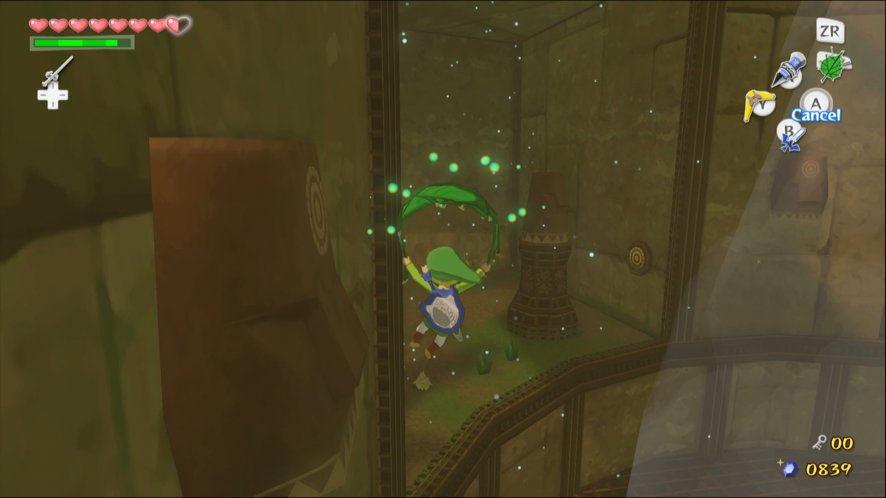
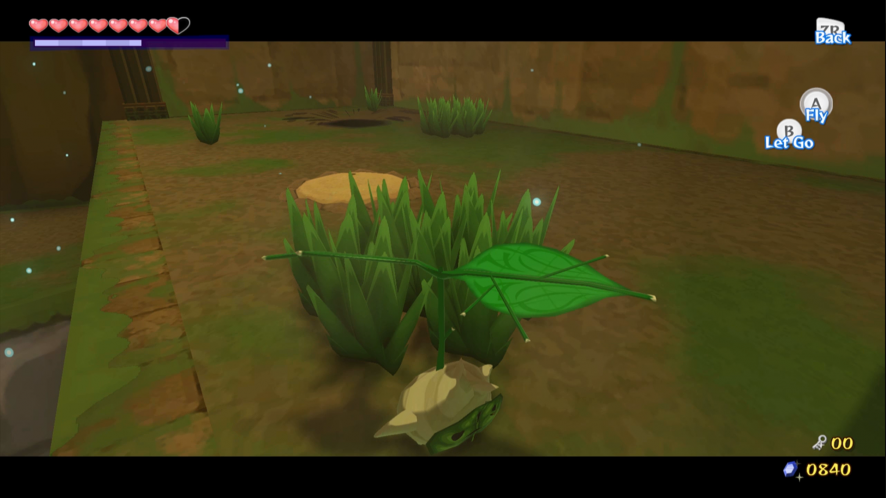
Climb onto the spring on top of the ledge. Equip and unequip the Iron Boots to spring into the air, then take out the Deku Leaf and fly to the other side of the room. Grab Makar and enter the next room.
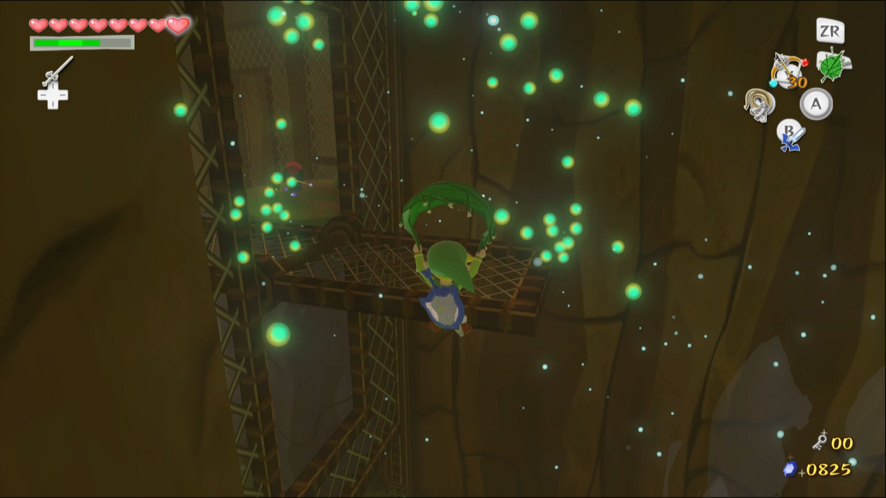
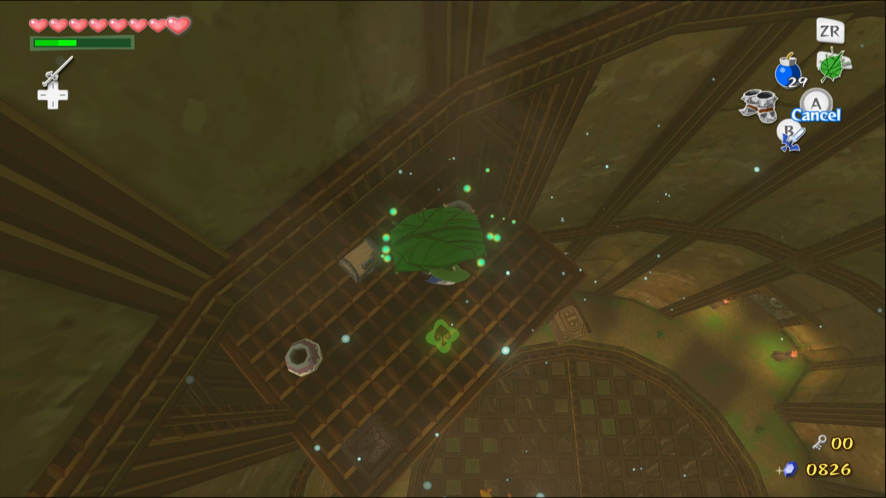
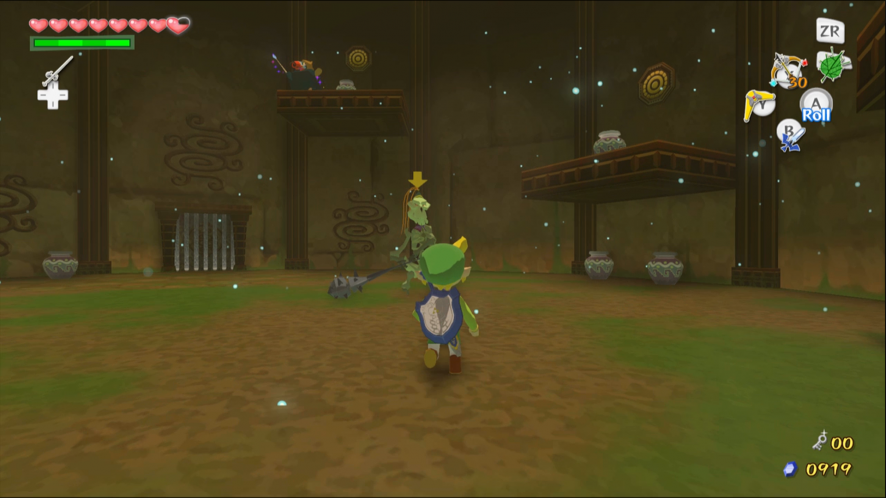
Defeat the Armos first. Then use the Deku Leaf to spin the windmill, opening up the screen in the middle of the room. After you’ve obtained this dungeon’s item you can find a Joy Pendant hidden on the layer above.

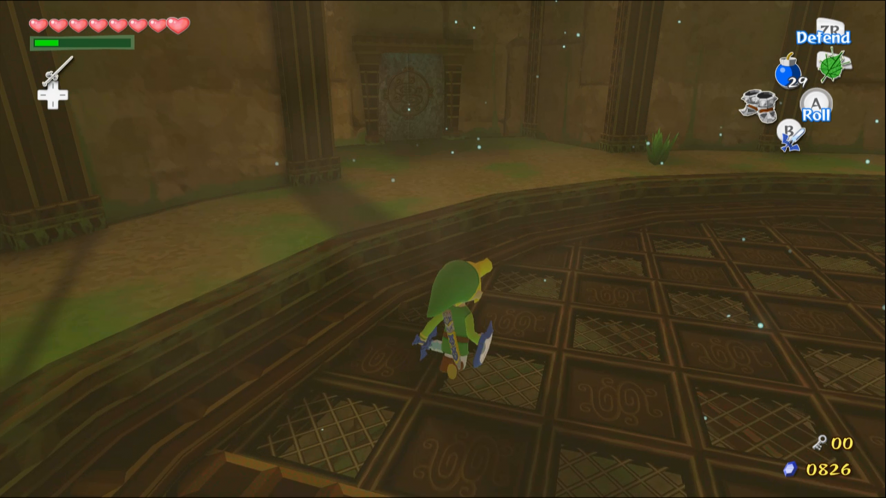
Avoid the blade traps as you cross the room with Makar.
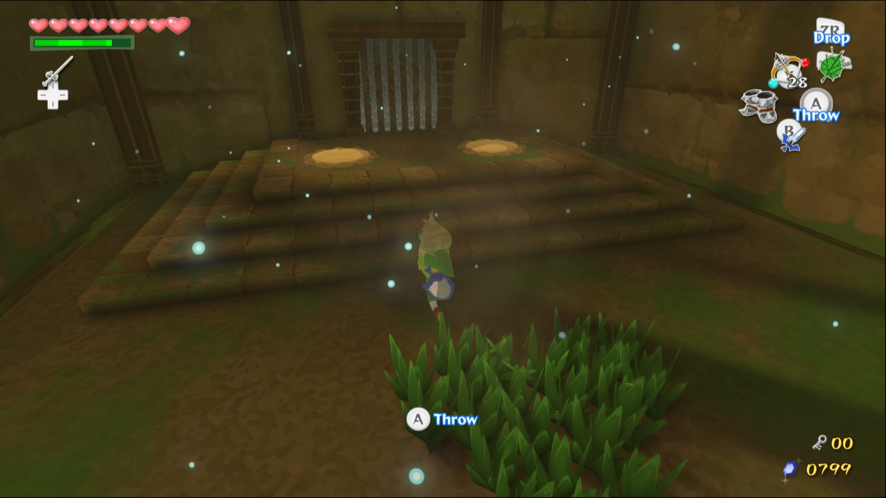
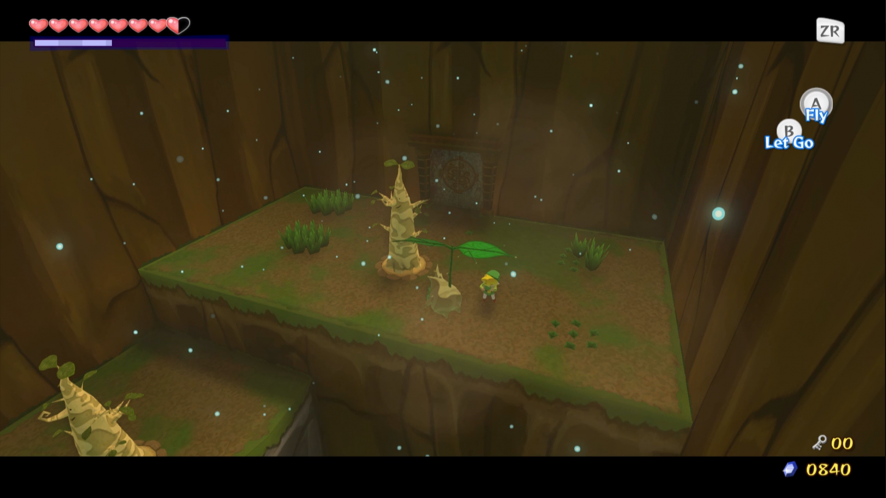
Take control of Makar. Fly to each of the ledges and plant seeds in the soft earth. When you plant a seed in the highest patch of soil, the doors will unlock. However, a group of Floormasters will appear and kidnap Makar too.
1.2 Makar’s Capture
Enter the next room to find Makar. He’s trapped behind a heavy statue that you cannot move, even with the Power Bracelets. Leave Makar and find the door to the next room, beyond the Armos Knights.
Defeat the Peahats then get past the blade trap, but don’t jump off the ledge. Turn the camera to get a look at the Floormaster underneath the ledge. Wait for the Floormaster to move away before you make your move. Equip the Iron Boots to smash through the cracked patch of floor.

Use the Deku Leaf to spin the windmill and rotate the screen. Head over to the other side of the room. Defeat the second Floormaster, then use the spring to get back to the level above.
Jump across to the alcove at the side of the room to get a Joy Pendant.
Ignore the stone slab inscribed with the Wind God’s Aria and take the door on the right.

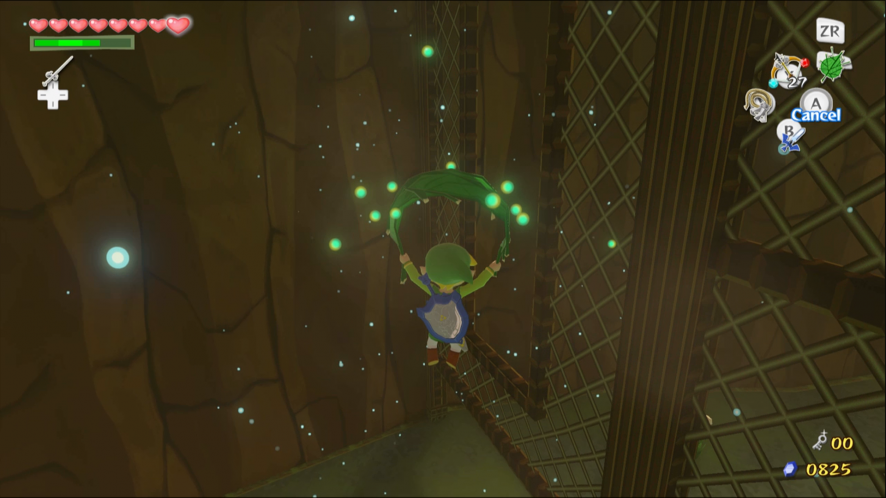
Glide with the Deku Leaf and use the wind to reach the high ledge. Step on the switch to open a gate in the fence. Glide across the gap.
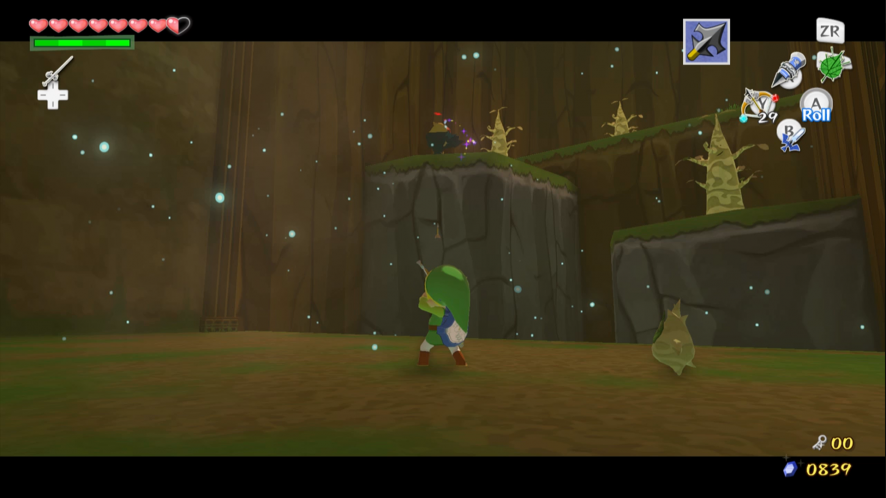
Cut the grass to find Magic Jars if you start to run out of Magic Power.
A Wizzrobe will appear nearby. There is a Treasure Chest in the distance that you can glide to from your ledge. Inside is the Dungeon Map. You can glide into the wind to get back up to the ledge without touching the ground. If you do happen to fall, go back to the beginning and climb up.

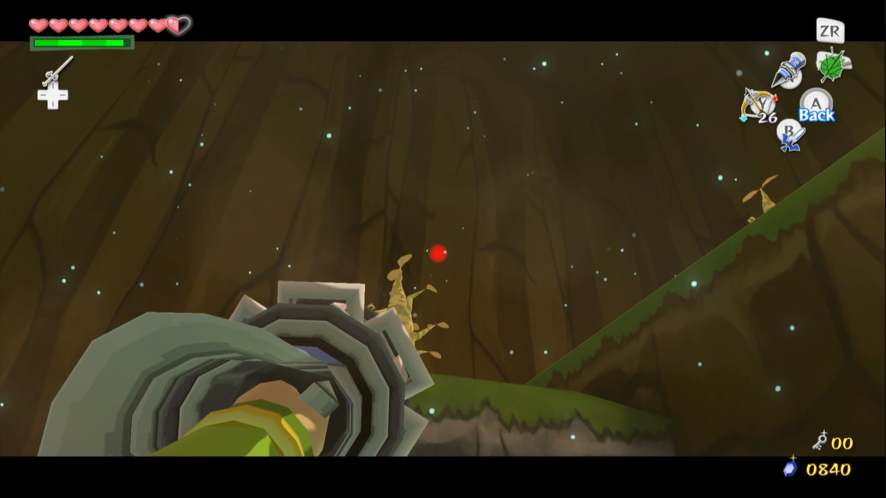
Your Hero’s Bow gives you the best chance of defeating it.
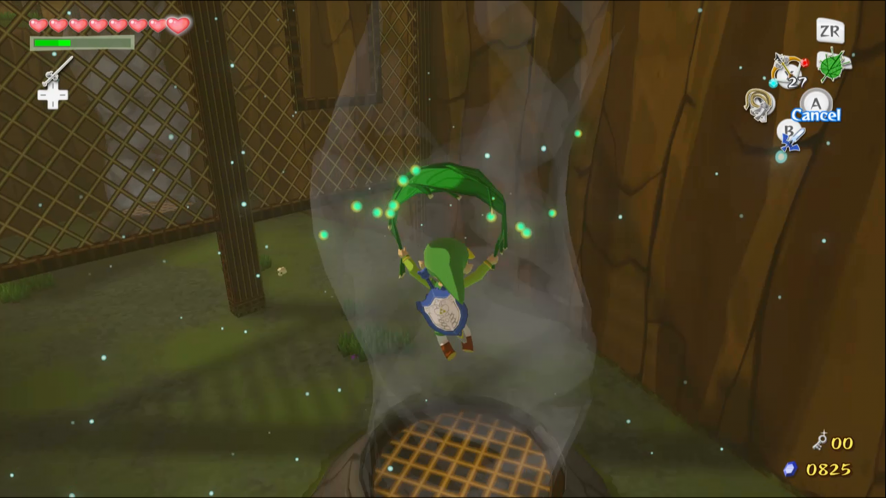
Glide through the hole in the fence on the right until you reach the next updraught. Use it to get to the next ledge.
Defeat or evade the Wizzrobe and glide to the exit.
You will come back to the big room where Makar is imprisoned. Step on the metal switch while wearing the Iron Boots to open a hole in the floor. Before you go anywhere, look for the nearby Warp Cauldron and open it up.
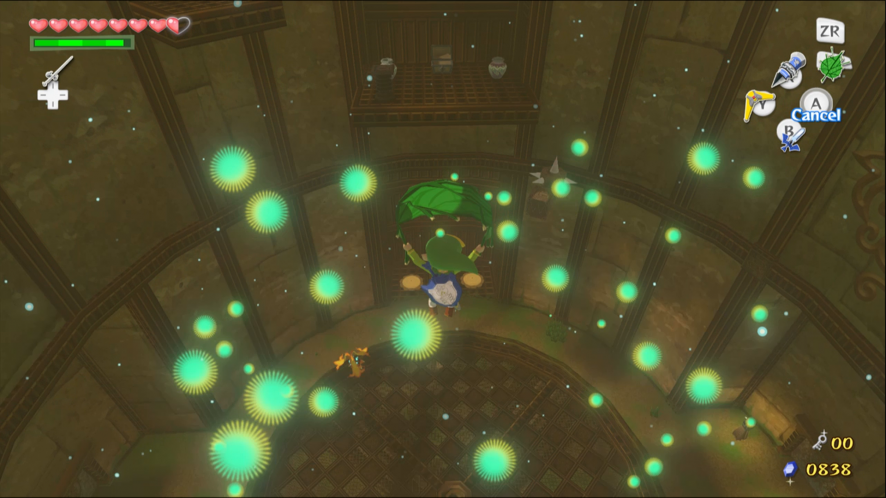
Jump into the hole in the floor and use the Deku Leaf to manage your descent. See if you can get the Compass on the way down.
When you reach the bottom, go through the door that is unlocked.
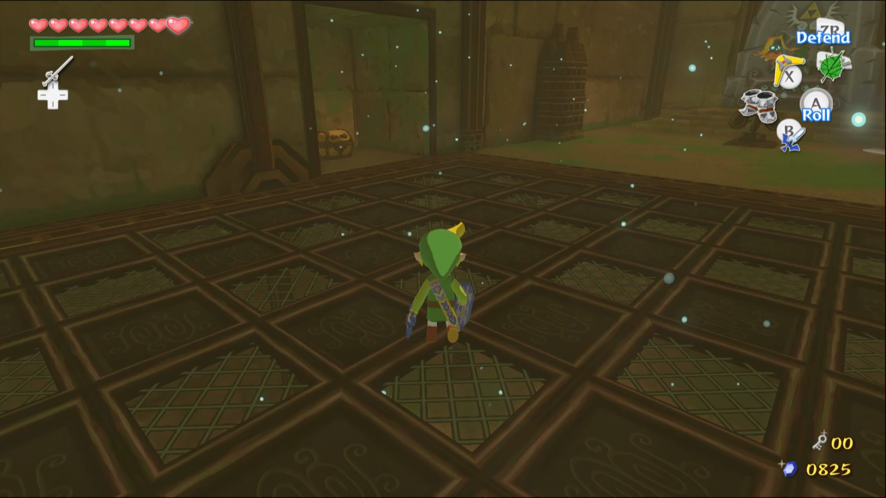
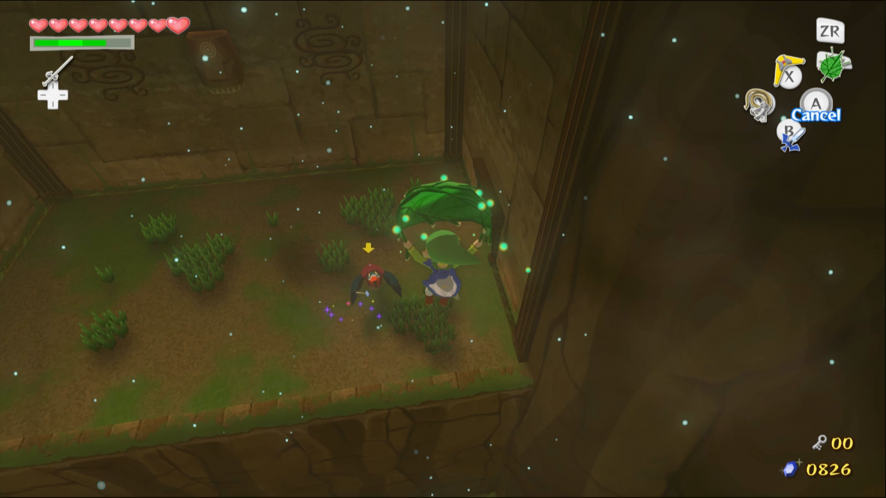
There are five cracked tiles on the floor. Breaking through four of them will trigger an enemy attack; the tile between the center and the left is safe.
The middle tile summons Floormasters, the tile between the center and the right activates the Armos nearby and the left and right tiles cause Chu Chus to appear. If you break an enemy tile you can still complete the puzzle.
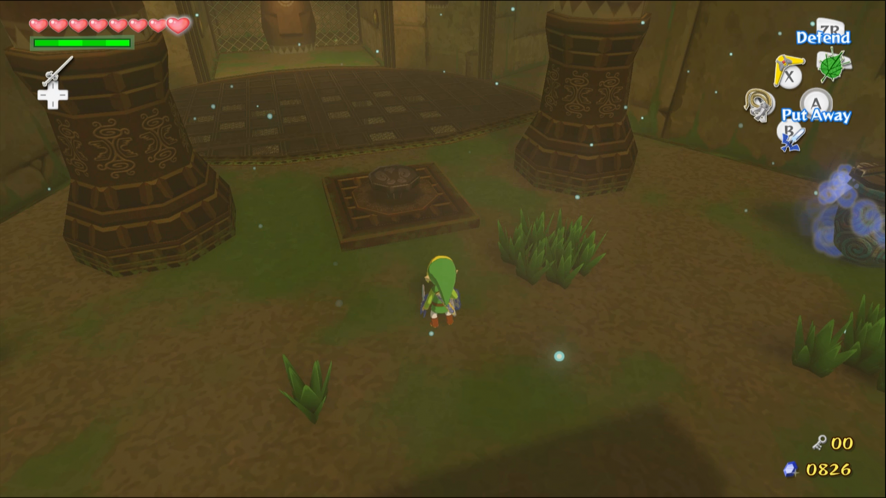
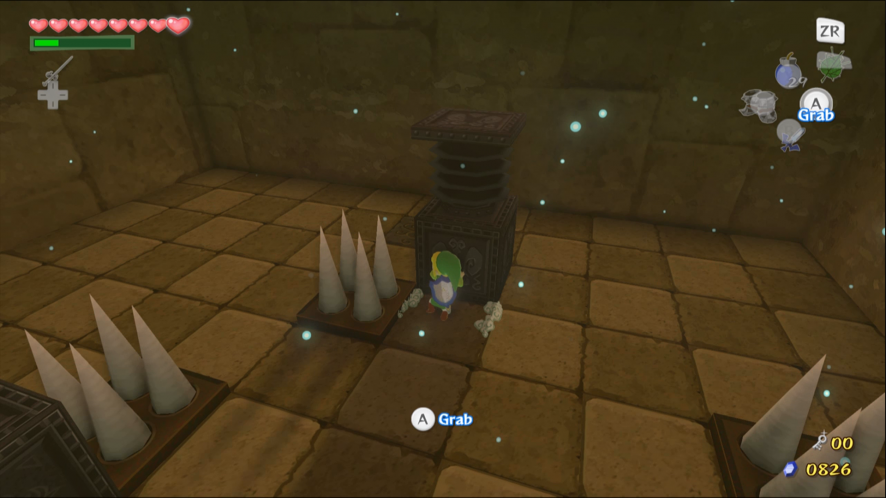
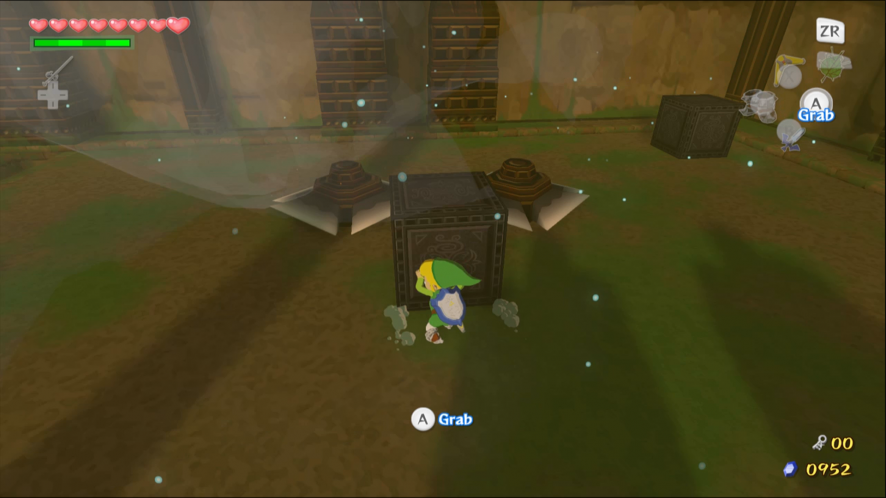
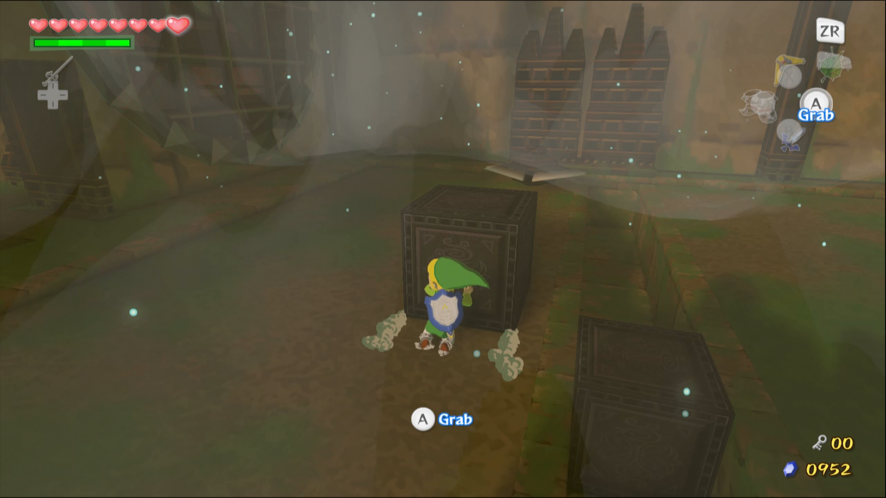
Grab the block with the spring mounted on top and push it onto the mark on the floor. Climb on top of the other block and jump to the spring. Use the Iron Boots to spring up to through the hole in the ceiling. Open the Treasure Chest to get a Small Key. The spikes will retract, allowing you to leave.
If you smash every tile in the room, a Chest containing a Treasure Chart will appear at the back of the room.
Mini-Boss: Elite Wizzrobe
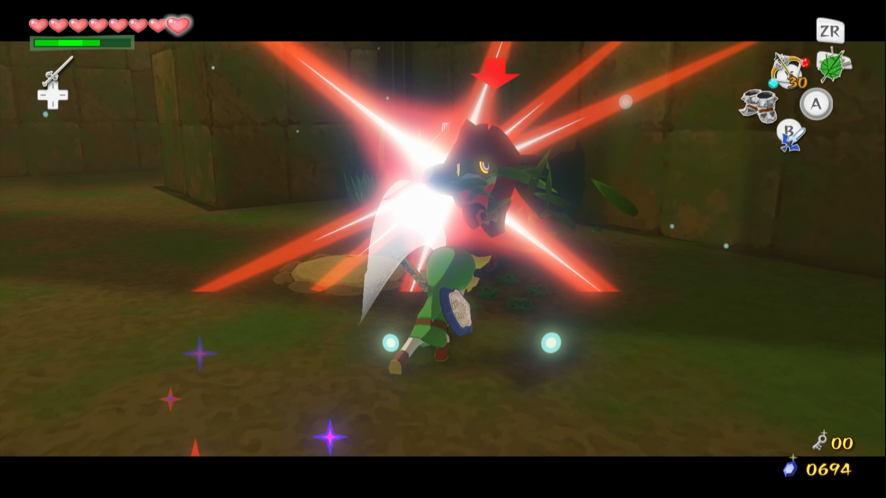
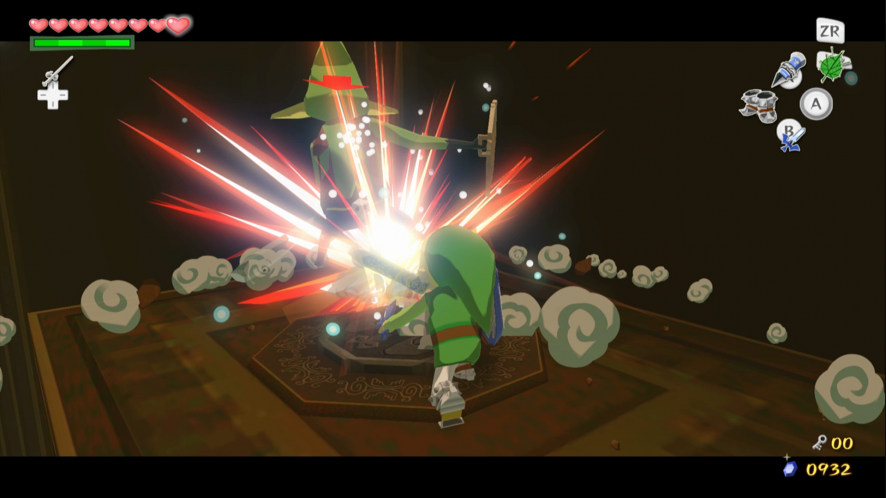
Cross the central room and open the locked door. Beyond the door is this dungeon’s Miniboss, an elite Wizzrobe. It automatically summons a Darknut and a yellow-hooded Wizzrobe, which can summon weaker creatures and take more damage than the red-hooded variety.

The fight can quickly become chaotic, with attacks coming from multiple directions. Try to defeat the Miniboss first, to stop it from replacing its fallen allies. It is susceptible to the attacks that work on normal Wizzrobes, like freezing them with Ice Arrows then smashing them.
When all of the enemies have been defeated, a Treasure Chest will appear.
1.3 The Hookshot
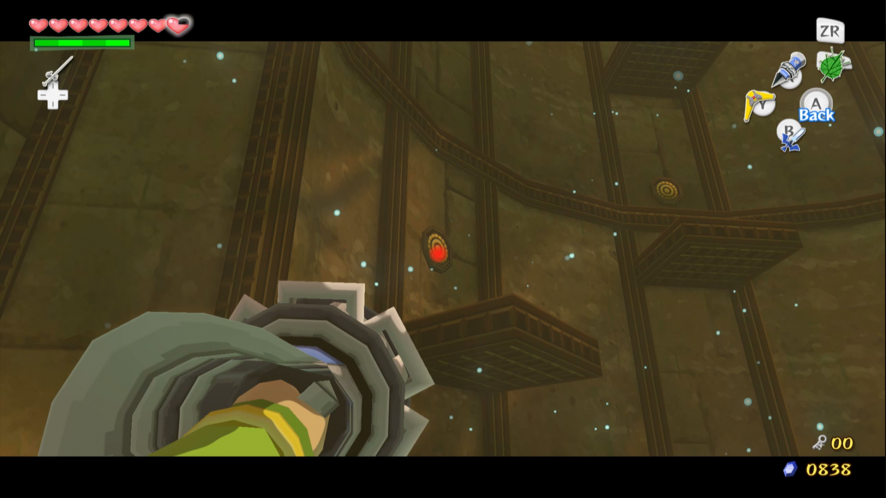
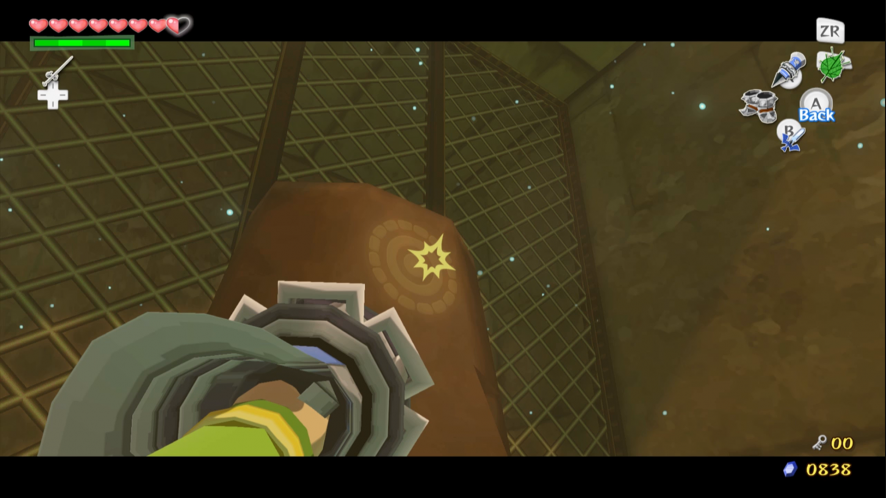
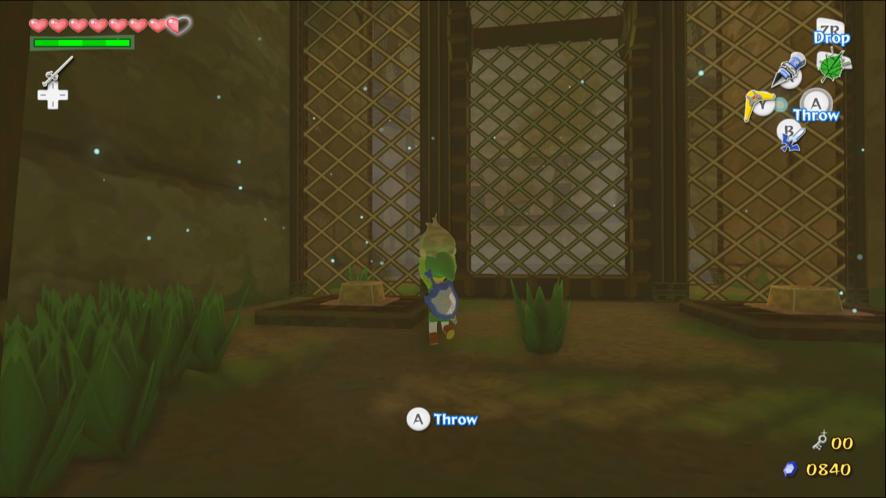
Open the Treasure Chest to get the Hookshot. Use the Hookshot on the target at the back of the room to climb up to the ledge.
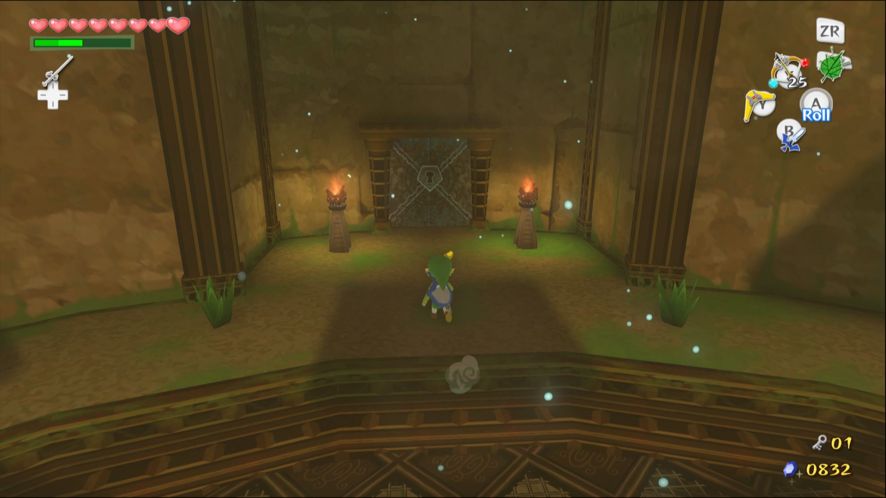
Hit the switch with the Skull Hammer to unlock the exit.
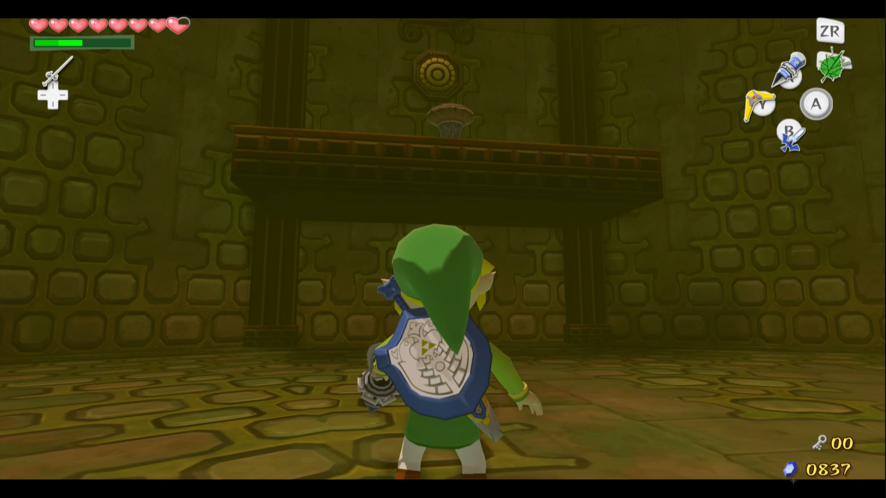
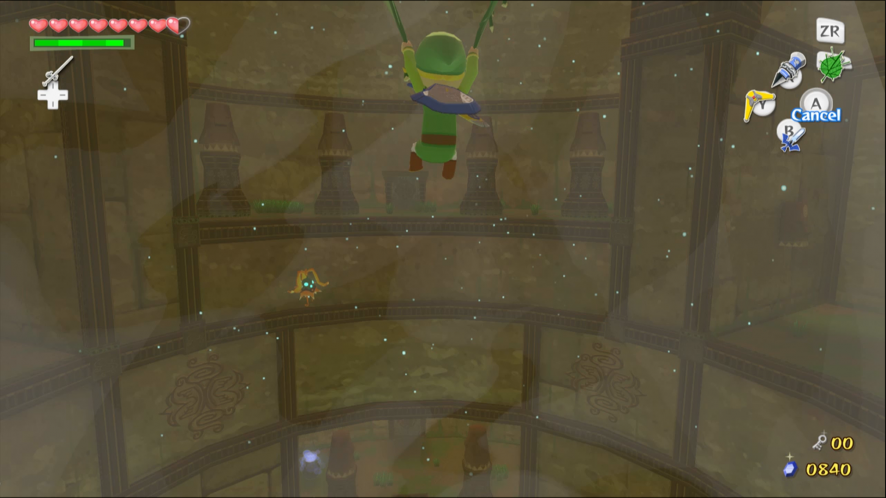
Return to the central room. Look for a Hookshot target on your left. Climb up the side of the room using this method until you run out of targets. Glide across the room to the Treasure Chest.
Take the Compass if you didn’t get it before.
Use the spring to reach the next ledge. Revert to using the Hookshot until you reach another spring. Jump up to the next ledge.
1.4 Freeing Makar
You should now be able to climb up to the area where Makar is using the Hookshot. Equip the Iron Boots and fire the Hookshot at the target on the statue. Stand well back, because the stone head will fall on top of you if you are too close. Makar will now be free.
By the way, the Treasure Chest contains a Joy Pendant.
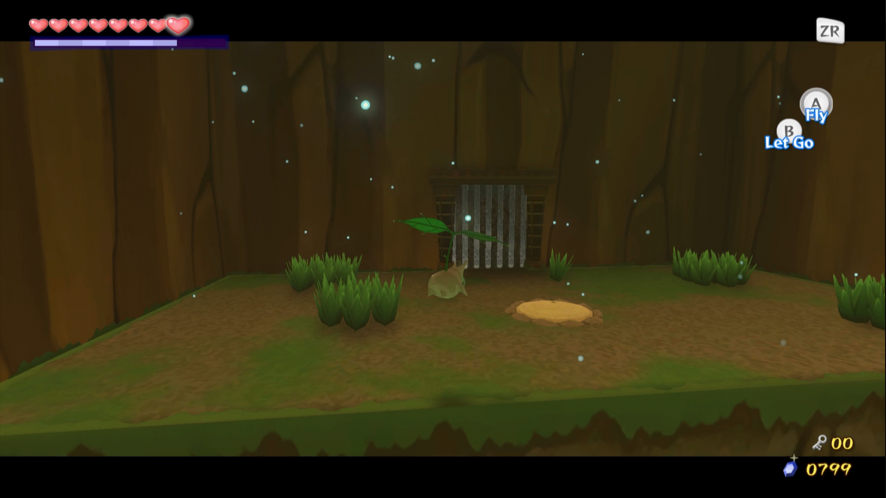
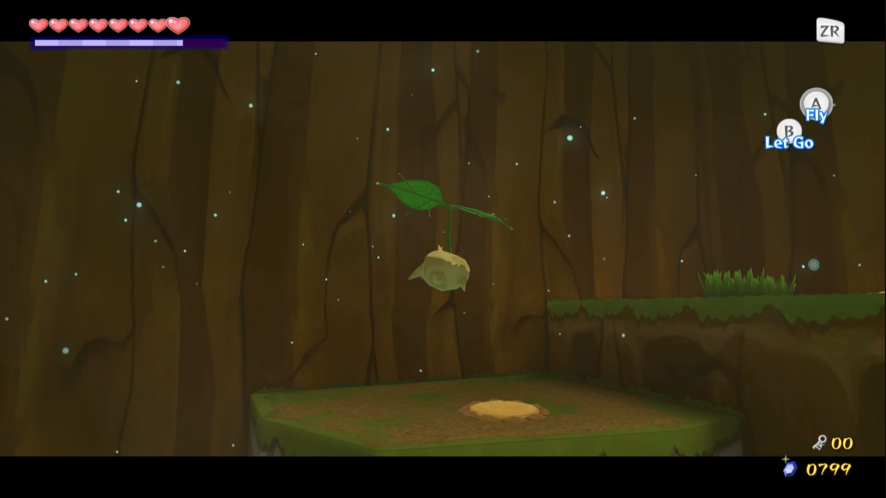
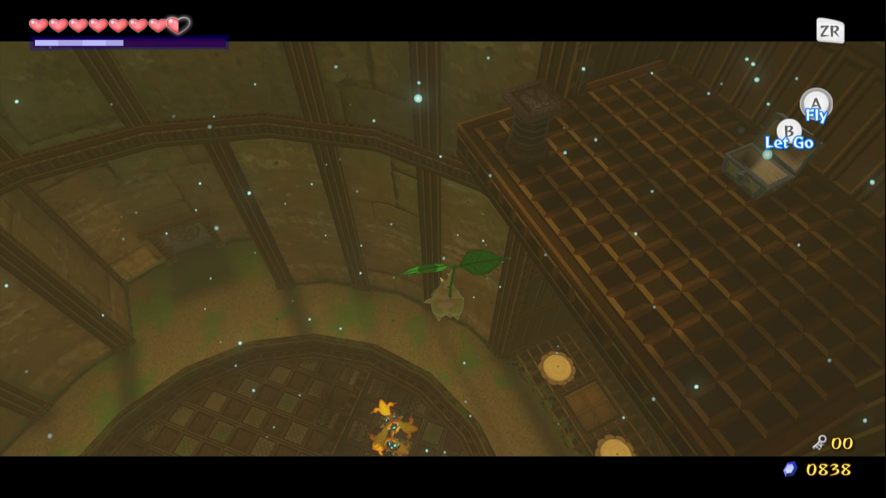
Take control of Makar and descend to the basement. Plant seeds in the patches of soil to activate the giant fan underneath the floor. Fly into the wind to return to the higher floors. Head for the door that goes back toward the entrance. When Makar is in place return to your body.
Pick up Makar and return to the room where he was kidnapped. Defeat the Wizzrobe, then make sure that trees have been planted in every patch of soil. Fire the Hookshot at the trees to climb up to the door.
Use the Command Melody to get Makar up there with you.
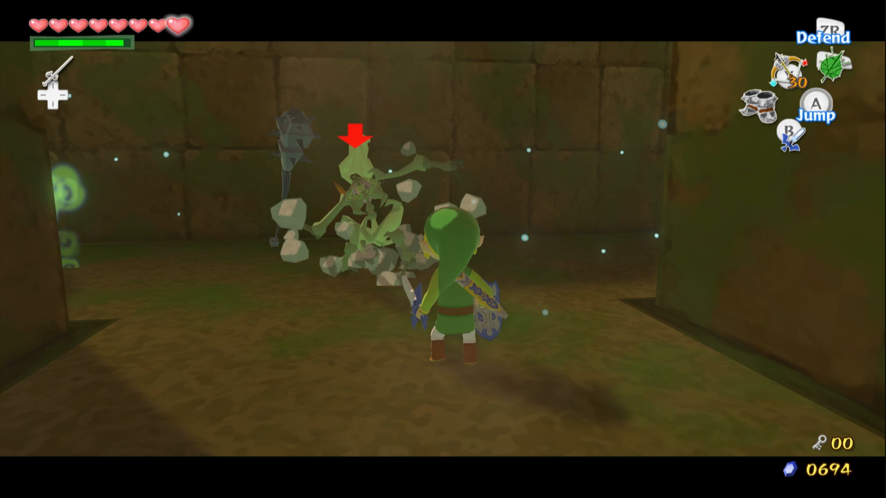
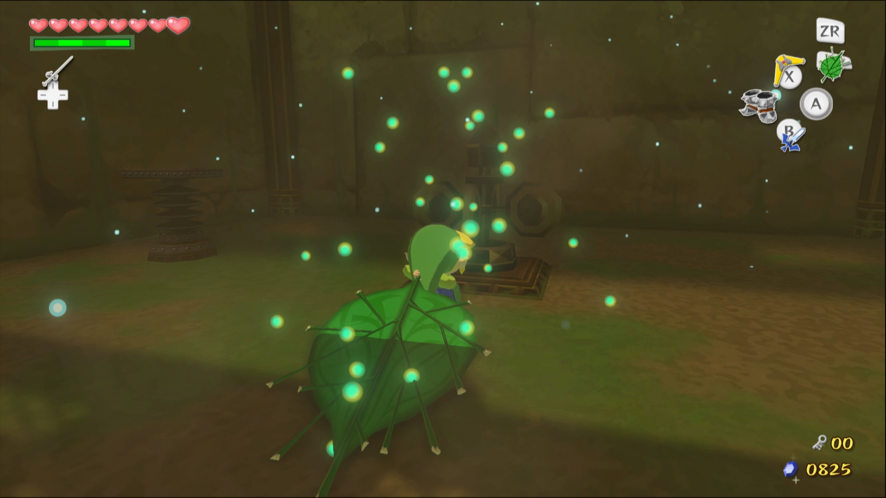
The next room is much like the last one, except there are Blue Bubbles flying around. You can grab them with the Hookshot, if they are within range, then finish them off. Make sure to destroy them all so that Makar can plant his trees in safety.
Keep Makar away from the Floormaster.
The next puzzle requires both switches to be pressed at the same time. Do this by placing Makar on one switch and standing on the other. The switch opens a shutter above the fan, revealing the area below. It also opens the shutter next to you.
Leave Makar here and fly across to the only other door on this level. Defeat the large number of Armos in the next room to get a Small Key, then return to the main chamber. Makar should still be where you left him.
There is another Joy Pendant in a Treasure Chest nearby if you want to get it.
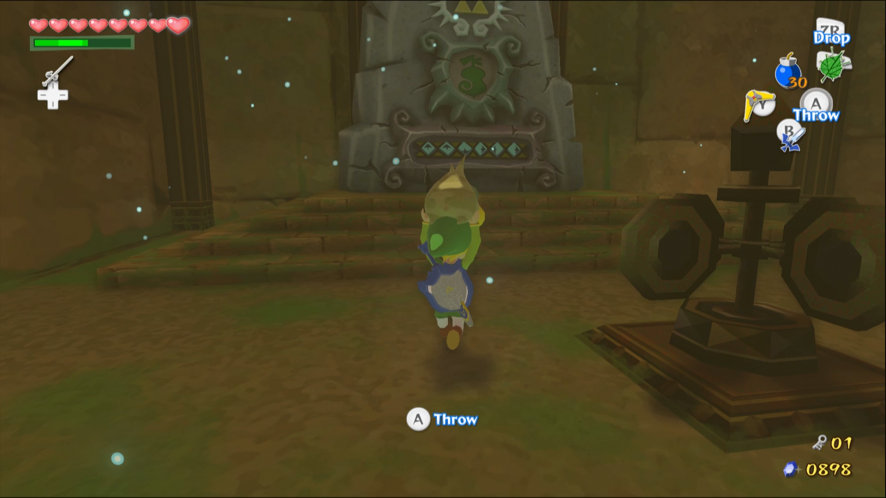
Wait for a break in the wind and drop down to the area with the Armos Knights. Defeat them, then bring Makar down as well. Re-enter the room with the stone slab and play the Wind God’s Aria to break it.
Leave Makar here while you investigate.
1.5 The Boss Key
Defeat all three Darknut to obtain the Big Key.
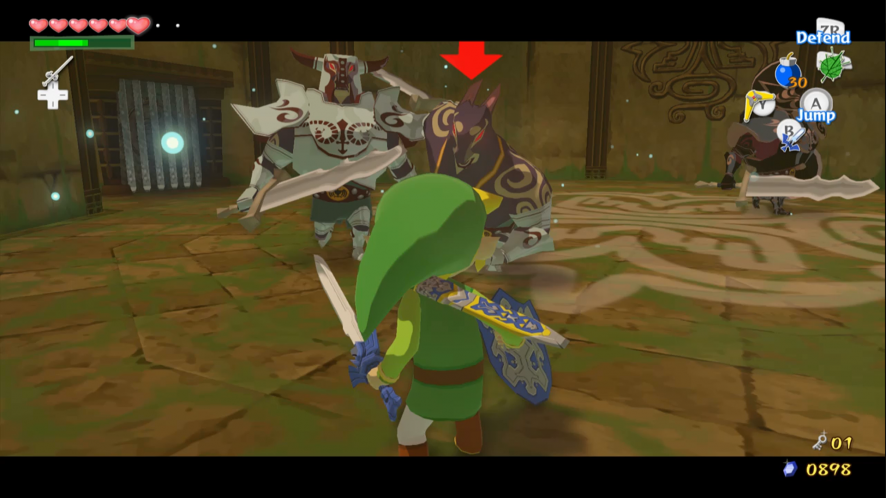
These guys are pretty tough when working together. You might be able to stop the one at the back from joining the fight by keeping your distance, but don’t bet on it.
Makar should be by the last door he entered. Pick him up and return to the main room. Descend into the basement. While the fan is stationary, jump down between the blades. If you need to get back up, there is an elevator. It requires one of you to activate it using the switch nearby while the other rides it up.
Use the Small Key to unlock the door. Defeat the Stalfos, the Wizzrobe and anything that it summons.
Look for the Hookshot targets on the walls above the ledges (not the statues!). Use the targets until you can see a pressure pad switch. This time you will need to target a statue, so make sure that you are not wearing the Iron Boots or you will pull it off of the wall. Equip the Iron Boots once you are on the switch to unlock the doors.
To get another Treasure Chart, defeat all of the enemies in this room. This includes some Bokoblin hiding behind stone statues. The first is right above the switch; retreat to a different platform to stop it falling on your head! The other Bokoblin is below the switch and slightly clockwise from it.
The next room starts with a series of Bokoblins and Armos Knights. Defeat these first. If you feel like shooting some of the Peahats too, it will make things a bit easier.
Take control of Makar and fly over the crosswinds. Plant a seed in the patch of soil to turn the fans off. Then shoot the Hookshot at the tree to cross the gap. Clear a path to the exit through the remaining monsters.
It is impossible for Makar to cross the final room on his own due to the strong winds. You have to carry him while wearing the Iron Boots. This is complicated by the three blade traps.
Equip the Iron Boots and grab a block. Push the block forward until it catches one of the traps.
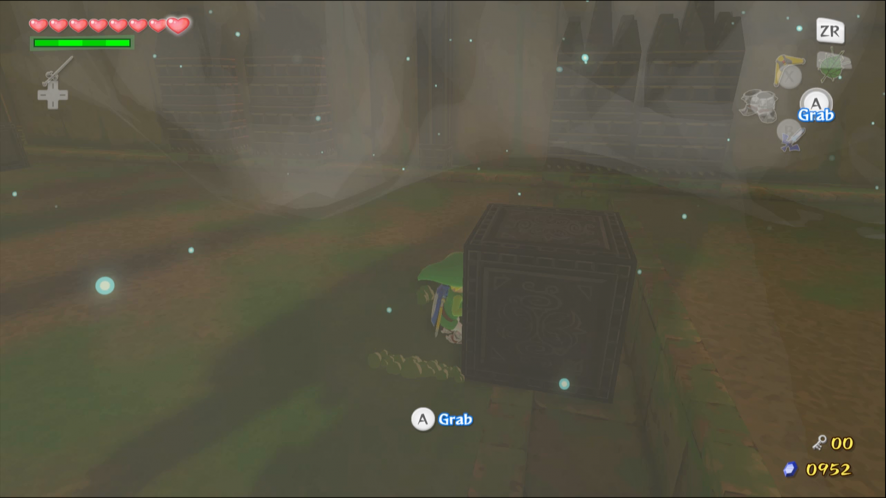
Gradually push the block forward some more until the second blade is trapped on the same side as the first. Shove the block toward the wall to give yourself more space.
Grab a second block and push it until it falls into the trench. Grab the last block and push it over the top of the second block. Obstruct the final blade trap to create a safe path across the room.
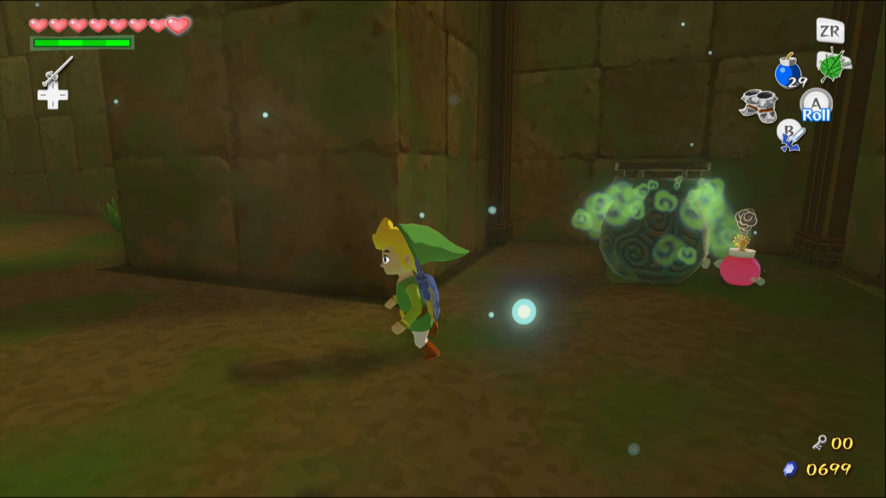
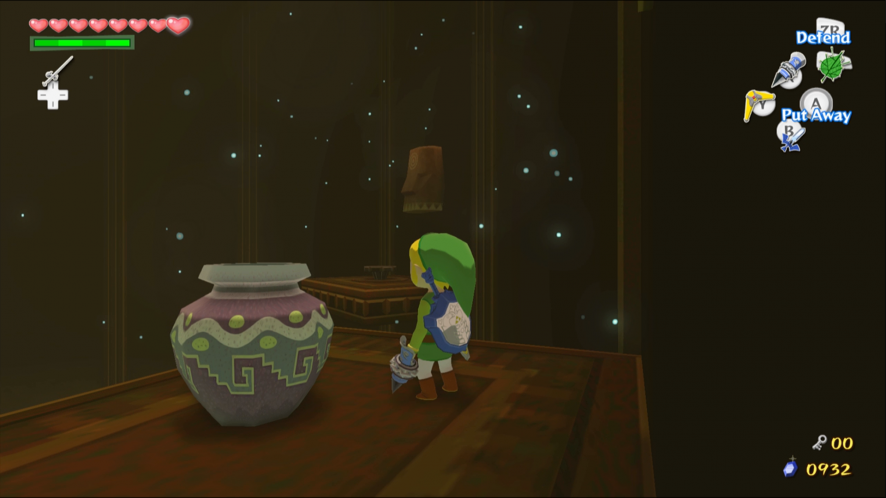
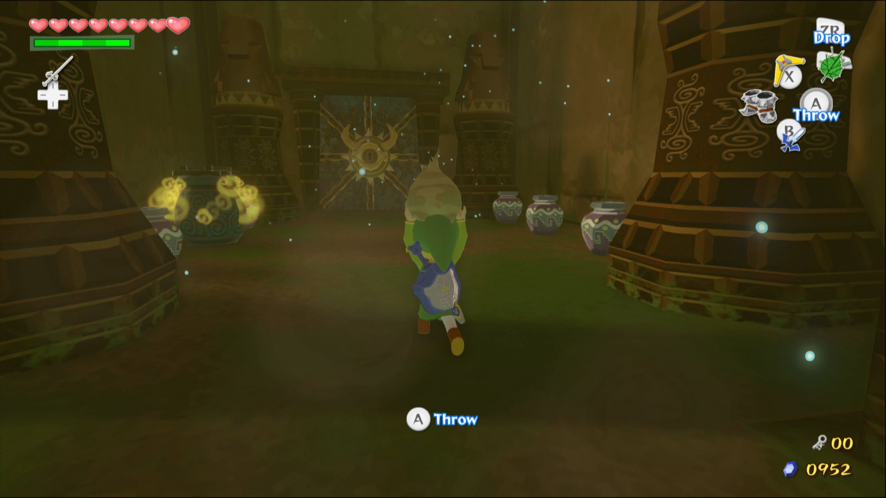
Pick up Makar and cross the room. The wind stops once you reach the doorway. Play the Wind God’s Aria to destroy the final stone slab. Open the last Warp Cauldron and smash the pots for supplies, then enter the Boss’ chamber.

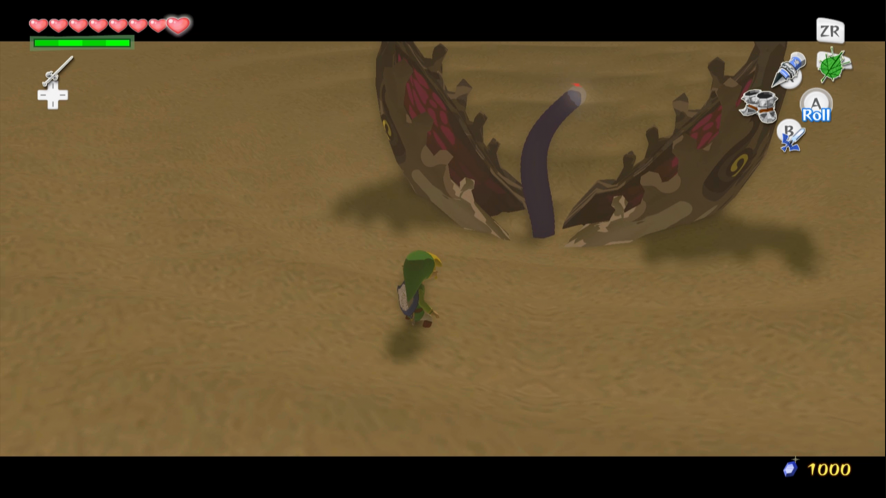
Boss: Molgera
Approach the center of the pit carefully. Molgera will appear when you get close enough. L-target Molgera’s tongue and try to grab it with the Hookshot. Slash at it’s tongue until it recoils, spits out larvae and disappears. If you get too close to the bottom of the pit, the Boss will try to eat you.
The larvae hide under the sand and jump out at you. The Hookshot is the best way to expose them and the Master Sword and Skull Hammer are the best weapons for killing them.
Molgera will soon reappear. Try to deal with all of the larvae before you focus on the Boss again. The strategy for damaging Molgera remains the same. This time it will fly out of the sand and dive back down in an attempt to hit you. Keep moving to avoid this attack.
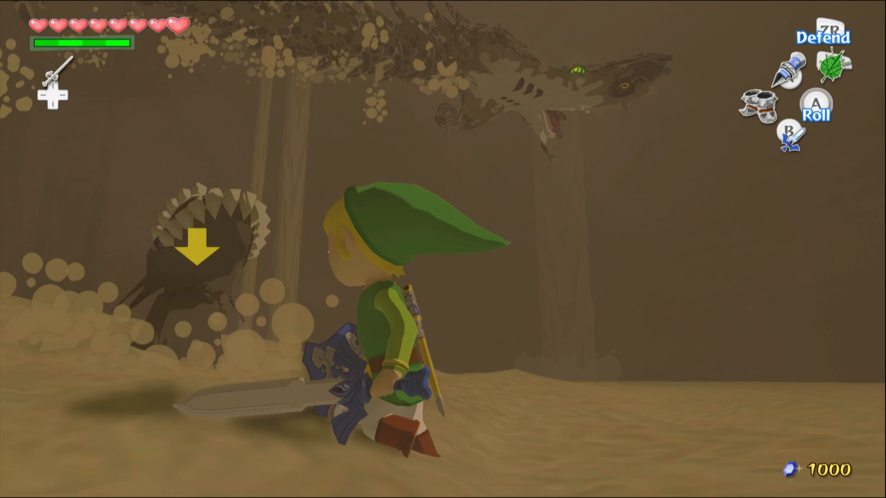
Molgera will go through the last phase one more time. Grab its tongue and finish it off.
You can now watch as the Master Sword’s full power is restored by Makar. Your only remaining task before you can confront Ganondorf is to find the Triforce of Courage.