


Chapter 13: The Earth Temple
Table of Contents
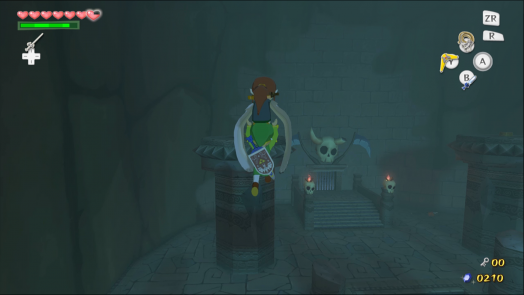
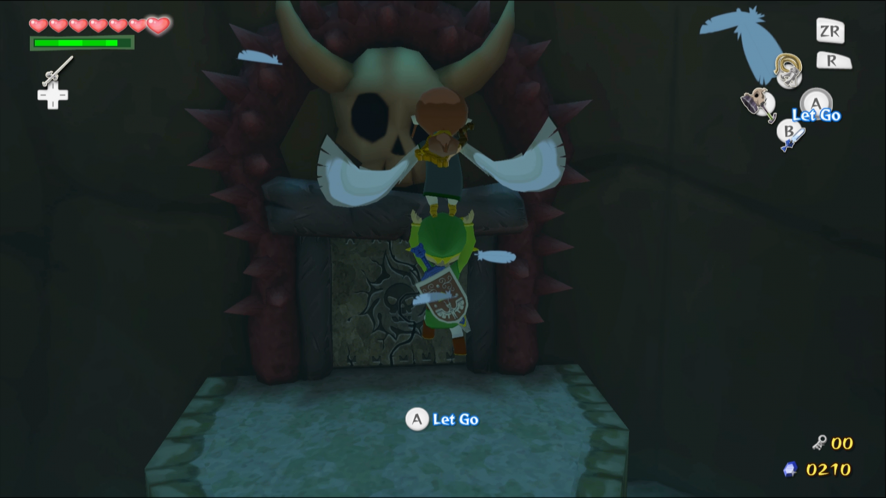
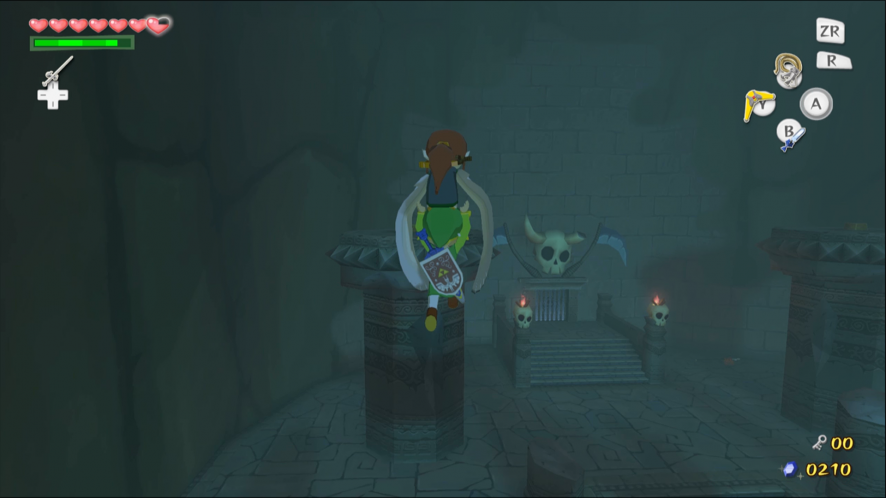
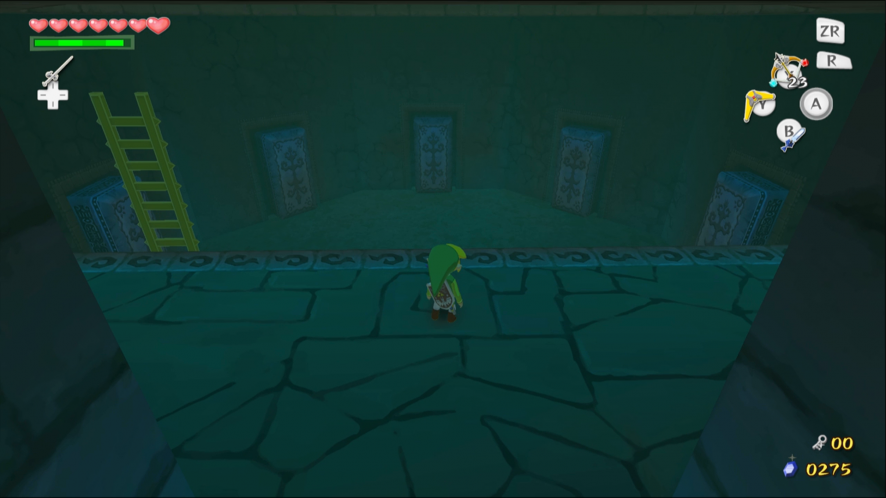
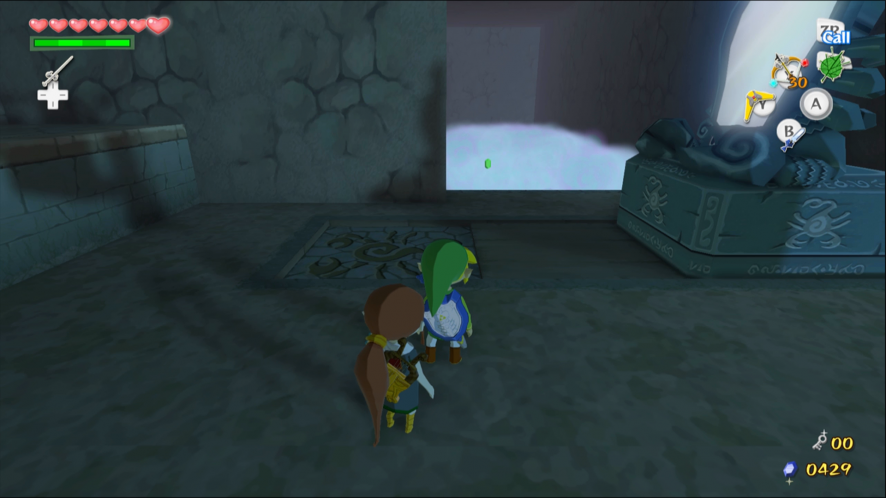
Walk over to Medli and pick her up. Jump off the ledge to glide across to the door. You must carry Medli through the door or she will stay in the other room.
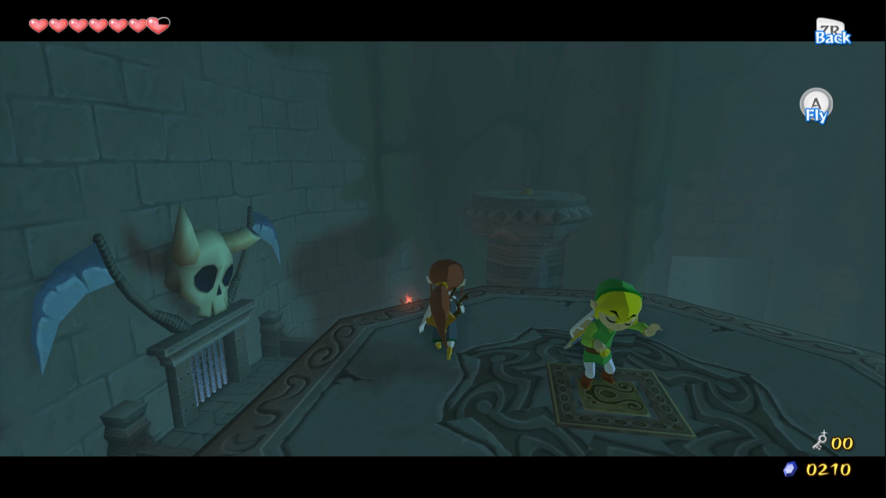
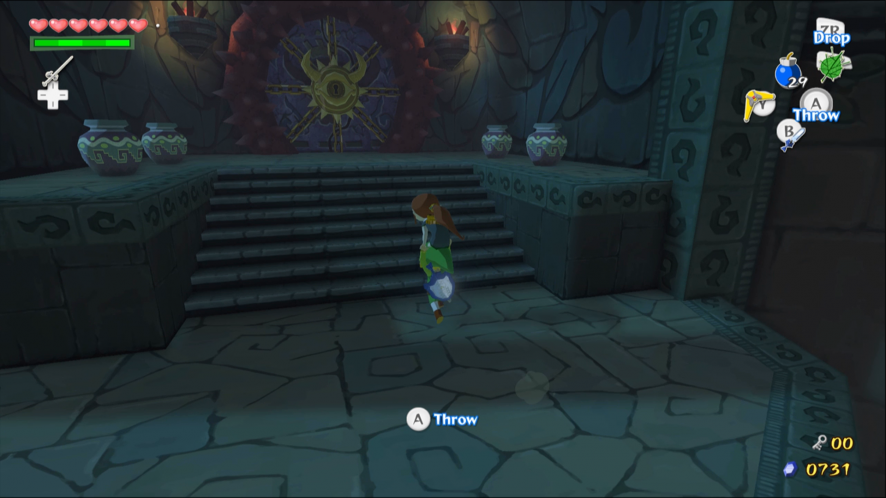
In larger rooms, like this one, call Medli to have her follow you around. She will stop if you go anywhere that she can’t (like up a ladder). Defeat the Moblins first, then go to the top of the steps. Pick up Medli and glide across to the first pillar.
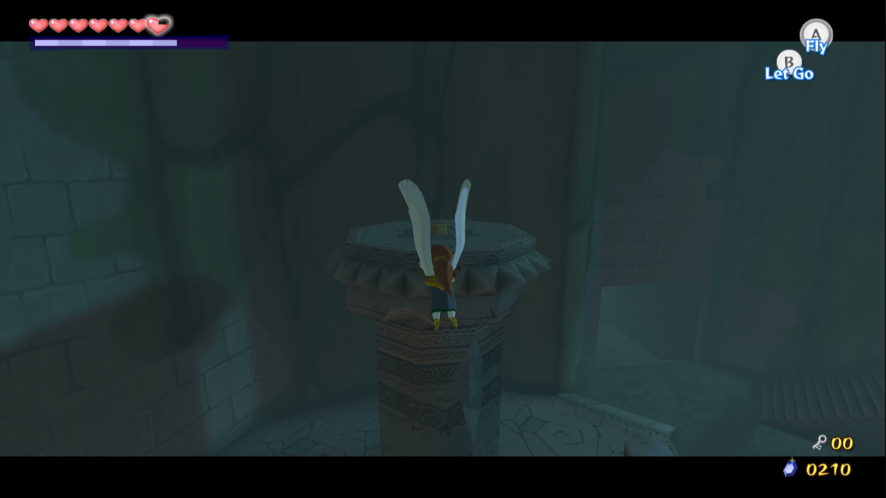
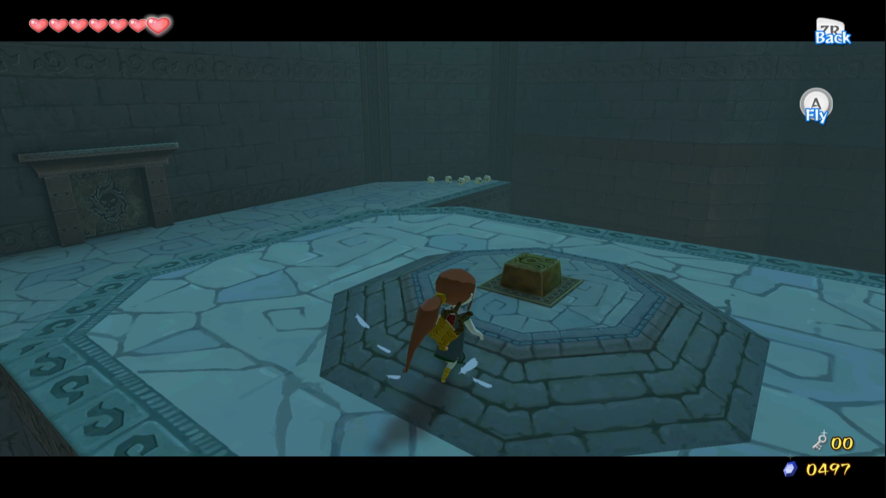
Stand on the switch and put Medli down. Play the Command Melody to assume direct control of Medli. As Medli you can fly for a limited period of time. Fly over to the next pillar and stand on the second switch to unlock the door. Regroup with Medli and enter the next room.
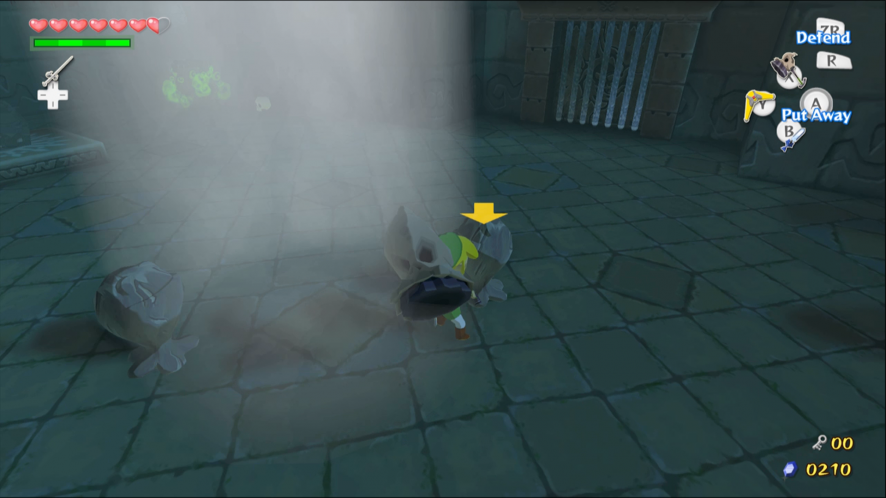
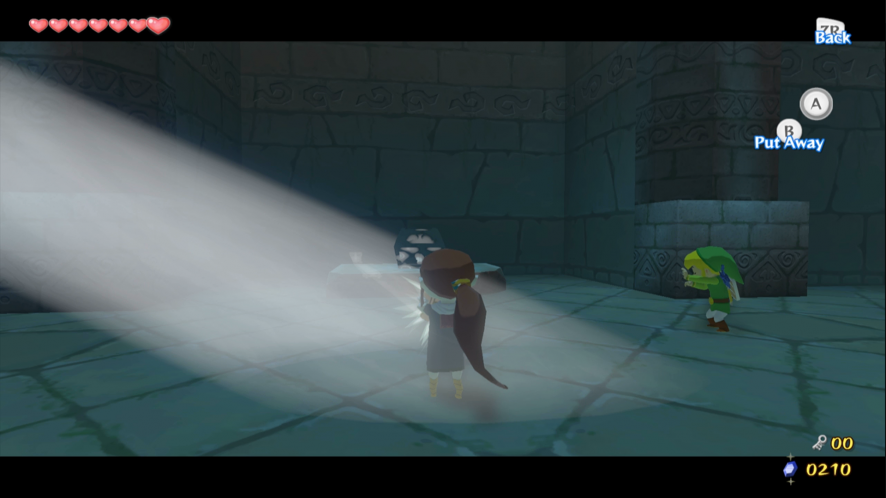
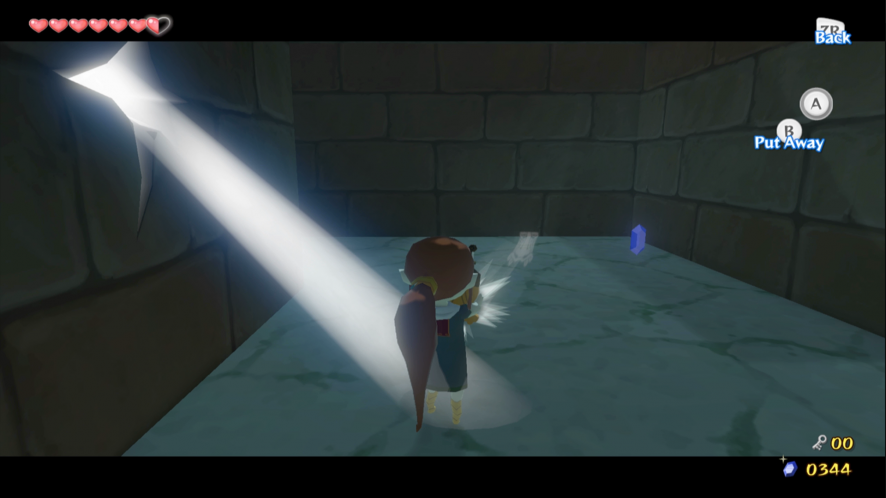
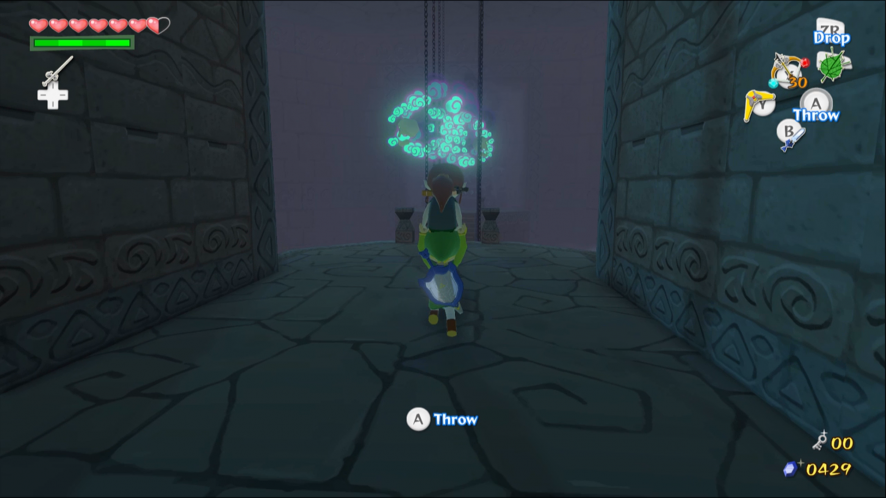
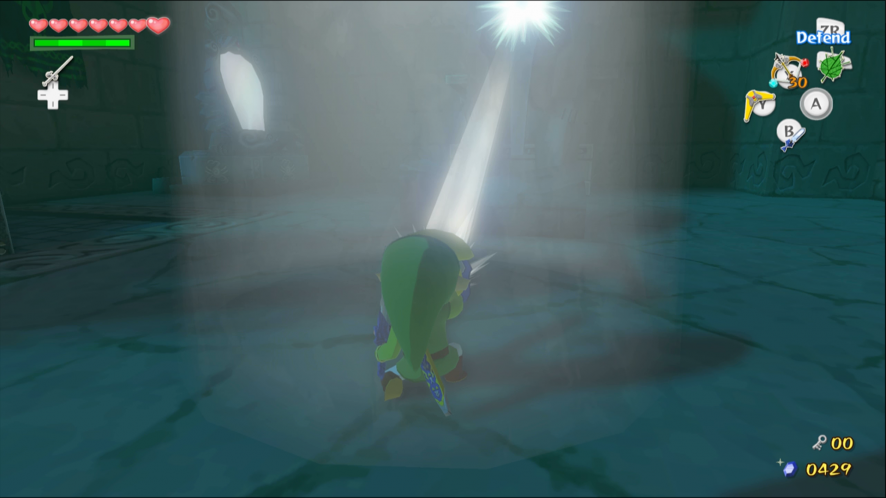
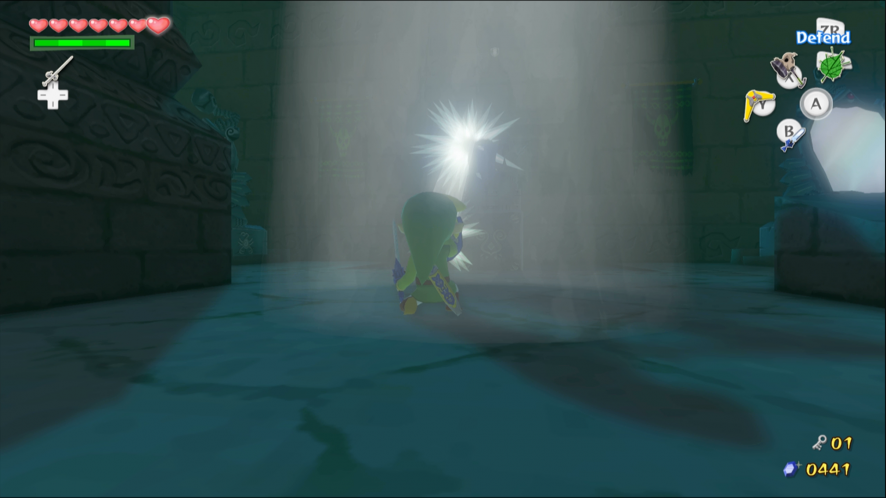
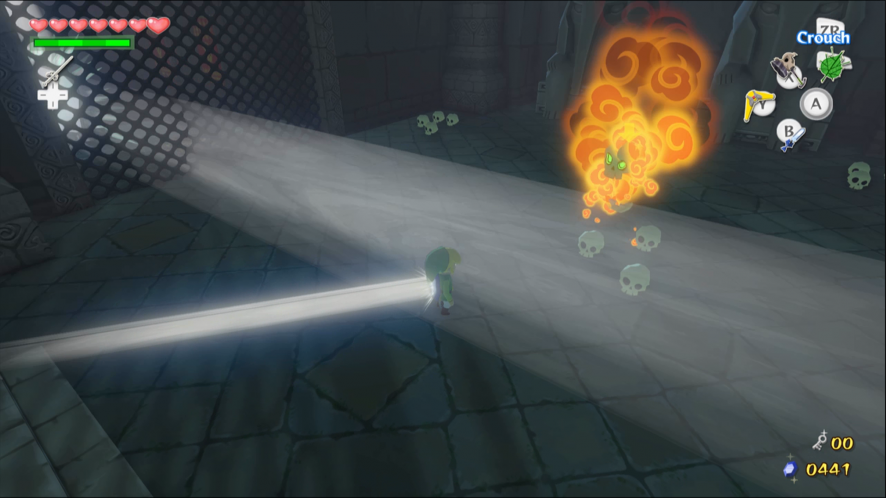
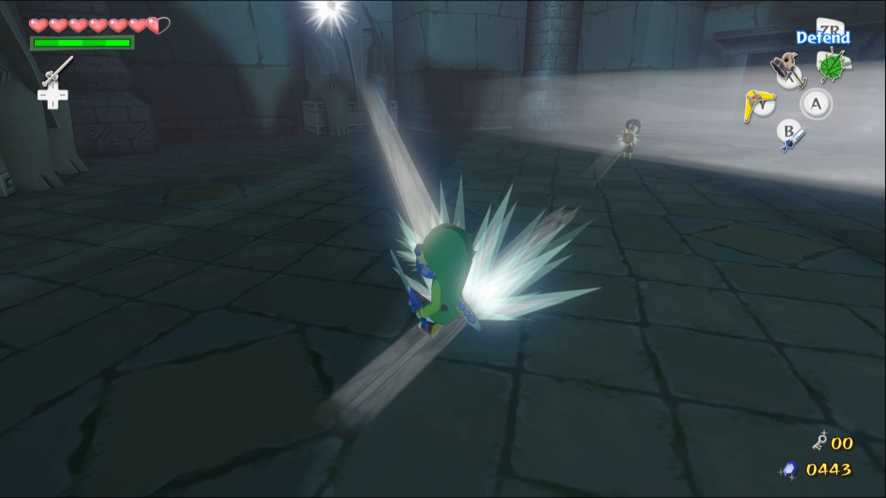
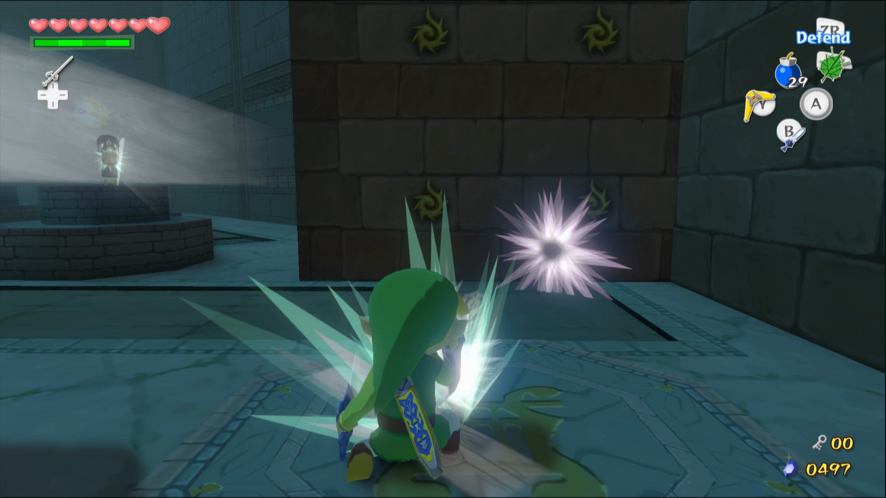
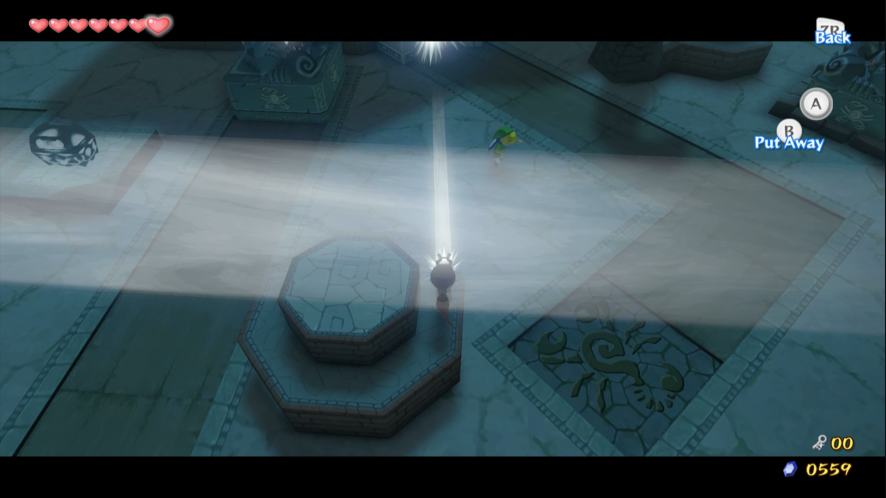
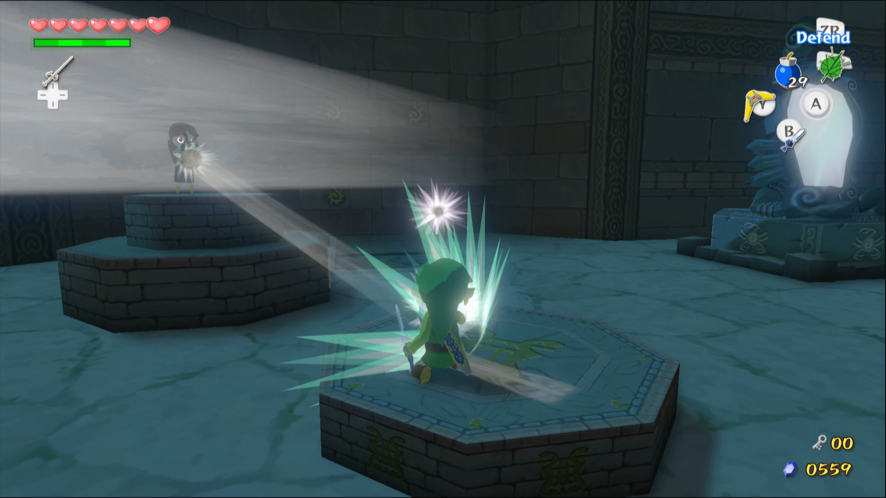
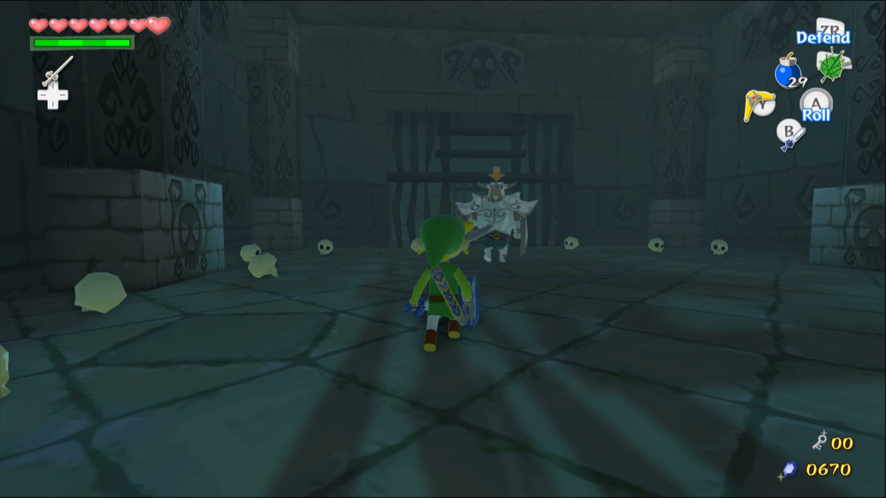
Dark Chu Chus are immune to everything in your arsenal but will turn to stone if light touches them. Stand within the beam of light to lure the Chu Chus in. While they are frozen, pick them up and throw them or pulverize them with the Skull Hammer. The doors will unlock once all of the enemies are dead.
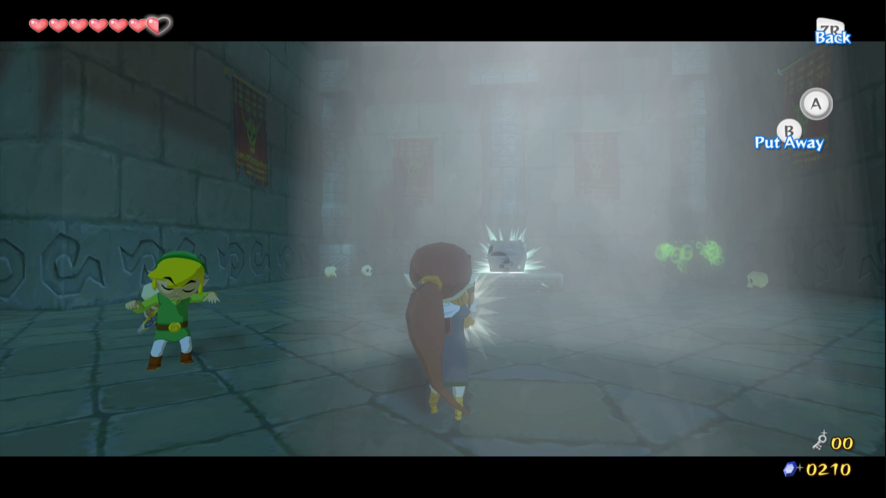
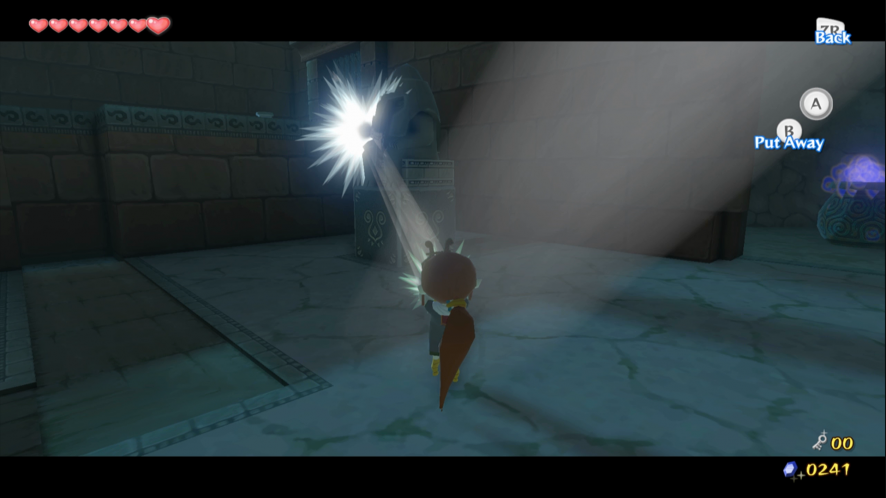
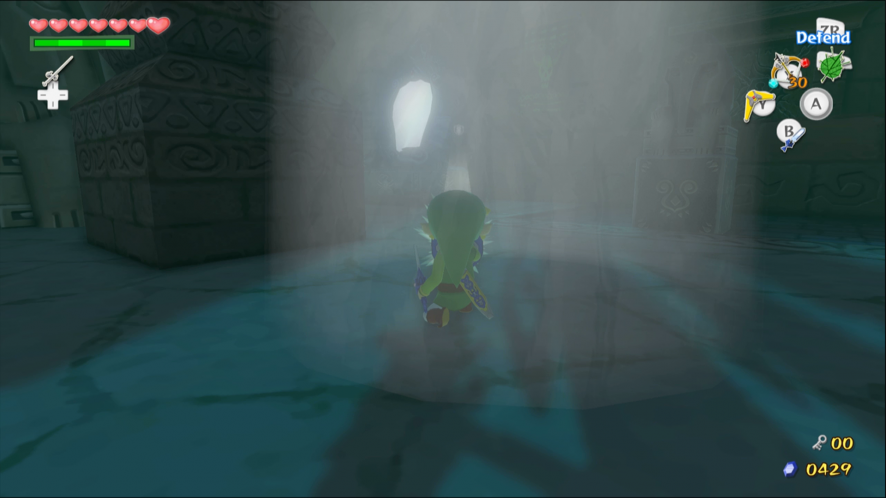
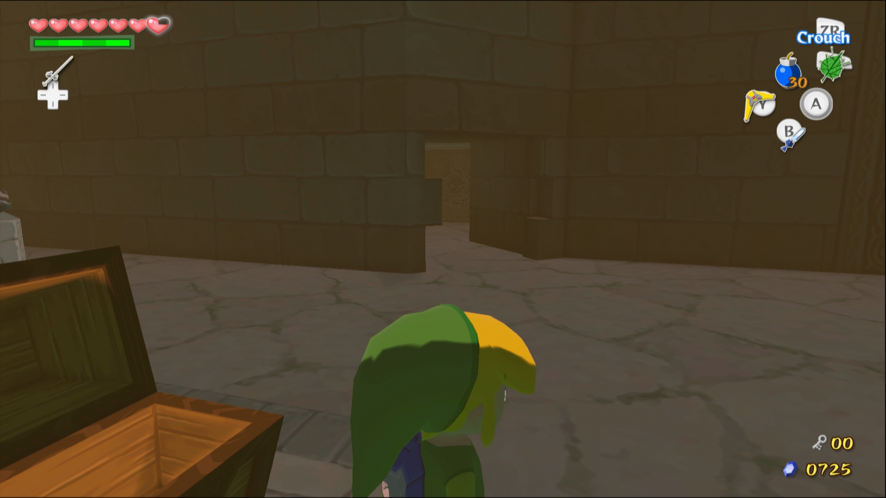
Before leaving the room, take control of Medli. Stand in the beam of light and point Medli’s harp at the other end of the room, where there is the outline of a Treasure Chest. The reflected light will make the Treasure Chest solid. Open it to get the Dungeon Map.
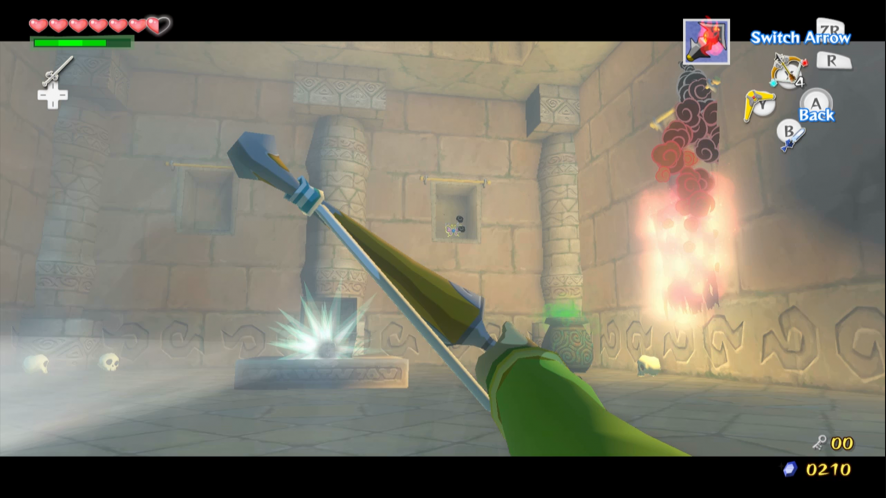
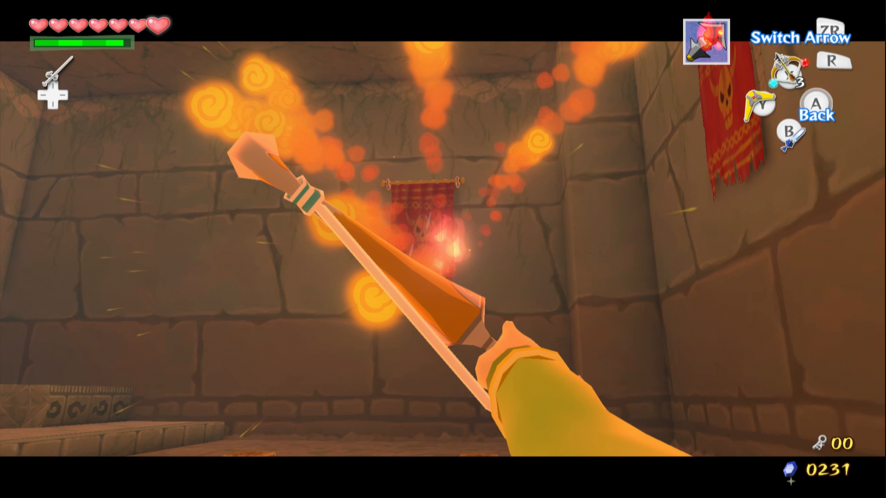
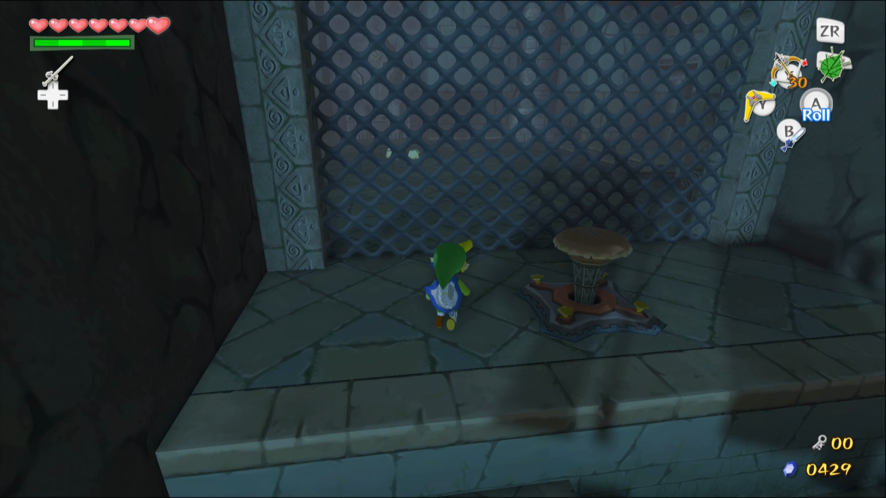
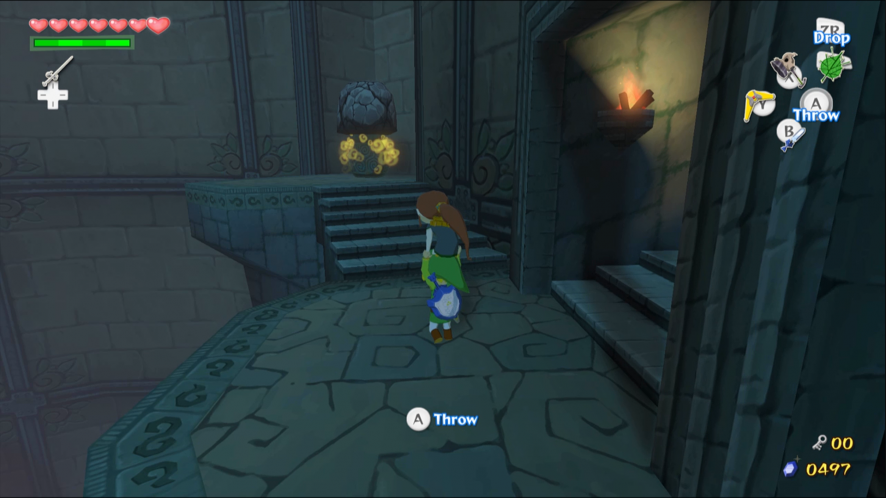
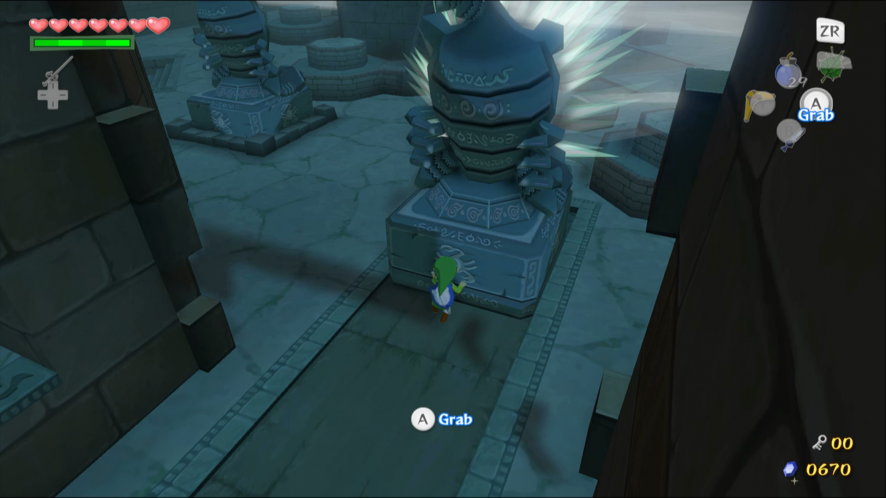
Use Bombs or a Fire Arrow to destroy the lid on the warp cauldron in the corner.
You can also burn down the wall hanging above it with a Fire Arrows to find a Joy Pendant.
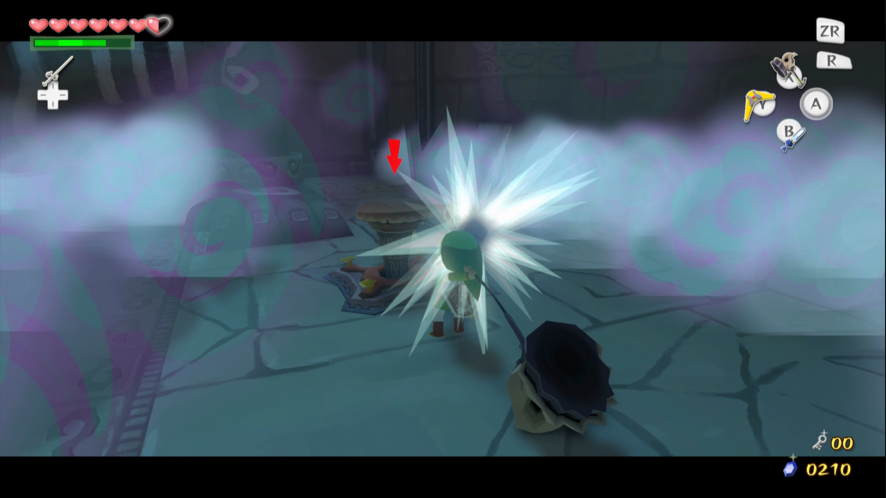
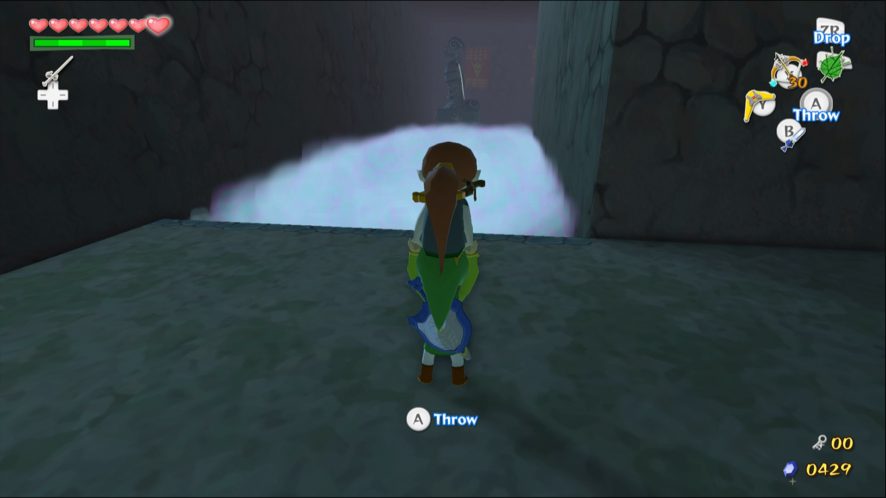
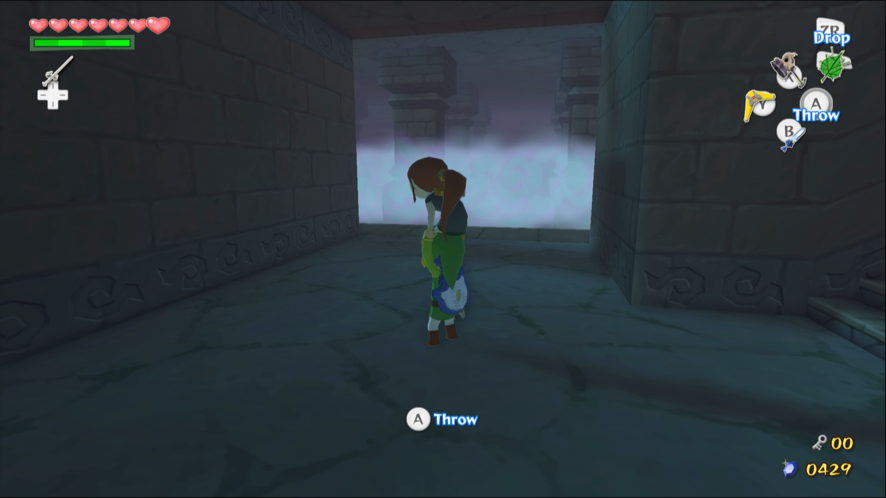
Touching the blue fog will remove your ability to use items. You can cure it by touching some light, or by just waiting long enough.
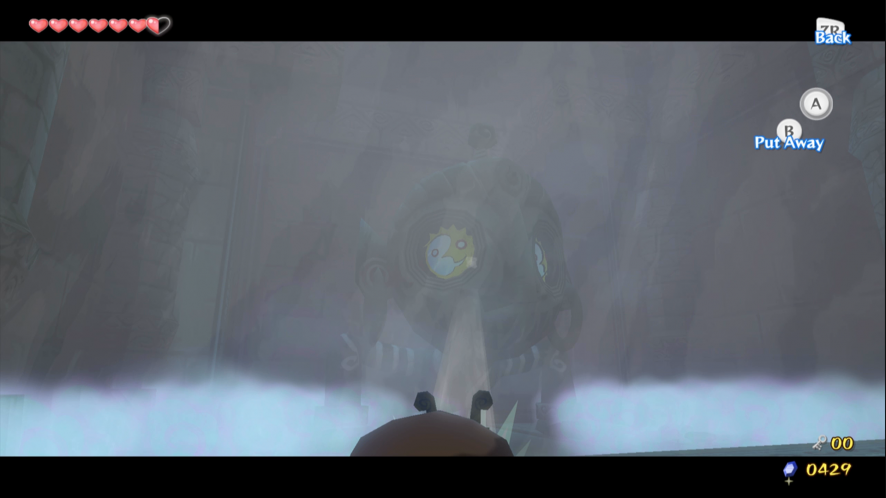
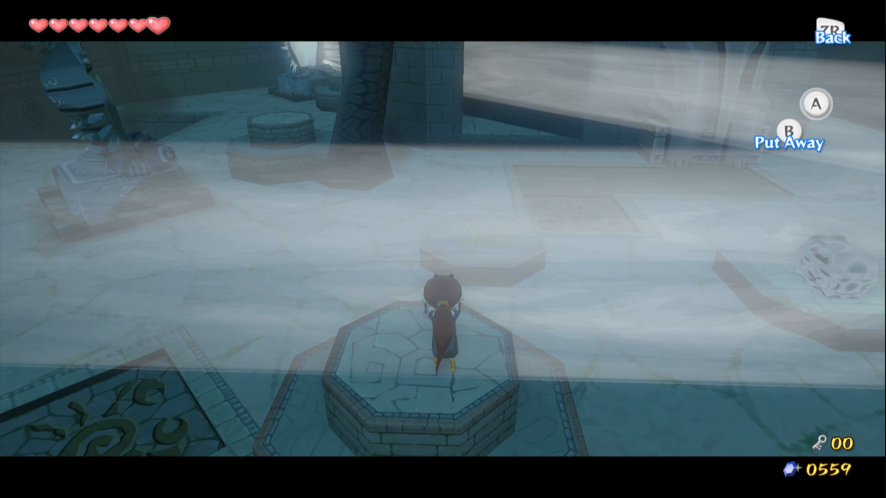
The Idol room
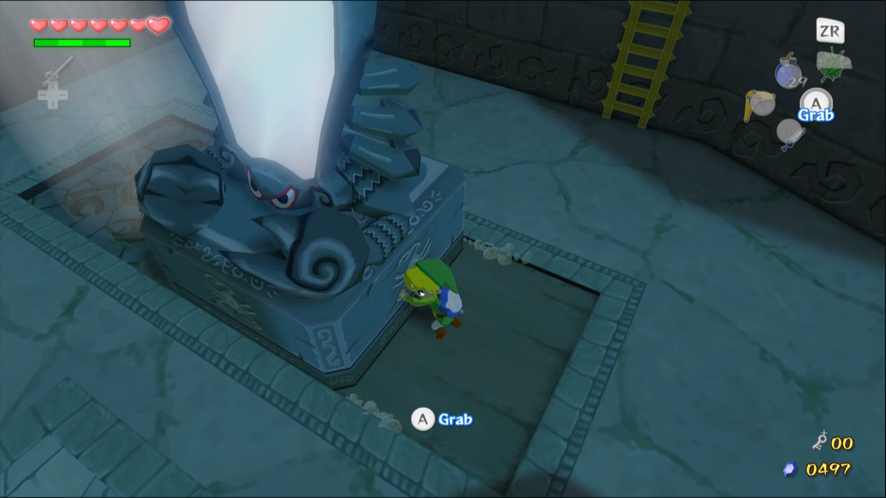
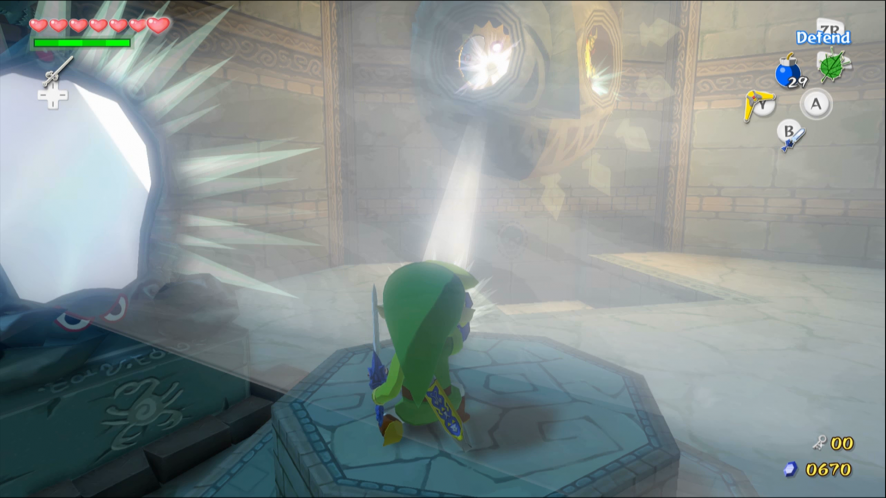
You should be standing in a spacious room; on the opposing wall is a large mask and below it lies a layer of fog. Take control of Medli and stand in the beam of light on the right hand side. Point the harp at the fog to clear the area around the switch. Hold this position and stop controlling Medli. Hit the switch with the Skull Hammer to open the door on the right. Leave the room together.

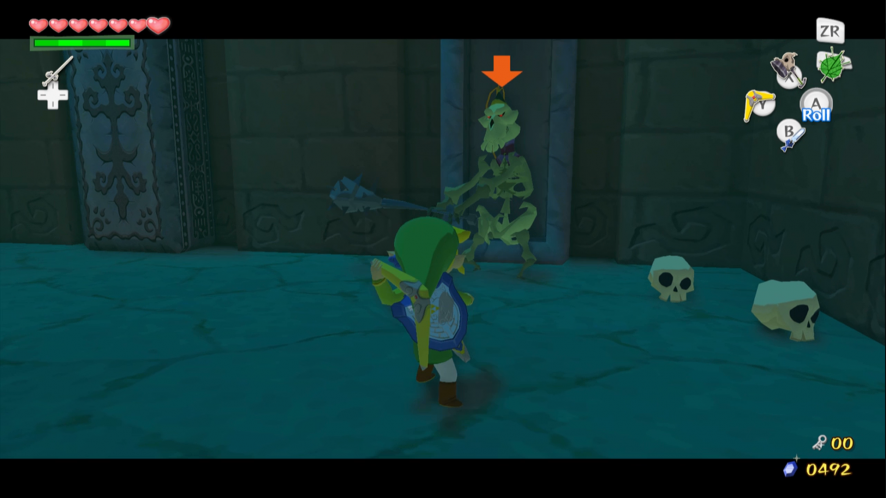
Beware the Red Bubbles that are hiding in the coffins.
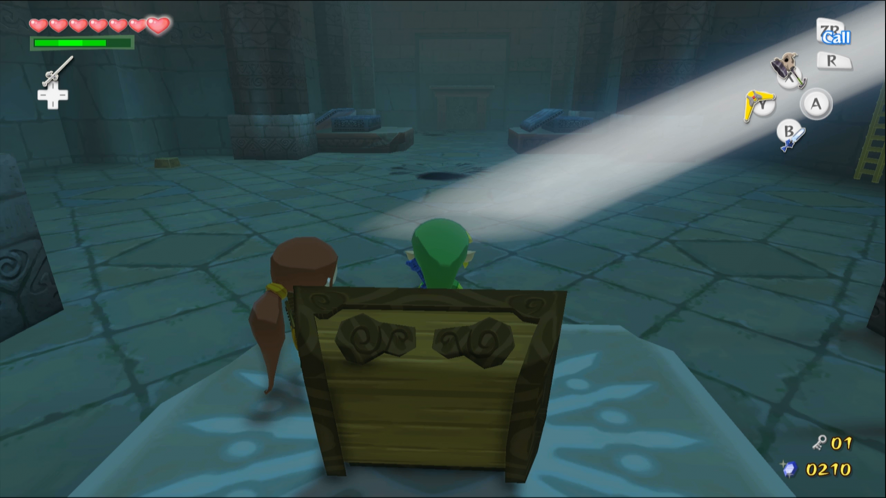
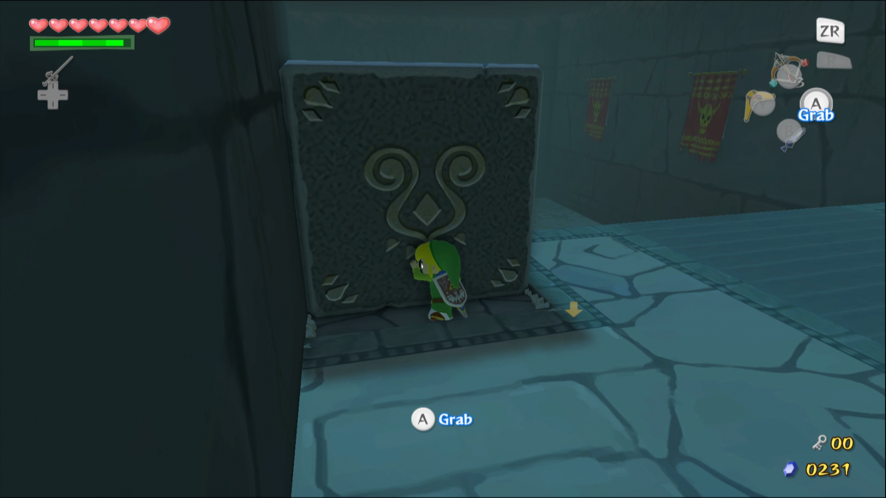
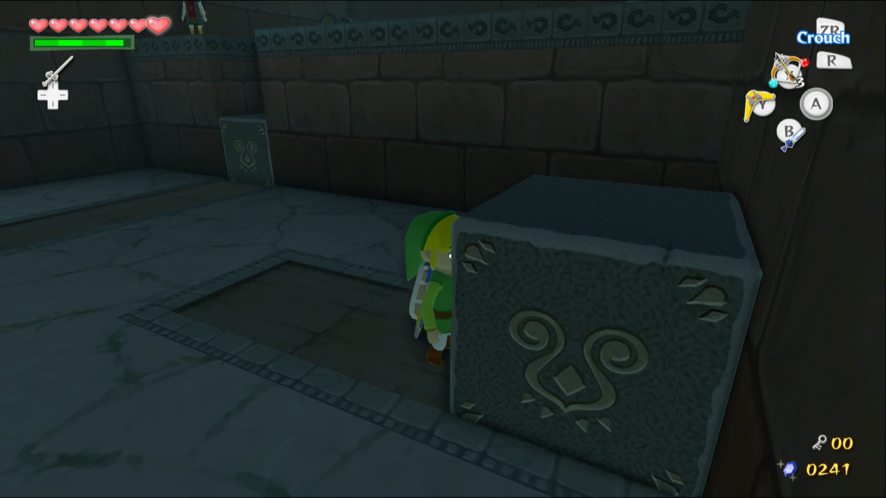
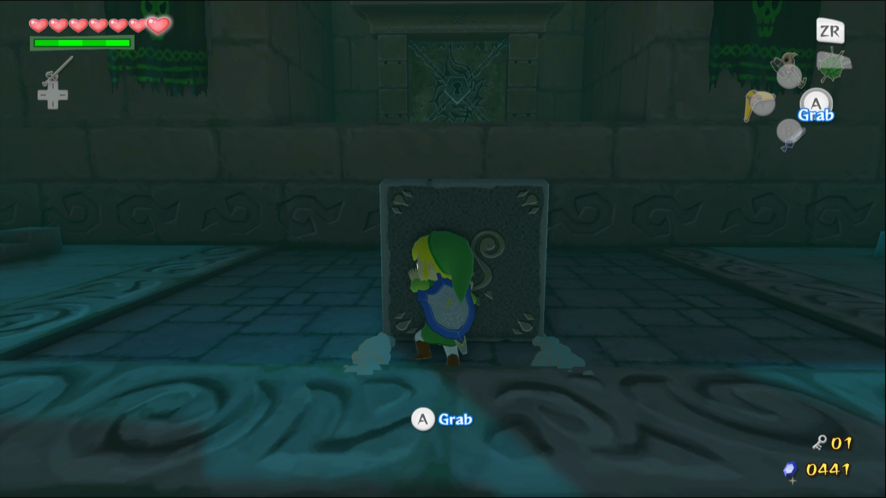
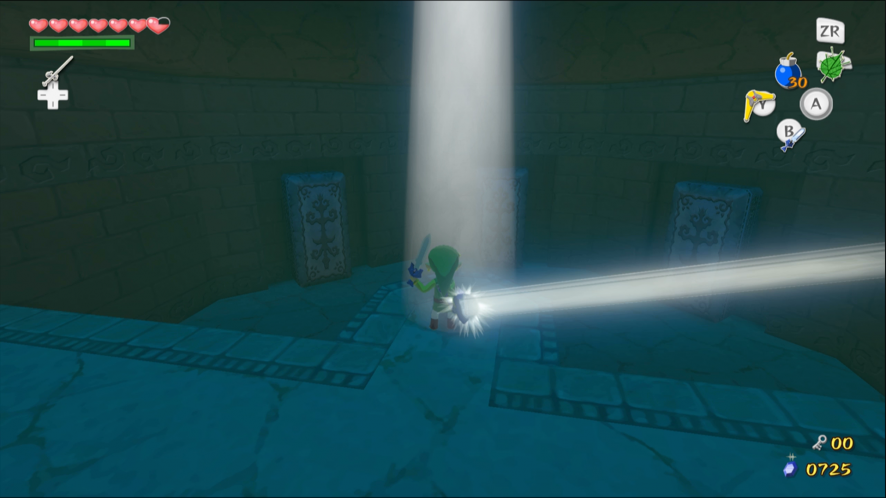
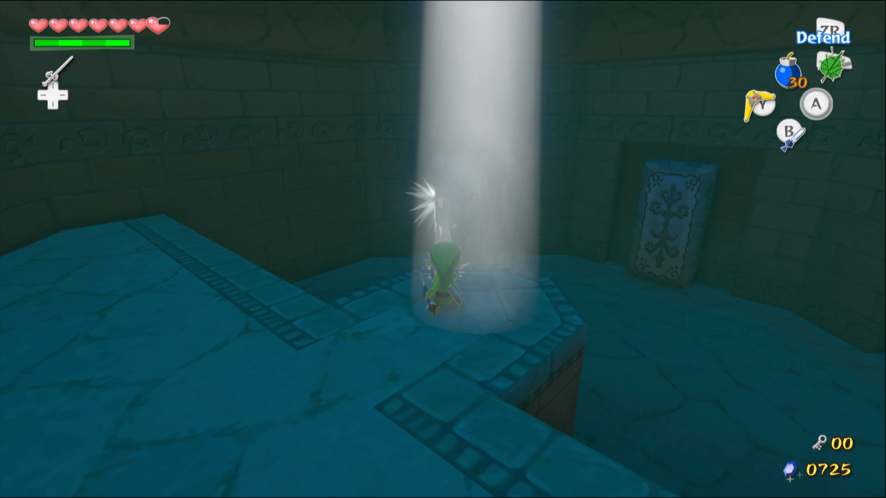
Climb the ladder and pull the block aside to reveal a beam of light. Use Medli’s harp to shine light on the Treasure Chest and make it solid. Open the Chest to get a Small Key.
A suspicious shadow has appeared on the floor behind you, with another nearer to the door. When Medli gets close to one, a Floormaster will reach out and grab her. Hit it quickly to make it let go. If a Floormaster succeeds in dragging Medli through its portal, she will be thrown in the cage in the previous room. She can fly out of it, but you’ll have to go back and get her.
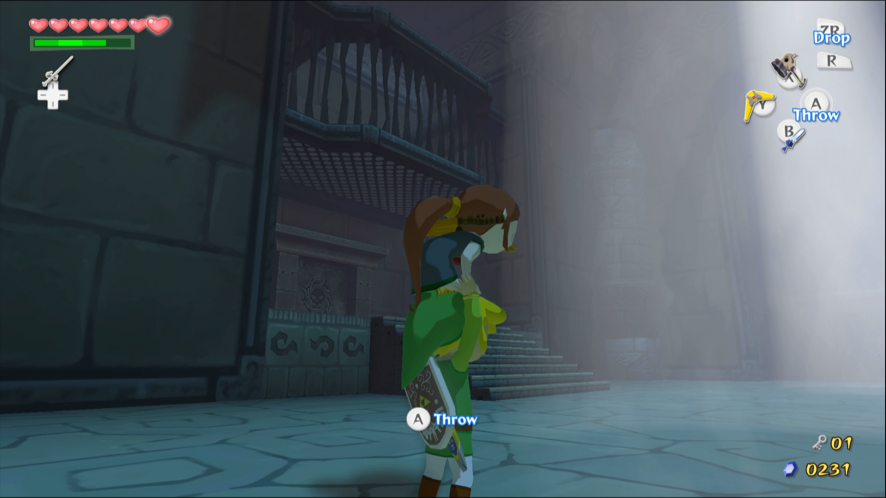
Get past the Floormasters and return to the previous room. Use the Small Key to unlock the other door. Grab Medli and go inside.
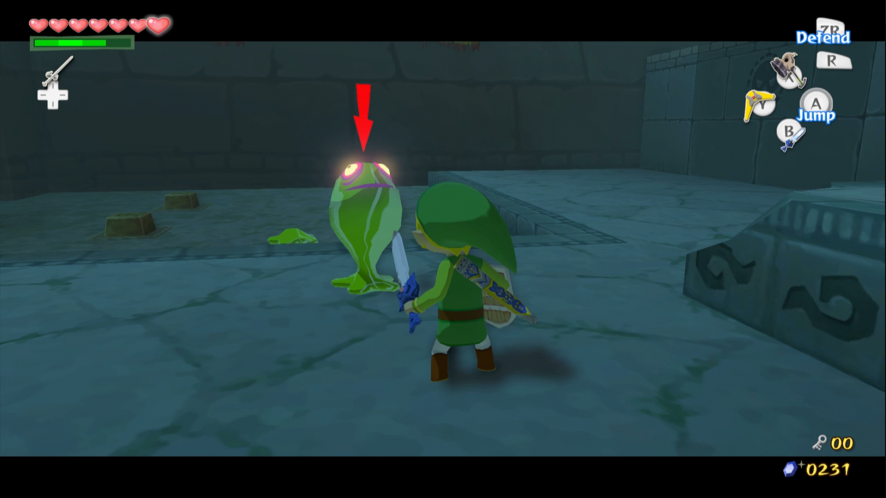
Defeat the Red and Green Chu Chus first. Burn the wall hanging on the left with Fire Arrows to reveal a beam of light. Lure a Dark Chu Chus into the light to freeze it. Wait for another one to enter the light so that it turns to stone as well. Place the frozen Chu Chus on the switches to reveal some steps.
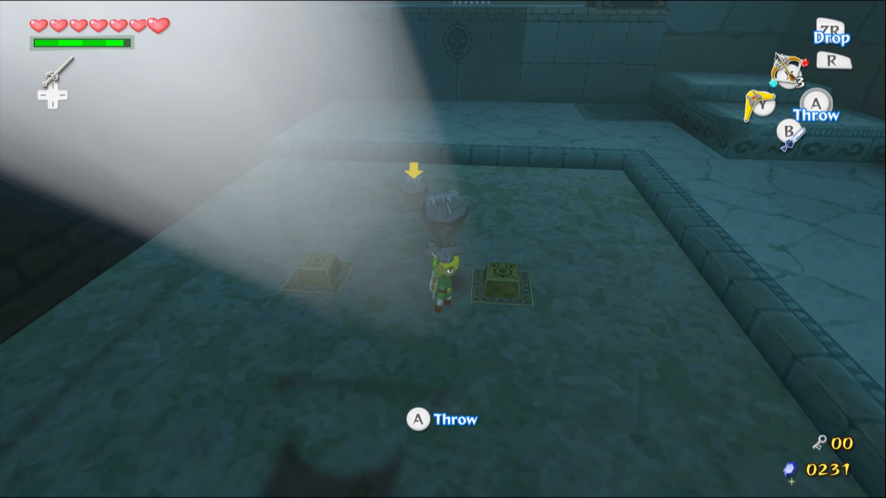
Climb the steps before either of the Chu Chus recover. Push the block off the ledge to create a shortcut and unlock the exit. Get Medli and enter the next room.
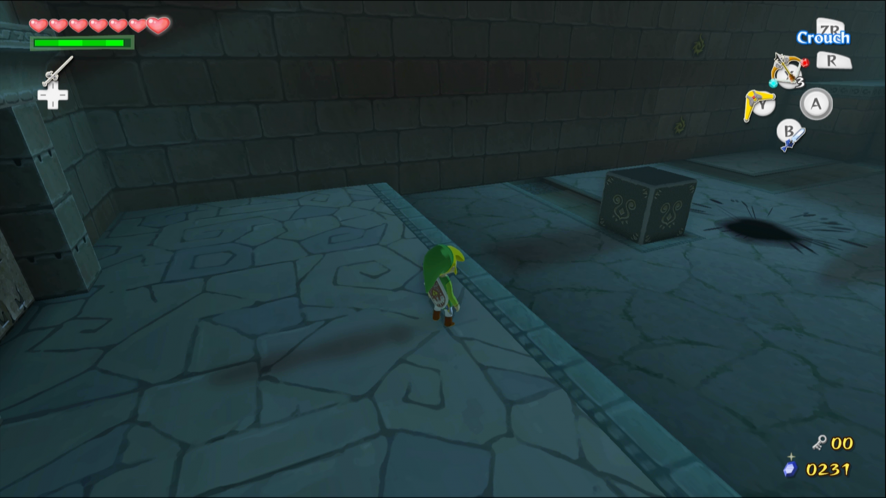
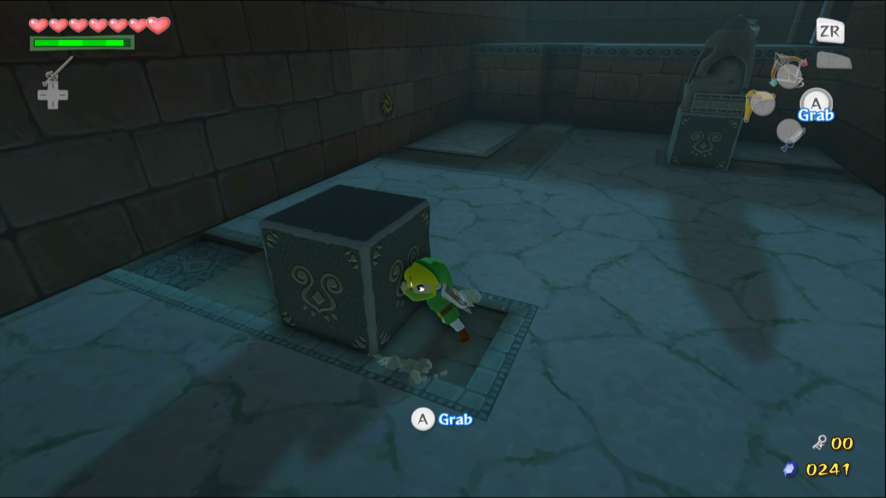
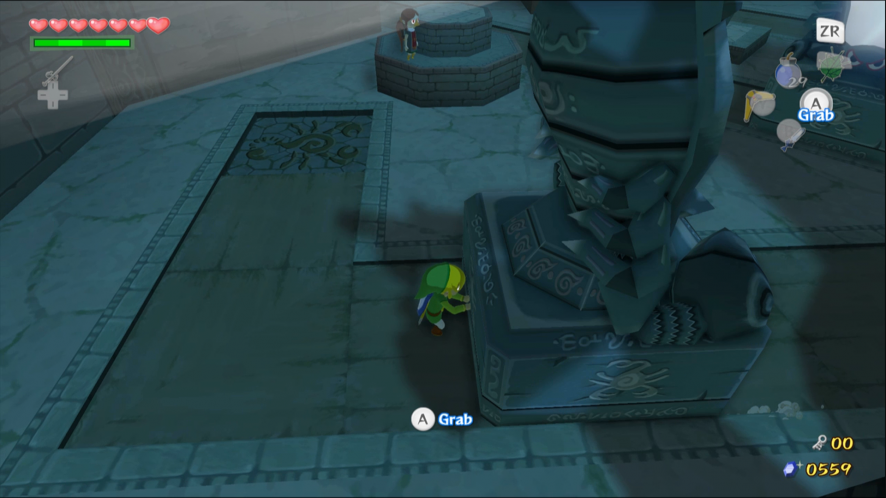
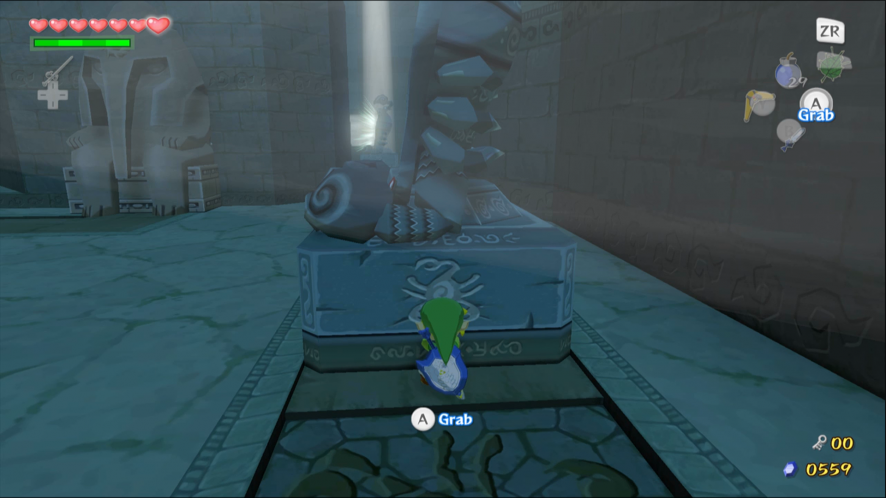
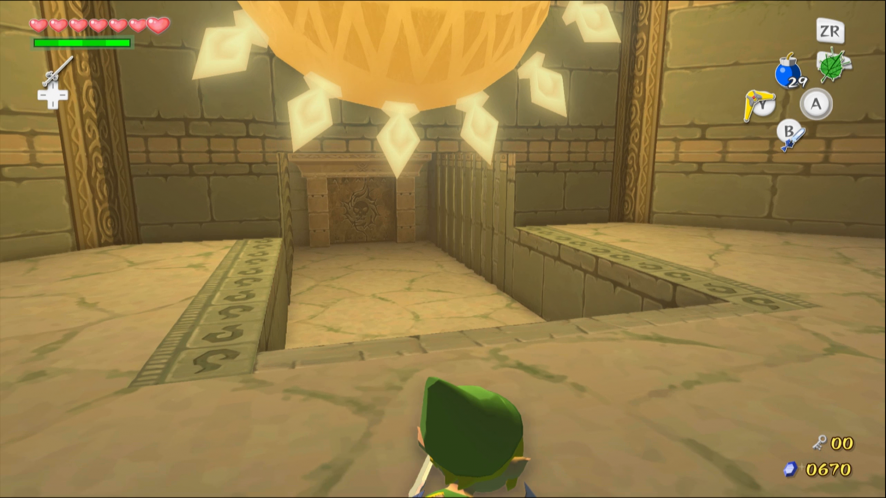
Get rid of the Floormaster first. Grab the first block and push it to the left. A hatch in the ceiling will let in a ray of light.
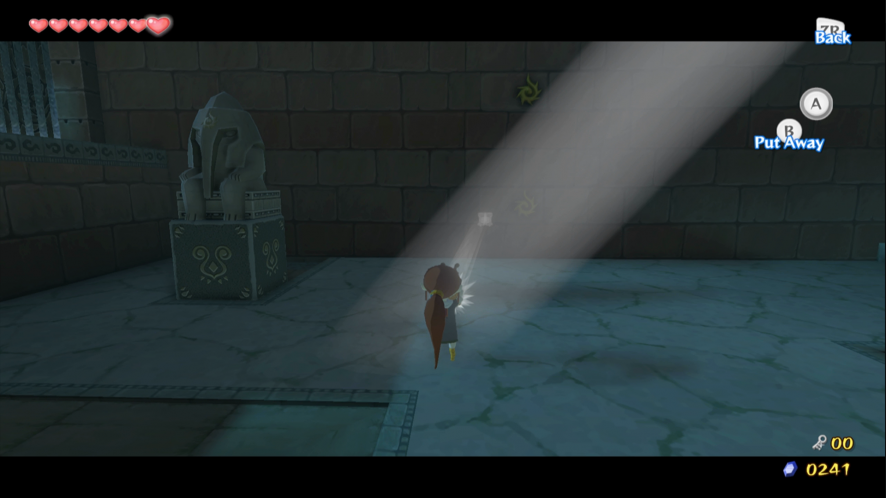
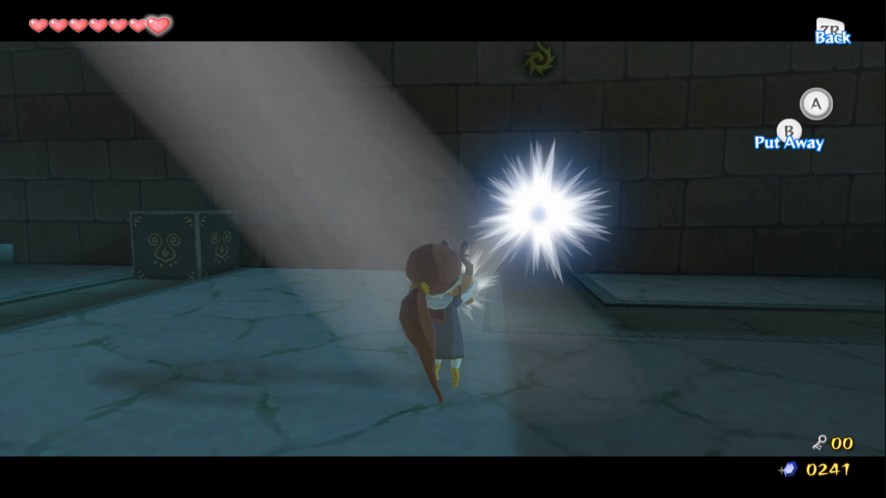
Take control of Medli with the Command Melody. Point Medli’s harp at the yellow markings on the right hand wall to disintegrate it. Behind the wall is the second warp cauldron. Do this to the left hand wall to reveal another block. Lastly, reflect some light onto the gray statue to turn it to dust as well.
Fly Medli onto the ledge above and return to your body. Pull the block out from the hole in the wall, then push it against the ledge. This unlocks the door and creates a way for you to reach it. Push the other block against the right hand wall to reveal a Treasure Chest containing the Compass.
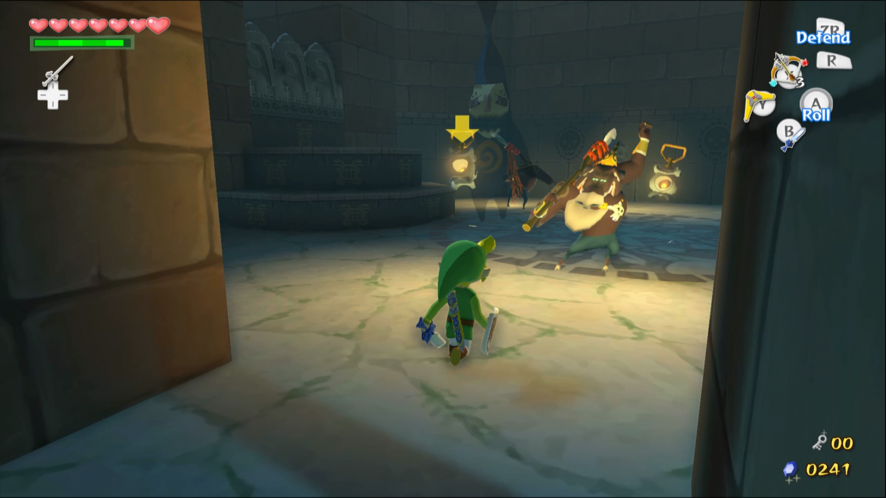
The next room contains Moblins and Poes. Poes are immune to most attacks and if you knock their lanterns out of their hands they will possess you. While you are possessed, the controls for moving are reversed. Once the possession wears off the Poe will disappear as if you defeated it. You can make Poes vulnerable to attacks by shining light on them. If you can get Medli onto the ledge, she will be able to deflect rays of light at the Poes.
The statues at the back of the room can be destroyed with reflected light to reveal a Treasure Chest. Inside is a Joy Pendant.

When all of the enemies have been defeated, a secret path opens. Enter the unlocked room without Medli.
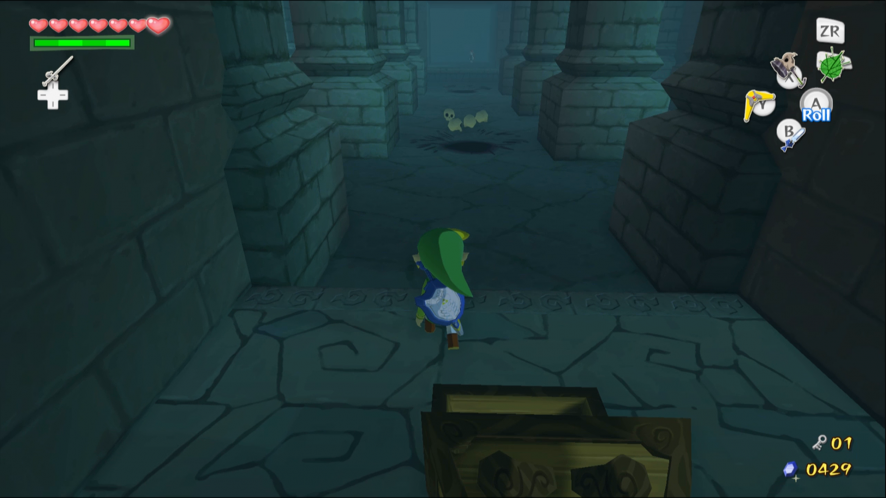
Jump down and approach the coffins from the side to avoid the falling lids. They will open automatically. ReDeads are hiding in the two coffins on the left and the one in the middle. They can temporarily freeze you with their scream and deal prolonged damage by jumping on you. Approach them from behind or throw Bombs to create an opening in their defenses.
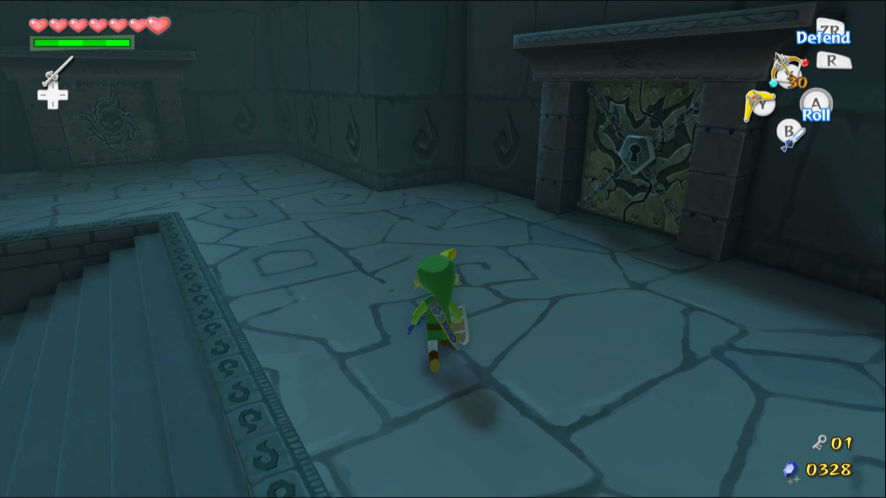
Defeat all of the ReDeads to make a ladder drop into place. Investigate the coffin on the right to find a Small Key. Climb the ladder to get out of the pit and leave the room. Open the locked door and go inside the Miniboss’ chamber.
The Mirror Shield
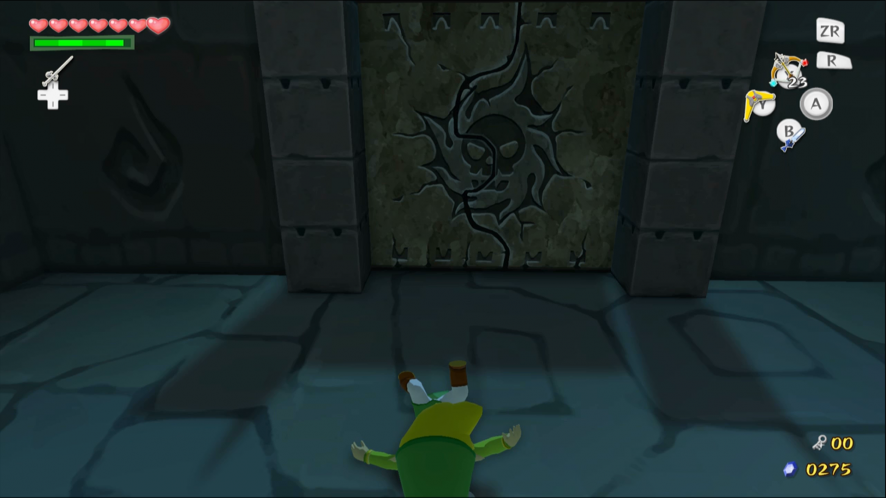
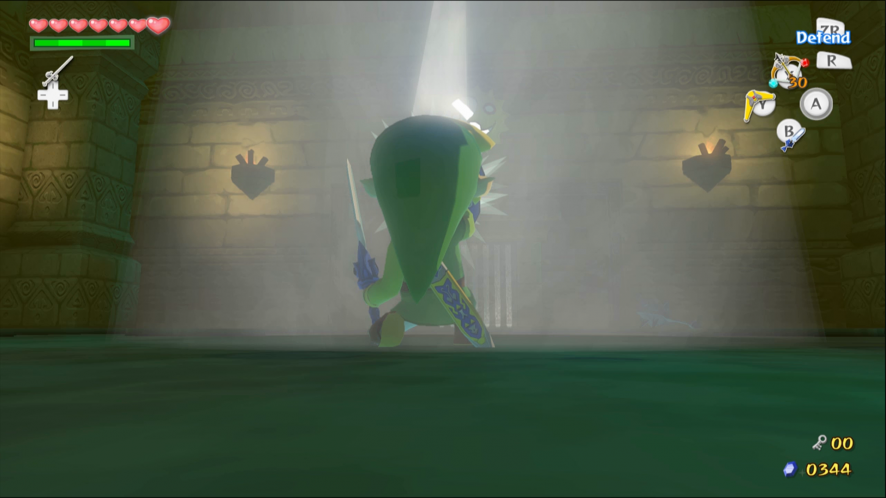
Two more Stalfos rise from their graves and try to defeat you. Try to avoid fighting both of them at the same time. Defeating all the Stalfos will cause a Treasure Chest to appear. Inside is the Mirror Shield, which replaces your Hero’s Shield. Stand in the light and aim the Mirror Shield at the face above the door to unlock it.
Return to the last room and find Medli. Take control of Medli and get her to point some light onto the floor in front of her. Redirect the beam of light with your Mirror Shield to destroy the wall underneath Medli.
Take control of Medli again and find the beam of light in the secret passage you just opened. Point her instrument at the statue to destroy it. Leave Medli in this position and return to your body. Redirect Medli’s beam of light with your Mirror Shield to reveal a stash of Rupees. Open the door to return to the room with the giant idol.

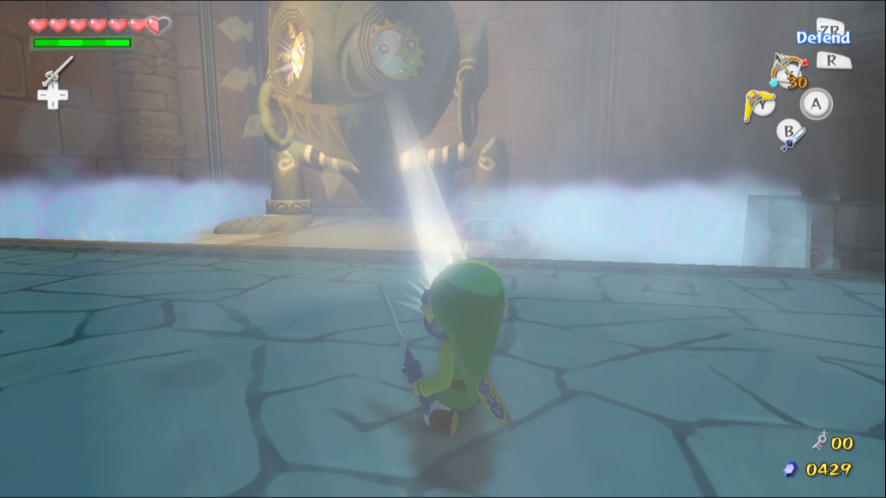
Returning to the Idol Room
Command Medli to reflect light onto one of the eyes with her harp until the idol transforms. Hold that position and leave her like this. Do the same to the other side of the face with your Mirror Shield. When the entire face has transformed a secret passage will open. The room will also fill with light and the fog will disappear.
Take the door beneath the idol with Medli. Watch out for the Blue Bubbles: they have the same effect on you as the dark fog and the Deku Leaf and the Ice Arrows are the only weapons in your arsenal that can stun them. Cross the bridge and play the Earth God’s Lyric to destroy the stone slab. Enter the next room.
Defeat the ReDeads first. Stand in the beam of light and reflect it with your Mirror Shield to destroy the statue on the right, revealing a door. Your line of sight to the statue on the left is blocked. Bounce some light off the mirror in the corner to destroy the statue. Take the door on the left.

There are two Floormasters hiding in the cursed fog in this room. While you are affected by the curse there is no way to defend yourself. You can usually run straight through the fog without being grabbed. The Floormasters tend to throw rocks or skulls if they have any nearby, which makes them less likely to catch you.
Grab the giant mirror and pull it onto the switch. This will let in a ray of light, which the mirror reflects into the adjacent room.
Go back to the previous room and take the door to the right of the entrance. The room is filled with fog, which makes it difficult to fight any of the Floormasters. At the other end of the room is a Treasure Chest. Open the Chest to receive a Small Key and remove the fog from the room.
Defeat all of the Floormasters to get a Treasure Chart.
Return to the previous room. Reflect some light to destroy the statue sitting on top of the block. Then push the block against the wall to reach the door on the ledge. Take control of Medli to fly her onto the ledge with you. Enter the next room together.
The beam of light from the room on the left will protect you from the Poes. Clear the room of enemies first.
Then take control of Medli with the Command Melody. Stand in the beam of light and aim Medli’s harp at the rear left hand corner of the room. Reflect the light from Medli’s harp at the statue on the right hand side of the room. Get Medli and enter the next room.
Two of the coffins contain ReDeads: one on the left hand side and another next to the Treasure Chest. There is a Red Rupee in the Chest.

Take the right fork to reach another stone slab. Defeat the Stalfos that emerges from one of the coffins. Play the Earth God’s Lyric with Medli to destroy the slab. Enter the next room.
The Boss Door
The Boss Door is on the far side of the room. You can fly over there, but you don’t have the Big Key. There is also a warp cauldron near the entrance, blocked by a boulder. Use a Bomb to open it up. The pit at the bottom of this room contains some Rupees and Fairies but not much else, beside enemies.
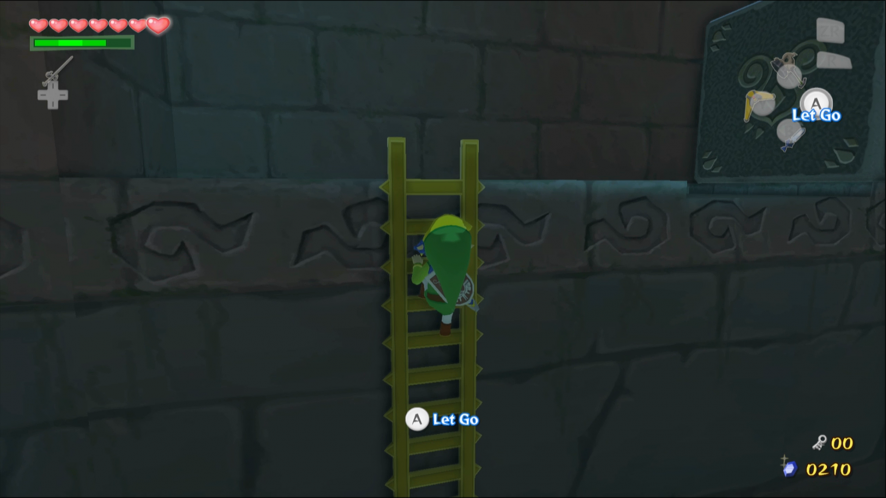
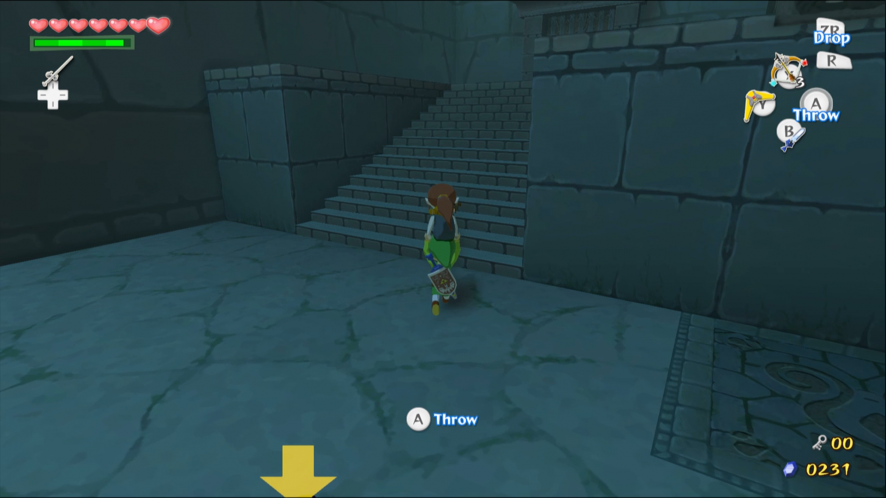
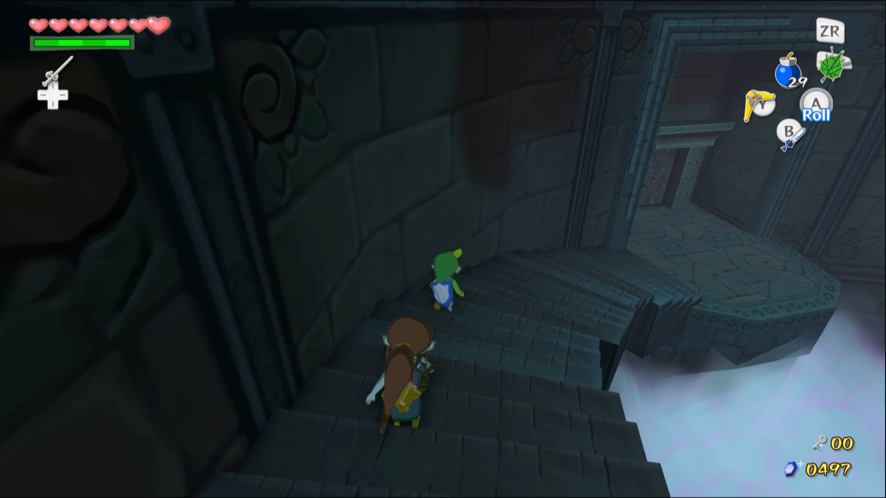
Head down the stairs until they run out. Climb across and down the vines on the wall to reach the rest of the spiral staircase. Take control of Medli and fly her down to you, then pick her up and enter the door at the end of the staircase.
This room contains an intricate mirror puzzle. Use the Command Melody again and fly Medli over to the raised area in the center of the room. Step on the switch to let a ray of light into the room.
Grab the mirror on the right and push it into position. Take control of Medli and position her on top of the pedestal in the path of the light. Point her harp at the corner of the room, where there is a harp drawn on a raised bit of floor.

Redirect the light from Medli’s harp at the four patches of destructible wall to reveal a second mirror. There are some jars behind the mirror that contain a lot of Rupees.
Move the second mirror along the groove until it is in place. Reflect some light at the statue near the middle to reveal the third mirror. Move this into place as well. When you are finished, a brief cutscene should play.
Go over to the left hand side of the room. There are three more mirrors in similar places to before. Find and move all of the mirrors. Another cutscene will play when all of the mirrors are in the right place.
Take control of Medli and stand on one of the pedestals in front of the idol. Shine light into the idol’s eye until it transforms. Use your Mirror Shield to shine light on the other eye. Like before, a secret door will be revealed underneath the idol.

Enter the room behind the idol to get the Big Key. There are two Blue Bubbles lying dormant in this room. Use arrows to destroy all of the skulls from a distance. This will make it much easier to defeat the Darknut. When all of the monsters are dead you can access the Treasure Chest.
The mirror puzzle room has two Treasure Chests – containing a Purple Rupee and a Joy Pendant – plus a secret room behind a destructible wall. You can access all these by redirecting light at them, but when the puzzle is solved they will appear anyway.
The side room contains a Treasure Chart. Defeat the three Stalfos in the coffins to reveal the Chest in which it is hidden. The coffins only open when light is shone on them. Reveal one at a time to prevent the skeletons from overwhelming you. Pull a block out from the wall in order to get out of the pit.
Return to the room with the Boss Door. Use the Command Melody so that Medli can fly back up to the level above. Climb the vines to join her up there. Pick up Medli and use her to fly across the hole. She will stay here while you confront the Boss.
Jalhalla
Jalhalla can blow fire out of its lantern, push you toward the spikes with gusts of wind or inflict the same kind of disorientation that regular Poes can. Reflecting light at Jalhalla will interrupt its attacks and eventually turn it solid (and harmless).
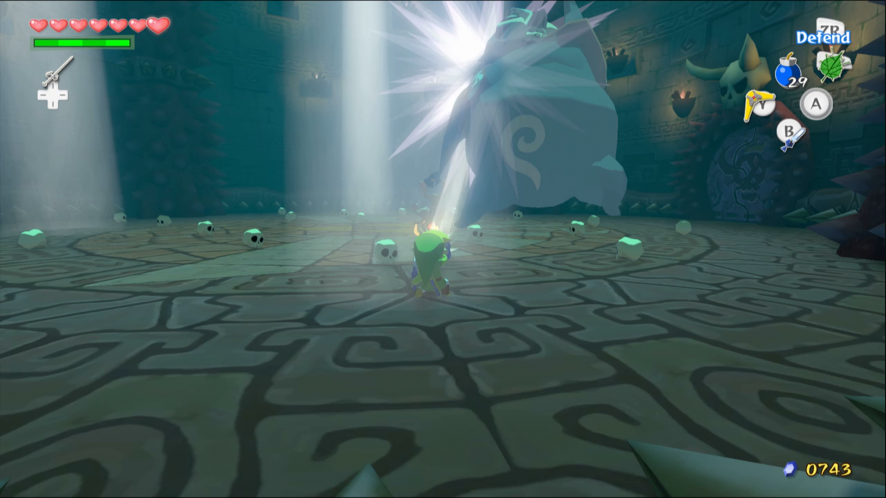
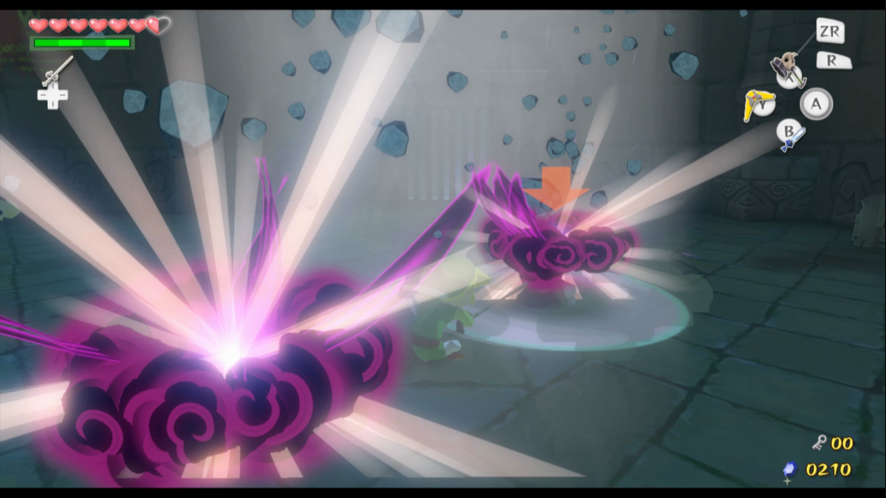
The Power Bracelets allow you to pick up the Boss, despite its enormous weight. Throw Jalhalla at the gnarly spikes on the red pillars to split it into the smaller Poes.
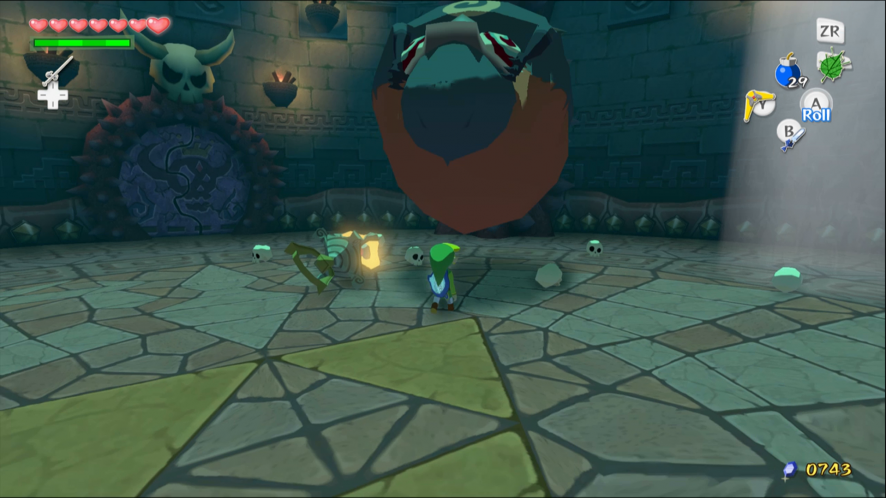
There are roughly fifteen Poes in total: try to defeat as many of them as possible before the Boss reforms. Once a third of the Poes have been defeated Jalhalla will automatically reform regardless of the time limit.

As the fight goes on, the beams of light will decrease in number, making it more difficult to stun Jalhalla. Kill every Poe to defeat Jalhalla and restore power to the Master Sword.