


Chapter 11: Return to the Forsaken Fortress
Table of Contents
Phantom Ganon
Sail back to the Forsaken Fortress. Blast through the front gate with your cannon. The fortress has cannons of its own now, so watch out for them.

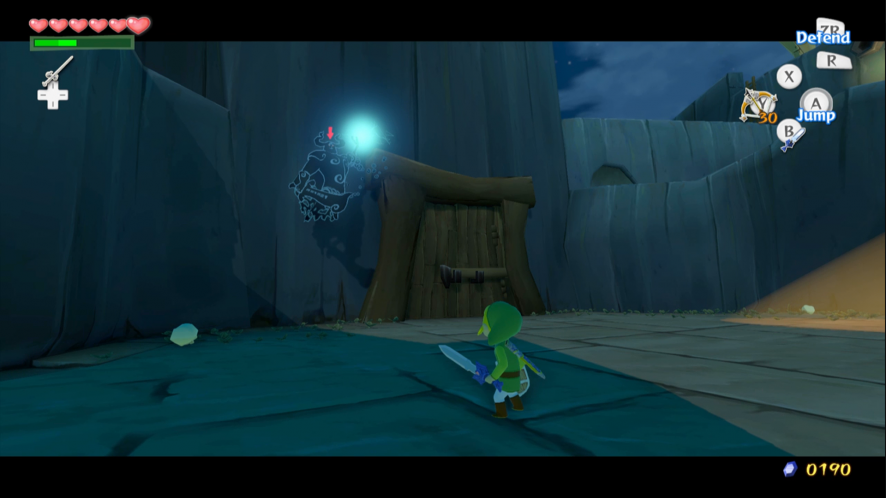
In the central courtyard you will encounter Phantom Ganon. With the Master Sword you can hit Phantom Ganon’s blasts of magic back at him until he is stunned. While Phantom Ganon is stunned, run up and attack him.
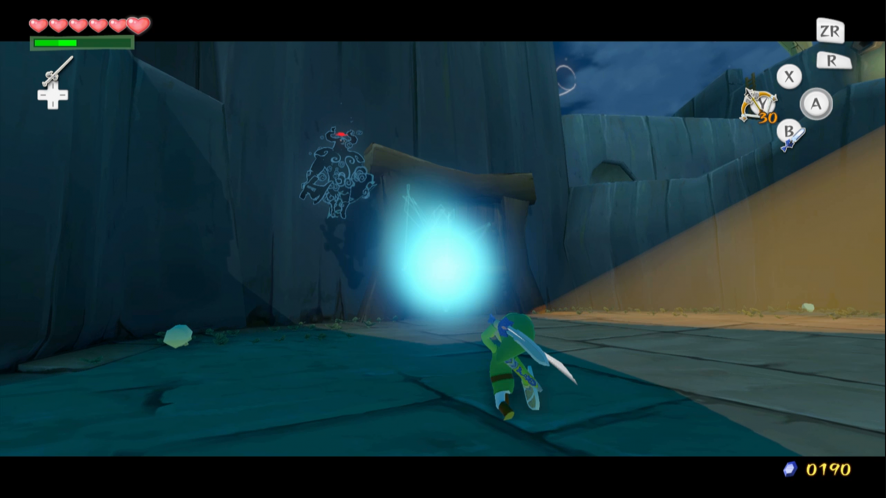
Phantom Ganon has some other attacks beside the blue balls of energy. A red ball of energy will split into many smaller orbs and home in on you. Use a spin attack to repel all of the orbs and Phantom Ganon will be stunned.
The Phantom can also create clones of himself and attack with his sword. Wait until the clones disappear and Parry the real one to stun him.
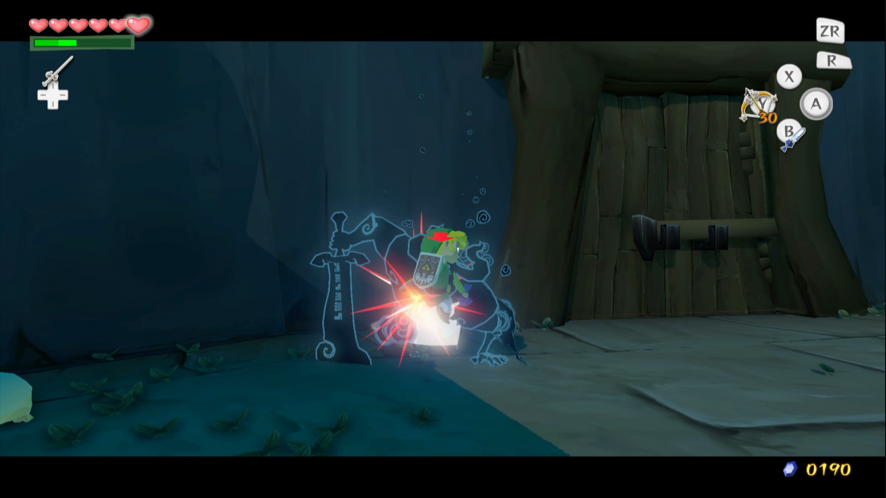
When you defeat Phantom Ganon, a Treasure Chest will appear. It contains the Skull Hammer. This weapon can deal tons of damage and stun smaller enemies with its shockwaves, but its main use is for pounding down obstacles and heavy switches.
Since your last visit, several changes have occurred. The stealth elements are gone completely, so expect to fight any enemies that you encounter. Plus any shortcuts that you opened up before, like conveniently placed crates, will have disappeared.
The searchlights serve a new purpose: they draw cannon fire to your location. You’ll no longer be captured if they see you, but it may be worth disabling the searchlights anyway to help avoid the cannons.
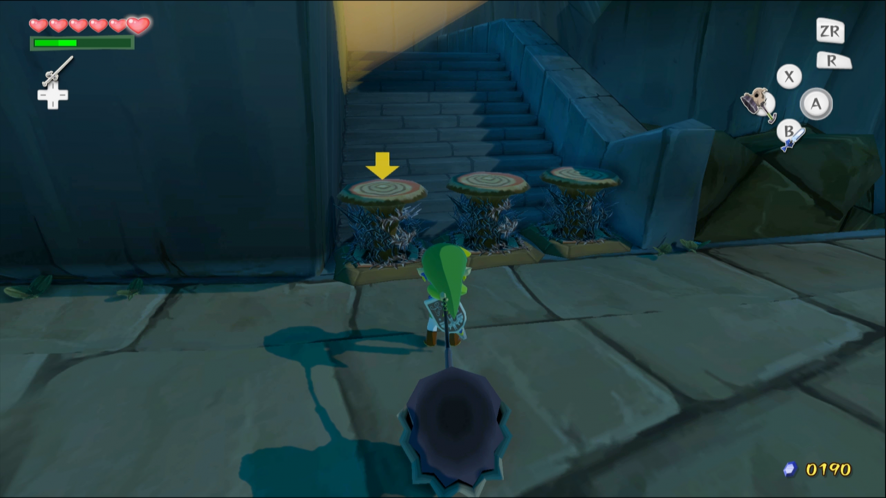
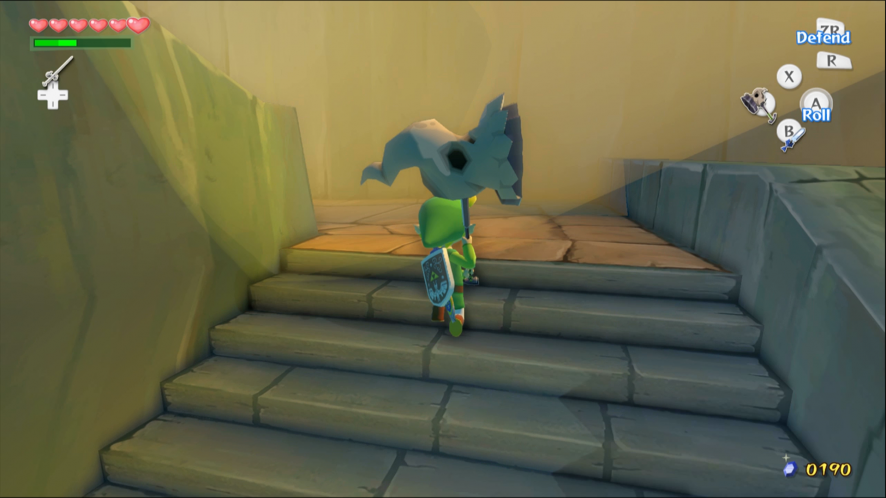
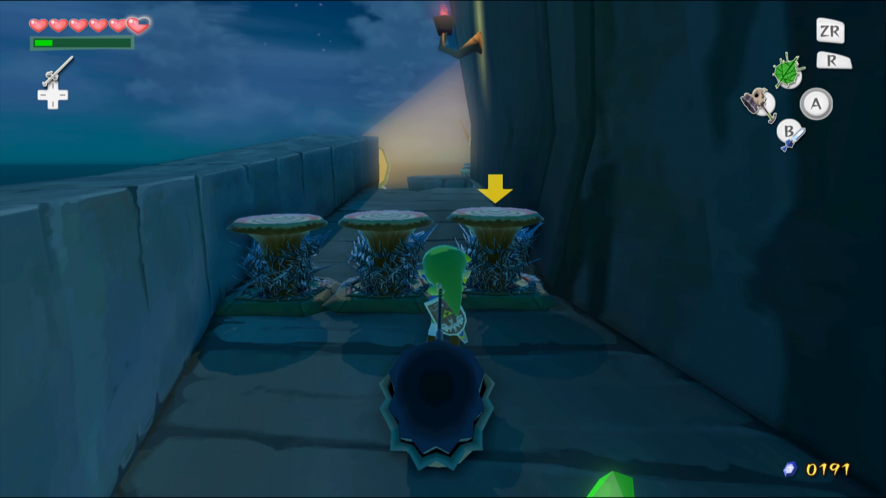
Use the Skull Hammer to remove the obstacles in the courtyard. Use the steps to reach the second floor. Take the door on the left to go inside. Watch out for the Miniblin that spawn endlessly in this area.
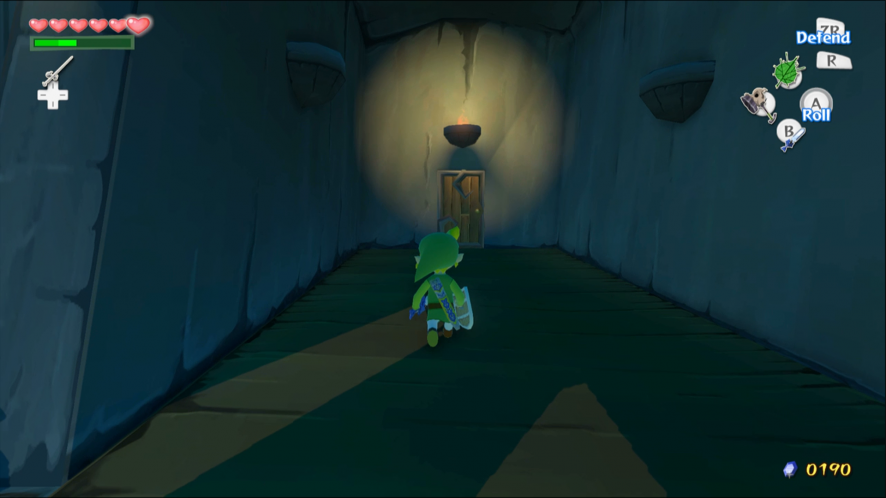
All lanterns have been removed so you cannot swing on the ropes. Use the Deku Leaf instead to cross the gap in the next room. Miniblins will spawn endlessly on the floor below, which is why it’s best to avoid it.

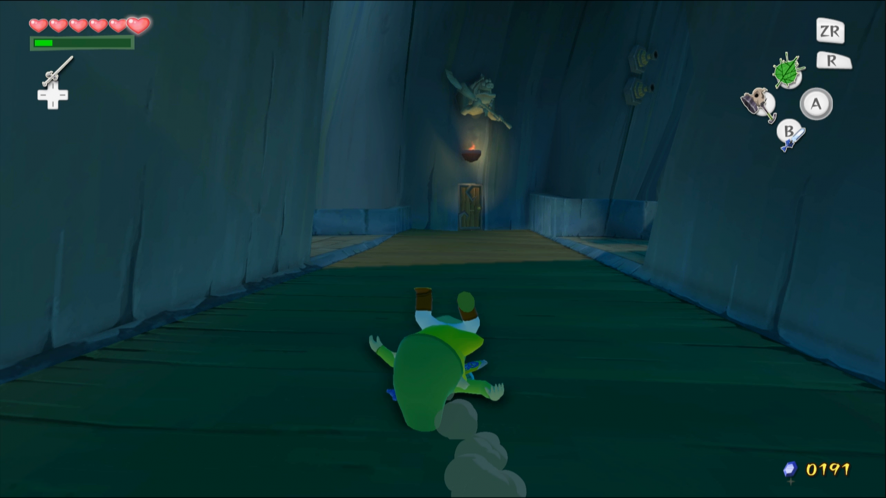
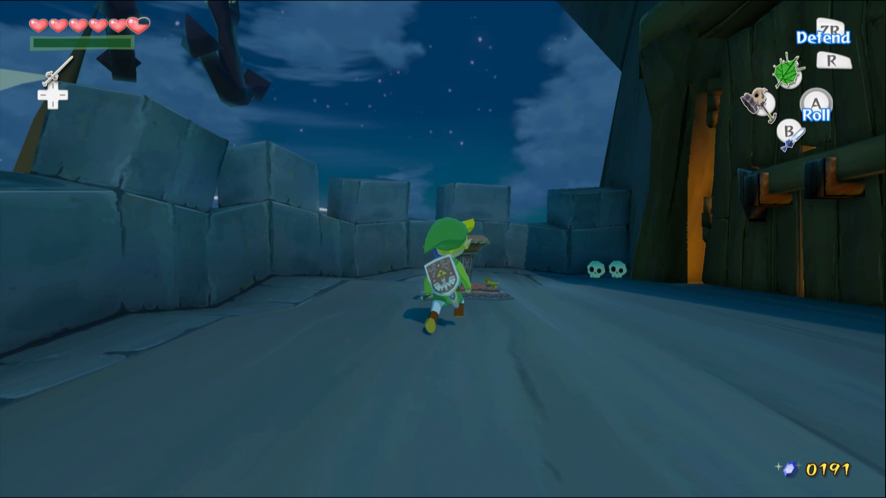
Keep going until you reach the door to the main tower. Follow the path until you reach the area that has collapsed. Use the Grappling Hook or Deku Leaf to get across quickly.


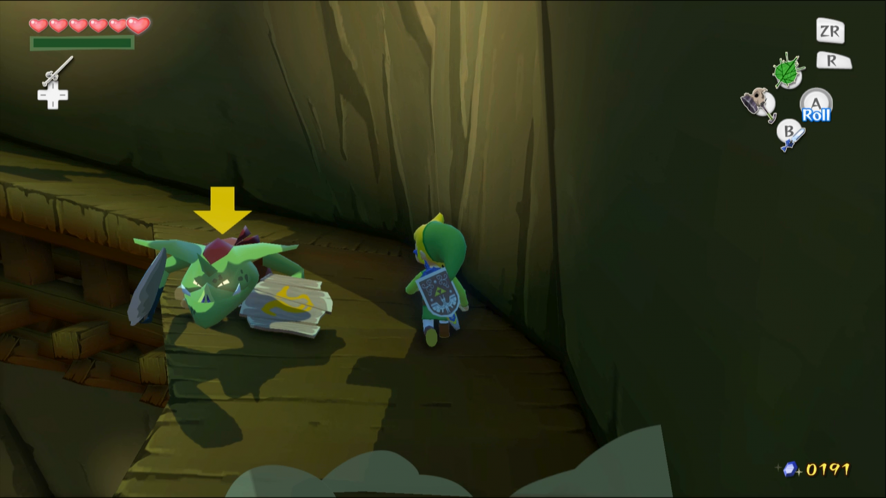
Use the Skull Hammer to pound the switch outside the final room, unlocking the door.
With the help of the pirates you can free Aryll and the other girls. This time you will deal with the Helmaroc King for good. Use the walkway to climb to the top of the room. The Boss will destroy sections of the floor, but if you keep moving you should be able to keep ahead of it. Wherever the floor is destroyed, use the Grappling Hook to cross. Watch out for Bokoblins as you ascend.

At the top of the walkway the Helmaroc King will stop you from going any further. Take out the Skull Hammer and hit the Boss’s head with it. Climb onto the top of the tower to begin the real battle.
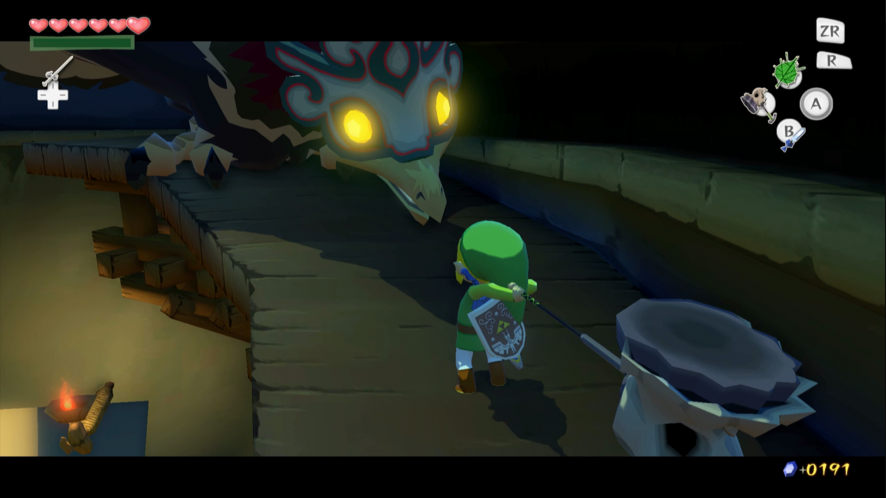
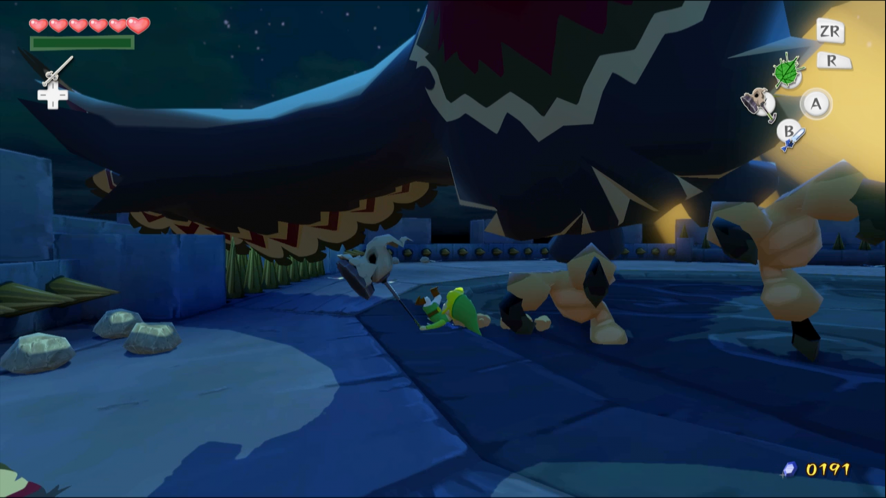
The Helmaroc King
Keep an eye on the Helmaroc King so you can run out of the way when it lunges across the arena. The spotlights tend to follow his movements.

Wait for the Boss to land on the ground and try to peck you with his beak. Dodge the attack and whack his mask with the Skull Hammer while it is stuck in the floor. If he hovers above the arena instead, start running toward him to avoid being blown into the spikes that line the walls. Repeat until the mask breaks off.
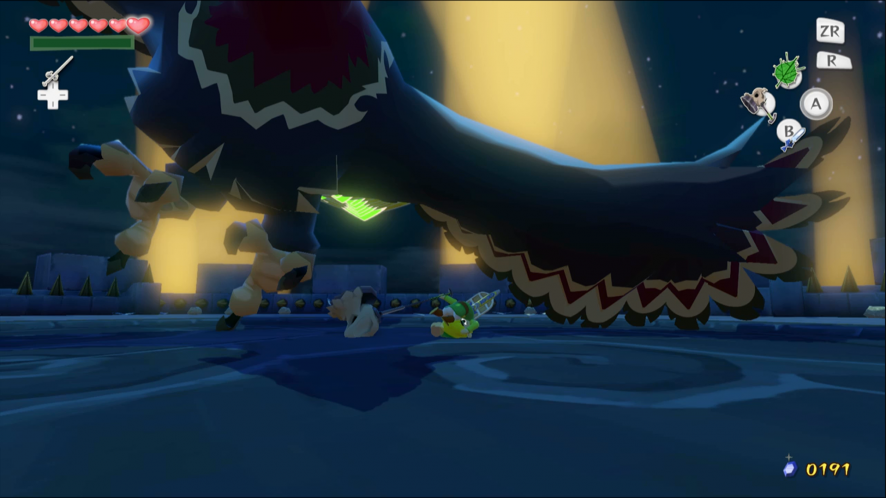
Follow the same strategy as before, this time on the Helmaroc King’s exposed crest. The Master Sword is effective now and so is the Hero’s Bow. You can get in a few hits right after the mask breaks. Why waste a free opportunity?
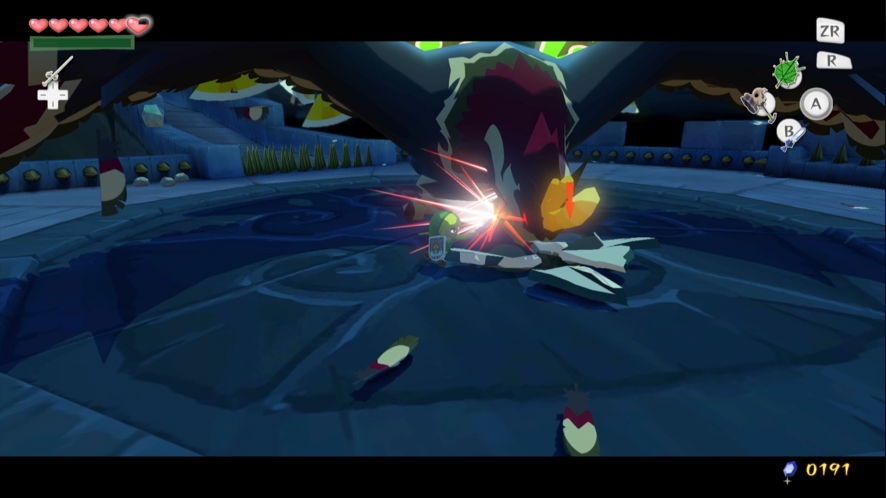
Finish off the Helmaroc King and take the Heart Container left behind.
Proceed to the room at the top of the tower to confront the King of Evil. Ultimately, you cannot defeat him. Instead, you will return to the world beneath the Great Sea with Tetra.
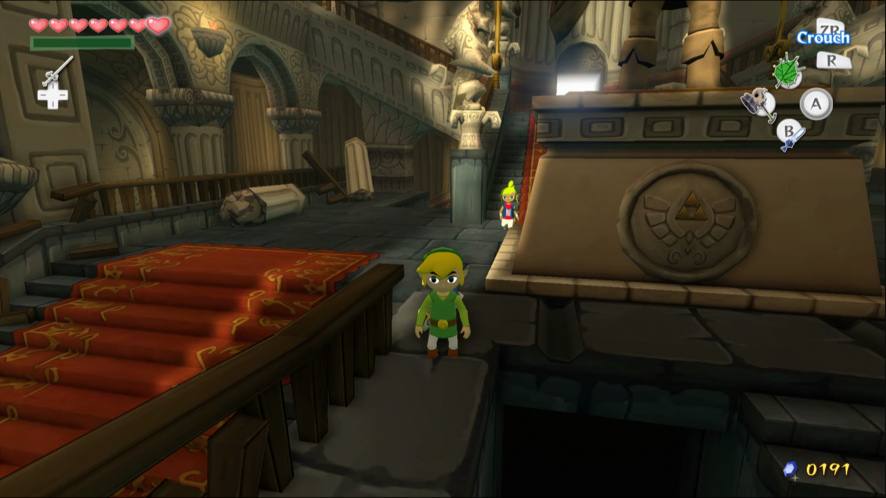
Bring Tetra to the basement in the castle to learn her true identity and the nature of the King of Red Lions. There is nothing else you can do here, so return to the surface to begin the next stage of your quest.