


Chapter 7: Lanayru Mining Facility
Table of Contents
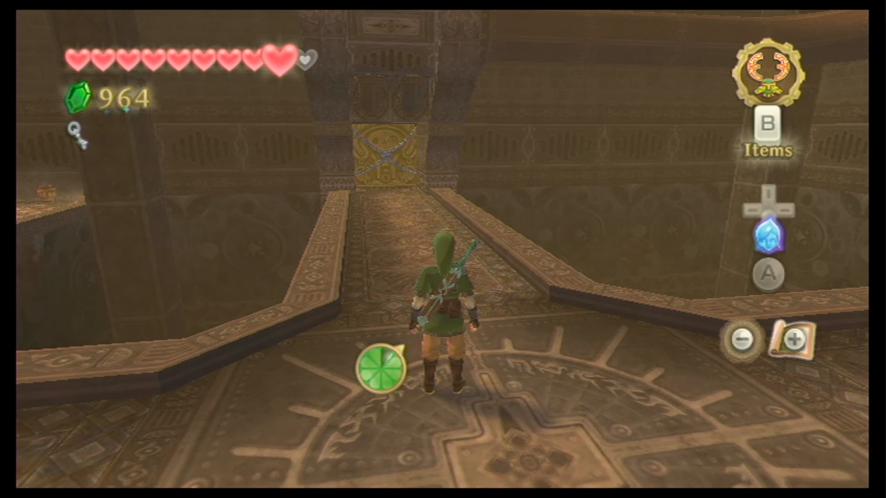
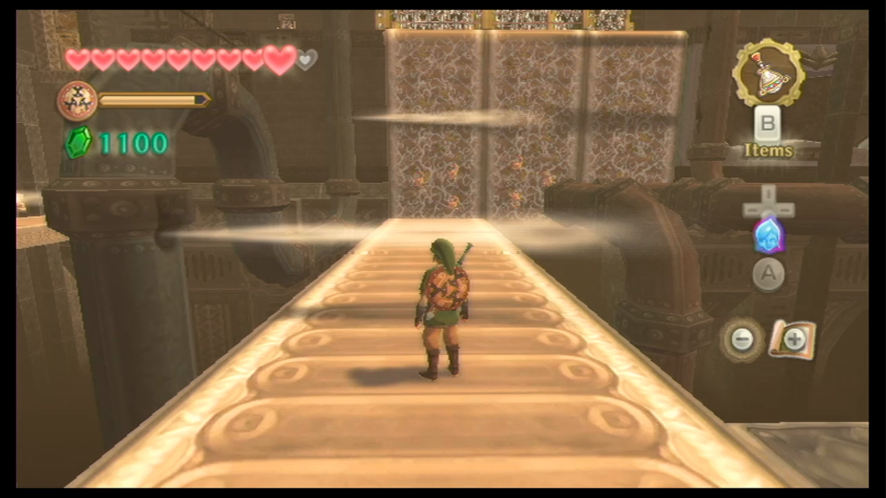
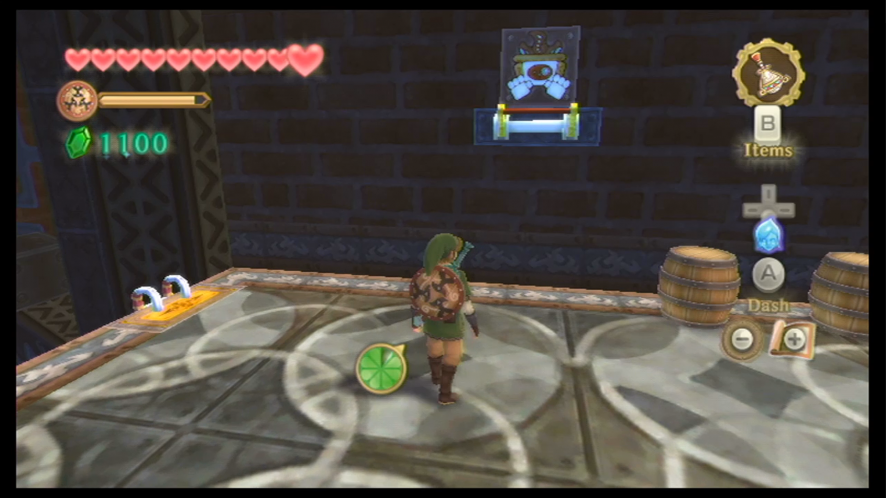
Entering the Dungeon
The first room contains the Aracha, a scorpion that you will encounter many times throughout the dungeon. However, they are quite harmless and can be defeated with your sword.
There are several bomb structures along the sides of the room, so if you want to find the goodies behind them you can go ahead and knock them over with some Bombs. You will also encounter an Electro Spume in this room – you can use your Beetle to grab the Bombs in the room and drop them on top of the Spume to kill it.
Head over and pull the lever; this will open the door. There is another lever in this room – just in the other corner – that will open a cage, giving you access to a treasure chest that contains a red rupee. Then go through the northern door that just opened.
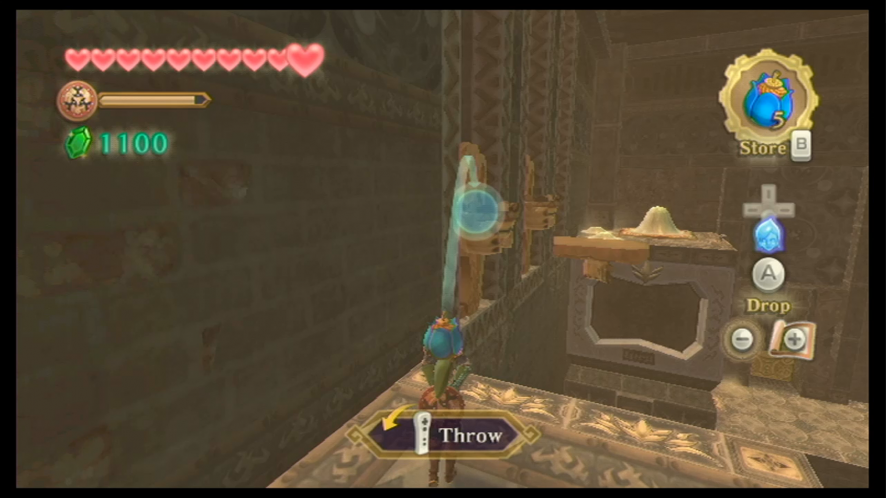
There is a Bomb on the pillar to the right. Grab it with the Beetle and drop it into the wooden boxes ahead of you.
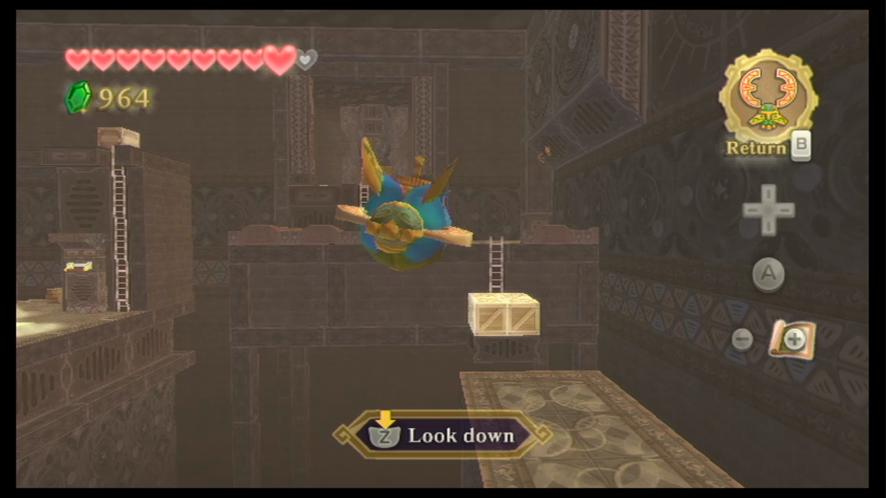
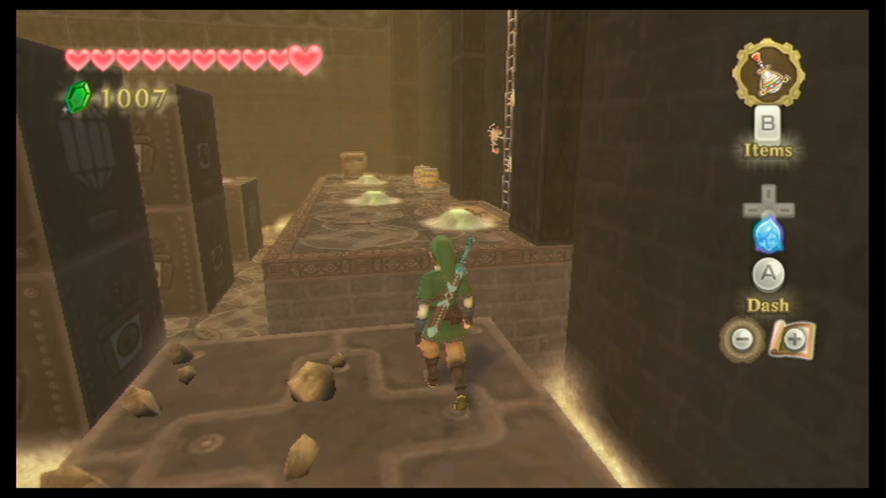
Jump over and climb up the next ladder. A few Thunder Keese will appear in this area. These Keese can electrify you if they touch you, but they don’t stay charged all the time, so take them down when they’re not electrified. Head to the nearby treasure chest and open it to get a small key. Drop back down and go back to the room we were just in. Now that we have the key, we can open the locked door.

In the new room, head over to the left and you’ll run into a Froak. These guys are small moving balls that are covered with spikes but will explode if they come into contact with anything. Hit them with your sword and send them into the wall so that they explode away from you.
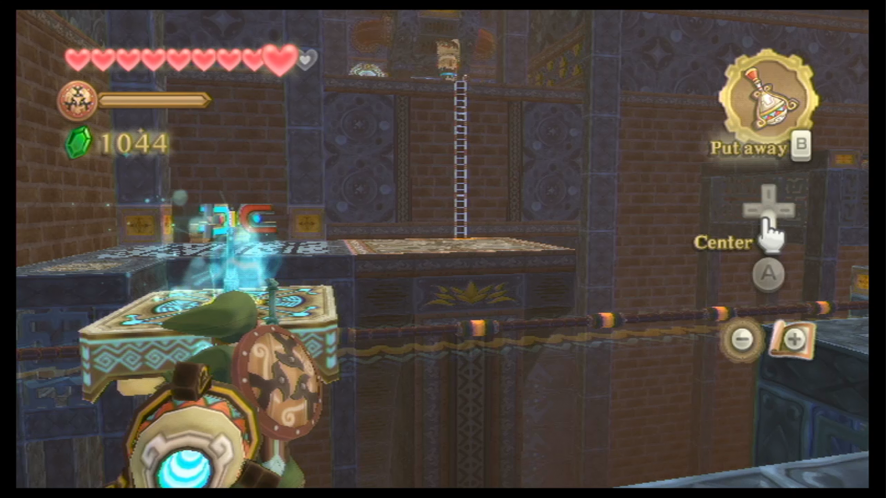
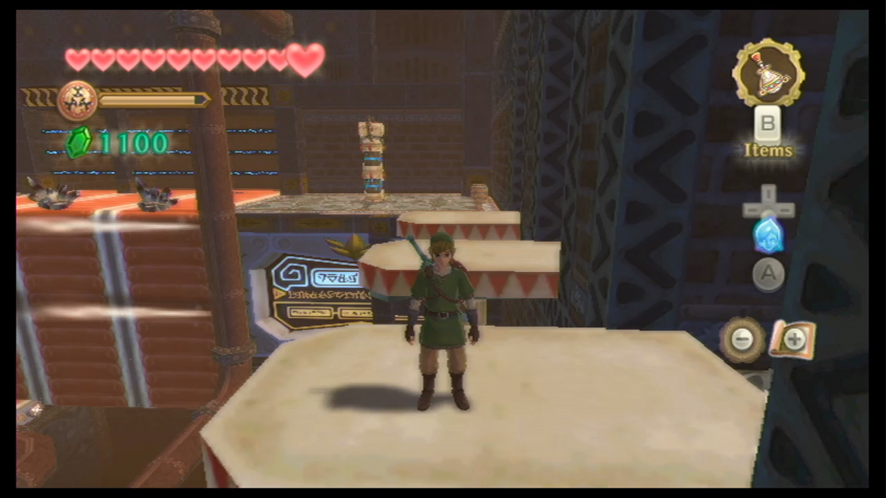
Head across the platform and defeat the next set of Arachas and Froaks. Climb up the wall to the next ledge. There’s a ladder here that you can climb, but there is a box that’s blocking the top of the ladder. If you look to the left, you will see a Bomb planted up on top of a pillar. Equip your Beetle and use it to grab the Bomb and then drop it on top of the box. The box will break from the explosion, clearing the path. Climb up the ladder and then walk onto the switch; this will open the gate that’s in the middle of the room.
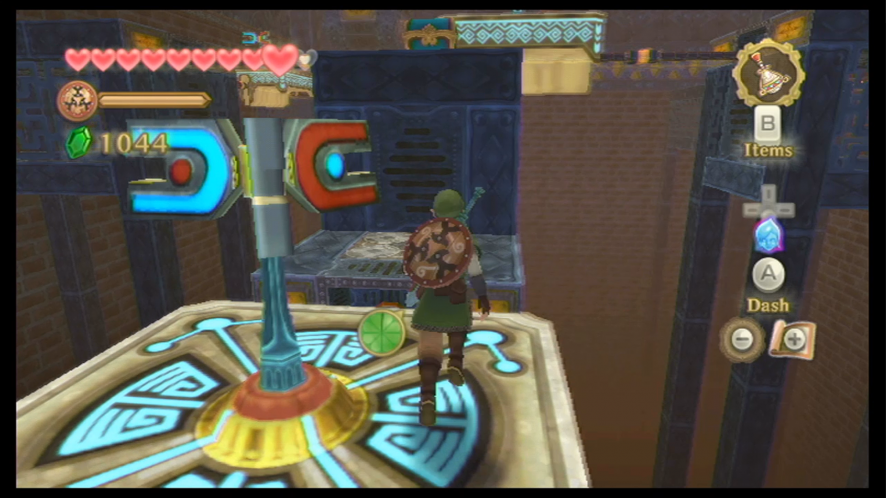
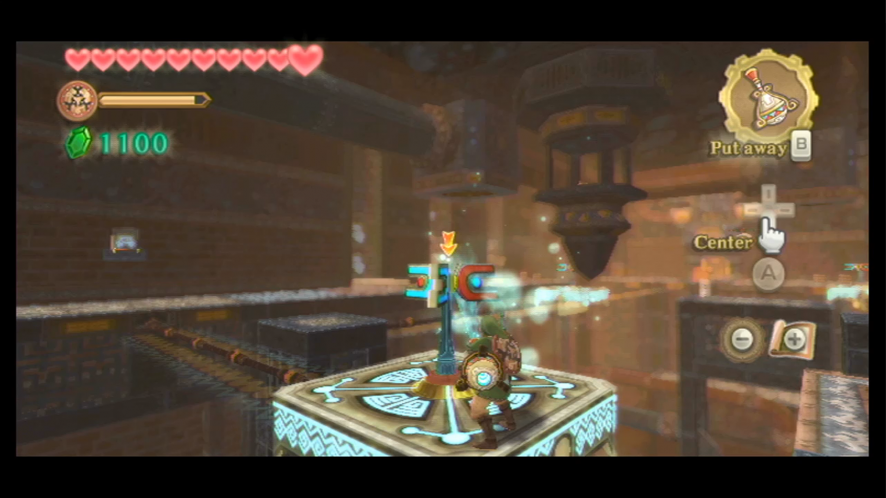
Still standing on the switch, use the Beetle again to hit the new Timeshift Stone. The room will shift into its past state. Down below a Beamos will appear. These guys can be tricky to beat, especially since they shoot lasers at you from their eye the moment they spot you. To beat them, you have to get in close and use your sword to cut them down.
The Gust Bellows
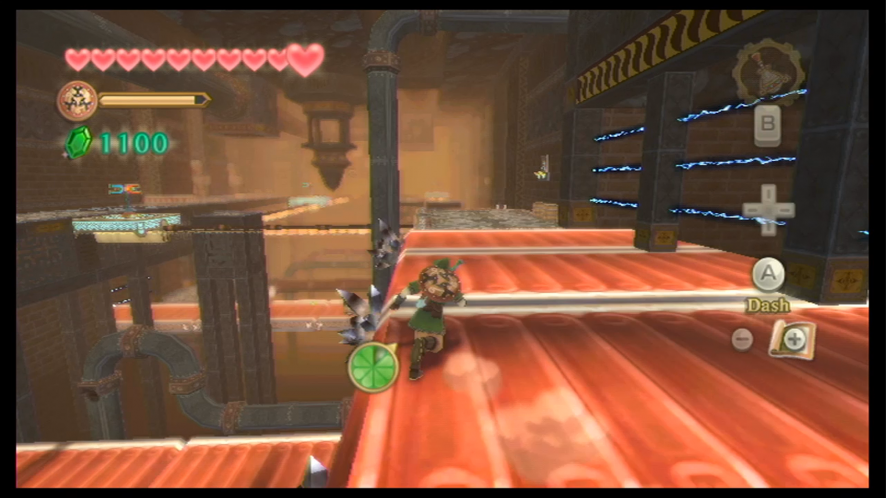
Drop down below and defeat the two Beamos statues. There is a moving platform further below, so watch out for that. Go down the stairs and you’ll be on the level with the moving platforms. You’ll have to walk against its set direction, otherwise, you’ll end up being pushed in the other direction. Thankfully, there are stamina fruit scattered along the path, so collect those while you’re running to keep your energy up. There are also chunks of rock that you’ll have to avoid while running.
We’re not going to run all the way through this path right now, but rather straight across it. Climb up the next ladder and pull the nearby lever. Pulling the lever will open a door on the other side of the room.
Run across the moving platform again, and climb up the stairs to your left. There’s a treasure chest nearby that has a red rupee in it, so go collect that. Afterward, go back down the ladder and run past the moving platform.
Make your way up the ramps until you reach another moving platform area. Dash your way up it and then defeat the Beamos. Pull the next lever; this will open another door on the other side of the room. Head over to this door and then go through to the next room.
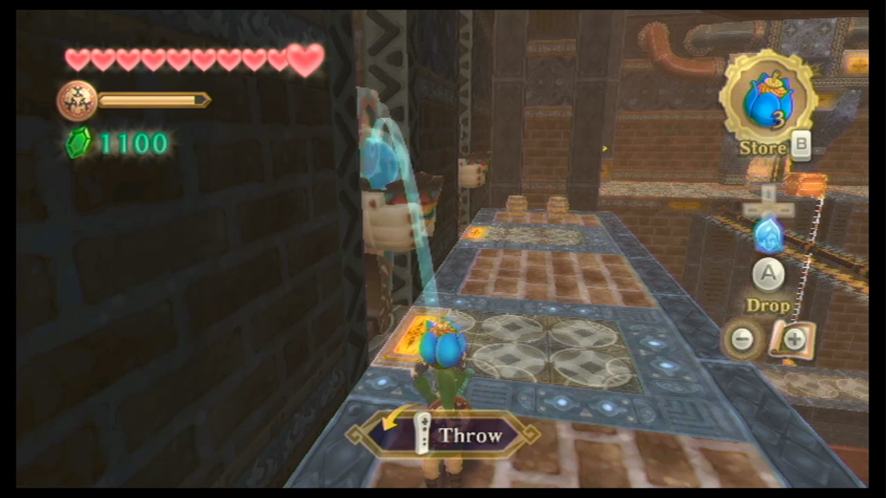
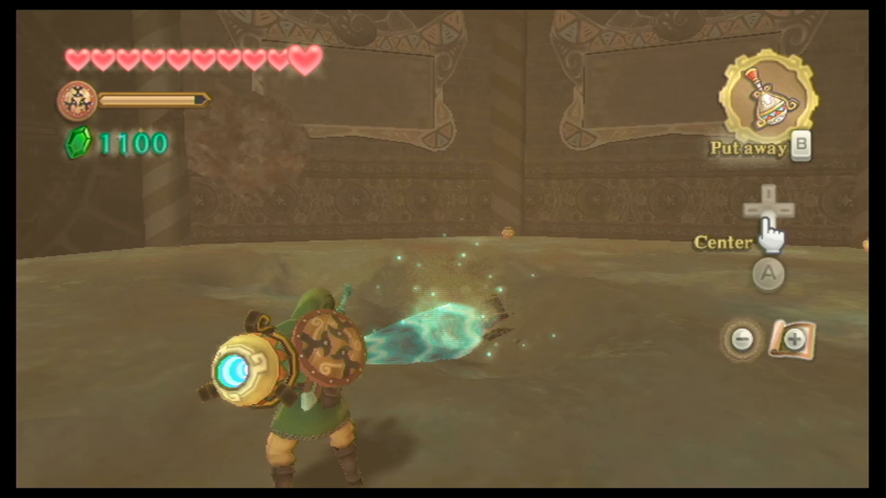
You’ll have to fight a good amount of Arachas and Froak in this room. Jump off the ledge to your right and then climb up the ladder. Jump forward (north) two ledges and then defeat the nearby Froak. There are boulders blocking the path ahead, so you can either aim your sword slashes at the Froak towards these to blow them up, or you can just use your Bombs. Keep going in a northern direction to the end of the room. Climb up the next set of steps and open the treasure chest. You will get the dungeon item, the Gust Bellows, which lets you blow air to remove dust and stun enemies.
Drop back down to the floor below and turn your attention to the right, where there is a treasure chest sitting here. Jump over to it and open it to receive a Blue Bird Feather.
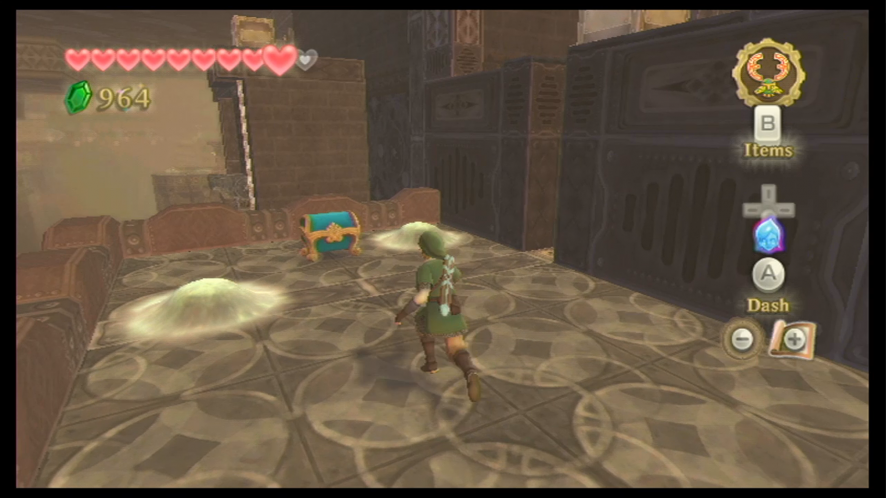
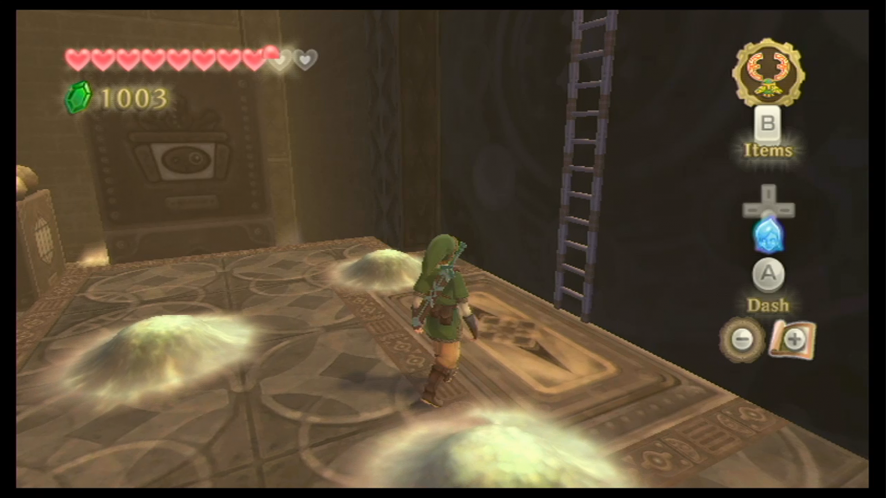
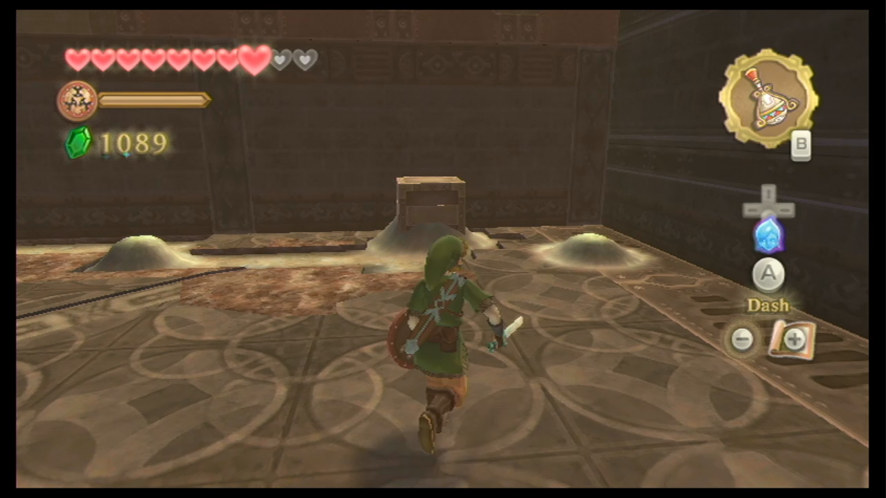
You’ll notice that there are small piles of dirt in this room, so let’s put our Gust Bellows to use. You can use the Gust Bellows to blow away these piles of dirt, revealing many things like treasure or rupees. When you’re done, climb back up the platform to reach the ladder.
Head over to the west side of the room. You can also very conveniently use the Gust Bellows on Froak and Aracha. Climb up the steps and remove the dust with the Gust Bellows. Head through the door, which will take you back to the large room; you will now be on a higher level of this room.

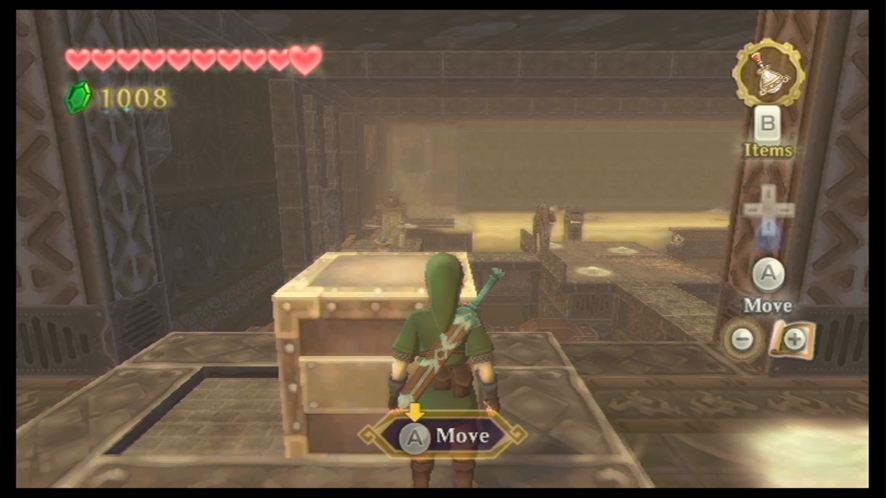
Head to the steel box that’s on the side and push it down over the ledge; afterward, jump down. There’s nothing to do in this room, so head back to the southern door.
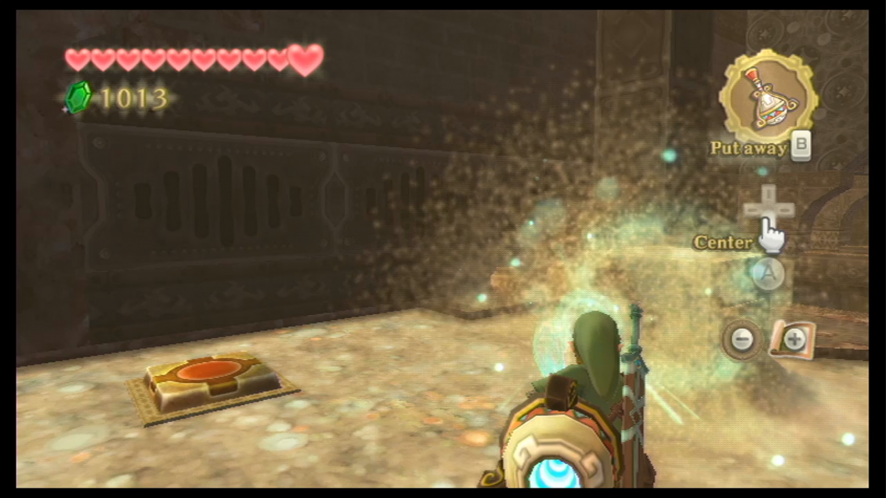
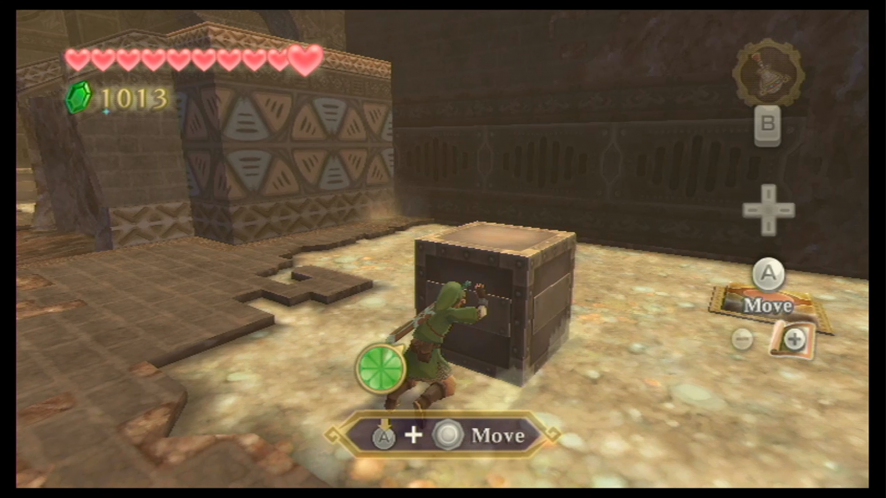
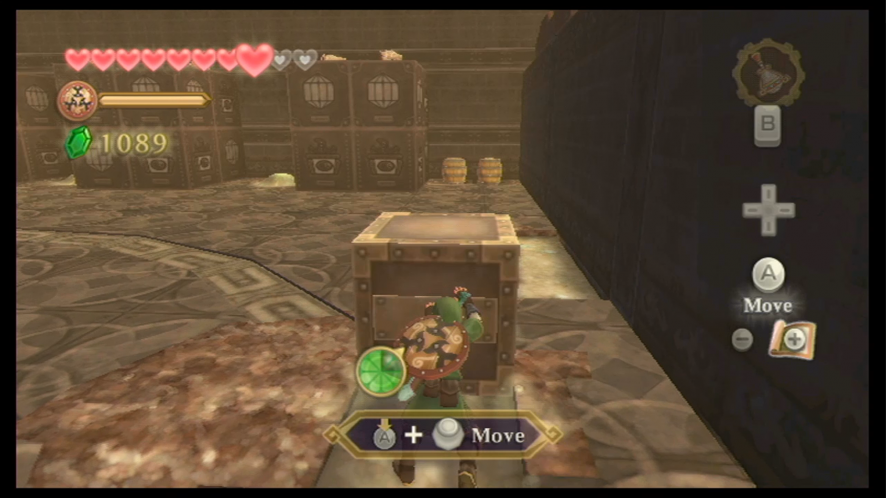
Now that we have the Gust Bellows, we can clear out the dust in the northeastern part of this room. You’ll find a floor switch after cleaning the dirt, but it won’t stay down, so we’ll have to find something to put on top of it. Use the Gust Bellows to blow the dirt off the nearby box and then push it onto the switch. The door on the west side of the room will open.
In the next room, you’ll have to fight even more Aracha and Froak. Dash your way along the sand, going from platform to platform, until you make it to the southeast corner of the room. Use the Gust Bellows to blow away the dust and reveal a new Timeshift Stone. Strike it to transform the room to its past state.
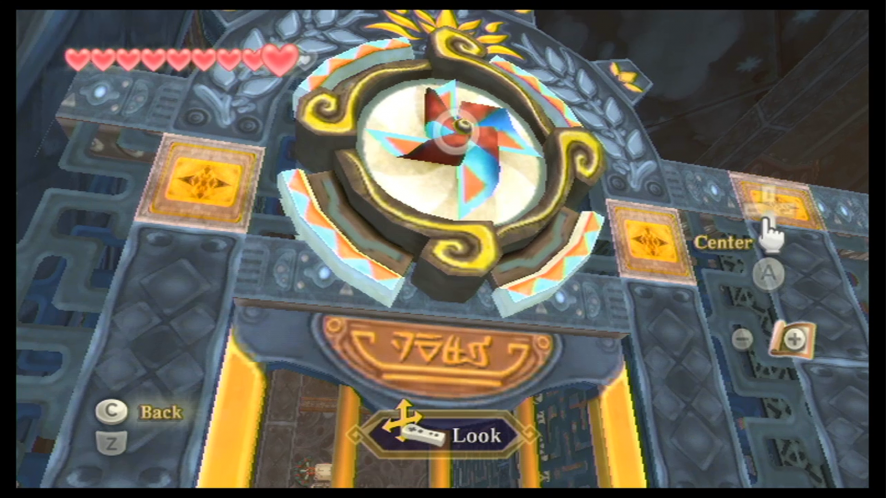
Jump over to the nearby platform. Use your Gust Bellows on the object found here to blow it in a certain direction, which will cause the platform to move along the rail. You’ll come across a barred door, and just above it is a pinwheel-looking object. Use the Gust Bellows to blow it; the door will then open for you.
There is a Beamos in this new section of the room, so go ahead and defeat it before dropping down the next ladder. You’ll have to fight another new enemy, the Sentrobe, which will shoot missiles at you. You can deflect the missiles with a shield bash, which will send the missiles back towards the machine. The Sentrobe will then begin to send two Sentrobe Bombs in your direction. Depending on the direction in which they open, you’ll have to make a certain sword slash, either vertical or horizontal. Get rid of the Sentrobe Bombs and then knock another missile back at the Sentrobe to defeat it.
There is a platform along the west wall but we can’t reach it yet. Equip your Gust Bellows to blow the turning machine on the platform to make it travel along the rail towards you. When you’ve got it close enough to you, jump onto it. Keep blowing the platform along the railway until you make it to the treasure chest, which contains a Monster Horn treasure. Jump back onto the railway platform and travel in the western direction to the other side of the room.
Jump off and then climb up the set of stairs that are in the corner of the room. Defeat the Beamos, and then equip your Gust Bellows to spin the pinwheel that’s in the corner. This will open up the nearby door.
Go through the door to the next room, and defeat the oncoming Staldra. There is a higher platform at the end of the room but we can’t reach it yet, so let’s equip the Gust Bellows to clear the sand from the metal box. Push it along the sand towards the higher platform, and then climb up.
There is a treasure chest nearby, but a gate is cutting us off from it. Clear off the dust with the Gust Bellows and you’ll find another Timeshift Stone. Use your Slingshot to hit it and activate it. This doesn’t change the closed gate, but an Armos will appear. These statue-like monsters will jump towards you. You’ll have to use your Gust Bellows to spin the top part of the Armos – which will, in turn, open its mouth and reveal what looks like a crystal switch – and use your sword to slash at the crystal in its mouth. He will start jumping at you again, so just repeat the process until you’ve defeated it.
Jump up onto the higher platform and open up the treasure chest. You will – finally – receive the Dungeon Map. Head through the eastern door that opened to get back to the large main room of the mining facility.
Golden Sculpture
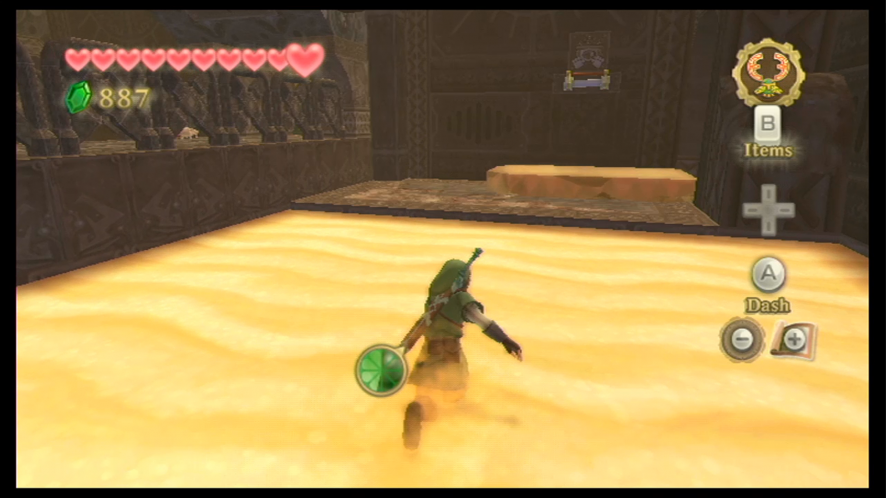
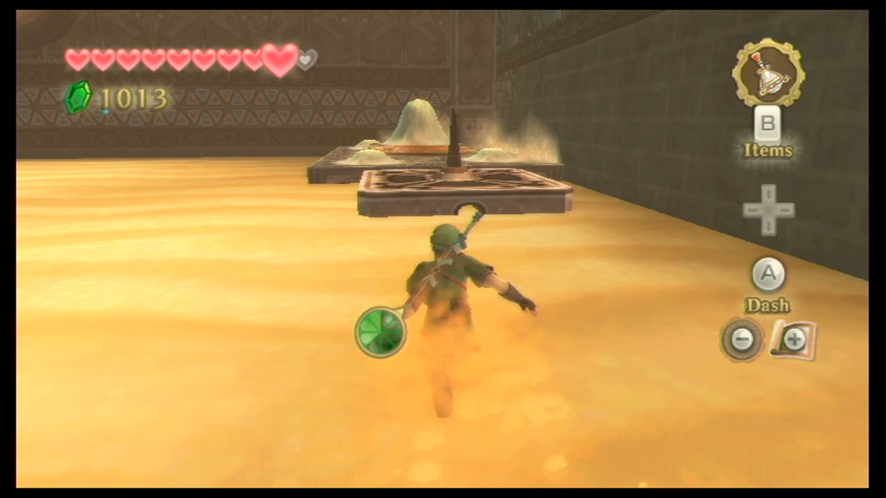
Now that we’re in the main room again, head in an eastern direction until you reach a floor switch. Step onto it to open the gate; this will act as a shortcut. There is a path ahead of you that is completely covered in quicksand, however, if you check your map, you will see it is a lot like the quicksand that surrounded the temple entrance, with paths marked on the map where you won’t sink. Following the marked path, head along the sand, defeating any Electro Spume on the way.
There’s a lot of dust along the west side of the wall, so clear it out with the Gust Bellows. Blowing away the dust will reveal a small crawlspace. Crawl through to the next area, which has a treasure chest that contains a Blue Bird Feather. Go back through the hole when you’re done.
Keep going along the pathway through the sand until you find a second dust mound to blow away. When you’ve blown it away, you will have to crawl through another crawlspace, this time the path going in a bit of a maze formation.
- left
- right
- straight
- right
- left
- right
- right
- left
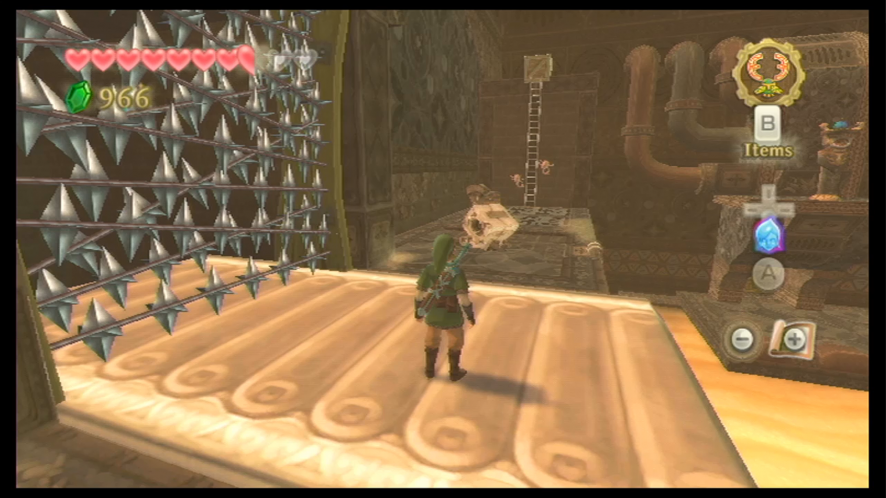
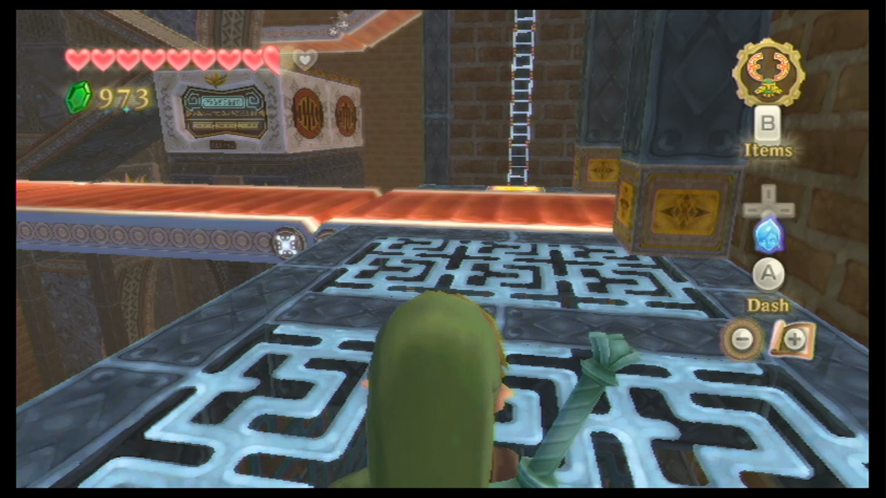
Jump off the next ledge and you’ll be in a room that has an insane amount of dust. Clean out the area with your Gust Bellows – be weary of the spikes as you do so – which will reveal a good pathway for you to take to avoid the spikes. You’ll have to do a lot of turning and you may run into a few dead ends, but after you’ve cleaned all the dirt out it’ll make the traveling a lot easier.
There’s a treasure chest in the northwest corner of the room that contains a red rupee, so go ahead and collect that if you like. Just south of the staircase at the north end of the room is a floor switch. Stepping on it will unlock the door. Once you’ve done that, climb up the stairs and go through the door; you will be back in the main room of the dungeon again.
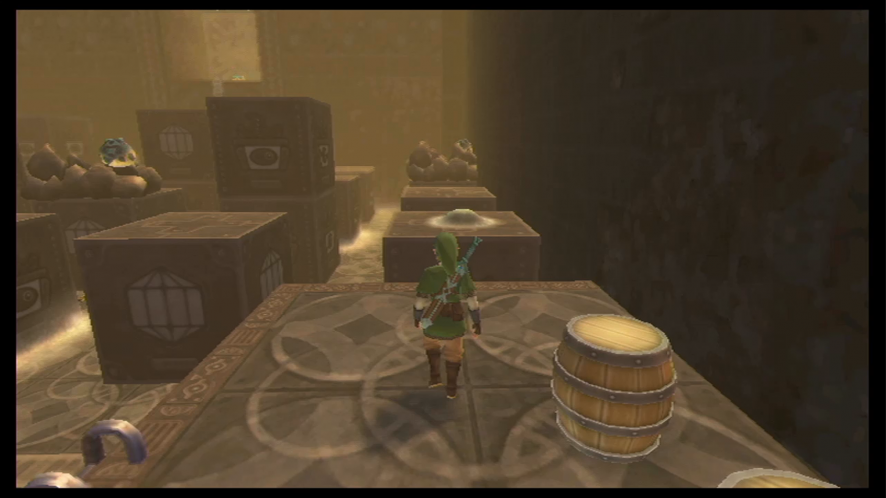
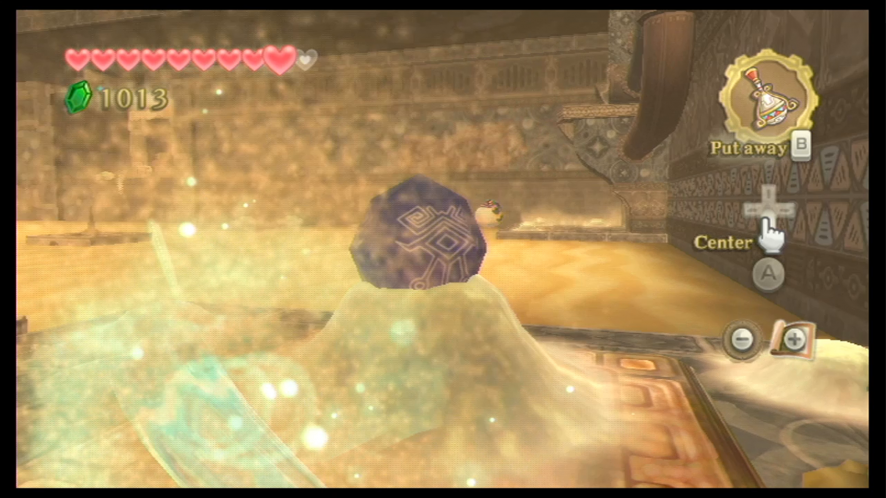
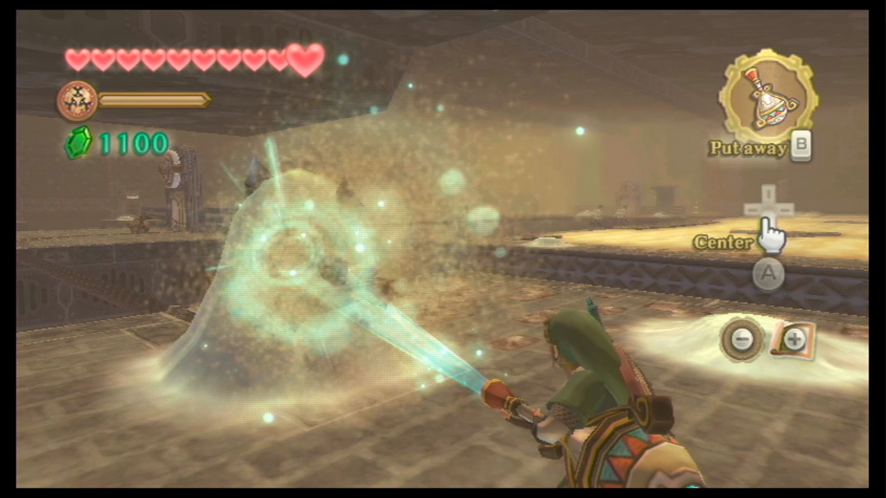
You’ll find a mine cart in this spot that’s covered in dirt, so go ahead and clean it off with your Gust Bellows. Blowing off the dust will reveal a Timeshift Stone. Activate it and then follow the cart along the rail. When the cart reaches the next area, a Sentrobe will be brought to life. Defeat it and then open the next gate for the cart to go through by spinning the pinwheel with your Gust Bellows.

As you follow the cart, it will bring to life a few Beamos. You can hide behind the cart to avoid their lasers when they’re on the other side. However, a Beamos will eventually appear directly on the rail, so you’ll have to take care of this quickly, otherwise, the mine cart won’t be able to continue. You’ll pass two more Beamos before you reach the south end of the room. Open the next gate by using the Gust Bellows on the pinwheel, which will give you entrance to the earlier part of the dungeon.
Head over to the platform on the right and blow the dust off the next mine cart. Like last time, this one has a Timeshift Stone, so activate it and follow it along the rail. A Beamos statue will eventually appear on the right, so jump off and defeat You’ll soon see a pinwheel on the right as you continue, so blow it with your Gust Bellows to open the next gate.
When you’ve reached the end of the railway, strike the Timeshift Stone twice – once to deactivate it, and a second time to reactivate it, so that the cart goes backward. When you’ve reached the area where the door opened, get off and head to the east room.
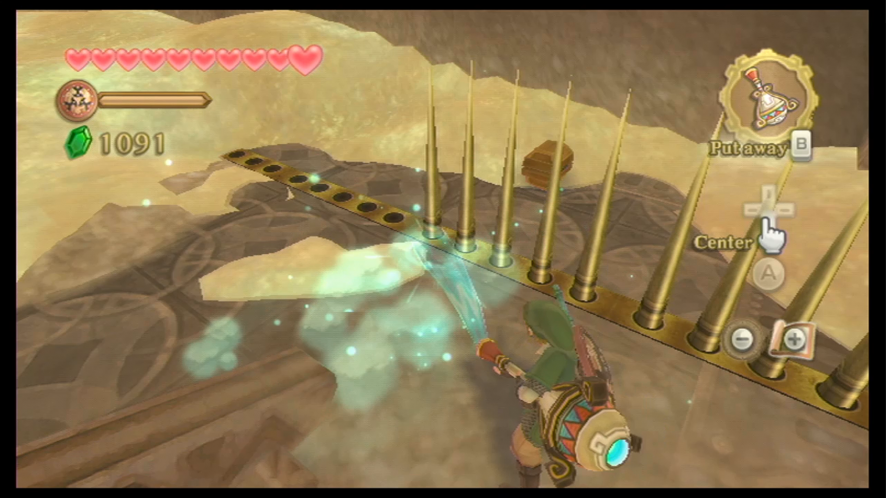
Watch out for wind gusts and Aracha as you go across the platform. Climb up the next wall – all while avoiding the bursts of wind – until you make it to the next platform. There are Thunder Keese here so take care of them before turning right to the two Bomb statues. Toss some Bombs at them to knock them over. Jump across the fallen Bomb statues and then use the Gust Bellows to clear away the next pile of sand. Activate the new Timeshift Stone.
Jump back across and defeat the Beamos. Dash across the moving platforms; you’ll have to run in a diagonal motion towards the end. Grab the lever and pull it down to bring the platform over to you.
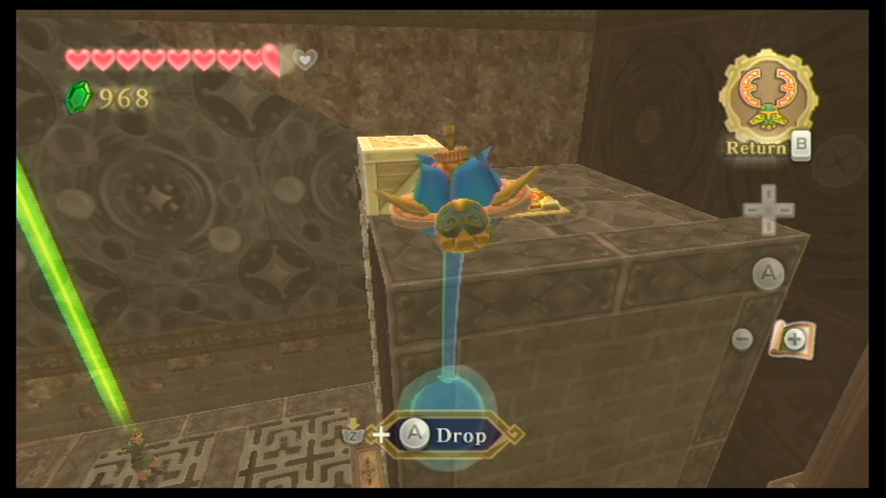
After you’ve jumped onto the platform, use the Gust Bellows to blow the mechanism and travel to the other side of the room. Knock down the two Bomb Statues here, and two diamond switches will appear. We don’t need these switches yet, so turn your attention to the rail platform just in front of them. Using the Gust Bellows, move them to the right.
Jump back onto the last platform and then to the one that you moved. With the Gust Bellows equipped, move the platform all the way to the northern section of the room. Push the steel block over; this will allow you to use the staircase if you fall.
Head over to the northeast corner of the room and then get onto the railway platform. Move it along the rail with the Gust Bellows. You’ll see that there are three Bomb statues along the wall, so equip your Bombs and toss them into the statues to knock them down. Just like before, these ones have crystal switches behind them but don’t do anything to them just yet.
When you’ve revealed all three crystal switches, look back across to the other side of the room and you’ll see – from left to right – an order of 2, 3, 1.
- The 1 is closest to the north end of the room, so hit the crystal switch at the north end of the room.
- Then hit the south switch
- and then the middle one.
If you’ve done this in the proper order, the northern gate will open. Ride over to the door and go through to the next area.
You’ll have to equip your Gust Bellows the moment you arrive in this new area as there are two Armos for you to fight. If you look at the ground, you’ll see that there is a circle surrounding the Armos. The Armos are stuck to these areas and cannot leave them, so it would be best to take care of one first and then the other while one of them is trapped within their own respective circle. When you’ve defeated them, open the treasure chest to get the Ancient Circuit, which will unlock the boss door – a door in the last room will also open.
Leave this room and take a left turn, then jump down below and defeat the Beamos. Run across the moving platform, which will take you to the door that just opened. You’ll have to deal with the wind gusts along the wall that could blow you off, but you can simply fight against them by walking in place while the wind is obstructing you and then running again when the wind has stopped. Go through the new door. Once again, we’ll be back in the main room of the dungeon.
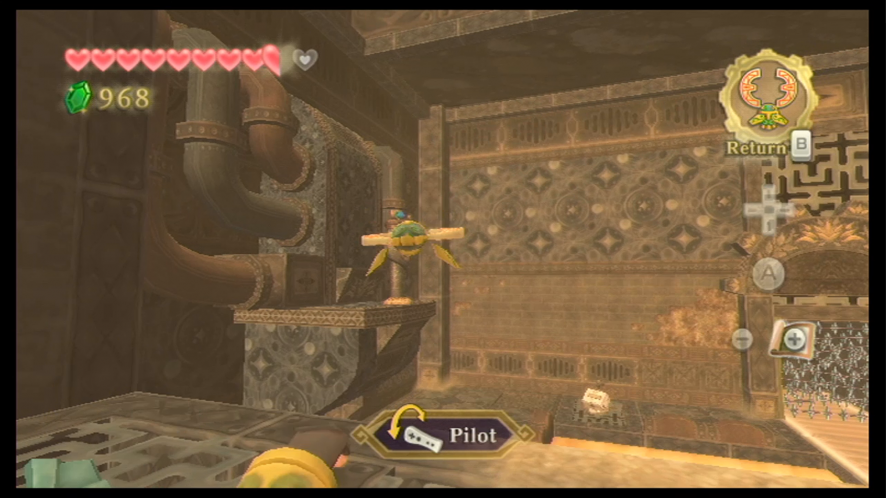
You will find another minecart with a Timeshift Stone here, so activate it with a strike from your sword. The Timeshift Stone won’t create platforms for you to walk on this time, so you’ll have to jump onto the railway platform and use the Gust Bellows to follow it.
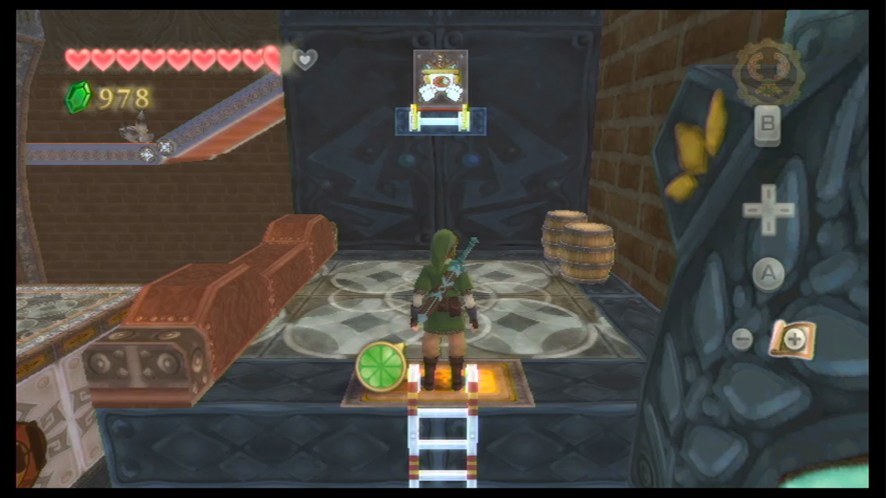
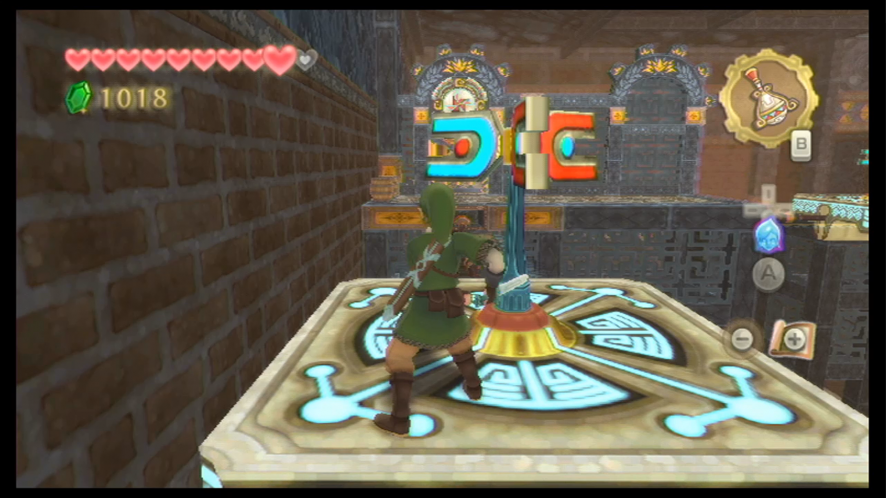
When you’ve reached the boss door, save your progress at the Bird Statue in the northwest corner of the room. If you need recovery hearts, there are some in the nearby barrels. When you’re ready, arrange the Ancient Circuit and fit it into the lock. You can now fight the Lanayru Mining Facility’s boss, Moldarach.
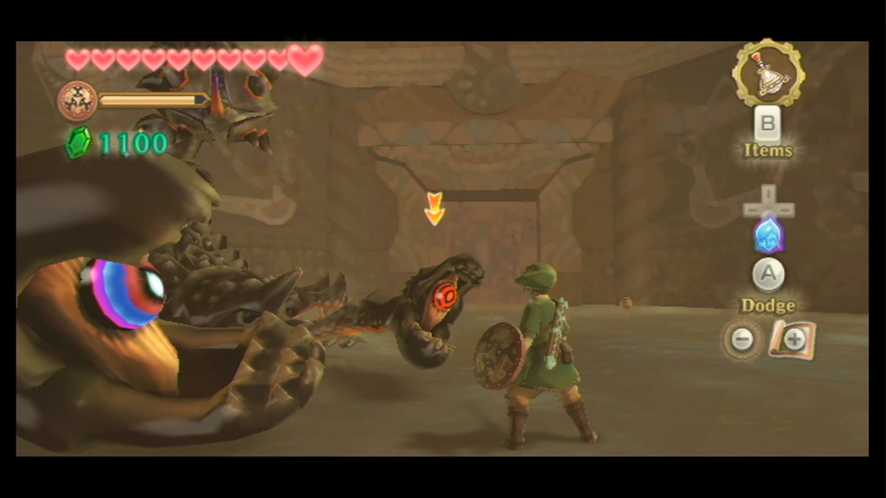
Boss – Thousand-Year Arachnid Moldarach
When you arrive in the room, a short cutscene will initiate in which Moldarach – a gigantic scorpion-like creature – arises from the sand.
During the first phase of the battle, you will have to strike the weak points that are in Moldarach’s claws. You will have to use directional sword slashes to hit the weak points; Moldarach will often change the direction his claws are facing, so always make sure that you’re ready to change your position.
When the weak points – or ‘eyes’ – turn red, it means that Moldarach is going to strike, so back away to avoid it. If Moldarach grabs you, you will have to shake the Wiimote to escape his grasp.
Keep hitting Moldarach’s weak points. Soon, his claws will fall off. When they do, a new eye will appear on his main body. All you have to do is perform a straight sword strike to hit it. When you do, he will dig himself into the sand.
Quickly equip your Gust Bellows – you will have to use it to blow away the sand until you’ve revealed enough of Moldarach’s body and he comes back out from underneath the sand. When he does, hit him in the new weak spot a few more times and he will fall.
The Goddess’ Harp
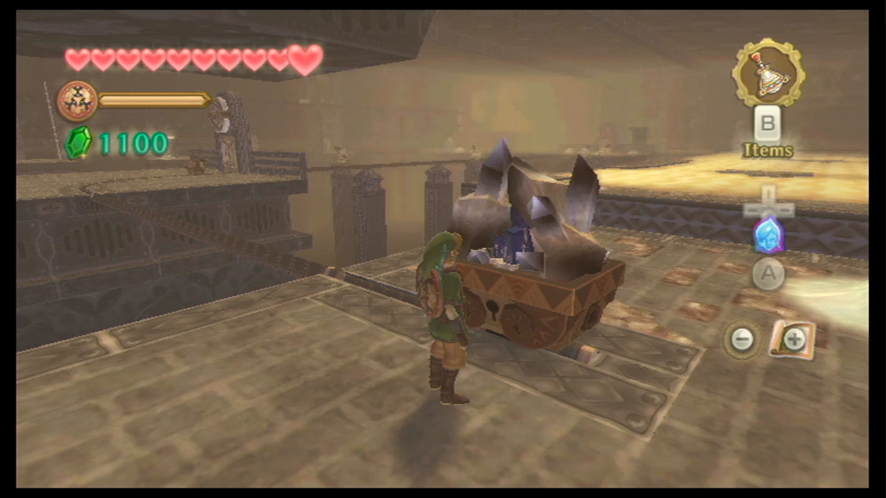
When Moldarach has been defeated, the sand will drain out of the room. Collect the Heart Container, and then leave the room. There will be a minecart here. Equip your Beetle and use it to activate the Timeshift Stone that’s near the ceiling. Jump onto the newly-activated mine cart and ride it to the other side of the room. Climb up the set of stairs at the end of the hallway and a cutscene will trigger.
During this cutscene, you will be given the Goddess’ Harp by Zelda, who leaves through what’s called the “Gate of Time”, and gives you a very haste order to go see the old woman in the Sealed Grounds.