


Chapter 6: Lanayru – First Visit
Table of Contents
Preparations for Lanayru
With the Earth Temple completed, let’s head back to Skyloft to place the Amber Tablet we just received next to the other two we’ve already collected. This will create a yellow light through the clouds that will lead us to Lanayru. While we’re here, let’s also do some shopping and sidequests. If you’d rather not do any of this – although it’s highly recommended – skip this section and go straight to the next section.
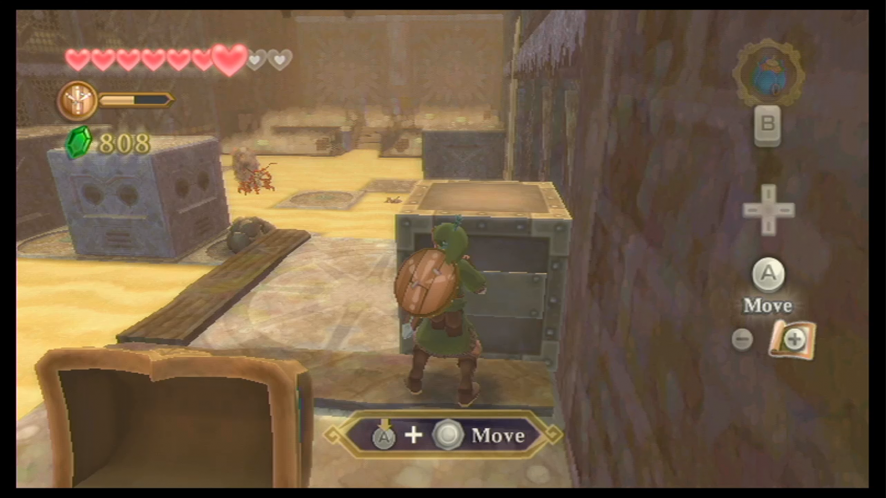
Remember those Goddess Cubes we found in Eldin? We can open those chests now, so before we go out to Lanayru, let’s mount Link’s Loftwing and go on a hunt for those. You can find more about the Goddess Cubes on the Goddess Cubes Guide.
- Goddess Chest #4 is located at the southwest section of the Sky – it contains a Small Seed Satchel.
- Goddess Chest #5 is located far to the northeast section of the Sky – it contains a Silver Rupee.
- Goddess Chest #7 is located on Bamboo Island in the northern section of the Sky – it contains a Gold Rupee.
- Goddess Chest #8 is located at the northeast section of the Sky – it contains a Treasure Medal.
Get back onto Link’s Loftwing and head for the yellow light that will take us to Lanayru.
Lanayru Mine
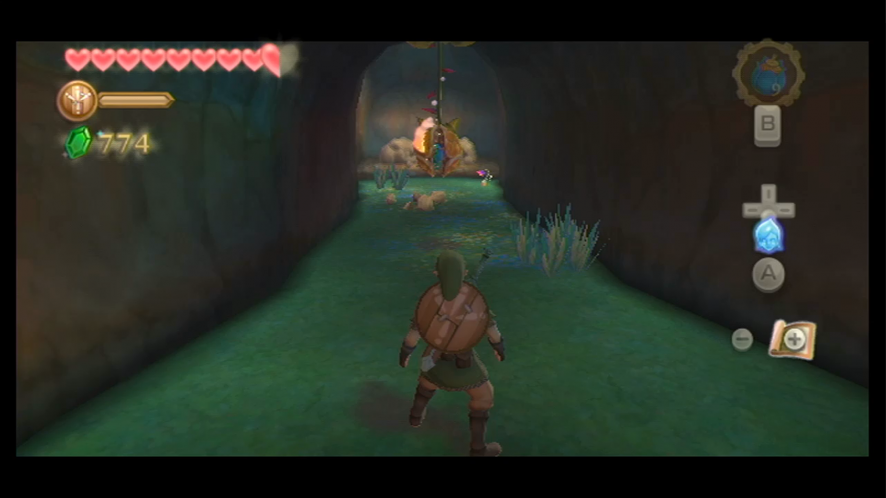
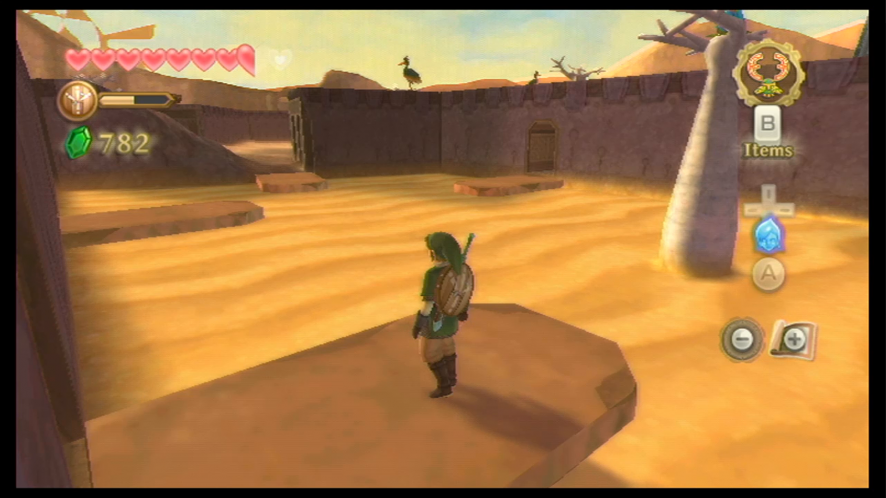
You’ll end up inside the Lanayru Mine the moment you arrive. The first thing we’ll do is jump off the ledge and run behind the structure where the tenth Goddess Cube is located.
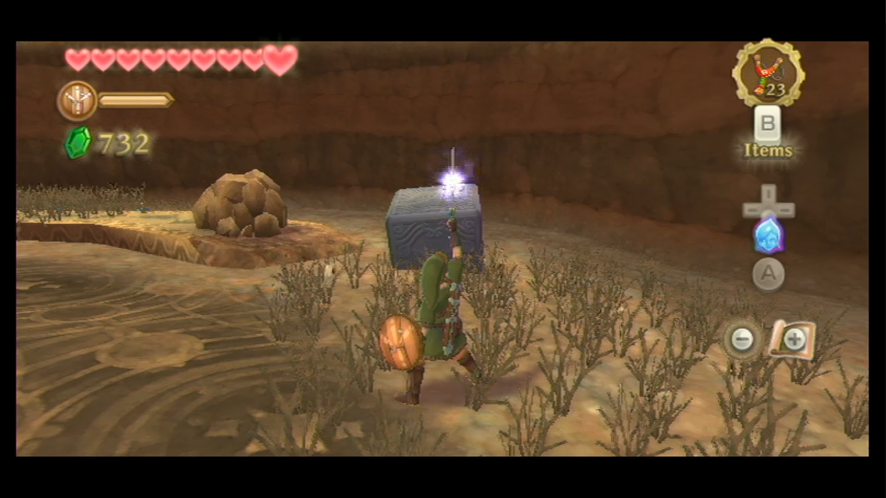
We’ll get the treasure chest, which contains a silver rupee, for this cube when we return to Skyloft again.
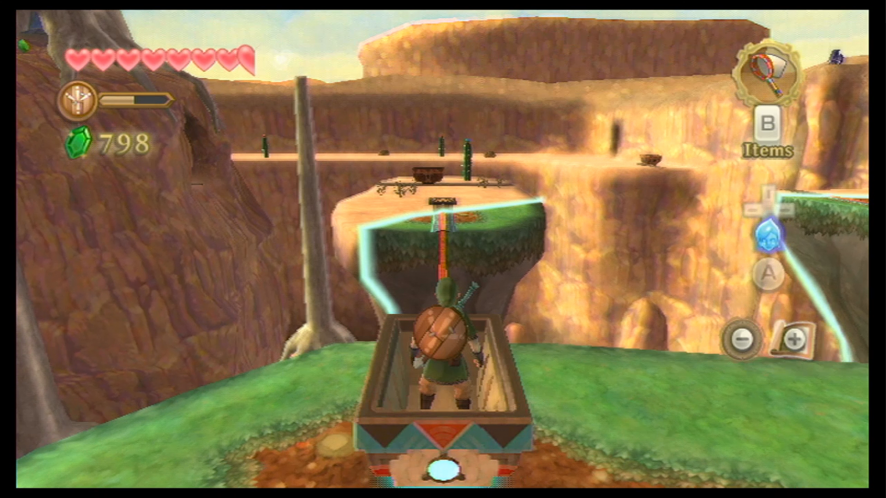
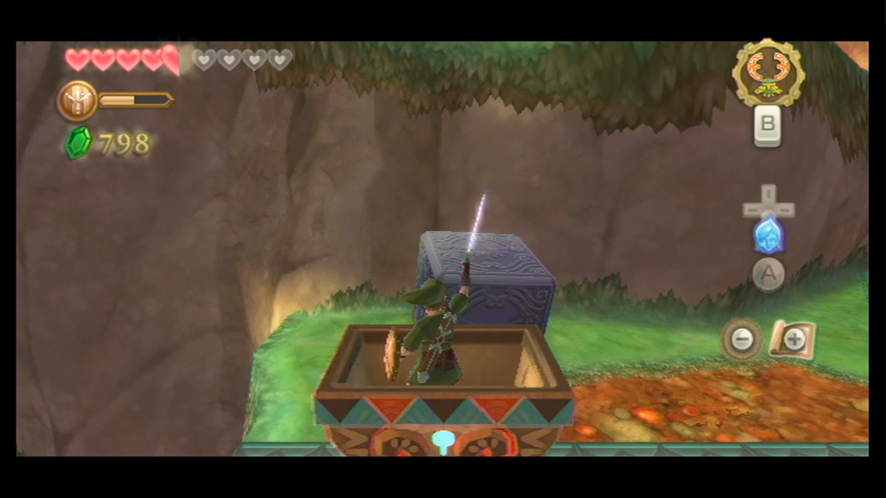
Jump off the ledge and go straight ahead into the Lanayru Mine. Defeat the regular Keese that attack you, and then continue until you make it to the end of the path where a minecart is waiting. Grab it and then push it until it falls down below to the tracks.
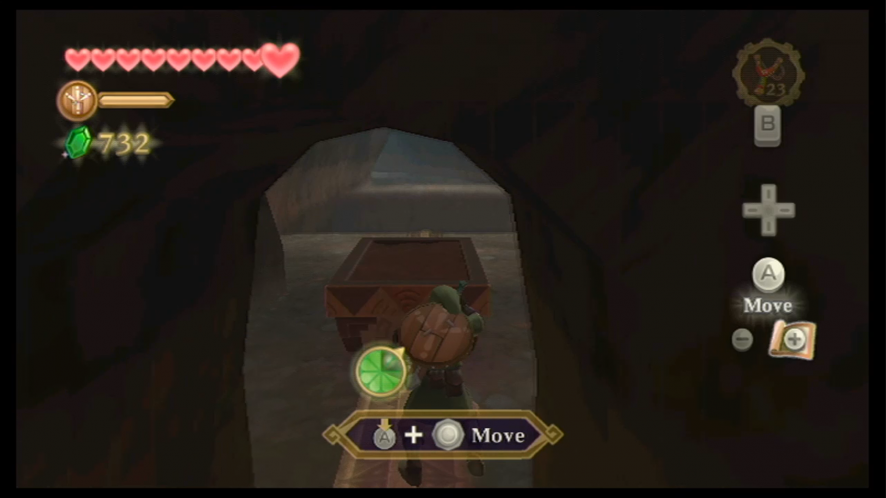
Jump down from the ledge and pull/push the cart until it’s pressed up against the wall opposite of it. You can now climb up that wall.
You’ll come across some Yellow Chuchu. Unlike other Chuchu, these ones have the ability to conduct electricity and will zap Link if he gets too close. You’ll have to strike them when they’re not charging with electricity to take them down without getting fried to a crisp.
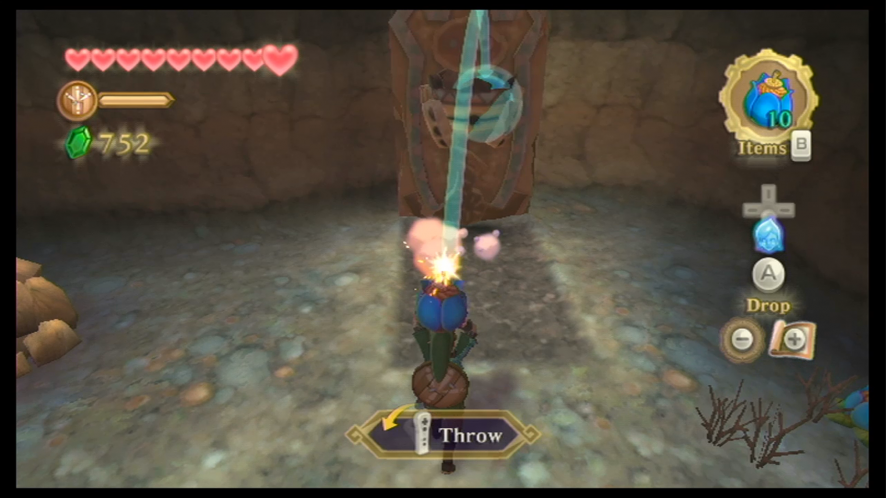
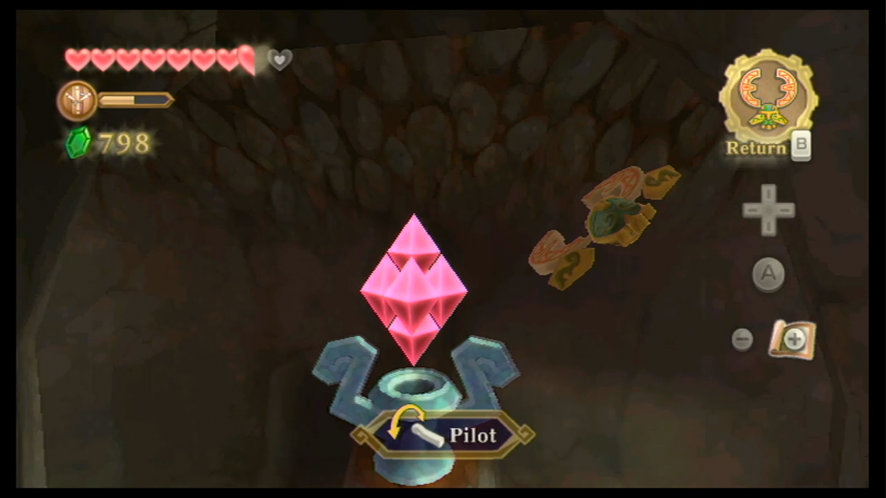
After you’ve taken down the Yellow Chuchu, continue forward until you come to a room that has a large purple stone mounted in the center. This is called a Timeshift Stone. Striking it will cause the area around it to shift back into its past state when the mine was still active. So go ahead and hit it with your sword.
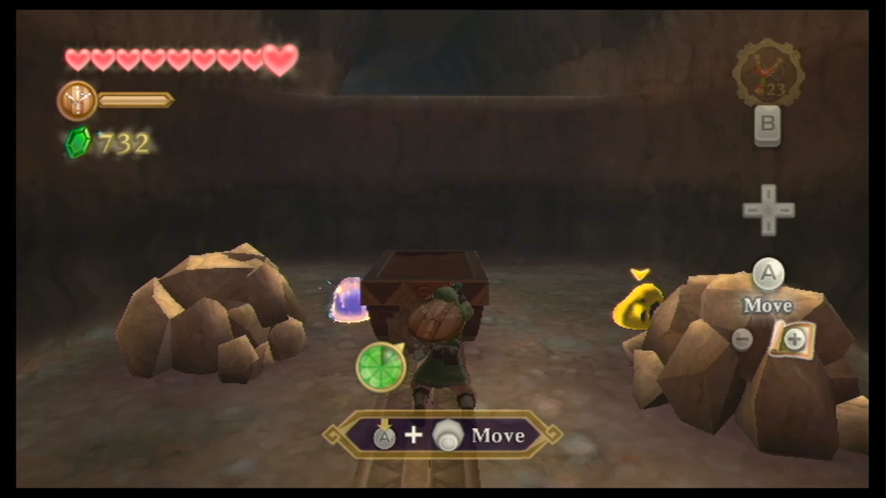
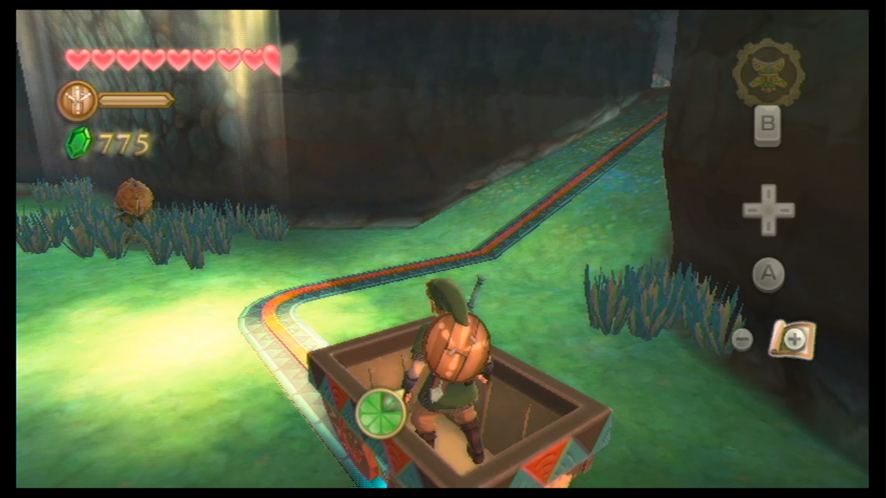
Find the nearby mine cart and jump inside – it will automatically start to ride along the tracks. When you make it to the next room, open the treasure chest to get a red rupee. You can talk to the robots if you like but they don’t really have much to say, so let’s return to the previous room via mine cart.
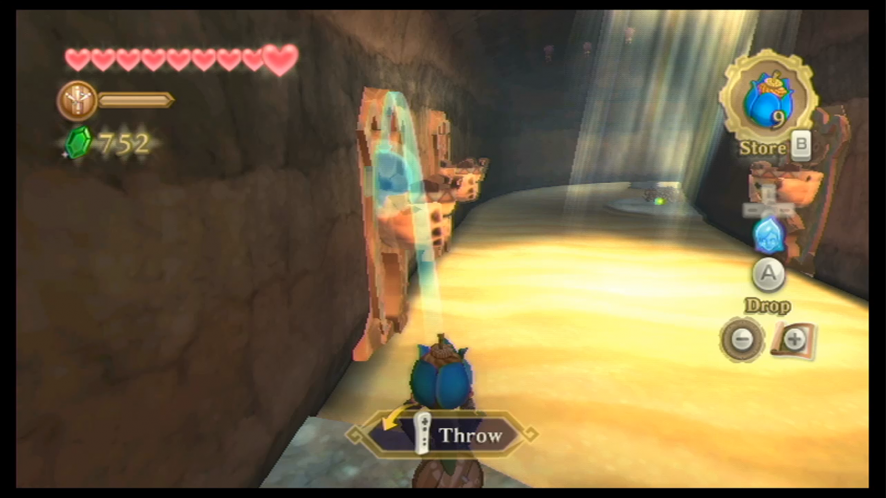
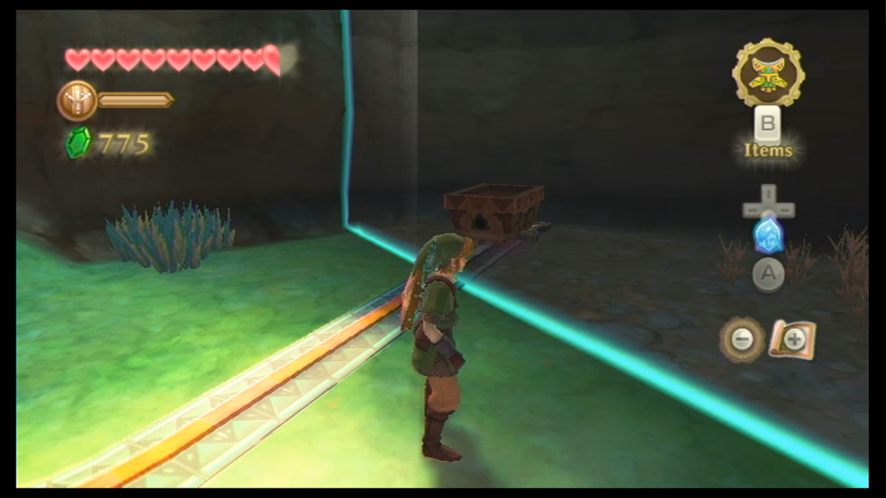
Heading back to this room, you will find a minecart, but it’s outside the range of the Timeshift Stone and is in the present. Head to the mine cart and drag it into the area where the Timeshift Stone can reach. Now you can get in and ride to the next room.
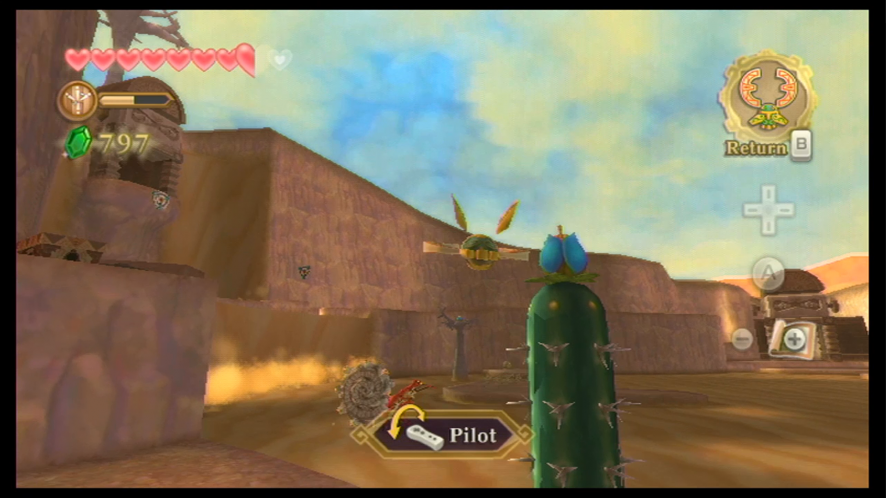
You’ll find an ancient flower in this next room, so go ahead grab it. Now turn your attention to the structure that’s blocking the path ahead – you’ll have to toss a bomb at it so that it lands in the urn part of the statue. Once the bomb has exploded, it will fall into the sand, giving you something to stand on when you dash across the sand. After you’ve made it through, defeat the nearby Yellow Chuchu.
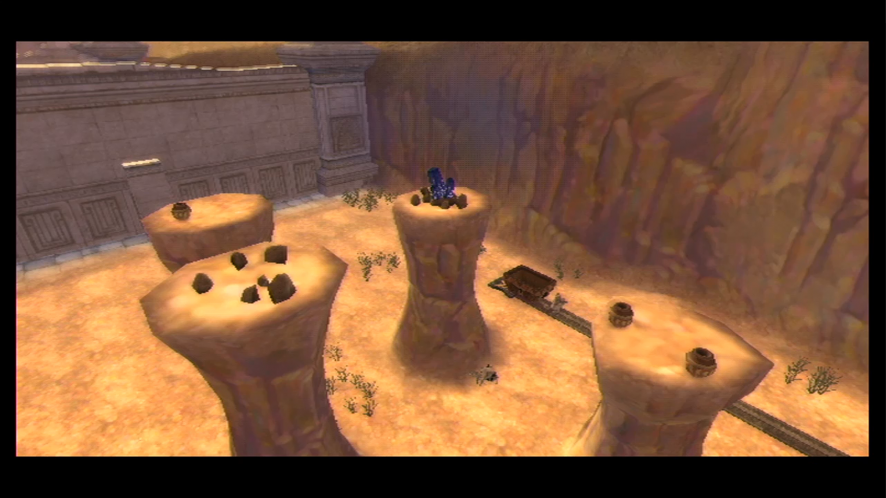
This area has lots of quicksand, so you’ll have to dash quickly before you sink below. Head over to the platform to the left. You’ll find structures that can be destroyed with Bombs, so take them out. If you head to the first one to the right, you’ll find a crawlspace behind it that will lead to a red rupee. If you want, you can also use your Bug Net to catch some of the Lanayru Ants that are crawling around. Keep going along from platform to platform until you reach the next room.

Here you’ll have to fight some Electro Spume. Just as their name implies, they are like the Magma Spume, except they use electricity instead of fire – however, they can be defeated the same way. Although, you could just avoid them, considering they’re not the quickest monster you’ll encounter.
Keep traveling from across the platforms until you get to the north end of the room. Use a Bomb to blow up the boulder that’s blocking the tracks – this can be used as a shortcut later.
Turn left to the area where you’ll find quicksand with several rocks. There are no places for us to stop if we dash across this quicksand, so let’s equip our Bombs instead and roll them into the rocks that are coming up from the sand. The rock in the middle will reveal a Timeshift Stone after being blown up, so send a bomb into it to activate its powers.
Of course, monsters are going to start appearing in this place’s past appearance, including a Quadro Baba that will hang from the ceiling. Now that we have Bombs, we can just chuck these at it and kill it instantly, which saves us a lot of time and strategizing to hit it in the right direction. Of course, the Beetle is also an option – you can simply chop it down with the device and kill it with a few swings from your sword.
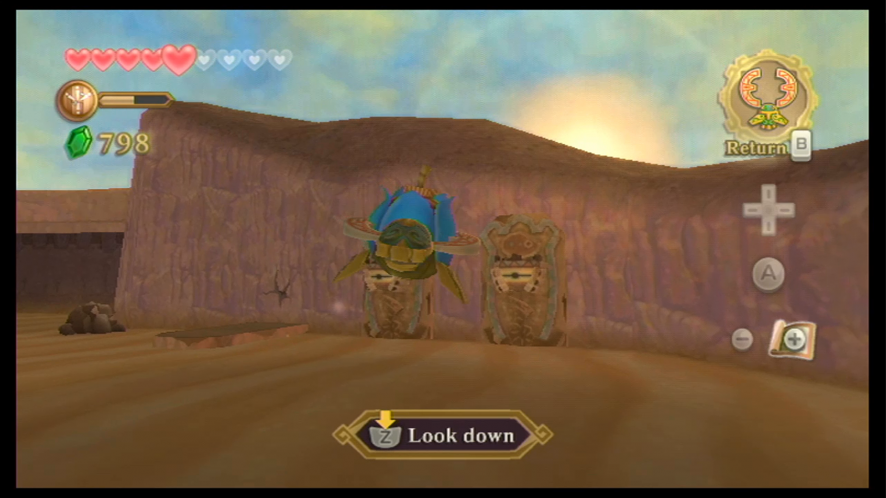
Keep going forward and you’ll meet a few more of those robots from earlier. These guys are kinda just working away in the mine, so talking to them won’t make much of a difference. The other pathway will lead you to another insect for you to catch, the Gerudo Dragonfly. Keep going further, and you’ll soon find a treasure chest that contains a golden skull treasure.
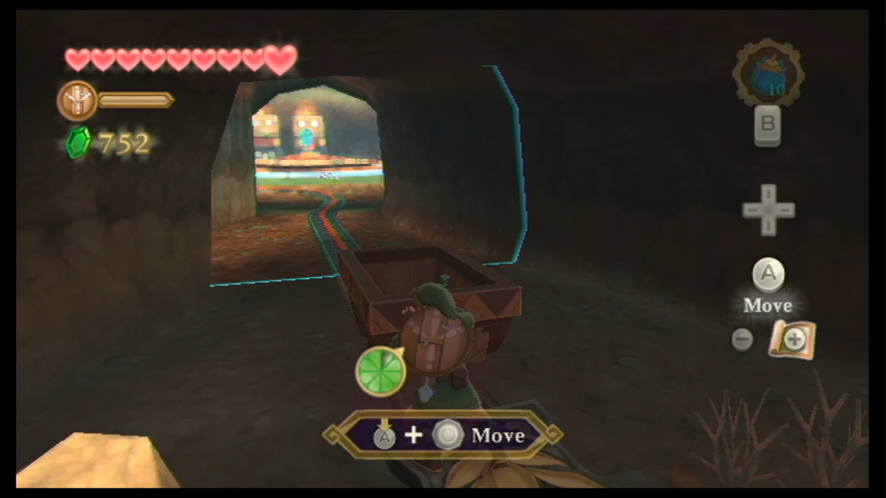
Drop down below and then make your way back to the northern end of the room. There’s a minecart here but it’s just far enough away from a nearby Timeshift Stone. Push the cart into the area to activate it. Now get inside and make your way along the track towards the northern door. You will now be outside in the Lanayru Desert.
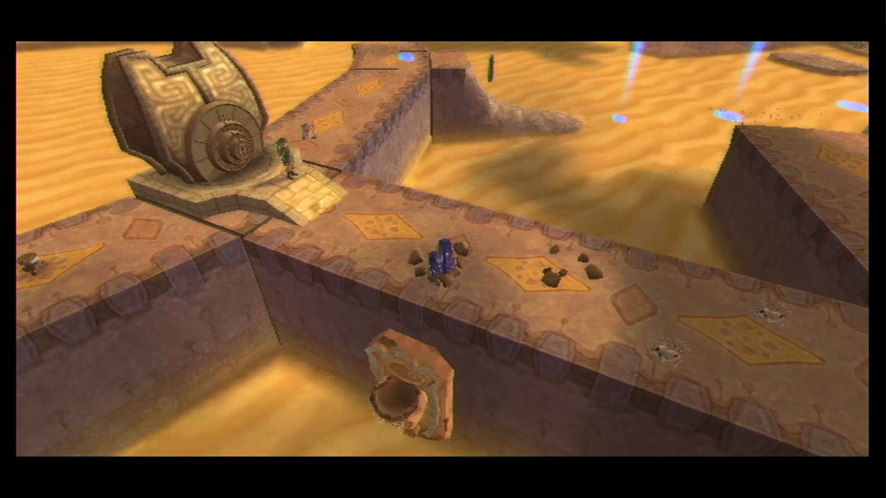
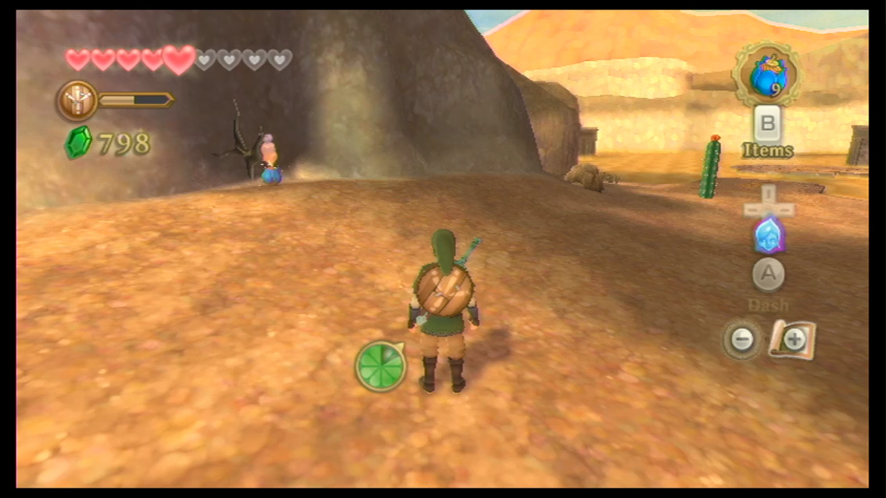
Lanayru Desert
The moment you exit the mine, save your game at the nearby Bird Statue. Afterward, equip your Bombs again and blow up the two boulders; one of them will reveal a Timeshift Stone. After hitting it with your sword, the area will change a little bit as it’s switched to its past form. Climb up the vines that have just appeared and you’ll find an Ancient Flower.
Head down the next ramp. After jumping off the ledge, you might see some Tumbleweed blowing around – this is actually a treasure that you can catch with your Bug Net, so go ahead and grab any Tumbleweed you see.
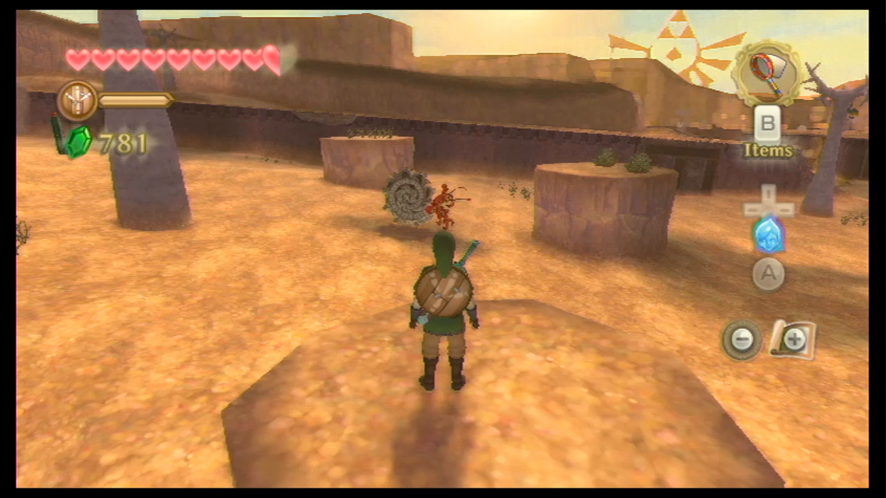
Keep going straight forward and you’ll run into an Ampilus. If an Ampilus spots you, they will curl up into their shell – which is powered with an electric charge – and will roll quickly towards you. They’re actually quite difficult to defeat, so let’s try and avoid them for now.
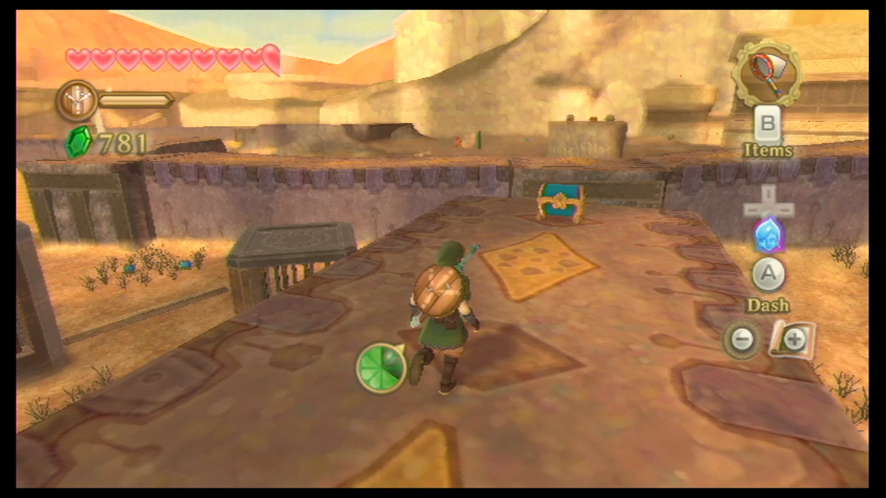
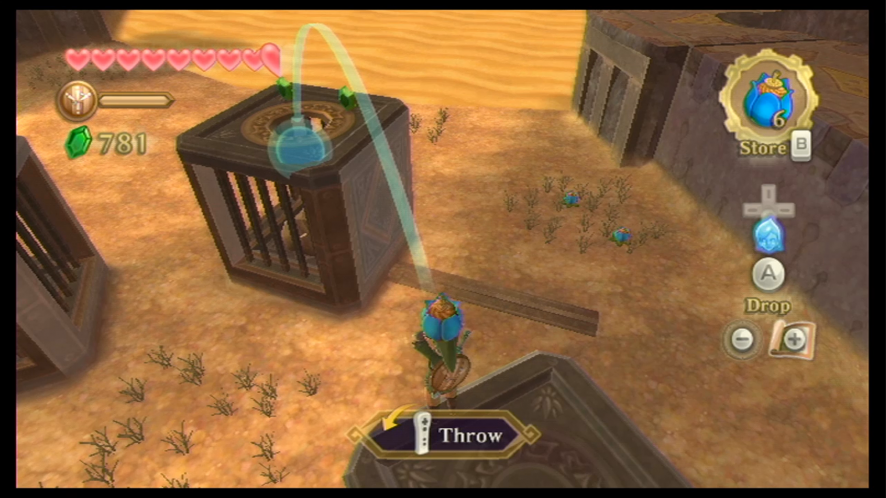
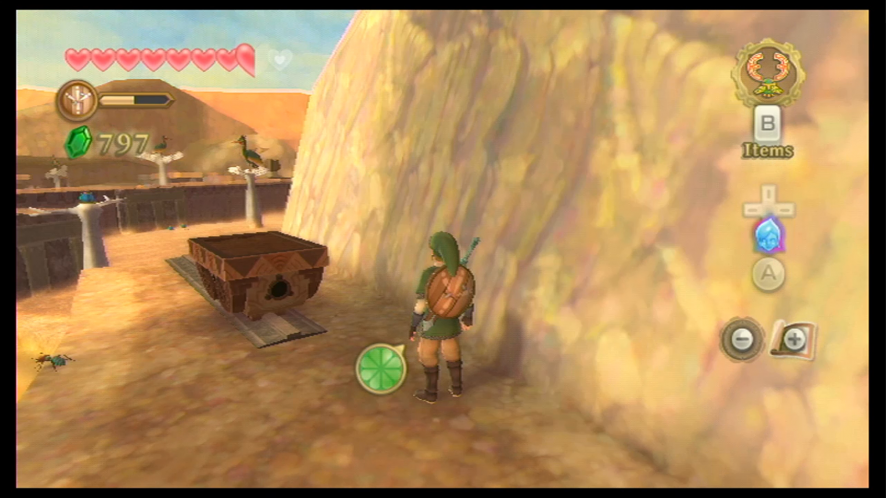
If you keep going straight, you’ll spot a treasure chest that’s located on a higher platform. Head up the ramp to the left to reach the chest. If you look north from this treasure chest, you’ll see a large cage-like box, but there’s an open hole on top of it. Take out a Bomb and aim it towards the hole. After you throw it through the hole, it will blow up the boulder that’s inside the cage, revealing a Timeshift Stone. Take out a second Bomb and throw it into the hole again, activating the stone and turning this area into its past form.
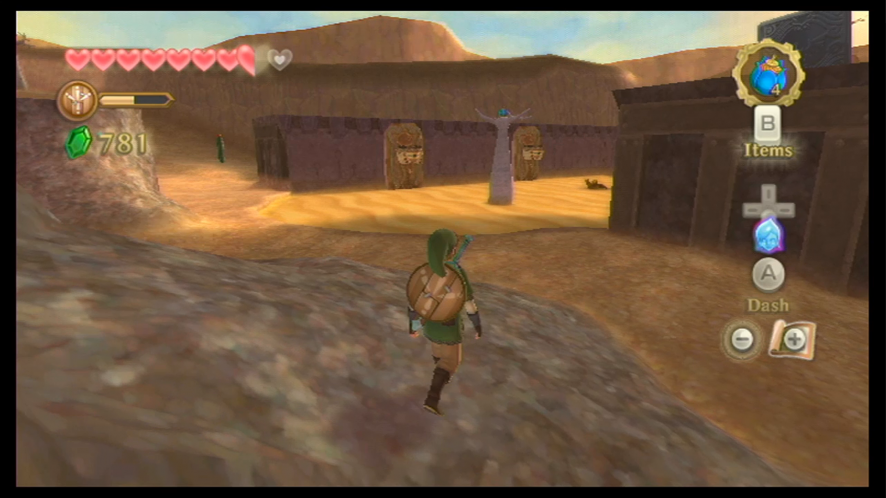
A new monster will appear in the past form from the bones that are scattered on the ground – the Technoblin. These Bokoblins use weapons that are charged with electricity, therefore making them very difficult to defeat if you don’t use the right directional attack. If you do touch their weapon, you will get a nasty shock. The easiest way to beat this without getting hit is to use your shield to bash him and then attack him when his guard is open. Although if you choose to, you can wait for him to guard a sword slash from the right and wait a moment for him to move his weapon, which will make his right side open for attack.
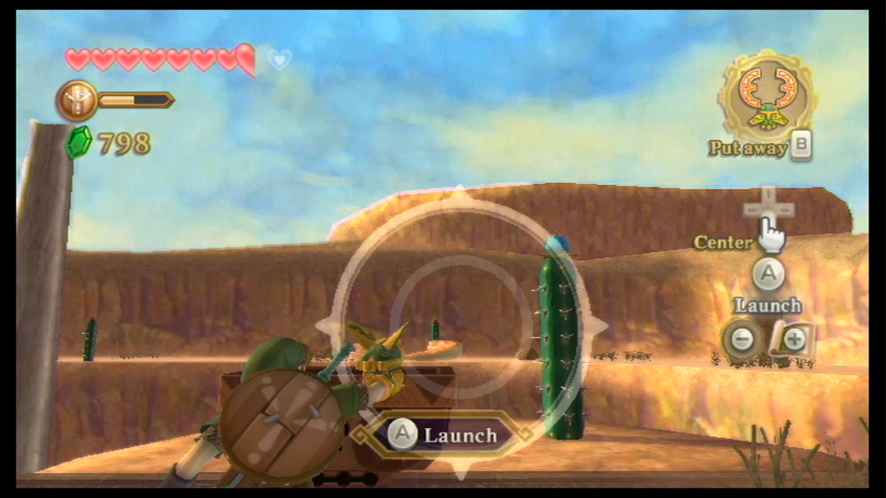
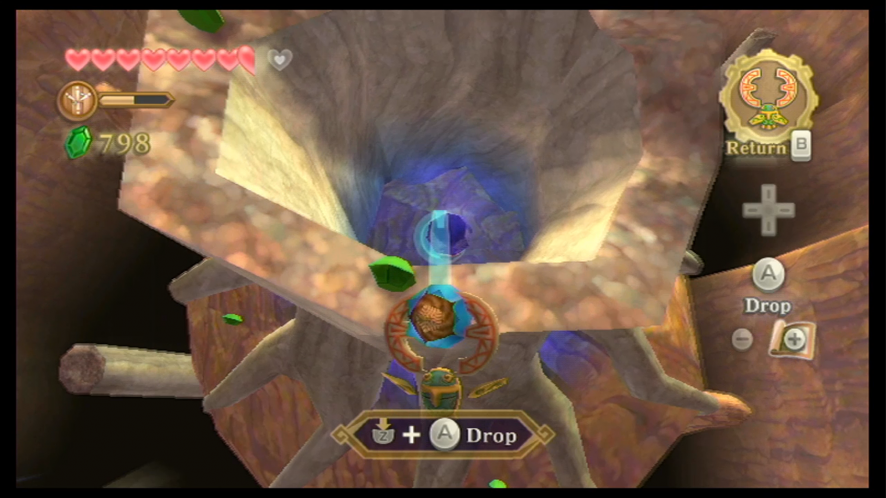
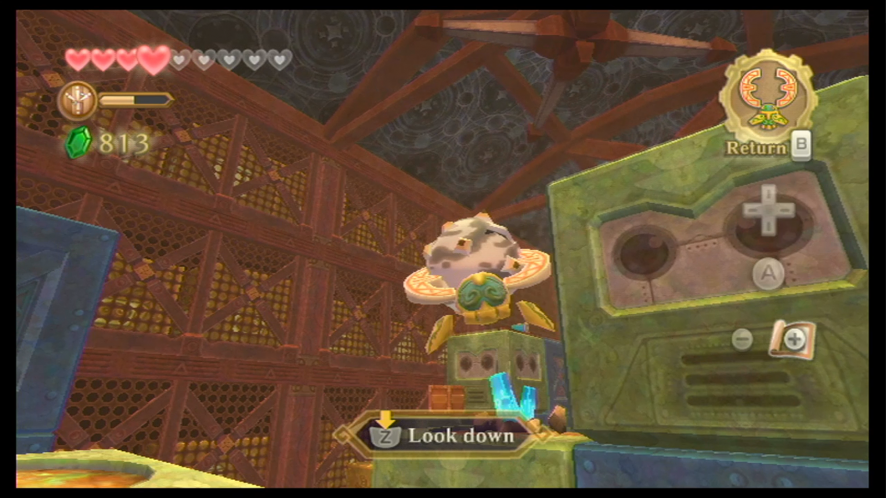
When you’ve defeated the two Technoblins in the area, the gates will open. Talk to the nearby robot and he will upgrade your Beetle to the Hook Beetle as a reward for saving him. The Hook Beetle comes with a set of ‘pincers’ that allow you to pick up items – like Bombs – and drop them in other locations.
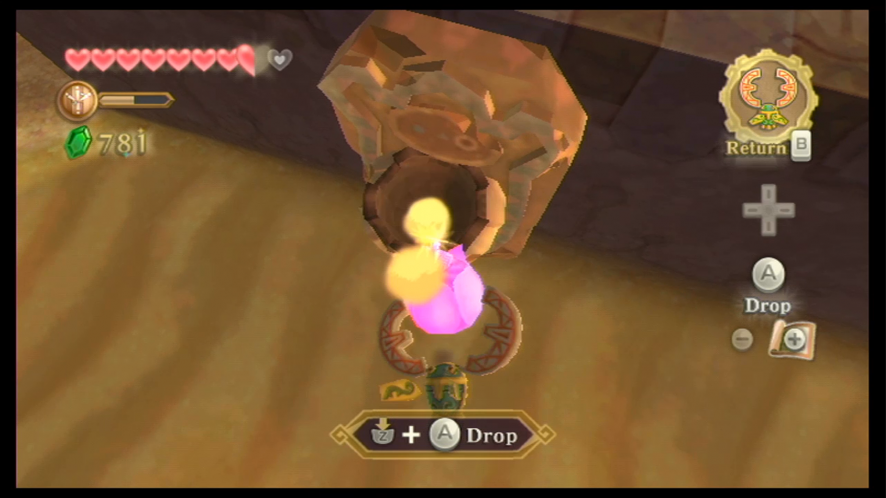
We can use it now – equip it, and send it towards the dead tree that has a Bomb planted on top of it. All you have to do is fly the Beetle into the item – it will pick it up automatically – and use ‘Z’ to look down so you know where you’re aiming. When you’re above the nearby Bomb holder structure, drop the Bomb into. It will fall down into the sand, revealing a little area where some rupees are hidden.
From the spot where you got the Beetle upgrade, head southwest. You’ll find three more Bomb structures as well as another tree with a Bomb growing on it. Just like before, use your new Hook Beetle to drop Bombs into all of the structures until they’ve all been knocked down. Now you can run across the quicksand and use them to walk on so that you don’t sink.
When you’ve made it across the sand to the next area, you’ll be faced with an extremely large quicksand area, which has several islands within it to walk.
First things first – take out your Hook Beetle and use it to grab the nearby Bomb. Now direct the Beetle to the Ampilus that’s traveling through the sand and drop the Bomb onto it to kill it. You can now use the shell that’s been left behind as a platform to stand on so that you don’t sink. When you’re on the shell, you can now safely get to the next island.
You’ll see another Ampilus in the sand, so do the same as before and blow him up. You can use his shell to reach Goddess Cube #11 near the south side of this area.
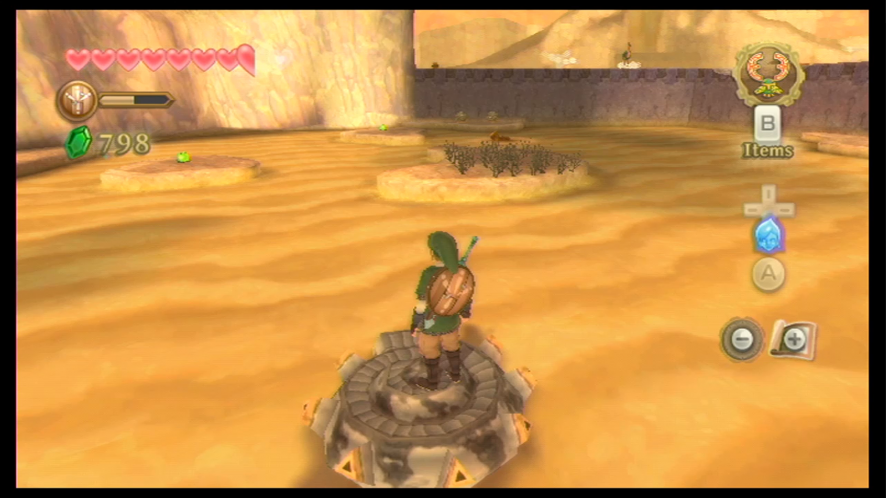
Now you won’t be able to get back until you wait for another Ampilus to respawn, but it shouldn’t take long, and once it does, use the Hook Beetle again to blow him up and travel across his shell. Continue west along this sandpit until you reach the Bird Statue that’s located on one of the islands. Save your game here, and then continue to the ledge that you can climb up. The ledge travels in a circle back to the area you just came from, so you can go along it until you reach a minecart that you can push down below – this will create a shortcut that will definitely come in handy later on.
The next area past the Bird Statue is tricky. Like before, there’s a lot of quicksand, but it’s being pushed like a river in an eastern direction by the sand waterfall. You’ll have to use your Hook Beetle and the nearby Bombs to blow up the Ampilus and create landing spots for you to walk along in the sand. Jump onto one and you’ll ride in the same direction as the sand. Keep going from island to island until you’ve reached the exit that’s to the north (the islands do eventually end). Head into the cave here, and we’ll be in the Temple of Time.
Temple of Time
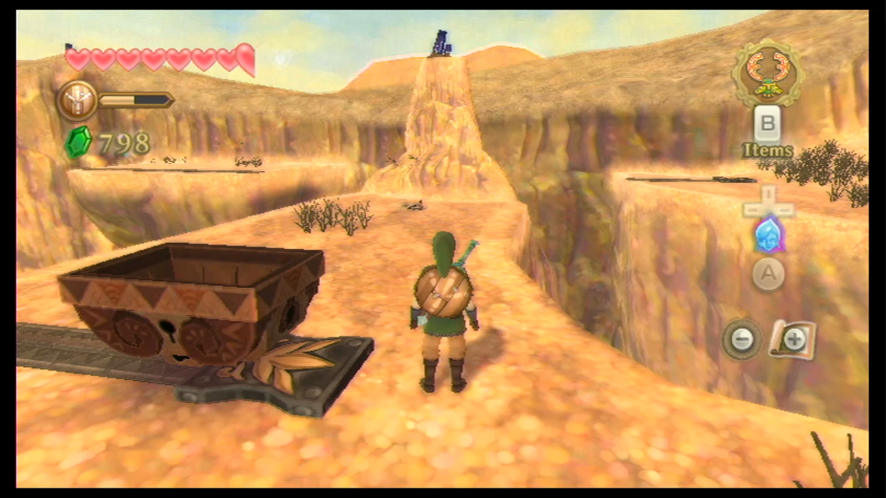
Head over to the Bird Statue and save your game (although if you already saved your game at the earlier Bird Statue you don’t really have to do this). Now head over to the first mine cart that’s in the area that you’re currently in.
At the top of a nearby pillar you will see a Timeshift Stone – activate it with the Beetle. Kill the nearby Technoblin and grab the Ancient Flower that’s growing. You’ll also see some Gerudo Dragonflies, so you can catch these if you like. When you’re done, jump into the mine cart.
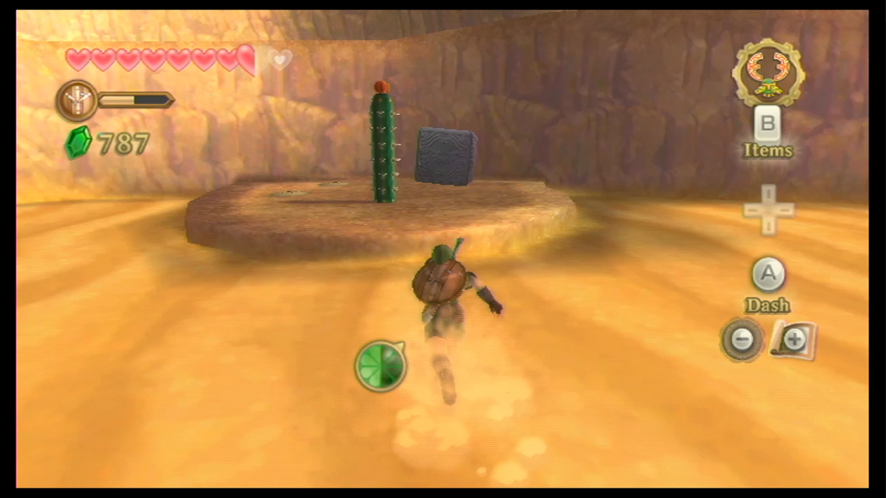
You’ll see that there’s another mine cart here, but it hasn’t been activated. Equip your Beetle and send it for the Bomb that’s growing from the nearby cactus. With the Bomb in your Hook Beetle’s grip, fly above the strange tree-like structure that the mine cart tracks lead into. There is a hole in this structure that you can drop the Bomb into. When you do, it will activate a Timeshift Stone.
You can do one of two things for opening the gate that leads into the tunnel – you can either send your Beetle into the tunnel where you will find a crystal switch which will open the gate when activated by the Beetle, or you can use the Slingshot to activate the switch when the cart rolls by.
Get the Ancient Flower located to your right and then continue forward. You’ll run into the Rock Octorok, which are pretty much the same as the Grass Octorok from Faron Woods. You can deflect the rocks they shoot at you with a sword slash or a shield bash. After defeating the Rock Octorok, head over to where Gorko the Goron is located. He will give you some information that relates to Zelda’s location. When you’ve finished speaking to Gorko, head to the north side of this area. Equip your Hook Beetle again and send it for the nearby Bomb. Drop the Bomb on top of the boulder that’s sitting atop the pillar. This will reveal another Timeshift Stone, so go ahead and activate it with your Beetle.

A few Technoblins will appear, so defeat them and then speak with the robot. He will tell you that there’s another way to enter the Temple of Time and that it’s through the Lanayru Mining Facility. He will then alter your map and mark an ‘X’ on the location of the entrance to the Lanayru Mining Facility.
While you’re riding you’ll find Goddess Cube #12, which can be activated by doing a Skyward Strike right from the mine cart.
Take out your Hook Beetle and use it to activate the Timeshift Stone that’s along the tracks. You’ll find another Ancient Flower, so pick it up before you go any further. Push the mine cart into the region that’s been activated and then jump inside to ride along the tracks.
When you make it to the end of the tracks, turn your attention to the Timeshift Stone that’s up on the higher pillar to your right. Activating this Timeshift Stone with your Beetle will activate the next mine cart. Jump into the next mine cart and ride over. You’ll find more Gerudo Dragonflies as well as another Ancient Flower. Now head through the tunnel that leads you back to the Lanayru Desert.

The Generators
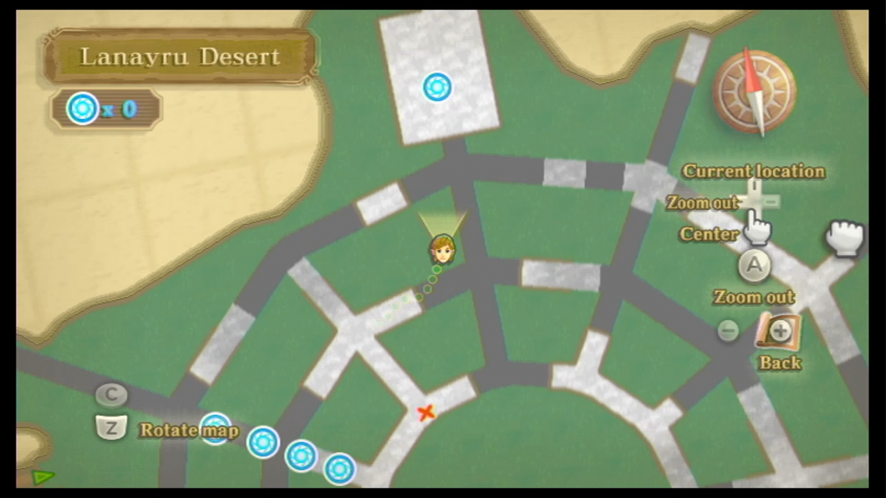
In this new area, you’ll encounter the Hrok, large birds that will fly above you and drop rocks at you. Fortunately, these birds aren’t very threatening, as they aren’t that fast and are quite easy to avoid. With the map that the robot altered earlier, you’ll see that there are grey areas that travel in a circle around the map. Although these areas are covered with quicksand, you won’t sink through. You should mark these greyed areas with beacons so that you know where you will and won’t sink.

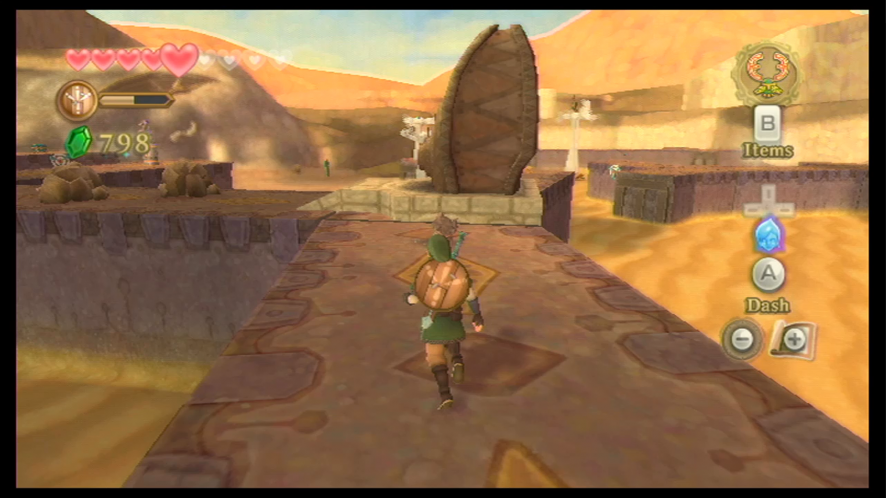
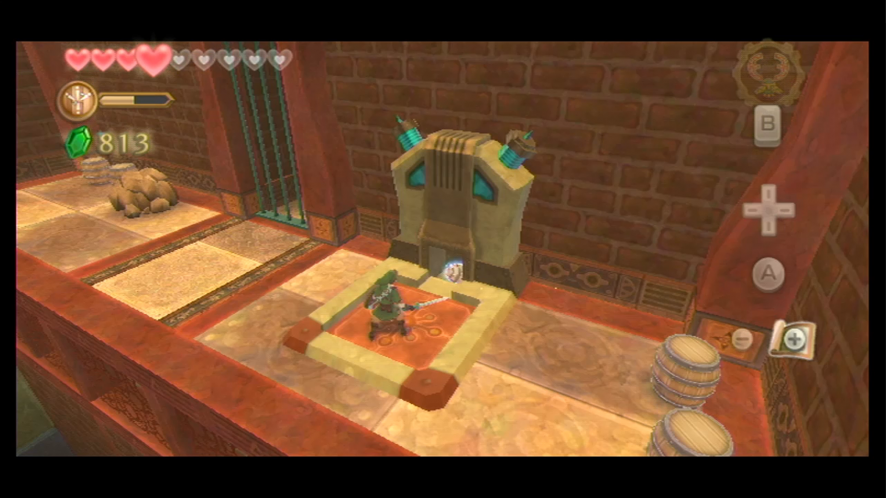
Head in the direction of the ‘X’ that the robot marked on your map, and you’ll soon reach the entrance of the Lanayru Mining Facility. Right now, it looks pretty beat up, but if you blow up the two nearby boulders you will find another Timeshift Stone. Activate it and the temple lock will be activated.
Take care of the nearby Technoblin that are near the lock and then speak to the robot afterward. According to him, this lock is actually a power generator and you’ll have to find the three dials in order to open the door to the mining facility. Fi will then register these dials into your dowsing ability.
Power Generator #1
The first generator is located to the southwest of the large machine. Don’t forget to place beacons in the greyed areas where you won’t sink. Using your dowsing ability, you will soon find that one of the generators is hidden behind a Bomb structure. Take out a Bomb and toss it into the holder to blow it up and reveal the generator.
Power Generator #2
Look back to your map, and you’ll see that there is a large rectangular structure in the northern section of the area. Head over to this structure – using your dowsing if you get lost – and use a Bomb to blow up the crack in this area. This will reveal an entrance for you to enter the structure.
You’ll encounter an Ampilus the moment you walk inside. You can defeat it with a Bomb, but you should turn your attention to the boulder that’s in the center of the room. Blow it up with a Bomb. A Timeshift Stone will be revealed, so go ahead and activate it.
Three Technoblins will appear, so defeat them. The Ampilus that was there earlier has now been reduced to Ampilus eggs. Much like the shells of the Ampilus, they are powered with an electric charge. Use your Hook Beetle to pick one of them up and take them to the orange platform that’s near the north end of the room. Step onto the orange platform part of the machine and the small gate that’s on the machine will open. Very carefully hit the Ampilus egg with your sword to knock it into the small hole. This will charge the device and open the nearby gate.

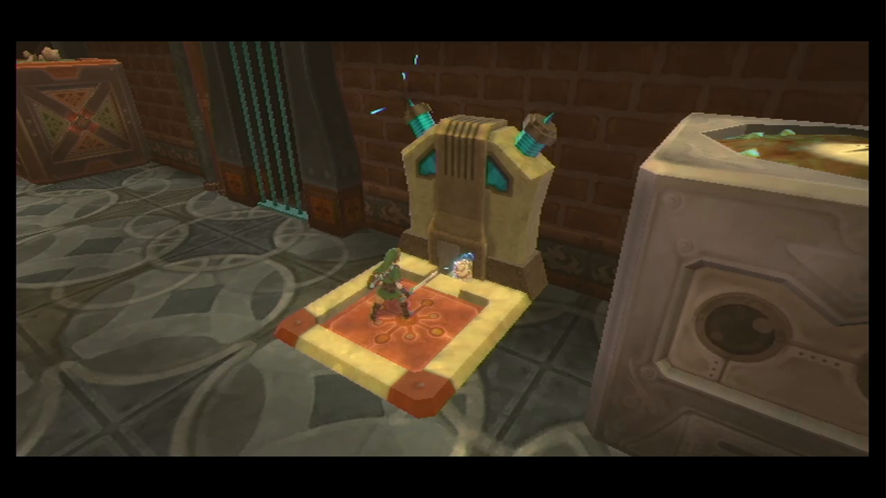
Head through the gate to the next room and activate the second power generator. Another key slot will have been activated and will make a second marking on your map.
While you’re still in this room, send your Beetle to the Timeshift Stone again. When you’ve activated it again and altered the world back to the present, you’ll be able to run to the treasure chest that contains a rare piece of treasure.
Power Generator #3
The last power generator is located in the southeast corner of the desert in another building. Using beacons to guide your way along the sand, make your way to the building. Just southwest of this building, you’ll find a big gate with a lever nearby. Grab onto the lever and pull it down. The gate will open, creating an easier way to travel through the desert. Save your game at Bird Statue to create this spot as an entrance to the desert from above. Now head into the building.
The sand in this room is moving northward. The Timeshift Stone here can also be found inside a boulder, so go ahead and blow it up – but don’t activate the Timeshift Stone yet. Climb up onto the platform that’s to the northwest of the stone and defeat the Ampilus. Run over to its shell and ride it to the north end of the room.
When you’ve made it over to this part of the room, climb up the platforms in the corner and then make your way to the treasure chest. You will receive Eldin Ore. Push the block down below. This will create a shortcut for later.
Take out your Beetle and send it towards the Timeshift Stone and activate it. With the Beetle still equipped, use it to grab the Ampilus eggs that have appeared from what used to be the Ampilus, and bring them to the north side of the room to the orange platform device. Head over to the device and step onto the platform, opening the small gate, and then strike the egg into the hole. Head into the next room and activate the last generator. Now head back to the main generator.
The generator has to be activated in a certain way, and requires that the turn dial be pressed in a certain order – the order is green, red, then yellow.
- Turn it left first and then insert the first layer.
- Then turn it to the bottom-right and activate the second layer.
- Finally, turn the dial straight up and insert the last layer. This will cause the dungeon to rise up from out of the sand.
You can enter the dungeon now if you like, or you can read the next section which covers a few errands to prepare for the Lanayru Mining Facility, which includes grabbing the new Goddess Chests that you activated in Lanayru and upgrade your equipment. There is also another goody we can get here in Lanayru before continuing
If you want to continue straight into the dungeon, go ahead and skip to Chapter 7: Lanayru Mining Facility.
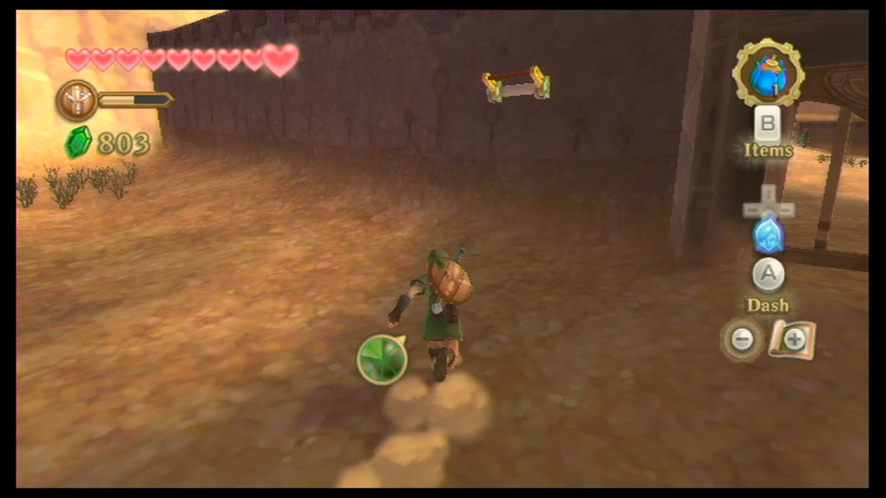
Before we head back into the Sky, pull up your map and you’ll see a spot in the northeast part of the desert that we haven’t gone to yet. One of the gray paths on the map also leads to the area, but there is a wall there. Head to the east end of the desert and make your way along the grey area until you make it to the wall. You will find a crack in it, so blow it up with a Bomb, revealing a new passageway. Follow this path – defeating any Yellow Chuchu that may stumble into your path and open the treasure chest at the end to find a Piece of Heart.