


Chapter 4: Eldin Volcano – First Visit
Table of Contents
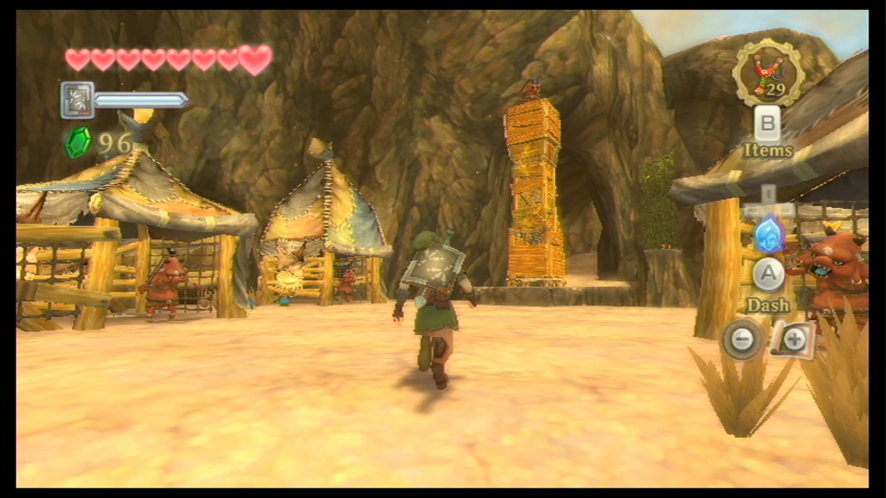
After leaving the Skyward Temple speak to the Kikwi that gives you the solemn advice that at least now you know where to look for Zelda. Return to the sky using the bird statue outside of the temple. Return to the area underneath the Goddess Statue in Skyloft with the Ruby Tablet. A red beam will appear in the sky, which will lead to Eldin Volcano. You now have the choice of either going straight to Eldin or completing some side quests beforehand.
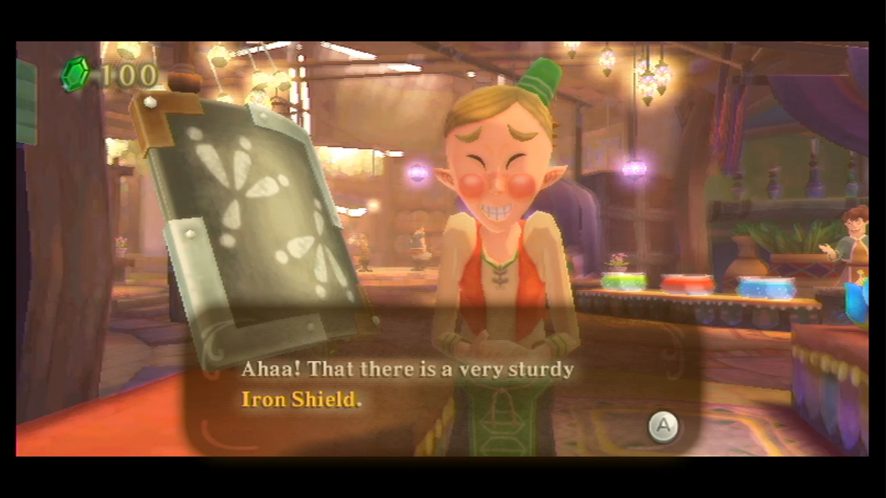
However, before you do so, it would be smart to head to the Bazaar to purchase an Iron Shield. When you exit the Goddess Statue and head for town, speak with Wyrna, who is worried about her five-year-old daughter Kukiel, who has suddenly gone missing and was last seen with a strange monster. She will ask you to help her find Kukiel. This is a sidequest.
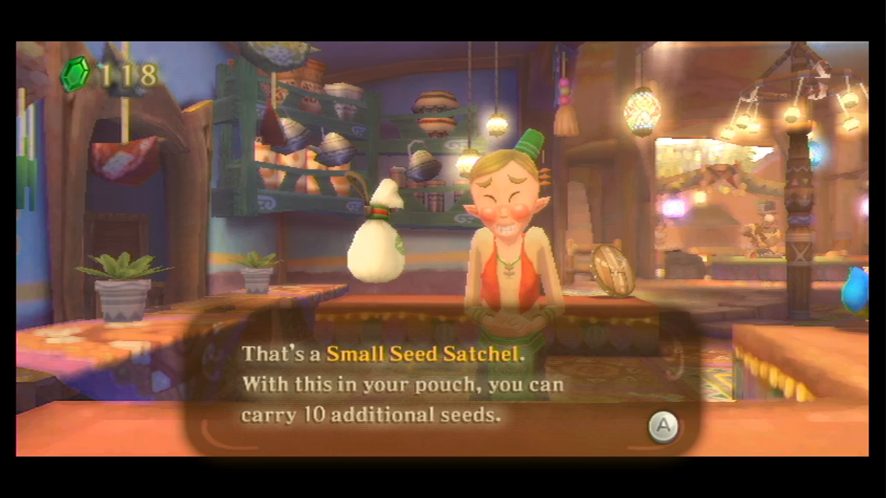
You should have enough rupees to purchase the next set of items at the Bazaar if you collected all the rupees at the Skyview Temple. Head to the Bazaar and find Rupin at the Gear Shop. You can buy the Iron Shield here for 100 rupees. You can also buy the small seed satchel for the same price; this will allow you to hold 10 additional seeds.
Here is a list of all the items he currently has for sale:
- 10 Deku Seeds – 20 Rupees
- Arrows – Cannot purchase
- Bombs – Cannot purchase
- Wooden Shield – 50 Rupees
- Iron Shield – 100 Rupees
- Small Seed Satchel – 100 Rupees
When you have bought the Iron Shield and the Small Seed Satchel, head over to Peatrice at the Item Check spot. Considering we can use it later to upgrade, give her your Wooden Shield to hold on to. Lots of interaction throughout the game with Peatrice will also lead to a sidequest later on.
Eldin Volcano
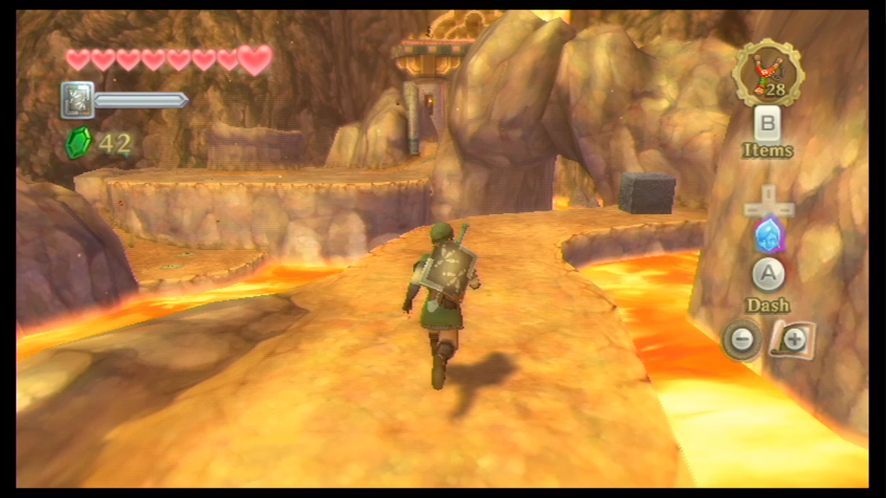
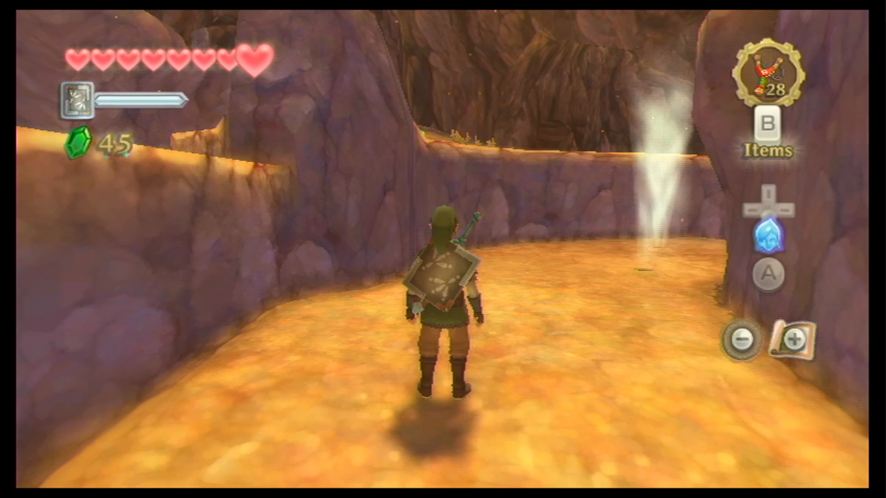
Mount your Loftwing and head for the red beam shining through the clouds. Dive into the hole in the clouds to head to Eldin Volcano. Fi will warn you that wooden items are bound to catch fire. Make sure you have purchased the Iron Shield in Skyloft from the Bazaar and equip it before exploring the area.
Immediately you will encounter the Red Chuchu. They are almost exactly the same as the Green Chuchu, except they are flammable. They can be defeated with a few strikes from your sword.
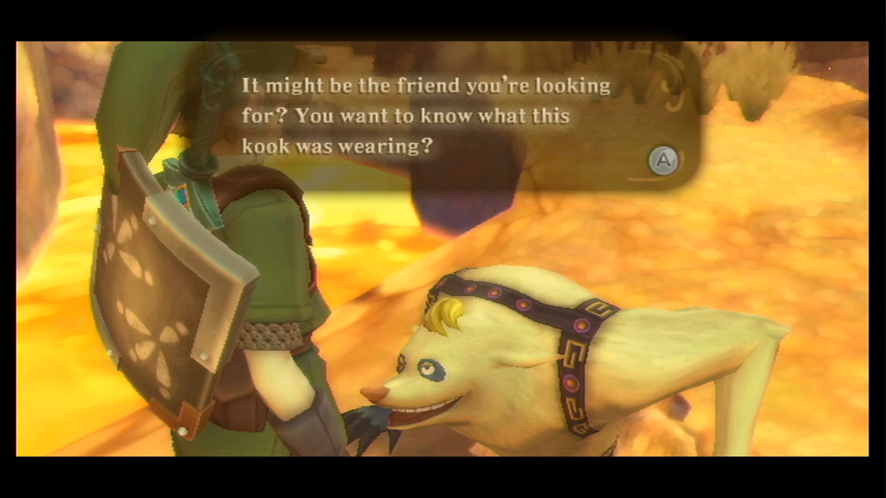
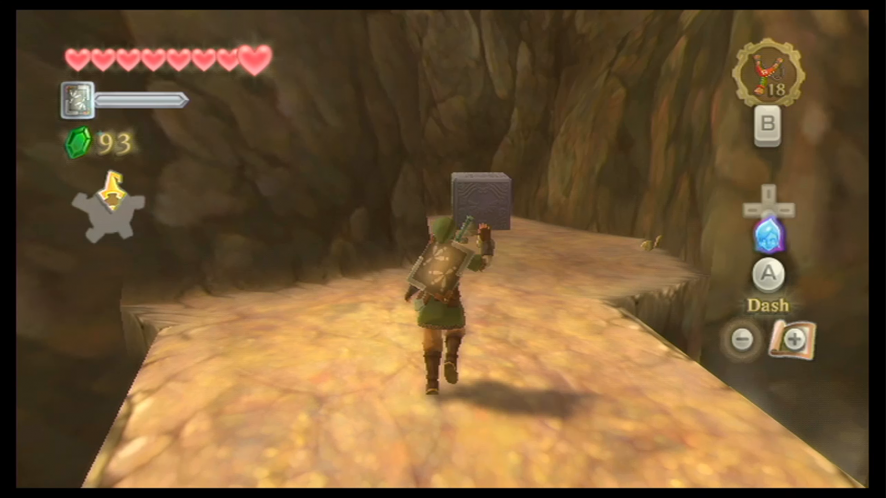
Keep heading forward and then take the right turn, and soon you’ll meet two members of the Eldin Mogma tribe. These guys live underneath the ground and you’ll be running into them frequently throughout the dungeons and landscapes. After they give you some handy information, head further down the path, taking out any of the Chuchu that may stumble into you along the way. Be mindful of Fire Keese, get too close to them and they’ll burn you, so try and defeat them before they come into contact with you. If you do end up getting ignited from them, you can simply do a spin attack or roll to put the fire out.

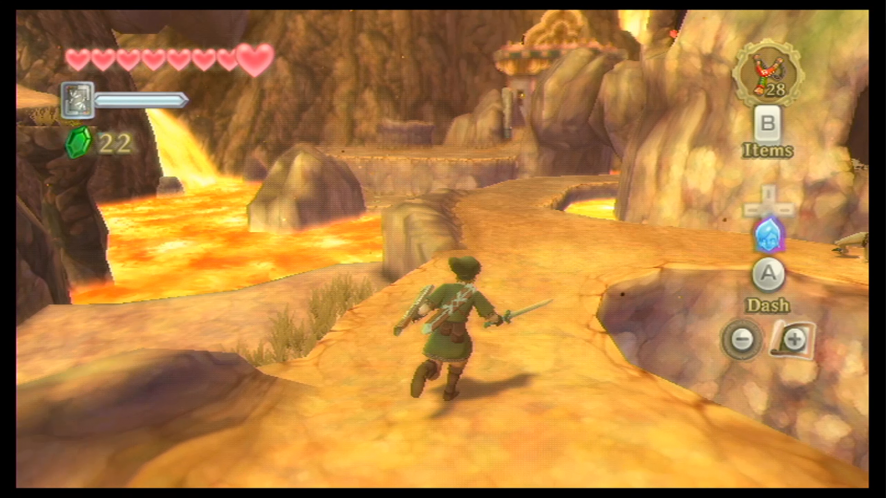
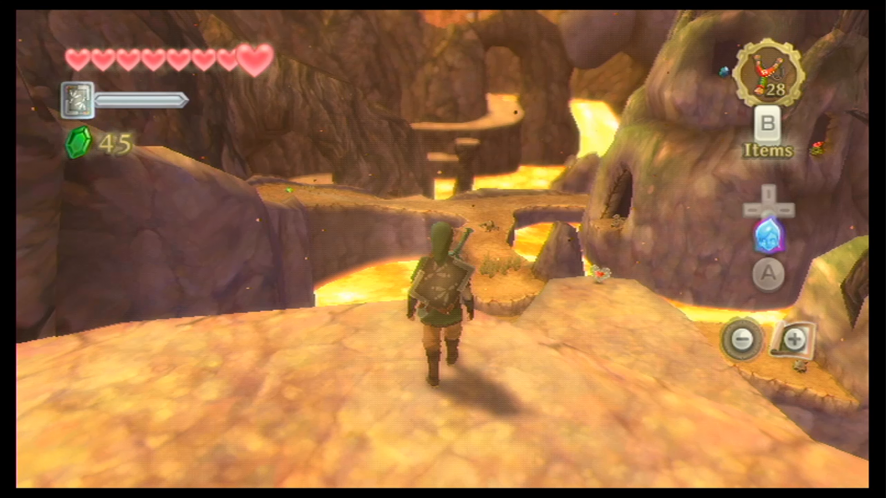
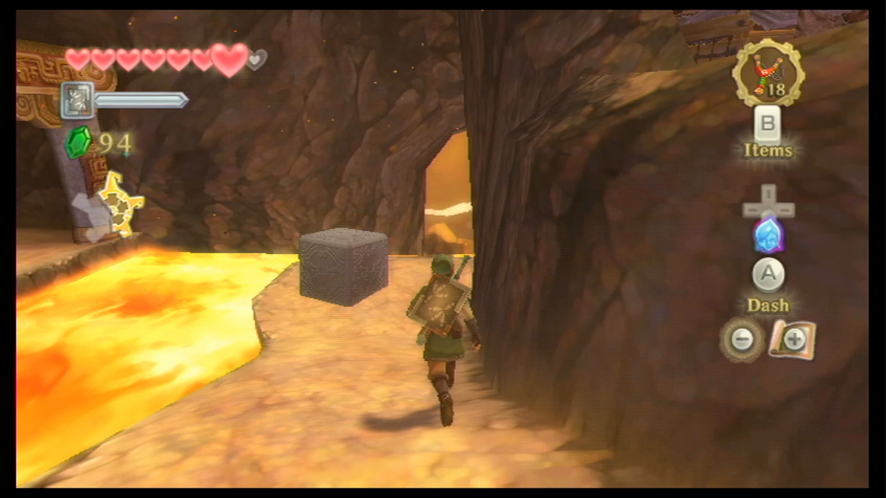
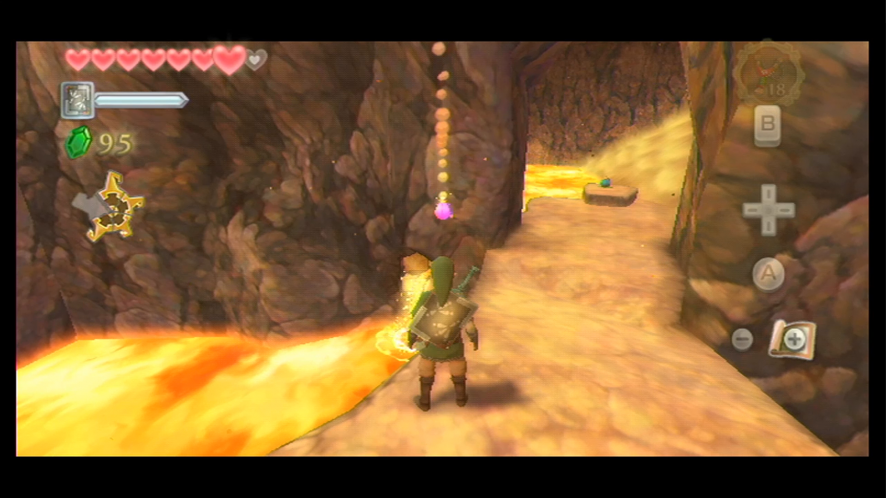
As you progress you will come across a land bridge that has rising and falling lava. Time your run across the bridge to avoid getting burnt.
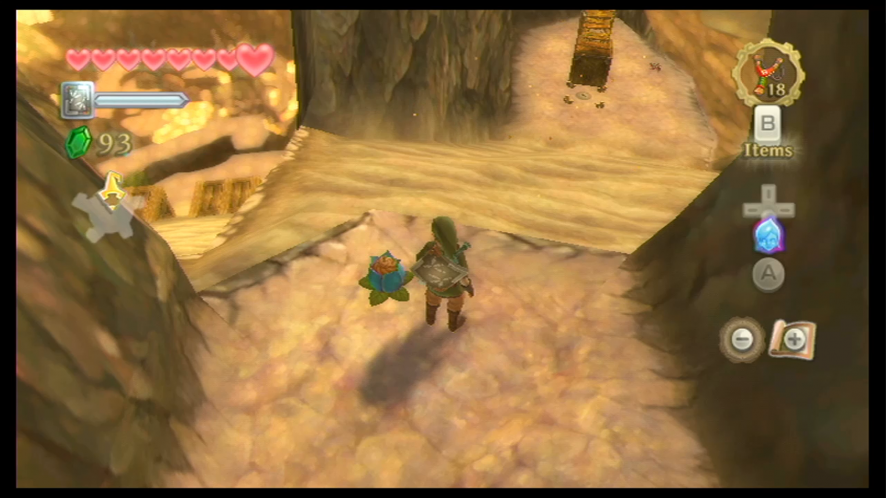
After you’ve crossed this, turn to the left and you will meet another Mogma. He will teach you how to use the Bomb Flowers that are scattered all around the volcano.
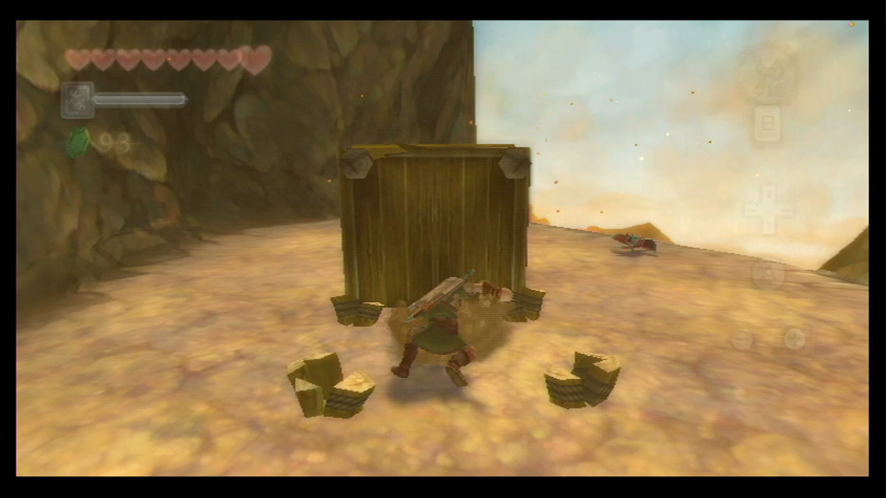
The bomb flowers can be placed, tossed, or rolled. There is a lot to uncover in this room so work your way around using the bomb flowers for different rock piles. To toss a bomb flower high, aim the Wii Remote up, line up your shot, and flick forward. Be careful, the fuse is getting shorter as you do this. To roll point the Wii Remote down, aim your shot, and flick upwards. There is one high ledge with rocks, two wall openings (one with a Giant Red Chuchu), and a low hole in the wall to roll a flower through. Take your time, the rupees you uncover won’t disappear.
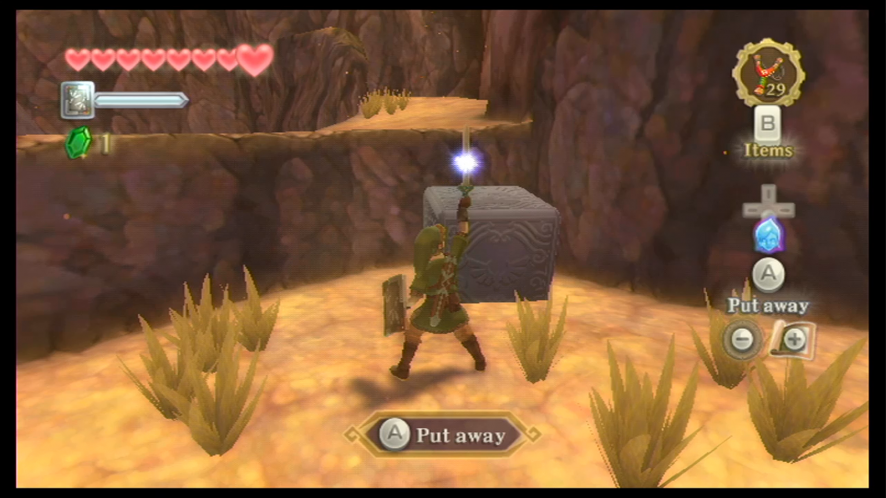
Head through the path in the wall you blew up. There will be a surprise attack by three Fire Keese here. Take care of them quickly and keep going until the path forks. Make sure to save at the bird statue. Take the straight path to activate the 5th Goddess Cube. Head back to the other pathway at the fork, and you will enter a conversation with a Mogma. He will tell you that a person dressed in funny clothes passed by.
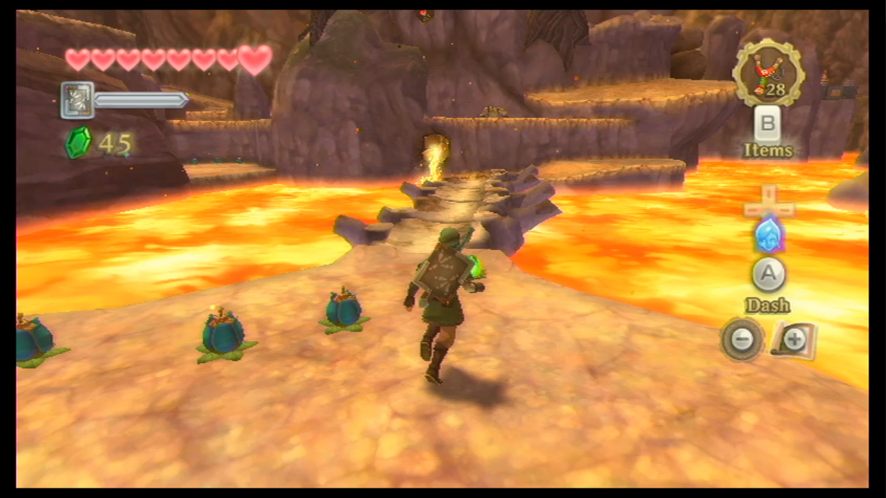
Keep going past the Mogma. Drop down to the lower area and you’ll have to fight a Pyrup. These guys can only be defeated with Bombs, as they will shoot fire at Link if he gets too close. They tend to hide in small caverns or underneath turtle-like shells. The one that you’re about to fight will crawl into a hole, so you will need to pick up a bomb – while keeping your distance from it – and roll it into the hole to hit the Pyrup.
As you continue along the path, you’ll be challenged by a large group of Red Bokoblin and a Bokoblin Leader. Remember, you have to kill the leader first, otherwise, he will just keep in calling backup. After you’ve defeated all the Bokoblin, you will have to battle two more Pyrups, both of which are hidden underneath shells. You will have to make good throws to land the bombs within the Pyrup’s shells to defeat them.
You’ll see a bridge with a stamina fruit on it, but we’re not going to cross it yet. Instead, go north and climb up the rocks until you make it to another road, taking out the Red Chuchu along the way. You’ll have to fight another Pyrup, only this one doesn’t have a hole in its shell for you to throw a bomb in, so you’ll have to roll a bomb through the front of its shell.
After you’ve done this, keep heading forward to get to the Piece of Heart by the cliff. Now that we’ve done that, we can go across the bridge.
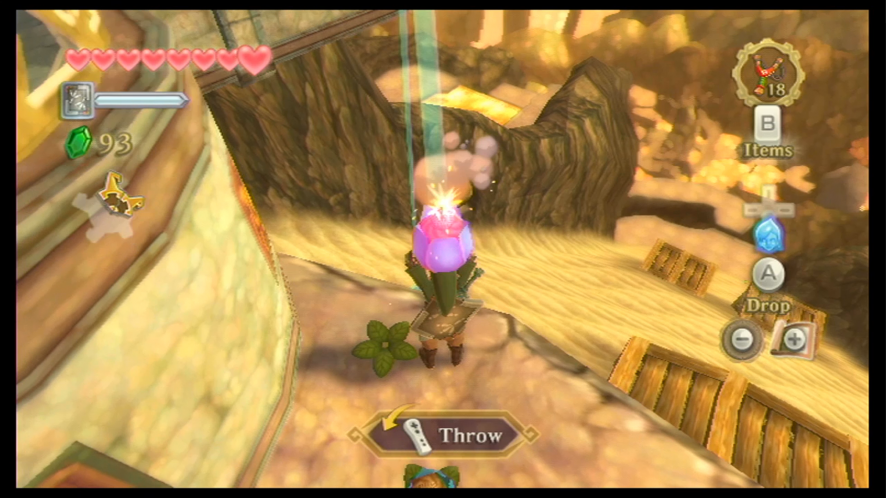
This bridge will sink as you run across it – which is the sole reason why they put a stamina fruit smack in the middle of it – so quickly dash across it until you make it to the other side, where you can speak to another Mogma. He will give you a hint regarding the boulder that is plugging up the lava flow. Unfortunately, there are no bombs around to throw at the plug, so you’ll need to run across the bridge again to get to the bomb plants that are on the other side.
Another problem that you’ll find is that you can’t carry the bomb across, so you’ll need to roll it across the bridge towards the plug. This is tricky and will probably take you a few attempts, but you will eventually get it, and when you do, the lava will pour back out and create a path.
Head back to the other side across the bridge and climb up onto the higher ledge. Now you can make your way along the lower area. Head to the left and you’ll encounter a gust of wind that will help you get up to the next ledge. When you’re up on the ledge, go down the hole that’s inside the small cave. Using your Sailcloth, you can glide to some ledges that are found within the hole, so try your best to reach these.
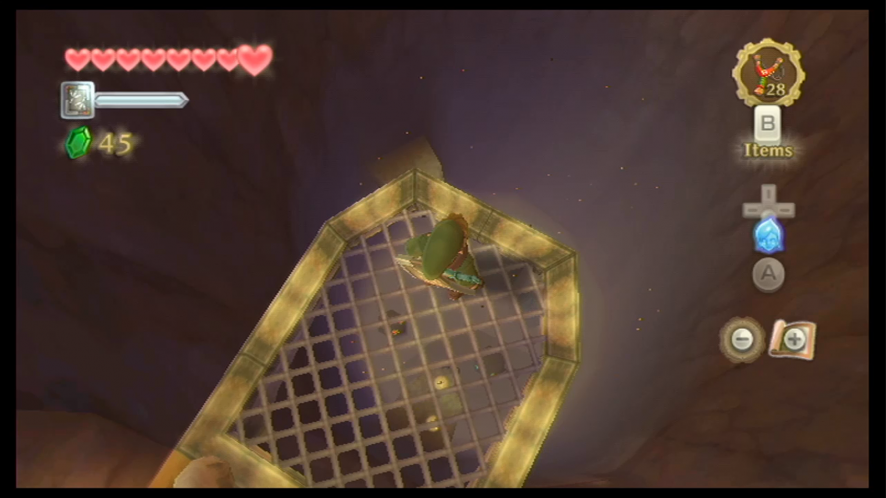
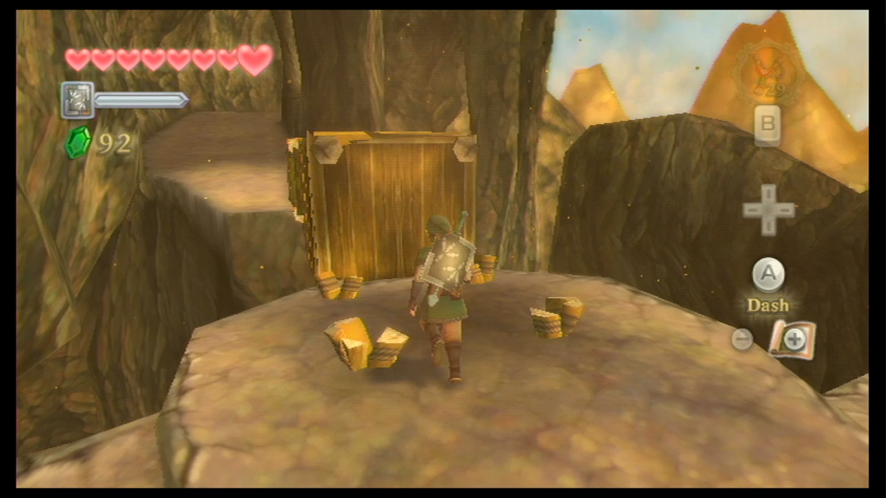
The ledge on the left side has a treasure chest that contains some treasure. To the right, you will find another – the sixth – Goddess Cube, which can be a bit tricky to land on because it’s right in the center. If you fail, you can just start again from the top of the hole. After you land on it, activate the Goddess Cube with a Skyward Strike.
Keep heading along the new pathway and you will meet another Mogma. He will then express his rage towards the volcano and all the monsters infesting it. So we’re going to take care of that problem for him and his tribe. Keep going straight ahead and you’ll run into another large pack of Bokoblin; this time, they have several leaders that you must take out.
After heading back to the Mogma, he will reward you with a set of Digging Mitts. These mitts give you the ability to dig up soft soil to uncover secrets and treasures. Head over to the nearby patch of soil and dig it up. This will unveil a gust of wind that you can use to make it to the second level.
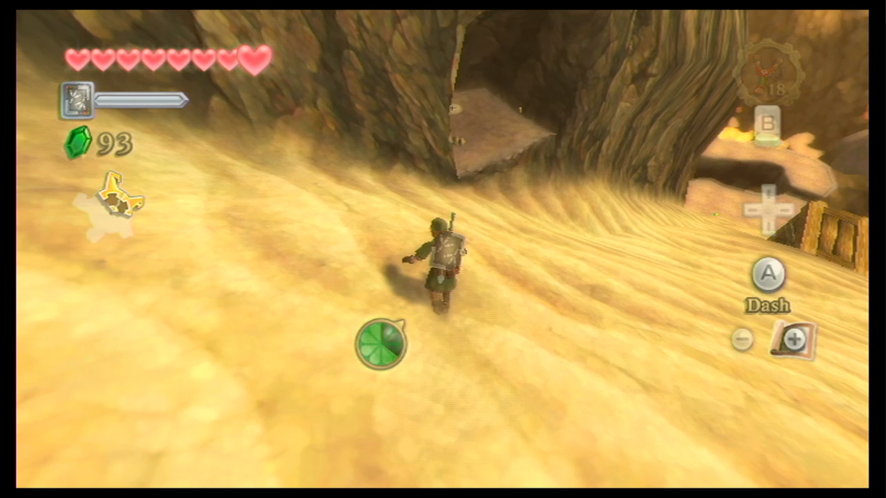
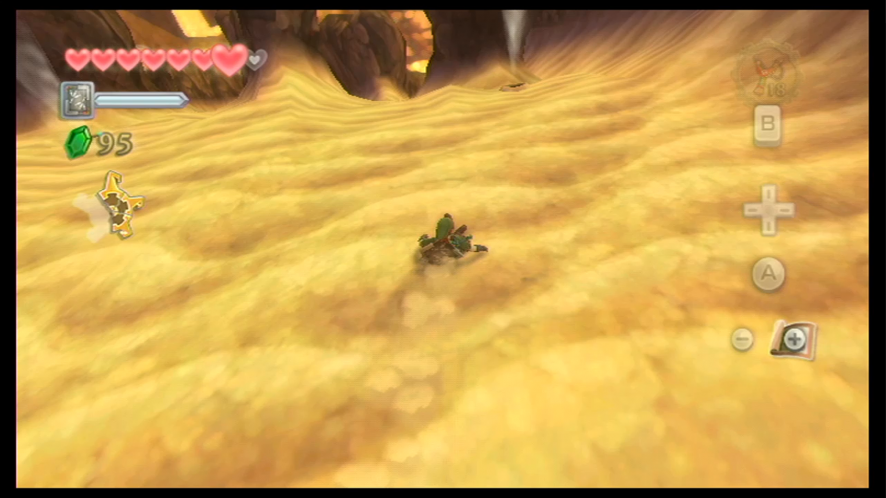
Continuing down the pathway, you can choose to take the left path, as it will lead you to a large amount of soil patches that will give you some nice treasures. You will also encounter a Bokoblin at the end of this path. There are a few soil spots here to dig, so dig them up before continuing on. You’ll find three sand slides that Link can go down – choose the one in the middle.
This slide will take you to a treasure chest that contains Eldin Ore, which can be used to upgrade items. Trace your steps back to the Mogma and then go back up to the higher ledge, this time taking the path to the right instead of the left.
You will encounter a group of Pyrups; head past them to the Bomb Flowers. There is a Pyrup blocking the path at the northeast section of the room. Defeating this one can be tricky, as you have to grab the Bomb Flower, run over to strike it, but not get to close as he will breathe fire. You will have to make a precision roll to get this right. When you’ve defeated the Pyrup obstructing the path, go through the passage, and dig at the soft spot to reveal another gust of wind that will blow you upward. Step into the next large wind gust, and you’ll be blown out of the cavern.
Follow this pathway until you meet another Mogma. Take the path to the right and use a Bomb Flower to blow up the nearby boulder. This creates a nice little shortcut that you can use later.

Head over to the broken bridge; you will meet a strange person who helps you cross the bridge. Then save your game at the nearby Bird Statue.
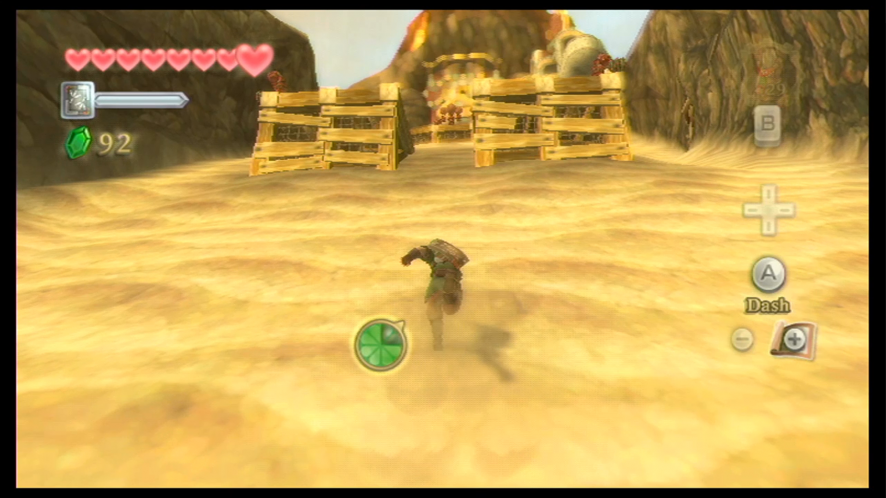
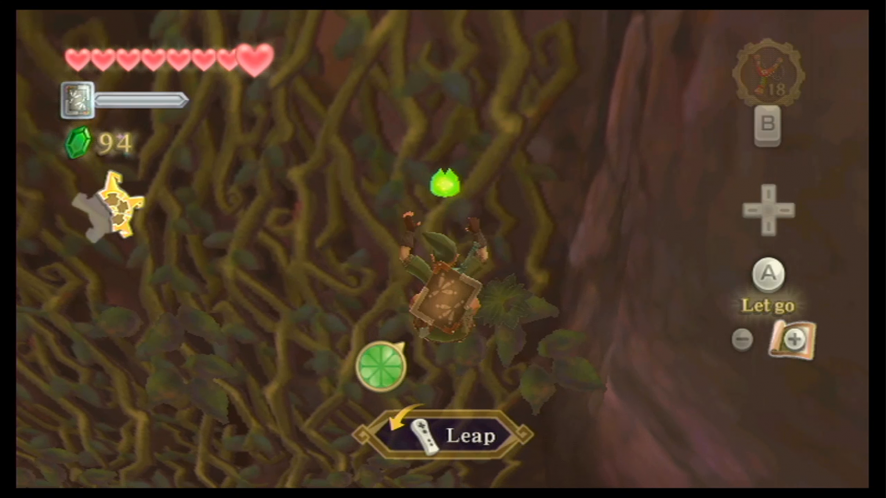
After you’ve made it across the broken bridge, head up the next pathway, defeating any of the fire keese that are flying around. Leap across the next path and you’ll encounter a very steep hill. We’re going to have to charge up this thing, but because it’s a pretty lengthy hill and Link’s stamina probably won’t last that long, we’ll have to stop at each ledge that’s mounted in the hill along the way.
When you make it to the first platform, kill the nearby Bokoblin; you can also slash at him to knock him off the ledge, and he will roll down the hill to the bottom. Run across to the next platform and grab the Bomb Flower. Throw it down the hill so that you can blow up the boulder, which will create another shortcut for you to use later. Don’t forget to dig up some of the soil patches; most of these will give you slingshot ammo, which you will need as you progress further up the hill.
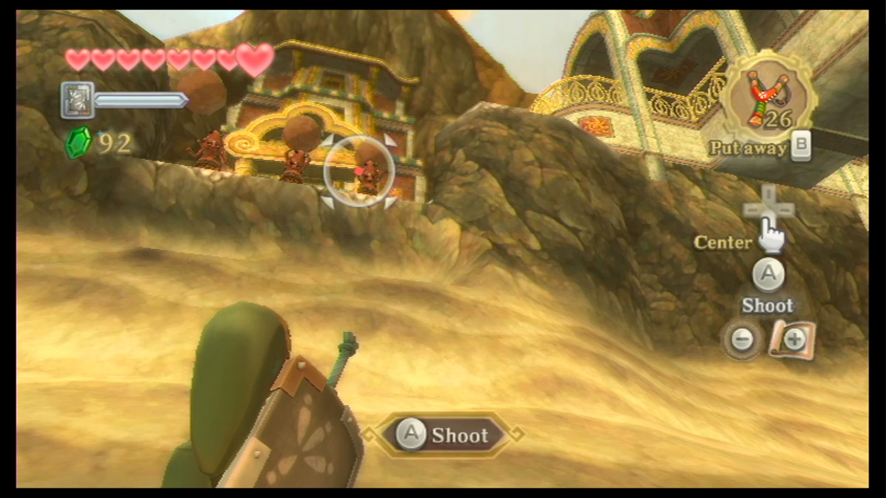
Head back across to the previous platform where you killed the Bokoblin, and take out your Slingshot. Aim up towards the top of the hill, and you will see a Bokoblin standing, holding a boulder above his head. We obviously don’t want him throwing this at us while we’re running, so let’s shoot a slingshot seed at him.
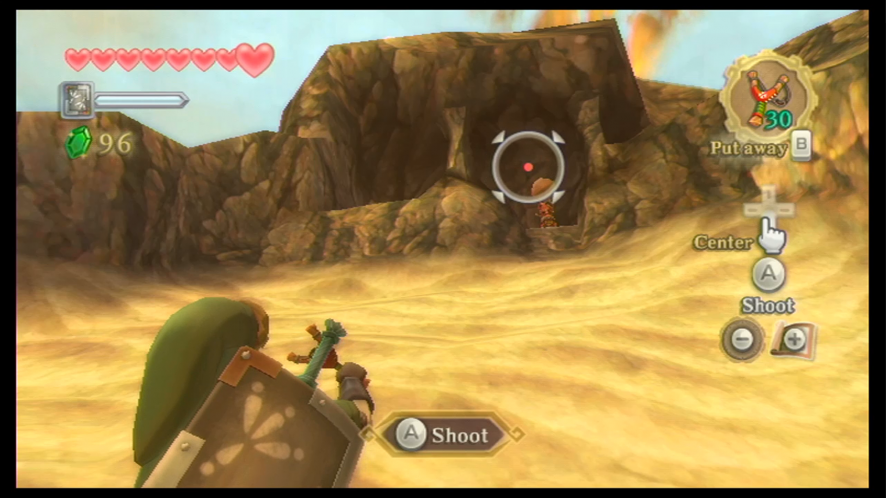
After hitting him, he’ll drop the boulder and it will land on top of him, which will both defeat him and stop him from throwing it at you while you’re running. Finish your dash up to the top of the hill.
In the next area, you’ll see another Bokoblin Leader who’s perched up on top of a watchtower. We can knock this down simply by tossing a Bomb Flower at it and blowing it up. After knocking it down, the structure will now double as a bridge.
If you want, you can now access the minigame that’s available in the volcano. If you go to the nearby Bomb Flowers and use one to blow up the nearby boulder, you will be able to enter a cave that offers a digging mini-game. Here you will meet Tubert, who will allow you to play the game for a small sum of rupees.
The game works a lot like the classic Minesweeper game, in which rupees are hidden underneath patches of dirt that Link can dig up with his digging mitts, while other patches also contain bombs that – if Link digs them up – will blow him up and cause the game to end. And of course, the more valuable rupees that are hidden under patches that are much closer to patches that are likely to have groups of bombs inside, so it’s pretty much a game of chance. Higher levels are more difficult, with extra bombs and even the negative rupoors, but will reward you with rupee values as high as silver rupees (100). The higher levels also require more rupees to play, so it can also be a risky gambling game.
You can now cross this structure that acts as a bridge to the other side. Climb the vines up the wall and continue heading down the next pathway, defeating the nearby Chuchu. You’ll come up to another steep hill that you must dash up, so make your way straight through the middle and stop at one of the platforms. Defeat the two nearby Bokoblins first. When you look up, you’ll see another one of those Bokoblin carrying a big boulder above his head; additionally, there is another Bokoblin keeping watch.
Sprint up to the next highest platform and defeat the next pack of Bokoblins. The three Bokoblins that are up higher will start to throw rocks at you. Just like last time, you have to shoot these guys while they have boulders held above them so that the rocks will land on them and kill them. When you’ve accomplished this, dash up the remaining part of the hill.
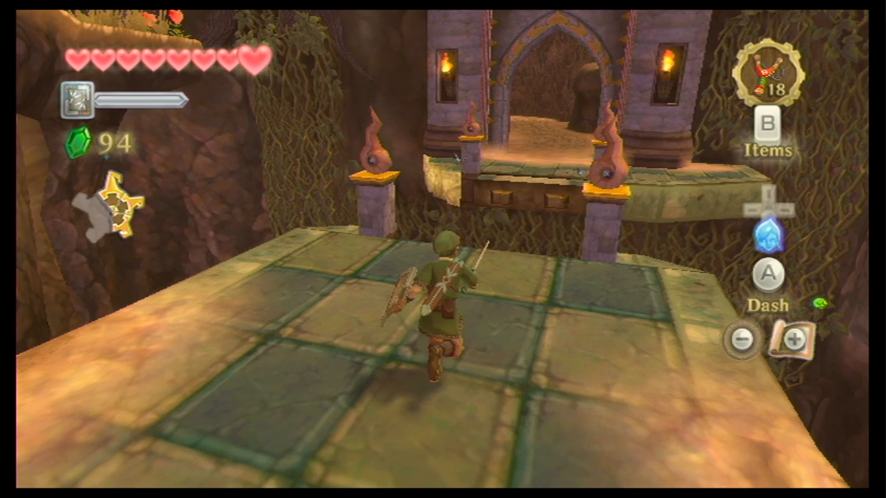
You’ll now be at the entrance to the Earth Temple, but it’s locked. After speaking to a nearby Mogma, you will find out that you have to find the scattered pieces of what used to be the full key to enter the Temple. Fi will register the key pieces into Link’s dowsing ability, so this will aid us greatly in finding the missing pieces.
The Scattered Key Pieces
We can now use the dowsing ability to track down the missing pieces of the key. The first two pieces are in the current area, but the last two are a bit more well hidden and will definitely take some extra exploring.
The First Piece
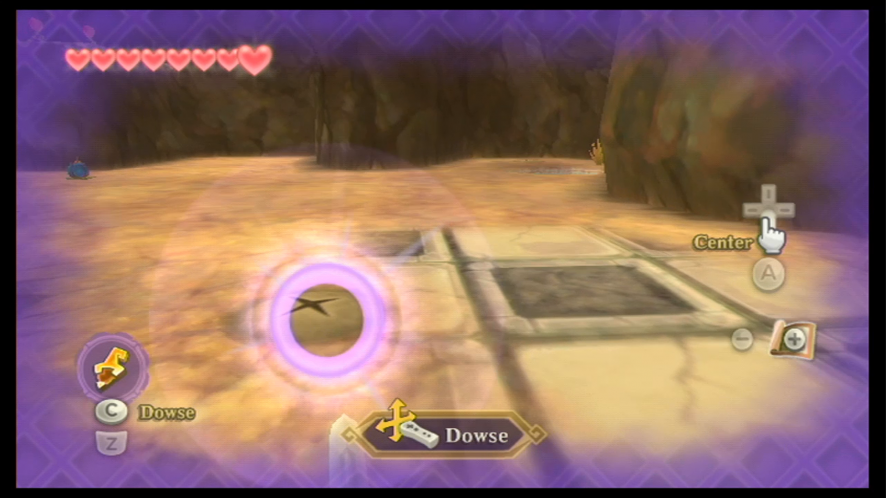
After activating your dowsing ability, you’ll immediately be pointed to the left side of the temple, where the first key piece is hidden underneath a patch of soil, which can be dug through with the digging mitts.
Before moving on to the second piece, let’s find the seventh Goddess Cube. Check out the other soft soil patches – one of them in the northwest section of this area has an air geyser hidden underneath. This geyser leads to another path that has been blocked by a boulder. To get rid of this, simply take a Bomb Flower and quickly place it in the geyser – this will cause it to float up to the boulder, which will blow it up to chunks when it ignites and explodes. Now you can ride the geyser up to the seventh Goddess Cube.
The Second Piece
Head back to where you found the first key and follow the path of Bomb Flowers to another hill. Below, at the bottom of a hill, you’ll see another watchtower. You’ll have to precisely roll the bomb towards the tower to knock it over. It will probably take you a few attempts to successfully roll the bomb into the structure. After it has fallen, head down the hill to the bottom and use your digging mitts to dig up the second piece from underneath the now-fallen structure.
The Third Piece
Head back to the locked temple, and look ahead of where the two Mogma were talking – you’ll see a set of two Bomb Flowers. Activating your dowsing ability here will point you in the direction of a boulder that’s positioned along the hill that you ran up earlier. You will have to throw a Bomb down the hill to blow it up, which will reveal a new place to dig. Dash down the hill for the ledge and dig up the third piece.
The Fourth Piece
Head back to the temple entrance, and take a right turn. You will encounter a heavy number of Bokoblins, along with a leader, so fight your way through them. Once again, the leader is on top of a tower, so use a Bomb Flower to knock it down.
Head back to the fallen tower and cross over it, making your way up the new pathway. Defeat all the Fire Keese and Chuchu that get in your way on the path. You’ll soon reach a bridge, but you can’t actually cross it. Turn to the left and you’ll see a very narrow pathway that Link can sidle along.
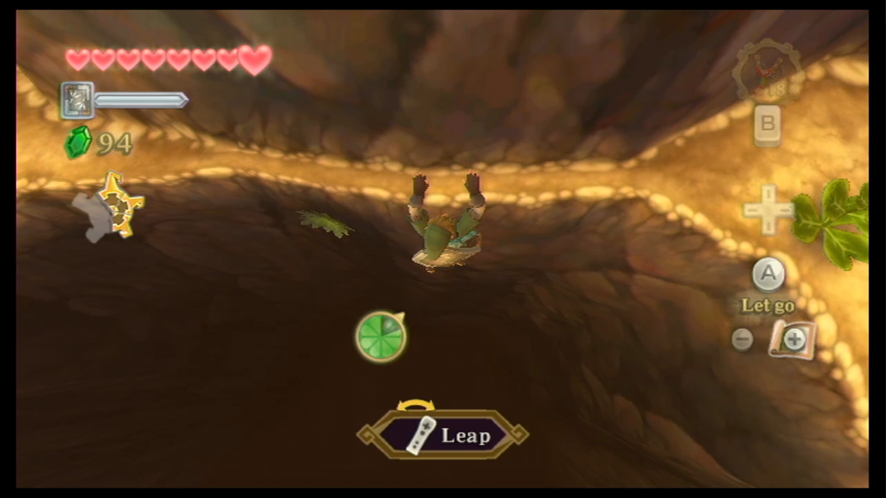
While hanging off the edge, shimmy your way along the ledge. Climb up the next wall and then leap over the gap to get to the next platform. Head over to the ledge and make a dash jump towards the vines that are on the next wall. It’s a bit of a long climb, so collect any stamina fruit you see along the way so you don’t lose all your energy. Soon you’ll be able to land on a bridge.
Activate the floor switch and the bridge will extend itself across. Head across the bridge and continue along the pathway. You’ll come to one area that is much hotter than the other areas, so we can’t go in there yet. Instead, head down the path to the right and jump off the ledge. You’ll immediately see two air geysers, so try to get to the one that’s over on the right side. You will land on a pillar from the gust.
Using your dowsing ability will show you that the key is still a little bit further away, but further, down the hill, you’ll find a pathway off to the right with a ledge for you to land on. Jump off the platform and slide down to this pathway.
This next part can be tricky, but if you time it right you get can to the fourth piece of the key. You’ll see two nearby air geysers. After the first air geyser goes, wait a moment before jumping, and if it’s been timed right, the second geyser should take you to the higher ledge. Now you can use your dowsing to find the fourth piece.
The Fifth Piece
Jump off the ledge where you found the fourth key piece and ride the slide to the bottom. Jump to the next platform and then turn right. There’s a Bomb Flower here, and you’ll notice that this new area is completely filled up with hot lava. Turn around and you’ll see a boulder along the wall outside of the cavern that’s blocking the flow. Pick up the Bomb Flower and toss it at the boulder, clearing the way for the lava to flow.
The ground in the cavern is now clear for you to walk through. At the end of the room you’ll find a large boulder; you will need to pick up a Bomb Flower and roll it along the sand towards the boulder to blow it up and clear the way. After the boulder has been taken care of, head over to the soil spot inside and dig up the fifth piece of the key.
Before we head back to the temple, we can get another Goddess Cube. Head back to the sliding area, but instead of taking the geyser on the right, take the geyser on the left. You will land on another pillar and below you will find the ninth Goddess Cube. Now you can head back to the temple the same way as before.