


Chapter 3: Skyview Temple
Table of Contents
Entering The Dungeon
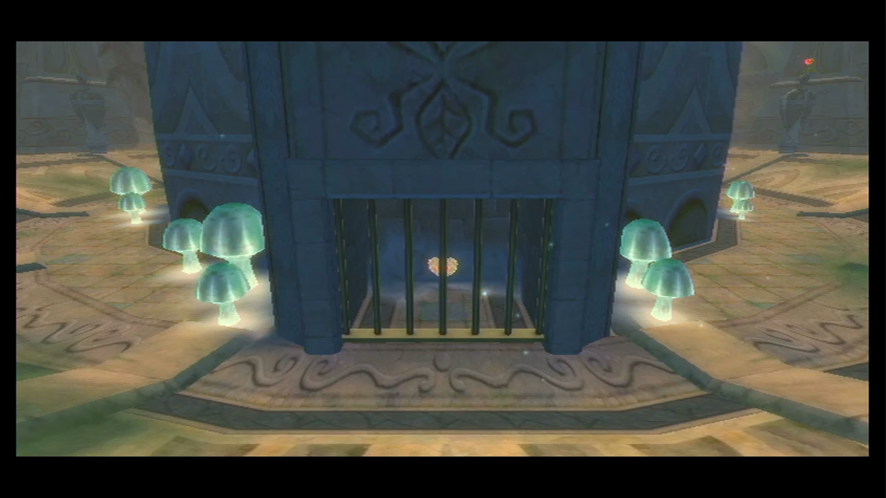
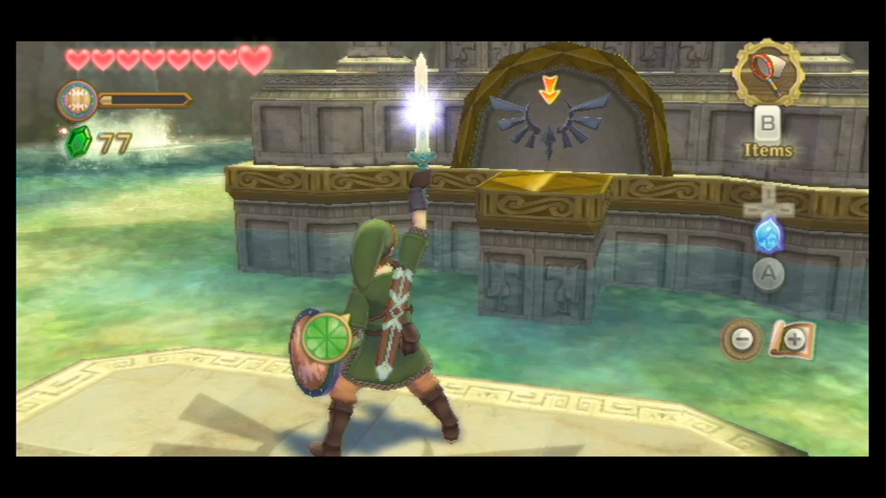
When you reach the dungeon, you’ll notice that the door is shut and there’s no way in. Before you panic, take a look at the stone tablet that’s sitting nearby. It will give you a clue to entering.
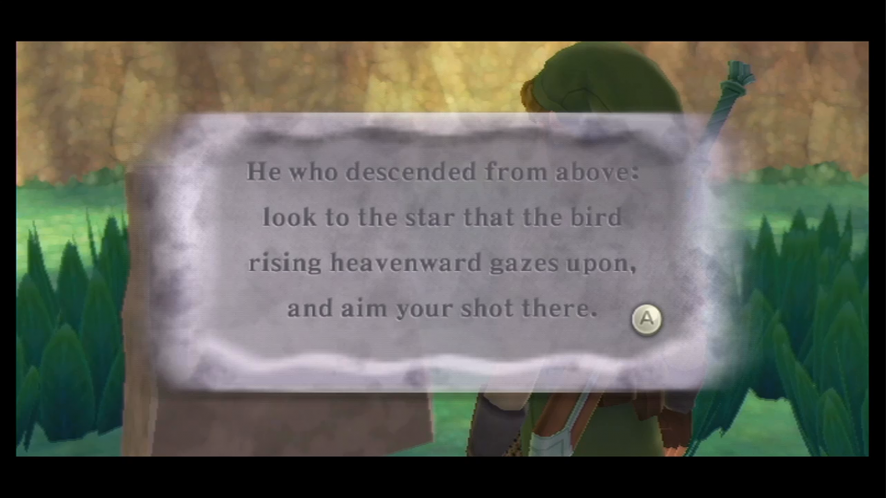
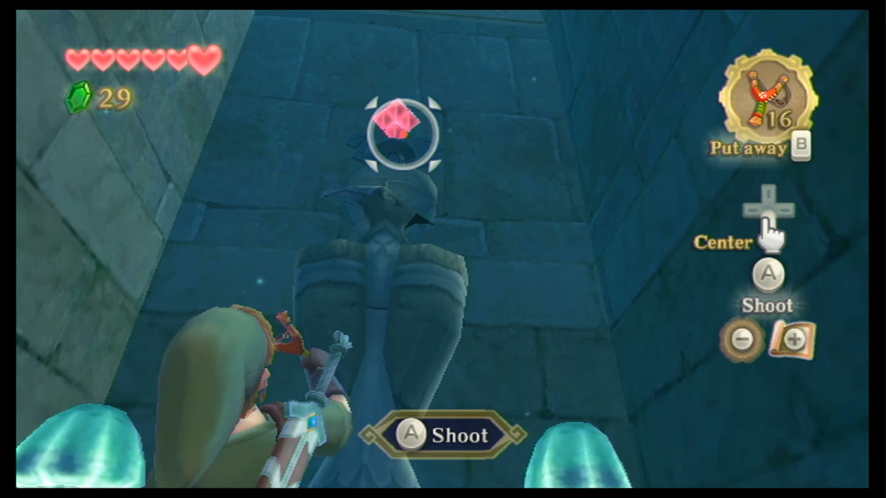
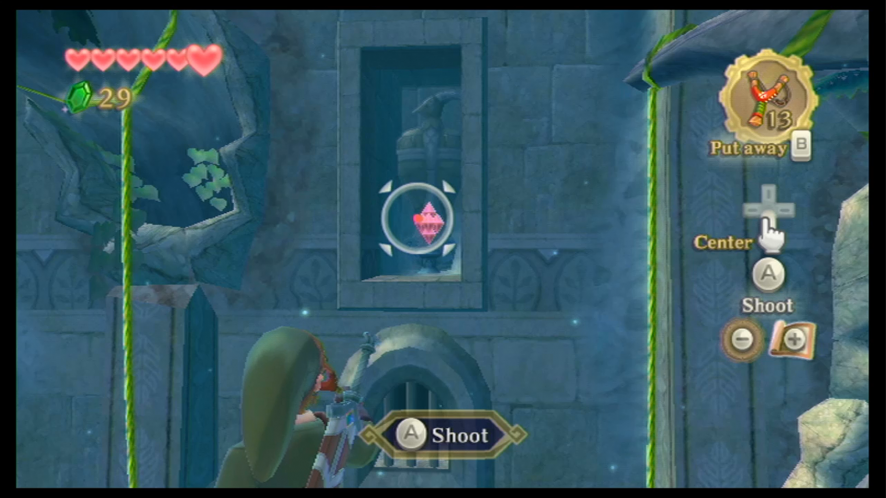
All you have to do is . . . look up. 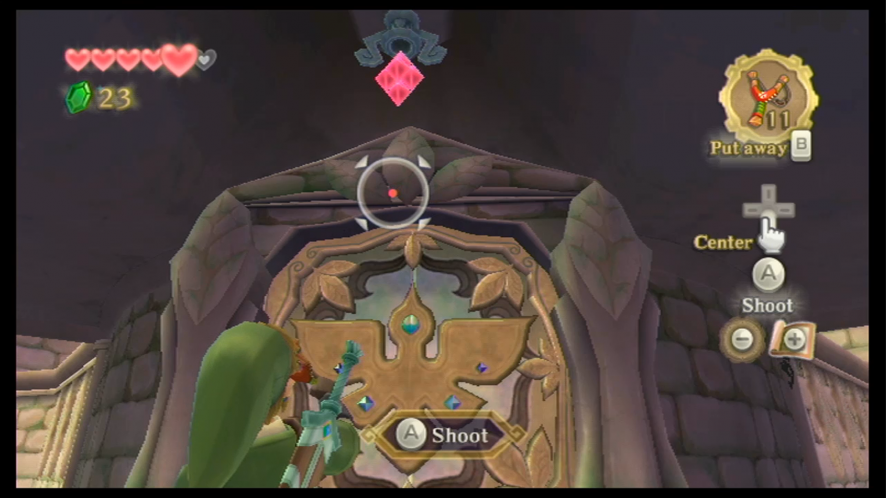
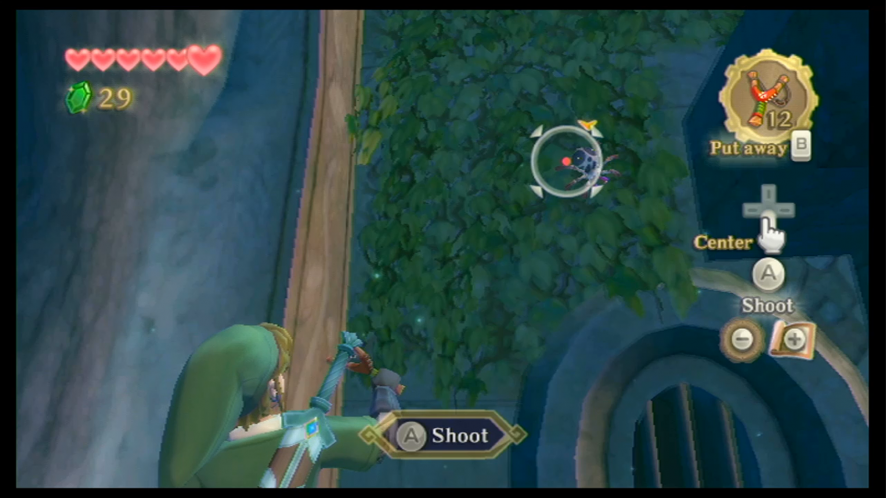
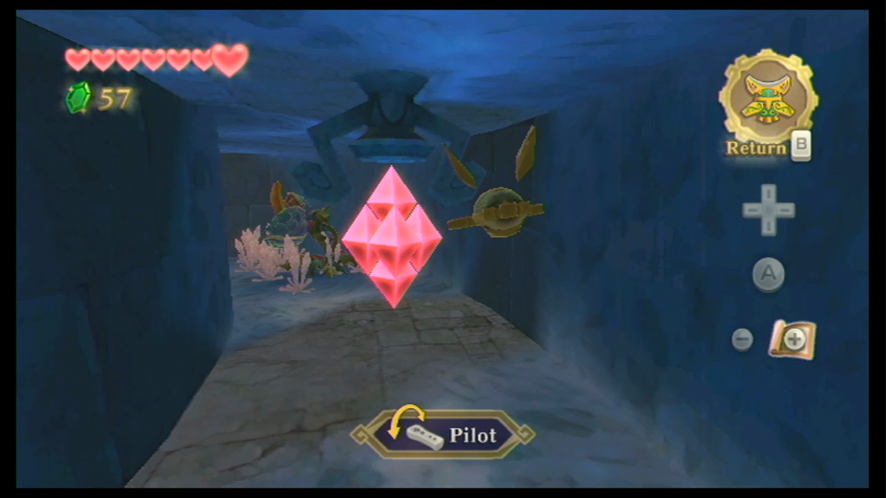
Just above the door is a pink diamond-like target. Shoot a seed at it with your Slingshot; this will open the door to the Skyview Temple.
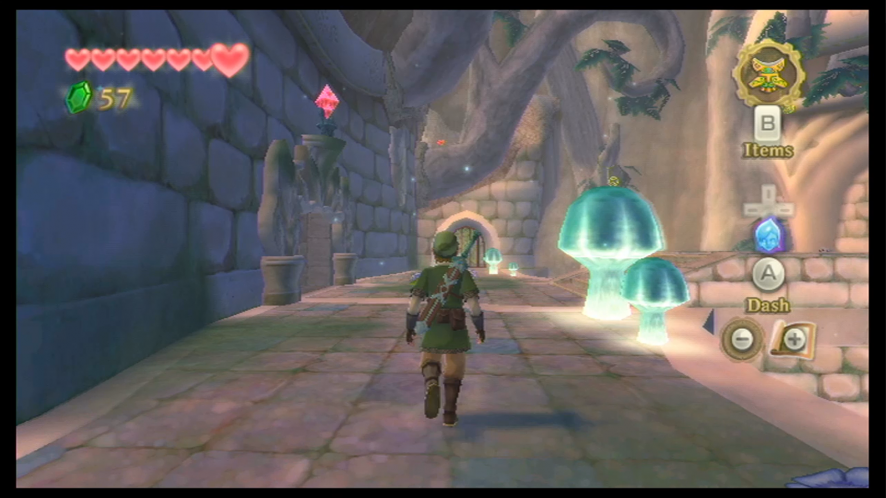
The first part to the Temple is a long corridor that will eventually lead to the main room of the dungeon. Defeat any monsters you find in the corridor, and if you run into any spider webs, cut them down. Keep going through the corridor, taking down any trees that are blocking your path as well as the keese that are flying around.
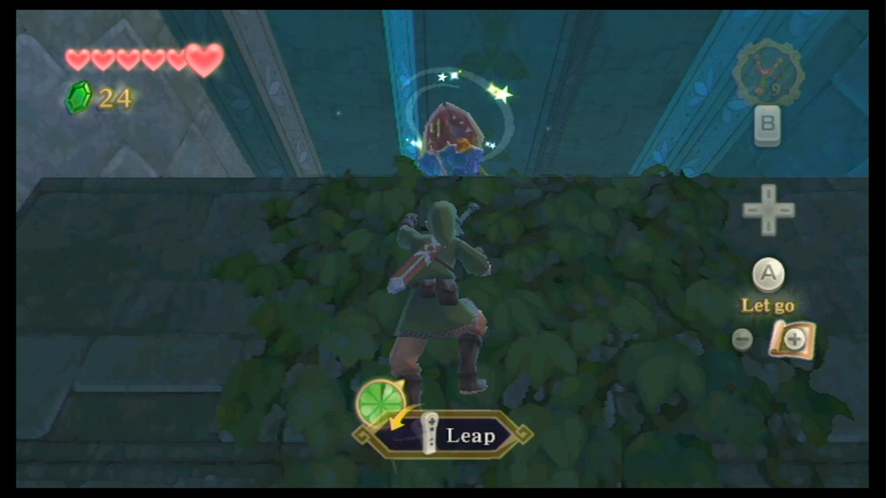
When you get to the end of the corridor, you’ll see that there are vines that will take you up to the higher ledge, but there’s a Deku Baba standing above that will knock you down if you try to climb up, so take out your Slingshot and fire a seed at him to stun him. Quickly climb up the vines before the Deku Baba can come back to its senses, and then defeat it with your sword. Slash the crystal to open the next door.
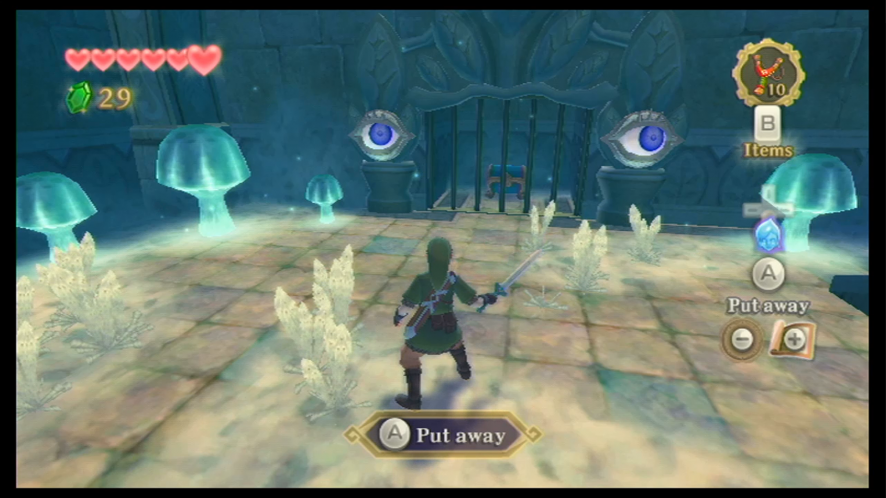
Head to the platform that’s in the center of the room and you’ll encounter an Eye Guardian. These things won’t do any damage to you, but they will block off the entrance to the next room until you can defeat them. Beating these things is a lot like beating those giant eyeball things in Super Mario 64 – you have to make them dizzy and disoriented.

Grab the eye’s attention with your sword and move it in a circular motion. Try and do this as fast as you can without losing the circular movement. Soon the eye will get dizzy, and the door will unlock.
There will be a few Deku Baba hanging from the ceiling in the next room, as well as a few Myu that are on the ground, so watch your step when you defeat the ceiling Deku Baba. As you keep going, you’ll run into a new kind of Bokoblin – the Green Bokoblin. They are pretty much the same as Red Bokoblin, except they’re found inside dungeons, so they’re pretty simple to defeat.
You can climb the vines now, which will lead you to a set of barriers that you can take down with your sword, creating a shortcut from this room to the central room.
When you get back into the main room, you’ll notice that the door straight ahead has been chained shut and you’ll need to find a key to open it. The other doors around you are also shut, but one of them has a diamond switch above it, so you can open that door by shooting the crystal with your Slingshot.

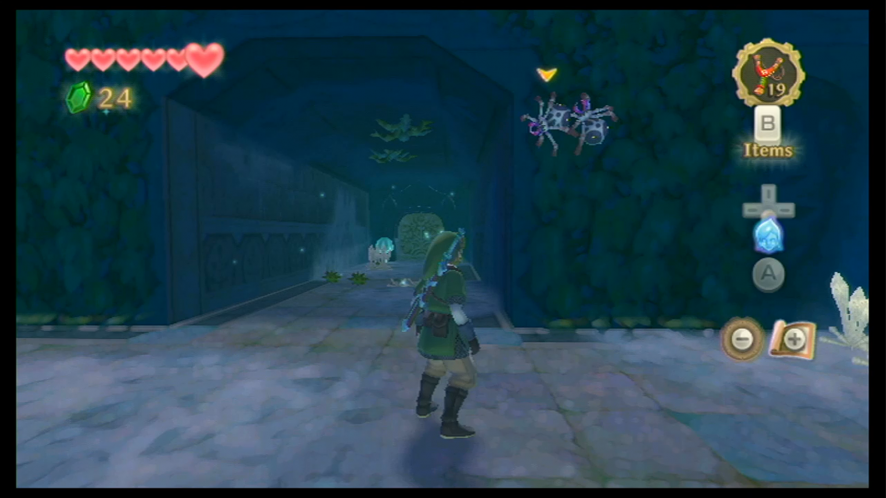
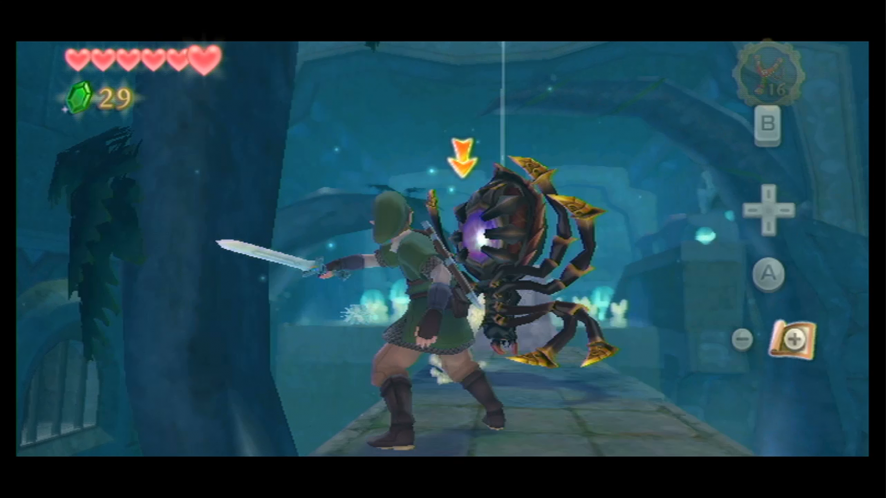
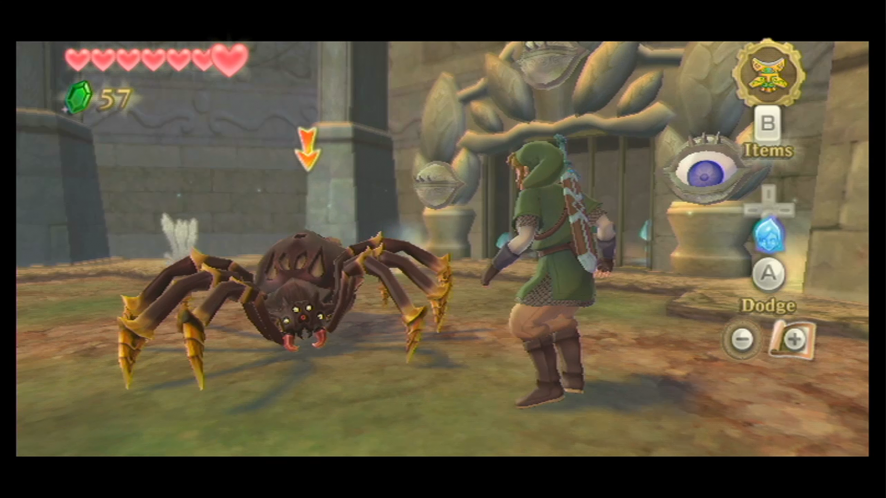
When you’re in the next room, you’ll immediately be blocked off by another spider web. Take it down with your sword and keep going, and you’ll run into another species of spider, the Skulltula. These ones are much trickier to defeat than the Walltula, but still somewhat simple if you know what you’re doing. The trick to beating it is striking the purple jewel that’s located on it’s backside.
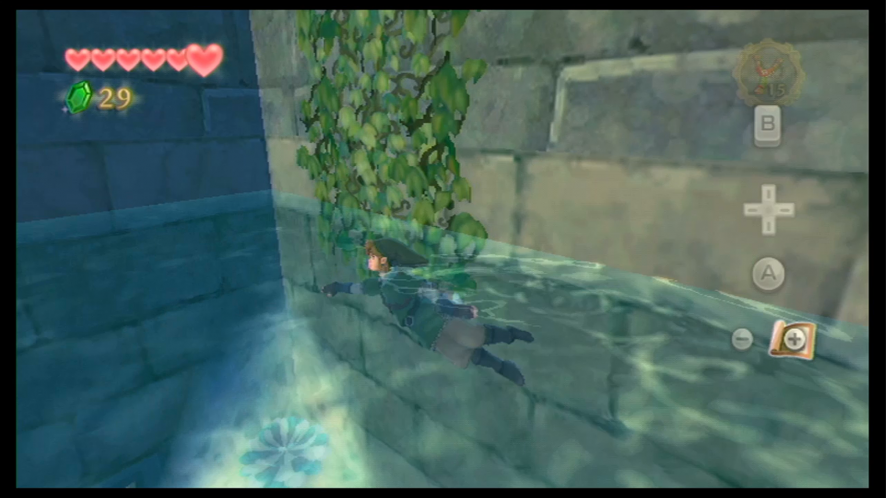
Drop down to the level below you and look for the hole that Link can crawl through. On the other side, you’ll find a crystal switch that you can shoot with your Slingshot to activate. This will cause the water level in the temple to rise. Climb up the vines and crawl through the next passage. Now you can just return to the previous room.
Now that the water has risen, we can head over to the west side of the room, where you’ll find a passage that leads to another crystal switch. Hitting this switch will open the other door. After you get out of the water, head over to the new door.
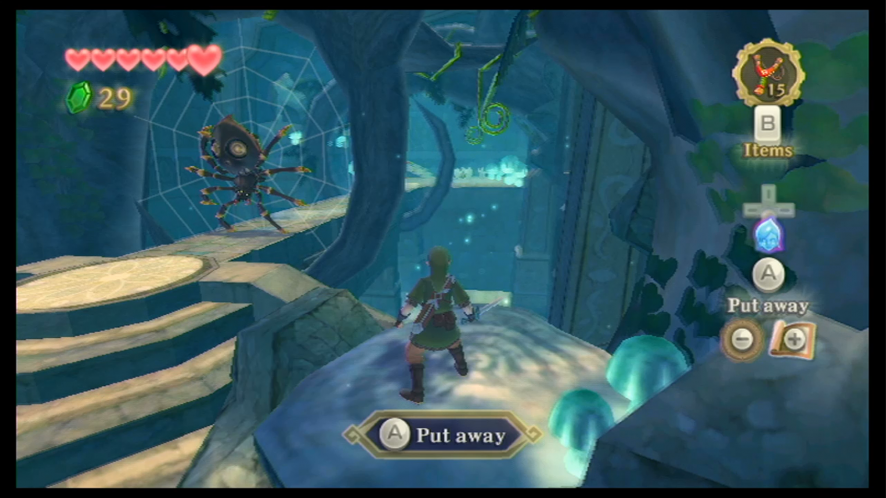
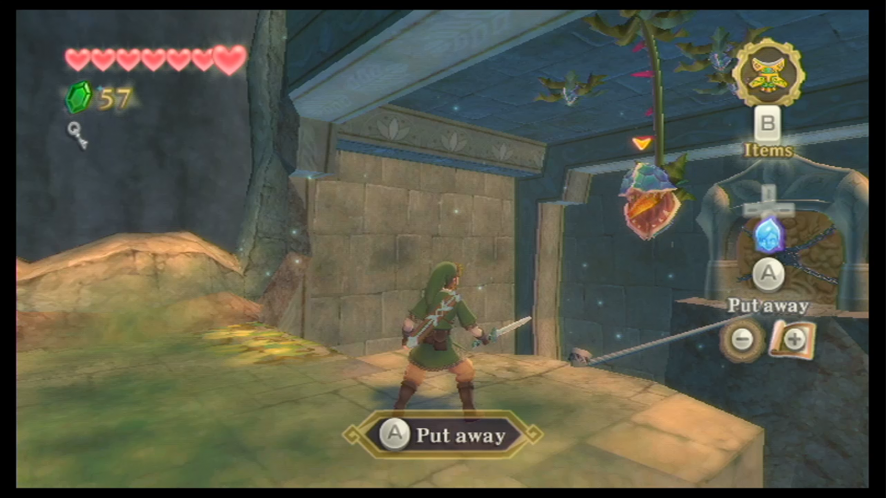
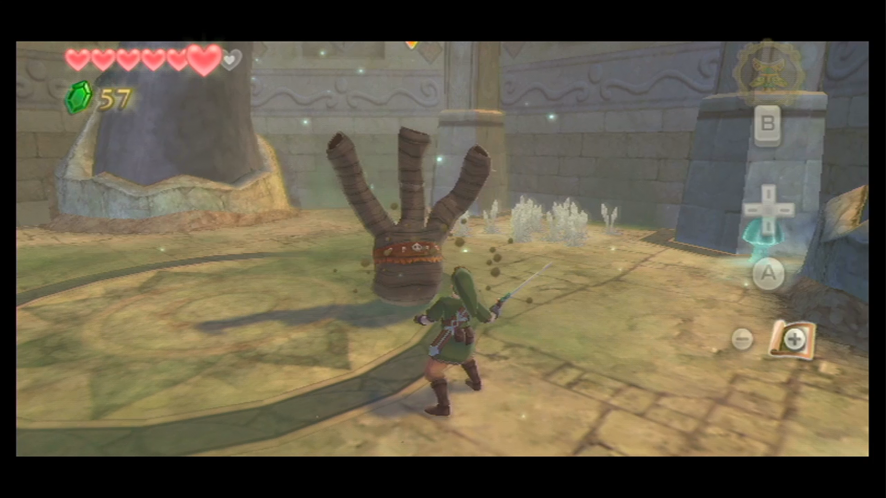
There’s a Green Bokoblin and two more Skulltulas to take care of in this new room, only these Skulltulas are attached right to their webs, so they’re a bit more difficult to defeat. Turn your attention to the small tree stump and the two curled-up green ropes that are hanging from the ceiling. Release both of them with a couple of seeds from your Slingshot, and then use them to swing to the other side.
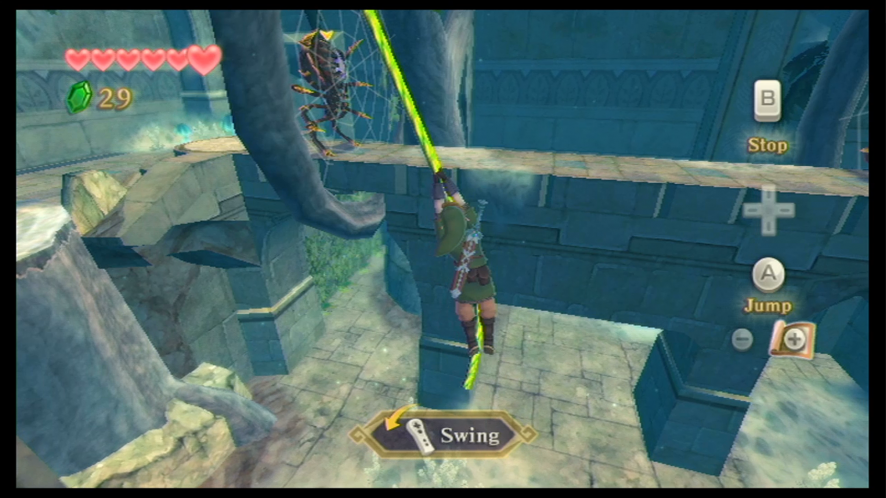
When you get to the other side, defeat the first Skulltula. You’ll see another crystal switch to your left from the center platform, so hit it with your Slingshot.
The water level will rise even higher. There’s a Quadro Baba at the end of this room, so beat him and then go through the next door to go back to the main room again.
Walk over to the large treasure chest that contains the Dungeon Map. With the water level at a higher level, head over to the large log on the right side of the room. From the log, shoot the Walltula that are climbing along the vines. Climb up these vines and head up the stairway.
Jump down and defeat the next Skulltula, and then turn your attention to the locked gate. You’ll notice that there are two Eye Guardians this time, on either side of the gate, and it won’t work to just make them dizzy one at a time, so you have to defeat them both at once. This will unlock the door and allow you to get to the treasure chest, which contains the small key that will unlock that locked door.
The Beetle
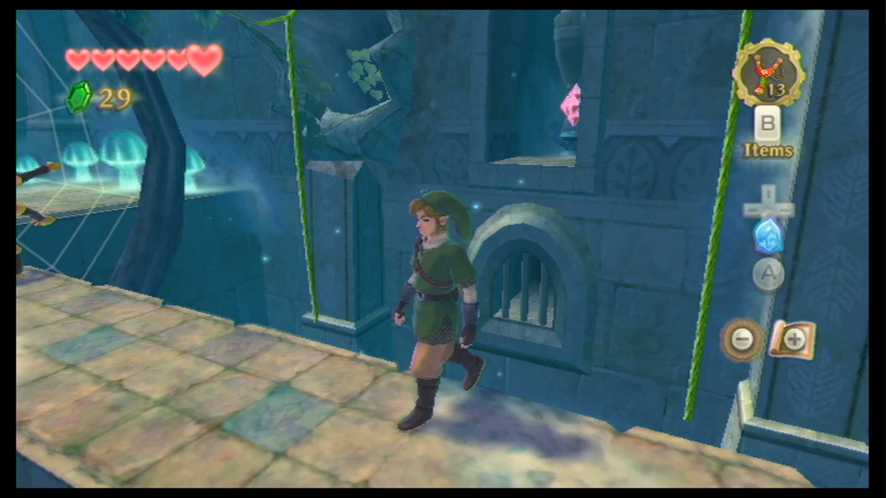
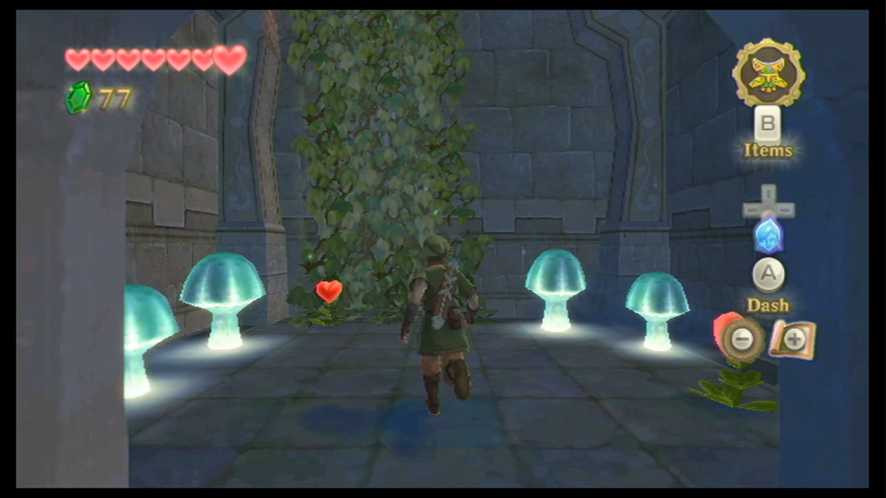
Now you can head to the northern room and unlock the door with the key you found. You’ll reach the circular room of the dungeon.
There’s not much in the next door except another locked door, which you can activate by hitting the crystal switch above with your Slingshot. When you head into the next room, you’ll have to battle the Skyview Temple’s mini-boss, Stalfos.
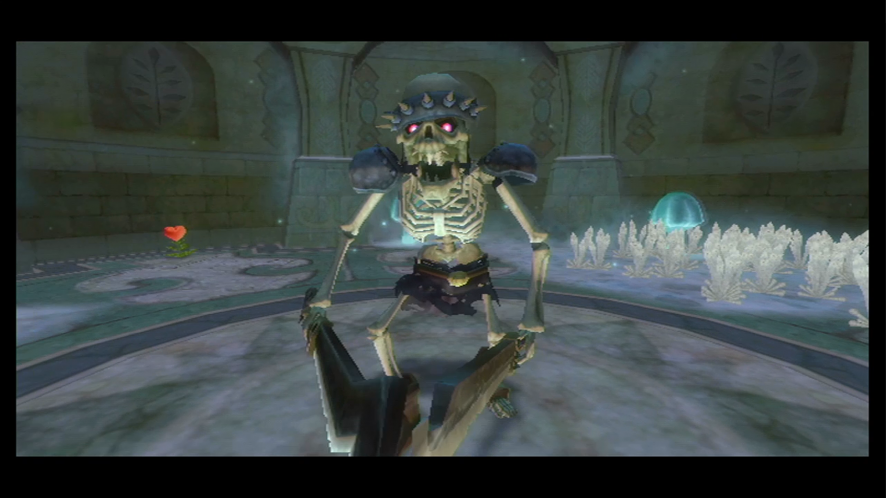
If it were to hold both swords vertically to guard, you can strike right through the middle. It’s all about being quick and knowing how to break through all of his guards. If you can’t figure out how to break through a specific one, then wait until he changes his position to one that you do recognize, and then strike. And like any other enemy that requires certain movements, you can also stun him with a shield bash and go in for a free strike while his guard is open. The shield bash will require a bit more timing though and may be trickier to do than just breaking his guard by matching his movements. If the Stalfos looks like it’s going to attack, simply jump back to avoid it, and then go back into the fight when he begins to guard again. If you find yourself running low on health, there are a few hearts around the room that you can grab.
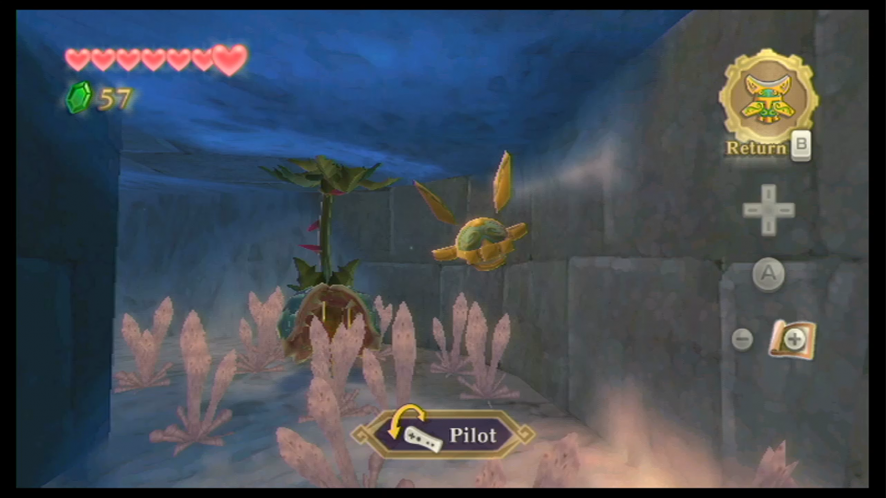
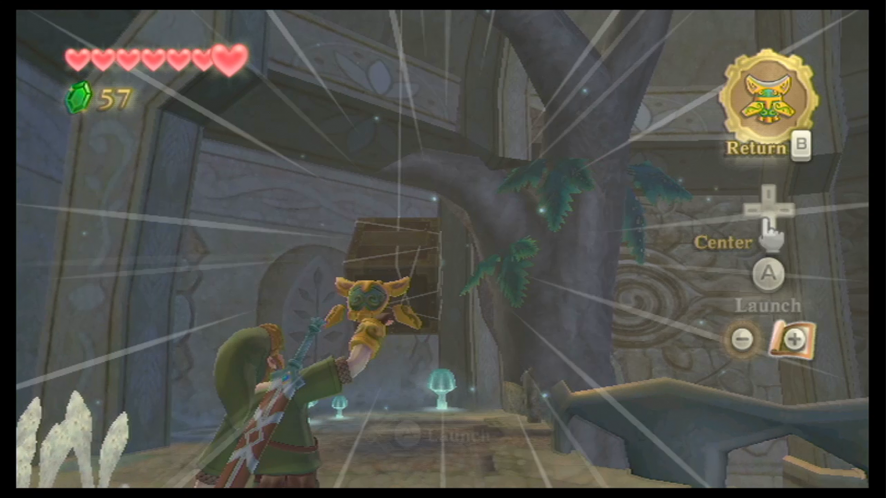
When you’ve defeated the Stalfos, you will be rewarded with your first dungeon item, the Beetle. This handy contraption allows you to hit switches that Link can’t get to himself by flying from the control device that Link uses. You can use the Wii Remote to control the Beetle’s direction in which it flies. It can also take out certain enemies.
You’ll probably realize that the door out of here is locked. To get it open, equip your new Beetle and aim it at the hole in the wall. Fly the Beetle through this hole and then make a right turn. Strike the crystal switch with the Beetle. This will open the door.
The Skulltula in the way really shouldn’t be a problem for you. 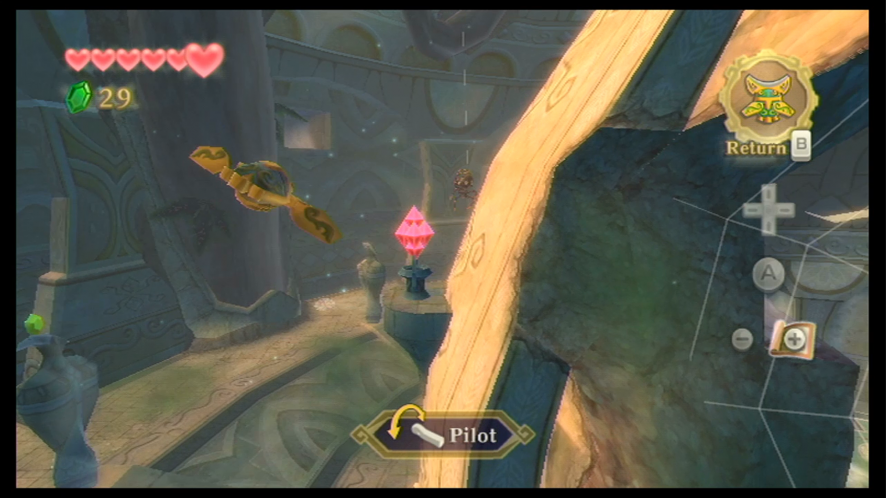
Golden Sculpture
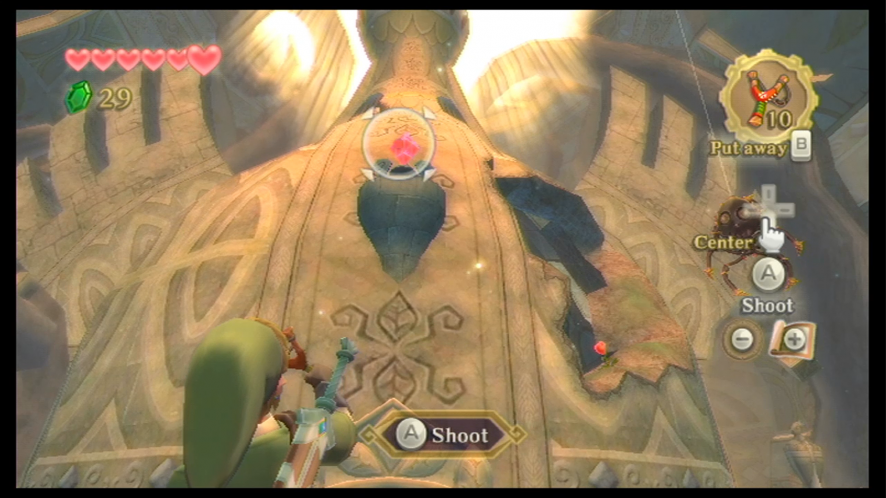
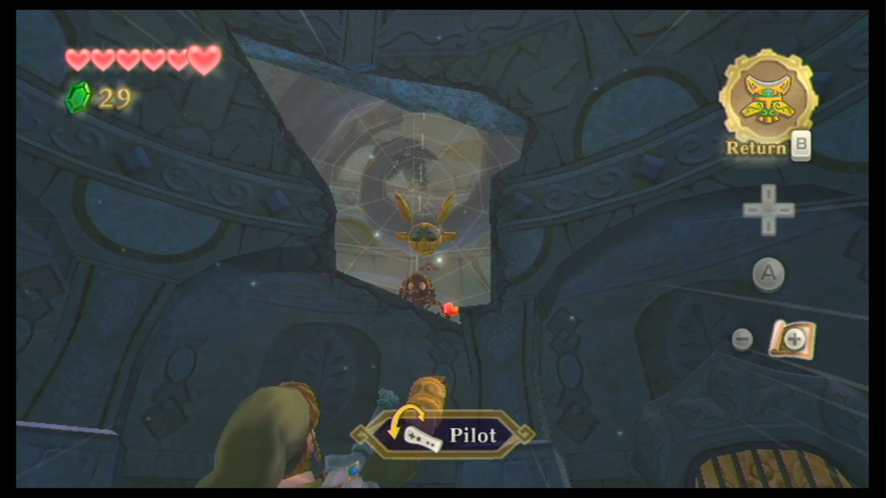
Head over to either the north or east end of this new room. Defeat any enemies you run into, and then use your Beetle to aim at the structure in the center of the room. Keep your Beetle aiming up until you see the crystal switch near the ceiling. Hitting it with the Beetle will open the gate at the north side of the structure. You can collect your fourth piece of heart here.
You’ll notice the wooden crates hanging from the ceiling. You can now use your Beetle to cut these crates down, so go ahead and aim your Beetle at them and knock them down. These crates actually have a lot of rupees inside of them, so knock them all down to get some extra cash for later.
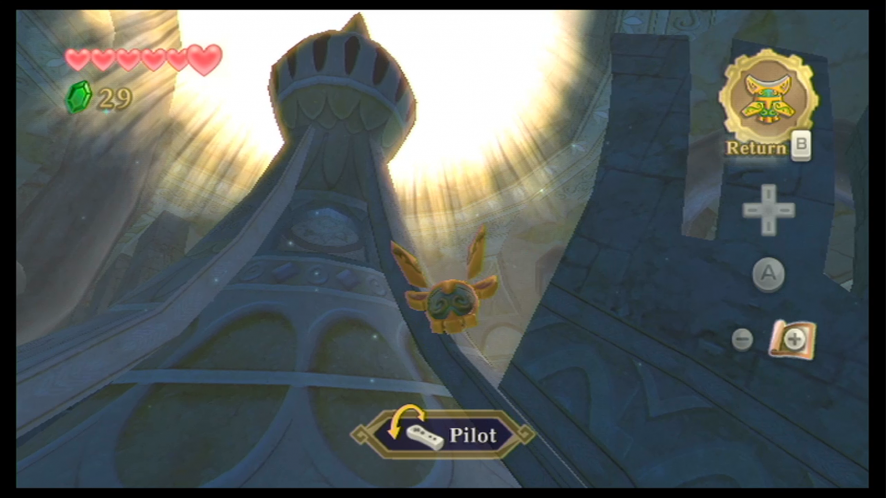
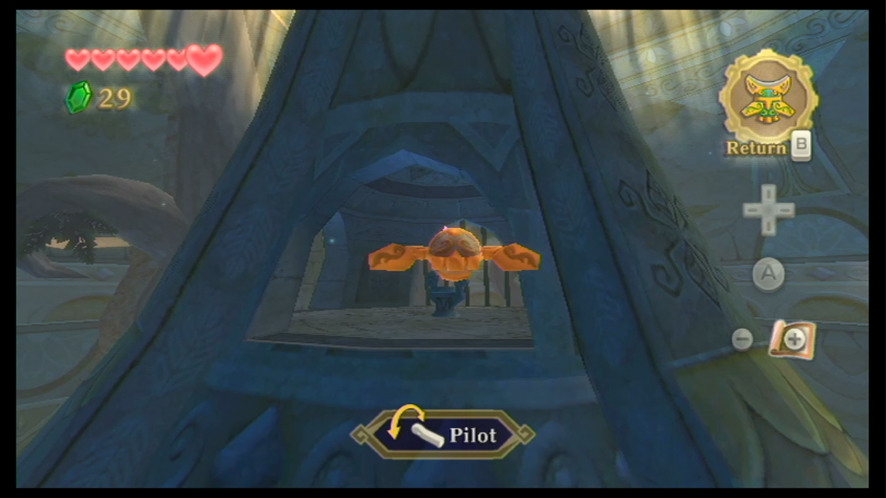
At the west end of the room is a locked gate. You can unlock this gate by activating a crystal switch, but it’s nowhere to be found! If you look up above the locked gate, you’ll see two small crawlspace holes. Aim your Beetle and – very very carefully – guide it through either passageway. You’ll run into some Deku Baba hanging from the ceiling, but you can easily take care of these by flying through their stems and sending them to the floor with the Beetle. Hit the crystal switch; you can now get through the unlocked door.
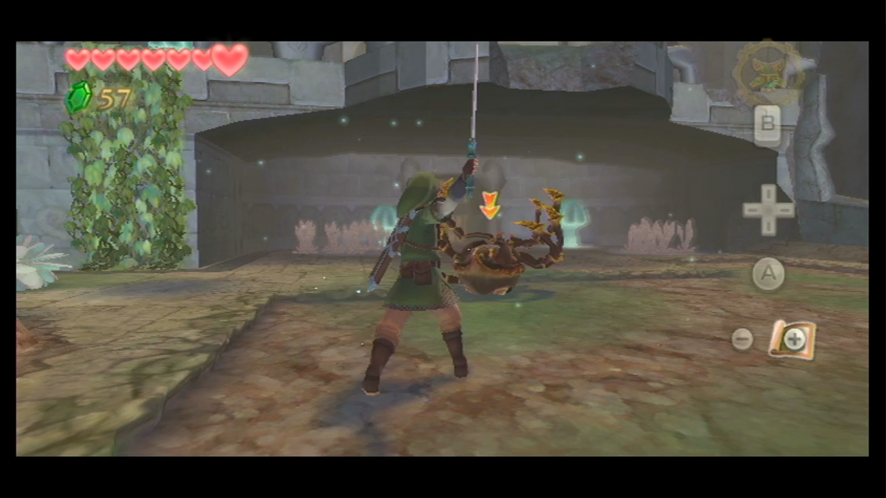
Head into the next room and then through the door at the end of the hallway. The moment you step through, the door will close, and you will be faced with defeating a Skulltula that isn’t mounted on a web. You have to defeat this Skulltula like the others, only getting to its weak spot requires a bit of a different trick. Give it a vertical sword slash, which will reveal its weak spot. Strike it and repeat this strategy until you’ve killed it.
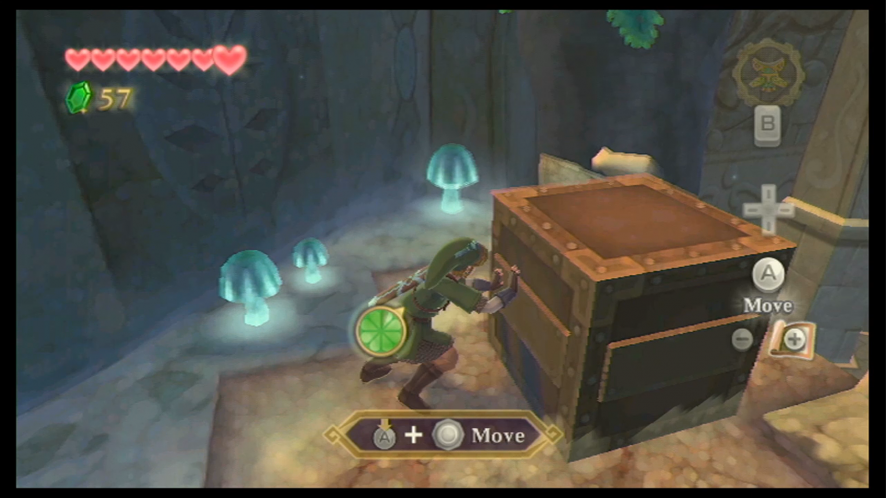
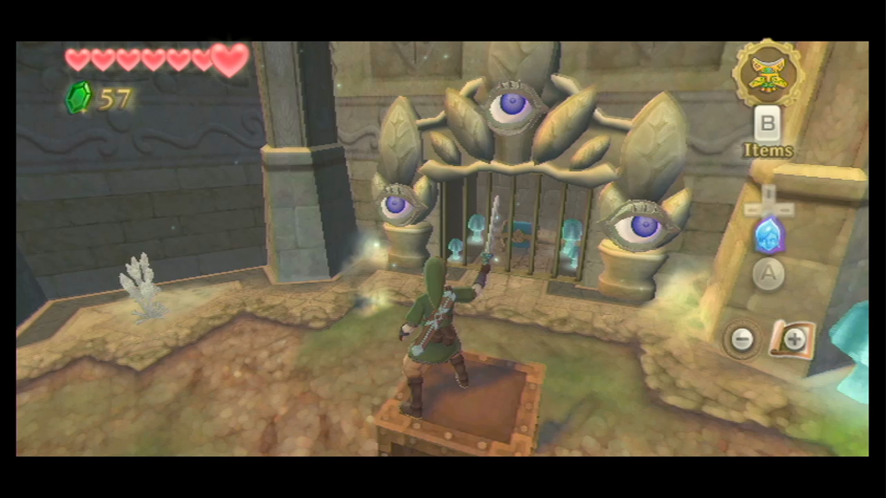
When you continue on, you’ll end up encountering another set of Eye Guardians, and this time there are three. The only way to get the attention of all three of them at the same time is to get to a higher area. If you look behind you and then to the left, you’ll see vines that you can climb up to reach the higher platform. Equip your Beetle and aim it at the steel crate that’s hanging from the ceiling. When the crate has fallen, push it down below. You can now stand on top of this box to grab the three eyes’ attention. Make the same circle motions as before until the eyes get confused. Head through the open gate to grab the treasure chest that contains a small key. Return to the previous room.
The moment you enter the previous room, take out your Beetle and fly it past the Skulltula to the end of the room, where you will see a diamond switch. Once activated, the water level will rise. This will allow you to reach the higher area of the room. Head back to the crawlspace and make your way through it to the central room of the dungeon.

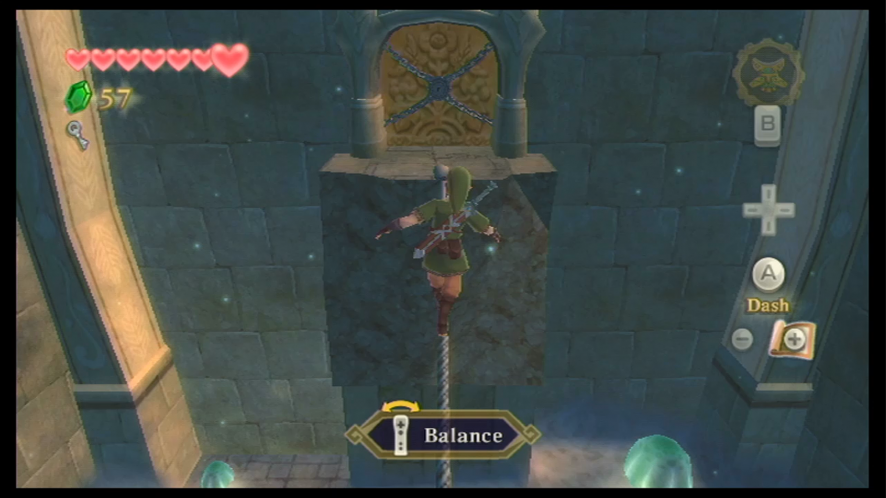
Head to the east end of the central room. You’ll soon see the locked door. You’ll encounter a quadro baba on the floor below and five ceiling Deku Baba. Take out your Beetle and cut down the hanging Deku Baba – you really only have to worry about the three in the center, as the ones on the side won’t be able to grab you. After cutting down the Deku Baba, carefully make your way across the gap over the tightrope, and then open the locked door with the small key.
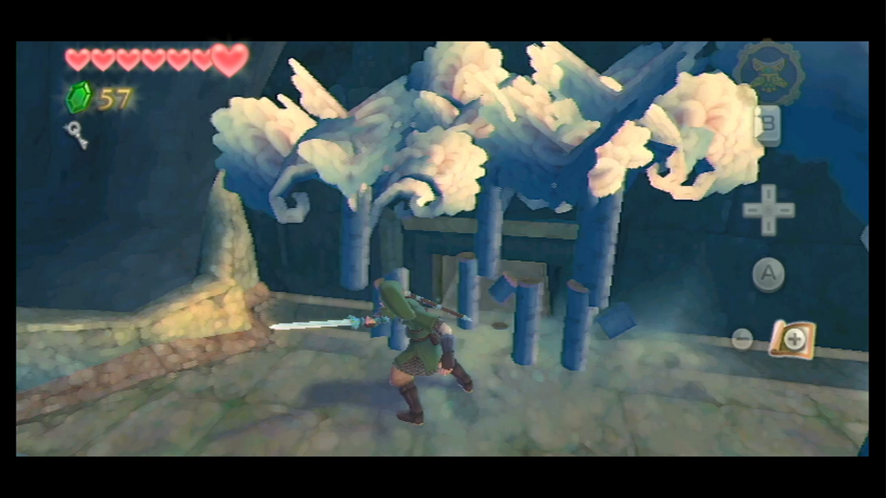
Cut your way through the wooden barriers in the new room to fight a new enemy, the Staldra. This is a three-headed serpent-like enemy that will grow its heads back when they are cut off.
One thing to notice is that the heads align horizontally right after a head is cut off and regrows, so you can take this opportunity to do a horizontal slash and cut them all off at once. You can also try to do a spin attack, but this will sometimes not work; it’s really just about figuring out what works best for you when fighting them. Killing it will open the door in the northwest section of the room.
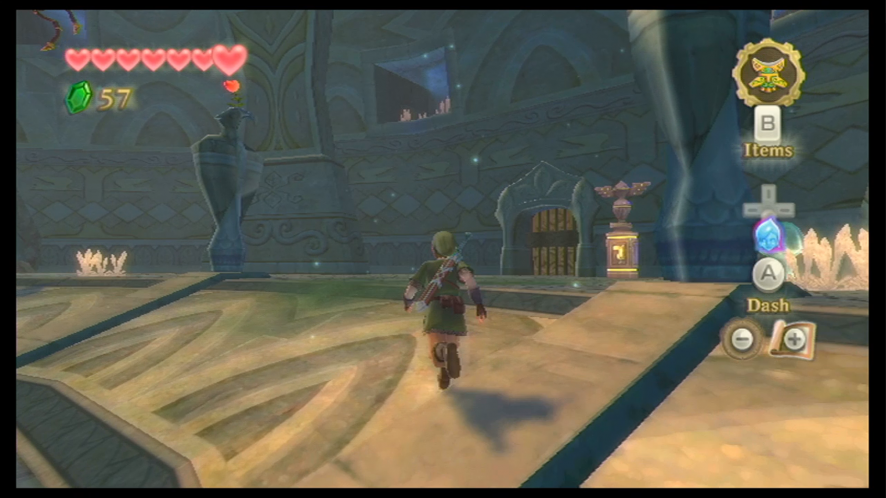
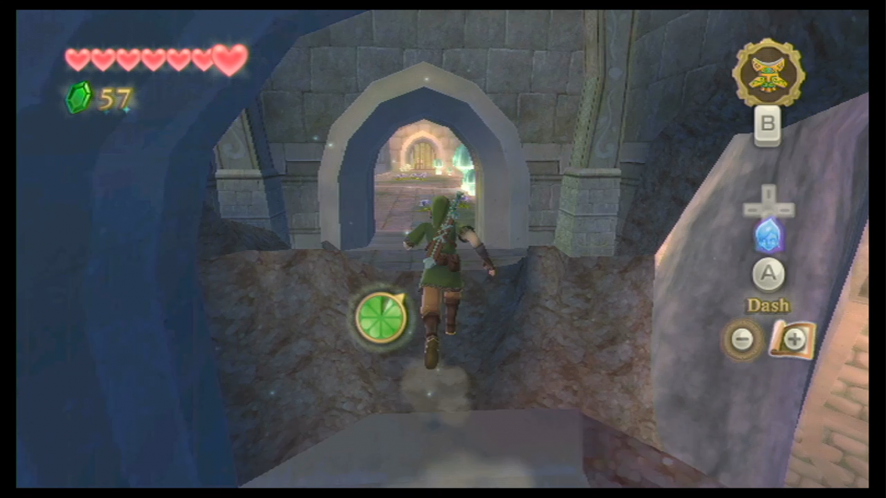
Defeat the Green Bokoblin in the next room and then cut the string that has the Skulltula hanging from it. The gap ahead is too big to jump over walking, so dash over it, and you’ll reach the door that leads to the final boss.
Turn your attention to the diamond switch above the door to your left. When you activate it, a shortcut to one of the first rooms in the dungeon will open. 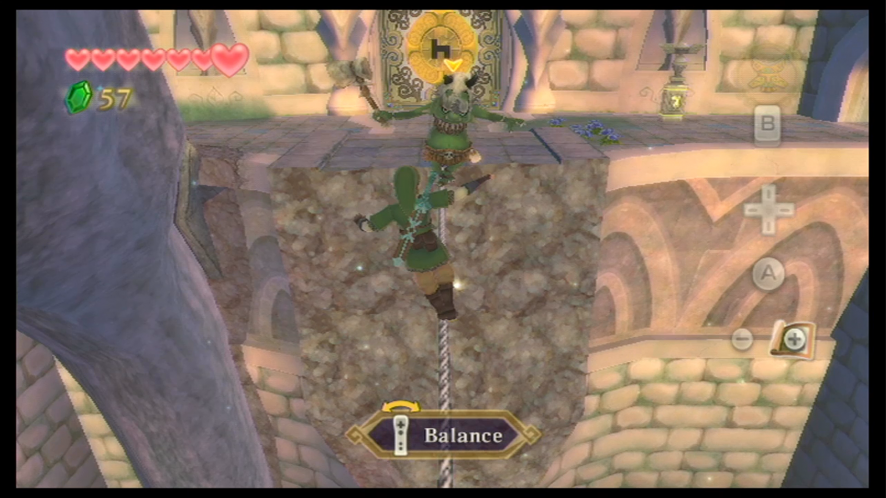
Make your way across the tightrope in the center of the room, jostling the Green Bokoblin if he starts to walk across as well.
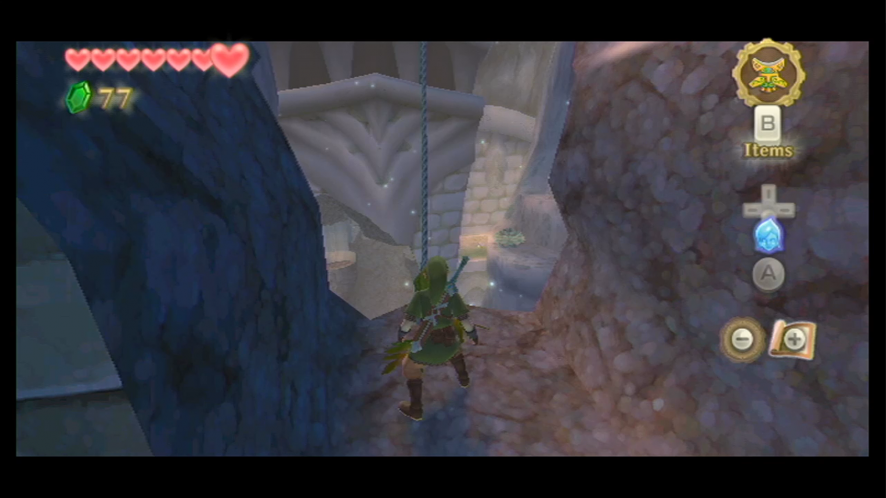
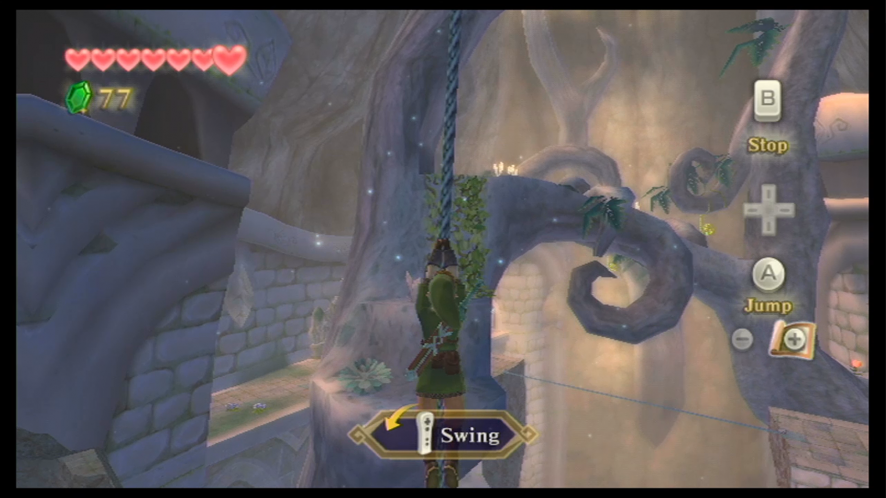
Head over to the north end first and go to the northwest area to get a red rupee from a treasure chest. Now head to the northeast corner of the room and climb the vines. Slash the rope to release it and then dash-jump to grab it. Before you start swinging, turn it just slightly to the right and then swing over to the nearby platform.
Climb up the next set of vines to reach the tree. Using either your Beetle or your Slingshot, strike the curled-up green ropes to extend them for easier access. Grab onto the first rope, and then position yourself in the right direction and swing onto the next rope. Swing over to the southwest corner of the room to reach the next ledge. When you open the big treasure chest, you will receive the Golden Sculpture.
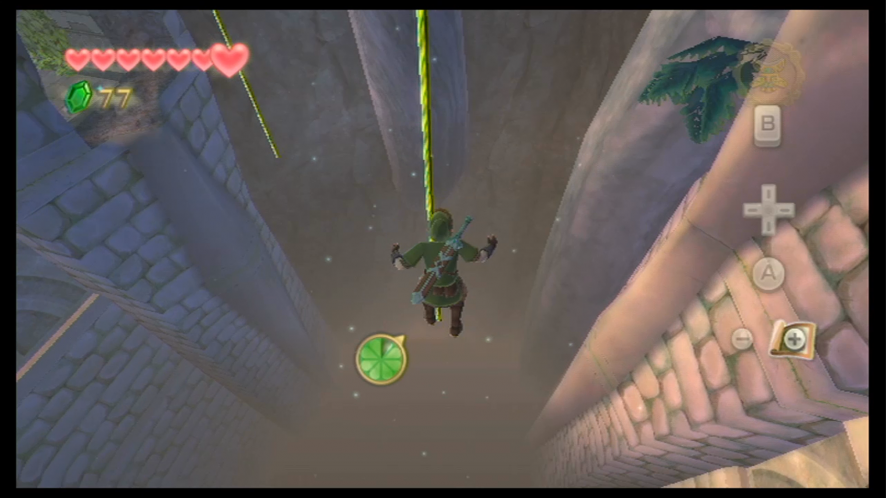
Climb up the last set of vines and leap over the gap. Fall down to the ledge below and cross the tightrope again. Before you attempt to open the final door, save your game at the nearby Bird Statue. When you encounter the door, you have to rotate the Golden Sculpture in such a way that it will fit into the lock of the door.
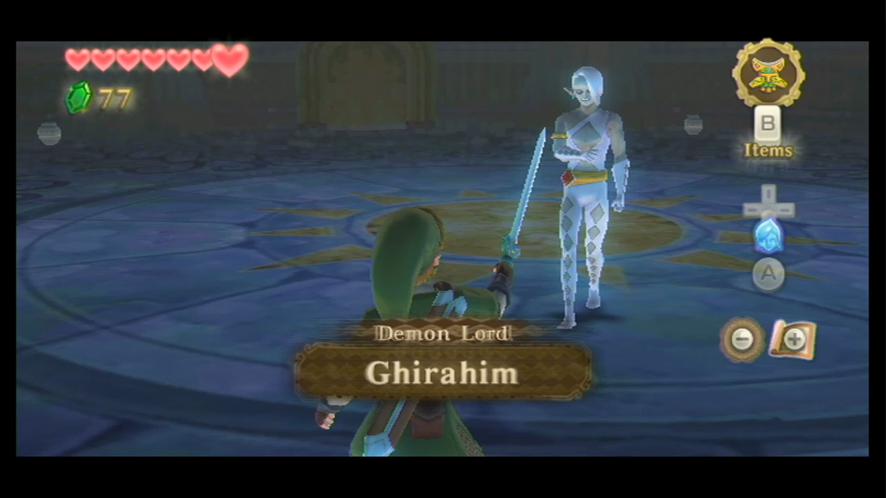
Demon Lord Ghirahim Round 1
When you enter the boss room, a cutscene will begin. You will be introduced to the Demon Lord, Ghirahim, who also happens to be this temple’s boss. After the cutscene ends, you will go into battle with Ghirahim.
The first phase of this battle can be tricky, but as long as you are quick it can be done right. Ghirahim will walk around you with his hand up, which will be used to catch your sword if you strike at him. If he does catch your sword and you fail to break free of his grasp, he will take your sword and use it against you, and you will have to use a quick shield bash to get it back.
When his hand is raised, you will notice that he is following your sword’s direction.
To prevent him from grabbing the sword, wait for him to lock onto your sword’s movements, and then move it in any direction you like – you may have to get closer to him to pull this off. When he’s following your sword’s movement in one direction, slowly bring your sword (but not too slowly) to the other direction and slash at him, in the direction that’s opposite of his hand. You can’t move too quickly when you do this, otherwise, the game will think you’re slashing, and the trick won’t work. It’s all about taking your time and breaking his guard. When you’ve struck him from the other side successfully, you’ll break his guard and be able to deliver a few good slashes at him again.
After a few times of doing this, Ghirahim will change his attack sequences and will begin to fire sharp projectiles at you. He will also have his own sword.
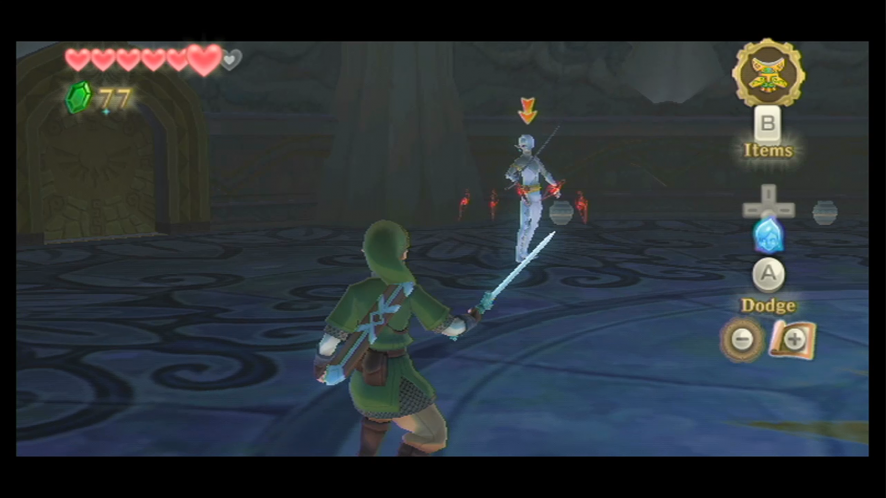
These projectiles will always be in a straight line, so you can match the direction with your sword and slash them to knock them back at him. You can also run from them or use a shield bash.
Another new attack is a charge that will end in a sword slash. This can be tricky to evade, so the best way to avoid it is to bash him with your shield when he’s close enough, which will stun him and leave him open for attacks.
After you’ve done more damage to him, Ghirahim will begin to teleport and will appear behind Link to deliver a regular attack with his sword. Once he’s done with the teleportation trick, he will begin to guard with his sword, which means you will have to use the same directional fighting techniques you use when fighting a regular old monster that uses a weapon – deliver a sword slash from any other direction of his blocking to hit him.
If you get weak from battling, there are pots along the sides of the room that contain hearts, so use those when you become really weak.
After you’ve defeated Ghirahim, collect the Heart Container and then go through the new door.
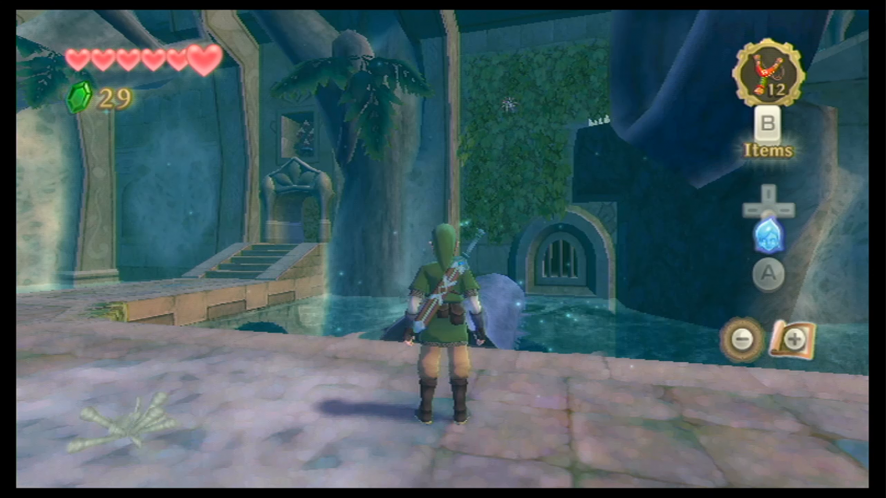
Skyview Spring
The door will take you outside behind the Temple, to the Skyview Spring. You can find a couple Fairies here behind the spring by the waterfalls. You will also find a Goddess Cube behind the shrine.
Stand on the altar and strike the blue wing statue with a Skyward Strike. You will receive the Ruby Tablet, and Fi will inform you of Zelda’s possible whereabouts. You will now have to return to Skyloft to place the tablet next to the one you received before, inside the Goddess Statue.
Afterward, a cutscene will begin with Machi meeting you in front of the temple. He will thank you for finding his friends and will also wish you luck on your journey. After the cutscene, save at the Bird Statue and return to the Sky.