


Chapter 2: Faron Woods – First Visit
Table of Contents
The Sealed Grounds
As you fall to the surface, pull out your sailcloth. Fi will inform you that this area is called the sealed grounds.
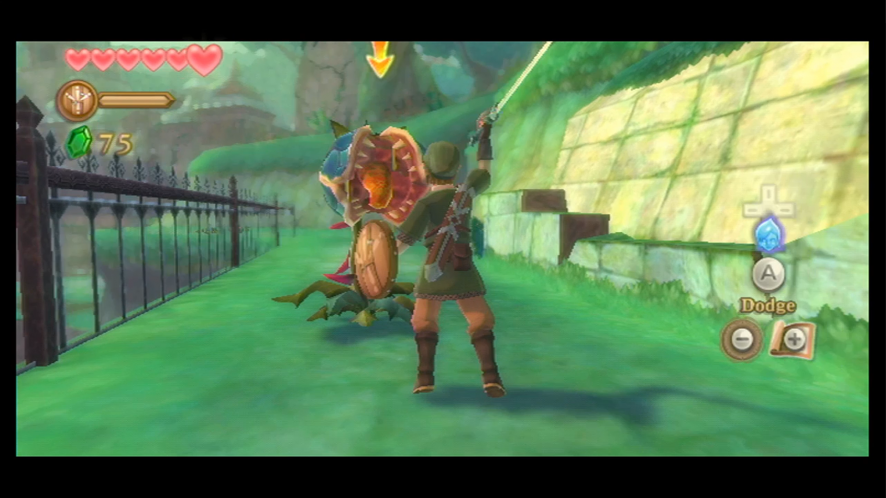
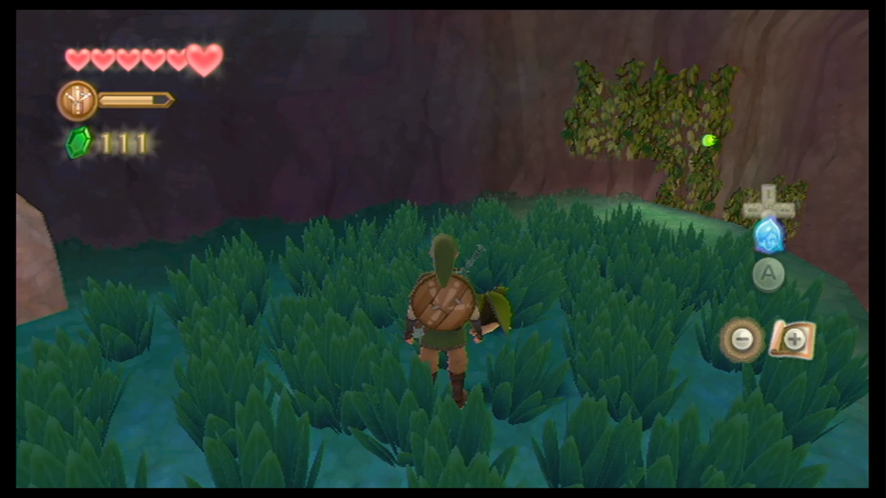
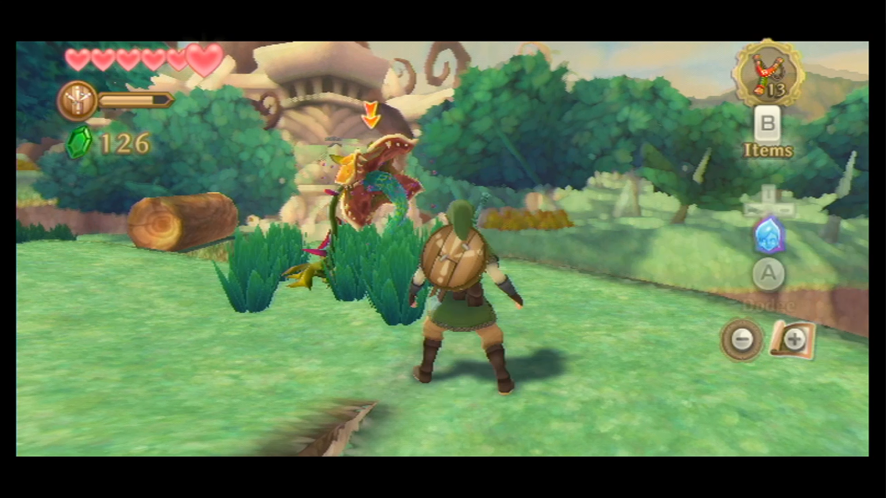
Move north up the sloped path. You’ll encounter a Deku Baba here. Make sure your shield is already equipped. To defeat the enemy, slice its head in the same direction that its mouth is split. Side to side or vertically.
Continue to a clearing with what appears to be a decrepit temple. Cue cutscene with the dark monster from Link’s nightmares.
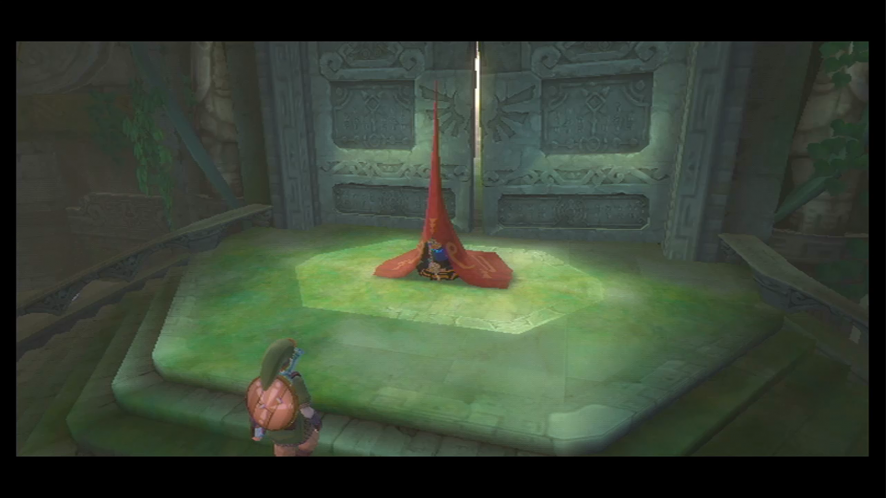
If you walk to the stone door with the glowing markings, Fi’s indicator will light up. Fi will inform you that the door has been used recently but is now sealed shut by some unknown force.
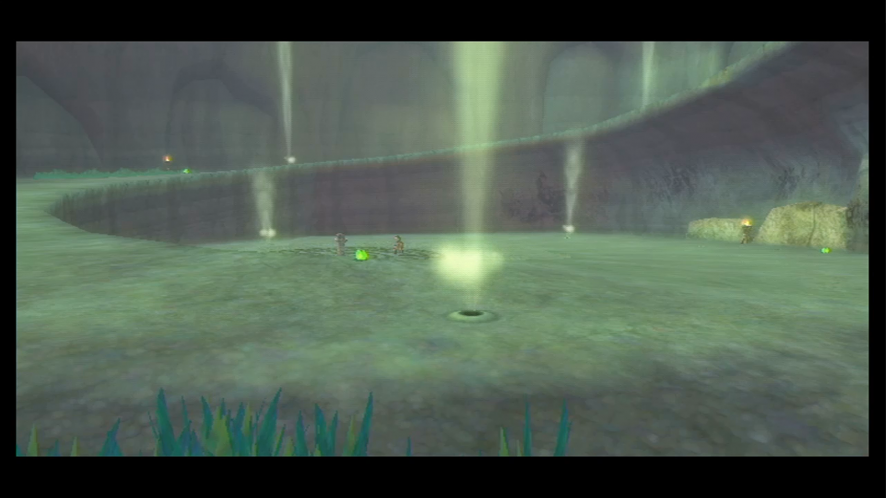
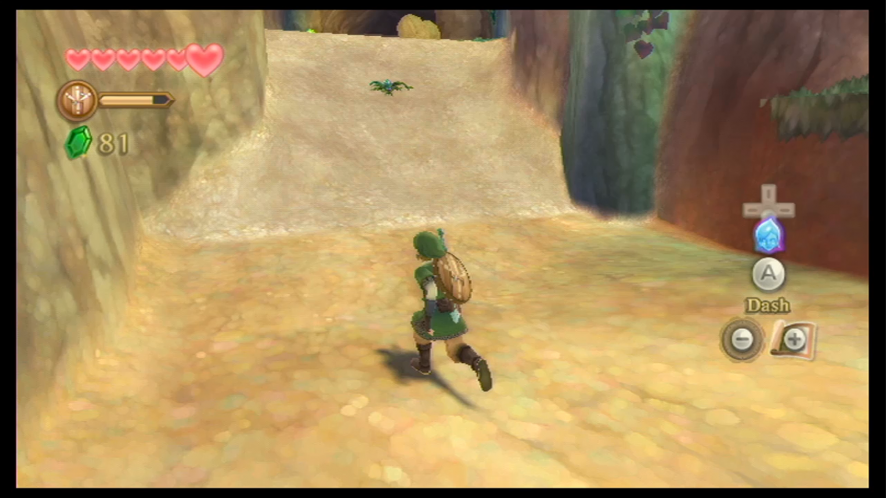
Dash off of the ledge to make it to the bottom of the spiral pit. Remember to use your sailcloth just before landing. Your indicator will flash when it’s time. When you reach the “smoking” pillar a voice will tell you to reach your sword to the sky. Use your skyward strike on the pillar.
Once struck, the pillar will no longer smoke, but the holes in the ground will emit a pressurized green vapor. Fi appears and informs you that she feels the presence of Zelda. She shows you how to dowse with your sword to track her. Zelda’s presence is detected at the decrepit temple with the glowing stone door.
Walk over the vapor spouts to soar up to another level with your sailcloth automatically. This will save you time when going back to the top to search for Zelda. Go back up to the glowing stone door. Link will push it open and walk inside.
Take this opportunity to save at the bird statue to your left as you enter. Go to the top of the stairs to speak with the elder in the red hat. She will tell you that she has seen Zelda, but evil forces are working to split the two of you apart. She will show you how to set a beacon on your map and unlock the door for you to exit towards Faron Woods.
*Treasure chest on the east side of the stairs*
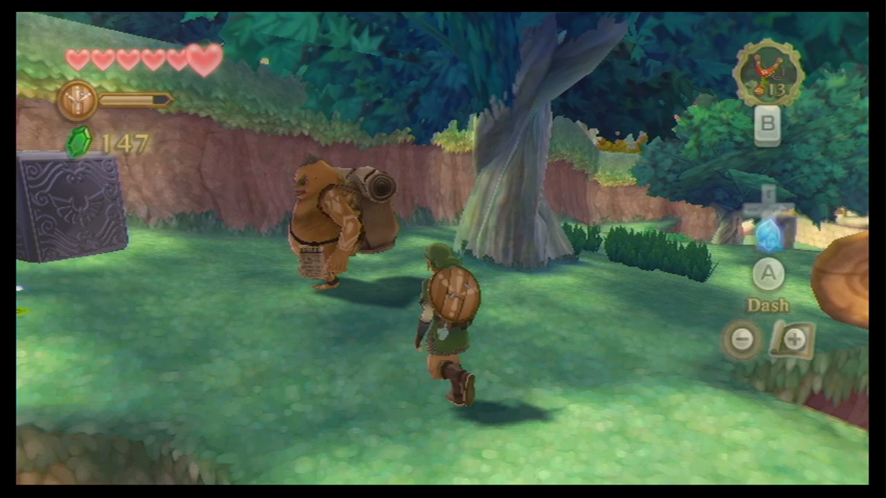
As you leave through the previously locked door, you will see a beacon of blue light marking Faron Woods. As you follow the path to the clearing, you will come across 5 Bokoblins surrounding a traveling Goron, Gorko. Defeat the bokoblins to speak with him. (Hit them from the right so that they block, but then catch them off guard with a quick slash from the left. You can also strike them with a shield bash to stun them.)
Gorko will tell you about the research he has gathered of both Skyloft and the Isle of the Goddesses. He points out the bird statue that resembles those in skyloft. When you step near it the statue will light up. Use this to travel back to skyloft, or to save.
Using the Goddess Sword will activate the bird statue and then activate all the other bird statues throughout the land. These statues can be used as save points, but can also be used to return to the sky above. Save every time you come across a Bird Statue. Not only will it prevent you from losing a lot of unsaved progress if you die, but it will also activate them as points for you to land when you return from the sky later on in the game; this saves you from having to only go to one area and then having to do a lot of running around to make it to where you want to go.
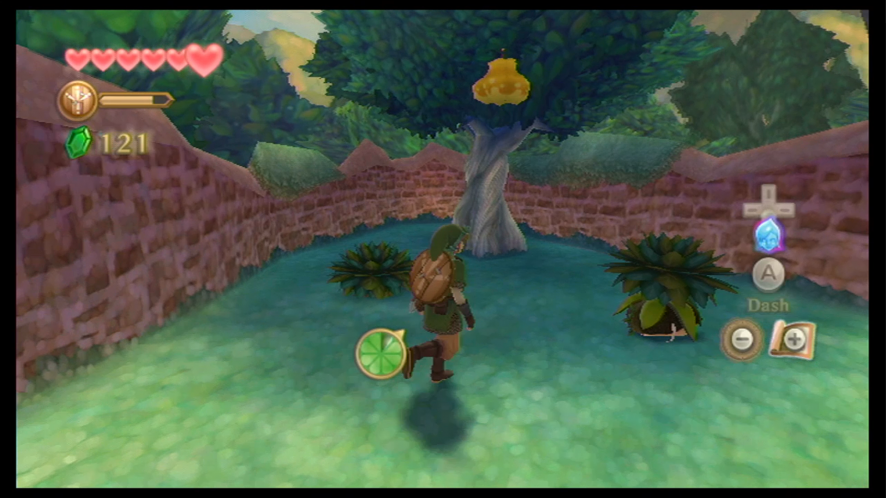
Head over to the wall that’s next to the statue. You’ll see a few bugs crawling on it. Roll into the wall to knock them down, and then run over them to collect two Woodland Rhino Beetles. You can use these bugs to upgrade potions.
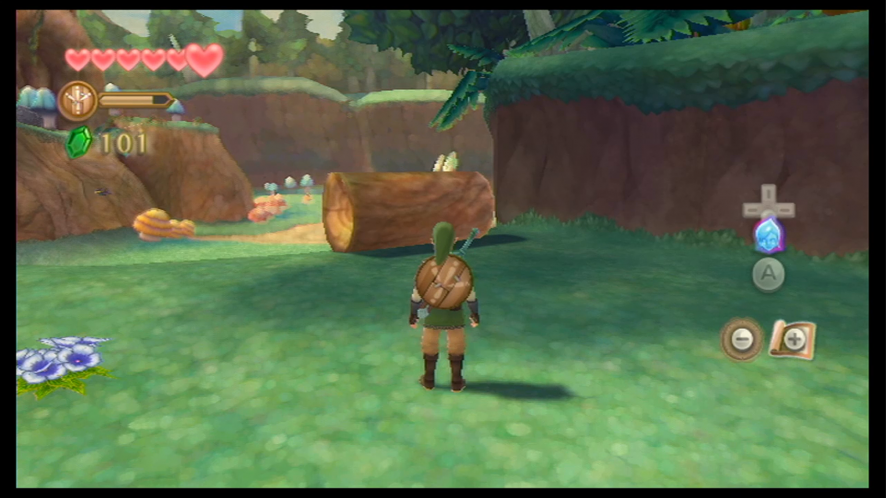
Before you go any further, turn around from facing the bird statue. You will see a ledge with a hole, and a vine leading up to it. Climb the vine and go through the doorway. Get behind the log and grab it with A. While holding A, push the log forward to push it off of the ledge. If you return to the sky, and come back down to this area, you have now created a shortcut.
Walk through the stone gate, and towards the blue beacon. You will see a log and a ledge too high to dash up. Get behind the log and grab it with A. While holding A, push the log forward to make the ledge within reach.
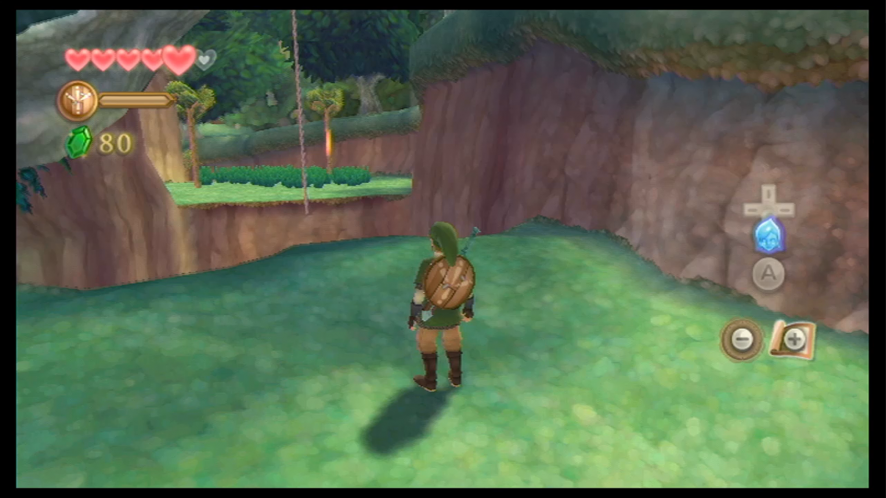
Faron Woods
After getting an introduction of the new area from Fi, keep going ahead and you’ll see a rope that you can grab onto and use to swing across the ledge.
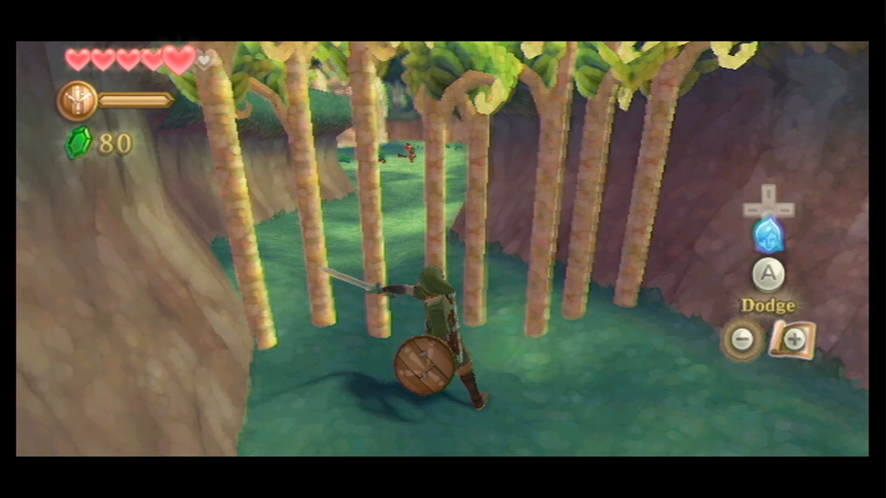
The first obstacle comes as you try to cross a gap. Jump toward the hanging rope to latch on and swing. Let go when you think you’ve gained enough momentum to make the leap. Cut the trees and head to the clearing where two Red Bokoblins are terrorizing a … hedge?
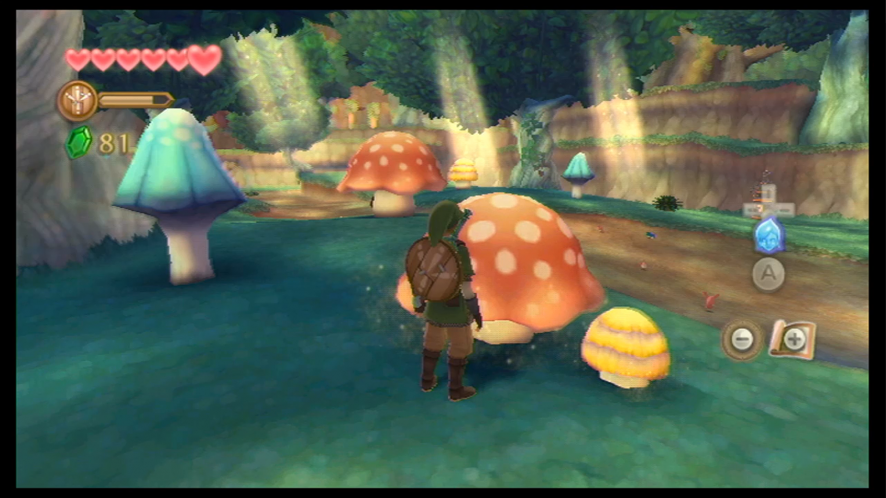
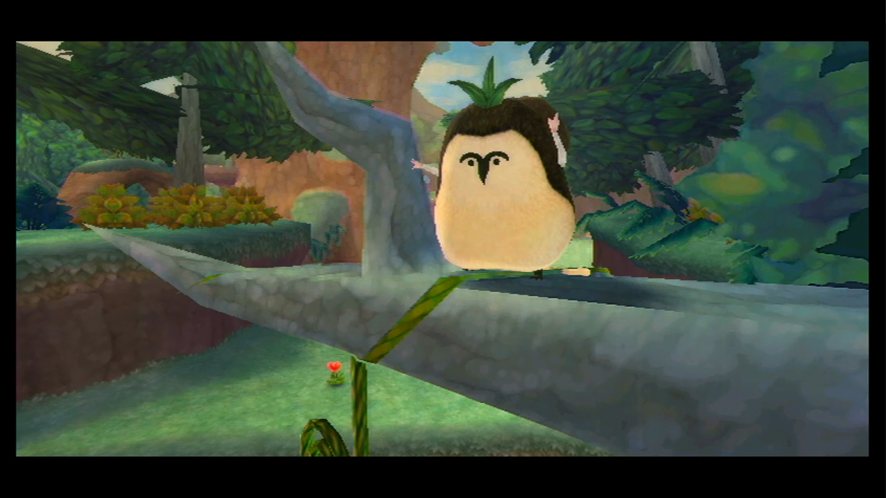
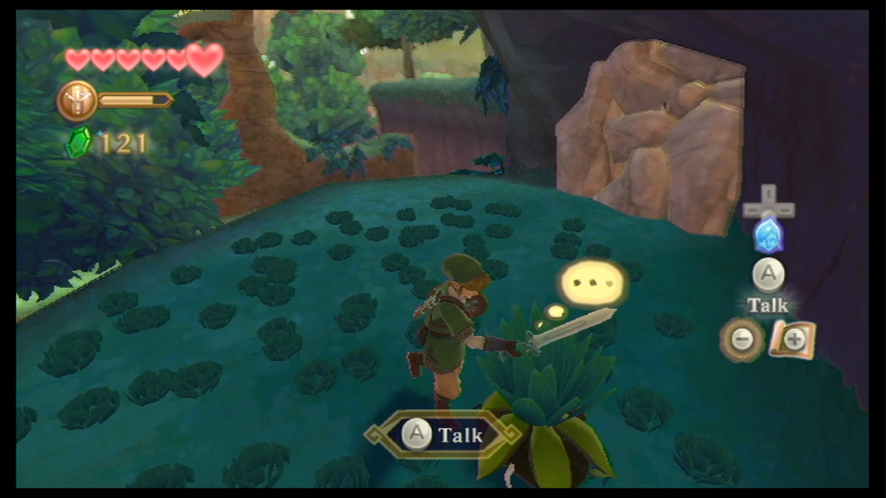
The hedge, or Kikwi, will run up a slope as Fi tells you that it resembles Zelda’s dowsing signal. Head toward the slope to follow the Kikwi. Dash up and go forward to a clearing where the creature will run further away. Jump down and save at the bird statue. The Kikwi will hide by the toadstool while you chase it around. If you try to leave the area, Fi will encourage you to stay. Follow the Kikwi to each toadstool and swipe it with your sword. Eventually, speak to it under the tree. You will find out that Zelda narrowly escaped from Red Bokoblins with the Kikwi Elder. Use your dowsing to follow the trail.
Dash up the sandy slope, but watch out for the Deku Baba in the middle. Use a stone at the top to roll down to crush it.
Run up, staying close to the side, to avoid its attacks. 
Pick up the large rock and toss it down the slope to kill it.
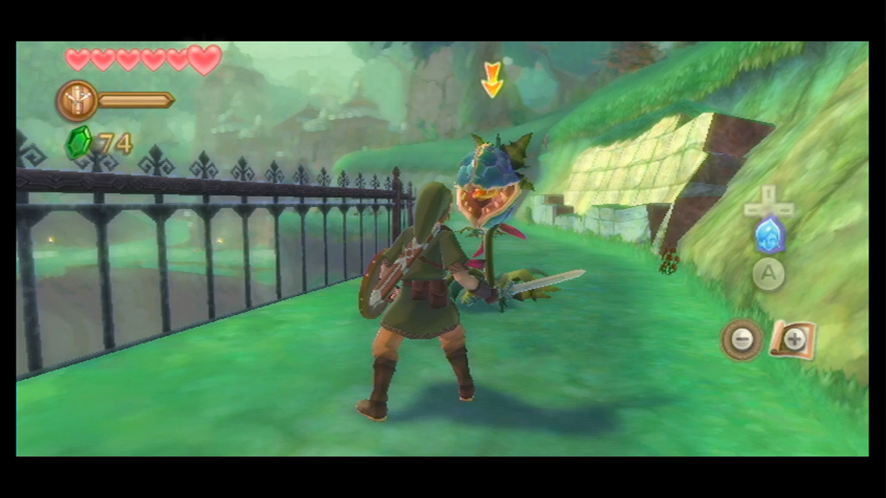
After making it through this area, you’ll run into some more Red Bokoblins, as well as an Deku Scrub. Like in previous games, Deku Scrub will shoot rocks at you, but you can use your shield to deflect them back with a shield bash.
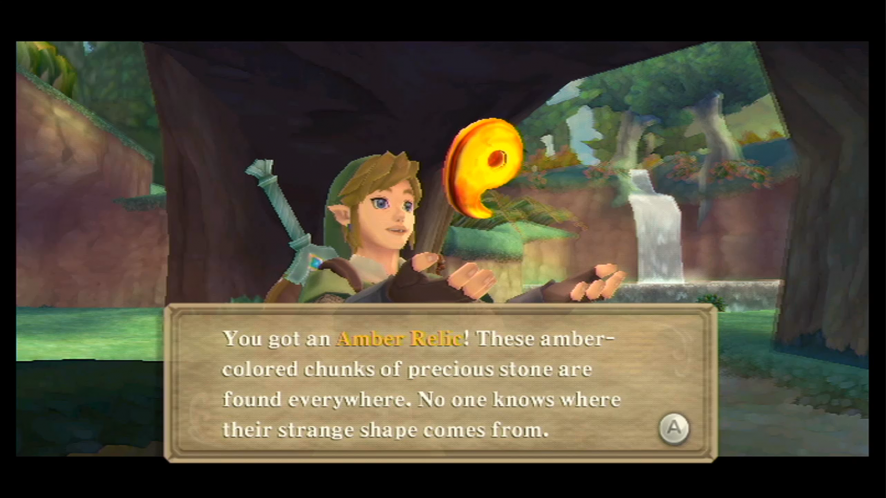
Continue through to the waterfall to find an Amber Relic. Take the path to the right, you’ll encounter a few Red Bokoblins, and move the log down the ledge. This will clear a shortcut to the bird statue. Save, and if you’ve lost your shield at this point, you can return to Skyloft to buy another in the Bazaar.
Follow the path to the right of the waterfall. You will need to chop down some trees, and defeat the deku scrubs.
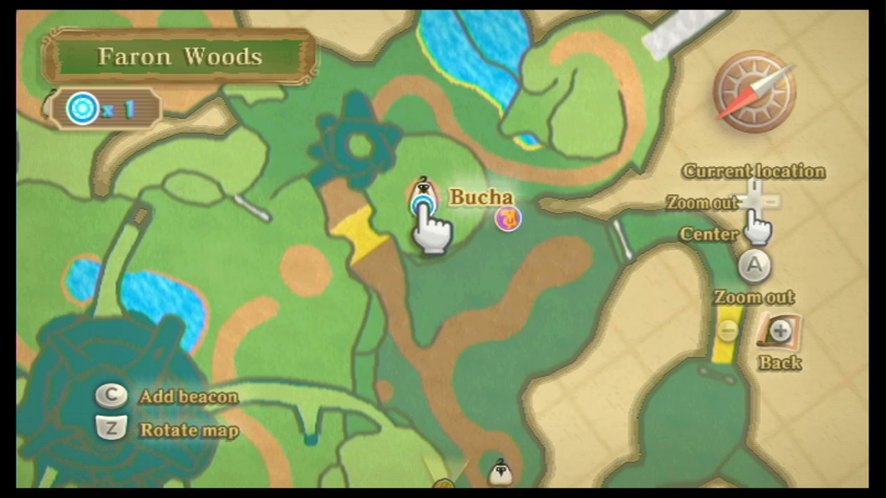
You’ll end up finding a rope that is tied down to the ground, and a large mass of Kikwi on the other side. Use your sword to sever it, and swing over to the other side. Speak to Kikwi, who is the Kikwi Elder, Bucha. After talking to him, he will ask you to look for the other three Kikwi that are missing somewhere in the forest. Fi will then registers the Kikwi as a dowsing option for you to use to find them.
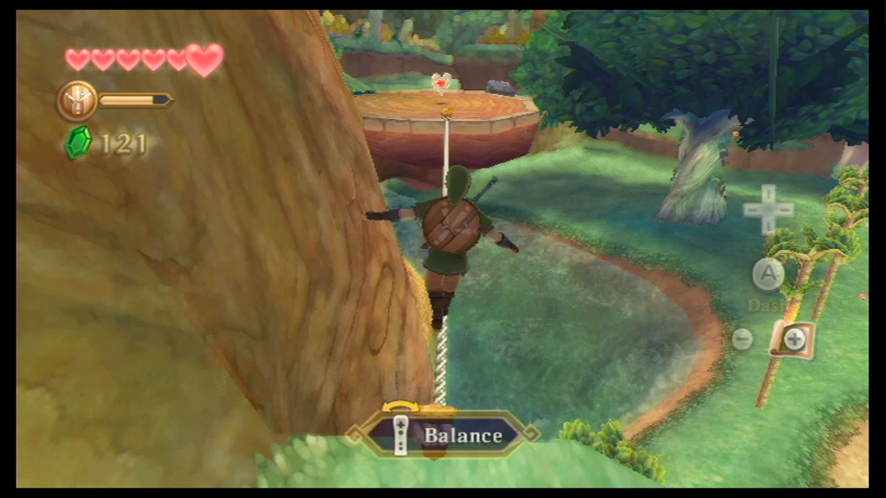
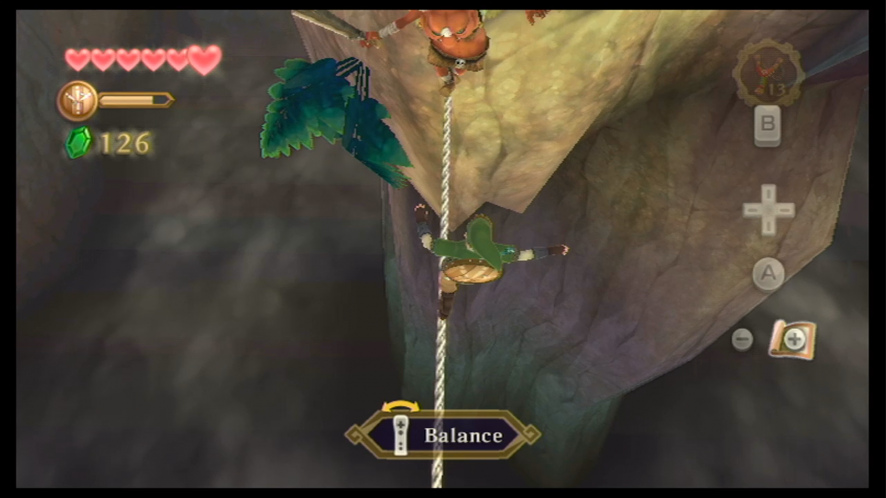
Before you get off the elevated area with Bucha, look around for the small hole that you can crawl through. When you make it through, you’ll find vines that you can climb on the other side. After climbing them you’ll have to cross an area via a tightrope.
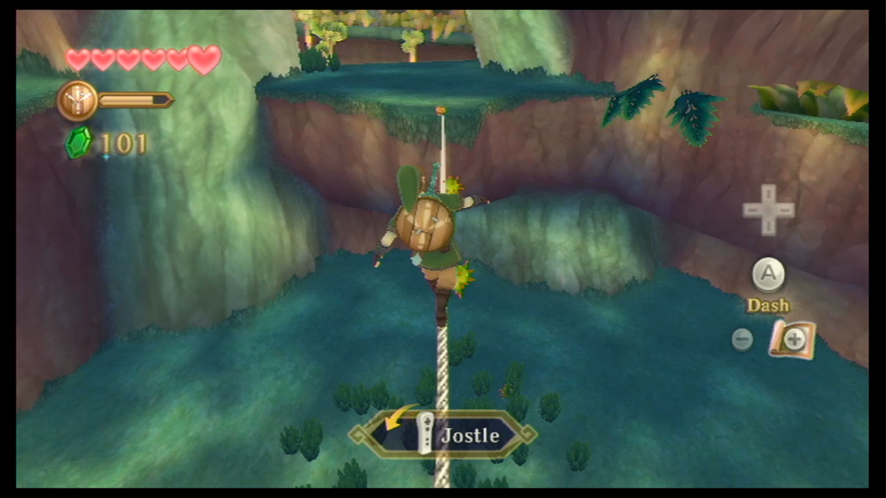
Just be cautious of the spiky Myu creatures hanging underneath the rope. When you get close enough to them you will allow Link to shake them off. 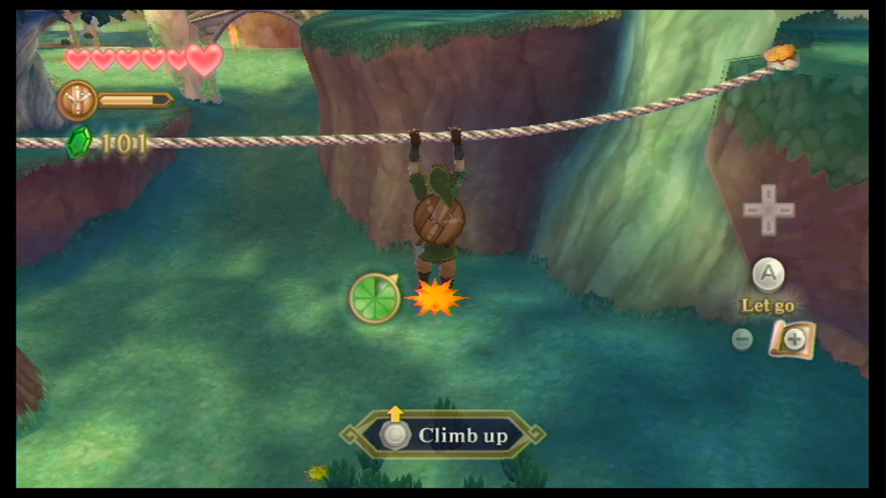
If Link loses his balance in the process, he’ll catch himself by holding on to the rope while he hangs off.
Shimmy yourself along until you’ve shaken all the Myu off the rope, and then climb back up. Keep doing this until you’ve reached the other side.
After jumping down, you’ll find a Red Bokoblin that’s a bit different from the others. This is a Red Bokoblin Leader, and it will use a horn to call more Bokoblins to aid in the attack.
When you’ve beaten them all, you’ll find your first missing Kikwi stuck in a tree. 
To get him down, all you have to do is roll into the tree, which will cause the poor creature to fall down to the ground below.
Grab onto the rope that’s hanging down from the tree Lopsa was trapped on and use it to swing onto the higher platform. Push the log off the ledge, and then jump off, where you’ll see an old structure to your right, but continue forward for now. You’ll end up in a battle with the Guay, birds that harm Link by . . . well, pooping on him. If they do happen to hit you, use your spin attack to get rid of them.
Head over to the large tree root and climb up. Climb the vines that are hanging to get to the highest ledge.
If you slash at the bushes here, you’ll find the second missing Kikwi crawling around on the ground. Before he can hide again, cut down the rest of the bushes. He will stop moving, giving you the opportunity to talk to him. He will then introduce himself as Eria. Now we only have one Kikwi left to find.
Jump off of the ledge with Eria. You’ll head right toward the hole in the wall, but defeat the Red Bokolins first. You’ll encounter several Deku Scrubs. Defeat them and head over to the sloped root. Take the left path first for a piece of heart. Take the right path to continue.
You’ll see a short brick wall, a deku scrub, and a tree. Fall down the hole near the tree, and walk through to find the last Kikwi hiding. Try to pick him up to get him to speak to you. He will reveal himself as Oolo, and Fi will tell you to go back to speak with the Elder.
Jump over the nearby ledge and begin to backtrack your way back to the Kikwi Elder. Like before, you’re going to have to get up to the rope area and swing across to get to him.
Bucha will give you the Slingshot as thanks for finding all of the missing Kikwi. He will also give you another piece of handy advice: Zelda has headed in the direction of the temple, in the Deep Woods.
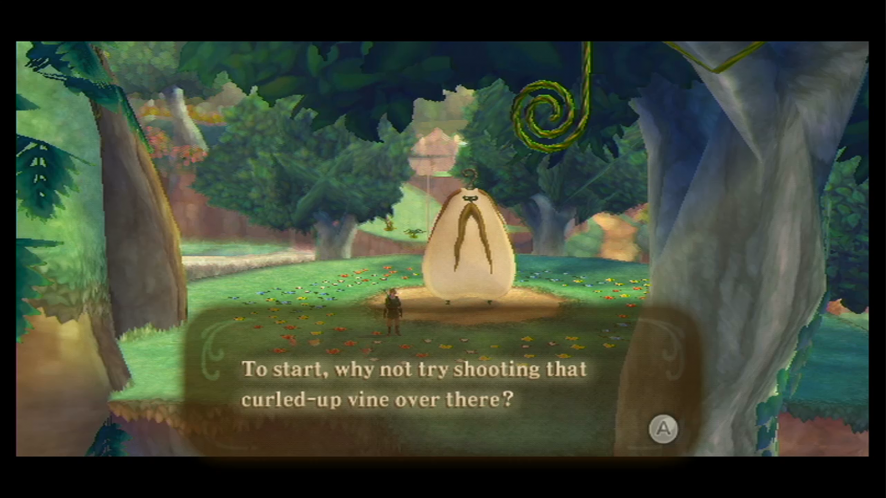
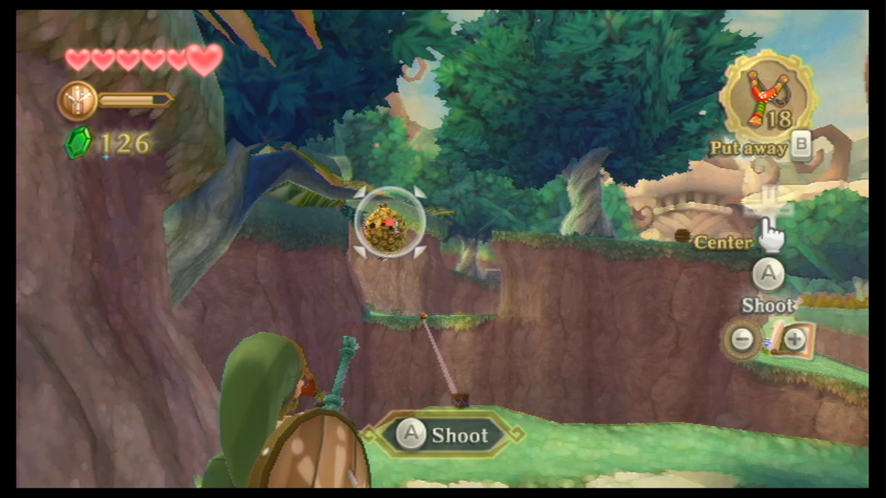
Use your slingshot to shoot rolled-up vines. They will lower allowing you to access new areas.
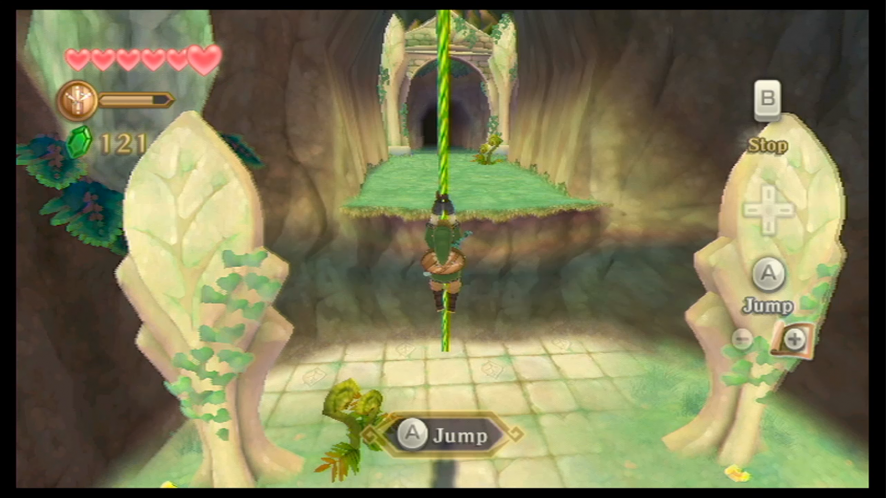
Swim over to the area with the birds from earlier. Go up the steps and defeat the bokoblin. Use your Slingshot to shoot the rolled vine down, and then climb up. When you’ve made it high enough so that you are level with the ledge, you can swing yourself across to the doorway. This will take you to the Deep Woods.
Deep Woods
When you enter the Deep Woods Fi will fill in the area on your main map. You will face a Red Bokoblin with a horn, and he will call others to battle. Defeat him first, so that he can’t keep calling foes, then defeat the others. There is a hornet’s nest in the tree nearby. If you go near it, the hornets will chase you, so shoot it down from a distance to get rid of them.
Follow the path around to the tightrope crossing. If you look closely you’ll see a nest above the tightrope.
Immediately after you cross, turn left. There are some hidden ledges. Follow it around to find a log shortcut to the entrance clearing. After rolling the log, turn around and head back toward the temple in the distance. As you go down the tiled path, there will be an Octorok. Defeat it and go to the right along the dirt path, since the bridge is gone. There is a narrow ledge. Run up the wall and grab it. Shimmy along to the other side to jump down.
You’ll come across another tightrope. There are Myu on the rope and a Red Bokoblin waiting on the other side. If you try to cross it you will have to deal with both while balancing. You can use the slingshot to get rid of the Myu. Once you start to cross, the Red Bokoblin will cross on his side. Go back off the rope and shoot the Red Bokoblin with the slingshot to knock him off.
Follow the path to an out-of-place looking tree stump. When you approach it you are prompted to sit. Sit down to recover some hearts and use the bird statue ahead to save.
To reach the rope across the gap, use your dash with A to run and jump.
Swing over to the other side, and run along this new path until you run into some new Deku Baba – the Quadro Baba.
But of course, like the others, you can always bash it with your shield, which is probably the easier and quicker way to do it. When you’ve beat it, you can climb up to the higher platform and open the chest that has a red rupee in it.
Speak to Gorko and discuss his discovery, The Goddess Cube, you can activate it with your skyward strike. The cube will turn into a ball of light and disappear into the sky. A chest will appear in or around Skyloft for every Goddess Cube you activate.
Roll into the tree at the top of this hill to get an Amber Relic.
Head over to the entrance of the Temple and activate the Goddess cube. There is another stump next to this tree. Sit on it to regain all health and save at the bird statue.
Before entering the temple, Fi will warn you about the dangerous monsters you will encounter and suggest returning to the Sky to prepare. You have unlocked the ability to gain several upgrades, so it is recommended that you return to Skyloft to take care of the following.
Preparation in the Sky (Optional)
Items/Weapons
- Adventure Pouch Upgrade
- Extra Wallet
- Banded Shield
- Bug Catching Net
- Hot Pumpkin Soup
Pieces of Heart
- #2
- #3
Goddess Chests
- #1
- #2
Once you are ready, dive back to the surface and head into Skyview Temple.