


Chapter 17: The Song of the Hero
Table of Contents
Part One
The Imprisoned – Round 3
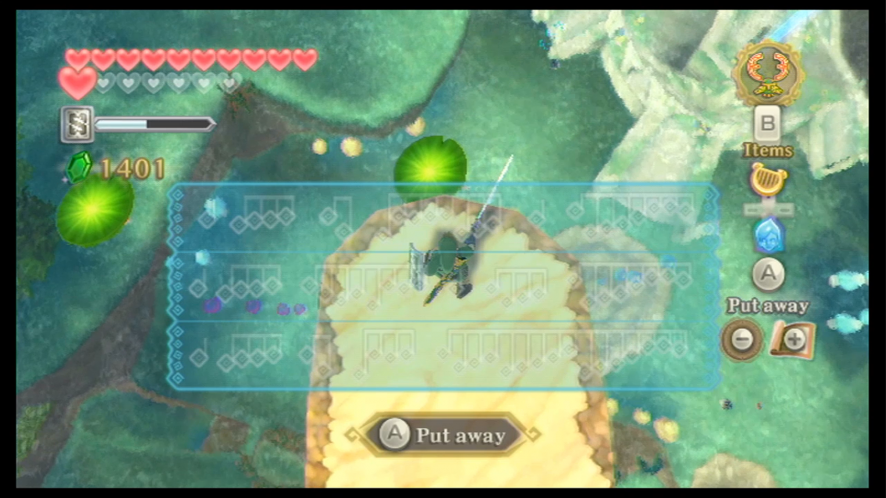
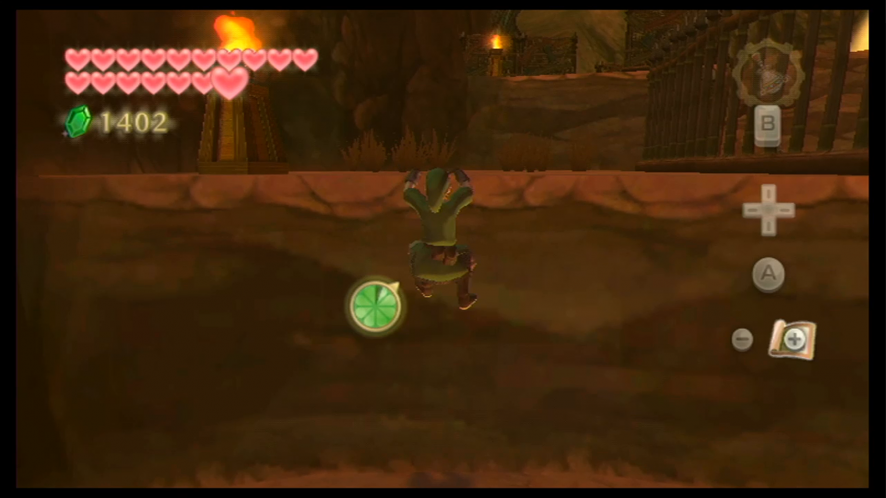
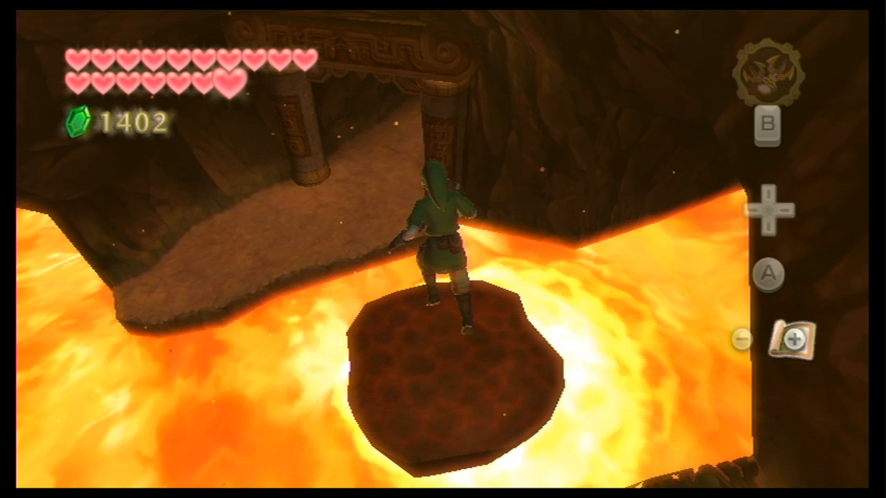
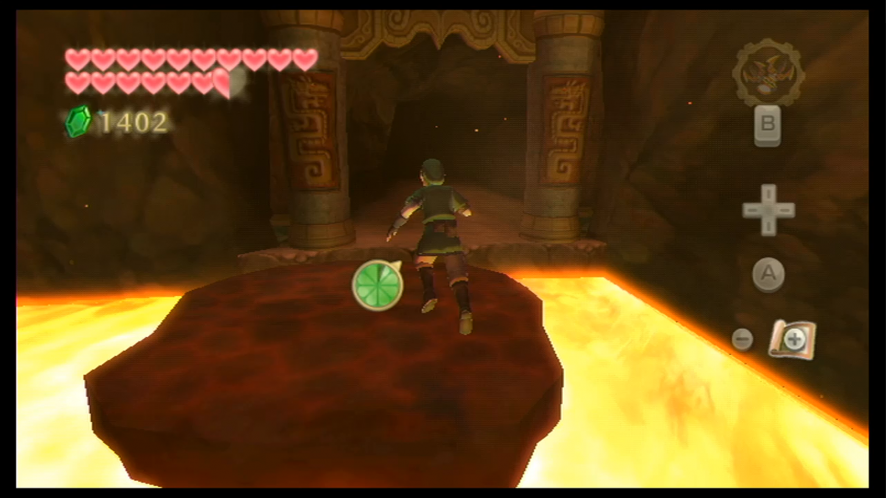
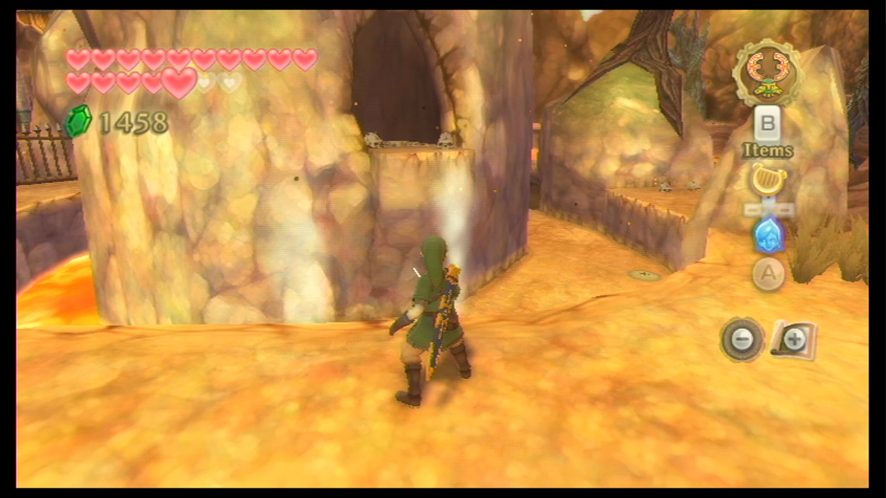
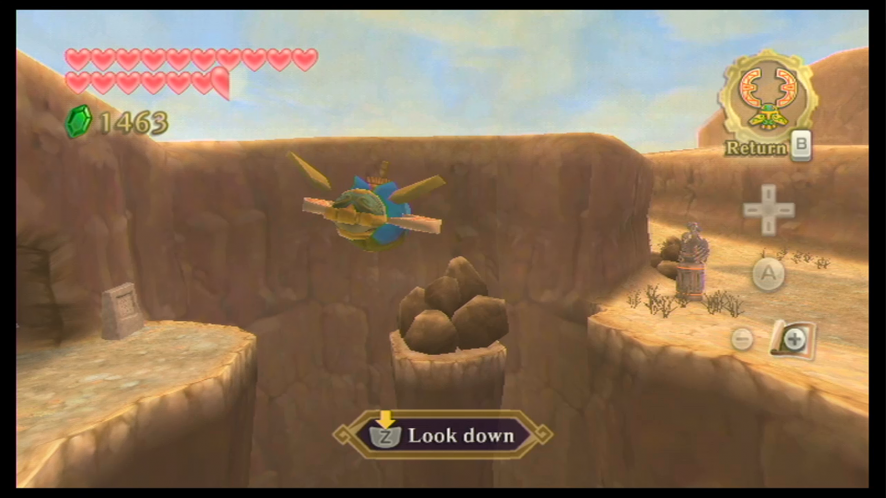
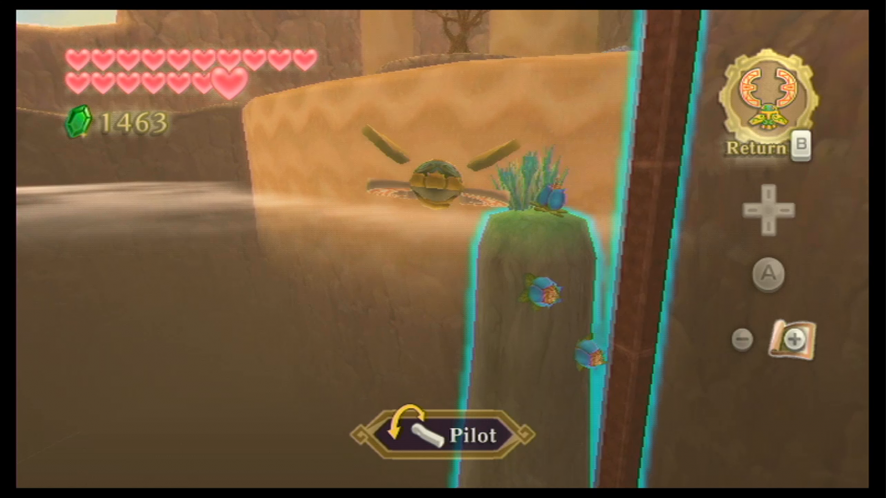
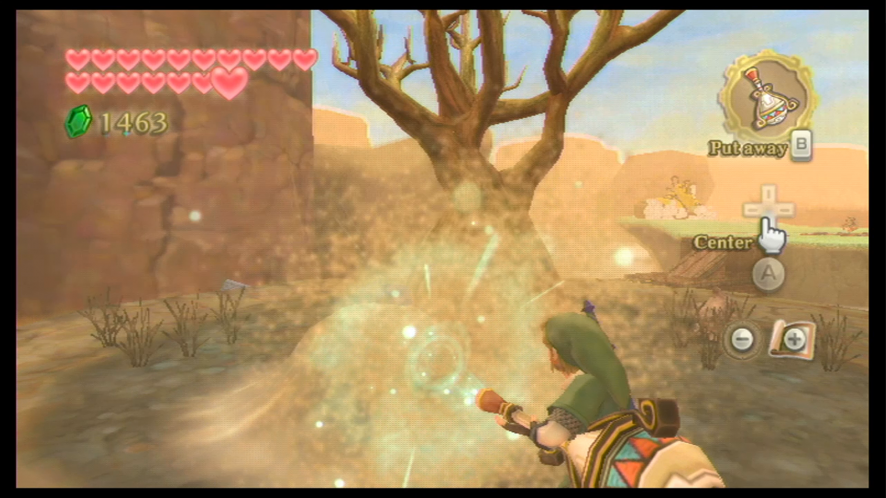
The first place we can go is the Faron region. When you try to land in this region, you won’t have a choice in where you want to land, so you’ll have to land in the Sealed Grounds. When you arrive at the Sealed Grounds, Groose will find you and tell you that the Imprisoned is about to break out. Again. Jump to the bottom of the center area of the Sealed Grounds and the Imprisoned will break out again.
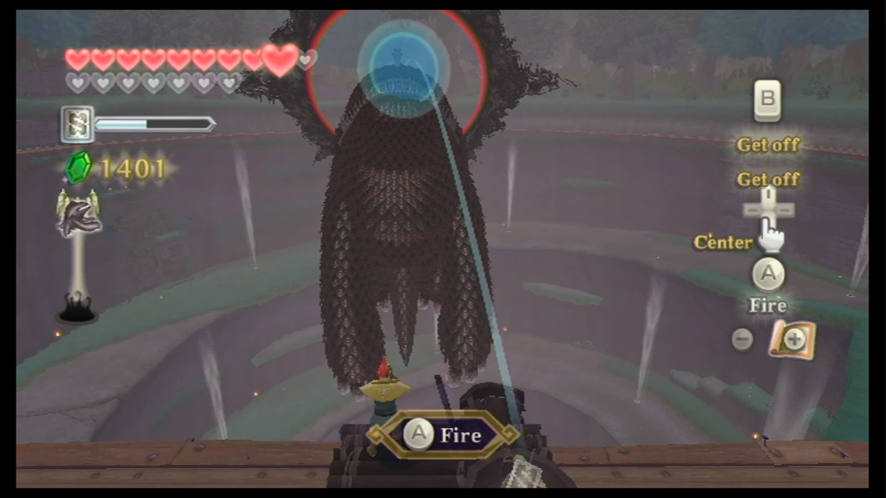
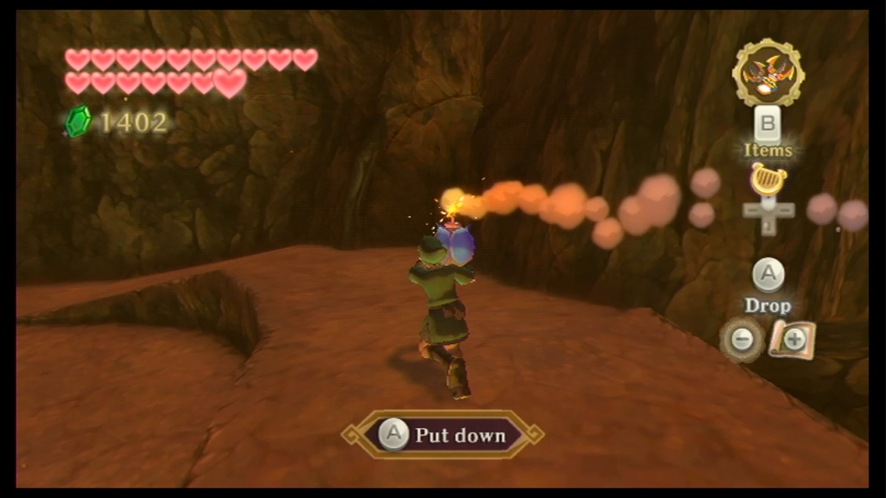
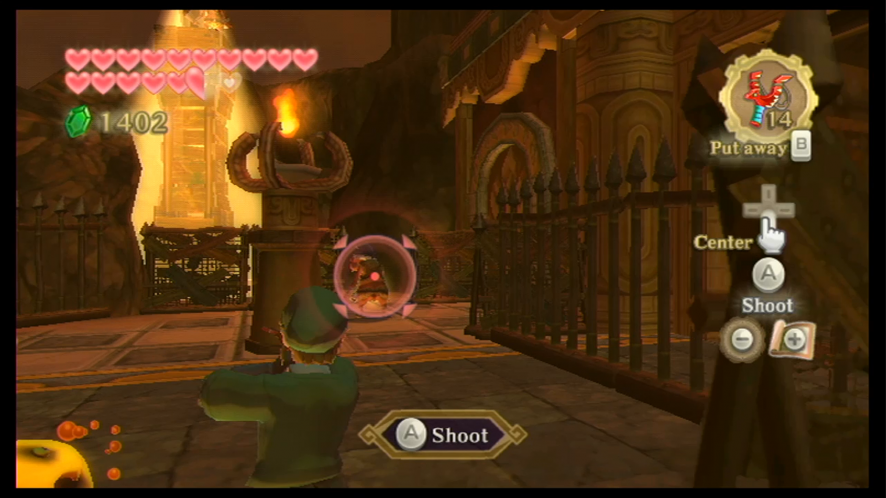
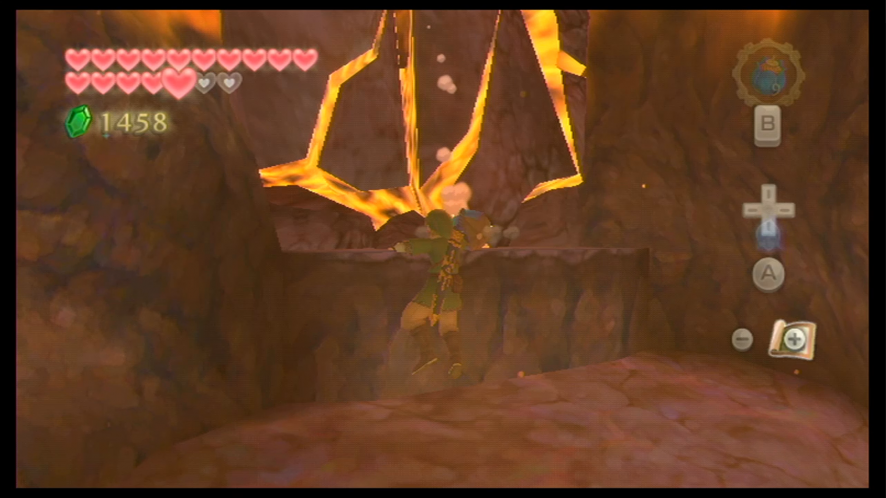
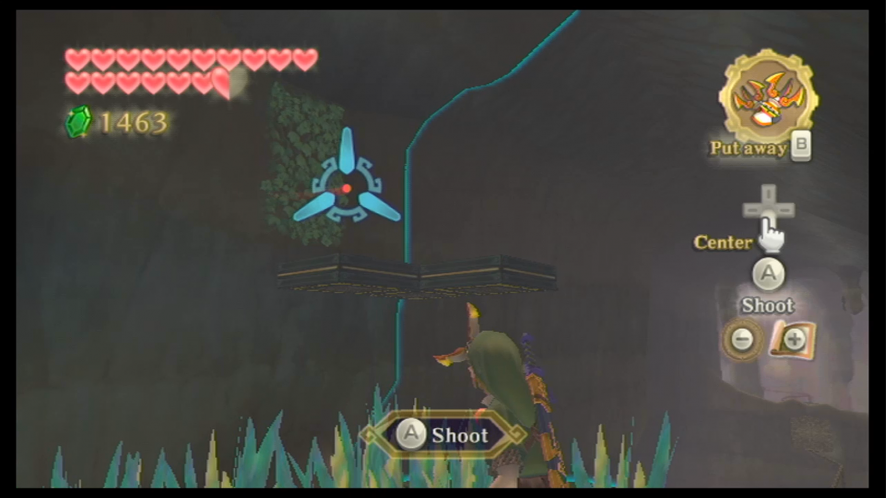
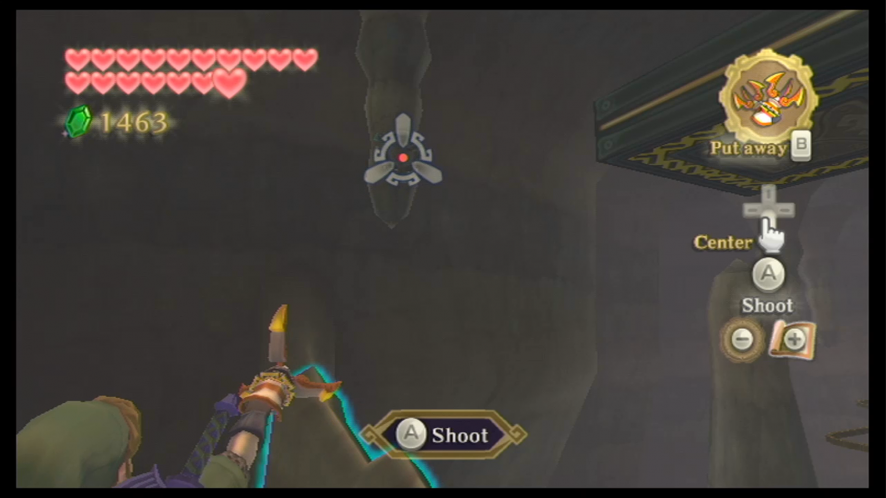
Much like the previous battles, the first phase of the battle is going to spent striking the Imprisoned’s toes and shooting the Imprisoned with Bombs from the Grooseanator to keep it back. When you manage to knock the Imprisoned over and strike the seal three times, the Imprisoned will actually grow wings and start to fly.

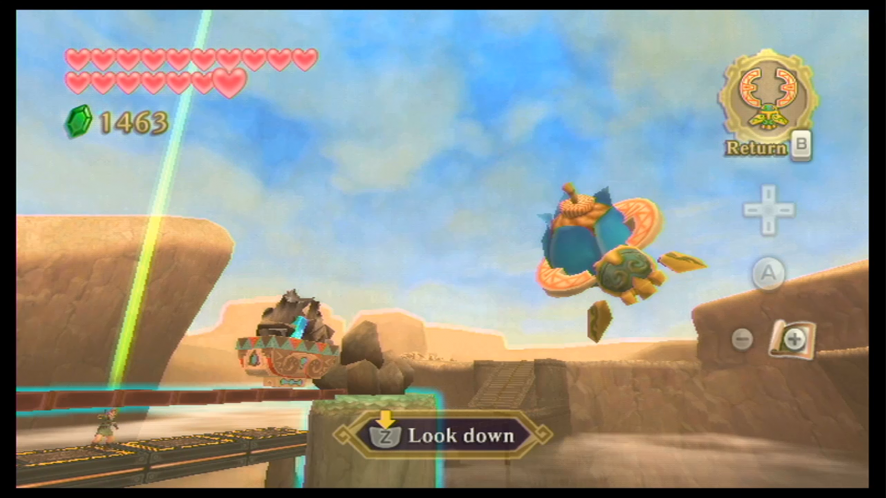
When Groose has the Grooseanator ready again, quickly use it to shoot a Bomb at the Imprisoned and send him to the ground again. Head over while he’s on the ground and strike the seal on its head three more times.
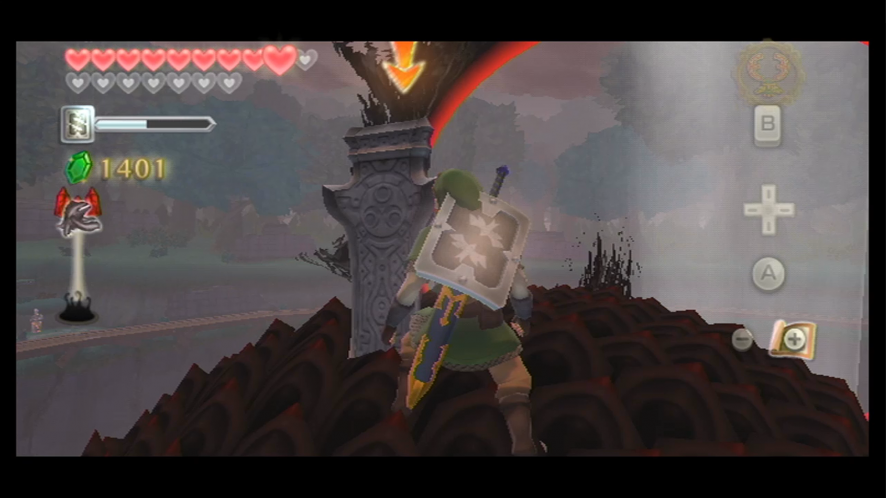
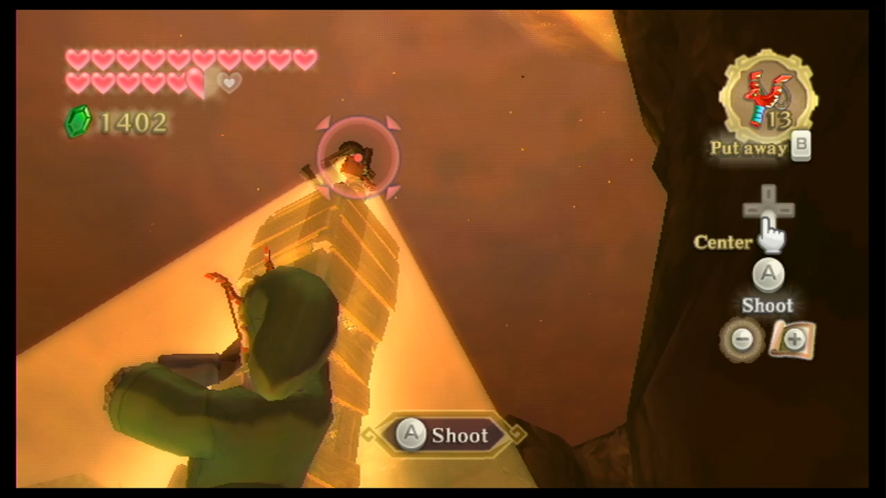
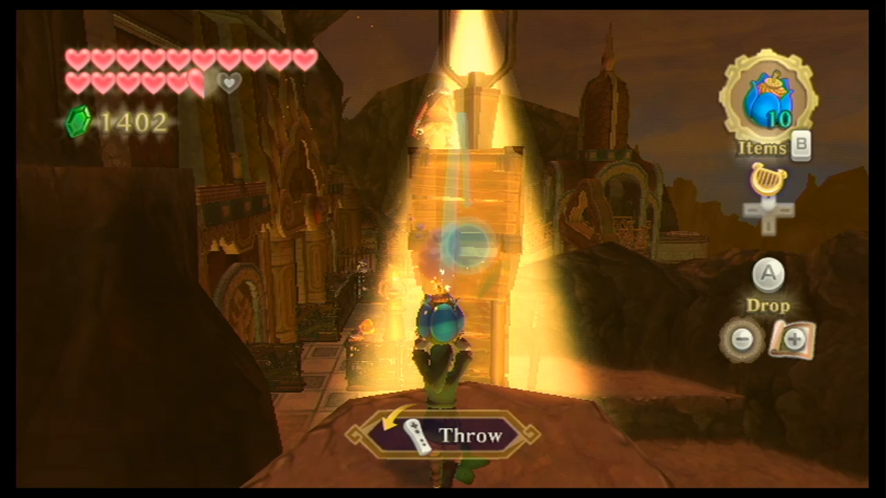
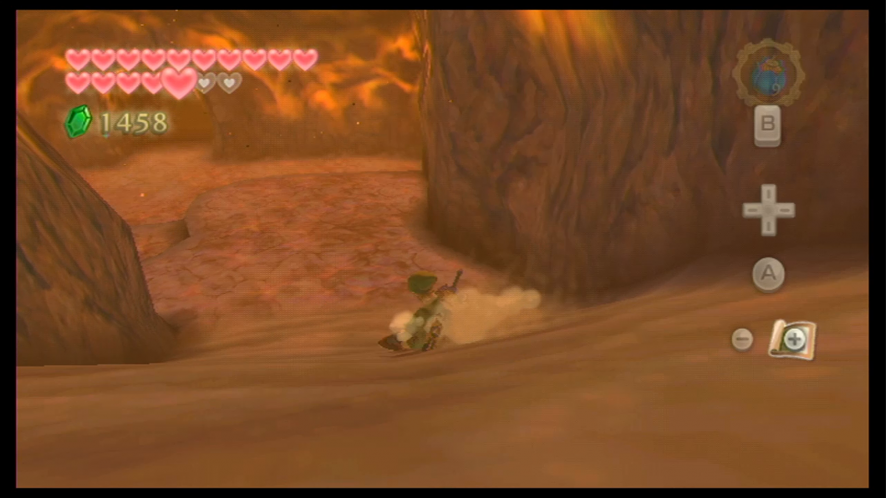
When the next phase of this battle begins, Groose will tell you that he’s run out of bombs to fire, so you will have to quickly use the air geysers to head back up to where Groose. Groose will then suggest to catapult YOU to the Imprisoned, so jump into the catapult and shoot yourself towards the Imprisoned’s head. When you land on it, strike the seal three more times, and then deliver a Skyward Strike with directional strikes displayed on-screen to seal away the Imprisoned again.
Use the air geysers to return to the temple. When you speak to the old woman, she will tell you that somehow the Faron Woods have been flooded, so now the entrance to the forest has been closed off – luckily, Groose will be able to shoot you to the woods, so head outside and get into the catapult and he’ll shoot you in the direction of the flooded woods.
Flooded Faron Woods
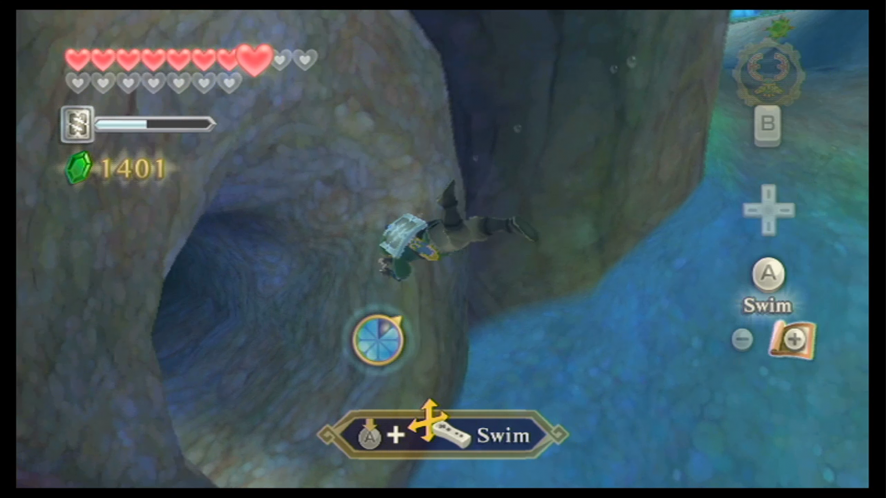
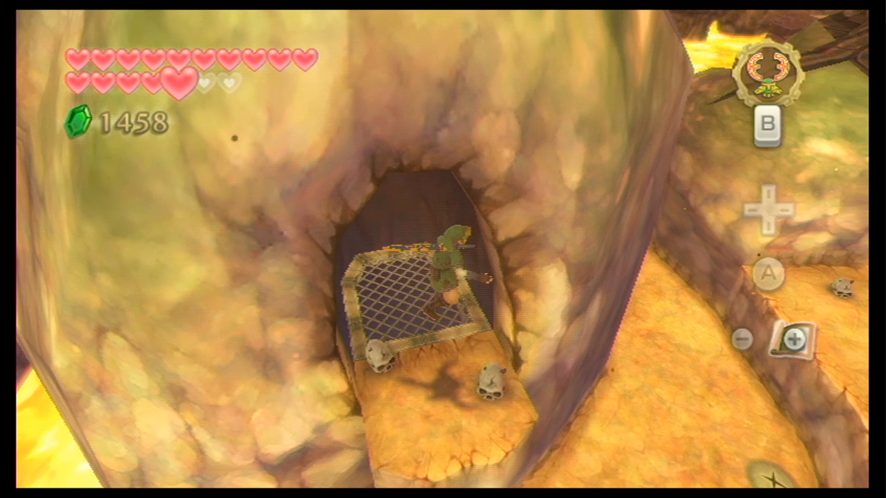
When you land in Faron Woods – which is definitely flooded now, as the old woman said – swim over to where Bucha and the other Kikwi are floating around. When you speak to Bucha, he will tell you that the water is coming out from underneath the tree. We can’t enter the tree near the top of the water, so we’ll have to dive down to find the entrance that is located to the southeast. Dive into the tunnel here.
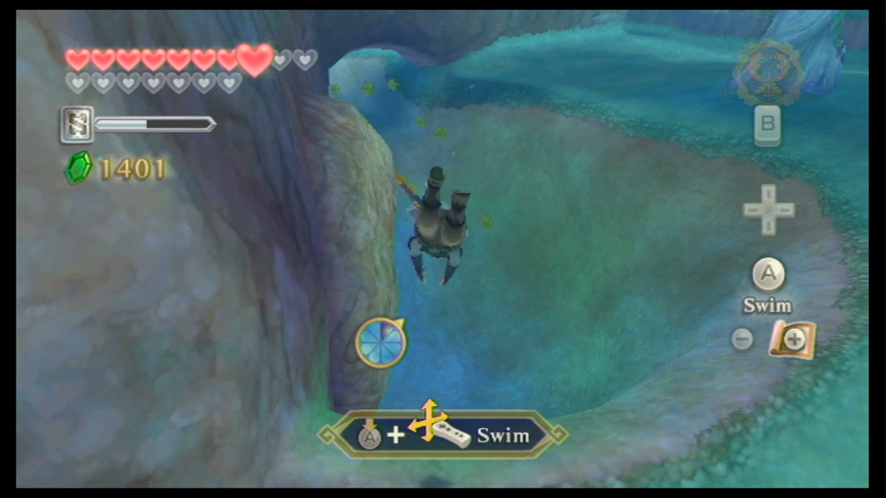
When you’re inside the tree, swim back up to the top and get up onto the available land that’s in here. As you walk around, Faron will soon appear. When you tell her about the Song of the Hero, she will say that she cannot just teach it to you – you will have to earn the song by passing her test. Faron will then scatter the notes of her part of the song throughout the flooded woods; we’ll have to swim around and collect all of them to put the part of the song back together.
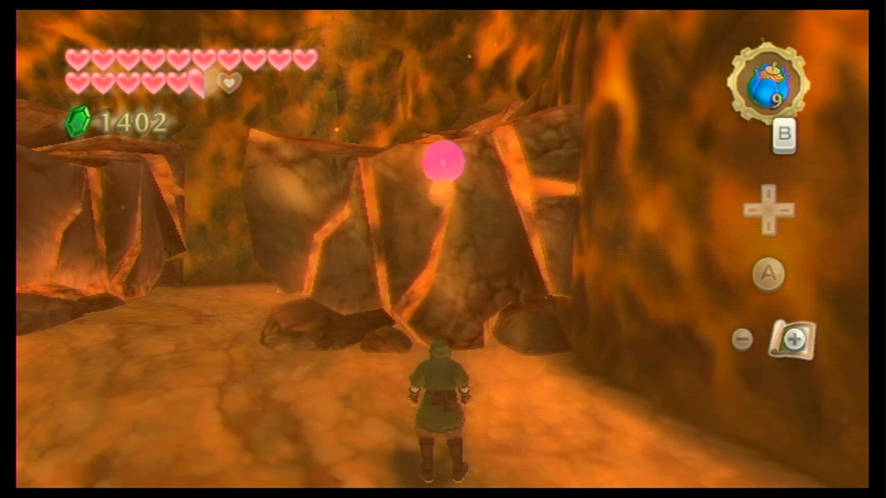
Faron will give you a musical score to work with so you can see how many notes you have collected and how many you have left. When collecting notes that are in a group, you’re going to have to collect them quickly without too much time between collecting each one in the group, otherwise, the group of notes you were trying to collect will scatter again and you’ll have to try and collect them again. You can easily collect any nearby notes by using a water spin attack.
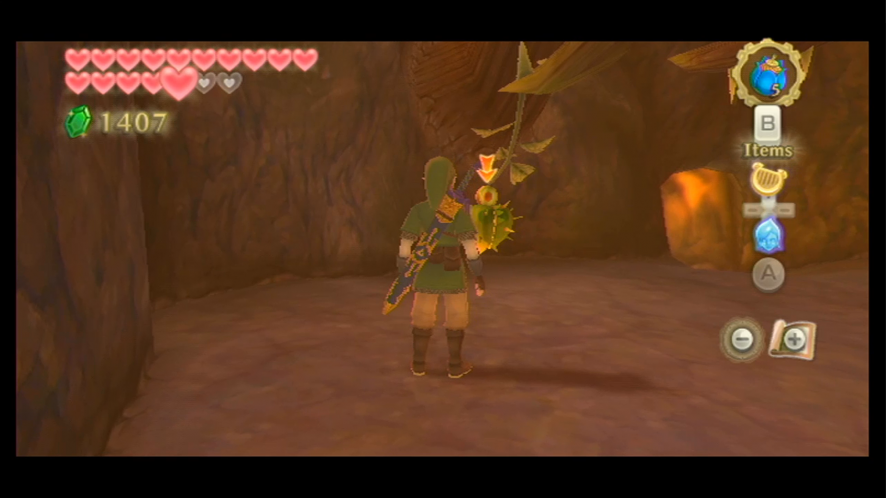
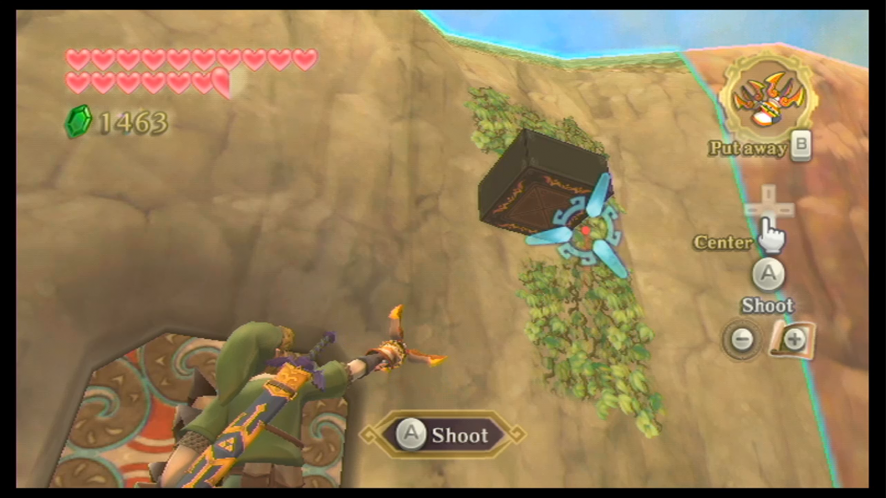
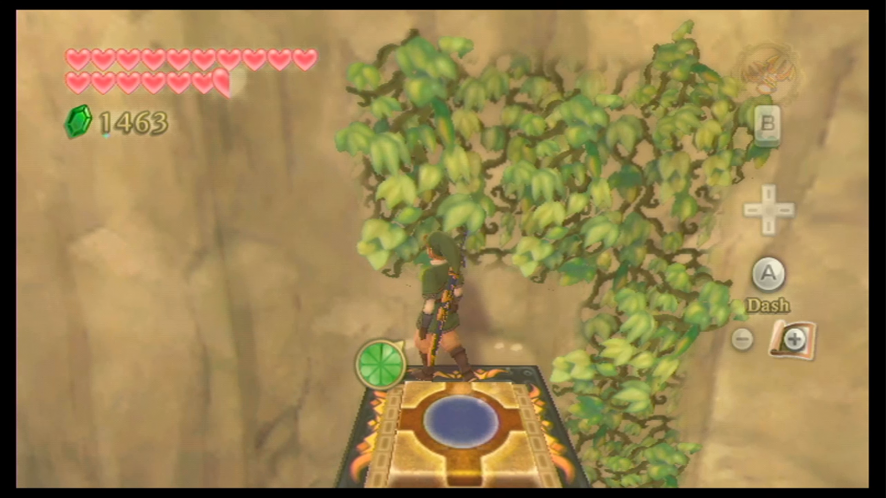
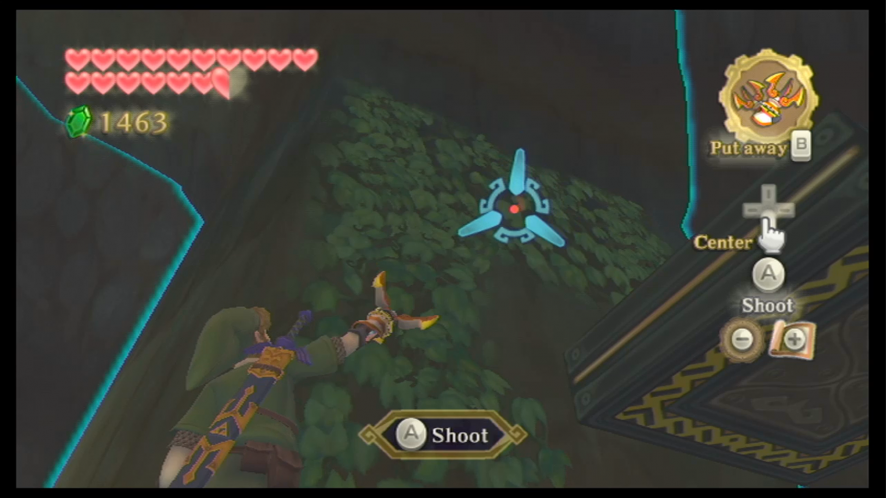
Before you get back into the water, start to scale the tree from the inside. Defeat any of the Bokoblin as you climb up and soon you’ll see a part of the tree that extends over the water area. You’ll find some Blessed Butterflies flying around here. If you walk right to the edge of the platform here, you’ll see that there are some lilypads down below. Aim yourself properly and run off the ledge so that you land on the second lilypad (straight ahead). When you land on it, it will flip the lilypad over and you will find the first musical note there.
There are individual “sets” of musical notes, each one a different color and each note within the set usually found in groups with the others from its set (although, there are some sets that are individual notes). In total, there are 17 sets we have to collect.
When we’ve collected seven notes, the water will be infested with Cranioc. After collecting twelve, Bucha will call you to him and Fi will add the notes to your dowsing ability. However, you won’t be able to dowse when you are swimming.
Here is a list of where to find every set:
(Yellow – 1 Note) – Northeast of the tree underneath a lilypad. You have to get up onto a higher ledge and jump onto the lilypad to flip it and get to the note. 
(Turquoise – 1 Note) – Southeast of the tree at the bottom of the woods, near the underwater entrance of the tree. It is surrounded by spiked balls that will blow up on contact. 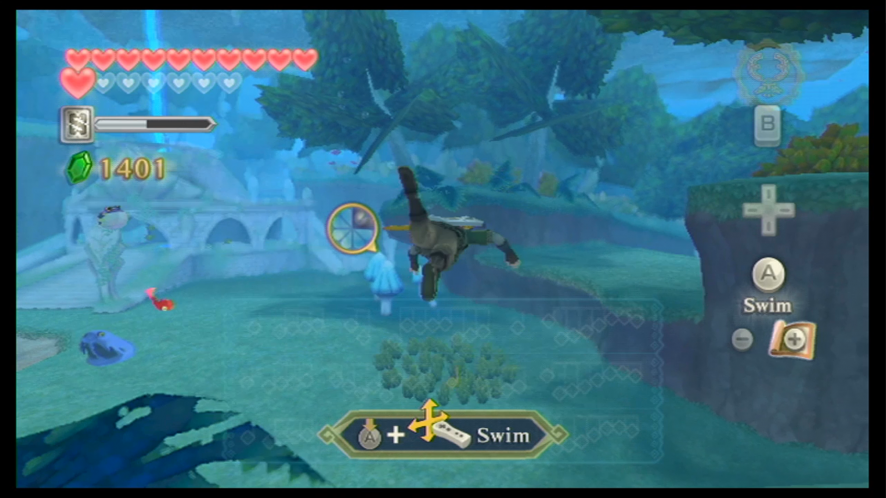
(Red – 1 Note) – East of the tree at the bottom of the woods, near the entrance to Farore’s Silent Realm 
(Green – 1 Note) – Northwest of the tree against a wall. You will have to blow up the boulder to get it – simply use a water attack on the nearby Froak to launch it into the boulder and blow it up 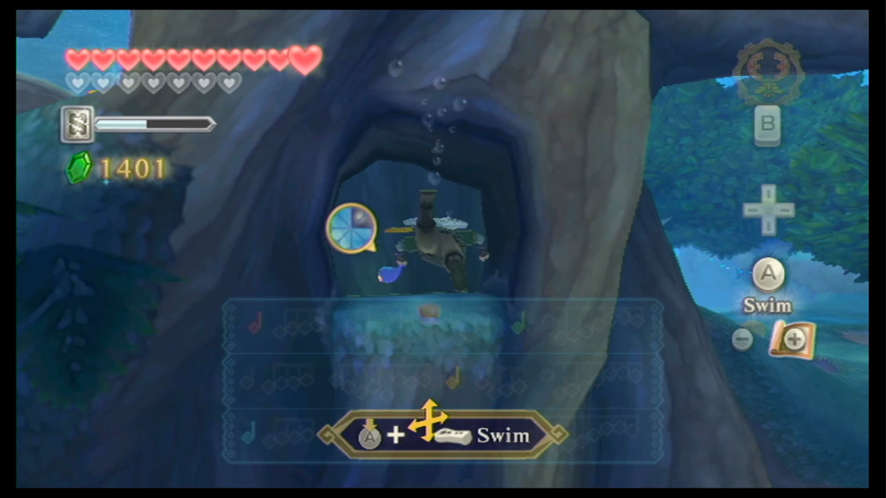
(Purple – 1 Note) – To the south of where Erla is marked on your map, higher up in a tree. You can get to this area by navigating the gaps. 
(Red – 2 Notes) – In the southwest portion of the forest where Machi and Lopsa are labelled on your map. At the bottom of the forest, hidden among grass. 
(Blue – 2 Notes) – West of the tree in a grassy spot. Both of them are located on either side of the path, so use a water attack to quickly grab one and then the other. 
(Turquoise – 4 Notes) – Southwest of the tree at the bottom of the forest. These notes move around quite a bit in this area, and will travel underneath the platform here. 
(Purple – 4 Notes) – In the northeast section of the woods by the stone structure. These four notes are surrounded by spiked balls. 
(Red – 4 Notes) – Northwest of the tree; they’re travelling in a circular manner around a path. 
(Purple – 4 Notes) – Near the entrance to Lake Floria in the southern portion of the woods. The notes are moving around in a circular formation 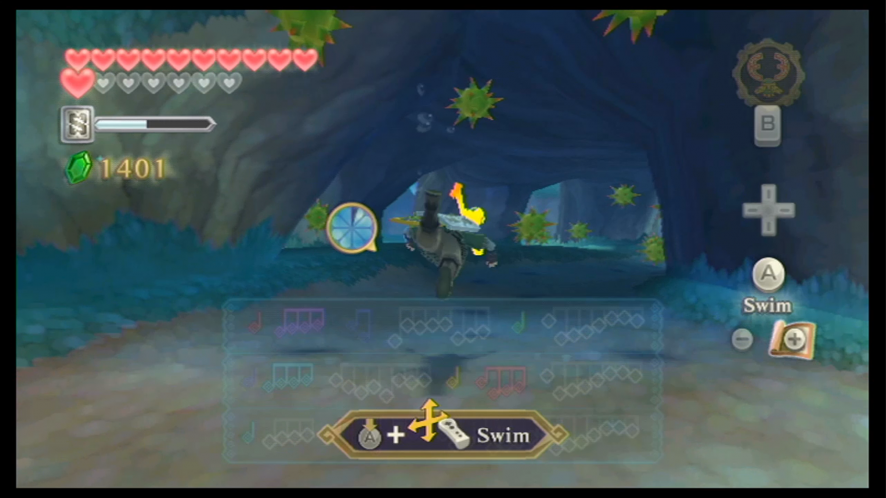
(Yellow – 4 Notes) – South of where Erla is labeled on your map. Located in a tunnel underneath the tree. 
(Green – 6 Notes) – West of the tree – you’ll find a Parella swimming around in this area. Carefully travel through here and collect all the notes. 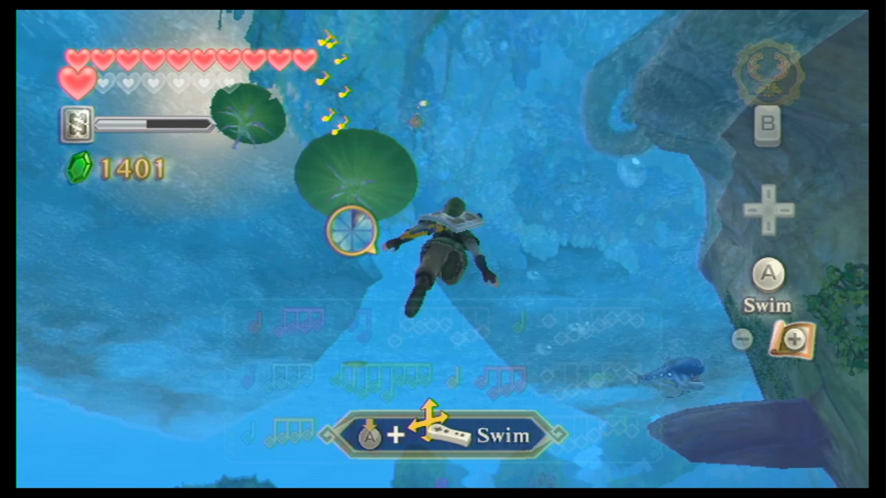
(Yellow – 8 Notes) – South of the tree near Bucha. Use a water attack to collect them all. 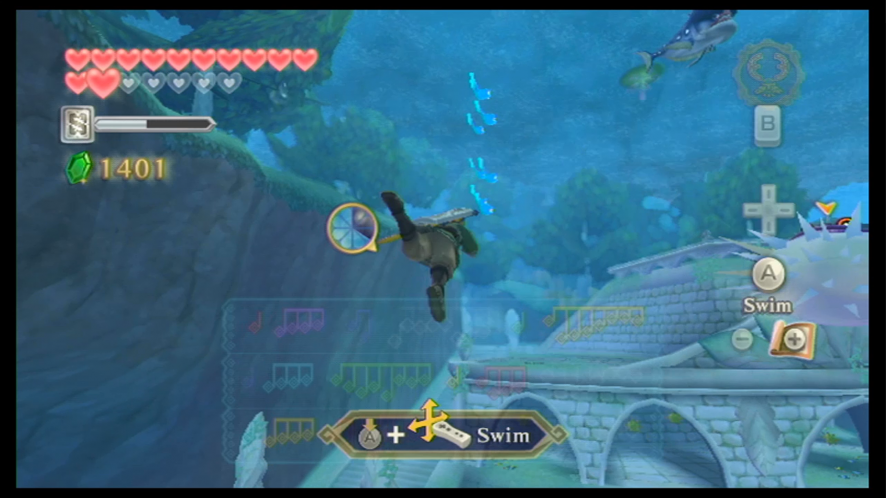
(Turquoise – 8 Notes) – In the northeast section of the woods, in a circle group. Use a water attack to collect them all. 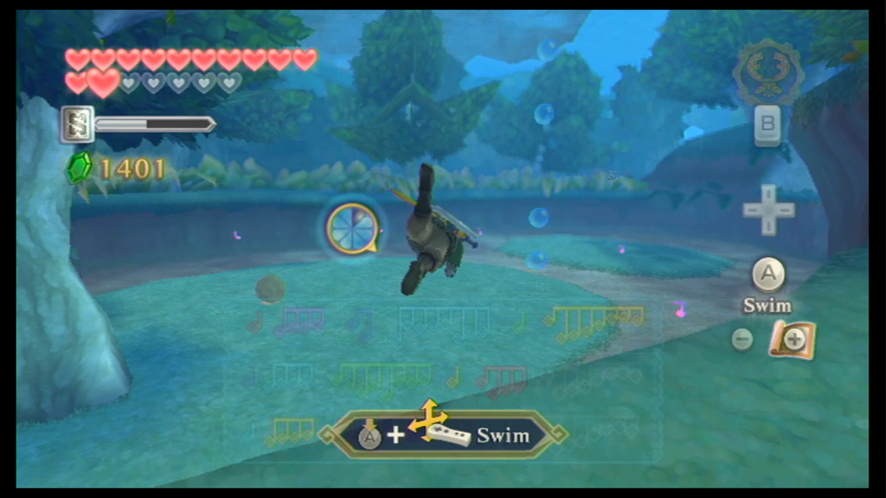
(Purple – 8 Notes) – In the eastern section of the woods, in a large circle area. They’re separated a lot more than the other notes, so you’ll have to use water dashes carefully to collect them all. 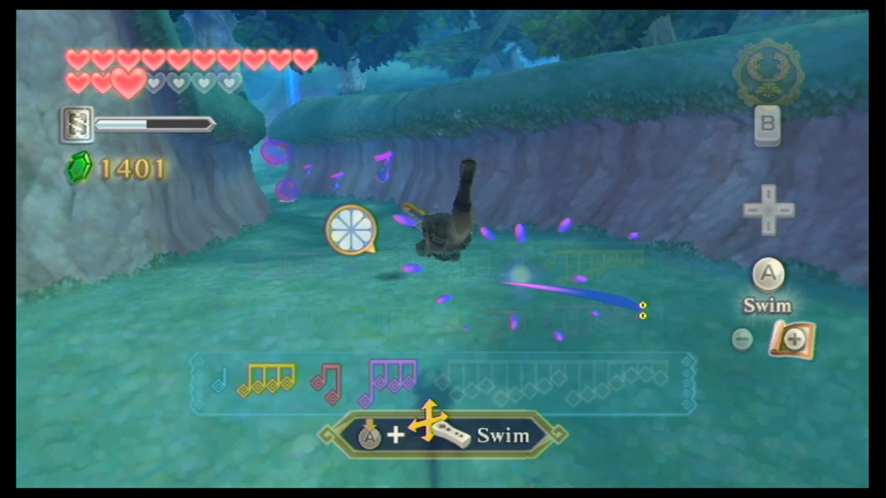
(Purple – 15 Notes) – The biggest set of notes you can collect, located in the southwest corner of the forest in a narrow path.
The only danger you will face while collecting the last group of notes are the poisonous bubbles scattered throughout the path that will cause Link to lose air if he hits them. There is an air bubble somewhere along the path though, so if you’ve lot some air due to water spinning and poison bubbles, be sure to collect it on the way.
When you’ve collected all the scattered notes, head back to meet Faron and she will then teach the first part to the Song of the Hero. She will also return to her home in Lake Floria and return the flooded woods to normal. Head to the Bird Statue and return to the Sky.
Now that we’ve learned the first part to the Song of the Hero, another sidequest has been activated in Skyloft, so if you’d like to do it, read on to the next paragraph. If you’d rather keep going with the game and not bother with the sidequest, skip ahead to the next section.
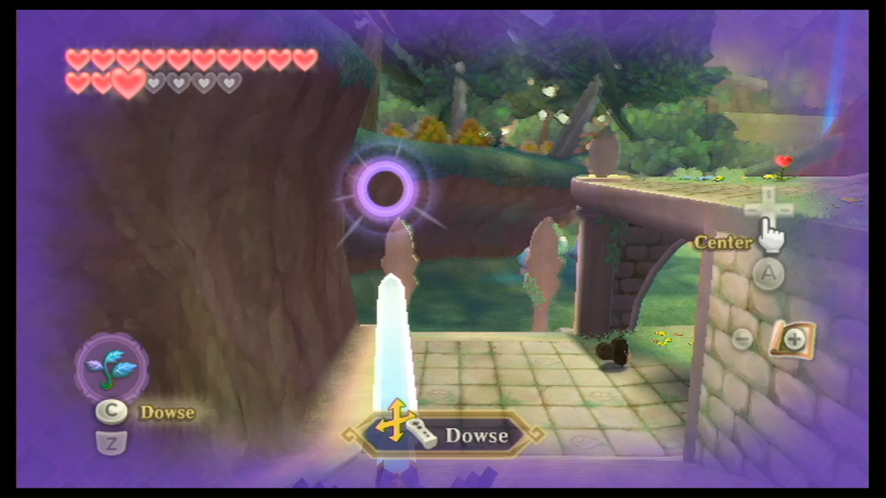
To start with the sidequest, return to the Sky and head to the Knight Academy in Skyloft. Find Instructor Owlan in his room and speak to him – he will ask you if you could possibly bring back any exotic plants from your travels. Fi will then add the plant to your dowsing ability. Leave Skyloft and fly over to Faron Woods again.
When the landing map comes up, select the Viewing Platform and then activate your dowsing ability. As you follow the radar, you will be lead to the east side of Faron Woods and will actually target Oolo the Kikwi. When you speak to him, he will tell you that he would rather live someplace safer, sans monsters. Fi will call Scrapper to our side and he will pick up the Kikwi.
Head back to the Knight Academy and speak to Owlan. He will thank you for bringing him an “exotic plant” and reward you with five Gratitude Crystals.
Part Two
Captured!
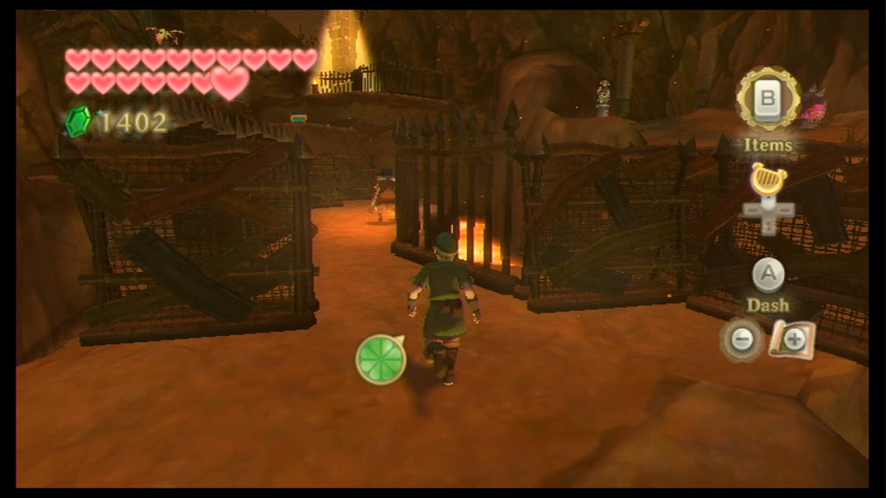
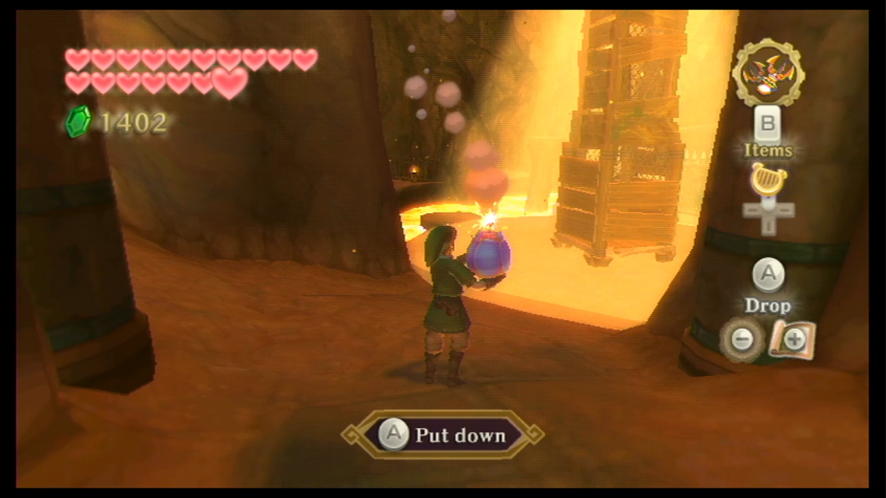
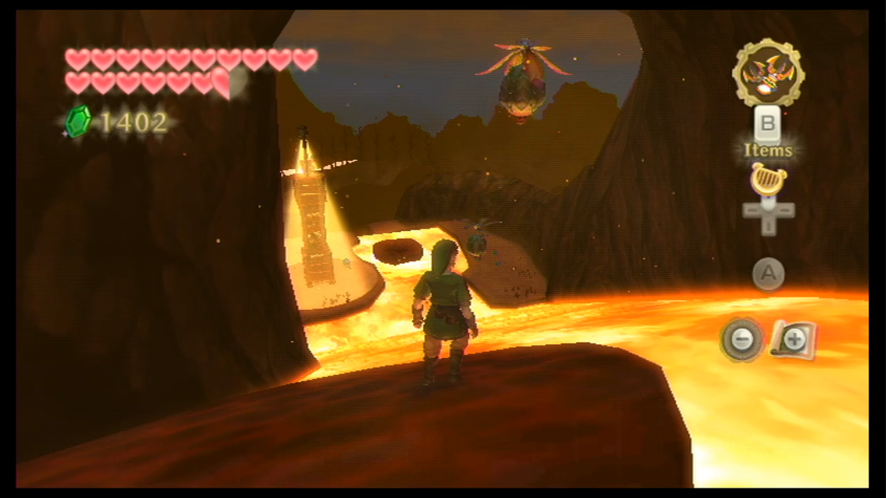
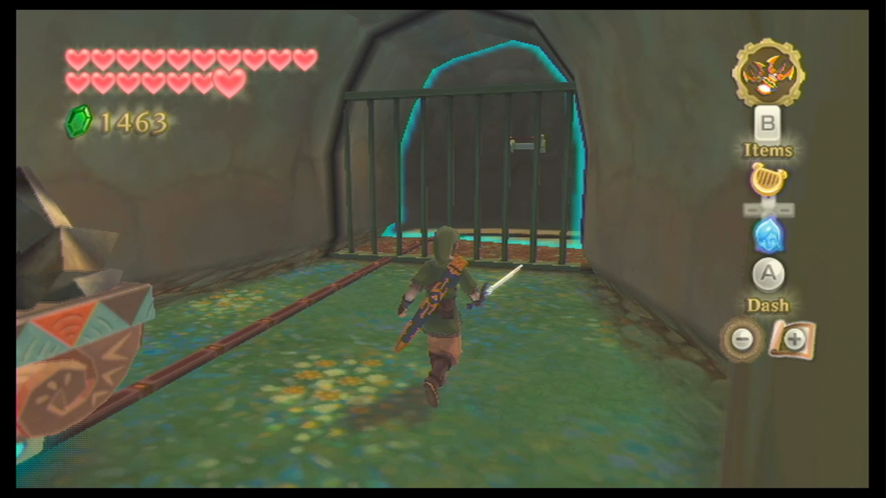
The next place we can go is Eldin, so let’s mount our Loftwing and fly over to the Eldin region. Unfortunately, we kind of decided to visit at a bad time, as the volcano is in the middle of erupting. We won’t have a chance of where to land, and the eruption will actually cause us to fall down to the land below. When you wake up, you’ll find that you’ve been captured and put into some kind of jail cell. To make matters worse, all of our items and equipment are gone.
You can collect some Recovery Hearts if you need them in the jars. When you pickup the barrel in here, you will be greeted by Plats the Mogma, the same Mogma who we helped in the Fire Sanctuary. He will give us back our Mogma Mitts so we can escape.
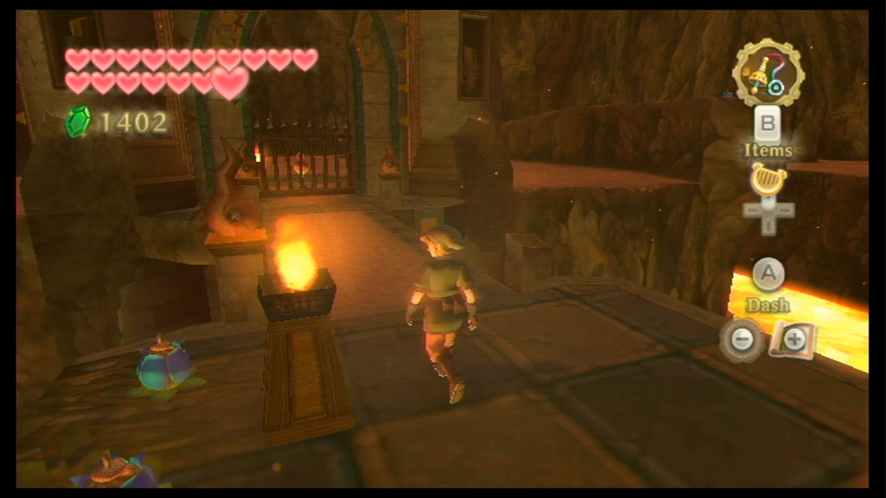
Now that we have the Mitts back, find the soil spot within this cell and dig into the tunnels beneath. Head over to the exit of this tunnel and you’ll resurface outside of the jail cell. Head down this pathway until you find the Bird Statue and save your game.
Keep heading down this path and drop down to the platform below. Plats will meet up with us again, and he will help you out by marking the treasure chests on your map that contain your items. He will also warn you that it will be dangerous to try and escape.
If you do get caught by any Bokoblin, however, you will merely have to start back at a recent location (sort of like a checkpoint) and you will have lost two hearts from Link’s heart gauge. Other than that, getting caught does not mean you’ll have to start the whole task again. The Bokoblin don’t have the best of vision either, so it’s not that easy to get caught if you’re trying to avoid them.
Climb up the wall here and you’ll encounter the first Bokoblin patrolling this area. When he is walking away from you with his back towards you, run up behind him but don’t alert him of your presence. When he’s made it far enough on the path, jump off from this ledge that you’re on to the level of ground to the left. There is a soil spot here, so dig into it with your Mogma Mitts.
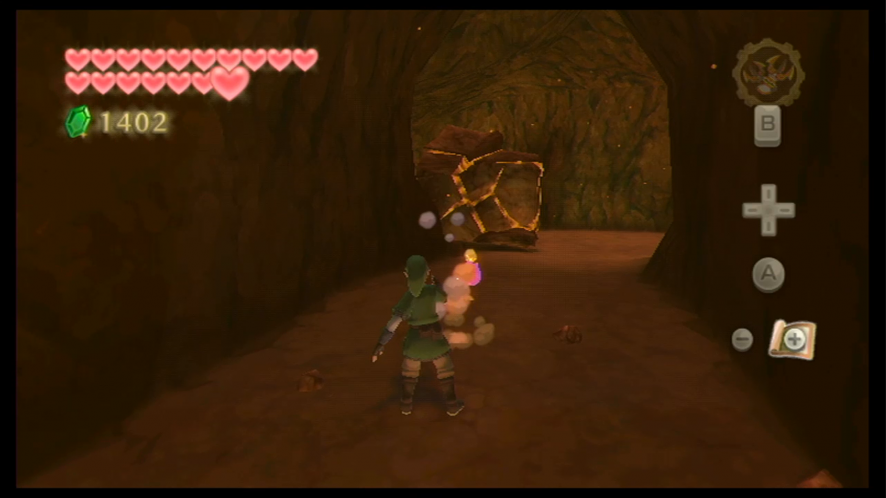
Make your way around these tunnels, digging your way through dirt and blowing up the boulders with the Bombs in here. Once you have cleared the path, resurface at the tunnel’s exit.
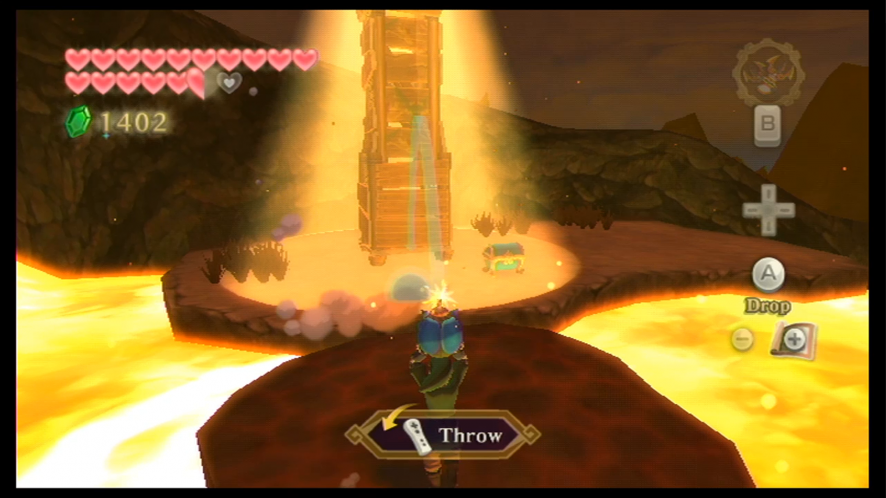
Head up the next ramp after resurfacing and you’ll see that there is a tower structure in the next area with a kind of searchlight attached to it. If you are caught under the light, the Bokoblin will see you, so we have to avoid the light. Head to the next soil spot – avoiding the lights – and dig down into the next set of tunnels.

There is a Moldorm down here, but thankfully it’s not crucial for us to defeat it, so you can just maneuver around him until you make it to the exit to resurface to the other side. When you’re above ground again, climb up two more platforms and you will reach the treasure chest that contains the Gust Bellows.
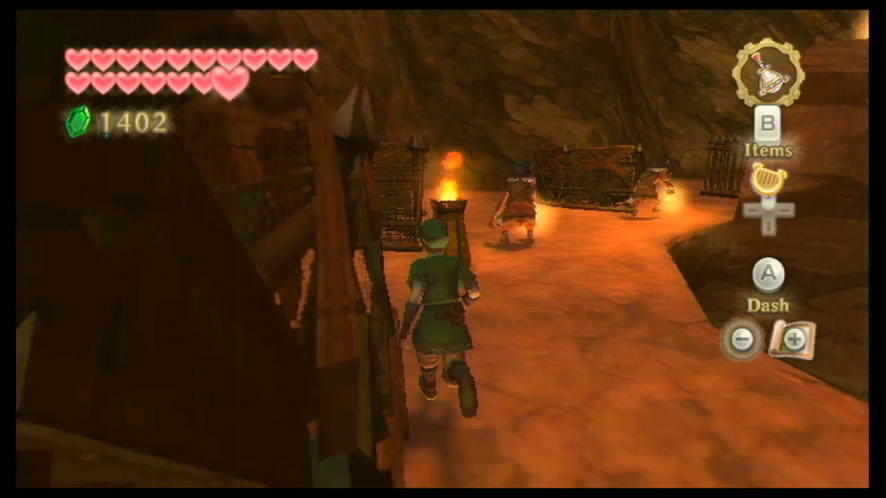
Now that we’ve gotten our Gust Bellows back we can clear away the blocking ash on the ground to make it to a few platforms to climb. There is another treasure chest in this area, but it’s being guarded by two Bokoblin. When the first Bokoblin has his back faced toward you walking in the other direction, follow behind him and take the left turn as soon as you can. Wait until the second Bokoblin in the area starts heading for the corner, and then quickly pass him. There’s another soil spot in this area, so dig into it to access some new tunnels.


Just like the last set of tunnels, you don’t have to defeat the Moldorm that’s crawling around in here. Break up the rocks that are blocking the path leading to the Moldorm and then break the other rocks that are on the other side of where he is to reach the exit. When you resurface, jump down to reach the treasure chest. When you open it, you will get your Clawshots back.
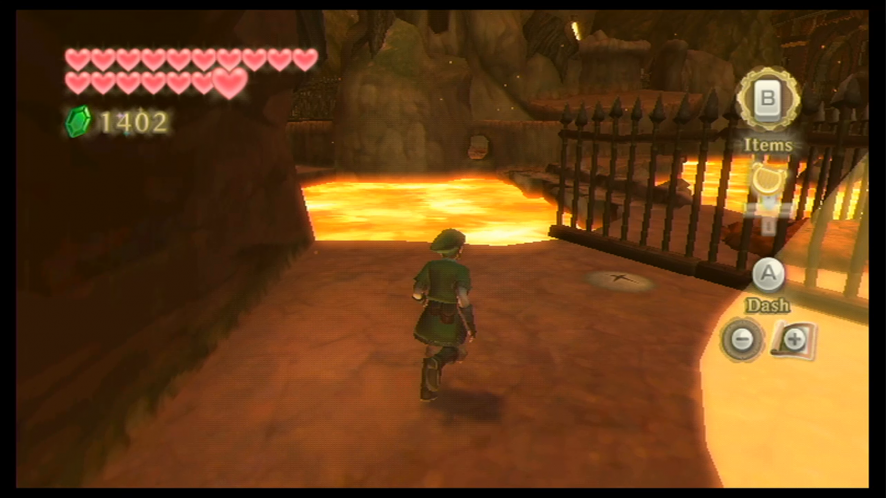
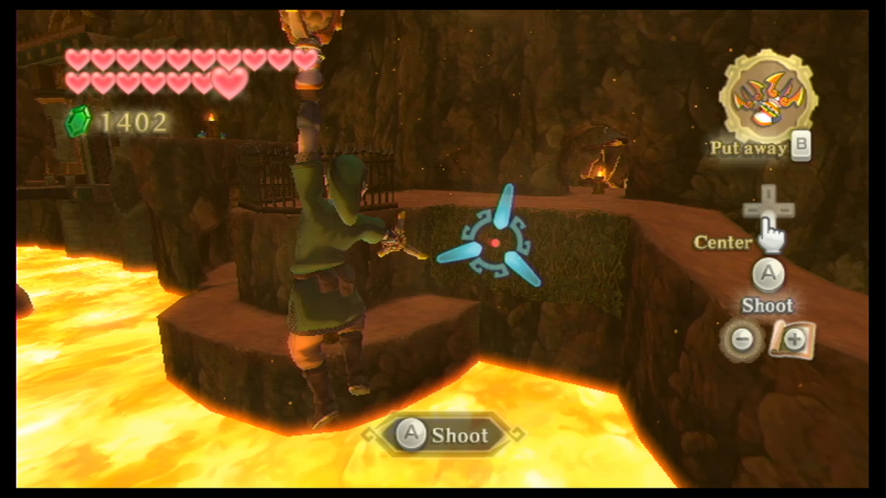
Face north and you’ll see that there are actually Peahats flying around. Latch yourself onto their bodies using your Clawshots. Keep latching yourself onto the next Peahat, until you’ve made it to the last one. When you’re attached to the last Peahat, latch onto the vines that are to the north. Drop down and head around this corner. There is lava flowing here, carrying a platform, so jump on one and ride along the lava flow until you come to another platform that has a torch. Jump over to it when you’re close enough.
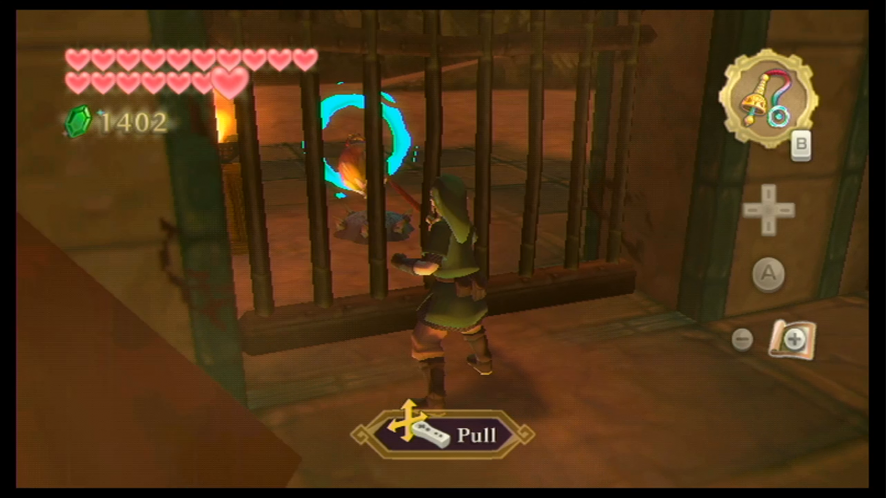
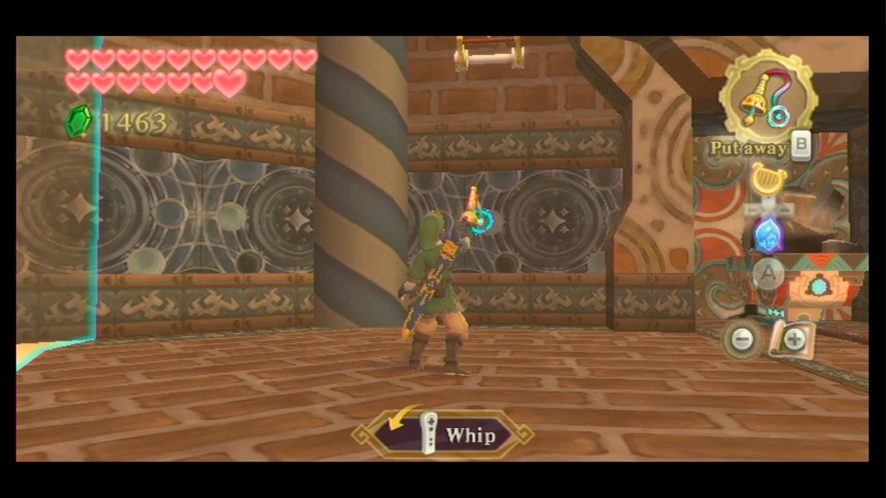
Of course, there is another Bokoblin stalking this area, so we’re going to have to run to the north end of this spot to the back of the gate here. Wait until you’re sure the coast is clear and run behind the gate. Latch yourself onto the nearby vines with your Clawshots. There’s another watchtower perched here – we can easily take care of that by grabbing one of the Bomb Flowers growing in this area and tossing it at the tower to knock it over. Once it’s down, head to the treasure chest and open it to get your Whip back.

Head over to the bridge next and use your Whip on the plant that’s on the other side of the gate. A Peahat will pop out of the ground when you pull on it, so latch onto its body with your Clawshots. There is a boulder blocking the path to the right, so grab one of the nearby Bomb Flowers and throw it at it to blow it up. Do the same thing with the second boulder that’s here. Afterwards, ride the air geyser to the top of the next area.
Head across the bridge and then make your way down the path. There are enemies here, but thankfully you can take them down with your Clawshots if you choose to. There are some more Peahats off to the left, so latch yourself onto them one by one until you make it to another flowing lava area with moving platforms. Jump onto a platform and follow the lava flow until you come to a ledge you can jump onto.

Wait until another platform is passing by and then grab one of the growing Bomb Flowers and jump onto moving platform. Before the Bomb explodes in your hands, toss it at the lone watchtower to knock it down. Now you can safely jump over to the piece of land it’s sitting on. Open the treasure chest to get your Slingshot. Now back-track your way to where we were before by latching onto the Peahats and heading back up to the previous area.
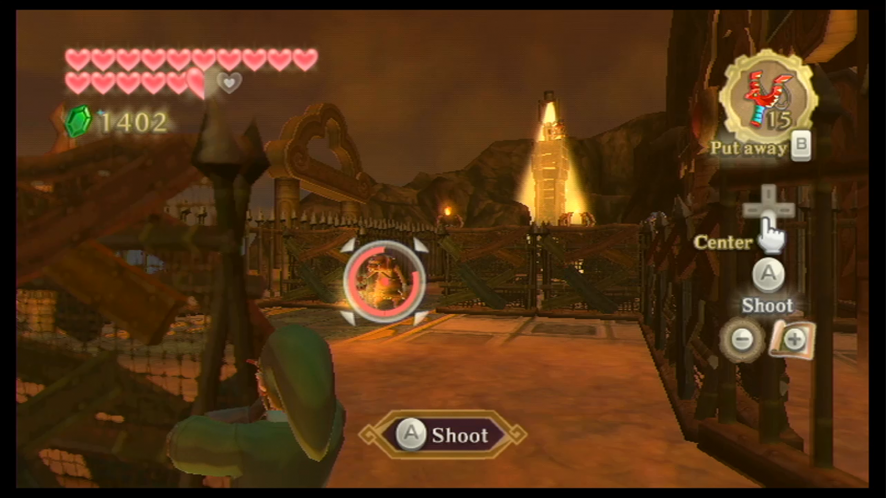
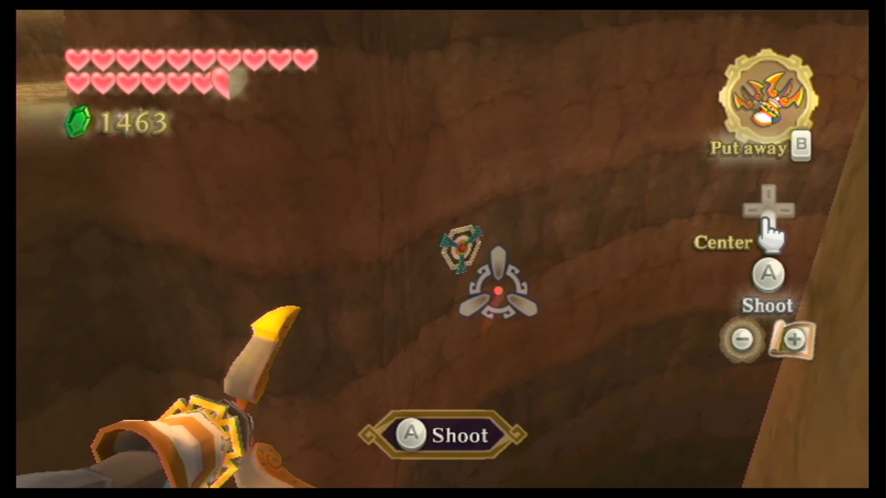
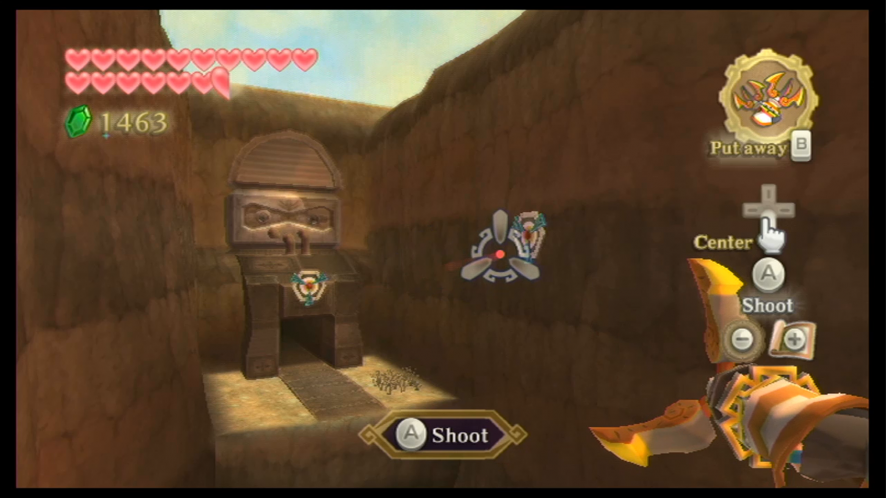
Start heading towards the Earth Temple entrance. There are more Bokoblin stationed here, but we really only have to worry about the first one that’s blocking the path. The Bokoblin will do the same observation pattern – look left, then right, then left, then right, etc. When it turns in the opposite direction, get out into the open and fire a Slingshot seed at it to stun it. While it’s stunned, quickly run. There’s another Bokoblin in this area – when it’s faced away from you, stun it with a Slingshot seed and keep going.
There is a Bokoblin perched up on the tower in this area. If you shoot the Bokoblin, the watchtower’s light will go off temporarily while the Bokoblin is stunned, so take the opportunity to run over to the soil spot and dig into the tunnels. Dig you rway through the rocks and use the Bomb Flowers to blow up the boulders blocking the path. Resurface at the exit of the tunnel, and then open the treasure chest on the other side to get your Bomb Bag.
There is another soil spot in this area, so dig it up to reveal an air geyser. Ride it up to the higher ledge, and then use your re-acquired Bombs to knock over the watchtower. We’ll have to head back quite a ways now – all the way back to the bridge by the large air geyser – so sneak your way past the Bokoblin in this area and head back to the bridge.
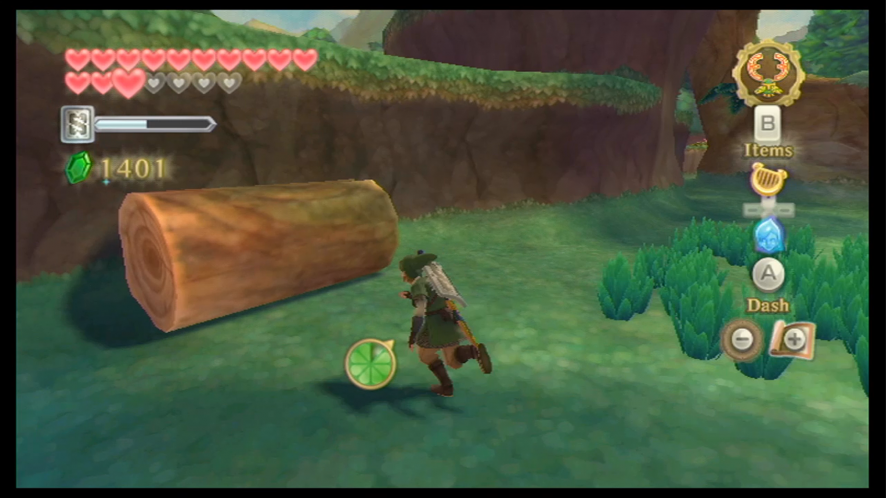
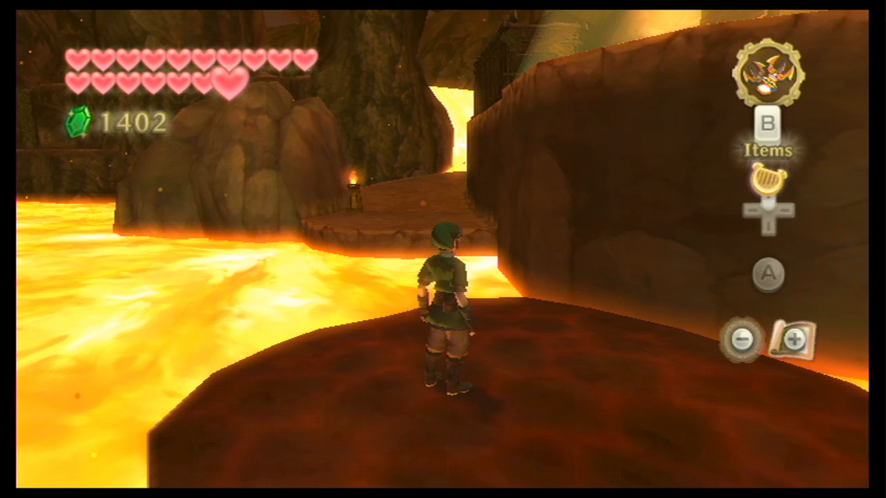
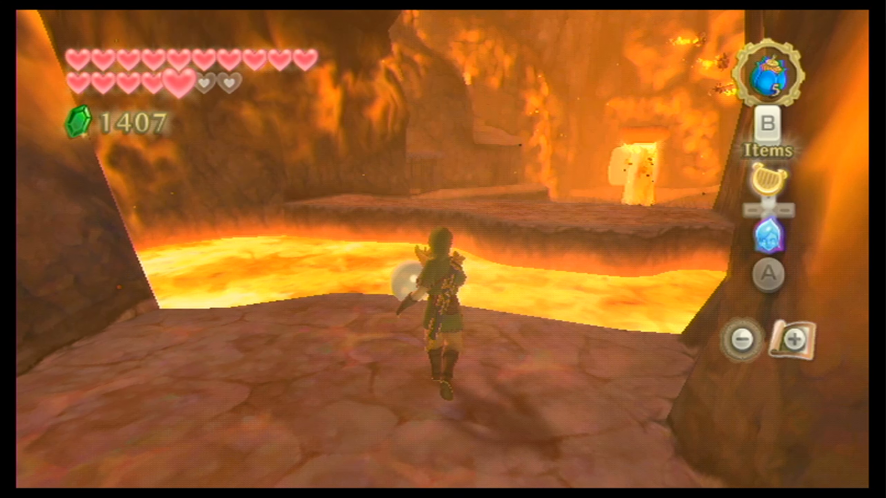
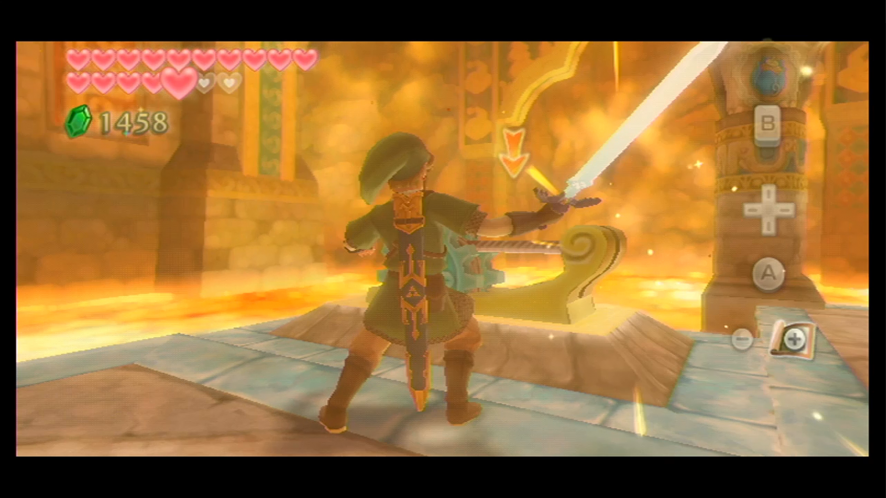
When you keep heading forward, you’ll meet up with your Mogma pal again. Now that we have our Bombs back, use them to blow up the rocks in this area. Head up the ramp to reach the Volcano Summit. Drop down from the cliff and you’ll be able to grab your sword.
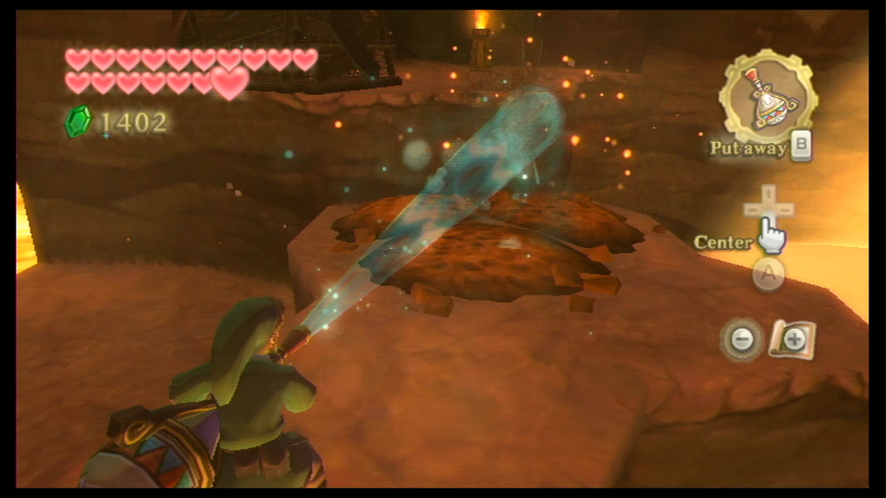
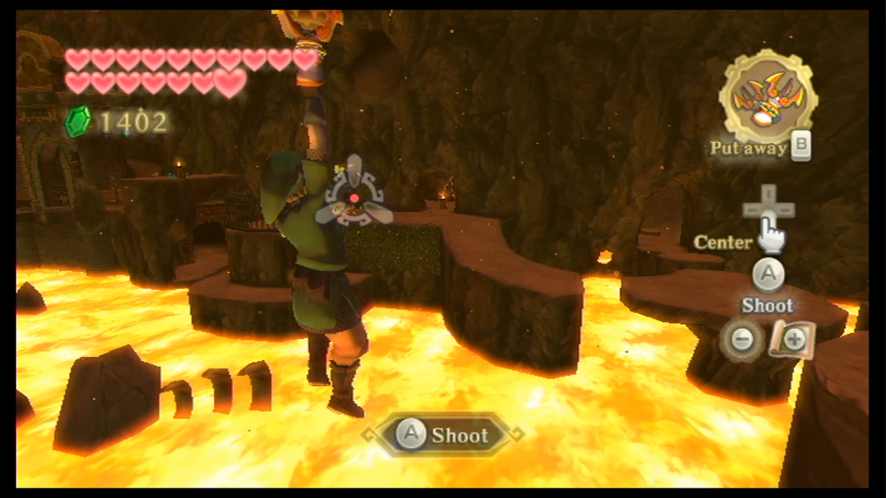
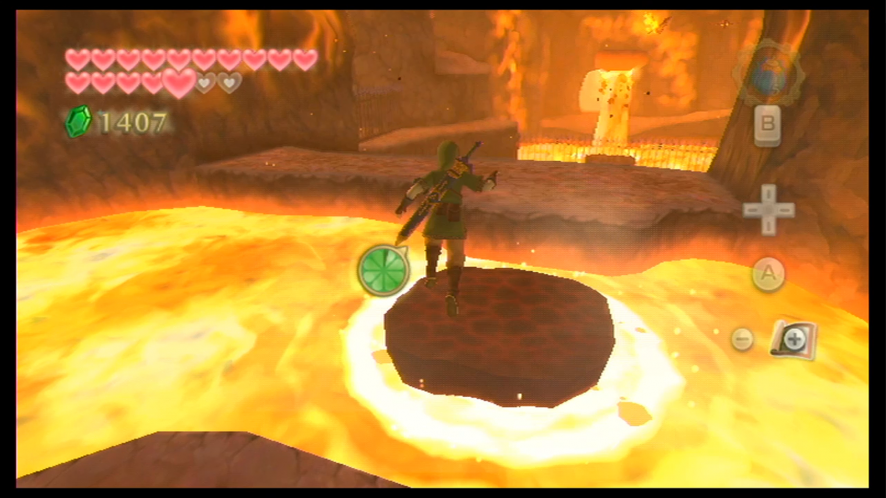
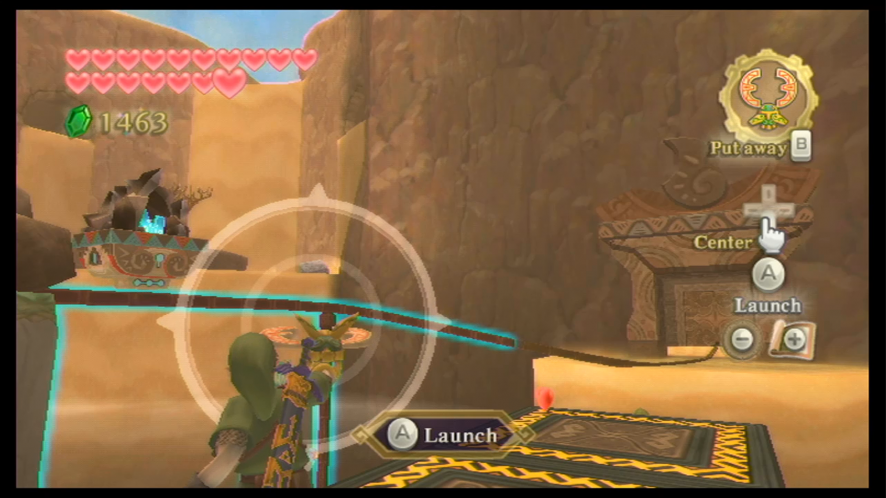
If you head through the door to the east and get onto the moving platform in the lava, you’ll see Goddess Cube #26 to the right. We won’t be able to reach it by foot, but if you carefully aim a Skyward Strike at it, you’ll be able to activate it from there. Keep riding along the lava on the platform and then take a left off it to finish up in this area.
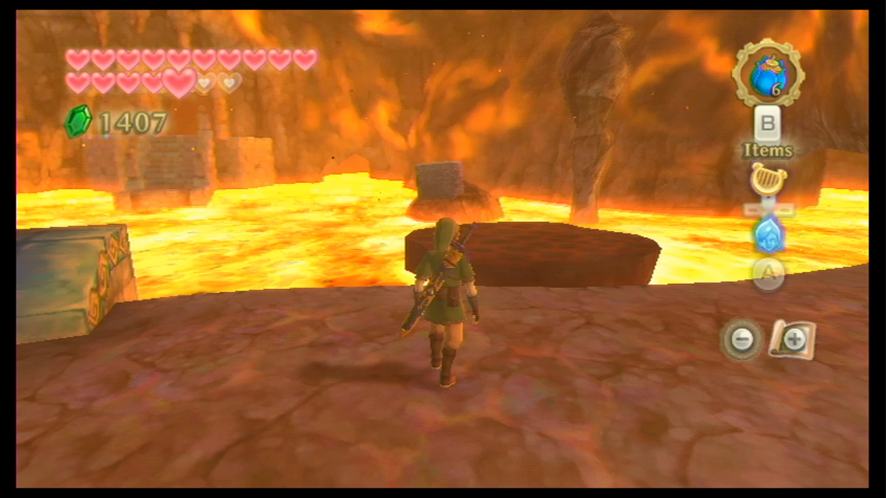
Head along the path to the next area and grab a water plant with your sword. When you get to the next room, create a platform in the lava with the water plant on your sword so you can jump over to the other side. Drop down from this spot – take out the Bokoblin and Keese – and then head over to the treasure chest to get your Adventure Pouch back, which has all the rest of your items.
Now that we’ve gotten all our items and equipment back, we can finally go find the dragon of the Eldin region. Climb up one of the nearby platforms and the boulder blocking the path with a Bomb. Slide down this next path and then go back to one of the previous rooms we were in (there is a Cursed Spume in this room). Head across the platform again and enter the room to the right this time.
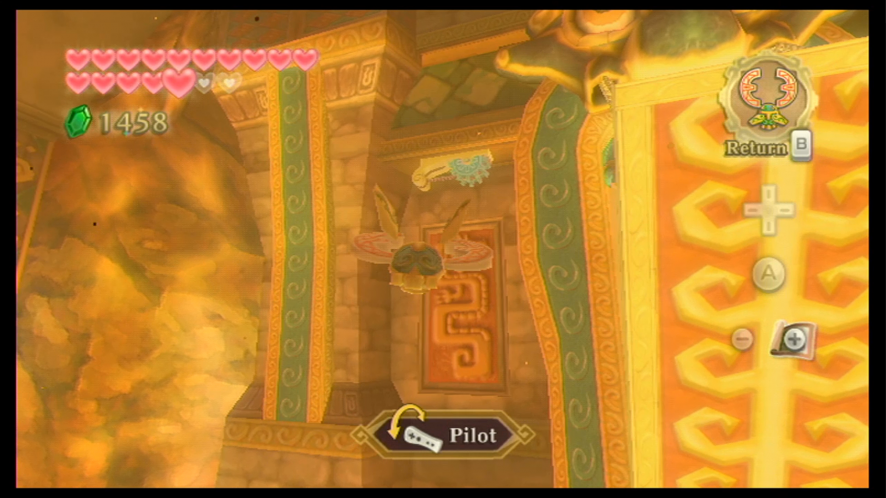
There is a drawbridge system ahead, so cut the first rope here to lower the draw-bridge a little. There are two more ropes we have to cut, both of which are on the other side of the bridge. Equip your Beetle to fly around and cut the ropes. When the drawbridge is down all the way, you can head into the next room to meet Eldin, the guardian dragon of this region. After a bit of discussion, he will teach you the second part of the Song of the Hero.
Upon finding the second part of the Song of the Hero, another sidequest has been opened up for us to do – if you don’t want to do it and would rather continue on, skip ahead to the next section to continue with the hunt for the parts of the Song of the Hero. If you want to do the sidequest, just keep reading to the end of this current section.
When you’re done in Eldin, return to the Sky and go find Kina the waitress at Pumpkin Landing. She will tell you that she would love it if she could have someone help her harvest the pumpkins in the pumpkin patch. After you agree to help her, fly back to the Eldin region.
When the landing map comes up in the Eldin region, select the Volcano East location. Head straight forward and drop into the volcanic area where we received our Digging Mitts earlier in the game. You’ll need to glide your way over to one of the pillars in the northern section of this area. You will meet Guld here, who happens to be the leader of the Mogma tribe. When you speak to him about working at Pumpkin Landing, he will agree to do it. Fi will call Scrapper to retrieve Guld, so go ahead and ride the air geysers out of here and then return to the Sky at a Bird Statue.
When you get to the Lumpy Pumpkin and speak to Kina, she will thank you for finding someone to help her harvest the pumpkins and will reward you with five Gratitude Crystals.
By now, if you’ve been following along with the guide, you should have collected al l80 of the Gratitude Crystals. When you return to Batreaux with the 80 Crystals, he will reward you with the Tycoon Wallet – a gigantic wallet that will allow Link to hold an additional 9000 Rupees, topping off all the wallets Link already owns to holdup to an amazing 9900 Rupees.
Batraeux will also transform into a human – although he still bears striking resemblances to his monster form – and monsters will stop appearing at night now in Skyloft. We’ve also completed all the sidequests concerning the Gratitude Crystals. Now that we’ve finished that, mount your Loftwing and head for Lanayru.
Part Three
The Tree of Life
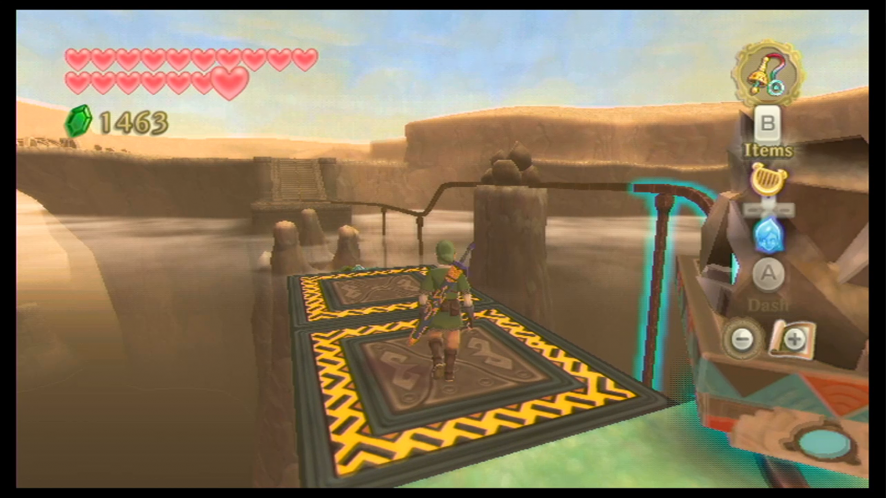
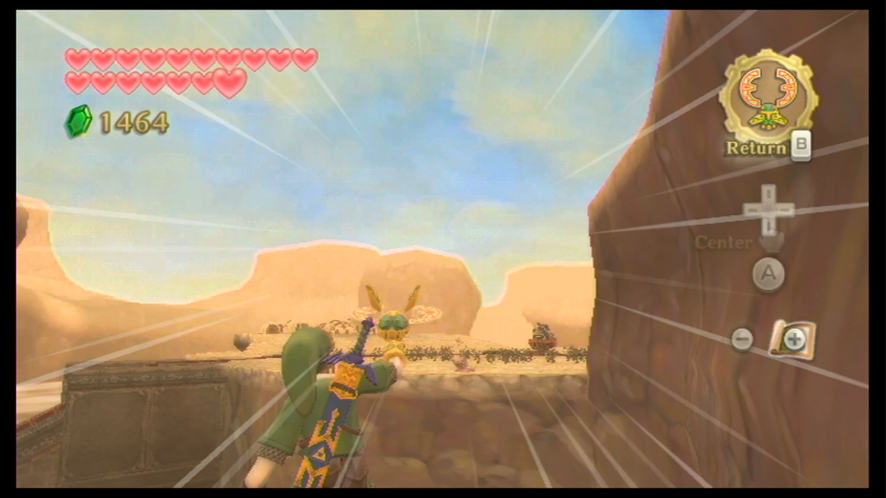
When you return to the Sky, our next destination is the Lanayru region. When the landing map comes up, select the Lanayru Mine Entry. When you’ve landed in the desert, latch yourself onto the target in this area using your Clawshots. When you speak to the Goron in this area, he will tell you that he discovered a passageway, but it’s too small for him to get through. Head to the edge of the platform here and latch yourself onto the series of targets until you’ve made it to the cave at the end of this path. Head inside.
Drop down from the ledge and then take a left turn. There is a passage here but there are rocks blocking our path. Take out a Bomb and roll it through the passage to blowup the boulders on the other side. Once that’s been cleared, go ahead and crawl through to enter the Lanayru Gorge.
When you head straight from here, you’ll come across an area where a bunch of bones are scattered around. Horribly enough, this is the dragon. We’re going to have to activate a Timeshift Stone somewhere to bring him back to life. Head back to the Bird Statue at the entrance to the gorge and then take out a Bomb to blow up the boulder that is blocking the path. When the boulder’s been destroyed, jump across the gap here.
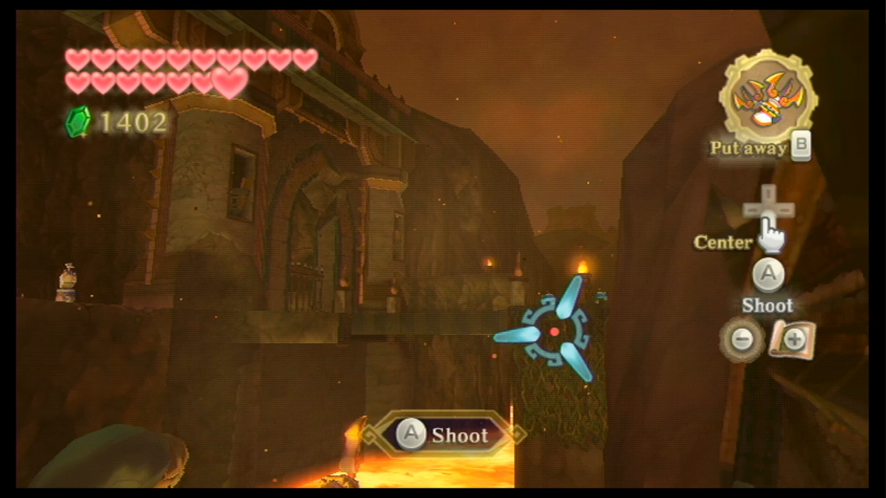
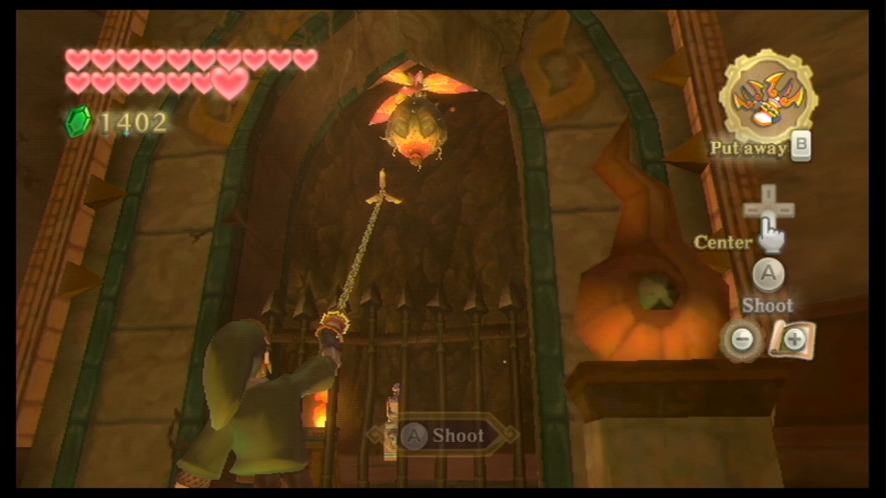
Head down the ramp and turn your attention to the pillar in the distance. There is something sparkling here, so send your Beetle out to it to retrieve the shining object – a small key. Head up the ramp and then unlock the door with the small key you just found. When you head forward, you will encounter a series of Peahats, so latch onto the first one with your Clawshots and then continue on, latching onto each Peahat to progress further.
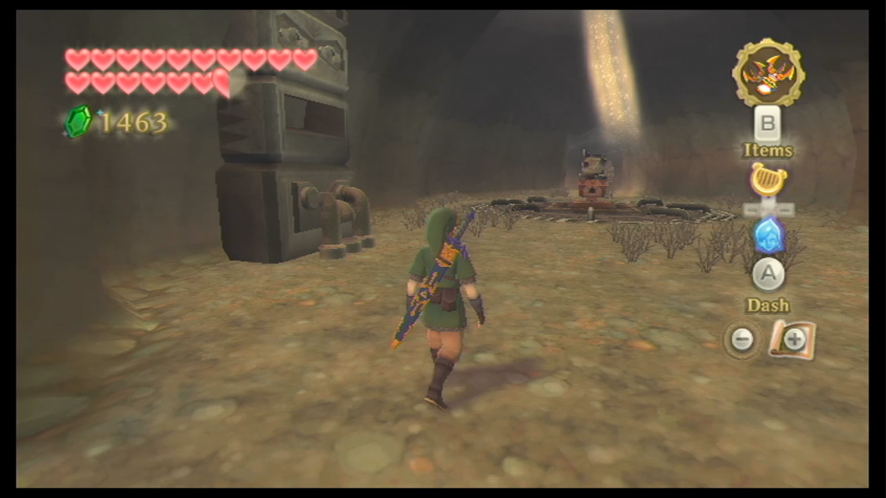
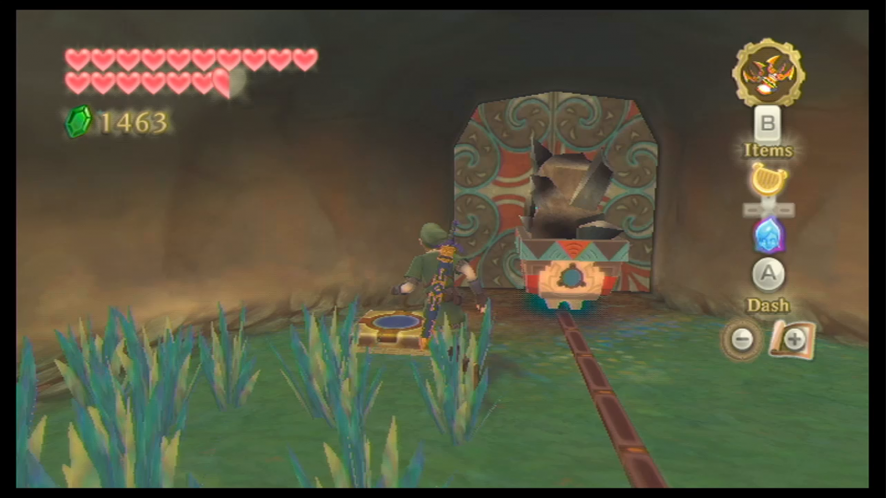
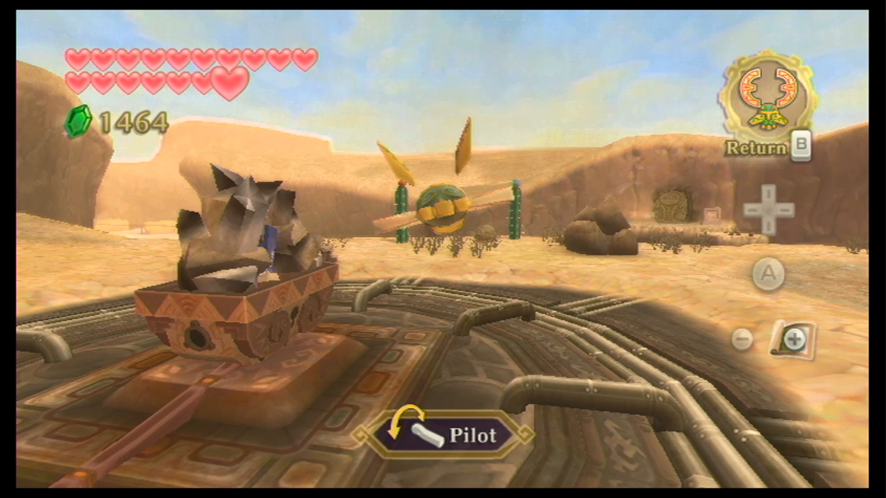
When you get to the other side, you will see that there is a lone minecart sitting here that has a Timeshift Stone sitting inside it. Head to the cart and activate the stone to bring the rest of this area to life. A robot will be activated nearby, so go speak to him to get the minecart moving along the tracks. When you reach the next area, step on the floor switch.
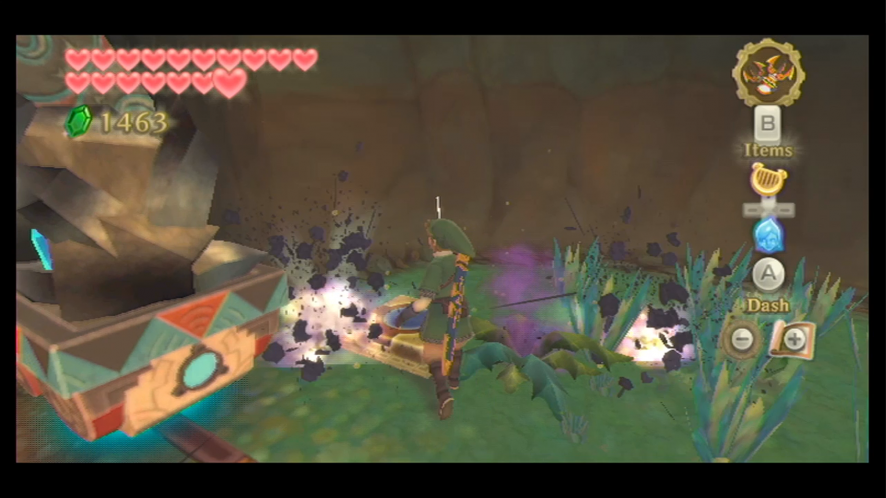
Take out the Technoblins and Deku Baba in this area and then step on the next floor switch at the end of this path. Jump across the platforms and take out the extra Technoblin. When you reach the end of this next path, use the Clawshots to latch yourself onto the vines and climb up to the ledge. Step on the tile switch to open the door, and then drop down to head to the next room.
In this next room, the minecart will continue to follow the rail, and you’ll have to jump along the platforms that appear from the Timeshift Stone’s powers. Make it around the corner and then climb up the vines to reach the higher ledge. Head to the other side and defeat the Deku Baba before using your Clawshots to reach the other side of this high area again, and then step on the floor switch to open the gate and let the minecart through.
Use your Clawshots to latch yourself onto the vines on the other side of the room and then climb your way along this wall. There are some gaps in the wall where you’ll have to leap across, so make sure you collect the stamina fruit so you don’t run out of energy while you’re climbing. When you make it to the end of the vine pathway, use your Clawshots to latch onto the target on the other side of the room and then the target that’s back on the previous wall. Step onto the floor switch to open the next door and let the minecart through on the tracks.

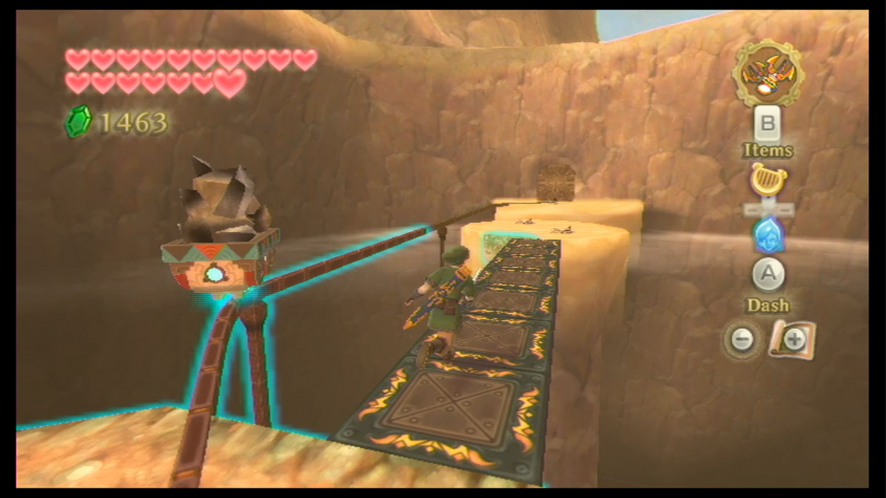
Use your Clawshots to latch yourself to the targets across this new room. There are a lot of targets for us to latch onto to progress, but you’ll have to wait until the minecart has progressed far enough for the Timeshift Stone to activate the targets. Latch yourself on from target to target as the minecart travels until you reach the end of this room.
When you reach the next room, defeat the Deku Baba and Chuchu and then head over to the gate. Instead of a floor switch to open it, you’re going to have to use your Whip to grab the lever that’s on the other side of the gate and pull it to open it. When you’ve opened the gate, keep heading along the path. There are blade traps along the path now, so watch out for those while you’re traveling. Take out the Technoblin on this path and then use your Whip to swing across the gap here. Afterward, take out the Deku Babas and then swing across the next gap.

Follow the minecart to the end of this next room while watching out for the spikes along the floor. When the minecart reaches the door, turn around and dash up the slope of sand here – you’ll have to collect the Stamina Fruit along the way so you don’t run out of energy while running, as it is a bit of a long slope. When you’ve reached the top, pull down the lever here to open the gate. Head along to the next room with the minecart.
There are quite a few enemies in this room, including Beamos, Technoblin, and Sentrobes. However, the enemies won’t be activated until the minecart passes them, so you can pretty much just defend yourself until the minecart has passed and the enemies are deactivated again. One of the Beamos will have to be defeated though, as it is blocking the minecart’s path. When you’ve reached the end of the path, defeat both the Beamos here and then pull the lever down with your Whip. Head to the next room with the minecart.
When you enter the next room, the minecart will take a path to the right while activating platforms on the left for you to travel along. Take out the Deku Baba when it appears and continue along the platforms until the minecart hits a boulder blocking its path. Equip your Beetle and send it to one of the Bomb Flowers on the lower pillars to pick it up and then drop it on the boulder and blow it up. Once you’ve done so, the minecart will continue on the path and you’ll be able to reach the end of this room (taking care of a few Deku Baba and Quadro Baba along the way).
Finally, the minecart will be at its destination and will bring everything in this area to life, including Lanayru, the Thunder Dragon. However, the dragon is very ill and won’t be able to teach you the third part to the Song of the Hero in this state. When you speak to him again, he will tell you that the robots were planting a seedling that would grow into the Tree of Life – but the landscape here is just too dry and isn’t suitable for the tree to grow in.
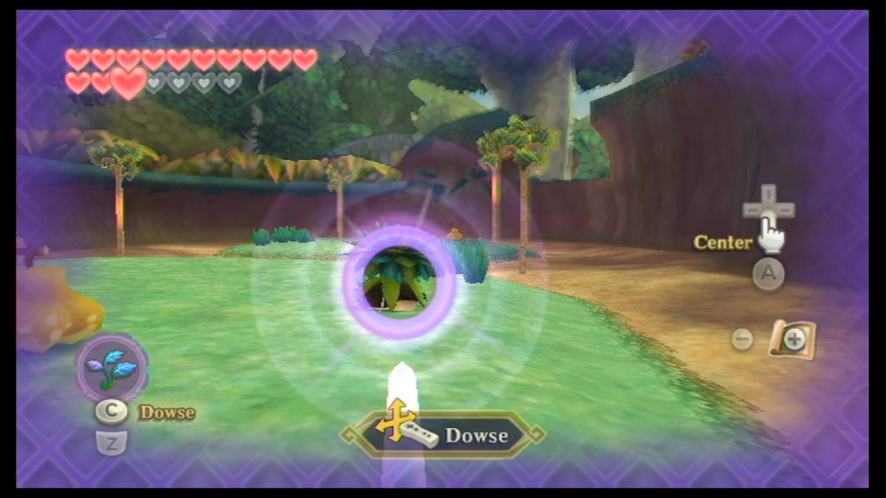
Head over to the northeast section of this area and head across the bridge. Keep going along this pathway and you will reach an area with lots of sand. Dash across the sand to reach a small island where you will find the Tree of Life – at least what’s become of it. Equip your Gust Bellows and use it to reveal a Timeshift Stone. When you activate it, it will send the area back to the past, also changing the sickly tree into its former seedling form. The robot here will then suggest to you to plant the seed somewhere away from the Lanayru Province where it will grow better.

Before we leave this area, jump off this ledge and activate the nearby Goddess Cube with a Skyward Strike. Other than that, there’s nothing else we can do here, so head to the Bird Statue. However, our path will be blocked off because the bridge is no longer here – on account of us activating the Timeshift Stone by the Tree of Life sapling – so use your Beetle to activate the Timeshift Stone again and bring back the bridge. Now you can head over to the Bird Statue and return to the Sky.
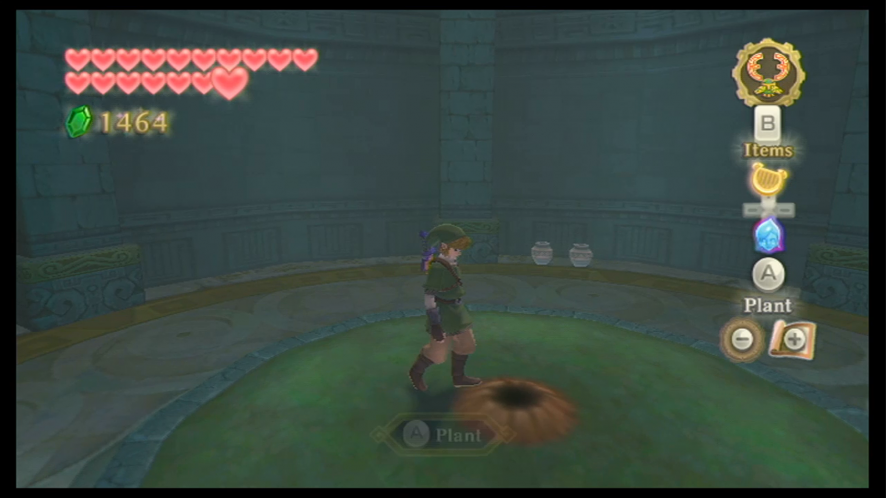
Our initial destination for this task is the Faron Region, so fly over there. When the landing map appears, set your destination on the Sealed Grounds – when you land, head inside to the Sealed Temple. Groose mentioned something earlier about being able to plant a tree in a certain area of the Temple – although, we won’t be able to plant it in this time period because it won’t grow in time for us to make the Thunder Dragon better, so we’ll have to do something else. Instead, use the Gate of Time to go into the past.
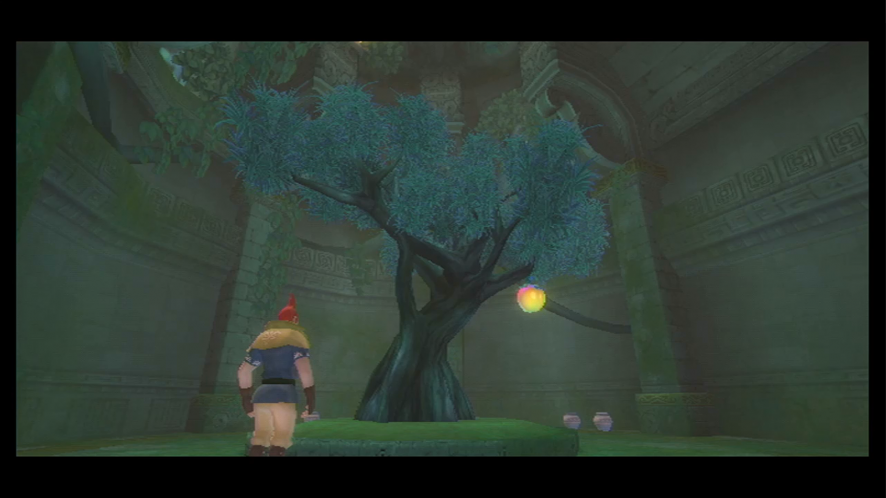
When you’re in the past form of the Temple, head to the side room in here and you will be able to plant the seedling in the mound of dirt here. When you go back through the Gate of Time to the present, the tree will have grown into a full-grown Tree of Life. Roll into the tree and the Life Tree Fruit will fall to the ground, allowing you to grab it. Once you’ve done so, leave the Sealed Temple and head to the Bird Statue to return to the Sky. Now we can head back to the Lanayru Gorge.
When you arrive at the Lanayru Gorge, speak to the Thunder Dragon to present to him the Life Tree Fruit. The fruit will quickly restore the Thunder Dragon to full health, and he will then teach you the third part to the Song of the Hero. He will also promise to repay you for your endeavors in collecting the fruit for him and helping him heal. When you’ve finished speaking to him, head back to the Bird Statue and return to the Sky.
Upon leaving the Lanayru Gorge, you can return any time to play the Thunder Dragon’s Lightning Round game. Lightning Round will allow you to replay any Silent Realms as well as take part in a “Boss Gauntlent”, a difficult challenge in which you must try and fight as many of the previous bosses as you can without dying. This is all just a mini-game offered to you by the Lanayru Dragon, so there is no reason for you to have to do it as an essential part of beating the game – however, there are various prizes for getting good scores in both mini-games in the Lightning Round.
When you speak to Lanayru, he will give you two options – Battle and Silent Realm. When you choose the Silent Realm, you will get to replay the Silent Realm of your choice and try to beat it in a certain amount of time to win prizes.
Following this is a list of times that you have to beat in order to win a prize.
- Faron Woods: 3 minutes
- Eldin Volcano: 4 minutes, 15 seconds
- Lanayru Desert: 6 minutes
- Skyloft: 4 minutes
If you either beat the times listed or your own high scores, you will be rewarded with rare treasures.
The second option is battle. Only ten of the bosses will be accessible to battle if you haven’t beaten the game yet, but you can choose whichever of the available bosses to fight first – there are a total of 12 bosses you can fight after you have beaten the game and unlocked all the bosses. When you complete the first boss, Lanayru will give you 50 Rupees – he will give you the option to either quit and take your 50 Rupees or try and win an additional 20 Rupees by beating the next boss.
Below are the prizes you can win for taking on consecutive bosses:
- 20 Rupees
- Small Treasure
- 100 Rupees
- Piece of Heart (the second time you receive 200 Rupees)
- 300 Rupees
- Rare Treasure
- 500 Rupees
- Hylian Shield (the second time you receive 1000 Rupees)
- 2000 Rupees
- 3 Rare Treasures
- 3000 Rupees
- 9900 Rupees
You may want to go at this until you get the Piece of Heart – however, at this point in the game it doesn’t really matter if you try to brave 8 boss fights because you won’t really need it for the final boss fight in the game anyway. It’s really more of an extra thing. When you’re done playing Lanayru’s Lightning Round, return to the Sky.