


Chapter 15: Sacred Grounds Revisited
Table of Contents
Preparation for Faron
Before we head for our next destination, we can do a few new things in Skyloft, including finding a few of the Goddess Chests we activated in Eldin. There is also a new mini-game we can get at this point. If you don’t want to do any of this, skip ahead to the next section.
The Imprisoned – Round 2
Our next destination will be the Sealed Temple. Head over to the nearby Bird Statue and use it to return to the Sky, and then start making your way to the Faron region. When the landing map shows up, select the Sealed Grounds. When you arrive, you’ll see that there is some kind of track system built around the center area of the Grounds. Head inside the Sealed Temple.
When you speak to the old woman in here, she will tell you to use the Master Sword and deliver a Skyward Strike on the object in the center of the temple. Although, before Link can begin to do one, the ground starts shaking – which means that the Imprisoned is escaping its seal again. Now we’ll have to head outside with Groose by our side to take down this thing again.
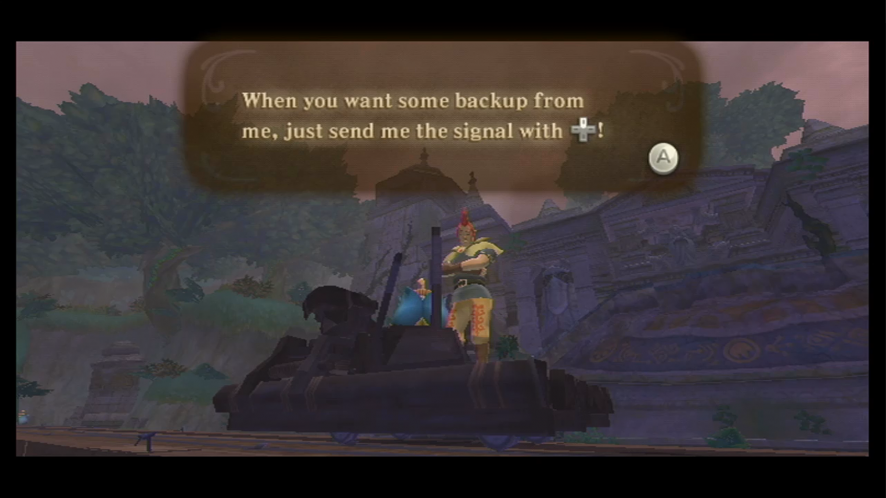
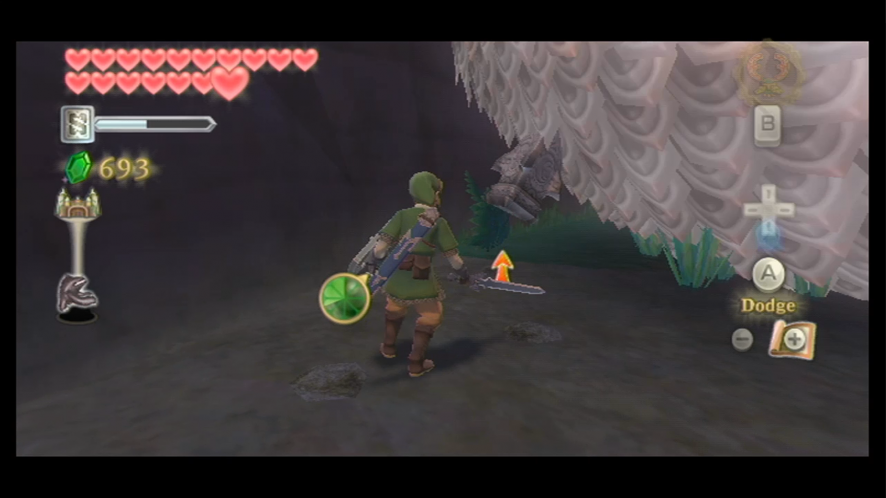
When you head outside, Groose will show you the catapult he built – the reason why there are tracks surrounding the area – which he names “The Grooseanator”. The Grooseanator works like a minecart that can travel the tracks around the area and can launch bombs from its catapult system. When he’s done telling you about it, make your way down to the bottom of the center area of the Sealed Grounds and head to the seal. The Imprisoned will then escape from underneath it.
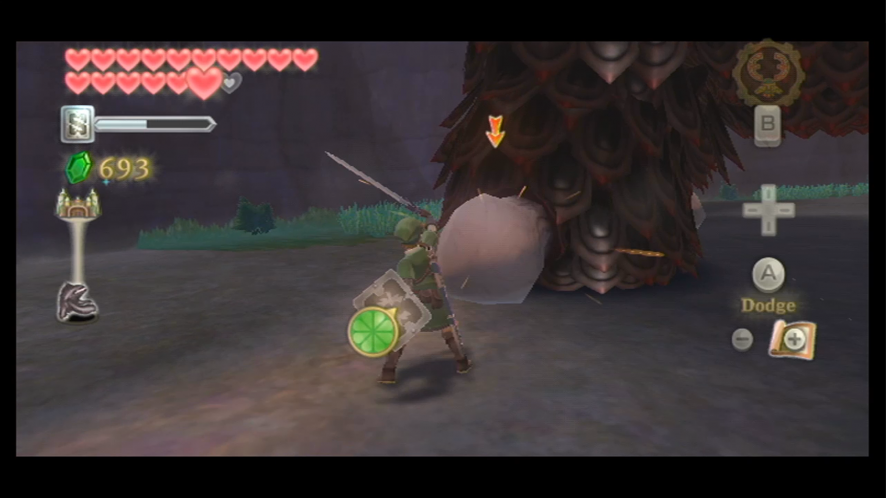
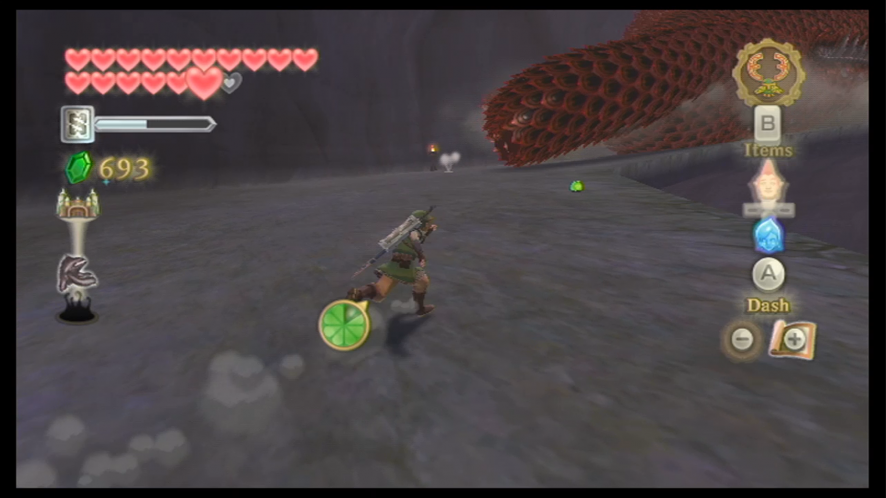
The battle with the Imprisoned this time will be slightly different, as this time he has grown massive arms. The first phase of this battle is pretty much the same as the last time we fought it – strike away at the monster’s big white toes until they’re all gone and he falls to the ground.
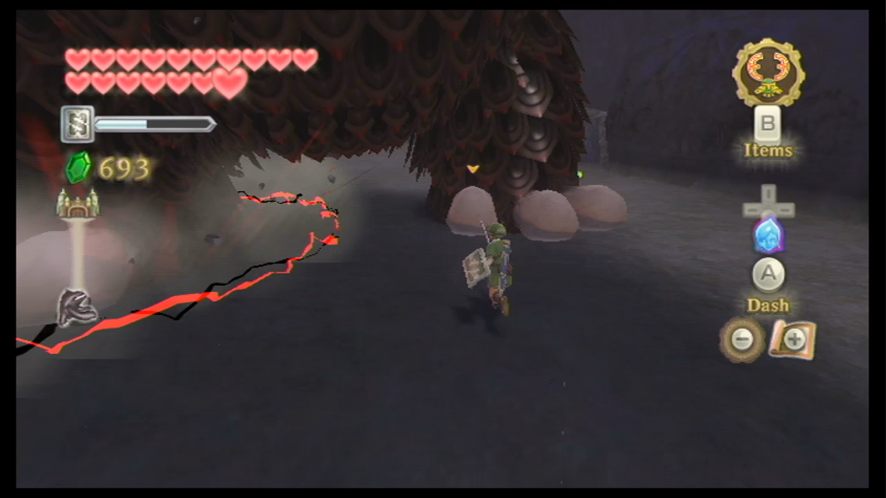
This time when he takes a step, however, the impact of his feet will give off an electric charge, which can make it hard to get in close to attack.
Now that the monster has his own set of arms, he will also try to climb up the walls of the area to get up to the temple faster. When Groose has prepared the Grooseanator, use the catapult to launch a Bomb towards the monster. This will keep him from climbing up the walls if he’s already started climbing, and it will keep him at a safe distance for a while, so you’ll get a good chance to strike his toes.
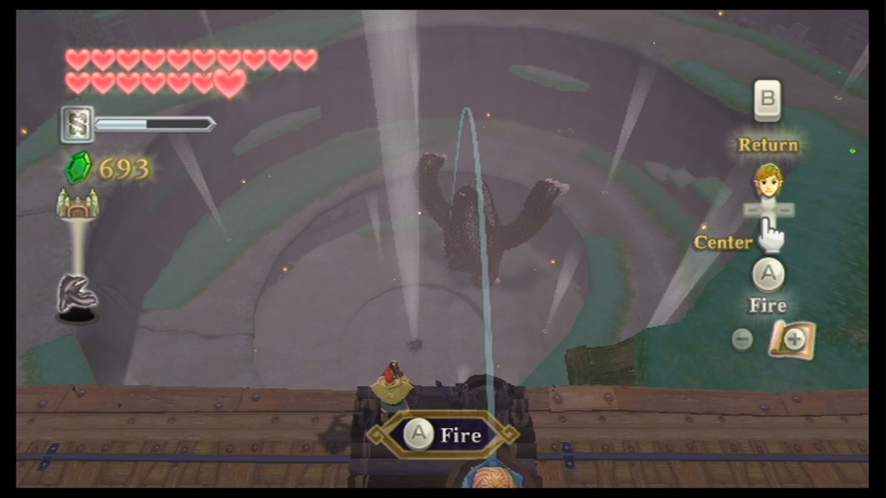
After using the Grooseanator, it will take Groose a bit of time to set it up again, so in the meantime you’re going to have to keep the Imprisoned away on your own. When the Grooseanator is prepared again, use it to launch another Bomb at the monster and create an opening for you to strike its toes and knock him to the ground.
The Imprisoned’s arms will make it hard – pretty much impossible – for you to run around to strike the seal in his head, so you’ll have to quickly jump to the level of ground below and run ahead to when you’re roughly in front of the Imprisoned and then use one of the air geysers to get back up. Strike the seal in the monster’s head with three straight, uppercut sword strikes to knock the seal further into its head.
When you can deliver two sets of sword slashes to the Imprisoned’s head, he will fall onto his belly and start to slide up the path at a pretty fast speed, much faster than his walking speed. All you can do is follow it up with the geysers and repeat the same method again once it’s done sliding and has begun walking again.
When you’ve delivered the third set of strikes on the Imprisoned’s head – a total of nine strikes – the Imprisoned will fall all the way back down to the bottom of the Sealed Grounds, so hurry down and deliver a Skyward Strike on the seal with the proper movements to seal away the monster again.
Head back up to the temple – you can do this quickly by sailing up the levels with the air geysers and your Sailcloth. When you’ve made it to the temple, head inside and speak to the old woman again, and then perform a Skyward Strike to activate the Gate of Time. A cutscene will begin where Link travels through time to arrive at the Temple of Hylia.
When you speak with Impa, she’ll explain a bit about the Goddess Hylia, as well as the devil demon, Demise. Go to the door ahead of us and you’ll find Zelda, which will trigger another cutscene, in which Zelda blesses your blade to make it its ultimate form.
Afterward, speak with Impa again. She’ll tell you that you need to find the Triforce, so head back through the Gate of Time to reach the present time and be back in the temple again. Speak to the old woman, and then after speaking to her, speak to Groose. Groose will tell you about a tree that’s in this location that could grow over a bit of time. This doesn’t really matter yet, but it will come into play later so make note of it. Leave the temple now to the east.
When you’re outside, you’ll find Gorko up on a ledge investigating some kind of wall. If you haven’t done this already before, speak to him and he will tell you about the Blessed Butterflies and how they tend to fly around what are called Goddess Walls. Play your Harp near one of these walls and you’ll be able to draw a symbol into it to specify a certain item that you can receive. Draw in an arrow, recovery heart, Bomb, or rupee, and you will get that item. Draw the one that Gorko asks you for and he will thank you with a Piece of Heart.