


Chapter 14: The Fire Sanctuary
Table of Contents
Entering the Dungeon
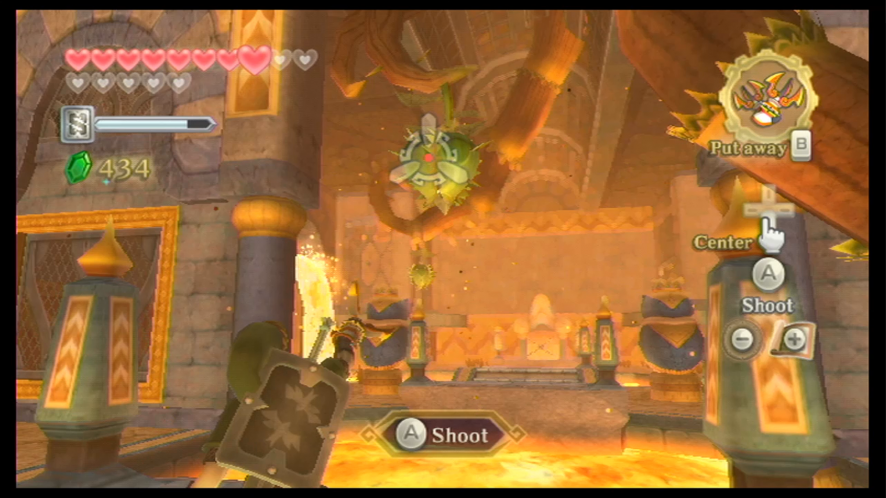
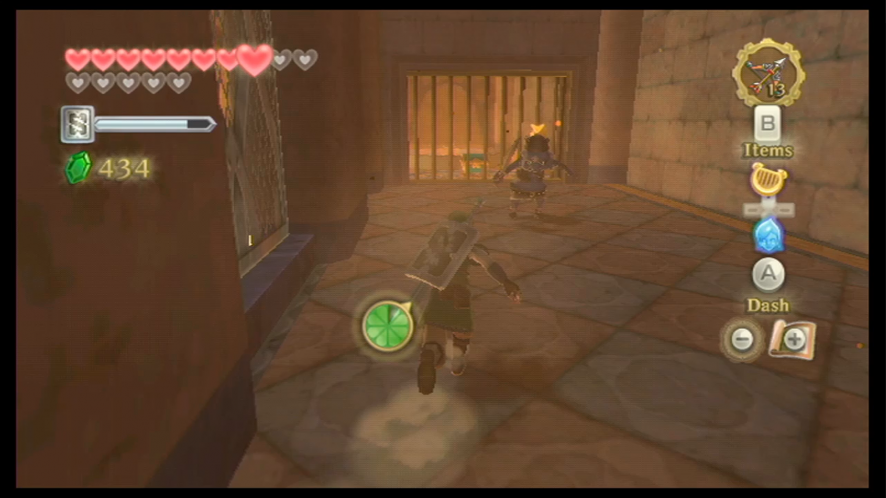
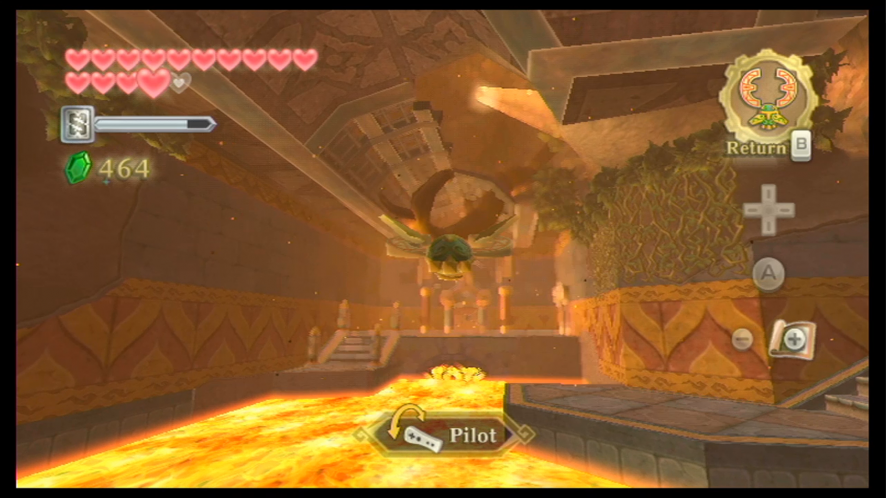
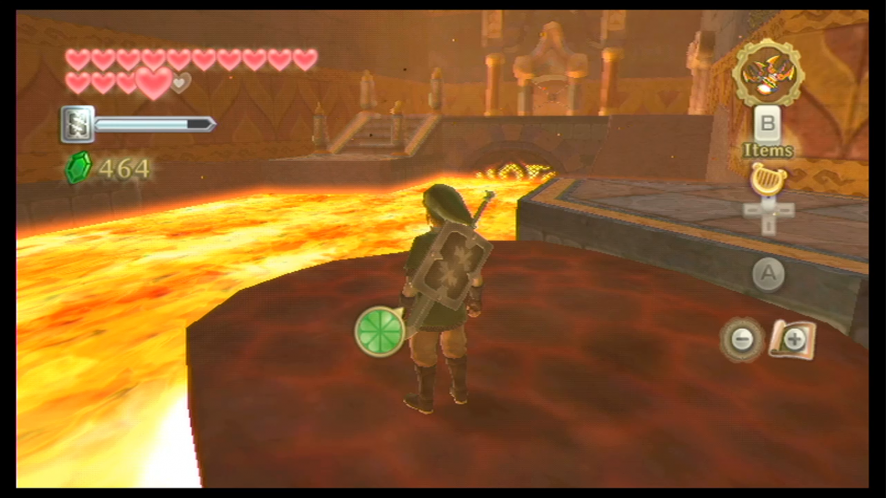
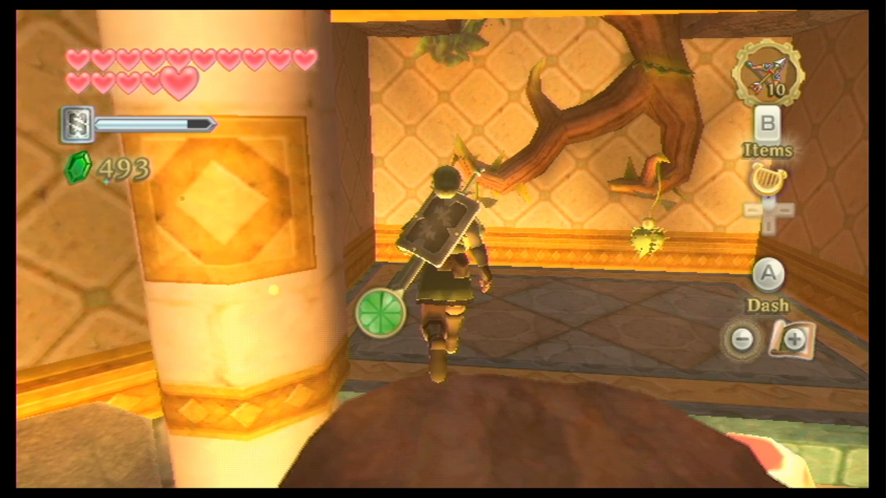
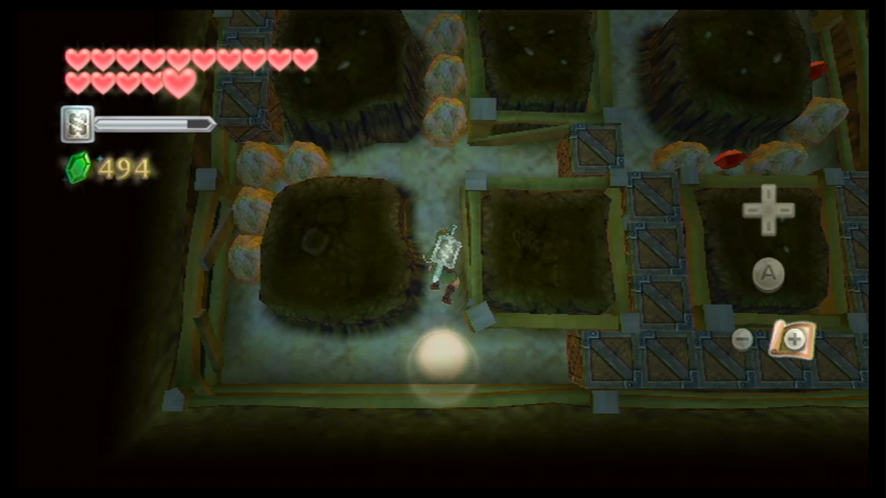
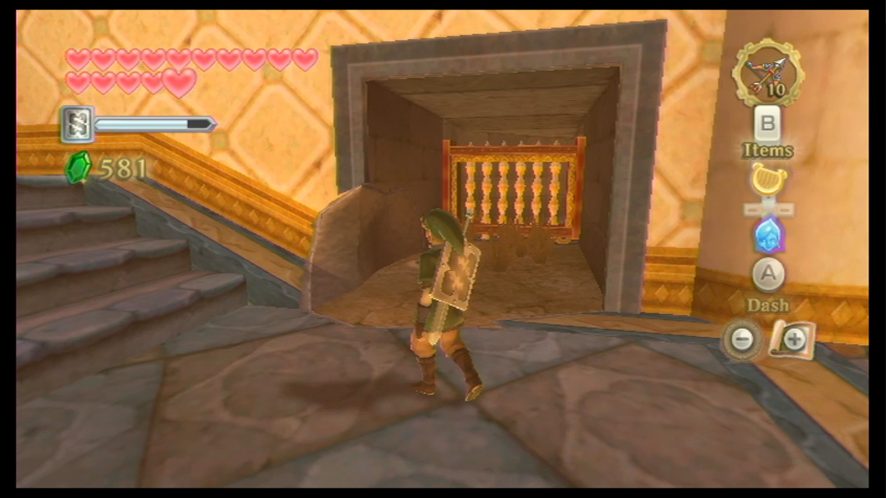
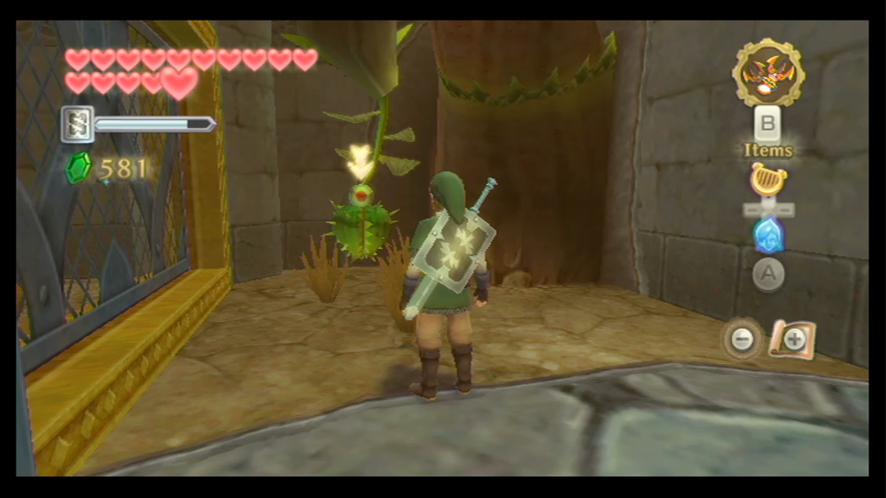
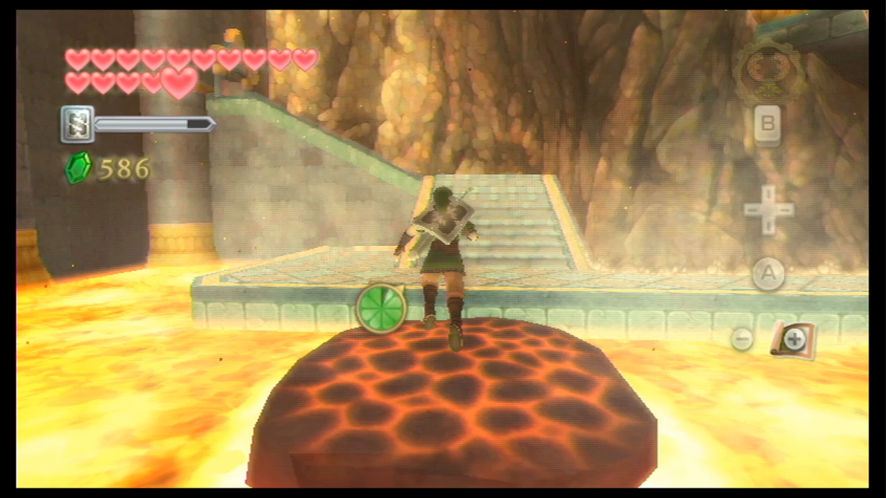
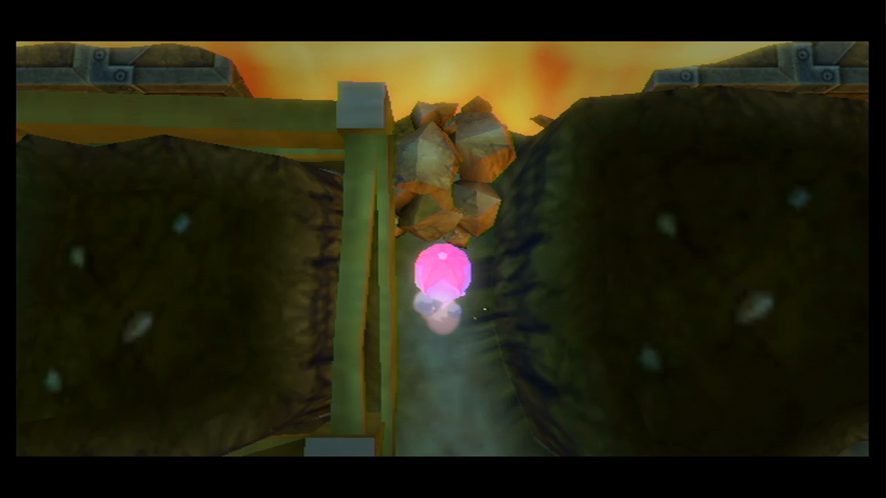
The moment you’ve entered the dungeon, go straight and you’ll see a green plant with a spiked shell hanging above the lava area. Using either your Clawshots or your Beetle, hit the plant and it will release a water drop into the lava – this will in turn create a platform in the lava for Link to stand on. However, it will sink after a certain period of time, so quickly jump onto it and then to the other side before it does.
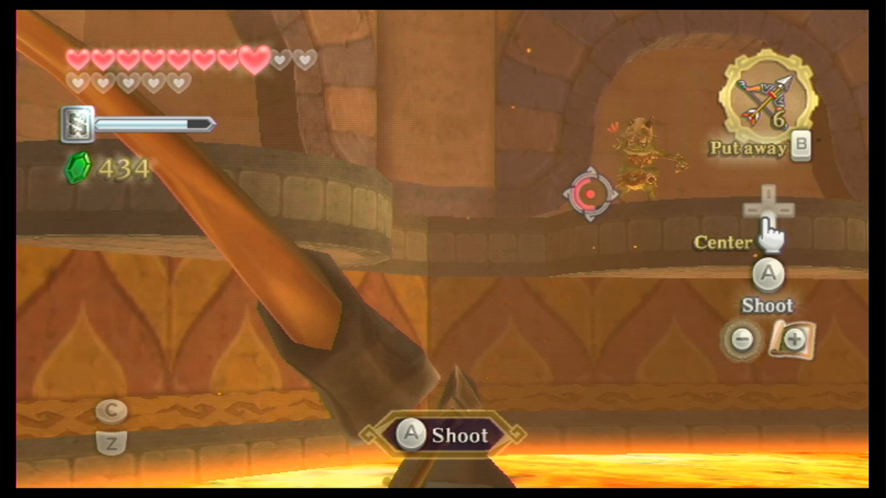
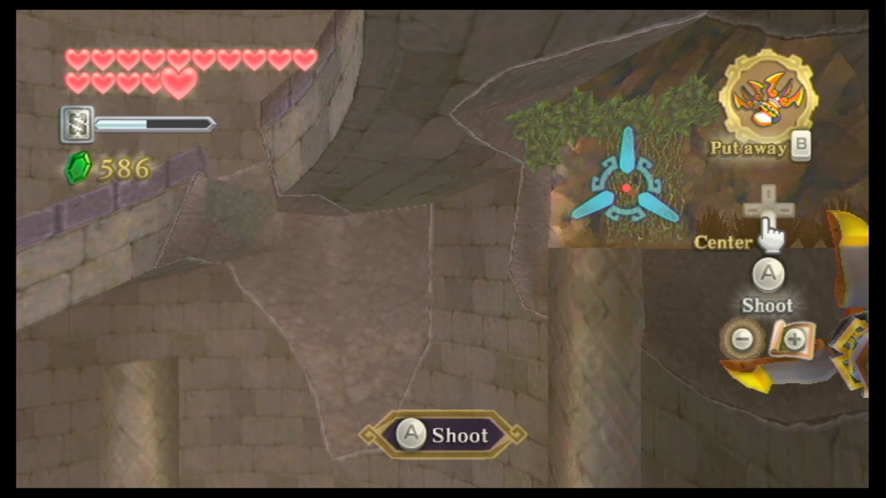
Off to the right are some Bokoblin Archers, so go ahead and shoot them down with your Bow so they don’t become a hassle later on. Afterwards, hit the water plant that’s hanging nearby to create another platform. The lava in this area has a current, so when you jump on it will take you down with the current. There will be some Bokoblin Archers along this path, so make sure you take them down with your Bow. When you’ve reached the end of this path, jump off the platform before it sinks.

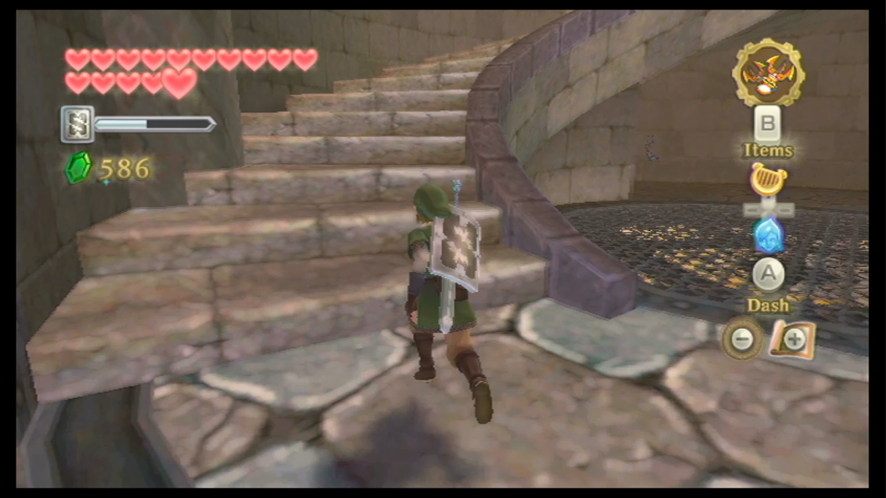
Head up these steps and head along the next pathway. There’s a closed gate here, but if you defeat the Blue Bokoblin the gate will open. The treasure chest here has a small key inside; once you’ve retrieved it, jump down to the lower level below. You will meet a new Mogma here who introduces himself as Guld. Once he is done speaking to you, open the locked door with the small key we just received and head through to the next room.
There’s a Bird Statue here so go ahead and save your game. Next, head down the staircase. You will encounter a few Dark Keese – you’ll have to defeat them quickly before they can touch you, otherwise you’ll be cursed and won’t be able to use your sword for a certain amount of time. Keep heading down the staircase – defeating the two Bokoblin that can also be found here – and then go through the next door. Start to head down the left corridor until you reach a treasure chest, which contains a red rupee.
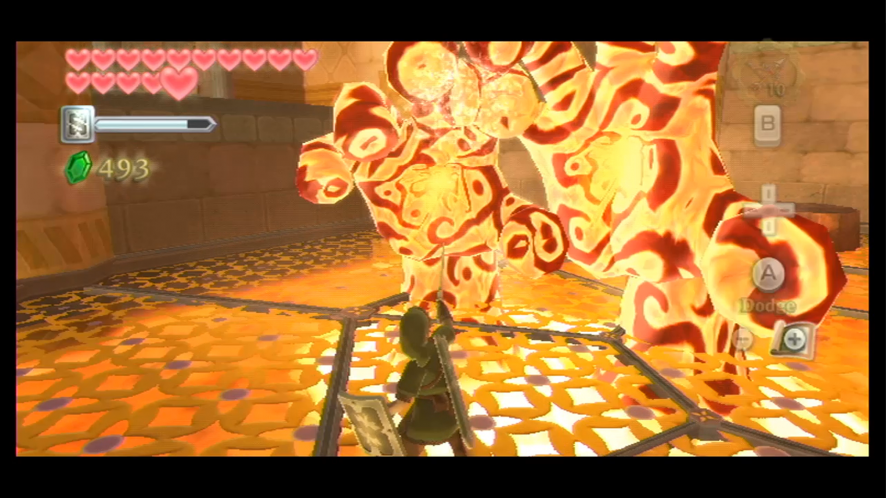
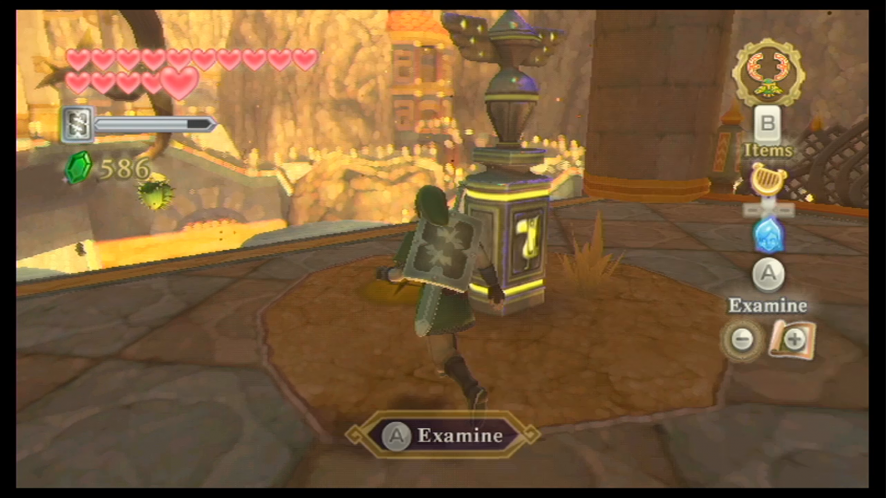
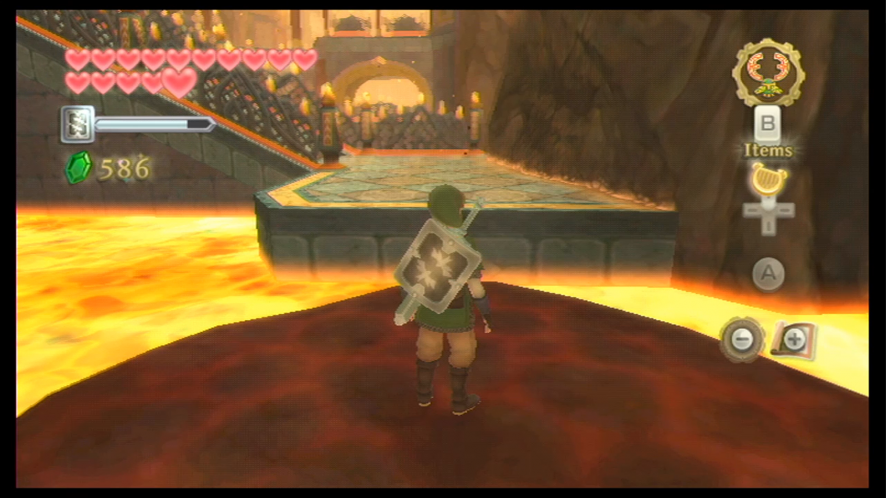
Head back to the main spot of this room where you entered and then take a right turn instead. Head down this ramp and then jump down to the cage flooring below. The moment you land, a giant hand made of lava will rise up from underneath the cage to attack you. We can’t really defeat him yet, so stand on the nearby rock in this area and wait for Magmanos to rise up from underneath. When Magmanos strikes from underneath you again, he’ll lift the rock that you’re standing on up into the air, giving you the opportunity to jump to the higher ledge here.
When you’ve jumped up to the higher platform, climb up the vines and take out the Bokoblin. Keep climbing up the set of vines and start to head over to the other side. You will encounter a Bokoblin Archer, so quickly shoot him down with an arrow. Once you’ve done that, keep heading along the path. Drop down to the level of floor belowand save at the Bird Statue here. Then head into the next room.
When you enter the room, the door will shut behind you, and a battle against a Dark Lizalfos will begin. The only traits that make a Dark Lizalfos different from a normal Lizalfos is that it’s slightly faster and releases a curse from its mouth at Link instead of flames. However, despite this, they can still be defeated the same way as a normal Lizalfos, so take it down quickly to open the door. Head across the bridge and then through the newly-opened door.
The moment you enter the next room, quickly take down the Bokoblin Archers that are in your line of sight with your Bow. You should also defeat the Cursed Spume. At the north end of this room is a boulder stuck in the mouth of a statue, which is actually blocking the lava flow. In the western part of this room is a cavern at the top – we can’t access it, but the Beetle can, and hiding inside that cavern is a Bomb that we can grab – the cavern also leads to the other side of this room. Equip your Beetle and send it through the tunnel to grab the Bomb, and then bring it over to the boulder and drop it onto it to blow it up and release the flow of lava.
Now that we’ve started the flow of lava again, use the Beetle while you have it equipped to hit the water plant. A platform will be created in the lava; because we got the lava flowing again, the platform will now begin to drift down the path, so jump on and ride it to the door at the west side of the room and head through.
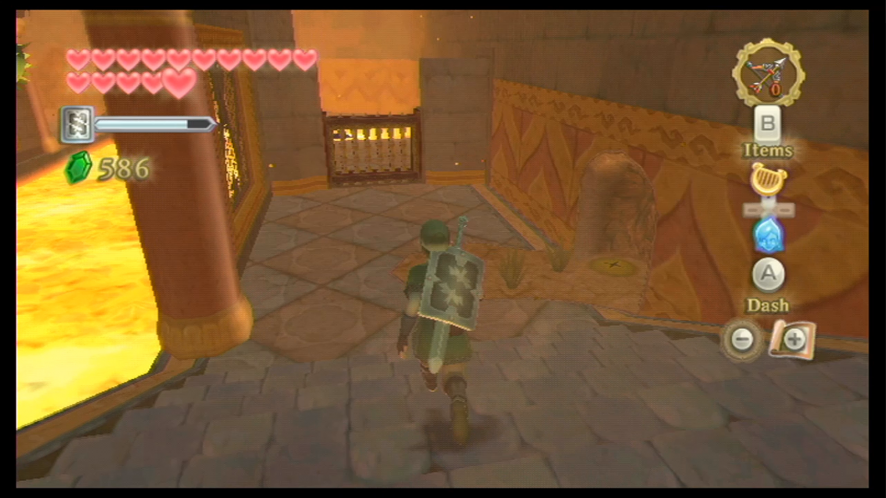
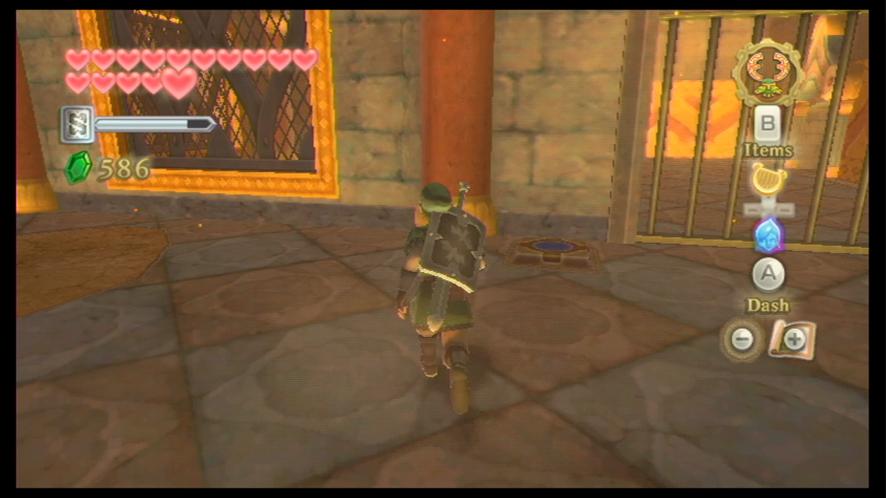
When you enter this room you’ll immediately notice that an unfortunate Mogma has gotten captured and is now hanging from the ceiling. Unfortunately, we can’t do anything to help him yet, so just pass him and head to the spot where there’s a lot of lava ash built up on the floor. You can use your Gust Bellows to clear it, so go ahead and do that and then head into the next spot around the corner. There’s a treasure chest here, so open it to get a small key. Now head back to the last area and open the locked door with the small key.
The Mogma Mitts
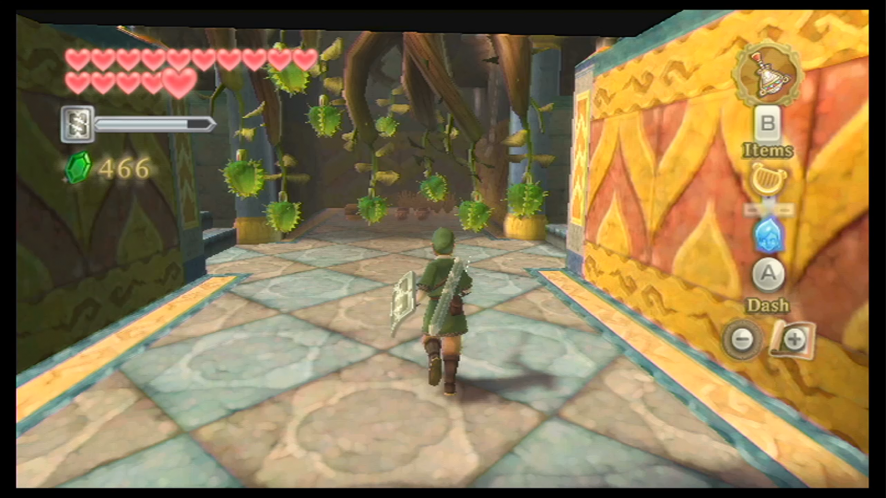
Head up the steps while being careful not to hit the spiked plants that are growing here. When you’re in the next area, head to the south side of this room and open the treasure chest here to receive a red rupee. There are two sets of stairs here (it doesn’t matter which set you take), so climb up one to reach a higher floor. Head to the treasure chest on the west side of this floor and open it to get a random treasure.
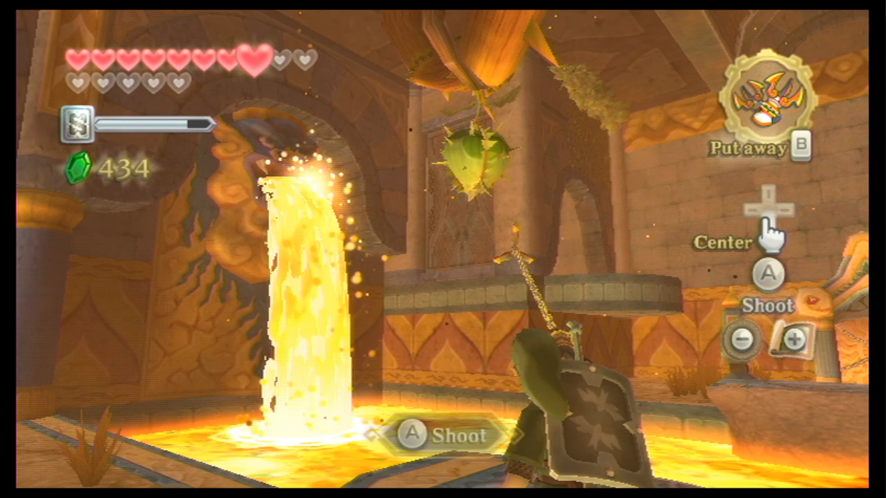
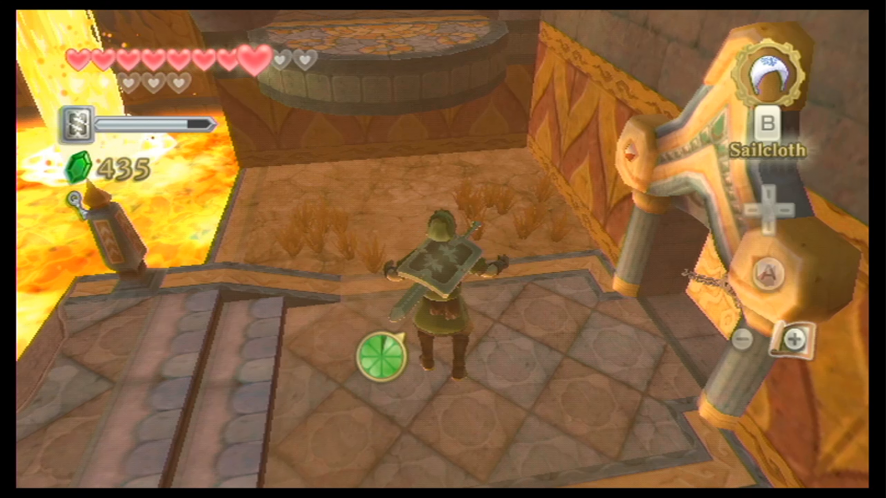
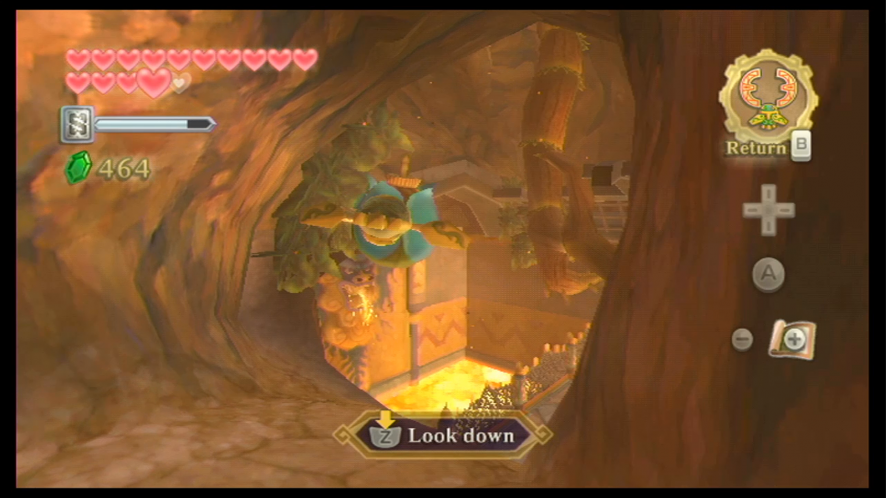
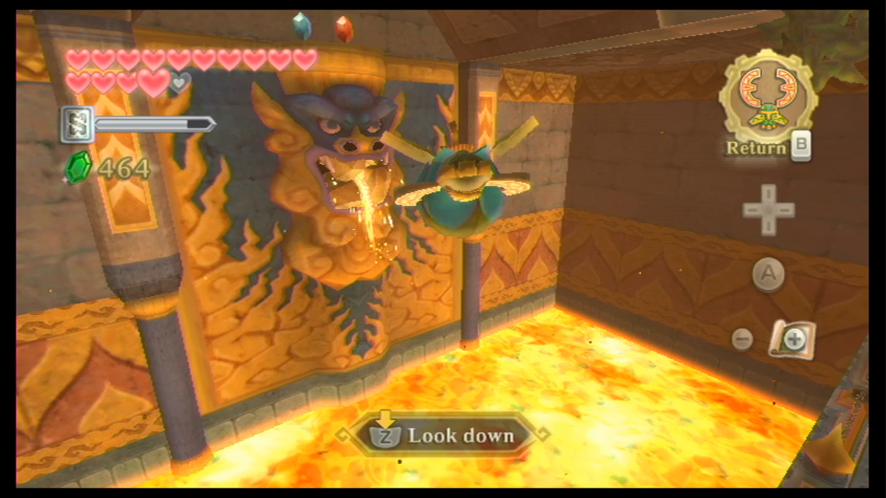
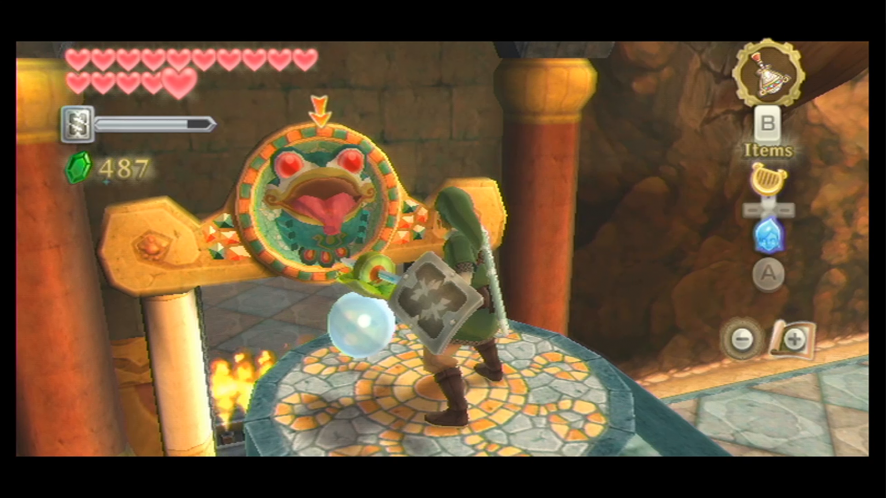
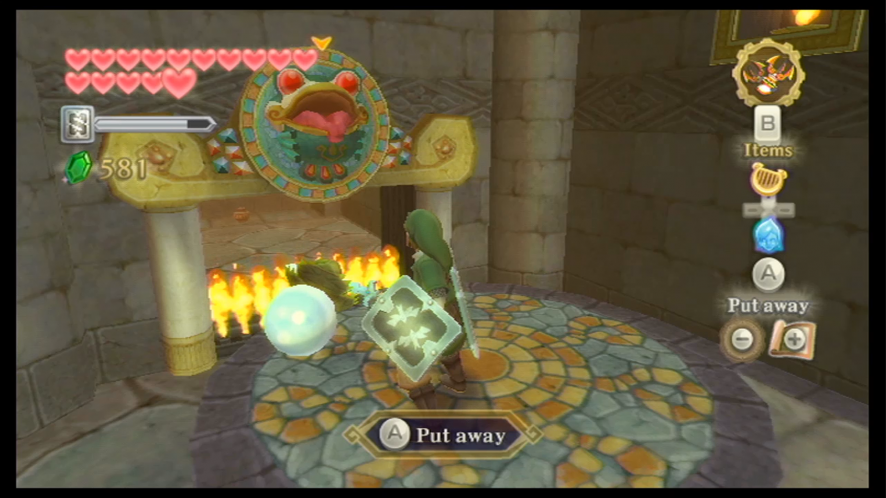
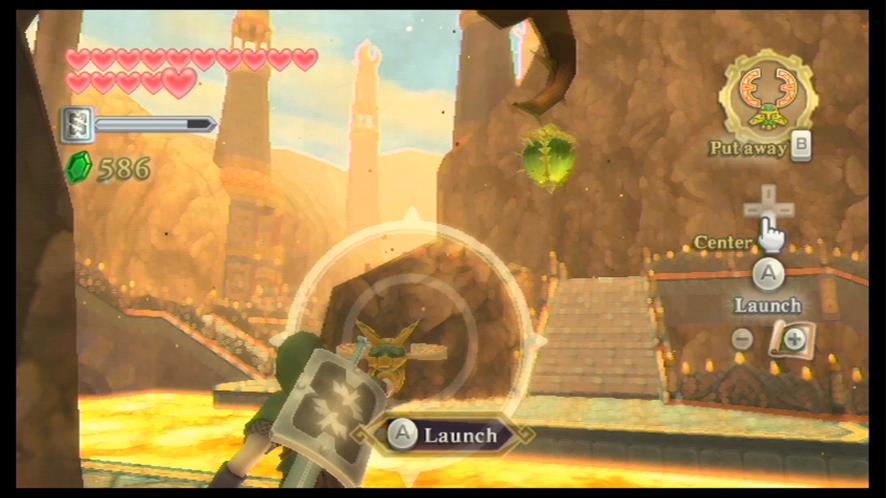
If you direct your view to the north end of this room, you’ll see that there is a frog structure – the same ones we dealt with outside the dungeon – perched above a wall of fire. If you face away from the door, you’ll see another one of those water plants growing on the ground. When you take your sword and jab it, the plant will stick onto your blade, so do this and walk to the edge of the above platform to get proper aim. Then swing your sword to throw the water bulb at the frog structure – if if hits the statue, the plant will burst and the water will release on the frog’s tongue, putting out the wall of fire in the process.
Head through the new entrance to the next room and take down the Green Bokoblin and the Dark Keese. There’s a Bird Statue here, so go ahead and save, and then defeat the Blue Bokoblin.
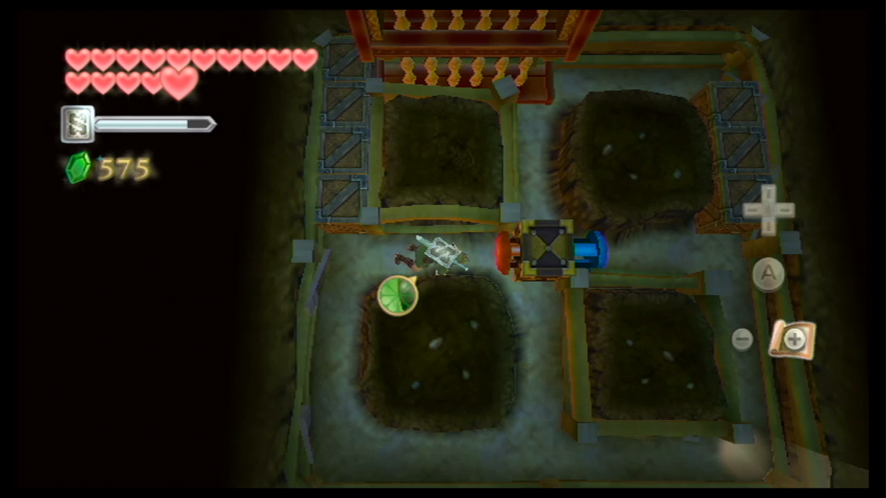
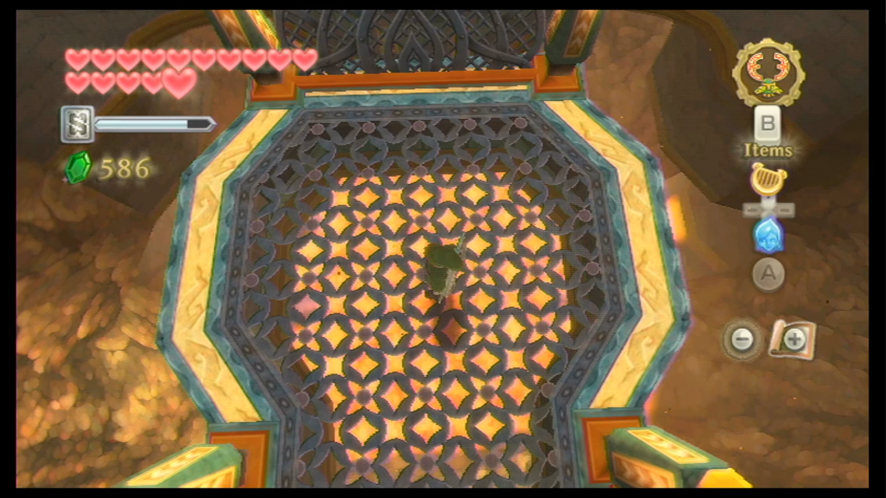
When you head into the next room, the door will shut tight behind you. Jump down to the cage floor behind you and you will begin a relatively easy battle with the dungeon mini-boss, a Magmanos pair.
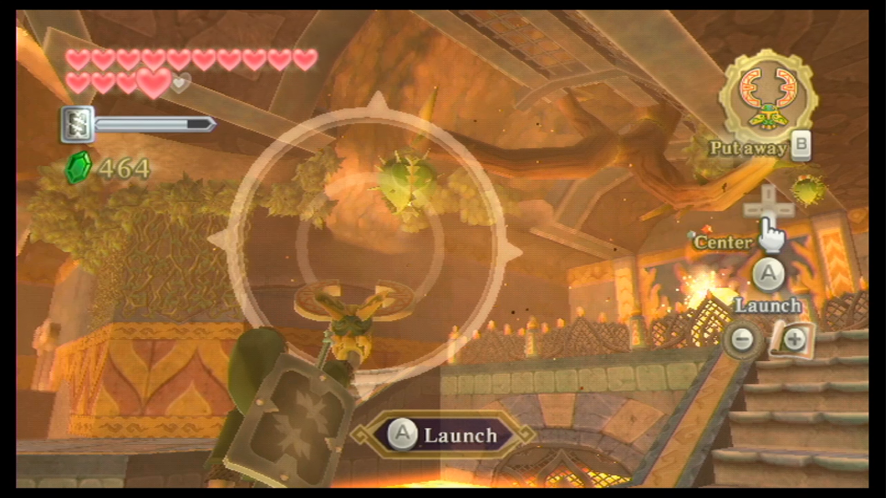
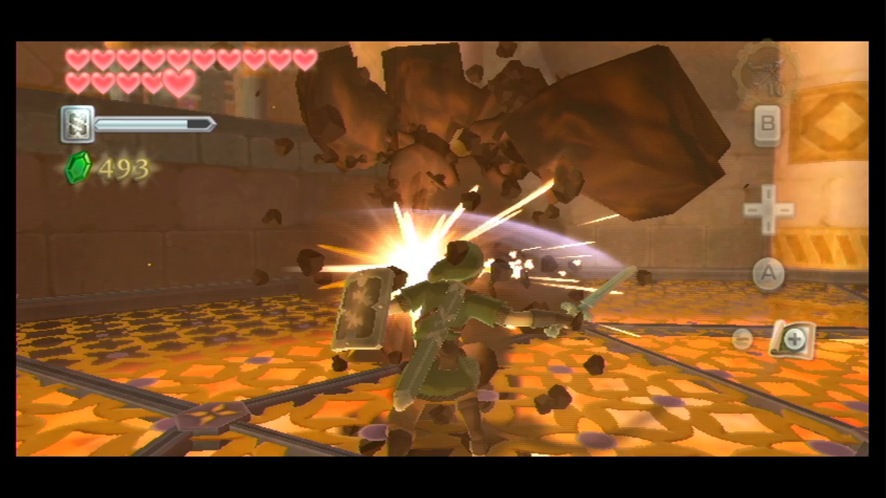
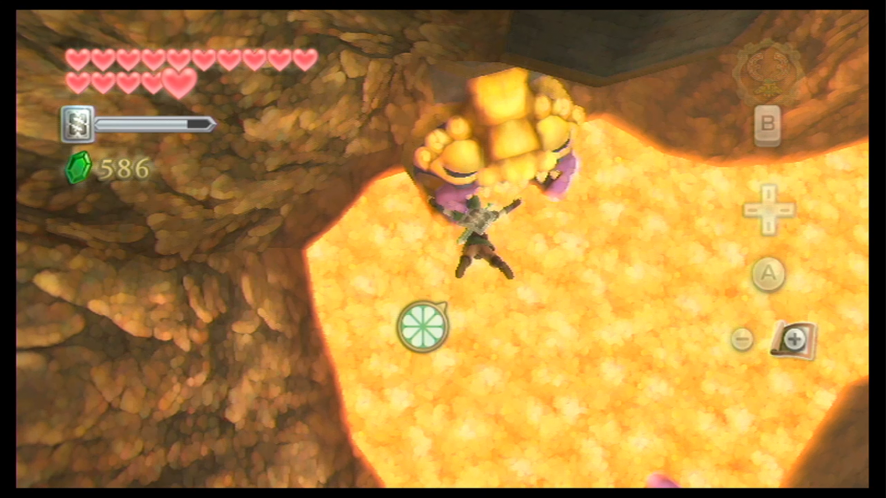
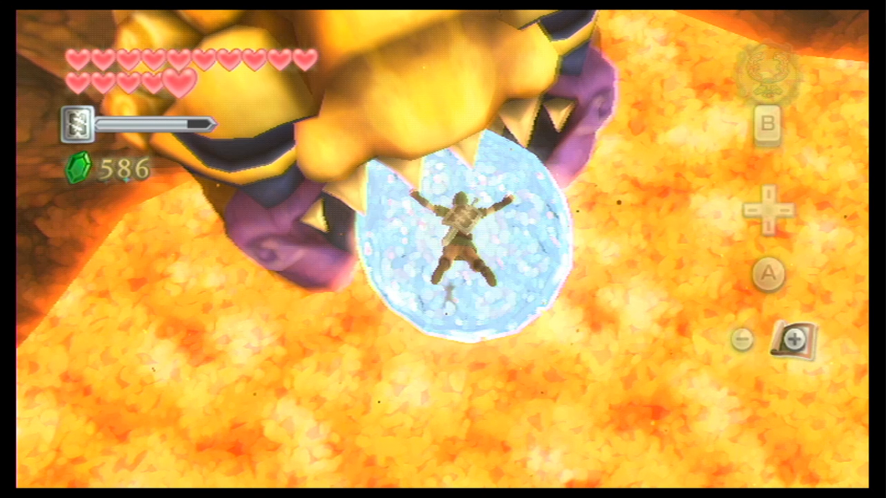
When you’re standing on the cage floor, head over to the rock and wait for a Magmanos to come over and push you up. When it does, jump to the platform and perform a jab on the water plant growing here to stick it onto your sword. Jump back down to the cage floor and run around until one of the Magmanos comes up from out of the lava and starts to follow you. When one does, take the opportunity to throw the water plant at it. When the water hits the Magmanos, its lava form will change into solid rock – slash at the rock with your sword until the Magmanos hand breaks to pieces. Repeat this process with the second Magmanos, and you will have defeated the dungeon mini-boss.

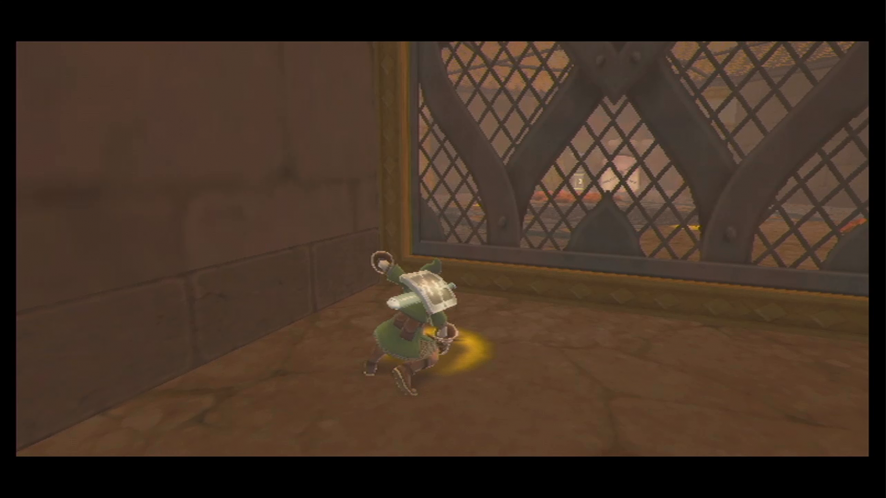
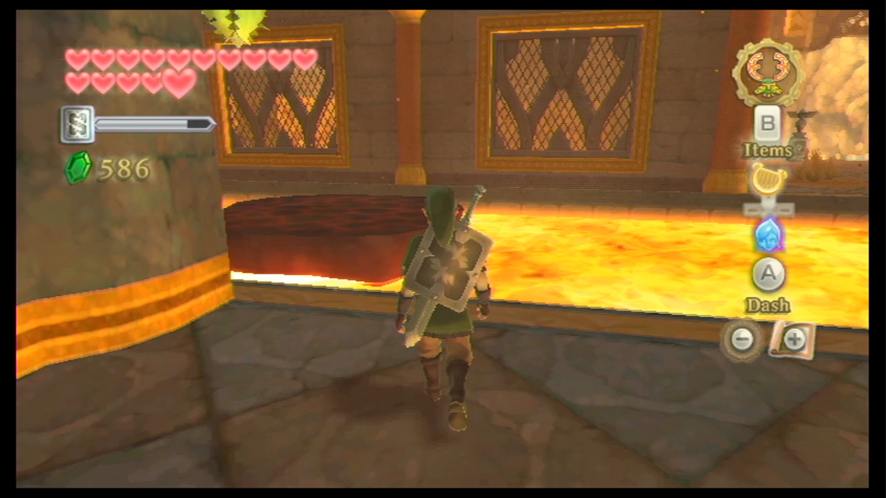
When you have defeated the Magmanos pair, the room will be drained of the lava. Head through the newly-opened door and you will reach a room that is adjacent to where the Mogma is still hanging from the ceiling. He will ask you for help again,so go through the next door here and pull the lever to release the Mogma from the trap. The Mogma will then give you the Mogma Mitts as thanks for saving him from the trap – unlike the standard Digging Mitts, the Mogma Mitts will allow you to dig beneath the ground and navigate the underground tunnels.
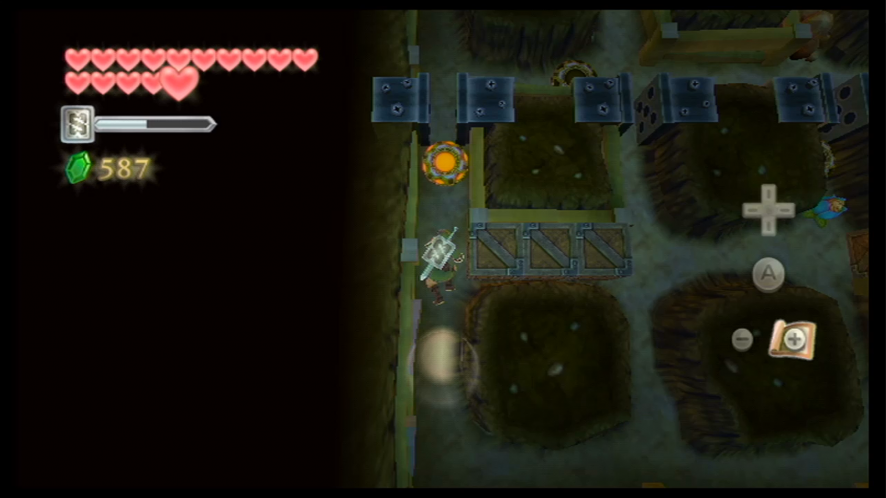
After you’ve finished speaking to the Mogma and received the Mogma Mitts, head over to the cage in this area and find the soft spot in the ground. When you dig here, Link will dig through the ground and end up in the underground tunnel.
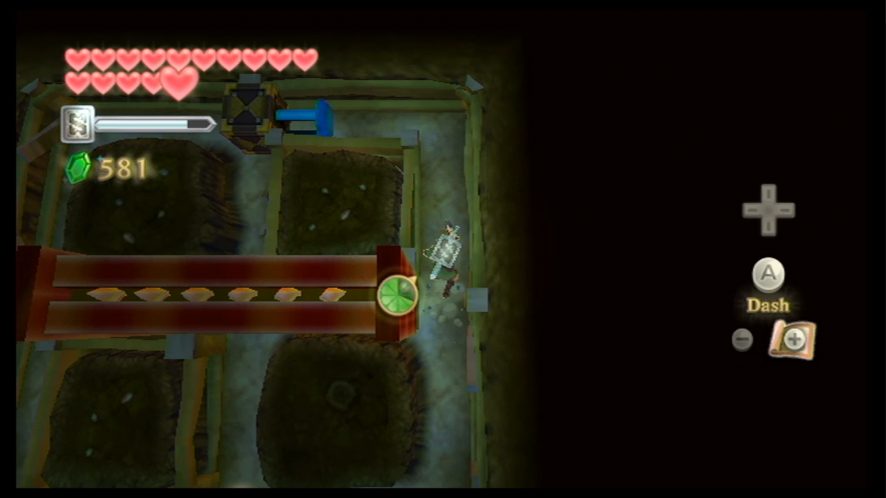
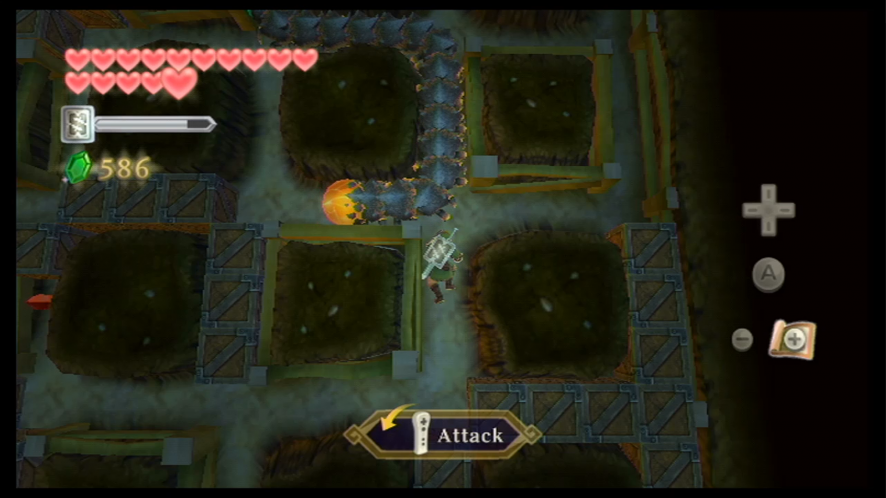
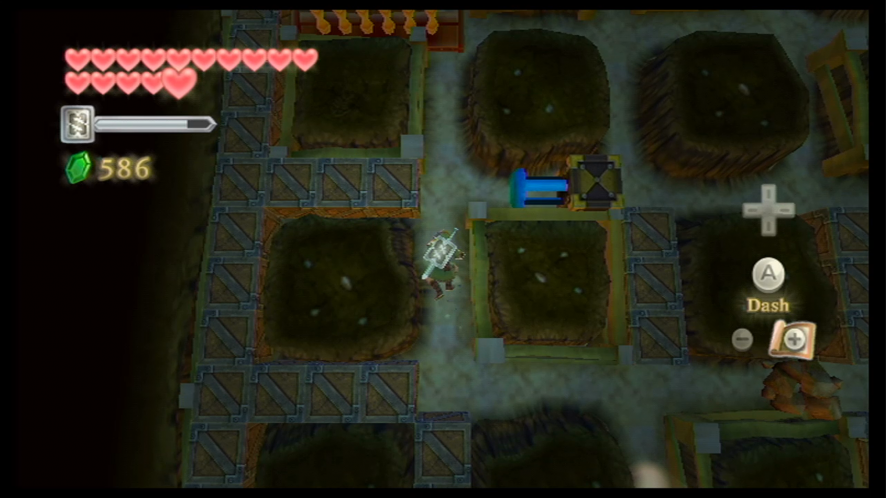
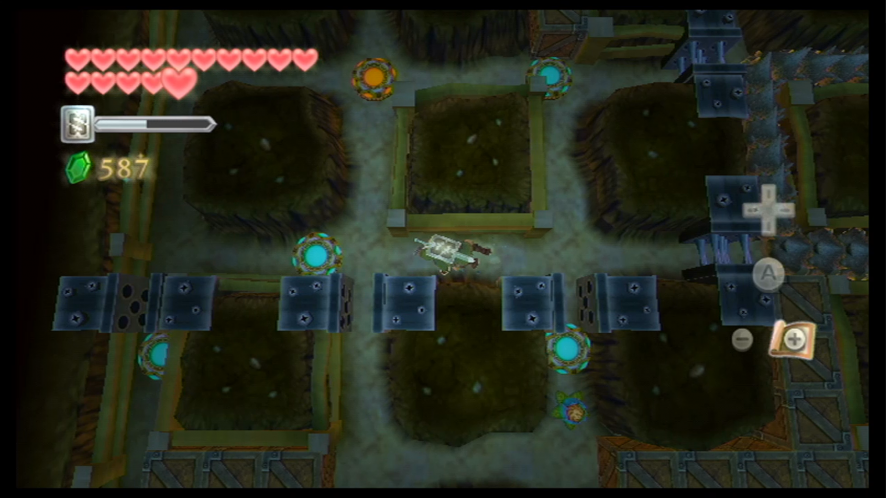
While you’re in the tunnels, you can claw through soft rock blocking the path by shaking the WiiMote. Some rocks cannot be clawed apart by the Mogma Mitts – however, you can blow these up by finding a Bomb somewhere on the path and hitting that with your Mitts to roll it in the direction of the boulder and blow it up.
When you first arrive in the tunnels, dig your way through the barricading soft rock and then roll the Bomb to blow up the boulder (be sure to move out of the way of the explosion so as not to harm yourself). This will open the path, so head up to where the light is streaming in and you’ll climb back up to the surface.
When you resurface, you can equip your Gust Bellows and use it to clear away the ash that’s gathered on the floor here. There will be another soil area here that you can dig into, so go ahead and do that to access the next set of tunnels.
Ahead you will see a mechanism in the path. If you hit the red switch (shaking the WiiMote the same way you dig through soft rock to activate it) then the wall in the path will move to the other side. Head back to the tunnel entrance that we came through to resurface again. The door that was closed earlier is now open – it opened when we changed the position of the wall underground. Head through to the next room, climb the steps, and then go through the door.
Take out the Blue Bokoblin to your right and then head down this pathway and press the floor switch that’s sitting here. This will move the barricade here and make it a bit easier and quicker to navigate the earlier rooms of the Fire Sanctuary.
Now, there’s actually an Empty Bottle – the fourth one – that we can get while we’re in this dungeon, and it would be best to get it at this point in time when we’re in this part of the dungeon. However, if you’d rather do this later, just skip ahead a couple of paragraphs to continue the dungeon.
Empty Bottle: #4
Take a left turn and head through the door that’s located at the other side of the bridge. You’ll see that we’ll be in the first room where we encountered the Magmanos. Look to your left and you’ll see that there’s a soil spot here we can dig through. Dig down into the tunnels with the Mitts and then head over to the blue switch and activate it. When you resurface, the gate will be moved, so head through. Step on the floor switch and you’ll open another nearby gate.

Thankfully, we can defeat the Magmanos in here with a water plant now, so go ahead and defeat it the same way we defeated the Magmanos pair mini-boss. When you’ve defeated it, the lava will be drained from the room, so head through the western pathway and you will come along another door, so head through and you’ll be in a room where Empty Bottle #4 is inside a treasure chest. Now that we’ve gotten that out of the way, backtrack back to the floor switch and onwards to where we entered this optional area.
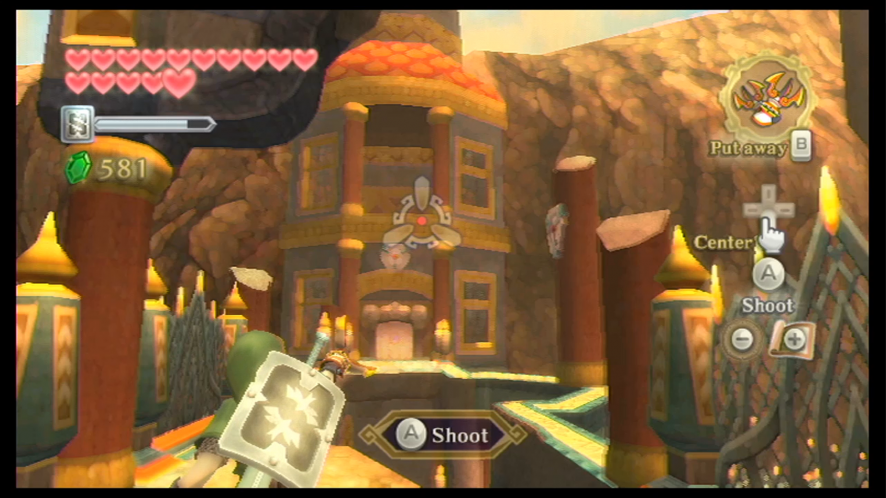
When you’re back at the outdoor area, you’ll see that there’s a fairly large gap in the bridge. Before you do anything, equip your Bow and shoot down the Bokoblin Archers that are located on the other side of the bridge. Now equip your Clawshots and latch yourself onto the pillar perched to your right. Once you’re attached to that target, use your second Clawshot to pull yourself to the next target on the other side. Head through the door to the next room.
There’s actually another Mogma in this room who’s been caught in the same trap as the last one and is hanging from the ceiling. There’s a wall of fire blocking our forward path, so find the soil spot in the room and dig into it to go into the tunnels.
There are two switches underground this time, and we have to hit them in a certain order, otherwise this won’t work. The tunnel is somewhat “randomized” – it all depends what direction you dug into the tunnels, so it’s hard to tell you which one to hit first. It’s really just a matter of trial-and-error – hit them both, resurface, and if you find yourself stuck, that means the doors are in the wrong positions; it’ll be pretty easy to deduce after that which of the two switches you have to hit first.

When you’ve managed to move both gates successfully, head to the water plant that’s now accessible and attach it to your sword with a jab. Now head back to the frog statue and throw the plant onto it to dowse the tongue with water and put out the wall of flames.
When you’re in the next room, pull the lever to release the Mogma from the trap. As thanks, the Mogma will dig up a treasure chest that actually contains the Dungeon Map. Head to the east end of this room and blow up the wall here with a Bomb to reveal a new room.
The Golden Sculpture
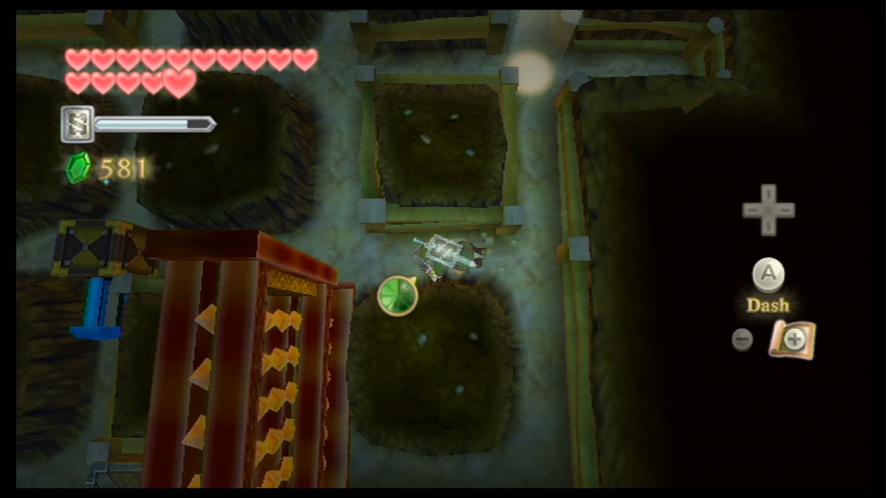
In the new hidden room, find the soil spot and dig down into the tunnels. In these tunnels, you will encounter a rather annoying enemy to defeat – the Moldorm. These caterpillar-like creatures travel through the tunnels and only has one weak spot: their tail, which you have to get up behind and strike with your Mogma Mitts. Each time you strike the Moldorm’s tail, its body will shorten, making it faster as it navigates the tunnels. You’ll only have to strike the Moldorm’s body three times from behind to defeat it. When you’ve gotten rid of it, resurface at the other exit.
When you’re on the other side, open the treasure chest to get a small key. Climb the vines, drop from the ledge, and head to the door near here and head through. Quickly take down the Bokoblin Archer in the distance with your Bow, and then use your Clawshots to reach and head back through the other door.
Head down the stairs and turn right. Unlock the locked door with the small key we received earlier and you’ll be at another staircase, with quite a few enemies. Defeat the Bokoblin and the Cursed Spume; when you’ve done that, hit the water plant to make it fall, and then jump to the other side. Now climb up this next set of steps to reach the next door.

Defeat the Dark Keese in this room, as well as the Blue Bokoblin, and then head up the steps to the right. Defeat the Cursed Spume with an arrow, and then head to the other side of the room and look for the soil spot to dig into with the Mogma Mitts.
When you’re inside this set of tunnels, crawl to the switch and hit it to activate it. When you head forward past the gate that you just moved, a Mogma will dig over and hit the opposite side of the switch, moving the switch back to where it was earlier (well, that wasn’t very nice now was it?). Now you’re going to have to play a game of cat-and-mouse with the Mogma. The simple and easy way of doing this is to wait in the center spot of this area and wait for the Mogma to come around one of the edges so you can stop him. When you manage to catch him, he will apologize for his actions and give you a treasure chest that contains a Piece of Heart.

When you surface again, take out the Cursed Spume and the Dark Keese and then use either your Bow or your Beetle to hit the nearby water plant and create a platform in the lava. Ride the platform to the end of the path and jump back to the level floor. Save at the Bird Statue here and then find the soil spot and dig underground again.
Dig through the soft rock at the center of these tunnels and then hit the Bomb sitting here to blow up the boulder. The moment you hit that Bomb, quickly make your way back to the entrance, because when the boulder blows up this area will start filling with lava. Resurface and you’ll see that there is lava flowing into the spot below.
Step on the nearby floor switch to open the gate and then go through the door located to the right so that we’re back in the large room. Create another platform with the water plant hanging above and then ride it along the lava flow until you make it to the ledge. Jump onto it.
Climb up the steps and take a right turn to reach a ledge. There are two spots we can dive off from here – the left and the right – so go ahead and dive off from the left and try to land on the platform near the statue. As you get closer to the platform landing point, pull out your Sailcloth to make a soft landing. Head up the stairs and go through the next door.
In this new room you will encounter two Dark Lizalfos, so defeat them the same way we defeated the previous group of Dark Lizalfos and then head through the door that opens up afterward. Head up the spiral steps and then latch yourself to the set of vines with your Clawshots to reach a treasure chest that contains a piece of treasure. Keep scaling the room until you make it to the door at the end of the staircase and head through.
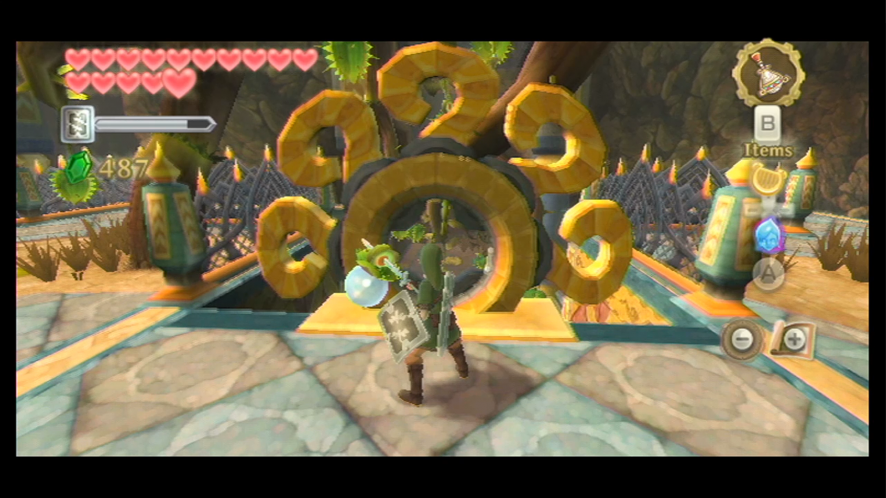
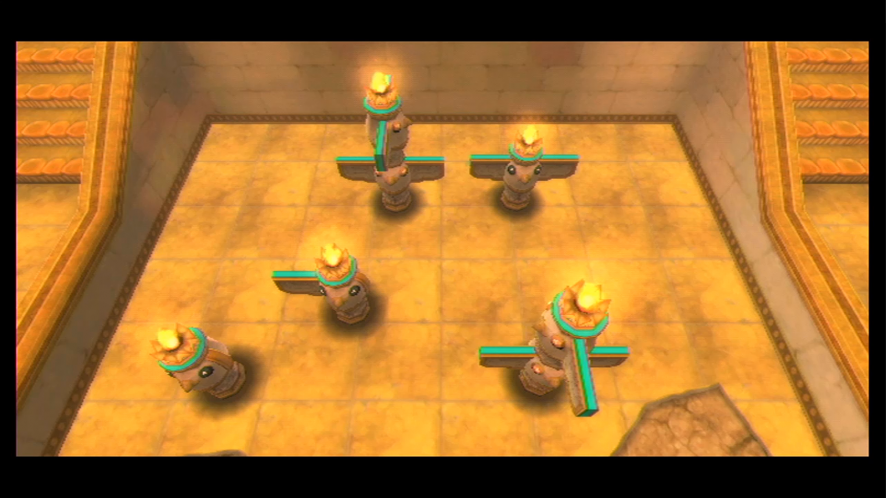
There’s a stone tablet ahead. Upon reading it, you will be given a clue on what you need to do next. You have to light the statues in the proper order. When you look at the statue, you’ll see that each one has a different number of wings. If you follow the steps from least amount of wings to greatest amount, the order will be: bottom-left, middle, top-right, bottom-right, top.
Dig through a soil spot to go underground and you’ll find a few orange switches along the ground. These are the switches that will activate the lights on the statues above ground.
- Crawl over the first two orange switches to activate them
- Then blow up the boulder with the Bomb (do NOT press the switch near the Bomb yet).
- Crawl on the third one, the one near the Bomb
- Then the fifth one to finish this puzzle.
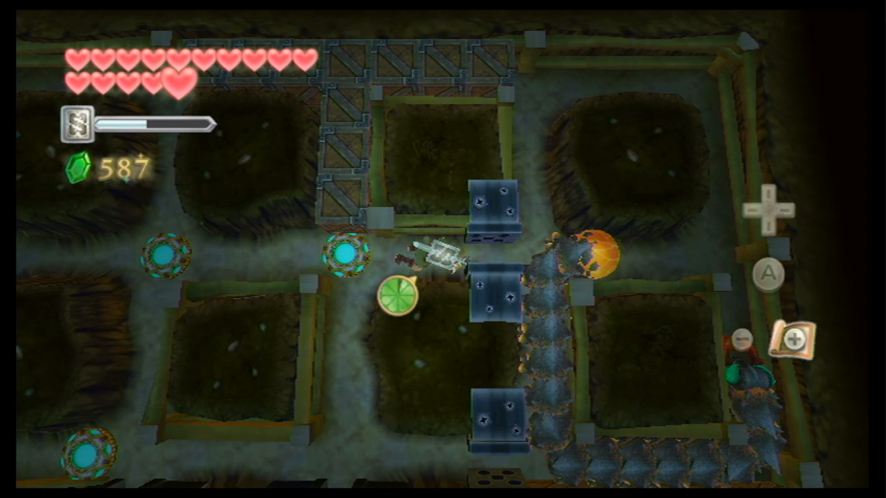
Unfortunately, after you’ve activated all the switches, we won’t be able to leave because we will be thrust into a battle with a Moldorm. Just like we did the first time, defeat him by striking him three times in the tail. When you have defeated it, head back to the entrance of these tunnels to resurface.
Now that we activated the lights, the gate that was shut before will now be open, so head up the steps and open the treasure chest here to get the Mysterious Crystals. Head up the other set of steps at the west side of the room and go through this door. There are pots in here you can break with your sword to get some Recovery Hearts and Fairies. Step onto the floor switch to open the gate and then head down the next set of steps. Save your game at the Bird Statue.
Climb up the northern steps to reach the boss door. When you fit the Mysterious Crystals into the lock, the door will open and you will go inside to take on the dungeon’s boss.
Demon Lord Ghirahim – Round 2
When you arrive in the dungeon boss room, a cutscene between you and Ghirahim will begin – after the cutscene, you will go into battle with him.
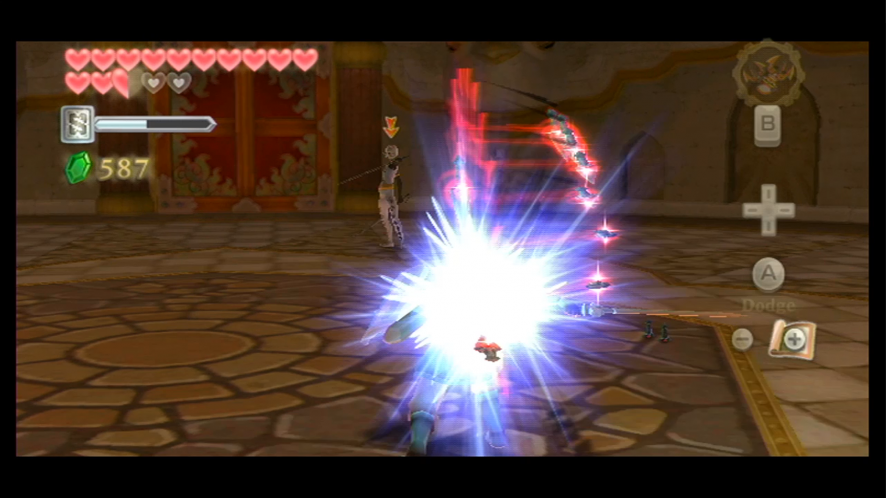
During the first phase of the battle, Ghirahim will walk around the room while using his sorcery to bring forth red diamonds, which he will use in both offensiv eand defensive manners. If there is a large amount of distance between you and Ghirahim, he will shoot the red diamonds out at you like bullets. If you’re trying to strike him while you’re in close, he will use the diamonds like a shield so you strike the diamonds instead of him.
It’s all about patience and precision for this battle. If the diamonds are arranged in a horizontal manner – a line above and a line below – then you have to strike in between with a horizontal strike to break his guard. If you miss, Ghirahim will grab your sword and you’ll have to try and break free. Keep your sword moving at all times – even if you’re not attacking – and wait for an opening where his hand isn’t so you can strike him. Again, it takes a bit of patience and quick, precise attacks to get anywhere in this battle, not to mention after you’ve struck him a few times he will summon even more diamonds to defend with, so it will get harder to strike him; again, it’s about patience and precision.
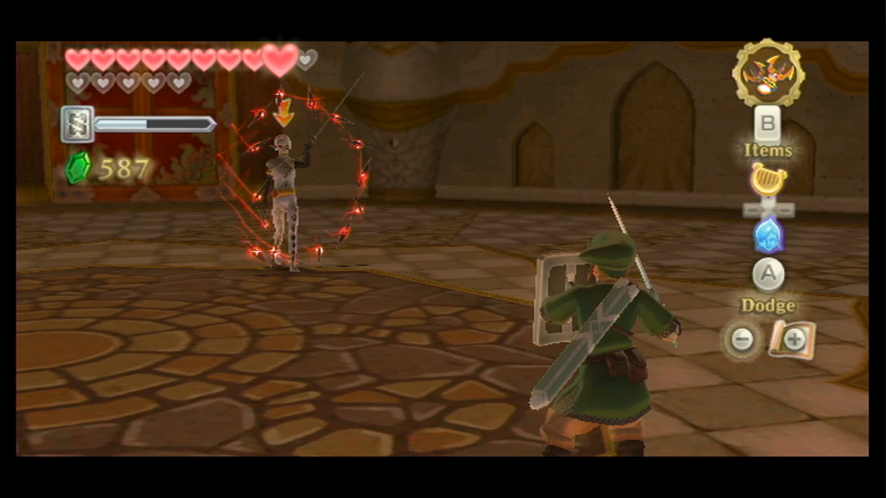
When you’ve managed to land a few good hits on him, Ghirahim will draw two swords and will make diamonds that will surround you. If the diamonds are over top you, shake the WiiMote and Nunchuck forward to do a vertical spin attack and knock them away. If they are surrounding you in a circle formation, just do the opposite – perform a normal spin attack. When you get closer to Ghirahim, he will use his swords in the same manner as a Stalfos to protect himself, so you’ll have to match your swings to hit the areas of his body that aren’t being guarded. When you do manage to break his guard, follow up your attack with as many consecutive hits you can get in before he starts defending again.
After you’ve gotten more hits on him, Ghirahim will start to get quicker and more aggressive with his attacks. If you get anywhere near him, he will start swinging his swords around wildly. He will also start leaping into the air to try and pierce you with his swords from above. If he happens to jump, quickly run around this area so that he will miss you when he tries to land. Like before, strike him where his sword isn’t blocking and follow up with any attacks you land with more consecutive, aggressive attacks.
Ghirahim will also start to shoot more diamonds at you – this time in groups of five – so you’ll have to adjust your attack to match the same direction that the diamonds are flying in so you can strike and deflect them. Just keep breaking Ghirahim’s guard and striking him until you’ve defeated him.
The Third Sacred Flame – Din
When you’ve won the battle, Ghirahim will disappear from the scene, leaving a Heart Container behind, so go ahead and collect it to add another heart to Link’s Heart Gauge. Head through the door in this room and then strike the emblem with a Skyward Strike to initiate a cut-scene in which Link’s Goddess Sword is powered up with Din’s Flame – now that it has the third Sacred Flame, the Goddess Sword has now become the Master Sword.