


Chapter 12: The Sandship
Table of Contents
Entering The Dungeon
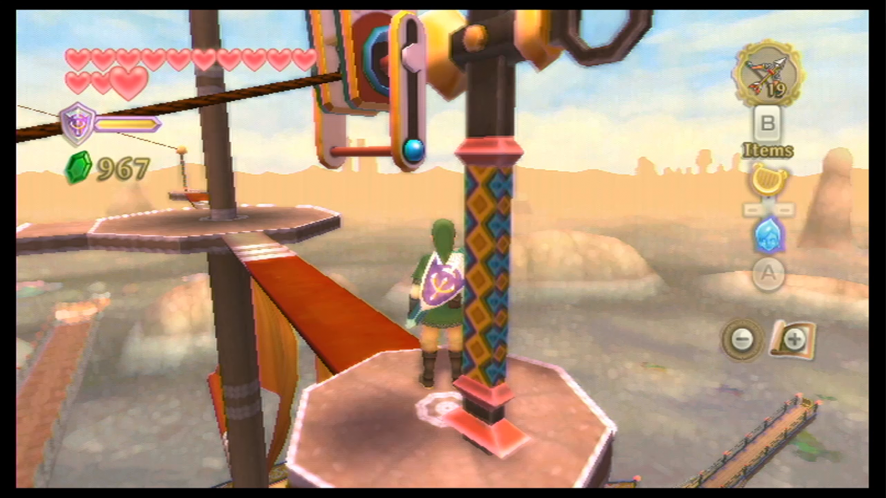
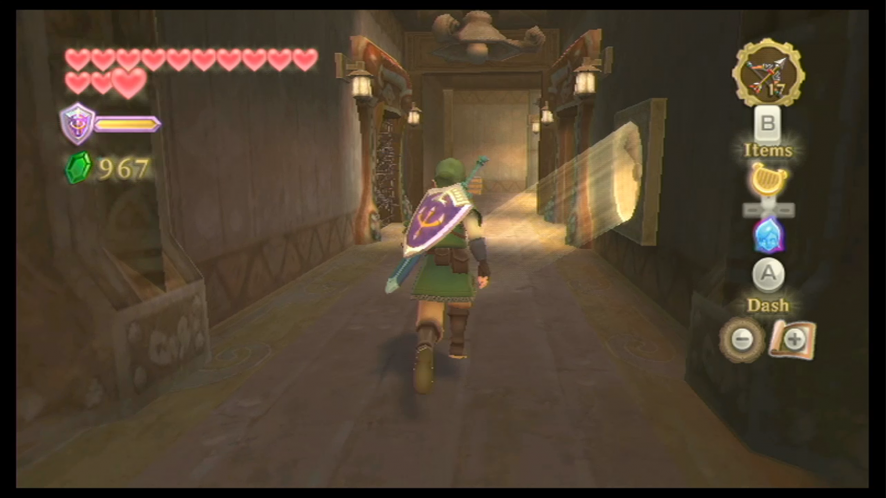
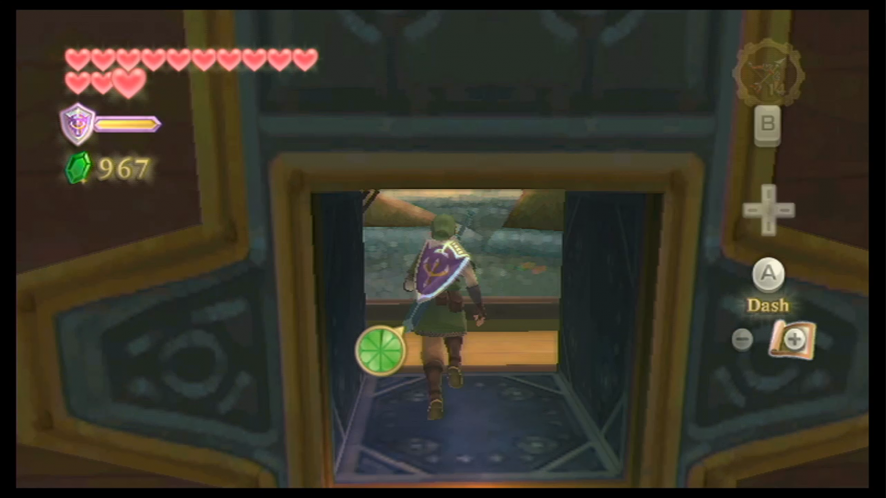
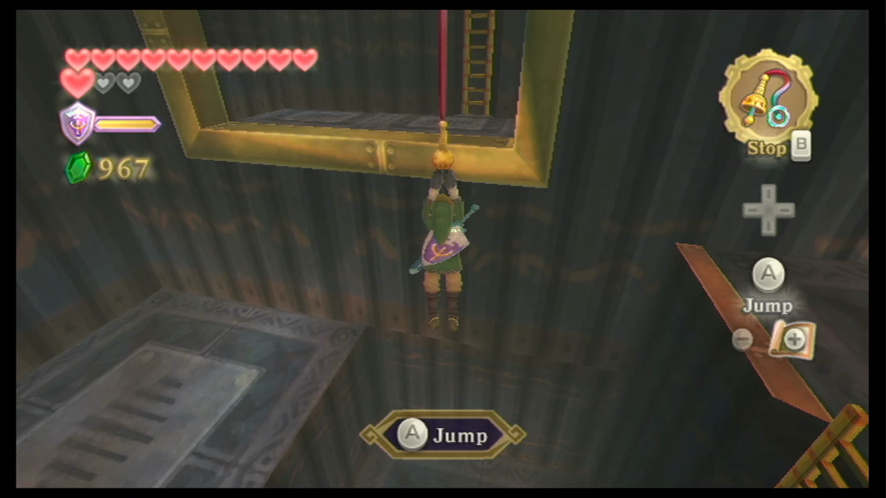
When you’ve boarded the ship, we really only have one place to go at this point in time, so head through the western door on the deck. Head down this staircase and then take the pathway to the right. Take down the Keese and then head through the next door. There’s an Electro Spume here, so take it down with some Bombs and then quickly make your way across the sand.
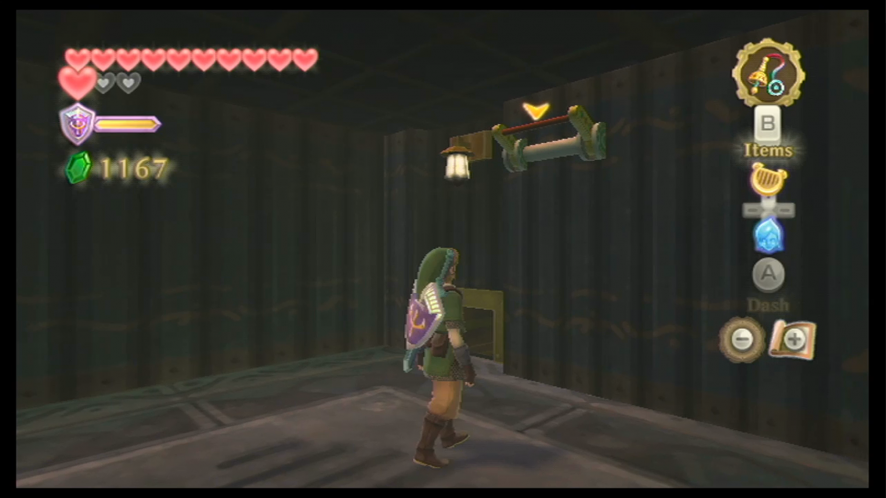
Head down the next hallway and then go down the next staircase. Defeat all the Aracha in the hallway and then continue forward. You will soon find a Bird Statue, so you should save your game here. There’s also a stool you can sit on that will replenish your health. You’ll see that the dungeon boss door is here – a large gate that’s been locked off. Obviously, we can’t get through here yet and we need to solve the rest of this dungeon before we can do so, so head down the hallway to the north and enter the next room through the door.
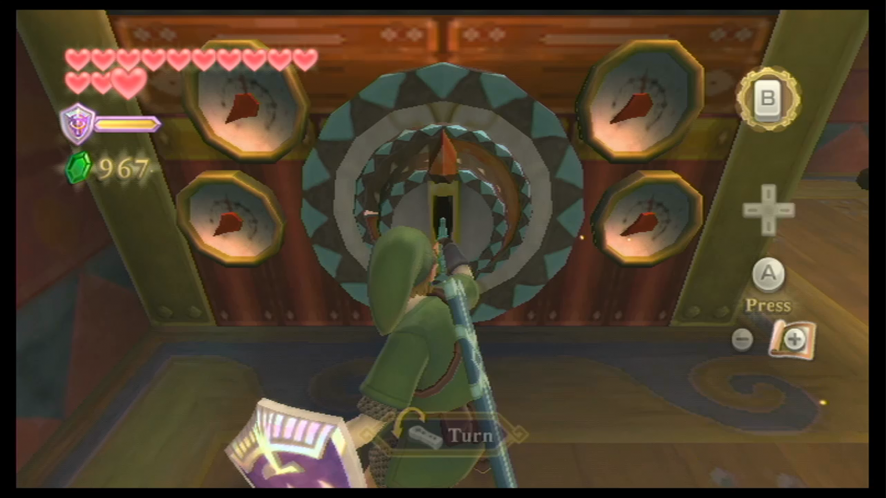
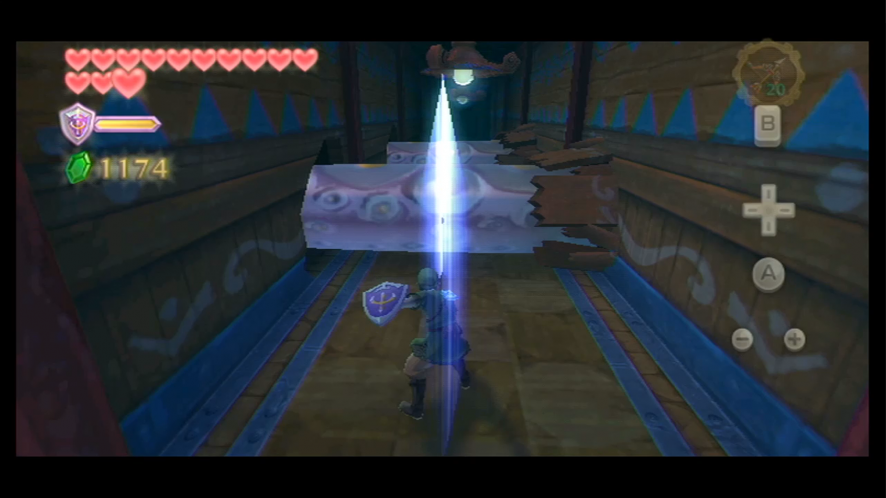
There are more Aracha in this room, so kill them and then equip your Gust Bellows and start to clean the room of sand. After blowing some of the dirt out, you’ll find that there are four symbols in this room, each with a certain number of red sticks. The symbol that has just one red stick has a light at the bottom of it. Take a look at the other ones in order of the red sticks amount and you’ll see the lights follow a pattern of Top, Bottom, and Right. The order for this room is Bottom, Top, Bottom, Right.
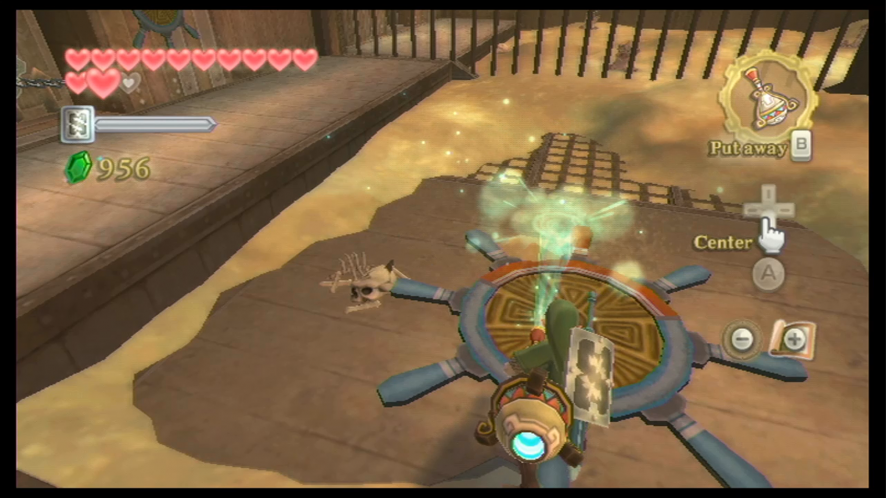
If you turn your attention to the locked door in the first room you’ll see a few gem locks. Hit them in the order we just obtained and the door will open. Open the treasure chest inside to get a small key.
The Bow
Make your way back to the second room of the dungeon where the locked door is located. Before you head through, it’s recommended you save your game. Once you’ve done so, unlock the door with the key and head through to face-off against this dungeon’s mini-boss.
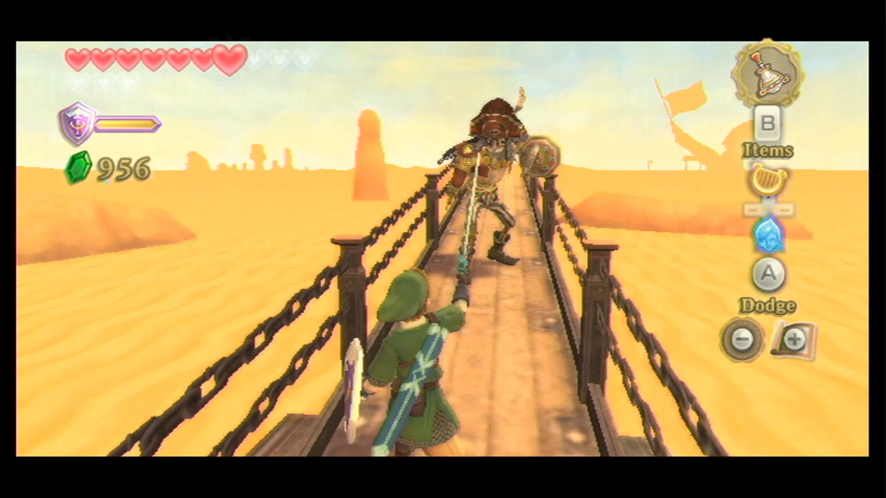
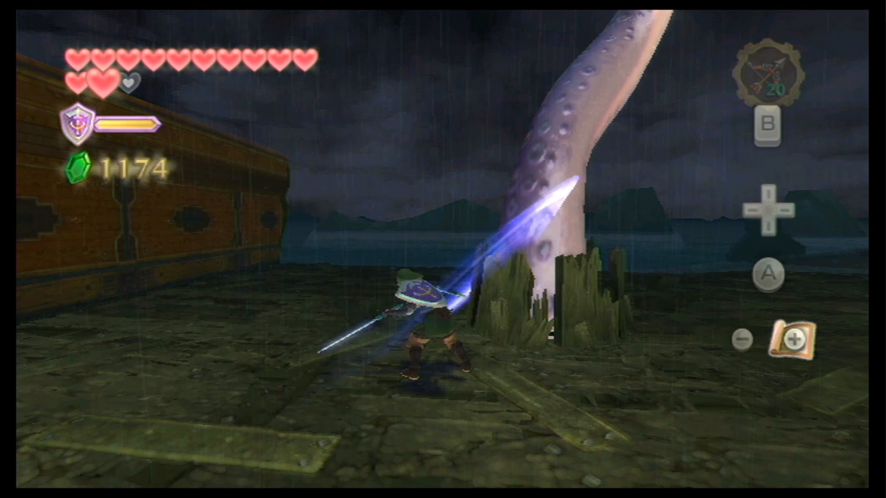
The mini-boss for the Sandship is a skeleton named Scervo, who resembles a pirate and is probably the one running this ship. The battle against Scervo takes place on a very narrow plank with chain fences on either side. Once you run forward, the battle will start.
This is much like a regular sword duel – as long as you strike at Scervo where his sword and shield aren’t held up to block, you should be able to hit him and land a few more consecutive hits on his body. Once you’ve done this, it will knock him back, so use a few more straight sword jabs to knock him back even further.
If Scervo manages to block any of your sword attacks, he’ll immediately chain that with his own attack, so quickly distance yourself from him if he does manage to block one of your attacks. You can also choose to use a shield bash to deflect his attacks – this will also stun him to give you an opening to attack. A fun trick to winning this battle is to use the Gust Bellows to blow Scervo back and keep him from moving any closer.
Keep striking away at him and knocking him back until you have him at the end of the platform. Scervo will then change the battle area so that the amount of room you have to move decreases.
Keep repeating this process of keeping Scervo towards the back of the plank until the second phase initiates, in which Scervo starts attacking with two swings in a row. This will make things a bit trickier, but if you’re patient and time your attacks correctly, you should be able to get Scervo to the end of the plank again.
Once he’s at the end again, Scervo will move the spike behind you even closer, shortening up the walking space even more. There won’t be a lot of room now, HOWEVER, he will not have a sword now, so it will be much easier to land hits.
If Scervo manages to block any of your sword attacks, he’ll immediately chain that with his own attack, so quickly distance yourself from him if he does manage to block one of your attacks. You can also choose to use a shield bash to deflect his attacks – this will also stun him to give you an opening to attack. A fun trick to winning this battle is to use the Gust Bellows to blow Scervo back and keep him from moving any closer.
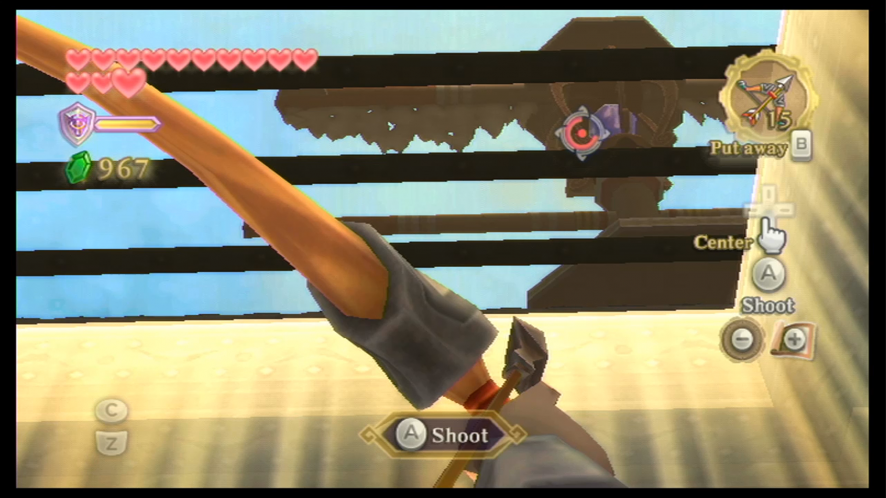
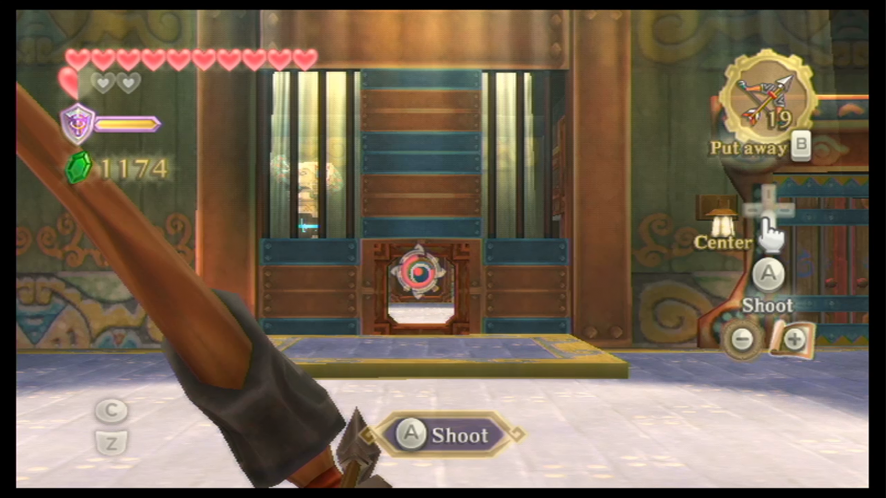
When you’ve finally defeated Scervo, open the treasure chest to receive the Bow. Fi will tell you that she saw something up on the main deck that could be shot with the arrows from the Bow, so we’ll be heading back up there next.
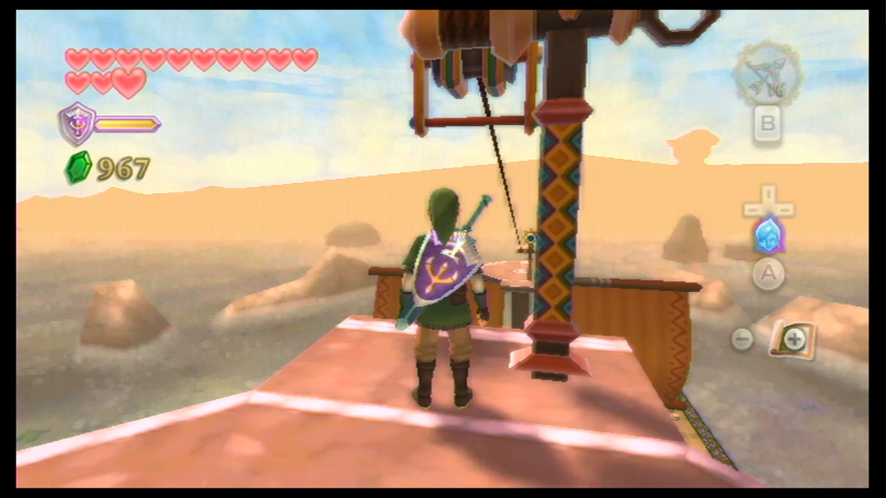
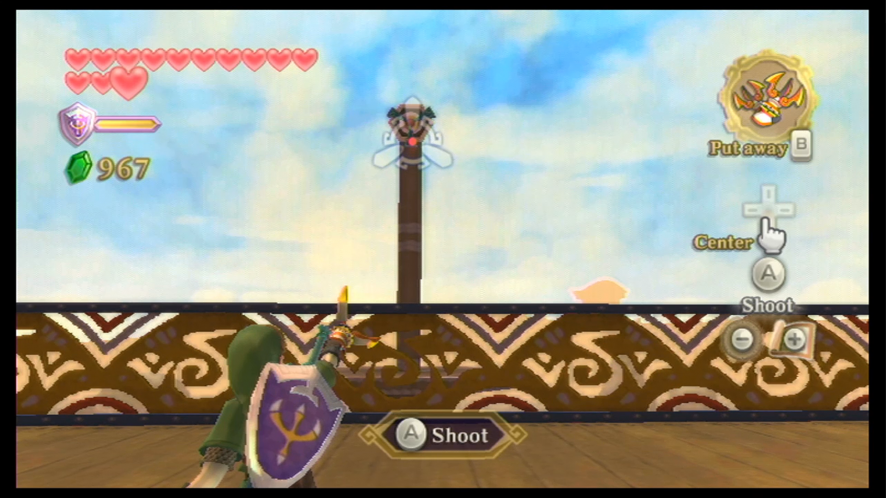
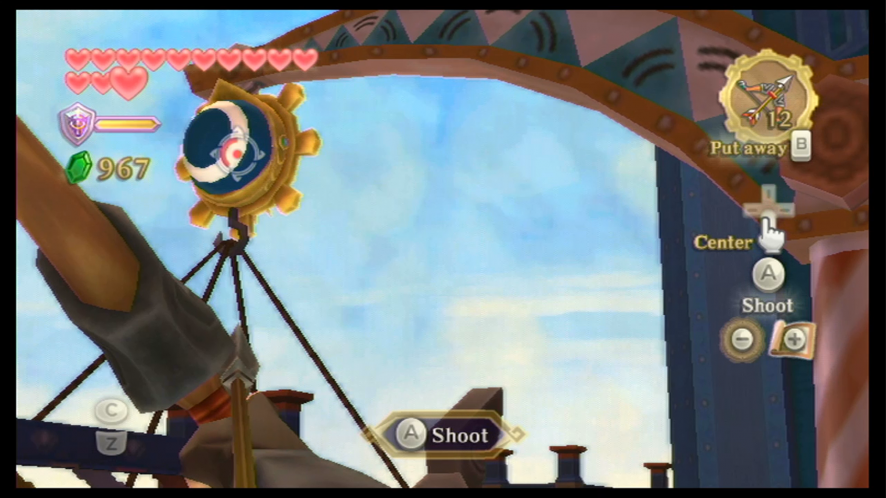
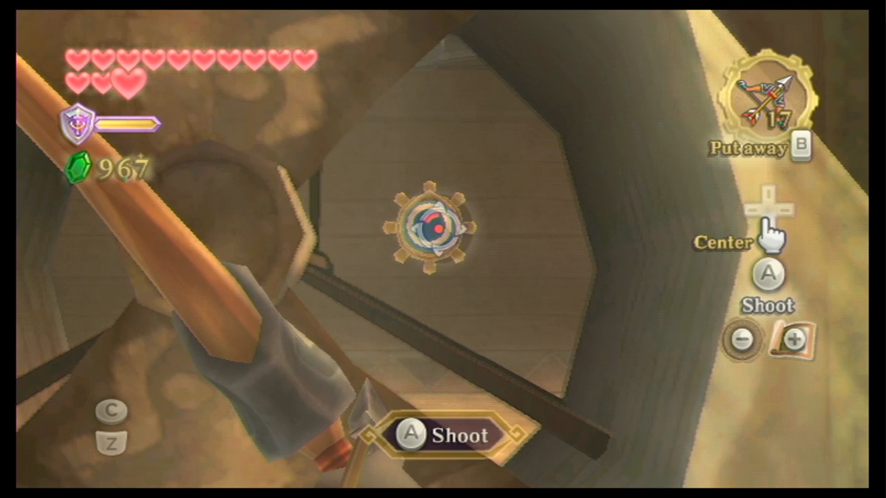
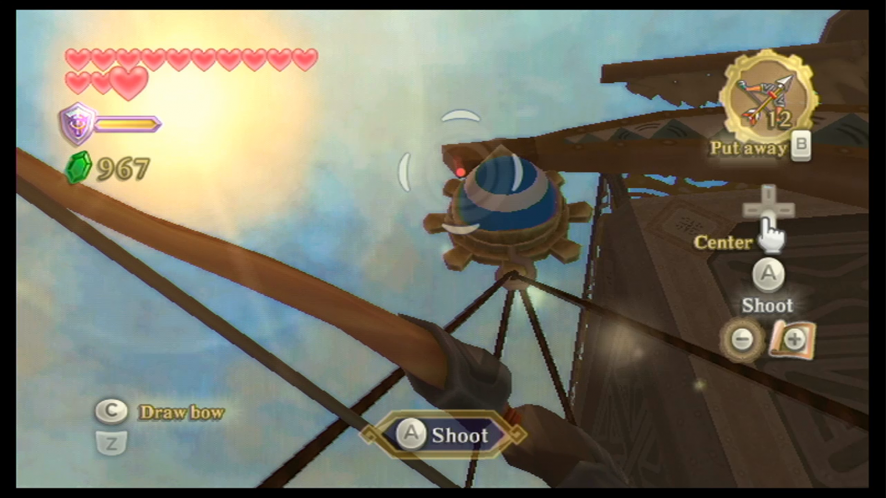
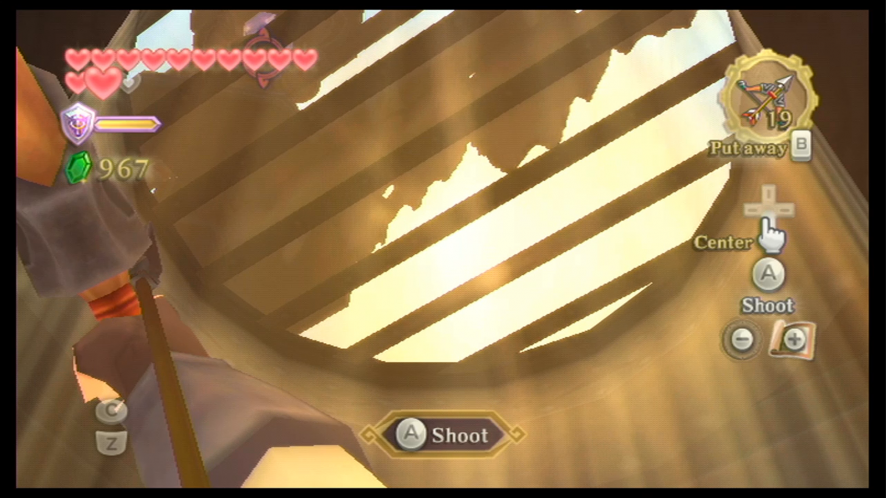
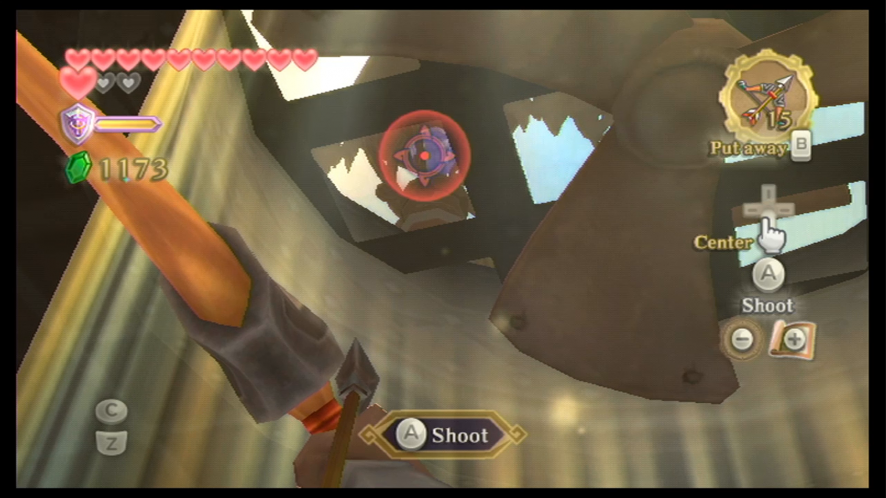
When you make it back up to the deck, equip your Bow and shoot the blue target once you’ve located it. When this blue target activates, a Timeshift Stone will appear. Send another arrow towards the Timeshift Stone to activate it and send the sandship back to the past – of course, this will now cause it to be infested with Bokoblin. One of the Bokoblin will then close off access to the Timeshift Stone by a gate.
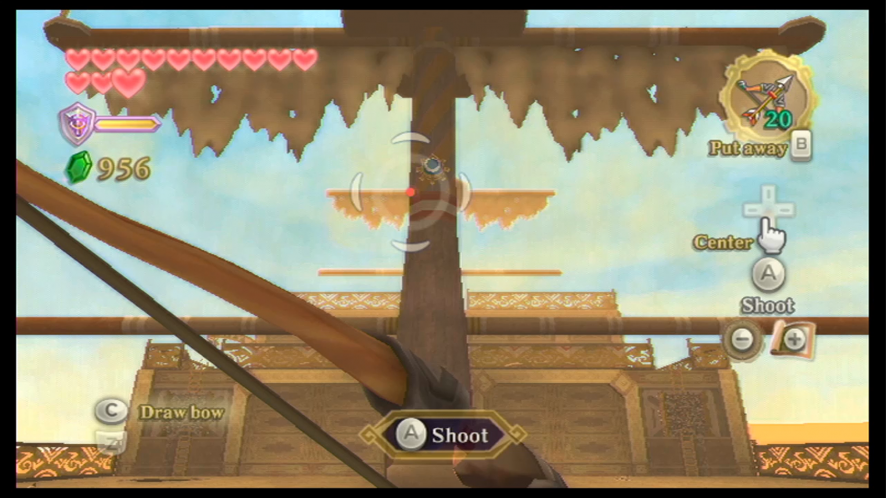
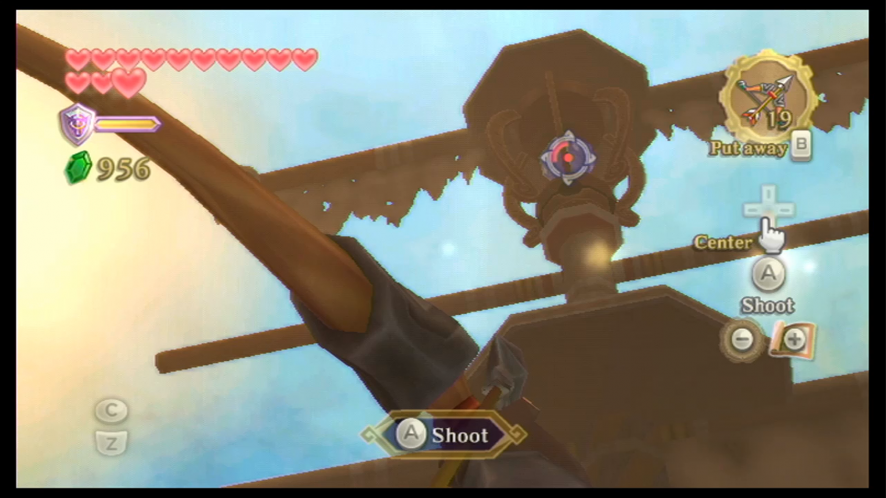
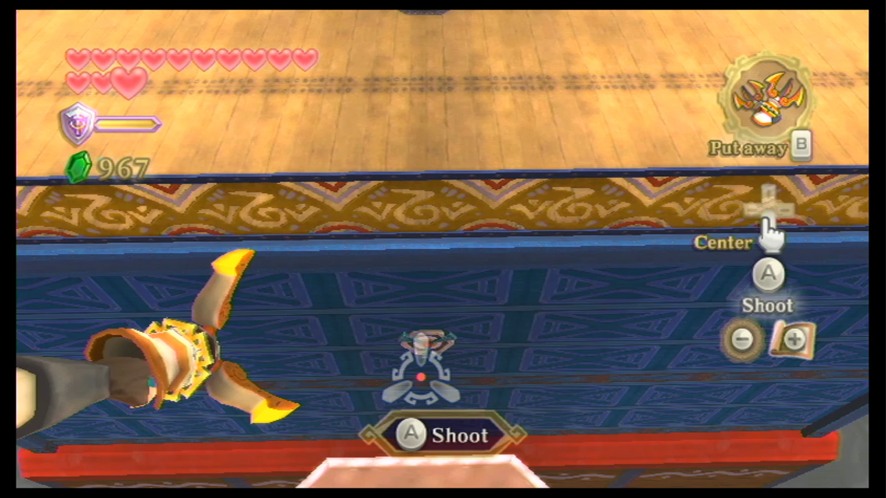
You’ll probably want to get rid of the Bokoblin Archers that are no doubt shooting at you – you can easily take them down with a single arrow from your Bow. Once they’ve been taken care of, head over to the large set of stairs and then take a right turn. There’s a zipline here, but there doesn’t seem to be a mechanism for us to grab onto. Equip your Bow again and shoot the blue target that’s at the other end; this will cause the mechanism bar to come to the other side so you can grab onto it and ride it to the other side.
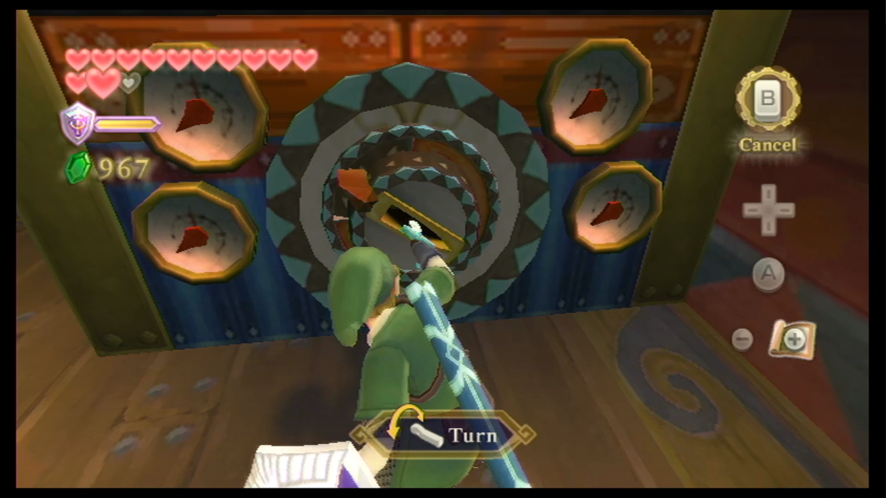
Defeat the Bokoblin that are hanging around this area and carefully head across the plank. Equip your Bow again and shoot the blue target that’s further away to get the mechanism bar and get to the next highest platform. Defeat the other Bokoblin that’s here and then press the Goddess Sword into the switch that’s sitting here. Use the Wiimote to turn the switch in a clockwise motion – this will release the gate covering the Timeshift Stone.

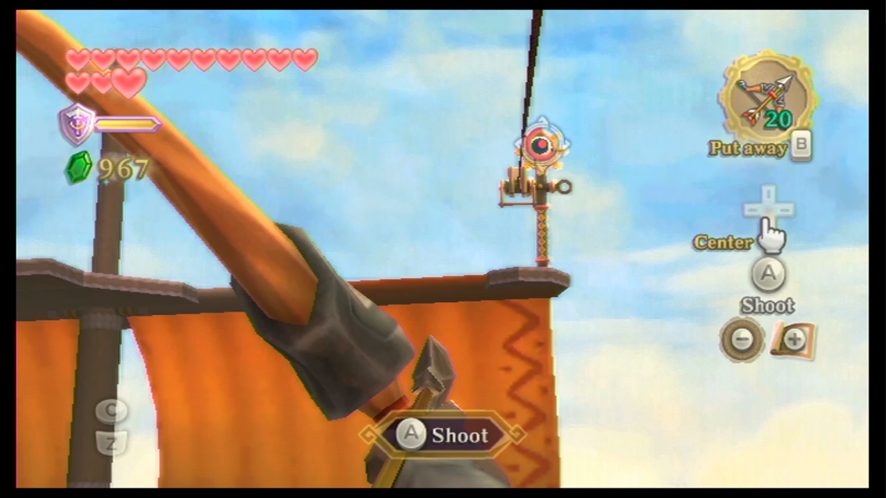
Turn your attention to the eastern-most side of the ship and shoot the blue target that’s located there. Grab onto the mechanism bar and ride along the rope. Drop down to the deck and then head to the east part of the ship again to reach a Clawshot target. There are several Clawshot targets down below as well. You can drop down to this part as there is a spot to land on safely. There’s a treasure chest here that contains Piece of Heart #15.
Climb back up to the deck using the Clawshot targets and then head towards the center of the deck. There is a locked door on the east end of the ship, and a raft to the north. Use your Bow to hit the blue switch above the raft to lower the raft. This raft will come in handy later.
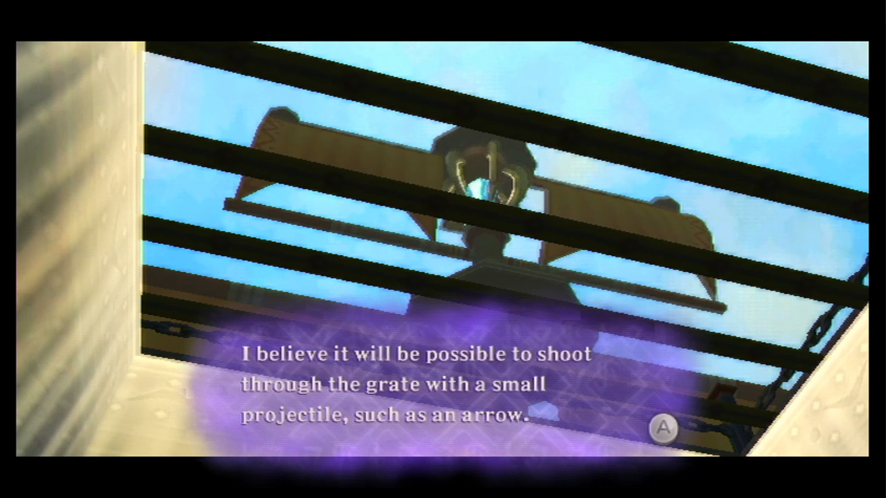
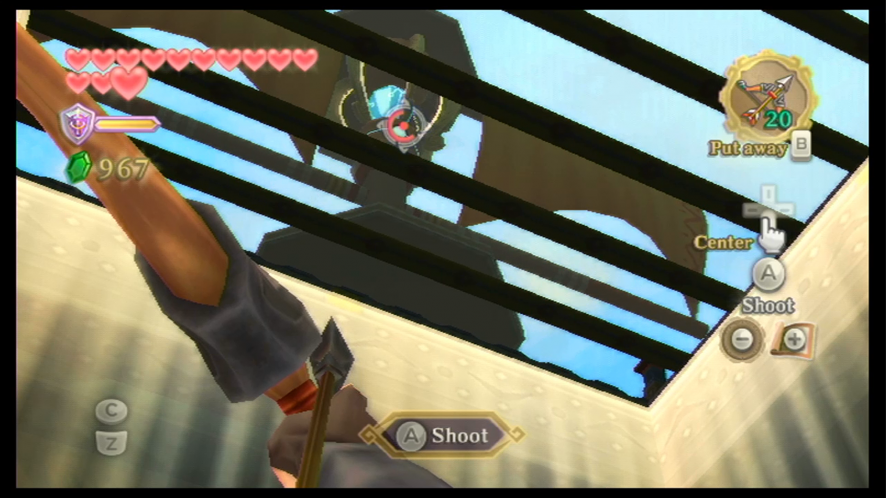
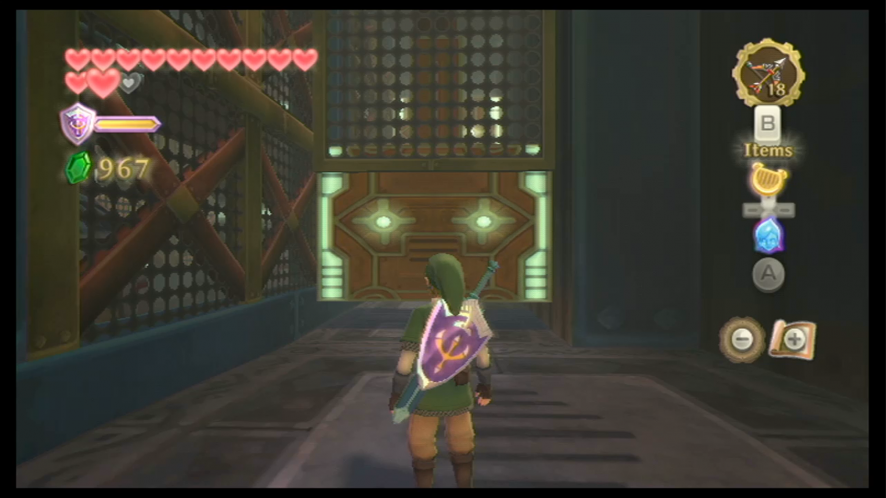
Head to the door on the west side of the ship and go inside. Make your way down the stairs and then head through the door to the right. Defeat all the Technoblin in this room and then go to the smaller room that’s in the northwest. Fi will tell you about a hole in the ceiling that she can see through. Equip your Bow and aim it carefully through the gaps in the bars, towards where the Timeshift Stone is. Activate the Timeshift Stone with an arrow to alter the world back to the present. When you head back to the main room underneath the deck, there will be a treasure chest here that you can open to get the Dungeon Map. Pull the lever that’s placed nearby to open the gate.
Golden Sculpture
Quickly make your way across the quicksand. You’ll probably notice the large propeller here that isn’t activated. Equip your Bow and aim through the gaps between the propeller fans so that you can shoot the blue switch on the other side. Once you hit it, the door will open. Head through to the next room.
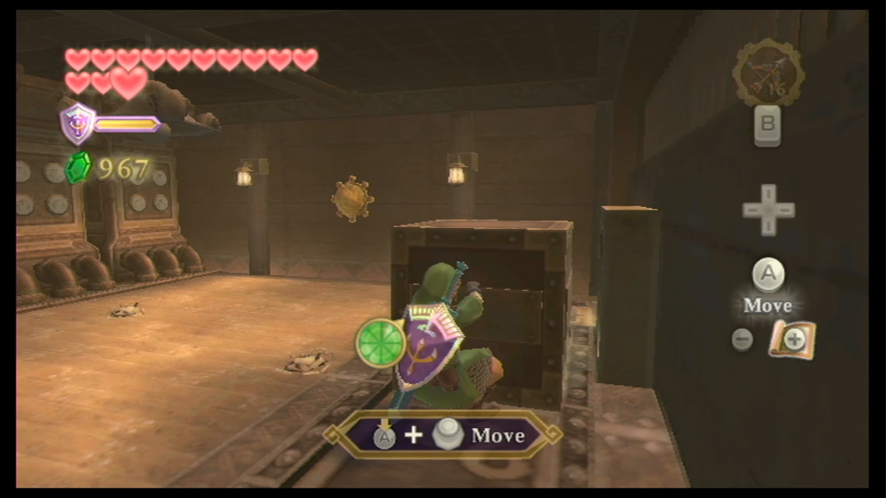
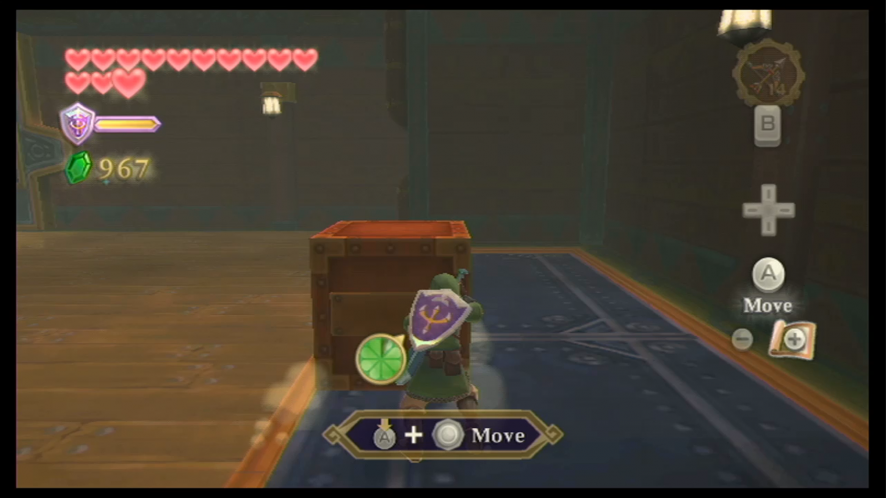
Take out the Thunder Keese in here before heading to the block and moving it out of the way of the propeller. Now that the block is out of the way, head to the switch at the east end of the room. You won’t be able to move from this switch, otherwise, the blue switch that appears on account of it will be gone again, so you’ll have to stay on the switch and shoot the blue switch from there with your Bow, through the gaps between the propeller fans like before. Once you’ve done so, the next room will be accessible.

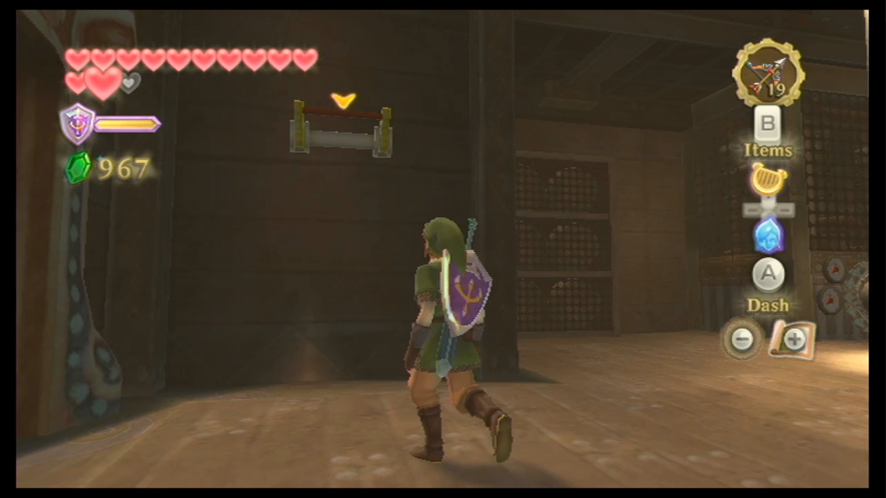
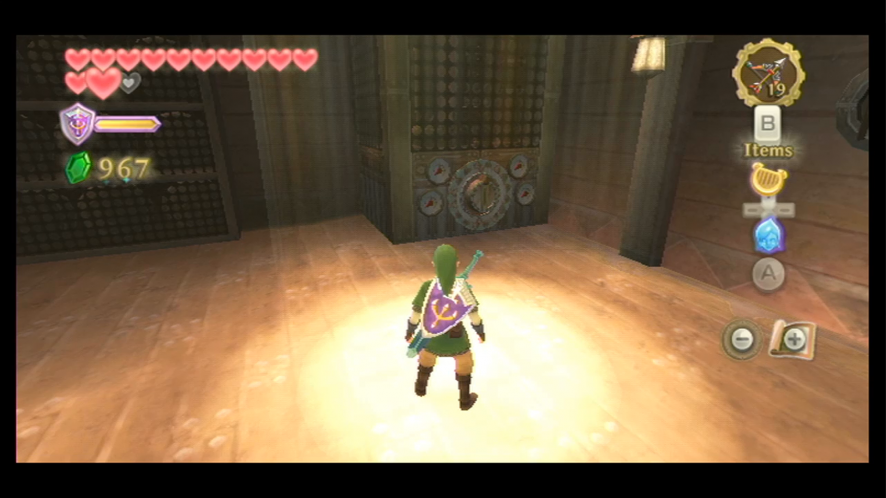
Head down the hallway and enter the first door you see on the right. Take down the Technoblin and then turn your attention to the device located at the back of this room. There are two generators located on the Sandship, and this is one of them, which you can activate by sticking your sword into the key slot, turning it, and then pressing it in. We have to find the second generator now.
Head back to the hallway and then enter the second door to the left. Defeat the two Technoblin here and then push the steel block here onto the floor switch. This will cause the ship windows to open. If you lowered it earlier, you’ll see the raft hanging outside one of the windows. Jump onto the raft and shoot an arrow at the blue switch to raise it back up to the deck. If you didn’t lower the raft, just head back to the deck the way you came up.
Now that we’re back on the deck, fire an arrow at the Timeshift Stone to change everything. Stay on the raft and fire another arrow at the blue switch to lower. Jump back into this room and head over to the room next to it.
There’s a lever here, so grab it and pull it down to unlock the door. Next, position yourself underneath the sunlight streaming in from above and aim through the whole that it’s coming from towards the Timeshift Stone to activate it again. Now you can activate the second power generator the same way you activated the first one.
We have to get to the room next to this, but we can’t activate the TimeshiftStone, so leave the room through the door, go down the hallway, and enter through the other door.
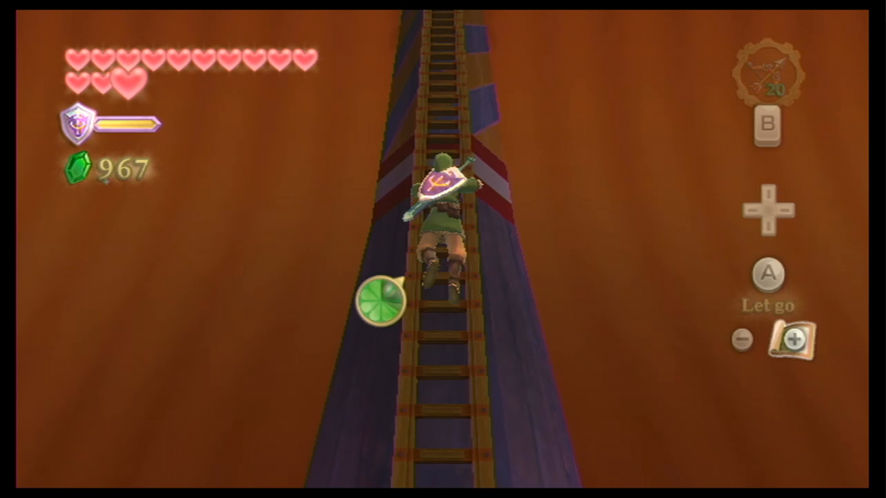
Go to the second window (it doesn’t have a raft outside of it) and climb the staircase down to the level below. Head to the door at the end of this hall. Because we activated both generators, all the machinery is alive and working again, so carefully run through when the blocks move out of the way.
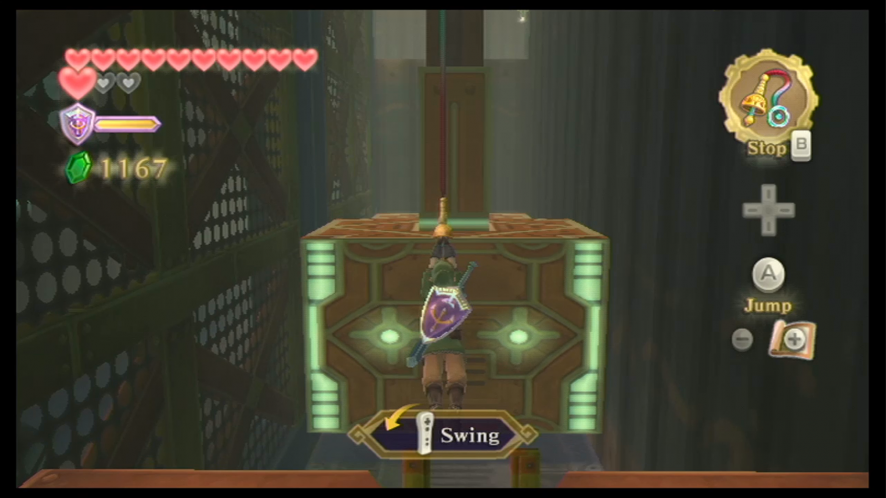
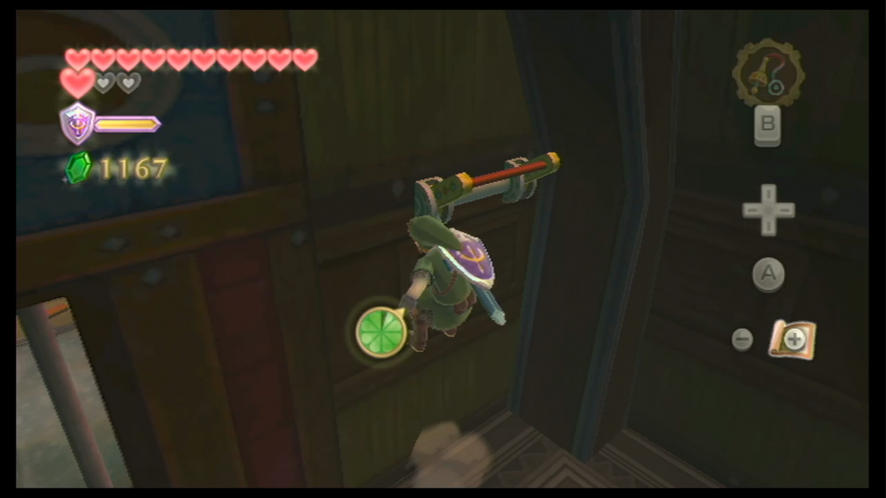
Soon you’ll come to an area with a gap and a bar hanging from the ceiling, so equip your Whip and use it to latch onto the bar. Stop yourself from swinging and face yourself to the west. Swing in this direction and then head up the staircase to reach an area where there are five treasure chests. Two of them contain Silver Rupees, while the other three contain treasures that are generated at random depending on the treasures you already have.
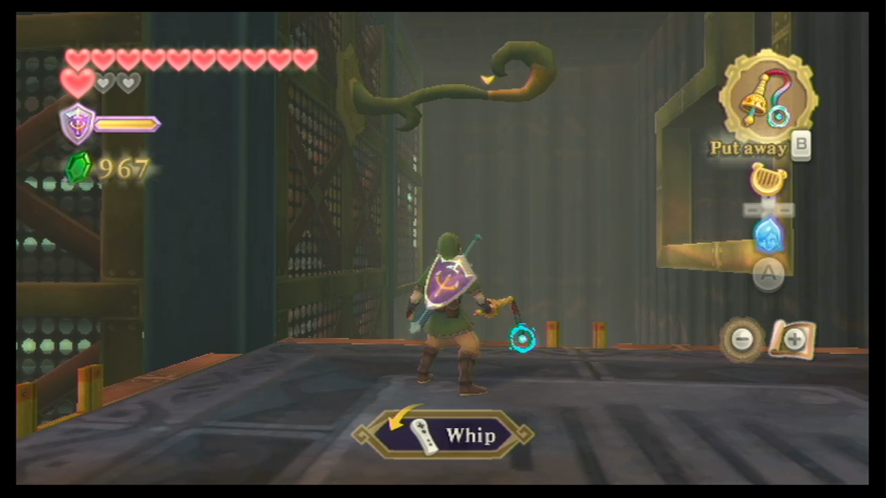
Once you’ve got all the items from these chests, drop back down to the previous level and climb the staircase and then swing back across to the next area with the Whip.

After the mechanical blocks have moved and the coast is clear, quickly dash through to the spot where the ladder is and climb up. There’s another bar attached to the ceiling in this area, so use your Whip to latch yourself onto it. Keep swinging until you can safely jump to the box. Wait until the box is high and the next box is low so you can safely jump to the next one and then to the platform.
Pull the lever here to open the gate – this will create a shortcut for you so you don’t have to go through all the pathways with the mechanical boxes – and then crawl through the small hole. You’ll reach another staircase, so head up and then pull the next lever. This will free all the robots that are trapped on the ship – this is Skipper’s crew.
One of the robots will give you a small key – he will tell you that you need to go to the Captain’s Cabin, and will mark the location on your map. Crawl back through the hole and then keep going back until you’ve reached the main deck. The raft can make it a bit easier to reach the main level.
When you’ve made it back to the deck again, hit the Timeshift Stone to take the area back to the present. Unlock the door at the east end of the deck with the small key the robot gave to you. Go through the door, head down the stairs, and then go through the far left passageway.

Stand underneath the large propeller in this room and aim your Bow straight up until you can properly hit the Timeshift Stone. This will shift the world back to the past, and will also bring to life a Technoblin and a Beamos – this combination can be quite tricky to defeat, but once you’ve done it, stand on the floor switch that’s at the north end of the room. While staying on the switch, aim your Bow at the small hole that opened up from the switch being activated and shoot the blue switch; this will open the door.
A dangerous three Beamos are located in the next room, so you’re going to have to be careful. Luckily, we now have the Bow, so we can kill them in one shot by firing an arrow into their glass eyes. Once you’ve taken all three of them down, two gates will be opened. Head to the treasure chest and open it to get the Squid Carving.
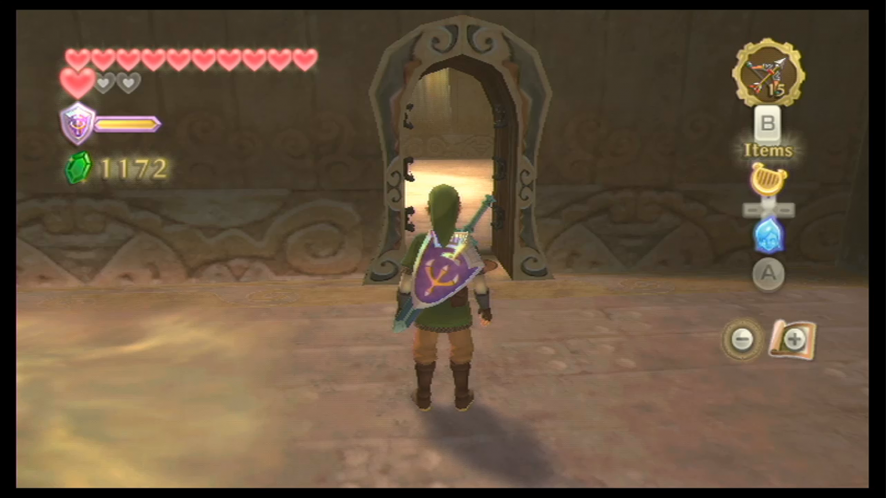
Fi will mark the location of the boss door, but we’ve passed by it numerous times and should have a general idea of where it is. However, way you want to do it, make your way to the boss door. Use the stool here to sit and restore your health, and save your game at the Bird Statue. Once you’ve done both these things, arrange the Squid Carving into the lock and head inside to face off against this dungeon’s boss.
Abyssal Leviathan Tentalu (Boss)
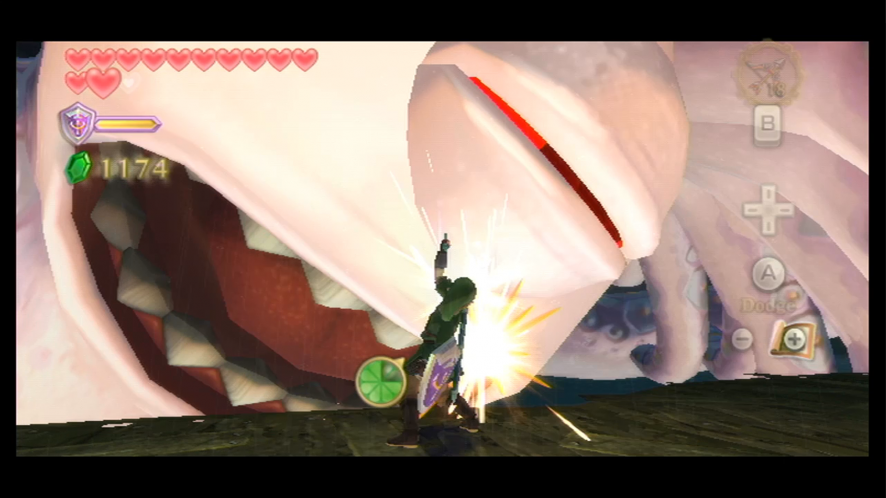
Although we just entered the boss room, this isn’t quite where we will be fighting. The moment you enter the room, giant tentacles will appear, breaking through the structure of the ship. We definitely need to make our way back to the deck, however, we’ll be blocked on the way back by tentacles breaking through the walls. Regular sword attacks won’t break them, but Skyward Strikes will, so use those to make your way through the corridors.
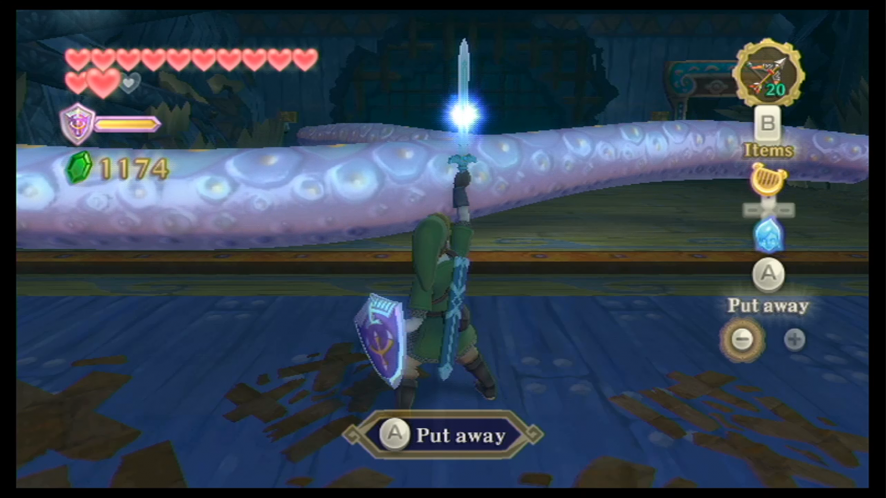
The first part of this battle will involve Tentalus bringing tentacles to attack you from underneath the ship. Take care of these with a Skyward Strike the same as before – this time though, strike it with a horizontal motion so that the tentacles are properly cut off from Tentalus’ body. Keep cutting off tentacles as quickly and efficiently as you can. If a tentacle grabs you, you can break free by shaking the Wiimote.
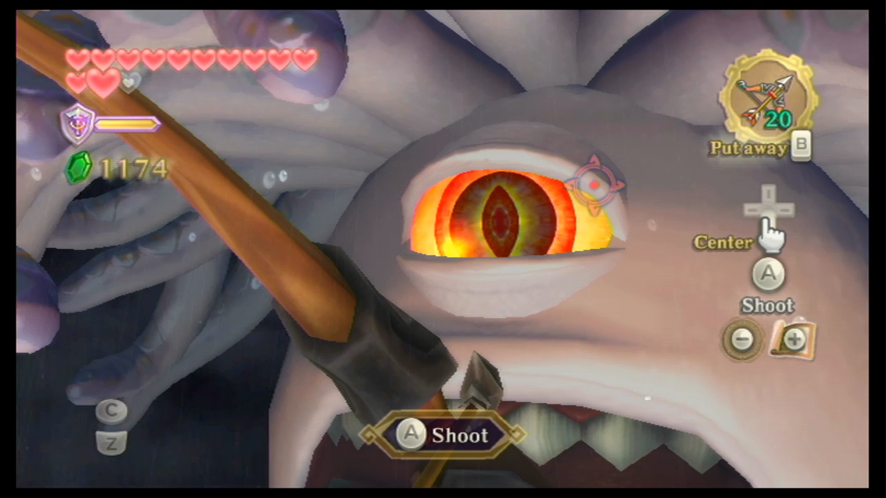
After you’ve cut away a good number of tentacles, Tentalus will surface and strike at you with its tentacles. Quickly load an arrow and shoot it towards Tentalus’ eye. When the arrow strikes him, he will come falling to the deck, giving you the chance to strike him in the eye as much as you can before he regains himself.
You’ll have to keep repeating this process – be warned that it does get more difficult with each time you strike him in the eye with both the arrows and your sword. Tentacles will come up faster to attack you, and they will come in greater numbers. Just keep working away at the tentacles until you can get a chance to shoot Tentalus again with the arrows and then strike him in his weak spot a few more times with your sword.
After you’ve repeated this process a few times, Tentalus will start pounding the ship, which will cause a large box to fall down to the deck. Use the box to climb up and reach the other platform. Once you’ve done this, Tentalus will submerge himself underwater and then reappear on the other side of the ship.
This is the final phase of the battle, and as usual, Tentalus will send his tentacles at you, only this time, the tentacles seem to be bearing teeth, and they’ll be trying harder than ever to knock you off. You can use your sword to strike them away if one of them tries to hit you. Once you have the chance, equip your bow and fire an arrow at Tentalus’ eye. Take this as your moment to deliver a strong finishing blow to Tentalus.
The Second Sacred Flame – Nayru
Once you have succeeded in defeating Tentalus, pick up the Heart Container, and then use a Skyward Strike on the emblem. A cut-scene will begin in which Link’s Goddess Sword is granted additional power with Nayru’s Sacred Flame – this flame will add four more slots to the dowsing ability for additional dowsing options.
Now it’s time to head back to the Isle of Songs.
Din’s Power
Once you’ve finished up in the Lanayru region, use a Bird Statue to return to the Sky and head to the Isle of Songs within the Thunderhead.
When you’ve landed, head inside the main building and strike the emblem with a Skyward Strike. After a brief cutscene, Link will learn Din’s Power on the Goddess’s Harp.