


Chapter 11: Lanayru Desert – Second Visit
Table of Contents
The Silent Realm
There are a few things you can do in Skyloft while you’re here if you choose to, however, nothing big has opened so it doesn’t make much difference if you want to do these things or not.
- If you visit Fledge at night he will ask you for a second Stamina Potion, so you can go purchase it for him.
- You can purchase any items you think you may need at either Beedle’s Airshop or the Bazaar.
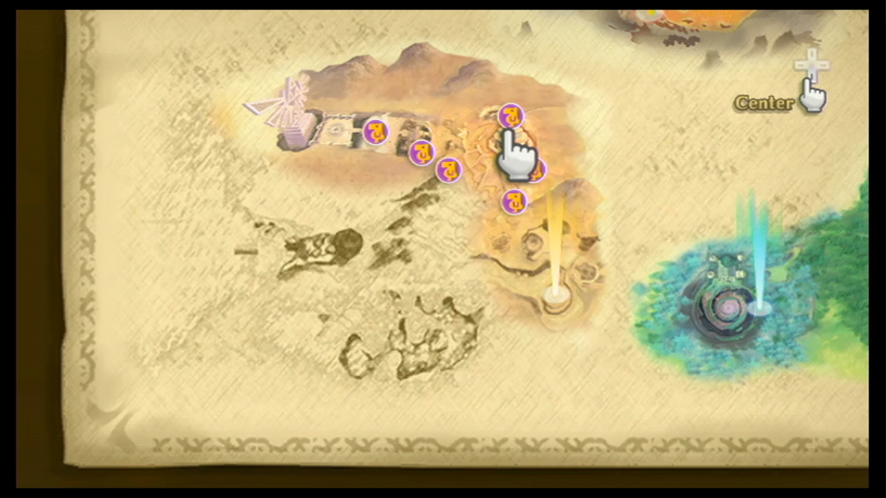
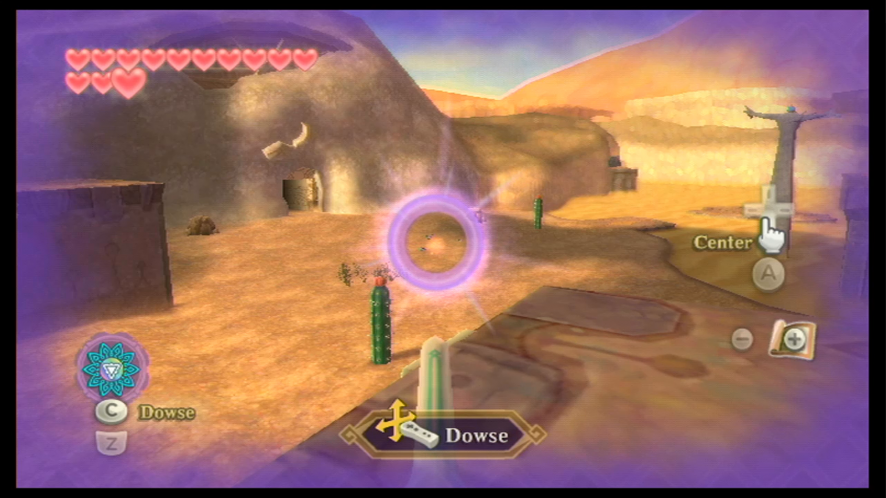
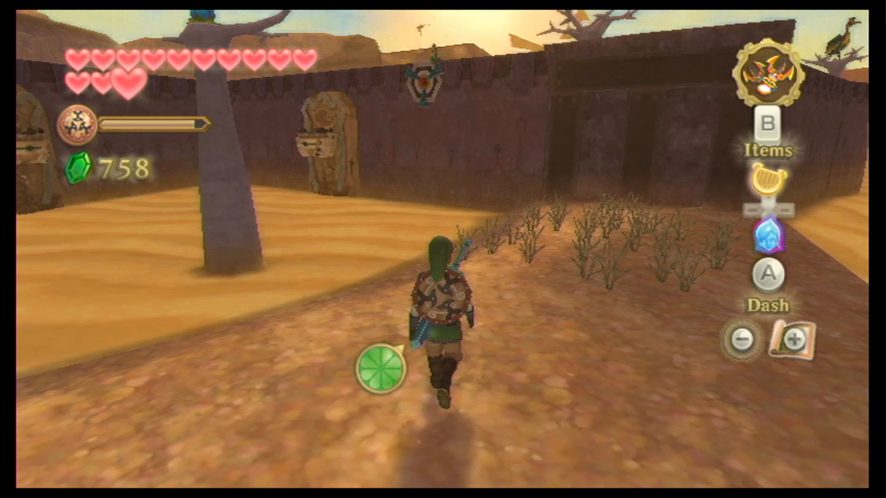
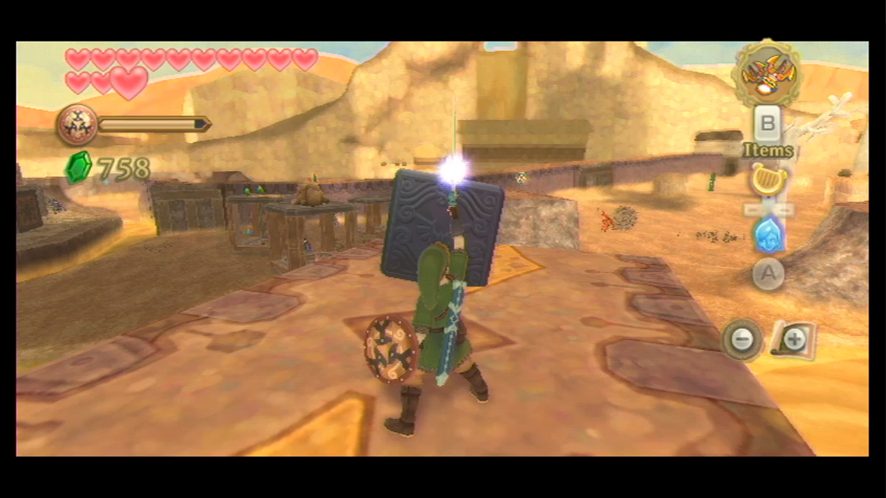
After you’ve done anything that you needed to do, head to the Lanayru Desert. When the landing map comes up, select North Desert – this section of the desert is outside the Lanayru Mining Facility’s entrance. With your dowsing ability, go find the Silent Realm entrance – it’s to the north of the Bird Statue we landed at. Once you find the entrance, equip your Goddess Harp and play along with the pulsating rings of light like before. Once you have successfully done so, Link and Fi will perform Nayru’s Wisdom, and the gate to the Silent Realm will be open. Thrust your sword into the emblem on the ground and you will be sent to the next Silent Realm.
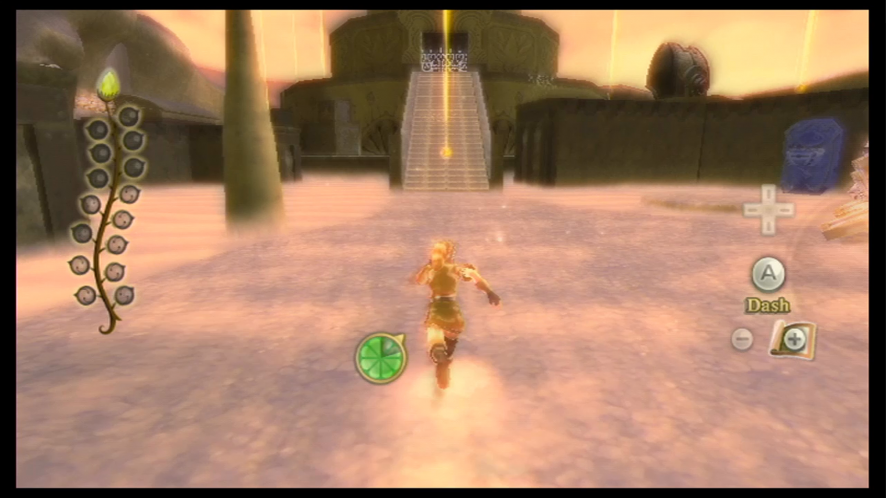
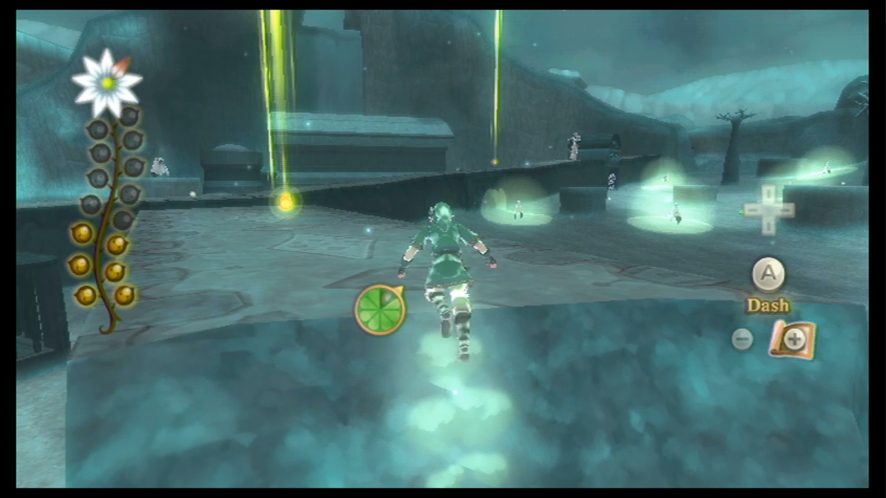
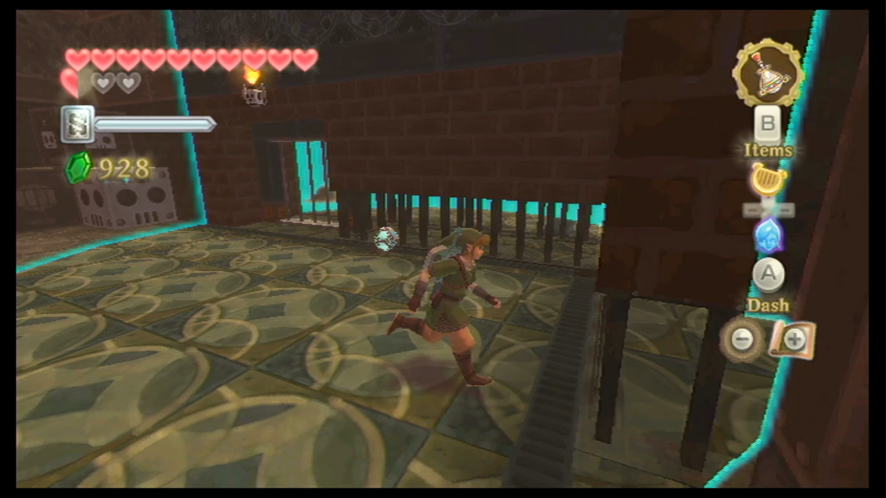
The Silent Realm for Nayru follows the exact same rules as before. You must collect the tears scattered throughout the area without getting seen by the Watchers or getting killed by the Guardians. If you can successfully collect all the tears and make it back to the trial gate in one piece, you will be rewarded for your efforts.
The following list is where to find all the tears of Nayru:
• Located on the stairwell leading up to the Lanayru Mining Facility. 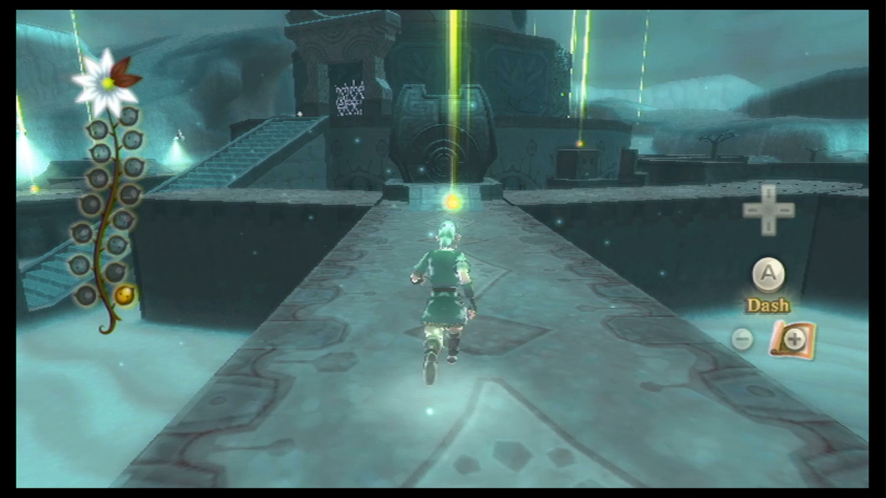
• Up on the platform path leading to the entrance of the Lanayru Mining Facility. 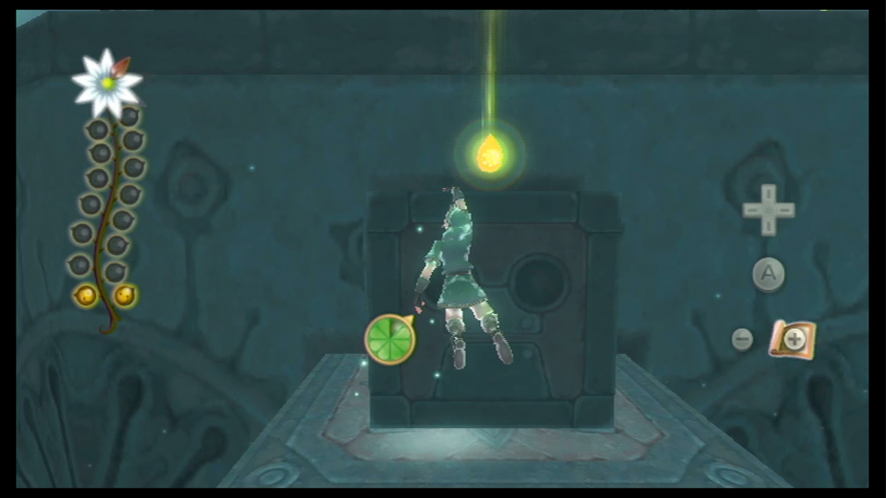
• On a stack of boxes surrounding the structure that is the entrance of the Lanayru Mining Facility. 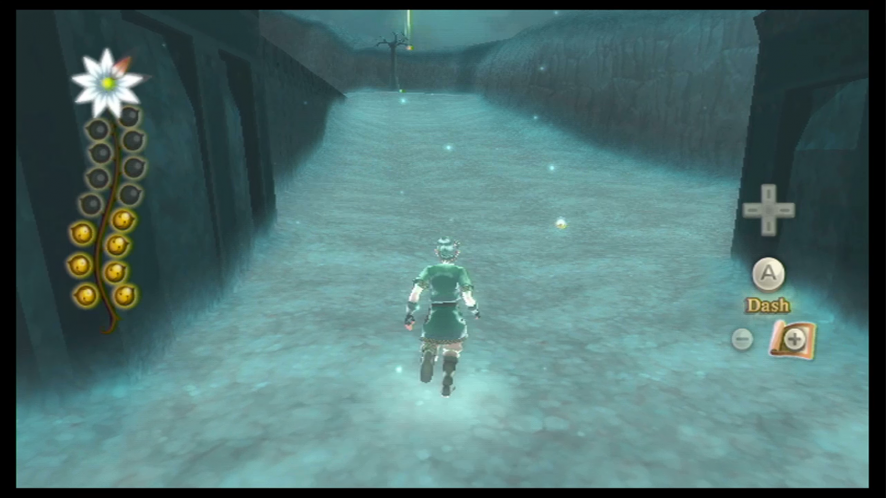
• Climb up a slope to reach a platform where the tear is sitting. 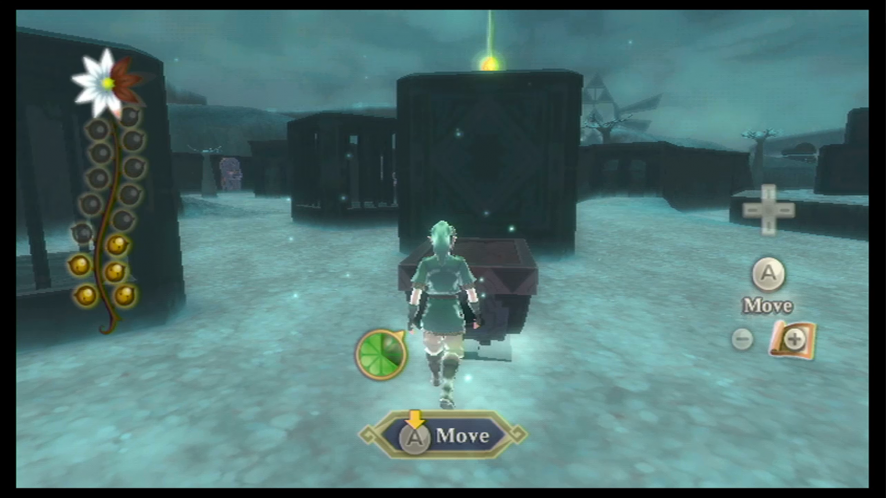
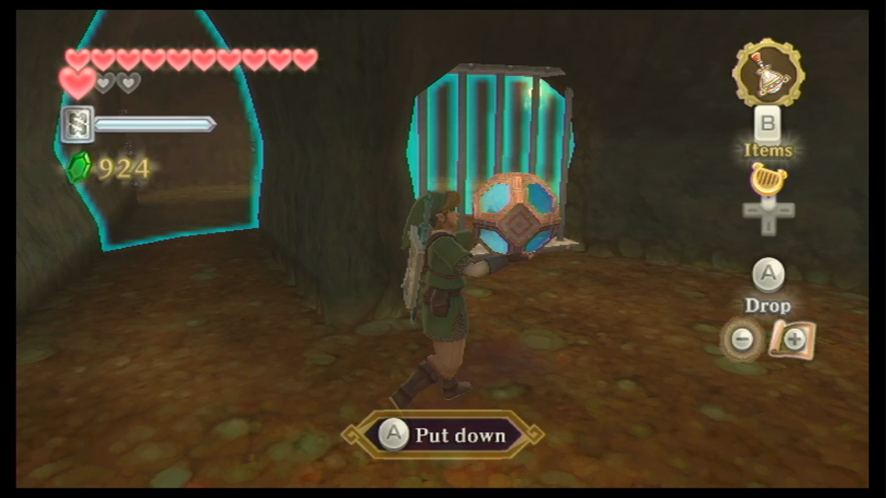
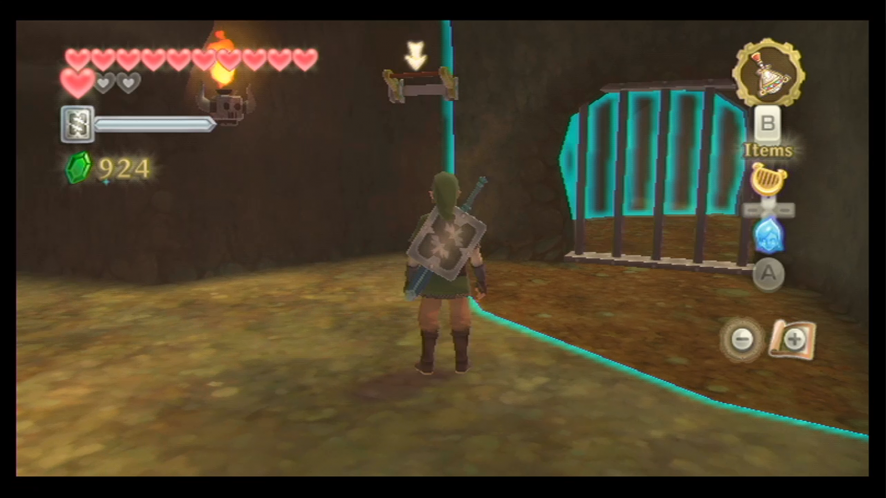
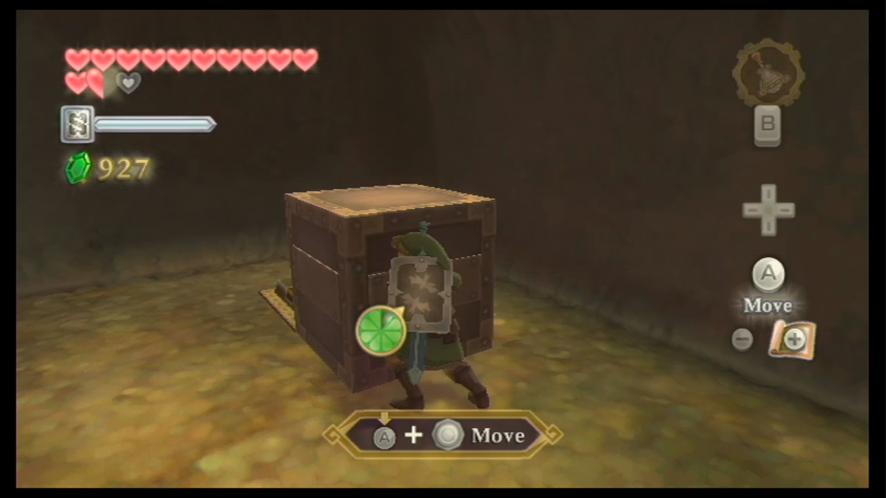
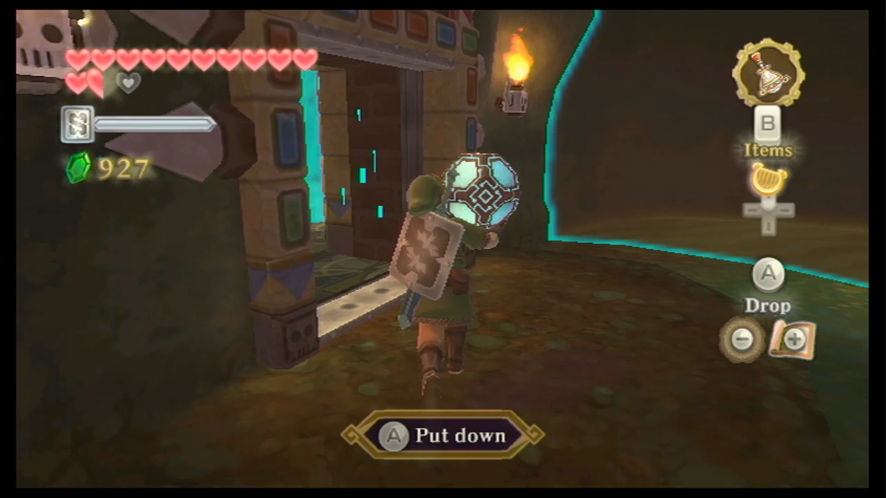
• On top of a cage where a Guardian is sleeping inside. Push the platform up against the wall of the cage and dash up to reach the tear. 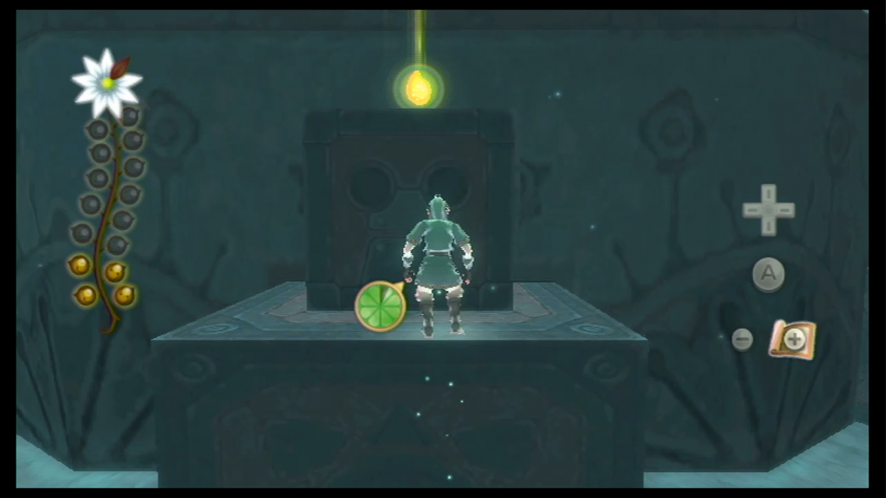
• On top of an alternate stack of boxes surrounding the structure that is the Lanayru Mining Facility entrance. 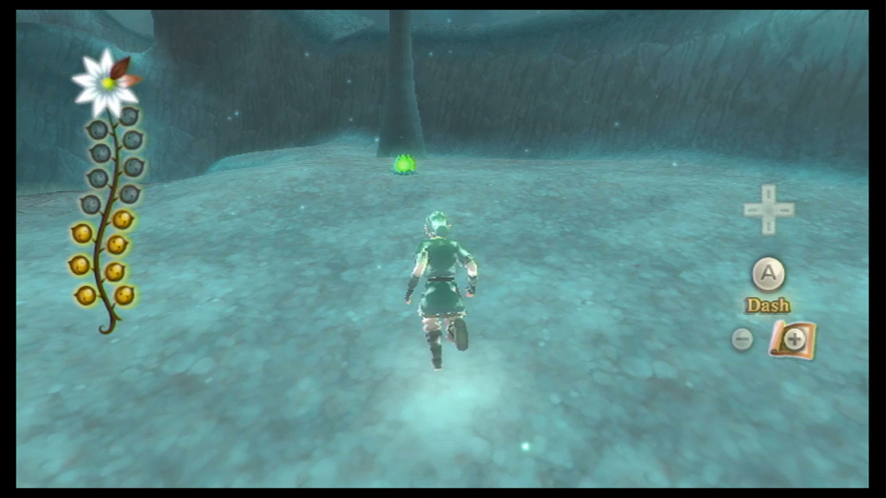
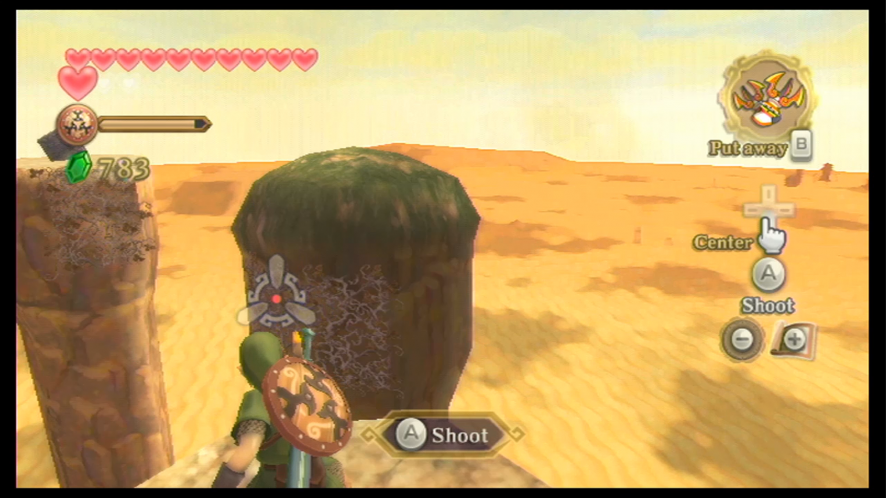
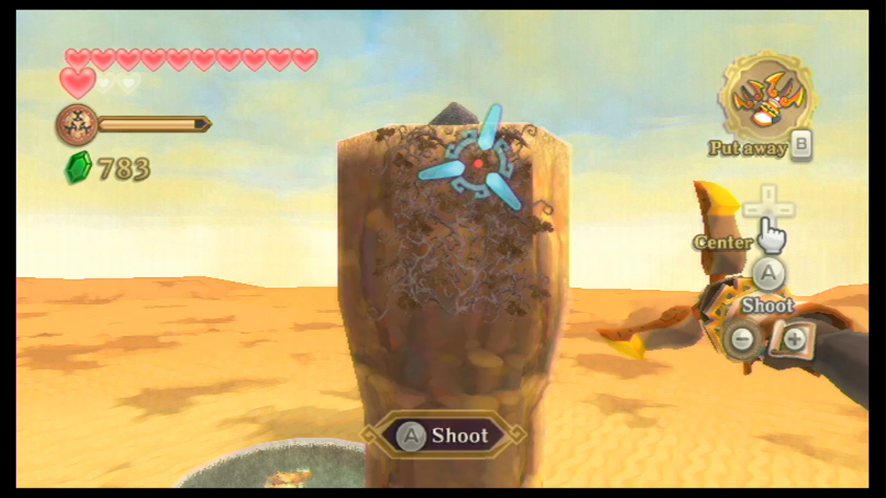
• Hidden in a tree. Roll into the tree to make the tear fall out (there is a stamina fruit right in front of the tree). 
• Located across from where tear was located in the tree. There are a lot of Watchers in this area, so watch your step. 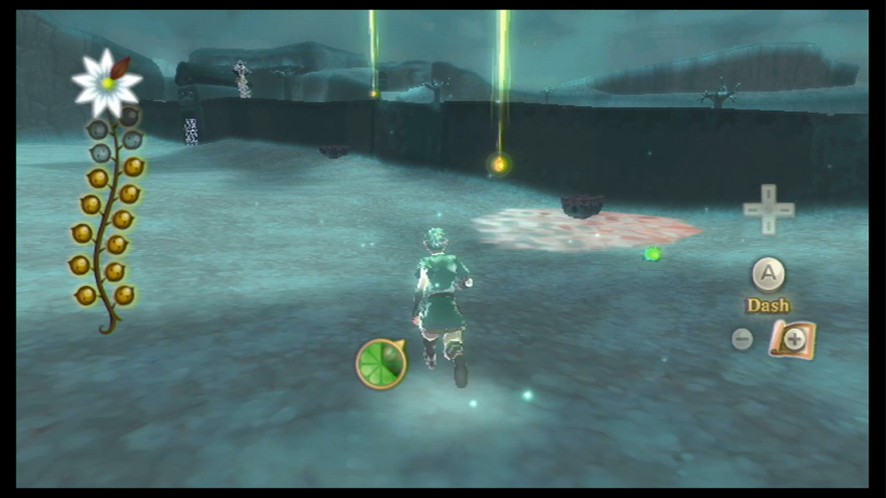
• Located above a pond of Waking Water that will flow in and out over time. Push the platform over when the water is gone and then climb the platform to reach the tear. 
• On a platform nearby the tear we just received. 
• Located on a slope leading to a platform – there is a Dusk Relic near this one. 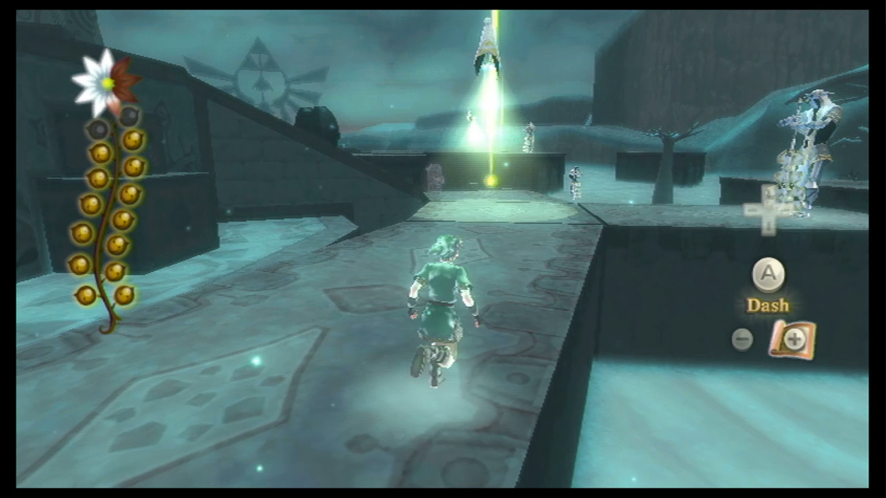
• Located on a platform bridge. There are two Watchers patrolling this path, so be careful. 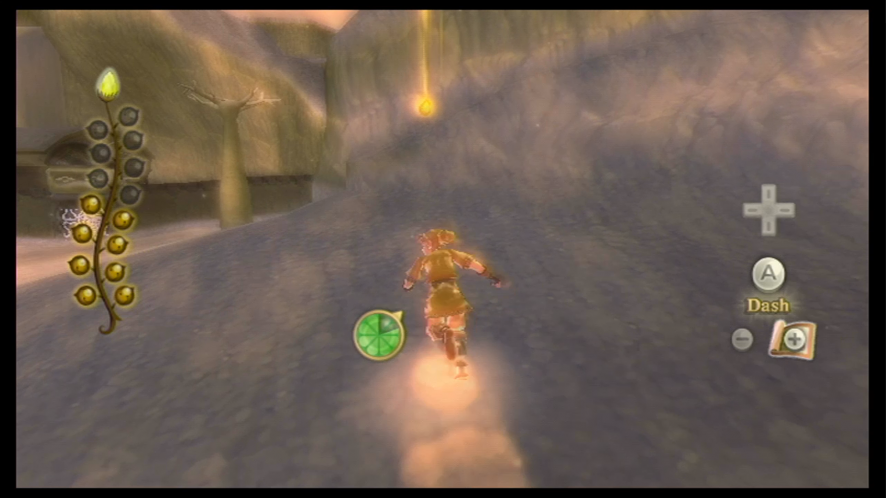
• Located to the west of the trial gate. You will have to dash your way over to reach 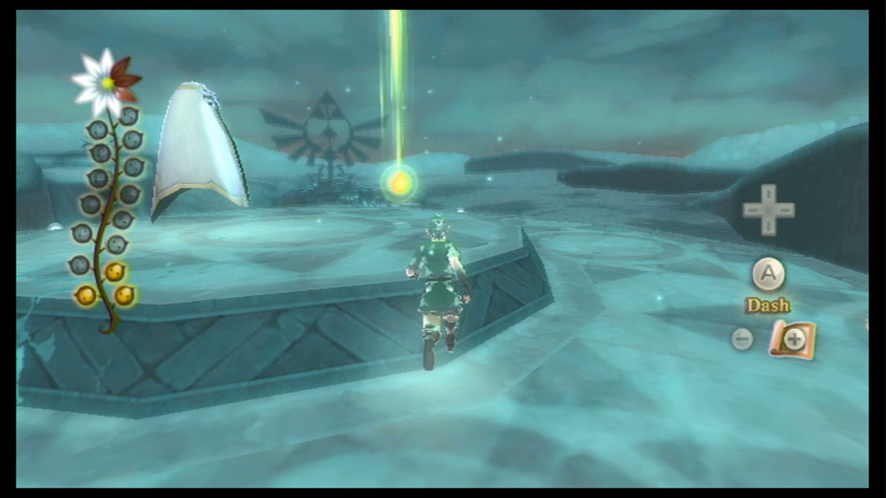
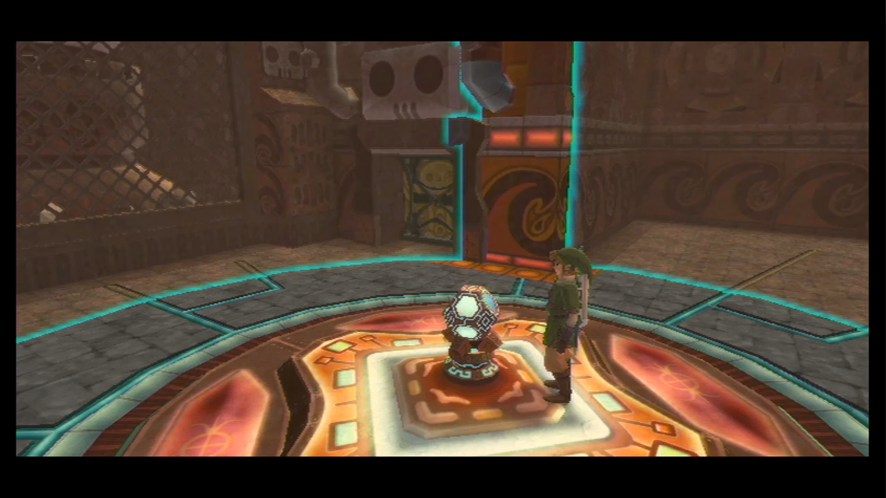
• Located on top of the center structure. Climb the vines to reach the first level, and then climb the second set of vines to reach the top where the tear is sitting. 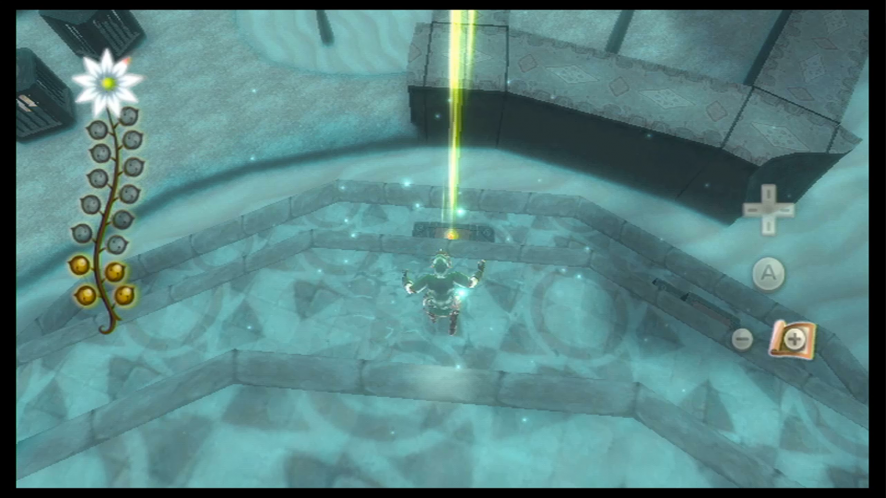
When you make it back safely to the trial gate, you will return to the real world and you will be rewarded with the Clawshots, which you can use to latch yourself onto targets and reach areas you couldn’t reach before. There are a few things we can grab now that we have the Clawshots, so if you want to get them, continue reading. If you would rather not do this now, skip ahead to the next section.
Now that we have the Clawshots, there are a few Goddess Cubes we can activate.
If you take a look at your map, there is a narrow area of land to the northeast. Head over to where this is and – if you haven’t yet – blow up the cracked wall here to reveal a secret passage. Claw your way inside from target to target until you reach the Goddess Cube.

We can also find Goddess Cube #18 while we’re here, and it’s located to the southwest of the Lanayru Mining Facility. The cube is sitting on a higher ledge, so claw your way up there to reach it and activate it.
The Sand Sea
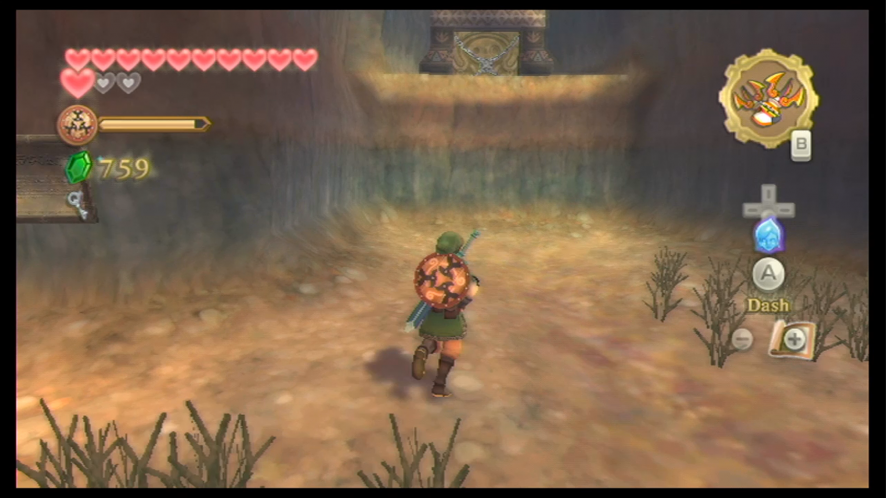
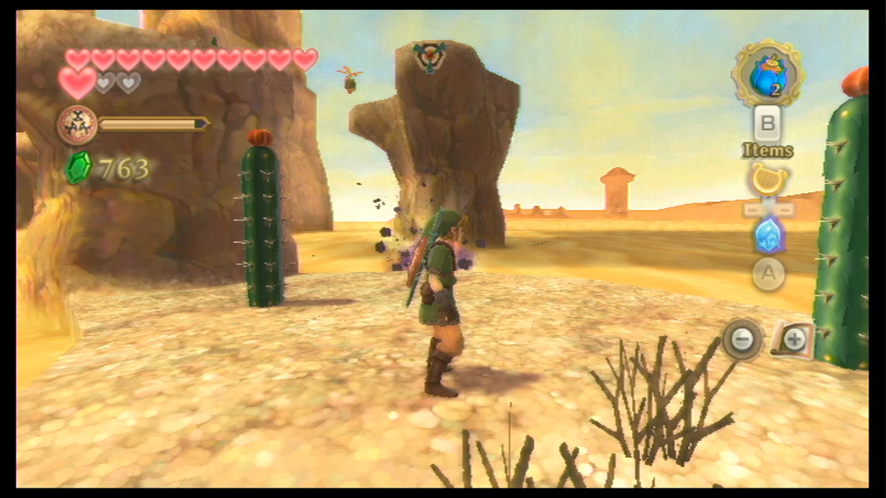
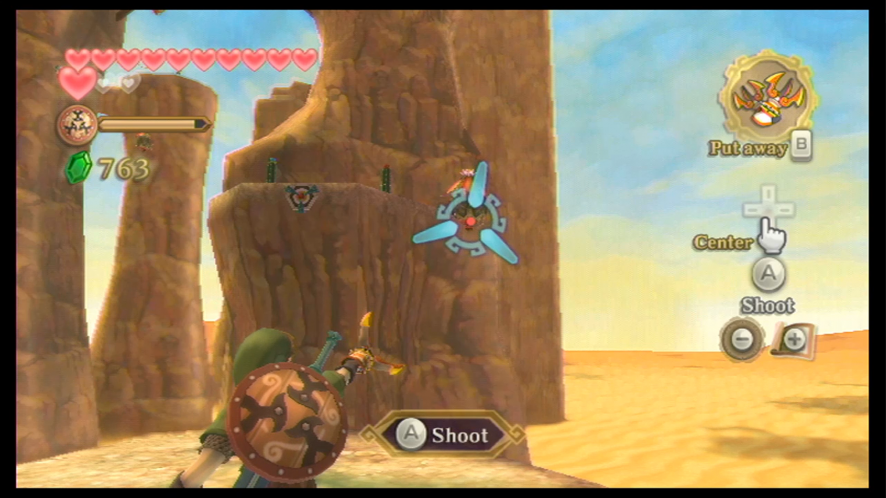
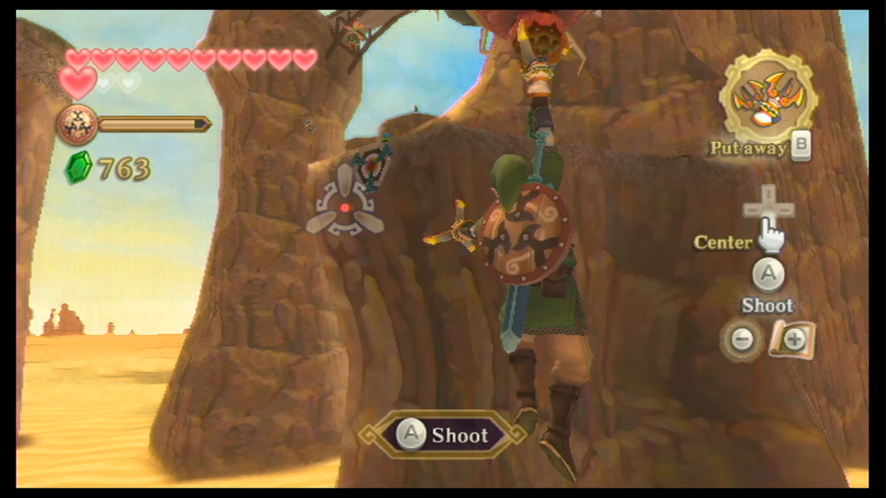
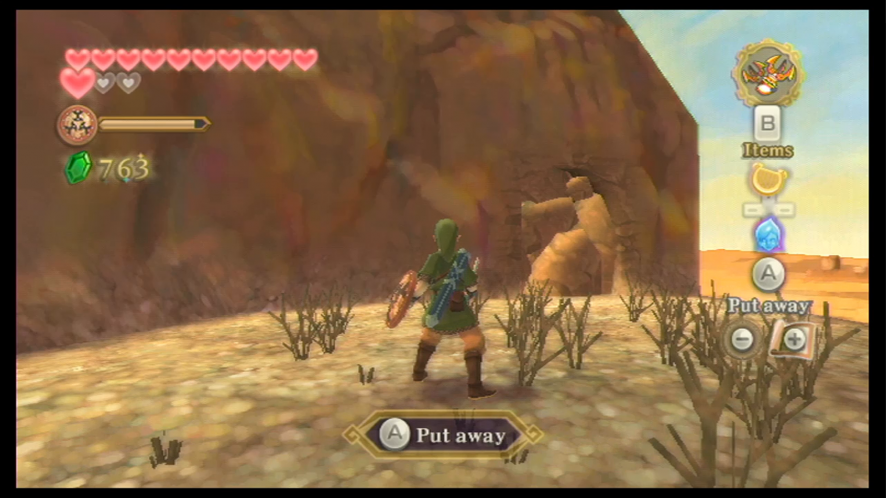
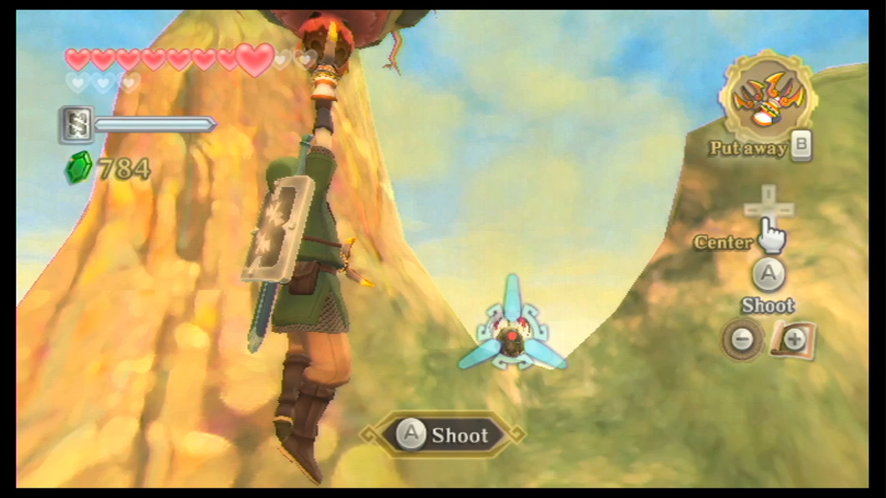
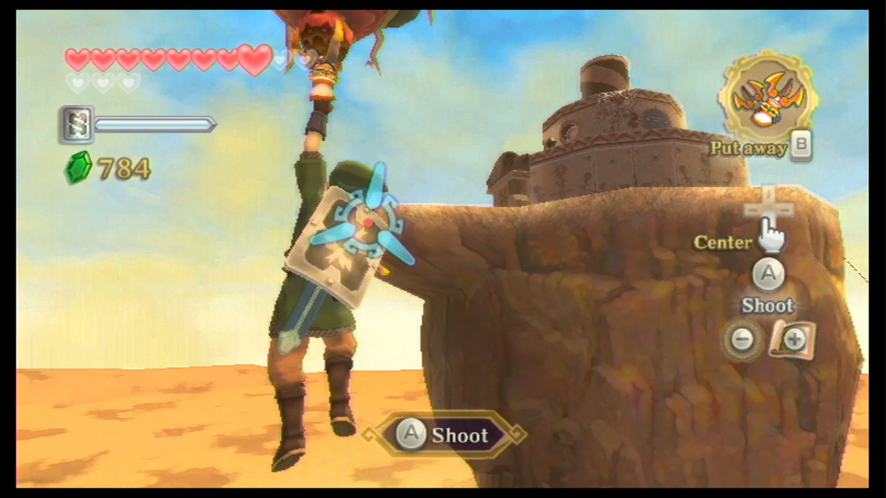
Once you’ve left the Silent Realm and have been rewarded with the Clawshots, bring up your map and direct your attention to the newly-marked question mark that’s over in the southwest region of the area. Make your way to where the question mark has appeared and you’ll see that there are targets here for you to use your Clawshots on. Travel along this area with the Clawshots until you make it to a cavern. Head through, and you’ll be in a whole new area of Lanayru, the Lanayru Caves.
If you keep heading forward, you’ll eventually run into another Goron named Golo, who’s digging away at rocks with a pick-axe. We’re not going to talk to him just yet – instead, head over to the Blessed Butterflies that are hanging around this area and play your Harp to summon a Gossip Stone. This will also give you an Evil Crystal. There is a treasure chest here as well, so open it to get a Monster Horn.
The door to the west of this spot is locked so we’ll need to get our hands on a key. If you speak to Golo, he will tell you that he’s studying the legend of the three dragons. He will also mention the Lanayru Sand Sea and will give you the key that’s needed to open the door. Use your Clawshot on the target above the door to reach the ledge it’s sitting on and then use the key you just received to head through.
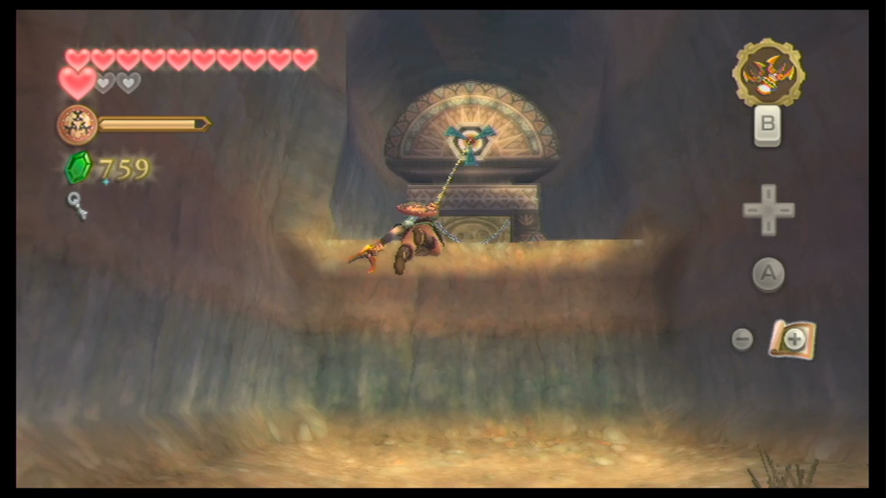
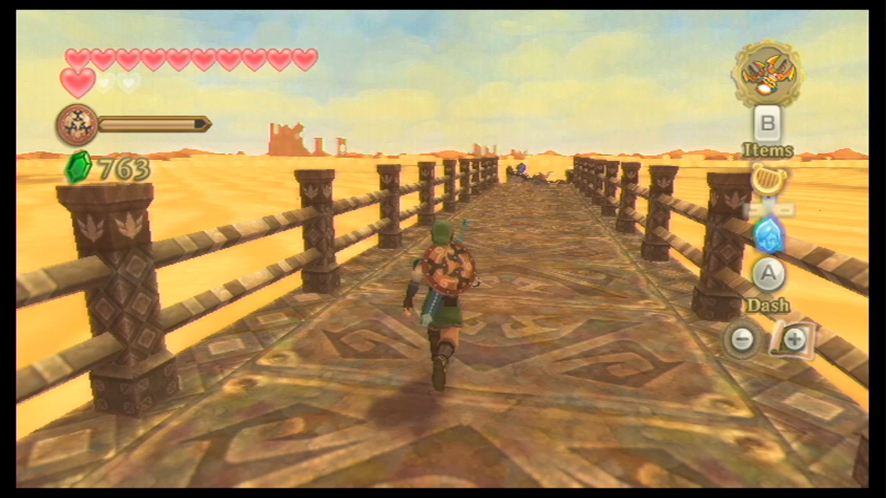
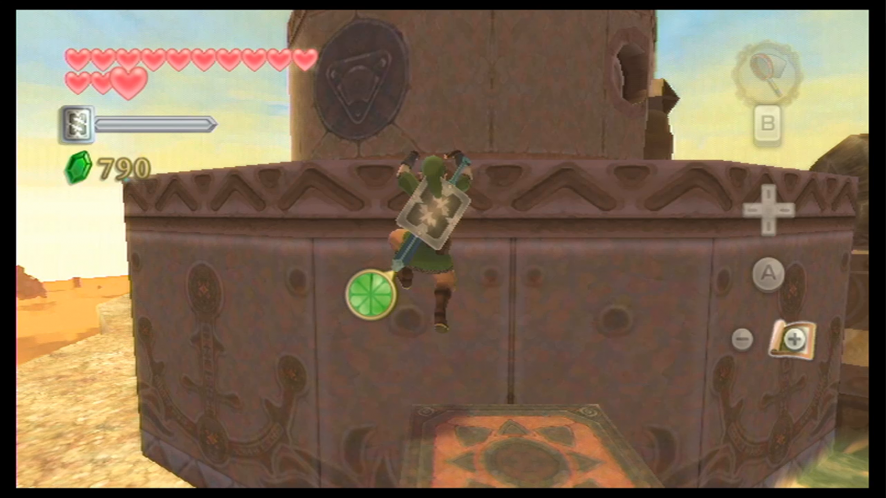
When you’re in the next area, you will have to make your way through a kind of rift area in the ground via the Clawshots and the targets that are on the pillars spread along this path. Equip the Clawshots and send yourself over to the first pillar, and then use your second Clawshot to reach the next one. Keep repeating this process until you’ve reached the vast western desert area.
There’s a Goddess Cube we can get while we’re in this area, so start heading to the north of where you currently are until you see the target for the Clawshots on a higher box. Send yourself up there and then enter the cave. You’ll have to fend off a lot of Aracha in here, but once you’ve done it, you can head over and use a Skyward Strike to activate Goddess Cube #19.
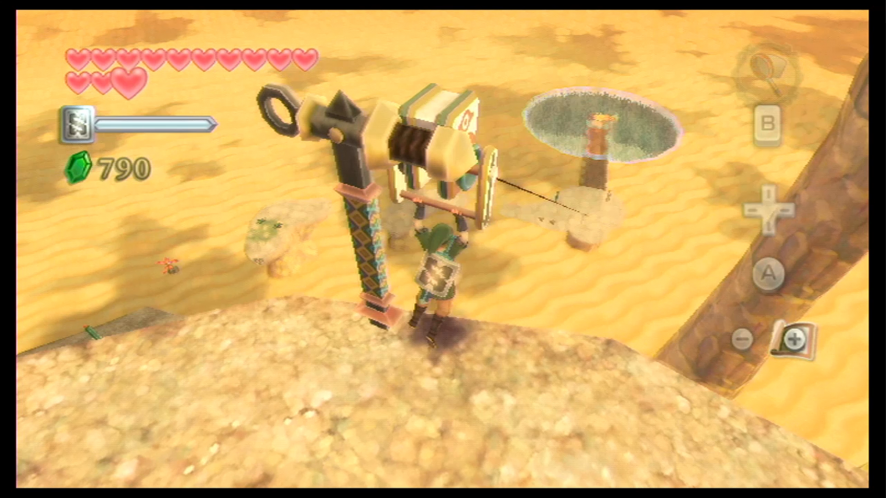
Once you’ve left the cave, you’ll want to start heading for the west end of this desert. When you get to the right spot, you’ll find an old boat that’s not in working condition, as well as a robot that has been shut down. If you take a look at the boat, you will see that there is a Timeshift Stone mounted on it, so activate it with a sword strike. Once you’ve done so, the sand around the ship will turn to water, and the robot will awaken.
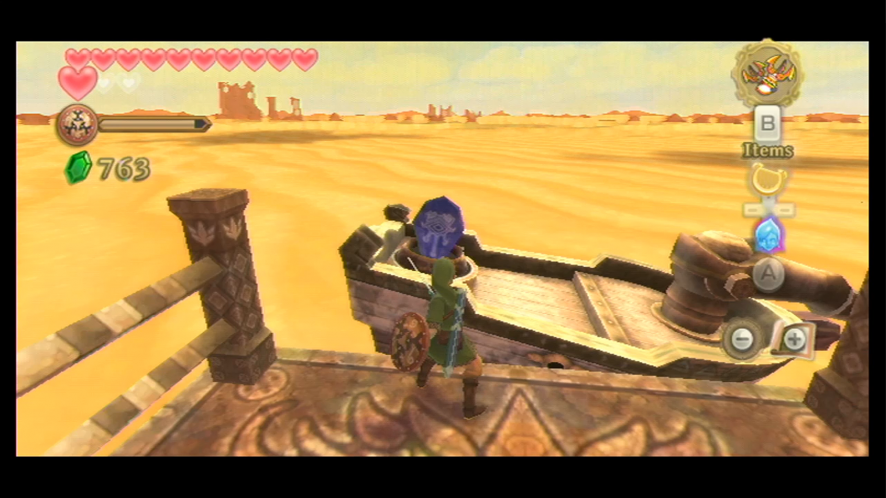
The robot was apparently the captain of a much bigger ship somewhere, but he was hijacked by pirates and his crew was captured. This ship also happens to be the home of Nayru’s Sacred Flame. Unfortunately for us, the ship happens to be INVISIBLE, so it’s going to be tricky to find. And of course, he wants us to help him find the ship. We won’t be able to navigate the sea in his current ship without the Sea Chart, but he says that he has a chart at his retreat. When you mount the boat, Skipper will mark an ‘X’ on your map to show you where to find his home. Make your way through the Sand Sea until you reach Skipper’s Retreat.
Once there, take the pathway off to the right. You’ll have to defeat a couple of Electro Spume here – you can quickly take them down with a few Bombs. Once you’ve done that, continue going down this pathway until you’ve come to a higher pillar. Equip your Clawshot and use it to latch onto the target. There are some Deku Baba in here, so take them out before heading to the north. You’ll see some Pea hats here – creatures that resemble plants and fly around in the air – so use your Clawshot to grab onto one. Once you’ve done that, use your second Clawshot to target the next pillar.

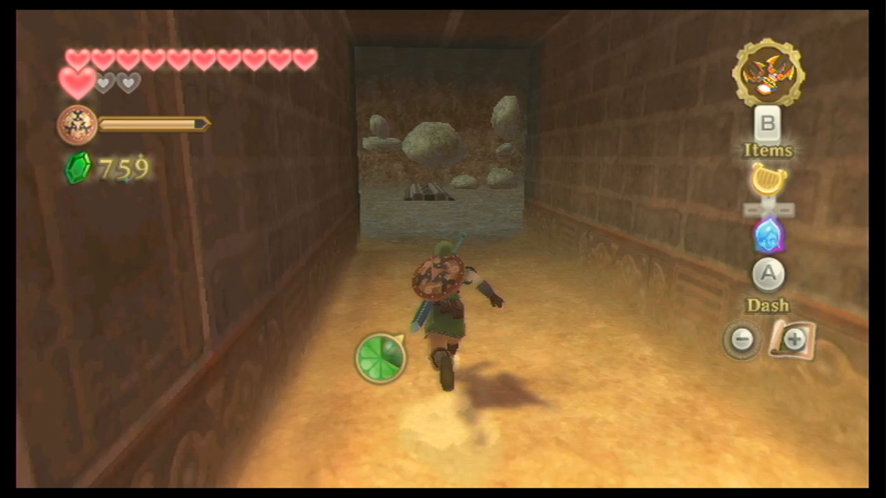
There will be a Yellow Chuchu here, so take care of that first. Afterward, take out a Bomb and use it to blow up the boulder that’s in the way. A cave will be revealed, so head inside.
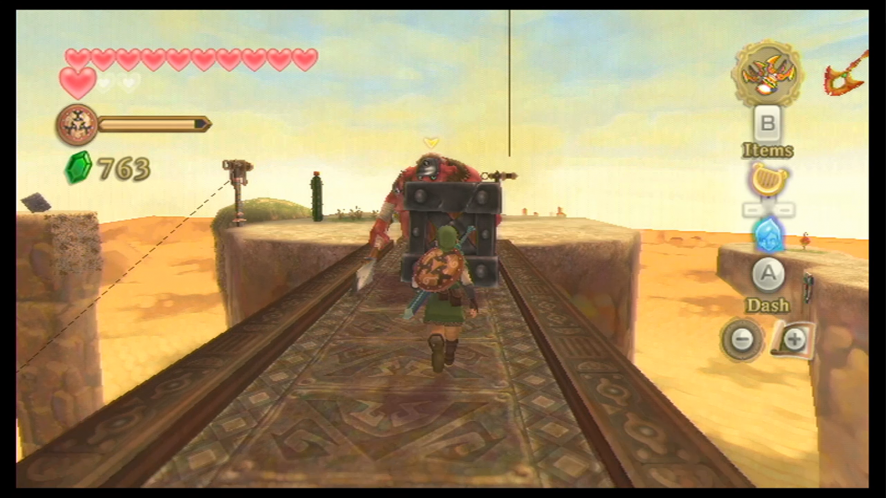
Defeat the next Yellow Chuchu in here and then make your way through the cave. There will be another Pea hat, so latch onto it with your Clawshot and continue through this area via the targets until you reach the higher area. This is where you’re going to face off against a new monster, the Metal Shield Moblin. The area we’re fighting on here is pretty narrow, so your best bet would be to charge at him and use his shield to jump over him and continue on.
Take down the next Quadro Baba and then open the treasure chest here for a quick 20 Rupees. To the southwest of here is another pillar you can grab onto with the Clawshots. Do this and then make your way around to the next pillar, and grab onto it. Once you’re latched onto this second pillar, you’ll have to climb up to the top. There’s another Goddess Cube here, so go ahead and activate it with a Skyward Strike. Now you can head back along the pillars – you’ll want to go back to where you defeated the Quadro Baba.
Head to the north side of this pillar and then use your Clawshots again on the next target. There is a Furnix here, so quickly equip your Whip and grab the Furnix’s tail with it to pull it to the ground and defeat it. Afterward, turn your attention to the plant that’s sticking out of the platform. With your Whip still equipped, grab onto it and pull the plant out of the ground – it will be another Pea hat. Grab onto the Pea hat with the Clawshots and then ride it to the north until you’re close enough to the next target. Once you are, grab onto it with your free Clawshot.

Head up to the top of this pillar and find the target off in the distance. There’s a Deku Baba hanging from the ceiling, so we’ll have to take care of that first – send the Beetle out to cut it down from the rock. Once the Beetle has returned, equip your Clawshots again and grapple over to the next target and the next until you’re at the next high pillar. There are two more Furnix here, so take them down with your Whip.
Once you’ve taken care of the enemies, head to the next Pea hat and latch onto it. The next Pea hat you can latch onto will be flying around, but as you can probably already tell, there is a big boulder between the Pea hat you’re currently latched to and the next Pea hat – you’ll have to time your Clawshot so that you grab onto the Pea hat while you’re flying past the slight opening in the rock. Once you’ve successfully done this, use your Clawshots to grab the next target and then enter Skipper’s room.
There’s a lot of dust in this room, so we’ll have to clean it out with the Gust Bellows. You will find a treasure chest, which contains the Ancient Sea Chart. There is a stool here for Link to sit on and restore his health . . . although Fi will tell you that there is a ‘bug on the roof’.
Leave Skipper’s home and climb to the top of the building. You will find bugs up here, so catch as many as you like with your Bug Net. Once you’ve done this and you’re done at Skipper’s place, head to the west end of this structure and you’ll soon find a zip line device with a bar for Link to hold onto. When you grab onto it, you’ll ride down to a lower pillar that also has a zip line, so grab onto the next one and ride back down to the bottom. Speak to the robot and then agree to sail off – the robot will mark another ‘X’ on your map, so this is where we’ll be heading next.
Getting to the next area – the Shipyard – will be a little more difficult as there are a few obstacles we’re going to have to avoid. The first obstacle you’ll probably encounter are barrels that will float up to the surface and will explode if you make contact with them. You can either avoid these or blow them up with your cannon while you’re far from them. Along with the barrels, you will probably run into some Archer Bokoblin that shoot fire arrows at you. Defeating them will be too difficult and time-consuming to do, so you can just ride past them and try not to get hit. You will also have to fend off some Water Spume – they will shoot balls of water at you while you’re sailing. Although, they’re still pretty harmless and you can avoid them if you wish.
Once you’ve made it to the Shipyard, pull the boat into the dock and head into this new area.
The Shipyard
Save your progress at the Bird Statue ahead. Take a right turn and you’ll be faced by two Lizalfos. Now that the Goddess Sword has been upgraded with Farore’s Sacred Flame, you’ll find that these normally annoying and tricky-to-defeat monsters are easier to take down now. Once you’ve taken them down, continue ahead until you make it to the minecart facility.
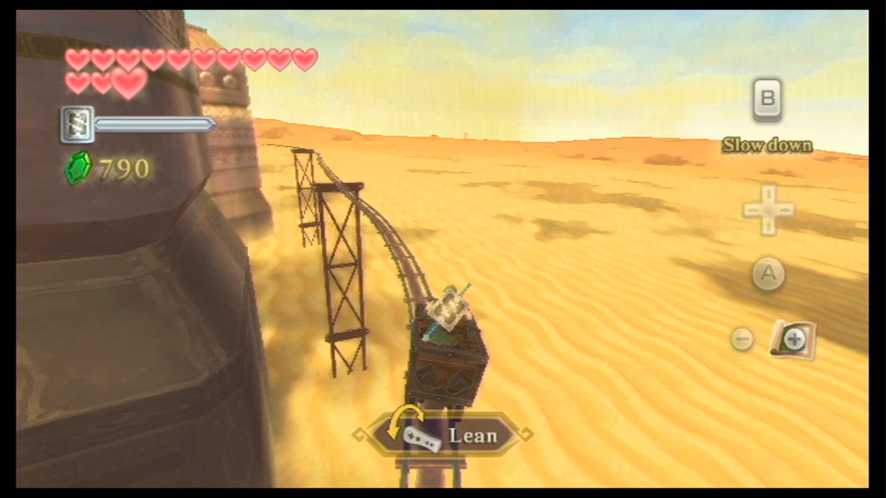
There’s a Goron here – when you speak to him, he will tell you to read the safety instructions on the wall for riding the minecarts. Basically, to ride the minecart, you use the controller to alter your weight in the cart towards the left or the right – depending on which way you direct yourself, you can use your weight to change your direction. There will also be sharp turns on the rails; when you encounter one, you have to shift your weight in the opposite direction of the rail’s direction so that you don’t fall off it from the sharp turn.
The first set of rails we have to take to the next building are rather simple and straight, so you won’t have much difficulty with it. However, it’s still recommended that you go at a slower speed until you get used to the controls.
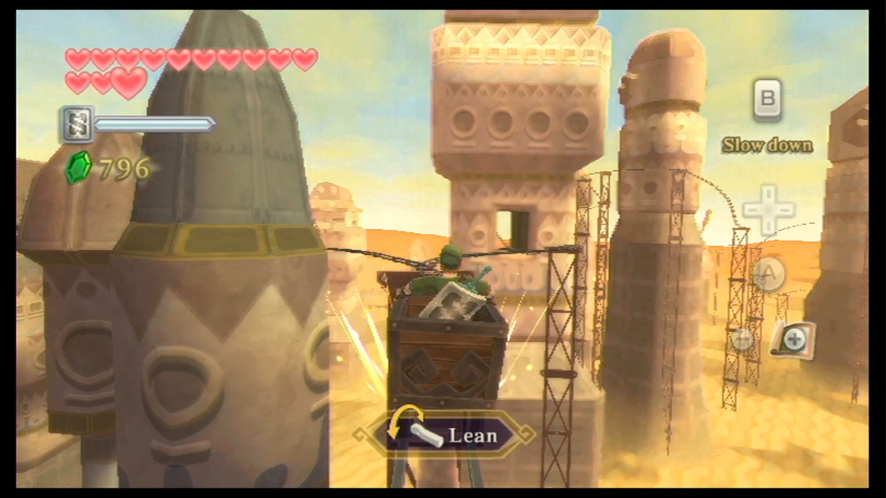
Once you’ve reached the end of this track, jump out of the cart and then climb up the steps. You’ll notice that there is a pulley here – it will take us back to the boat, but right now we’re just going to leave it alone. Take a right turn and get inside the next mine cart. There is actually a fork in the tracks for this rail, so you’ll have to choose either left or right by leaning in that direction. There will also be breaks in the track in some spots, so you’ll have to shake the Nunchuck to make the cart land safely when it jumps.
- Once the minecart has started moving, take a right turn at the first fork in therail you encounter.
- There will be another fork soon so when you make it to that one, make another right turn.
- You’ll encounter some gaps in the rail, so make sure you’re going at a fairly quick speed so that your cart makes it to the other side. Then you can shake the Nunchuck to land correctly.
- After you’ve made it past these gaps in the rail, you’ll encounter another fork in the track – take a left this time.
- At the next fork after that, take a right.
- There will be a third fork that you will encounter – however, this one doesn’t require you to make a certain decision, so you can take either one you like.
- Once you’ve made it to the end, there will be a few more gaps to jump. After you’ve done so, you’ll be at the end of this track.
There’s another Bird Statue here, so you’d better save your game. Head through the next door and you’ll be in the construction section of the Shipyard. There’s a lot of sand in this room, so jump down and begin to clean it out with the Gust Bellows. However, as you’re cleaning out this room, you’ll eventually uncover Moldarach, the same creature we fought back in the Lanayru Mining Facility. The fight is the exact same as last time; with our upgraded Goddess Sword, it’ll be a lot easier too.
Once you’ve defeated Moldarach, Fi will tell you that there isn’t much more to do here, so leave through the door and return to Skipper at the boat. Mount the ship and Skipper will mark another location on your map. Sail to this new spot and then dock at the Pirate Stronghold.
The Pirate Stronghold
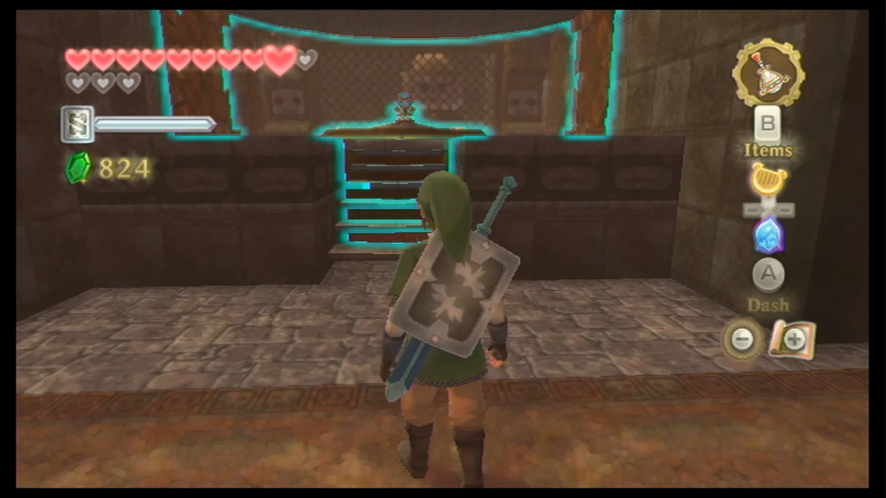
Save your game at the Bird Statue here when you arrive. Once you’ve done that, take a right turn and keep going until you reach a door.
Once you’re inside the next room, head forward and go through the next door that’s at the back of the room, slightly towards the right. There’s some sand here, so clear it out with your Gust Bellows. Afterwards, keep going ahead and defeat the two Lizalfos here. Once you’ve defeated them, continue down this hallway. Take down the Electro Spume and then make your way across the sand. There’s another door here, so go through it.
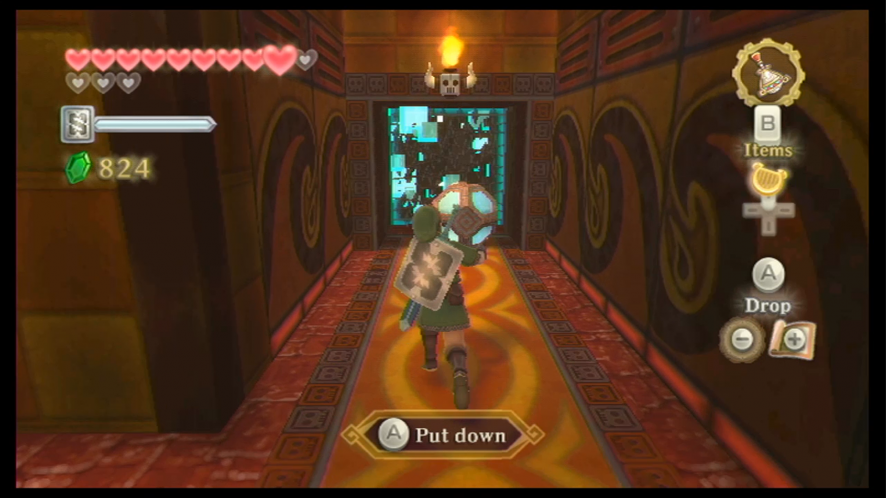
You’ll be in another hallway, so head down until you find a Timeshift Orb. Carry it further down the hallway – it’s timeshifting powers will open the next door. Keep heading down this path – at one point, the orb will bring to life two Technoblins, so drop the orb and defeat them. Once you’ve done so, grab the orb again and head through the next door.
You’ll have to toss aside the orb again in the next room to take care of the Beamos in here. Once you’ve destroyed it, pick up the Timeshift Orb again and carry it to the next room. There’s a treasure chest we can get to in the corner of this room, however, there is an electric charge blocking our path. To get rid of this, travel a certain distance away from the charge and then drop the orb. Once the charge has been deactivated and you’ve dropped the Timeshift Orb, head over to the treasure chest and open it to get a silver rupee. Head back to the orb, grab it, and then go through the door that’s in the northeast part of this room.
There is a gate in this room that is blocking our path, so carry the Timeshift Orb to the left side of this room. There is another electric charge blocking us here, so drop the orb in place and then head around the corner. Jump up to reach the lever and pull it down – this will cause the gate to go down, making this room easier to maneuver around. Pick up the orb again and head further to reach the door to the next room.
When you carry the orb around this room, you will encounter a few Deku Baba. There is another treasure chest in here, just off in the corner of the room, but if you bring the Timeshift Orb anywhere near it, pillars will emerge from the ground and block your path. You’ll have to bring the Timeshift Orb as close as possible to the treasure chest without setting off the pillars. When you think you’re as close as you can get, run over to the treasure chest and open it to get an Evil Crystal. Pick up the Timeshift Orb again and bring it with you to the next room.
The next hallway has three more Deku Babas. However, you can use a bit of a different strategy to beat them this time, and it will take all three of them down at once too. Equip your Bombs and roll one towards the first one. When it gets to him, he’ll actually eat it and the explosion will kill them all. Defeat the Technoblin and the Deku Babas as you continue your way down this hallway. The next part of this area will have even more enemies, so take them all down and then head to the southwest corner of this room. There’s another electric charge, so you’ll have to keep the Timeshift Orb out of the vicinity of this little room. Grab the block and pull it onto the floor switch so that the gates change. Head through the other exit now and grab the Timeshift Orb, then bring it to the next room.
Walk over to the room next to this with the orb and two Beamos will come to life, so take them down before doing anything else. Once you’ve done so, grab the Timeshift Orb again and take it to the northwest corner of this room and drop it again. Head back to the room we were just in and then head through the western door. If you placed the orb in the right place, it should be activating a lever that you can pull down to lift the gate. Get the Timeshift Orb and then bring it to the next room past the gate.

There’s a treasure chest in this room, so open it to get a Monster Horn. Take the orb to the corner of this room and two Armos will be revived. A good strategy to use is to bring the orb close enough only to one Armos so that only one is activated at a time and it’s less difficult to defeat them both. Once you’ve taken them both down, the gate will automatically open.
Take the orb to this next room and place it inside the holder. This will bring to life the entire Pirate Stronghold. Another door will open, so head through there and you’ll be back outside again.
If you turn around, you’ll find a Clawshot target that you can latch on above the door you just came through. Latch yourself onto it and then onto the next target. Head straight and you’ll reach Goddess Cube #21, so go ahead and activate it.

Head back towards the boat where Skipper is waiting and Fi will tell you about the flame you’re searching for. She will then register the invisible ship that was stolen from Skipper as a dowsing option. Head to Skipper and speak to him to leave the island.
Finding the Sandship
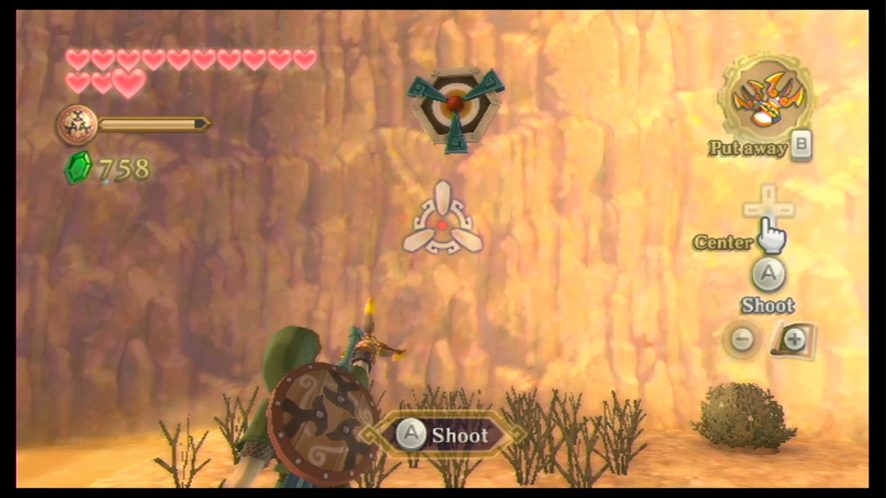
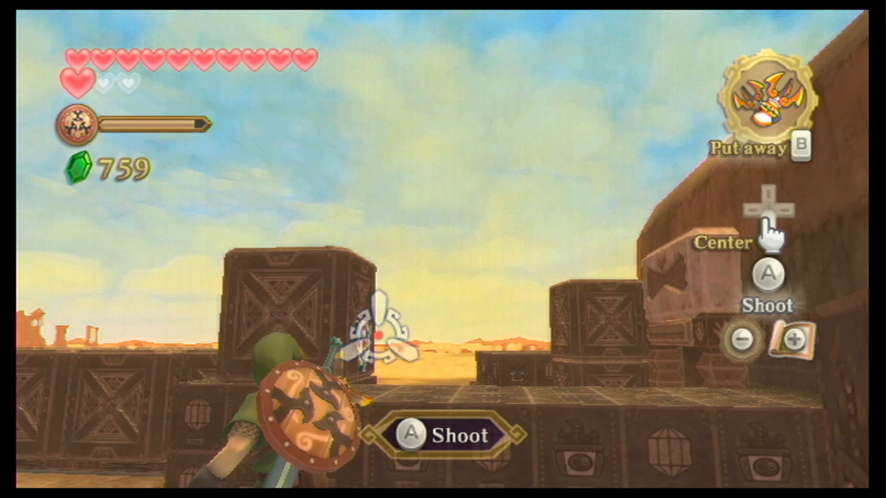
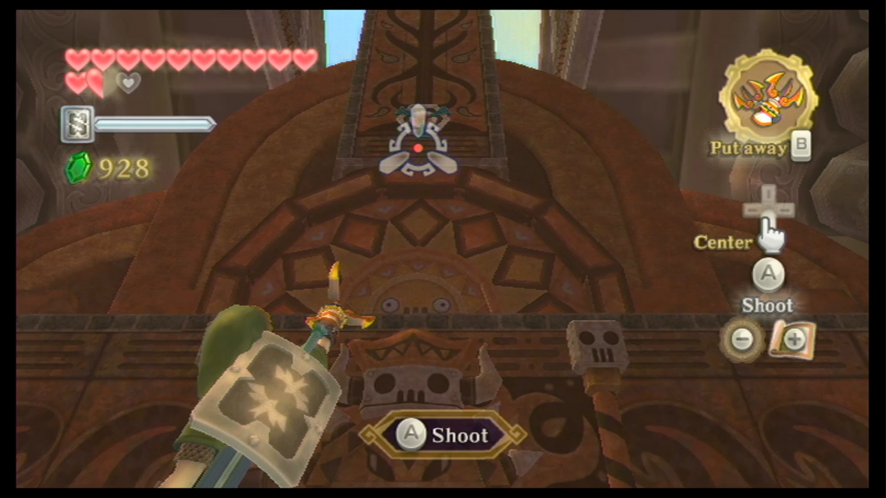
The hunt for the Sandship can prove to be quite tricky due to the fact that a.) it’s invisible, and b.) you have to completely rely on your dowsing mechanic to reach. If your dowsing radar starts going off, you’ll have to start shooting random cannonballs out in the same direction until you hit the ship.
By the time you’ve hit the ship once or twice, you will have probably already noticed that’s it more difficult than you thought it was – not only do you have to steer the ship and use the dowsing mechanic, but you also have to use your cannon and watch out for monsters out in the sea . . . all at the same time. After you’ve hit the ship once, it should only take two more times to make it appear.
Once the ship has appeared, Link will automatically steer the ship over and board the Sandship.