


Chapter 9: Sunken City
- 9.1 Leave Holodrum Plain
- 9.2 Reach Sunken City
- 9.2a Cross Natzu Prairie with Ricky
- 9.2b Cross Natzu Wastland with Moosh
- 9.2c Cross Natzu River with Dimitri
- 9.3 Acquire the Gale Seeds
- 9.4 Meet up with Dimitri
- 9.5 Earn the Zora’s Flippers
- 9.6 Find the Mt. Cucco portal
9.1 Leave Holodrum Plain
For now, you’re done with Spool Swamp. In fact, there’s not much you’ll ever come back here for unless you’re trying to 100% the game, so it’s time to say goodbye to this place.
The pathway back should be familiar, but there are many fewer details this time to navigate, and you won’t need Ricky to get you over those potholes now that you have Roc’s Feather (though you can always summon him if you have his Flute). Head east and head up the steps. Then head south three times, U-turn around the treeline, and then head back north to reach the tree with the Pegasus Seeds. You might as well collect a few while you’re on the way as you’ll eventually need a good supply of them.
-

- You’ll have to retrace your steps quite a bit to get out of Spool Swamp.
-
- You’ll break off here, jumping over the pothole into new territory.
From the tree, head east, and then head south three times in order to reach Mrs. Ruul’s cottage where you would trade the Ghastly Doll for the Iron Pot. If you haven’t done so yet, now would be a good time to do so. Head east, and then head north four times, hopping over each of the potholes that are in your way. You’ll be just south of Ricky’s pen. All you need to do from there is head east twice more.
There’s a bevvy of tasks to be done if you want to tick them off. If you want to backtrack further, you can head back to the Woods of Winter portal to Subrosia to trade the Iron Pot for a hearty bowl of Lava Soup. The sixth Piece of Heart is also available as well. And more importantly, you’re now able to access the secrets for the Snowshoe Ring, Bombchus, the Sword upgrade, and the Biggoron Sword.
9.2 Reach Sunken City
You’ll encounter a pair of Peahats here. However, they’re annoying to deal with, so you might as well head north, finally veering into new territory. This will bring you into the region of Natzu.
Natzu is a rather special region in Oracle of Seasons. Depending upon which animal’s Flute you possess, the geography of this area will be vastly different. As a result, for this short segment, our guide splits into three segments and will rejoin in Sunken City.
9.2a Cross Natzu Prairie with Ricky
 If you have Ricky’s Flute, the path forward will naturally feature a lot of tall cliffs as well as potholes to jump over. Even Roc’s Feather won’t be able to tackle some of those challenges, so you might as well just stay with him for the duration of it. Ricky’s pathway is the longest of the three, but it’s still not incredibly challenging.
The entire region is covered in Like-Likes, and, like all Like-Likes, they have no qualms about eating your shield. So keep your distance. You might as well hit the switch while you’re here, which will cause a bridge to form to the west.
Head north, and summon Ricky here. Jump in his pouch, and let his leaping ability carry you to the upper ledge. Kill the Like-Likes and begin an eastward trek. You’ll need to head east three screens, defeating Like-Likes, Buzz Blobs, and overgrown bushes along the way. The path will eventually turn southward. Jump off the cliff when you reach the end of the upper area, and then continue south. You can use Ricky’s charged punch to remove the bushes in the way when you reach the section of potholes, allowing you safe passage over them. Finally, when you get as far south as you can go, you’ll have another cliff to leap up with Ricky.
This upper platform isn’t too much to write home about. While there are a few more Buzz Blobs and Like-Likes, it’s really just punching through bushes and following the path. Head north twice, east once, and then south three twice, jumping down the cliffside when you reach the bottom. From here, you’re going to U-turn and journey northward up the narrow canyon on the right side of the screen. More Like-Likes will likely threaten you, but you’re fine with Ricky. Once you head north three times, continue by heading east twice, followed by south.


-

- You’ll need all of Ricky’s abilities to sneak through the prairie.
When you get here, you’ll run into the Great Moblin. Unfortunately, you don’t have what you need to conquer his castle just yet, so just flee to the east. You’ll arrive in Sunken City. Ricky doesn’t seem too keen on staying here, so he’ll wander off. However, it’s all for the best as you’re about to meet a different animal companion soon.
9.2b Cross Natzu Wasteland with Moosh
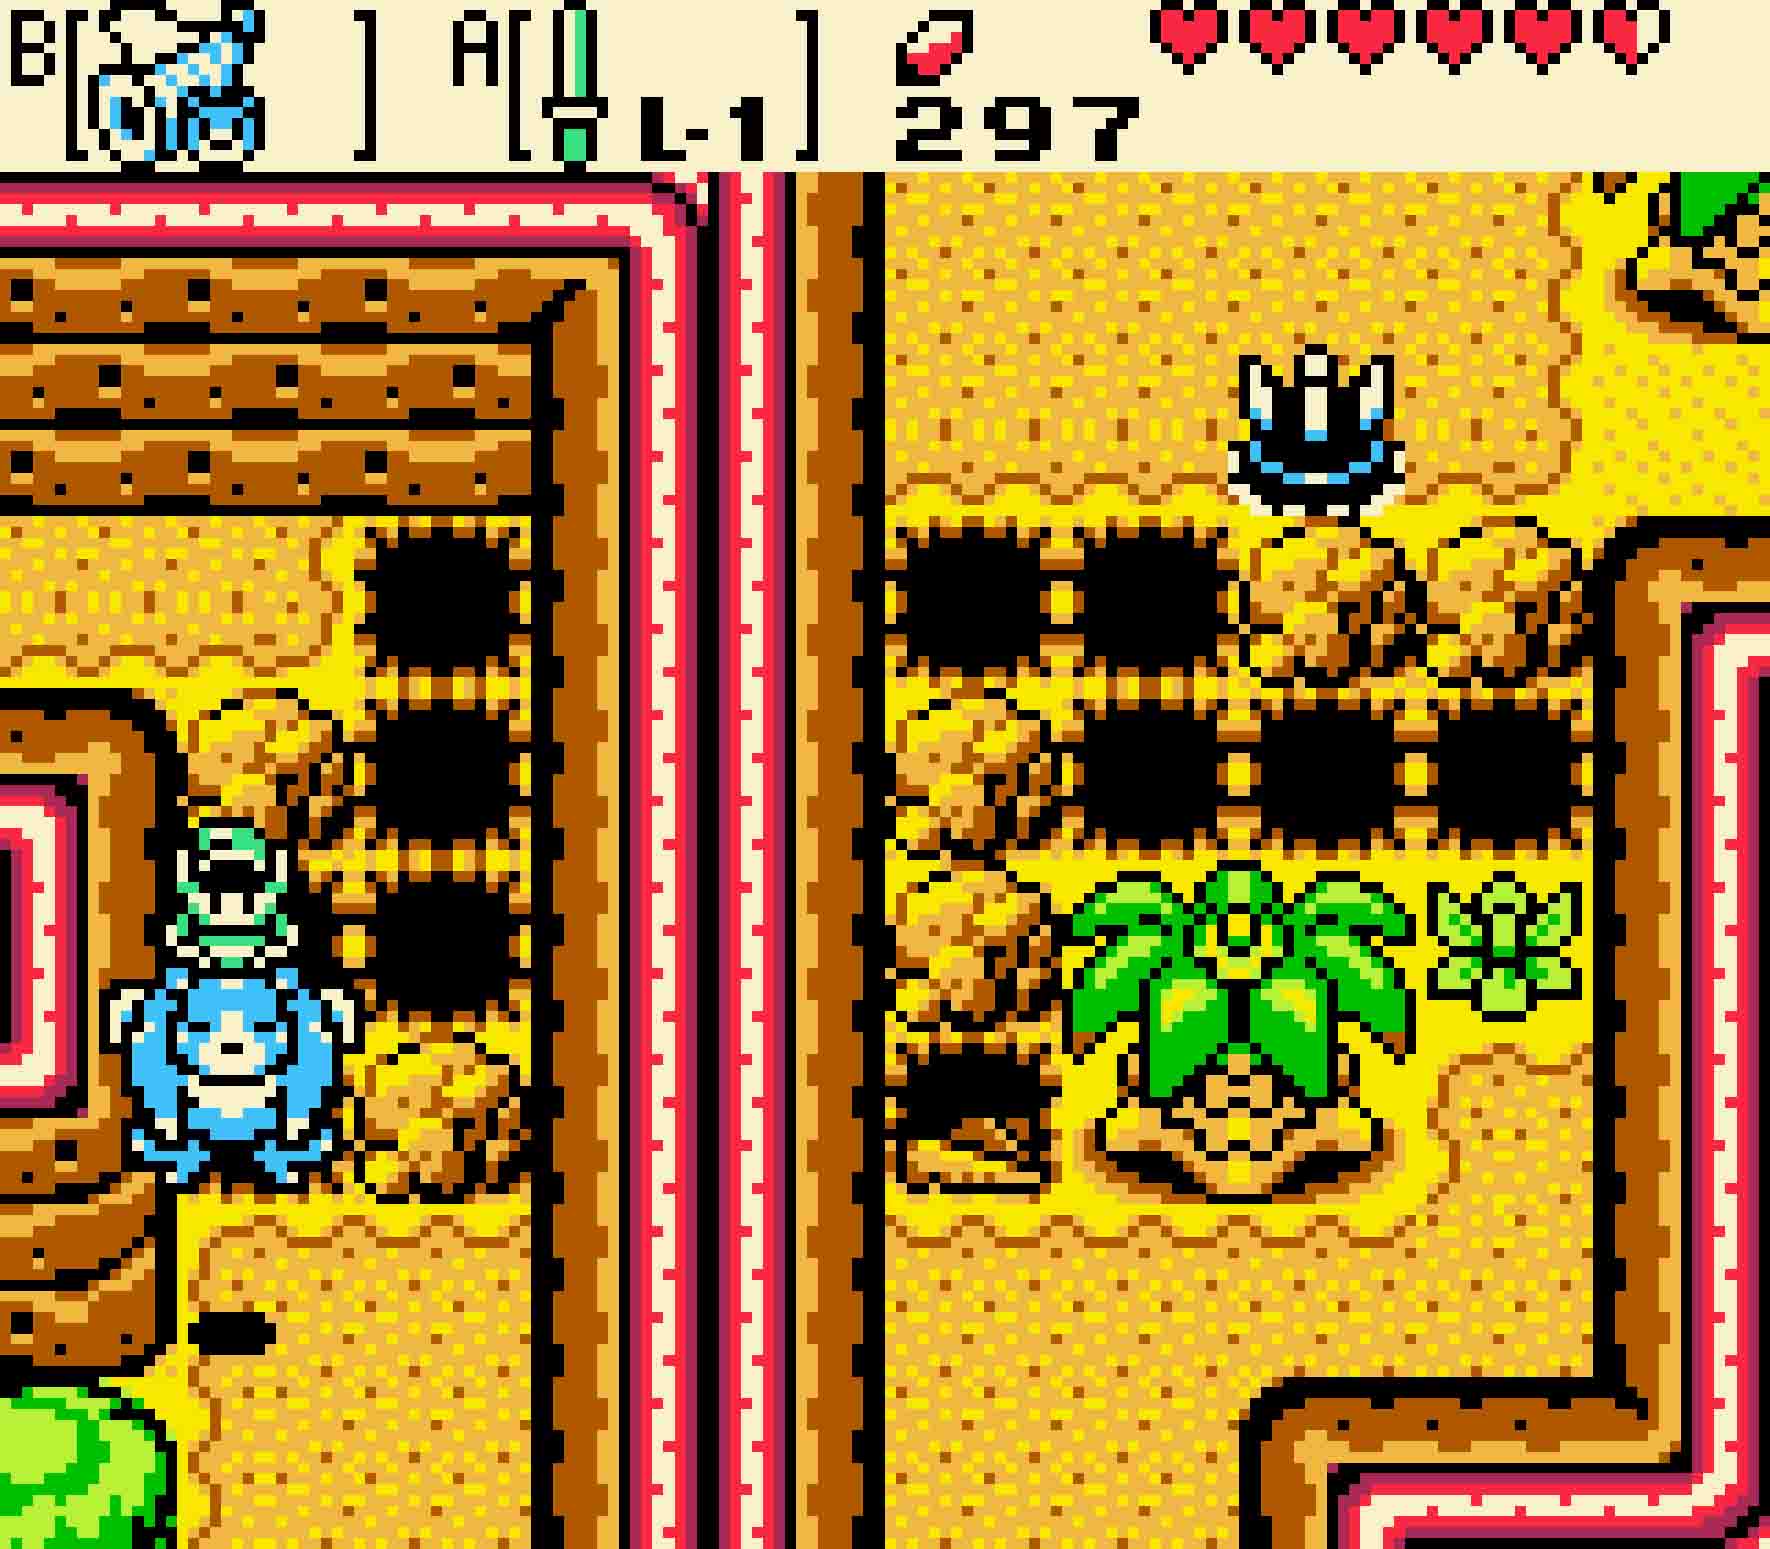
 If you have Moosh’s Flute, this section will naturally feature lots of sinkholes in the ground that will require Moosh’s unique talent of flying over them. In terms of enemies, you’ll just have to deal with a spattering of Leevers popping in and out of the wasteland sands, so use his ground pound ability to destroy them if they come too close.
To start, hit the switch on the screen you’re on; this will extend a bridge to the other land mass to the west. However, your destination lies to the east, so go that way. Leevers will immediately stalk you, so kill them first. And then you’ll need to use Moosh’s Flute to cross that first gap. Moosh can be a little particular on this screen; sometimes the Flute will summon him to the eastern side of the screen instead of the western side. If that happens, simply retreat west and return to this screen and try again from a different location.
-
- Exit out the top end of this prolonged gap. Don’t be tempted to go south.
-
- You’ll have to do an awful lot of threading the needle in this section.
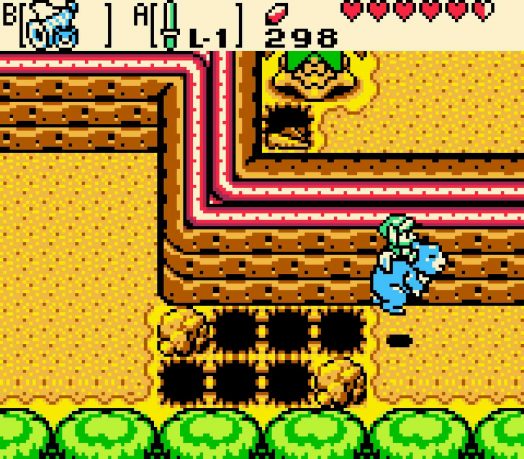
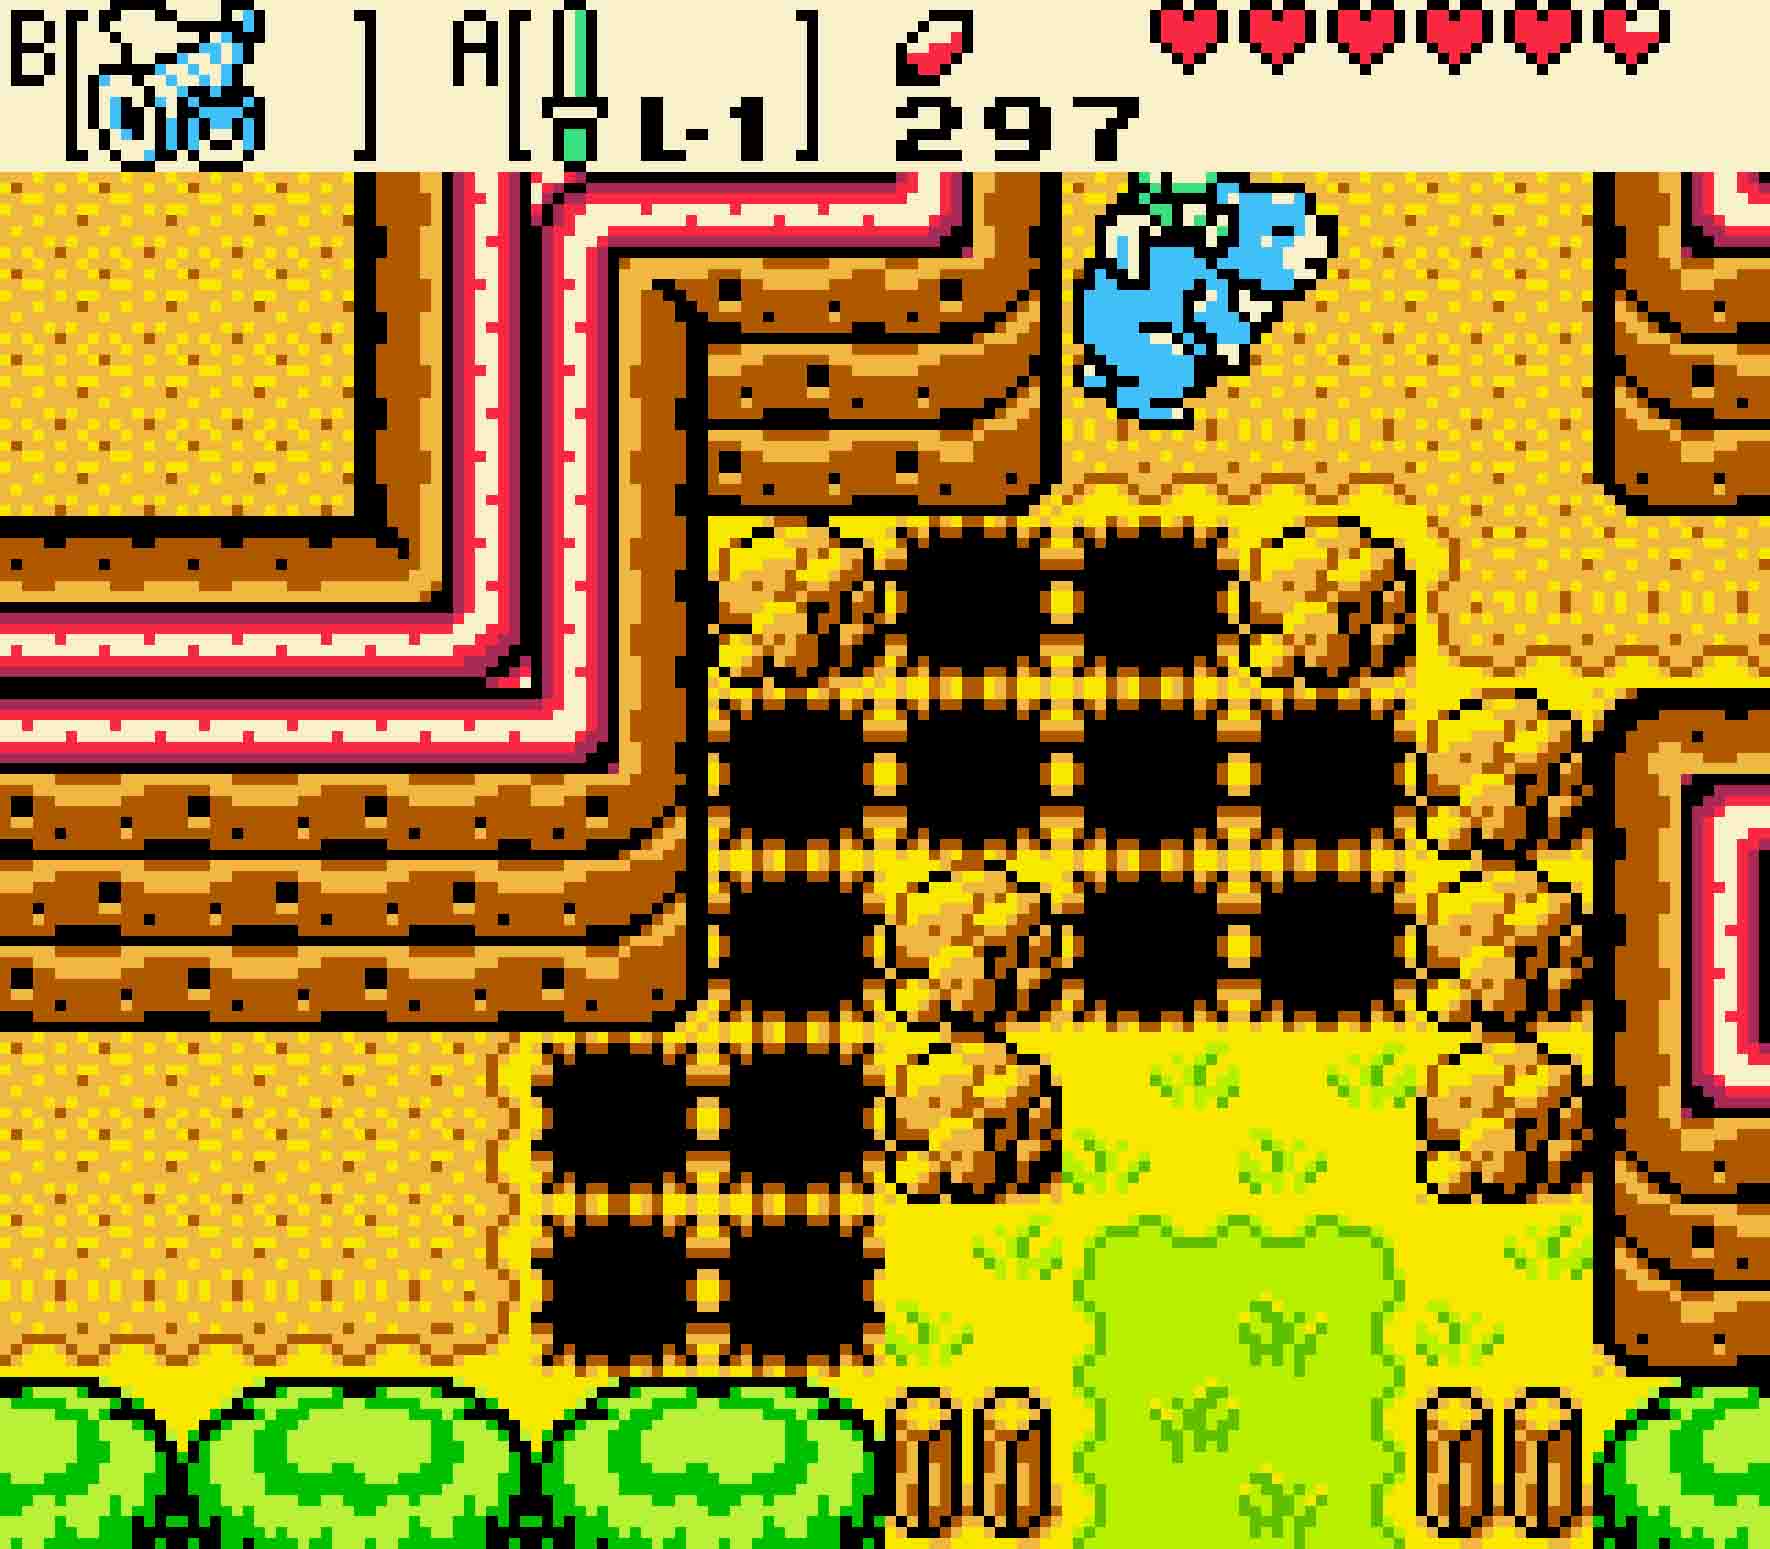
Hop aboard Moosh and fly over the extended gap. Continue to the east, and then you’ll find a much more complicated version of the same thing. Believe it or not, Moosh can navigate these messes like a complete champ. If you find yourself falling down this one, you simply aren’t tapping the action button fast enough, so keep trying. Fly over the first segment of this pit and escape out the north exit of this pothole. Then continue to the east.
You’ll find yourself in a narrow crevasse between cliffs. Again, use Moosh to thread the needle and continue southward. This next one is fairly tricky, and you’ll need to take advantage of the resting spots in the middle to make it through. Fly around the set of holes and land on the southwestern alcove, but do not continue to the south. Instead, immediately re-enter the maze and land on that first solitary 1×1 tile of ground in the middle. From there, you can do the rest in two jumps or, if you’re feeling daring, just one. Once you reach the end, head northward.
There’ll be some Leevers on this screen, so it’s best to ground pound them into oblivion before continuing. You can also ground pound the bush at the entrance to the pothole maze in order to destroy it. Then weave your way through the second to last of the pothole mazes. Then head off to the east. More Leevers will stalk you as you continue further and further east, and then finally you’ll hop over the very simple (thankfully!) pothole group as you follow the pathway southward.
-
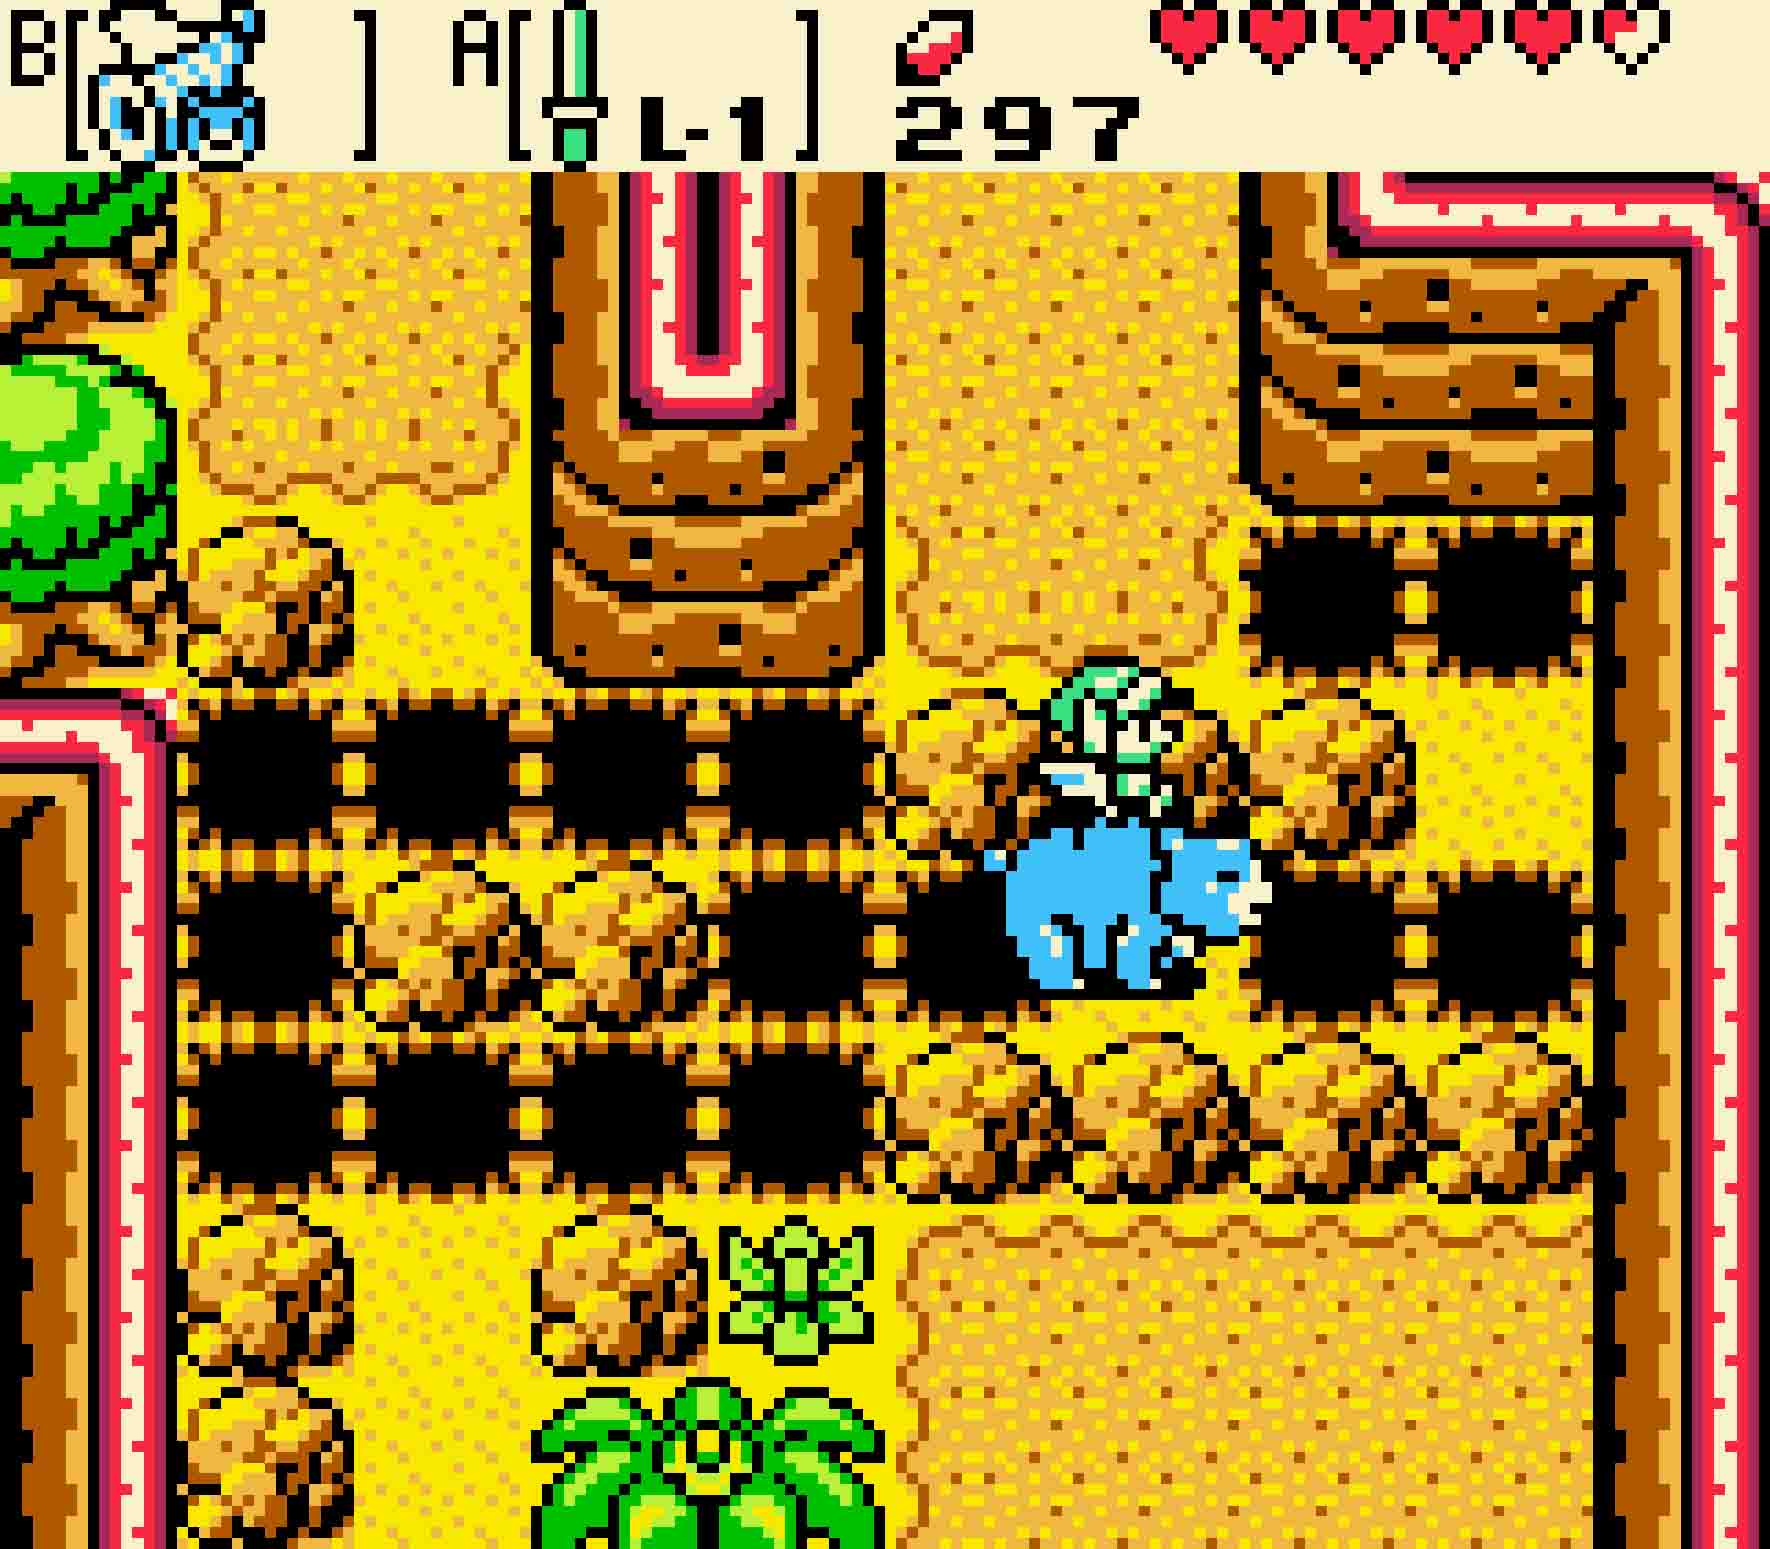
- You’ll have to make several rest stops along this section.
-
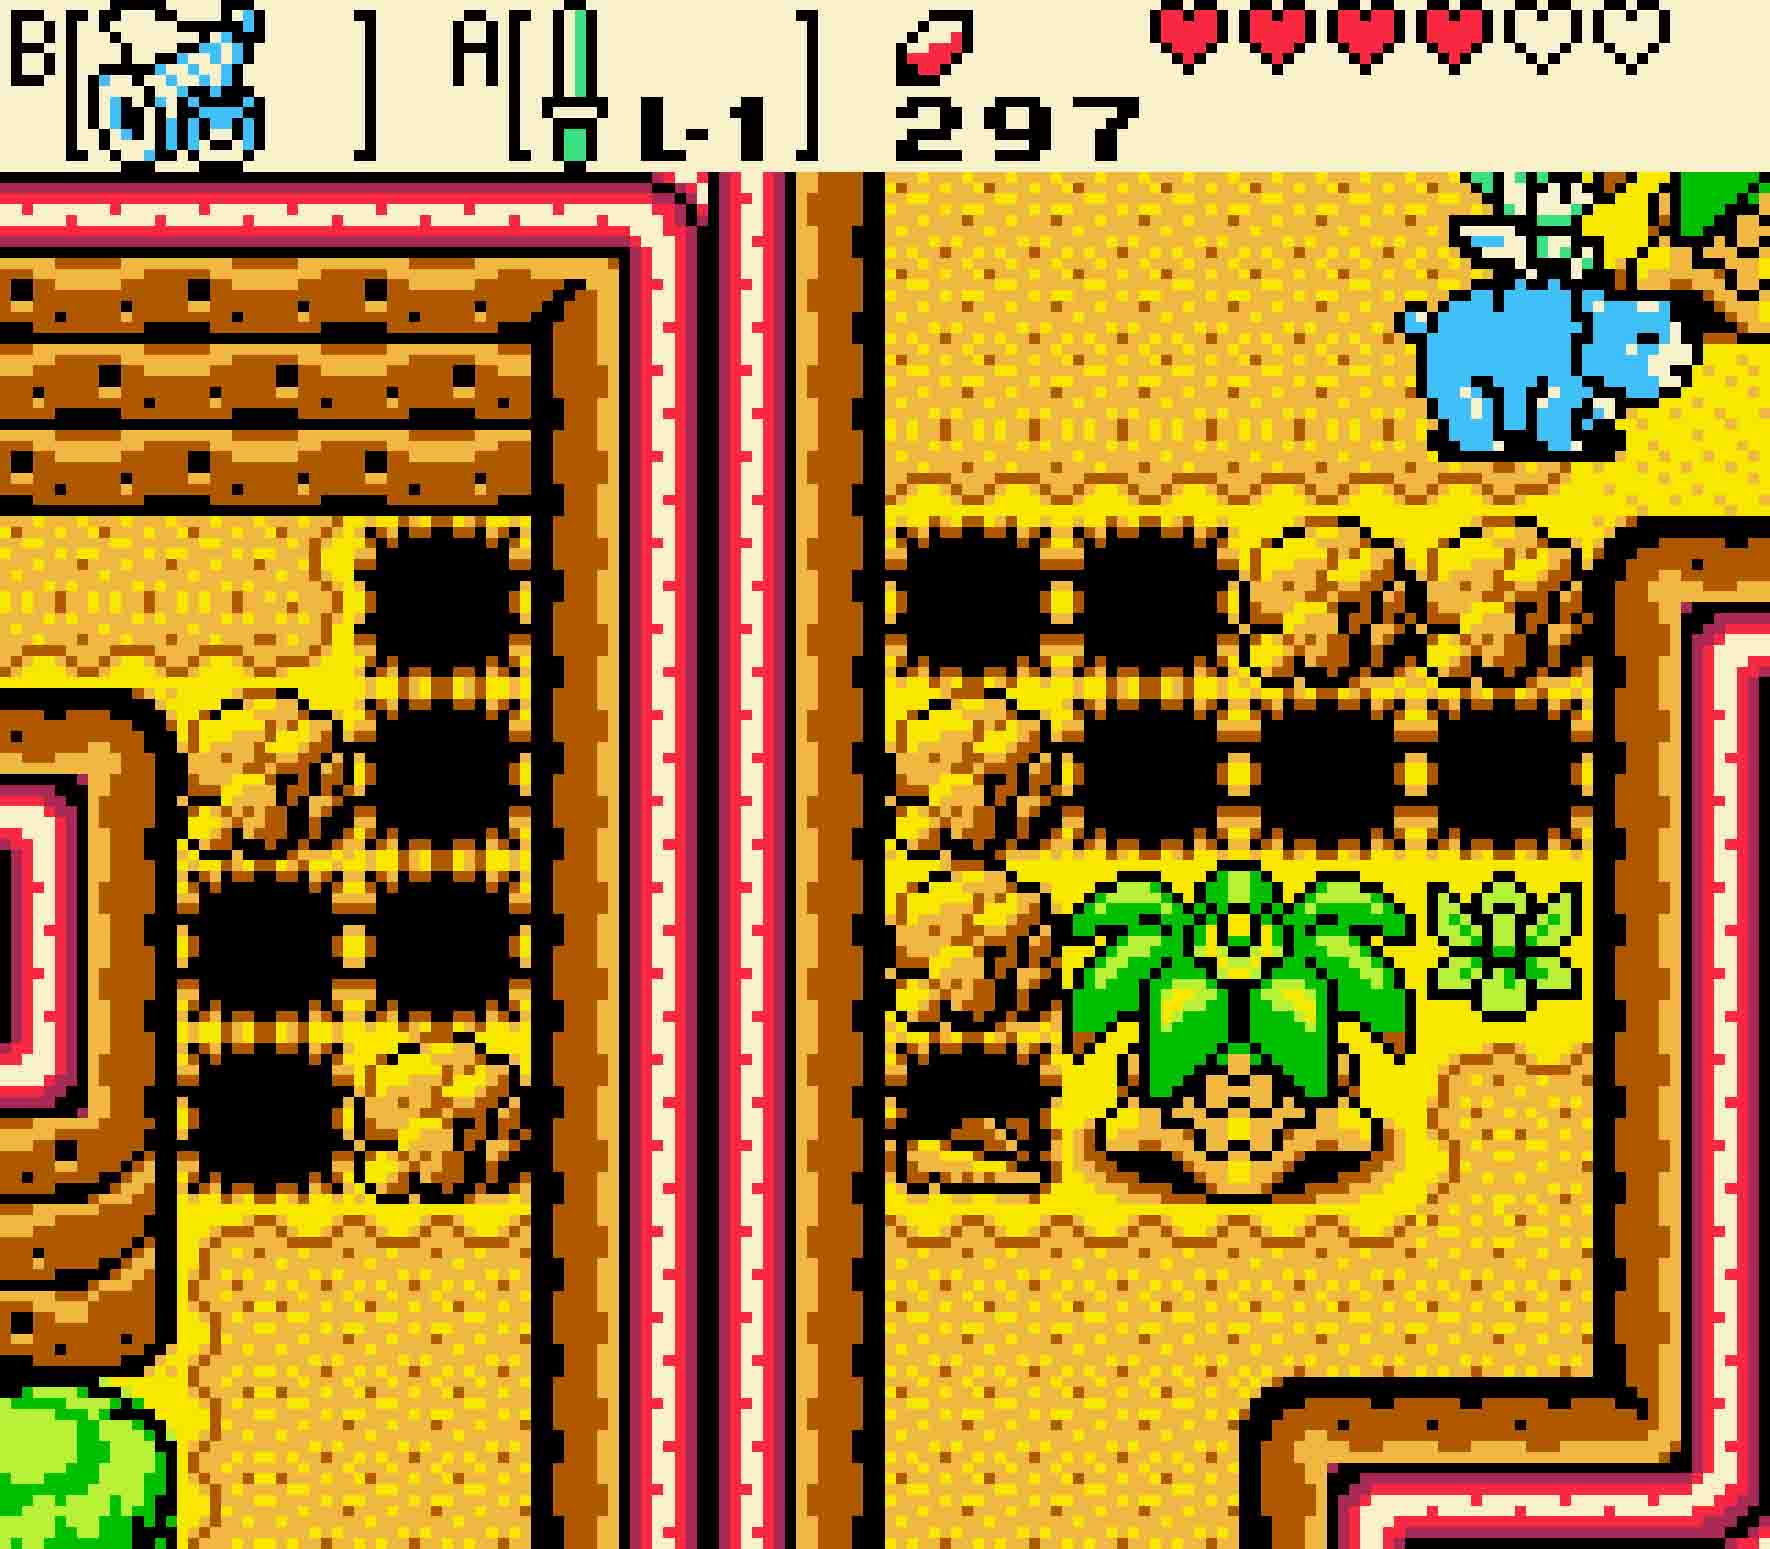
- Pass this last perilous pothole to be practically free and clear.
When you get here, you’ll run into the Great Moblin. Unfortunately, you don’t have what you need to conquer his castle just yet, so just flee to the east. You’ll arrive in Sunken City. Moosh is terrified of the water, so he’ll make a hasty exit. However, it’s all for the best as you’re about to meet a different animal companion soon.
9.2c Cross Natzu River with Dimitri
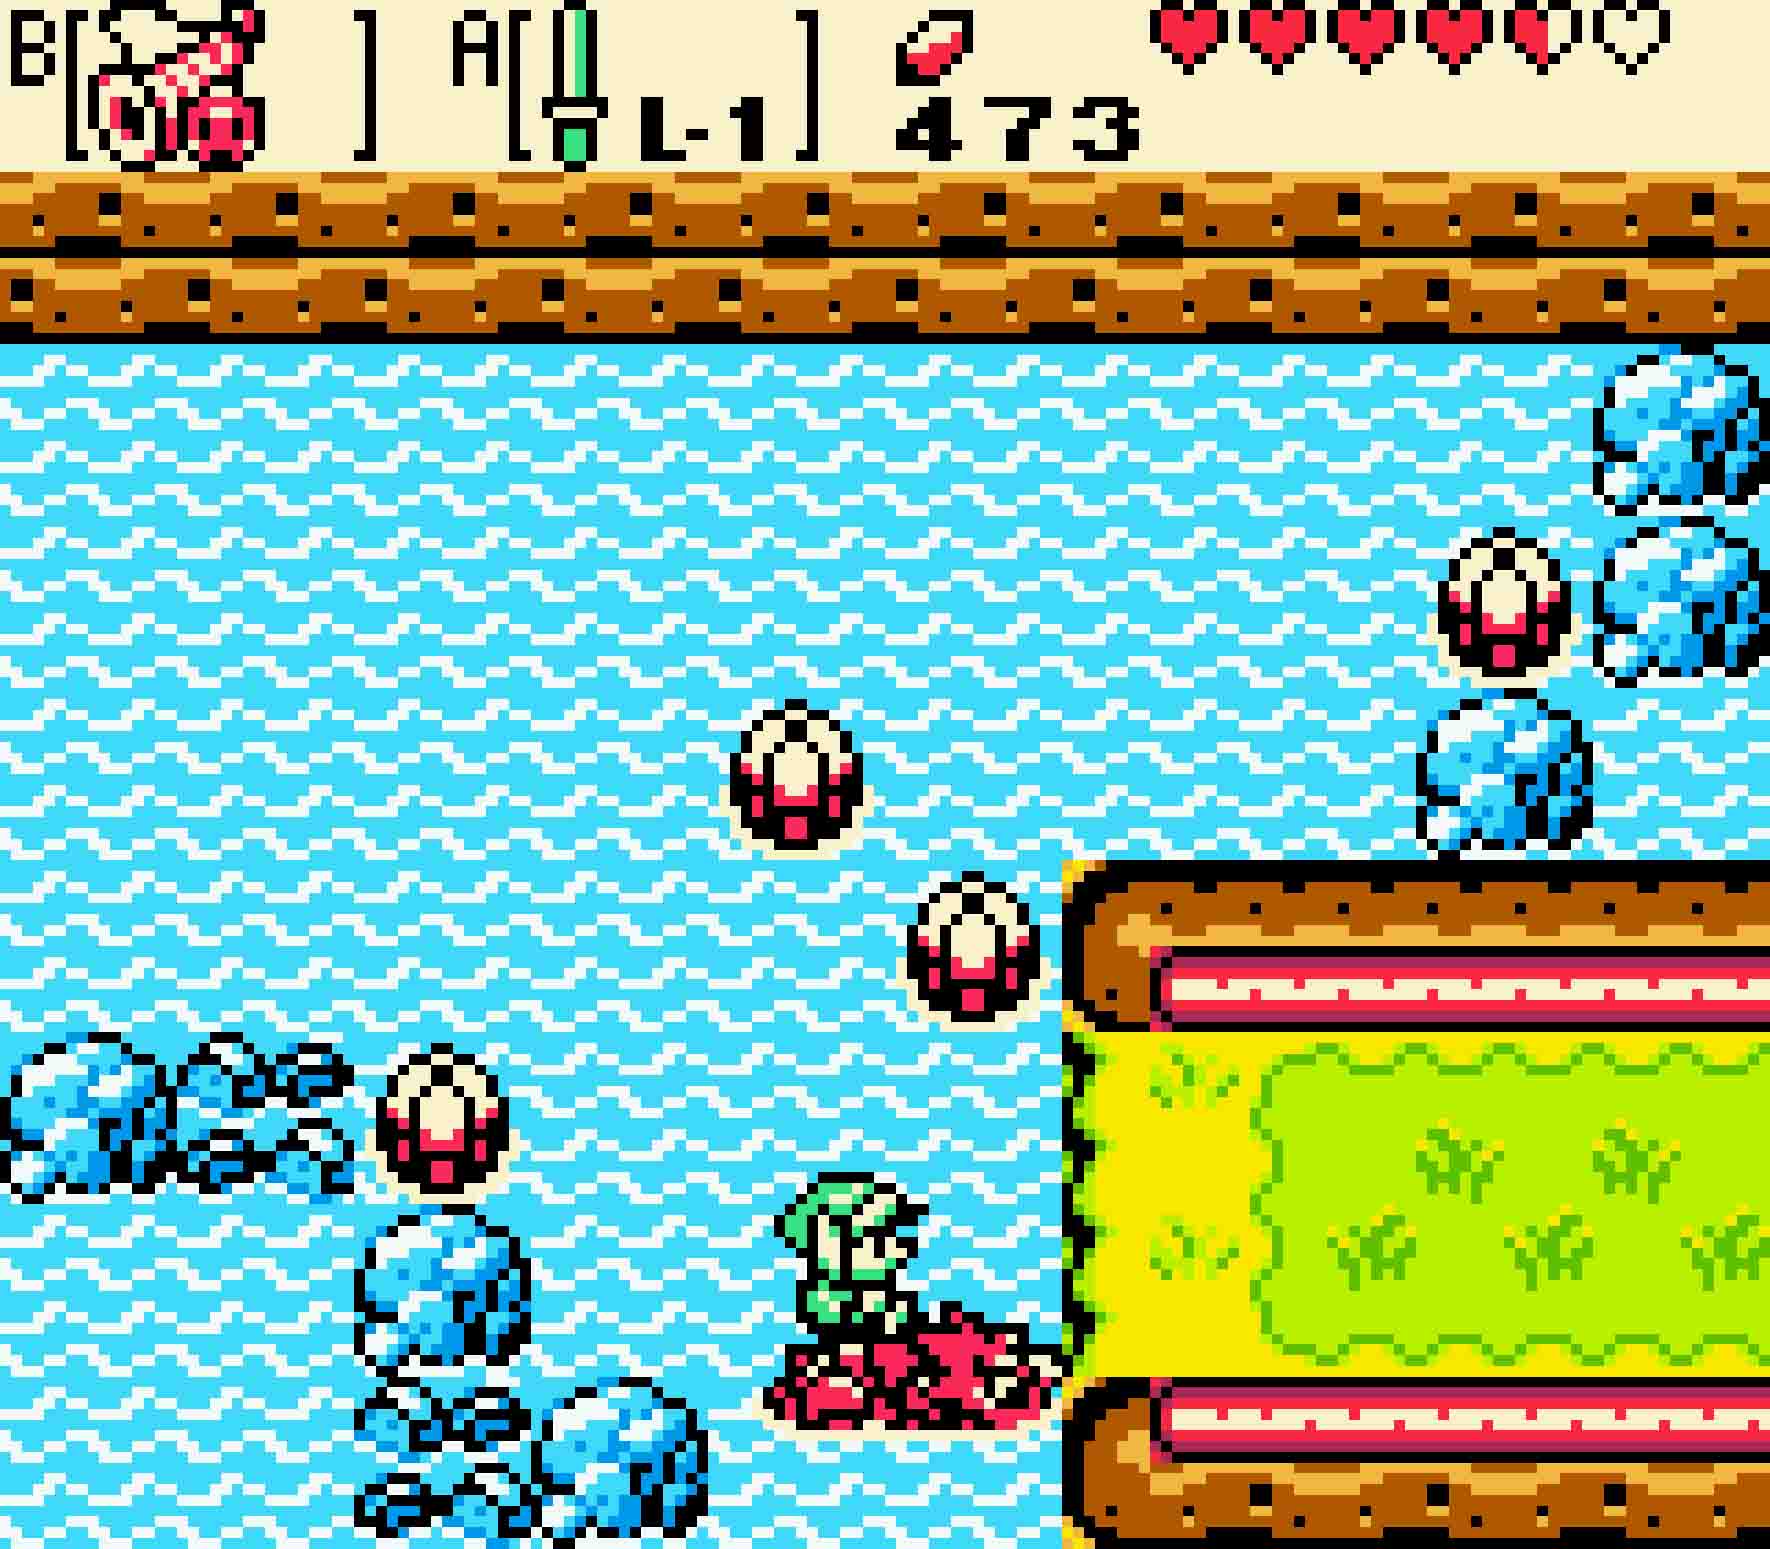
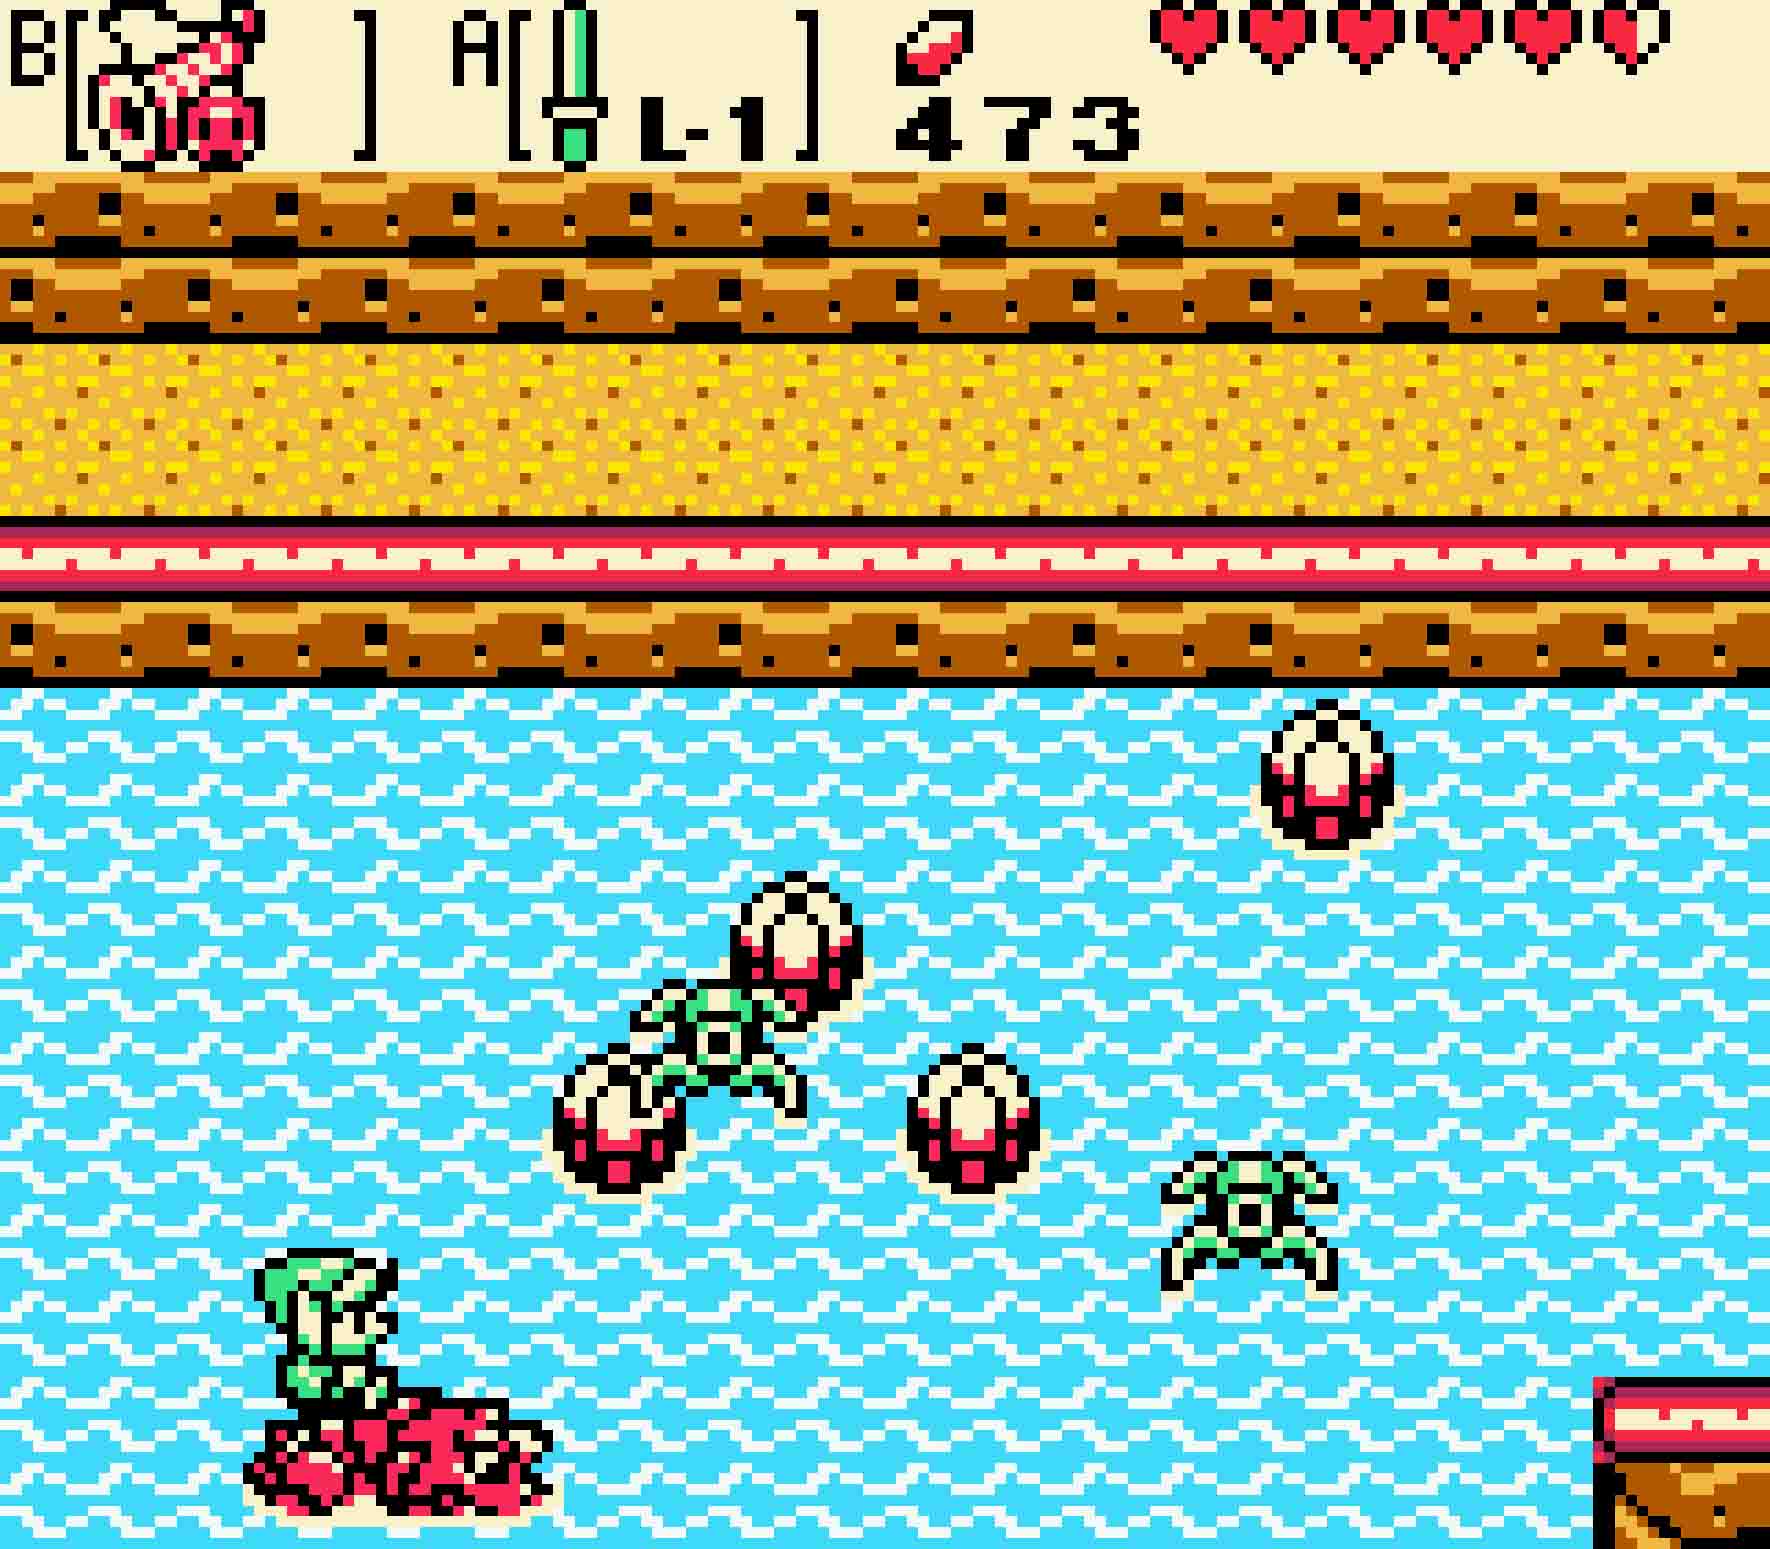
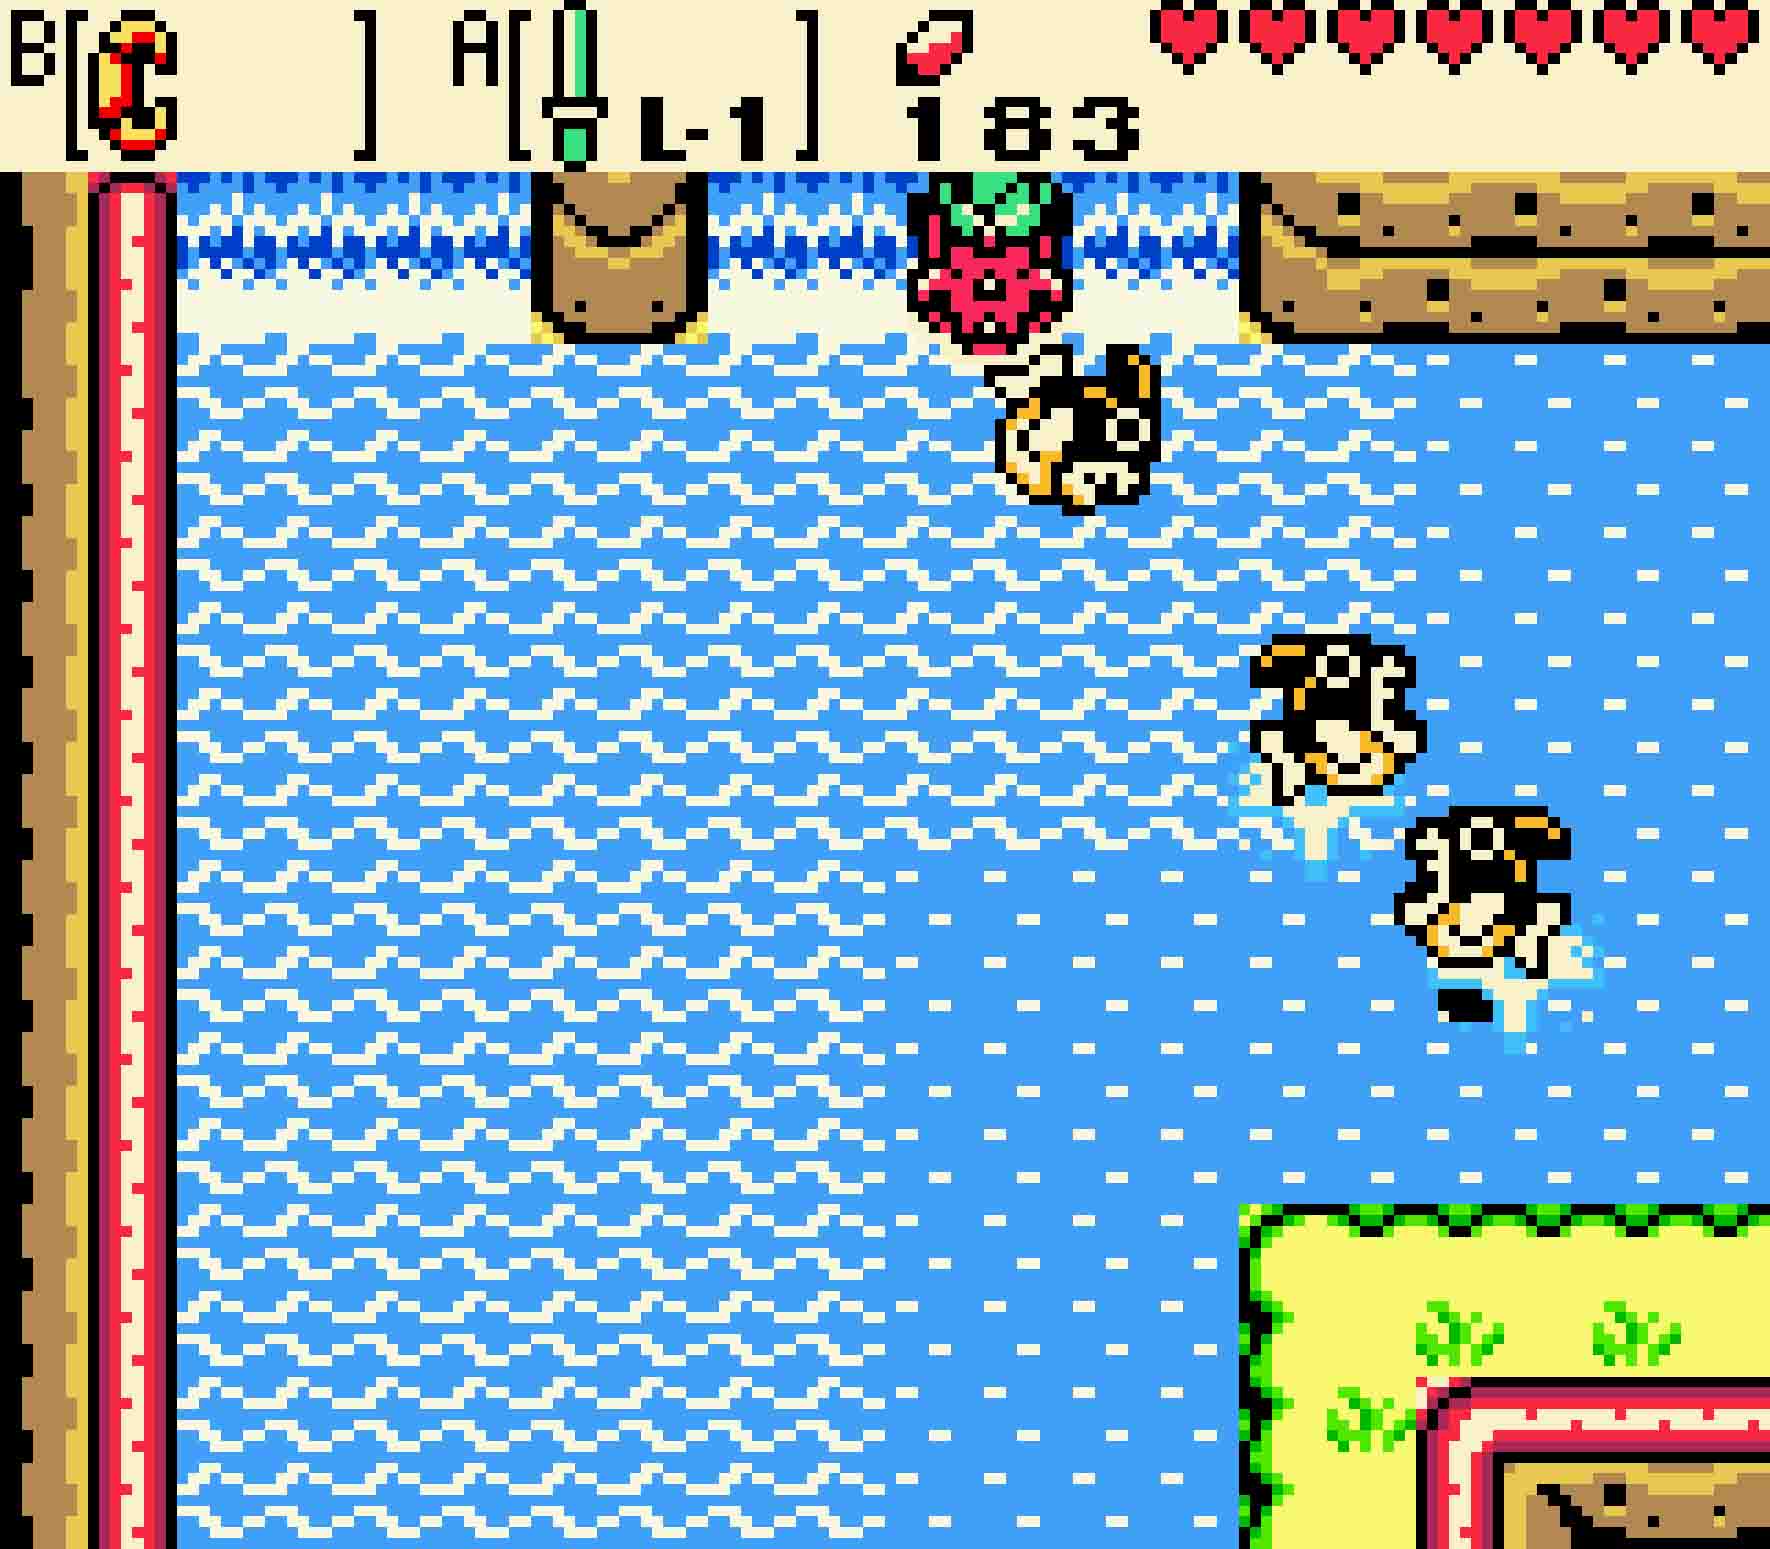
 If you have Dimitri’s Flute, this area will be a gigantic flooded river filled with Water Tektites and Goponga Flowers, just like Spool Swamp was. Dimitri’s capacity to eat enemies will come in handy as he can eat those pesky flowers before they toss fireballs at you. This section is easily the shortest of the three animals’ pathways, so the directions are shockingly short.
To navigate this area, start by heading north. You’ll immediately run out of land, so summon Dimitri with his Flute, and then climb onto his back. Head east, consuming enemies as they get in your way. More enemies will await you so only deal with them if they get in your way. Proceed north; it’ll put you in sight of land, but your destination is still far to the east. As a result, you’ll just continue sailing the S. S. Dimitri to the east four screens, passing Goponga Flowers and Water Tektites as you do. Once you reach the far east, you’ll have to head south.
When you get here, you’ll run into the Great Moblin. Unfortunately, you don’t have what you need to conquer his castle just yet, so just flee to the east. You’ll arrive in Sunken City. And since Dimitri isn’t terrified of water, you can consider yourself to be at a huge advantage here.
-
- Dimitri probably has the easiest passage through Natzu.
9.3 Acquire the Gale Seeds
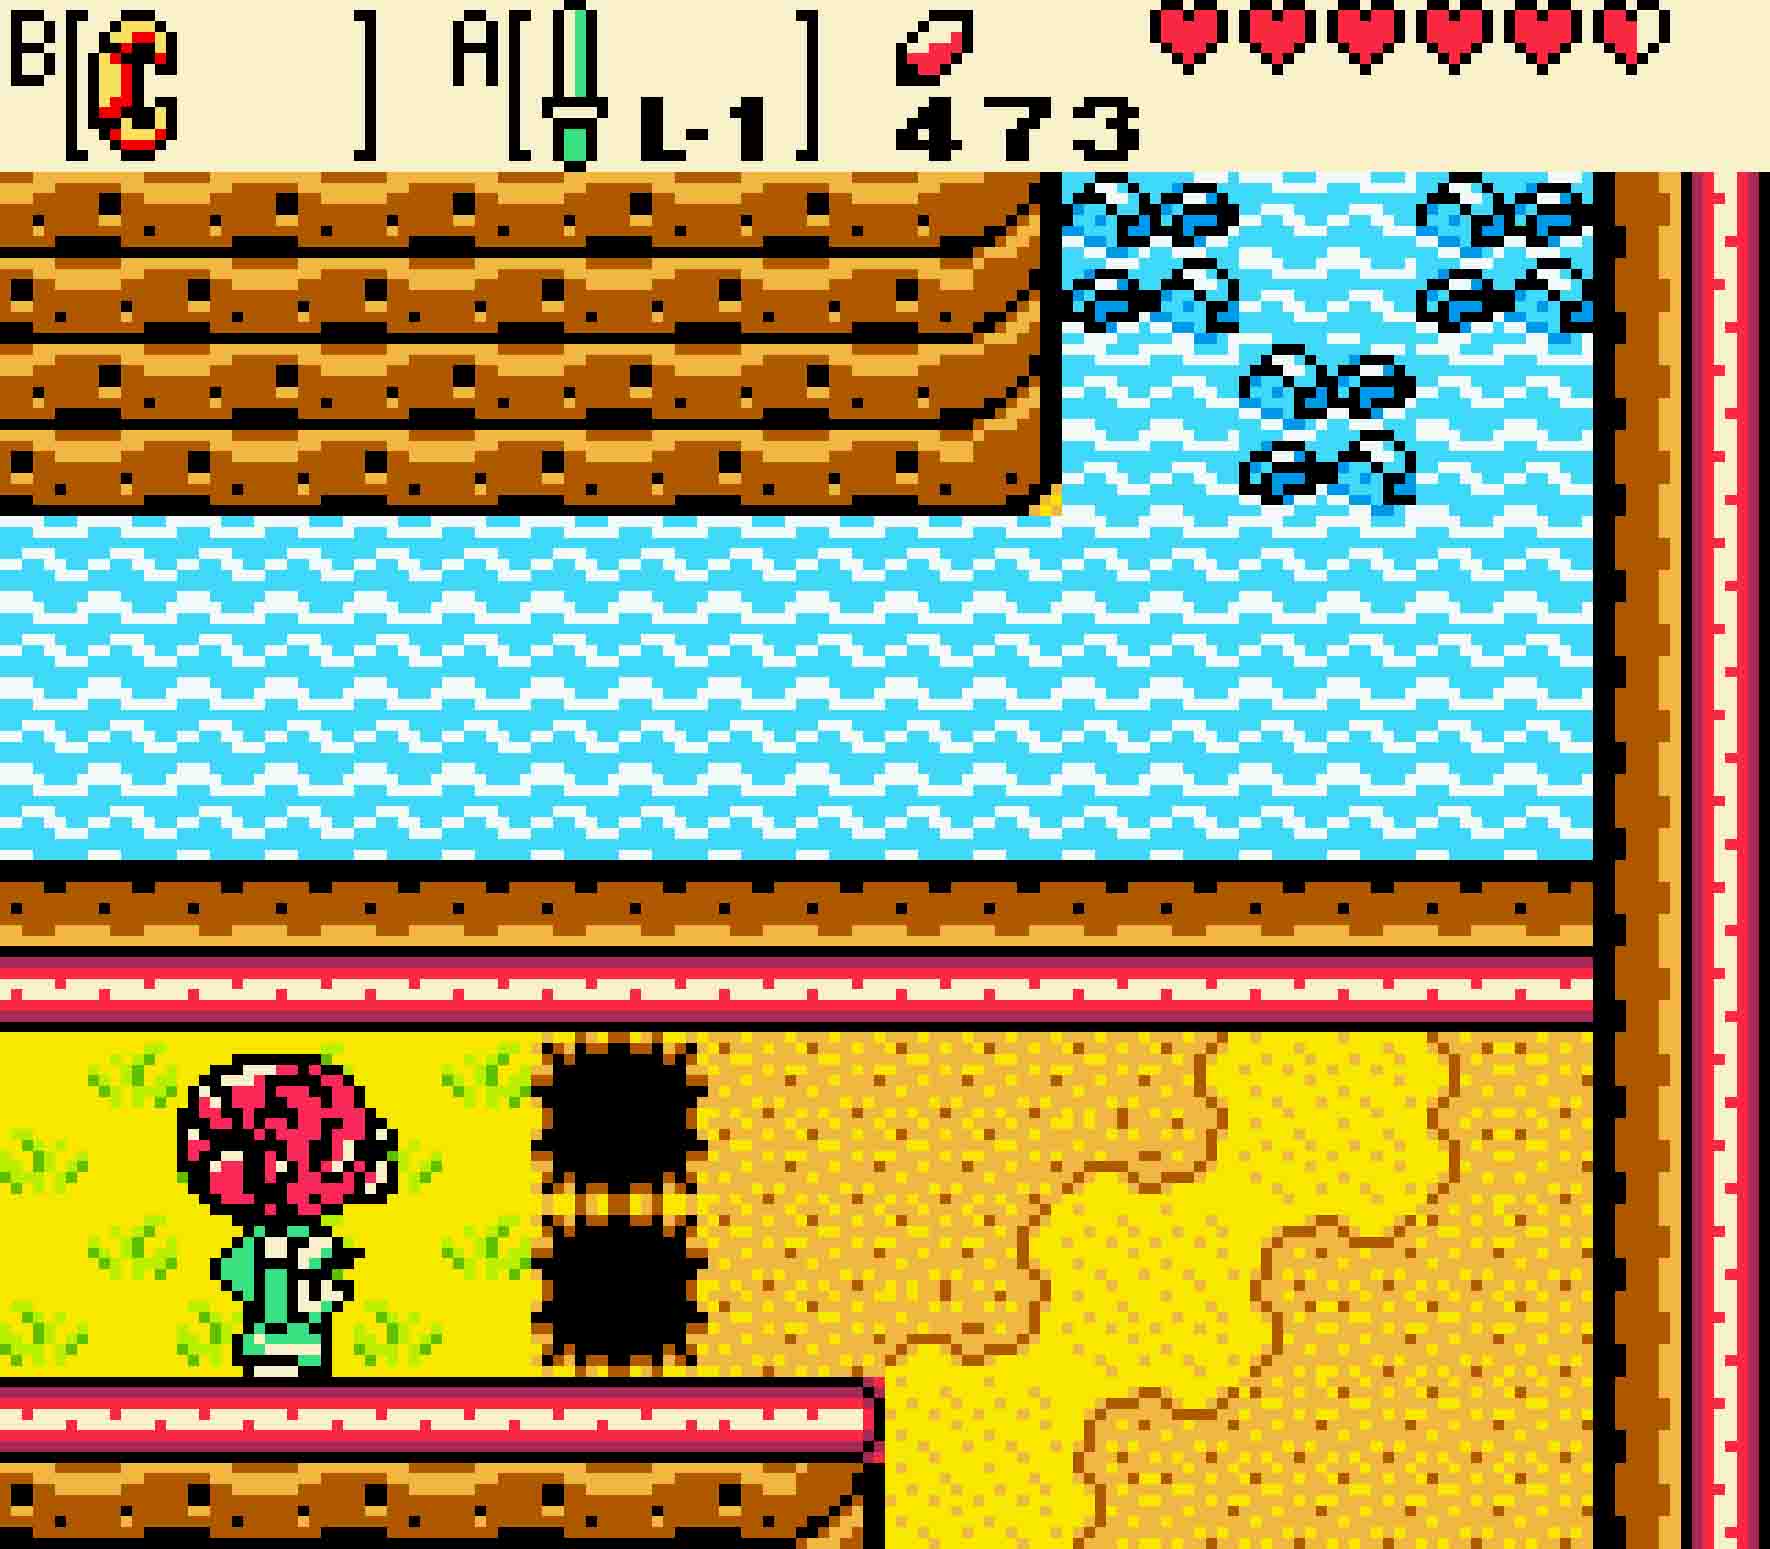
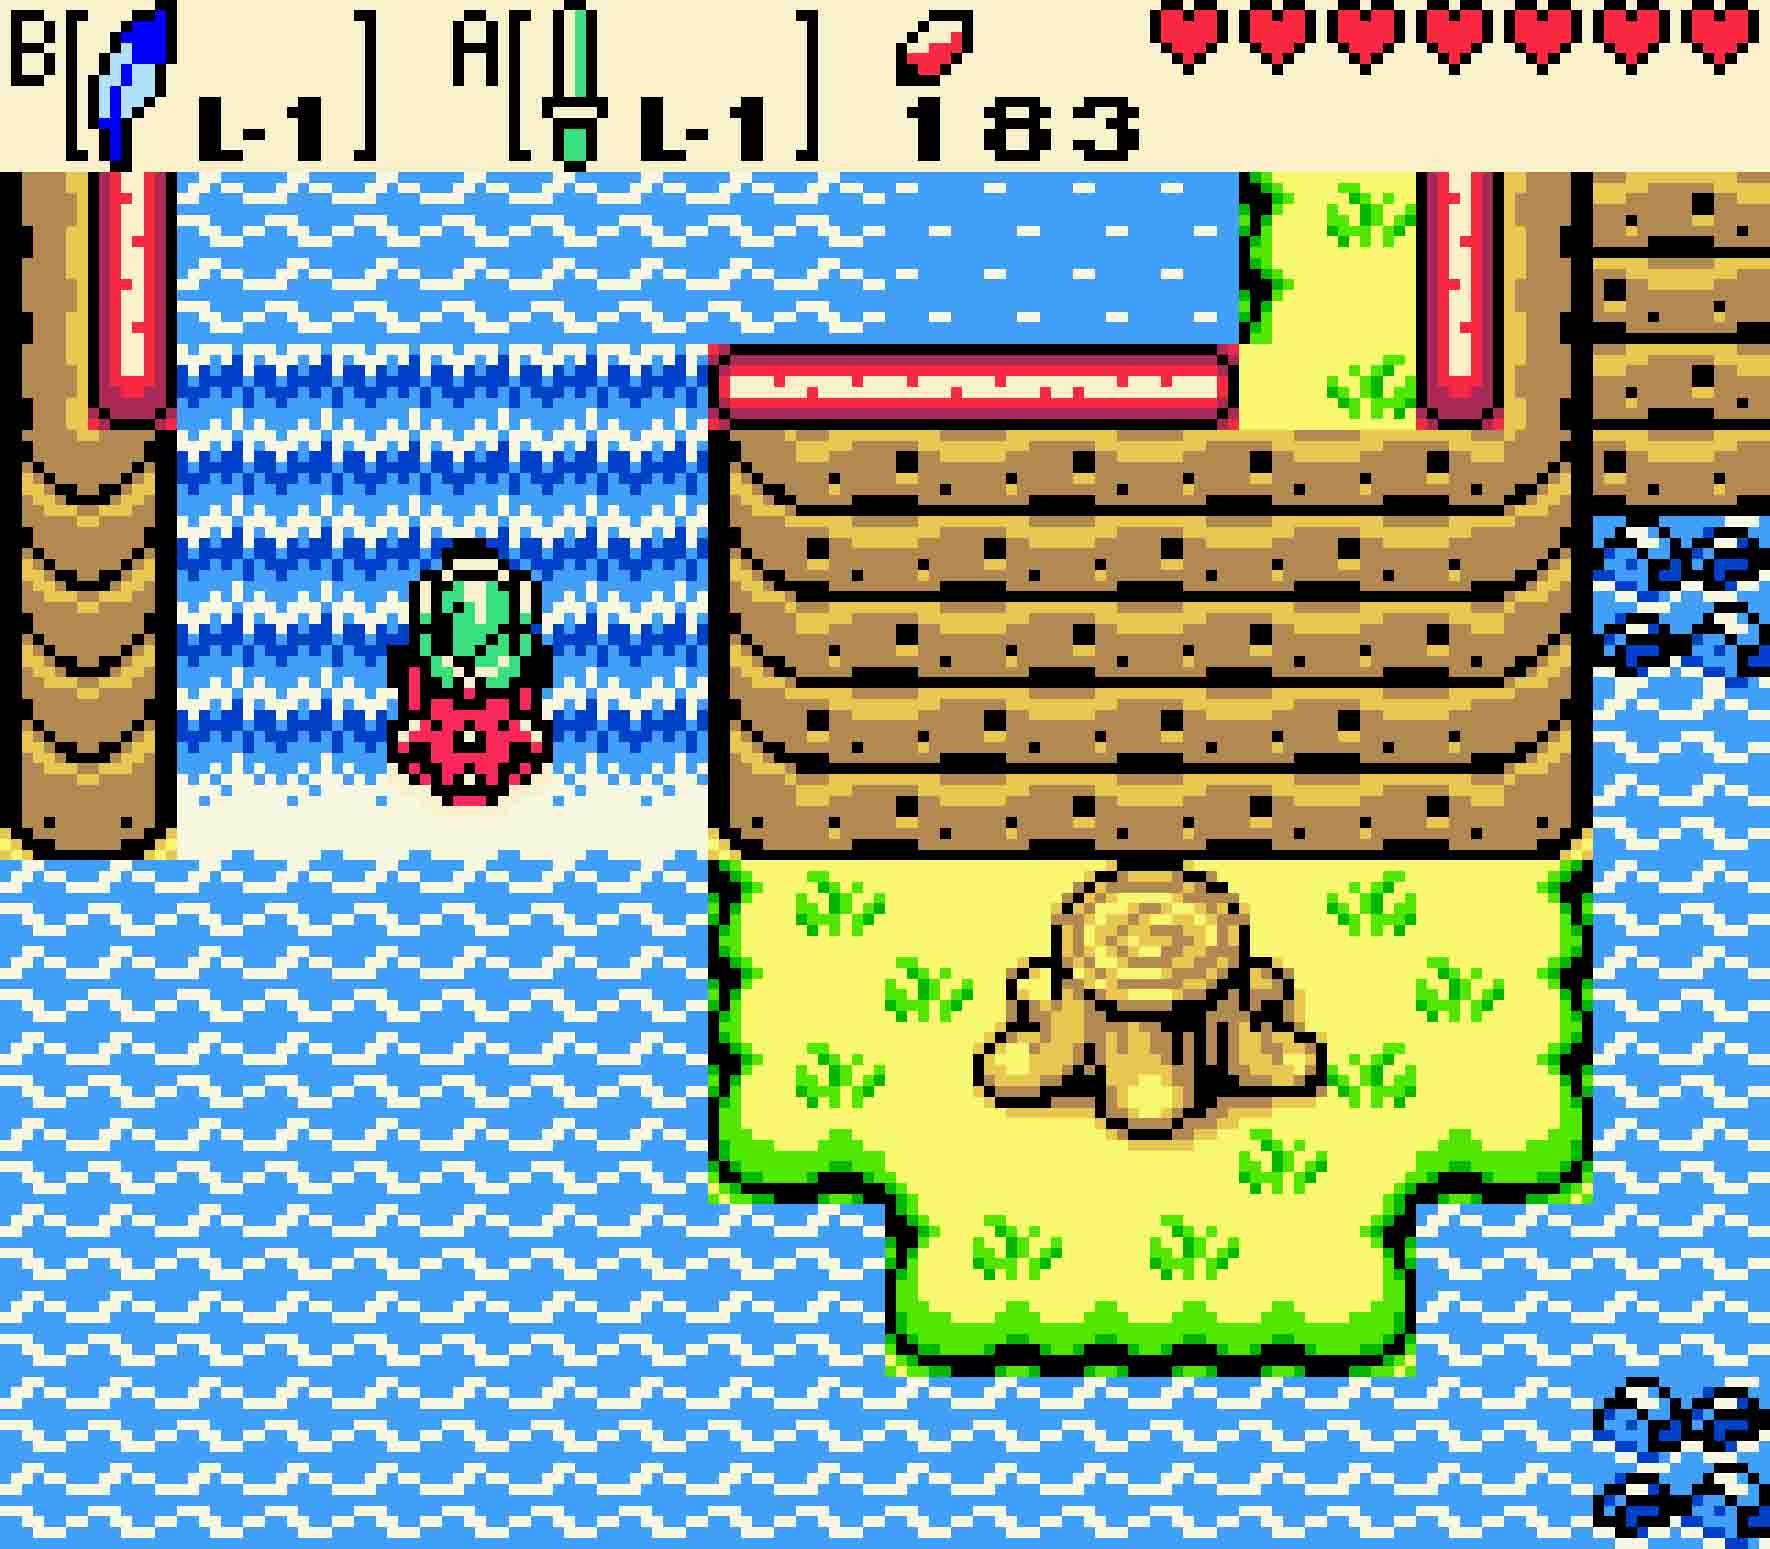
Sunken City usually isn’t flooded like it is, though why else they’d call it “Sunken City” is beyond me. Nevertheless, unless you have Dimitri with you, it’ll be a slight inconvenience. Regardless of that fact, there’s still a first objective outside of exploring the town, and that’s to find this town’s teleportation tree.
 Jump eastward over the thin gap of deep water to reach the house on screen, and then walk southward. From here you can pretty much follow the series of shallows to your destination. The pathway will eventually pass two more houses as it heads east and eventually north. It will deposit you in front of the teleportation tree. Slash it with your sword to get some Gale Seeds.
Gale Seeds are perhaps some of the most useful seeds in the game. For now, they’ll primarily be a utility seed, though they can also be used offensively later. These are the seeds that will allow you to teleport. If you use these outside of a dungeon, you will be able to warp to any other teleportation tree that you’ve visited within the game. Inside a dungeon, you can use these seeds to warp back to the beginning. This will save you lots of time when backtracking through familiar sectors of Holodrum.
9.4 Meet up with Dimitri
The Gale Seeds, unfortunately, won’t help you get where you’re going since it’s (a) in new territory and (b) without any teleportation trees around, so you’ll have to get there the old-fashioned way.
If you have Dimitri’s Flute, you’ll get to skip this entire section as players with a different animal’s Flute will have to meet Dimitri to clear Sunken City. If you left Dimitri behind in Natzu River, you’ll need to summon him now with your Flute.
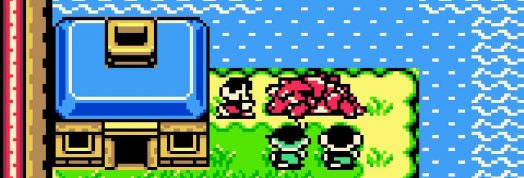
Worse yet is that you’ve reached a dead end, so return back the way you came from. You’ll have to head south and then west twice. You’ll run into a red-colored Dodongo that’s been washed ashore. A handful of kids are giving the Dodongo a hard time, but if you talk to the kids and offer to give them all the Bombs you have in your possession (ouch!), they’ll gladly find something better to do with their time… hopefully not destroy the village with your gift.
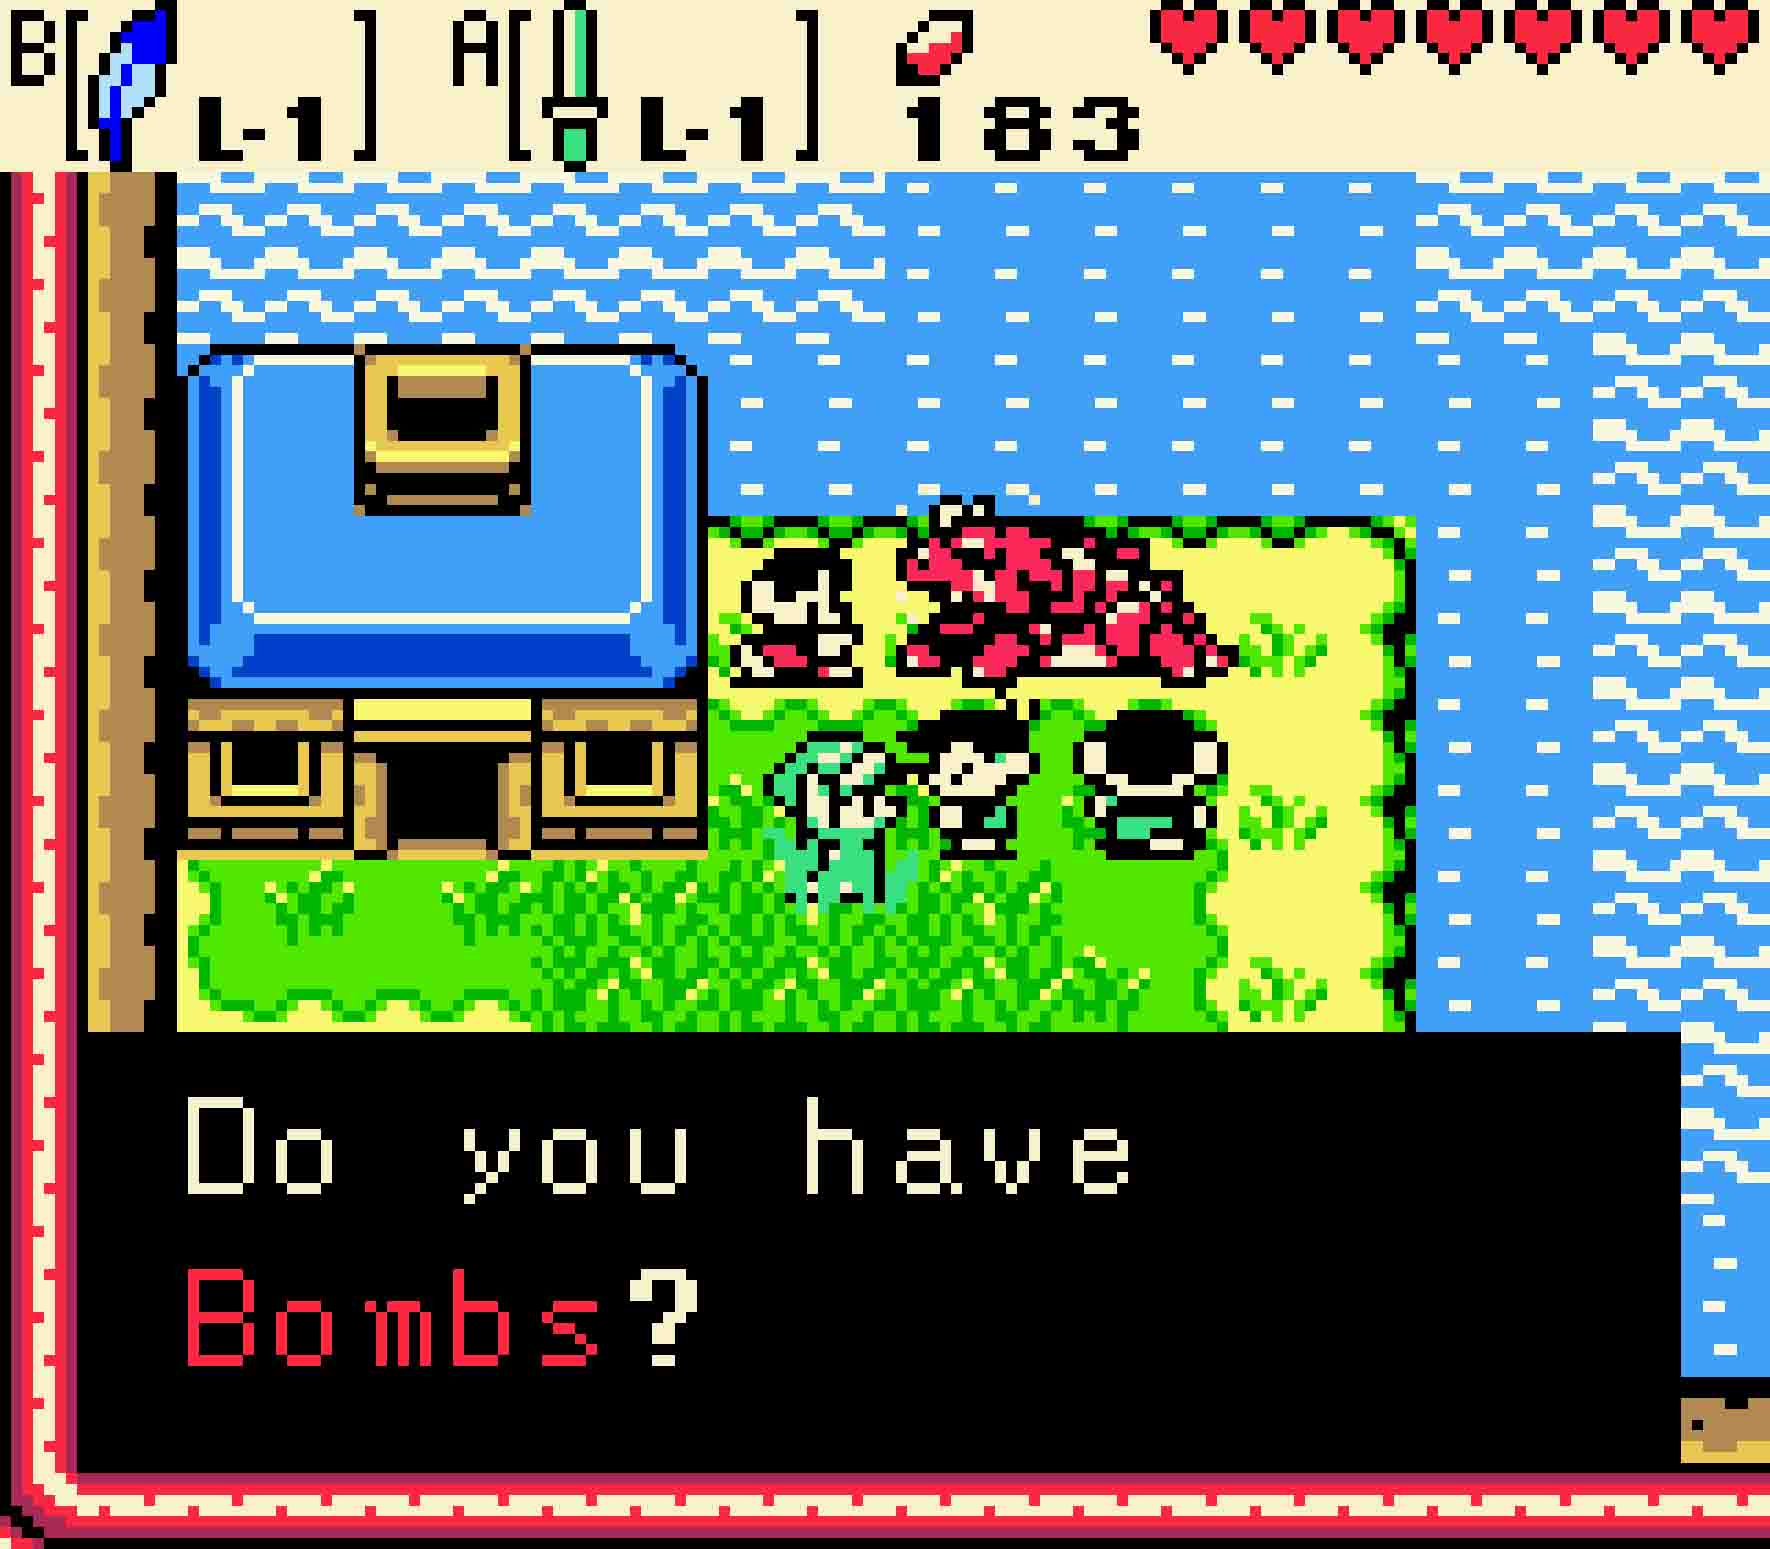
You’ll have to give up all your Bombs in order to rescue DImitri from those pesky kids.
You’ll need to do it because you need this Dodongo’s help. Dimitri will introduce himself once the kids depart, and you’ll be able to hop on his back and swim within the deep waters of Sunken City.
9.5 Earn the Zora’s Flippers
If this is your first time meeting Dimitri, he won’t be with you long, but he will stay with you long enough to ensure you won’t drown in Sunken City. Everyone in town talks about this master diver, and meeting him will likely help you learn his trade.
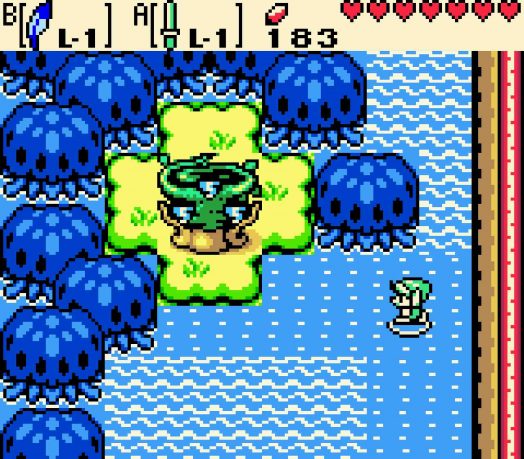
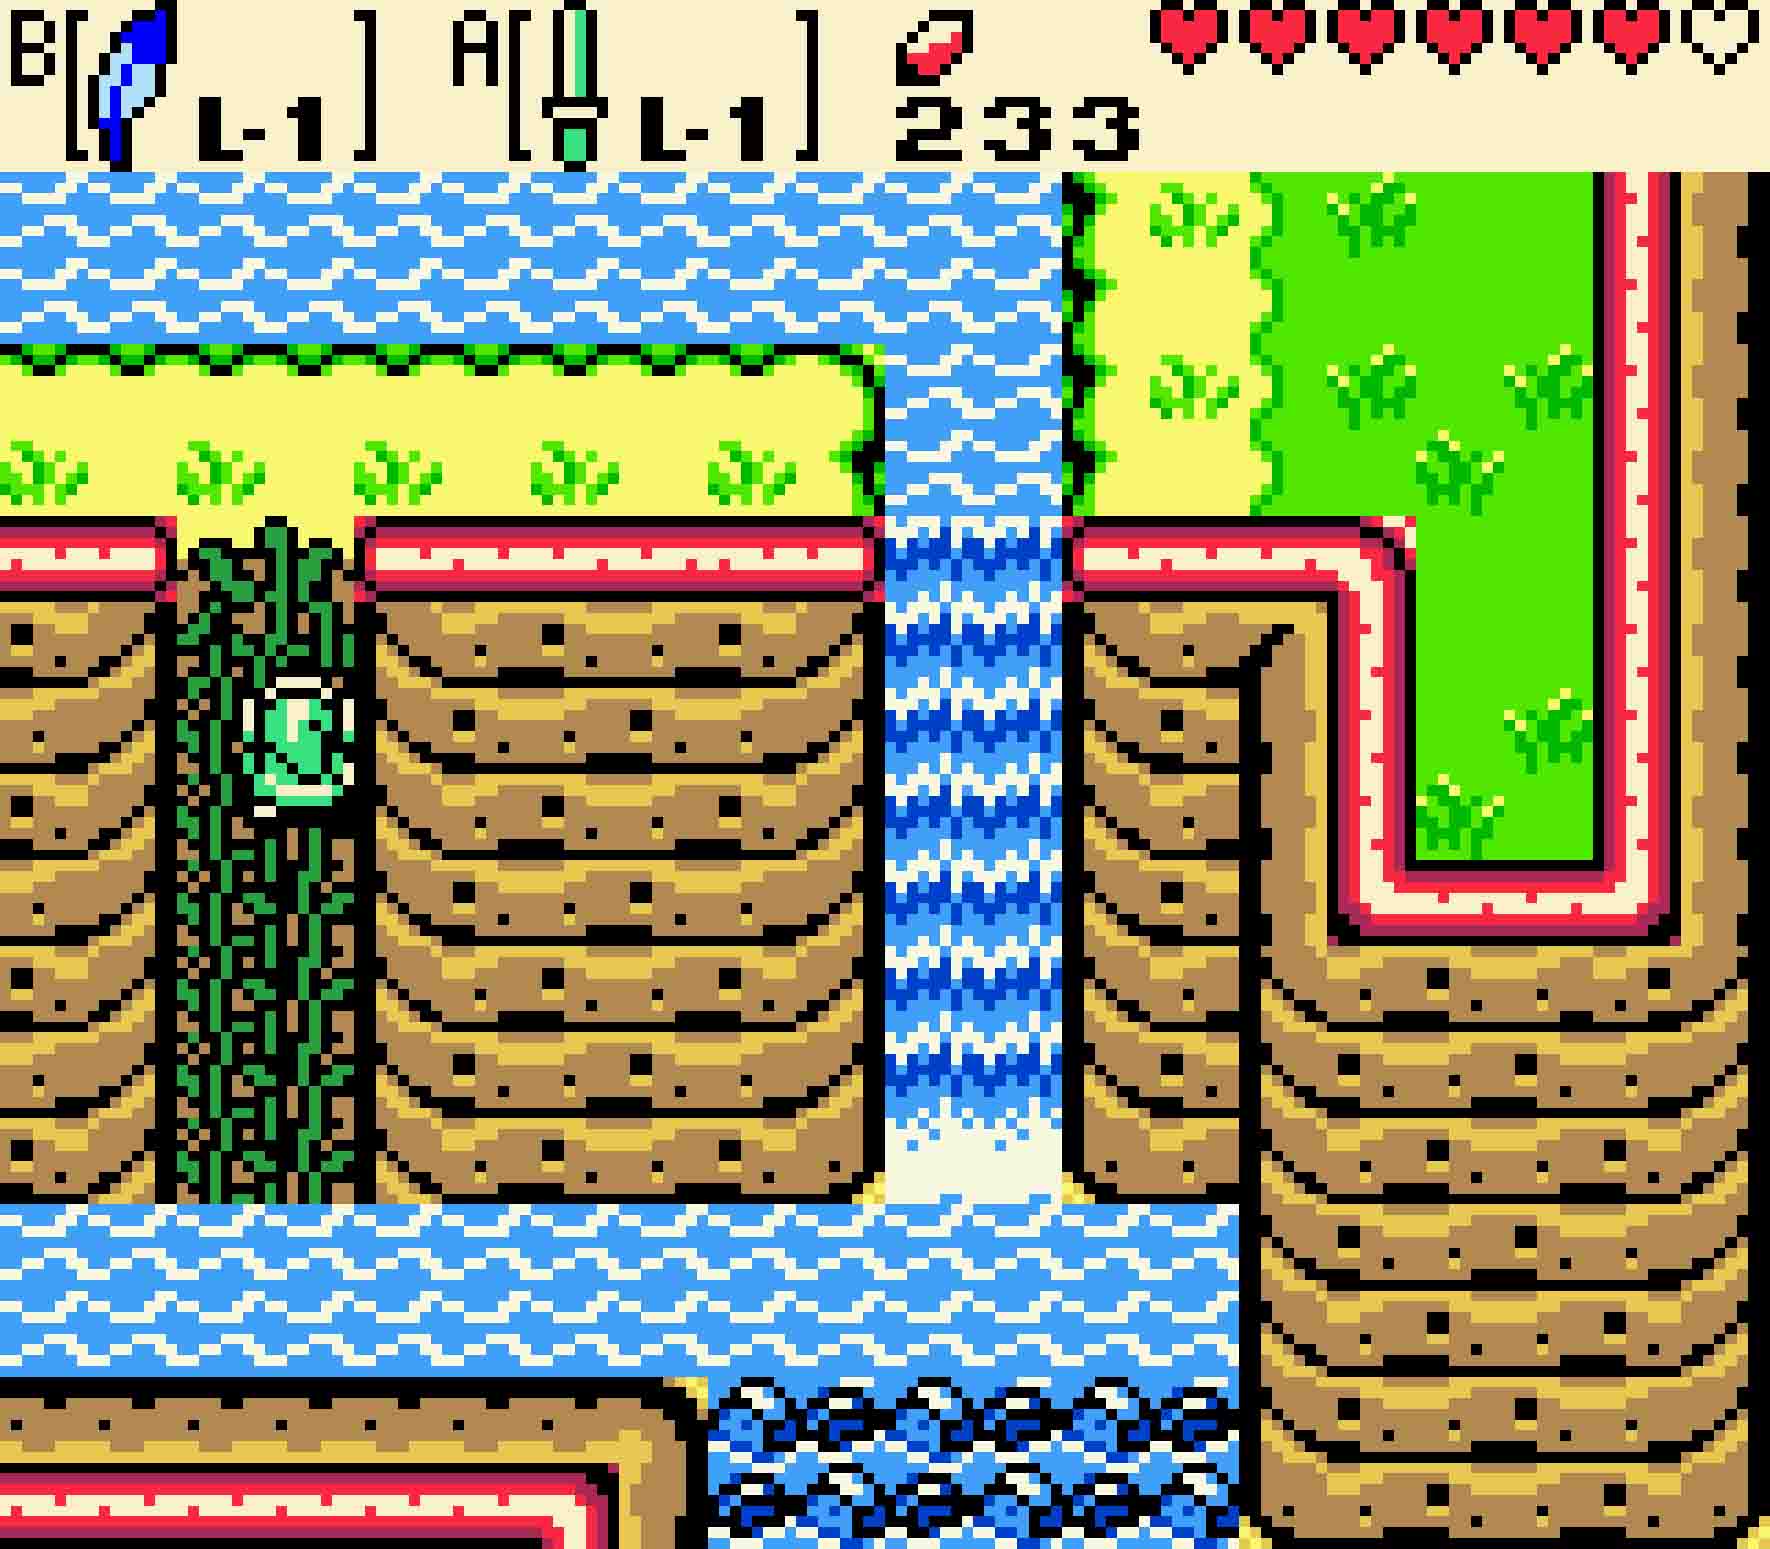
While standing on Dimitri’s back, from the southwest corner of Sunken City, head north twice and east twice. Dimitri will tell you about his fancy ability to swim up waterfalls, and that’s particularly handy here. Just plunge headfirst into the waterfall until you’ve reached the top. Head north once more, and you’ll see two more waterfalls at the very edge of the screen. Avoid the Pirahnas (or have Dimitri eat them), and then you’ll want to swim up the left one of the two waterfalls. The waterfall will eventually lead to a cave within the cliff face.
-
- Dimitri has the ability to swim up waterfalls.
-
- Then swim up the left waterfall first.
Inside, guide Dimitri onto the land, and then hop off his back. You’ll need to leave him behind for just a moment. Cross over the bridge, and you’ll see four statues scattered about. If you talked to the master diver first, he’d tell you to come back here and make a sword swing such that you hit all four of them in the same stroke. You don’t need him to tell you that though. However, as they are, they’re a bit too far apart. So you’ll need to push them closer together.
Solving the statue puzzle

Step One Push the lower-right statue right one square, then up one square.
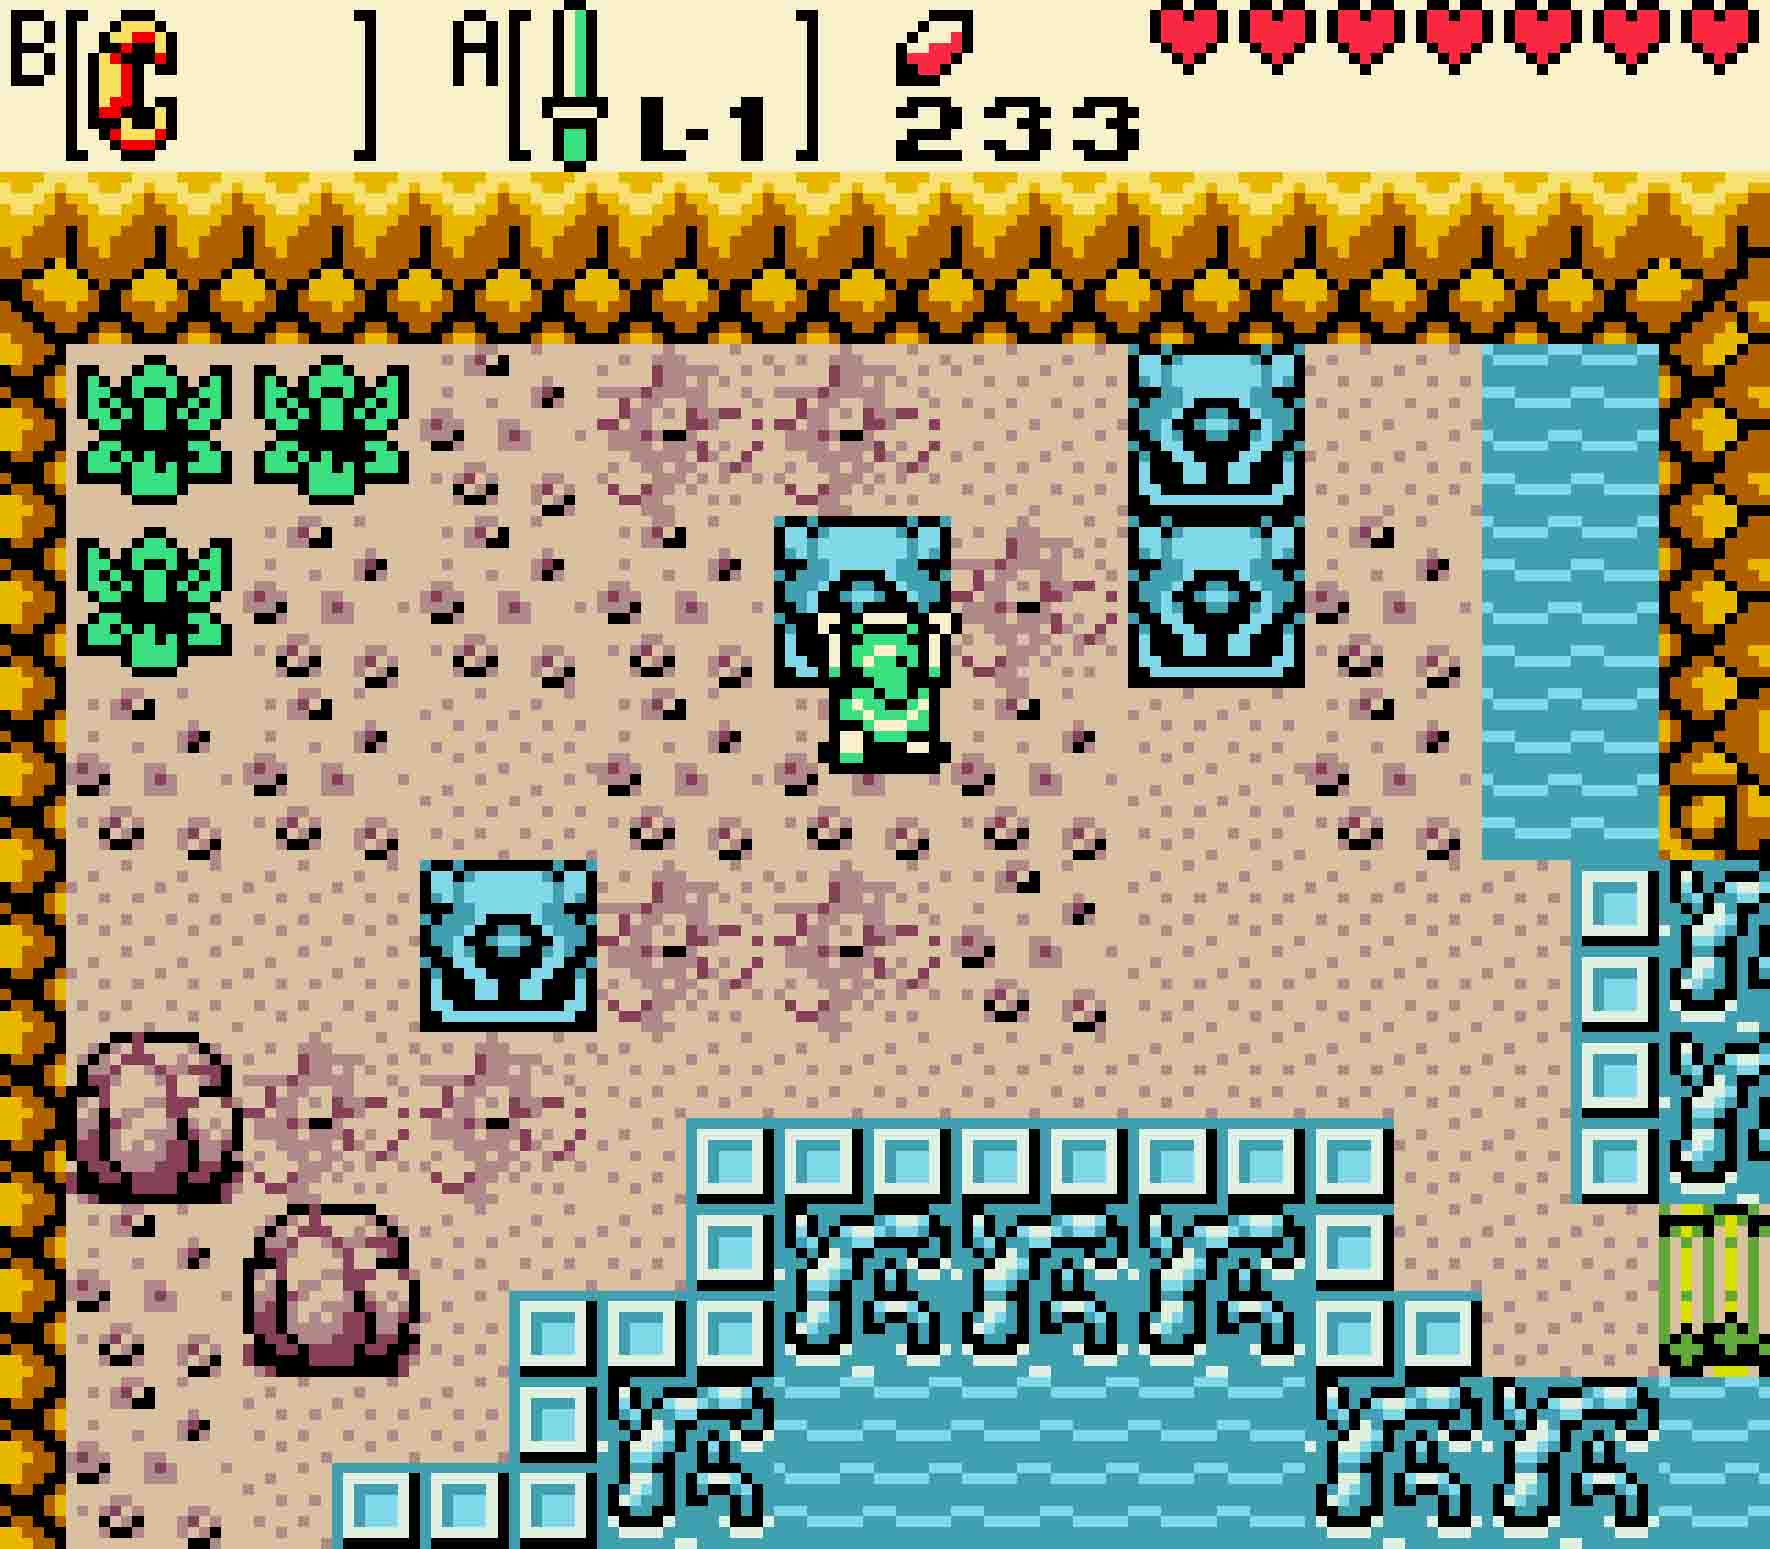
Step Two Push the upper-left statue right one square, then up one square.
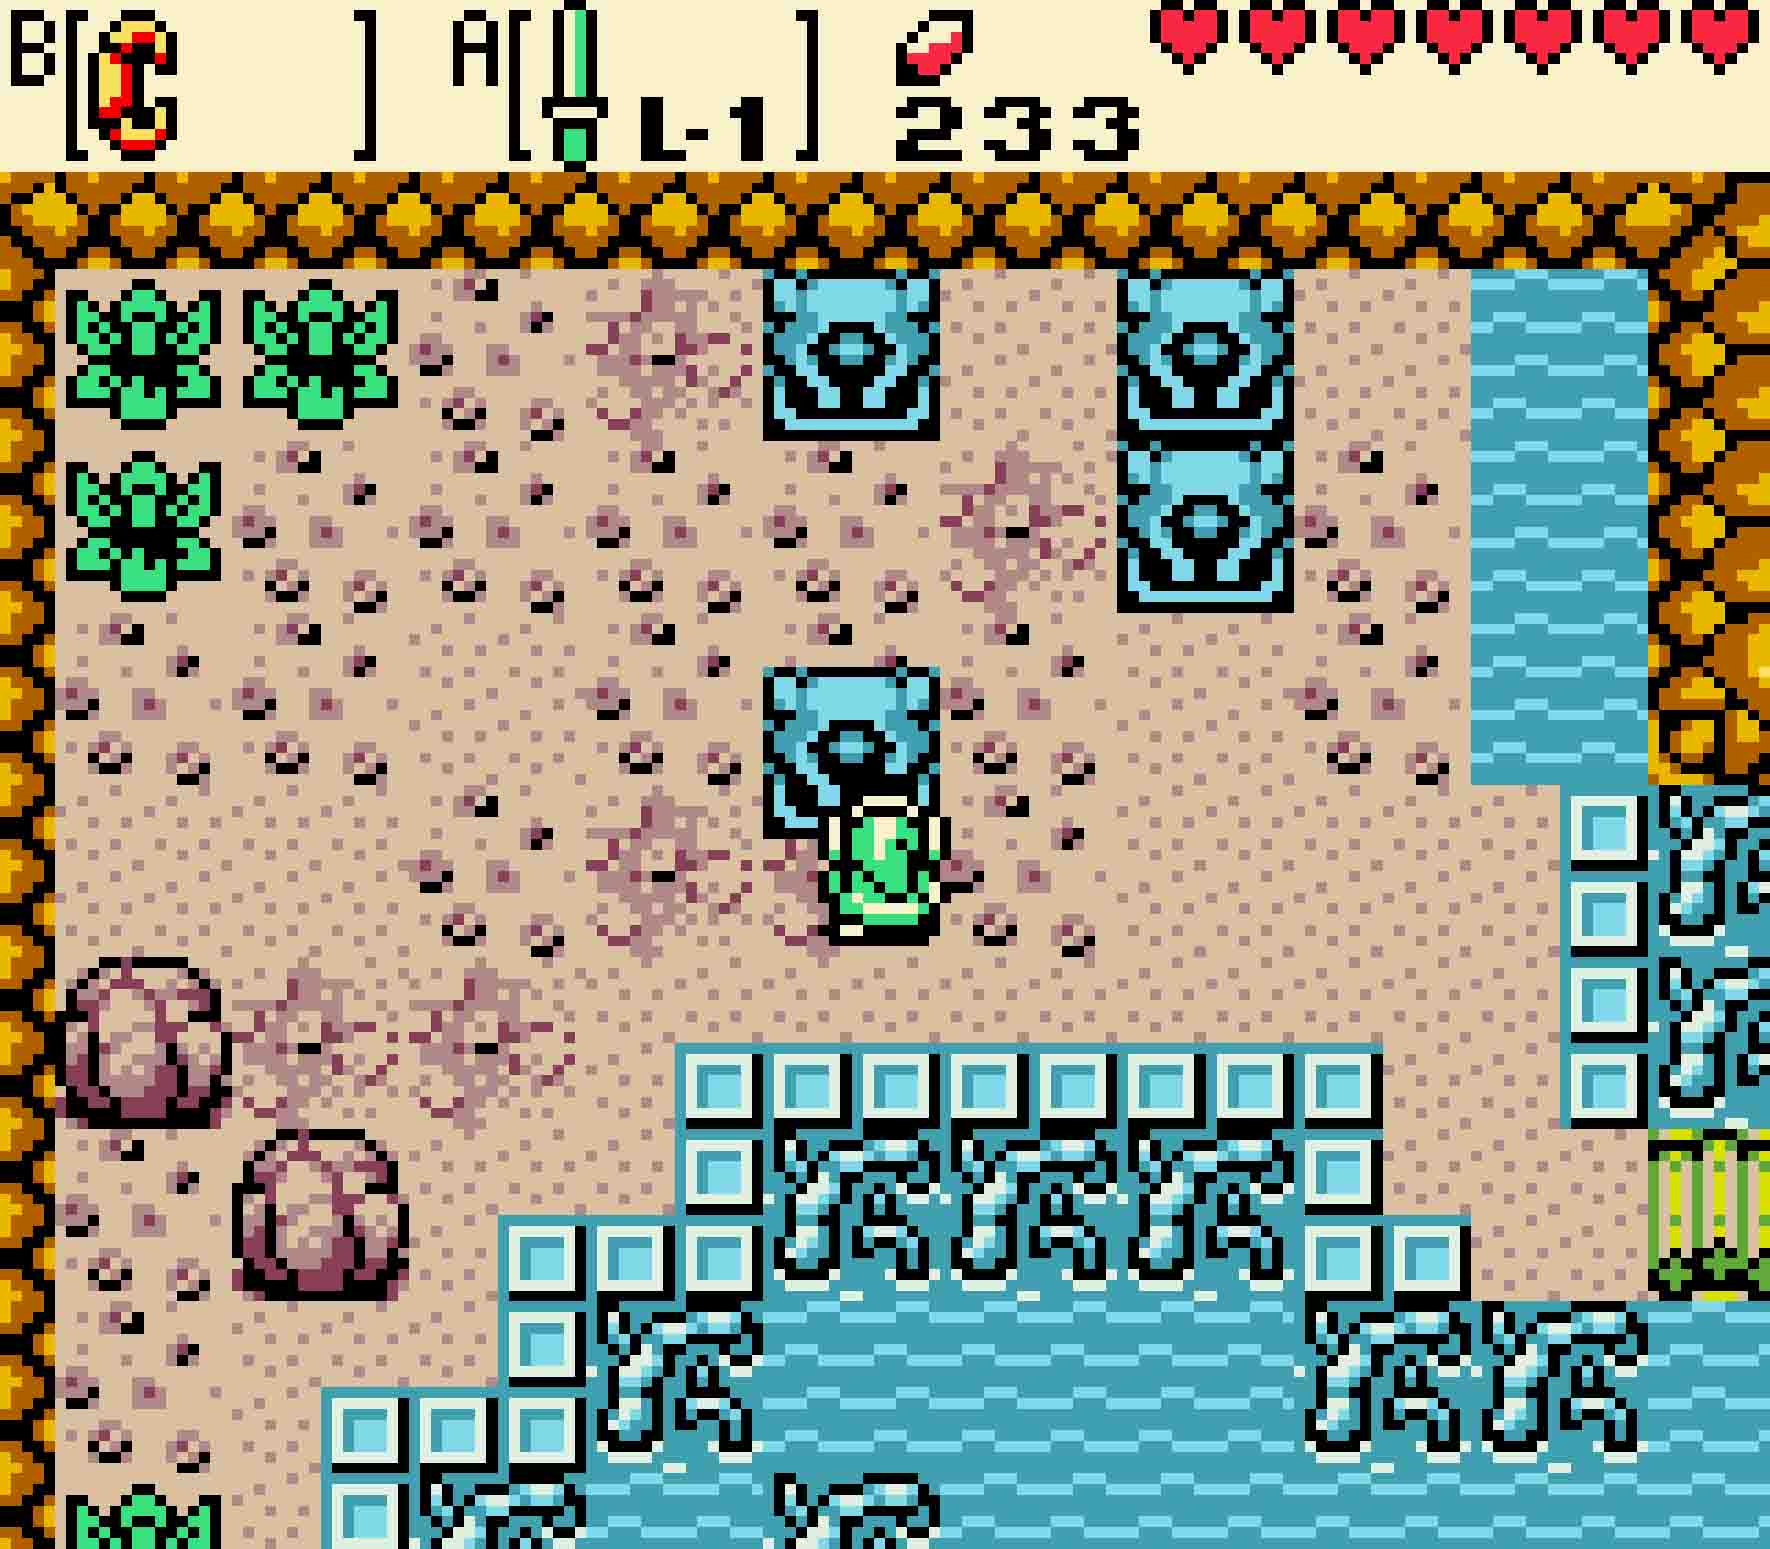
Step Three Push the lower-left statue right two squares, then up two squares.

Step Four Stand between the four statues, charge your sword, and let it go in a Spin Attack to hit all four statues.
Immediately upon doing so, a staircase and a chest will appear. Use Roc’s Feather to jump over the stream of water to reach the chest. Inside will be the Diver’s Plaque. With that, it’s time to board Dimitri again and leave the cave.
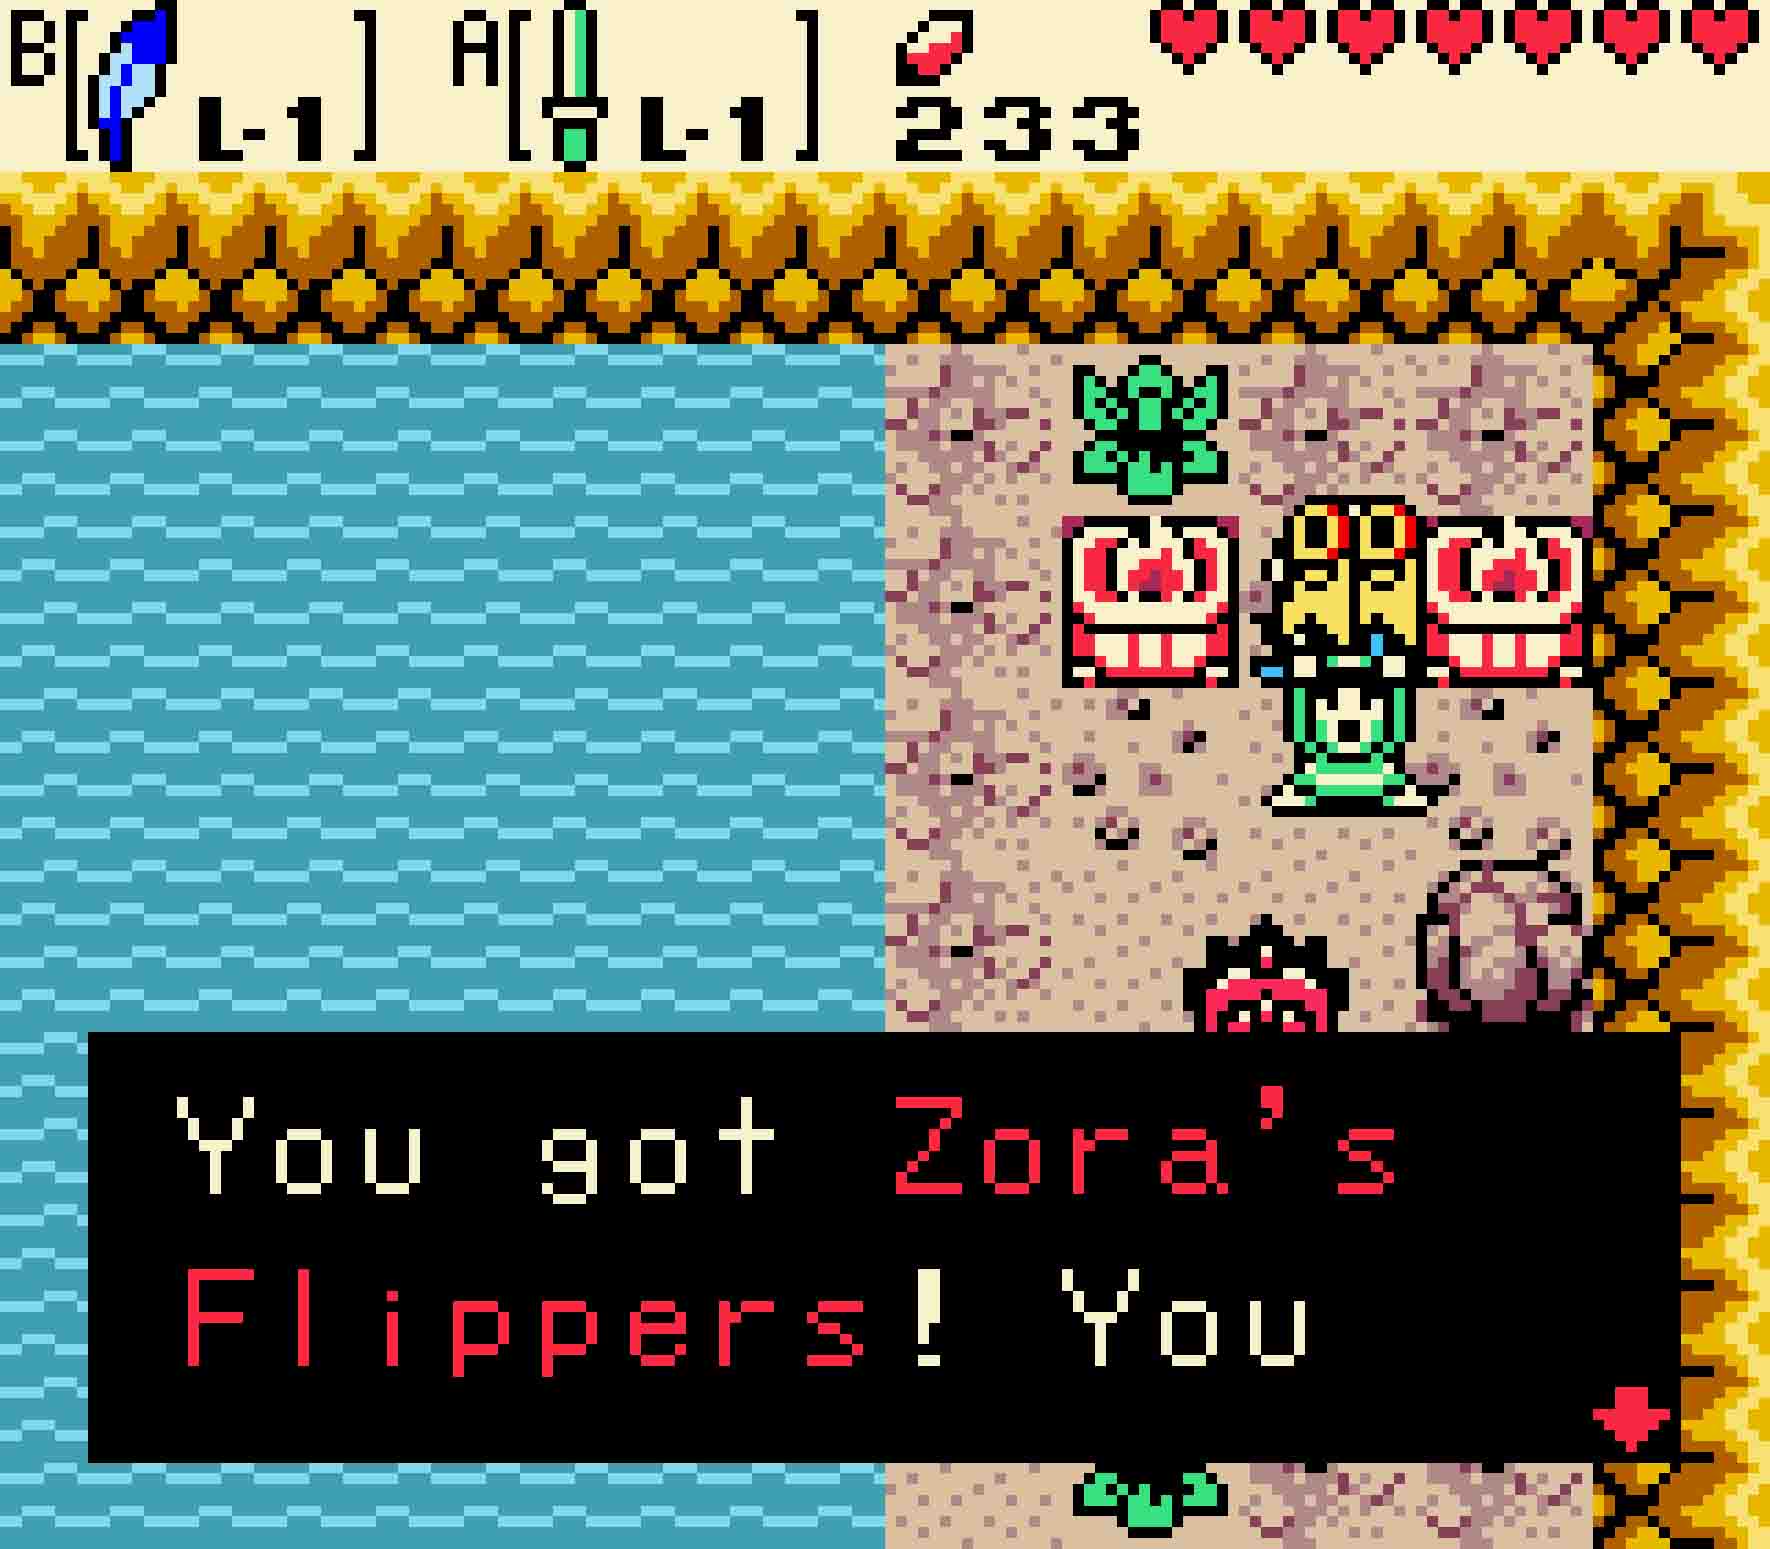
Let the waterfall carry you back down to the southern screen. Then you’ll want to swim up the right waterfall this time. At the far back of the room on the right-hand side is where the master diver lives. Show him the Master’s Plaque that you found, and he’ll reward you with Zora’s Flippers. With these Flippers, it’ll be time to say goodbye to Dimitri if you have either Ricky’s or Moosh’s Flute as you can swim out of the cave on your own volition.
With Zora’s Flippers in your possession, you can now go and get the seventh and eighth Pieces of Heart.
9.6 Find the Mt. Cucco portal
You’ll need to dive in the right spot to access Mt. Cucco
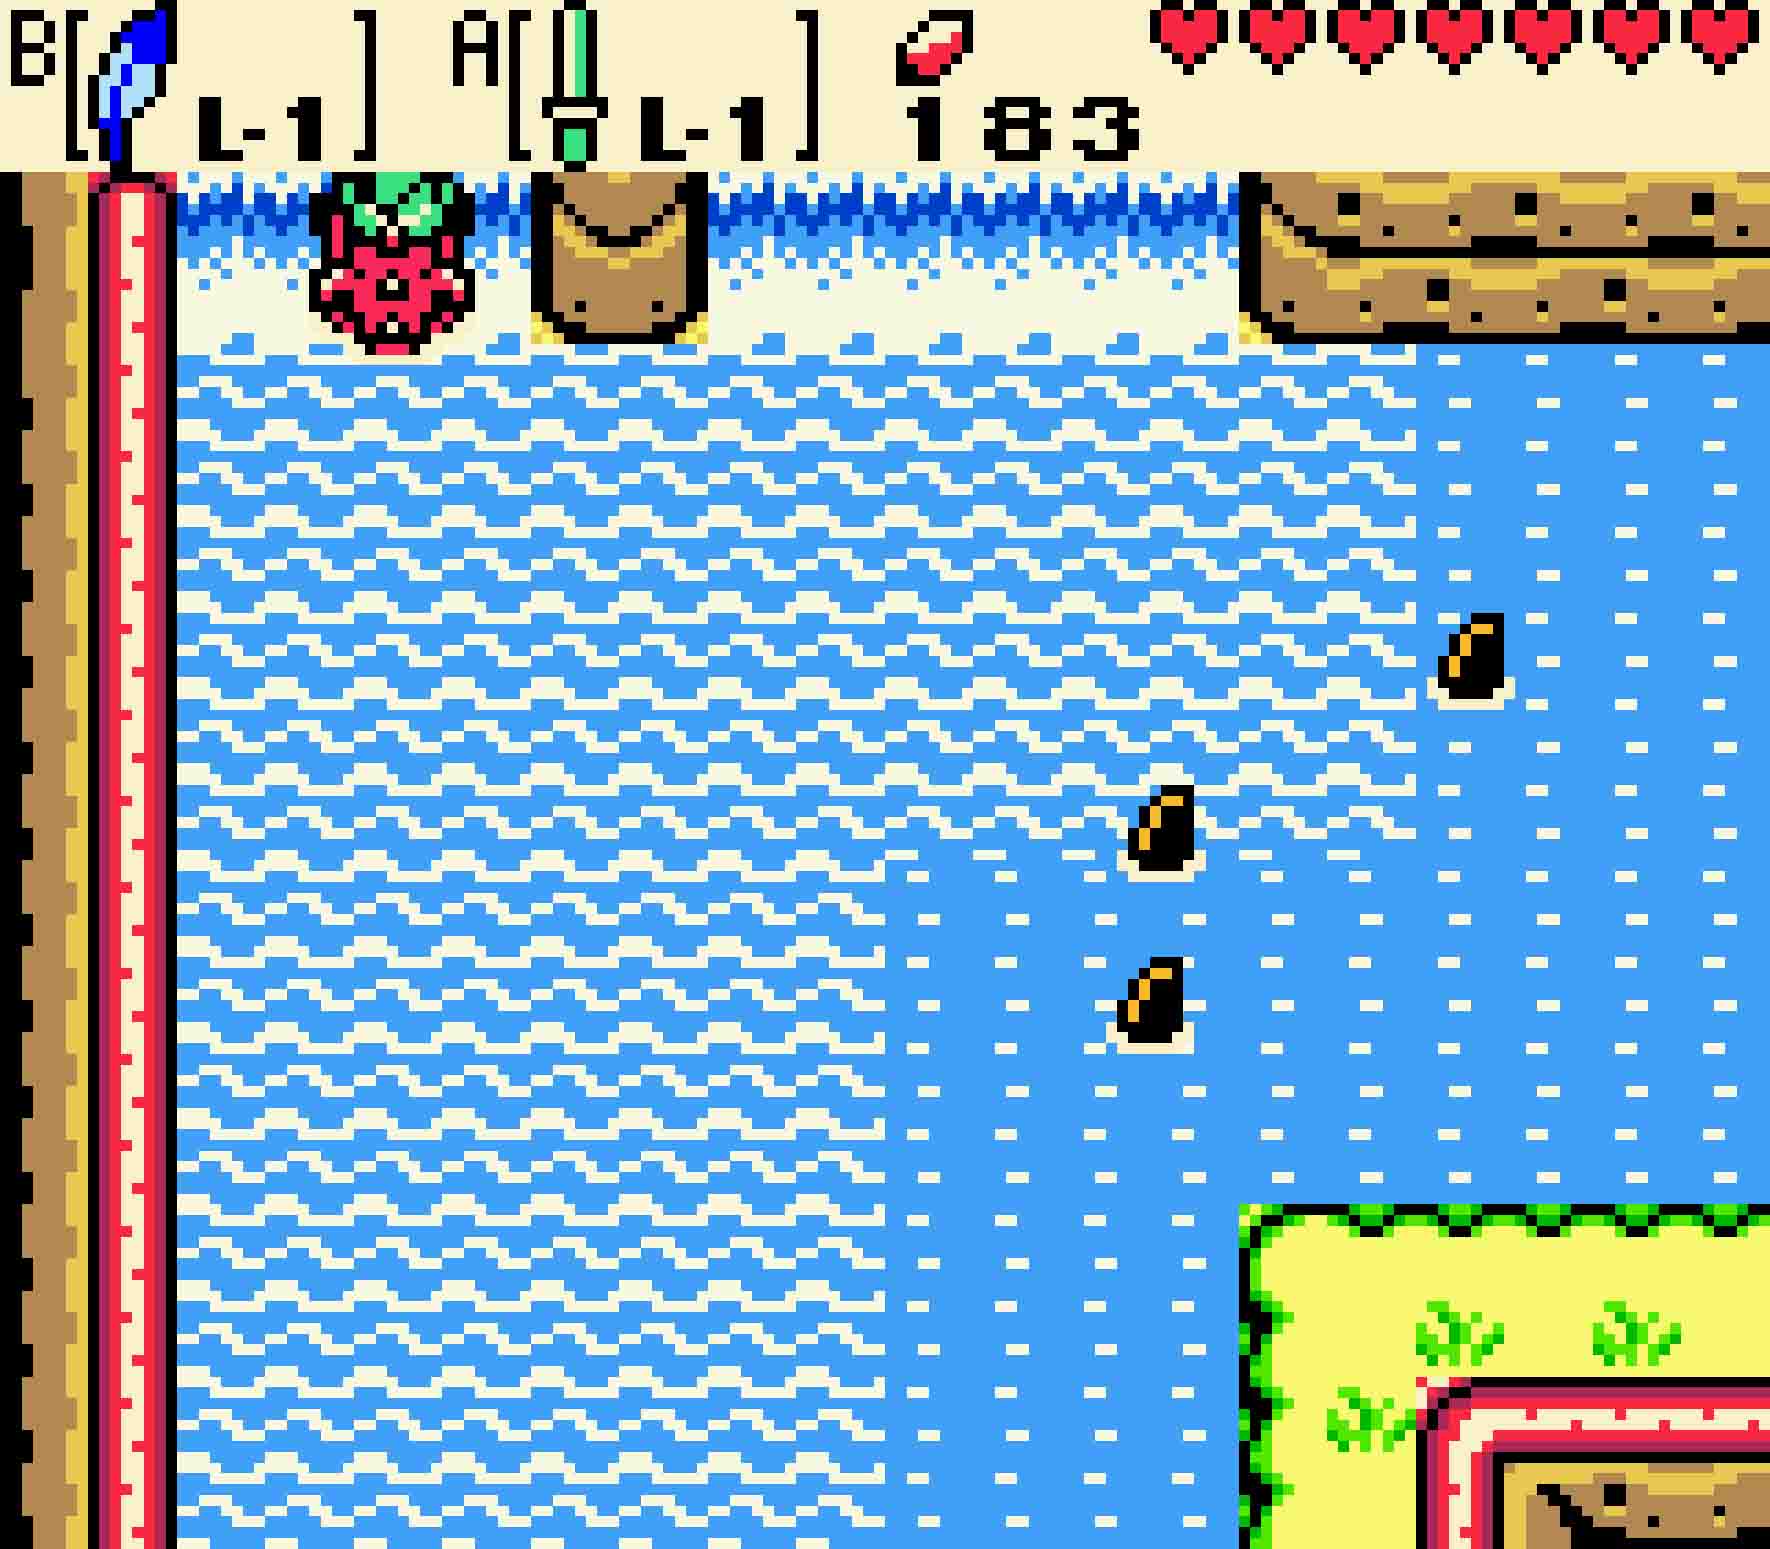
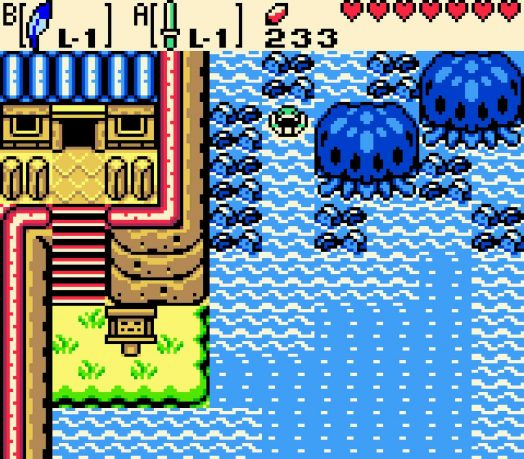
With the Flippers, you’ll now need to find the Master Diver’s secret spot. He won’t confess where it is, but it’s in a rather obvious spot. Swim down the two waterfalls in order find the tree stump within the center of Sunken City; then swim west one screen. You’ll see Ingo’s home up in the far upper-left of the screen, but in the water there’s this long narrow corridor filled with deep water. Swim into it, and dive at the very end of it to go below the waves.
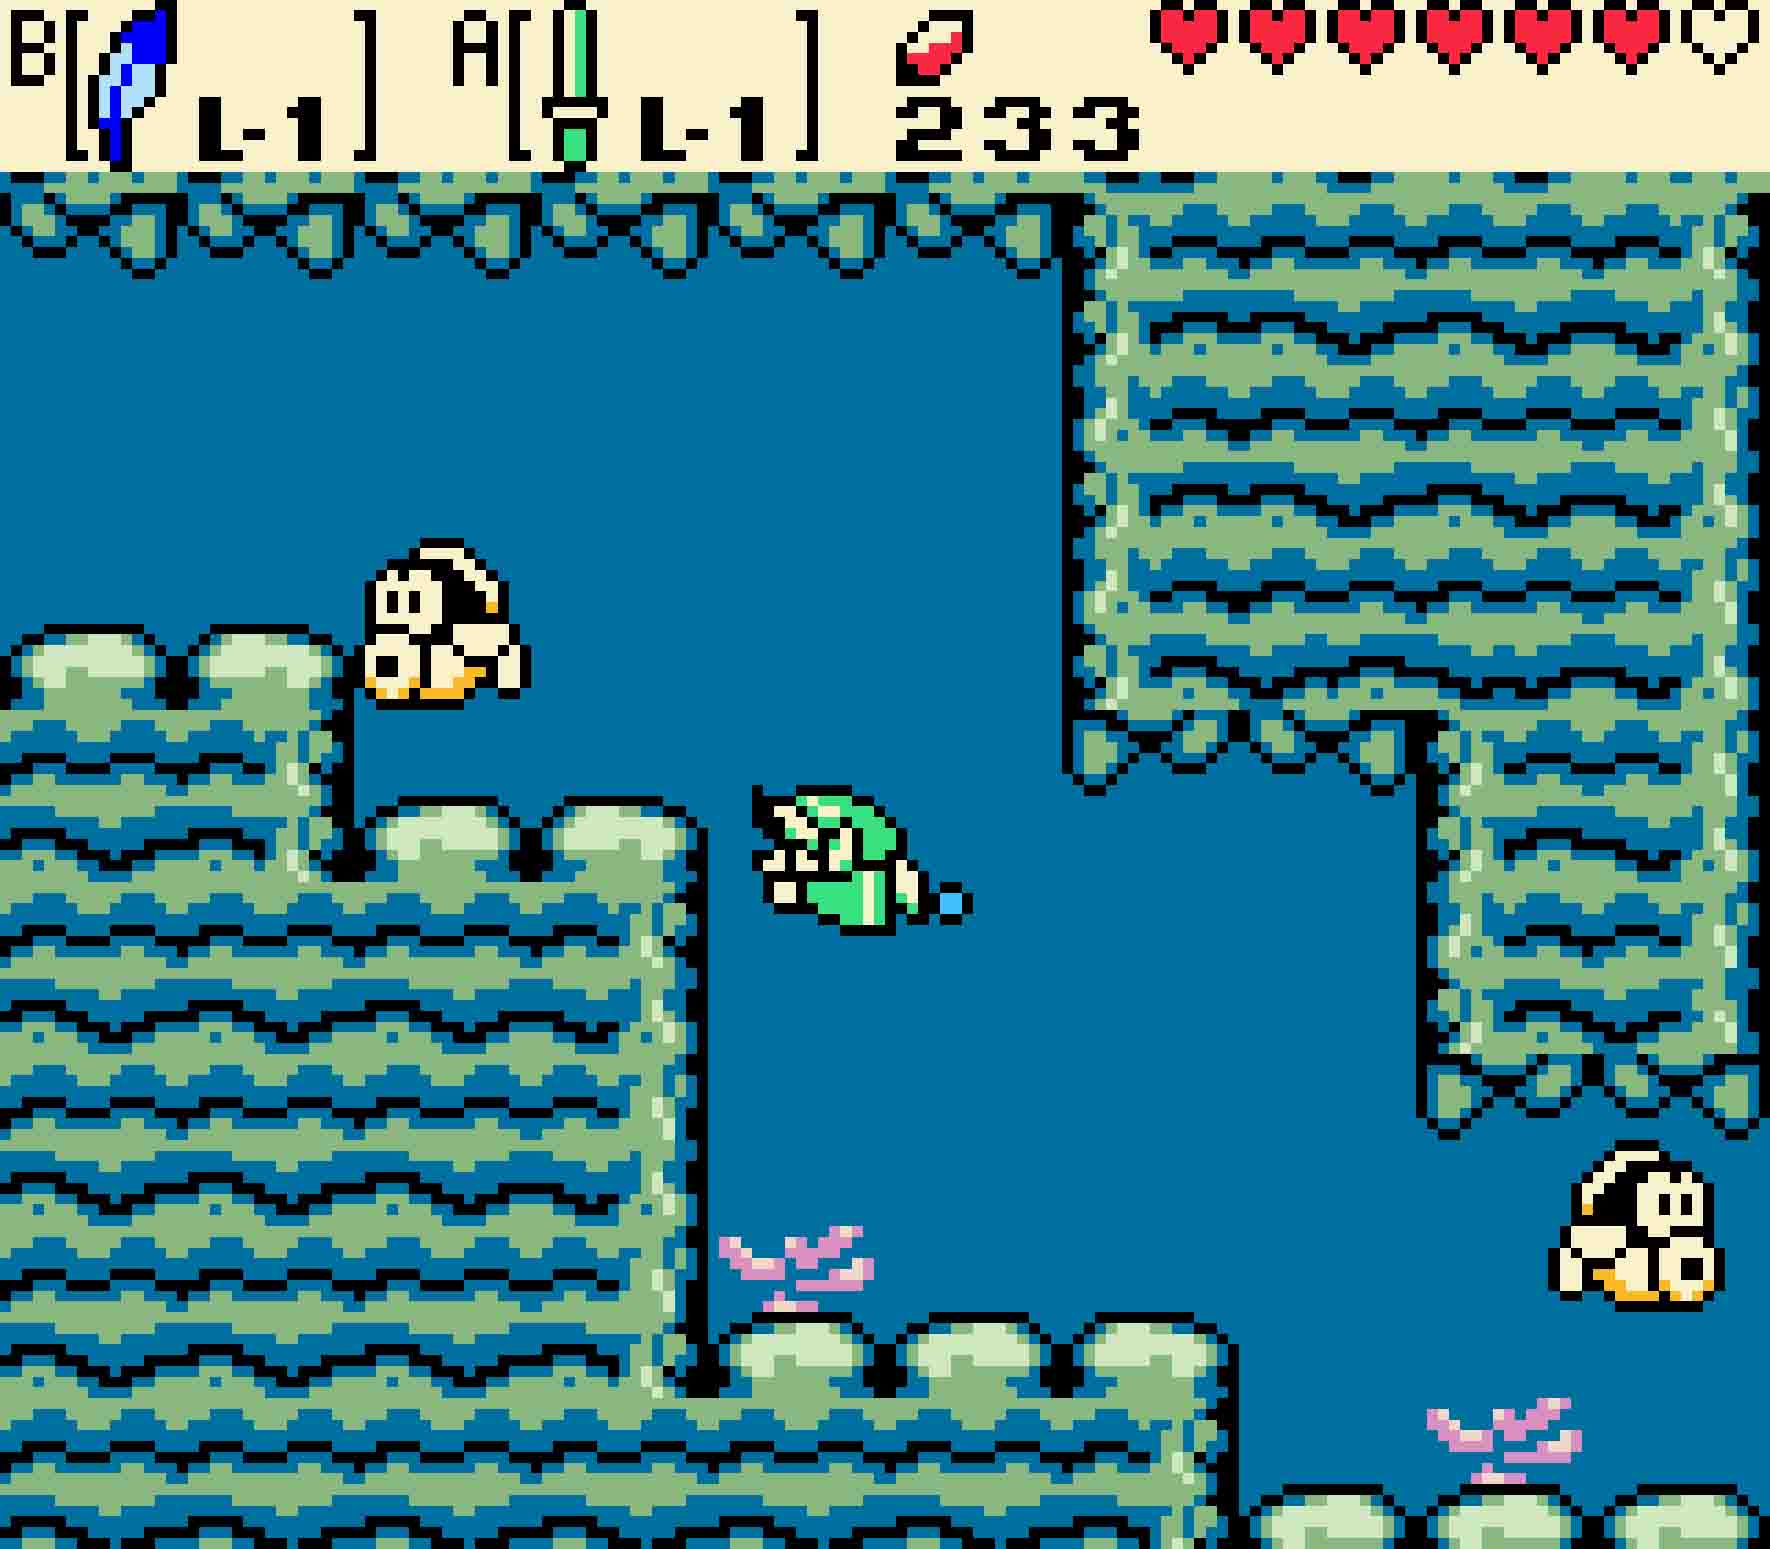
You’ll enter a side-scrolling area, but, unlike most of them this far, this time you won’t be able to use your items as you’re swimming about. This means you need to dodge the Cheep-Cheeps as you swim down, left, and back up above the waves. Once you resurface on the other side, you’ll be at the base of Mt. Cucco.
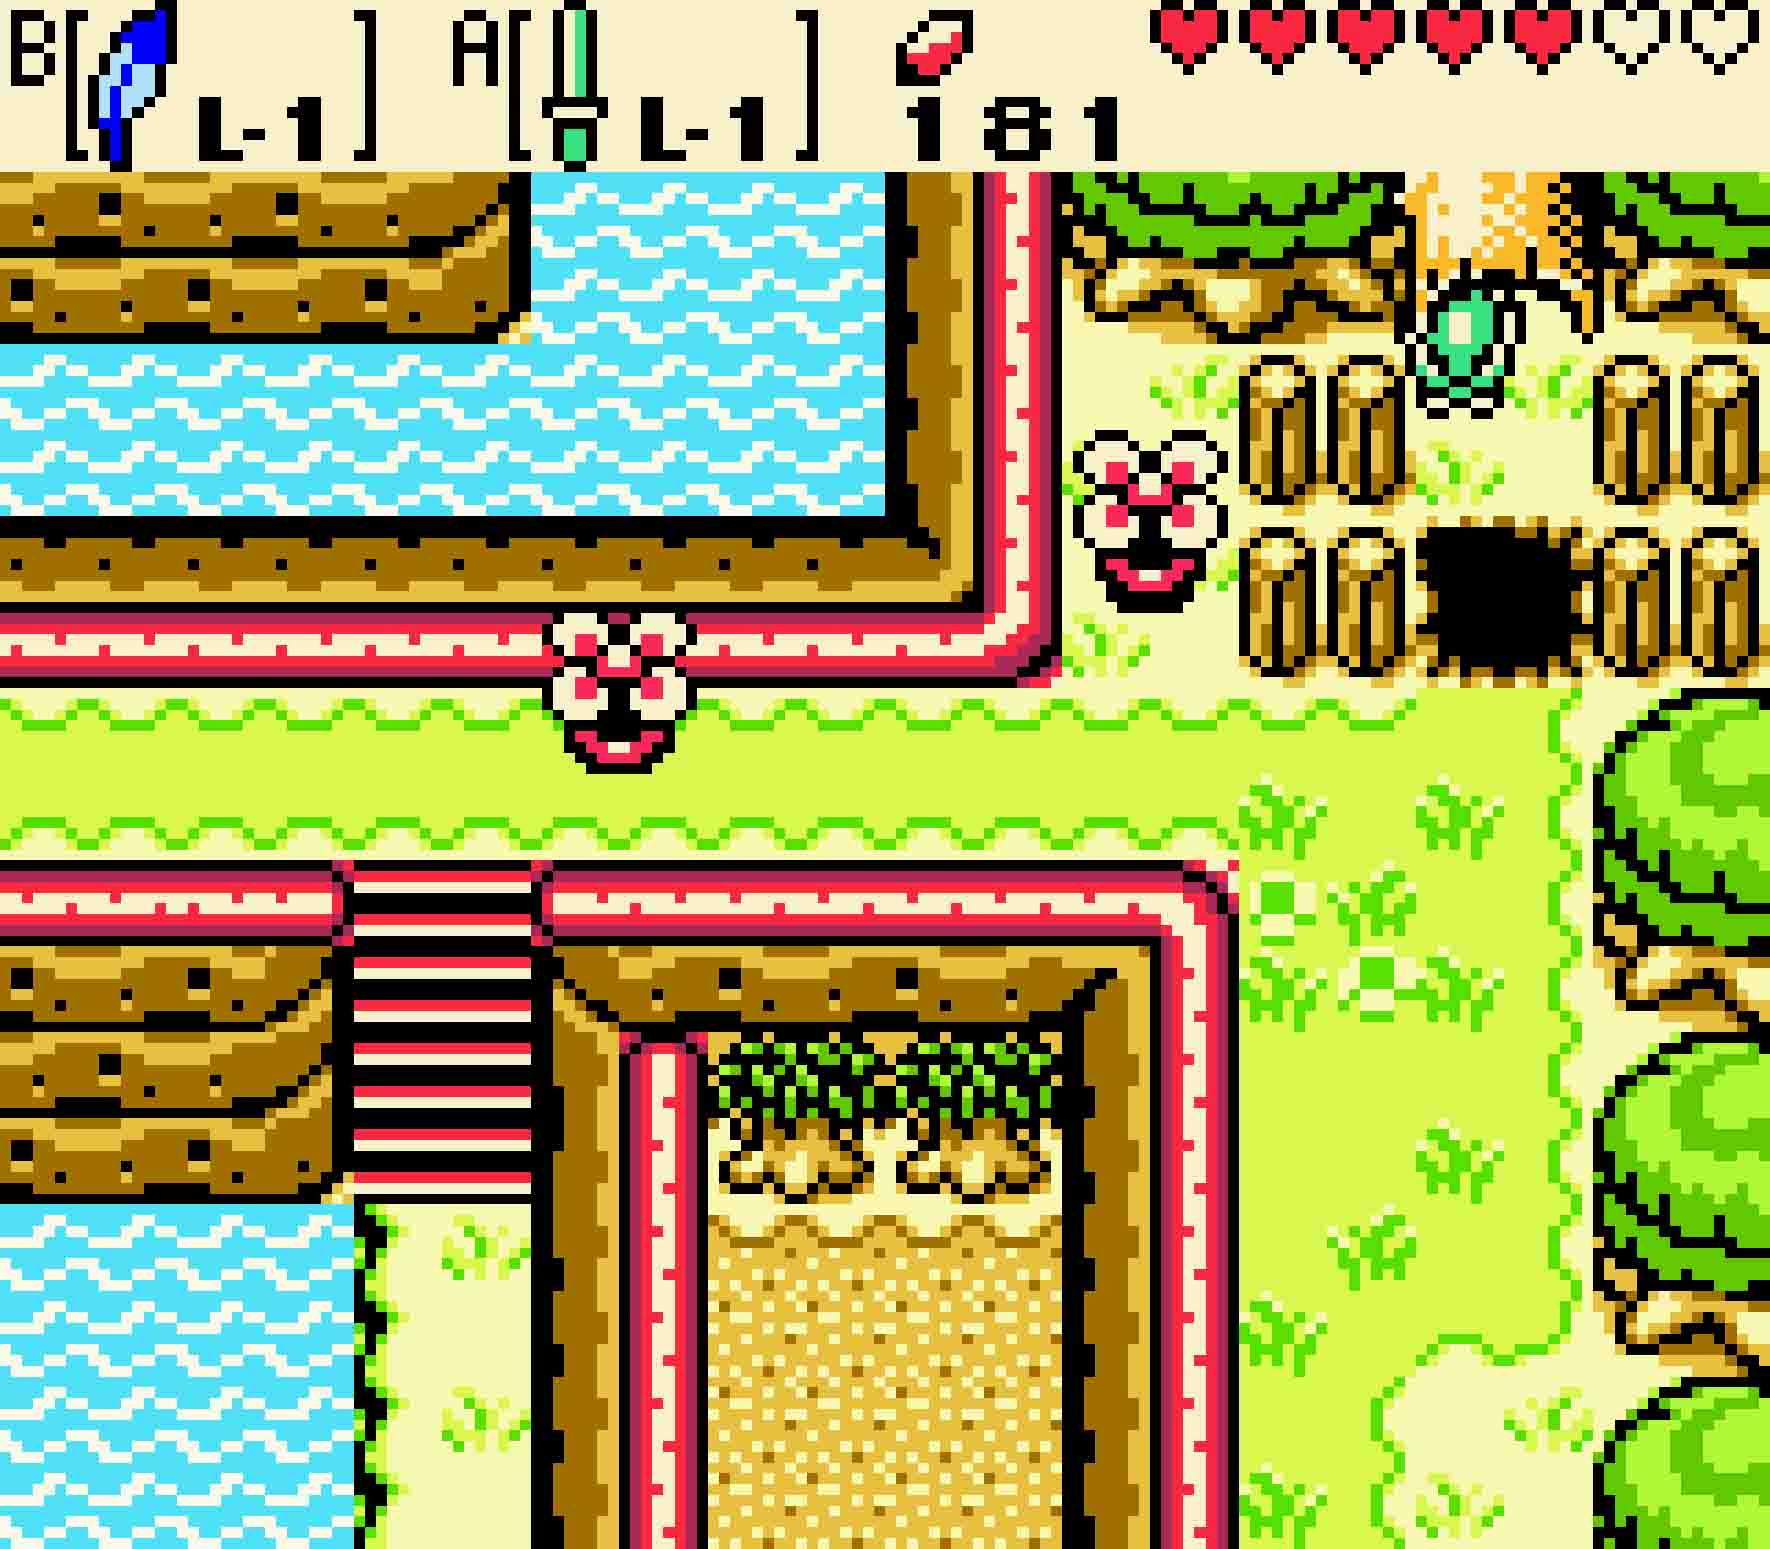
Thankfully, it’ll be summertime, so there’ll be a long growth of vines that will allow you to climb up the surface. Once you do, cross over the lake and head north. You’ll see another Piece of Heart high on a hill, but you can’t get it just yet. Tektites will be here, but they’re nothing you haven’t seen before. So you’ll have to wander to the east for now. This will guide you to a tree stump, but unfortunately to make progress here you’ll need a new season. Thankfully, there’s a Subrosian portal nearby.
-
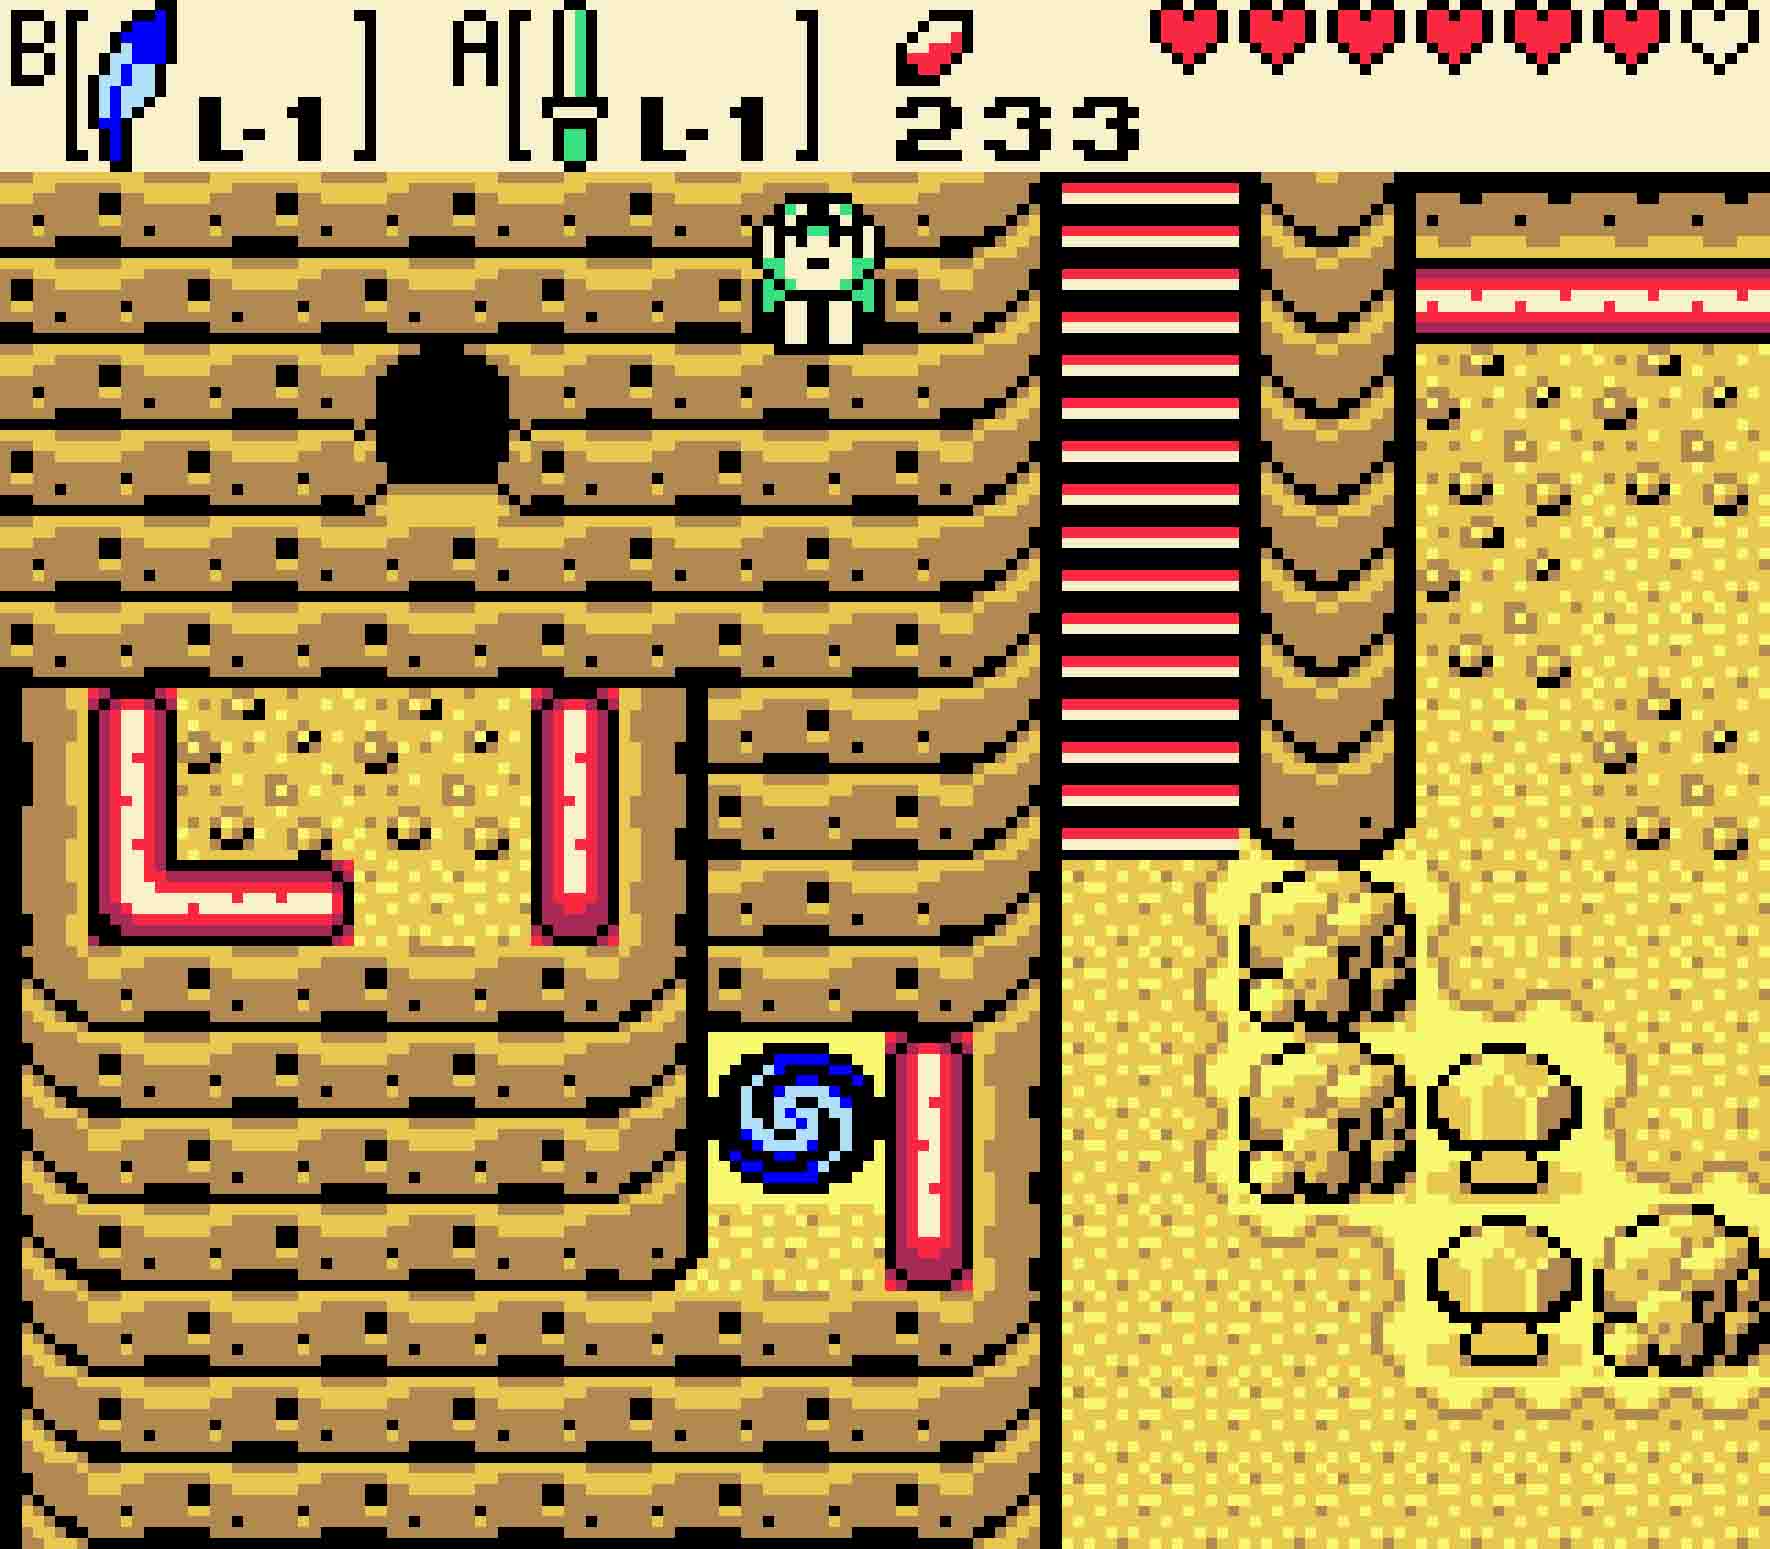
- You’ll be taking a leap of faith into Subrosia.
Head north and start ascending the long staircase you see there. It’ll take you north once more, bringing you high up on Mt. Cucco. Crows will attack you here, but if you keep moving they shouldn’t pose much of a threat. Do a quick U-turn and immediately head south, jumping over the gap in the cliff. You won’t even get a chance to move as you’ll land right on the Subrosian portal below.