
Chapter 8: Poison Moth’s Lair
- 8.1 Find your first key
- 8.2 Obtain the Map
- 8.3 Solve the statue puzzle
- 8.4 Earn Roc’s Feather
- 8.5 Get the Compass
- 8.6 Find another small key
- 8.7 Defeat the Omuai
- 8.8 Grab the Boss Key
- 8.9 Return to the boss’ lair
- 8.10 Defeat Mothula
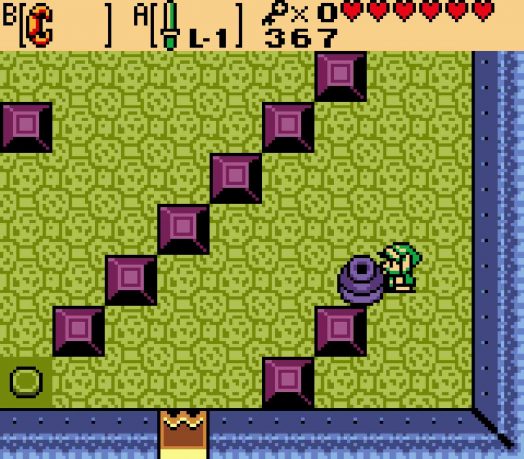
8.1 Find your first key
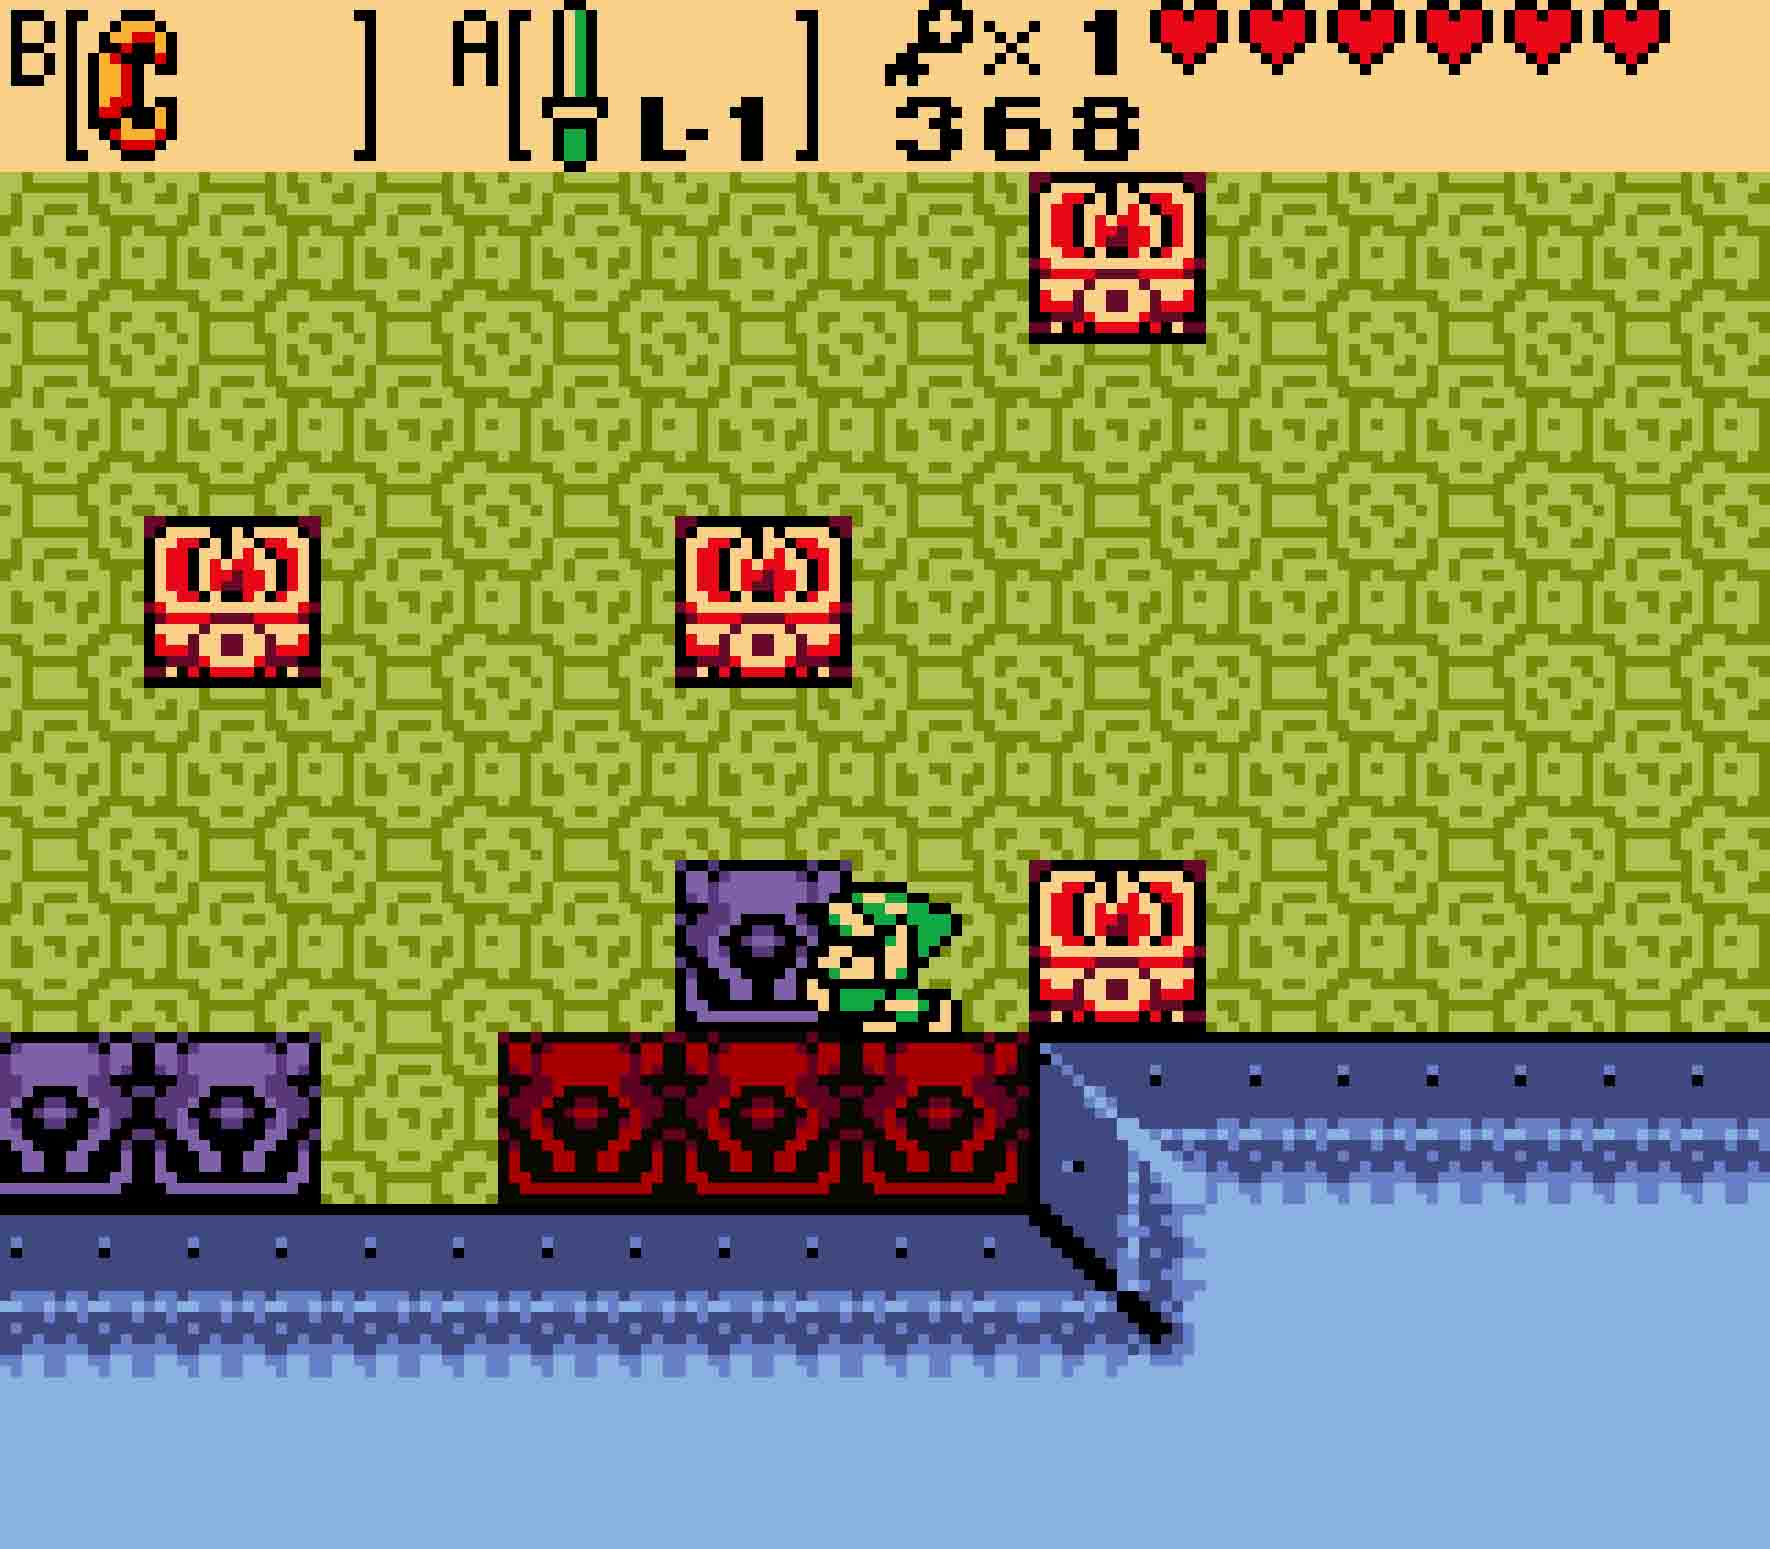
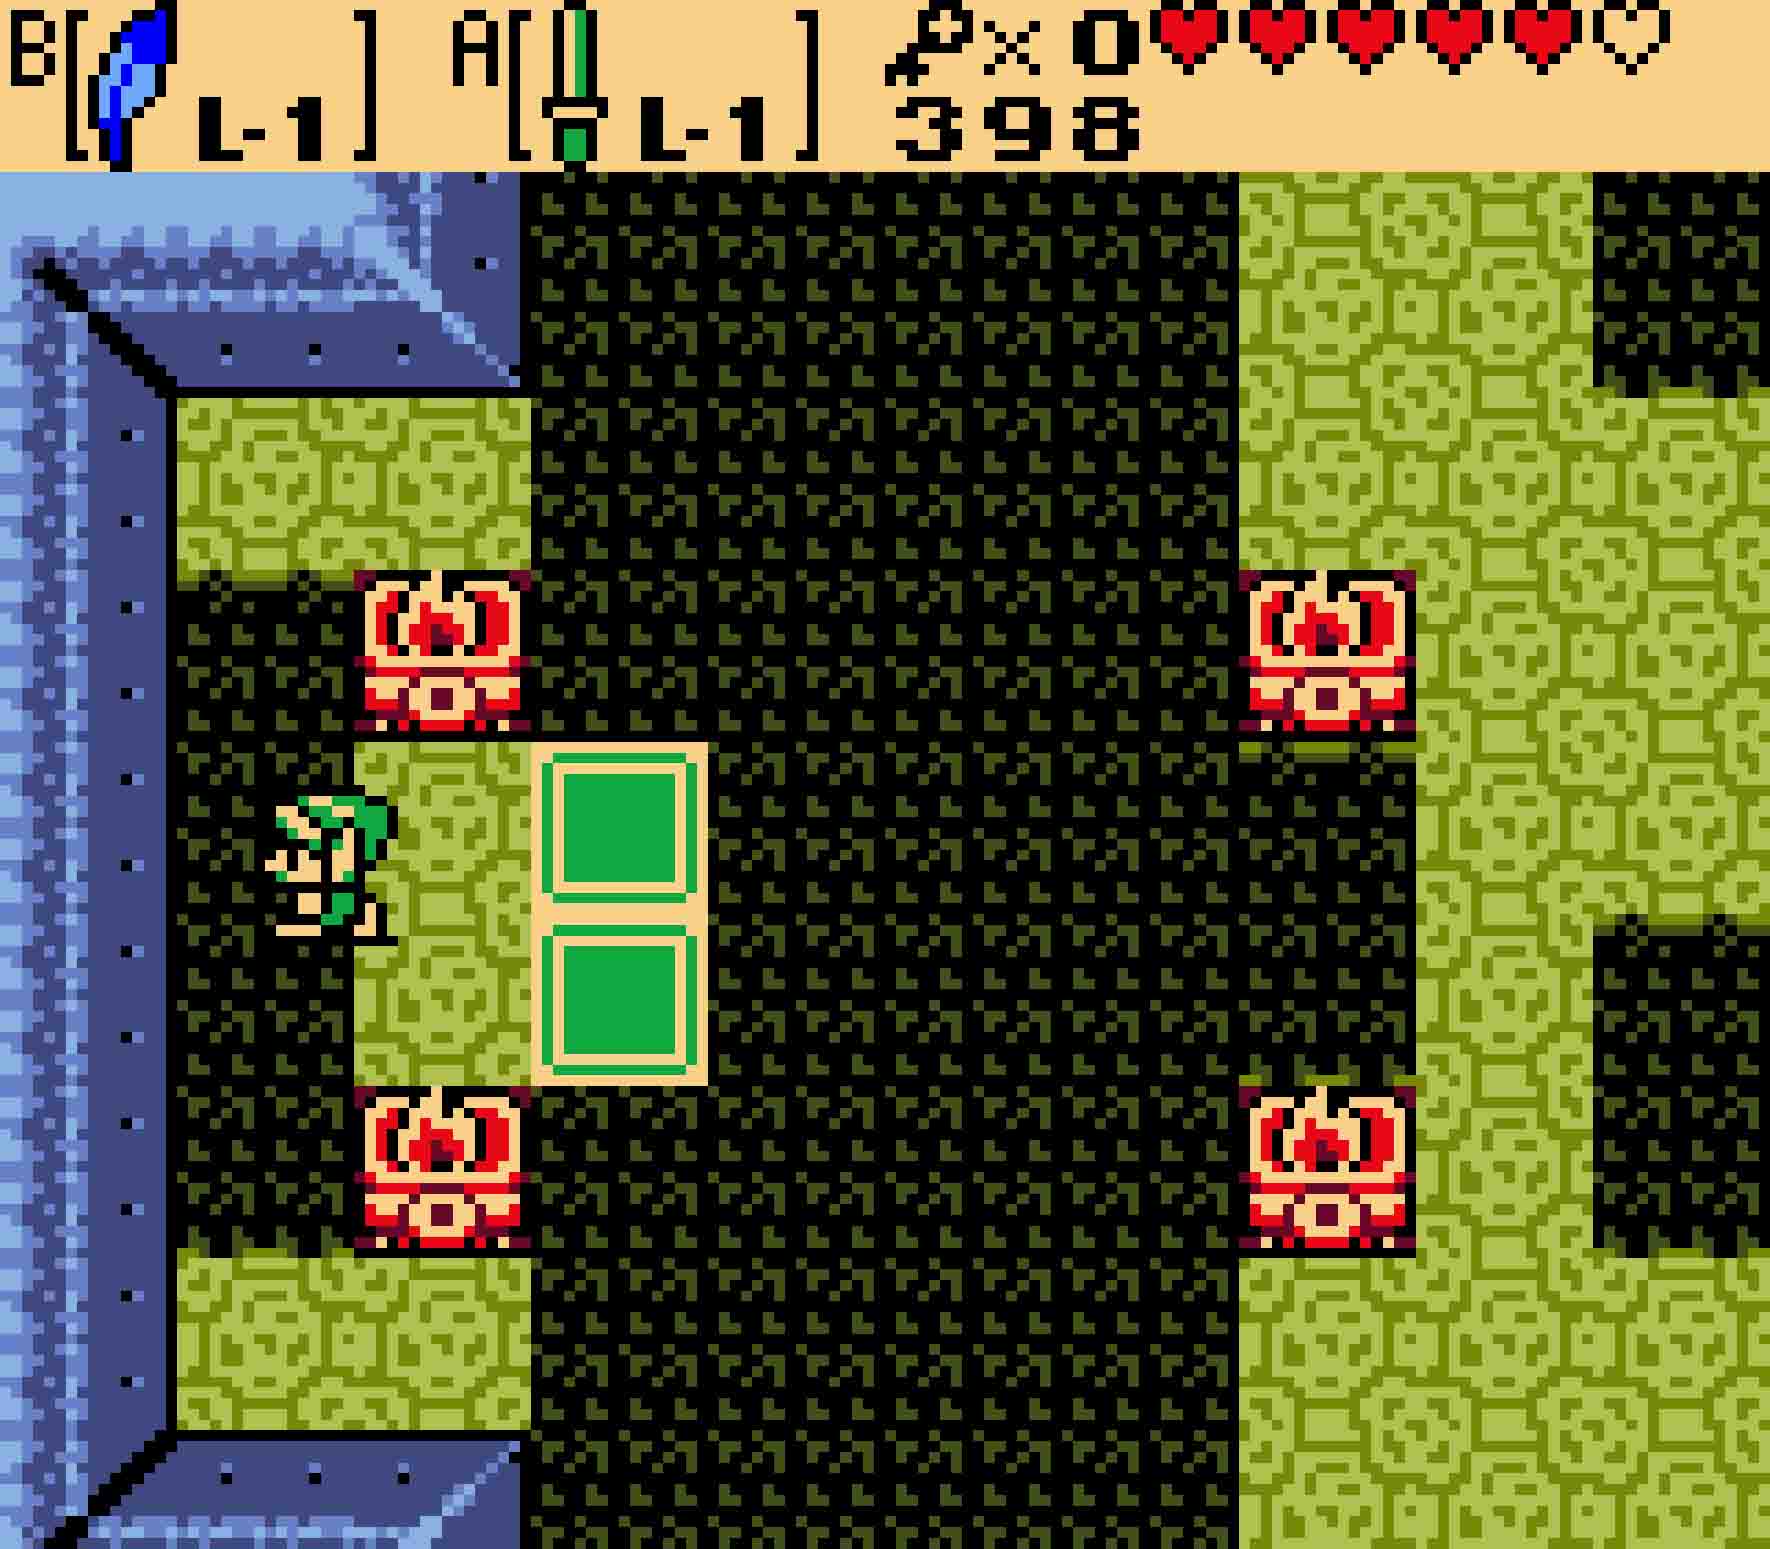
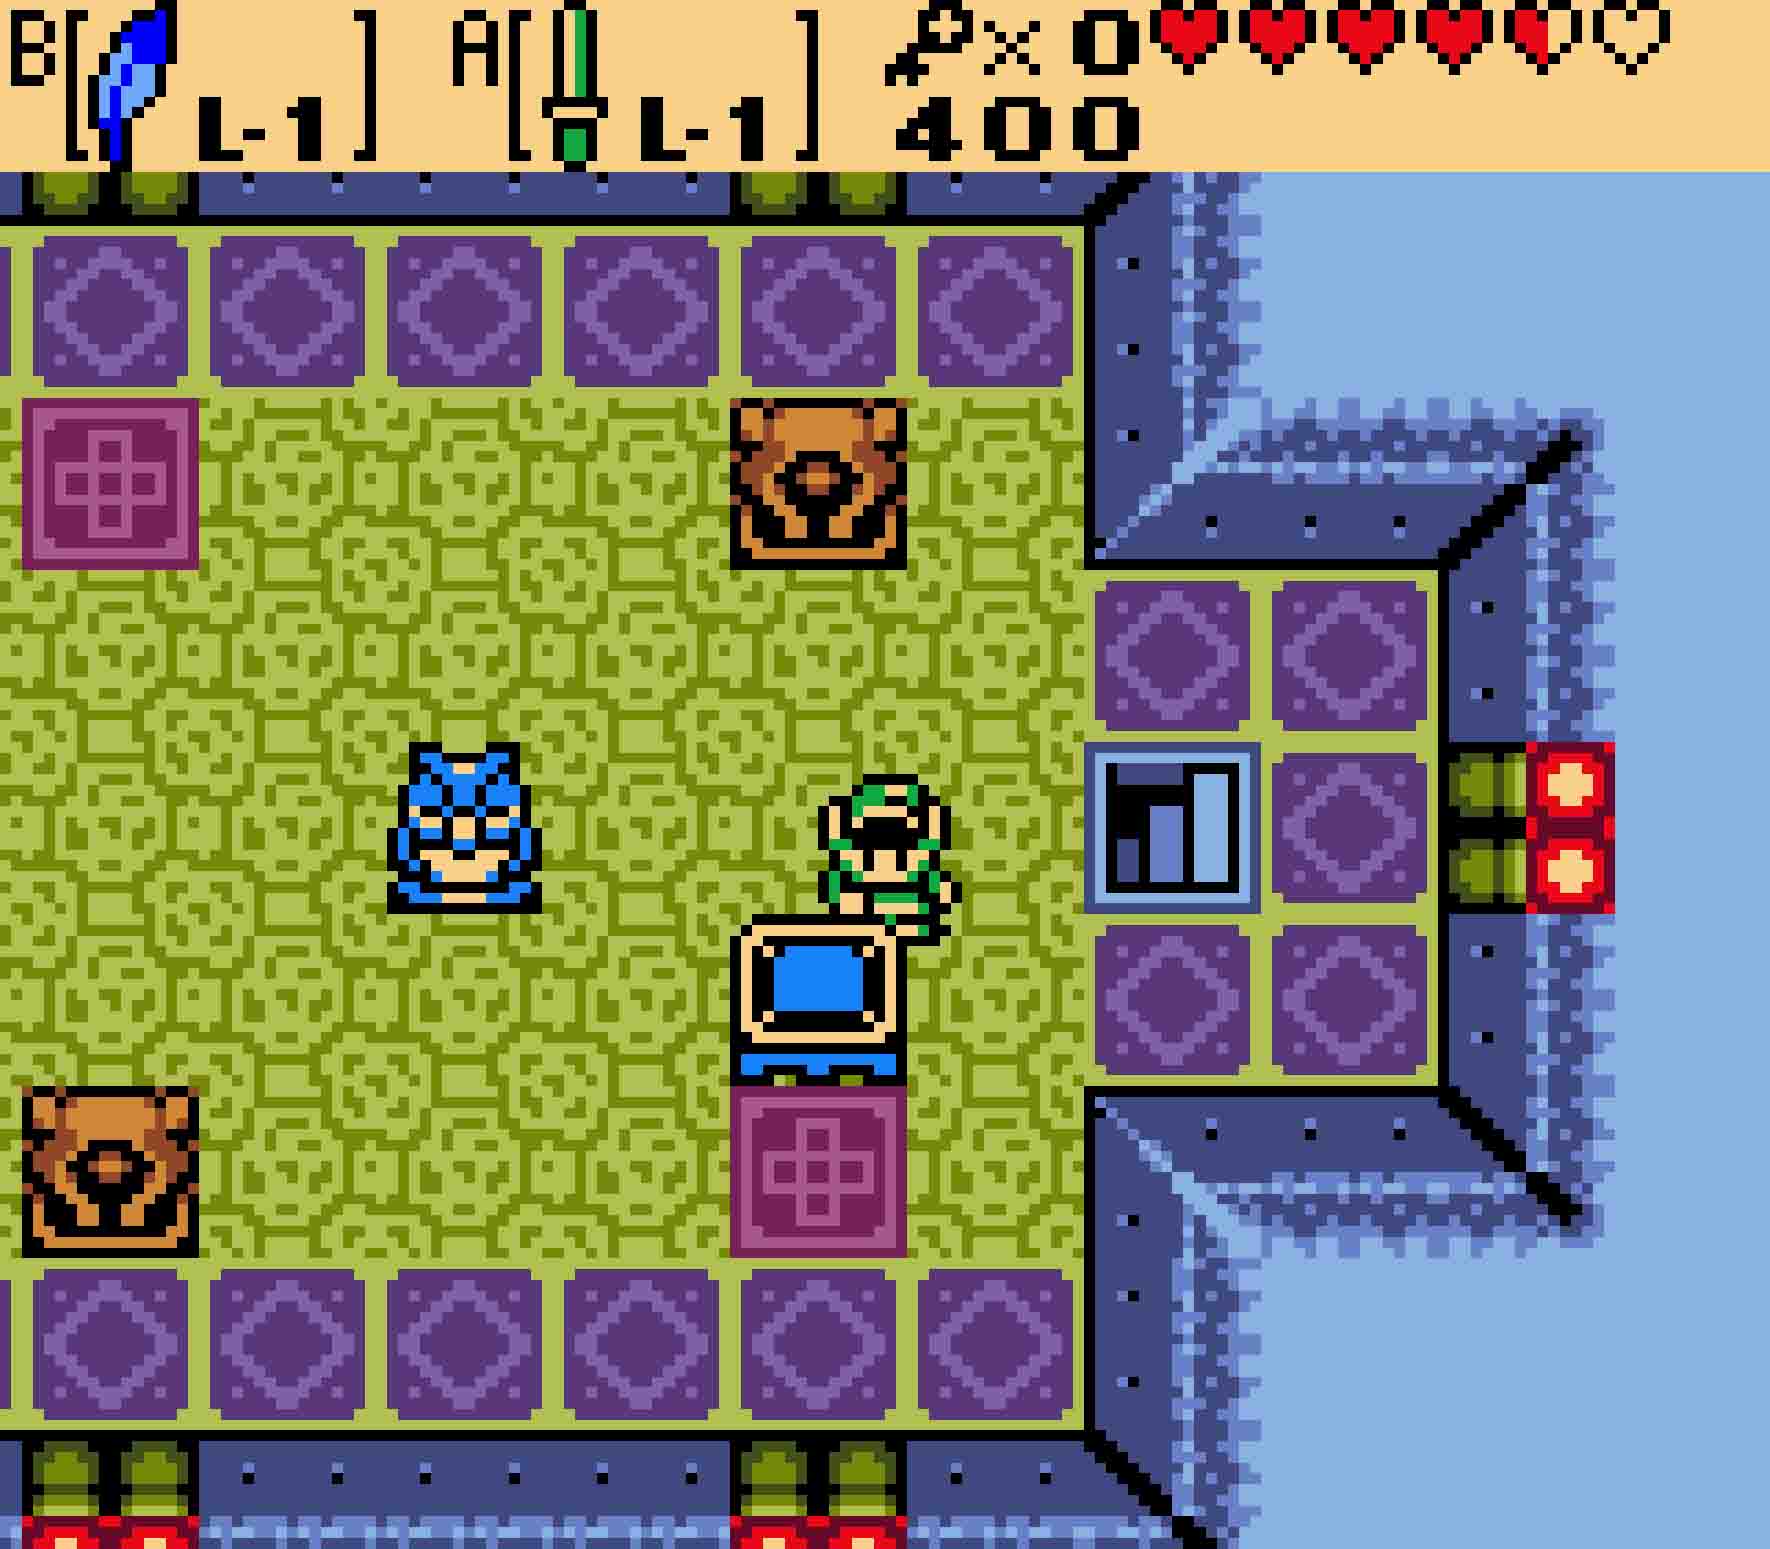
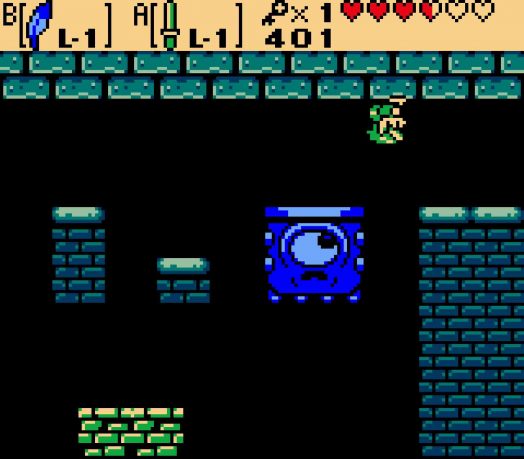
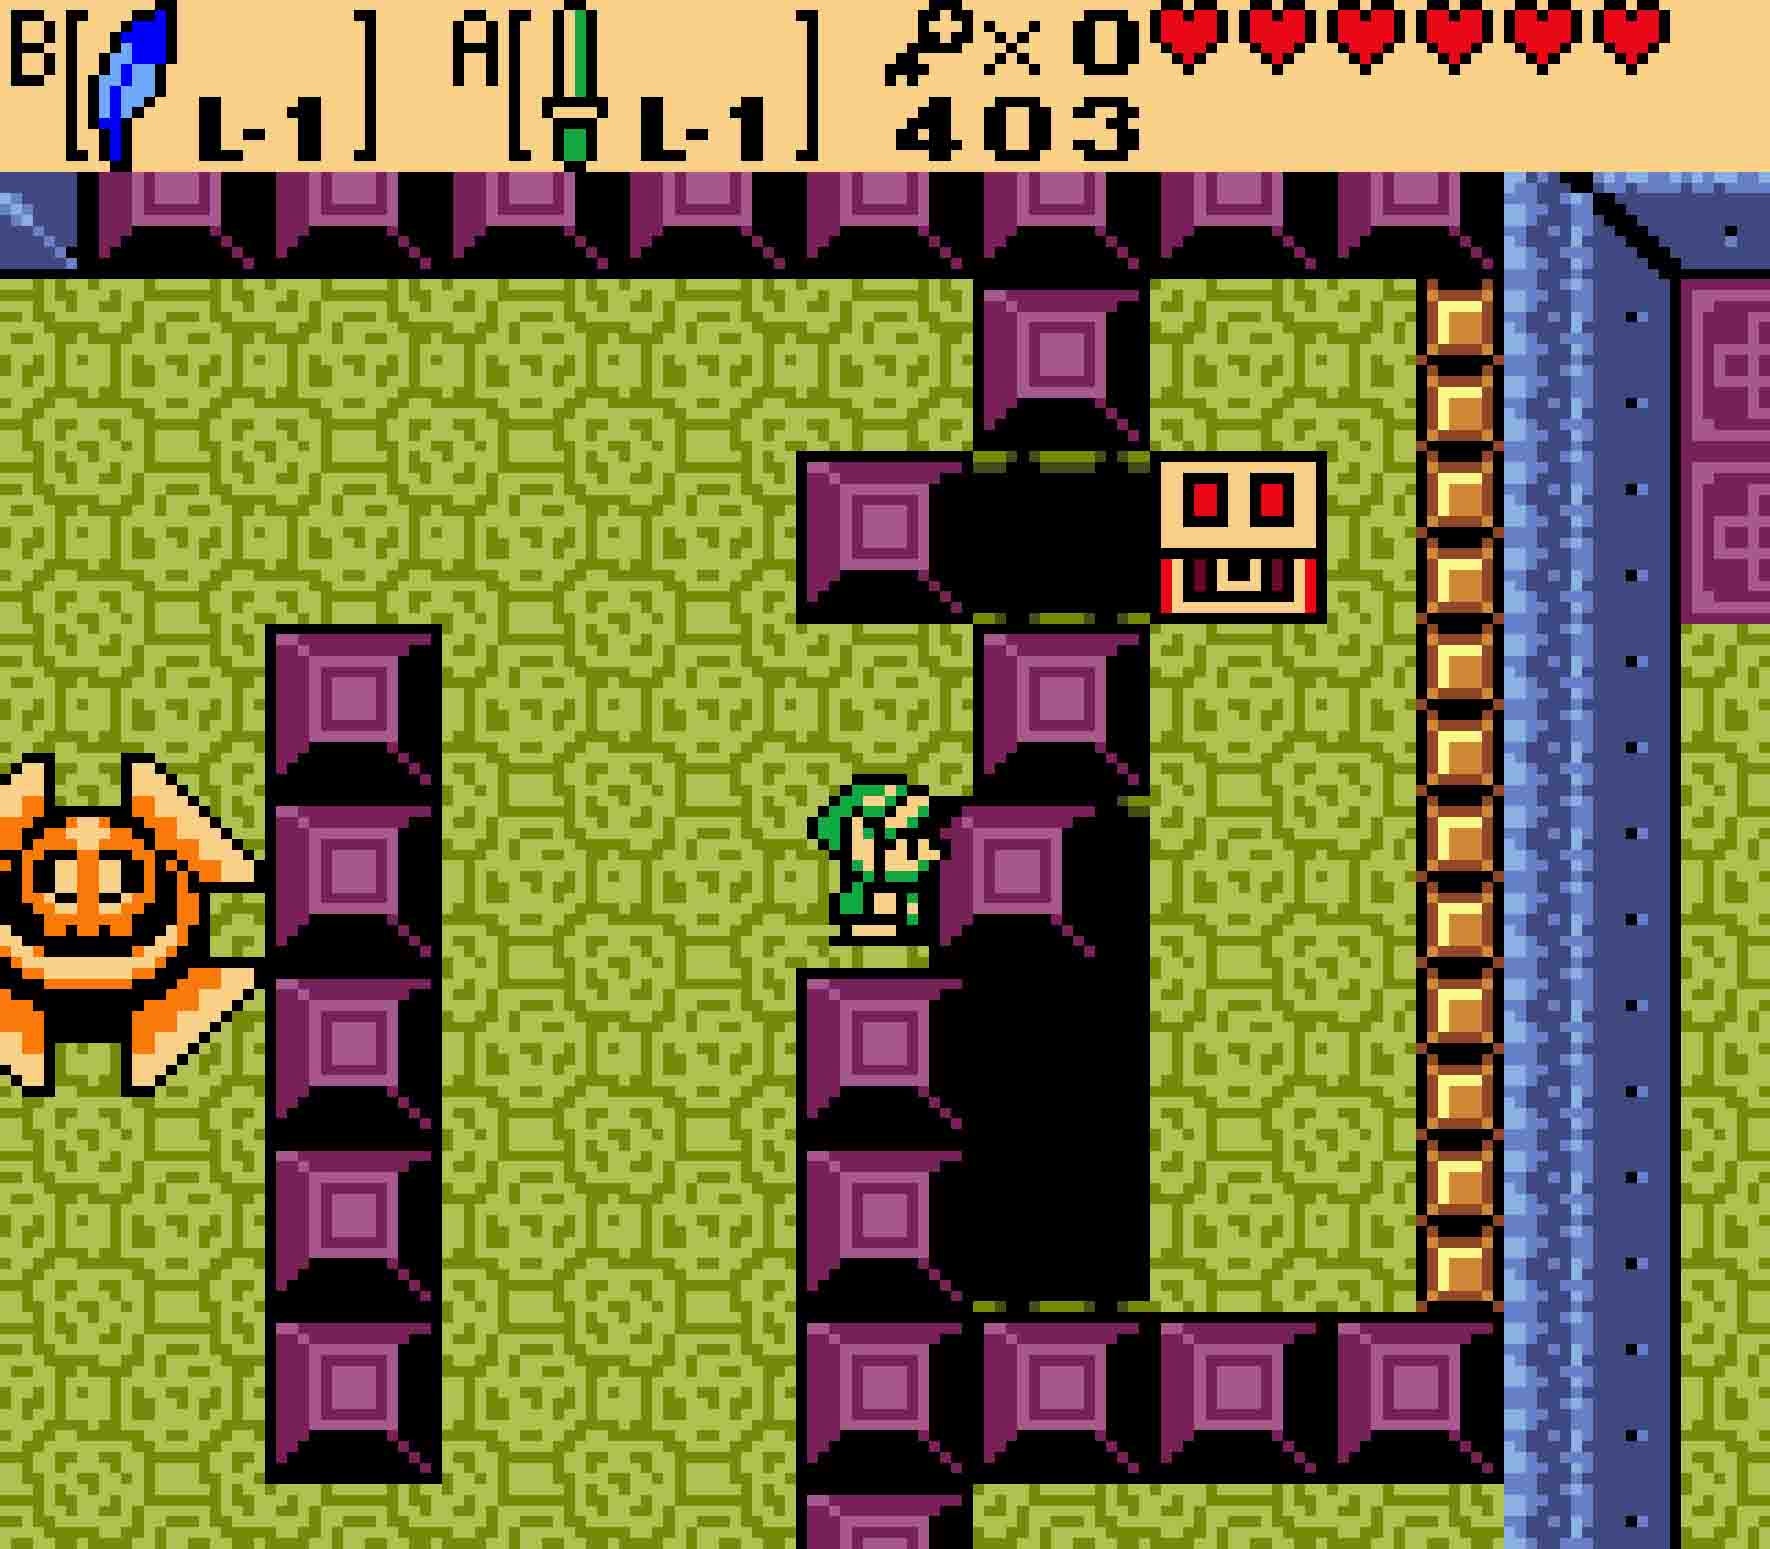
The entryway is completely harmless, so proceed north, where you will find a new enemy: the Spiked Beetle. These treacherous beasts will immediately accelerate directly at you if ever they see you, and these guys are very quick. Worse yet is that you can’t defeat them with your sword, at least at first. You need to flip them over. Hold up your shield, and when they run into you, they’ll flip upside down, exposing their soft underbellies. You can technically use the Shovel as well, but the shield is easier. Once they’re flipped, strike with the sword. Once they are defeated, the door to the north will open.
You’ll then have to face two Mini-moldorms. These guys wander at a fairly fast clip, meandering in circular patterns rather randomly. Hold your ground and defeat them before moving on as their unpredictability makes them slightly tough to avoid in these narrow quarters. Then head east, where you’ll encounter two more Spiked Beetles, so keep your shield handy. The next room is pretty safe, but you’ll see a moving platform you can’t reach. It’s annoying, but you’ll have to leave it for now by heading east again.
-
- You’ll start by facing some new enemies. You’ll need your Shield for these.
-
- The Mini-moldorms are tricky and nimble, so be careful.
You’ll have to push this last pot over to the button. It’s a slow and painful process.
The beloved Floormasters are back in the next room, and you’ll need to kill four of them to make them stop coming for you. Make that your primary focus as it’s difficult to lose your concentration if you’re focused on other things. Once all four are dead, then pick up and break both of the first and pair of pottery. This will bring you to a button, but unfortunately it will only stay depressed if something is on it. You’ll need to use one of the two remaining pots in the lower-right corner of the room to hold it down. Lift up the rightmost pot, and then stand to the right of the lone remaining one. Push it left three squares, down one, left one, down one, and then left all the way to the button. Once it sits on the button, the door heading to the south will open up.
There’s a staircase in this room, but you should ignore it for the moment. You will have to deal with an Anti-Fairy and two Arm-Mimics. Arm-Mimics will follow every footstep you do though in reverse. Get rid of the Anti-Fairy with your Boomerang, and then use your sword on the Arm-Mimics. Once they’re gone, head west and then south.
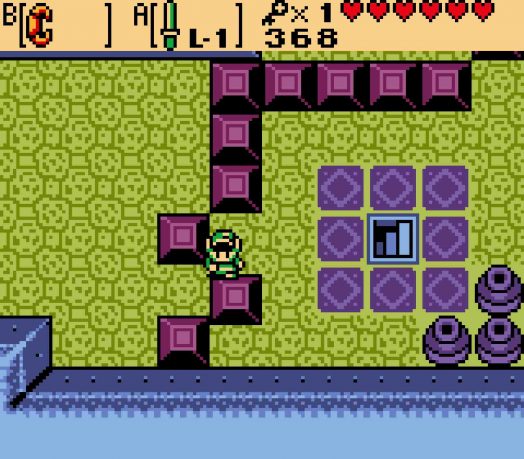
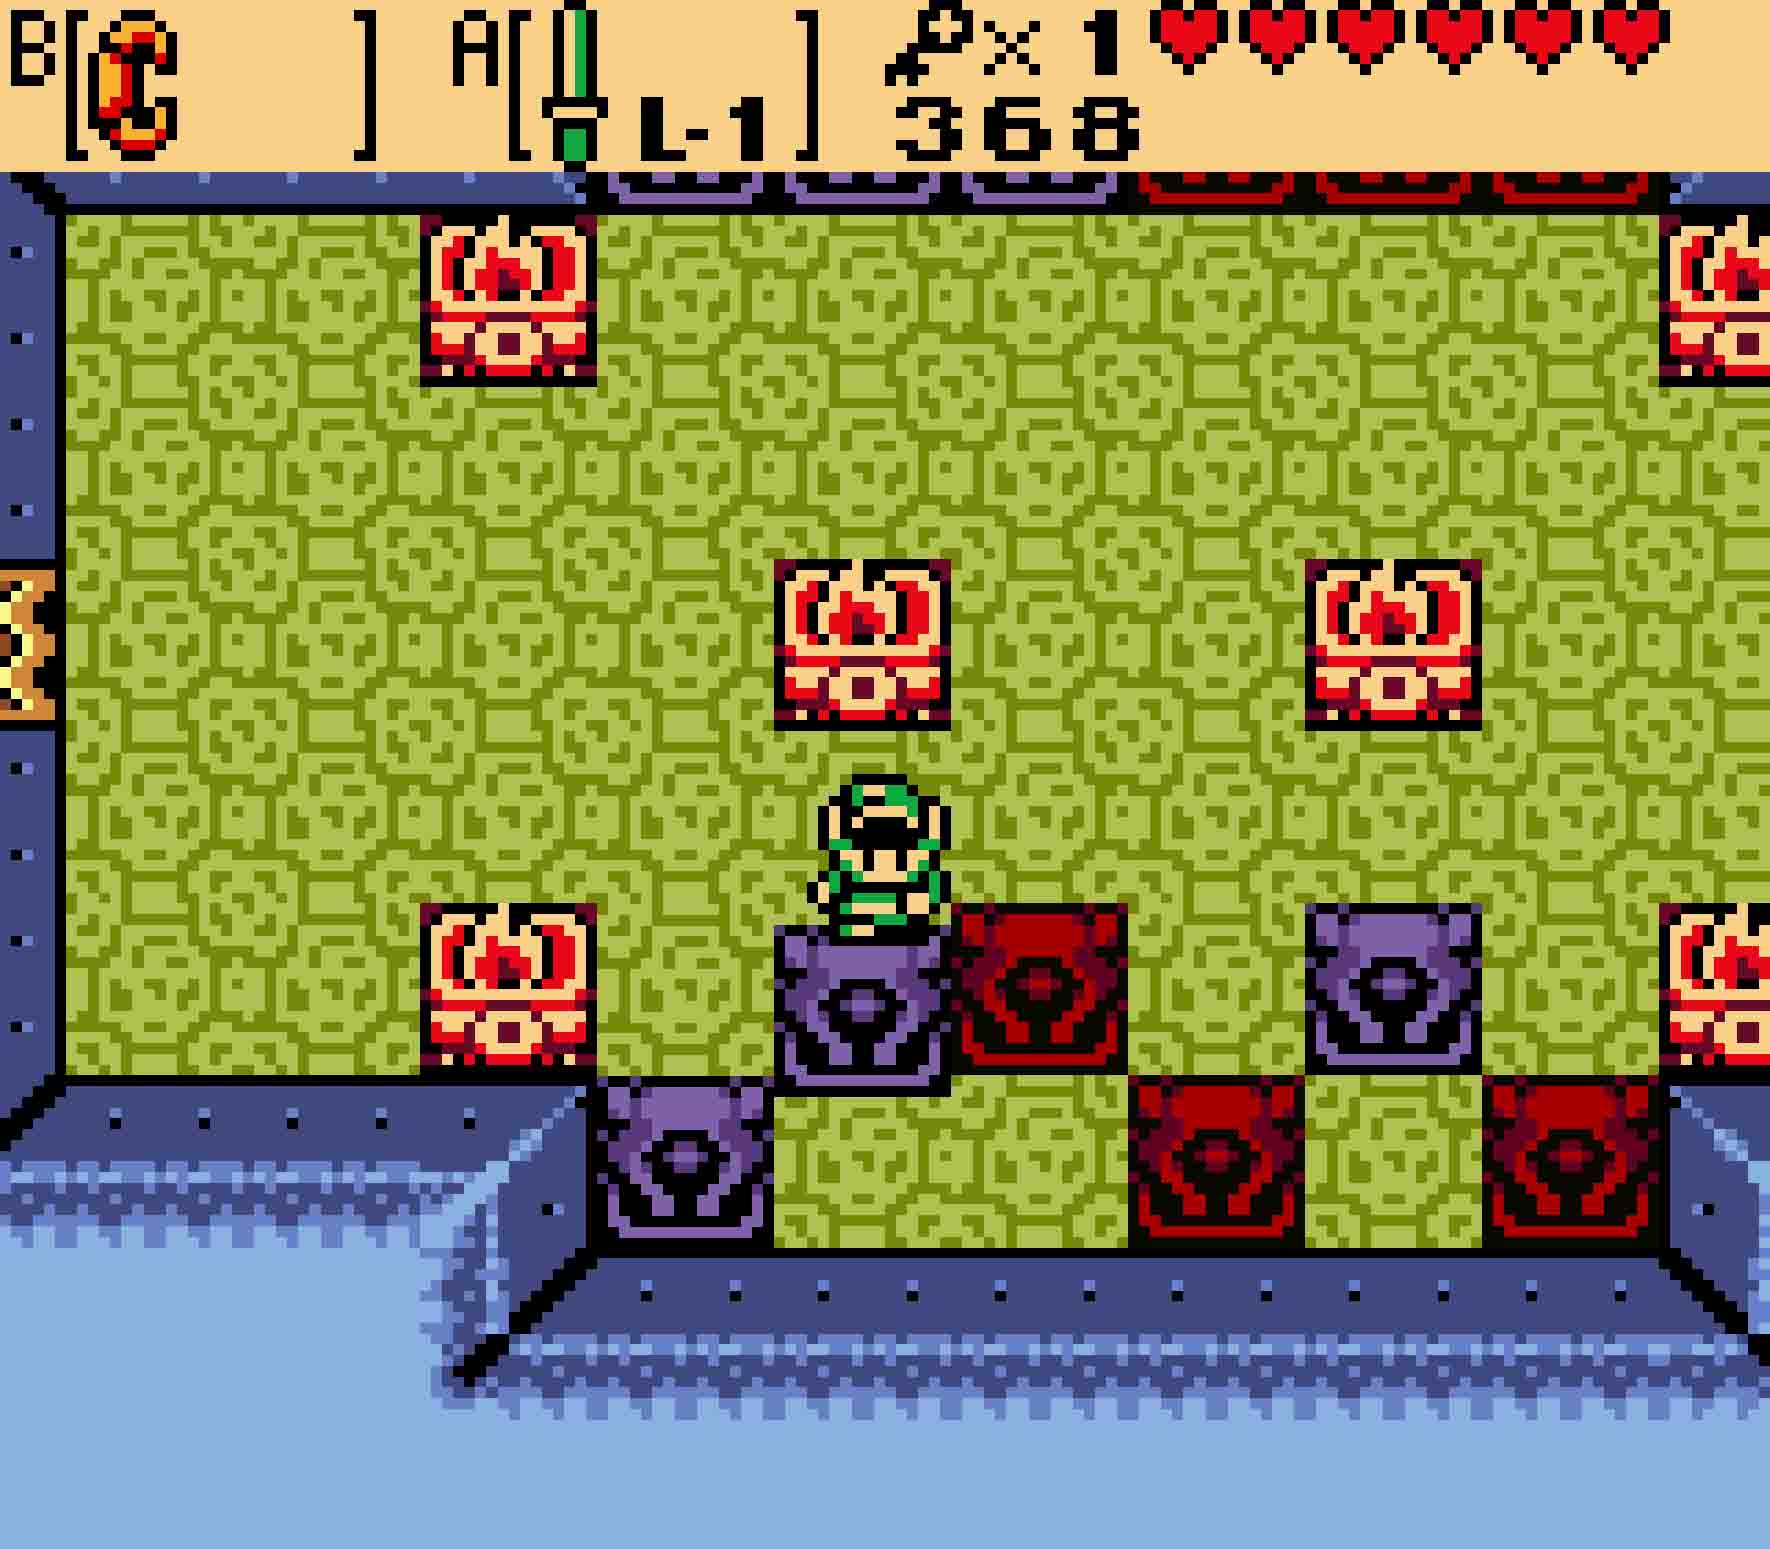
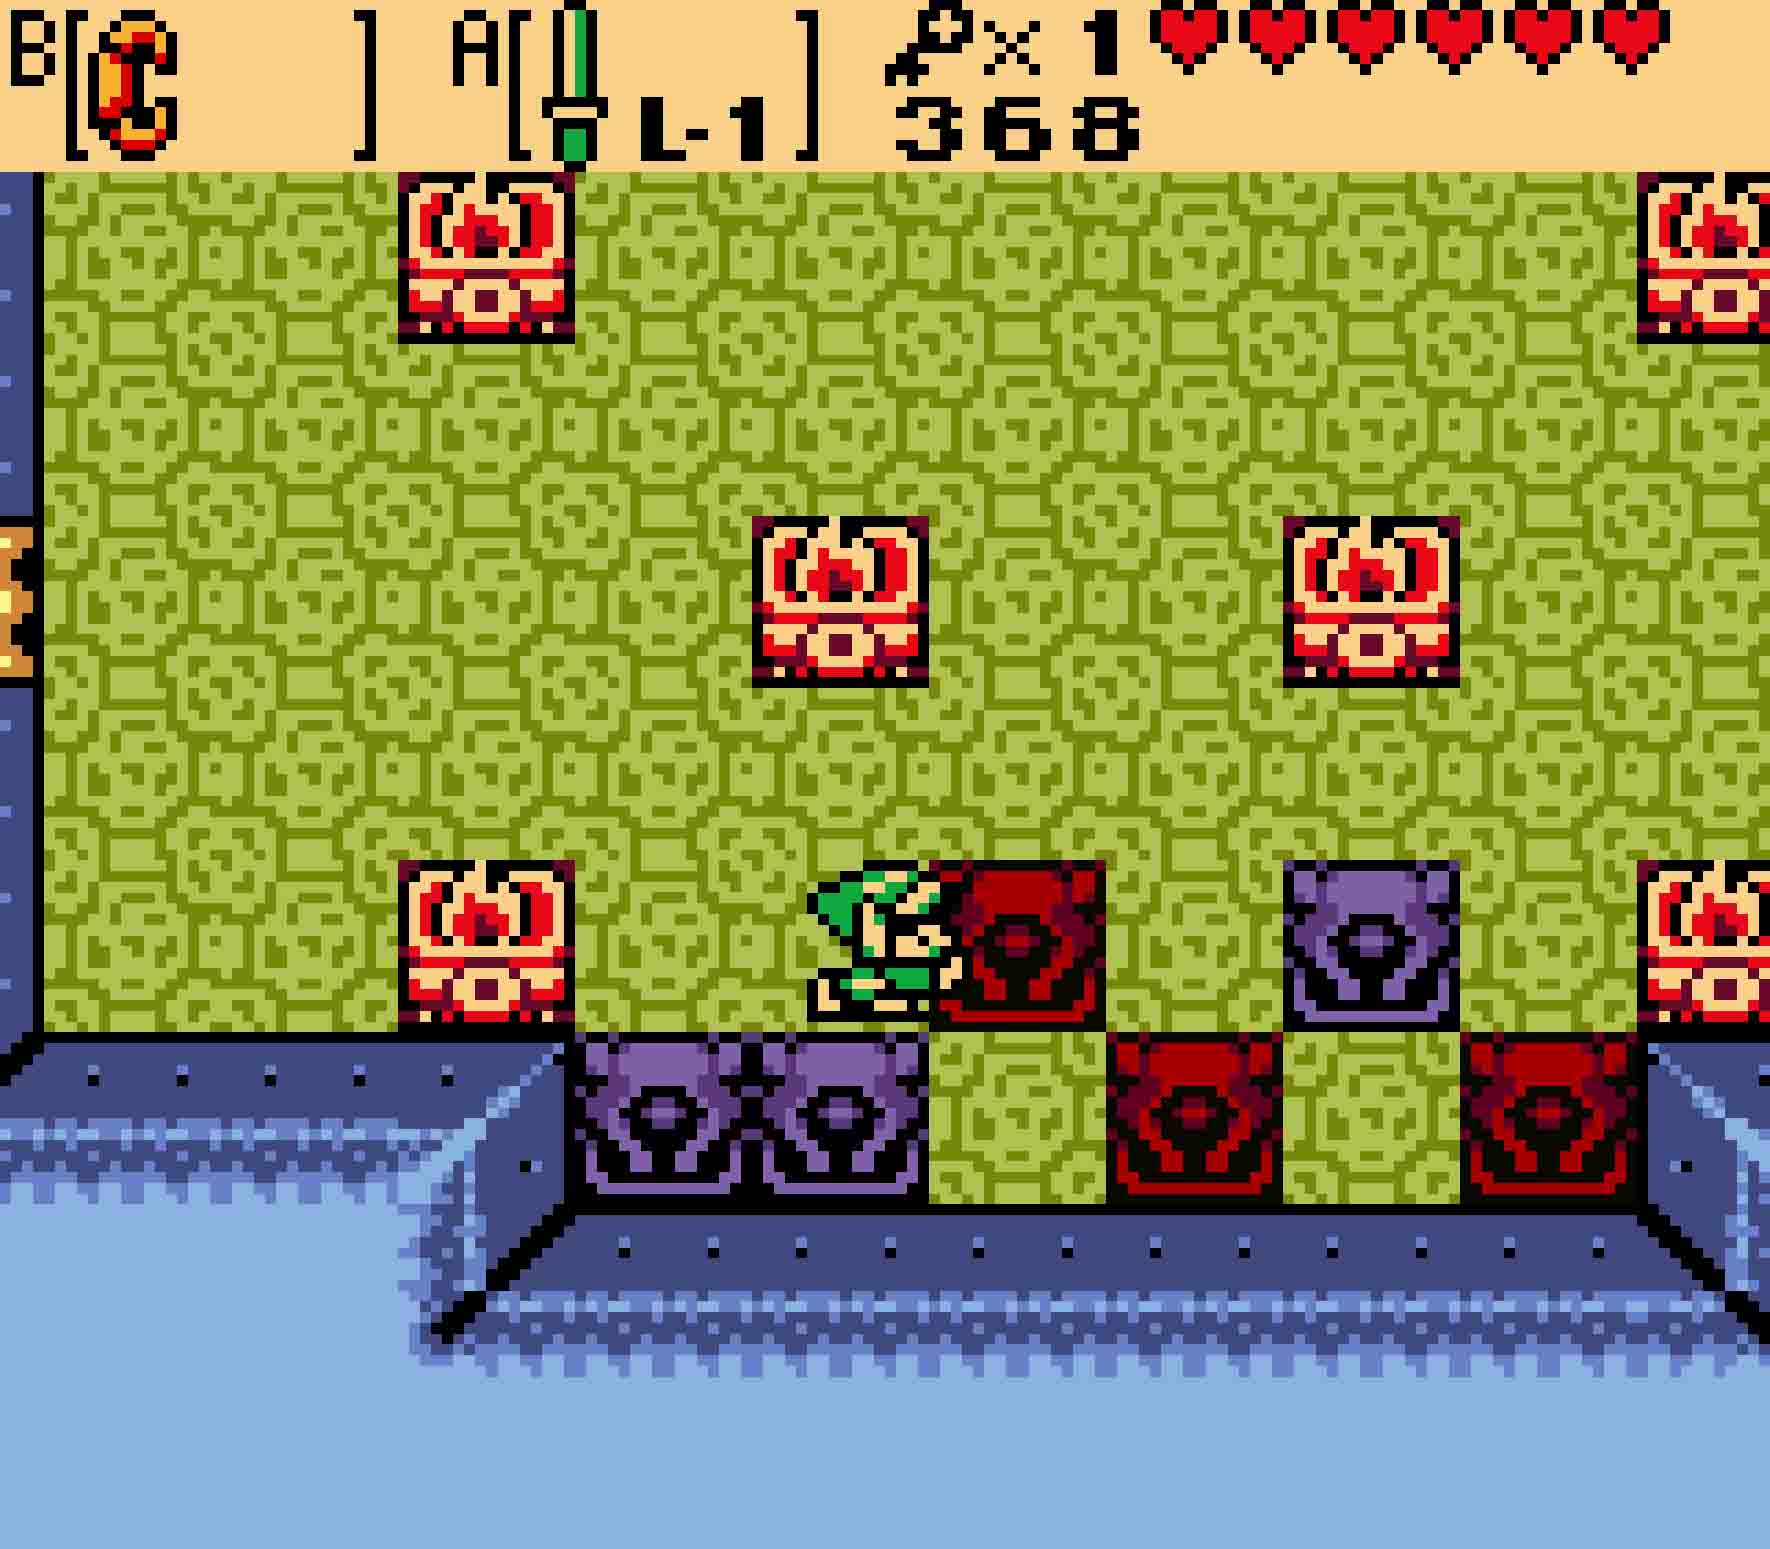
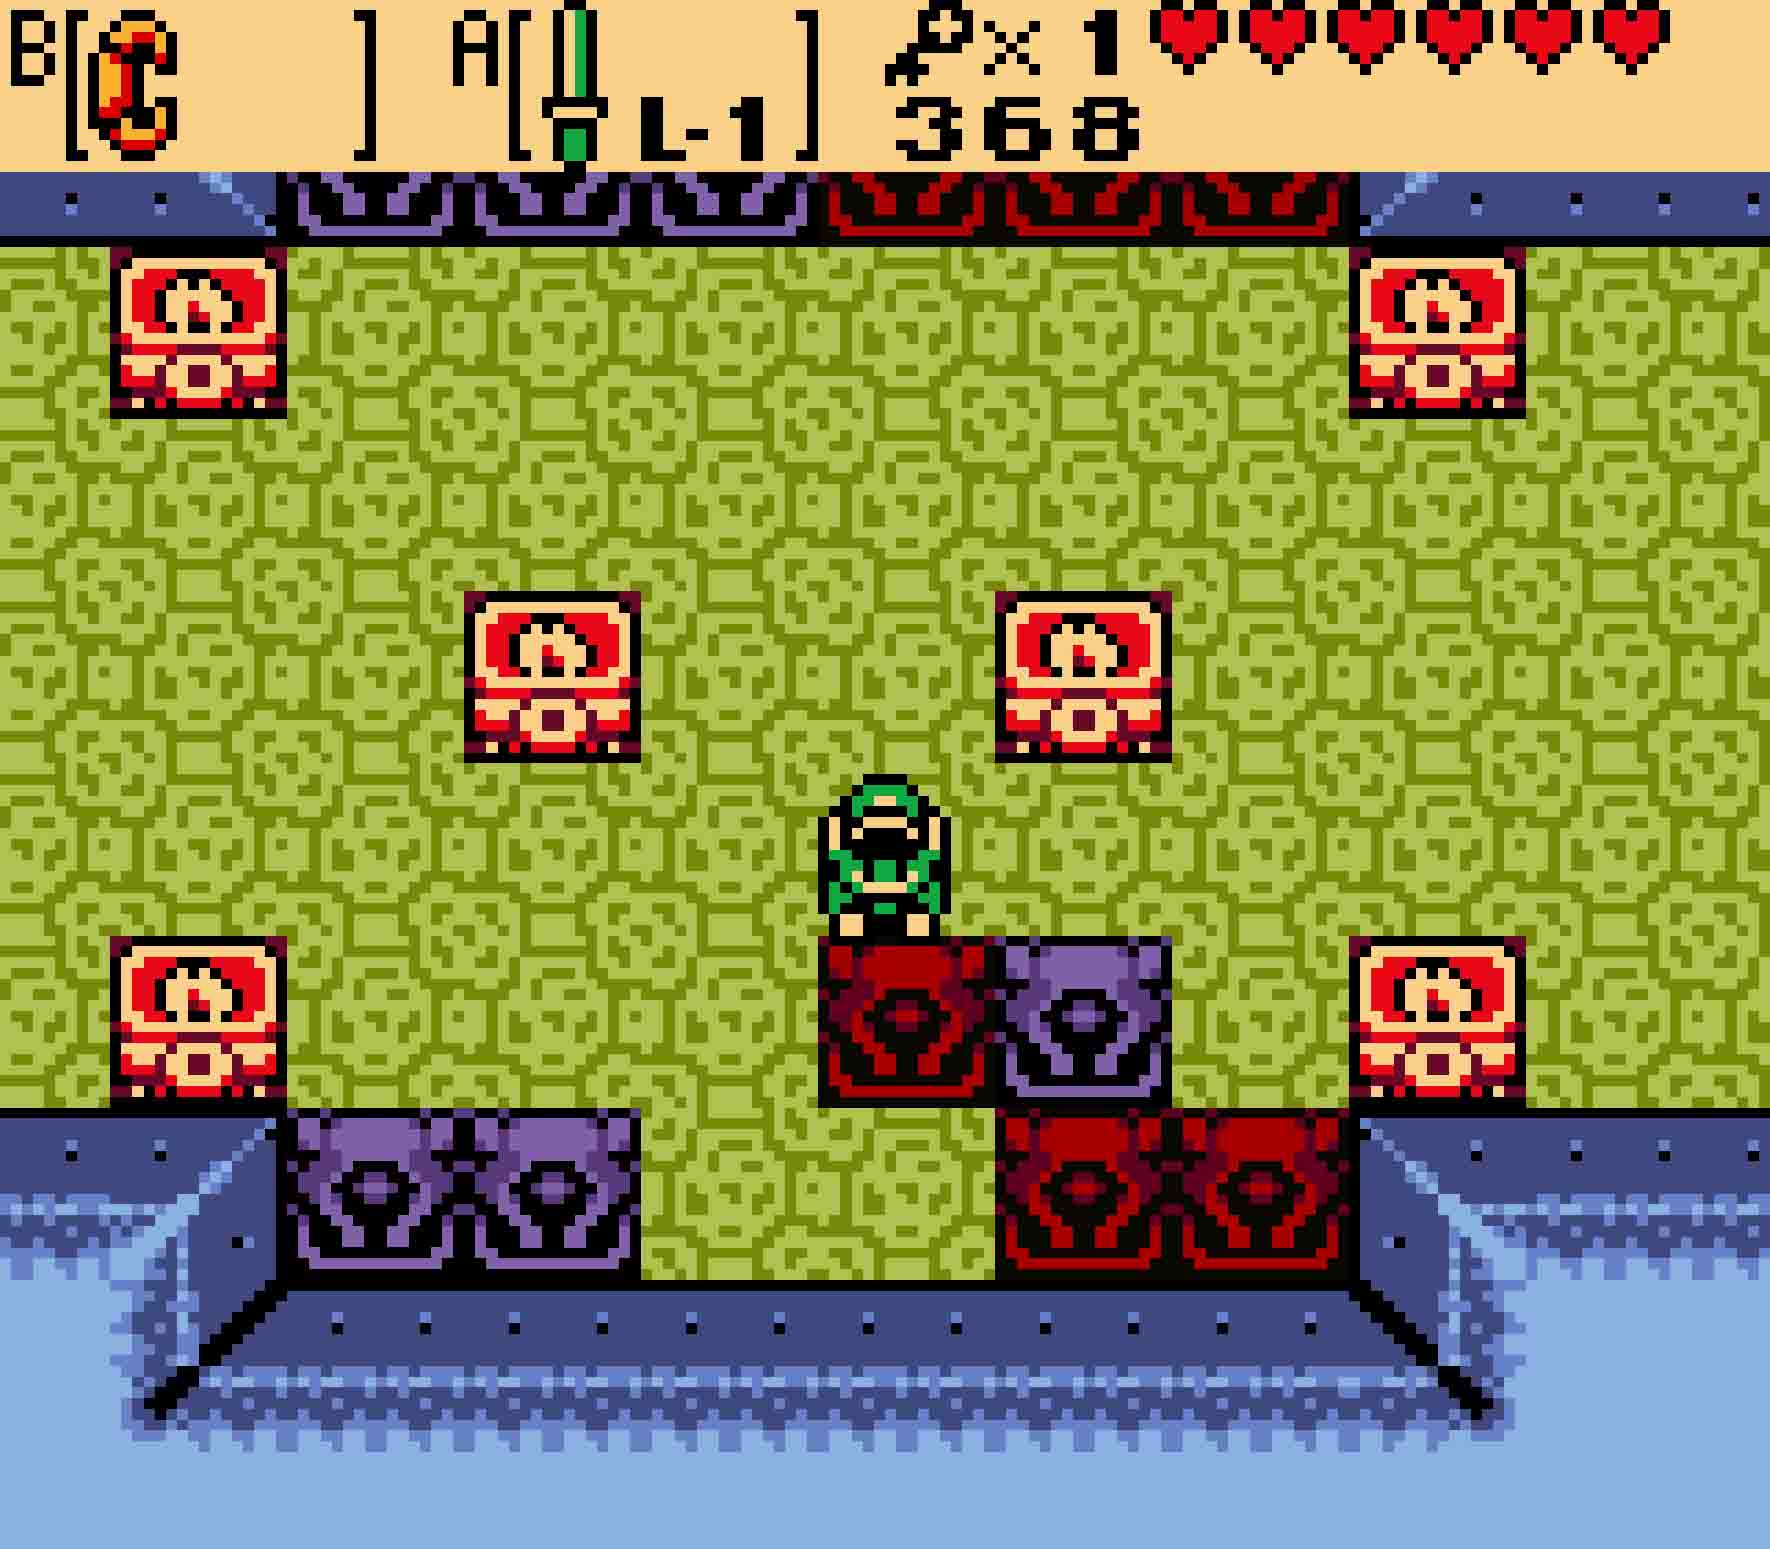
The chest in this room holds the first small key you need. It’s well guarded by heavy logs. The first one is easy enough; grasp the rolling log and push it one or two spaces before sneaking out under it. The second log is trickier. Grasp it as low as you can, push it one tile to the left, and then let go and grab it from the very bottom in order to push again. Push it all the way to the left, and then quickly duck up through the alcove to the north. As you’re weaving your way around the lone block, the lock will roll back, allowing you to get to the other side. From there, it’s a simple matter of pushing the third and final log far enough to give you access to the chest with the key in it.
Watch out for the unstable flooring as you push these rolling logs.
8.2 Obtain the Map
To get out of the room, continue pushing the log to the right, but be wary of the crumbled floor as you do so. Sneak out through the passageway to the north, and then when you reach the dead end, push the uppermost block north one tile. Then exit to the north.
Head back to the staircase by heading back to the east, and then head upstairs to the first floor. You’ll be stuck in a pen with two Pols Voices, and you can kill them both with Bombs (and possibly also your sword to push them into the explosions). You can push the upper-rightmost block north one square to enter the room to the north.
-
- This one block will yield, allowing you to proceed northward.
-
- From there, you’ll need a Bomb to coax this wall open.
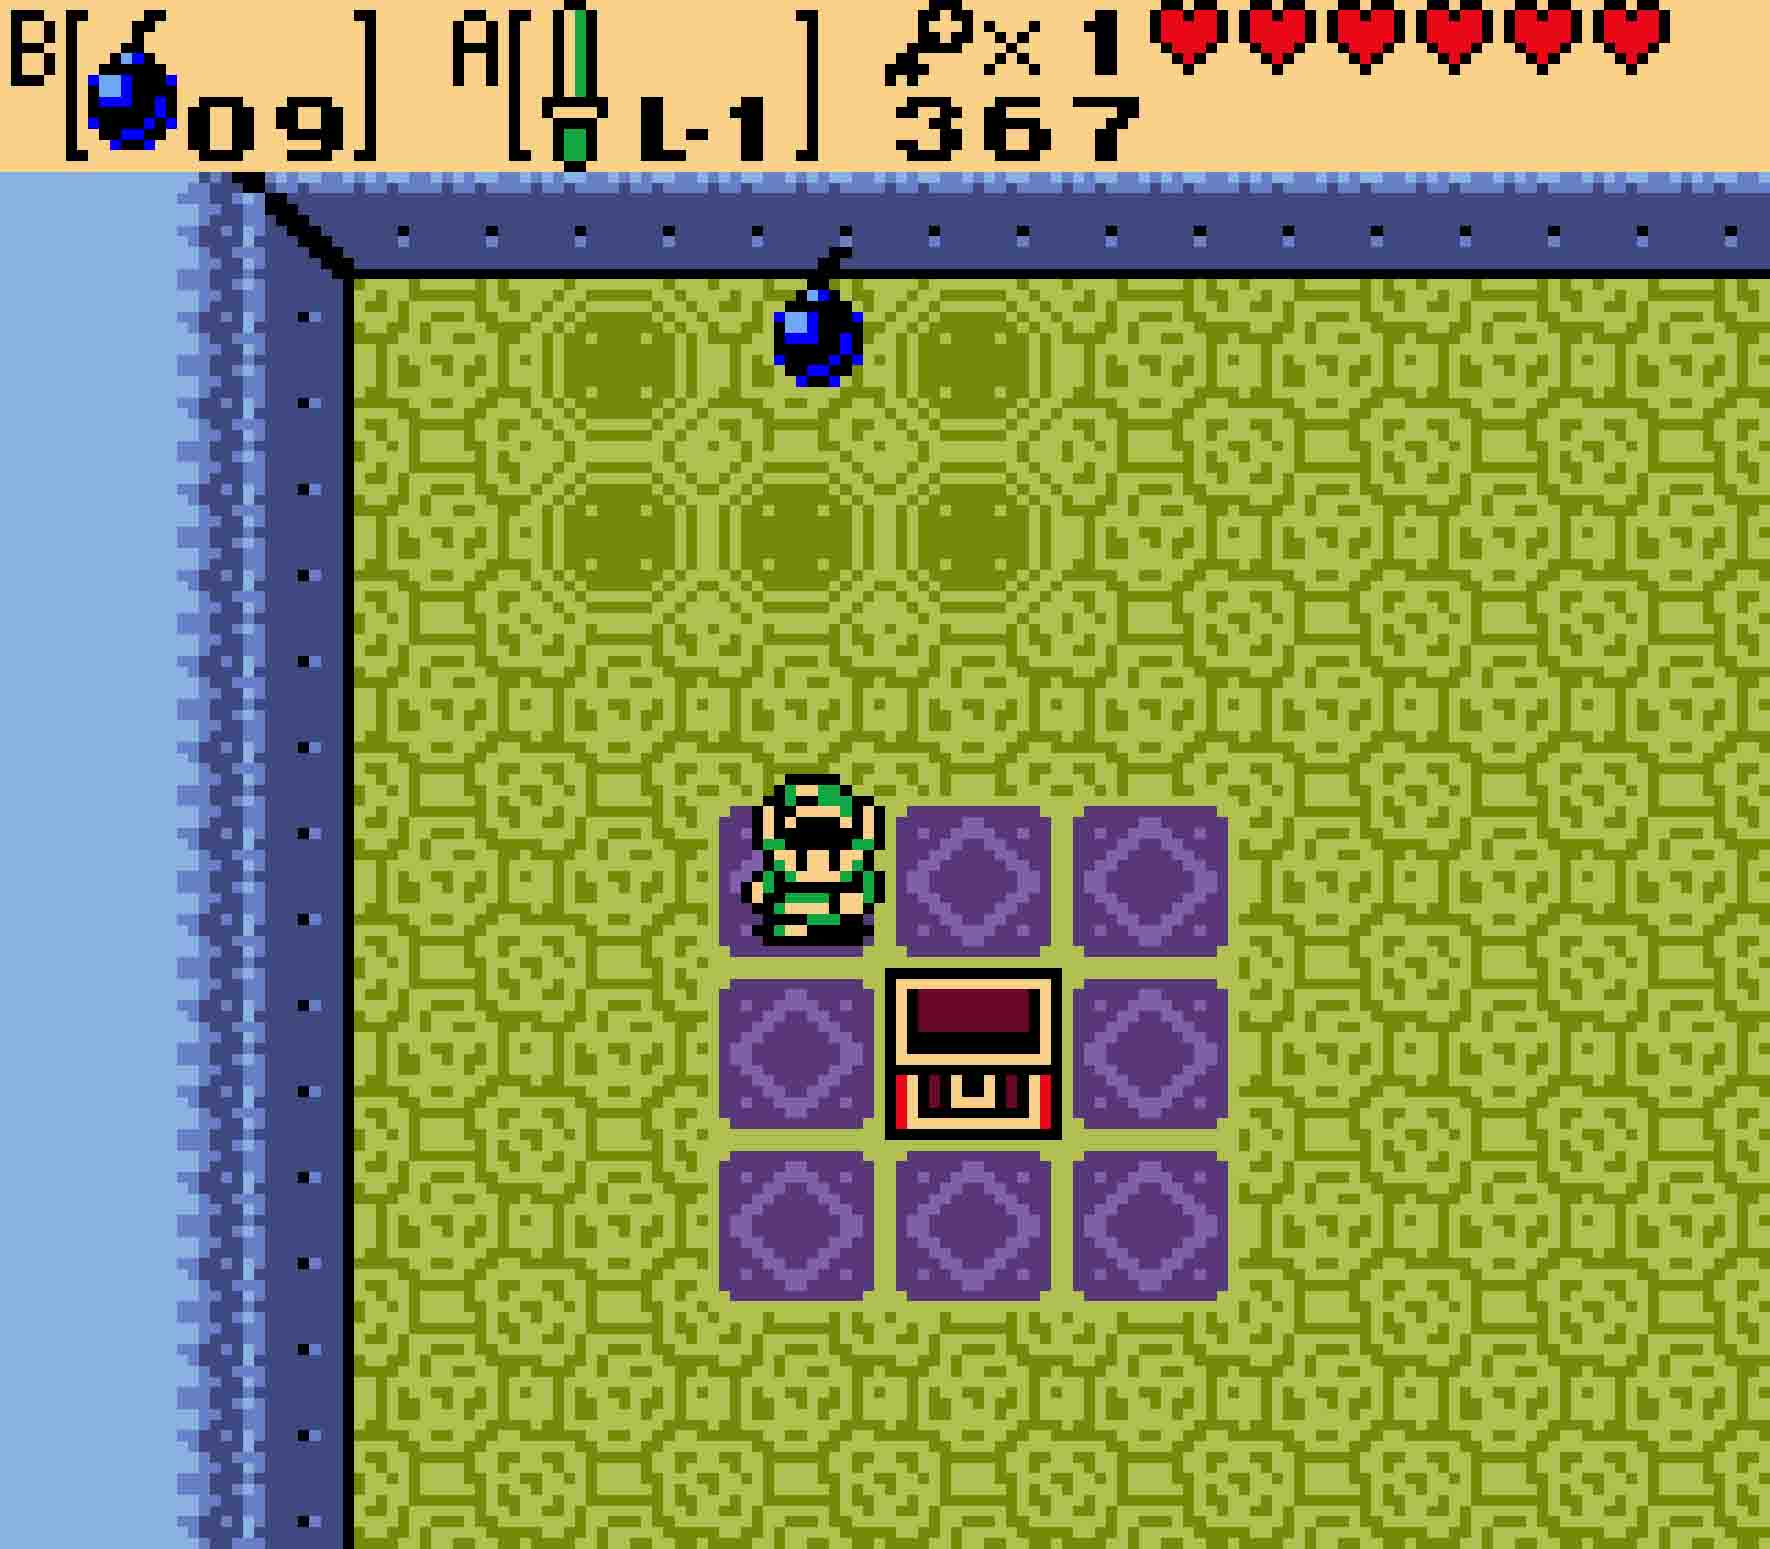
Kill the two Mini-moldorms you meet in that room in order to reveal a chest. It’s nothing special; just 10 Bombs to refill your Bomb Bag, but it and the colored tiles to the north should be a hint that there’s a bombable wall nearby. Place a bomb within the colored square along the northern wall to open a new passageway. Inside, you’ll find a chest with the Map.
8.3 Solve the statue puzzle
Head back south two rooms. You can get back into the former Pols Voice pen by pushing down on the second to last block in the top row. Then you can head out the left side by pushing the third from the bottom block left while you push the block below it down.
This will bring you to a room with 12 statues: six of which are purple and six of which are red. The upper row of statues is arranged perfectly with the three purple ones on the left and the three red on the right. You will need to do the same for the bottom row.
Solving the statue puzzle
Step One From left to right, push the first, second, fourth, and sixth statues down one space.
Step Two Push the third statue right one space to give you access to the statues in the bottom row.
Step Three Push the leftmost red statue in the bottom row right one space. Then finish off the red statues by pushing the red statue in the upper row down one square.
Step Four Complete the pattern by pushing the remaining purple statue left two squares and down one. Once you do that, the door to the next room will open up.
8.4 Earn Roc’s Feather
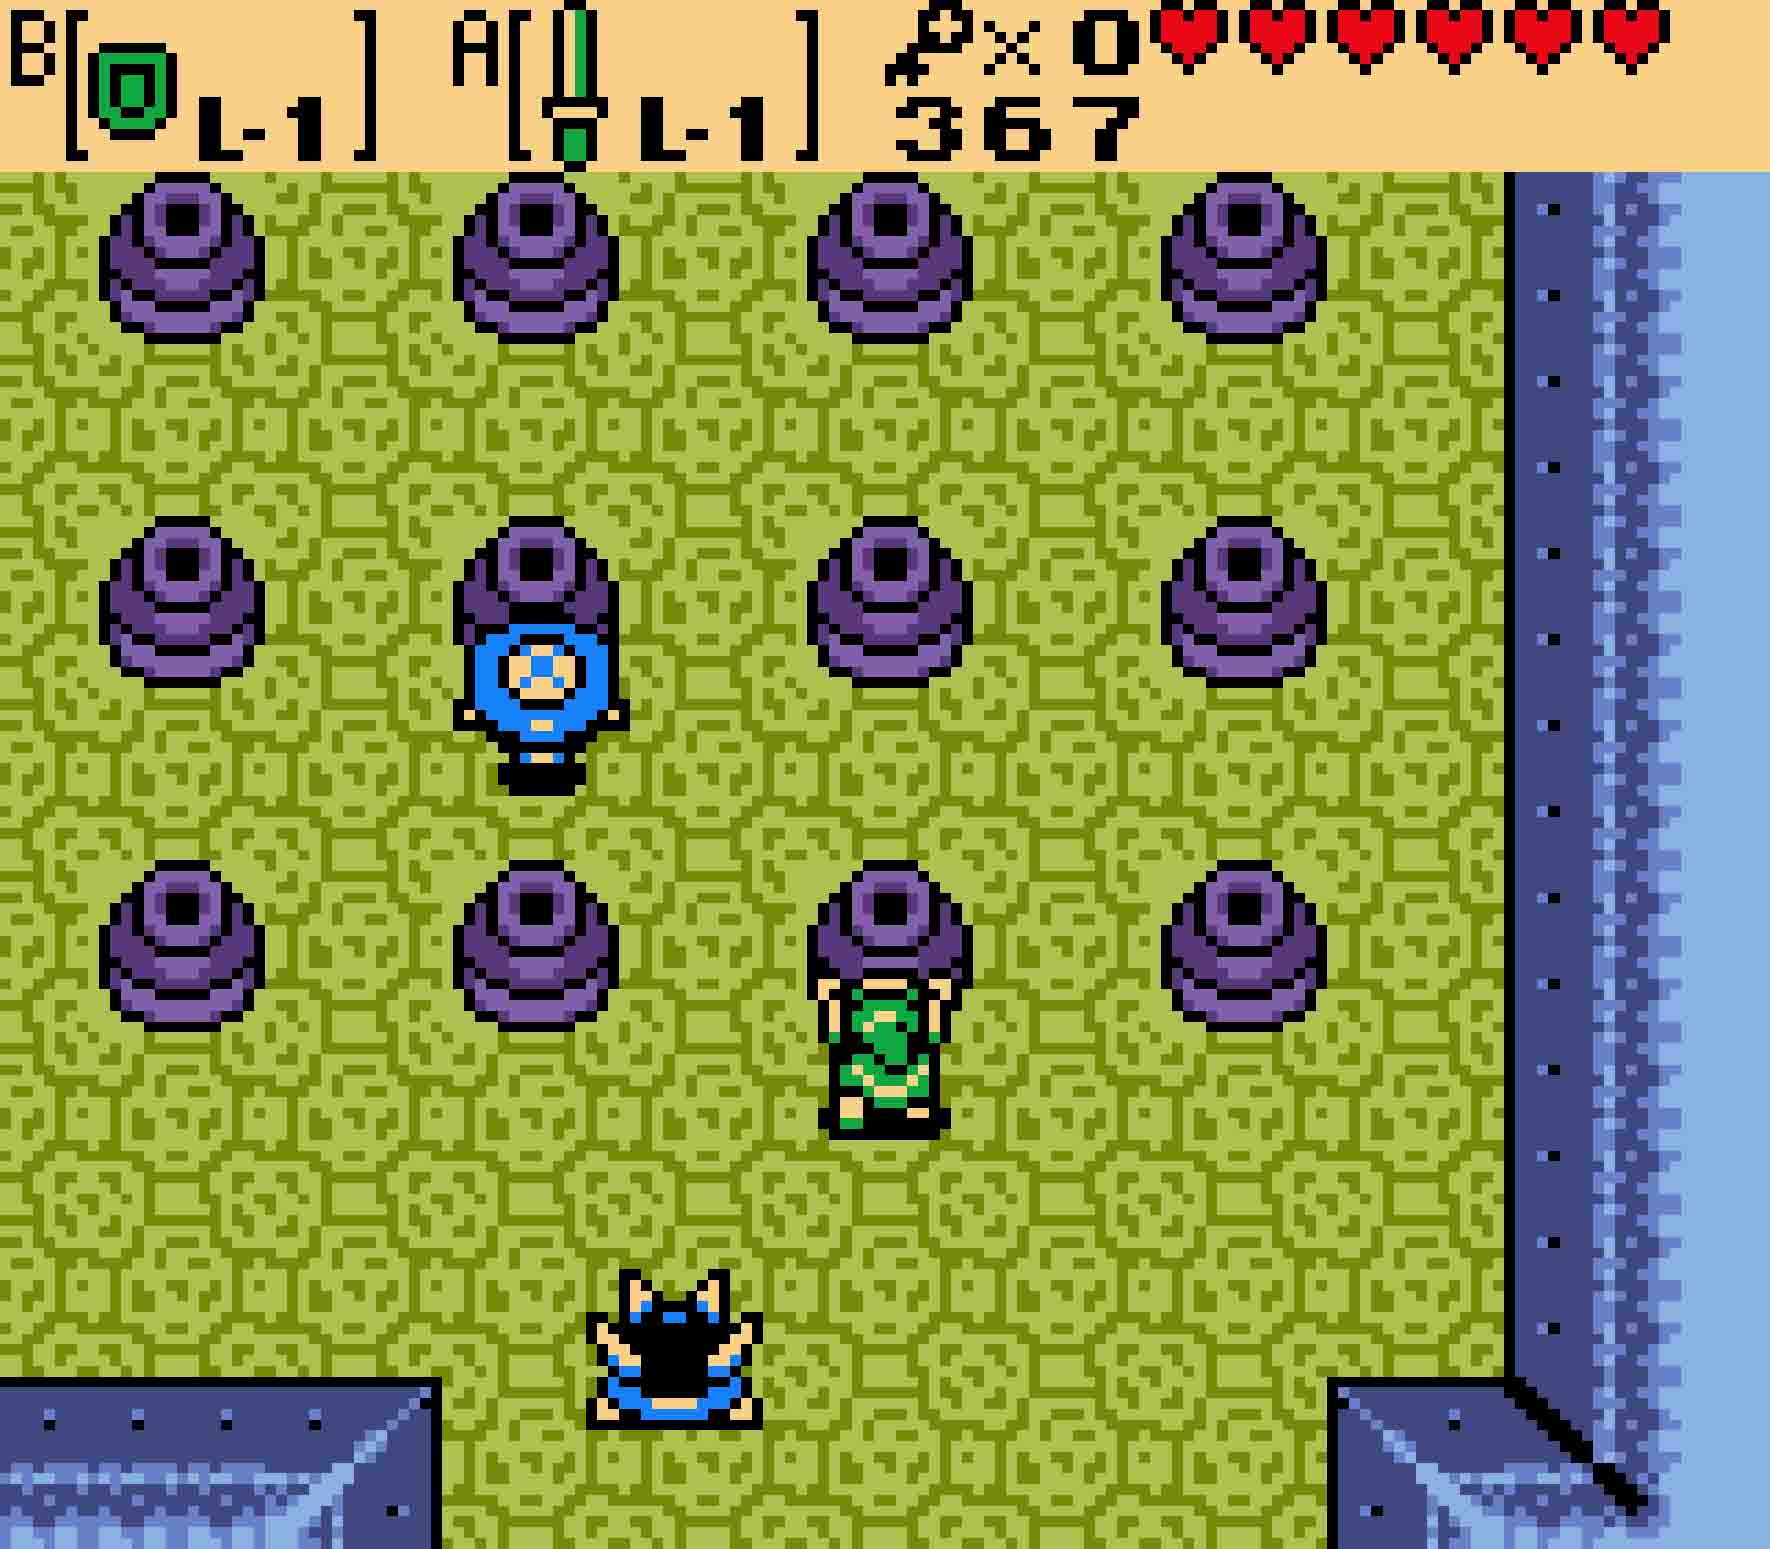
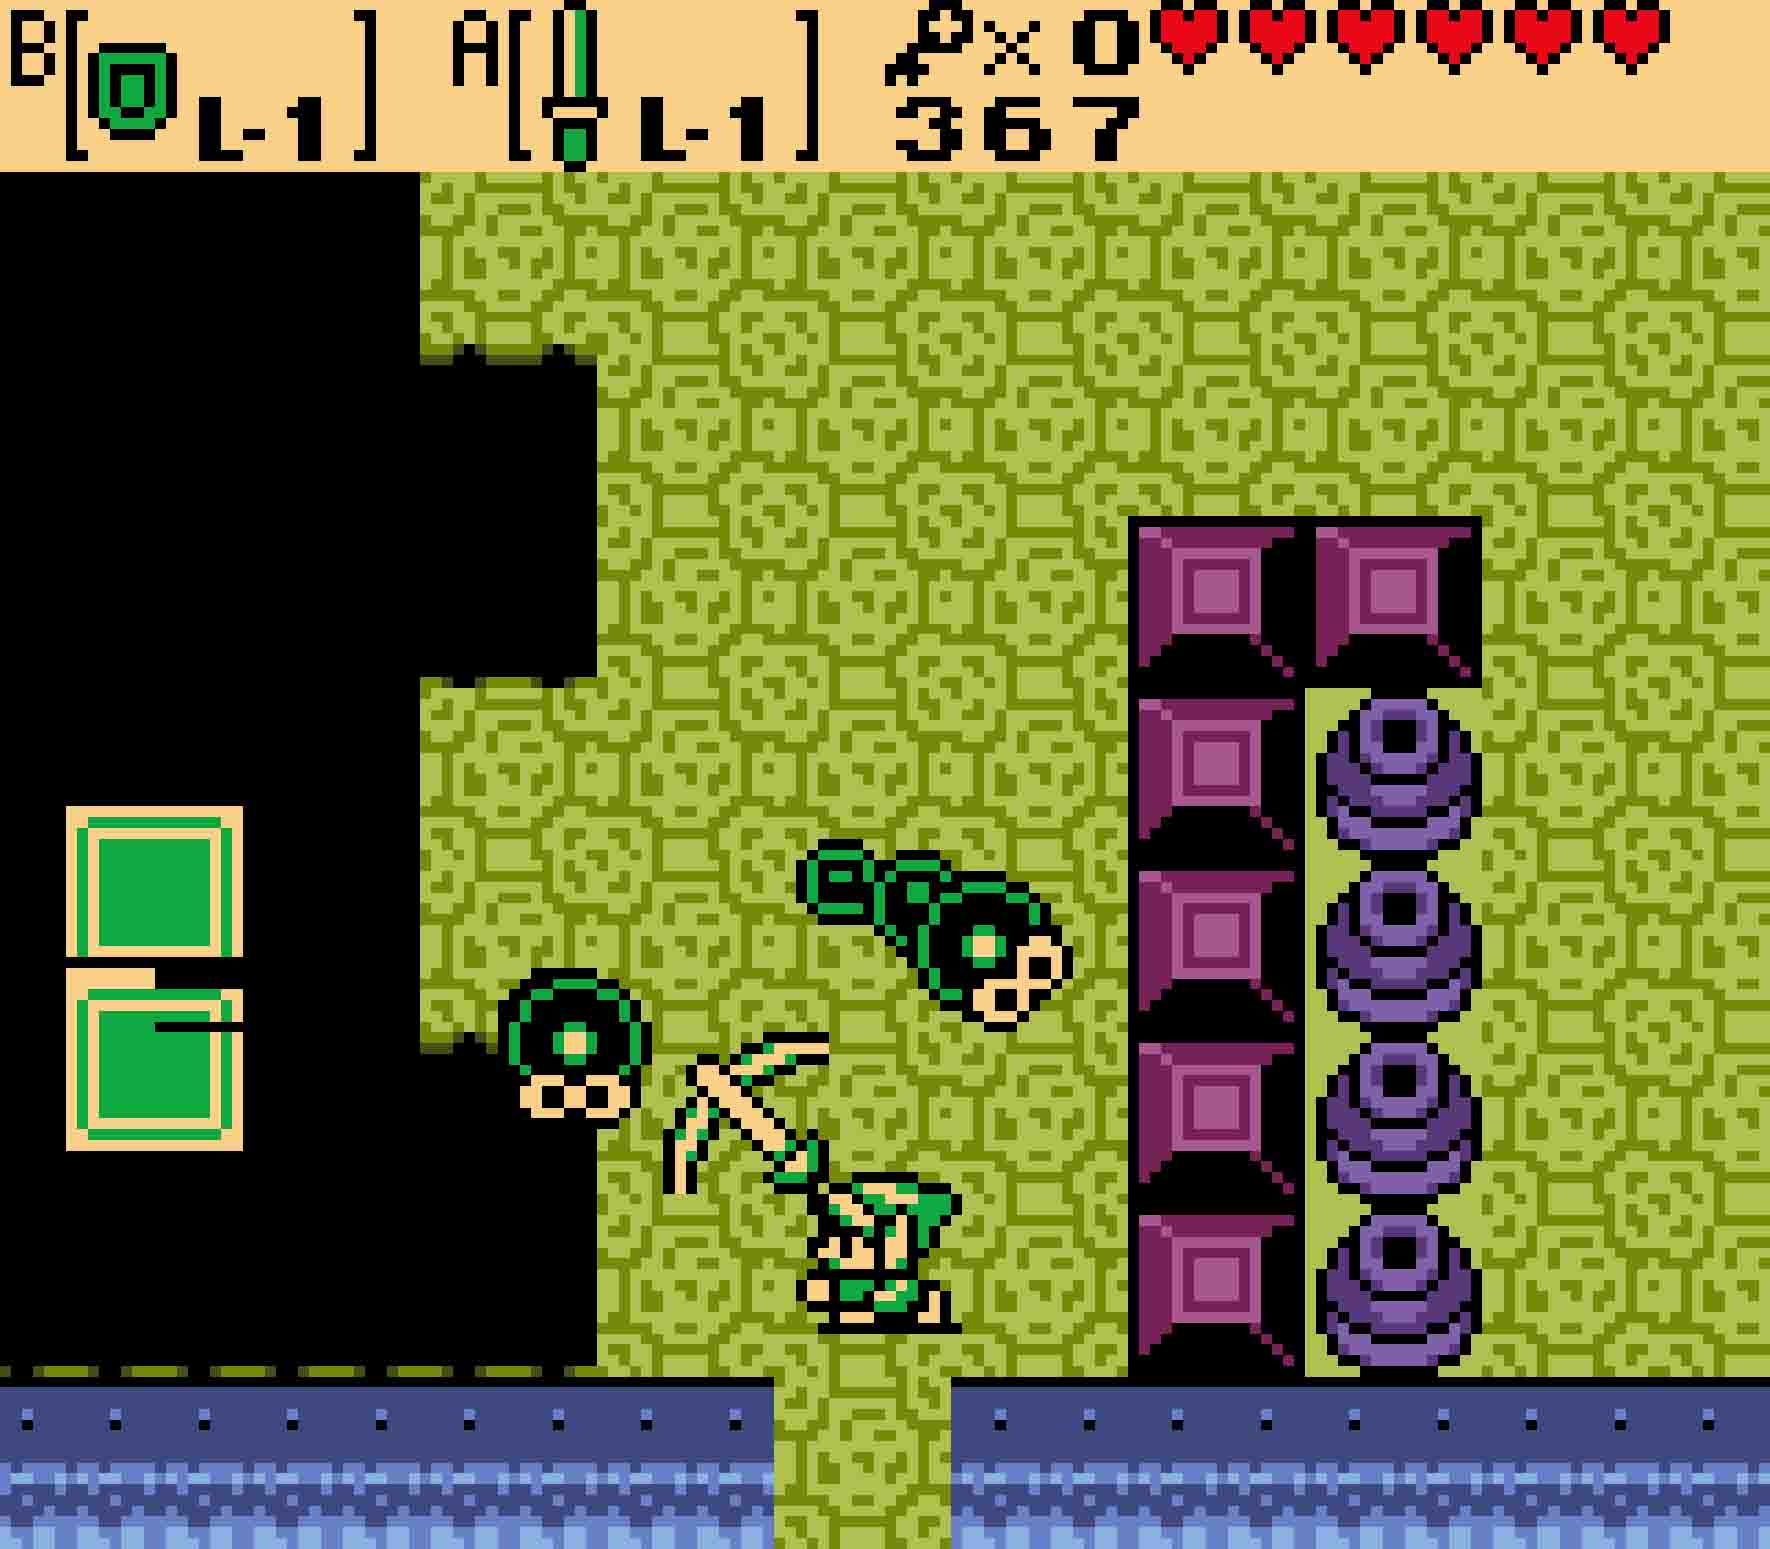
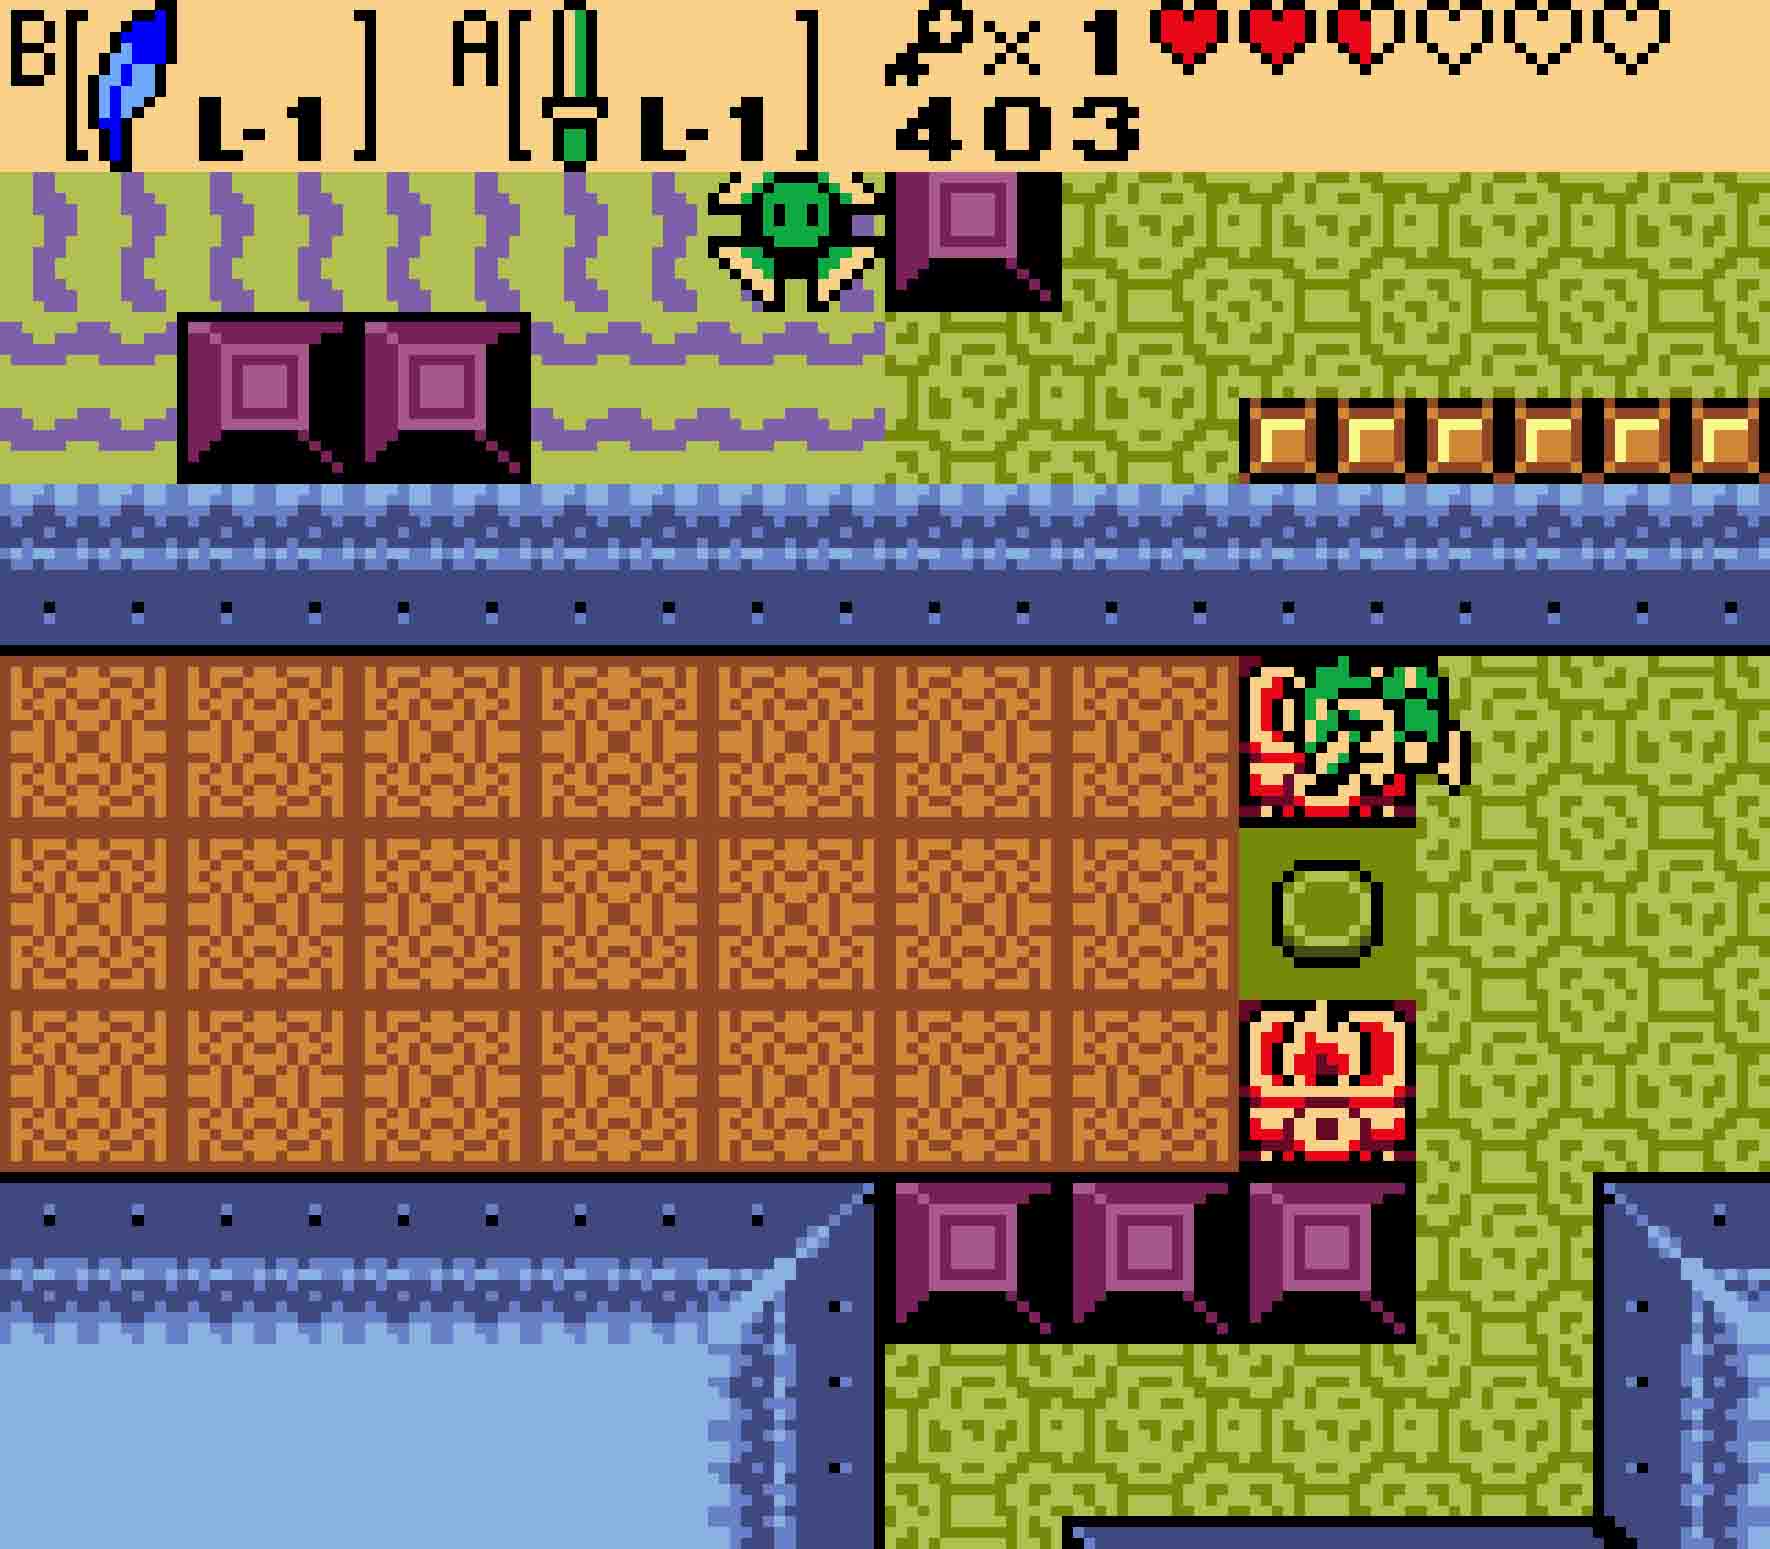
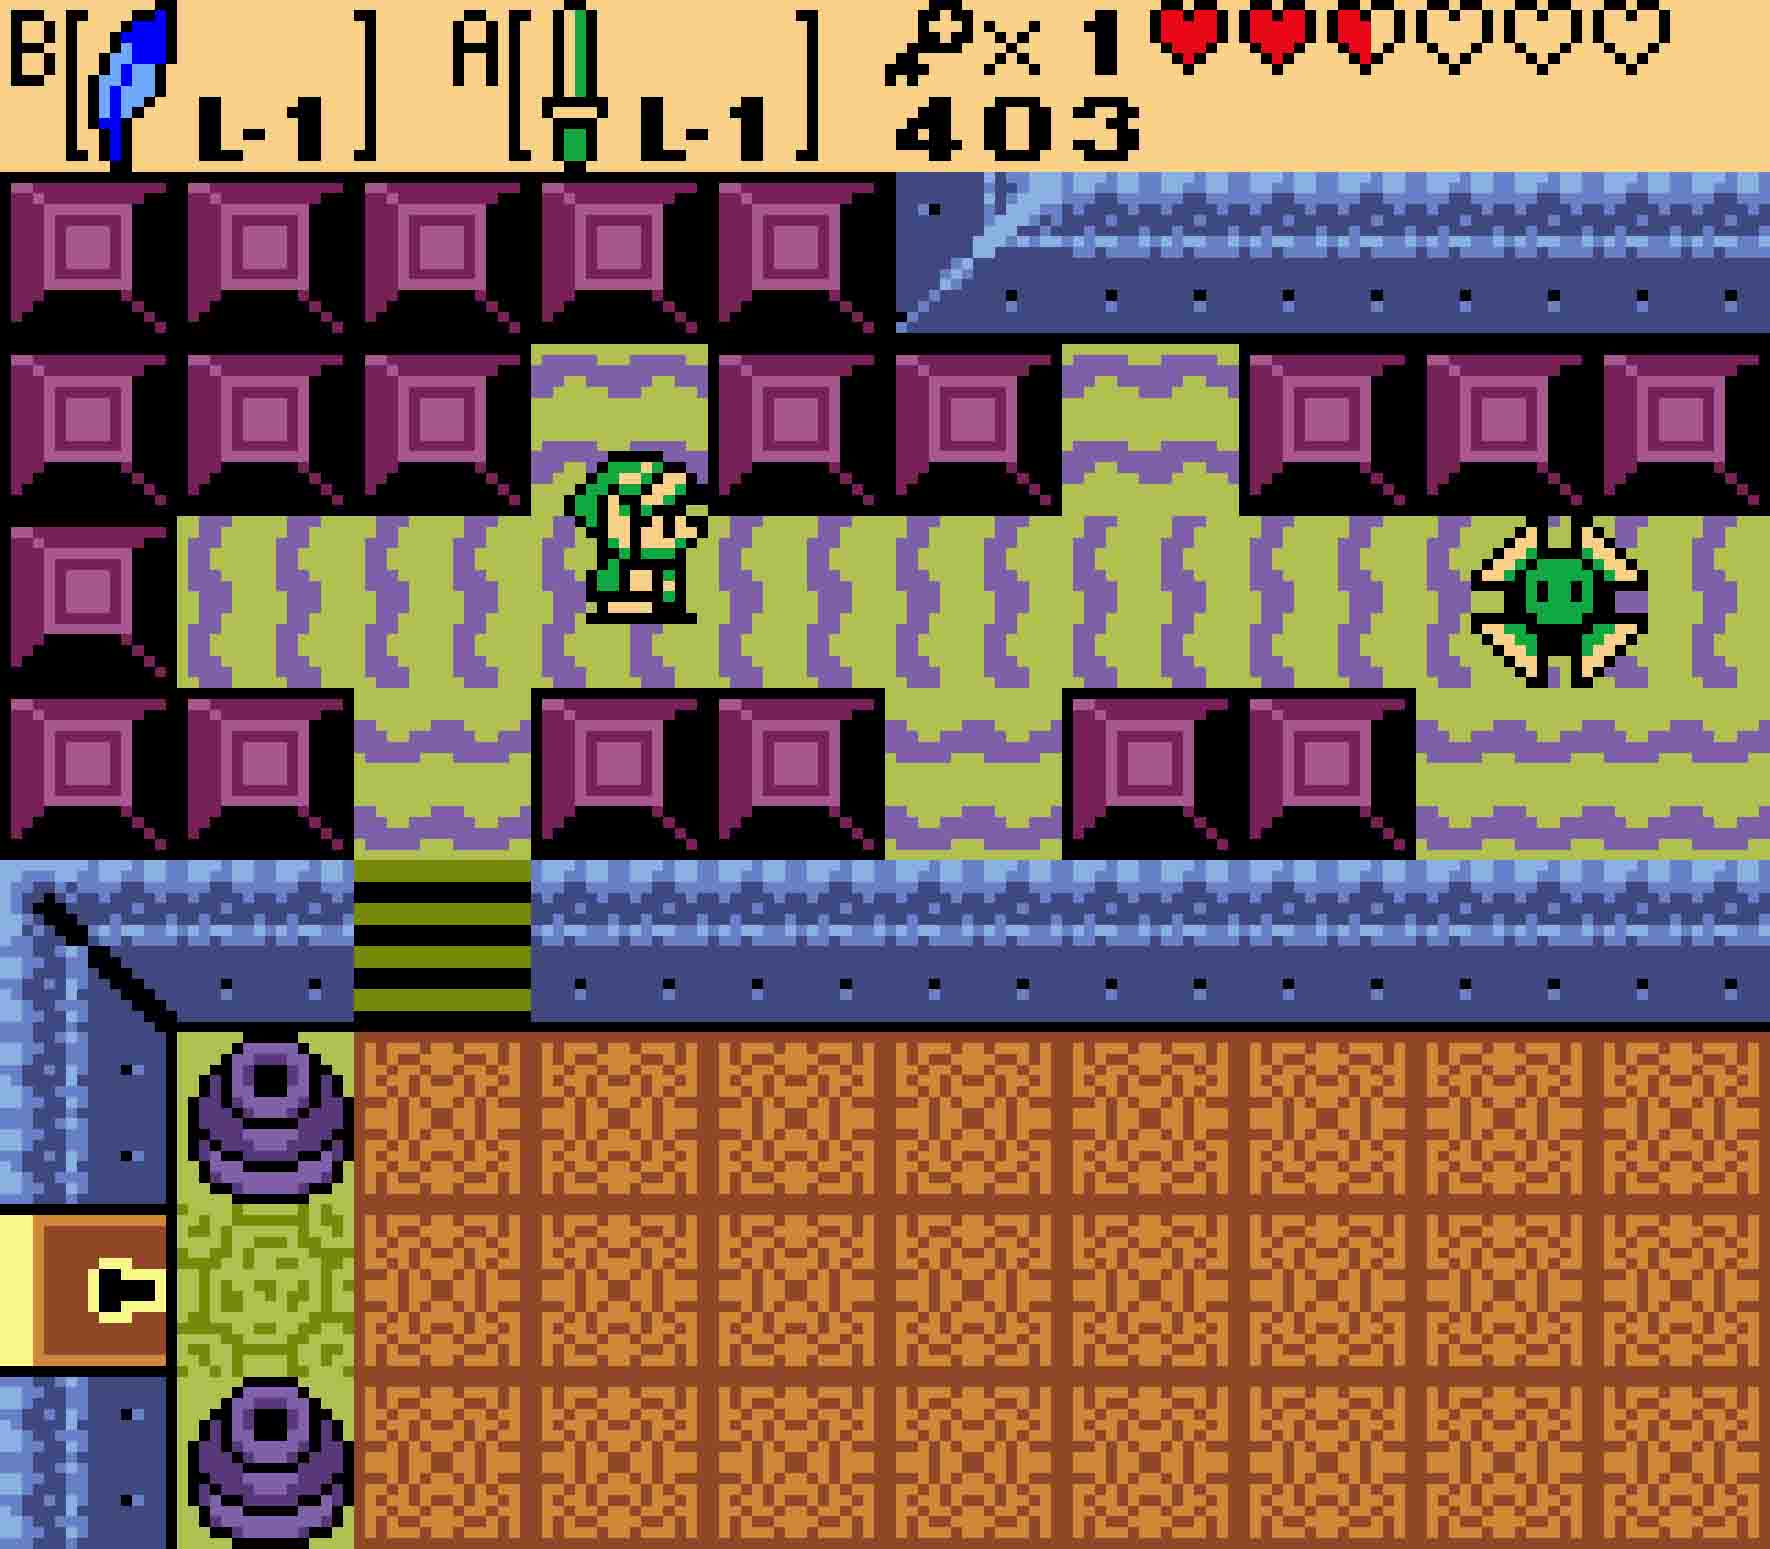
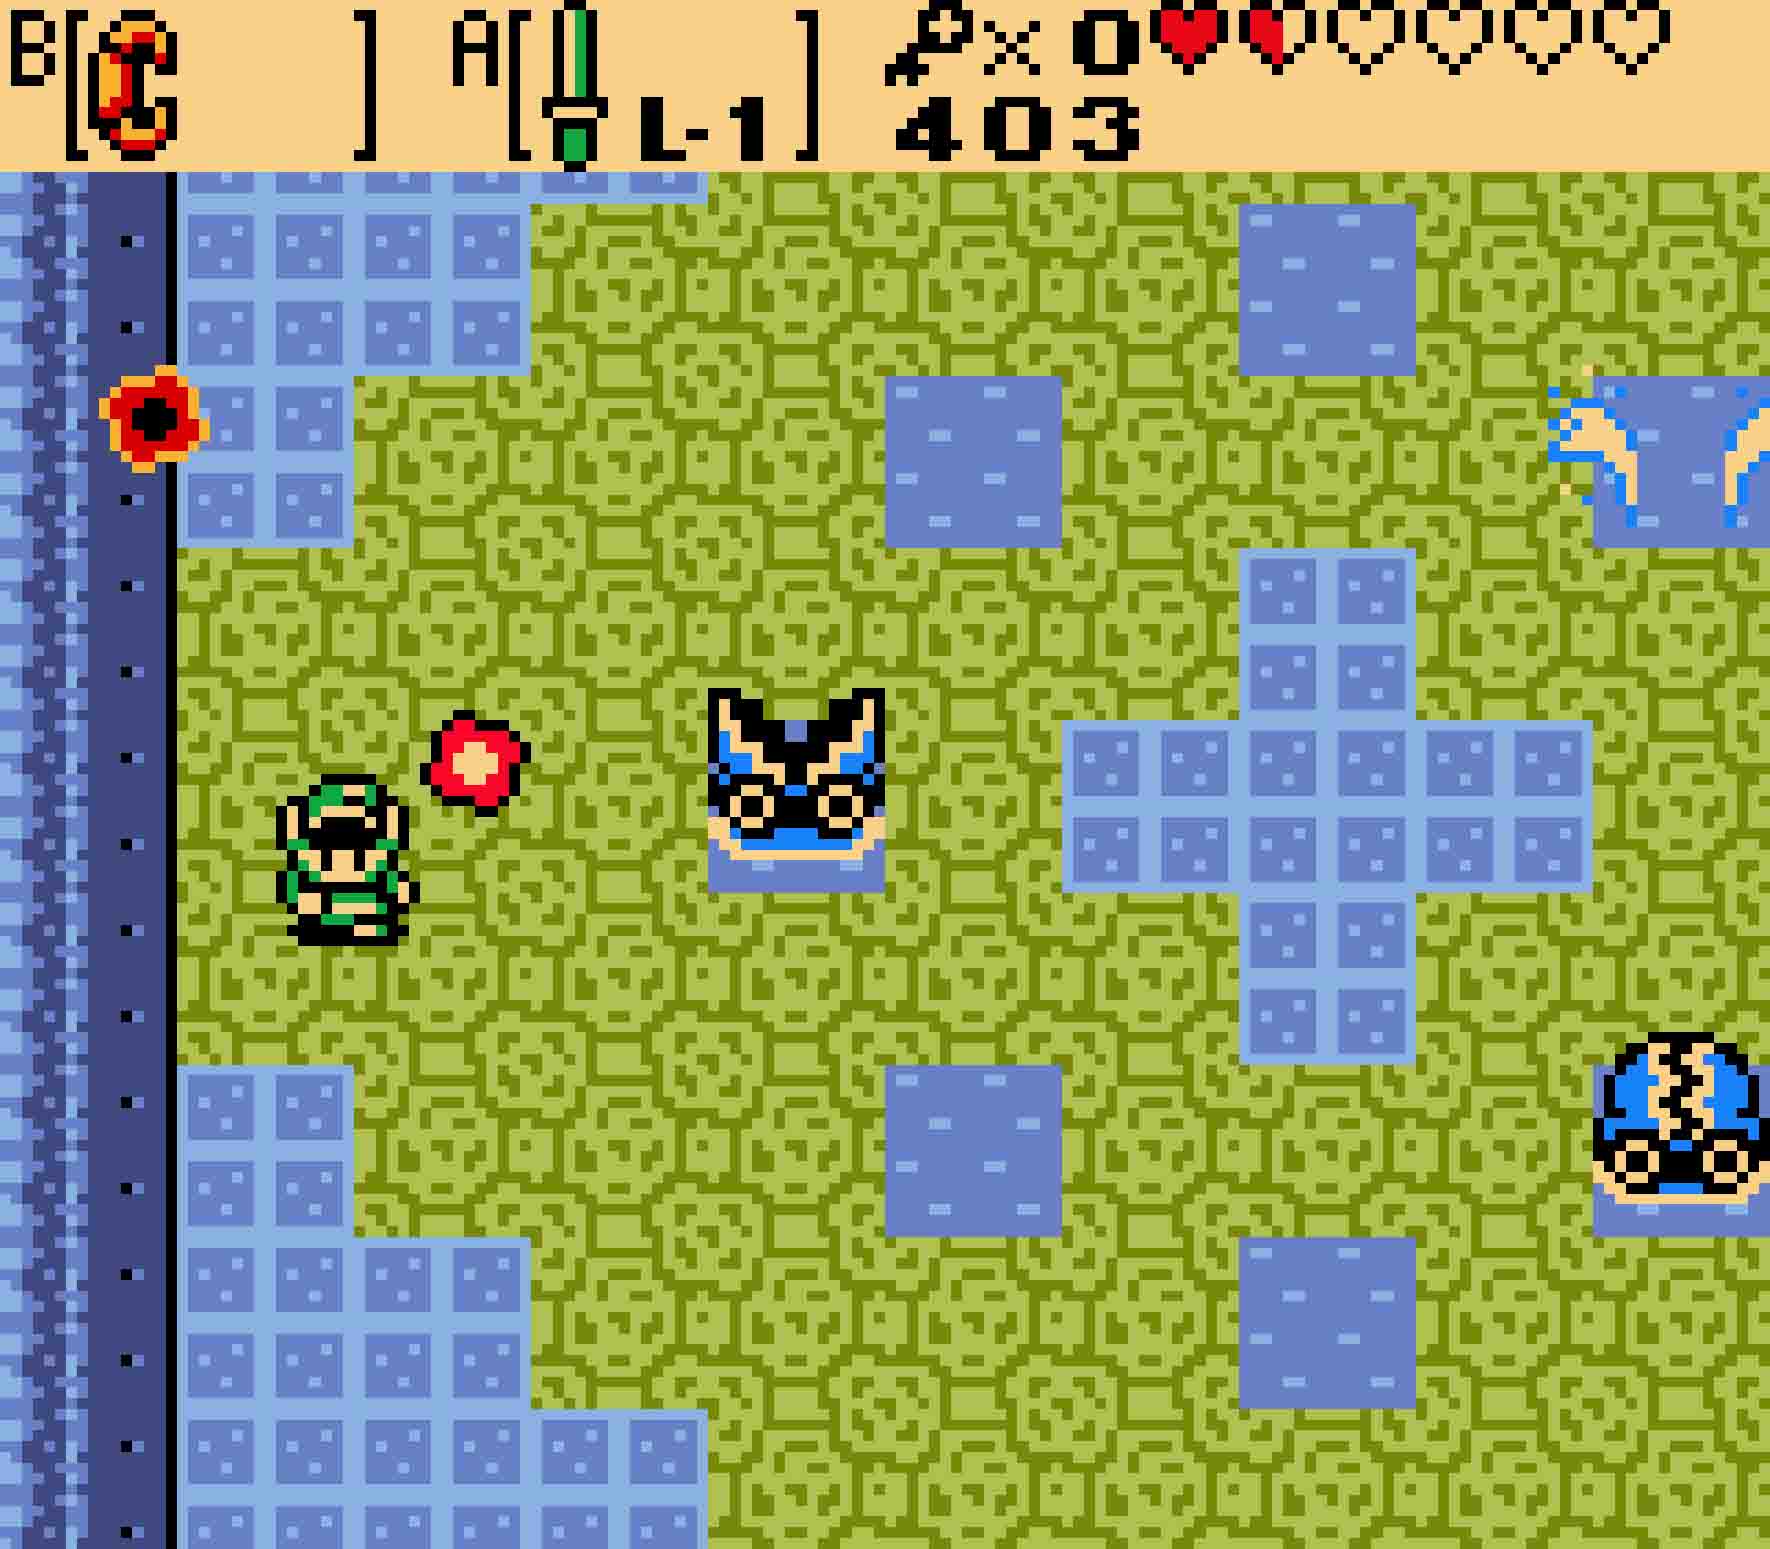
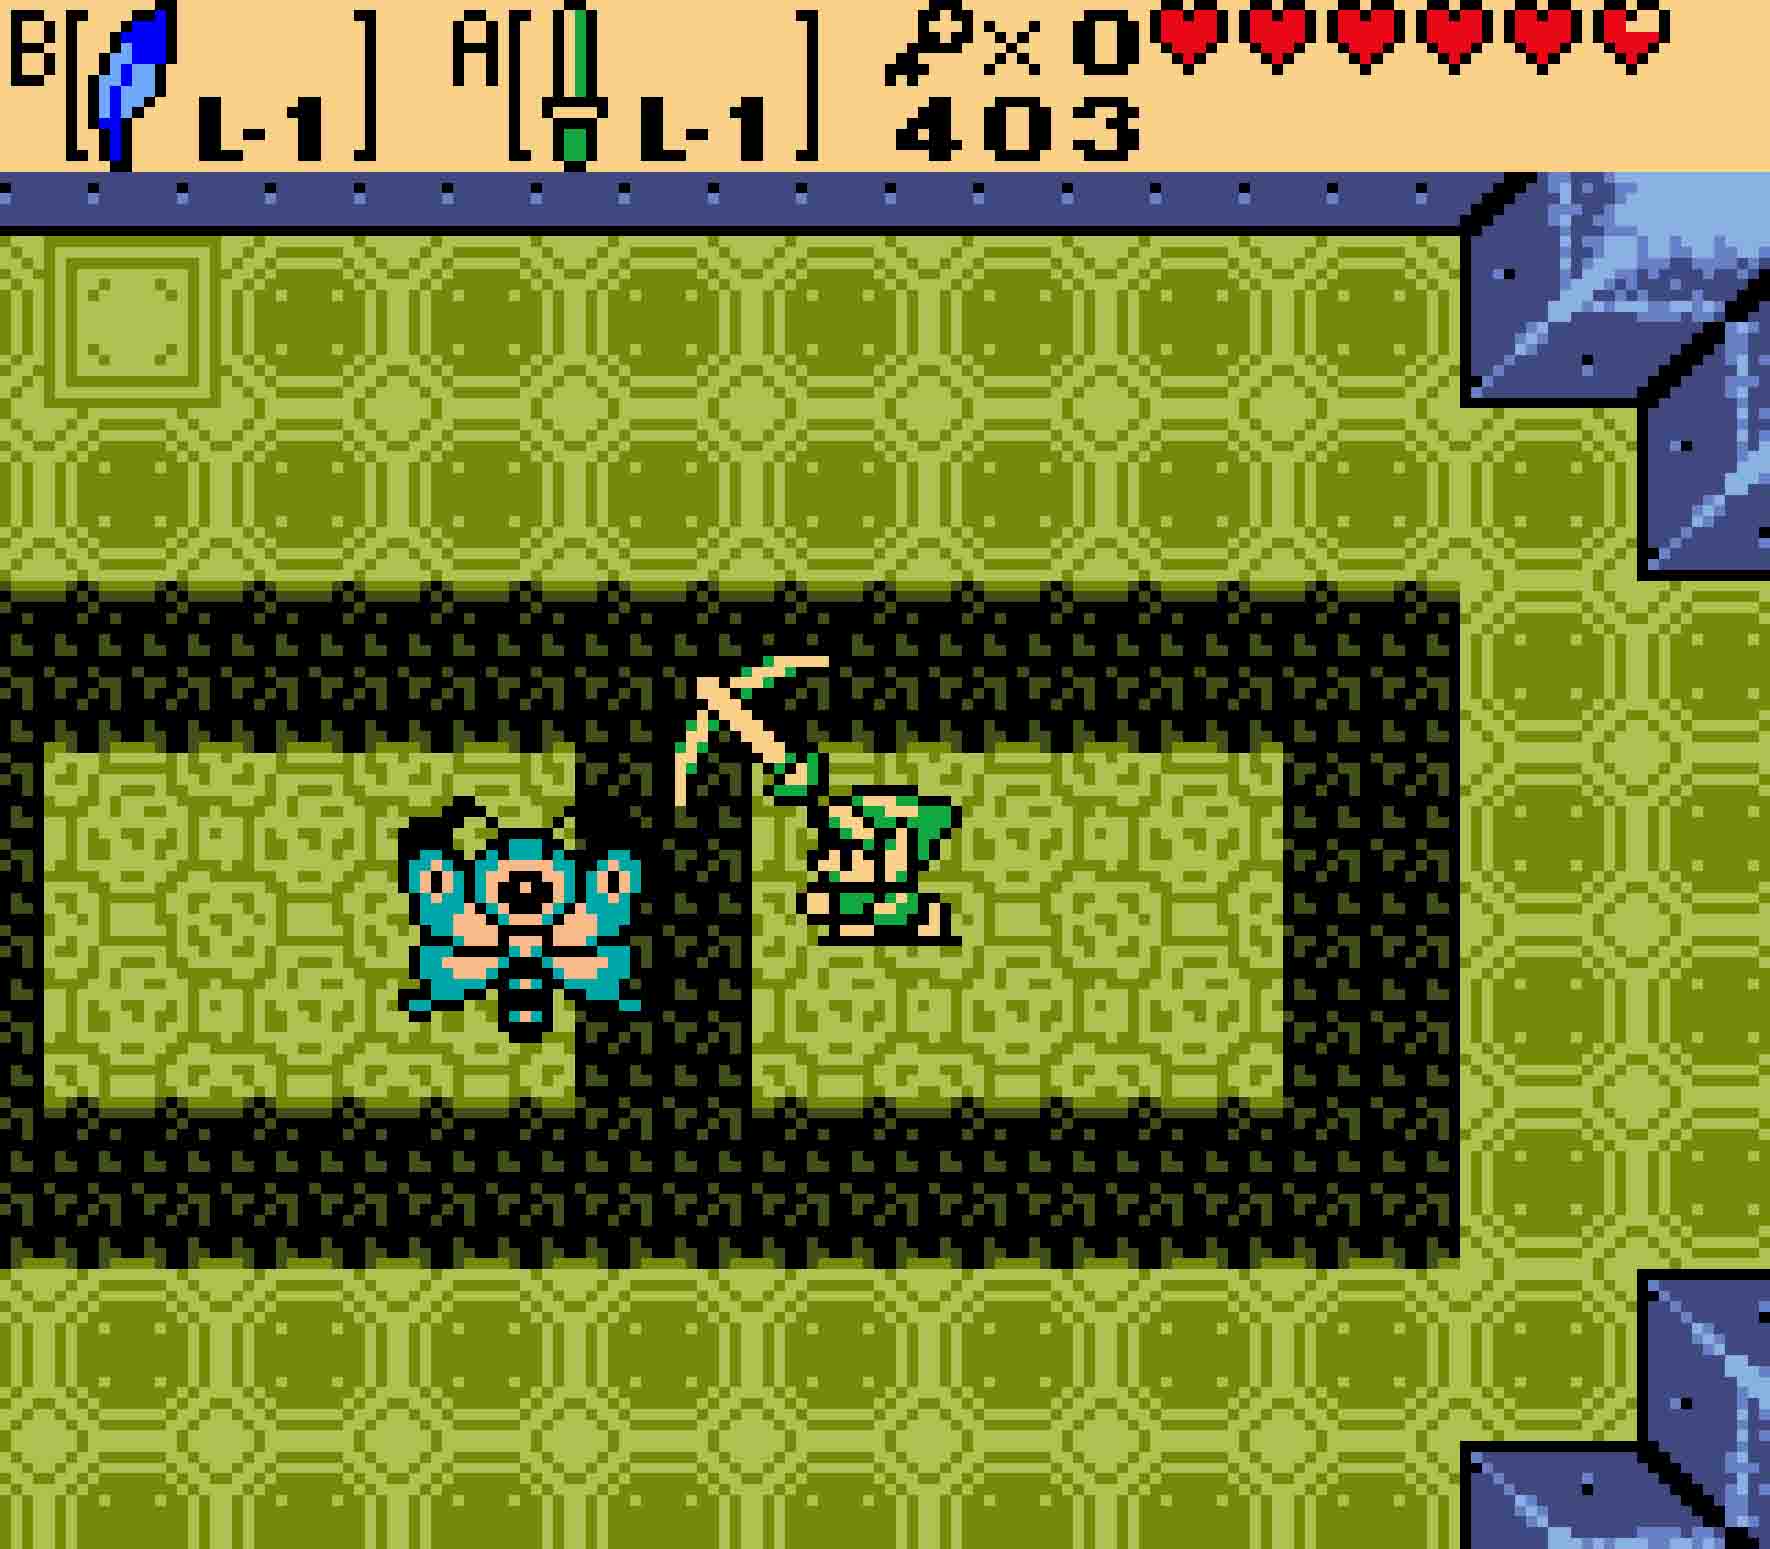
The next room is filled with Peahats; you don’t have to kill them, and that’s for the best as they can travel in places you can’t reach, so just carefully pass through the room. You then just have to contend with some Mini-moldorms in the next room as you continue your trek westward.
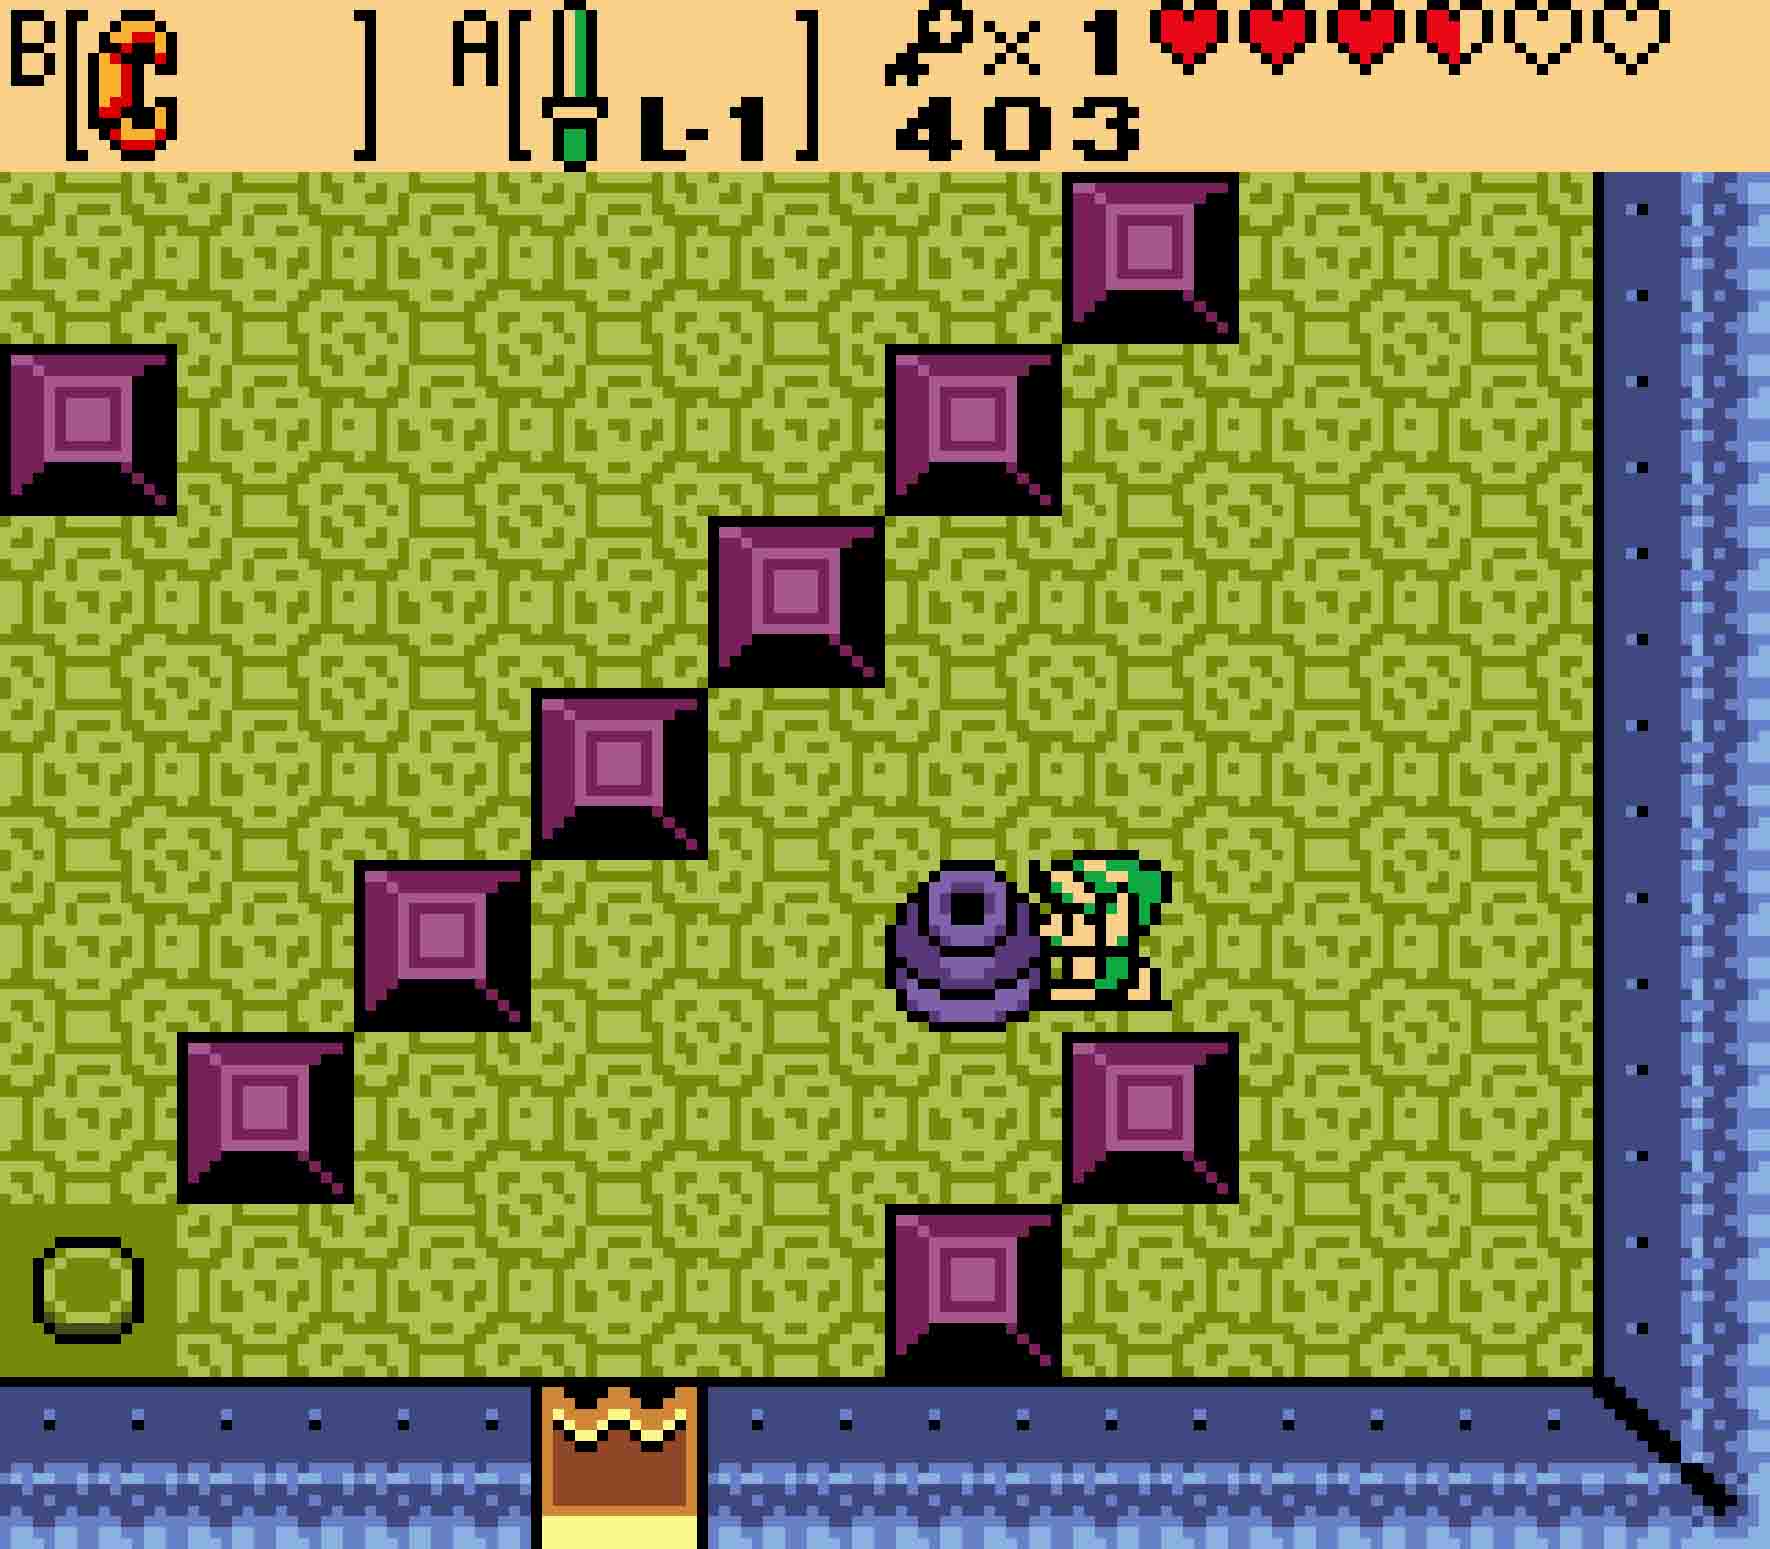
Once you have the capability of heading northward, do so, being careful of both the Anti-fairy and the Zols that will pop out of the floor. You’ll then enter a room with a rather narrow set of catwalks over open pits. These pits are safe to drop down into; you can feel this because you can see the vague texture of the floor below peeking through the darkness. In fact, if you either descend the steps or otherwise fall down, you can earn 30 Rupees on the way back up. Knock down the Hardhat Beetle into the hole before unlocking the door heading northward.
-
- The next several rooms have some interesting elements and traps.
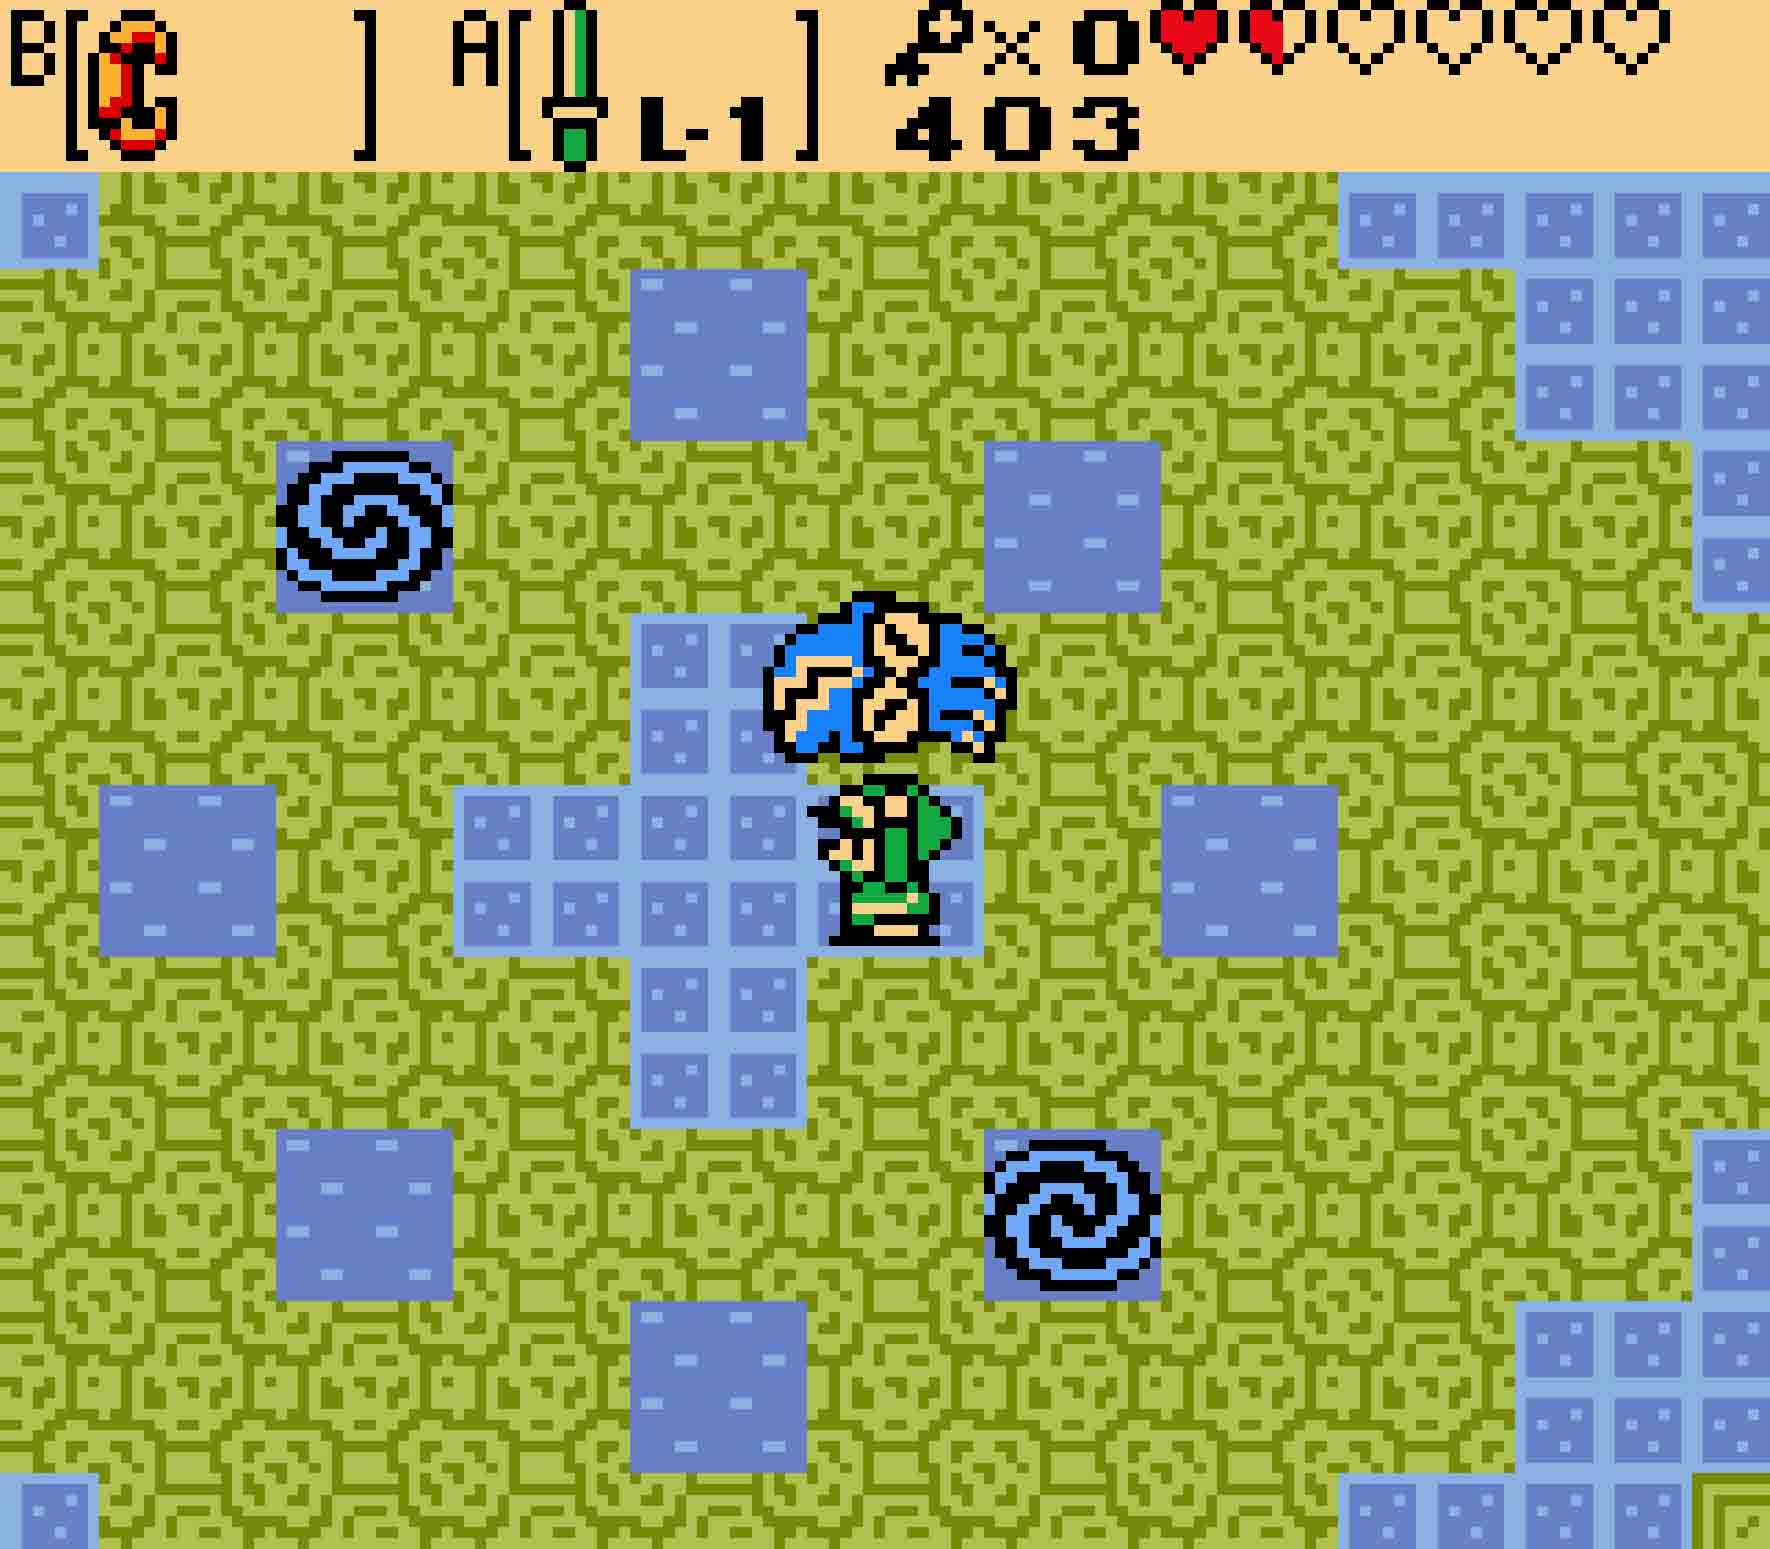
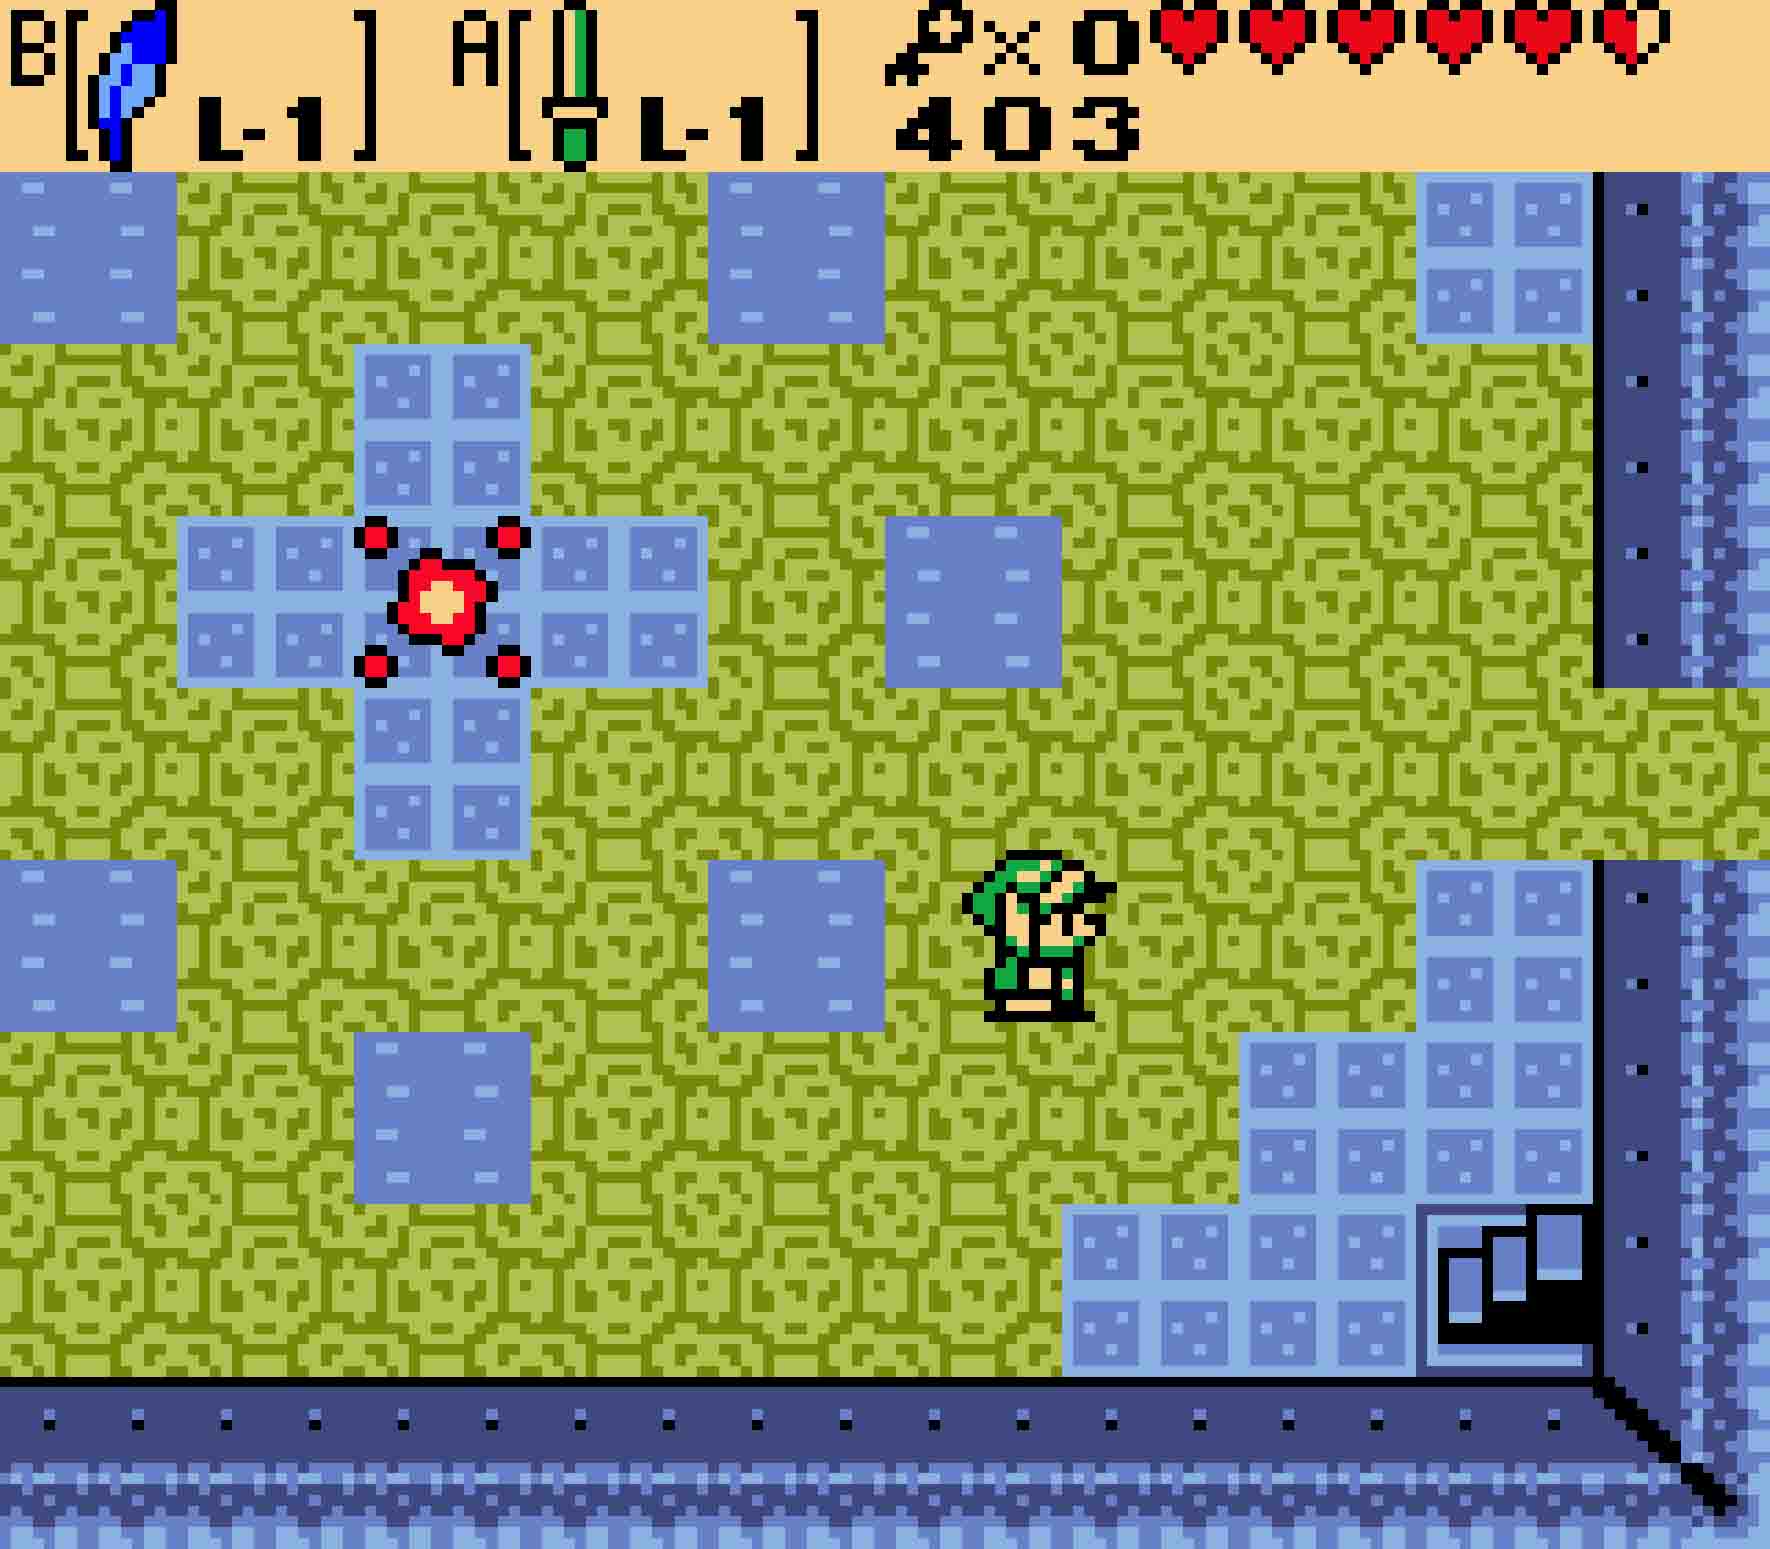
The next room has several elements at work here, and you’ll need to pay attention to all of them. The floor of this room is filled with conveyor belts that will shift around anything that walks on it. That will include both you and the two Arm-Mimics in the room. There’s also a Bladed Trap in this room moving very quickly, but, unlike most Blade Traps, this one is moving in a circular pattern around the center of the room.
The best strategy is to quickly sneak into the Bladed Trap’s circle and then manuever both yourself and the Arm-Mimics so you can dispatch them. Once you kill both Arm-Mimics, a chest will appear in the room’s center, which will grant you Roc’s Feather and the ability to jump over obstacles.
8.5 Get the Compass
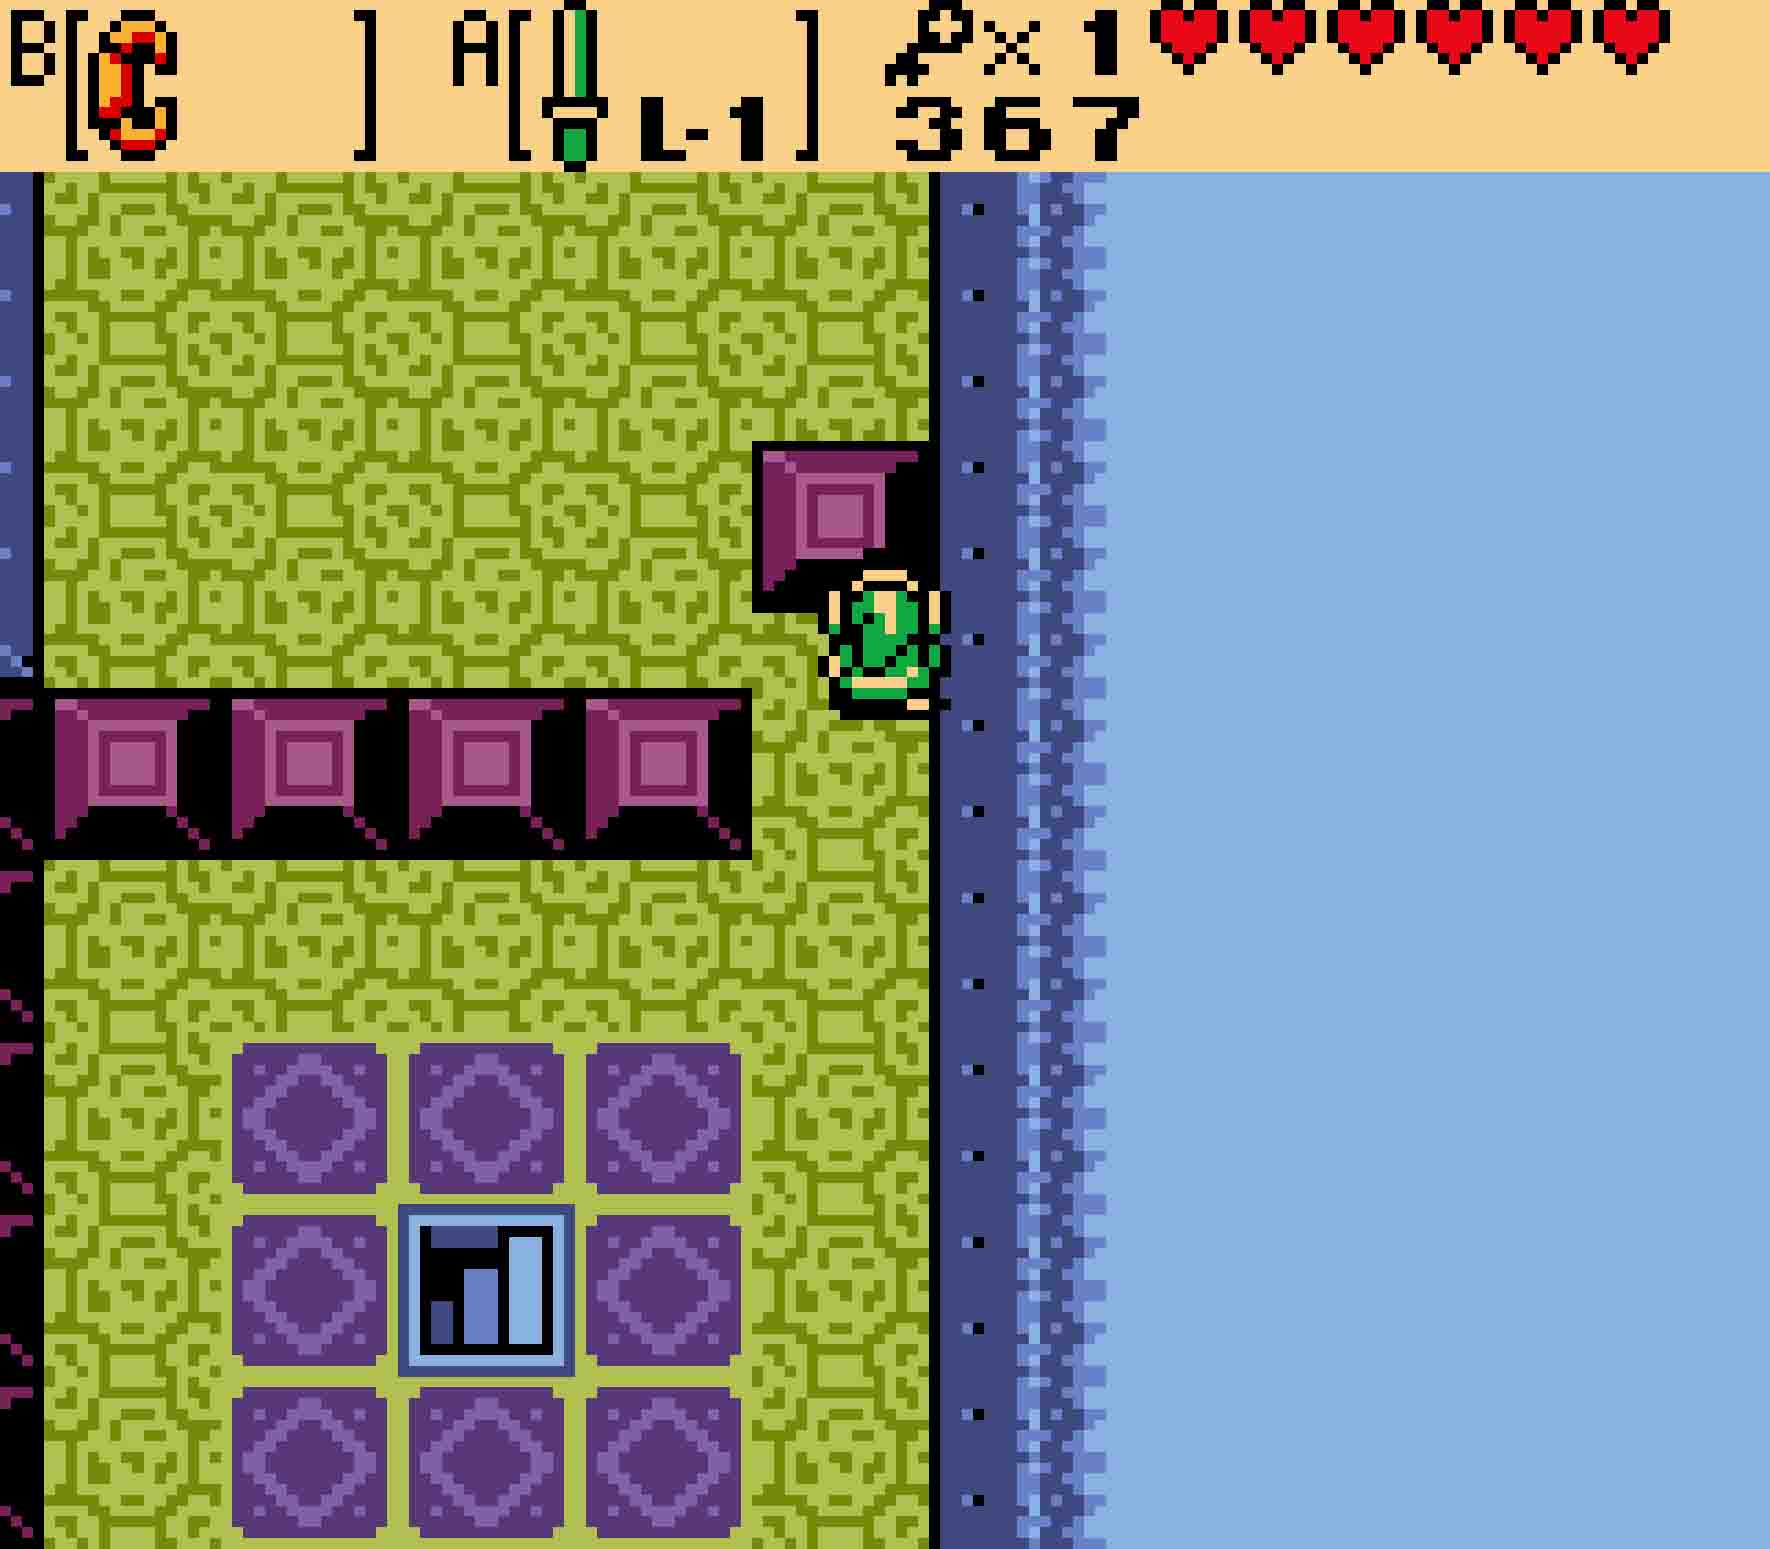
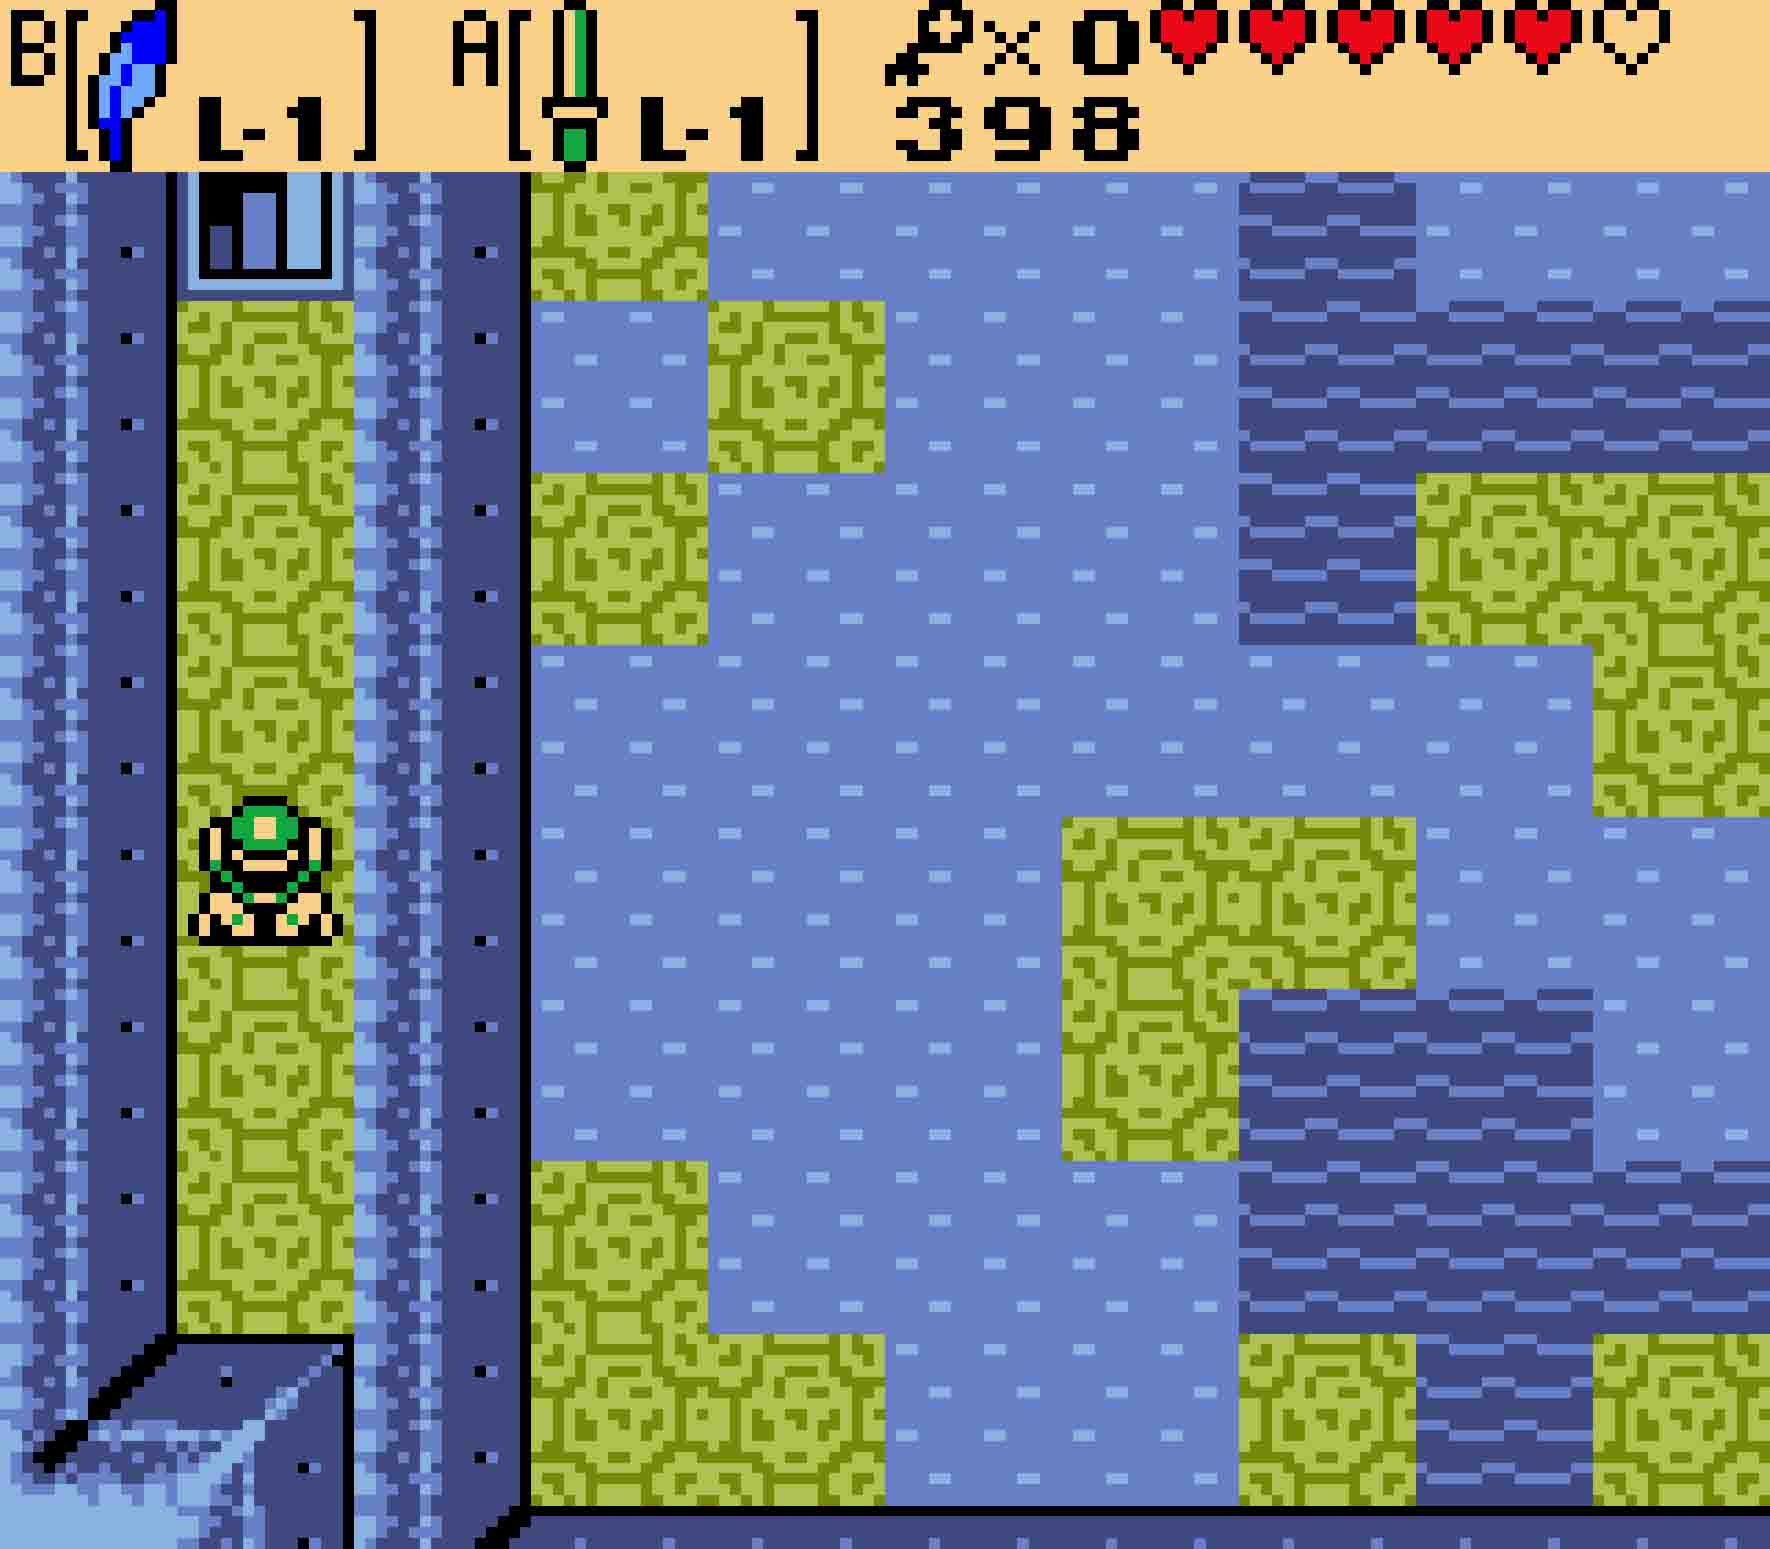
Now that you have the power to jump, much of this dungeon will suddenly open itself up to you. Head back south, and immediately use your newfound ability to jump onto the moving platform hovering over the pit. If you miss, just hop over the deep water, hit the stairs, and try again. The floating platform will carry you to the far side of the room, where you should jump off before falling down the narrow hole along the western wall. You’ll fall into the basement, but there’s a staircase that will cause you to descend into a side-scrolling area.
-
- Cross the gap to fall down here.
-
- Downstairs, you’ll land on a convenient ledge.
For the first room, all you have to worry about are Keese and some precise jumps. If you fall, you’ll have to head all the way back to the left to try again as you can’t jump all that high. Stay along the very tops of the platforms as you hop your way to the right. In the second room, there are three floating platforms that move back and forth horizontally. If you only see two of them, you’re looking at the top and middle ones. Hop onto the middle floating platform when it comes to the left. Ride it over to the stationary platform on the right, and then you can jump to reach the ladder above you. This will put you in range of the upper moving platform, which will then allow you climb the overhead ladders all the way right and back up to the dungeon.
When you emerge from the side-scrolling section, it’ll look like you’re in a dead end. However, there’s a trampoline on the left side of the room that’s ready for you to jump onto it. So jump on it to send yourself flying through a hole in the ceiling. You’ll see a chest there, which will give you the dungeon’s Compass.
-
- Use Roc’s Feather to bounce up on this trampoline.
-
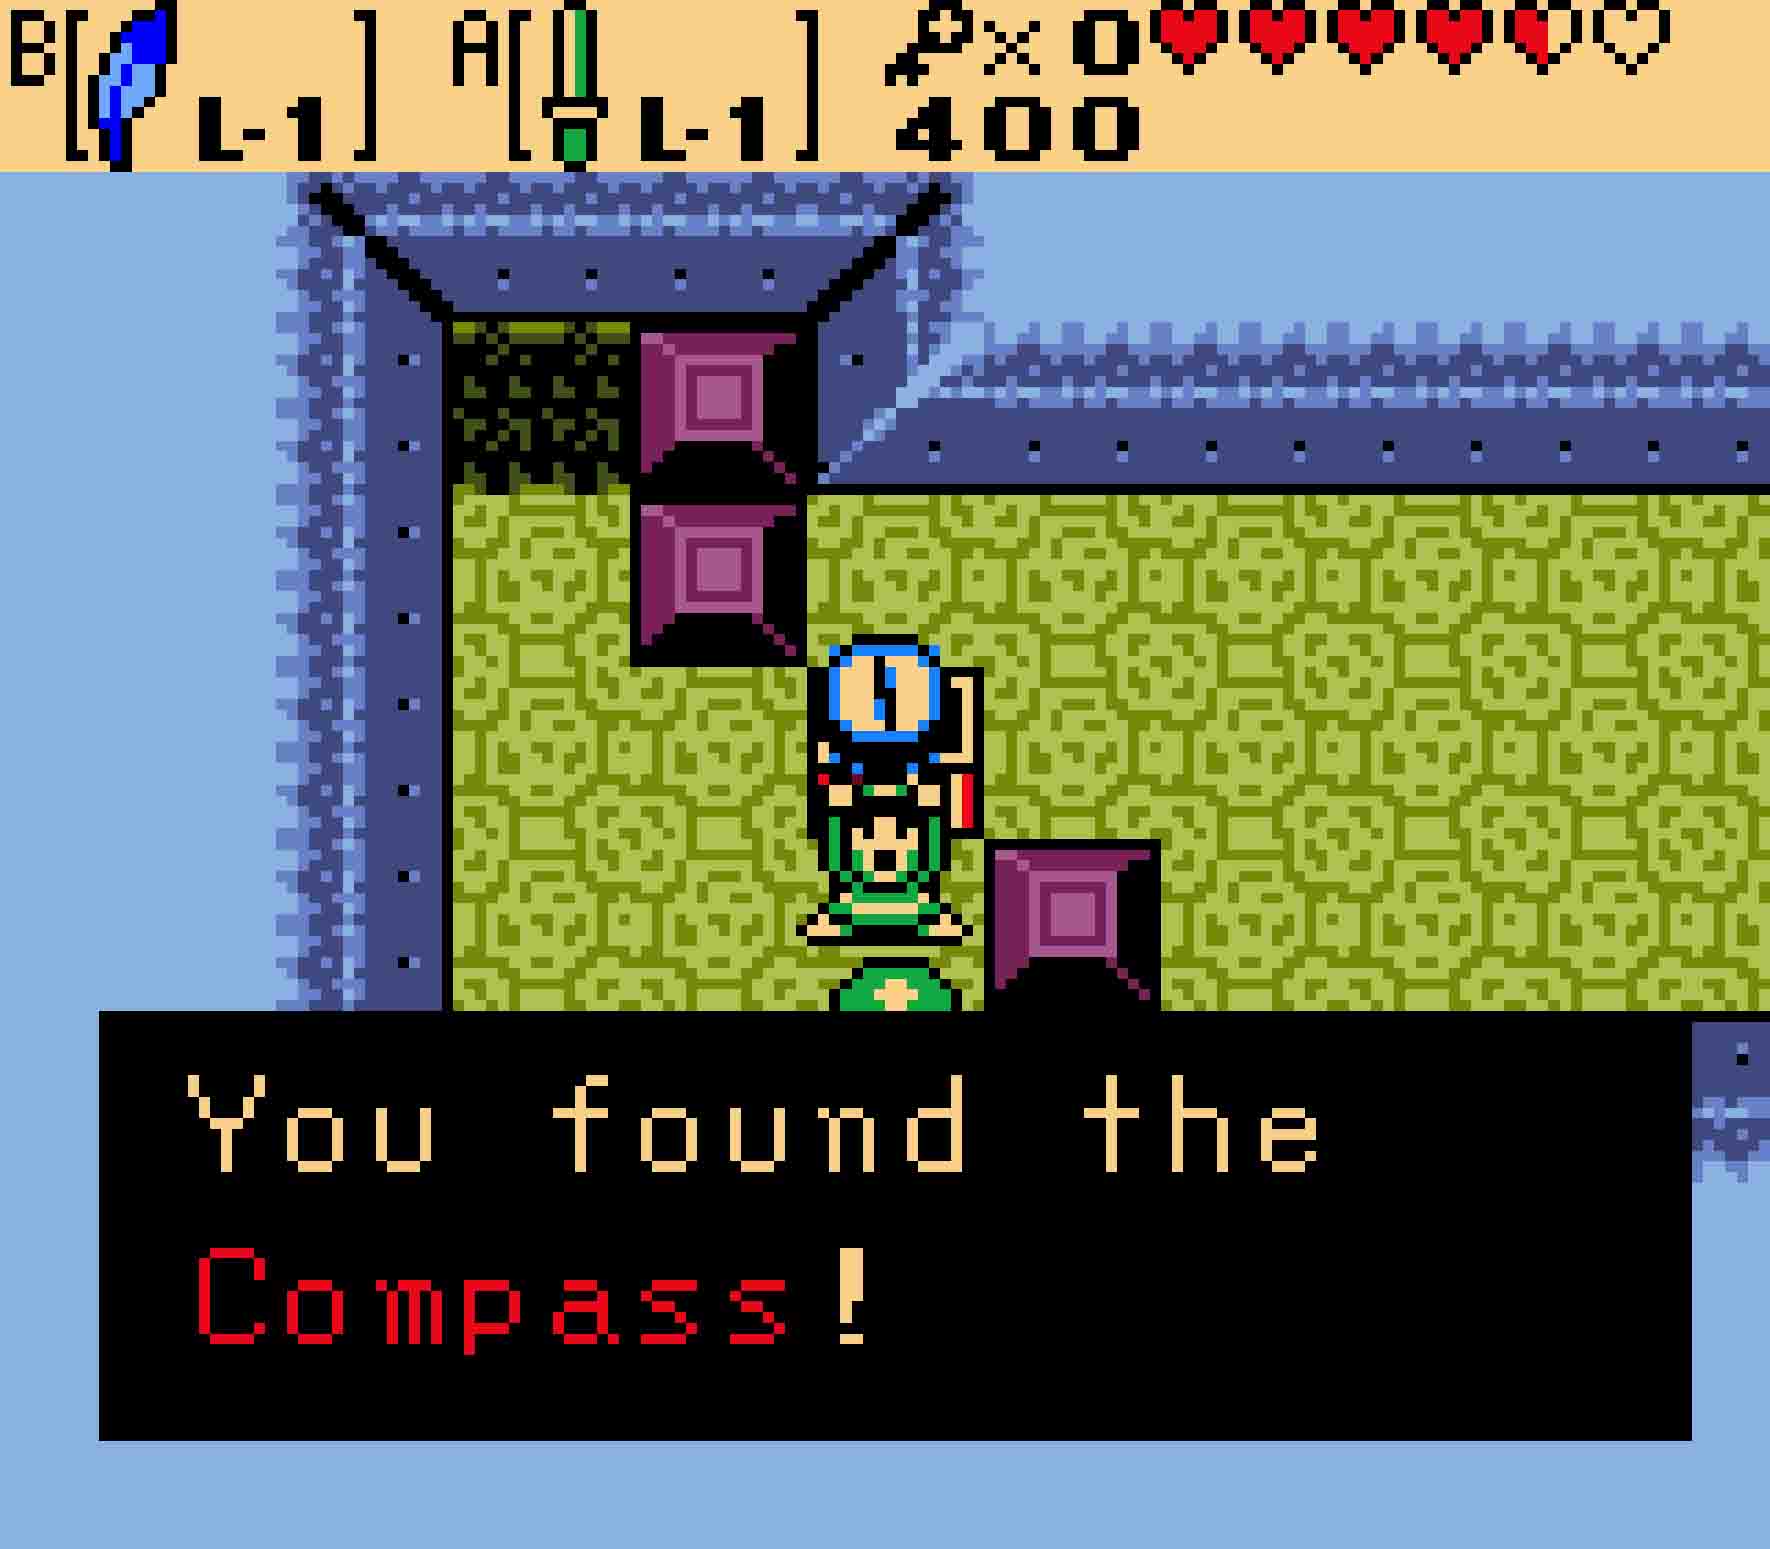
- You’ll fly through the ceiling to uncover this secret Compass!
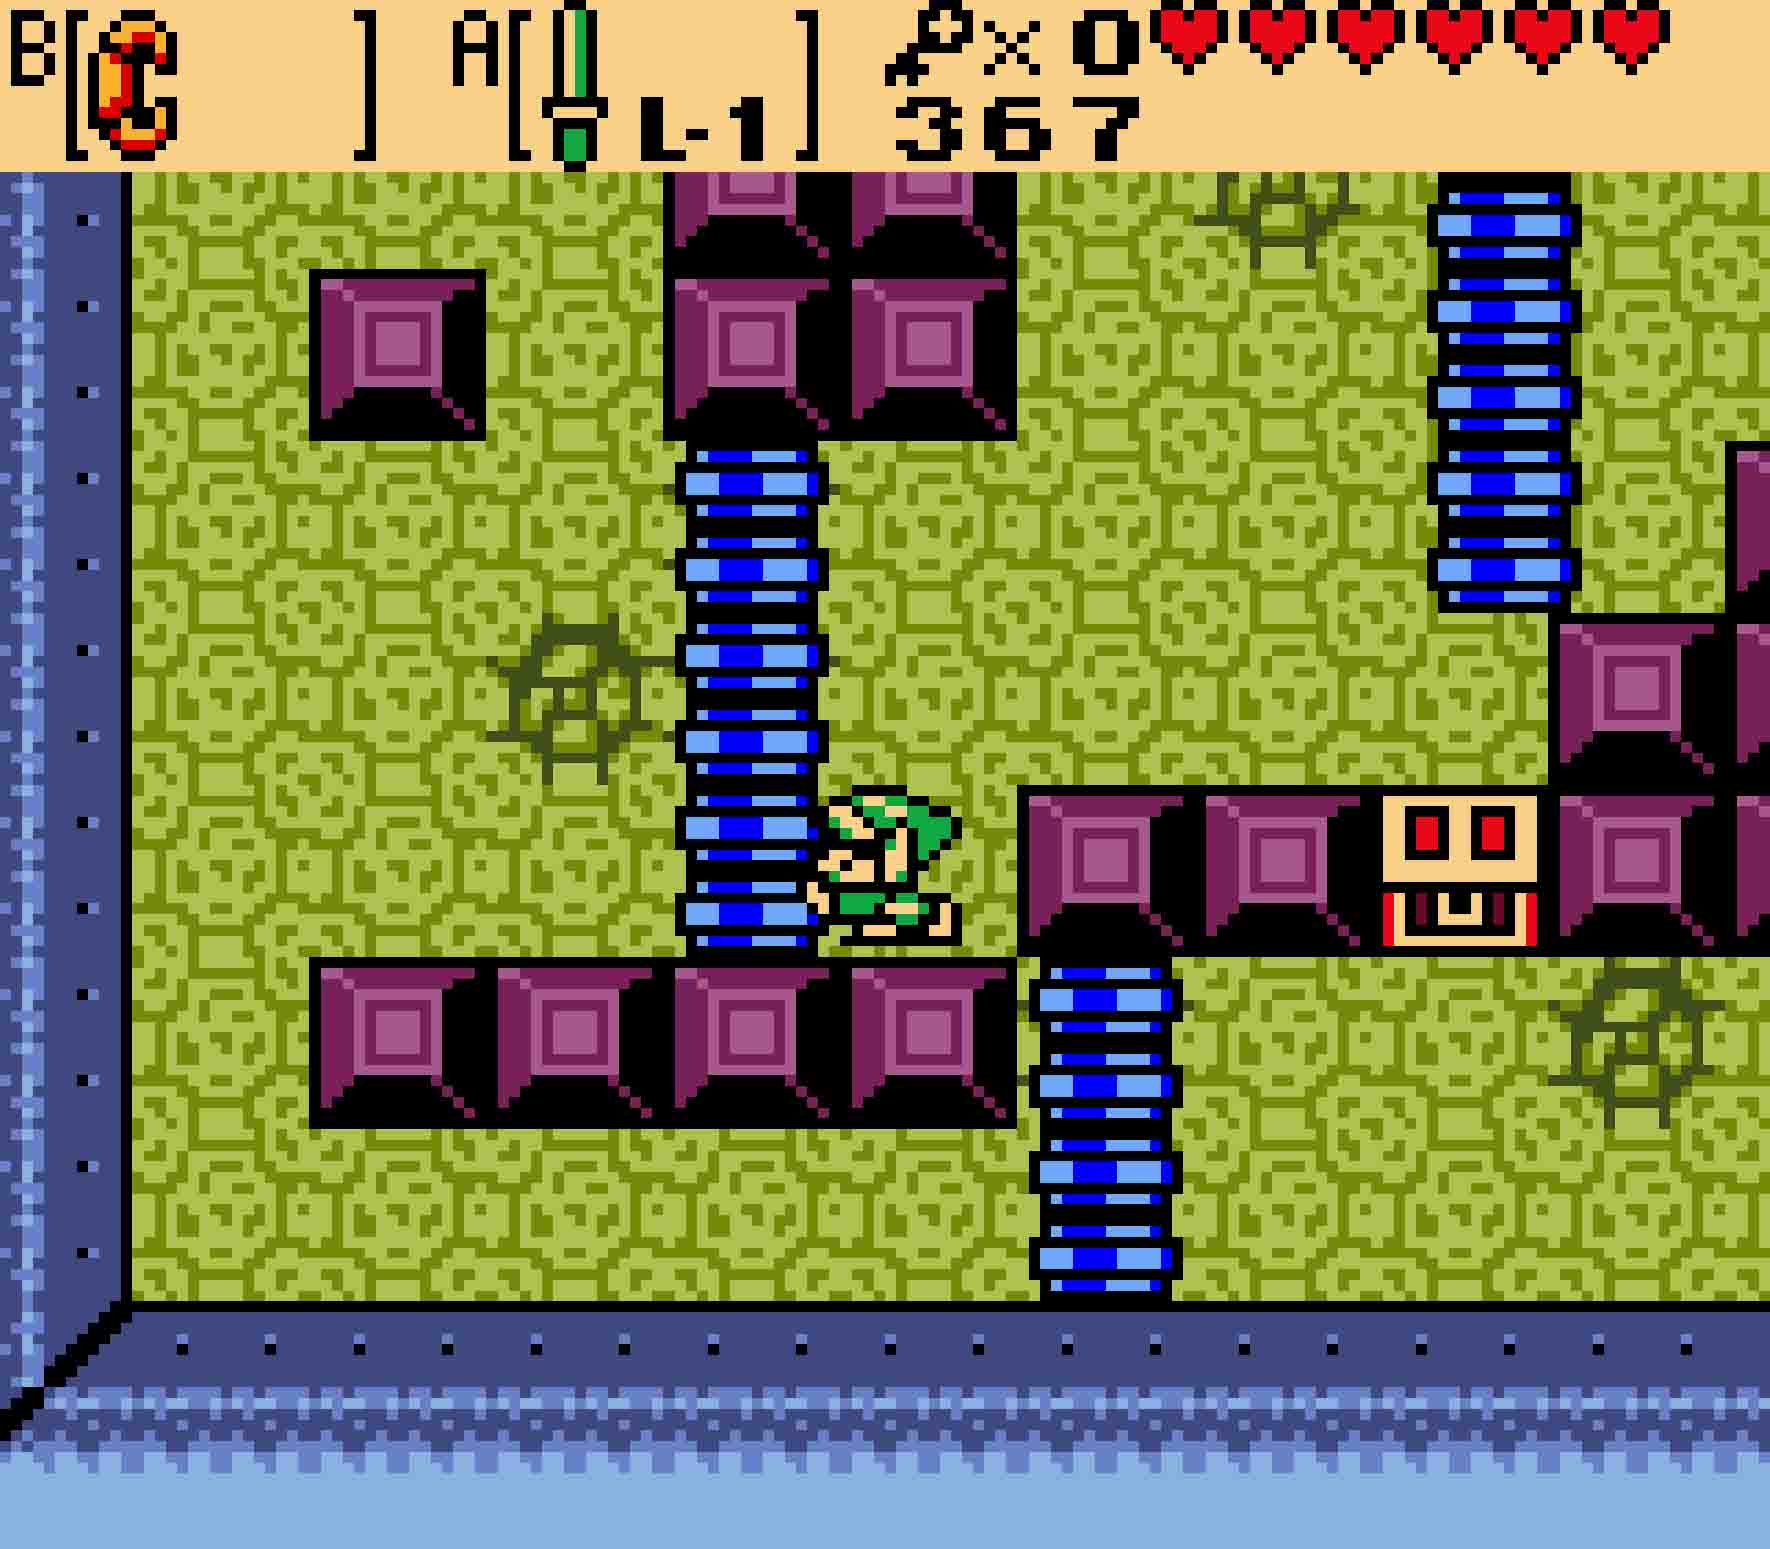
8.6 Find another small key
You’ll notice that there’s another hole in the floor here on this floor, which means the trampoline you just jumped on should be moved so you can hop through that hole. So fall back down to the floor below. To move the trampoline to its new home, push it three tiles down, four tiles to the right, and then one more tile down. Once it’s in place, jump on it to head through the other ceiling hole. Then head to the right.
-
- The colored tiles indicate where it’s possible to jump through the ceiling.
-
- Afterward, use Roc’s Feather to hop over dangerous spikes.
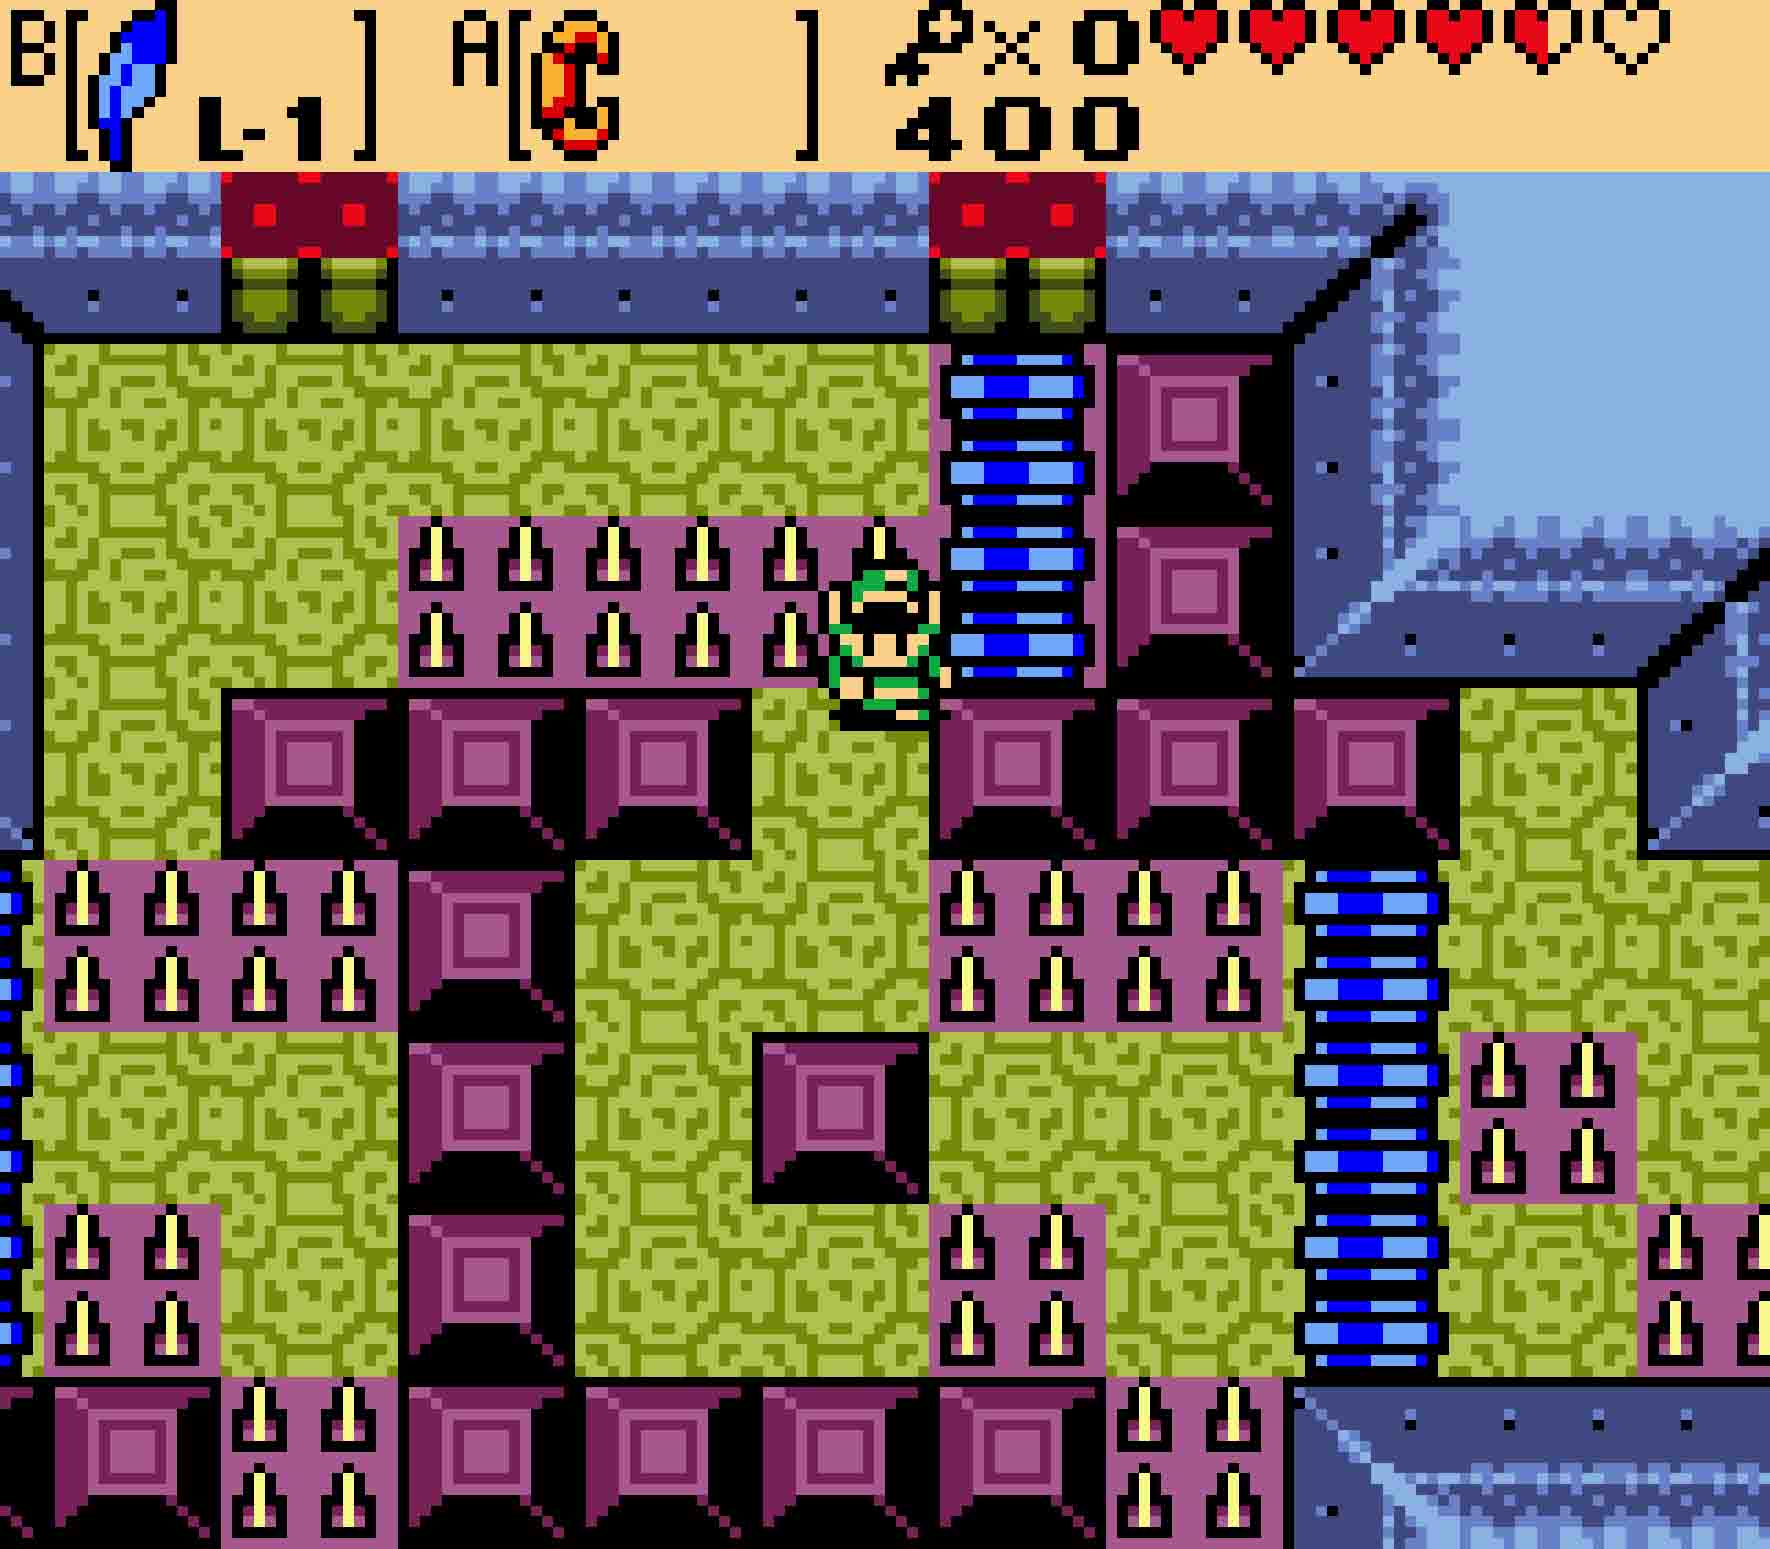
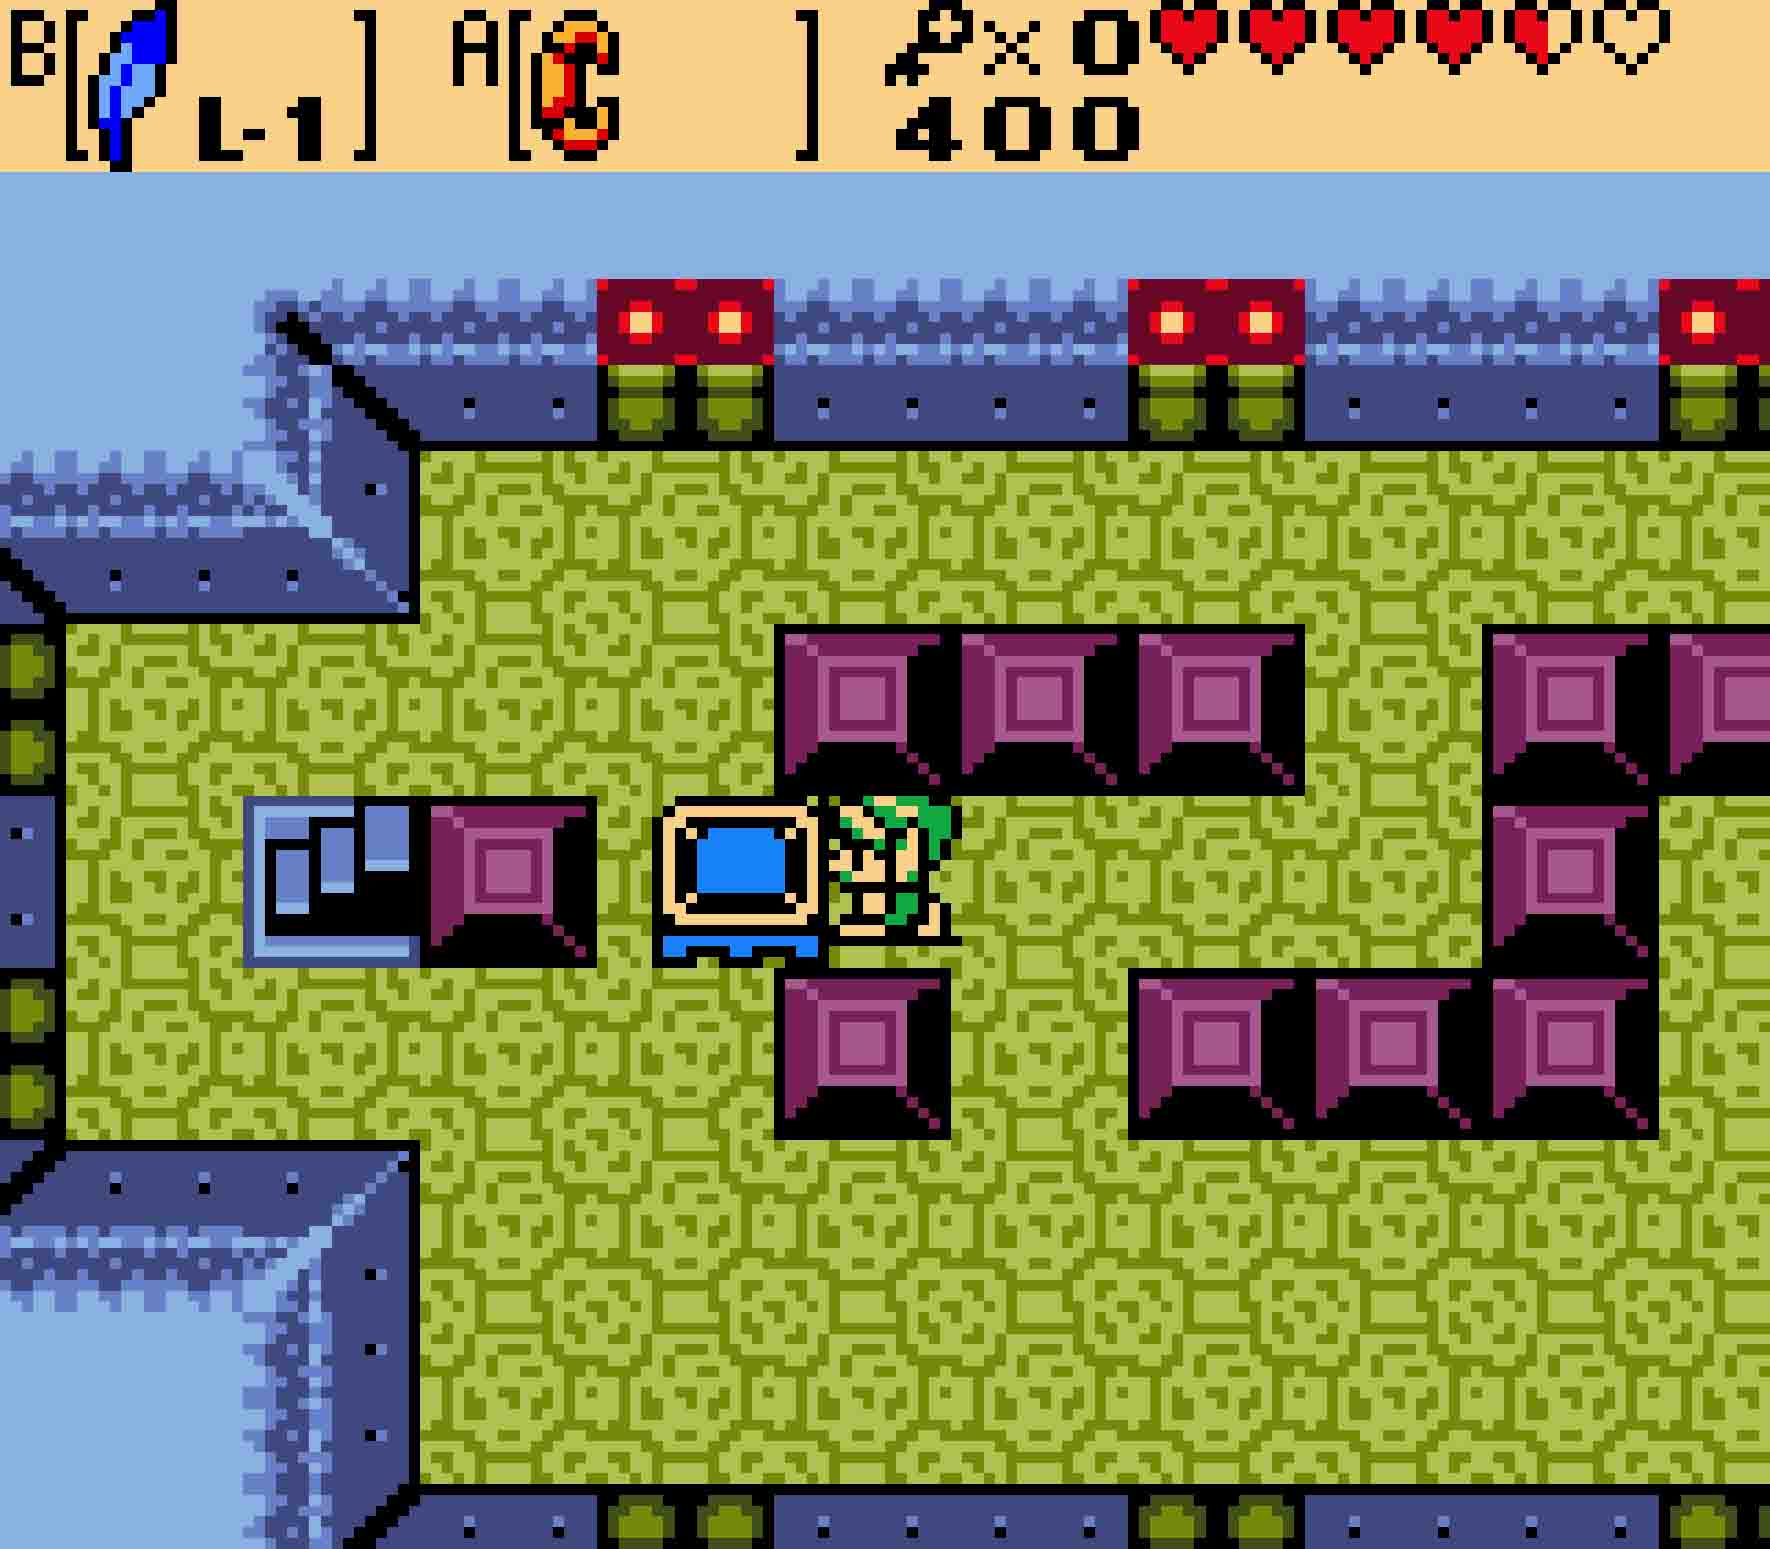
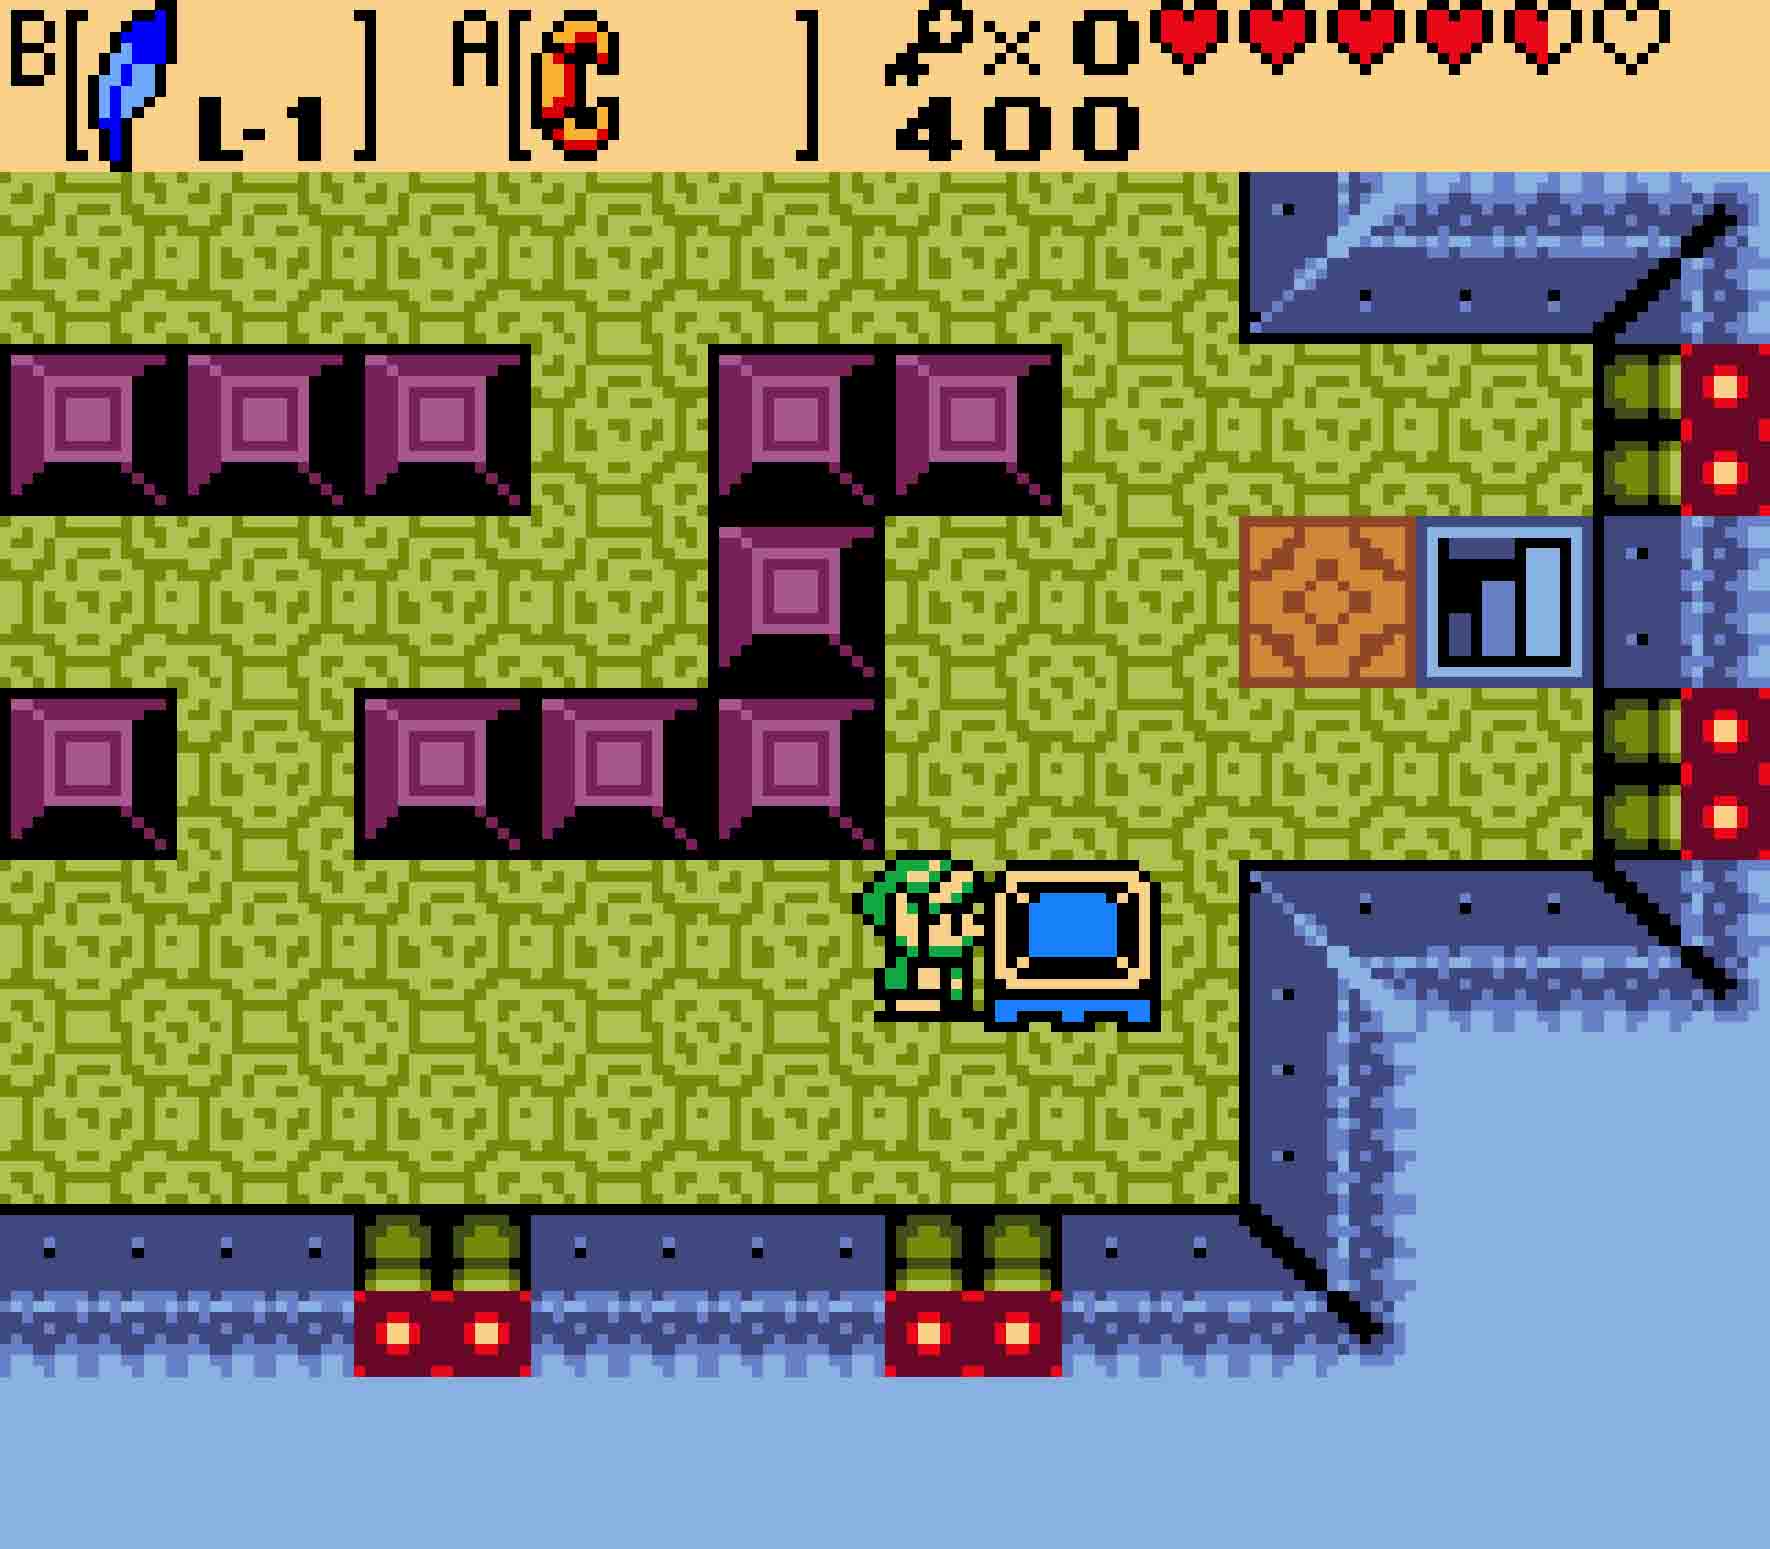
You should be an expert at these heavy rolling logs by now; if not, you might regret it as now you have to contend with floor spikes in addition to these logs. Push the log in front of you from the bottom of the log. After one square’s worth of movement, grasp it from one square higher and continue pushing so you can eventually escape through the alcove to the north. For the second log, just grasp it from the very top and push it to the very end, jumping over the spikes below you when you reach the end.
Head around the lone block in the next area and jump over the spikes to reach the third log. Grasp it from the lower end, push it one square, and then reposition yourself at the top end. Push it the rest of the way, sneak out the top, and wait for the log to roll back. This will let you reach the room to the east.
-

- You need to move this trampoline carefully to make it to the correct tile.
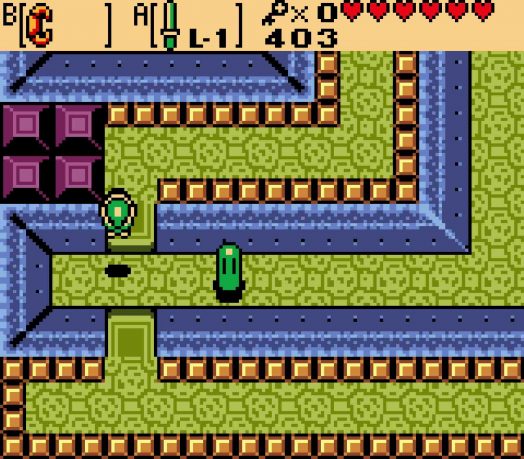
Once there, head downstairs. There’s a trampoline in the next room, but it’s not positioned beneath a hole in the ceiling. You’ll need to move it to the colored tile on the floor to reach the chest above. You’ll need to push the trampoline three squares to the left, two squares down, as far right as you can push it, up twice, and then right once. Jump on the trampoline to get sent to the first floor, where you’ll find a chest waiting for you. Inside is the final small key of the dungeon.
8.7 Defeat the Omuai
 Fall back down the pit, and then descend the stairs on the right side of the room. You’ll head back into a side-scrolling area. There are more Keese here, so watch out whenever they’re anywhere close to you. In the first screen, you’ll be heading left and jumping on vertically moving platforms. In the next room, instead of moving platforms, it’ll be stationary platforms and Thwomps. Even if you jump atop the Thwomp, the Thwomp will still drop down, so wait for it to reach its apex again before leaping off. Hop across the tops of everything to reach the stairs and head back up.
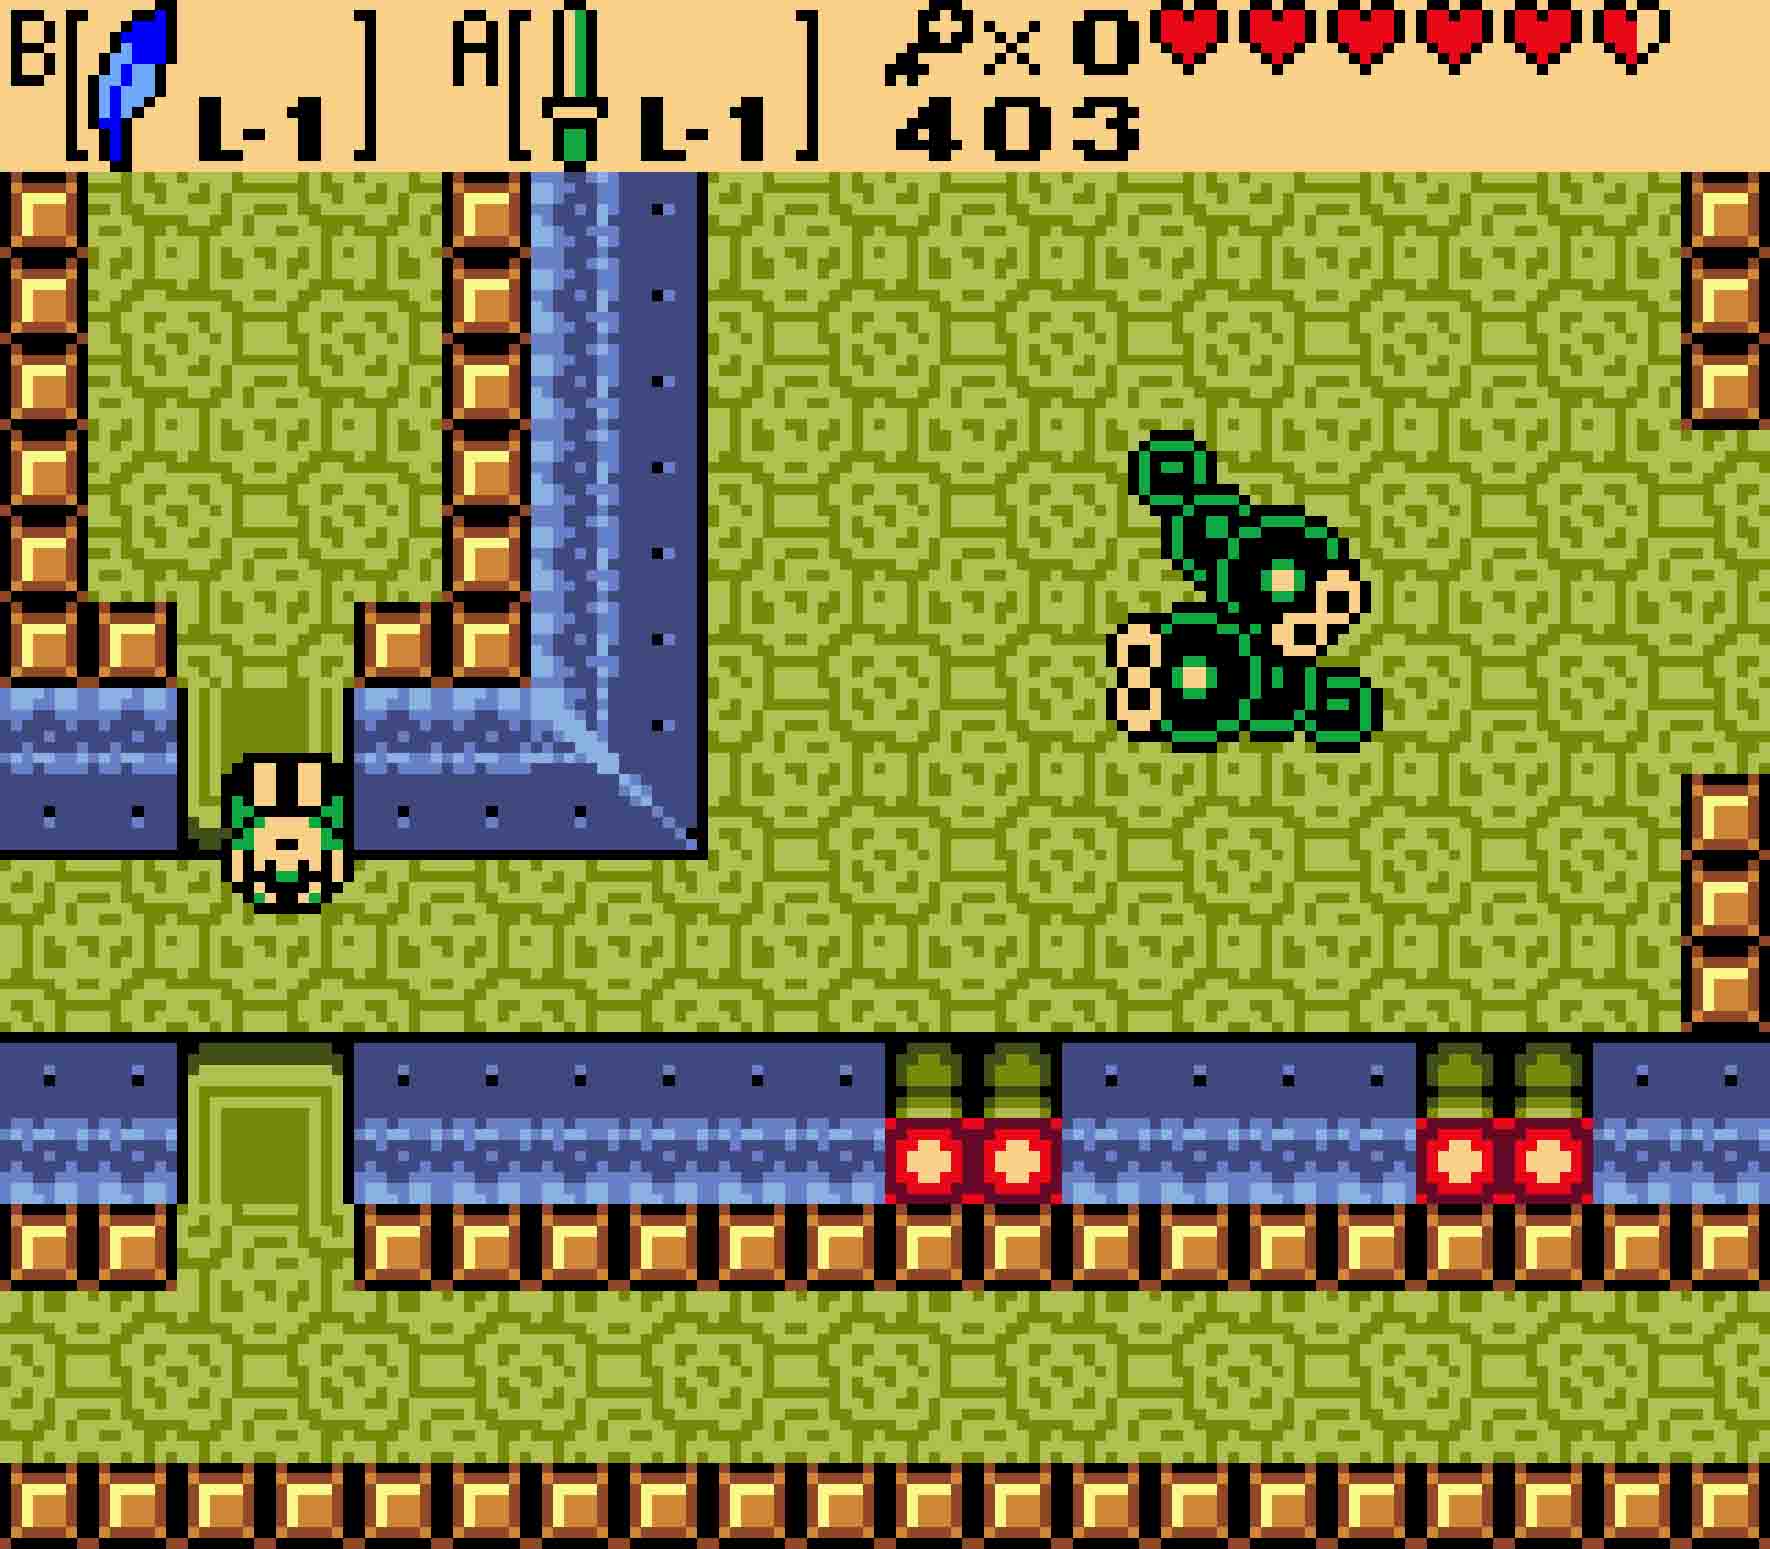
You’ll emerge surprisingly in a room you’ve been in before. The moving floor across the gap will eventually reach the island you’re standing on, so stand on it when it comes to you, letting it take you to the left. Hop over the gap at the end. From here, the path forward involves a small bit of backtracking. Head to the east, and remember to watch out for the Floormasters that will seek you there. Again, there will be four that come to get you, and you’ll want to kill them all before proceeding.
Continue through the room, remembering that to move forward you need to save one of the pots in the bottom-right corner so you can push it on the switch in the bottom-left. Once you do so, the door south will open again. You’ll face the Anti-fairy and the Arm-Mimics again, but you can bypass these and move on west if you wish.
You probably hate this puzzle by now. At least you only have to do it twice.
This will take you back to the room with the floor switch that you passed earlier. If you step on the button, all those orange tiles in the center of the room will fall to the ground, so you’ll want to hop over the button. If you want to go get a Gasha Seed, head up the staircase at the end of the area, and fight against the conveyor belt to reach the end, dodging the Blade Trap as it attempts to get you. Follow this raised area around, and it will lead to a treasure chest with a Gasha Seed. Then come all the way back to this room, where you should use your key to unlock the door.
-
- The solution to this is rather cheeky. You simply need to hop over the button.
-
- Before encountering the mini-boss, you can take this detour to get a Gasha Seed.
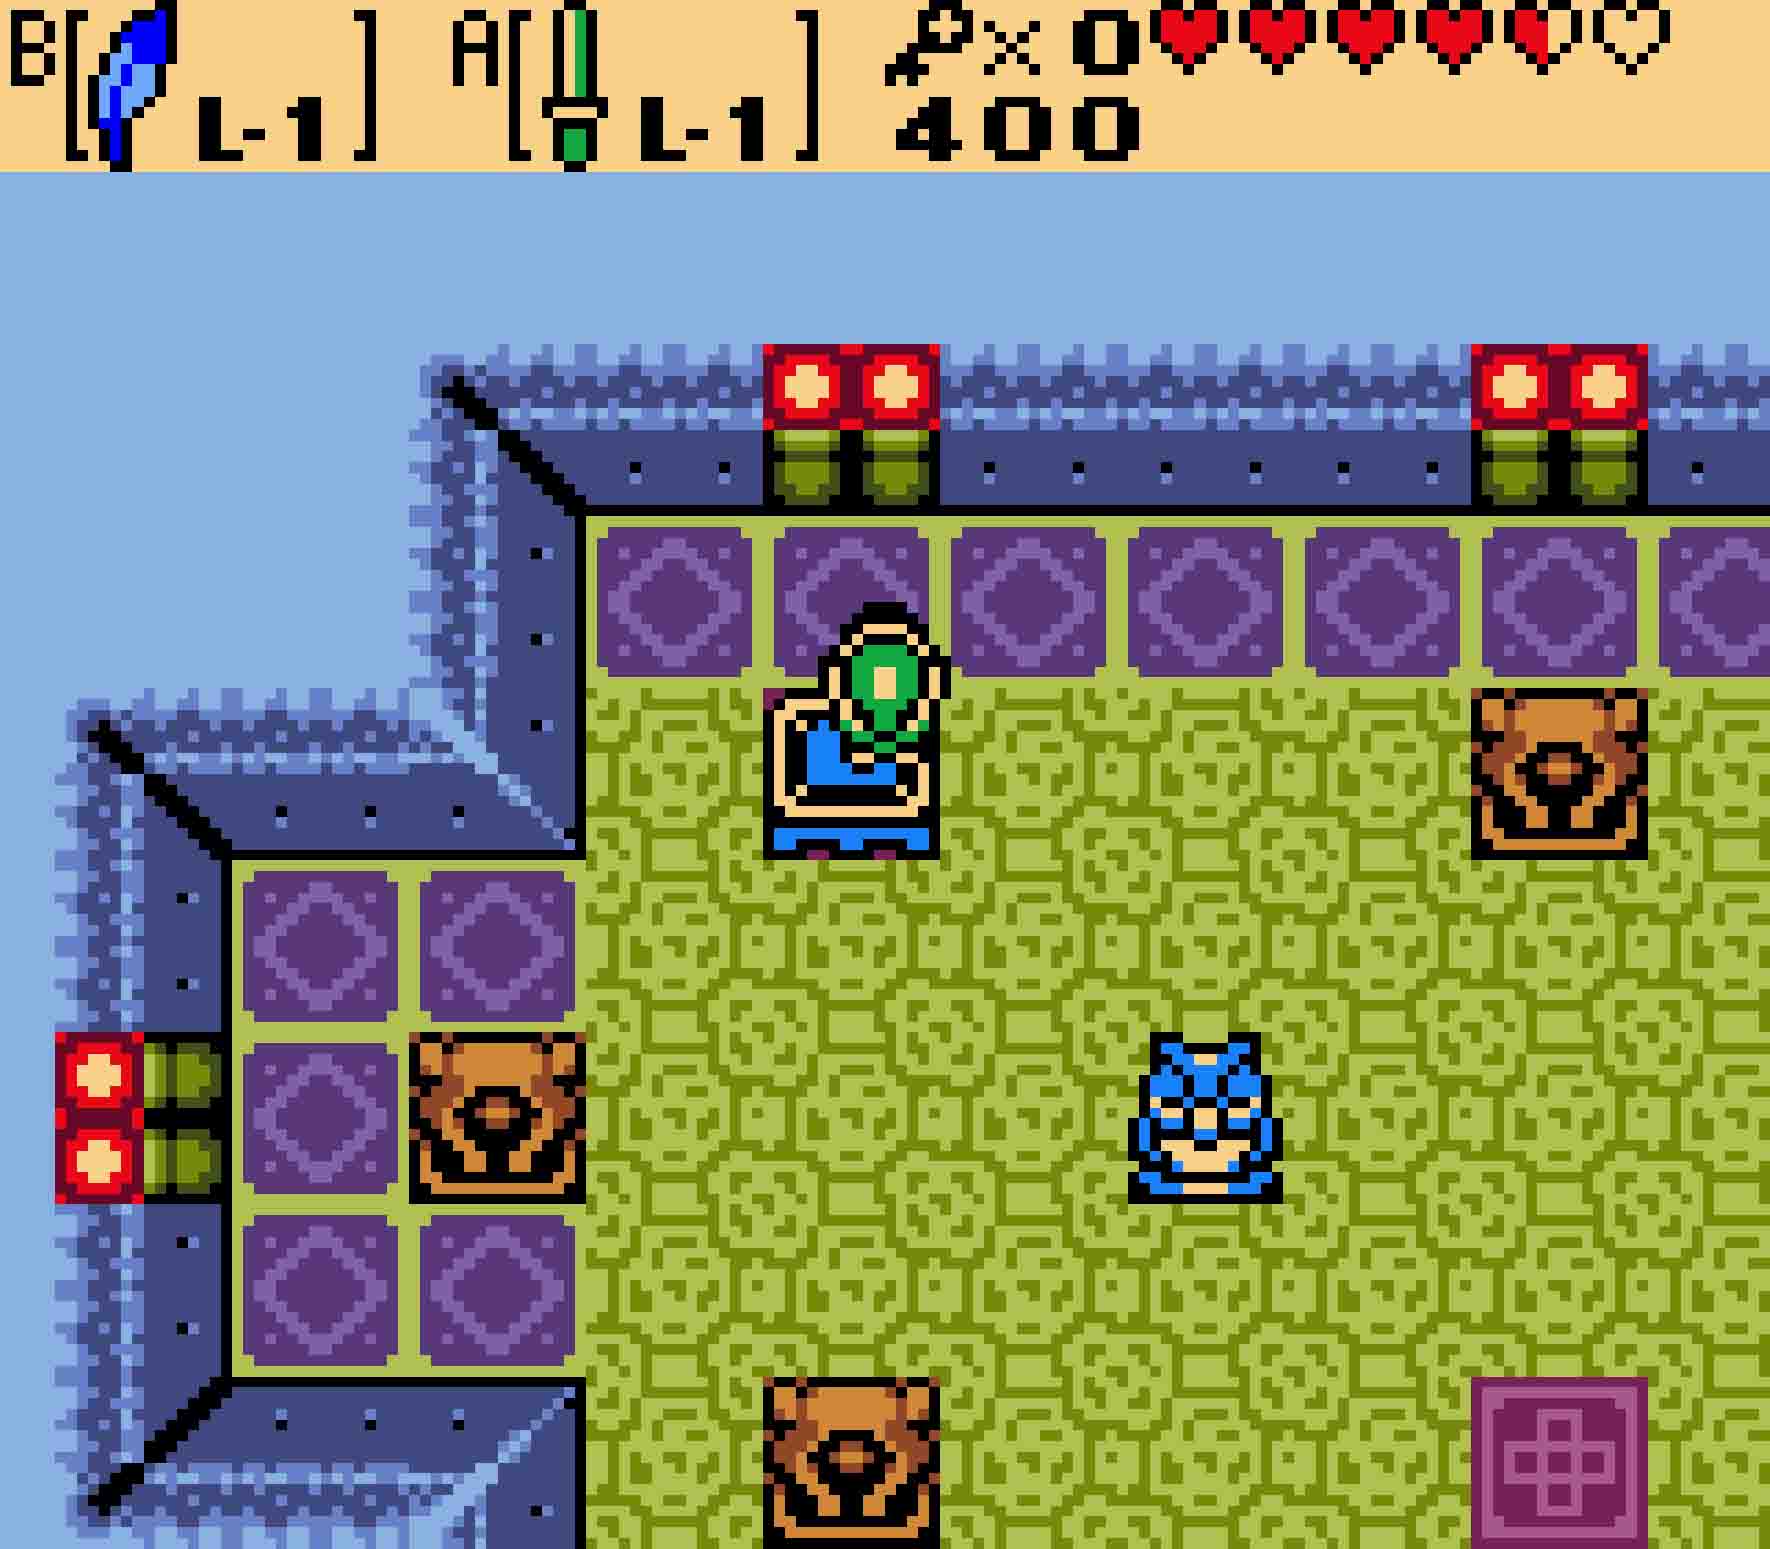
It’s finally time to face down the mini-bosses the Omuai. The Omuai are squid-like beings that pop out of the eight watery tiles in the center of the room. You’ll notice when they’re coming out as there’ll be a brief moment where a whirlpool appears before they appear. After spending a moment or two above the water, they’ll spit fireballs at you before disappearing. So long as they’re in the water, you can’t harm them. As such, you’ll need to lift them out of the water to damage them.
Use the Power Bracelet once they appear to pick them up. Do be careful as the other Omuai will shoot at you whilst attempting this. Then simply toss the Omuai away from the water. During this phase, there’s a fair degree of unpredictability. The Omuai will flop back and forth extremely haphazardly. After a few hops, it will right itself and then make dedicated hops back towards the water. You’ll want to be very careful as these hops can move it towards you without you expecting it, giving you damage. Use your sword to slash at it, and, after enough hits, you will finally kill the Omuai. Once you kill all three, they’ll leave a fairy behind, a teleporter back to the entrance, as well as a staircase up to the first floor.
-
- The Oumai will pop out of the water and hurl fire at you.
-
- The only way to kill them is to fight them on your own turf: land.
8.8 Grab the Boss Key
These platforms allow you to jump over the path below.
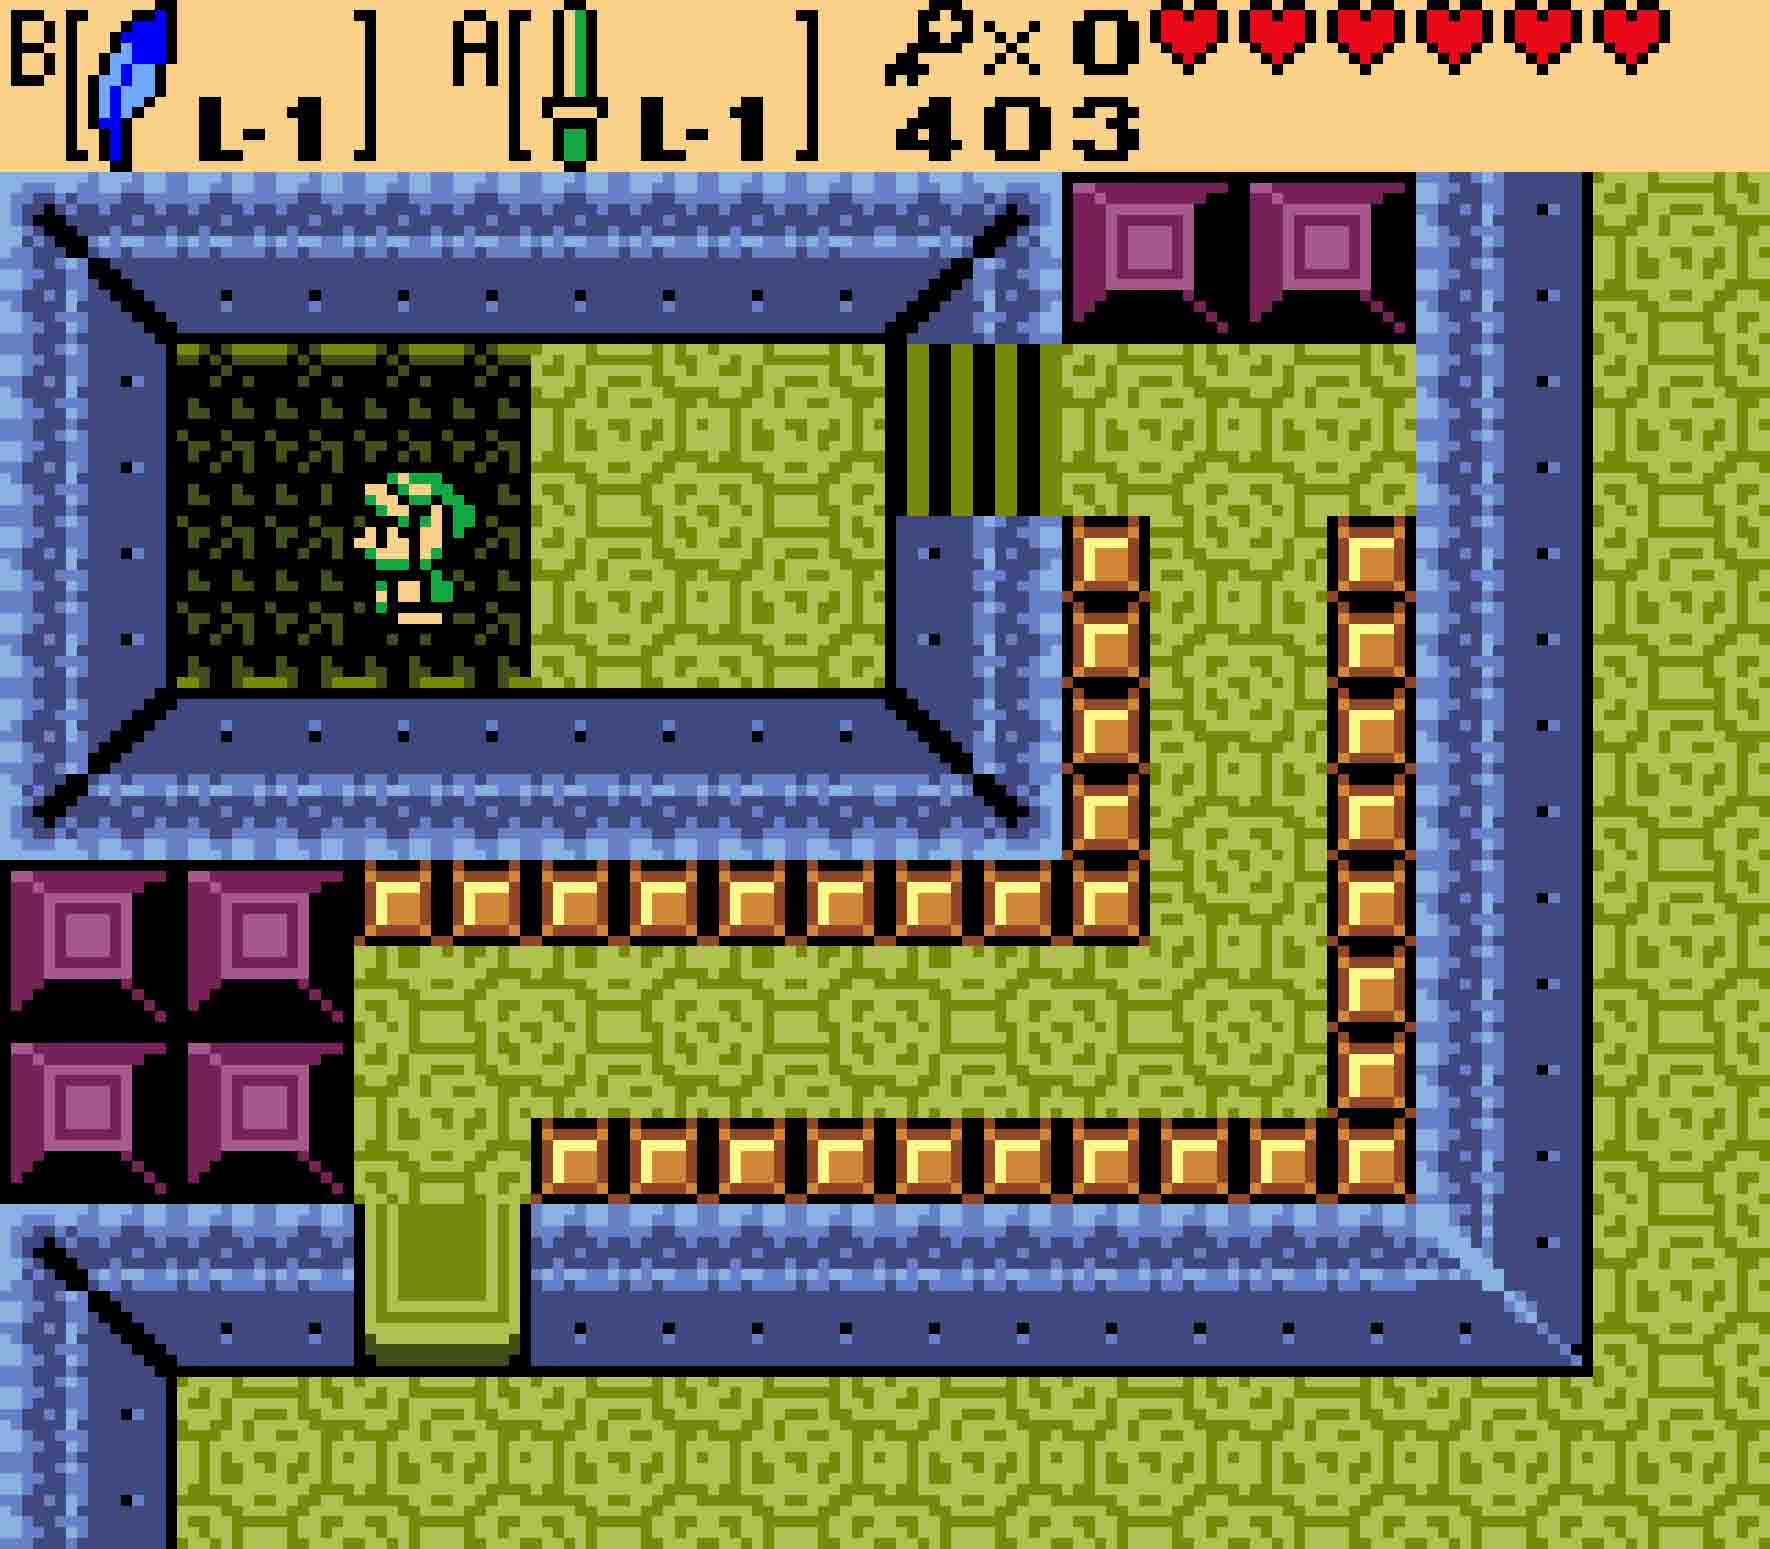
Head upstairs. You’ll be back running the gauntlet of Peahats as you make your way to the left. Head west twice, and then head all the way to the far western wall. Use the platforms to hop over to the raised catwalk above you, and follow it all the way to the giant pit in the floor. Fall down back to the basement.
You’re going to be dealing with a Giant Blade Trap that’s moving counterclockwise around this segment. This Blade Trap is ultimately guarding the Boss Key that you need to defeat this dungeon. From the top of the room, you can push the fourth block of the right wall to the right and into the bottomless pit. From there, all you need to do is hop over the pit to grab the Boss Key.
-
- Fall down in this pit to near the entrance.
-
- Push a block into the pit to access the Boss Key.
8.9 Return to the boss’ lair
Unfortunately, there’s no easy way back upstairs from whence you came. Thankfully, there are shortcuts. Hop back over the pit and then head to the bottom-right of the area guarded by the Giant Blade Trap. You can push that block to the right in order to escape. Then head right.
You’ll be back in the room with the Spiked Beetles. Either prepare your Shield or get ready to run and jump over them. If you head south, you’ll find yourself back at the entrance to the dungeon. But more importantly, you’ll find the teleporter that will take you to the mini-boss’ chambers. Enter that teleporter to take you half the way back to the boss.

Head back upstairs, dodge the Peahats, and head one room to the west. This time, you’ll want to hop over the platforms in this room — the one with the Mini-moldorms. This raised platform will weave around and eventually take you back to the northern segment of the Peahat room as well as the boss door. Unlock the door, and prepare to face Mothula.
8.10 Defeat Mothula

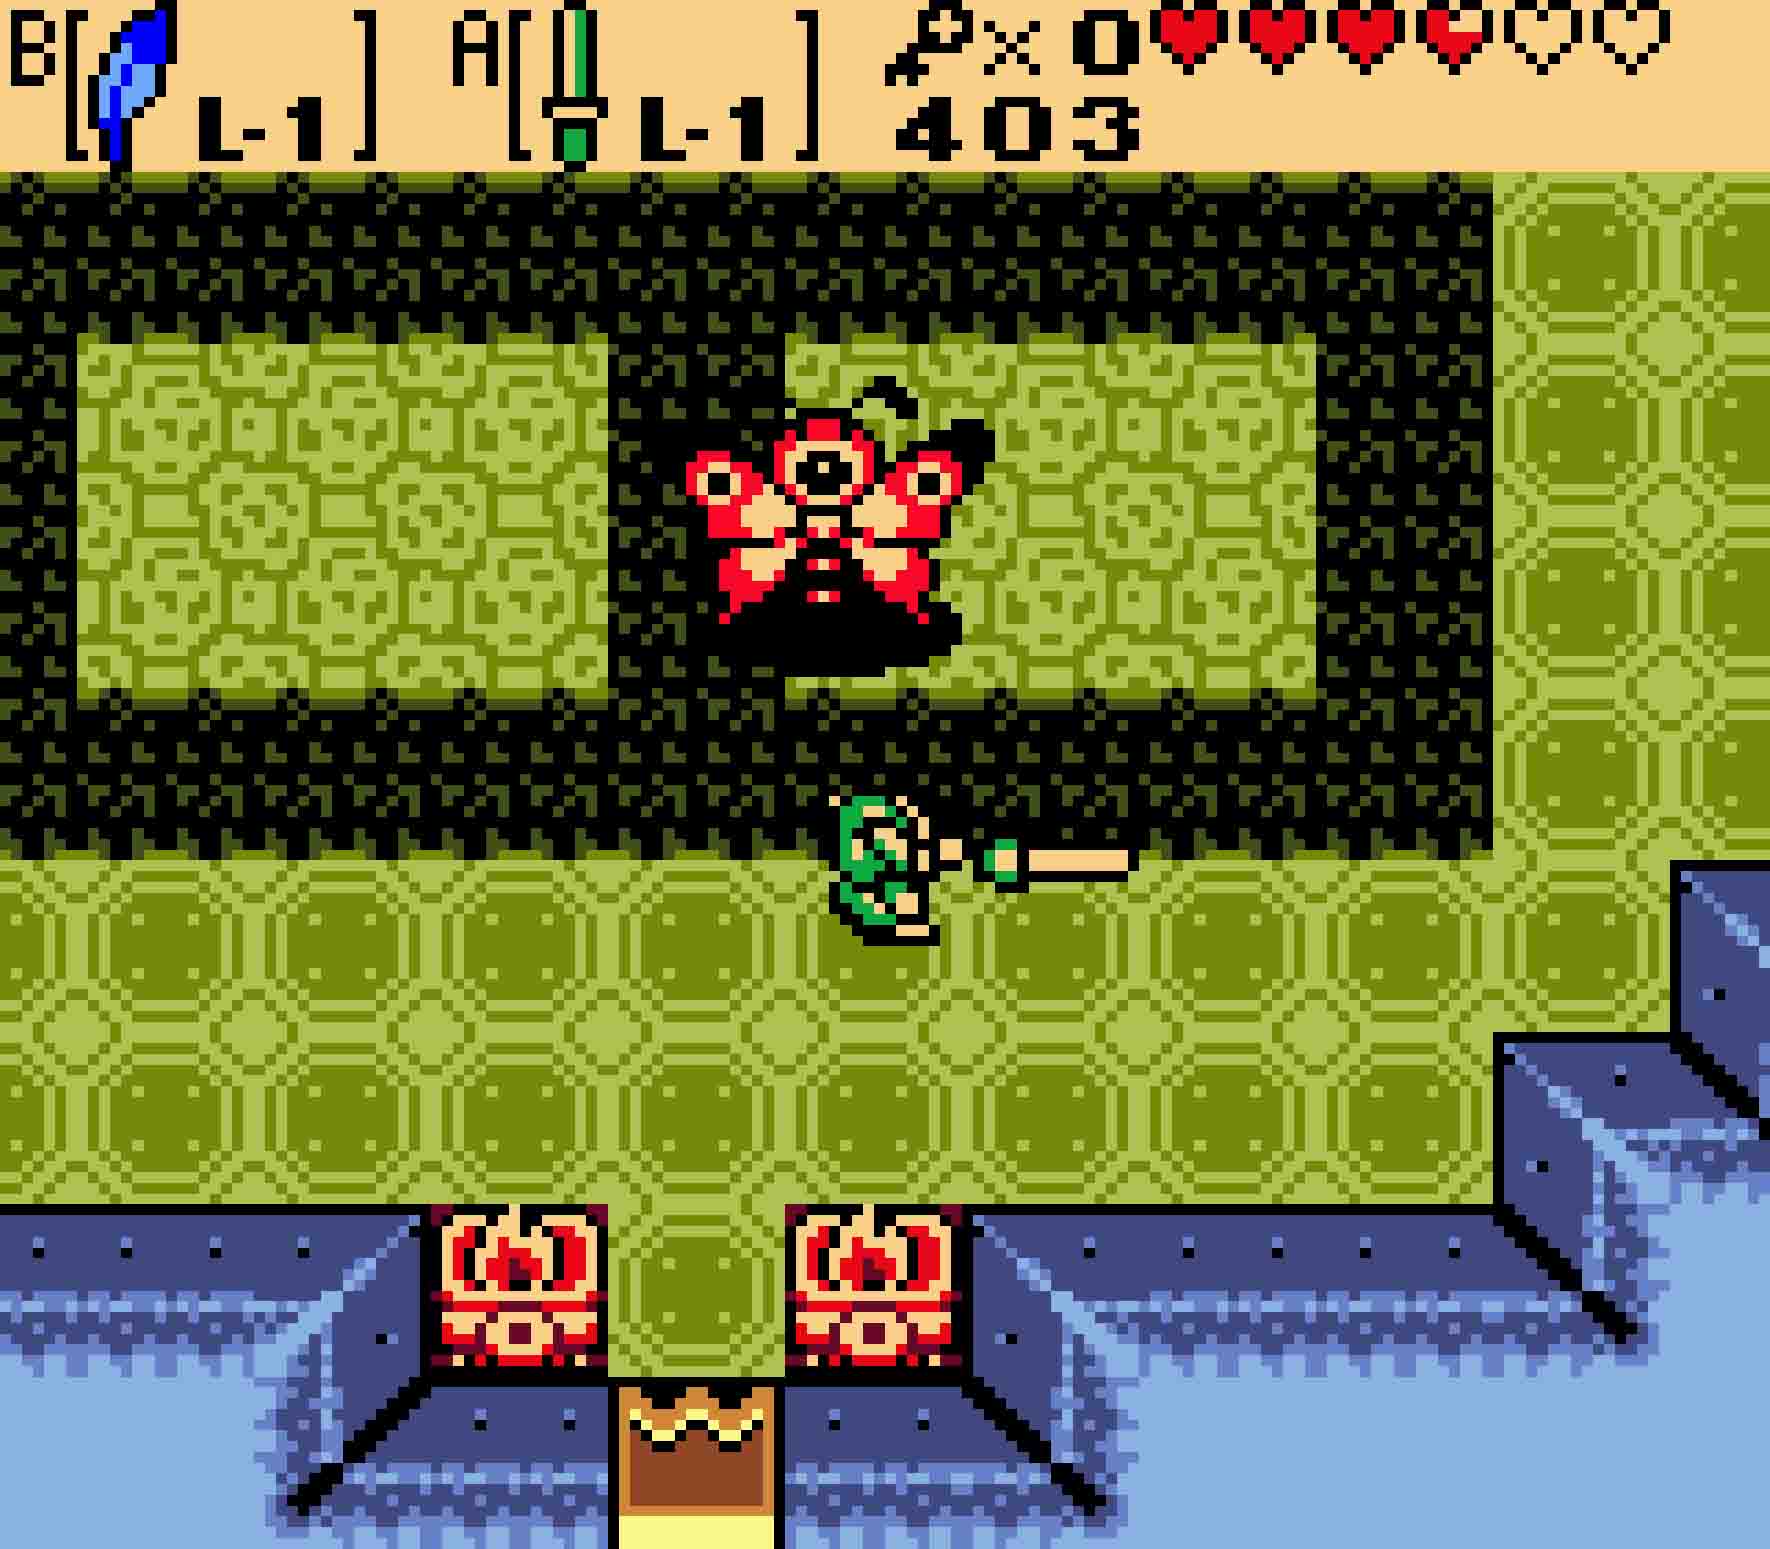
Mothula flies around shooting fire. Just avoid it for now.
Mothula isn’t as bad a pushover as the previous boss, but it’s still not that difficult to face down with the right strategy. First things first: There are holes in the ground here. If you fall down them, you’ll end up in the lower level. There is a trampoline there to pop you back upstairs, but Mothula will regain all its health back if you do so, so do be careful.
The boss only has two real attacks, and it will perform them in alternating phases. In the first phase, Mothula will rapidly fly circles around the room, occasionally hurling an energy ball at you. After it flies a few circuits around the room, it will slow down and come to a rest on one of the two islands in the room’s center. In this time, it will spawn a few smaller versions of itself that will fly towards you to attack.
-
- It’s best to always stand on a different piece of land so Mothula doesn’t accidentally knock you into the pit.
-
- Wait for it to land and then use your sword. If it knocks you down, you’ll have to start all over.
The best strategy here is to stand on the center two islands. As Mothula is in his first phase, all you need to do is perform small adjustments up, down, left, or right, to avoid its attacks. During that phase, you’re just biding your time. As Mothula slows down and comes in for a rest, figure out which island it will land on. It will likely land near the room’s center, and your sword should have enough reach that you don’t even have to jump to the island it lands on to attack. If you attack it in the right spot, you’ll automatically kill its underlings in the process.
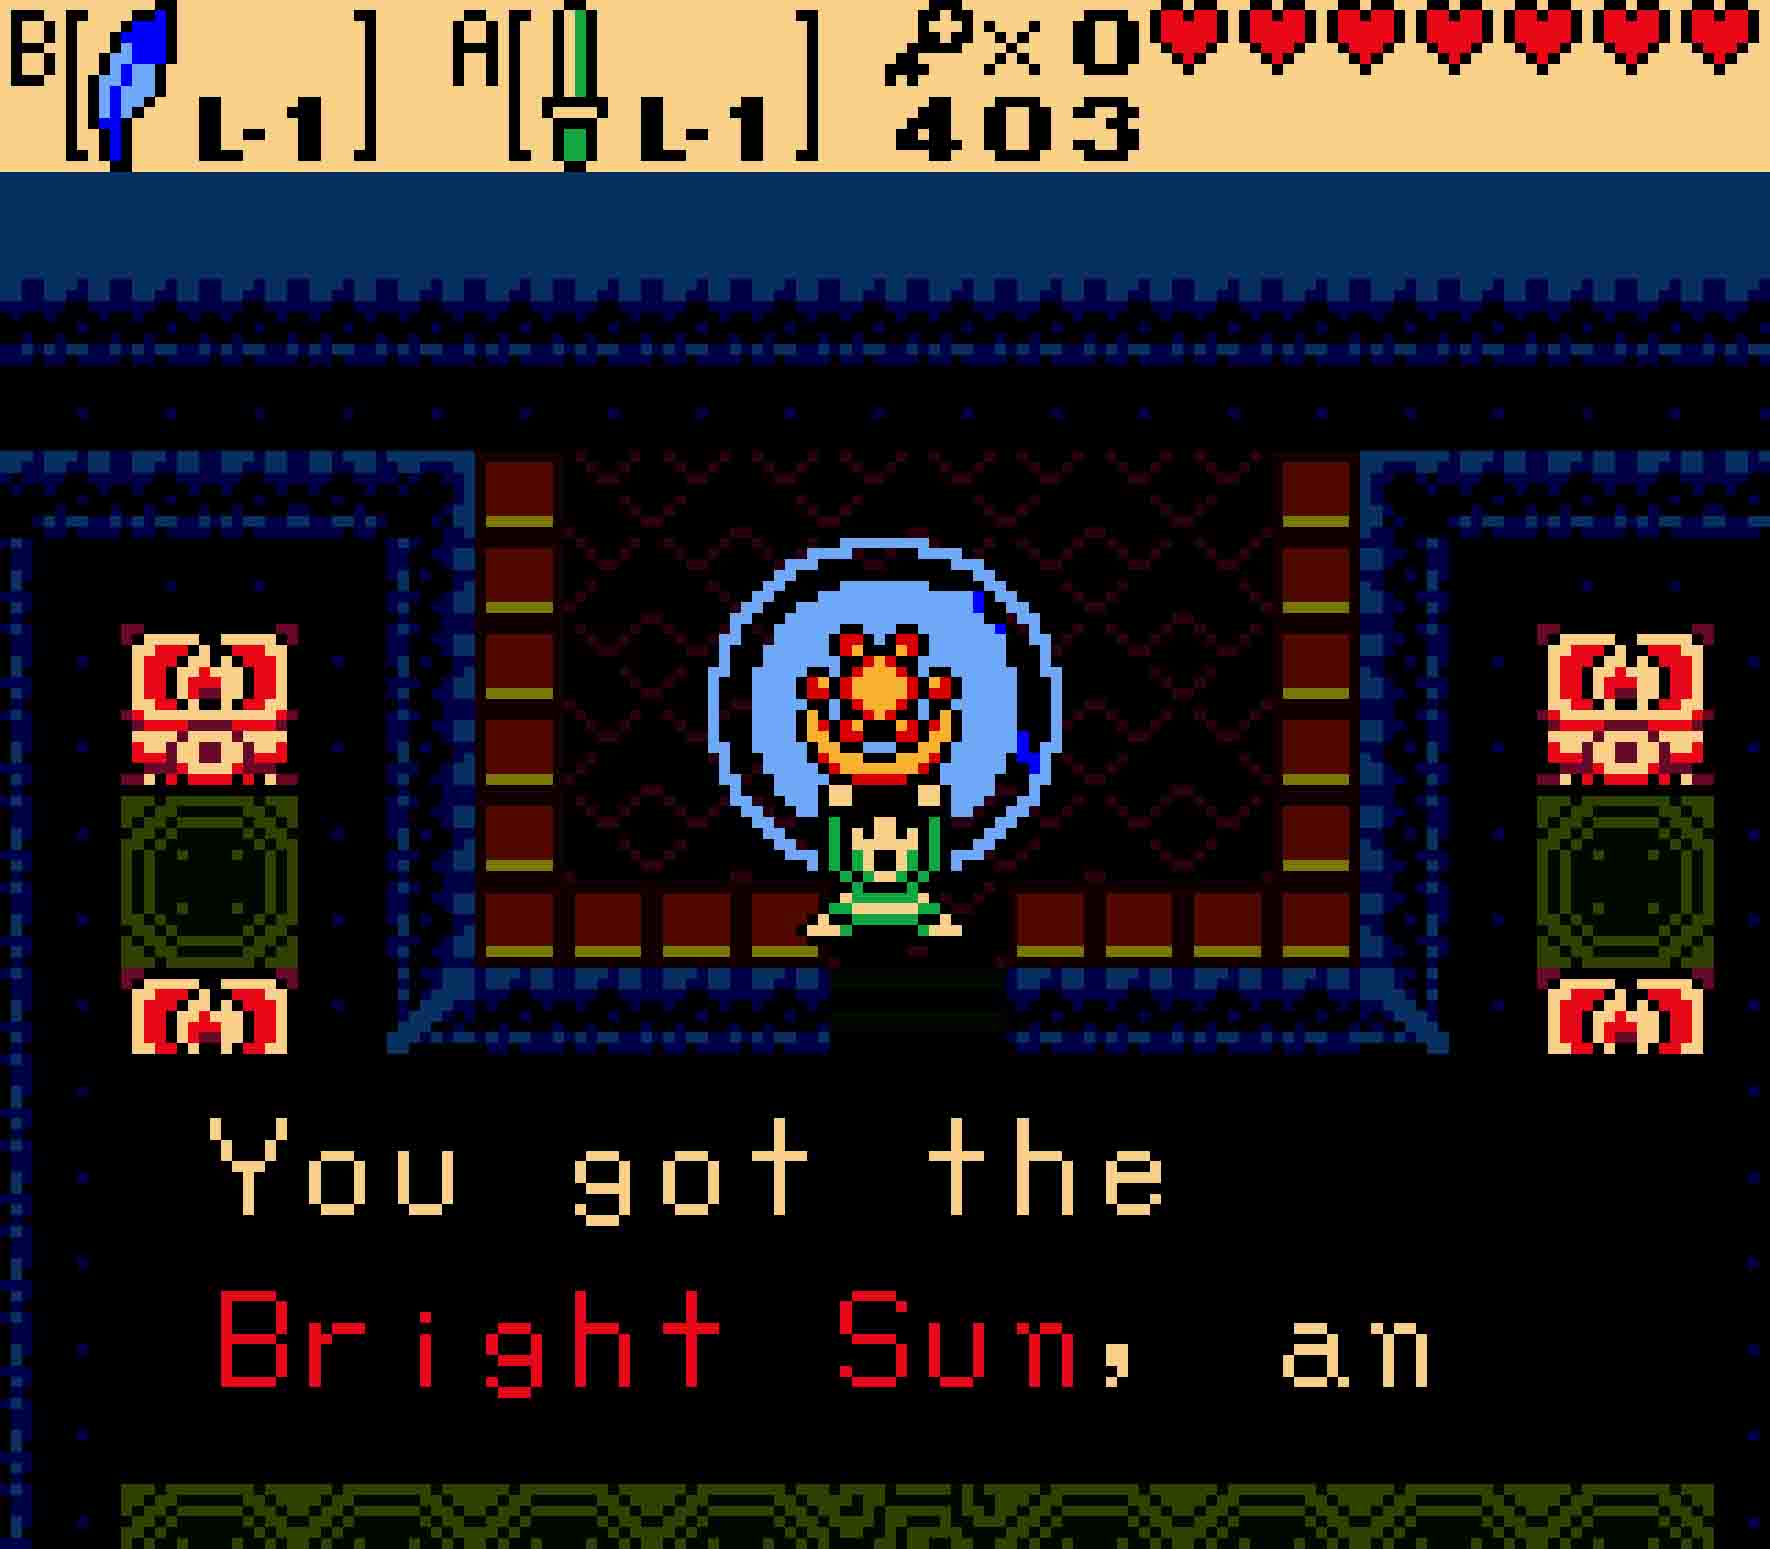
Once you attack Mothula enough times, eventually it will be destroyed, leaving behind a Heart Container. A staircase heading downstairs will also open up. Head down the stairs, which will guide you to the Bright Sun, the third Essence of Nature.