


Chapter 6: Spool Swamp
- 6.1 Return to Horon Village
- 6.2 Find the Scent Seeds
- 6.3 Beat up Blaino
- 6.4 Meet Ricky the kangaroo
- 6.5 Find some Pegasus Seeds
- 6.6 Fish up the Floodgate Key
- 6.7 Unleash the flood
- 6.8 Find the vortex to Subrosia
6.1 Return to Horon Village
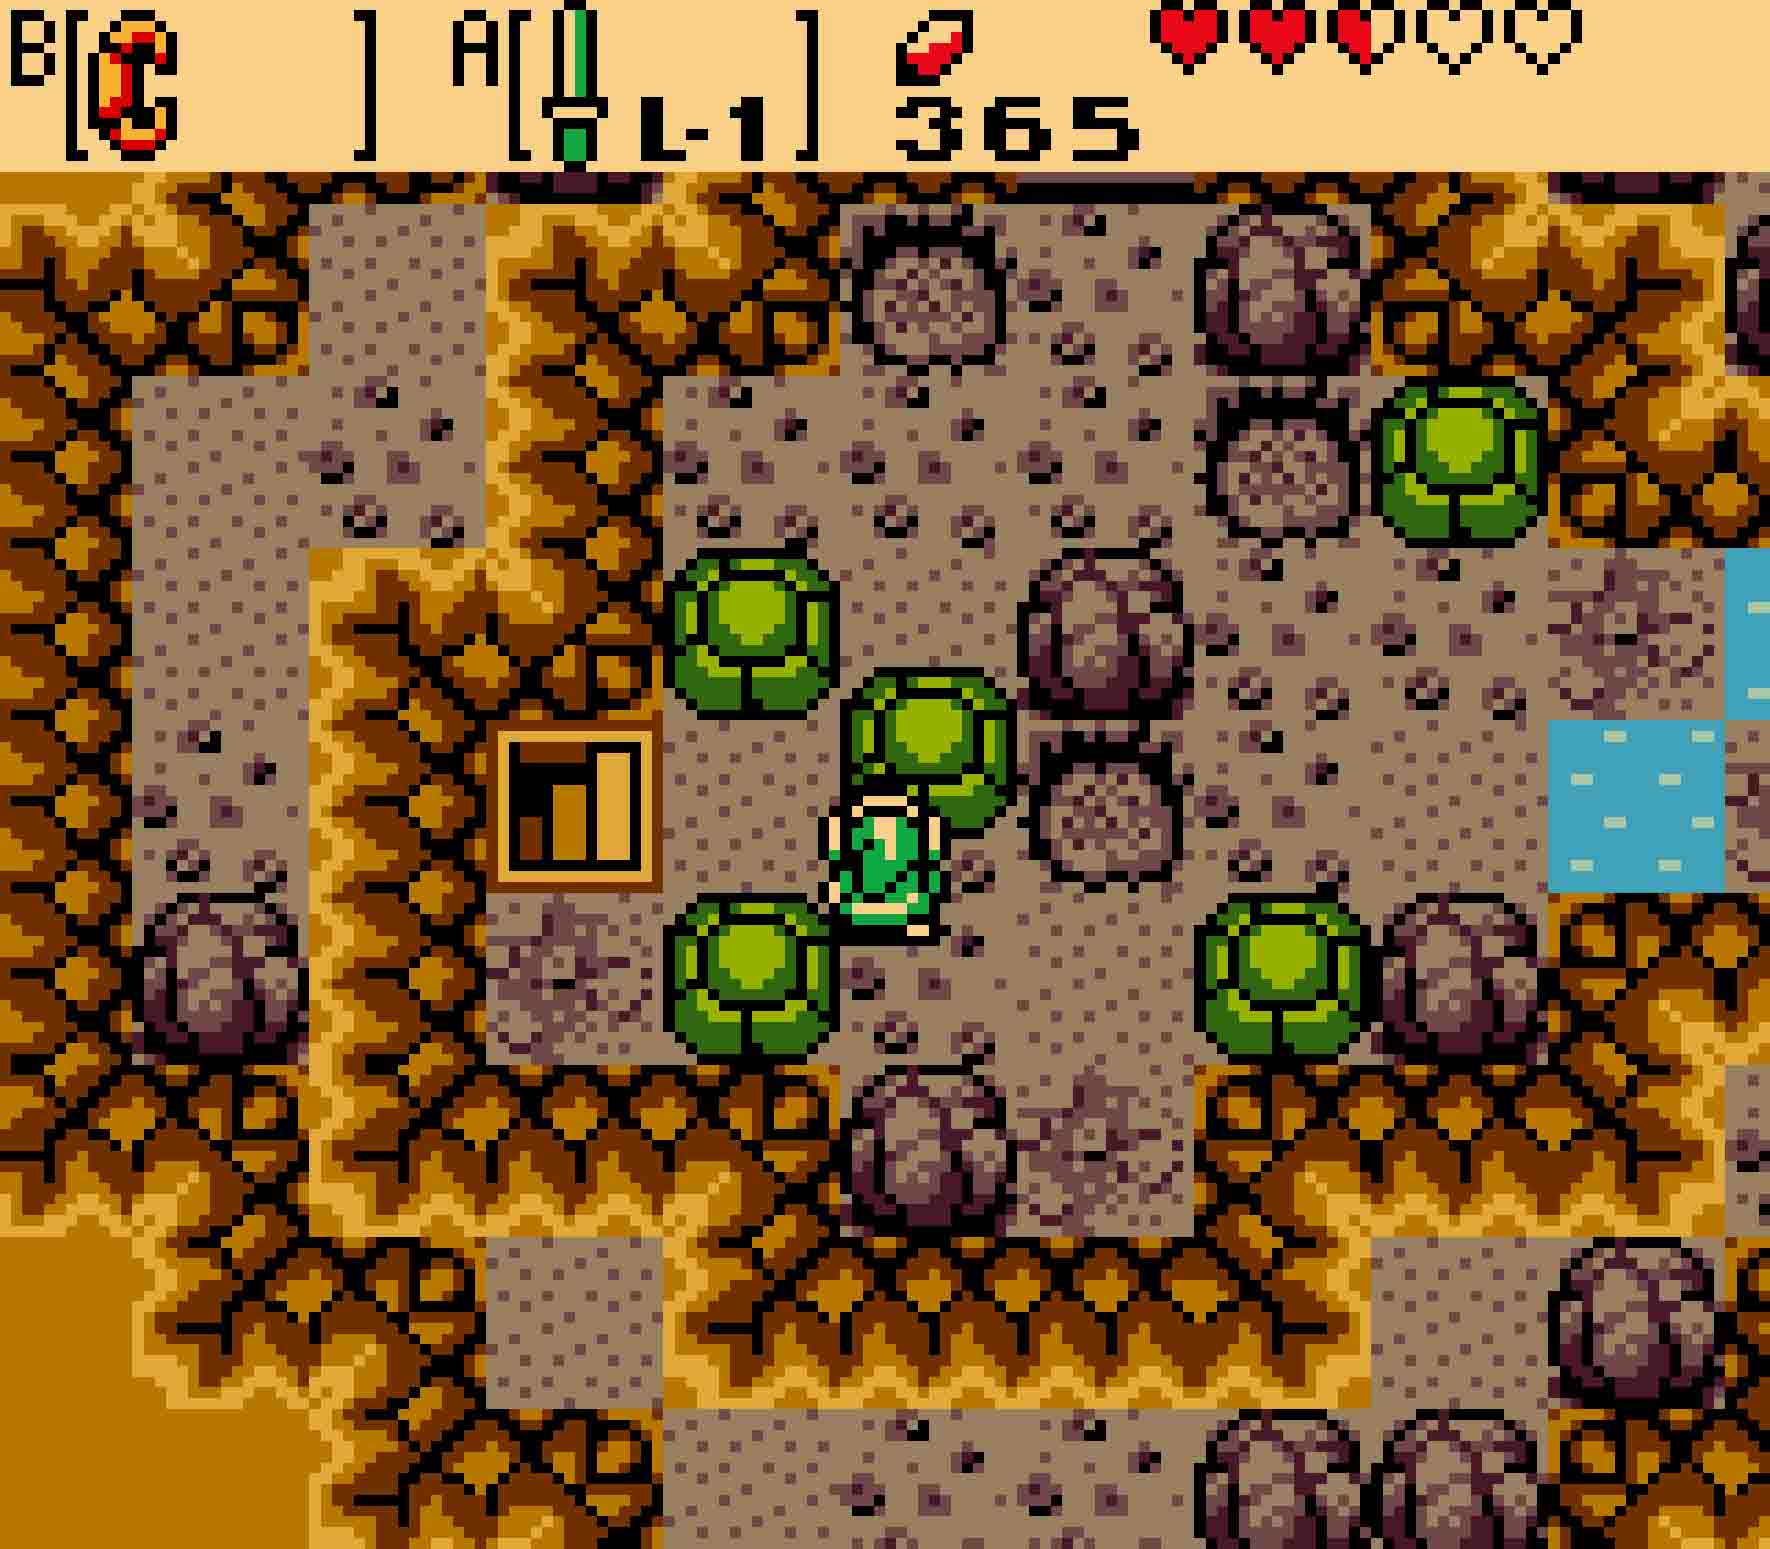
It’s finally time to return back to Horon Village in order to start seeking the third dungeon. First thing’s first: pick up the rock on the screen and head west.
If you’re playing a Linked Game, you can pick up your third secret of the game by returning to the house where you picked up the Shovel. Doing so will allow you to upgrade your Ring Box. You can also now get the fifth Piece of Heart in the game, which is located in the Woods of Winter. It’s an especially auspicious time to do so since you just changed the season that will be able to access it.
 As you transition screens, the season will turn to autumn. This isn’t good as the only way into and out of the Woods of Winter (for now) is to have the season be winter. Thankfully, there’s a tree stump one screen to the north. Watch out for the Peahat and the Moblins here, change the season, and then return. All you need to do to leave the Woods of Winter is to head south one screen and then cross the lake to the west.
Enemies will have returned to the corridor that Rosa took to flee from you, but the worst that you’ll encounter during this segment is Octoroks and Moblins, nothing you haven’t handled before. Continue heading south as far as you can go until you run into a huge snowdrift in front of you. Immediately head west, and you’ll be back to the Windmill high upon the cliff. Simply head south from there, and then Horon Village will be just to the west.
If you’re playing a Normal Game, you have a choice now to decide whom your future animal companion is going to be. If you want to befriend Moosh the flying bear, you’ll need to buy this from the Horon Village shop. If you want Dimitri the Dodongo, you’ll need to head back to the Subrosian dancing mini-game and compete for it there. Otherwise, if you do nothing, you’ll eventually befriend Ricky. If you’re playing a Linked Game, however, you’ll eventually get whichever Flute you had in Oracle of Ages.
6.2 Find the Scent Seeds
Horon Village won’t have changed much. About the only thing new to do here will be to visit Bipin and Blossom in the southwest of the town, who will want to ask you some parenting advice. Visit them if you wish; then leave Horon Village by heading out the northern entrance.
As you exit Horon Village in a Linked Game, Impa will rush out to you. She’ll tell you that Princess Zelda left Hyrule all on her own to come to Holodrum to help the people here. However, apparently she’s lost and possibly in a world of trouble. Impa directs you to search off to the north, which is just as well since that’s where you’re heading anyway.

 Pass Impa’s house and continue up the coastline as if you were heading to the Gnarled Root Dungeon. Instead of crossing the bridge to Level 1, lift up the rocks blocking the pathway to the north and continue heading northward.
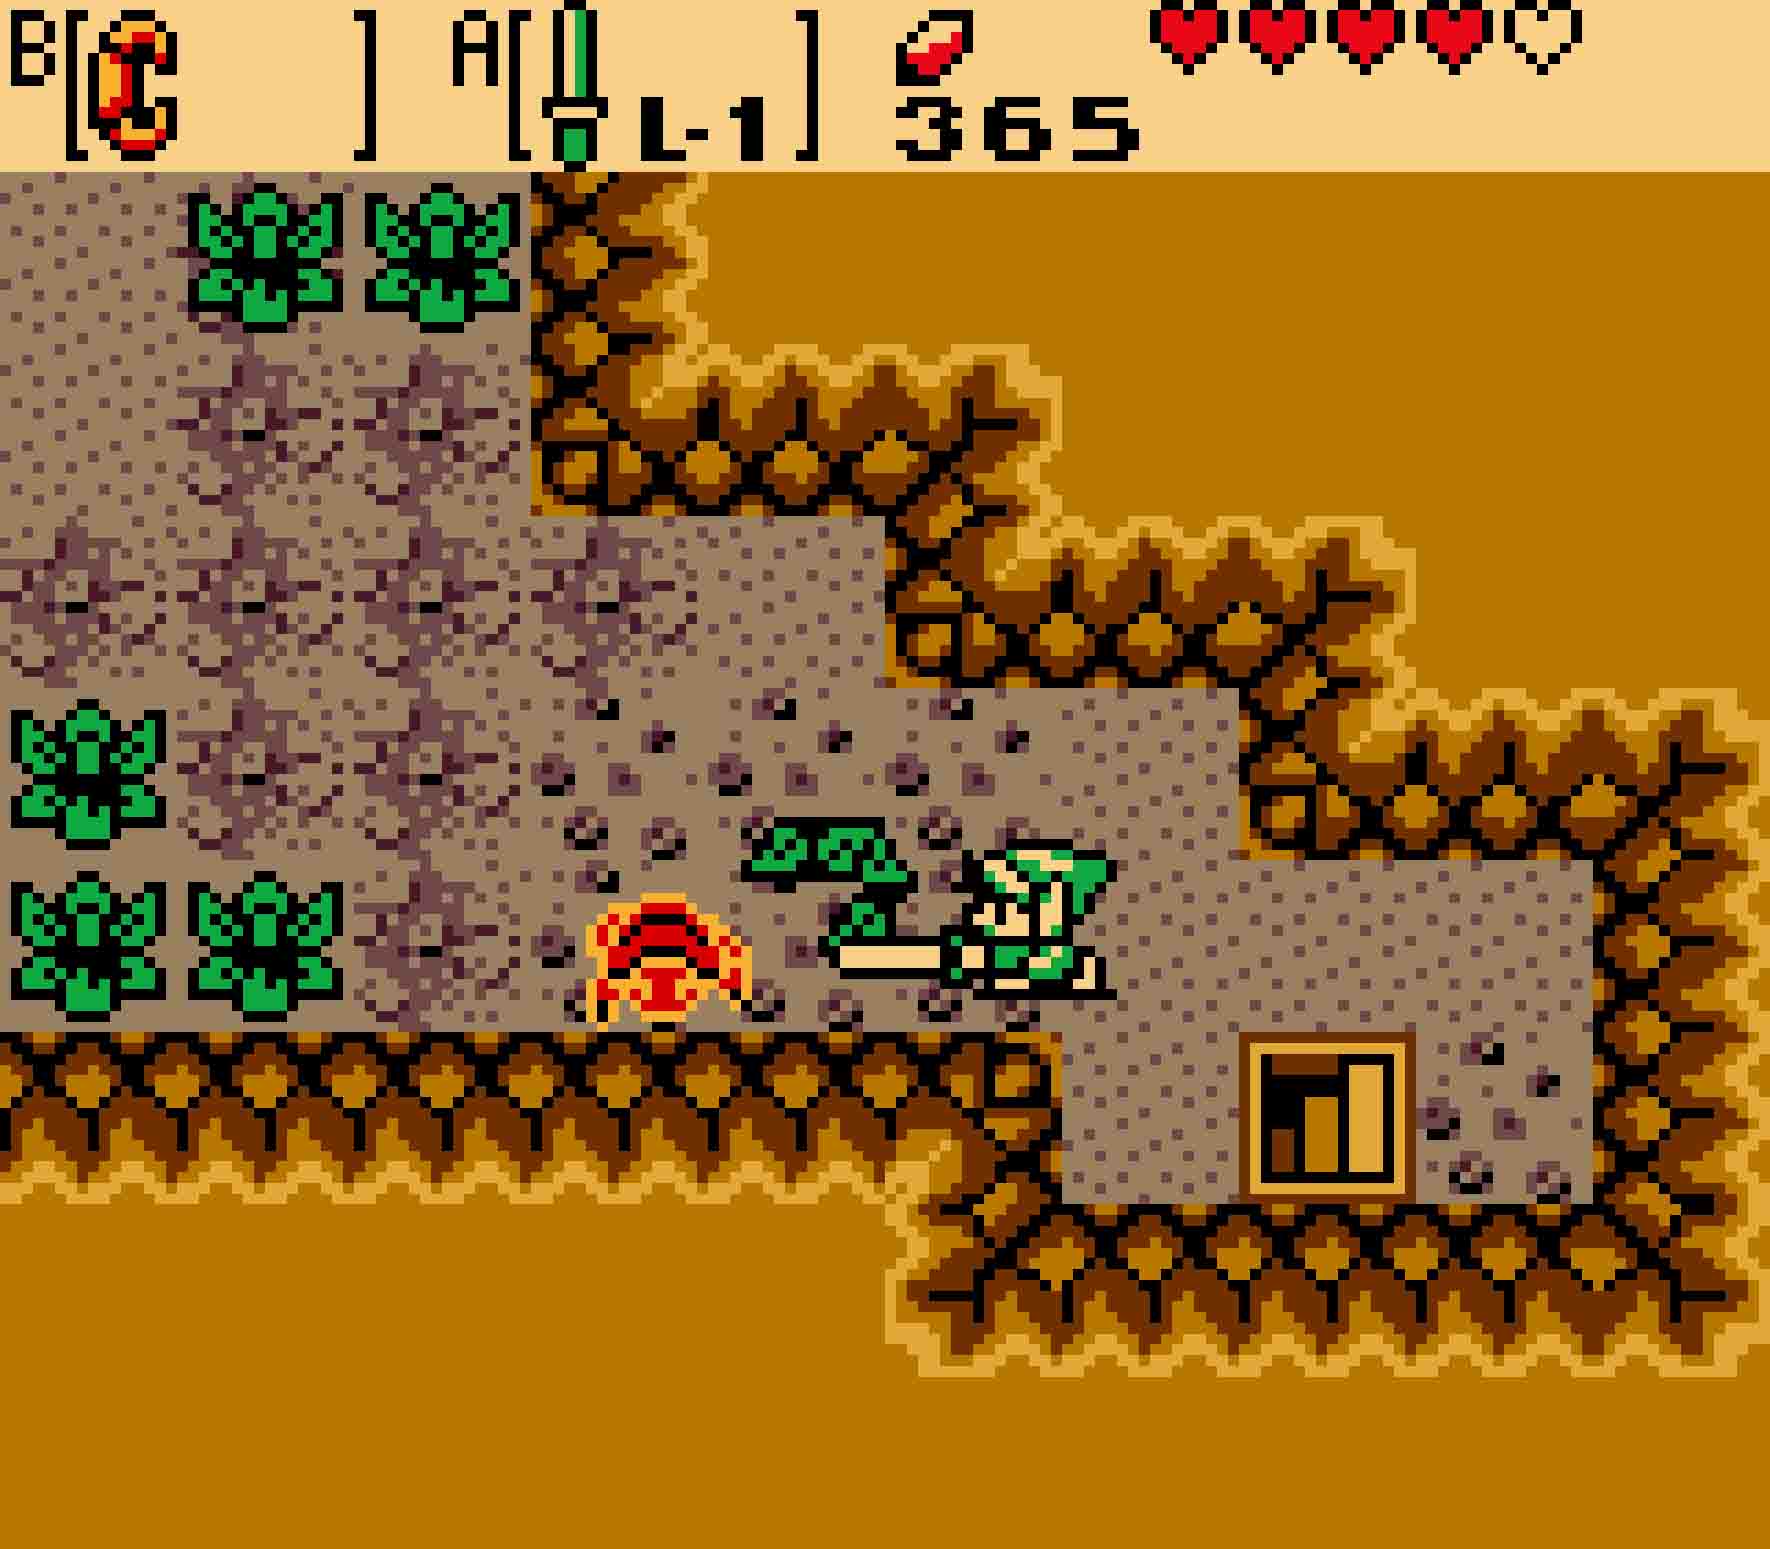
You’ll find some more annoying Peahats here. They’re particularly nasty because you can’t hit them so long as they’re flying about. The easiest thing to do is to dodge them and continue north. The next screen will have four enemies on it: two Octoroks and two Buzz Blobs. Buzz Blobs are also rather annoying enemies as trying to kill them with the sword is a big no-no; they will give you a nasty electric shock and keep on ticking. Honestly, it’s best to avoid them, but you can stun them with the Boomerang.
It’s here where you’ll run into Princess Zelda, who’s already being accosted by the Great Moblin. He spots you and immediately becomes angry. He’ll sic his Pig Warriors upon you in hopes of getting revenge; however, they’re simple to mop up. Defeat the four of them, and the Great Moblin will storm off in a huff. Zelda will greet you and give you a magical ring to keep. And then she’ll leave and spend most of the rest of the game with Impa in Impa’s house.
-

- If you’re playing a Linked Game, you’ll have the opportunity to prove your heroism to the princess.
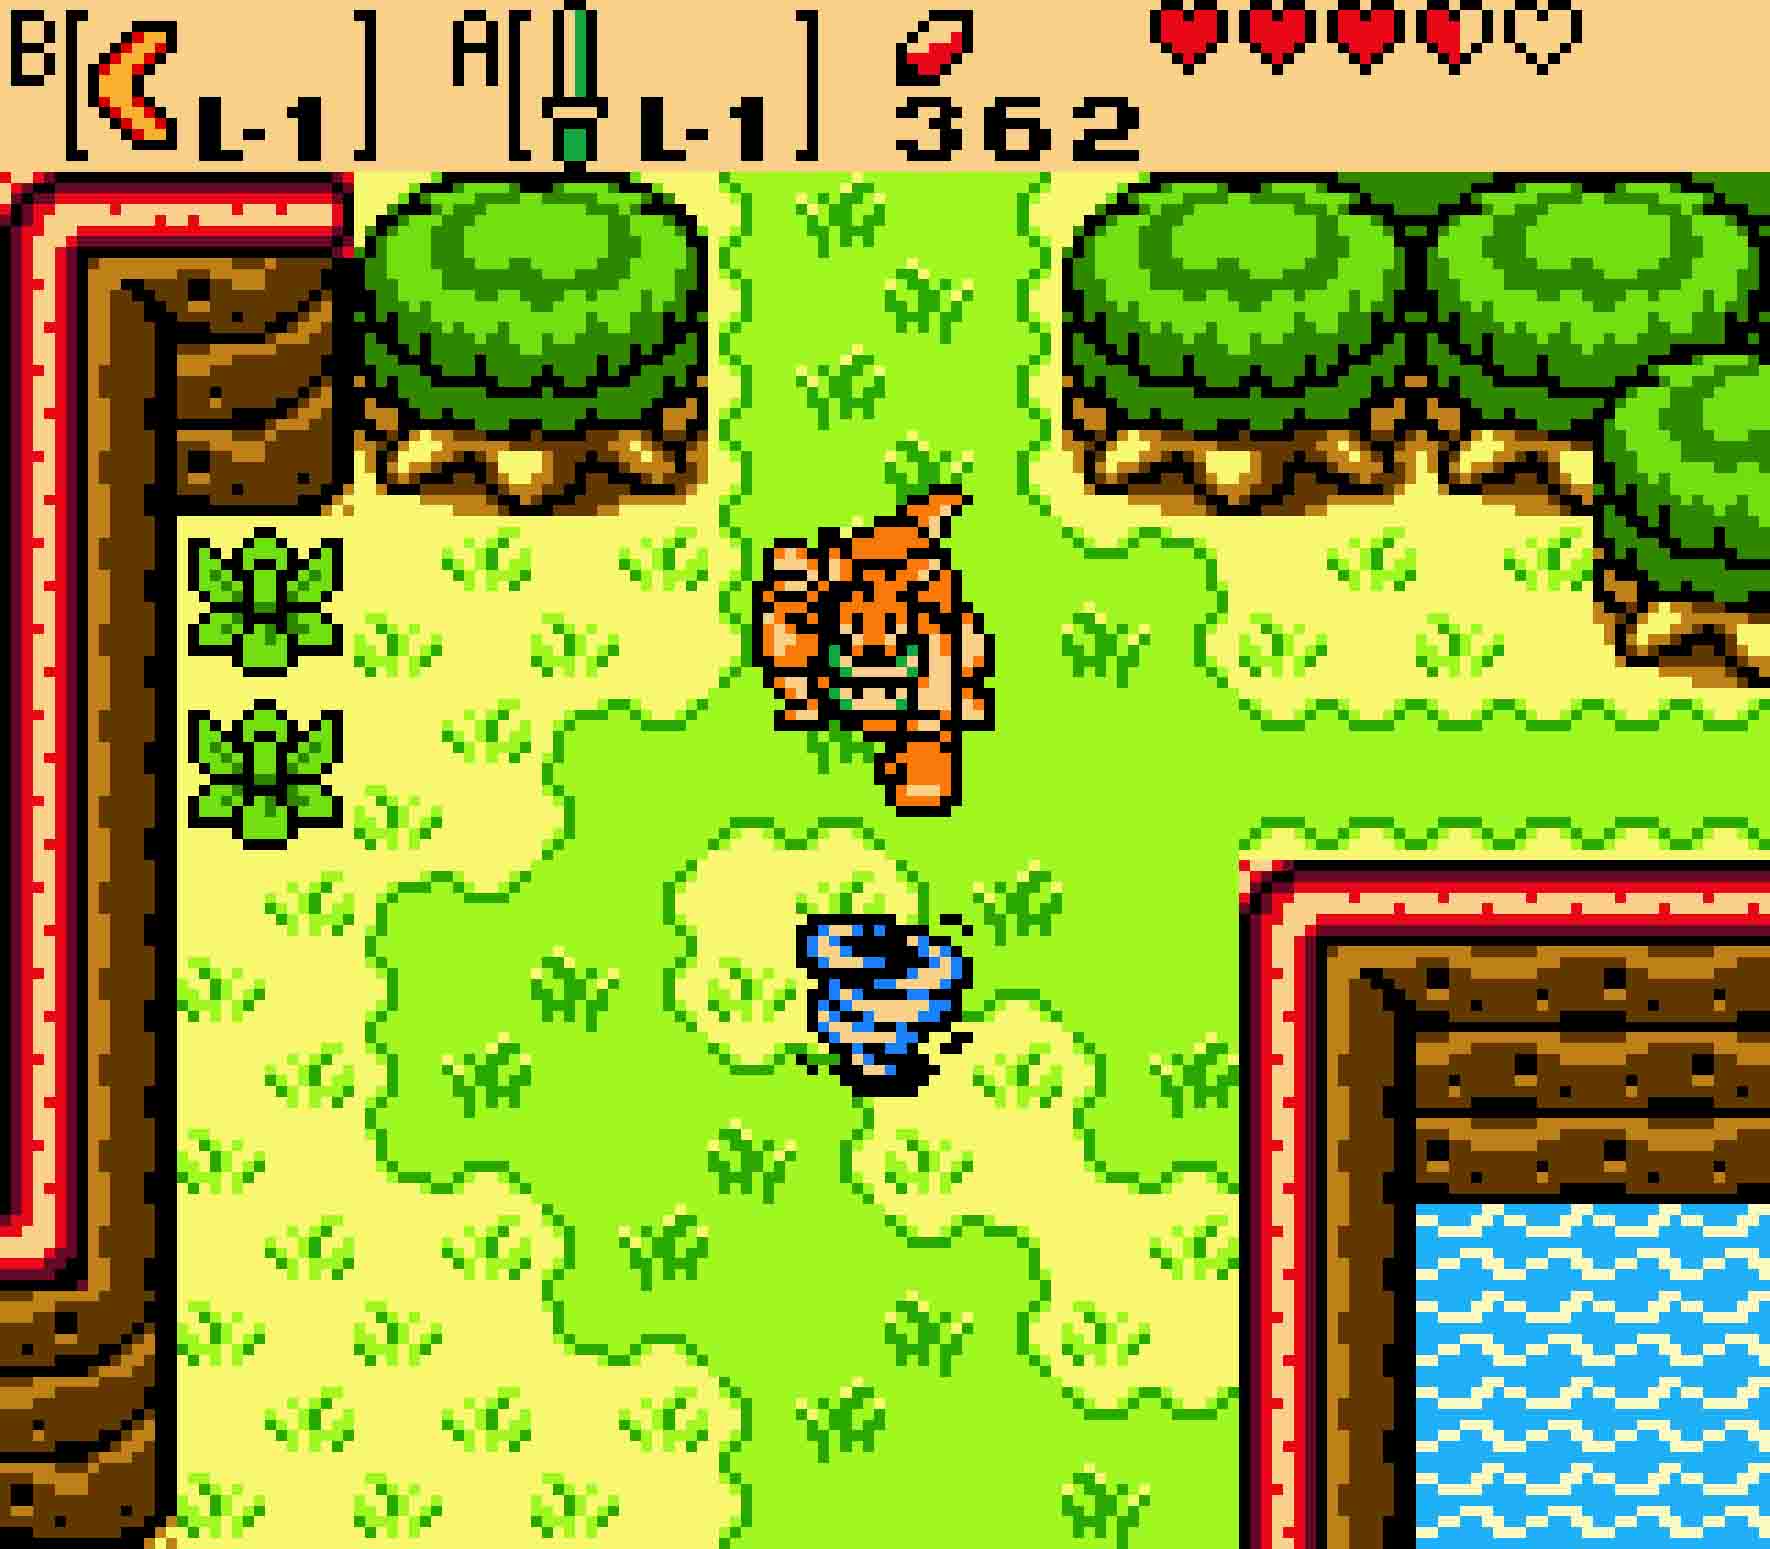
Heading north once more will bring you to another teleportation point (at least one day). Here, you can collect Scent Seeds from the tree. These seeds will attract monsters to them as like bears to honey. They’re generally not extremely useful; however, it can be a winning strategy sometimes.
6.3 Beat up Blaino
From the tree, head east one screen and then south one screen. There you will find a house of sorts. It’s actually a gym, not surprising because it has the picture of boxing gloves on top of it. Enter inside, and you will find Blaino. Blaino will challenge you to a duel for 10 Rupees… though subsequent rematches will cost twice the price should you break the rules. If you manage to knock him out of the ring, you’ll win a special prize.
Accept his offer. However, in doing so, you’ll be stripped of all your items, left with only the ability to throw a meager jab. Your punches are barely worthy of being called melee attacks as there’s extremely little range to them. However, that’s the best that you have.
-

- Far north of Horon Village is Blaino’s gym, and you can have a bout for 10 Rupees.
-

- To knock him out, the easiest way is wait for Blaino to wind up before striking.
The key to knocking Blaino out of the ring is twofold. First, stay towards the center of the ring; that much is pretty straightforward. The second is that your punches will really only be effective whenever Blaino is winding up for a bigger punch. That’s really the moment when you have to effectively knock him back. For the rest of the fight, you will almost certainly get “hurt” should you try to punch him, though don’t fear; you’re not actually losing hearts. Knock Blaino out of the ring, and he’ll give you a prize: Ricky’s Gloves.
6.4 Meet Ricky the kangaroo
You haven’t met the owner of those gloves, but it’s time to meet him now. Before doing anything though, you should realize that all of your items (and rings!) are still unequipped. So get your gear sorted out before you head out.
To begin, it’s time to backtrack to just before the Scent Seed tree. Head north, west, and then back south, watching out for the Peahats and the Buzz Blobs along the way. Once you reach there, it’s time to forge a new path by heading west.

If you don’t head west here, you’ll eventually run into a dead end.
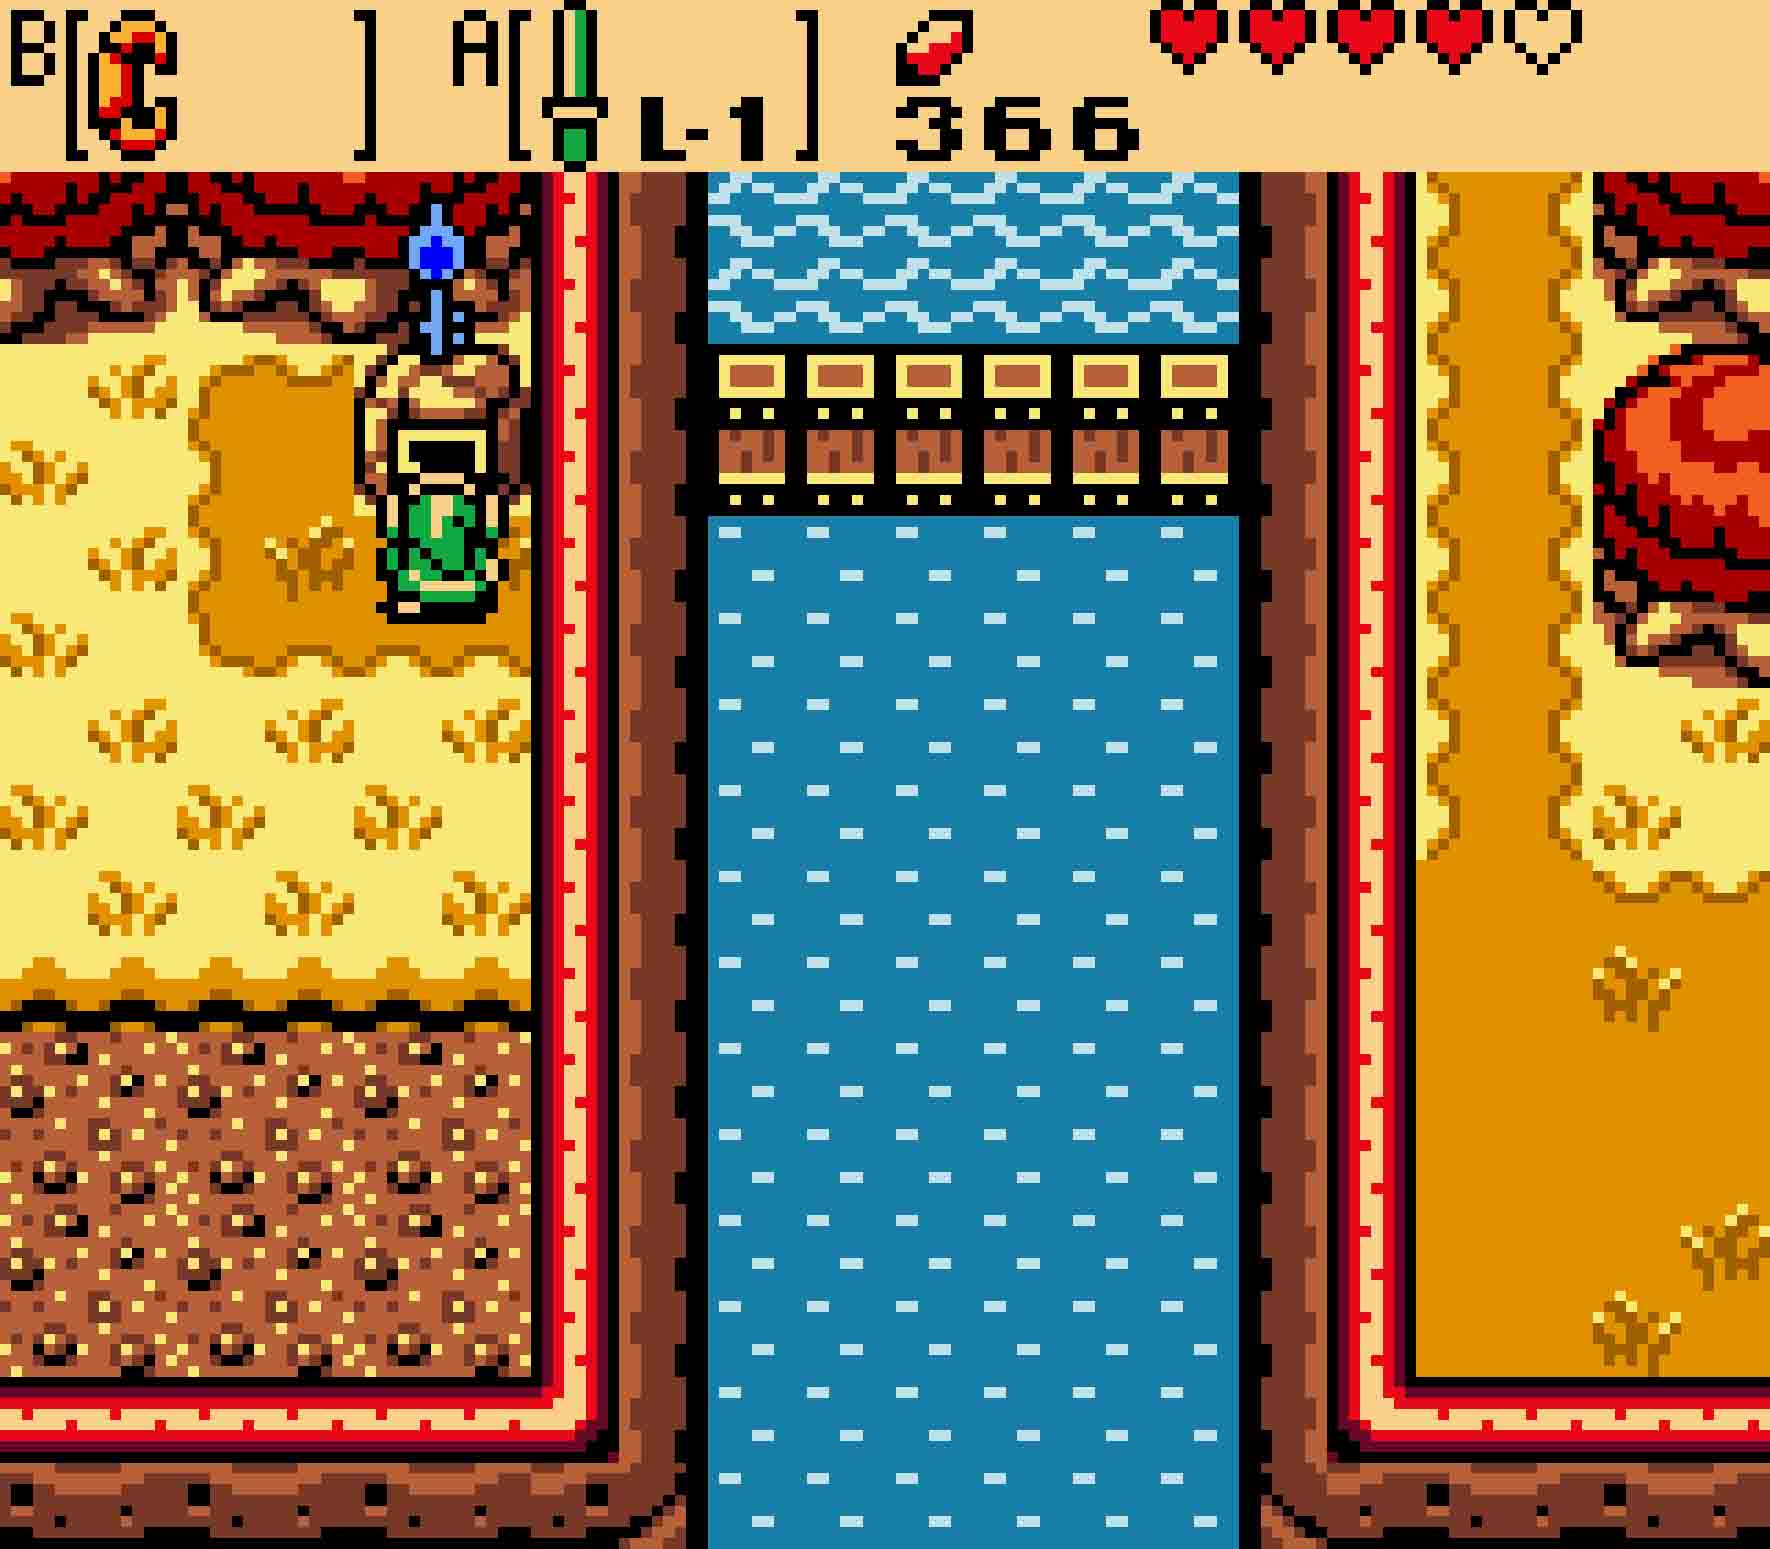
You’ll emerge onto a narrow overlook of a large lake. The only enemies to do watch out for here are the River Zora, who will spit out fireballs as you make your way on shore. Head north, and you’ll immediately find another Peahat ready to do business with you. Defeat it if you wish, then head west two screens, crossing over a bridge over the lake below. You’ll have entered the wide open Holodrum Plain, and you’ll have the choice of heading north or south. Heading south won’t actually get you anywhere at the moment, so head north.
“I’m Ricky! Th-those are my gloves! You brought them back? Thank you! If you beat Blaino, you must be tough.”
There you’ll meet a rather dejected looking kangaroo. His name is Ricky, and he, in fact, is the owner of the boxing gloves you just won. He says he’d help you if only his boxing gloves hadn’t been stolen, but you can help him with this problem. And you should because you need his help too. Give him the gloves, and he’ll offer to take you on a nice ride through the Holodrum Plain to his home, the Spool Swamp.
6.5 Find some Pegasus Seeds
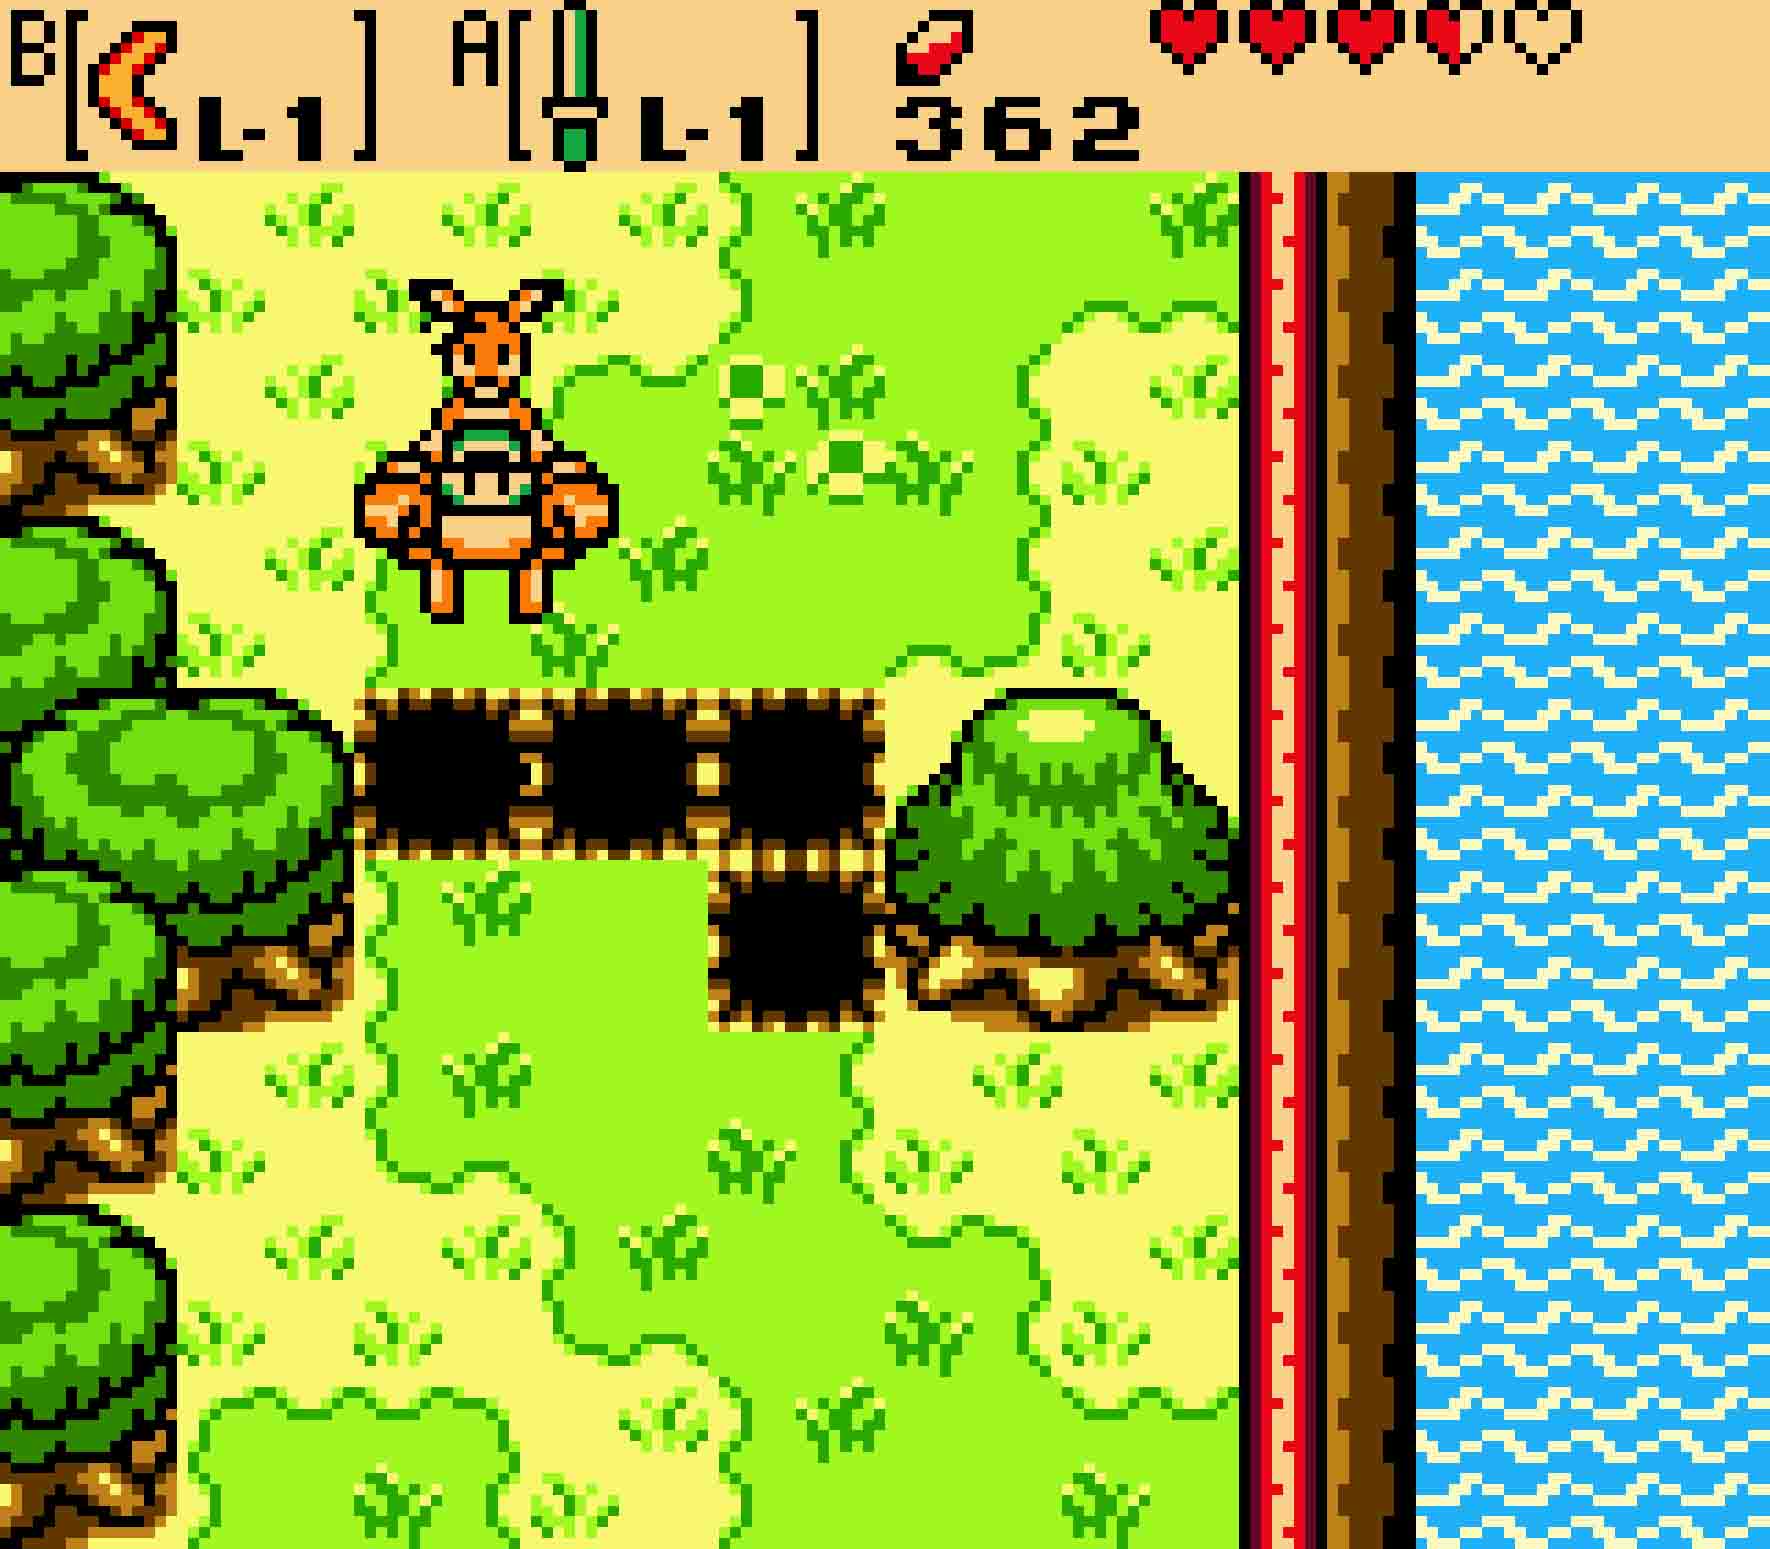
Take up Ricky on his offer and hop into his pouch for a free ride. You’ll control Ricky, and his moves are quite different from Link’s. For starters, he can’t use items, but he has a rather awesome punch. It can even destroy Buzz Blobs without a problem! You can also charge up his punch to let go of a charged punch, which will send a gust of wind in a straight line, clearing out any bushes or enemies in the way. Otherwise, you can jump out of Ricky’s pouch any time you like, but you will need to guide him a fair distance. Ricky doesn’t walk but rather hops, just like you’d expect a kangaroo to do. He can even jump up tall cliffs or over a single pothole in the ground, but don’t try to have him jump over two in a row.
-

- Ricky’s got a trio of moves, all of which will be useful here.
And you’ll immediately be putting Ricky’s skills to the test. Head south twice. You’ll find a row of potholes, though the rightmost column of potholes is a double pothole. Remember, Ricky can’t jump over two in a row; as such, you’ll want to leap across on the left-hand side. Continue south, and do the same over the single potholes on the right side of the screen. As you continue south, you’ll start to run into enemies — Octoroks and Buzz Blobs notably — but they’re no match for Ricky’s punches. Take them out and continue along by going south two screens, west one, and then north one.
If you’ve collected the Ghastly Doll, you can stop in at the house while along this route and trade it for the Iron Pot.
After you head north, you’ll see a tree stump. Unfortunately, summer is the season where vines will grow up this cliff, and we don’t have the season of summer yet. However, Ricky is with you, meaning that you don’t need summer. Hop up the cliff and continue north.

Chomping on a Pegasus Seed will make you as fast as the wind!
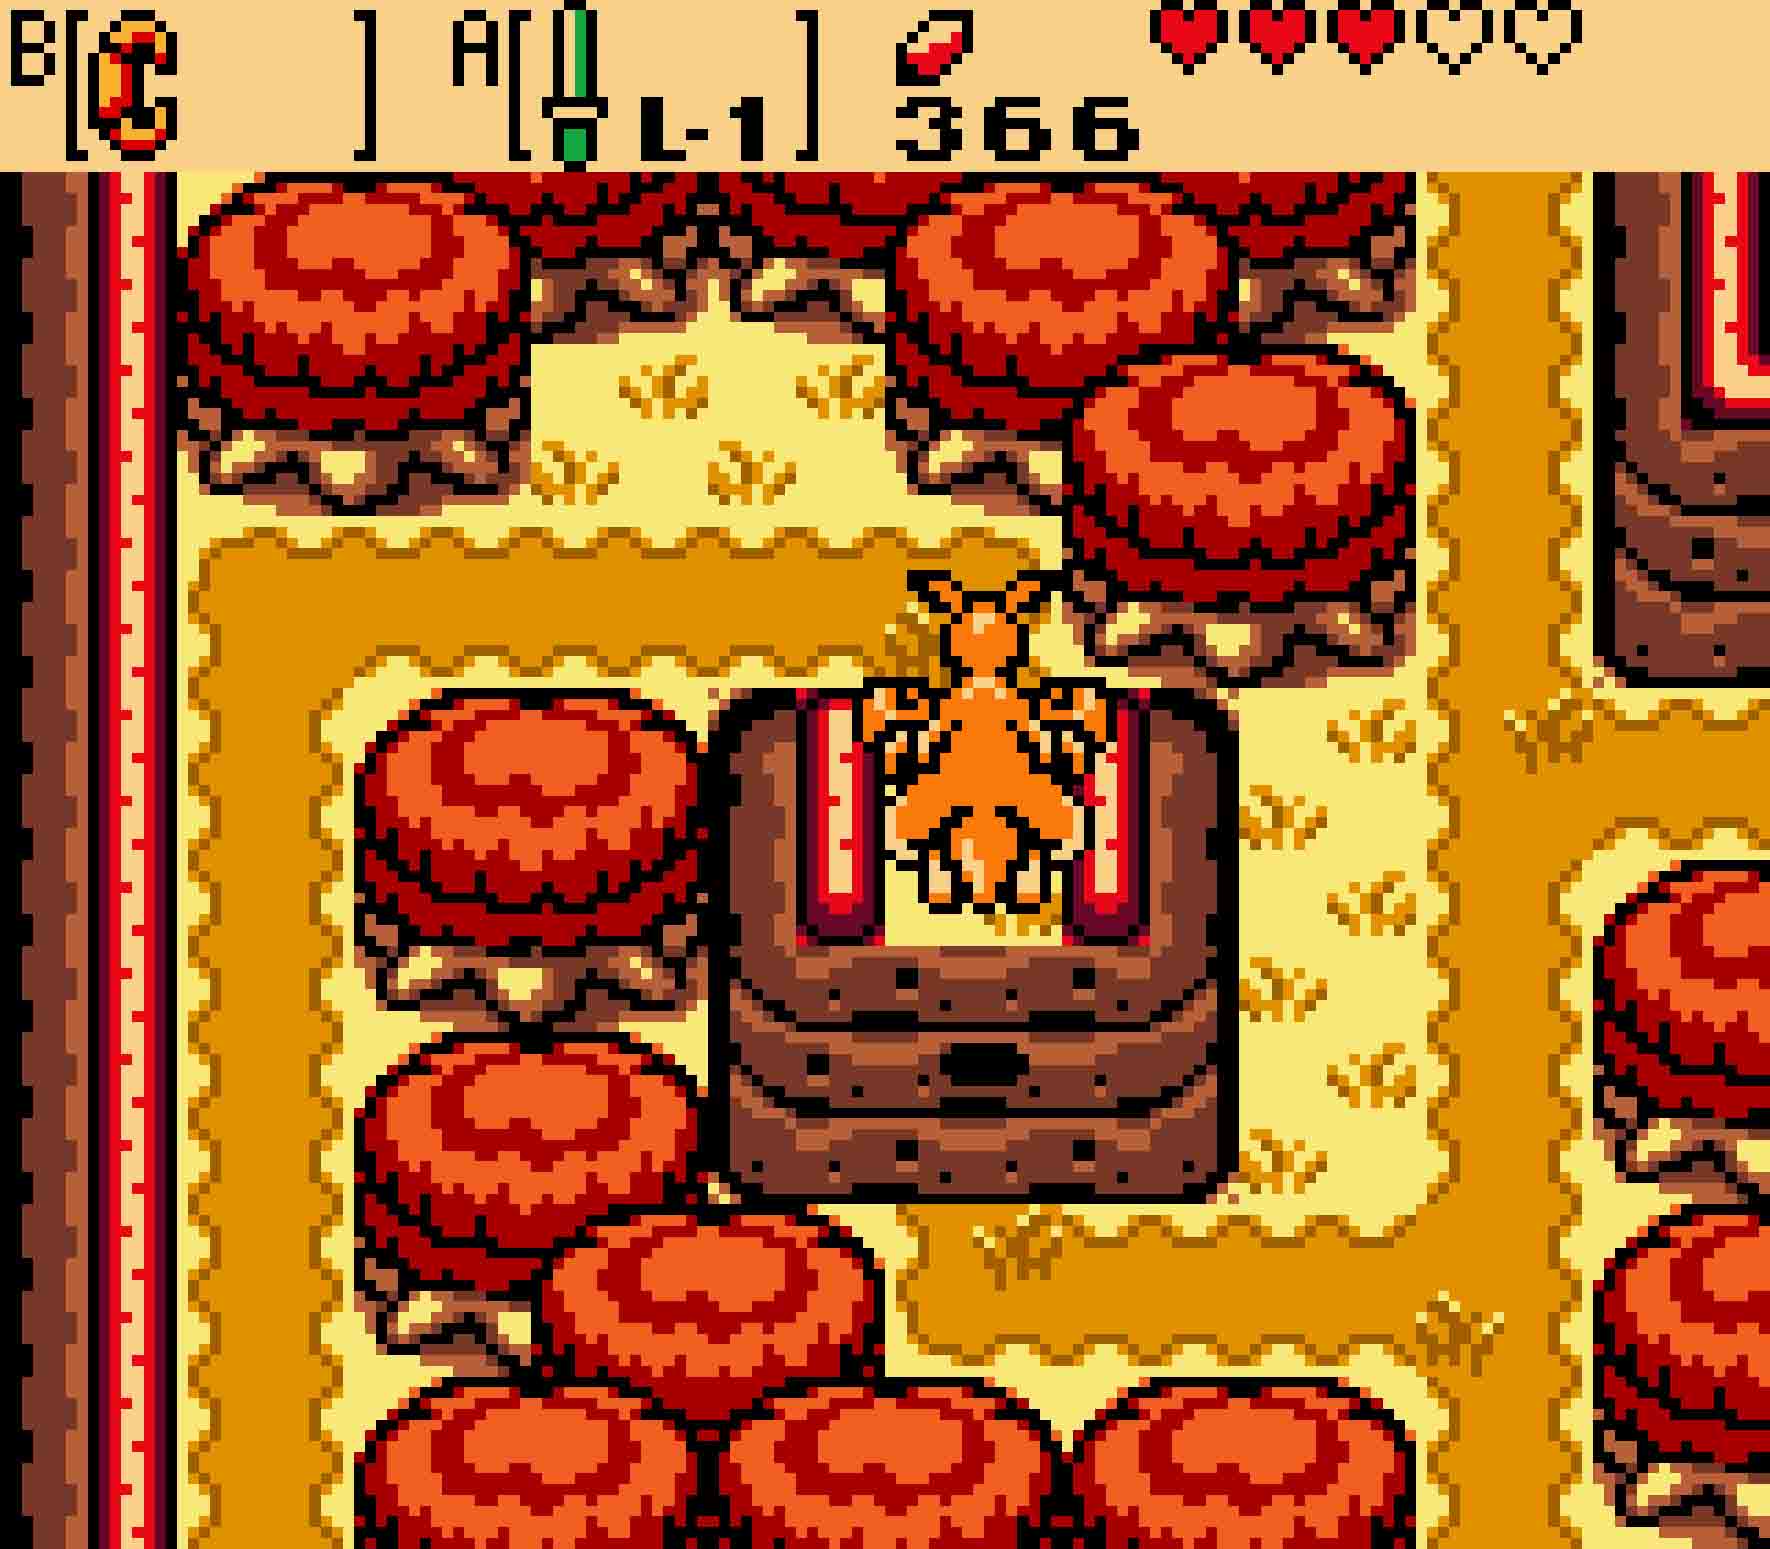
The season will turn into autumn as you continue along. Continue north for two more screens, which will cause you to run into two Takkuri birds. These birds will sit idly in their trees until you get close; then after a brief pause, they’ll dive bomb you.
When you reach the Takkuri birds, veer off to the west. There you’ll find another teleportation tree, and this tree will offer you a new type of seed: Pegasus Seeds. Eating a Pegasus Seed will allow you to dash and run quickly for several seconds before they wear off. Grab them before you head out.
6.6 Fish up the Floodgate Key
This is the official entrance to the Spool Swamp. Head south from the tree. You’ll soon be assaulted by Tektites, which will hop around at you as they try to land on your head. These guys aren’t too much of a challenge so long as you don’t let yourself get ganged up upon. Head west, where you can see a keyhole on the other side of the river. You can’t get to it yet, so just proceed north twice and then east once.
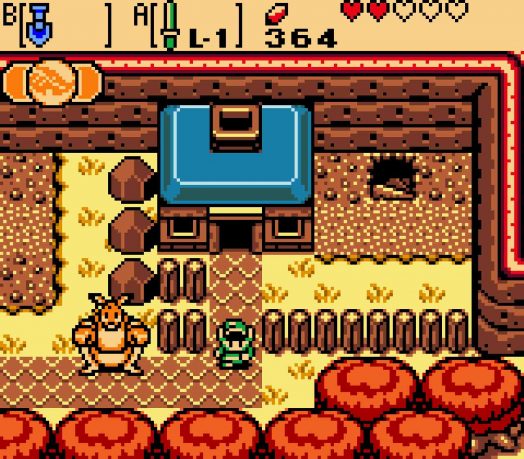
You’ll find a house here, so you should hop out of Ricky’s pouch and go inside. Inside you’ll meet the Floodgate Keeper. He says he can lower the floodgates for you, but unfortunately he’s lost the key to that keyhole you saw earlier. Thankfully, the key is much closer than you think. There’s a switch in the lower-right corner of the room. Flick it with your sword, and it will cause water both inside and outside to drain away. Inside, that water will drain a small well in his house where, surprise surprise, you can find the Floodgate Key.

Hard to imagine how he lost his key there…
Head back outside, and you’ll see that the small puddle of water there has been drained away as well, exposing a staircase that heads deep into the earth. This will take you over towards that keyhole you saw earlier. However, you can’t take Ricky through the cave network as he’s a bit too big. But he will kindly wait for you. As such, you’ll have to leave him behind as you enter the caves.
6.7 Unleash the flood
 Inside the caves, there’s a switch that you can step on near the stairs. However, this button will pop back up once you step off of it, causing the newly formed bridge to slowly disappear. Now’s the time to use a Pegasus Seed. Use it first; then run over to the button, step on it, and immediately dash off to the left. You’ll make it across the bridge in just the necessary amount of time.
You’ll then have to face yet another sliding stone puzzle. This time it’s compounded by the fact that certain rocks you need to pick up and dispose of are in the way. Solving the puzzle, however, isn’t that tricky thankfully.
Solving the stones puzzle
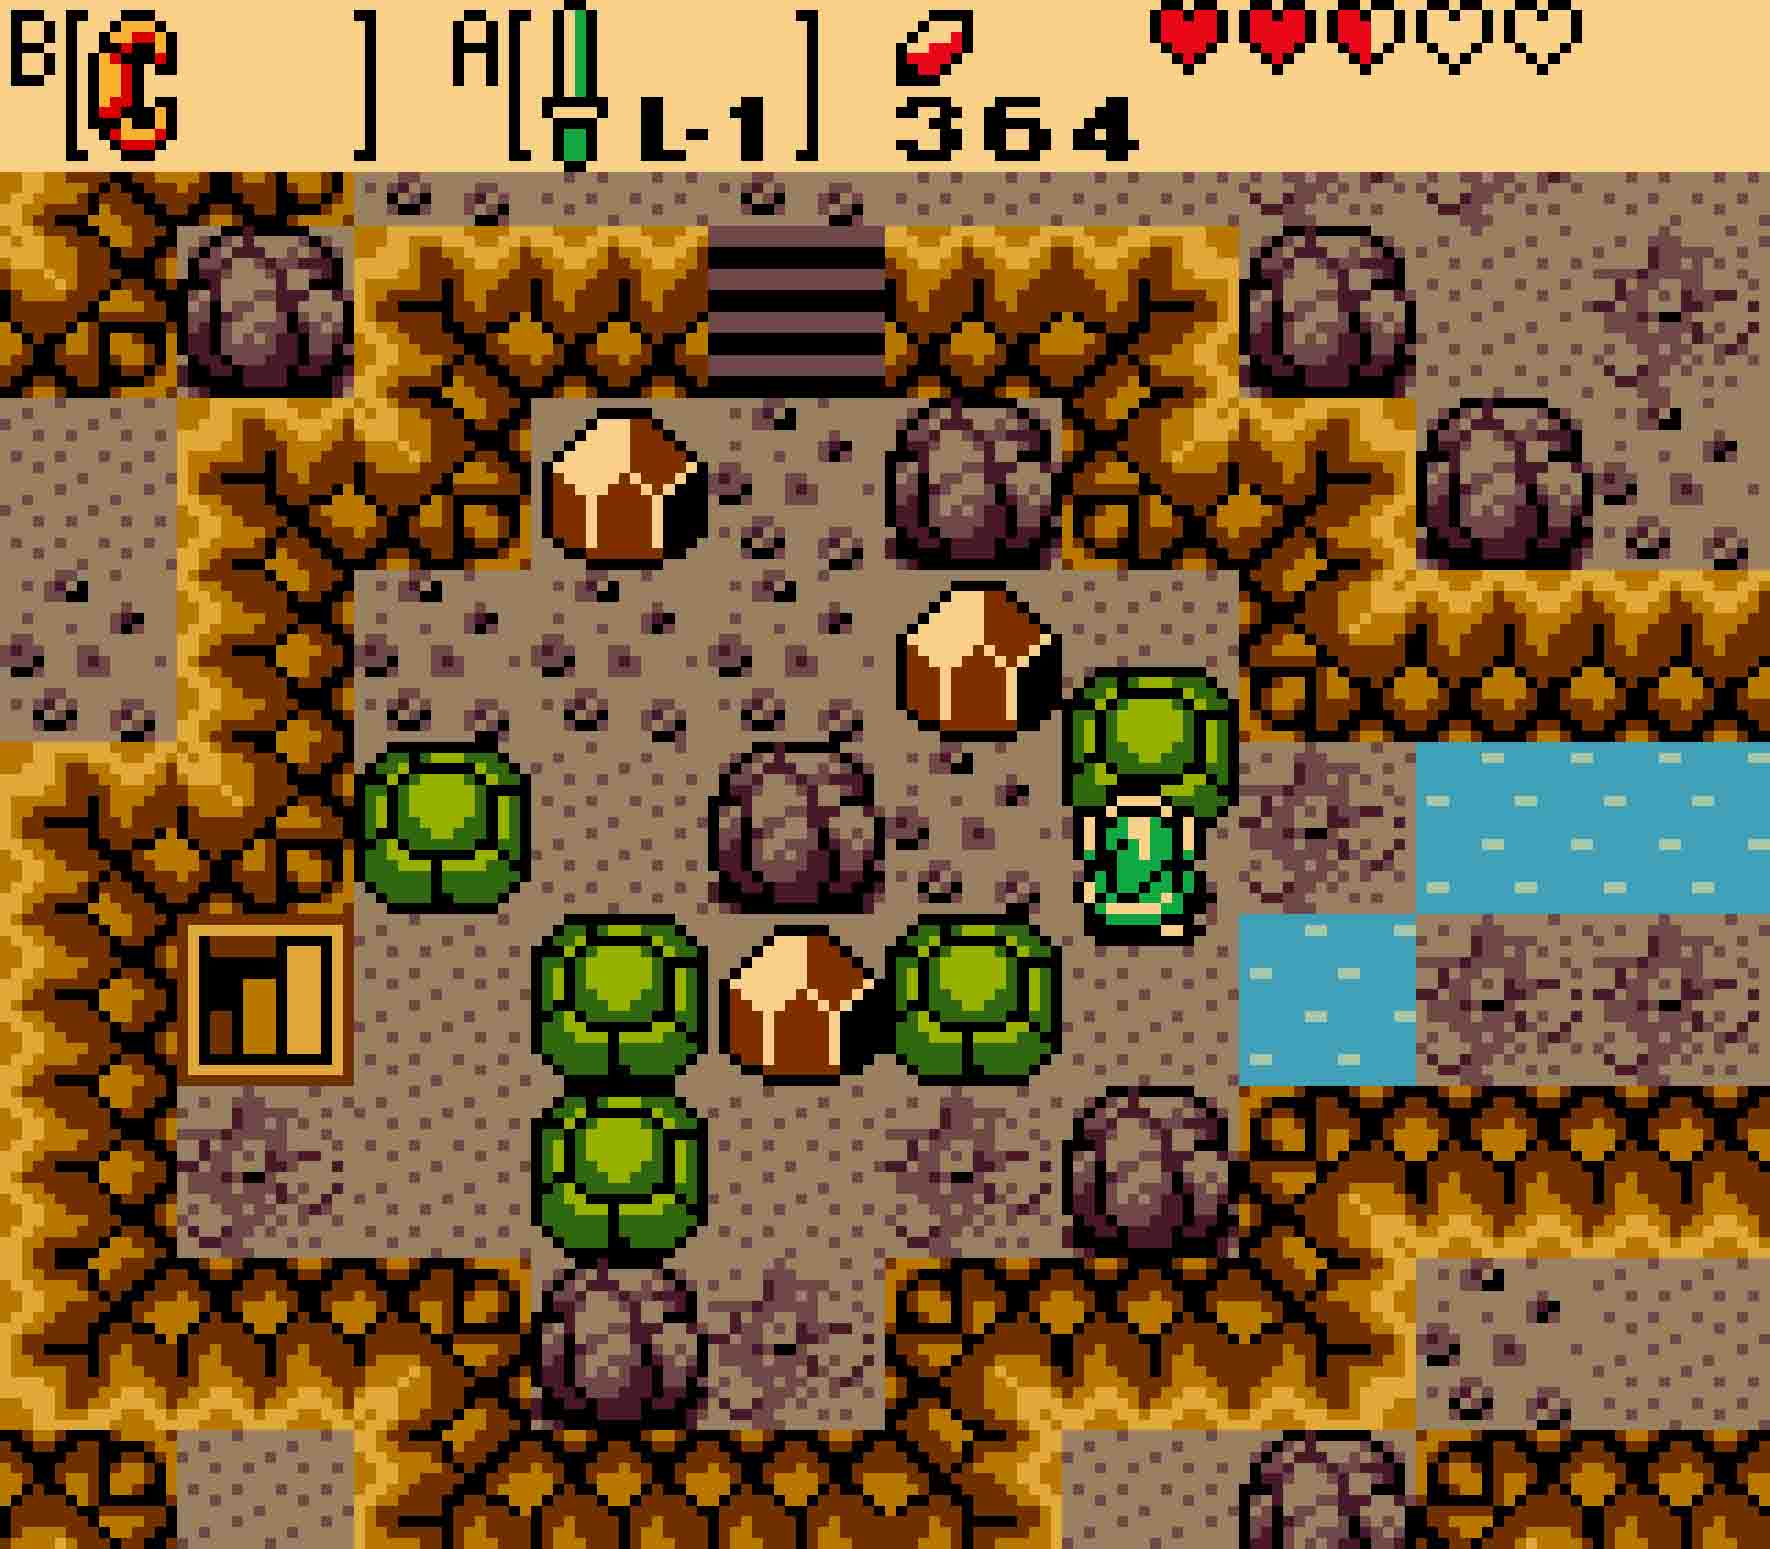
Step One Move the rightmost stone up.
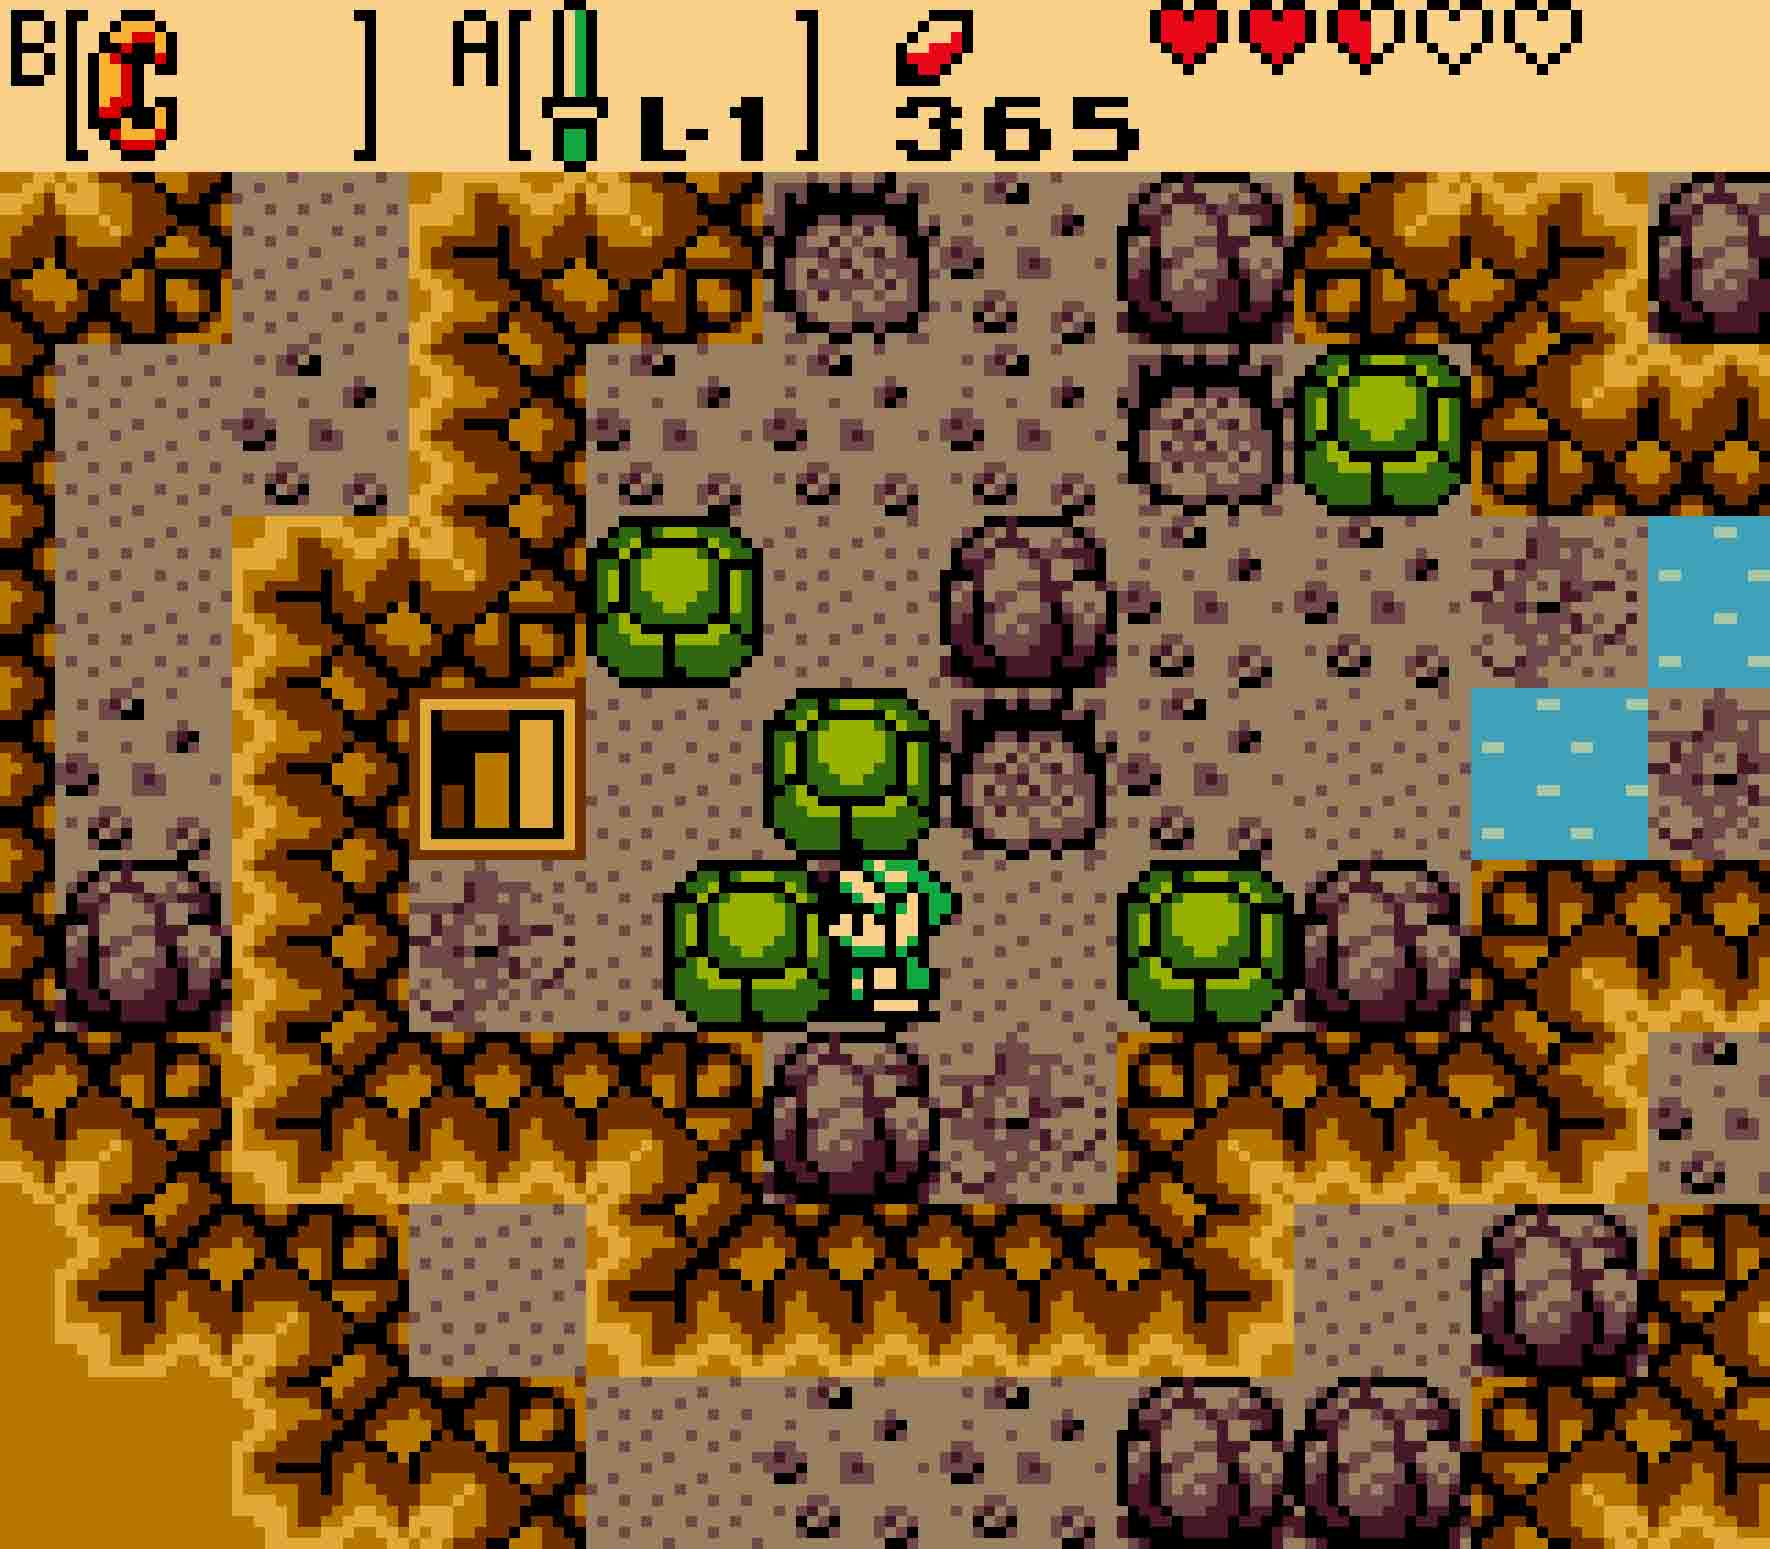
Step Two Move the next accessible stone down one tile. Dispose of the rock, and then move the lower stone to the left.
Step Three Move the stone that was just above the previous stone up one tile. This should open up a path to the staircase.
Upstairs, you’ll find some Zols that will harass you as you pass by. Carefully walk counterclockwise around the huge lake in the middle of the room, getting rid of rocks as you go and kill the Zols. Once you reach the staircase going up, head upstairs.
You’ll be quickly under assault by Spiny Beetles. Spiny Beetles know the art of camouflage and will hide beneath bushes or rocks and try to ambush you when you least expect it. Clear out the bushes, always being aware that an enemy might be lurking beneath one. Make your way through the room, and eventually you’ll find the stairs up and out of the cavern.
-
- Clear the rest of the underground, and you’ll be on the other side of the river.
-
- Once you insert the key, you’re unleashing the flood. The landscape will be changed.
Head south once you’re back above ground. You’ll find more Tektites on this screen, and there’s also a Deku Scrub that will try to sell you another Shield for 50 Rupees if you’ve lost your previous one to a Like Like. The keyhole is just to the east, and you can walk straight up to it and insert the key. This will cause the dam to bust open, sending a great wave of water downstream along the river channel. The good news is that now the water is shallow enough to successfully walk along.
6.8 Find the vortex to Subrosia
If you head back west, north one screen, and then east again, you’ll see Sokra from Horon Village here. He’ll tell you that you’ll need to visit Subrosia again, echoing the hint that the Deku Scrub told you about gaining a new season in order to proceed. This means that you’ll need to find a new Subrosian portal to enter. Once you’ve talked to him, hop off of the ledge and head south twice.
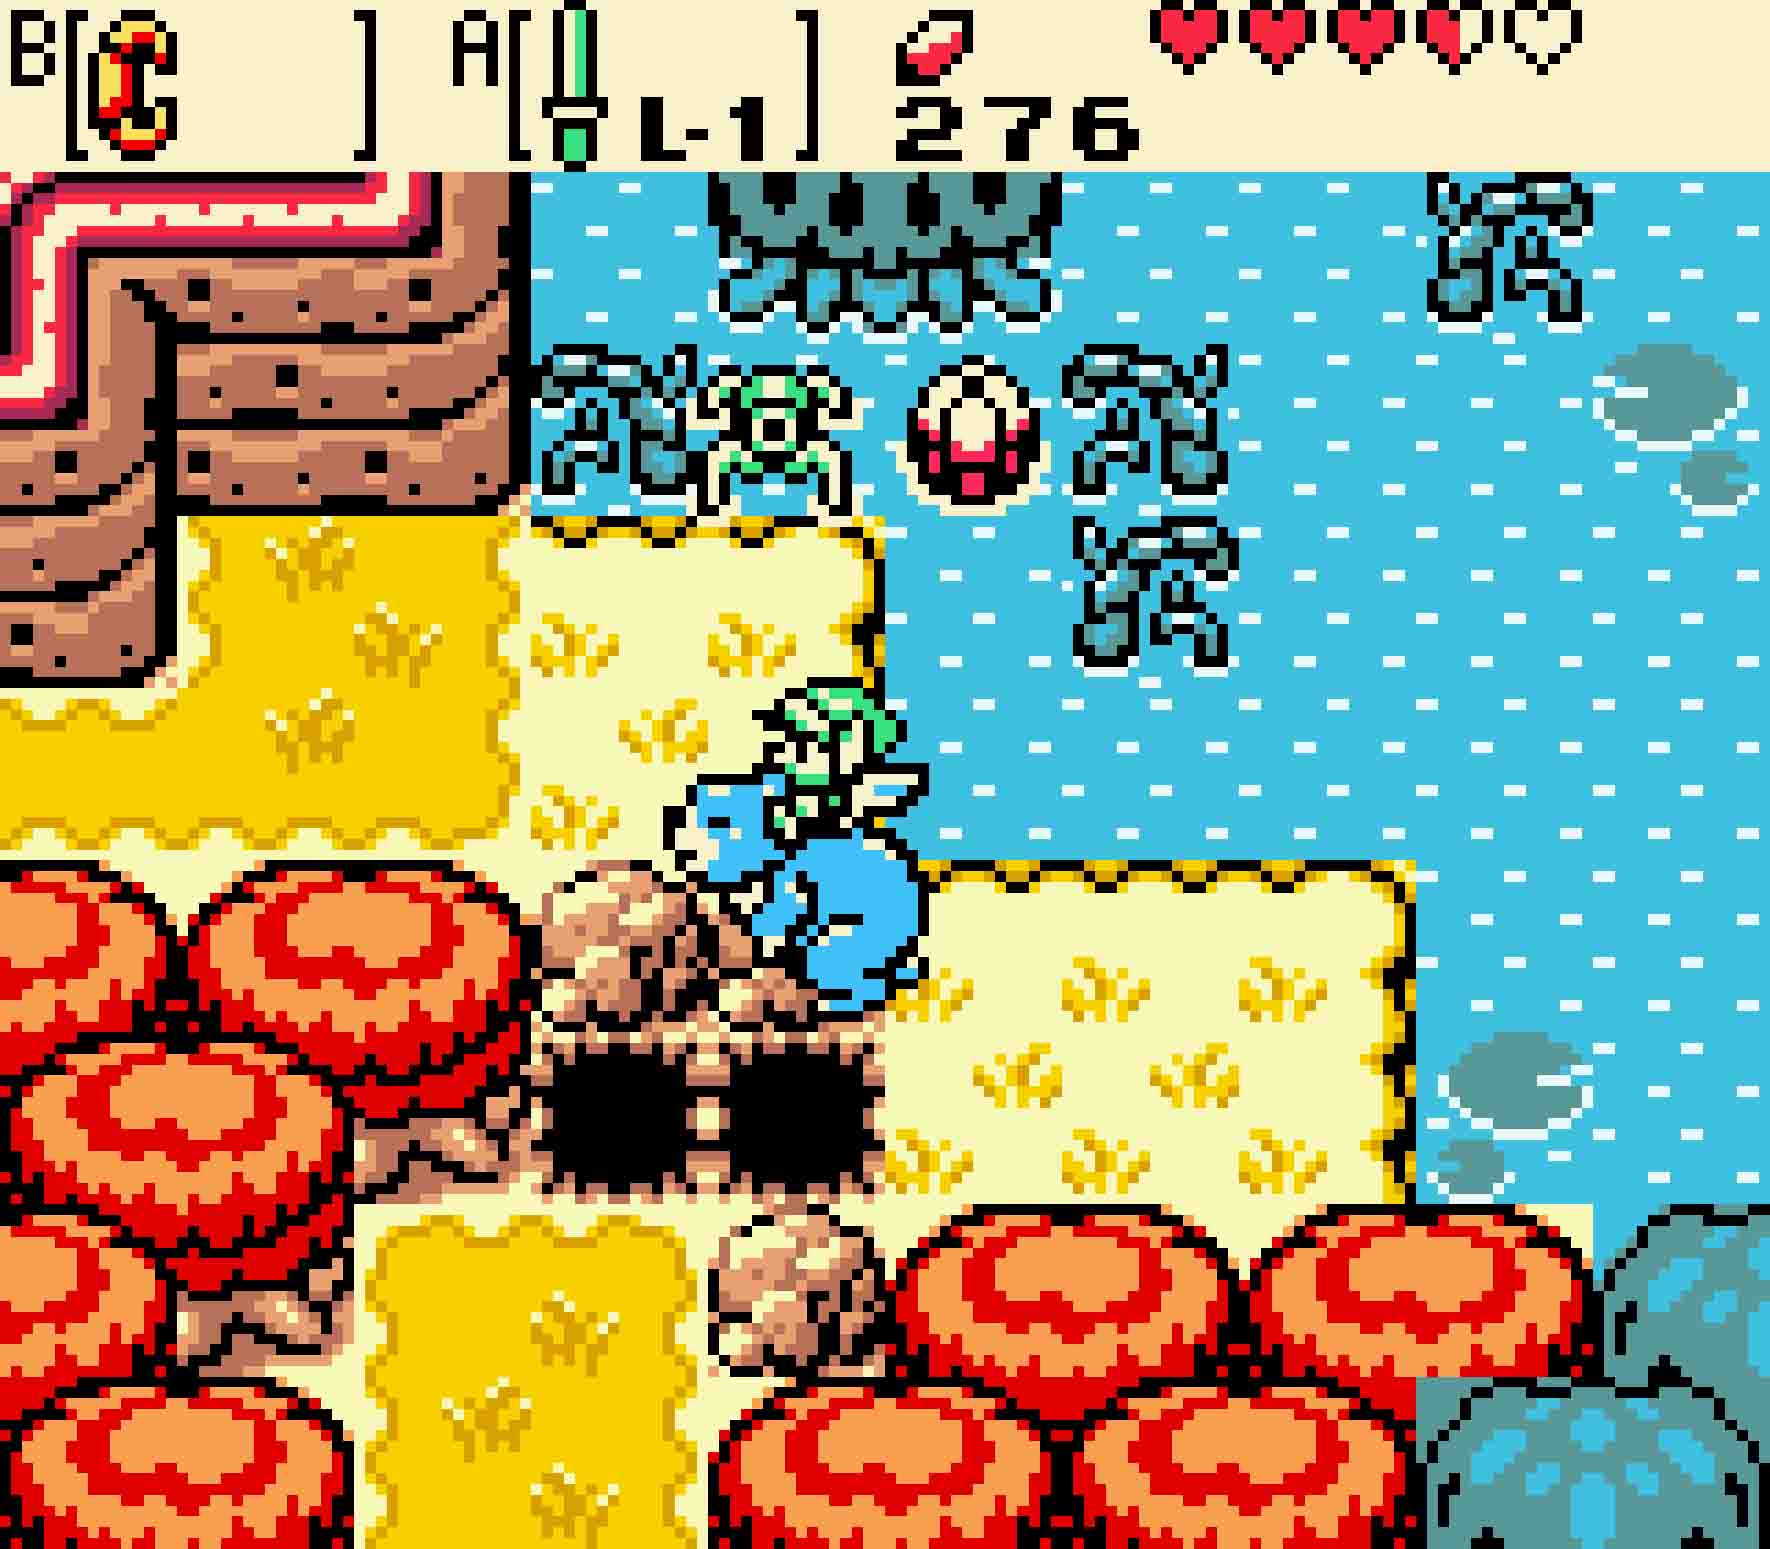
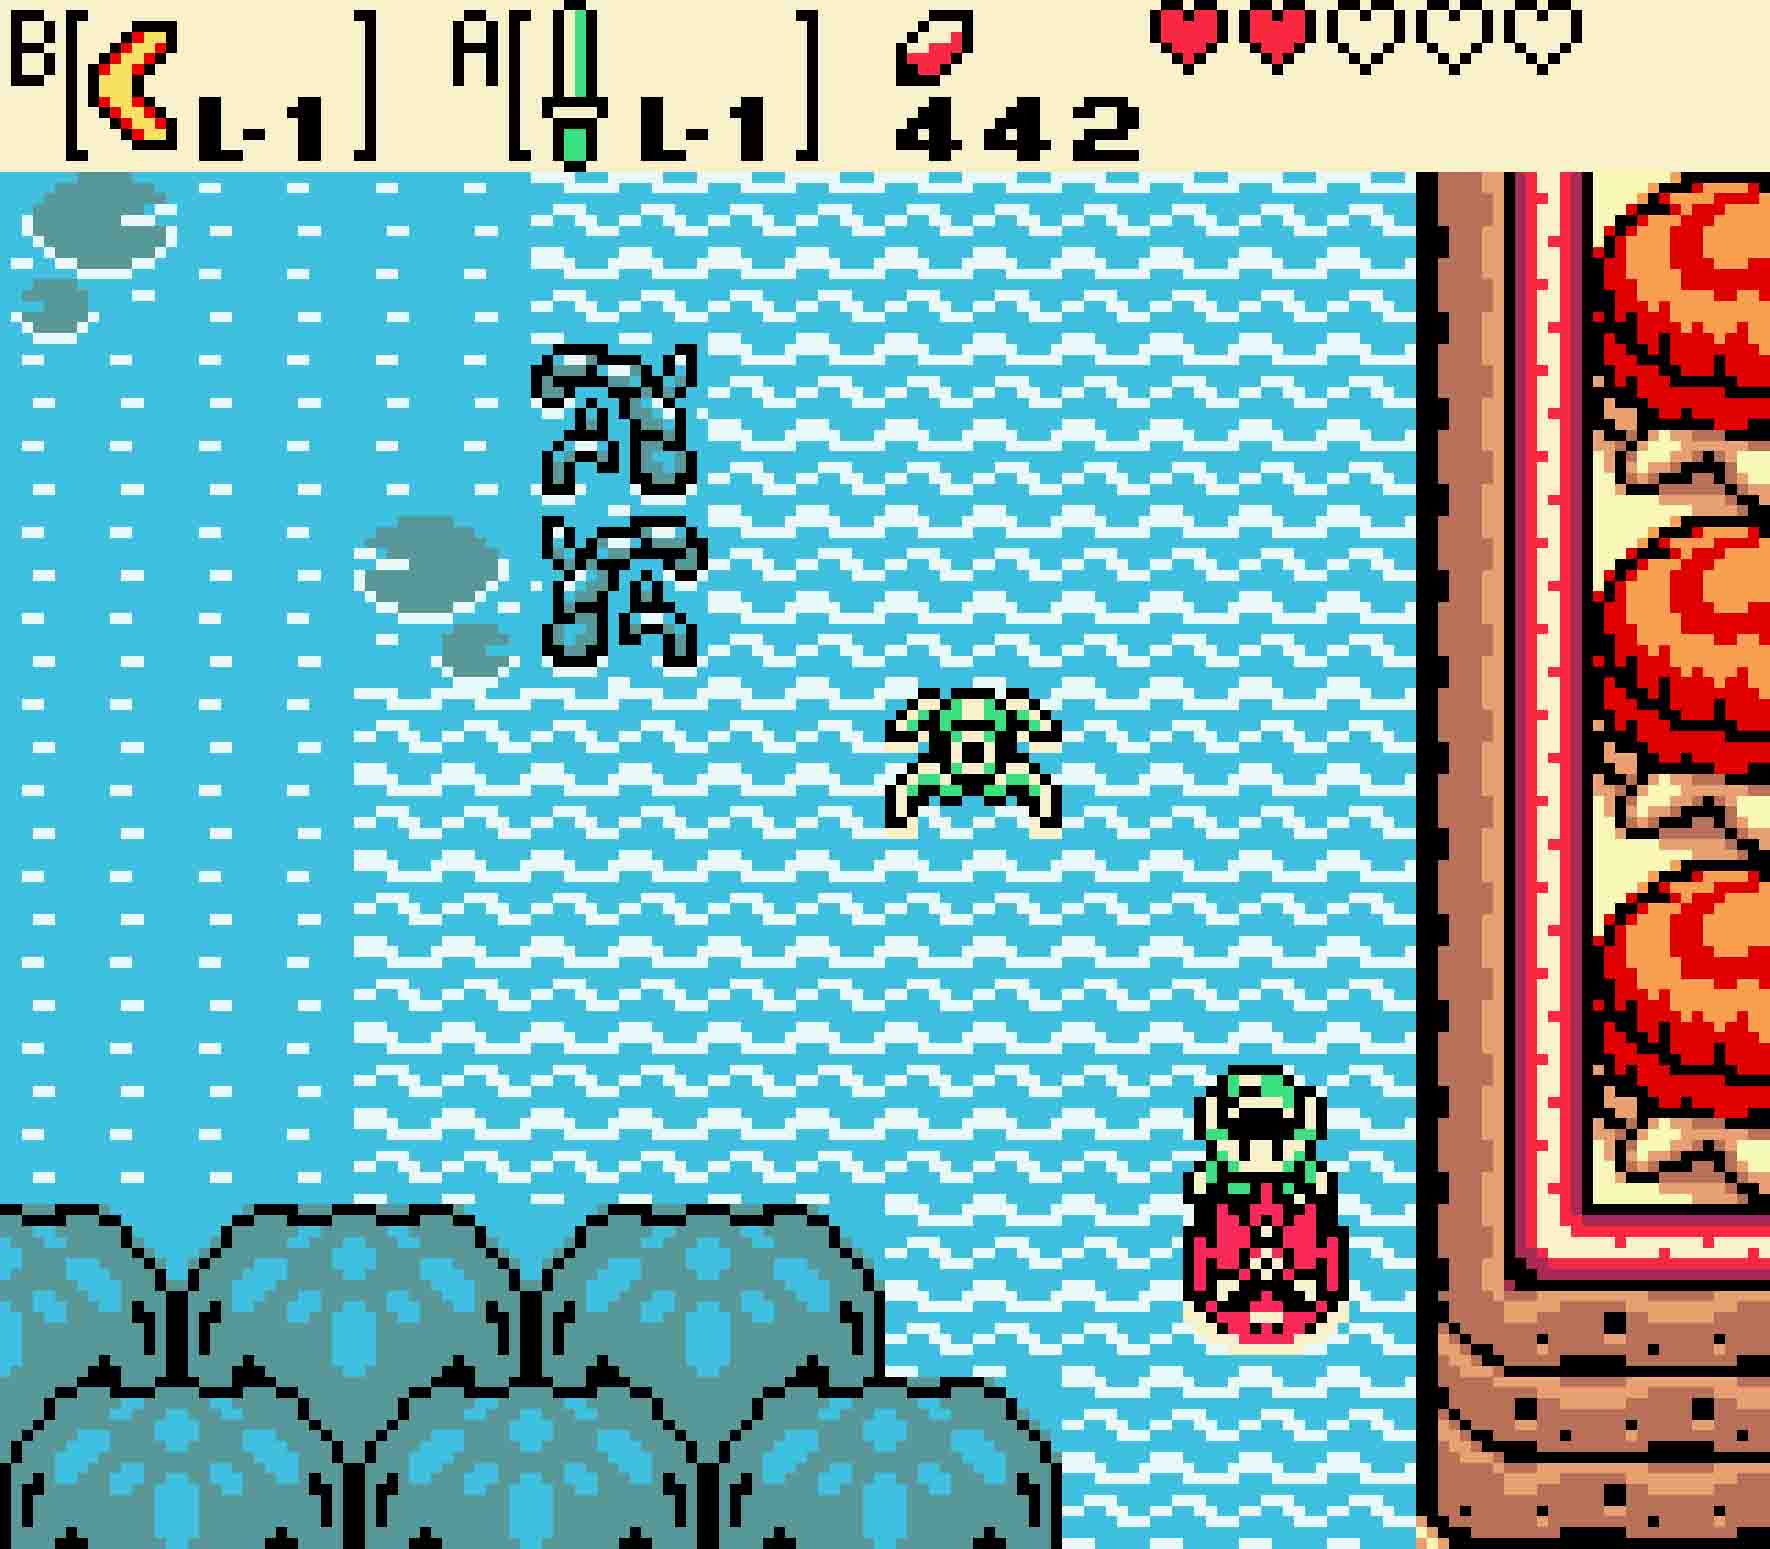
After you pass through the narrow channel where the Floodgate Keyhole was, you’ll encounter new enemies: Water Tektites and Goponga Flowers. The Water Tektites are easily the more annoying of the enemies though probably the less treacherous ones. They’ll just float upon the water milling about, occasionally swimming slightly in your direction. You can kill these with the sword easily. The Goponga Flowers are eviler; they’ll occasionally spit fireballs at you, but they can only be defeated by Ember Seeds or a Spin Attack.
Depending on how you acquired the Strange Flute (possibly Ricky’s Flute, if you acquired it directly from him), getting to the vortex in Subrosia will take one of three different paths.
 If Ricky gave you Ricky’s Flute: Head south one more screen, kill the Tektites and avoid the Goponga Flowers, and head west. Use Ricky’s flute to summon him to you. Hop into his pouch, and then use him to climb up the cliff face in the center of the screen. Take him up and around the obstacles to head back south. You’ll encounter two small potholes, but these are guarded with two small bushes in between. This is when you should use Ricky’s charged punch to send a whirlwind to clear out the bushes before attempting to jump over the pits. Then continue south.
-
- The only way Ricky can make it to the portal is via the cliffs.
-

- Use Ricky’s powerful punch to clear the pits of foliage.
Moosh will thank you for getting rid of those pesky Moblins.
If you purchased the Strange Flute in Horon Village: Head to the left, and then go up, and you’ll see Moosh the bear being tormented by Pig Warriors, but once they see you they’ll immediately run away. When you talk to him, however, they’ll come back, so quickly vanquish them all. Moosh will thank you for saving him, and your Strange Flute will become Moosh’s Flute. He’ll offer to take you for a ride. Hop on his back, and you can use him to fly over successive gaps. Head back south and then east, and then ride him over to the two consecutive potholes on that screen, and guide Moosh over the two pits as he flies over them. Continue south, and repeat this performance over the next series of two holes. You no longer need Moosh, but you can take him along if you wish. Head south, and then east twice to avoid the deep water. Then make a U-turn around the trees and head back west twice. Beware that, beneath the autumn leaves, there are two Pincers lurking about, and when you get close they’ll try to attack, so consider flying above them when you see their eyes peek out from the leaves.
-
- Moosh has the ability to fly… at least temporarily.
-

- Whilst in the air, Moosh can ground point to kill enemies.
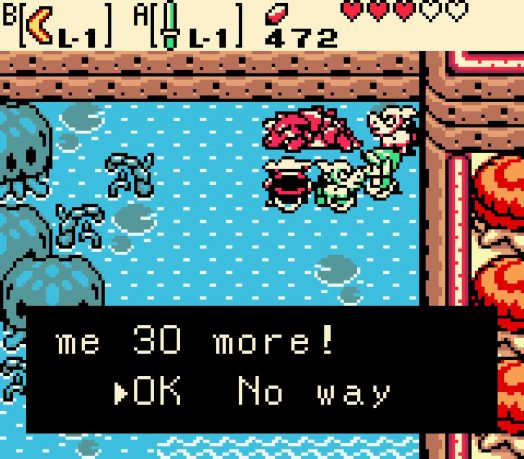
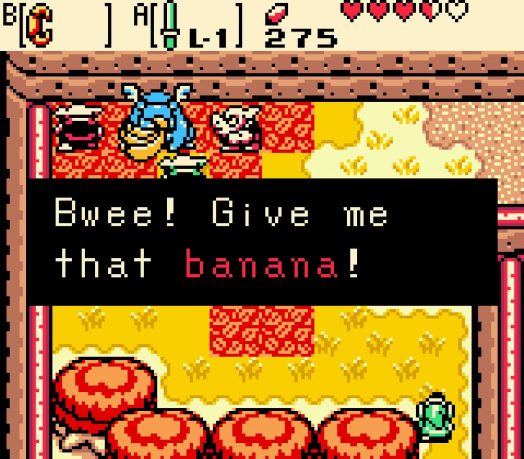
You’ll need to bribe these Moblins to get Dimitri.
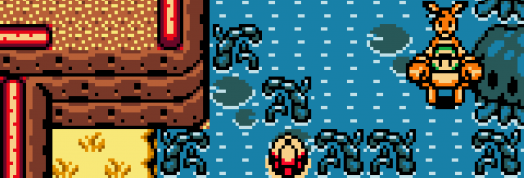
If you won the Strange Flute in the Subrosia Dancing Game: Head to the east and then north. You’ll find Dimitri the Dodongo being tormented by the Great Moblin’s minions. You’ll need to give those minions some hard-earned Rupees to leave him alone, a total of 80. Talk to Dimitri once you do so, and he’ll change your Strange Flute into Dimitri’s Flute. He’ll offer to give you a ride, so you should accept it. Hop on his back, and then immediately head into the deeper water. Head south twice, and then let Dimitri deposit you on the shore on the far side. From there, you should head south once more and then west twice. Beware as there are Pincers hiding amongst the autumn leaves. Once you see their eyes peek out from the leaves, back up a few paces so you can attack without being attacked.
-
- Dimitri’s superpower is swimming in deep water. He’ll cross by lake.
-

- Dimitri isn’t as useful on land, but he can still eat enemies.
Once you reach the southwest corner of Spool Swamp, take the northeastern exit from the screen. All you need to do to access that Subrosian portal is to leave your animal friend behind (if they’re still with you), pick up that rock, and walk into the vortex.