
Chapter 5: Snake’s Remains
- 5.1 Find the Compass
- 5.2 Get the Power Bracelet and Map
- 5.3 Uncover the secret exit
- 5.4 Grab the final small key
- 5.5 Enter the dungeon’s final section
- 5.6 Defeat Facade
- 5.7 Get the Boss Key
- 5.8 Reach the boss’ lair
- 5.9 Defeat the Dodongo
5.1 Find the Compass

This chest isn’t that helpful, but Rupees are Rupees.
To begin, head west. In the process, you’ll notice a bunch of pots scattered across the ground. There’s nothing you can do with these… at least yet, but for now they’re just decoration and obstacles. In the second room, beware of the two Blade Traps occupying the alcoves in the right side of the room. You can walk right past them, but don’t tarry. You’ll find a few Zol hidden within the floor about the room, but they should be relatively easy to take care of. The chest in this room yields only five Rupees, but it’s better than nothing.
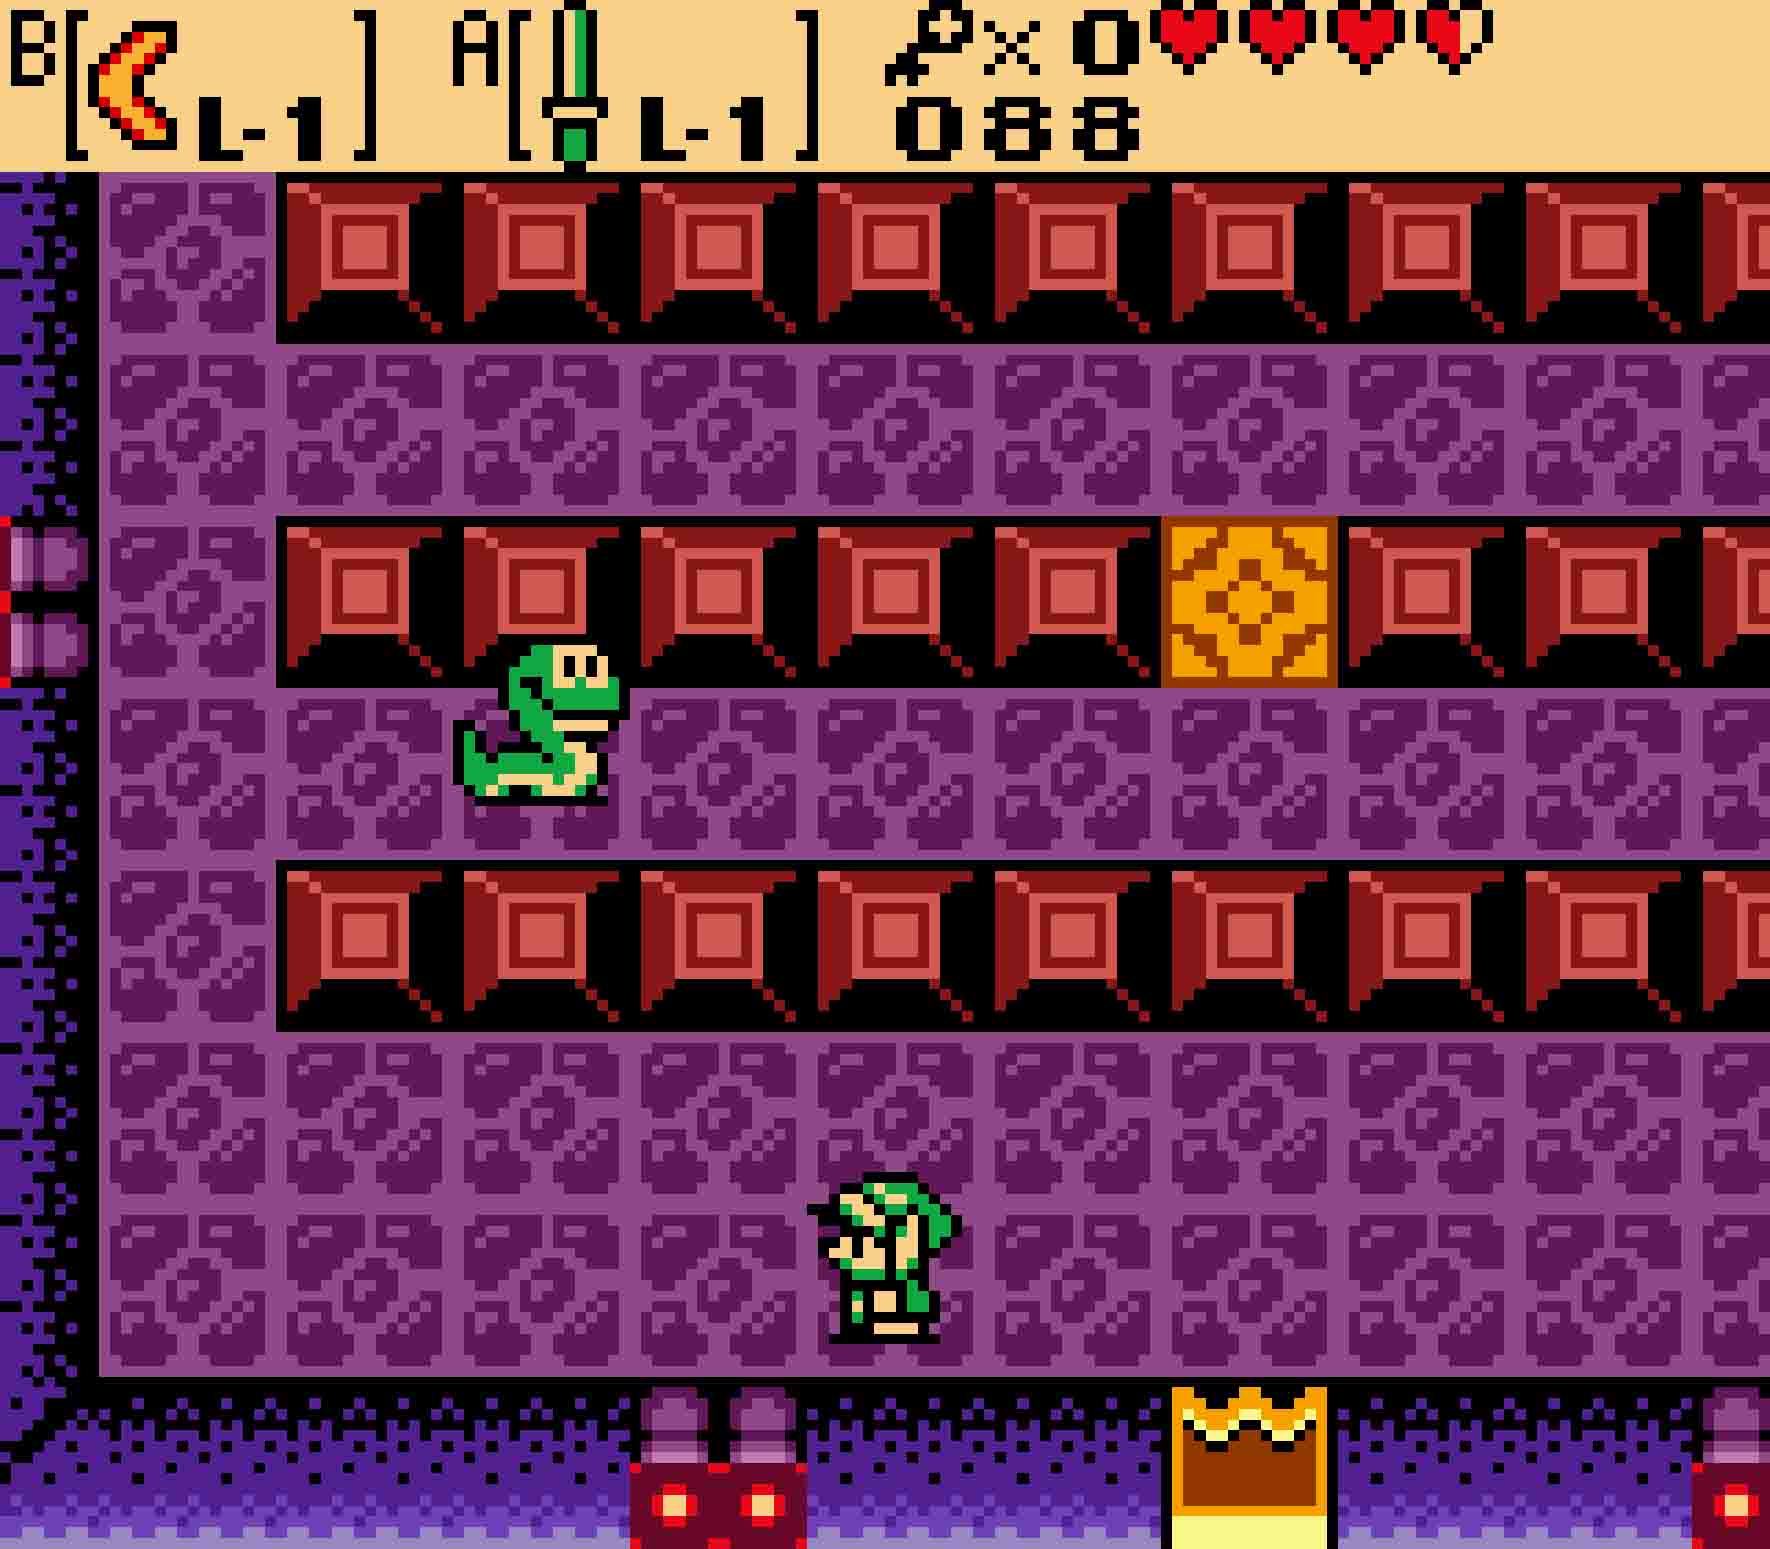
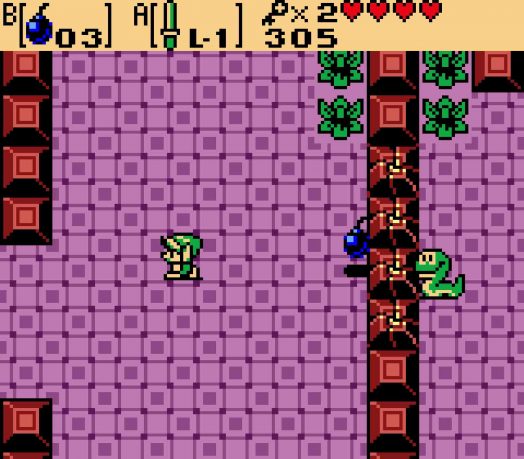
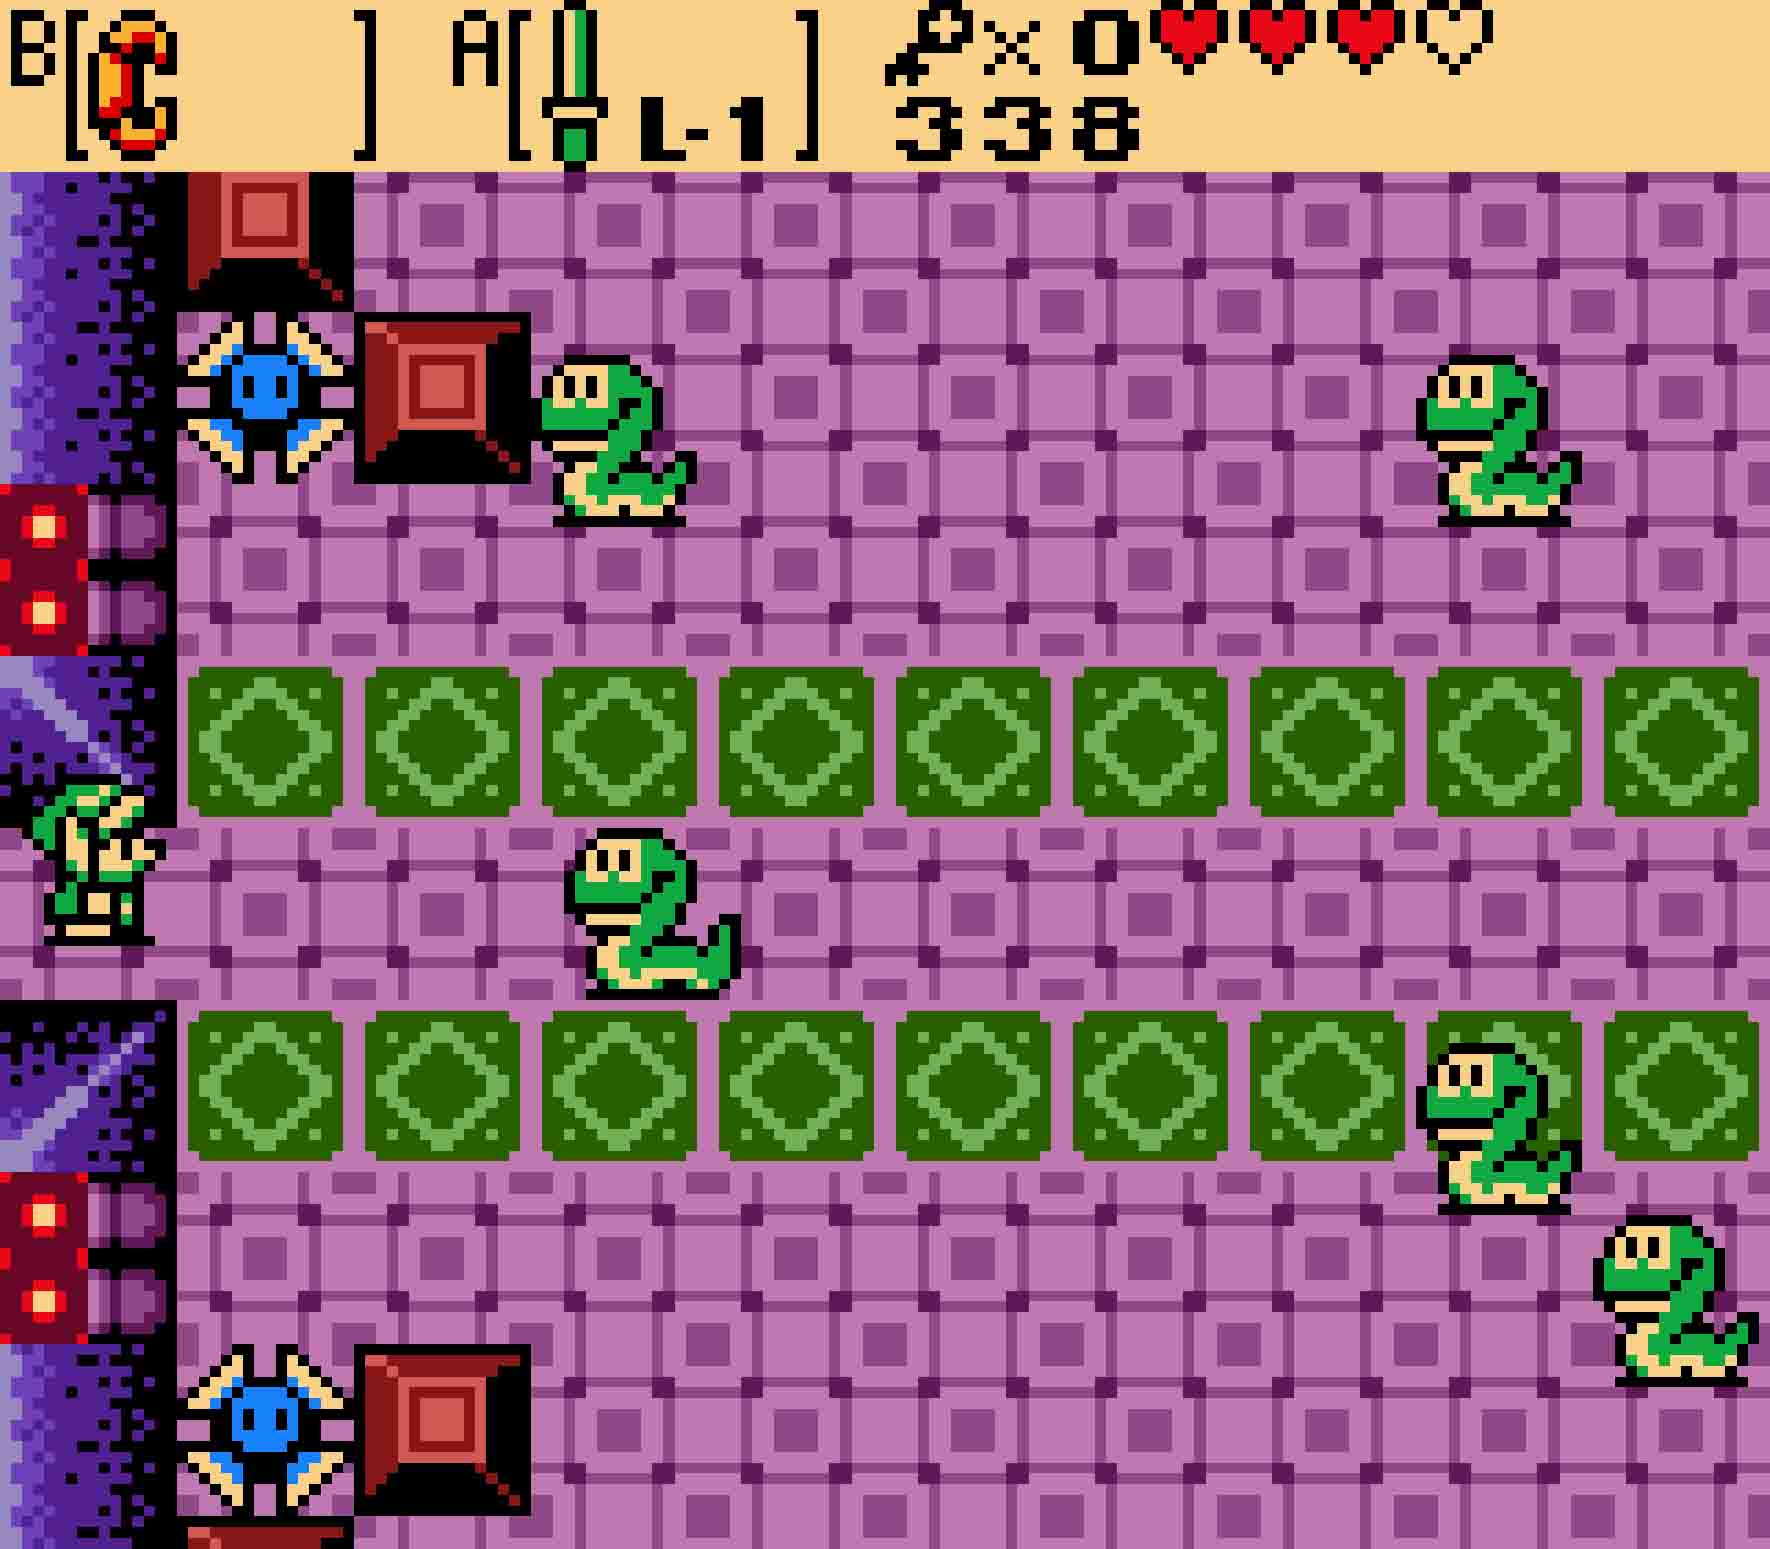
Head north. This room is a dead end, but you’ll be trapped here until you defeat all the enemies. The enemies here are called Ropes, snake-like creatures that wander about until you walk in front of them. Then they’ll make a beeline toward you in a hurried rush. Defeat all the enemies to open the door as well as drop a key from the ceiling in the room’s center. Grab the key, and then you can head south and east back to the dungeon’s beginning.
There’s only one more door to this room — the one to the north — but it’s sealed shut. You can open it by using Ember Seeds on each of the two braziers upon the two daises. The door will open, and you can proceed. The next room is fairly boring, but it can surprise you if you’re not ready for it. This room has a few more green Zols around the room, but, when they pop out, the torches will start sending balls of fire after you. Once you kill the Zols, however, the fire will stop.
-
- After you get the key, backtrack to the beginning. Then collect the Map by pushing a block.
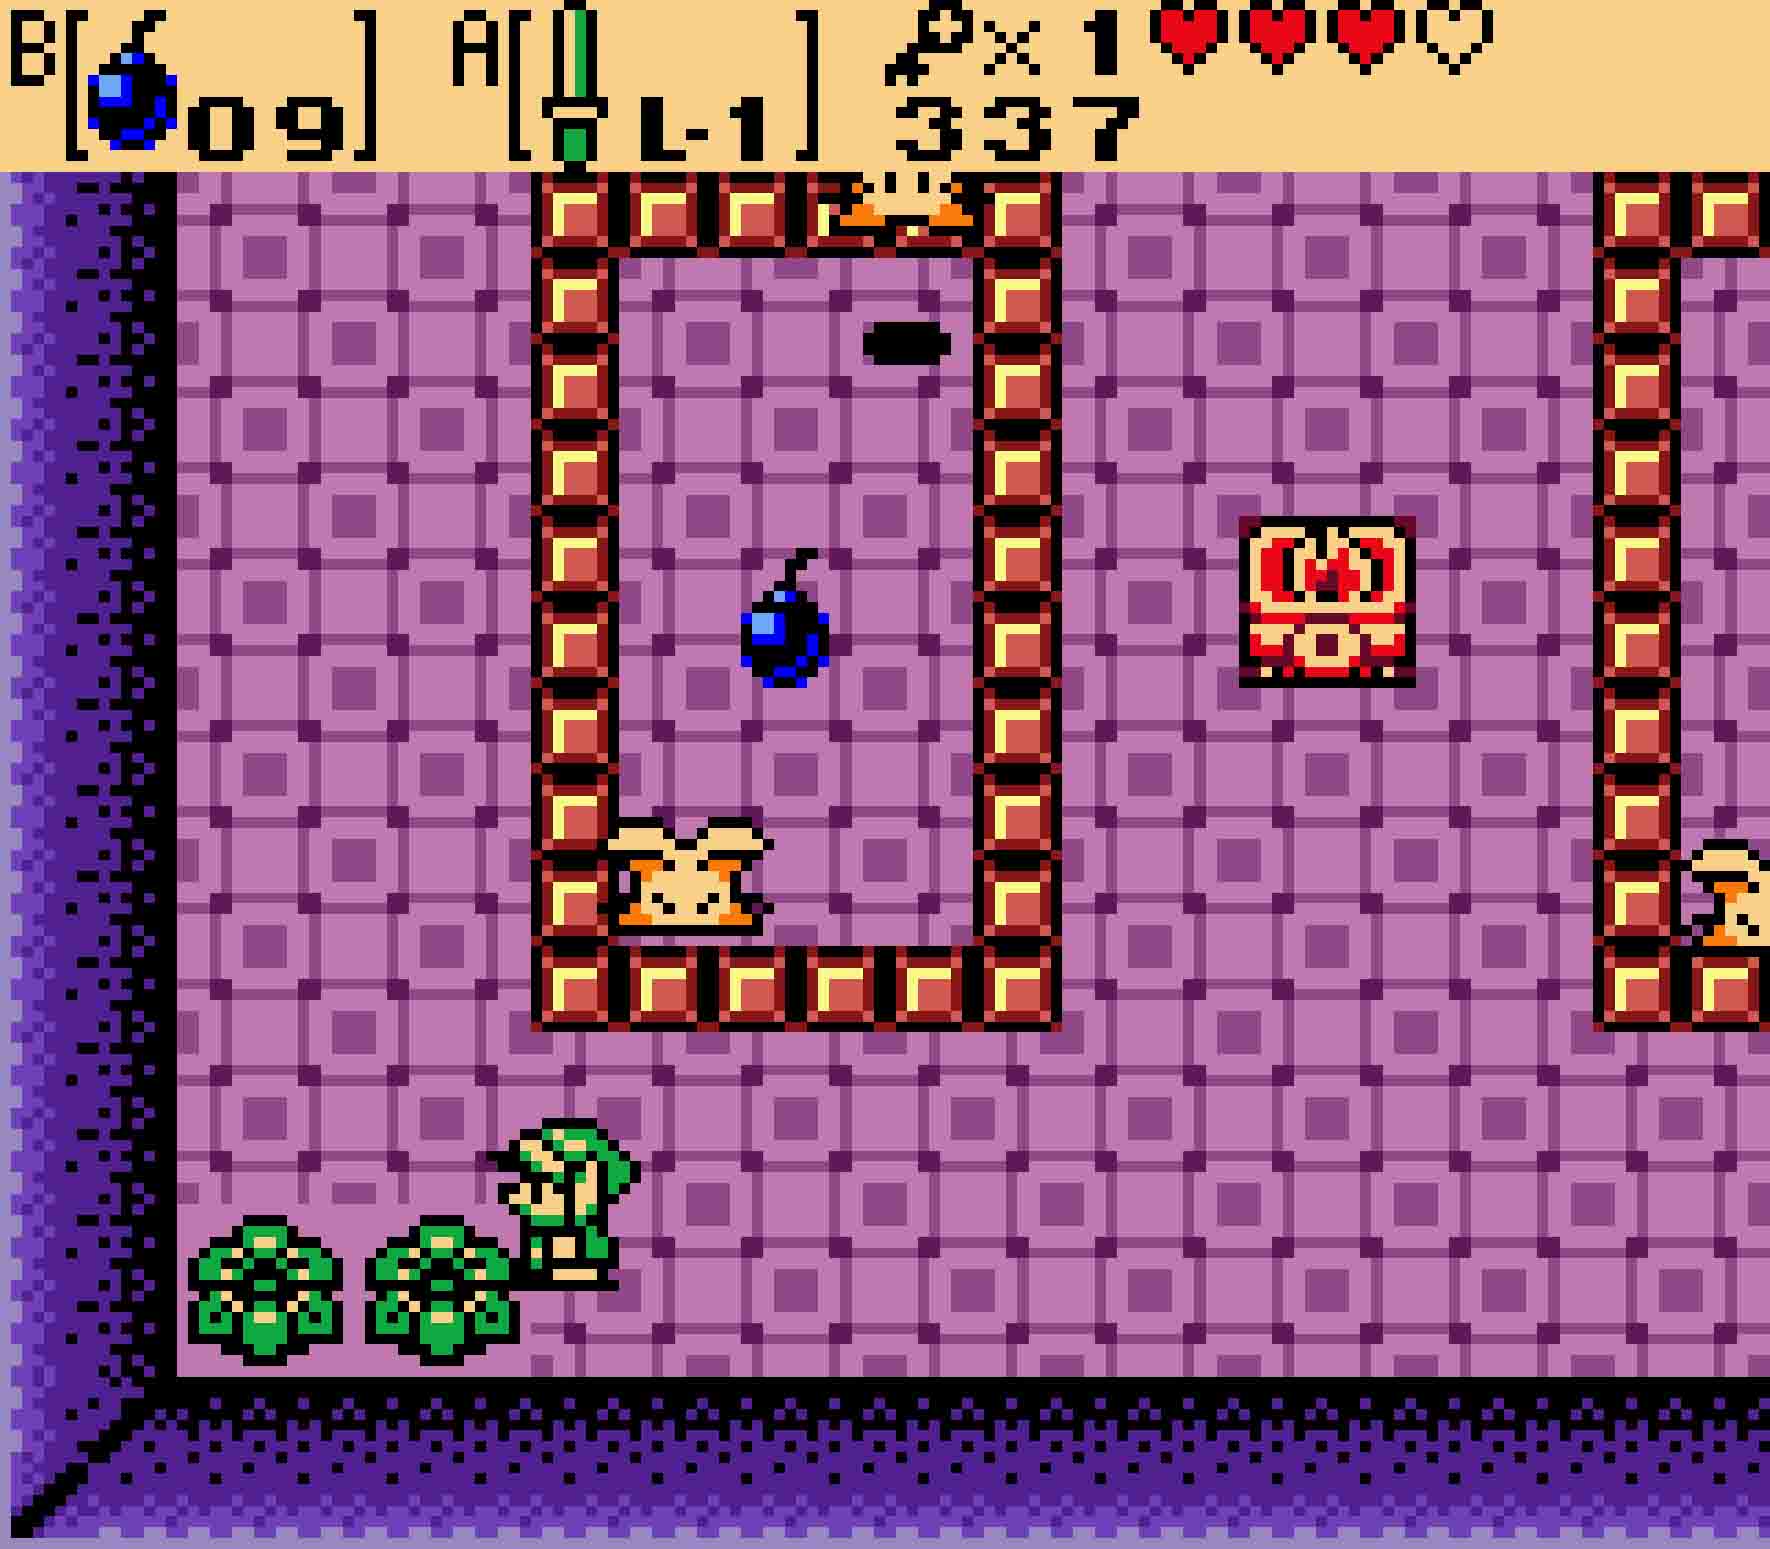
From here, head east. Again, you’ll find a few more Ropes in the room, all of which are easy to dispatch. You might notice that there are eight blocks in the room that are so close but not exactly forming a perfect rectangle. If you fix this by moving the center-right block right one tile, you’ll solve the puzzle and cause a chest to appear in the room’s center. This chest will give you the dungeon’s Compass.
5.2 Get the Power Bracelet and Map
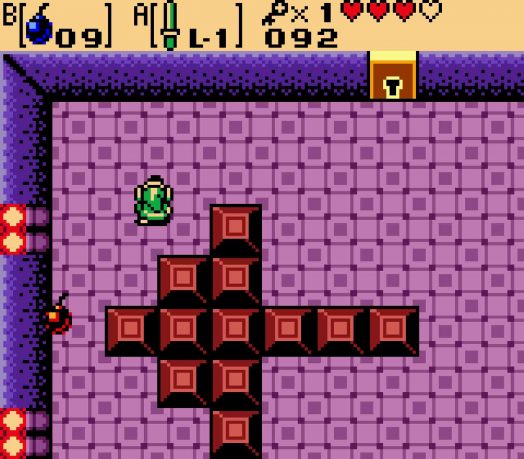
Strike it rich by opening this cracked wall!
Head west again, and then in the room with the angry torches, proceed north. You’ll see Ropes in this room, a locked door to the north, and an extremely suspicious pattern of blocks that looks like an arrow pointing westward. Hmm, perhaps this is a hint? Indeed it is. If you walk over to the tip of the arrow and clink your sword against the wall, you’ll hear a hollow sound. Use a bomb on the western wall to blow it open, and inside you’ll be greeted with an astounding pile of cash: 181 rupees to be exact. Collect these as you might need them later in the dungeon.
Head back east, and then use the key you collected to open up the door to the north. You’ll find two Hardhat Beetles in the next room. Hardhat Beetles are curious enemies; nothing that you have will defeat them, but yet the door to the west won’t open until you kill all the enemies in the room. To get rid of these nasties, you’ll need to leverage the fact that hitting them with the sword knocks them back. Angle yourself such that striking them with the sword will knock them towards one of the two pits in the room. When both of them fall into the pit, the door will open, and you can head west.
The next room introduces a slightly new concept: regenerating bushes. These Ocarina of Time-inspired bushes will periodically grow back after you chop them down. In this case, these bushes will always give you Bombs. You’ll need these because you can’t kill the Moblins on the left side of the room because there’s a gap in the floor. Light Bombs and throw them to the other side in order to kill the two Moblins there. Once you do so, a chest will appear, granting you the Power Bracelet. This will give you the power to lift and push heavy things… like pottery.
-

- Hurl Bombs at your foes to defeat them. It’s the only way.
-
- Once you do, you’ll gain the ability to hurl pottery as well.
Speaking of pottery, there was a chest surrounded by pottery just in the previous room. Before you head there, however, use the regenerating bushes here to stock up on Bombs. Before you leave this room, gather enough to max out your inventory at 10.
Make sure you keep an inventory of at least six Bombs for the next bit of the dungeon. If you don’t have six Bombs at the right time, you’re going to need to fork over some hard-earned Rupees later on.
Now head east again. The Hardhat Beetles will be back again, so once again knock them into the pit. Once you have some breathing room, lift the pot in front of the chest and open it up to receive the dungeon’s Map.
5.3 Uncover the secret exit
Again, you’ll find another pushing block puzzle.
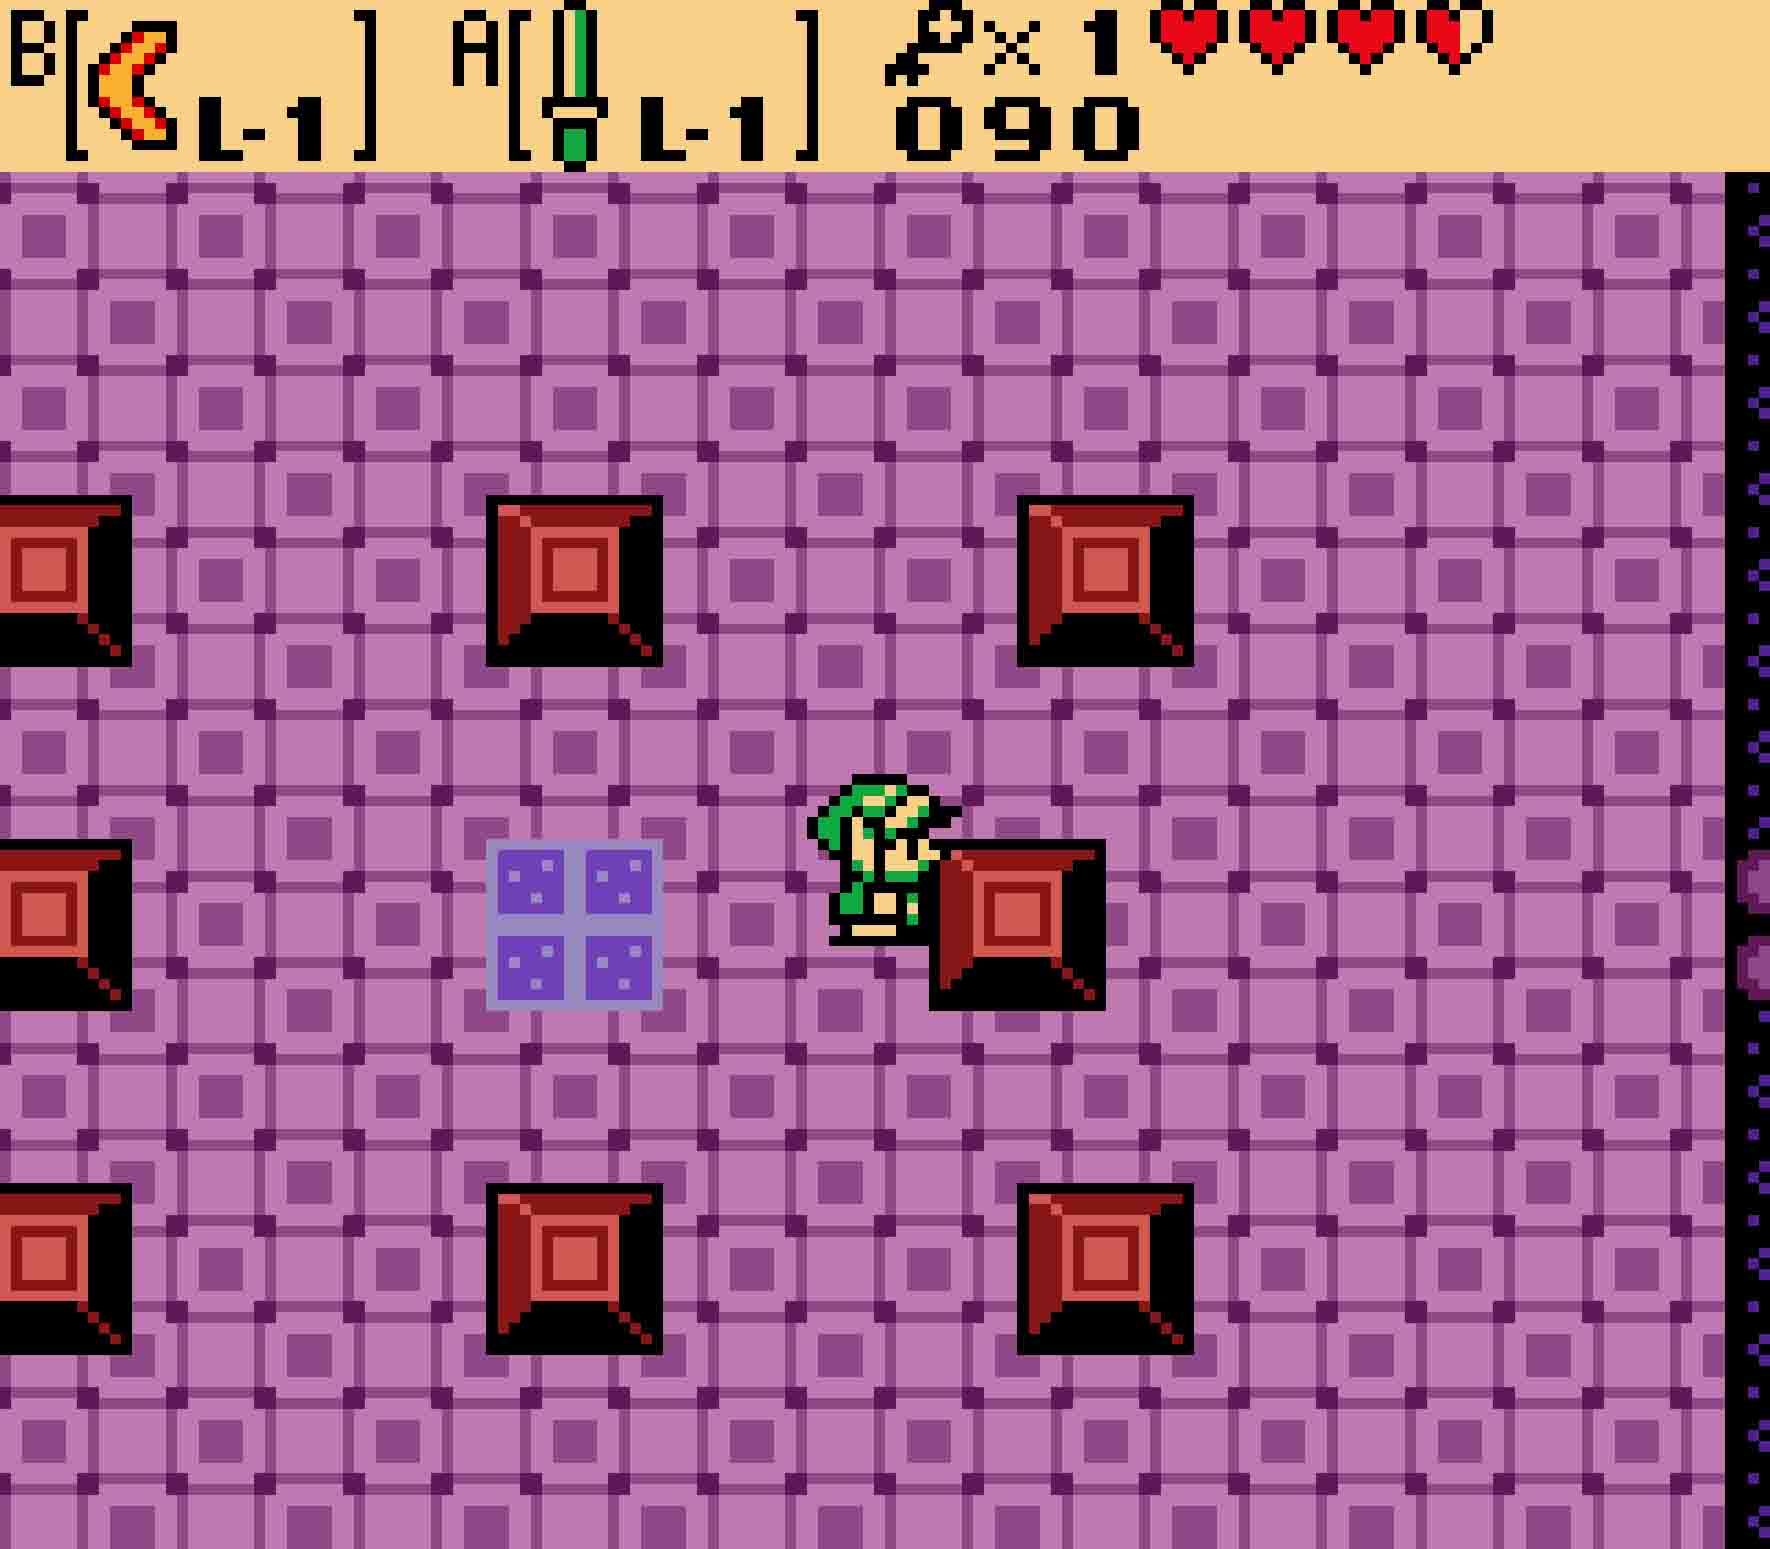
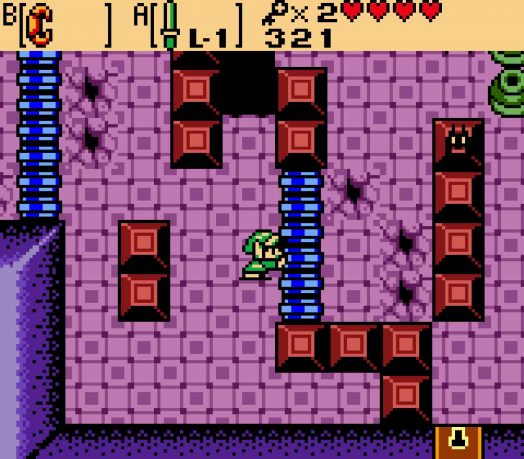
Head south. If you haven’t killed all the Ropes in this room yet to unseal the doors, do so now. Once the doors are open, go east. You’ll find a series of blocks scattered throughout the room, and as you pass through, red Zols will pop out of the ground. Red Zols, when defeated, will turn into two Gels, which will attempt to cling to you. Kill them all quickly. Then push the rightmost of the seven blocks in the room to the right one tile. This will open the door heading east.
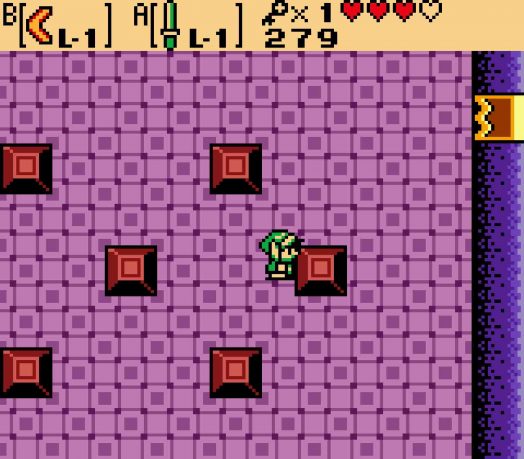
In this next room, you’ll find two Giant Blade Traps. Unlike normal Blade Traps, these traps will travel in a predictable pattern around their respective island of blocks. The red one will travel in a clockwise direction while the yellow one travels counterclockwise. Quickly get a lead on the red Blade Trap until you reach the treasure chest in its area. Open the chest to get a small key; then wait for the red Blade Trap to pass before making a run for it. Then you should follow the yellow trap as it heads counterclockwise until you reach the door heading south.

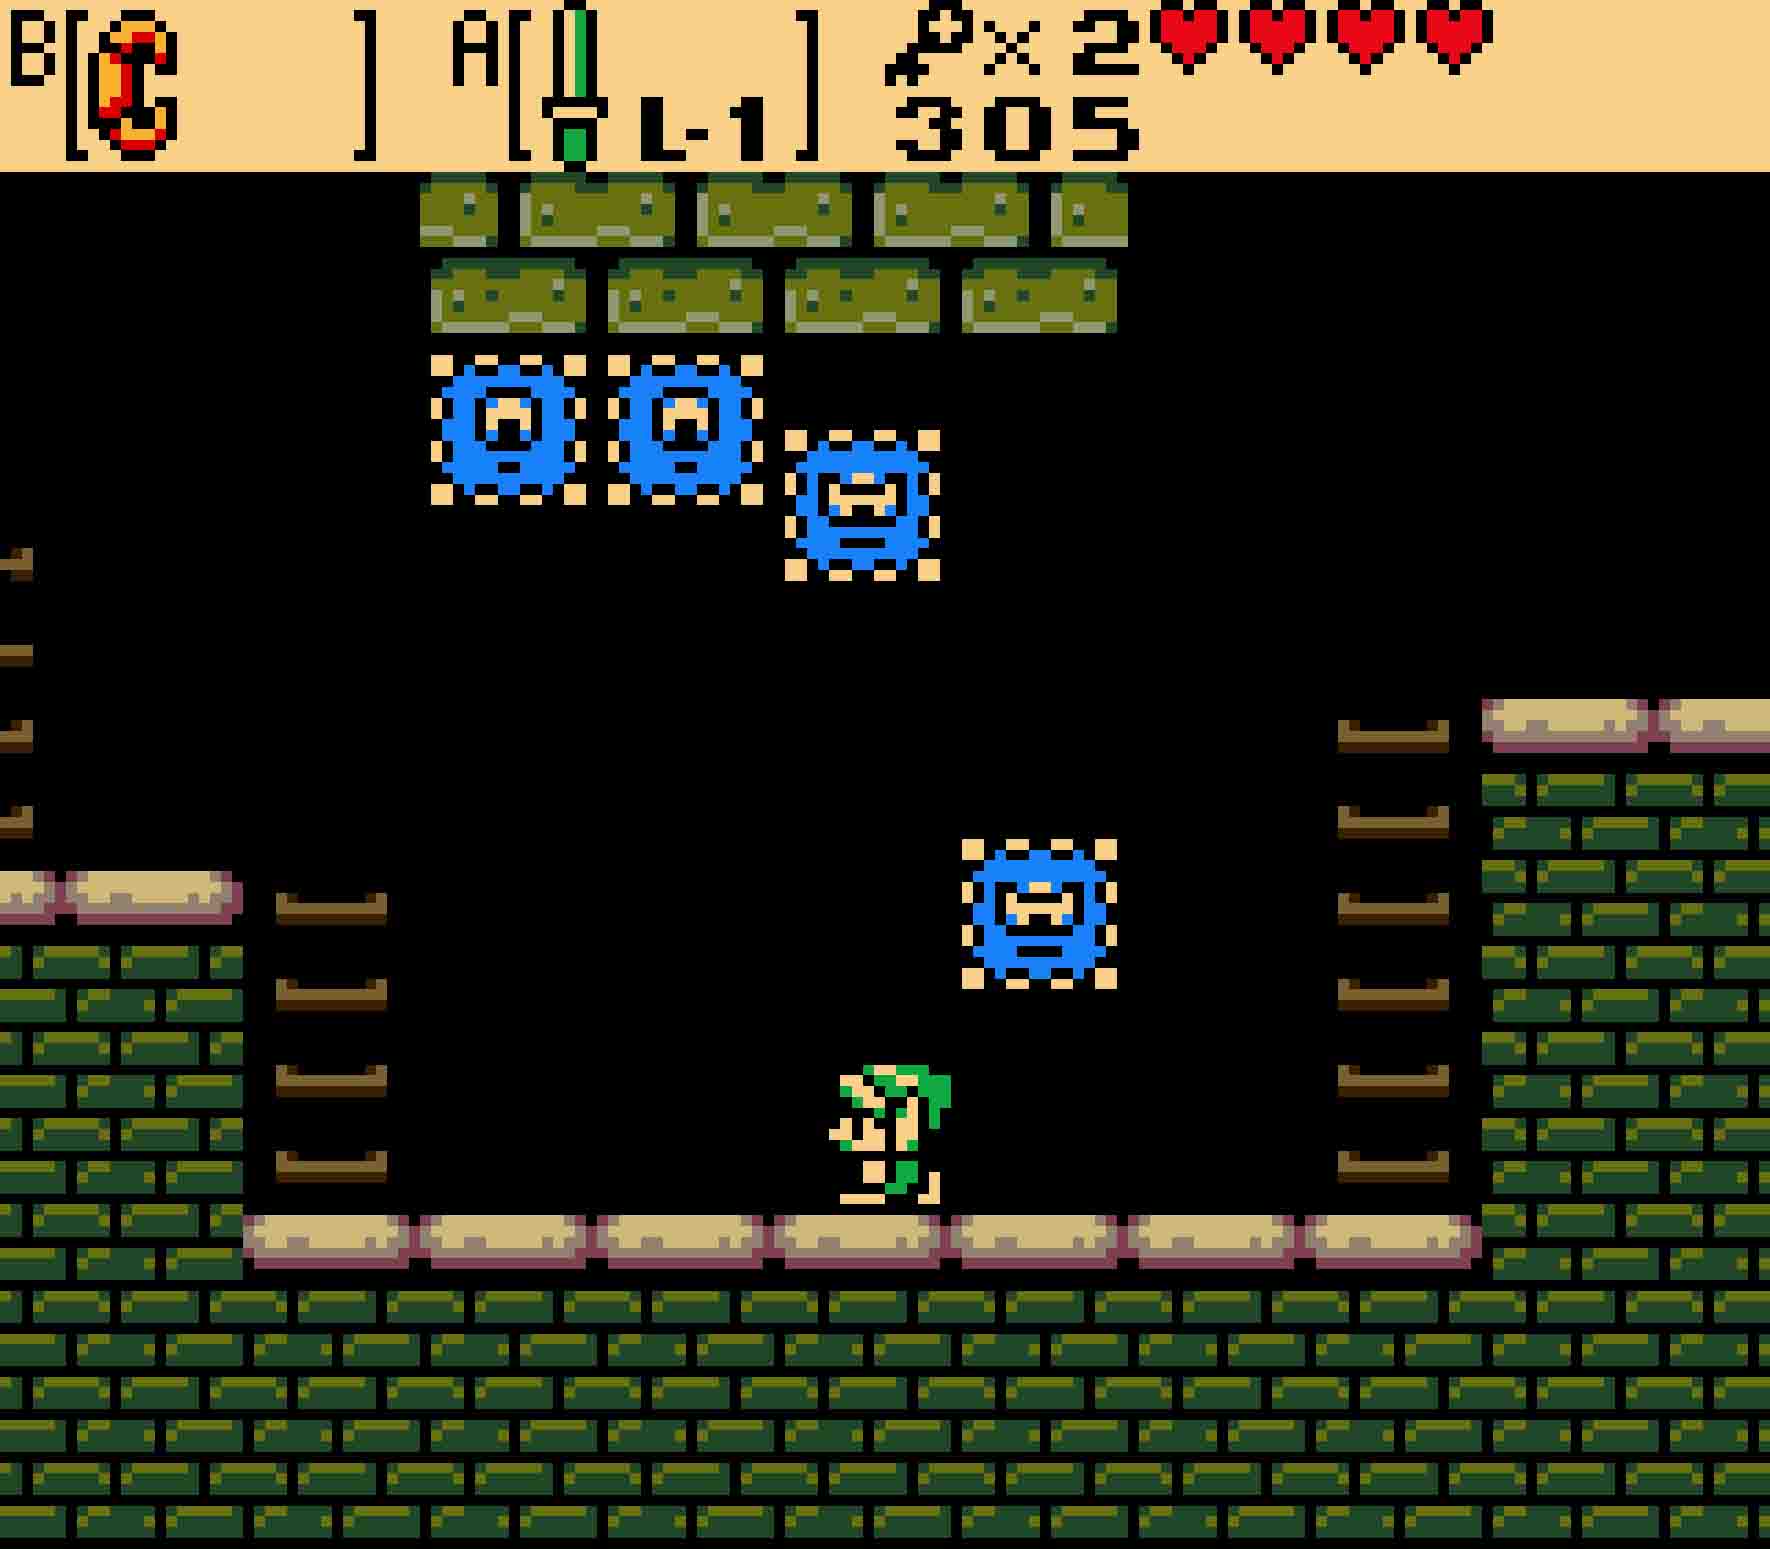
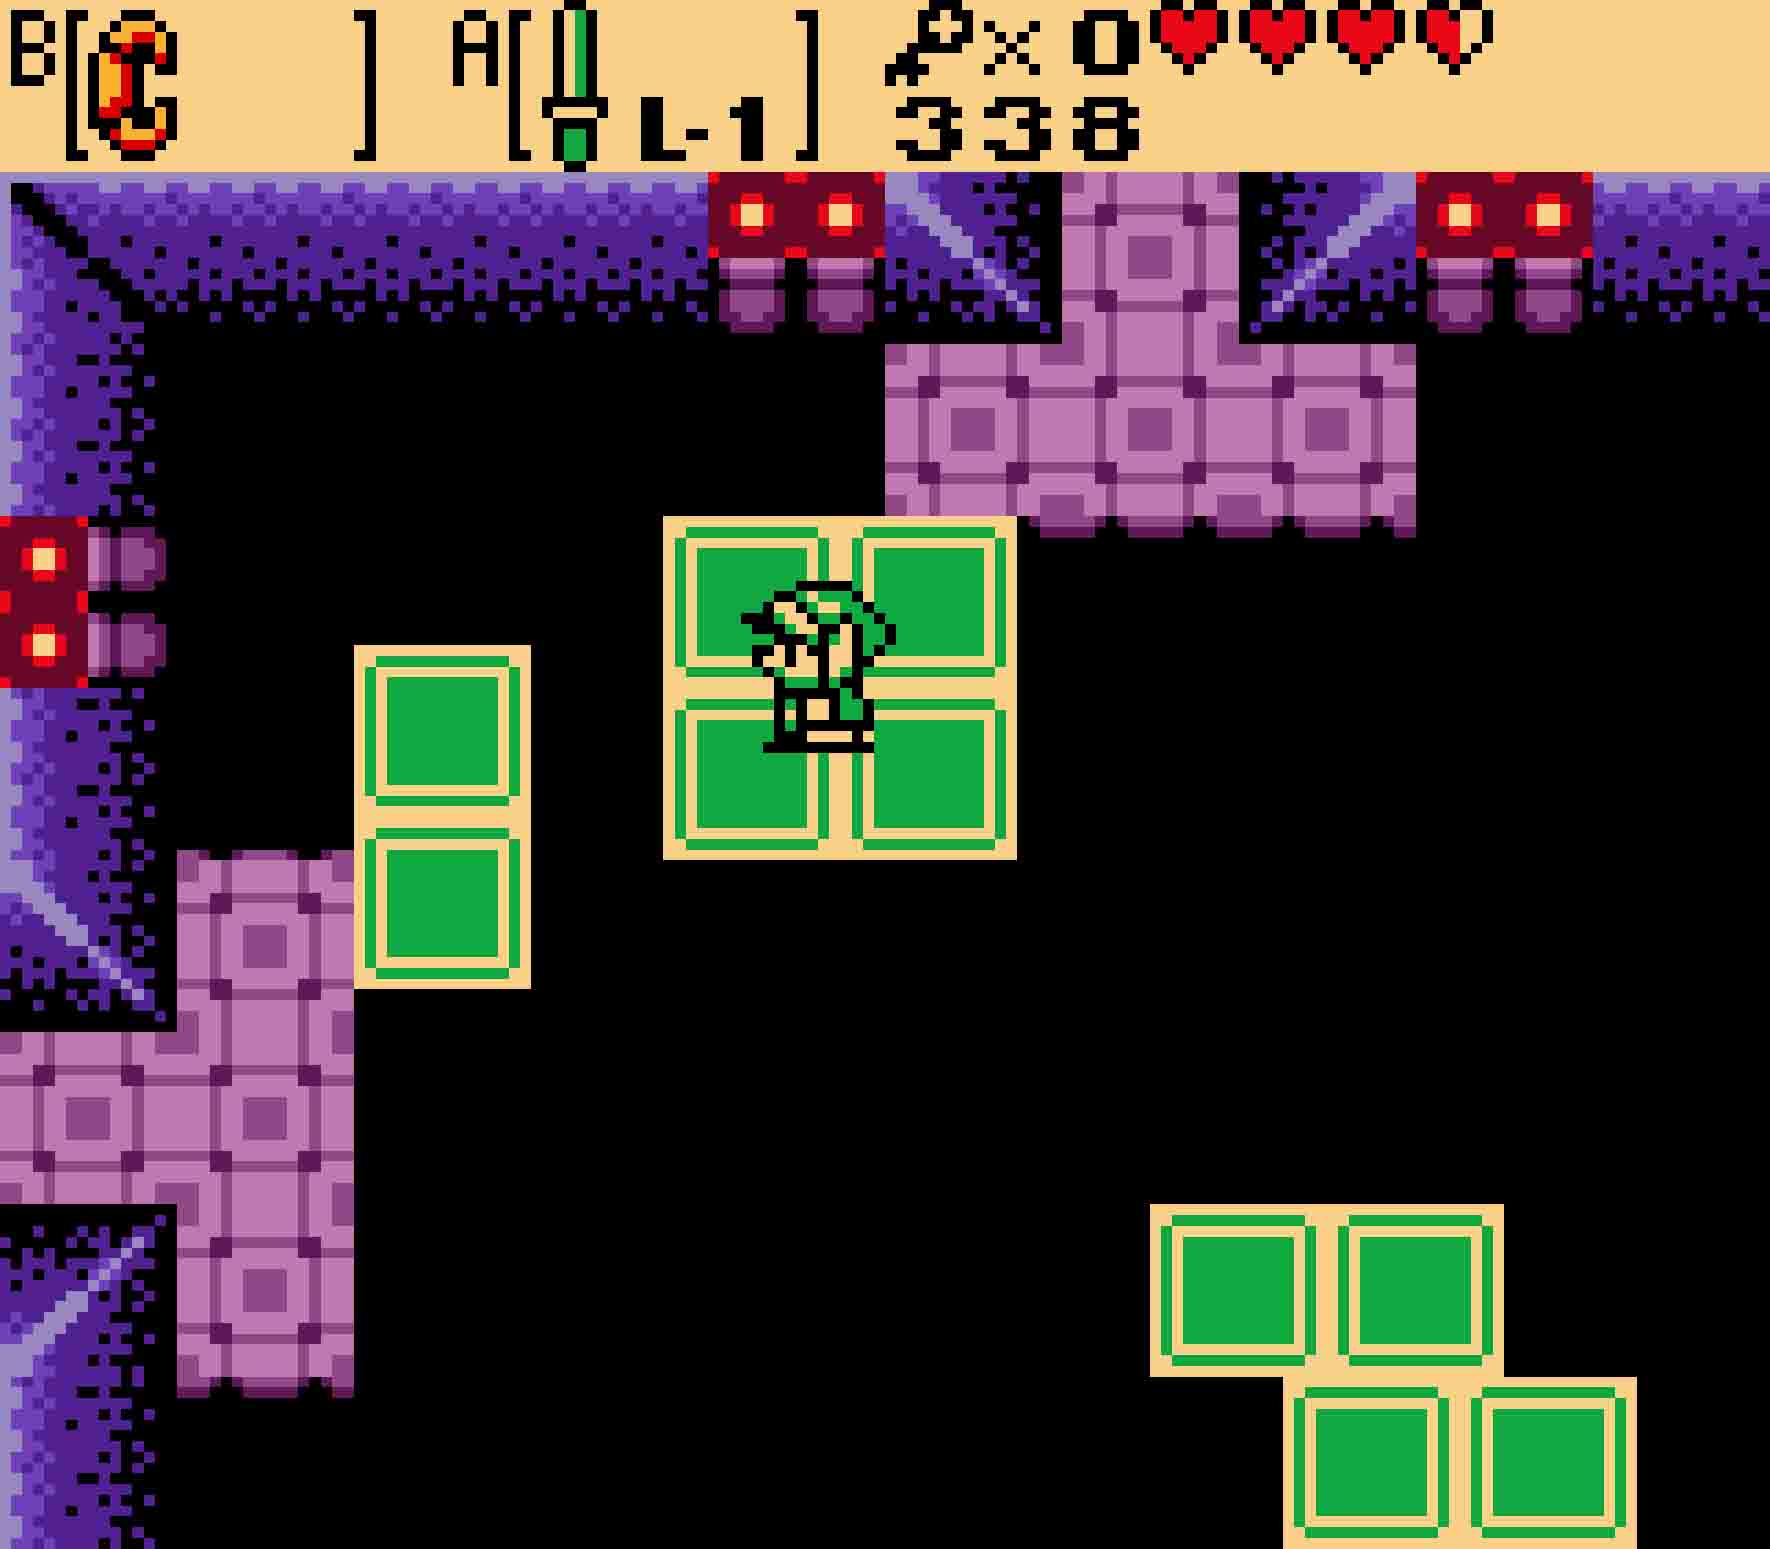
This room will have an infestation of Keese. Do your best to kill any Keese that come close to you before doing anything else. You’ll then notice these blue logs in the room. They’re rather heavy, so you’ll need the Power Bracelet to push them out of the way. Push the northern log one or two spaces to the left, then hurry through the gap created. Do the same with the lower log as well in order to reach the staircase. This staircase will take you out of the dungeon and up on top of the dungeon in the overworld.
5.4 Grab the final small key
If you’re not careful with your Bombs here, it will cost you big time.
Outside of the dungeon, you’ll find a chest containing a Gasha Seed. If you really need to, you can always make a quick exit out of the area by lifting the rocks to the east, but your direction should be to the west. There you’ll find another staircase leading back down to the dungeon itself.
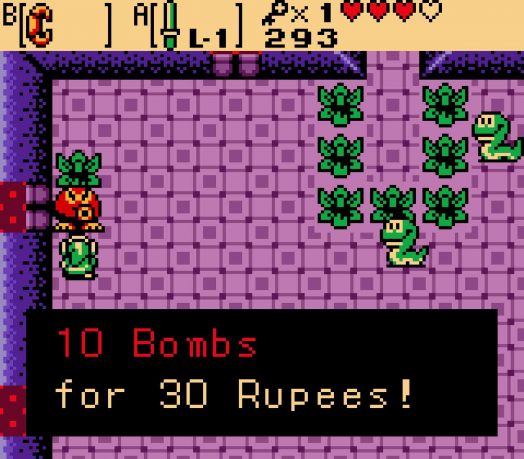
Inside, you’ll find more Ropes to dispatch as well as plenty of bushes filling the dungeon. One of them, however, hides a Deku Scrub. This particular Scrub will offer to fill up your Bomb inventory for the low price of 30 Rupees. Depending upon your Bomb situation, this could be a tempting proposition. You need at least six Bombs for the upcoming room. If you can’t find enough Bombs in the surrounding bushes, pay for a complete refill. Then head north.
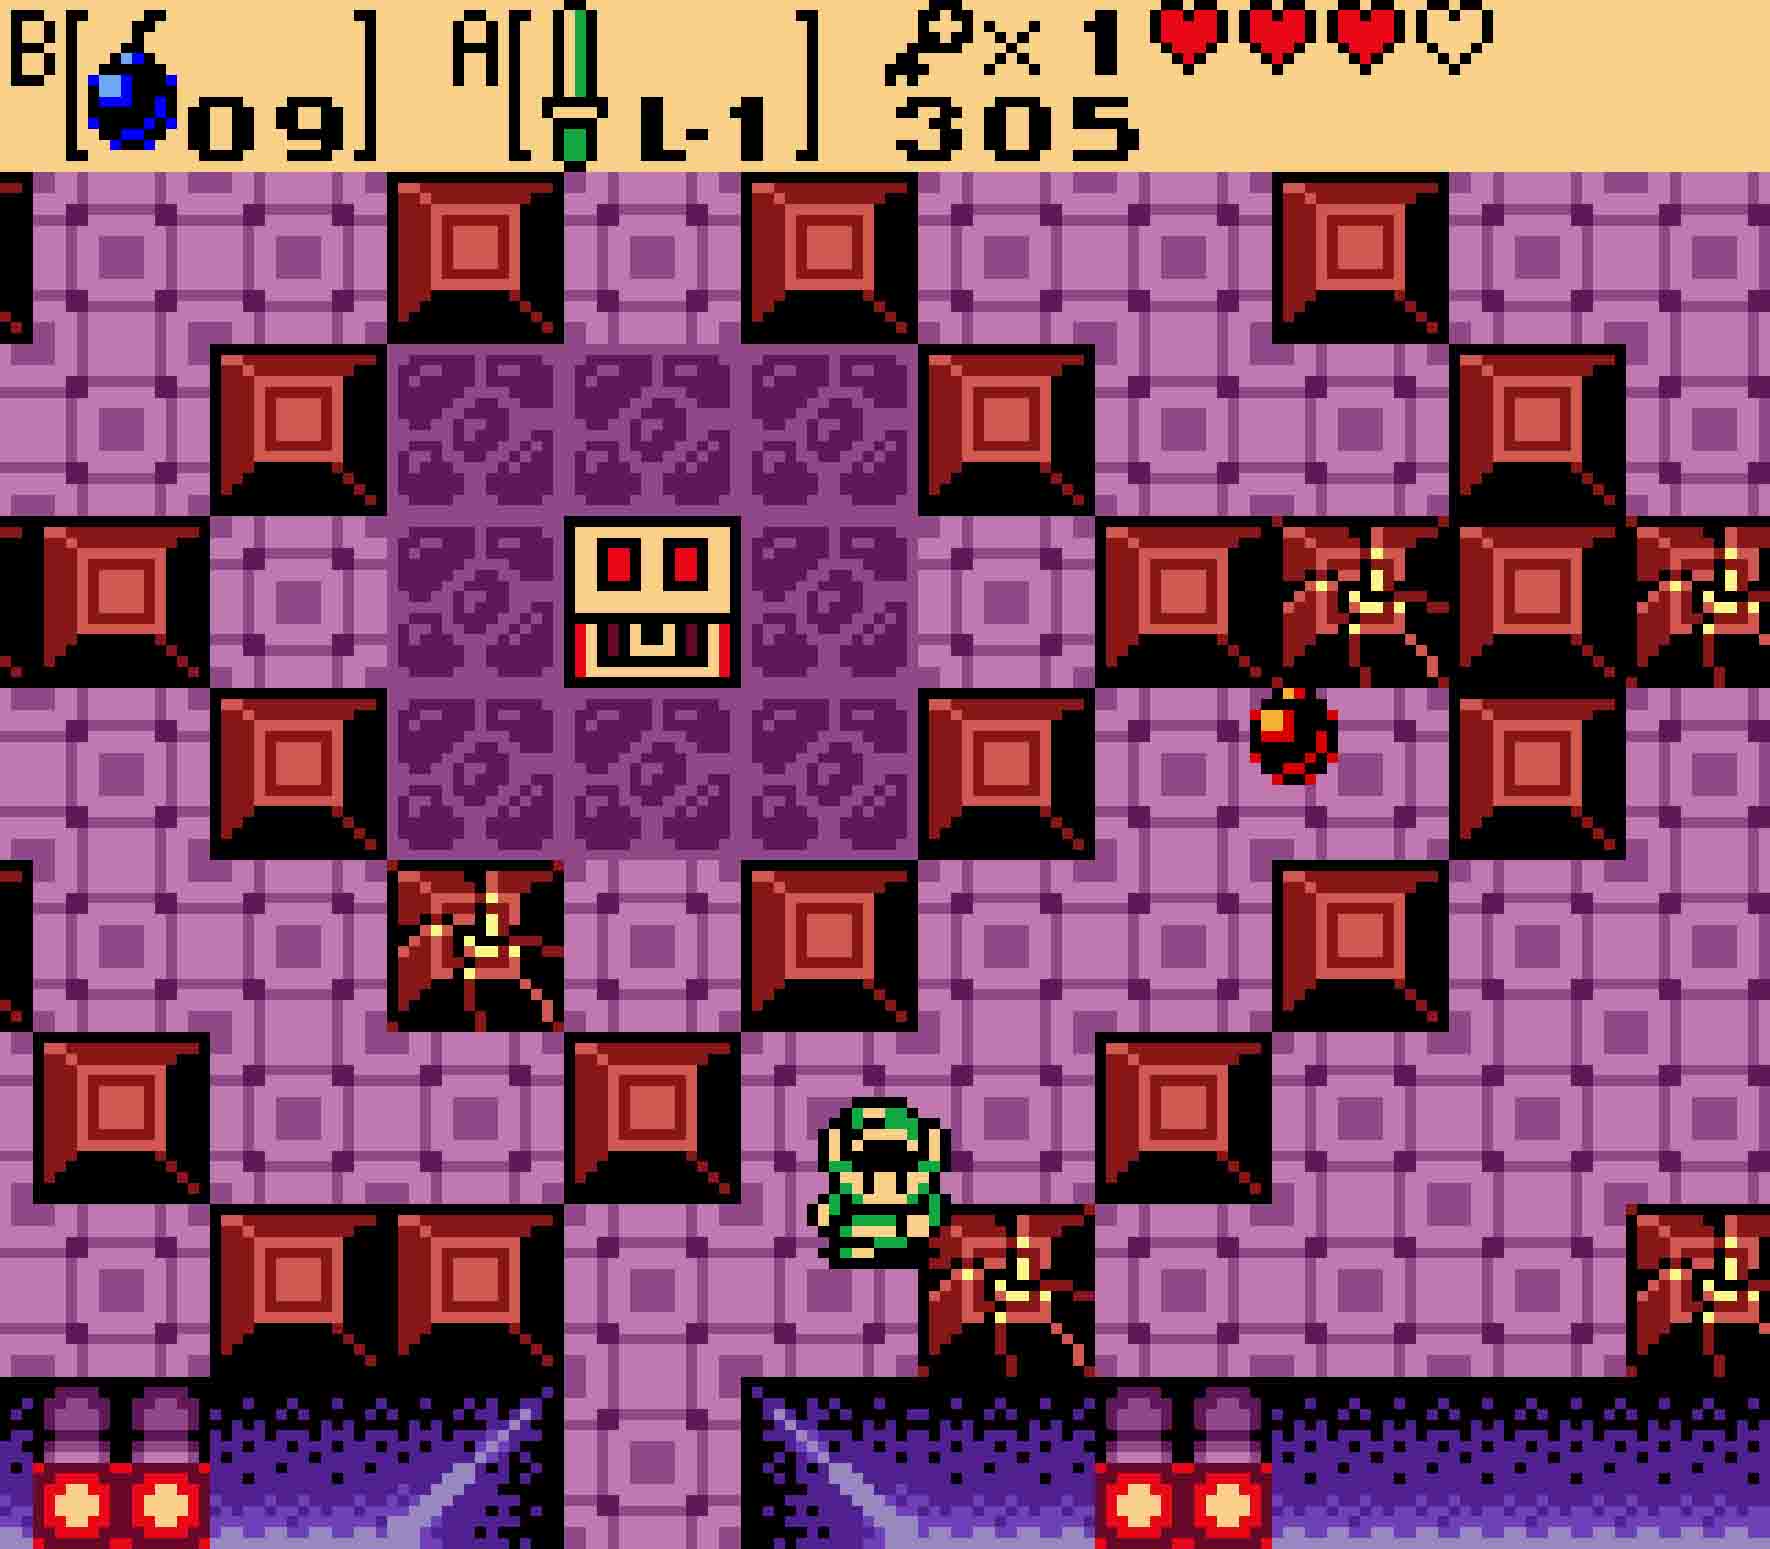
Here you’ll find a chest in the middle of the room, and it holds the final small key of the dungeon. However, this chest is on a timer. After a decent amount of time, this chest will disappear, and the only way to reset it is to exit and re-enter the room. However, doing so will completely reset the room. And given that the only way to reach that chest is to bomb some fragile blocks, this means you’ll be spending a lot of Bombs if you mess up (and thus giving money to the Deku Scrub to try again).
-
- Make sure you follow the correct path in the spiral. Wasting too much time in dead ends will make this treasure chest disappear!
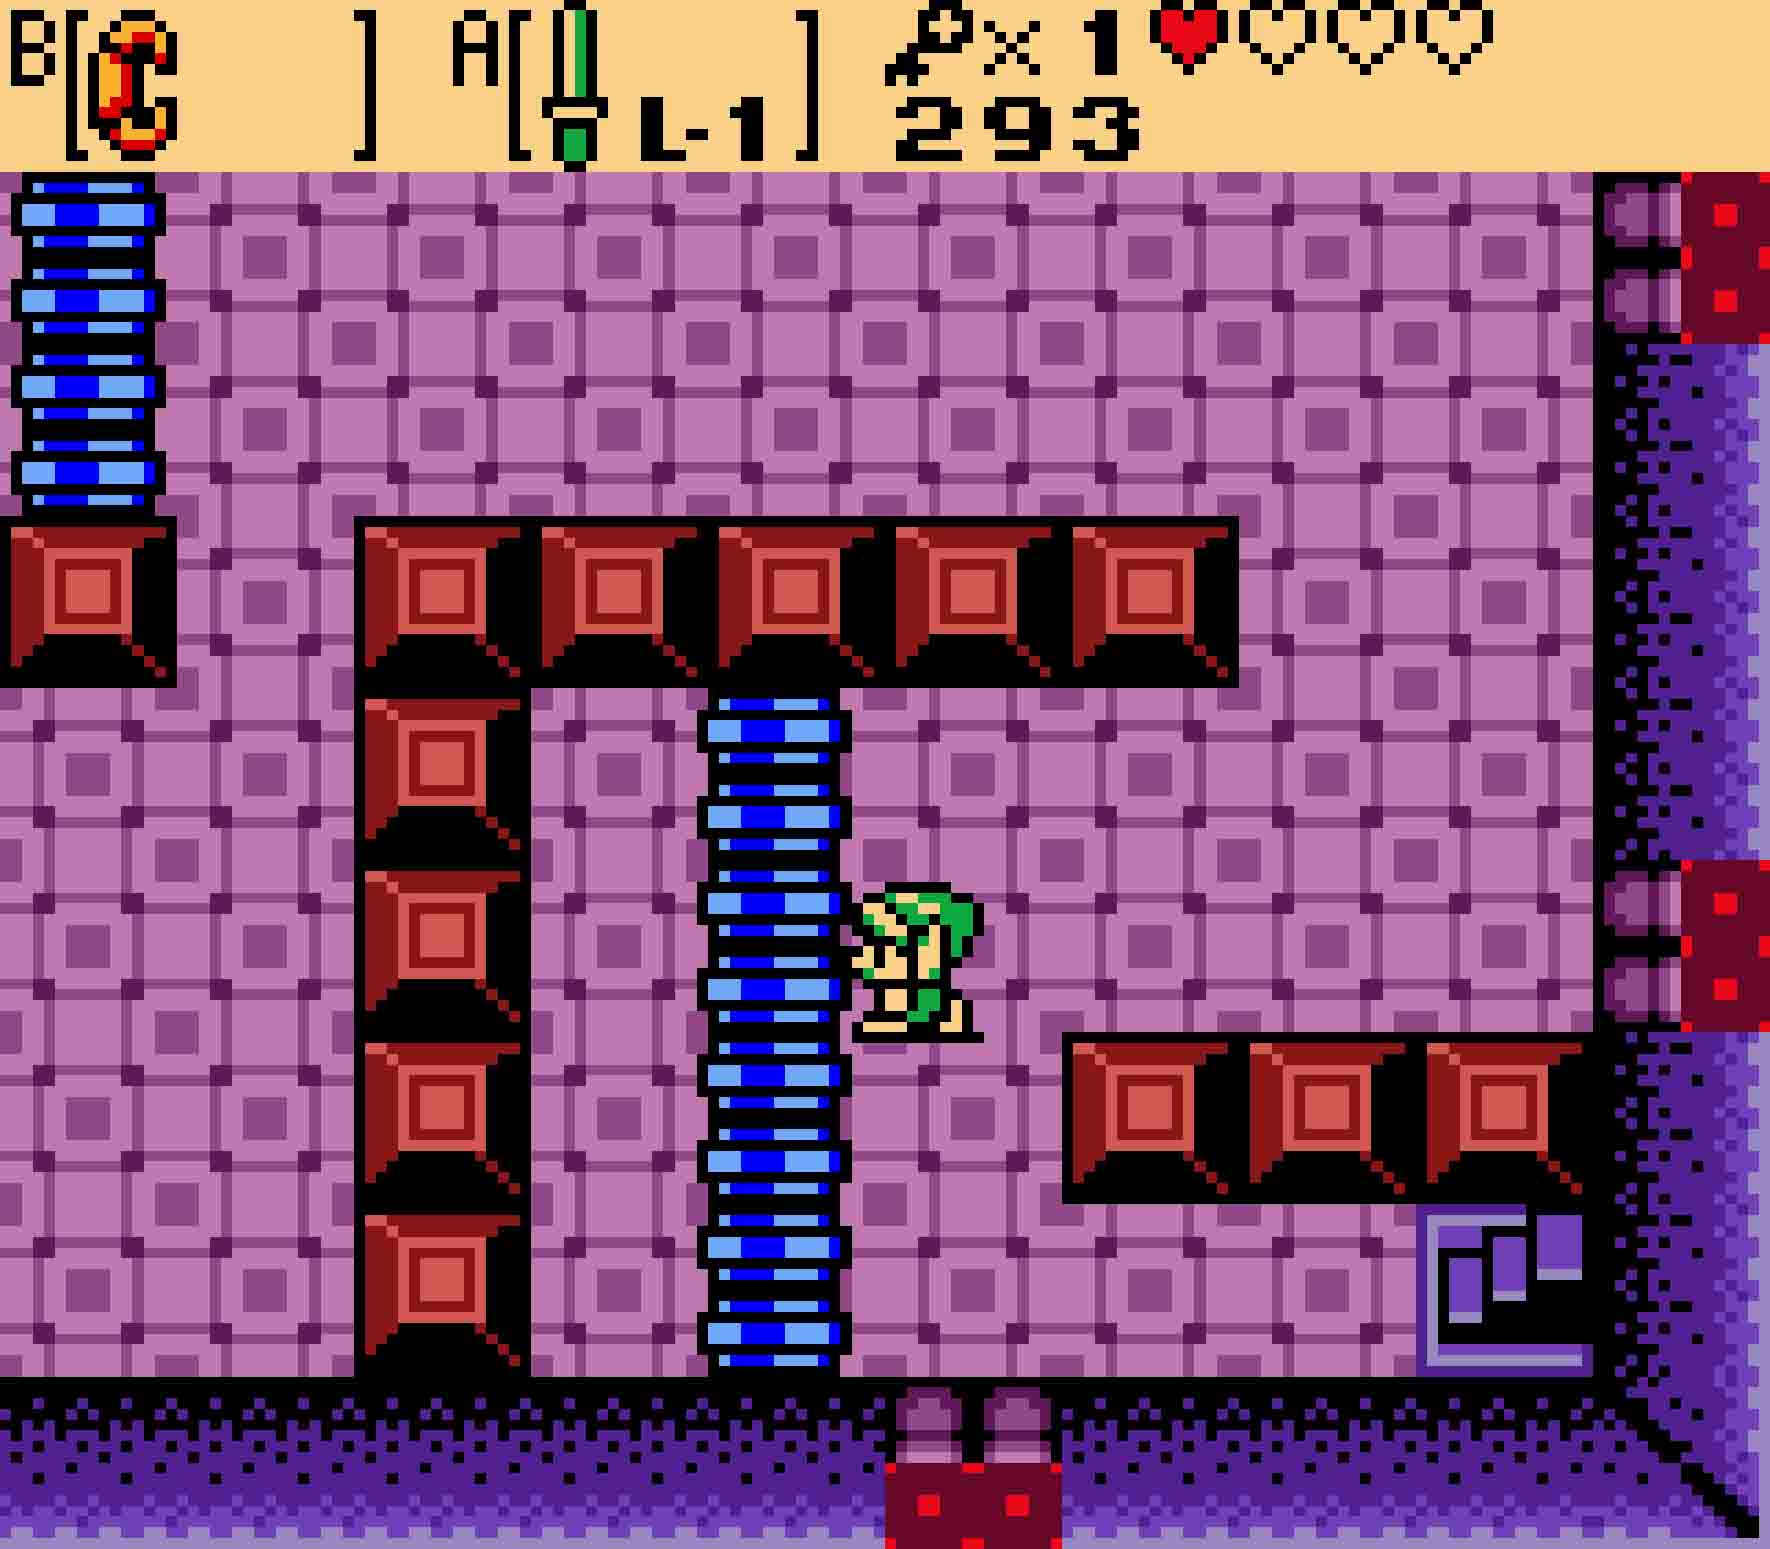
From the beginning, there are two breakable blocks you can reach. You’ll want to blow up the one furthest north, which will cause you to take the “inside” track around the “diamond.” Once it blows up, move quickly to the next breakable block and destroy it with a second Bomb. The third block you need to destroy is three tiles to the left of it; doing so will grant you to the “outer” track around the diamond.
From there, you’ll touch the western wall, where there’s a trio of breakable blocks. You’ll need to use two Bombs to destroy all three of them. Once you do so, yock back into the “inner” pathway around the central diamond, leading you to the last breakable block before the chest. Use your sixth Bomb to destroy it, and then quickly rush in to grab the key from the chest.
5.5 Enter the dungeon’s final section
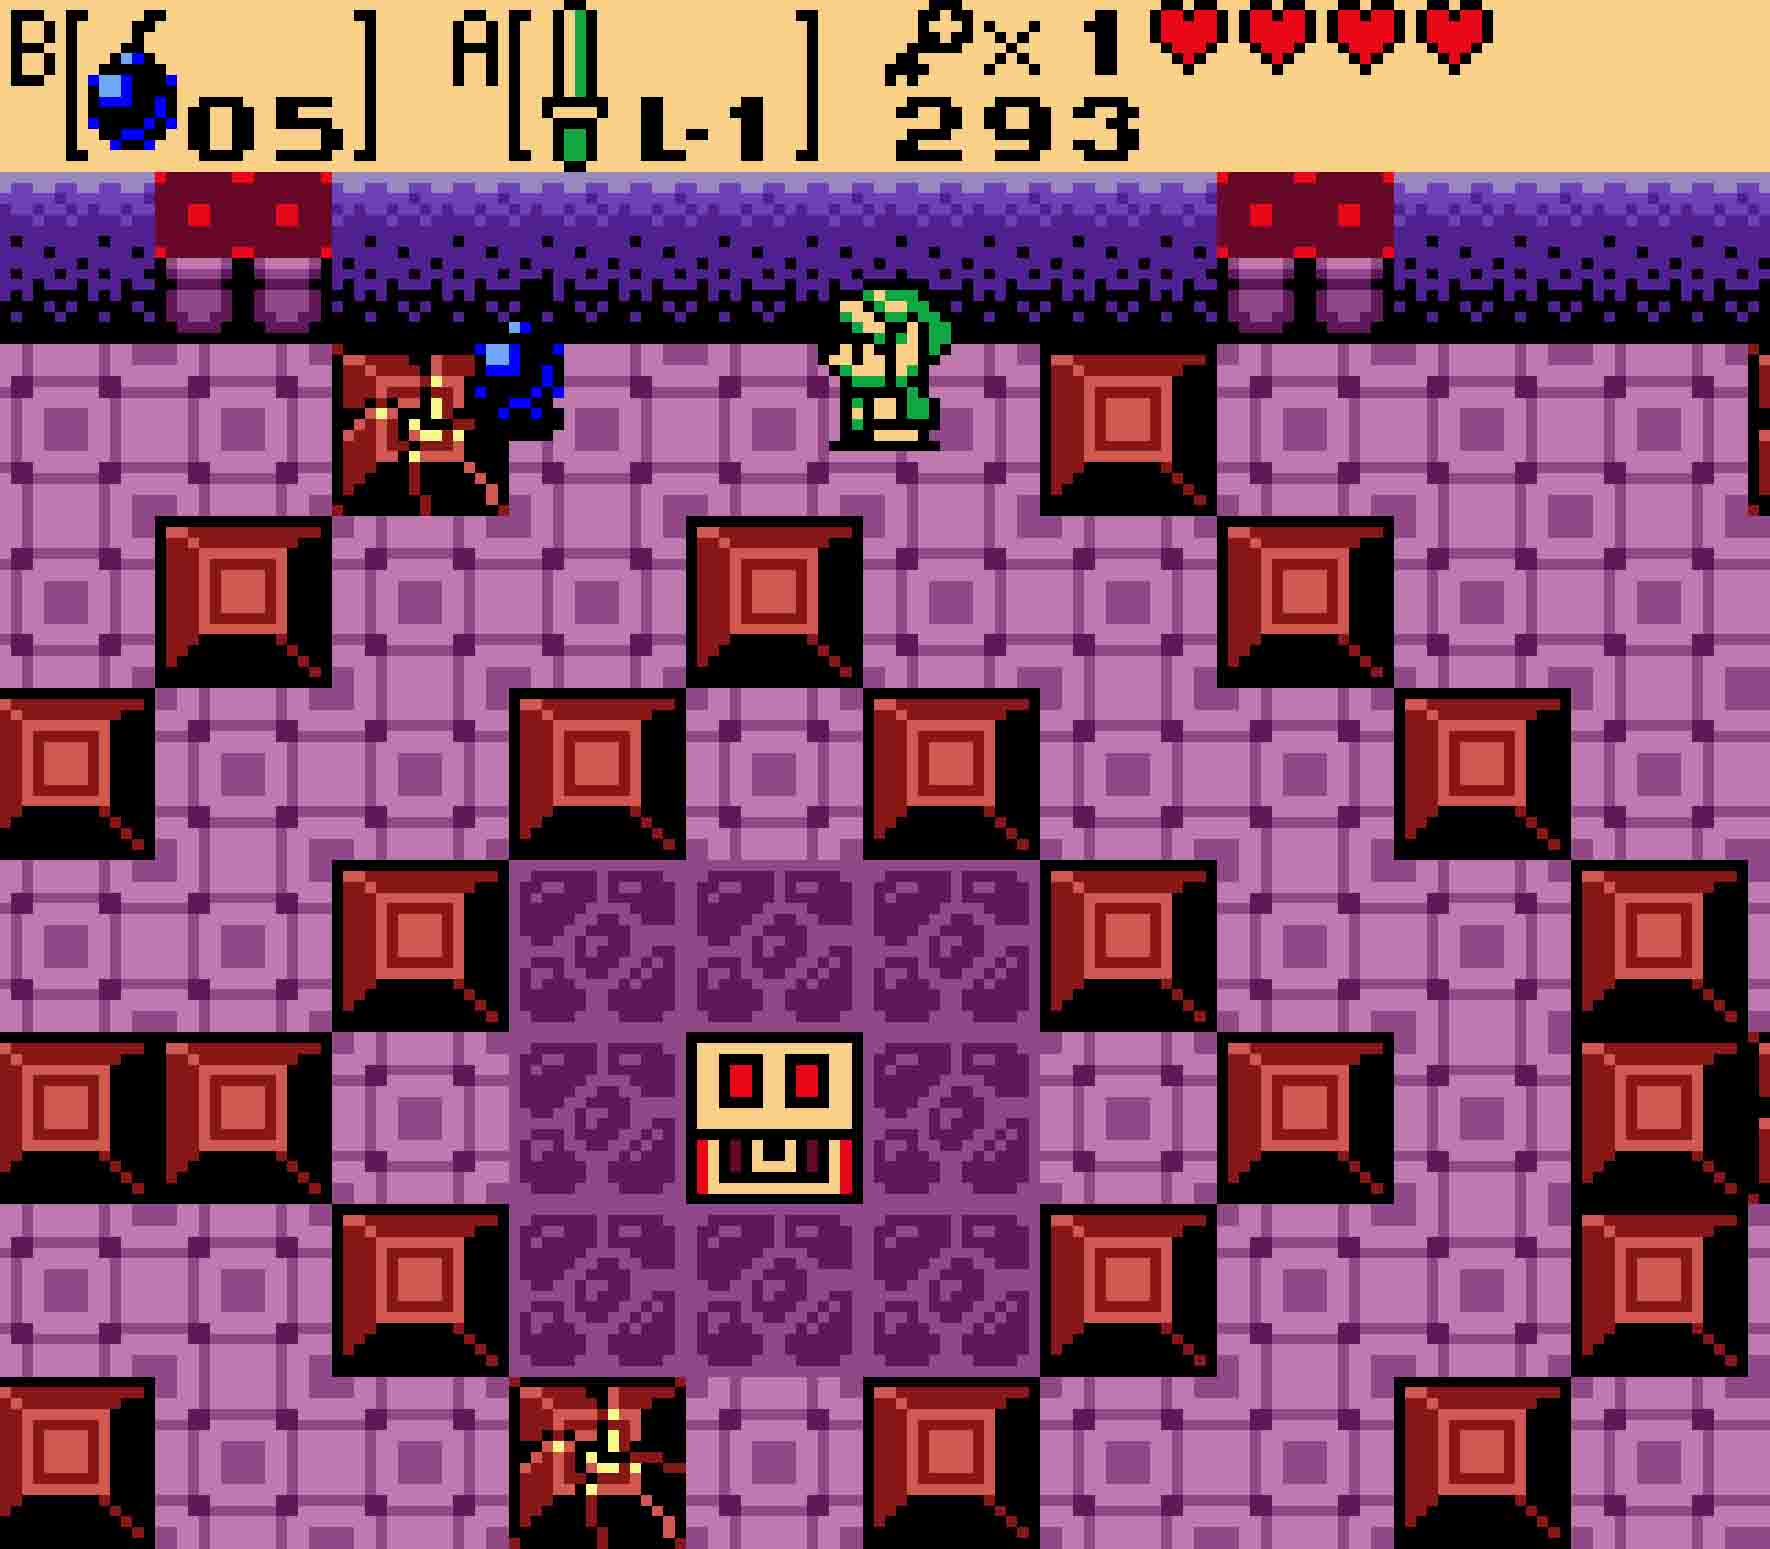
It’s time to backtrack a little bit. Untangle yourself from this little maze, head south, and then back up the staircase to reach the outside segment. Head back east, and then descend the steps again to re-enter the dungeon.
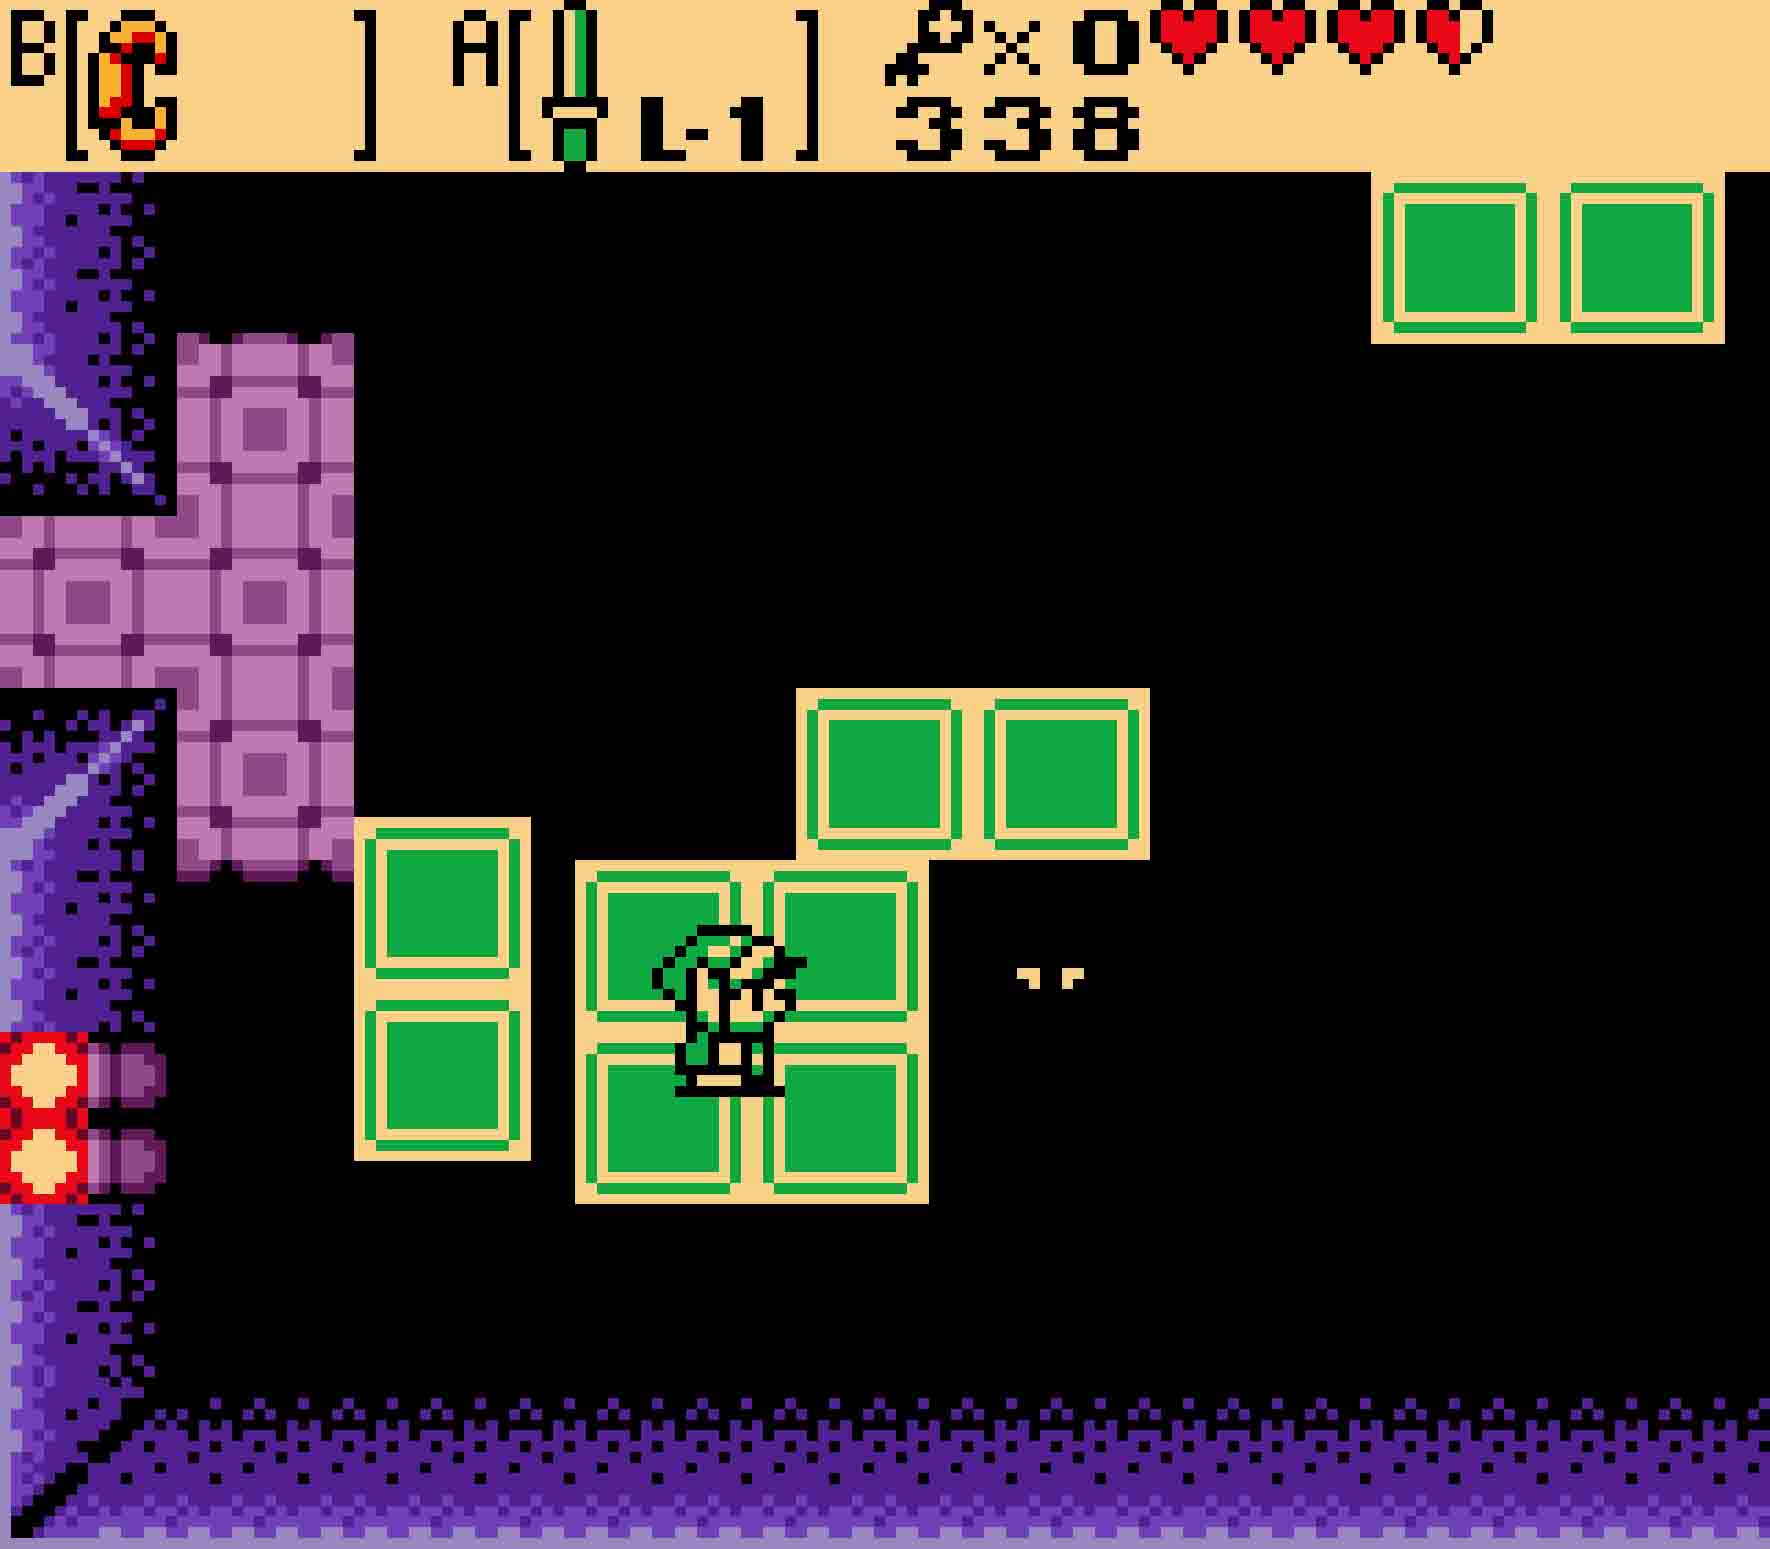
 Again, move the rolling logs in order to squeeze through the gaps they leave so that you can reach the northern door. Head north, and then you’ll be face to face with the Giant Blade Traps. You want to head to the east, so you should have enough time to make it before the Blade Trap can catch you, but feel free to wait for one cycle if that would make you more comfortable.
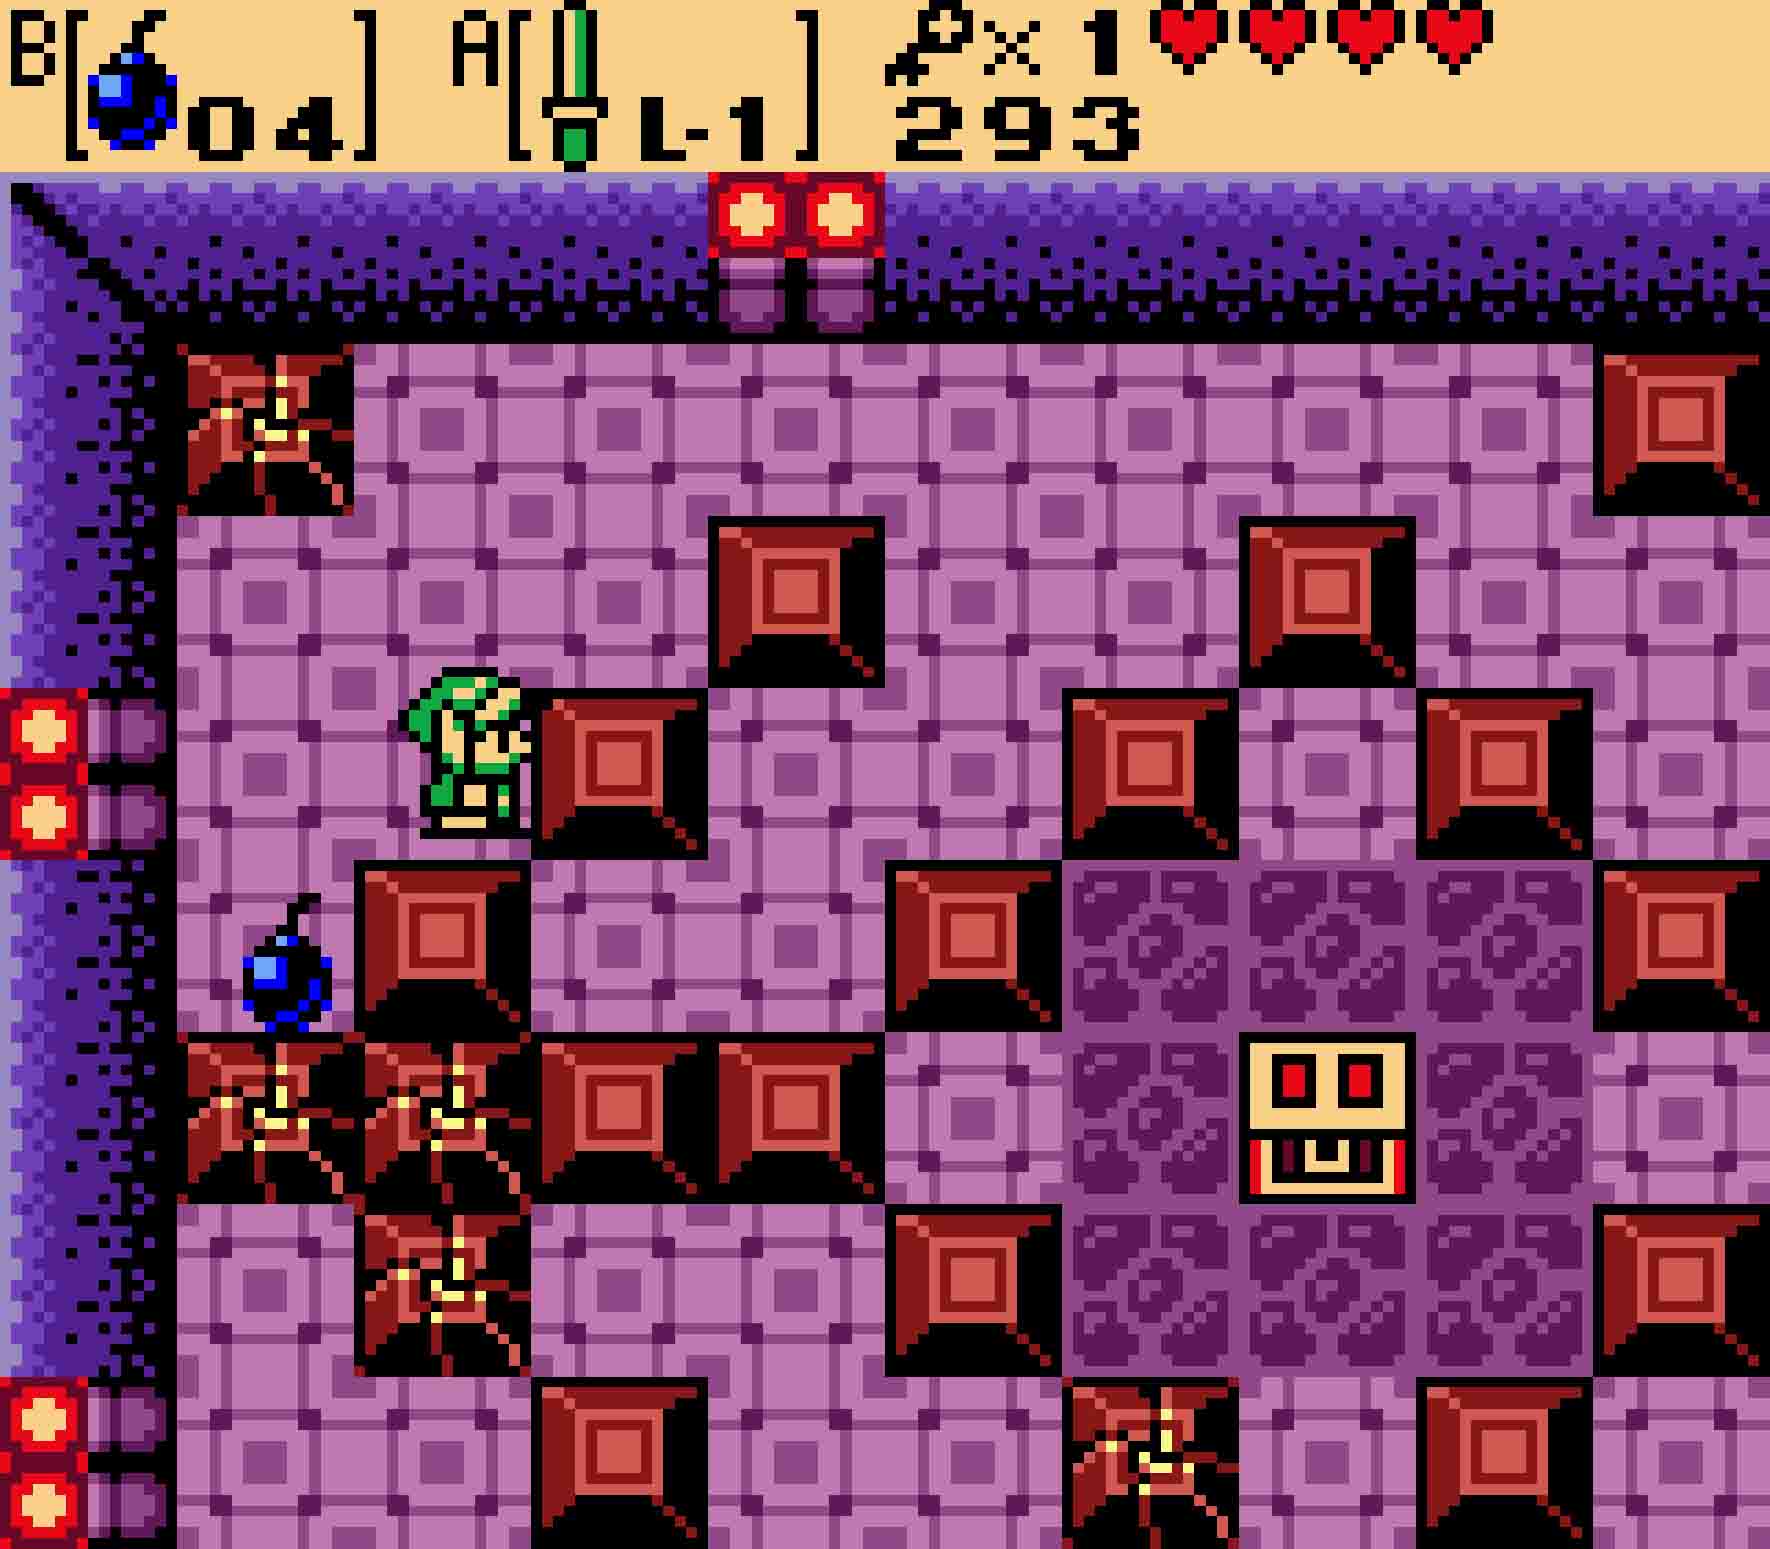
Again, there are more Ropes in this room. In addition, there are also a few more breakable blocks to destroy. The regenerating bushes in this room should give you more Bombs in case you happen to be low on them. Break through the blocks and then descend the steps, which will take you to an underground, side-scrolling section.
This two-room area is filled with Thwomps from the Mario series. There will also be a couple of black Keese hiding amongst the dark backgrounds. Carefully approach the first giant Thwomp, and try to trigger it before pulling back. It will fall, and this will allow you to walk upon its flat head over the gap to the ladder. From there you can head left. You’ll find four smaller Thwomps here. Climb down the ladder, and then just walk to the left without stopping. You’ll have just enough time to clear each Thwomp before it would hit you. You can then ascend the ladders so you can enter the final section of the dungeon.
-

- Wait for the Giant Thwomp to fall and then run across its flat head.
-
- For the smaller ones, hurry by as they fall on you lest you get squashed.
5.6 Defeat Facade
The next two rooms contain more rolling logs that you need to push. Of a lesser concern are the Keese and Zols scattered about. Push the top log all the way to the right so you can access the alcove below you. Once you’ve exposed it, make your escape. The treasure chest below you will contain 10 Rupees, not great, but not bad either. Continue east.
Take caution as you roll these logs. Don’t stand too long on the cracked flooring.
This next room provides a twist on the rolling log puzzle. Now there are weak areas of the floor where, if you stand in them for too long, they’ll crumble away and cause you to fall. To avoid that, you’ll want to be quick and smart. For the first rolling log here, make sure to push it from somewhere higher up on the log so you’re not standing over the pit. After it rolls to the right one square, quickly transfer to a lower section of the log and continue to push so that you can exit out below you. Kill the Keese on the other side when you have a chance and approach the second log. Roll the log while standing low on the log; then once you’ve reached the furthest point in the push, quickly escape out above you. This will take you to the doorway that you can unlock with one of your keys.
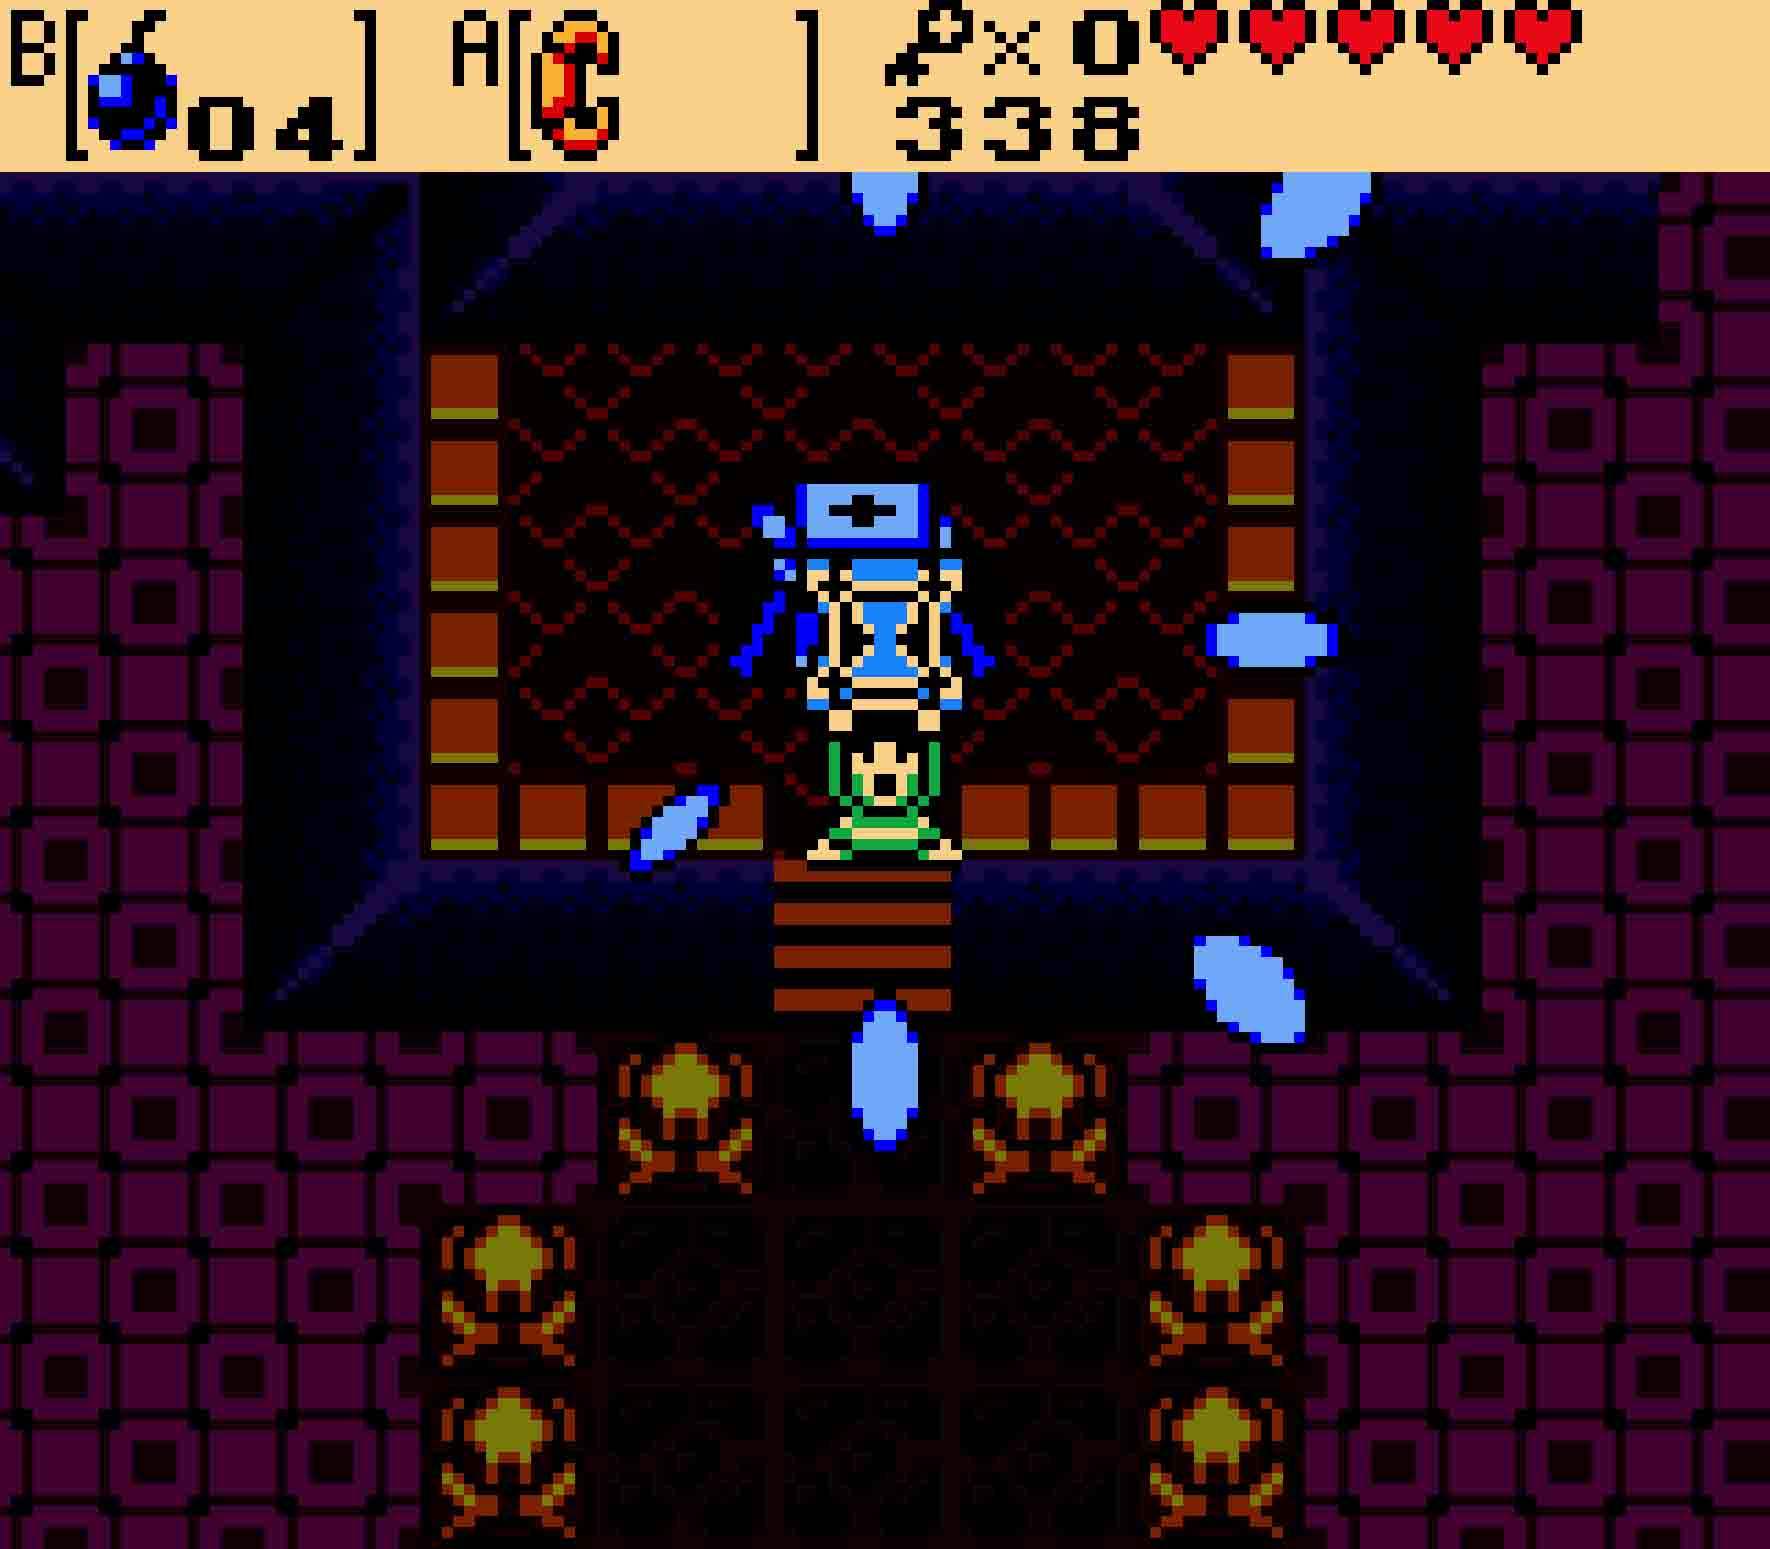
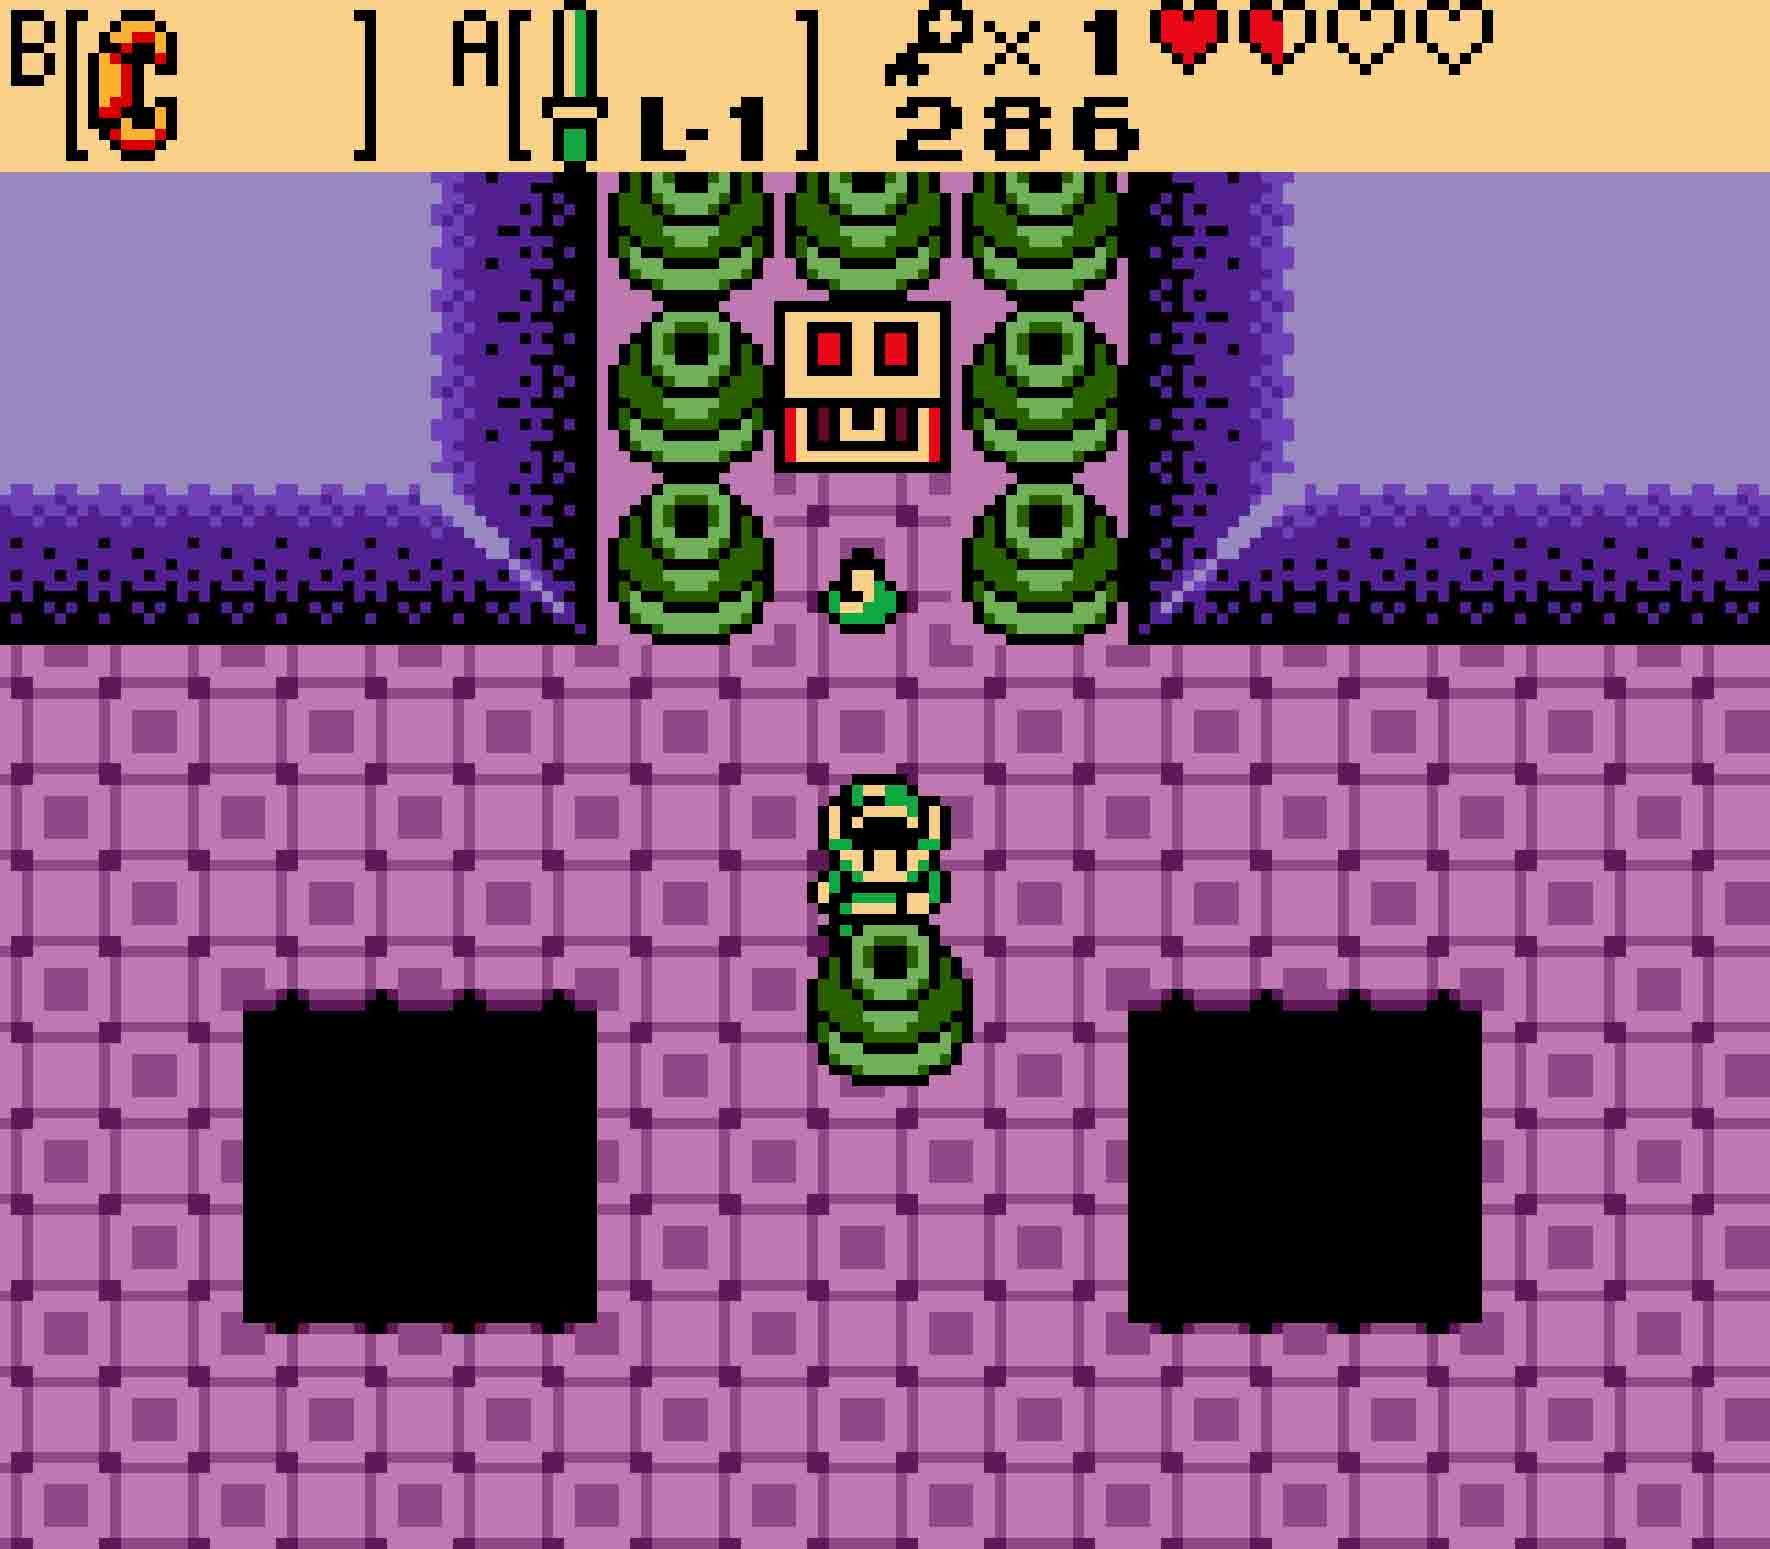
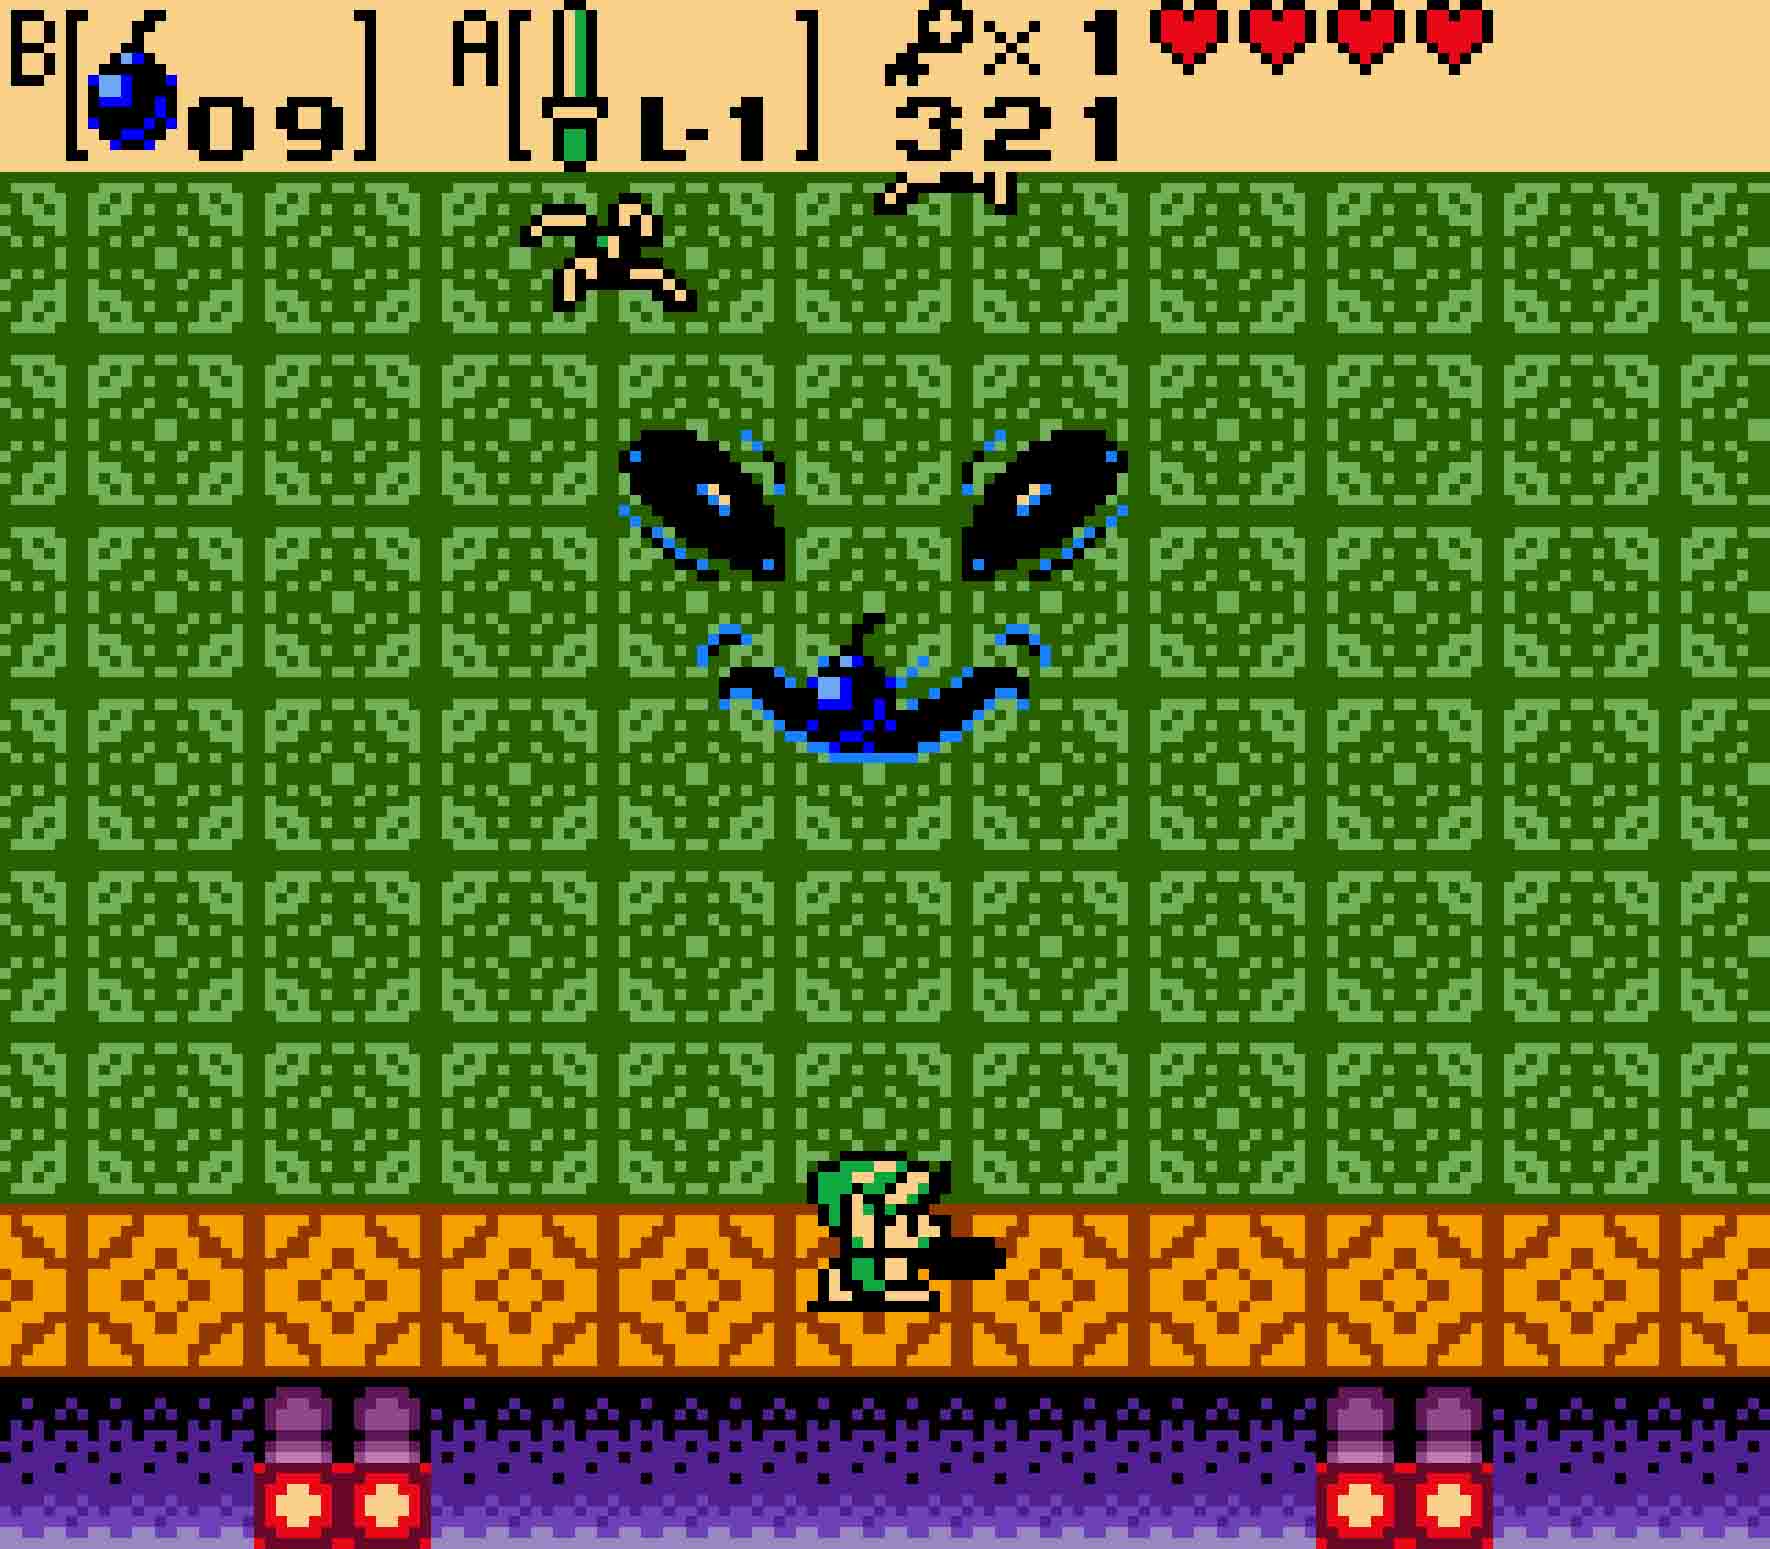
Your next challenge will be to face the mini-boss Facade. Facade is a face that resides upon the floor. The mini-boss has three primary attacks. The first, which is actually more beneficial to you, is that it will summon a few Beetles that will crawl about. If you kill these, they are liable to give you some Bombs to replenish your inventory. Secondly, Facade will call down fire from the ceiling; make sure to avoid being under them when they drop. Lastly, Facade will create a series of pits in the floor. When he does this, always stay on the move as they’ll typically appear where you are or slightly behind you. So long as you stay moving, you’re not likely to fall.
-
- To defeat Facade, you need to blow its face off. Literally.
-

- Watch out for enemies, falling ceiling, and holes in the floor.
In order to defeat Facade, you simply need to drop bombs on its face. Stand in the center of the room — the only place where Facade appears — and wait for the face to emerge. Immediately drop a Bomb directly upon it, and then get out of the way. Facade will be damaged, though it will still attack. Simply repeat this process several times, and you’ll defeat the mini-boss. It will yield you a fairy and open the door to the east.
5.7 Get the Boss Key
From Facade, head east, cross the room and head east again. Here you’ll find a couple of Sparks as well as Stalfos behind a locked block. Use your final small key to unlock the block, and then pass through the room, upending the pottery if you want to replenish any items.
In the next room, you’ll face an army of Ropes, but be careful when you emerge as the door is guarded by Blade Traps. Once you pass them, kill the Ropes. You can see the chest containing the Boss Key here, but it’s high up on a dais without stairs to reach it. Thus, continue through the door leading southward.
Aside from the Keese here, the major obstacle is the moving green platforms over the inky black abyss. There’s no real shortcutting this obstacle; you’ll have to touch each of the four moving platforms to reach the Boss Key. First, step onto the upper 2×2 block next to the platform you’re standing on. It will eventually head left, allowing you to jump onto the 2×1 block moving vertically. Don’t exit it when it reaches solid ground to the west, but continue onward so that it guides you to the lower 2×2 block. This will head to the right, eventually coming alongside the 1×2 block. Transfer there, and then ride it to the far right of the room.
Once you make it to solid ground, head up the stairs and proceed north. There you’ll find the Boss Key.
-
- Be careful as you cross the moving floor. Patience is a virtue here.
-
- Each segment will always line up with the next one to cross.
5.8 Reach the boss’ lair
There are two ways to reach the boss’ lair from here, but we will guide you through the less convoluted one. From the chest with the Boss Key, head west, avoiding the Blade Traps as you make your way there. Then head west again past the two Sparks in the next room.
Eventually you’ll come to the horizontal corridor that’s completely empty save for three pots in the first alcove below you. That alcove contains a bombable wall that will lead to the south. Lift the pots, toss them aside, and bomb the wall. In the southern room, you’ll have to face four Pols Voices. You’ll also have to dodge the occasional fireball emitted from the lantern in the room’s center. Pols Voices are immune to the sword; instead, use your Bombs. Light a bomb, and toss it into the center of the Pols Voice corrals to blow them up. Once you kill all four, the lantern will stop bothering you. If you end up needing more Bombs, you can acquire more from the regenerating bushes in the room. When you’re done, the pathway east will open up.
-
- Blast your way into this secret room.
-
- Then blast away the penned Pol’s Voices.
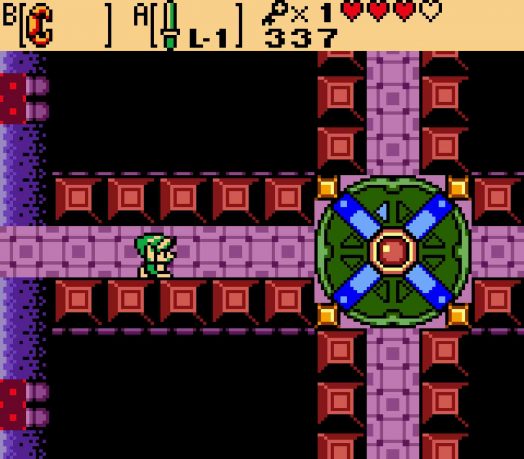 This is where you’ll encounter the first turnstile room in the game. These turnstiles will only revolve one direction; however, the catch is that, after you pass through it, it will reverse direction. As a result, you can only access one path at a time, and going backwards will just return you from whence you came. In this case, the turnstile is going counterclockwise, so this will simply take you south, the direction you want to go in.
The last room before the boss involves one more set of moving platforms and a few Ropes on the other side of the pit. Cross the gap and destroy the Ropes; then, lift up the pots and prepare to face the boss.
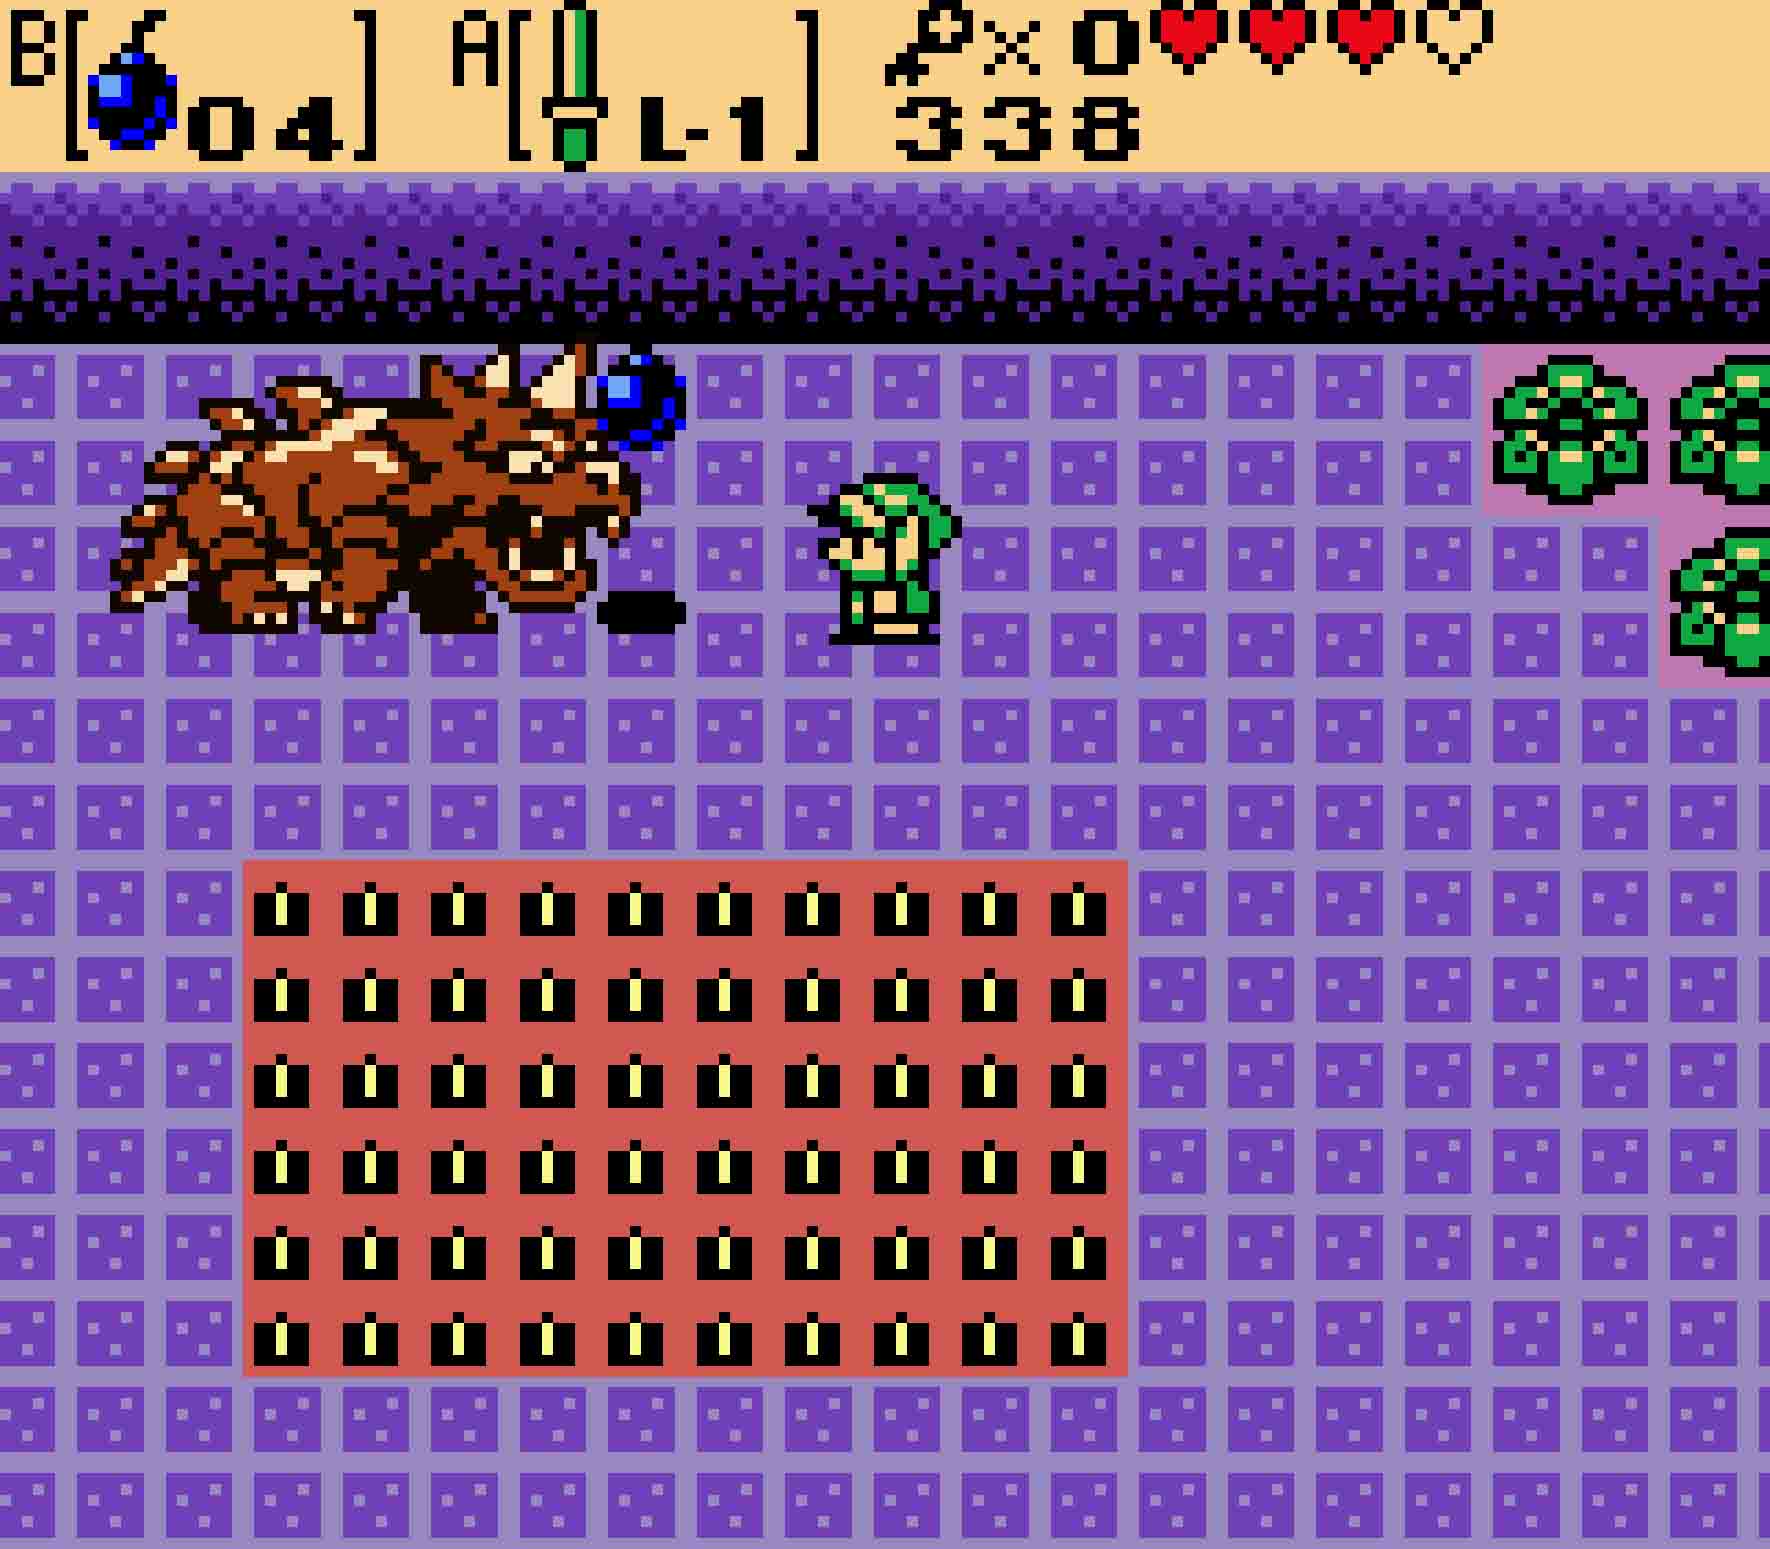
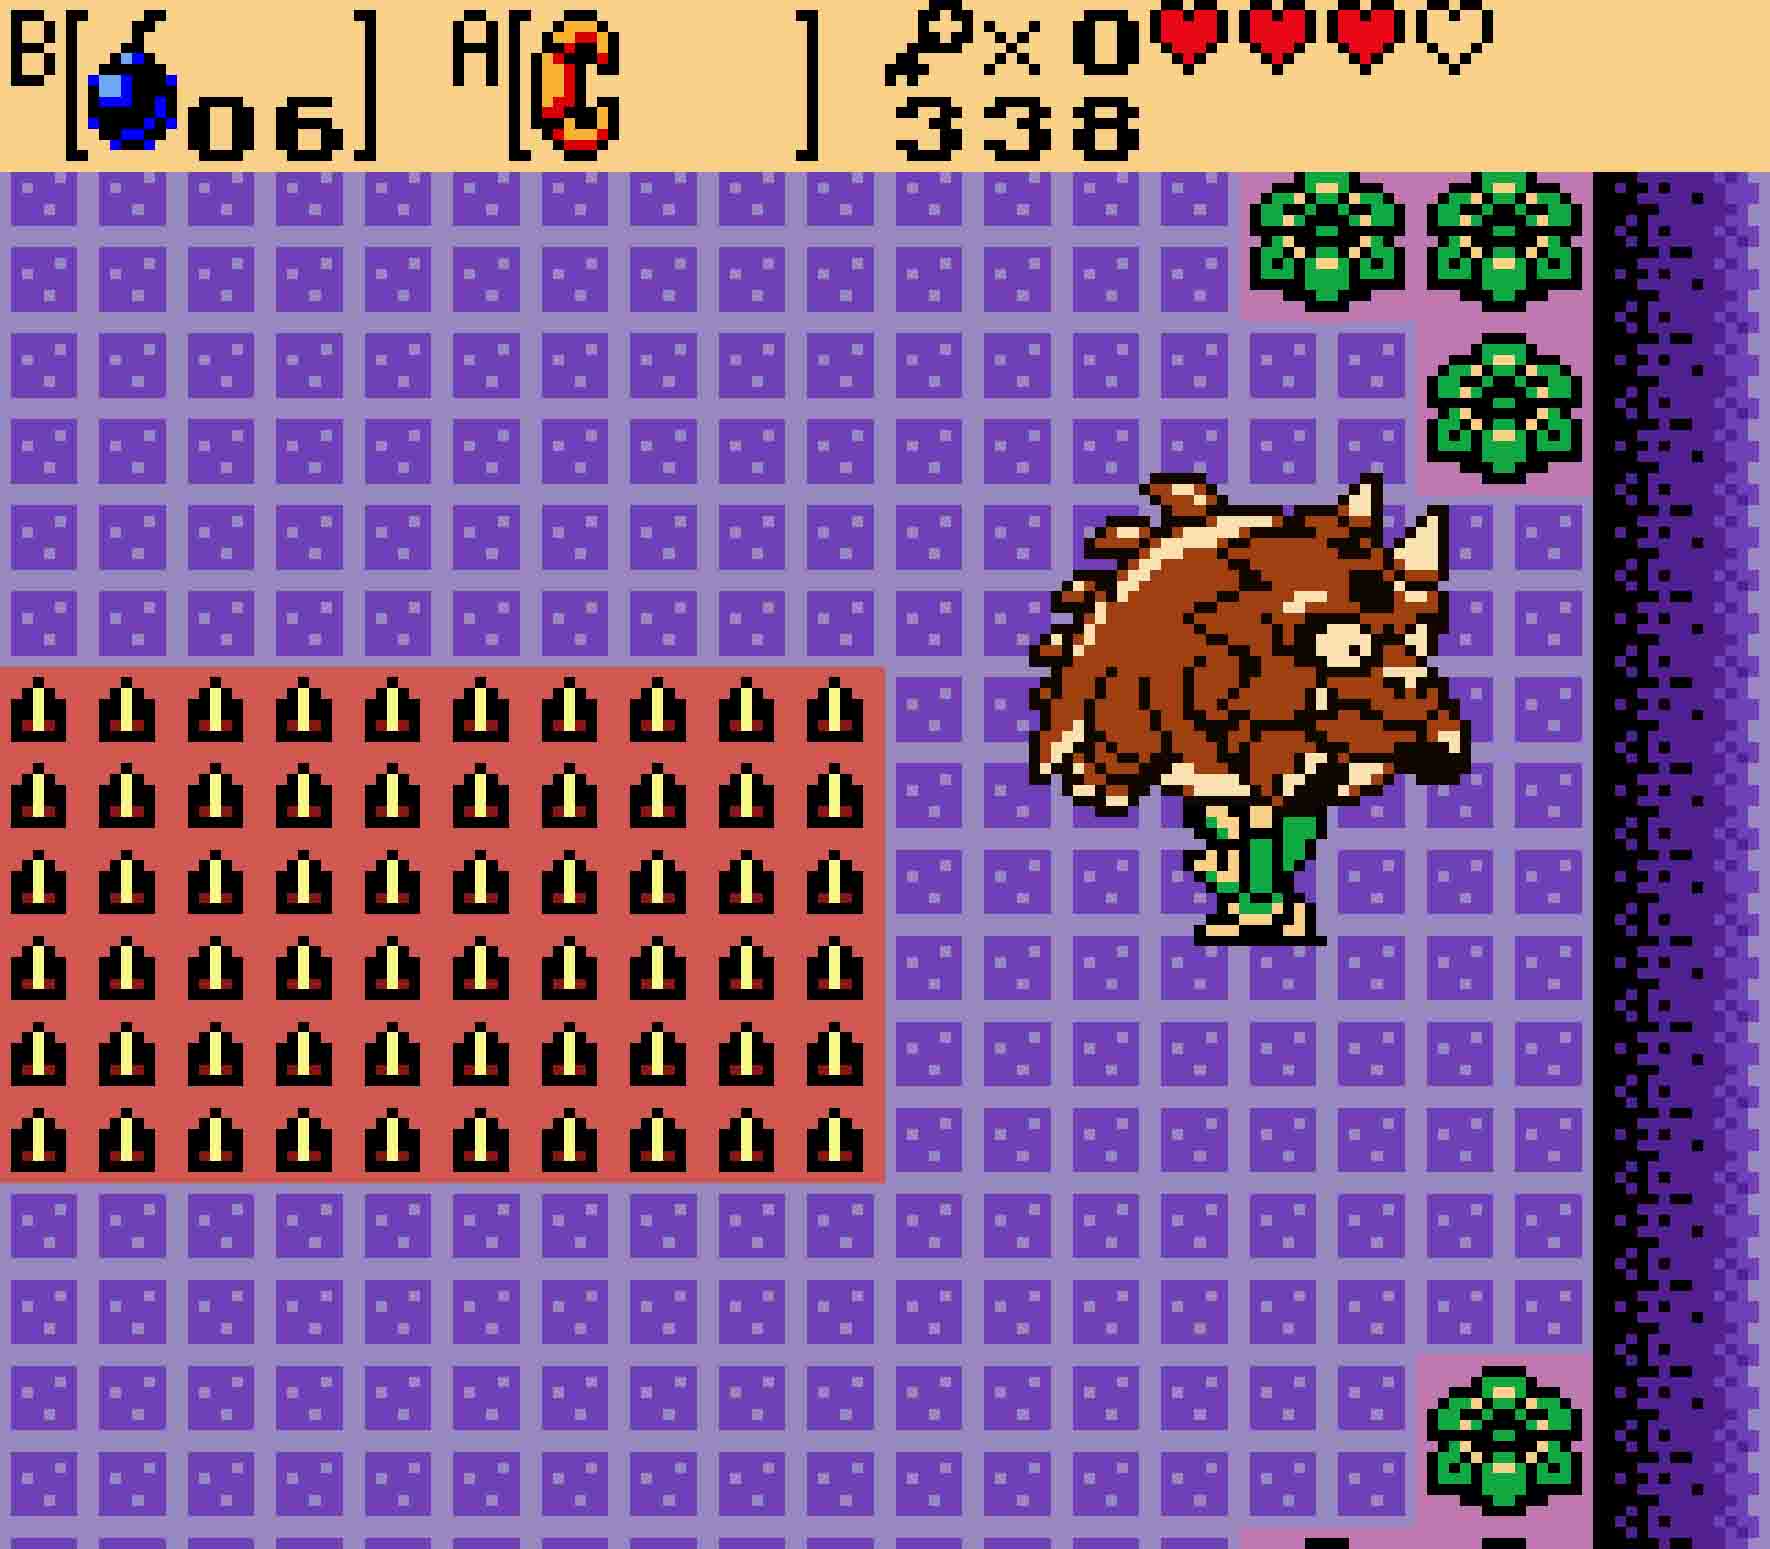
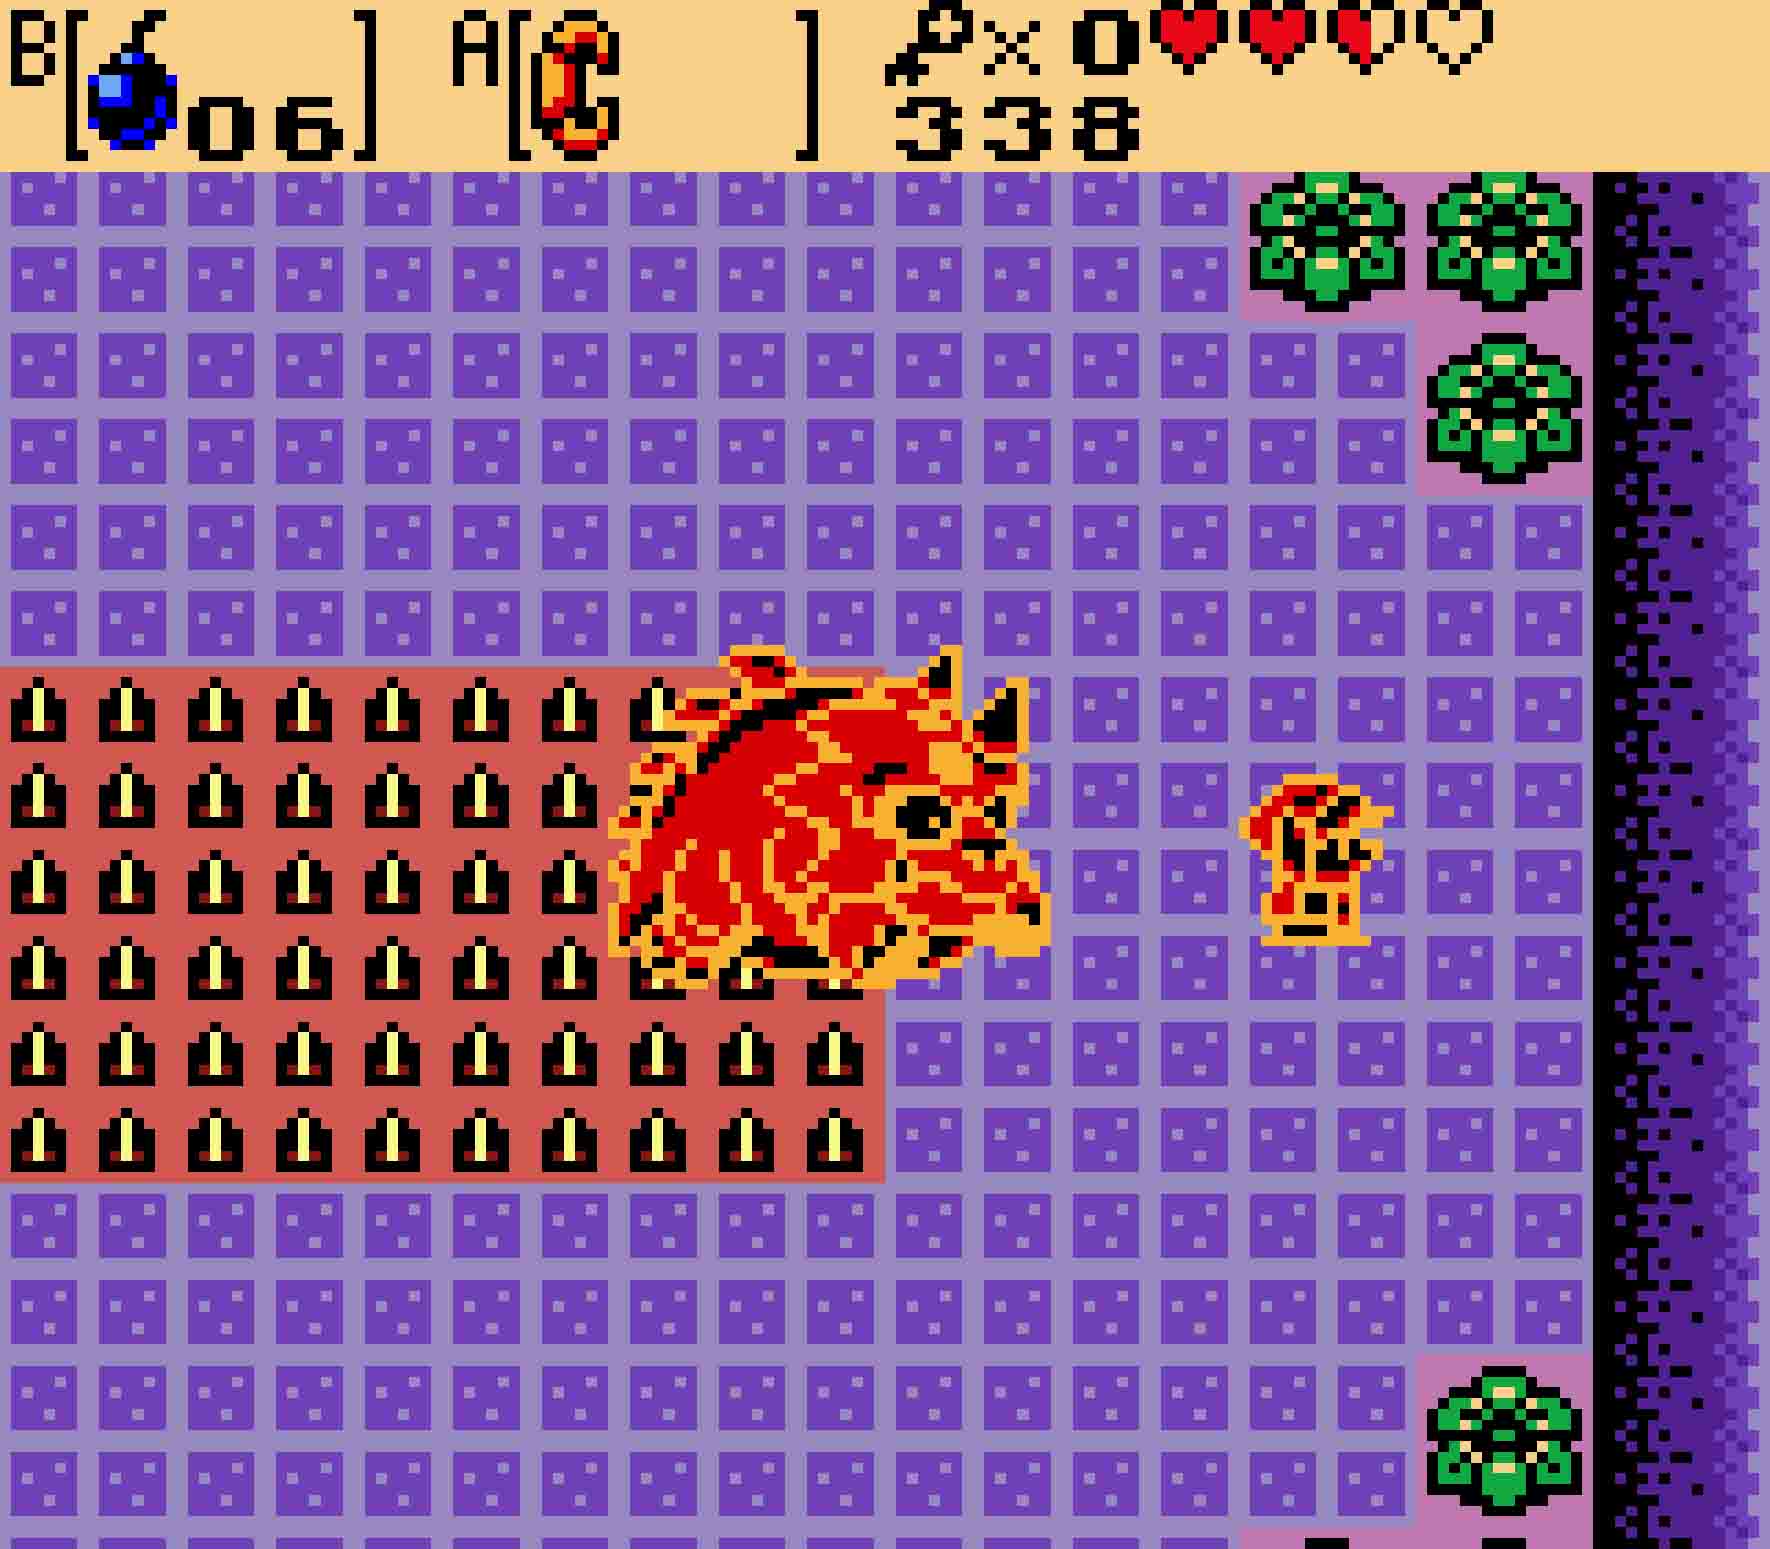
5.9 Defeat the Dodongo
Dodongo is perhaps one the easiest boss in the game. Once you figure out how to kill it, it’s extremely difficult to even take damage from it. Outside of accidentally running into it, there are only three things that can damage you. The first is that Dodongo will occasionally charge at you. If it starts to look like it’s going to run, make sure to get out of the way. Secondly, it will breathe fire at you, but it will take well over a second for it to actually charge the attack. Lastly, there’s of course the spikes on the floor in the center of the room that you can run into.
-
- You can’t just let Bombs do all the work. Pick up Dodongo once you’ve stunned it and attack its weak point for massive damage.
As with almost all Dodongos in the Zelda series, it is extremely susceptible to Bombs. As the Dodongo very slowly trudges across the room, stand directly in front of it and wait for one of its two attacks. If it looks like it’s going to run, get out of the way. But if instead it opens its mouth, quickly grab a Bomb and throw it in its mouth. Doing so will cause it to inflate up like a balloon.
This Dodongo will however eventually consume the Bomb, thus disarming your trap. As a result, once it’s inflated, quickly go over to it and pick it up with your Power Bracelet. You can then proceed to throw it on top of the spikes in the room’s center. Only once you do that will it take damage. Rinse and repeat several times, and eventually the Dodongo will be destroyed.
Then you can head to the south and pick up the second Essence, the Gift of Time.