
Chapter 3: Tower of Winter
- 3.1 Return to Horon Village
- 3.2 Follow Rosa into Subrosia
- 3.3 Dance off for the Boomerang
- 3.4 Seek the Rod of Seasons
- 3.5 Gain the power of winter
3.1 Return to Horon Village
After defeating the Gnarled Root Dungeon’s boss, you’ll be transported to its entrance. Once you head east to get off the island, if you haven’t run into her yet, you’ll meet Maple, the witch’s assistant. Every time you defeat 30 enemies (and dungeons are good sources for these), you’ll trigger an encounter with Maple. If you run into her, you can snag a bunch of her collectables (and earn some of yours back) including bombs, hearts, seeds, and even rings if you’re lucky.
There’s nothing left for you to do in North Horon for now, so it’s time to return to the village. Head south twice, west once, and then south again to enter the village. While you’re back in the village, there are a host of things that you’ll be able to do. You should visit Vasu again to appraise any rings you have. You can also collect some rupees from Mr. Write’s house, although it will need to be wintertime for you to collect the chest after you bomb an entrance through his home. Also important is that you should consider replenishing your Ember Seeds by visiting the tree to the west of Mr. Write’s house. Not only will this give you Ember Seeds, but it will also serve as a warp point later.
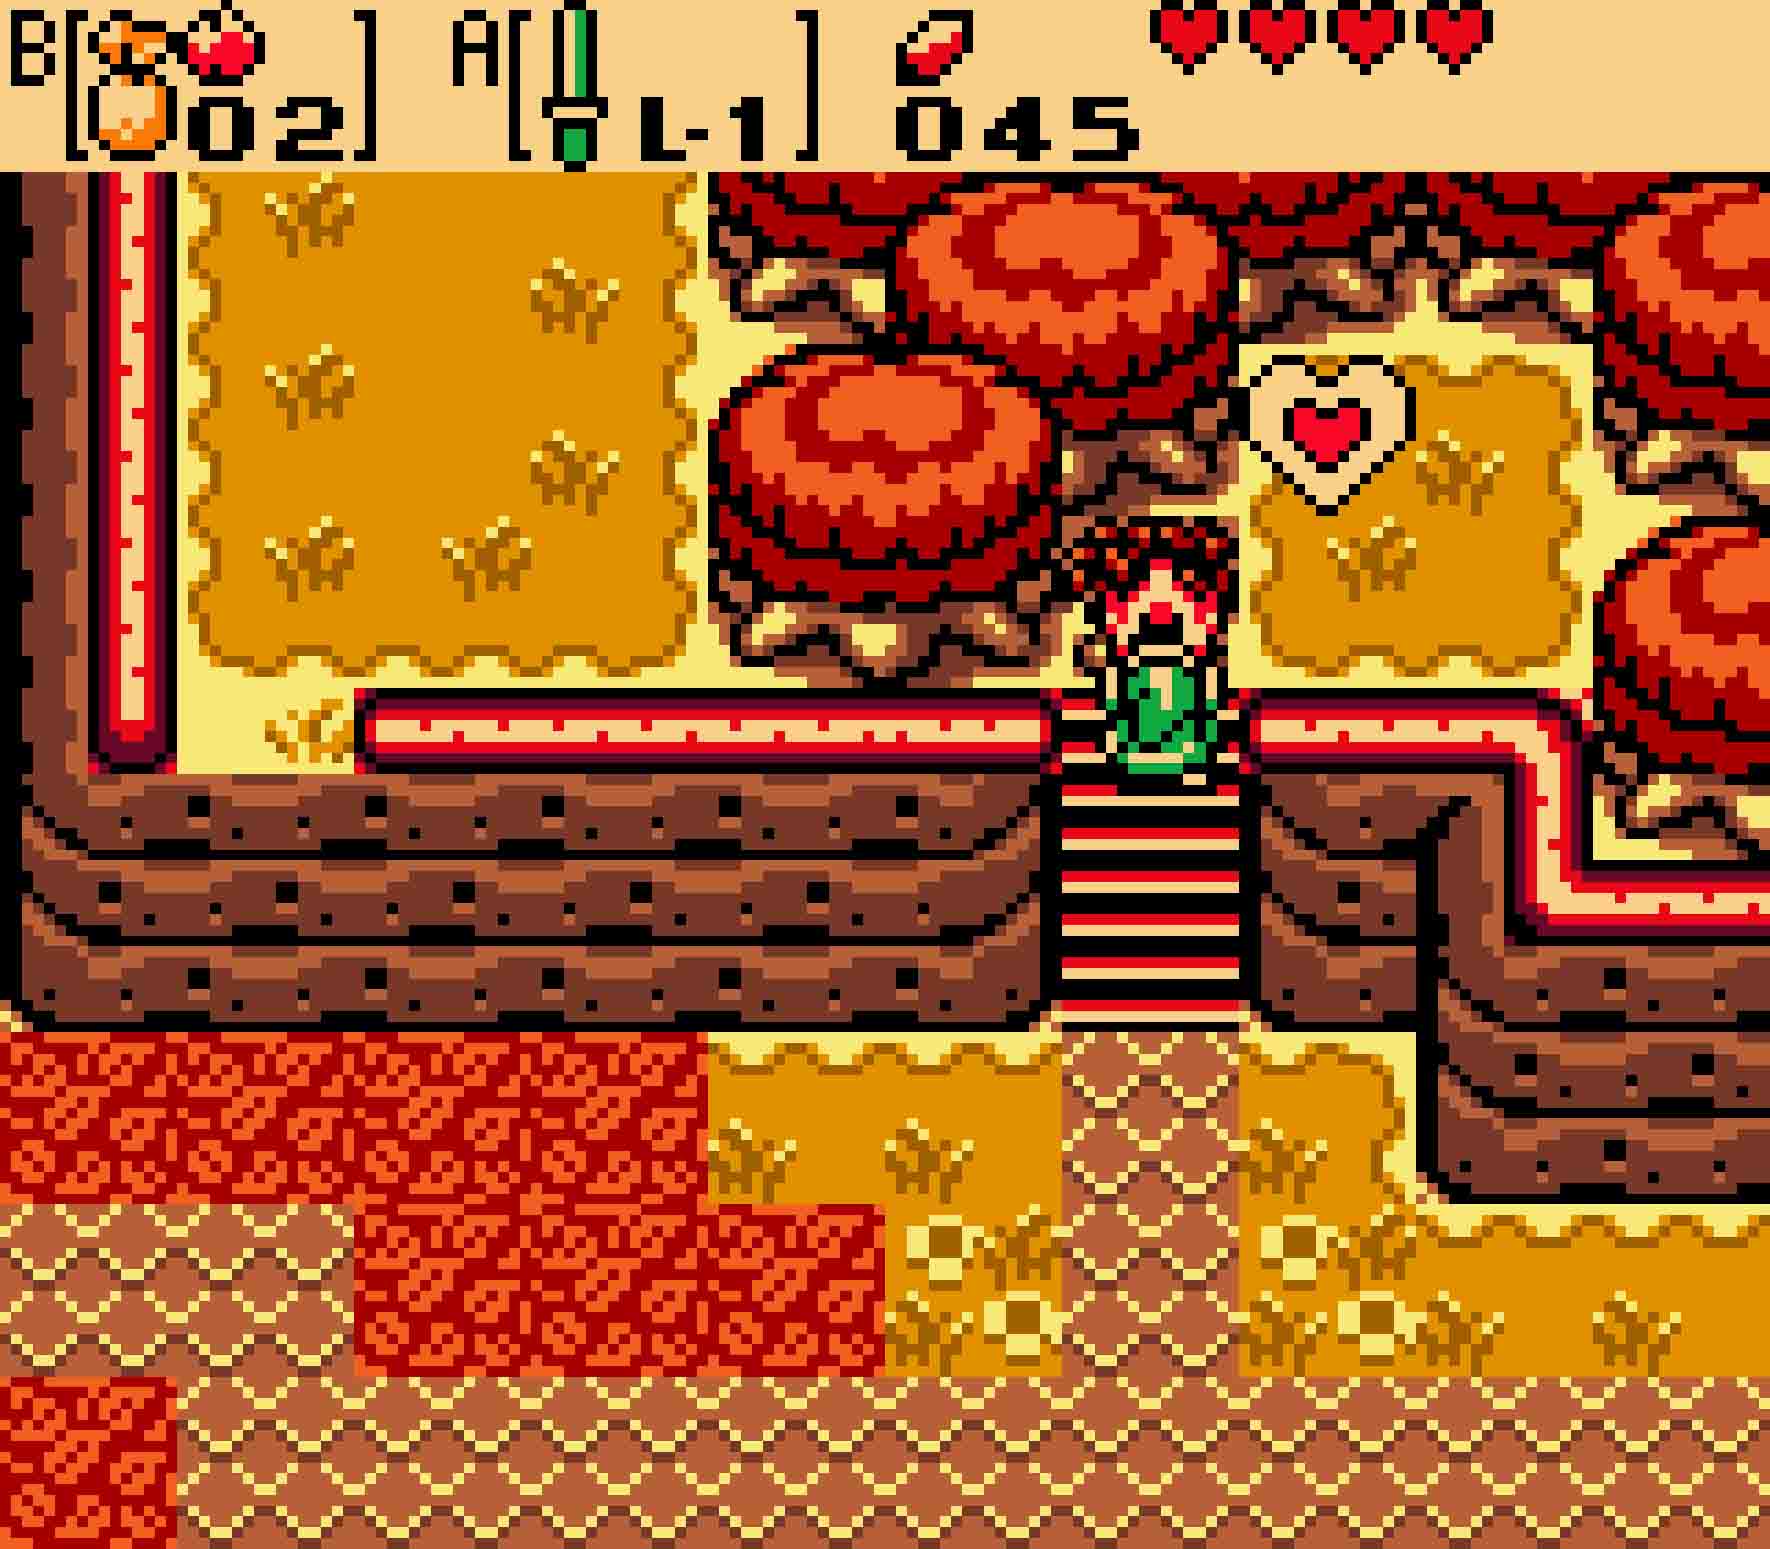
You can now earn the first two Pieces of Heart in the game. However, one of those is randomly acquired from Maple; the other, however, is available in Horon Village. Also, if you’re playing a Linked Game, visit the fountain to get your first of ten secrets in the game. Doing so will give you a quest where you can get a full Heart Container for your quest. However, you won’t be able to earn this extra heart until you complete Chapter 5.
-
- Ember Seeds are the key to opening up more areas to explore.
Once you’ve done all of your business in the village, you should proceed out of the eastern entrance, just south of the Maku Tree. Before you’re able to burn down the shrubs blocking your path, you’ll be stopped by a man named Sokra who will give you a few hints. Really, he’s just guiding you where you’re already going. Head east.
With the Ember Seeds in your possession, you now have the capacity to start the trading sidequest. You have the power to gain the Cuccodex, trade it for the Lon Lon Egg, and then trade that for the Ghastly Doll.
3.2 Follow Rosa into Subrosia
Now that you’re on the eastern side of Horon Village, head north. You’ll immediately find that there’s a windmill there playing a rather familiar Ocarina of Time song, but unfortunately there’s nothing you can do with it just yet. Head north one more time, and then head east.
There, you’ll find a curious little creature. This creature is a Subrosian, and, while you won’t learn her name for a small while, her name is Rosa. She’s going to totally nonchalantly sneak her way back to her homeworld of Subrosia, and that is your strong hint that you should follow her into this mysterious land. The pathway is to head north several times. But there’s, of course, a catch: You have to let her lead you.
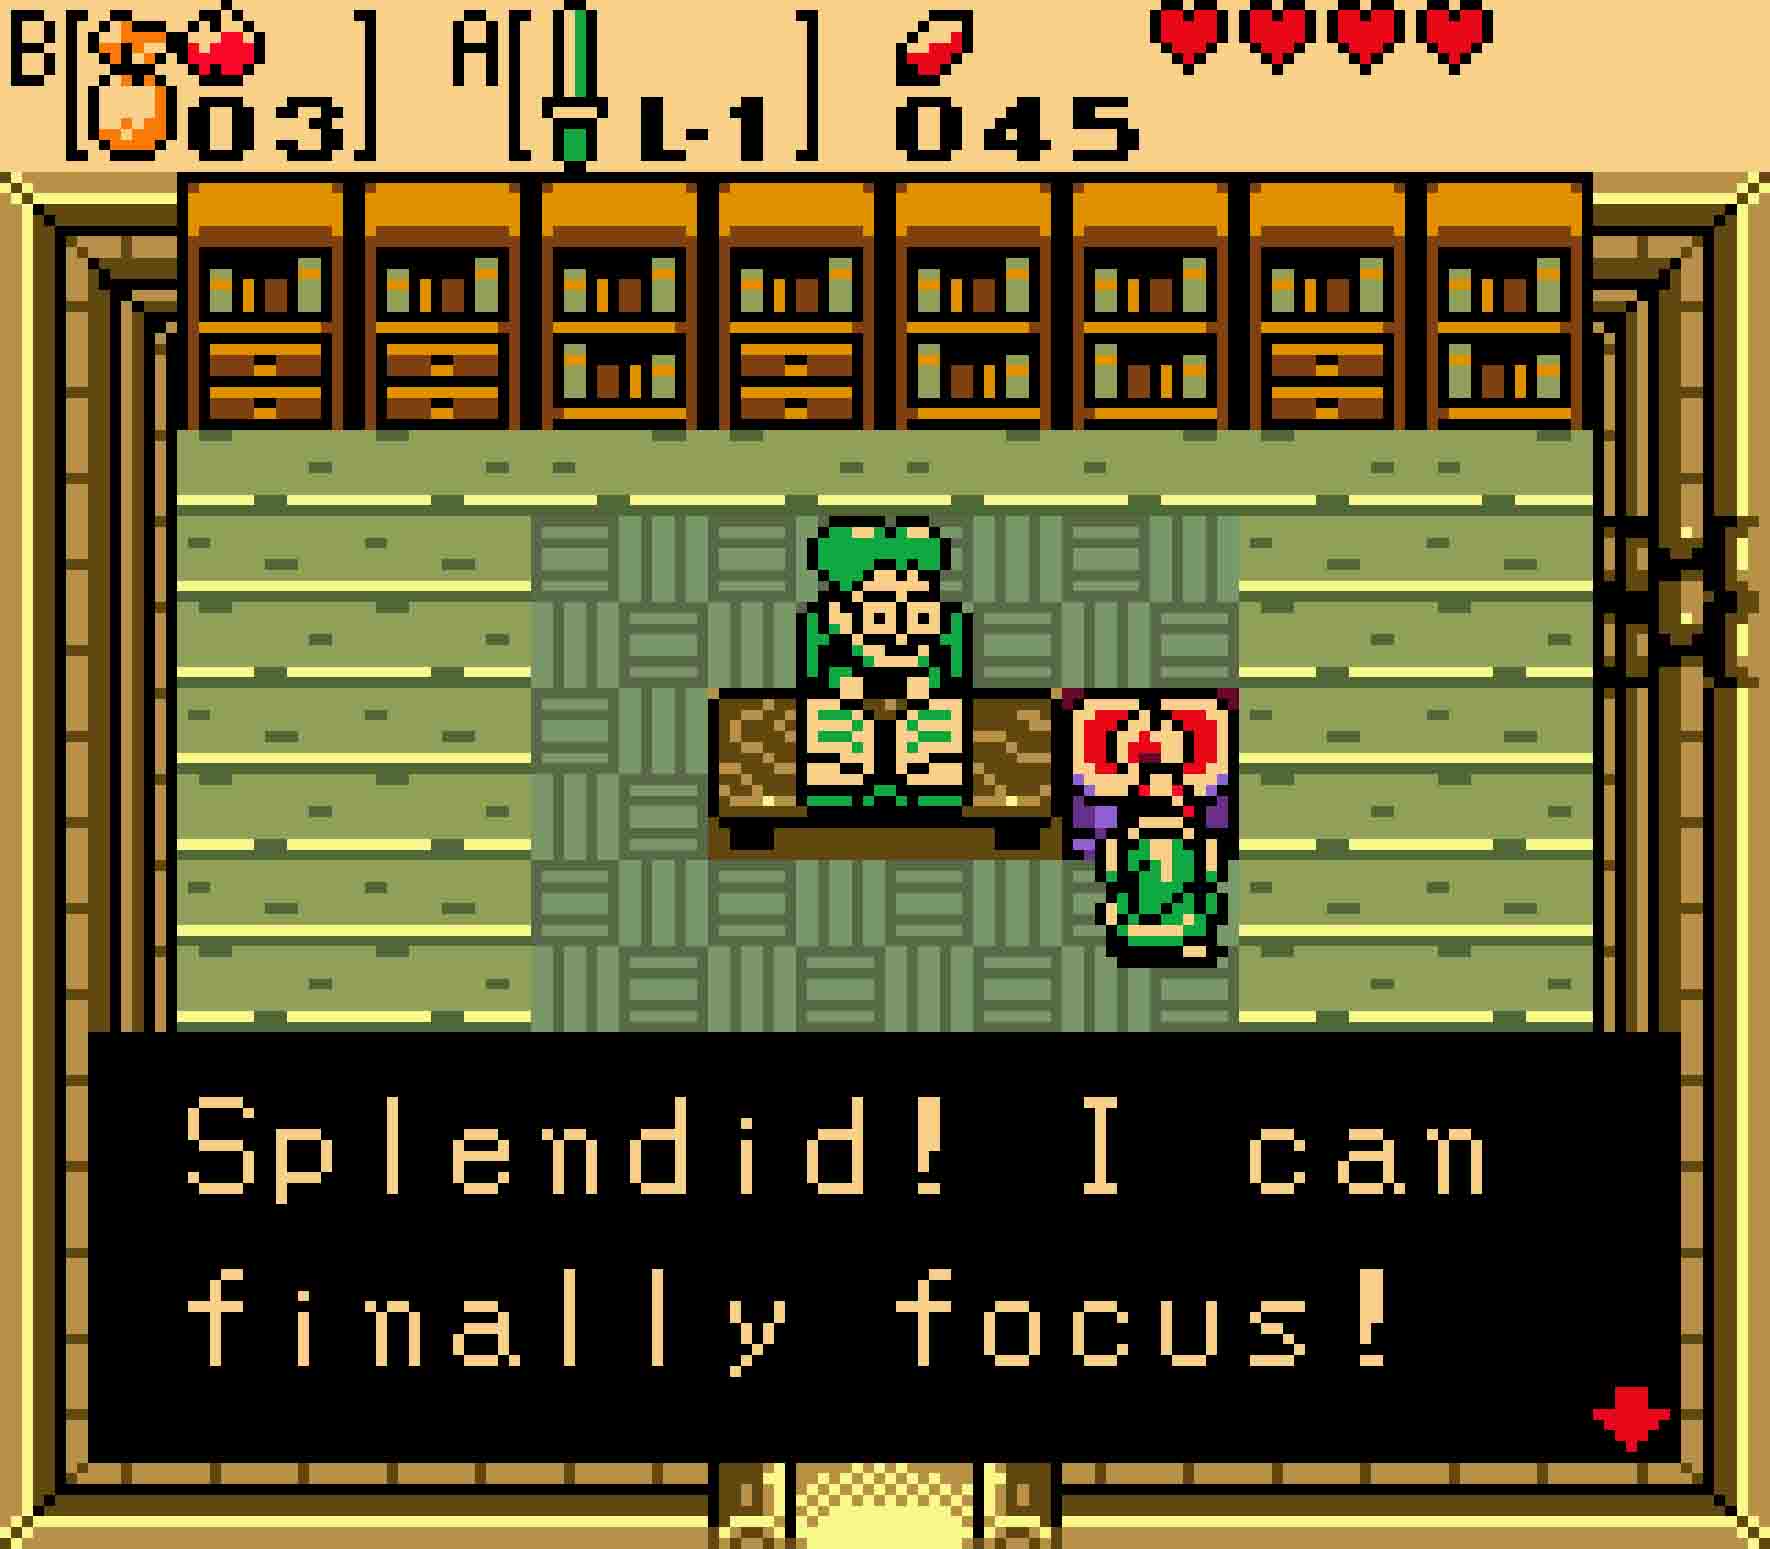
It’s horrible! A “temple,” like, fell into Subrosia! Umm, what’s a “temple”?
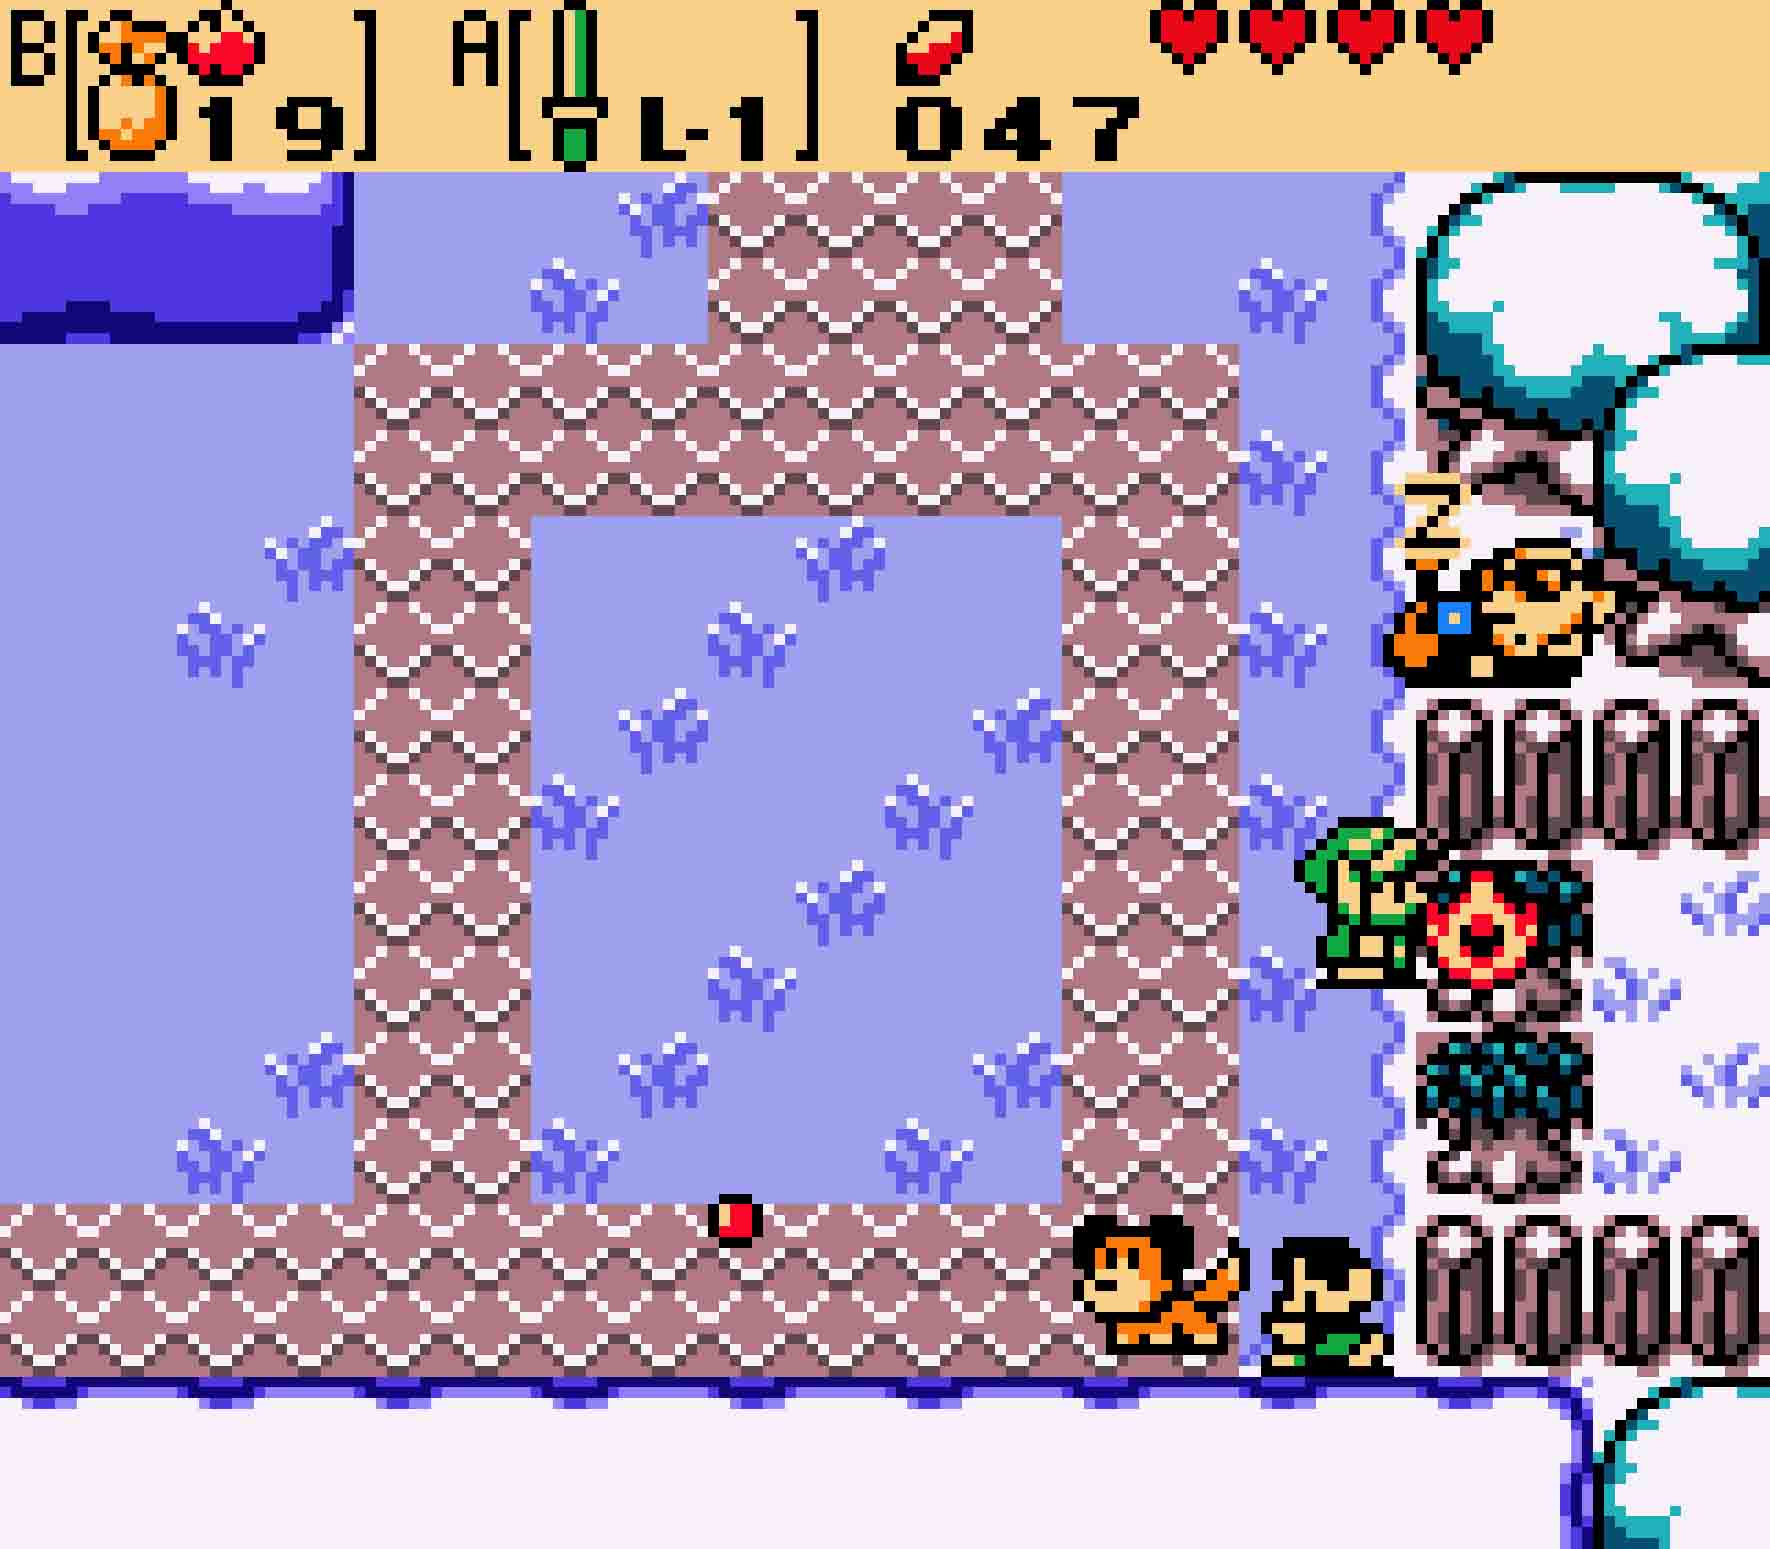
As you head north, Rosa won’t make a beeline for the Subrosian portal. She’s going to dance about the screen, making absolutely sure that no one tries to follow her. She will only spot you if she happens to have a direct line of sight with you; that means if you’re standing directly in front of her at any point, you’re going to be caught, and she’s going to return to where you met her earlier.
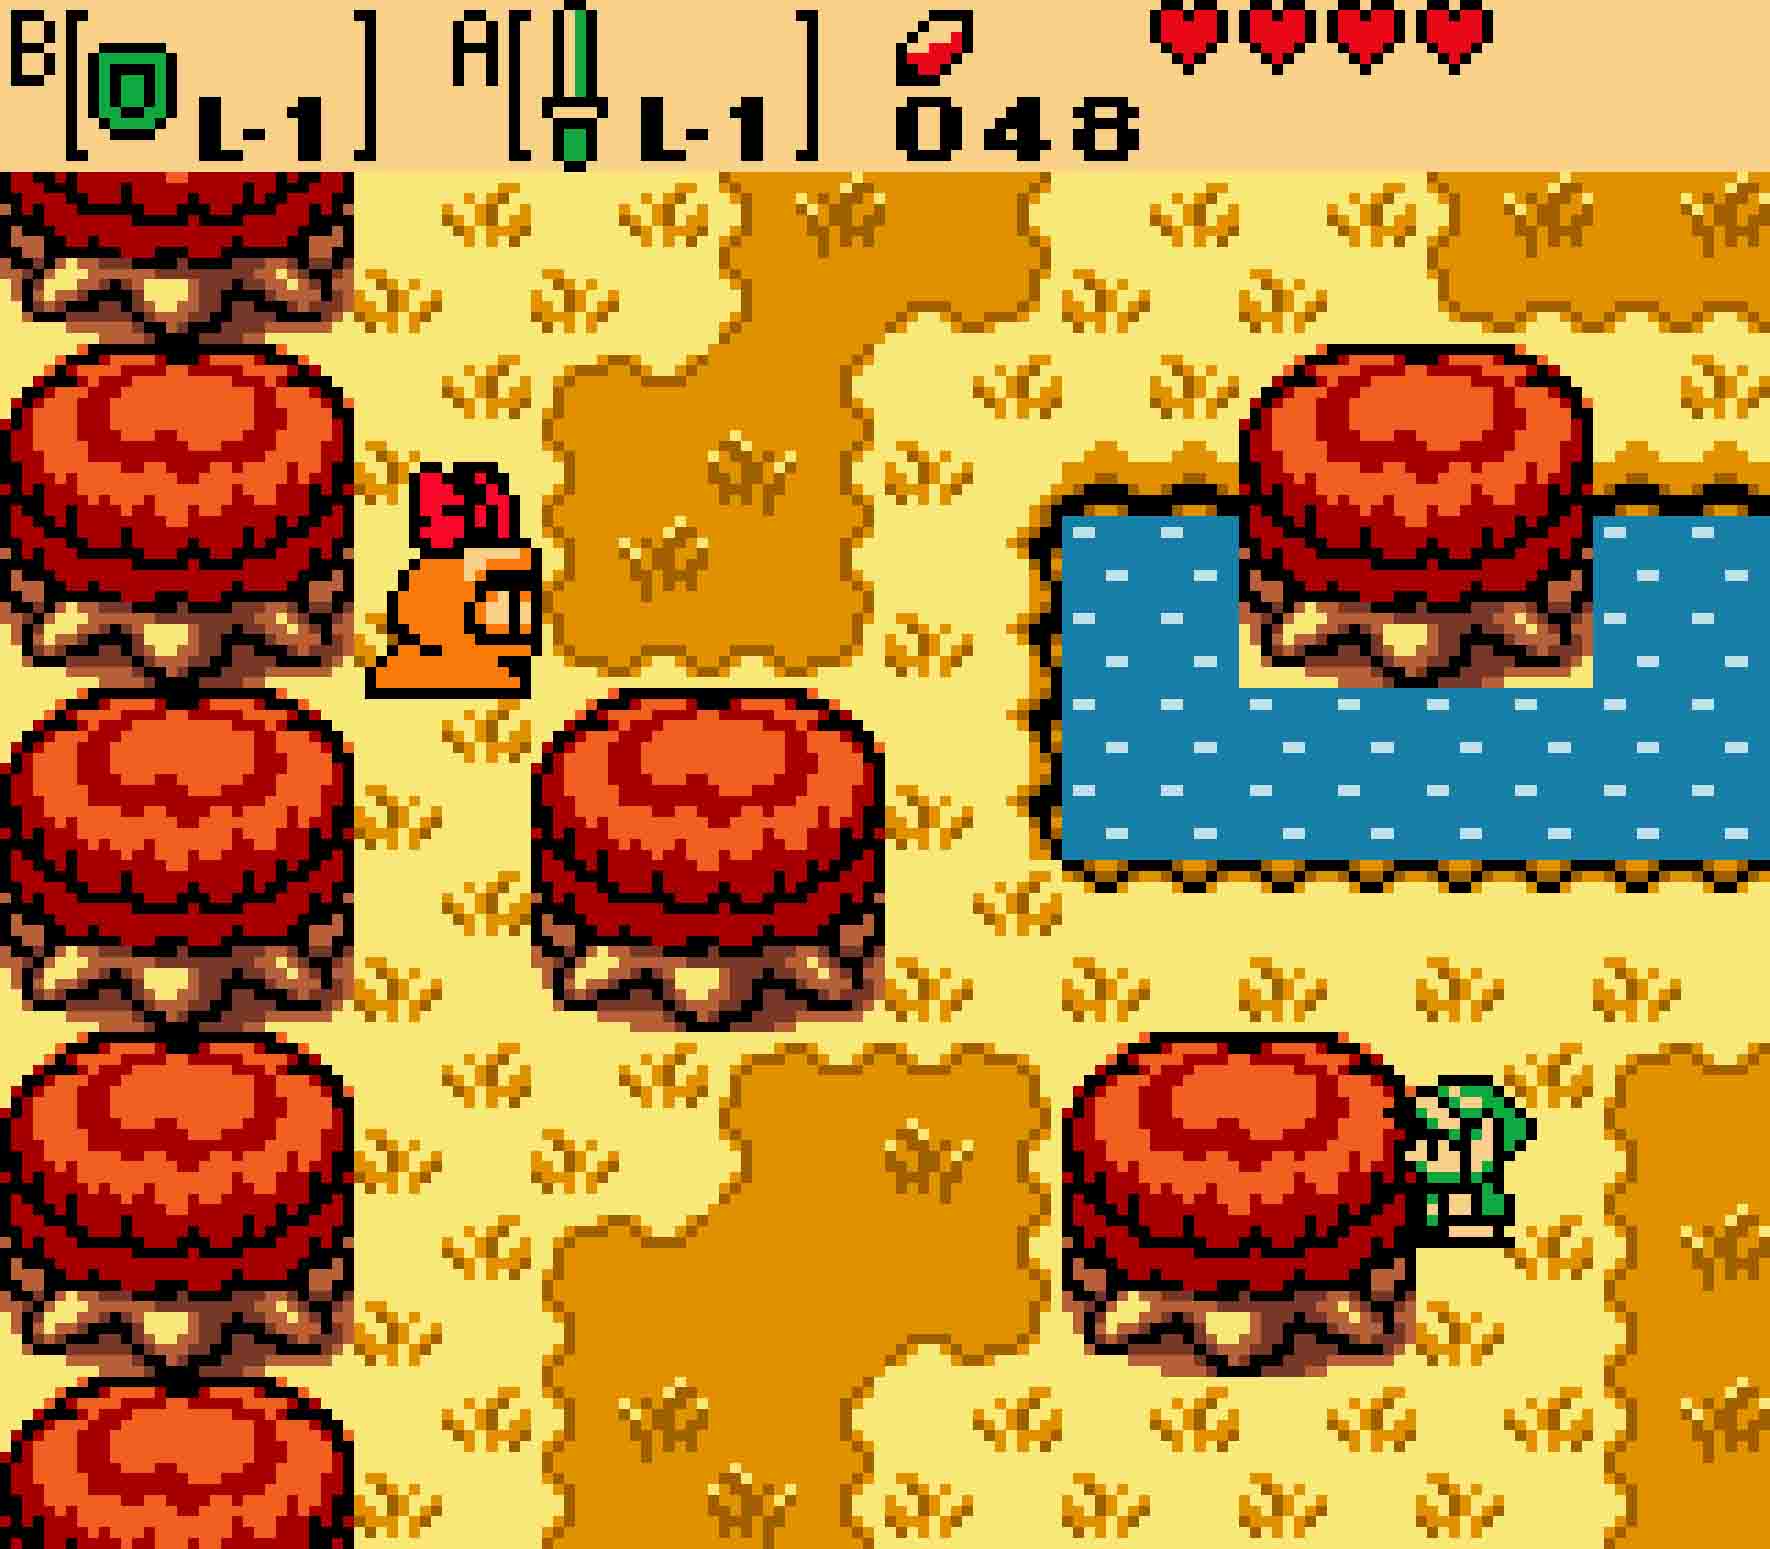
As she meanders around the screen, you should use the trees as cover. Stay close to one tree, and expect Rosa to wander around it in full circular paths. Stay close, and then just wait until Rosa leaves the screen. Once she does, head north, and repeat the pattern. There’ll be three trees this time, but you really should just pick one tree, keeping to the opposite side of it from her at all times.
-
- Try to stay as far from Rosa as you can. Avoid direct line of sight.
-

- On the third screen, Rosa will double back, so don’t be quick to follow.
Again, you’ll head north, and then you’ll have one last go. Stick to the tree in the center of the screen as she dances about it. This time, Rosa will head west, but do not follow her immediately. Rosa will leave the screen, and then she will immediately turn around, come back on screen, and then depart again, this time for sure. Follow her westward, and then she will walk into the patch of bushes and disappear. Use your sword to mow down the bushes, and follow her into Subrosia.
3.3 Dance off for the Boomerang
Subrosia is a world beneath the surface world of Holodrum. It is a lava-filled world full of fire and heat. Thankfully, the temperature is cool enough for Link, but be wary of the active volcanoes you’ll find. That’s all you need to be wary of right now. The entire area of Subrosia that you have access to has no enemies outside of the obvious natural hazards.
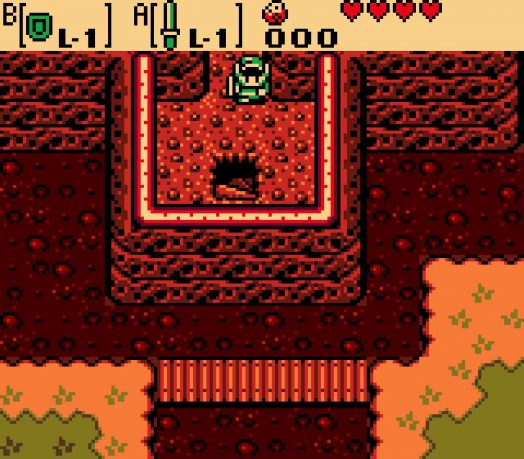 Head down the steps from the portal, but take the western set of stairs (the ones nearest the hole in the ground) down to the next screen. This will keep you high on the mountainside, and it will eventually guide you around to a signpost and several Subrosians relaxing in the lava. The only pathway to go from here is south, so head that way, and you’ll find a cave entrance. Head down the steps into it.
You’ll be treated to a Subrosian mini-game: the Subrosian Dance Hall. Enter the competition, but definitely listen to the instructions. For a series of several rounds, you’ll be given three sound effects, each one of them is tied to a particular sound. The game will make you think that you have to keep track of the “doos,” “dahs,” and “dees” the announcer sings out, but that’s actually the hard way of doing it. In each set of actions, the announcer will physically perform the actions for you, facing left when you need to go left, facing right when you need to go right, and posing when you need to press the appropriate button. Following those actions is much easier than trying to tie actions to sound effects.
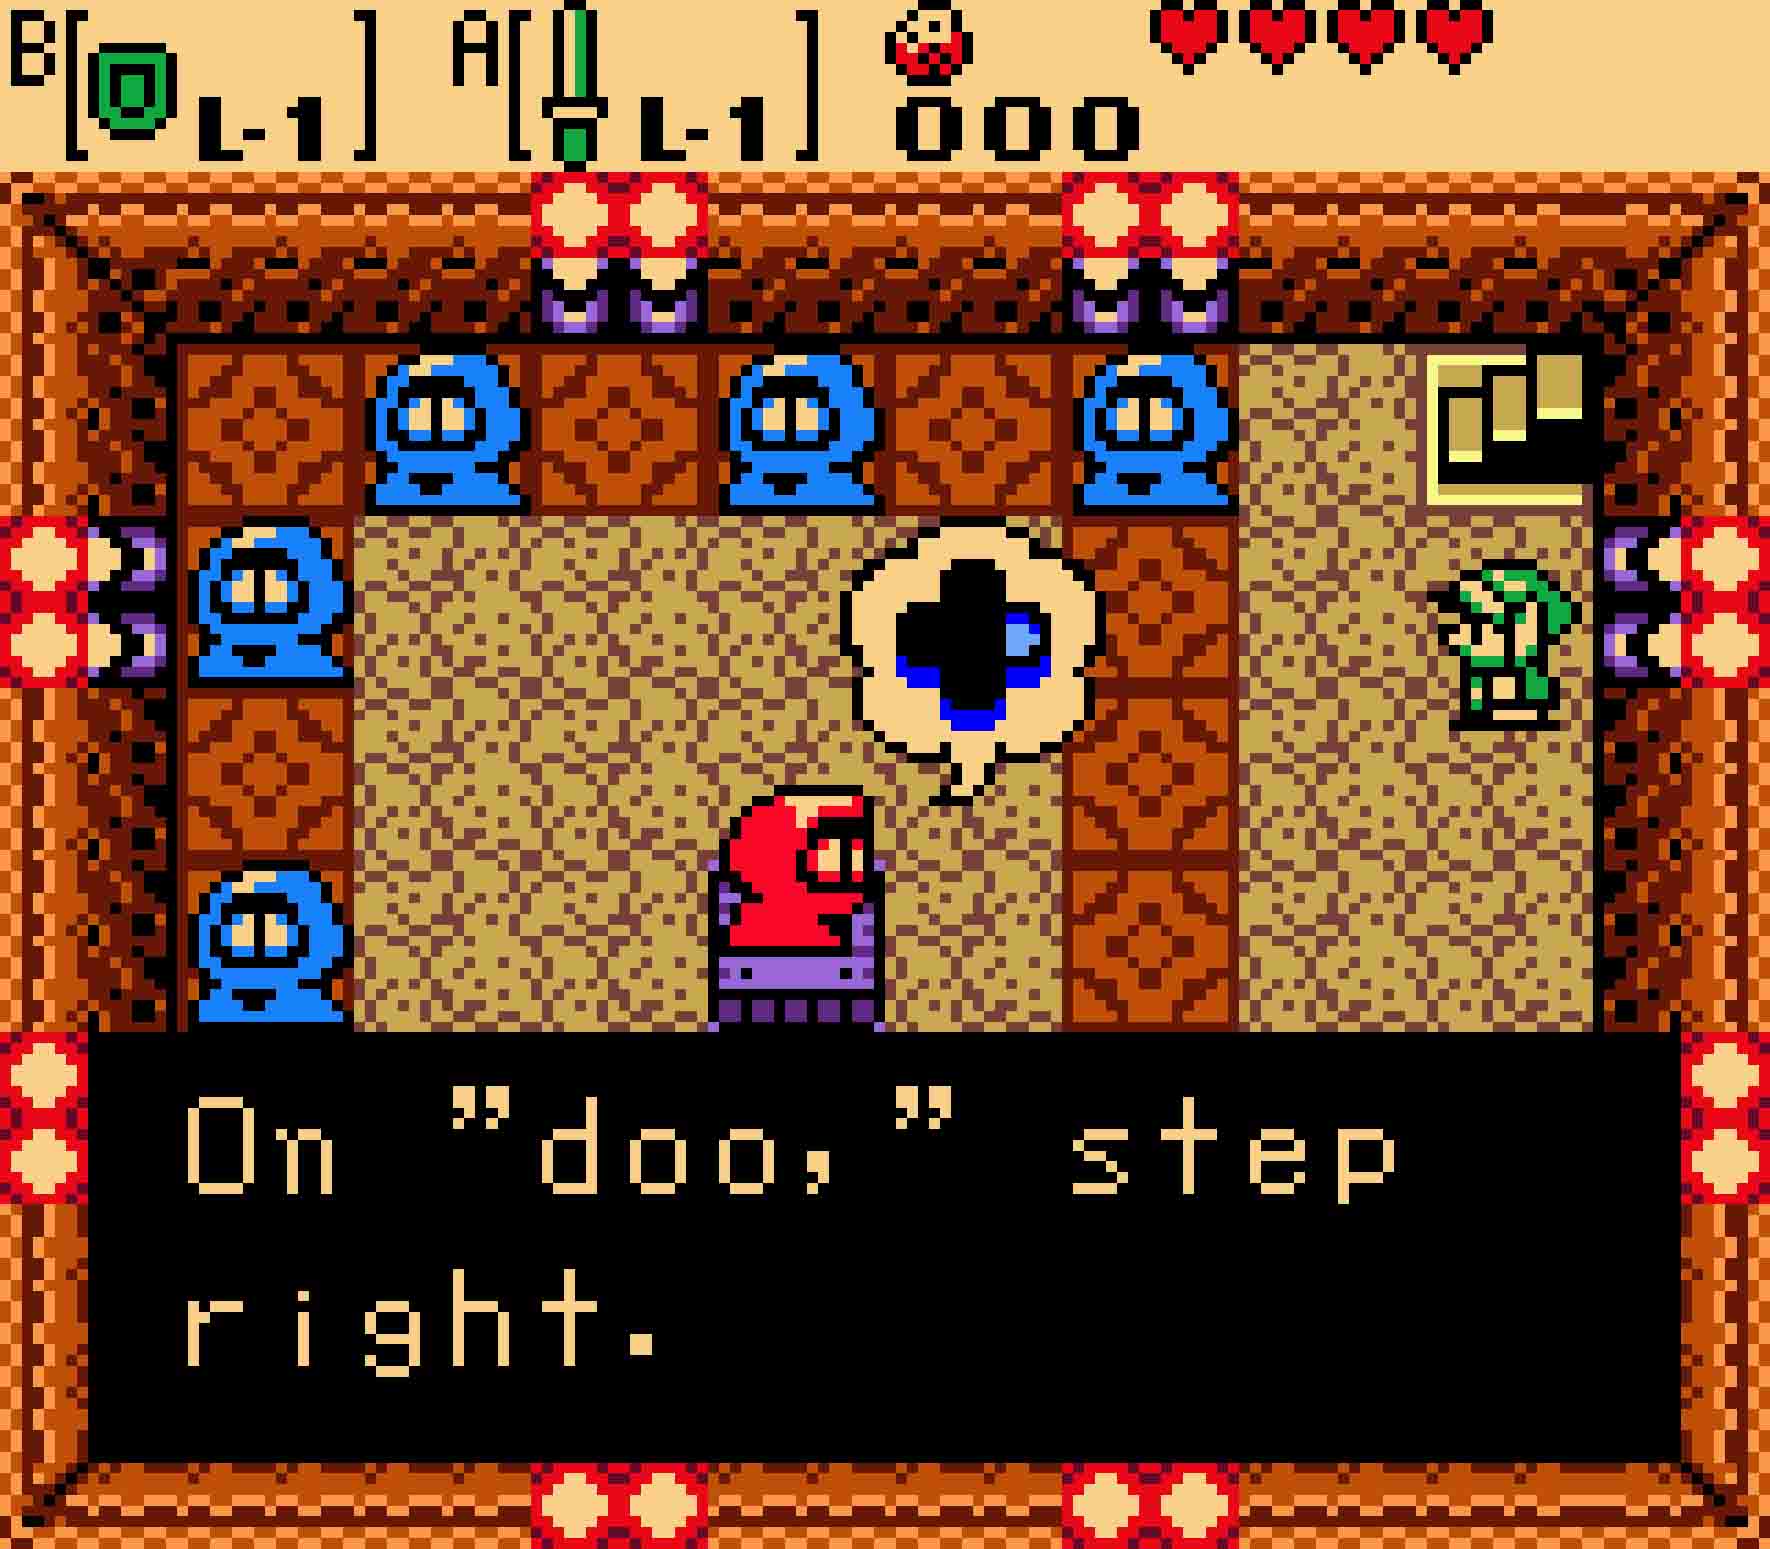
It’s honestly best to just ignore the sound effects and watch the dance instructor for the moves.
You will need to perform the actions in roughly the correct rhythm (or really, pacing) that they were given to you, but there is a fair about of leeway, so don’t focus too heavily on it. The actions will speed up marginally about halfway through, but after eight or so rounds, you will have completed your task. Your reward will be the very nice Level-1 Boomerang.
3.4 Seek the Rod of Seasons
You’re not ready to leave Subrosia yet, but you will have to backtrack to the portal first. Head north, east, and north to return to the screen with the portal. Then you’ll want to take the eastmost staircase down to get to the Subrosian lowlands. Head south one more time, and you’ll meet a Subrosian who’s casually tossing a Boomerang every few moments. Talking to them would clue you into the Dance Hall you just cleared, but you’re done with that now.


Before you do anything at the temple, you’ll need to enter the central sanctum.
Feel free to explore if you want, but there’s not much you can do at the moment other than talk to Subrosians and explore a small portion of the landscape. Part of that landscape does include the Temple of Seasons though, and that is your real objective here. From the Subrosian with the Boomerang, head south one screen and then east four screens. You’ll see a green tiled pathway heading north. As you head that way, you’ll be greeted by the spirits of the seasons, all of whom are ready to guide you if only you would visit their towers. But first, before you visit them, you’ll need the Rod of Seasons.
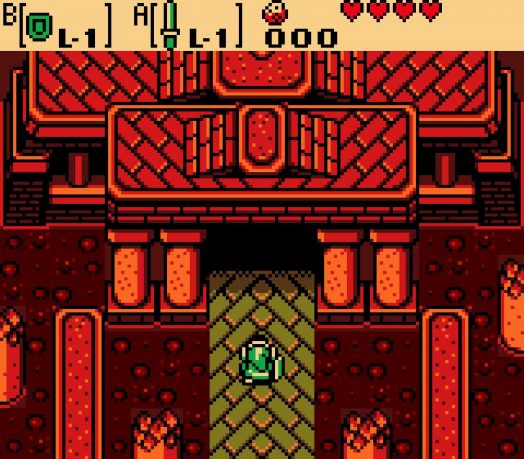
Continue heading north until you reach a grand double-doored temple at the far north of the map. Enter, and then just keep on journeying until you find it. There are no clever traps or puzzles here. It’s just a straight shot. Grab the Rod of Seasons, and then the four spirits will depart for their respective towers.
3.5 Gain the power of winter
It’d be swell if you could visit all four of the towers in one go; unfortunately, each of them is blocked by a different obstacle, and you only have the wherewithal to gain entry to one of them right now. Exit the sanctum with the Rod of Seasons, walk south two screens and then east one. There you will see a tower with a purple dome atop it. Enter the door there.
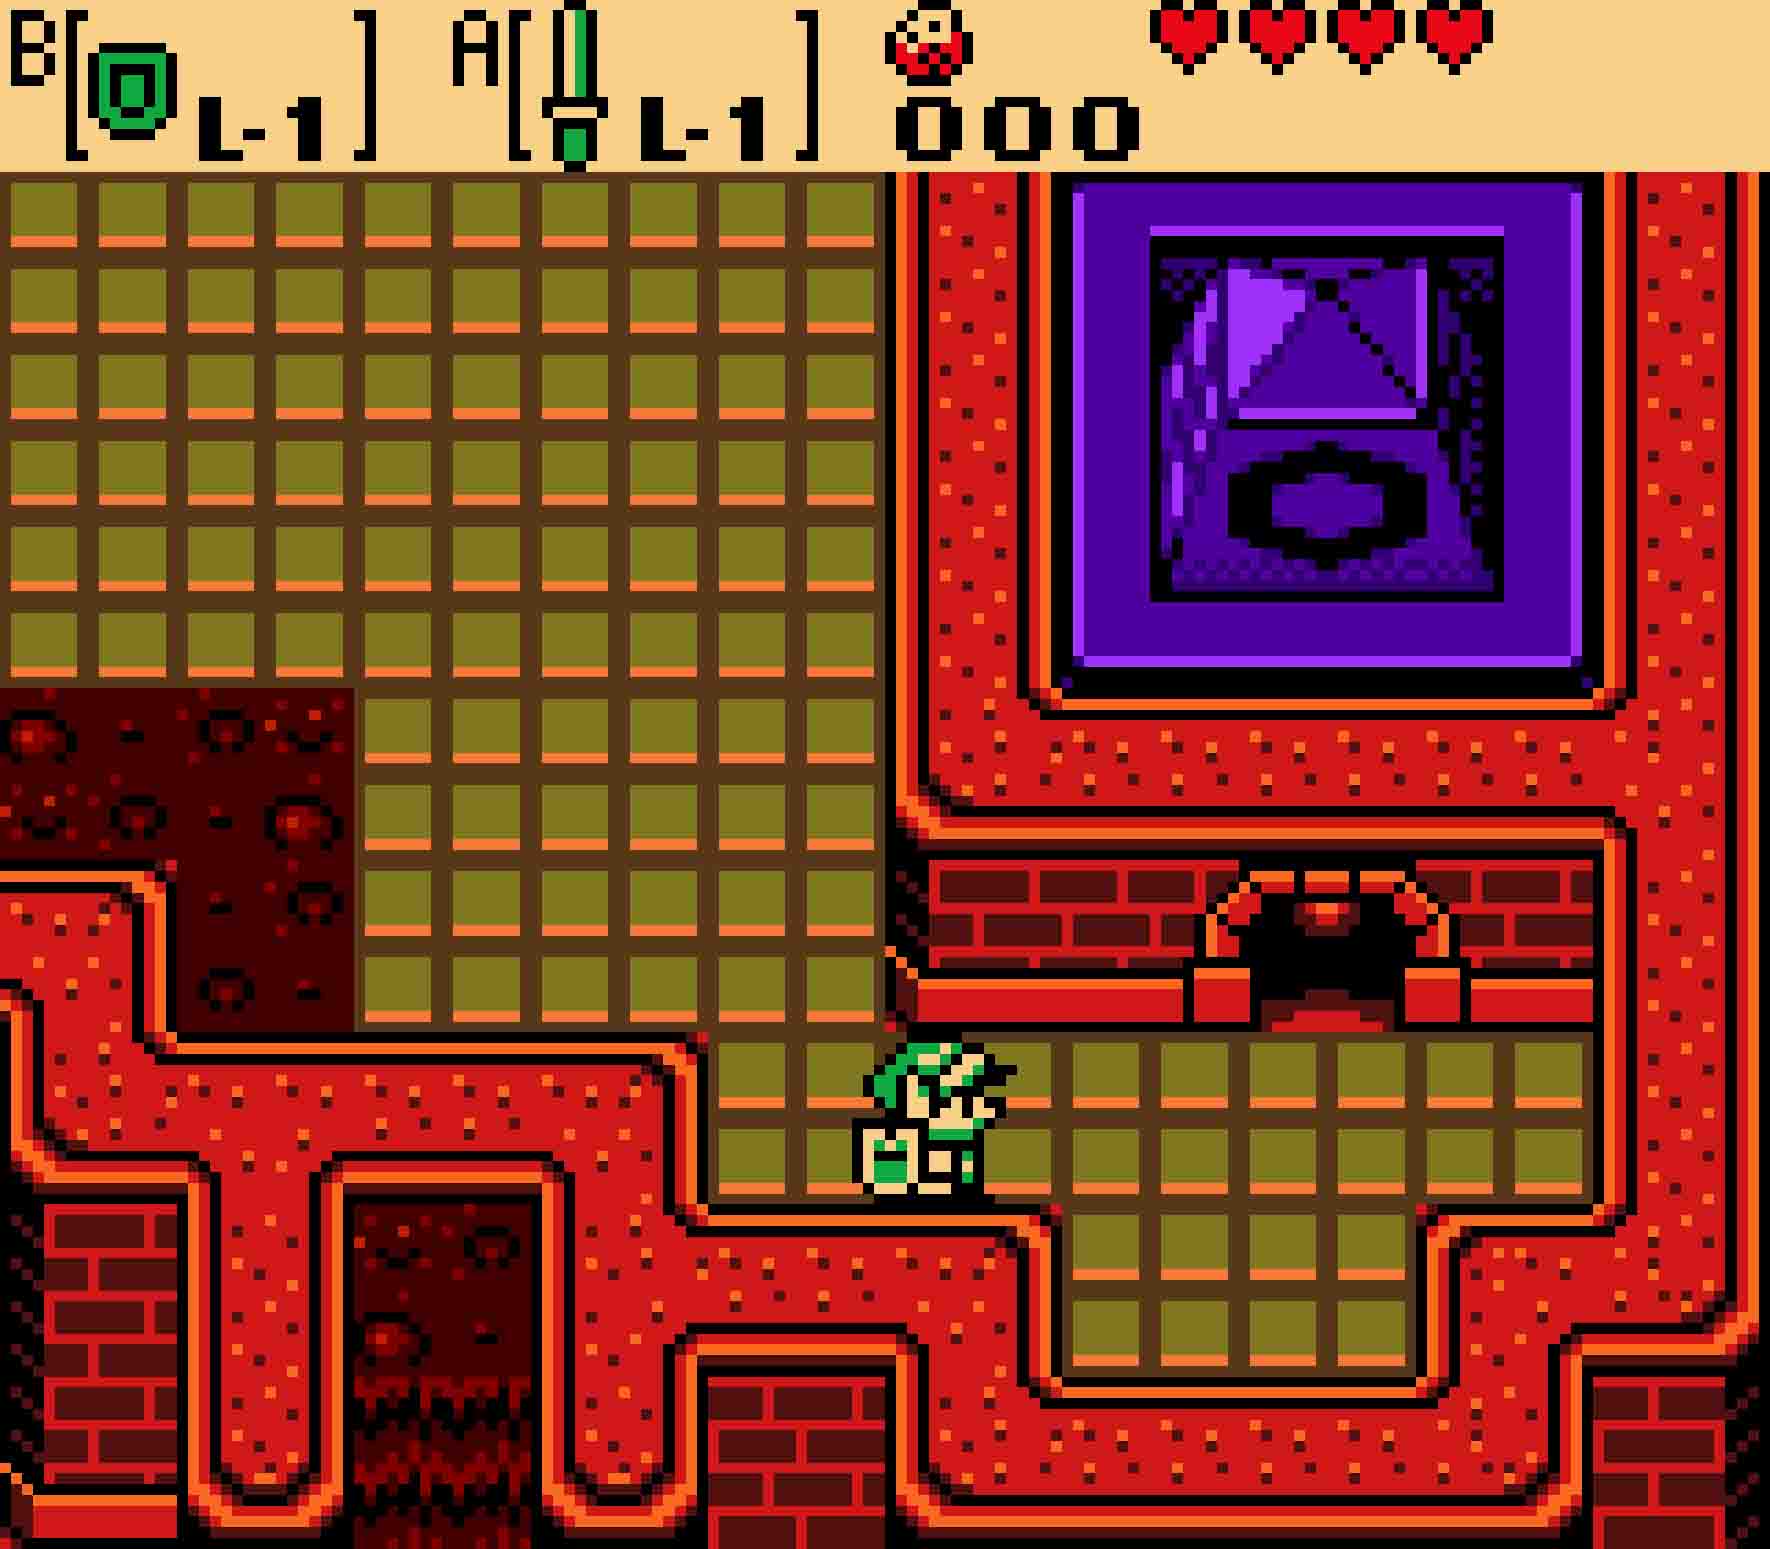
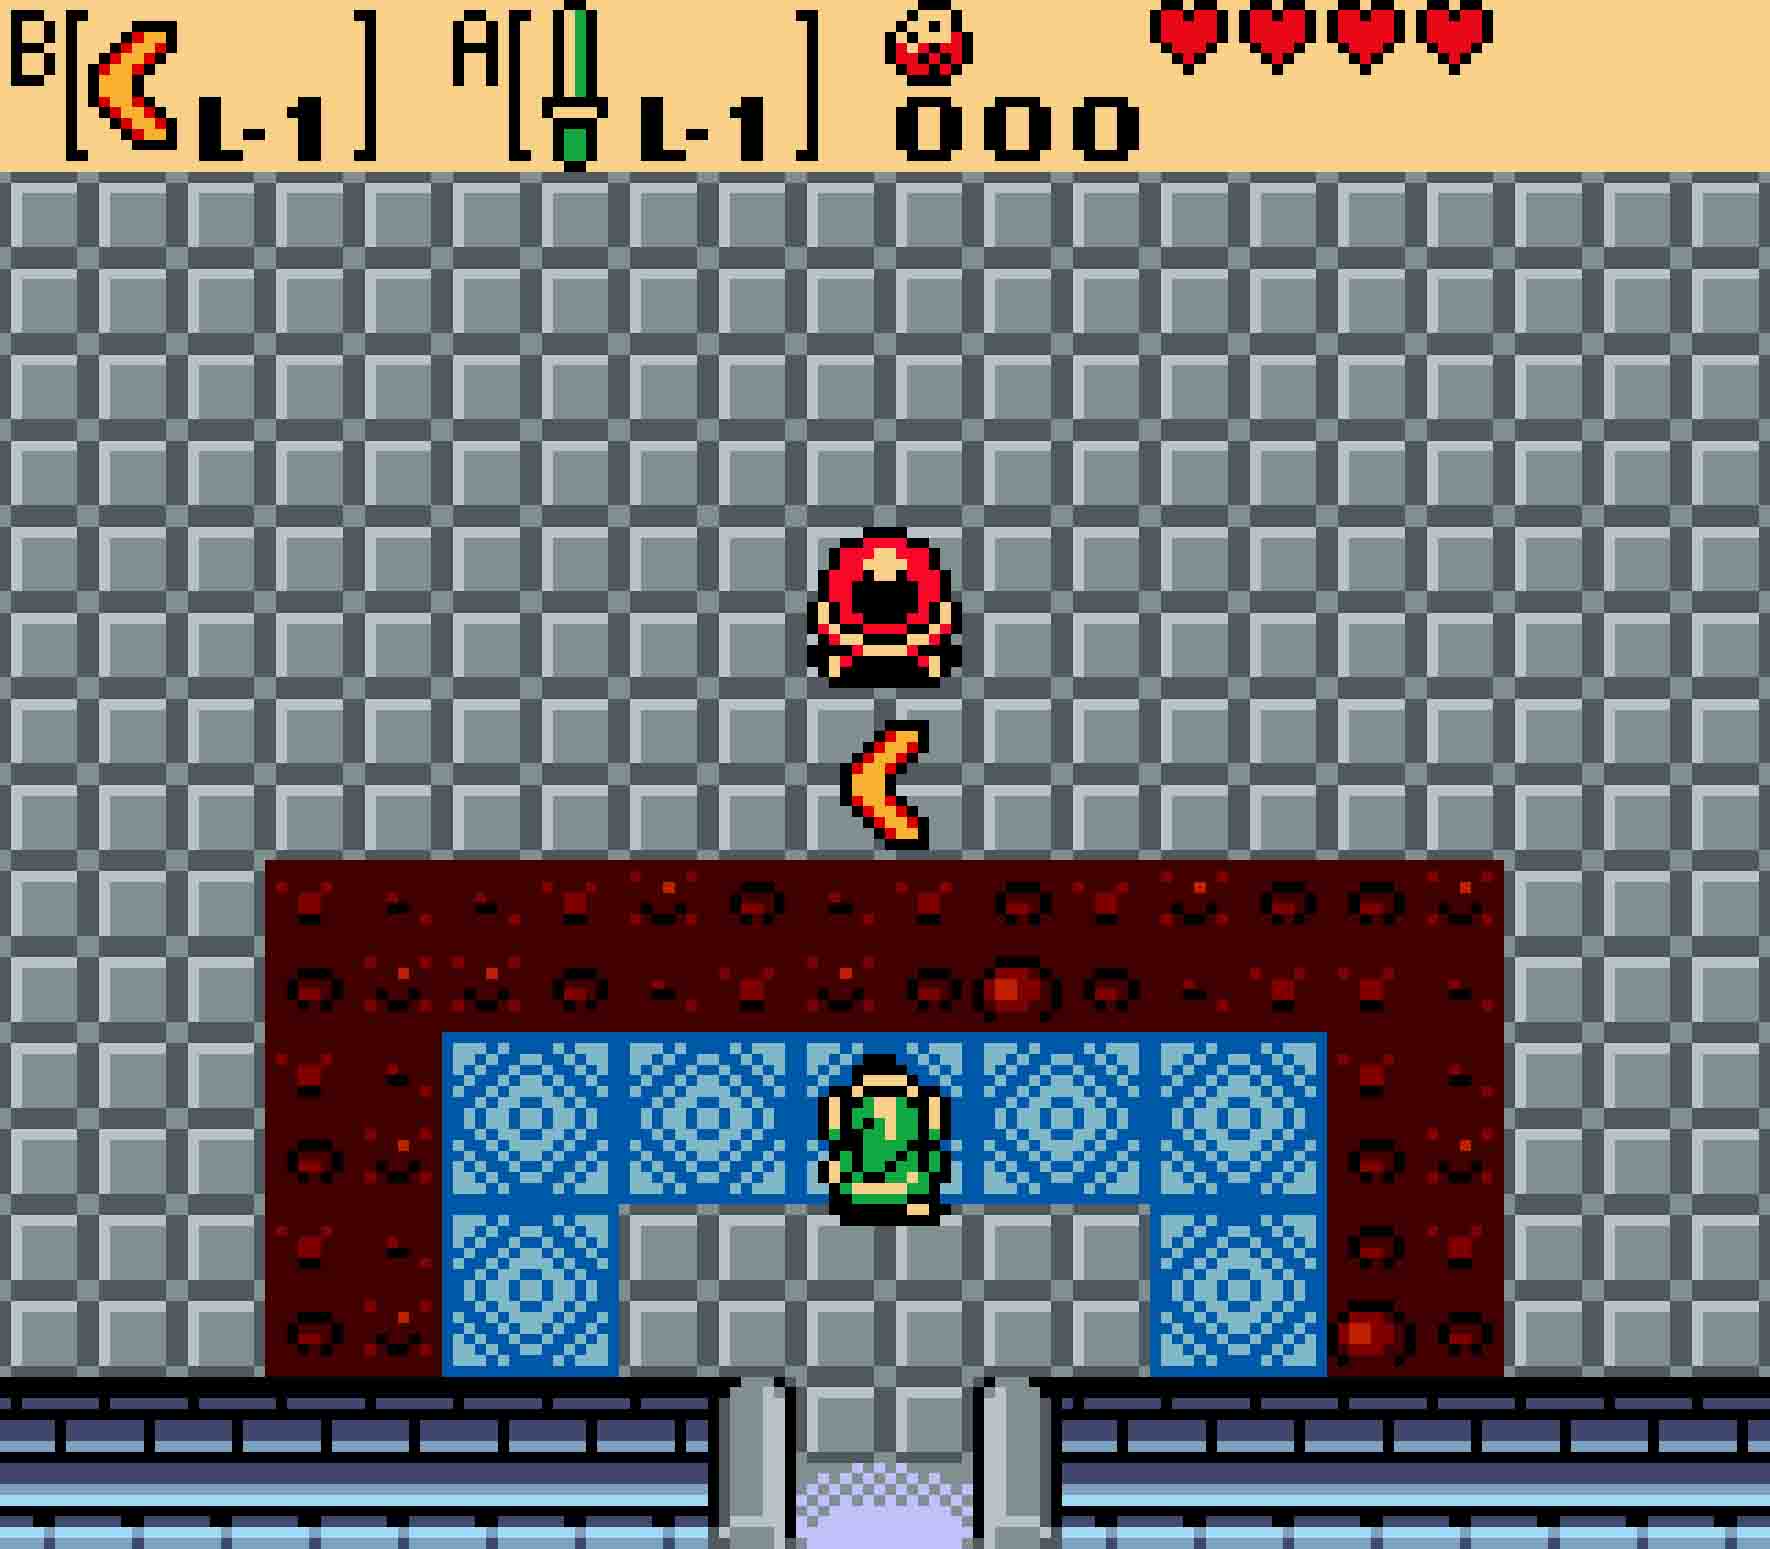
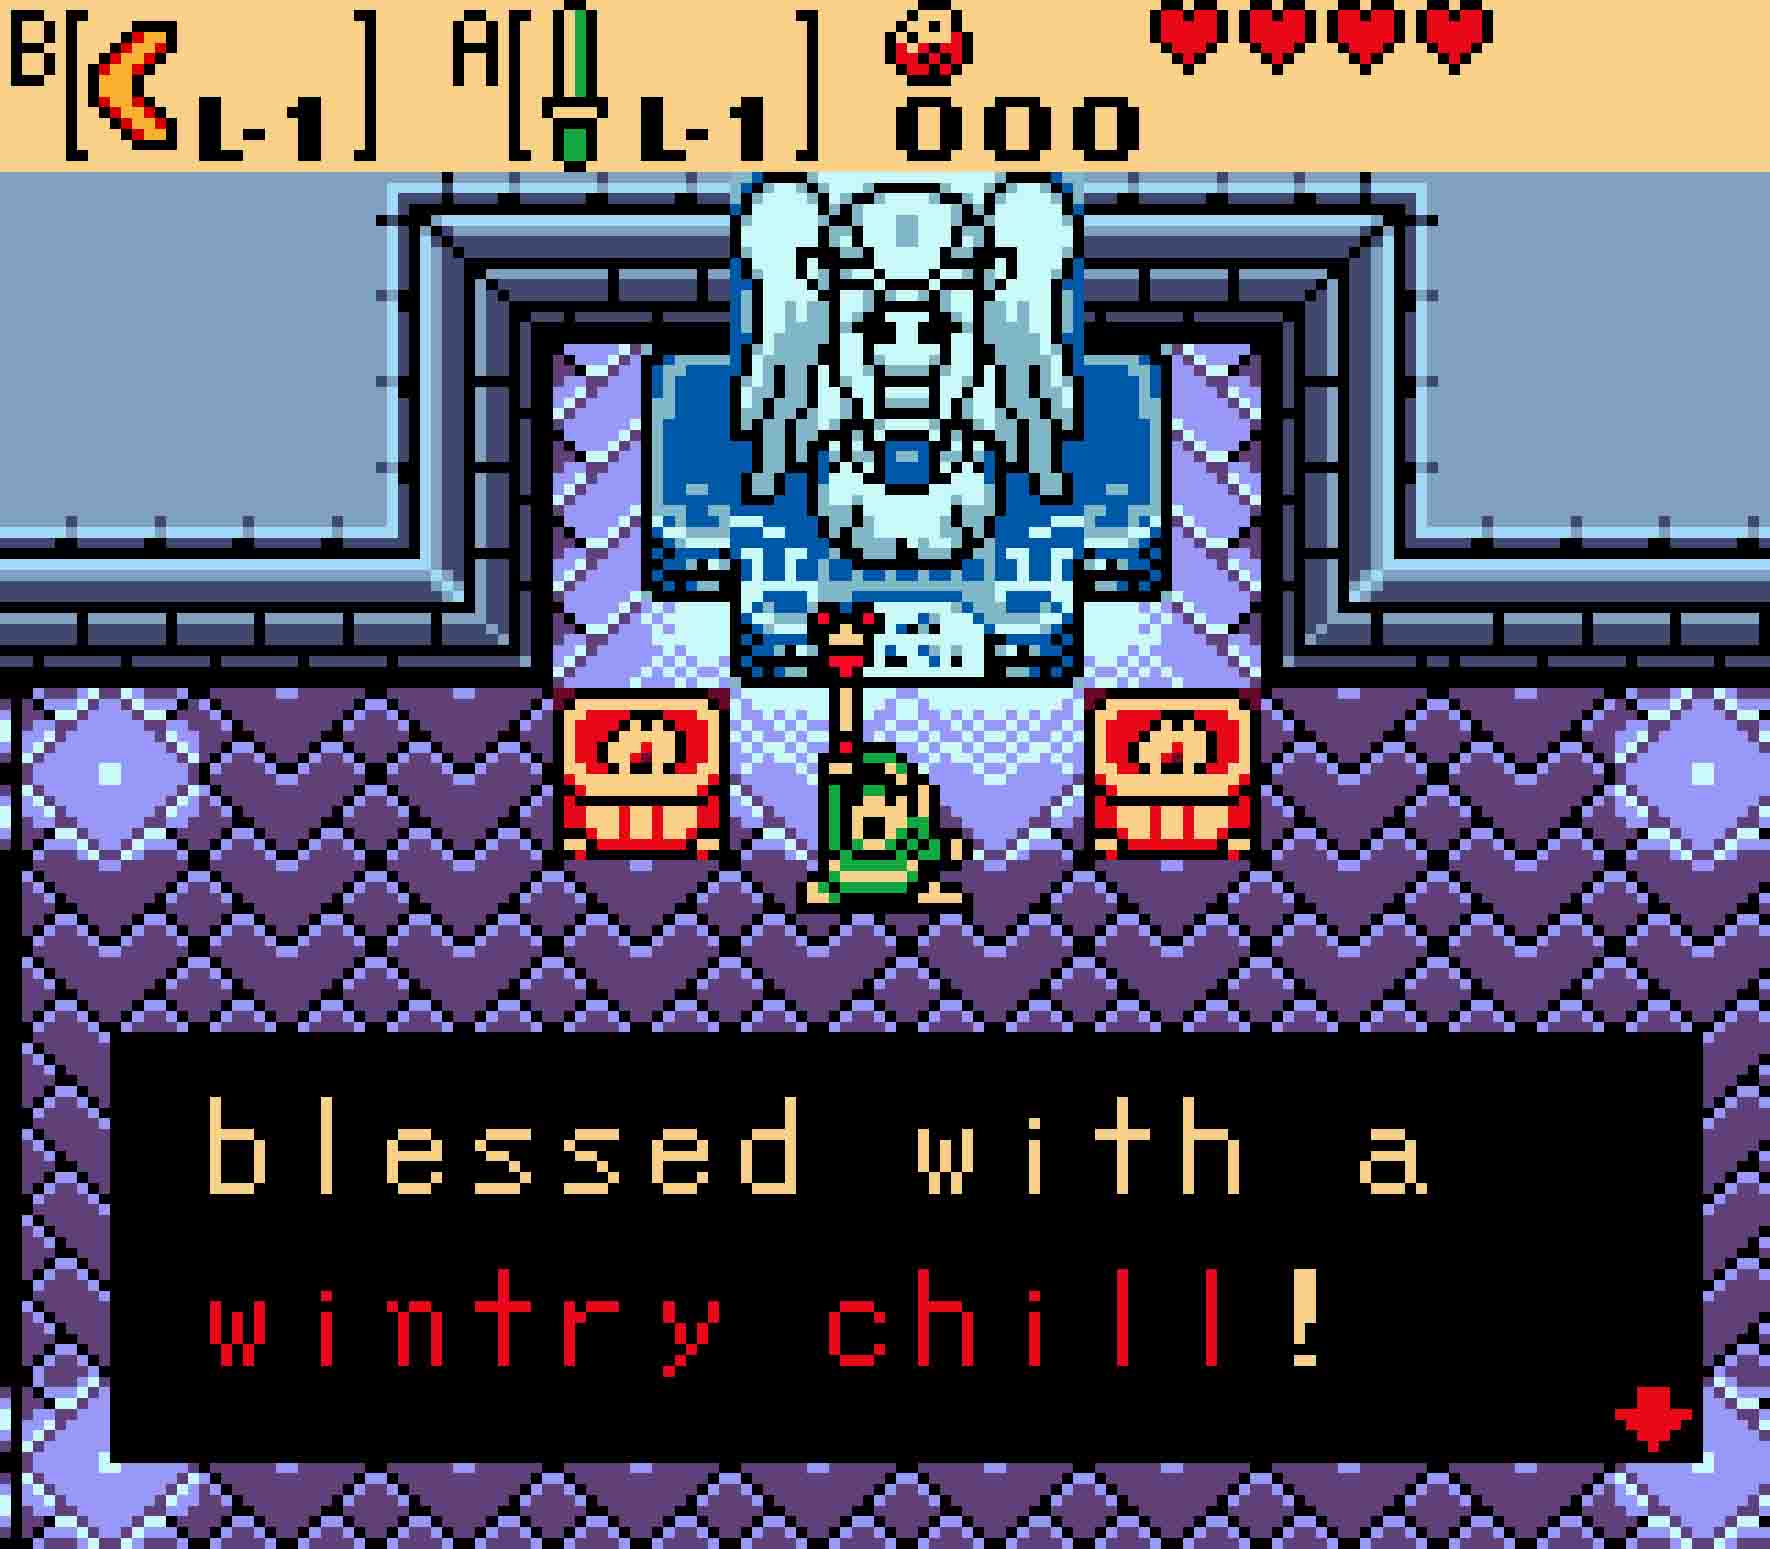
Inside you’ll see a Crystal Switch on the opposite side of a small lava river. This is where the Boomerang you just got will come in handy. Use the Boomerang to hit the Switch, and a small bridge will appear to allow you across. The staircase up one level is just ahead, and it will lead you to a second staircase just to the south of it. Once you ascend both levels, you’ll find a blue statue where you will meet the spirit of winter. The fairy there will bestow the power of winter upon your Rod of Seasons, allowing you to change the season to winter from atop of any of the various tree stumps across Holodrum.