
Chapter 2: Gnarled Root Dungeon
- 2.1 Collect the Map
- 2.2 Obtain the Compass
- 2.3 Collect some Bombs
- 2.4 Defeat the Brothers Goriya
- 2.5 Get the Seed Satchel
- 2.6 Retrieve the Boss Key
- 2.7 Reach the boss’ lair
- 2.8 Defeat Aquamentus
2.1 Collect the Map
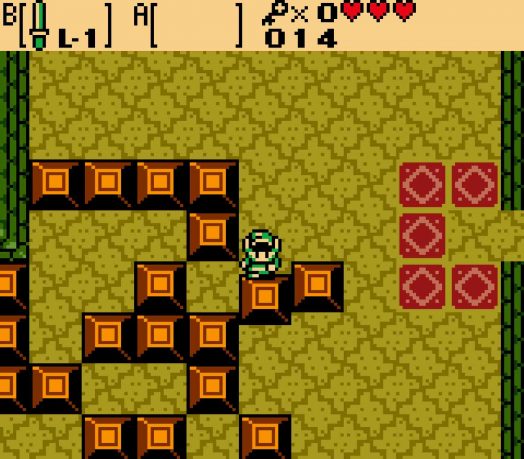
Another pushing block puzzle. This block will open the doors here.
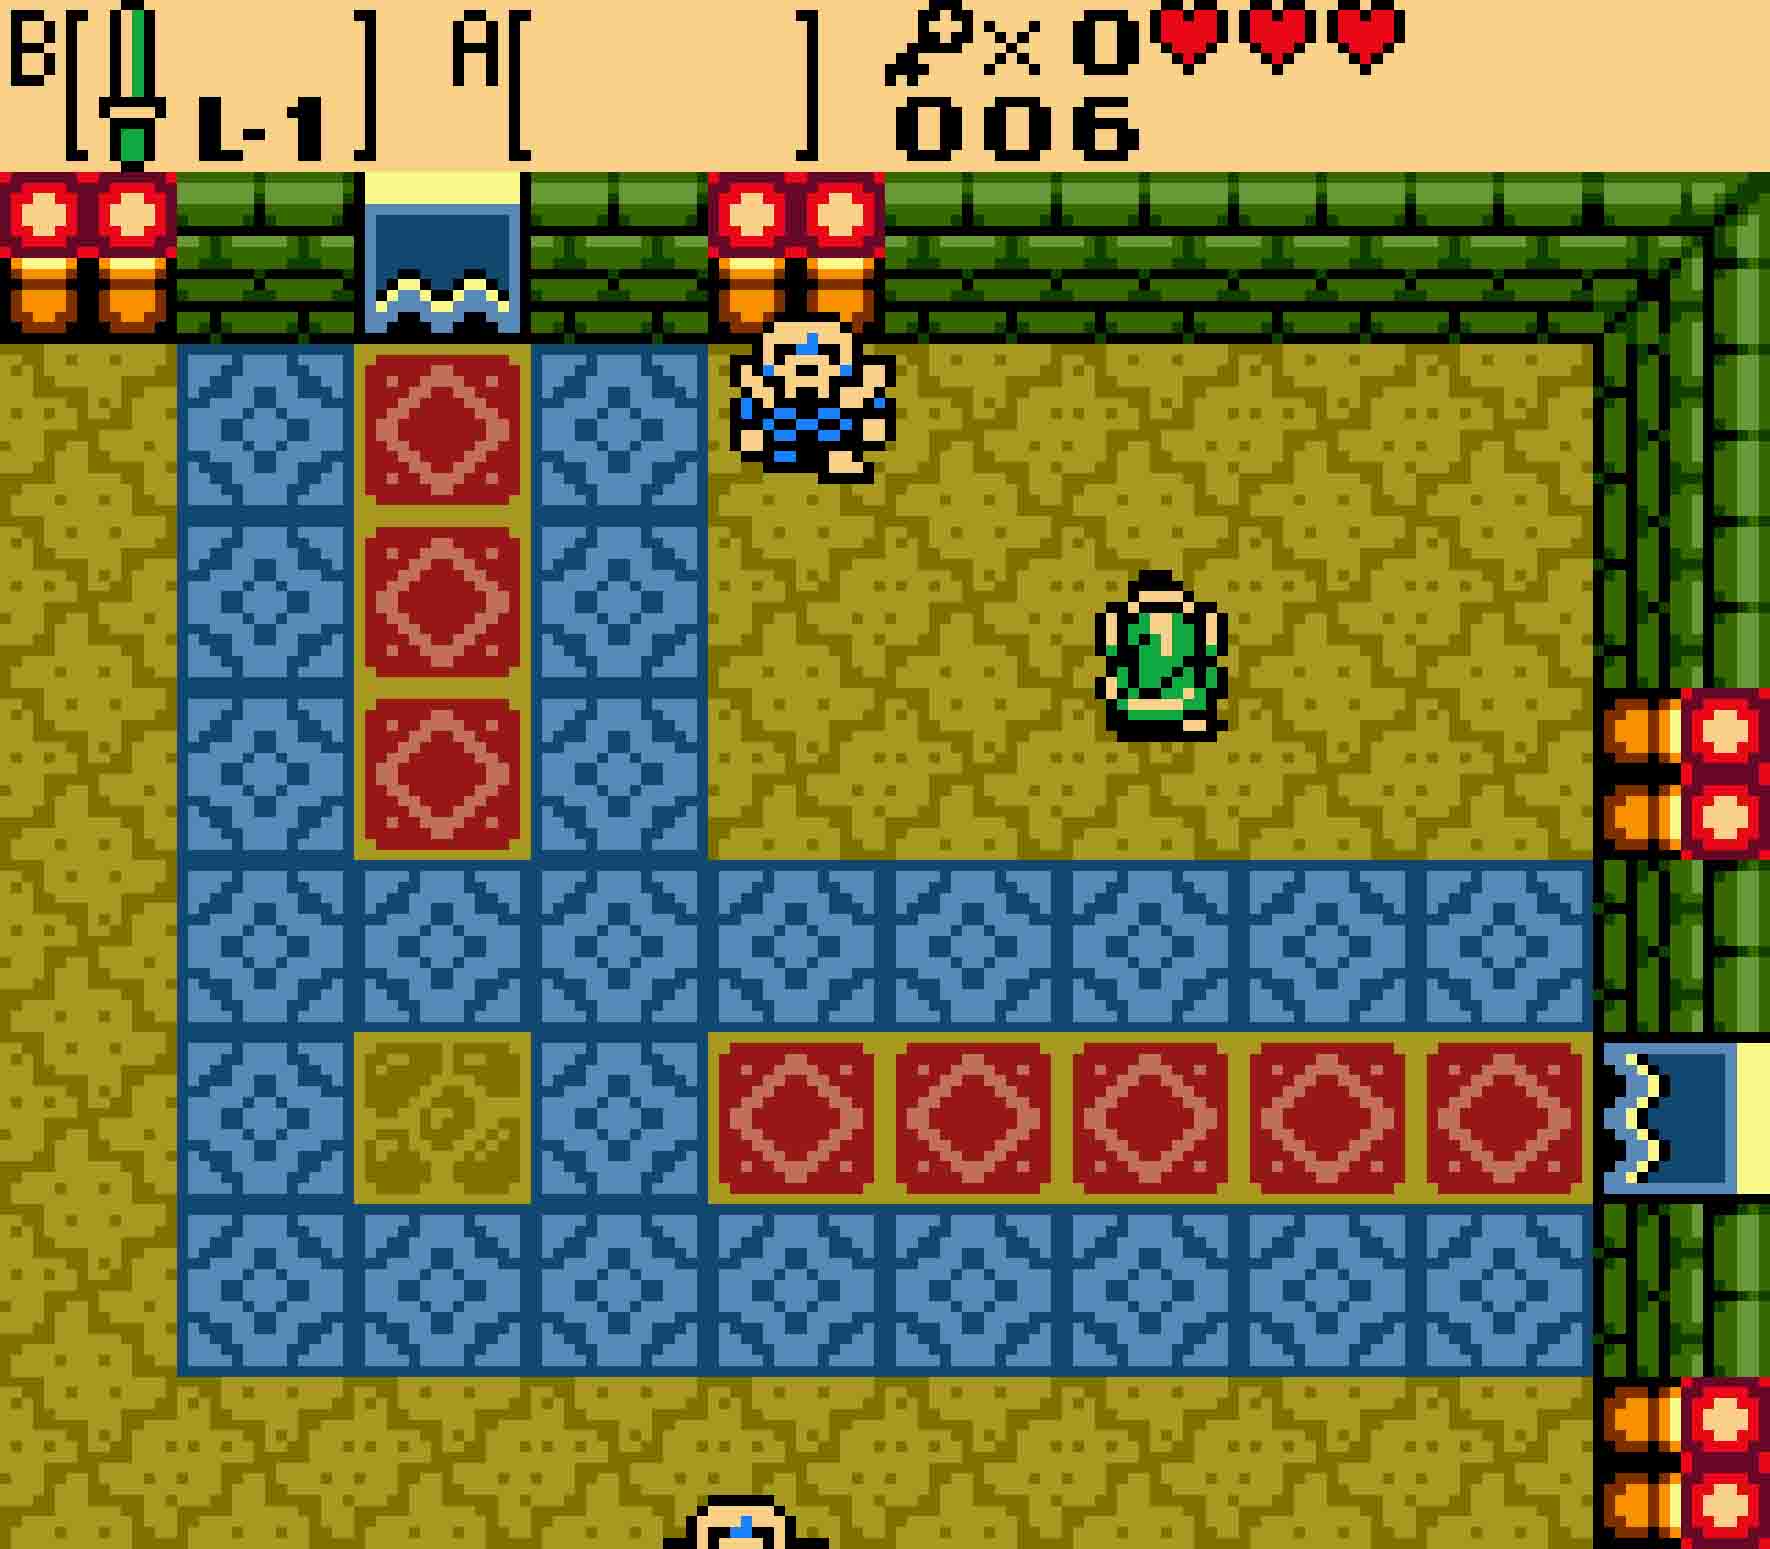
For a first dungeon, the Gnarled Root Dungeon is actually somewhat big, though its challenges are mostly minimal. The first room simply serves as an introduction to the area, so continue north. Many of the second room’s doors will all slam shut once you enter, but you can reopen them. Walk up to the upper-right block of the four in the center of the room and push it in any direction. This will open up the doors. This is also a good room to recuperate some hearts if you need to by cutting down the shrubbery.
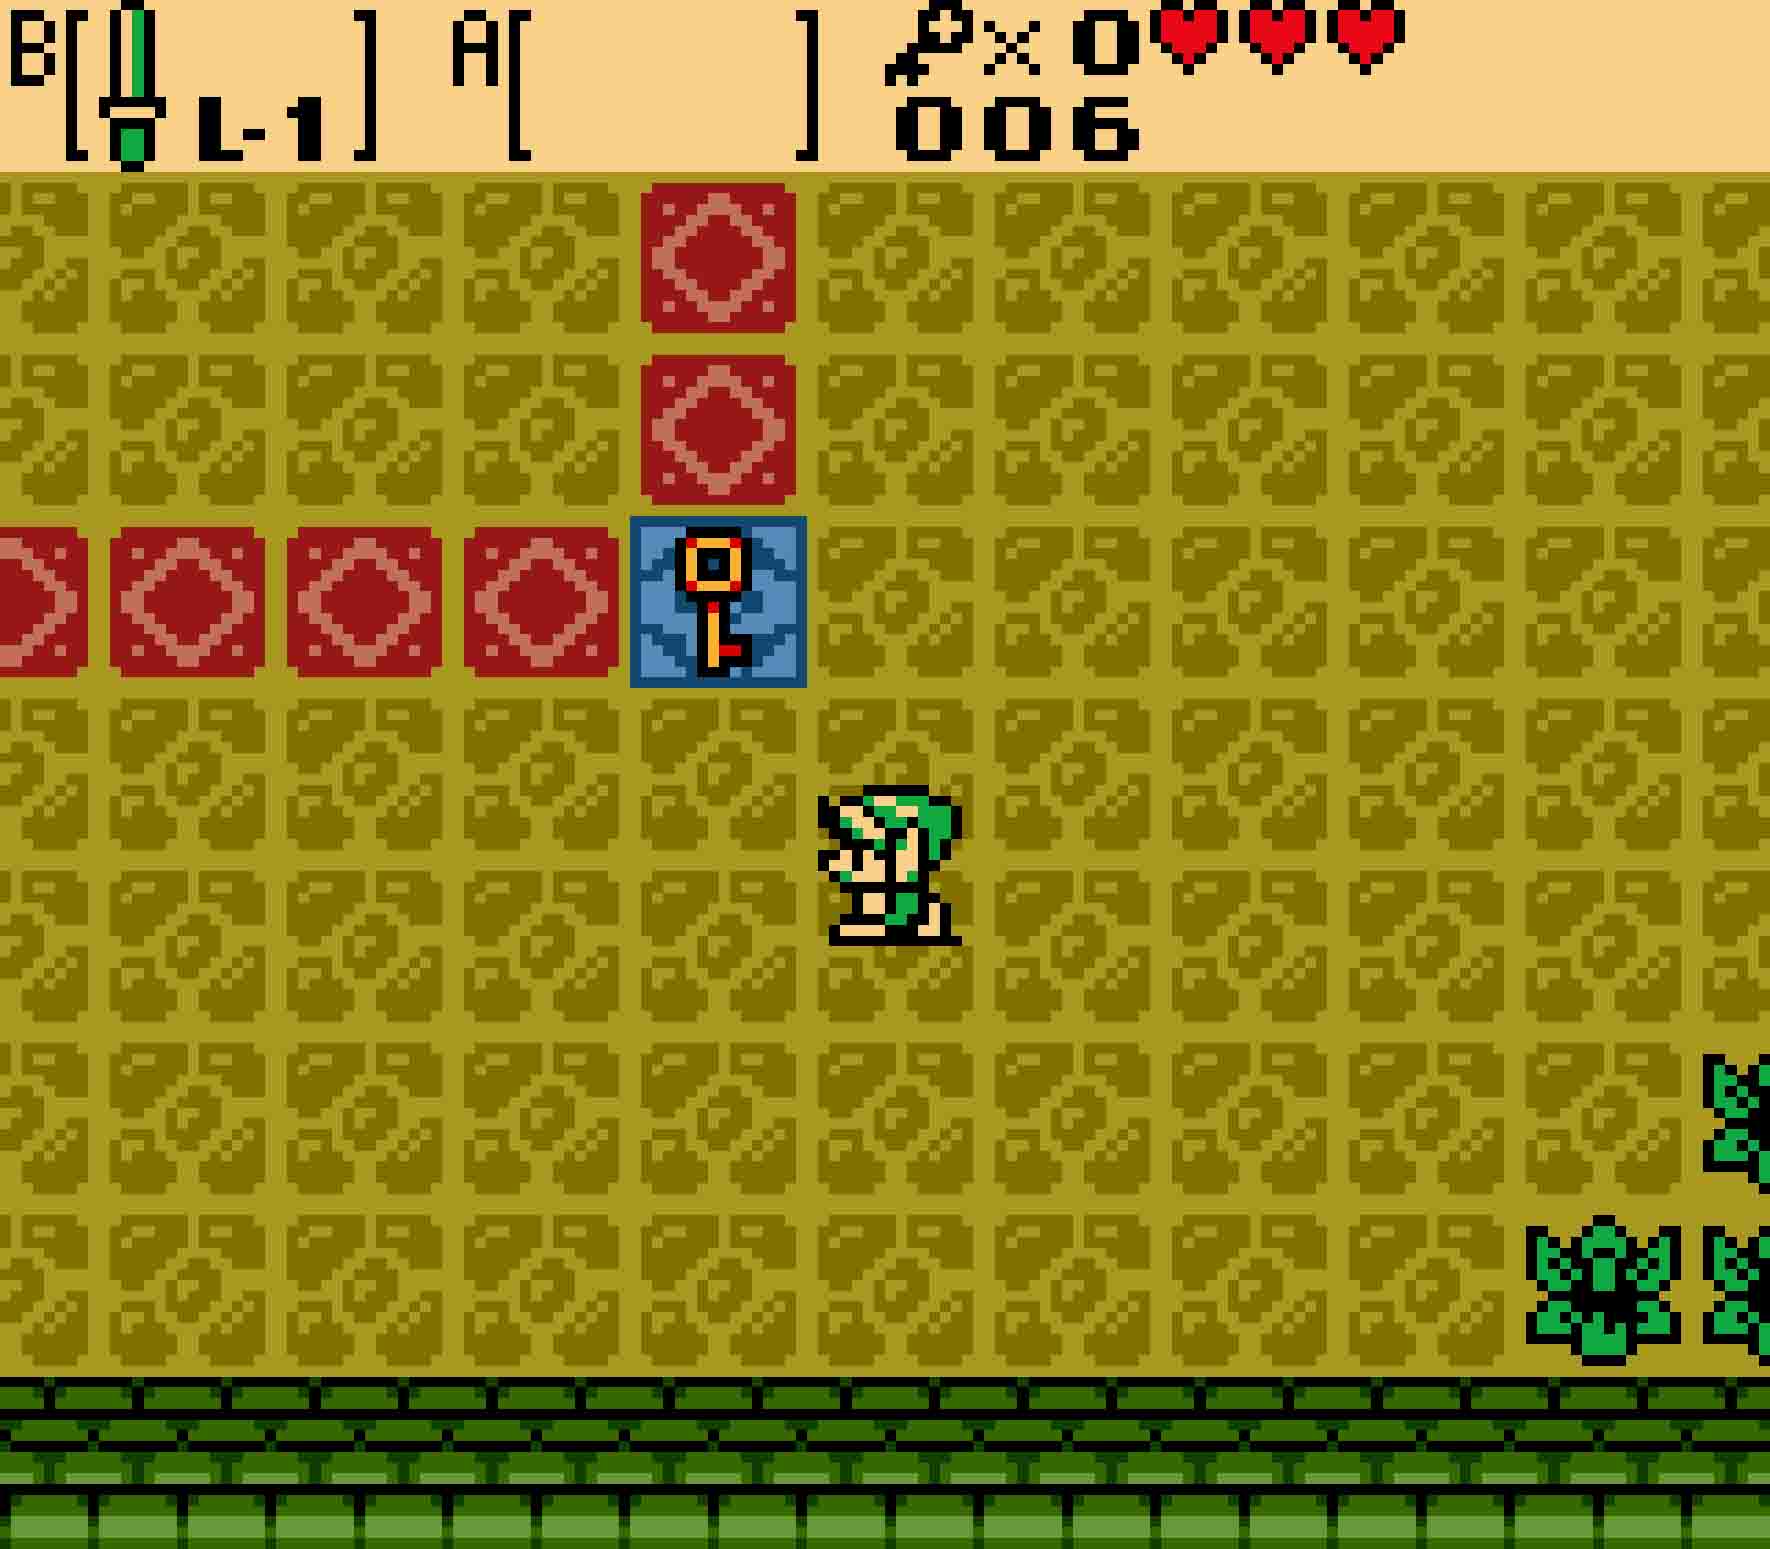
From here, head east. This room will introduce a new enemy: Stalfos. These are still not all that difficult as you can kill them easily with your sword. Once you kill all of the enemies in the room, you’ll notice a key will drop down in the room’s center. Collect it and then proceed back west to the room you just came from.
In that room, you can notice that the western door from there is locked. Use the key to unlock the door. Again, you’ll find some Stalfos in this room as well. You don’t have to kill them, but the reward for doing so is worth it. A chest will materialize in the room’s center, and it will contain the dungeon’s map.
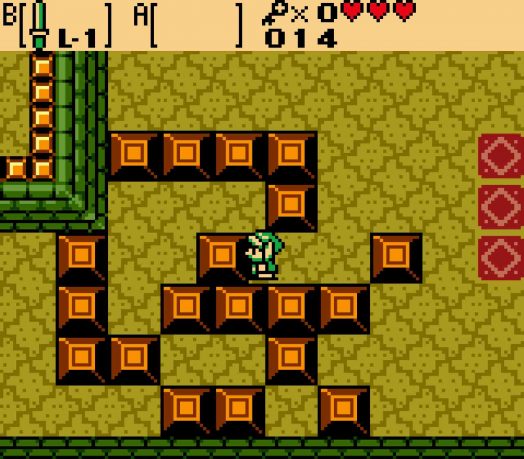
-
- You’ll need to defeat enemies to retrieve the small key and the Map.
2.2 Obtain the Compass
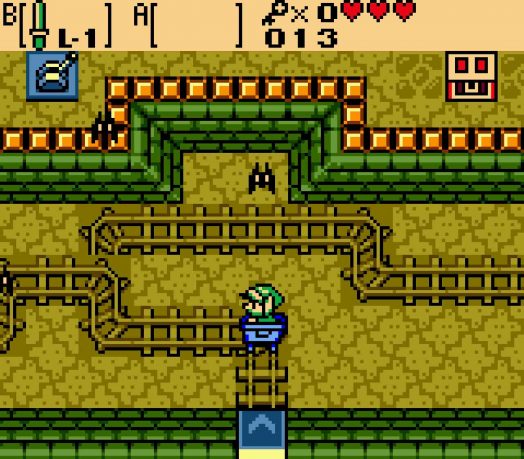
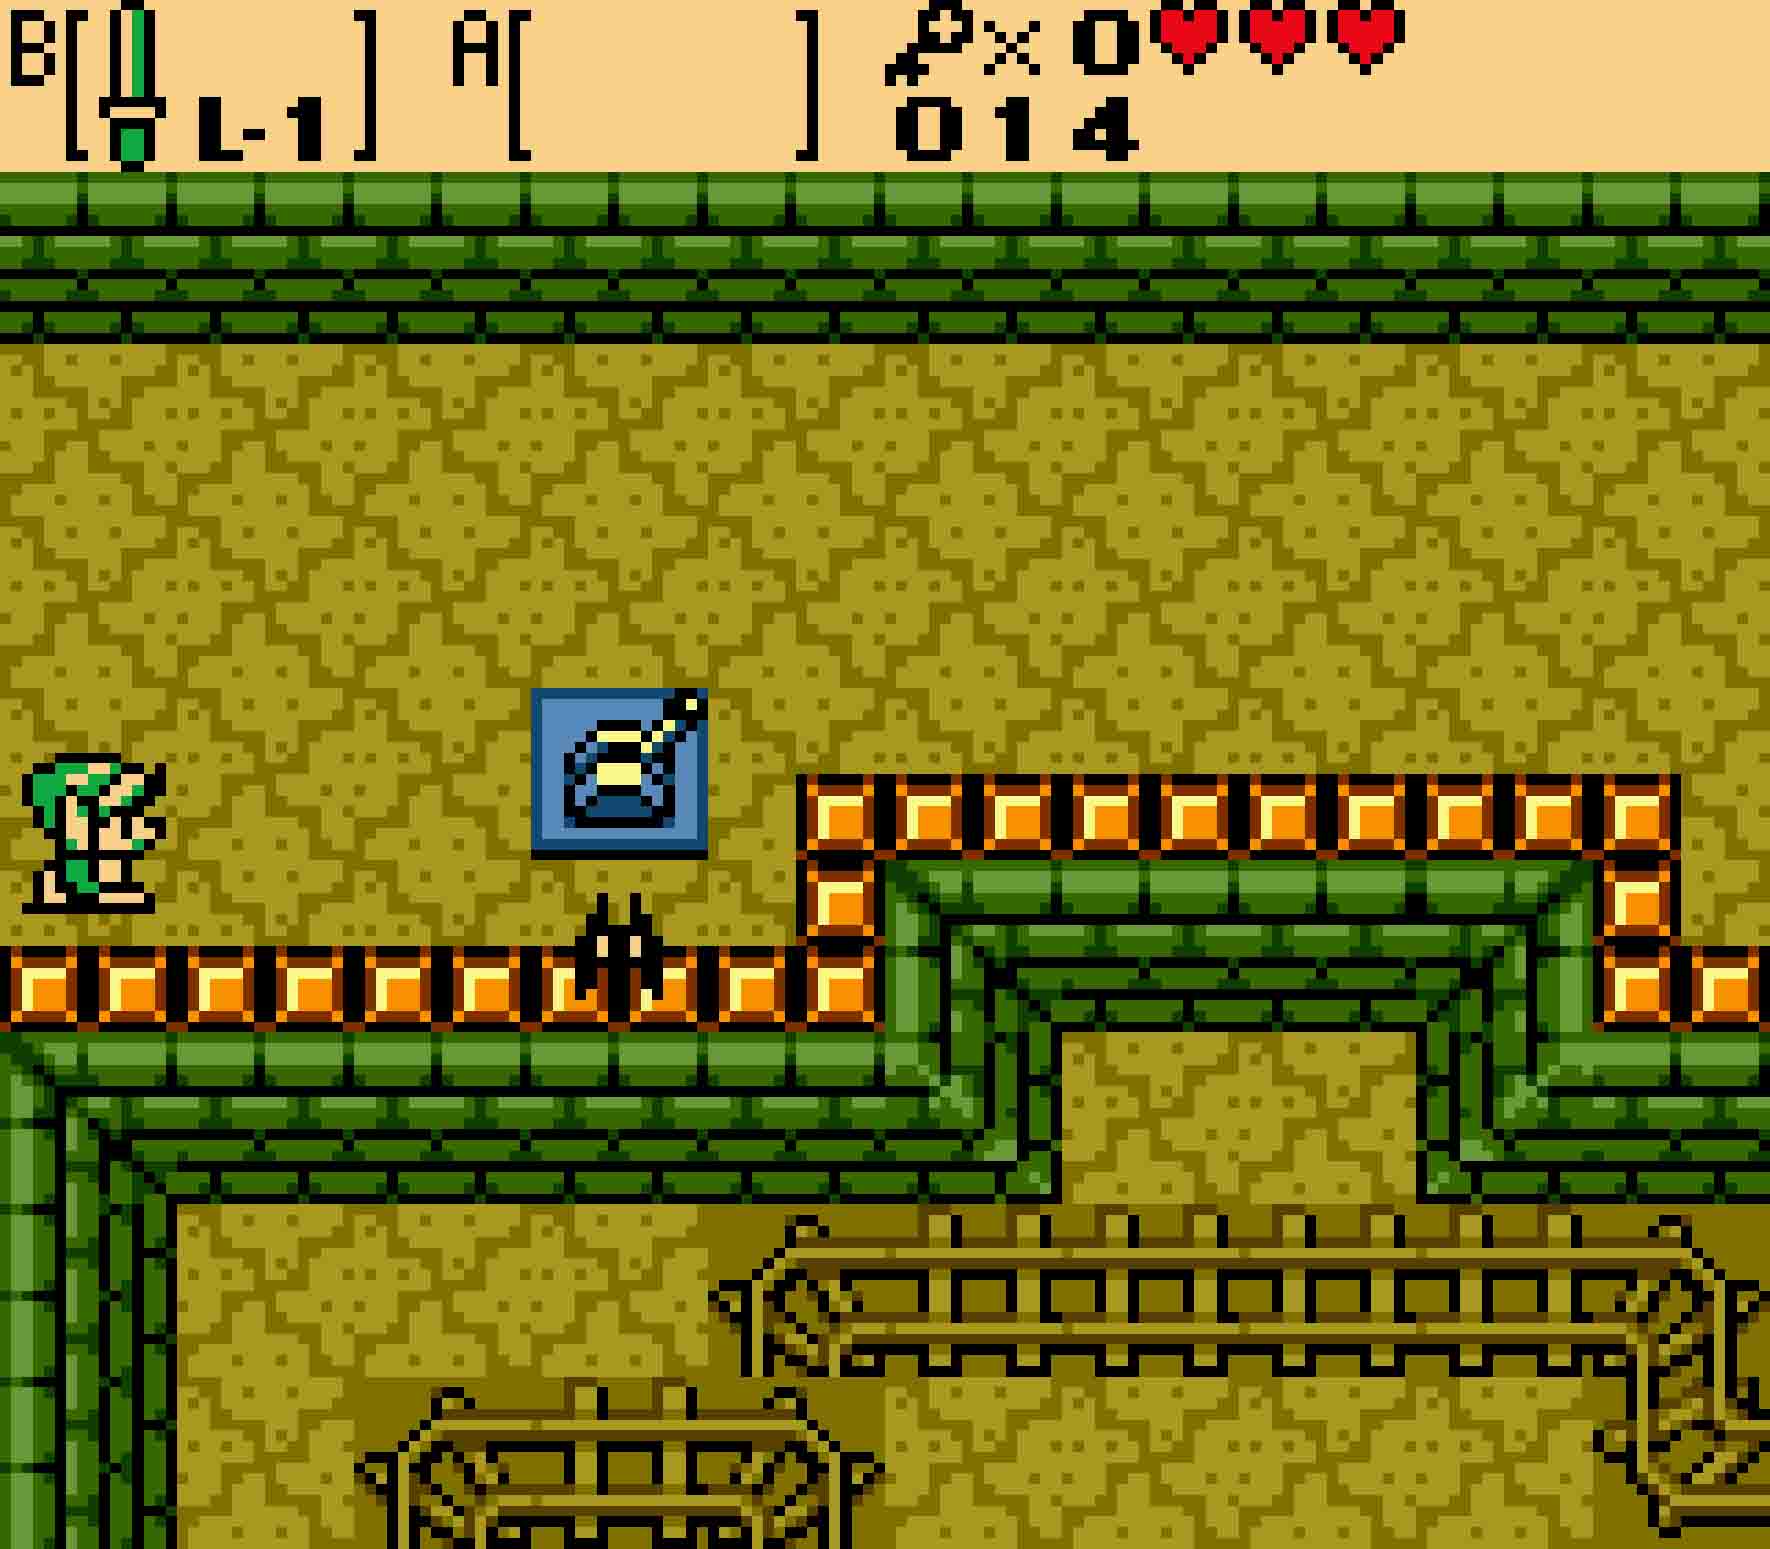
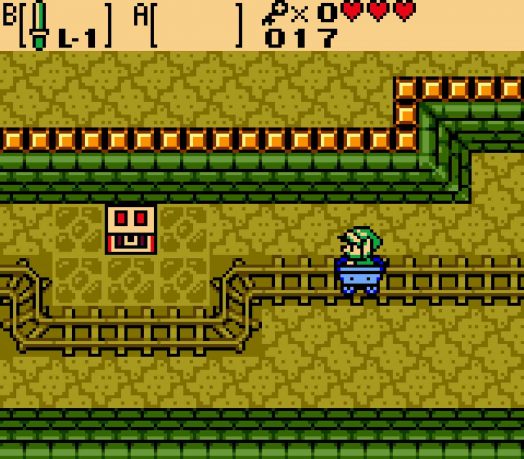
Once you’re riding the minecart, you’re stuck on it until you reach the end of the line.
Once you have the map, proceed north. This next room will have some green Zol in them; again, they’re mostly harmless. After you get rid of them, you’ll notice a minecart sitting upon a series of tracks that lead north through the door. This is one of the recurring puzzles within the Oracle games. Doors upon railroad tracks cannot be entered unless you’re riding in the minecart. Once you hop in a minecart, it will transport you along the tracks through potentially several rooms until it reaches the next terminus. In the meanwhile, you’re stuck and at the mercy of the cart. You can’t hop off; all you can do is face a direction and swing your sword wildly at anything that comes near.
Hop in the cart, and it will take you through the door heading north. Keese will occupy this room, so take care to kill them if they pass near your minecart since you can’t get off. You’ll see a track attempt to merge in, but there’s a break in the track, and so the cart will continue westward through the next door.
Here you’ll find a few Moblins awaiting you. These Moblins don’t just attack you by touching you; they have Boomerangs, and they are more than happy to toss them at you. Dispatch them with your sword.
Before you move on, there’s an optional chest to be obtained. Considering it has a rare Gasha Seed in it, it’s worth going after.
Collecting the Gasha Seed
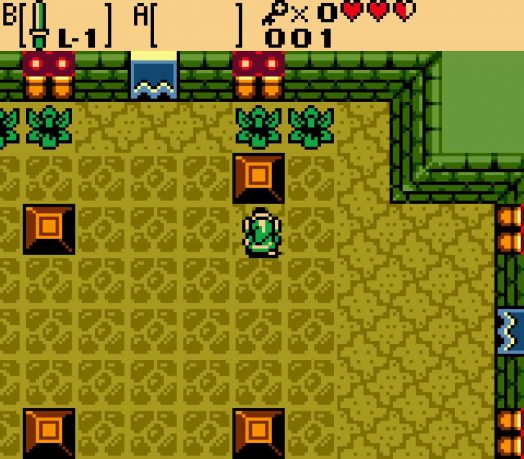
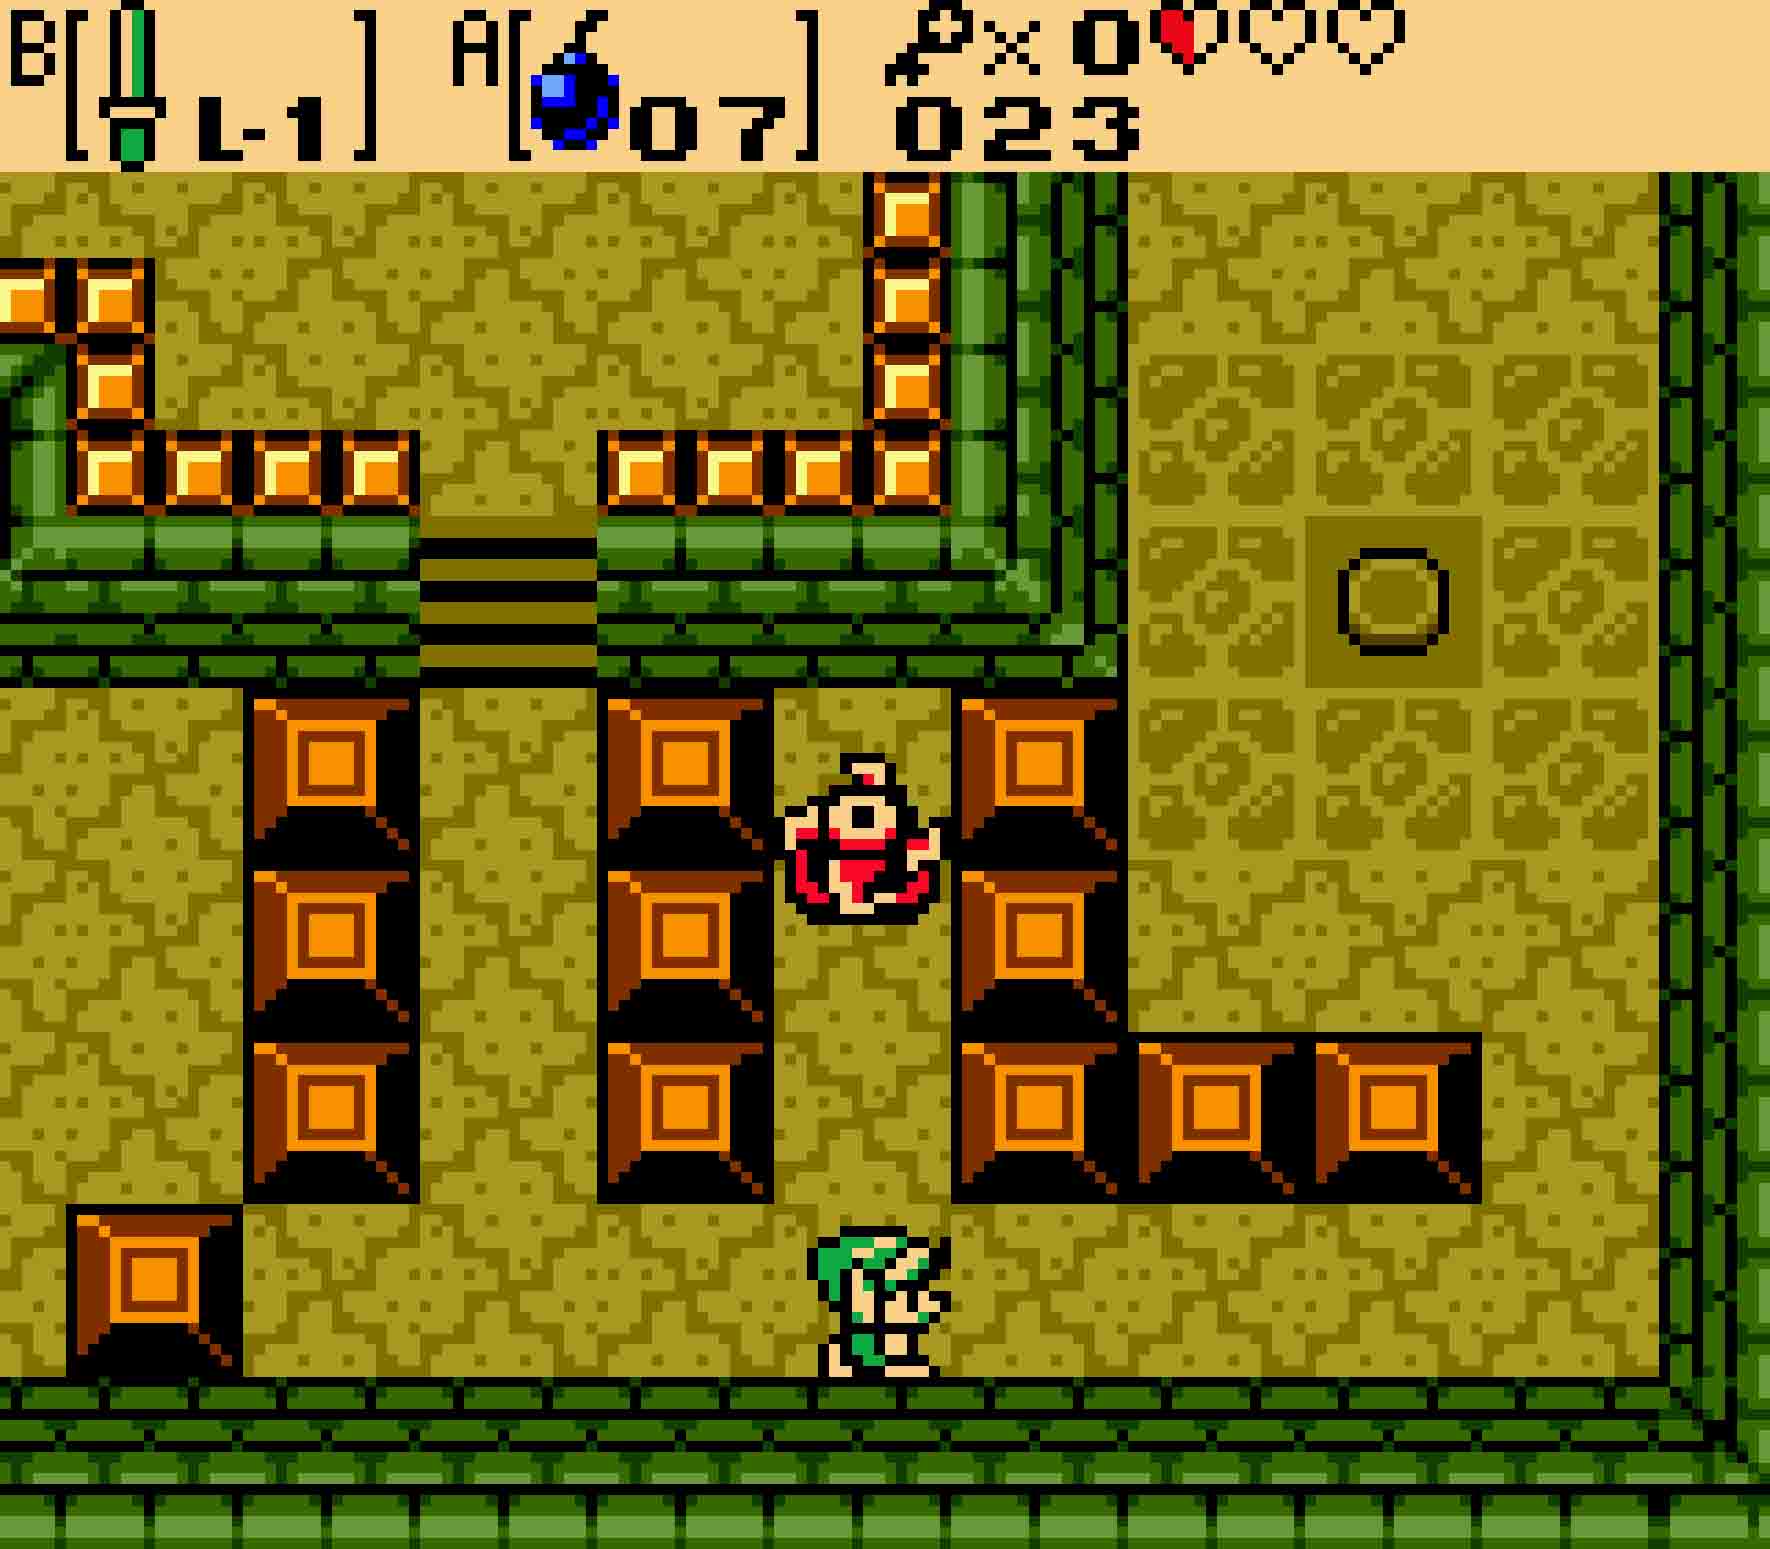
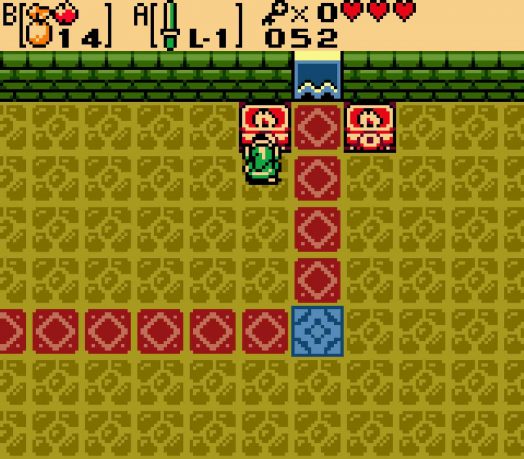
Step One Push the block near the Blade Traps to open the door to the west.
Step Two Once in the room push the blocks sticking out to the right down so you can get into the empty space in the block pile.
Step Three Once in the empty space, push the block to your left to the left.
Step Four You’re almost through. Now you just need to push the middle block in the leftmost column to the left.

Step Five Finally push the block below you down. You can then access the chest on the dais.
Once you have the Gasha Seed, return east. There’s a staircase in the upper-right corner of the room that will take you to a raised dais overlooking this room and the rooms to the right. Ascend the steps and head east. You’ll immediately see a switch in the next room. Strike it with your sword, and notice that this flips the direction of the track junction in the lower part of the room. Again, this will become a common theme in future dungeons. Continue to the eastern side of the room, and you’ll find a chest with the dungeon Compass inside.
Before you get the Compass, make sure you flip the switch to change the track connections below.
2.3 Collect some Bombs
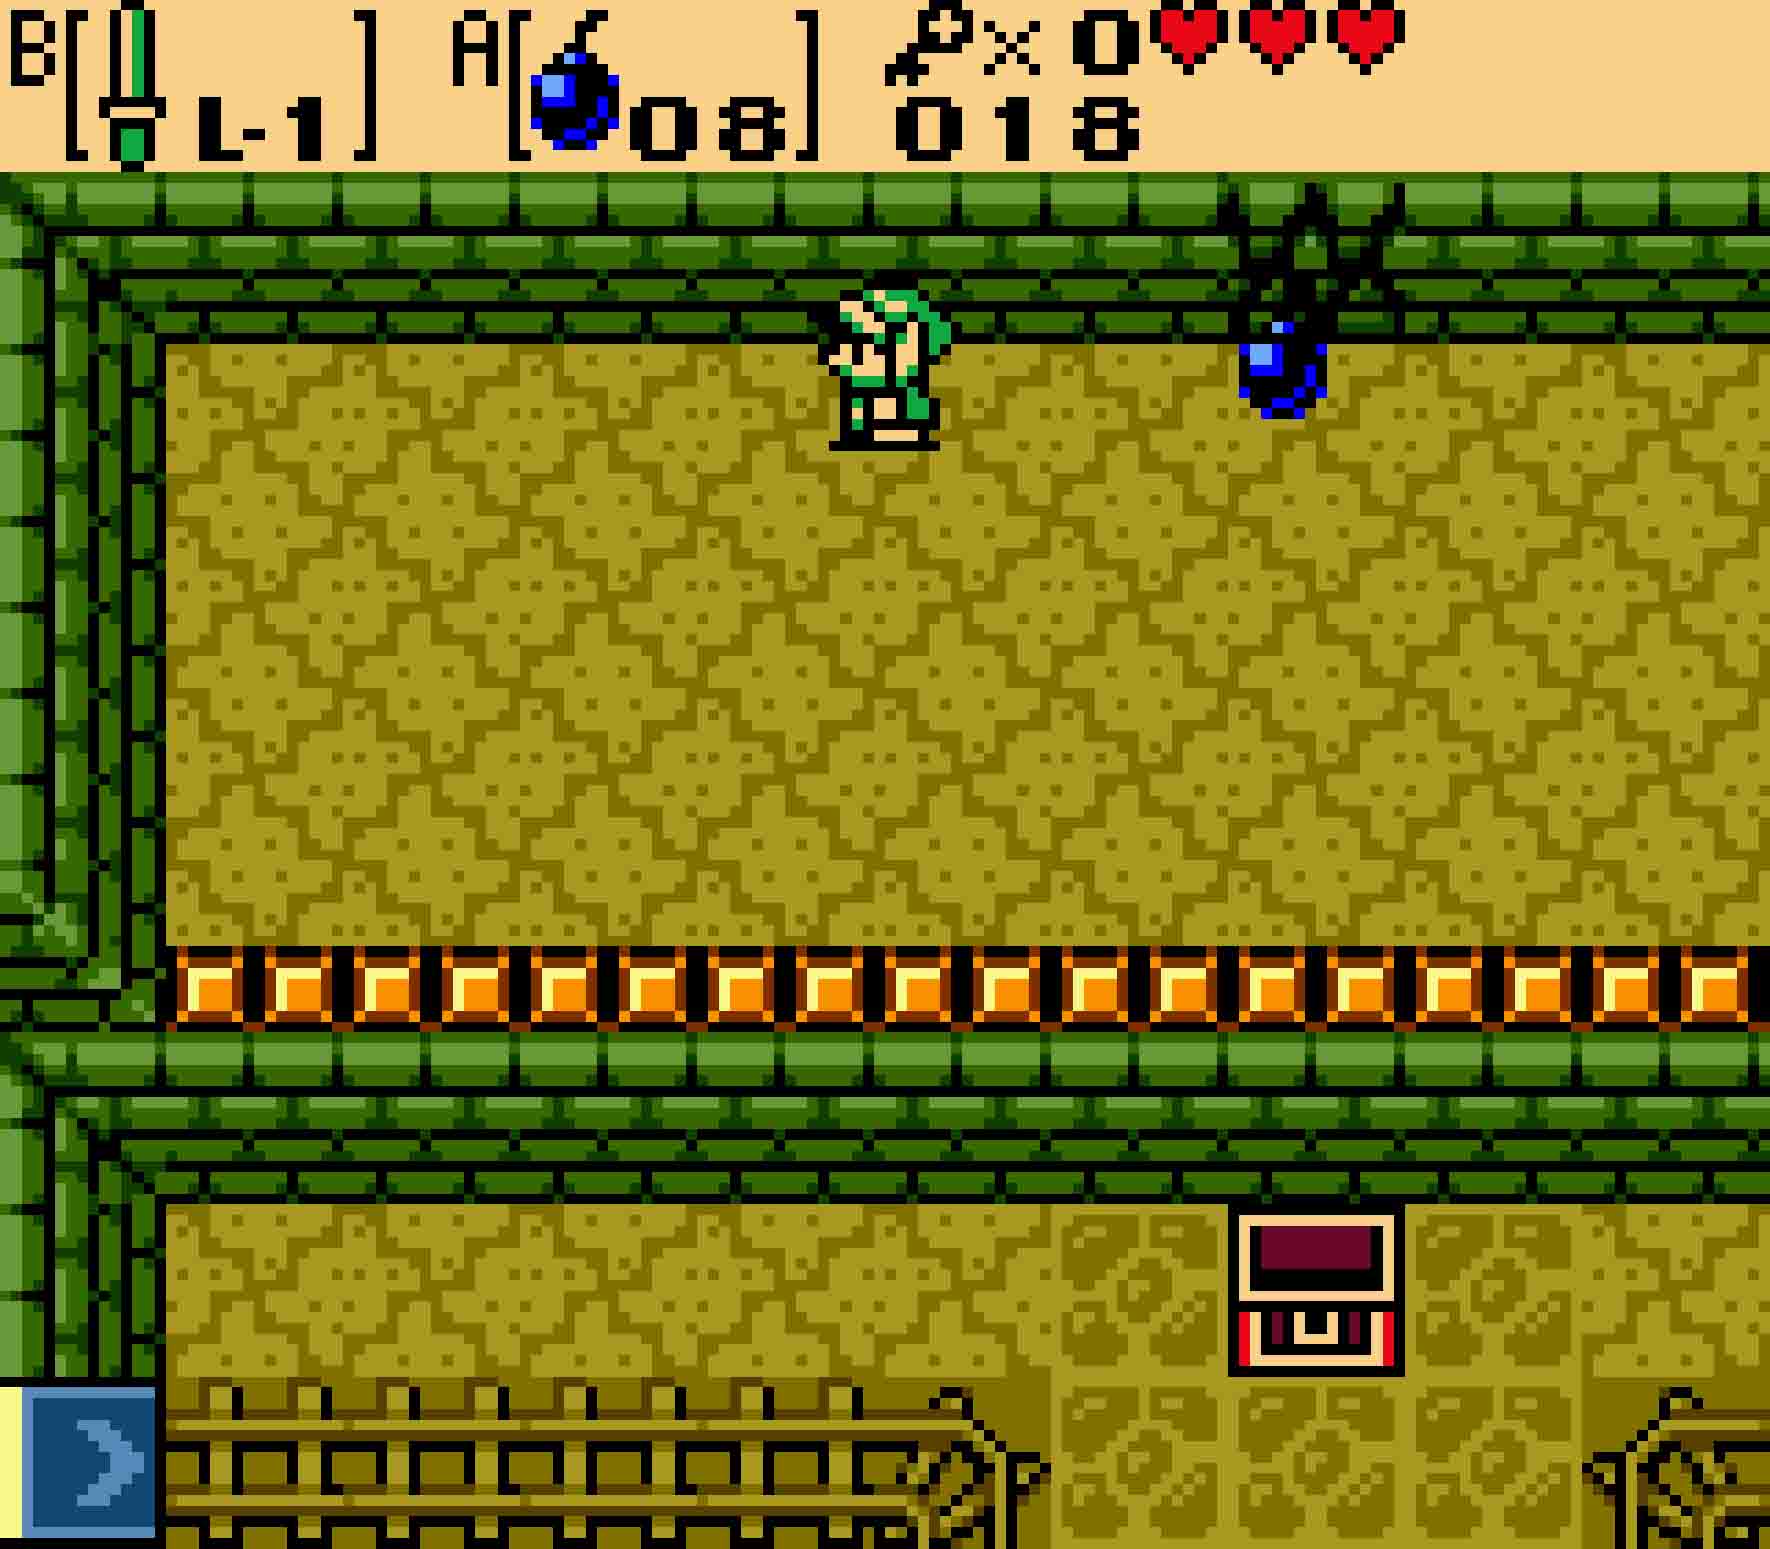
 With the switch flipped, it’s now time to return to the minecart. Head back west, and proceed into the minecart. Since the tracks are changed, you won’t go south like you would have before; now you’ll continue east two screens. Along the way you’ll pass a treasure chest; if only you could hop out!
Well, you can actually. After the minecart goes east one more screen, you’ll reach the end of the line. But you can simply walk back west one screen to open the chest, which will contain some very necessary Bombs. Unless you’ve managed to snag some elsewhere, Bombs will now be permanently added to your list of items.
2.4 Defeat the Brothers Goriya
You’ll need those Bombs too, but first you need to grab another key. Head back east and ascend the steps. Then immediately descend the ones just to the right of them. You’ll notice tucked away into a little alcove a (currently) immobile object. That is a Spinning Blade Trap. Whenever you pass within line of sight of it, the Spinning Blade Trap will spring to life and proceed in whichever direction it saw you in until it reaches a wall. If you manage to duck out of the way before it hits the wall, it will come to rest there until next time; otherwise, it will continue to follow you.
Head right through the miniature maze. You can’t prevent the Blade Trap from seeing you, so it will be on your tail. That’s okay; you can avoid it later. Quickly sneak up through the maze; you’ll need to continue to lure the Spinning Blade Trap along since it’s new position will block you from heading back. Once you reach the other side, there’s a switch there that will reveal a treasure chest with a small key in it.
If you haven’t managed to draw the Spinning Blade Trap out of the maze yet, do so. Once it clears the block walls, duck back into the maze until you ascend the stairs once again. Head west, and then you’ll notice some crumbling along the wall. Drop a Bomb in front of it, and then get out of the way. It’ll blow open a doorway to the room to the north.
-
- Pass by the Spinning Blade Trap to grab a key.
-
- Double back afterwards to open a new pathway.
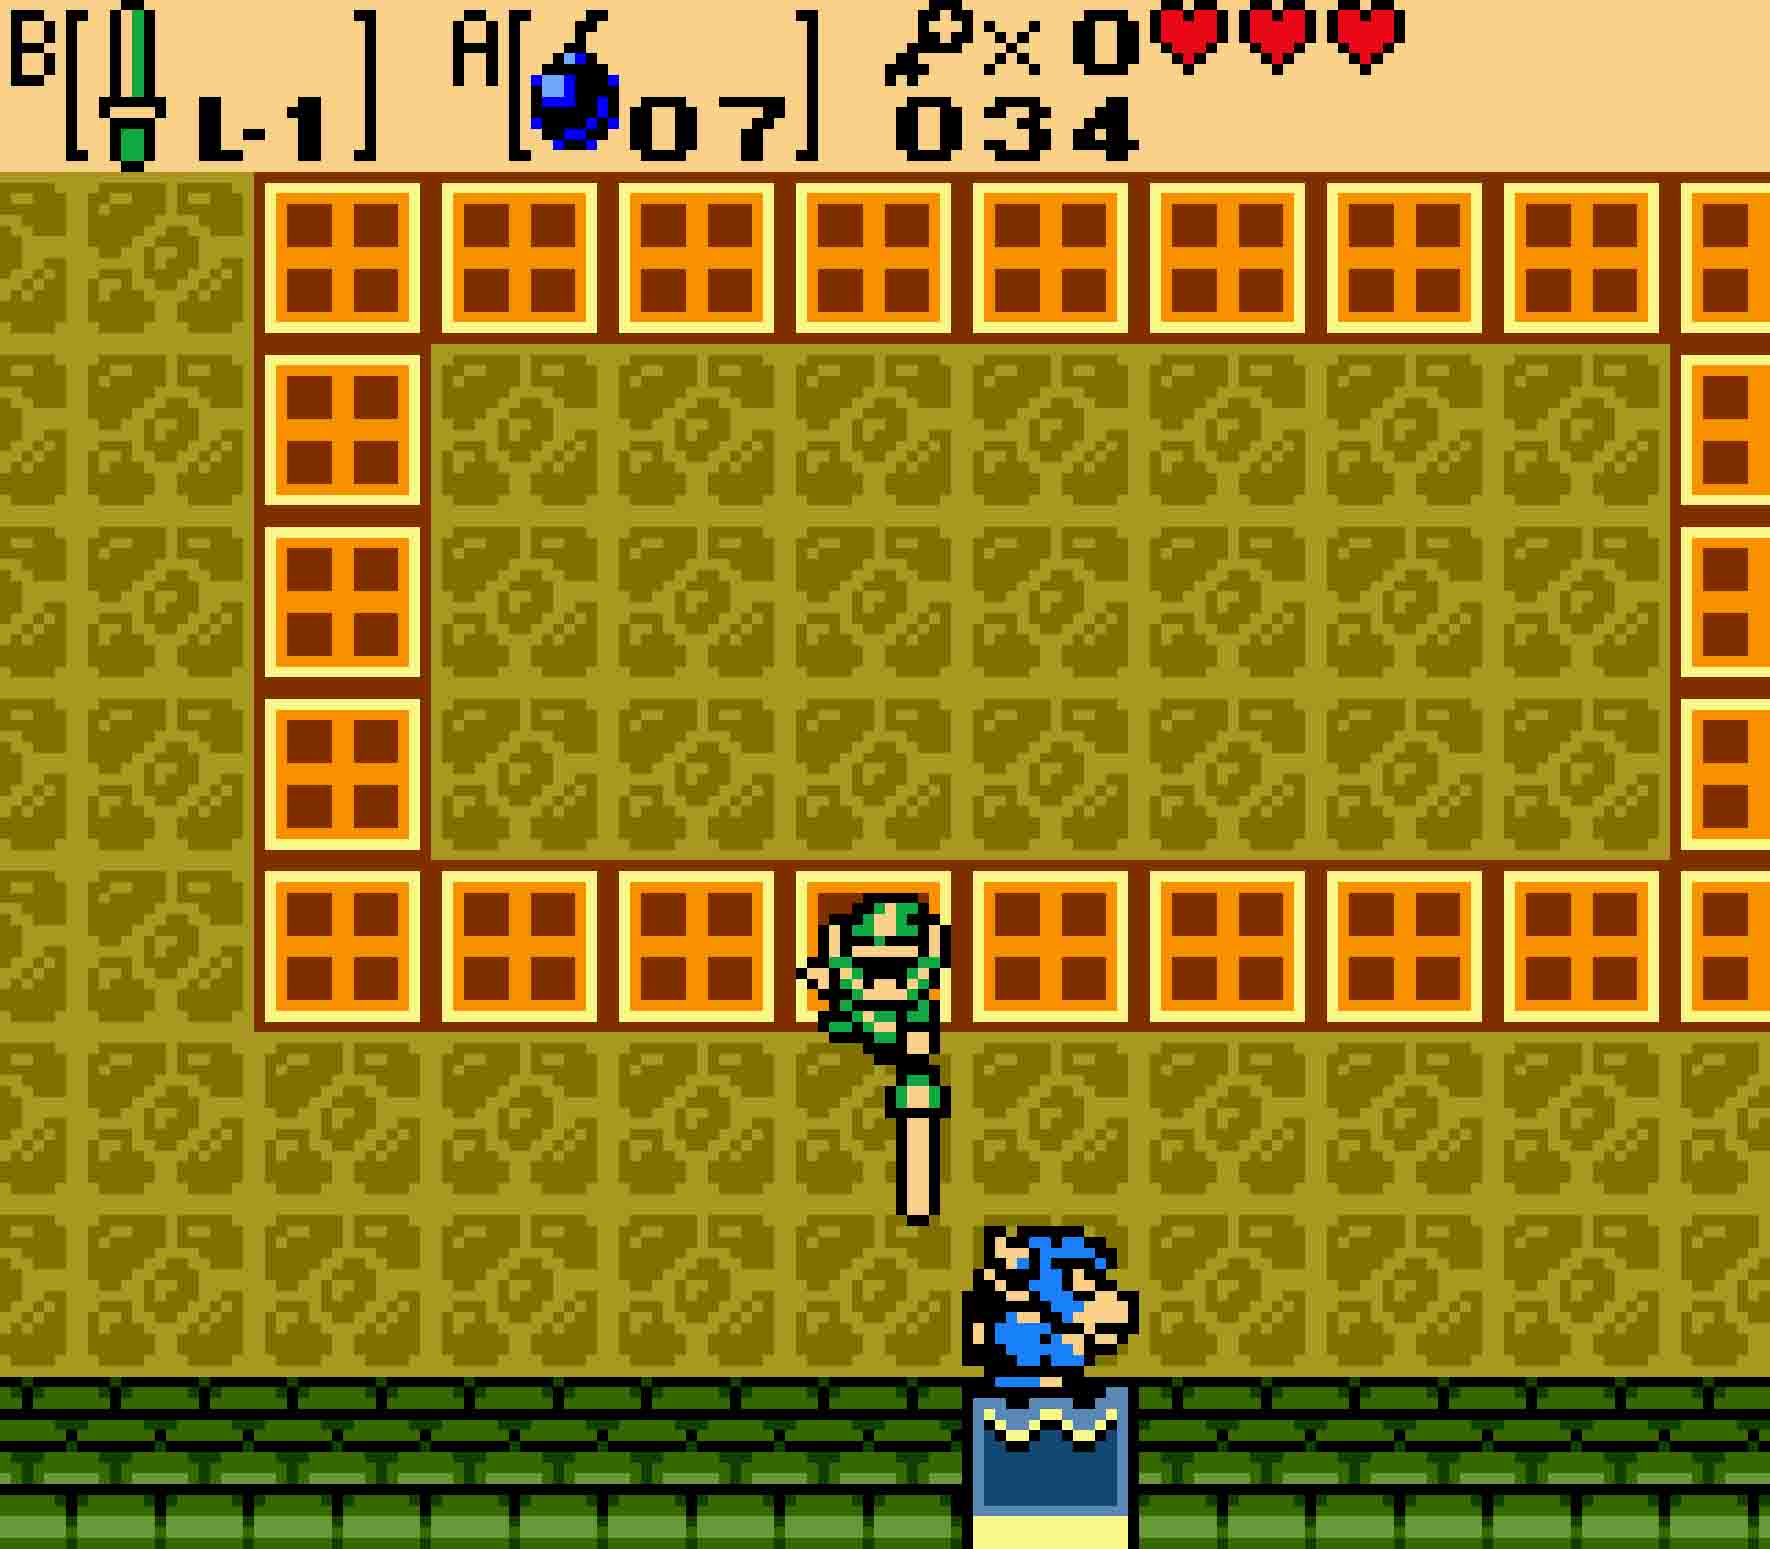
 The next obstacle will be to contend with Blade Traps of multiple colors and types. The first Blade Trap you encounter will be just off to the right. It’s blue in color, so it will be relatively slow. Trigger it, and then wait for it to recede. As it does, follow it right so you can duck into the one-square gap just above it.
This will immediately trigger a second Blade Trap, this one green and much faster. You probably won’t be able to get through the gap in one go, so duck out to the north and trigger it a second time to make it to the end. This will put you almost face to face with a lovely Spinning Blade Trap. Unfortunately you can’t make it through the gap without triggering it, so mow down the bush just beneath the green Blade Trap, trigger the spinning trap, and then retreat to where the bush was. If you trigger the Spinning Blade Trap a second time, you’ll be able to sneak through the maze and avoid being hit.
Three more Traps to go. The next one is in the upper-left corner. It won’t go all the way down, but it can surprise you if you don’t know it’s there. Continue on through the middle of the maze, mowing through the next three bushes. The next trap is orange and extremely quick, so be prepared. Sneak past it while it’s on the way back. Wait for the two blue traps to clink right in front of the locked door, and then you can enter the mini-boss’ room.
You’ll be faced with two Goriyas, one red and the other blue. The two are fairly quick, but their main attack is tossing a Boomerang back and forth between each other. However, if you’re extremely quick, the two brothers will barely have any time with which to throw it. All you have to do is kill one of the two Goriyas, so pick a color — whichever one feels most convenient — and target all of your attacks on it. Just continue hitting it with the sword until the two fall together.
Focus only on one of the enemies. Once you defeat one, the other will die also.
2.5 Get the Seed Satchel
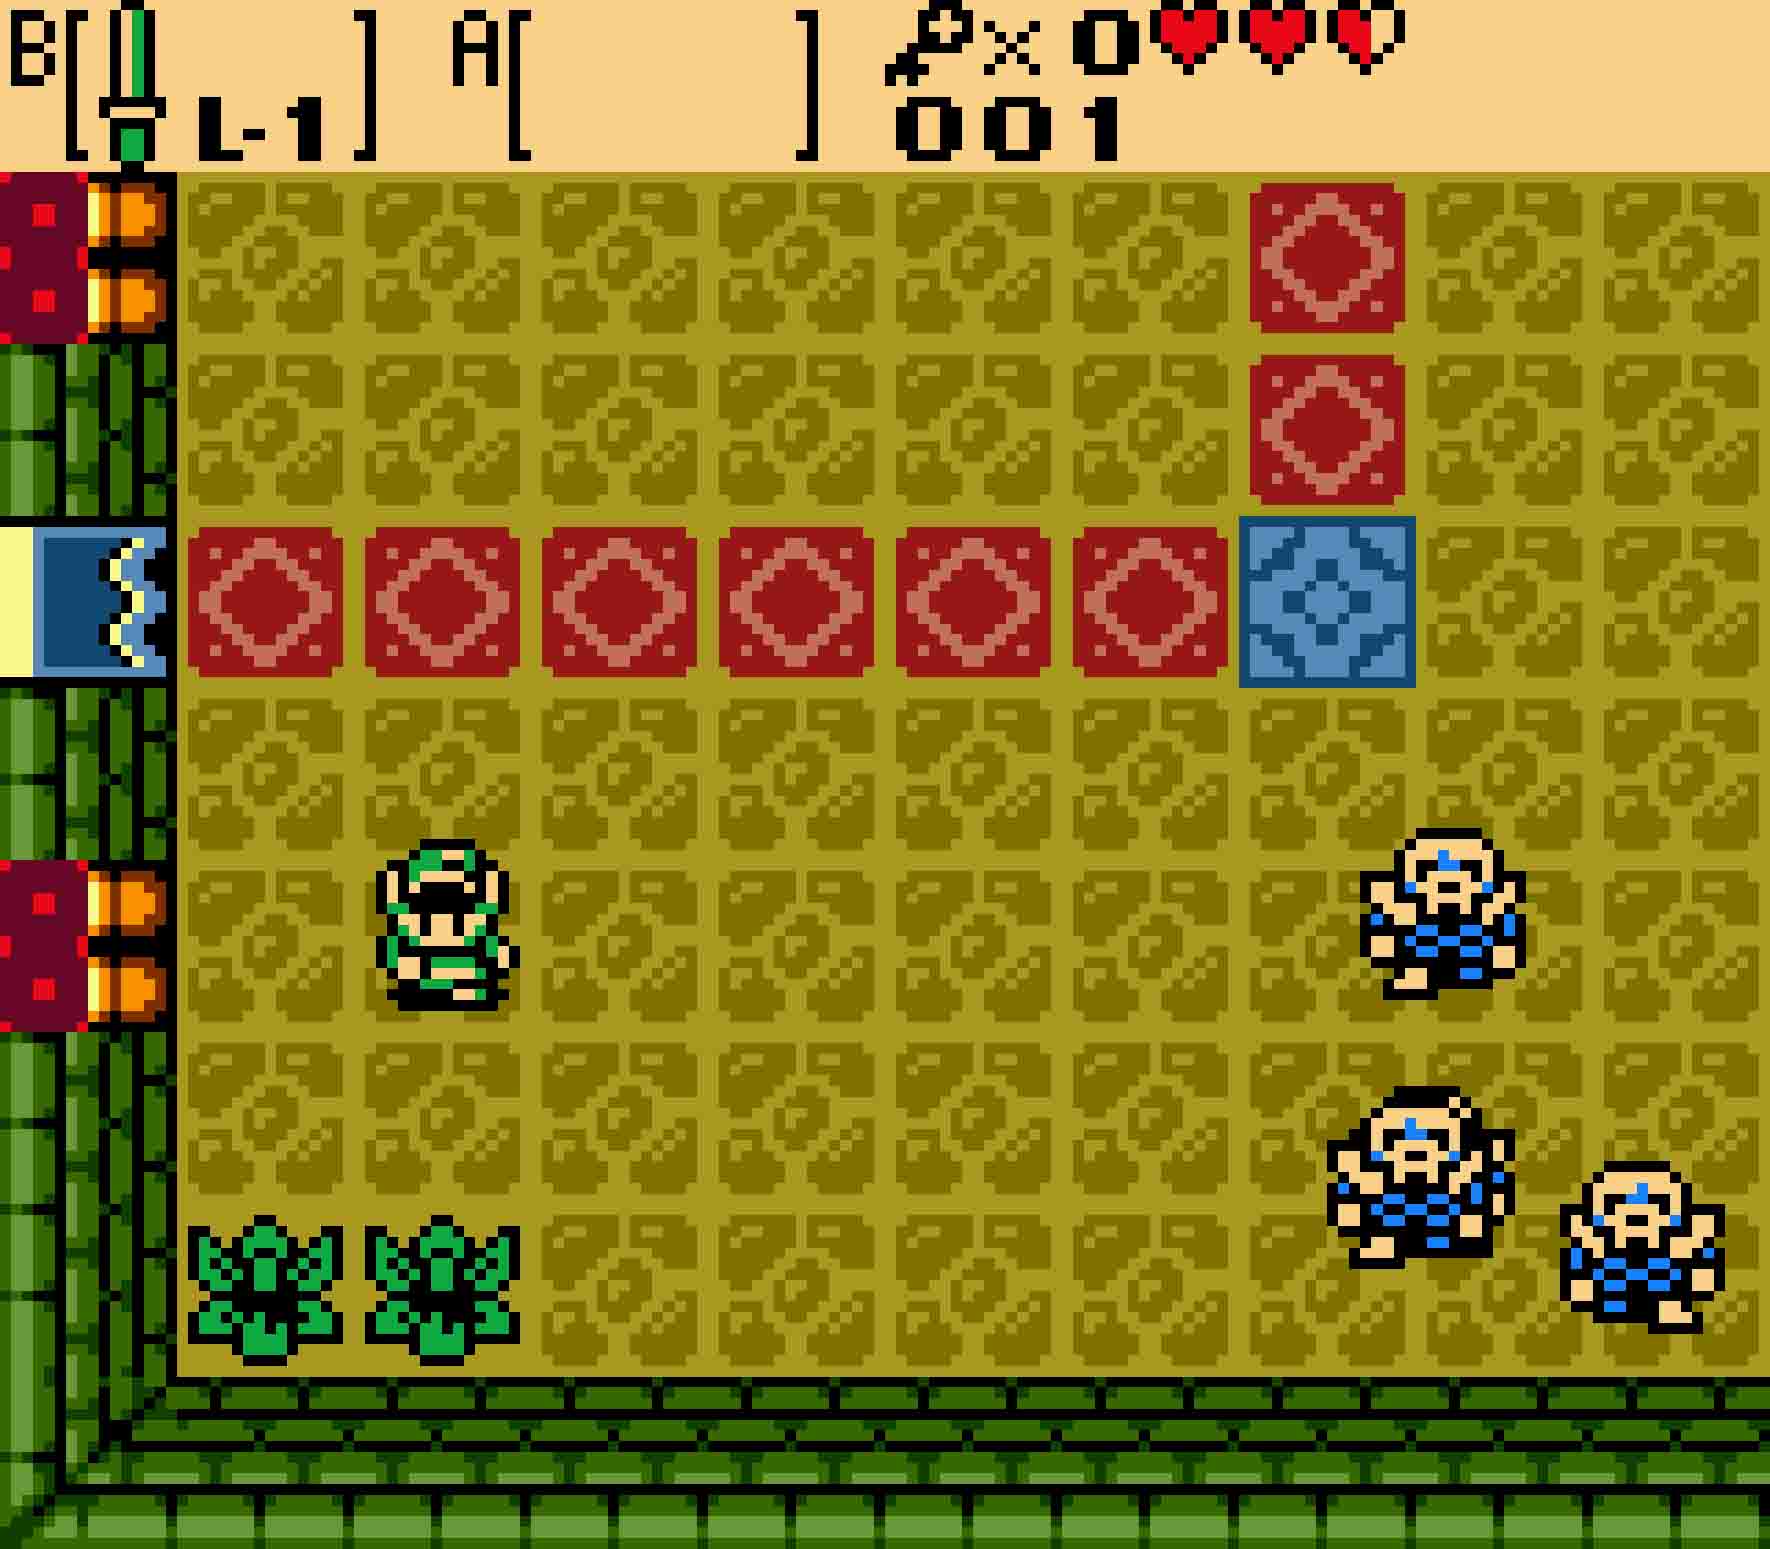
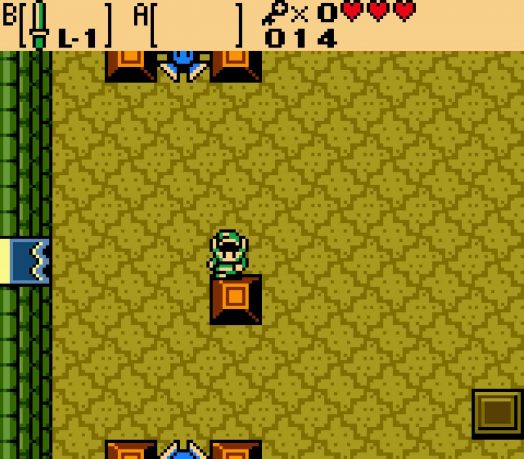
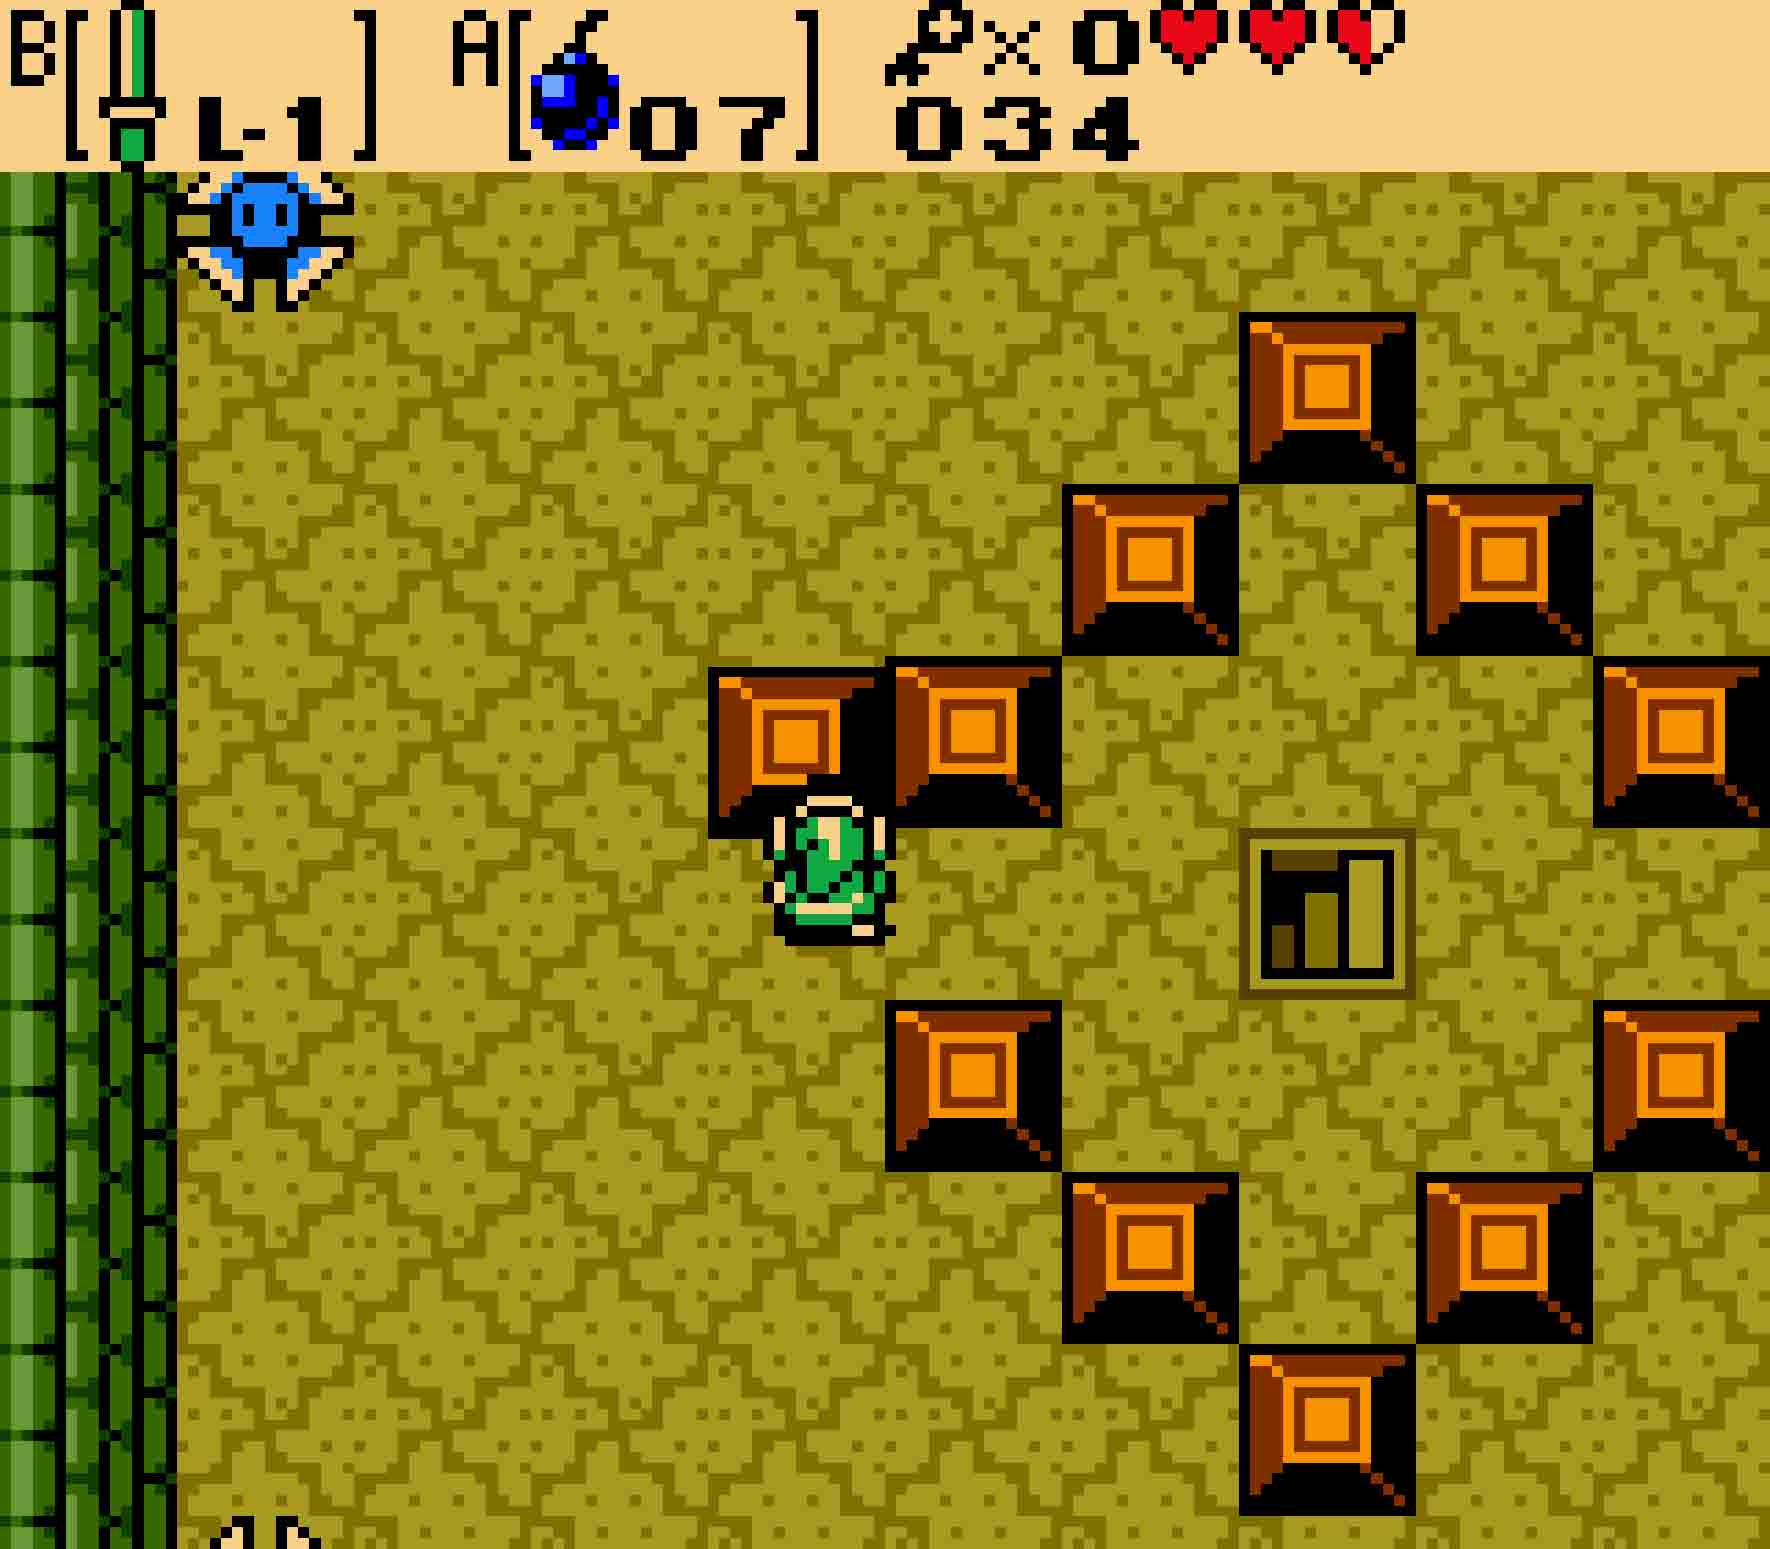
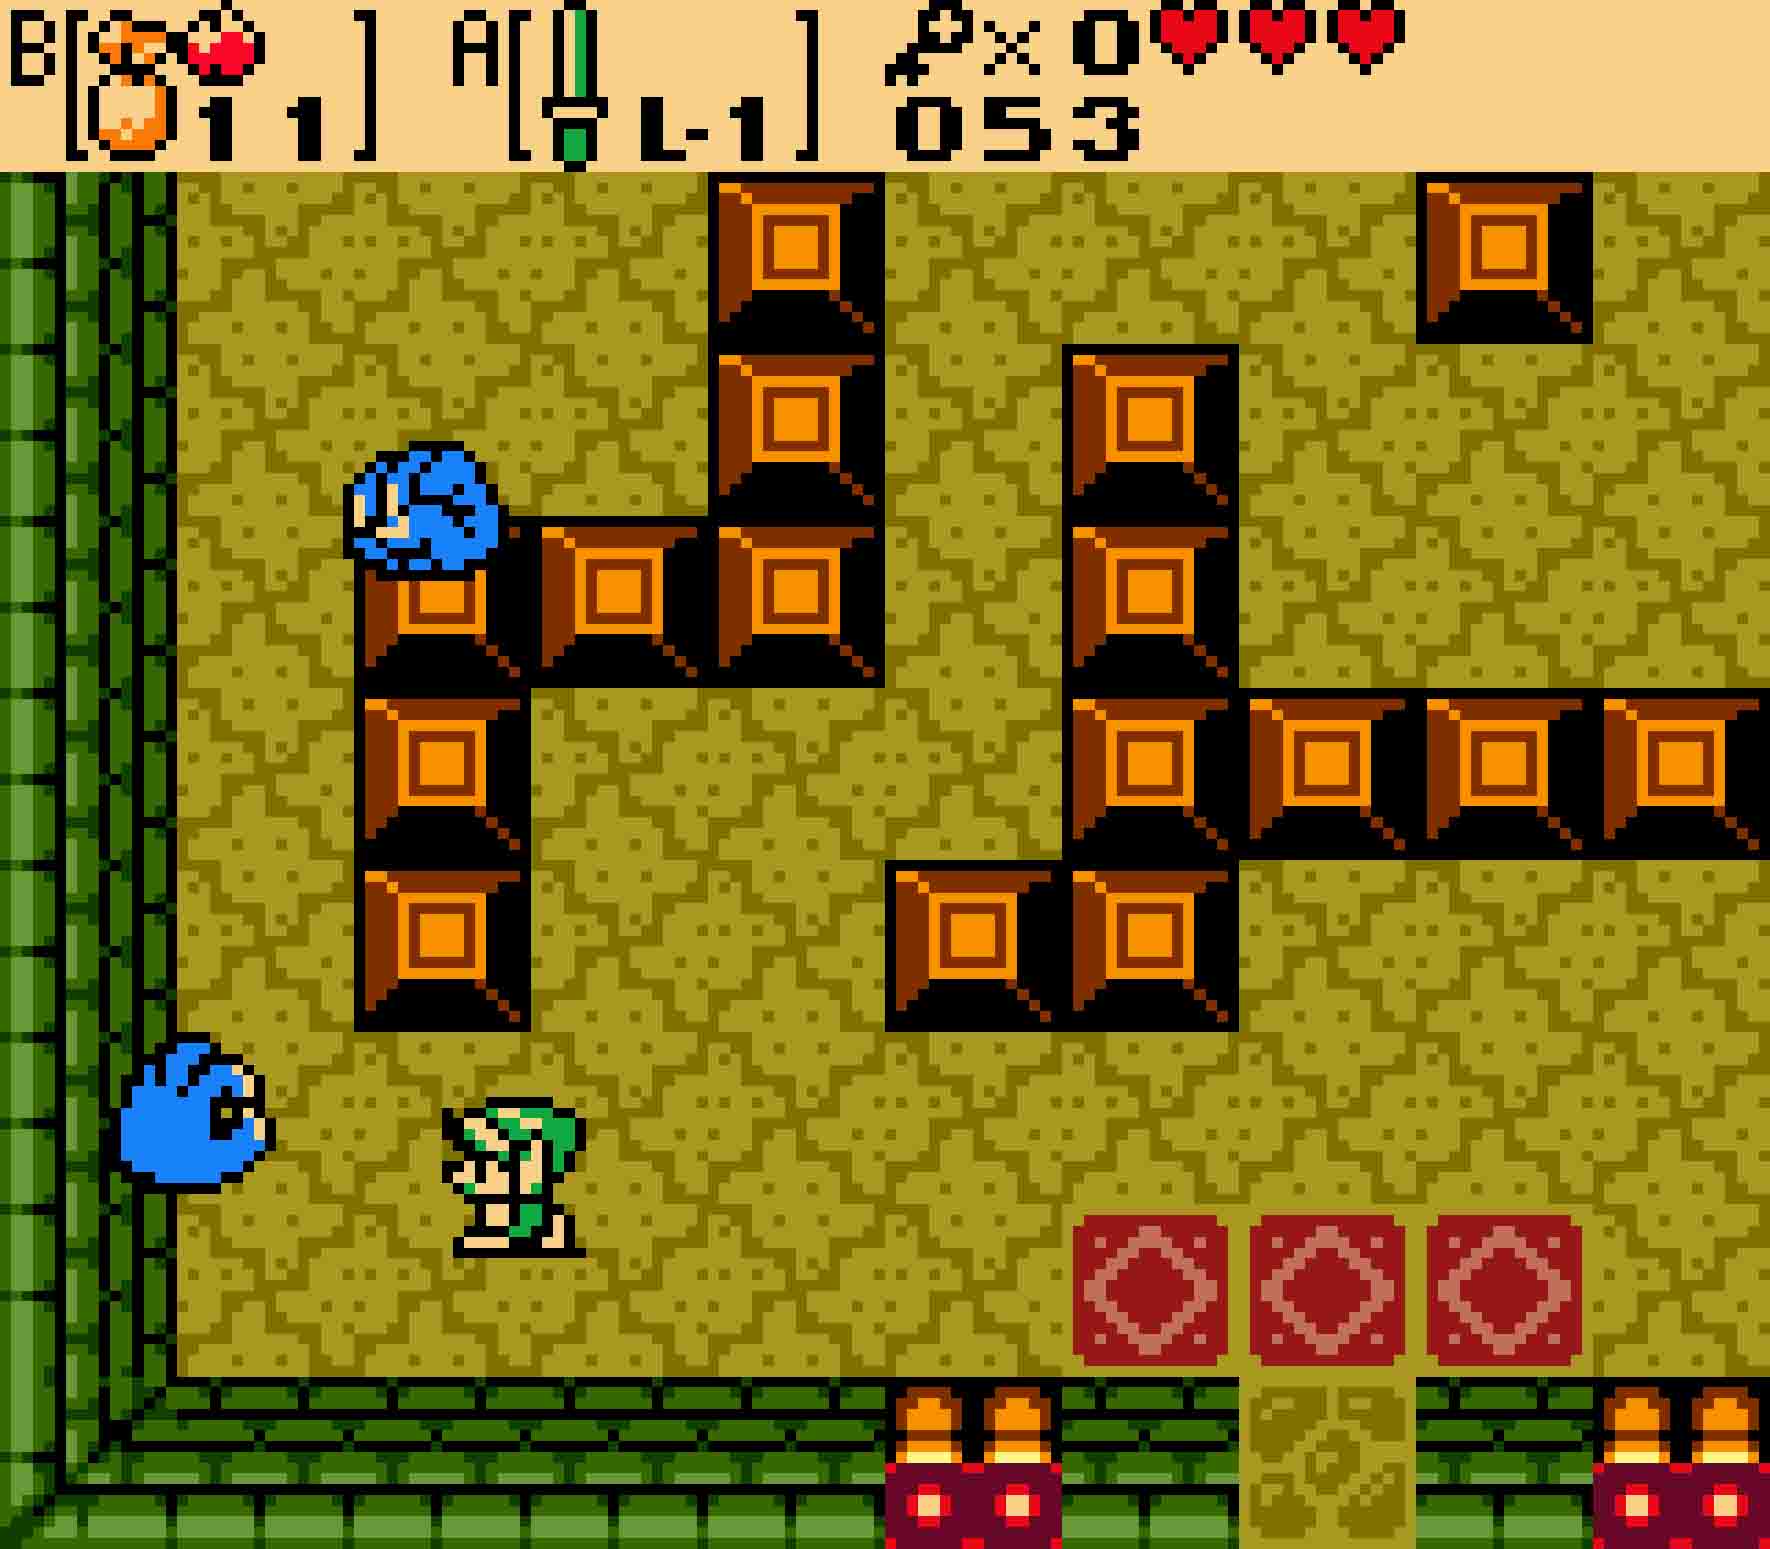
Finally, you’ll see a staircase in the middle of the room blocked by a diamond of blocks. Watch out for the Blade Traps in the corners as you carefully make your way to the left side of the room. Push the leftmost block of the diamond one square up — the only way it can move — in order to access the stairs in the center.
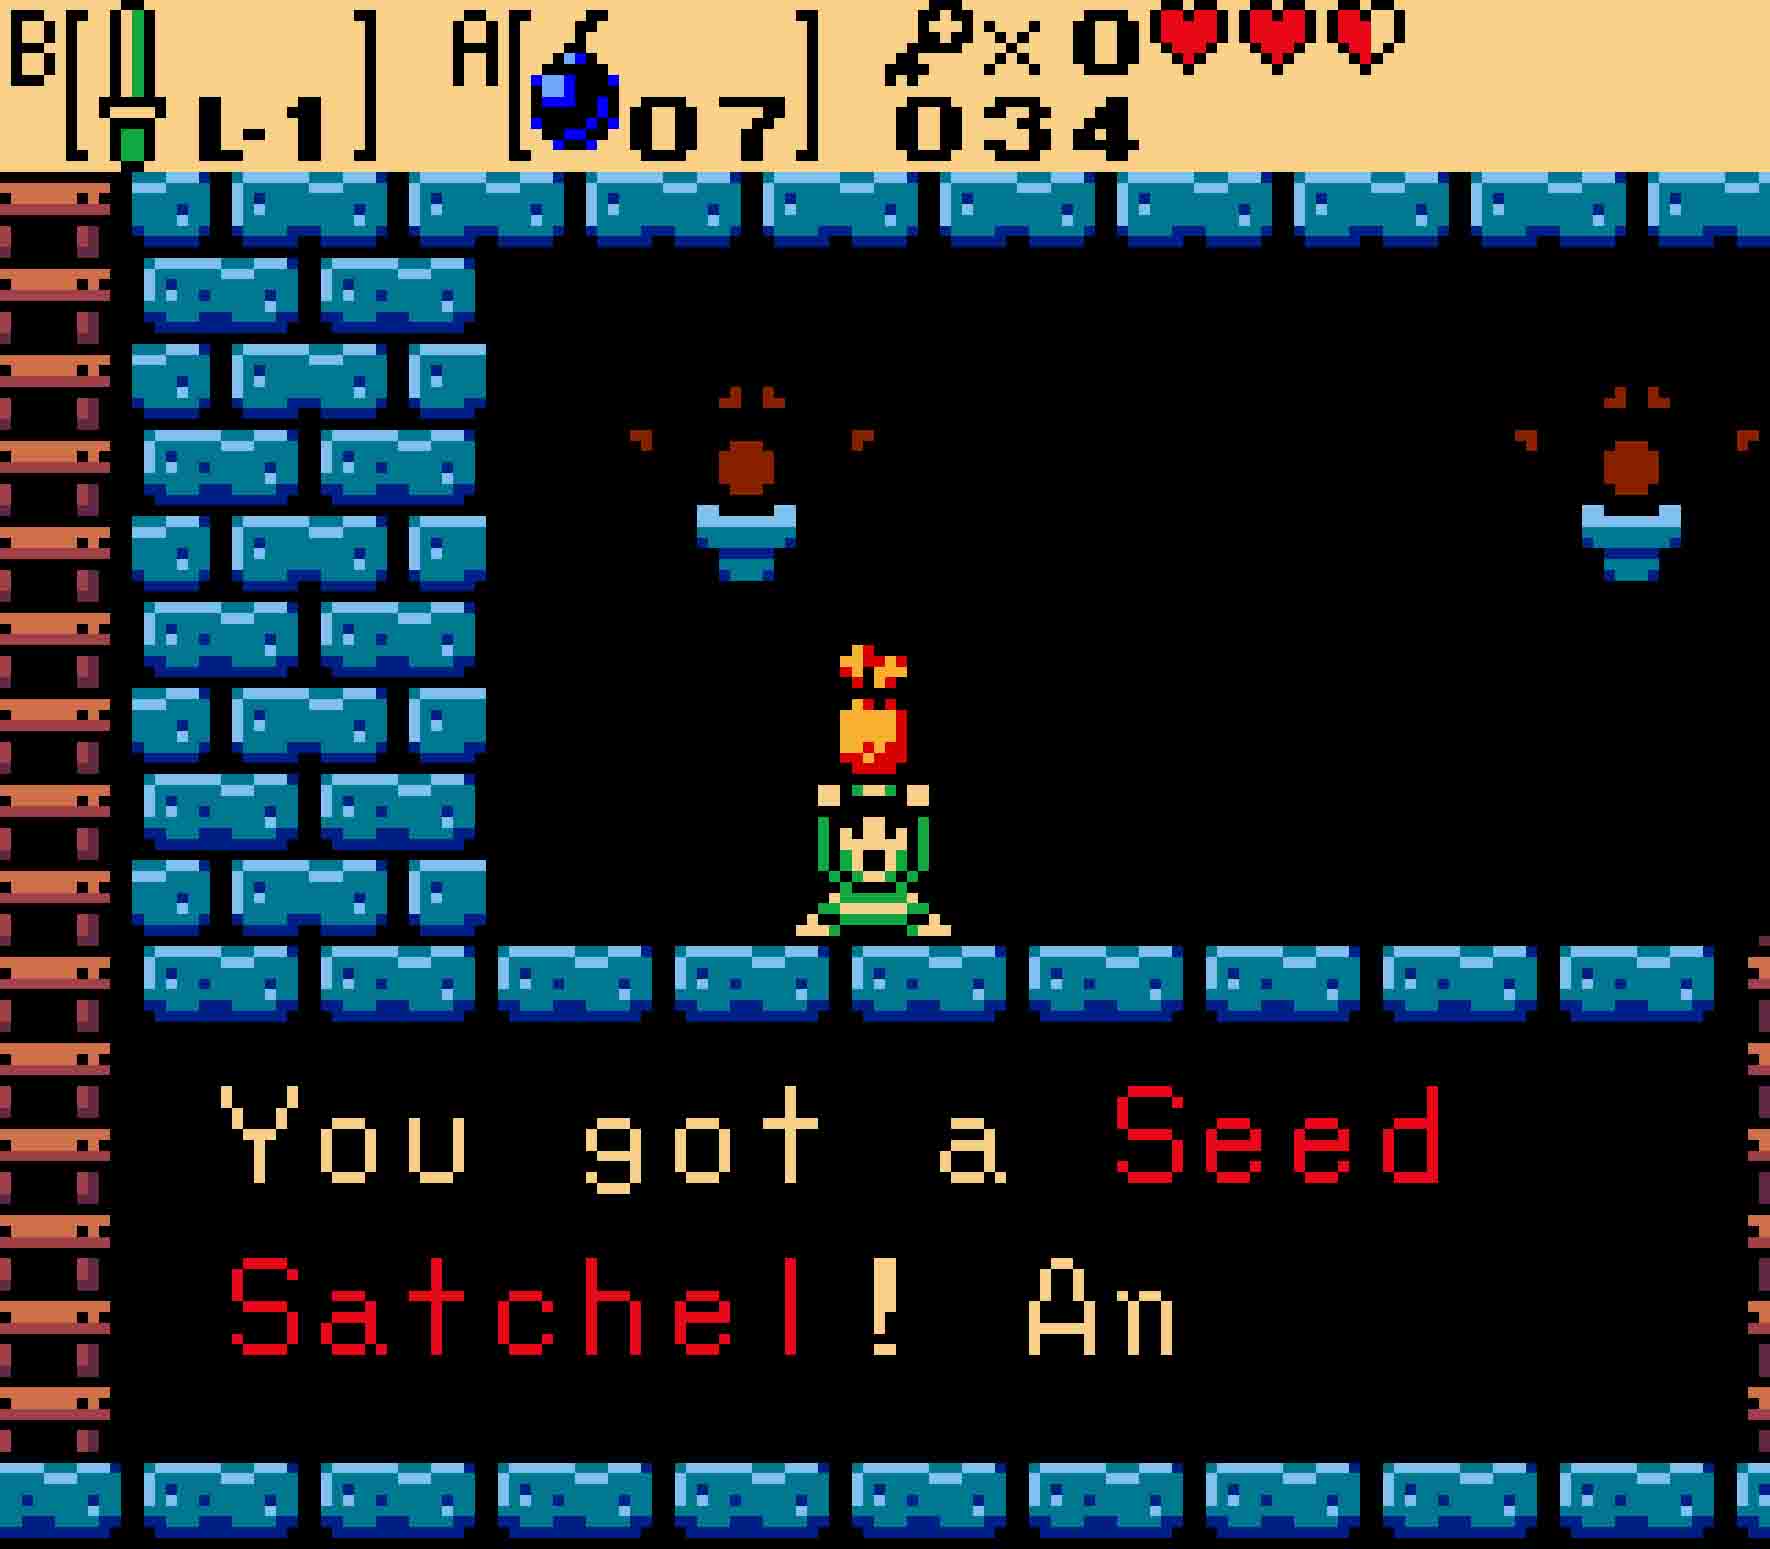
You’ll enter a side-scrolling basement. Descend the stairs and then up the other flight in order to reach the Seed Satchel waiting for you. This will allow you to collect the various types of seeds found in the game. For now, though, you only have Ember Seeds, which you can use to light torches and set fire to enemies.
2.6 Retrieve the Boss Key
Head back up to the main floor, avoid the Blade Traps there, and then return to the mini-boss’ room. You’ll notice that a teleporter opened up. Usually this teleporter will take you back to the beginning of the dungeon, but this one doesn’t quite go back all the way to the beginning.
Enter the teleporter, and you’ll find yourself back in a room that had a door that you couldn’t open up earlier. That door will be on the west side of the room, and you’ll notice that there are two unlit lamps on either side of it. Use your newly acquired Seed Satchel to drop an Ember Seed into each to open the door.
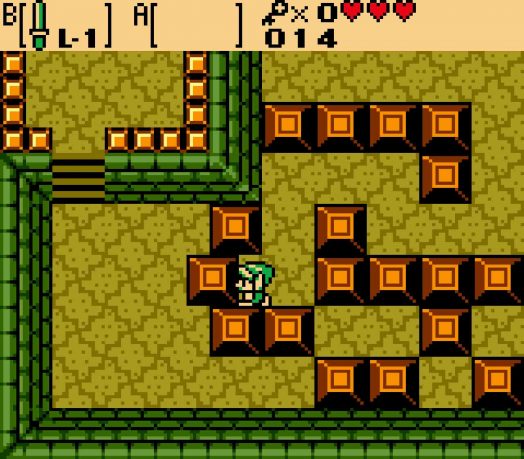
-
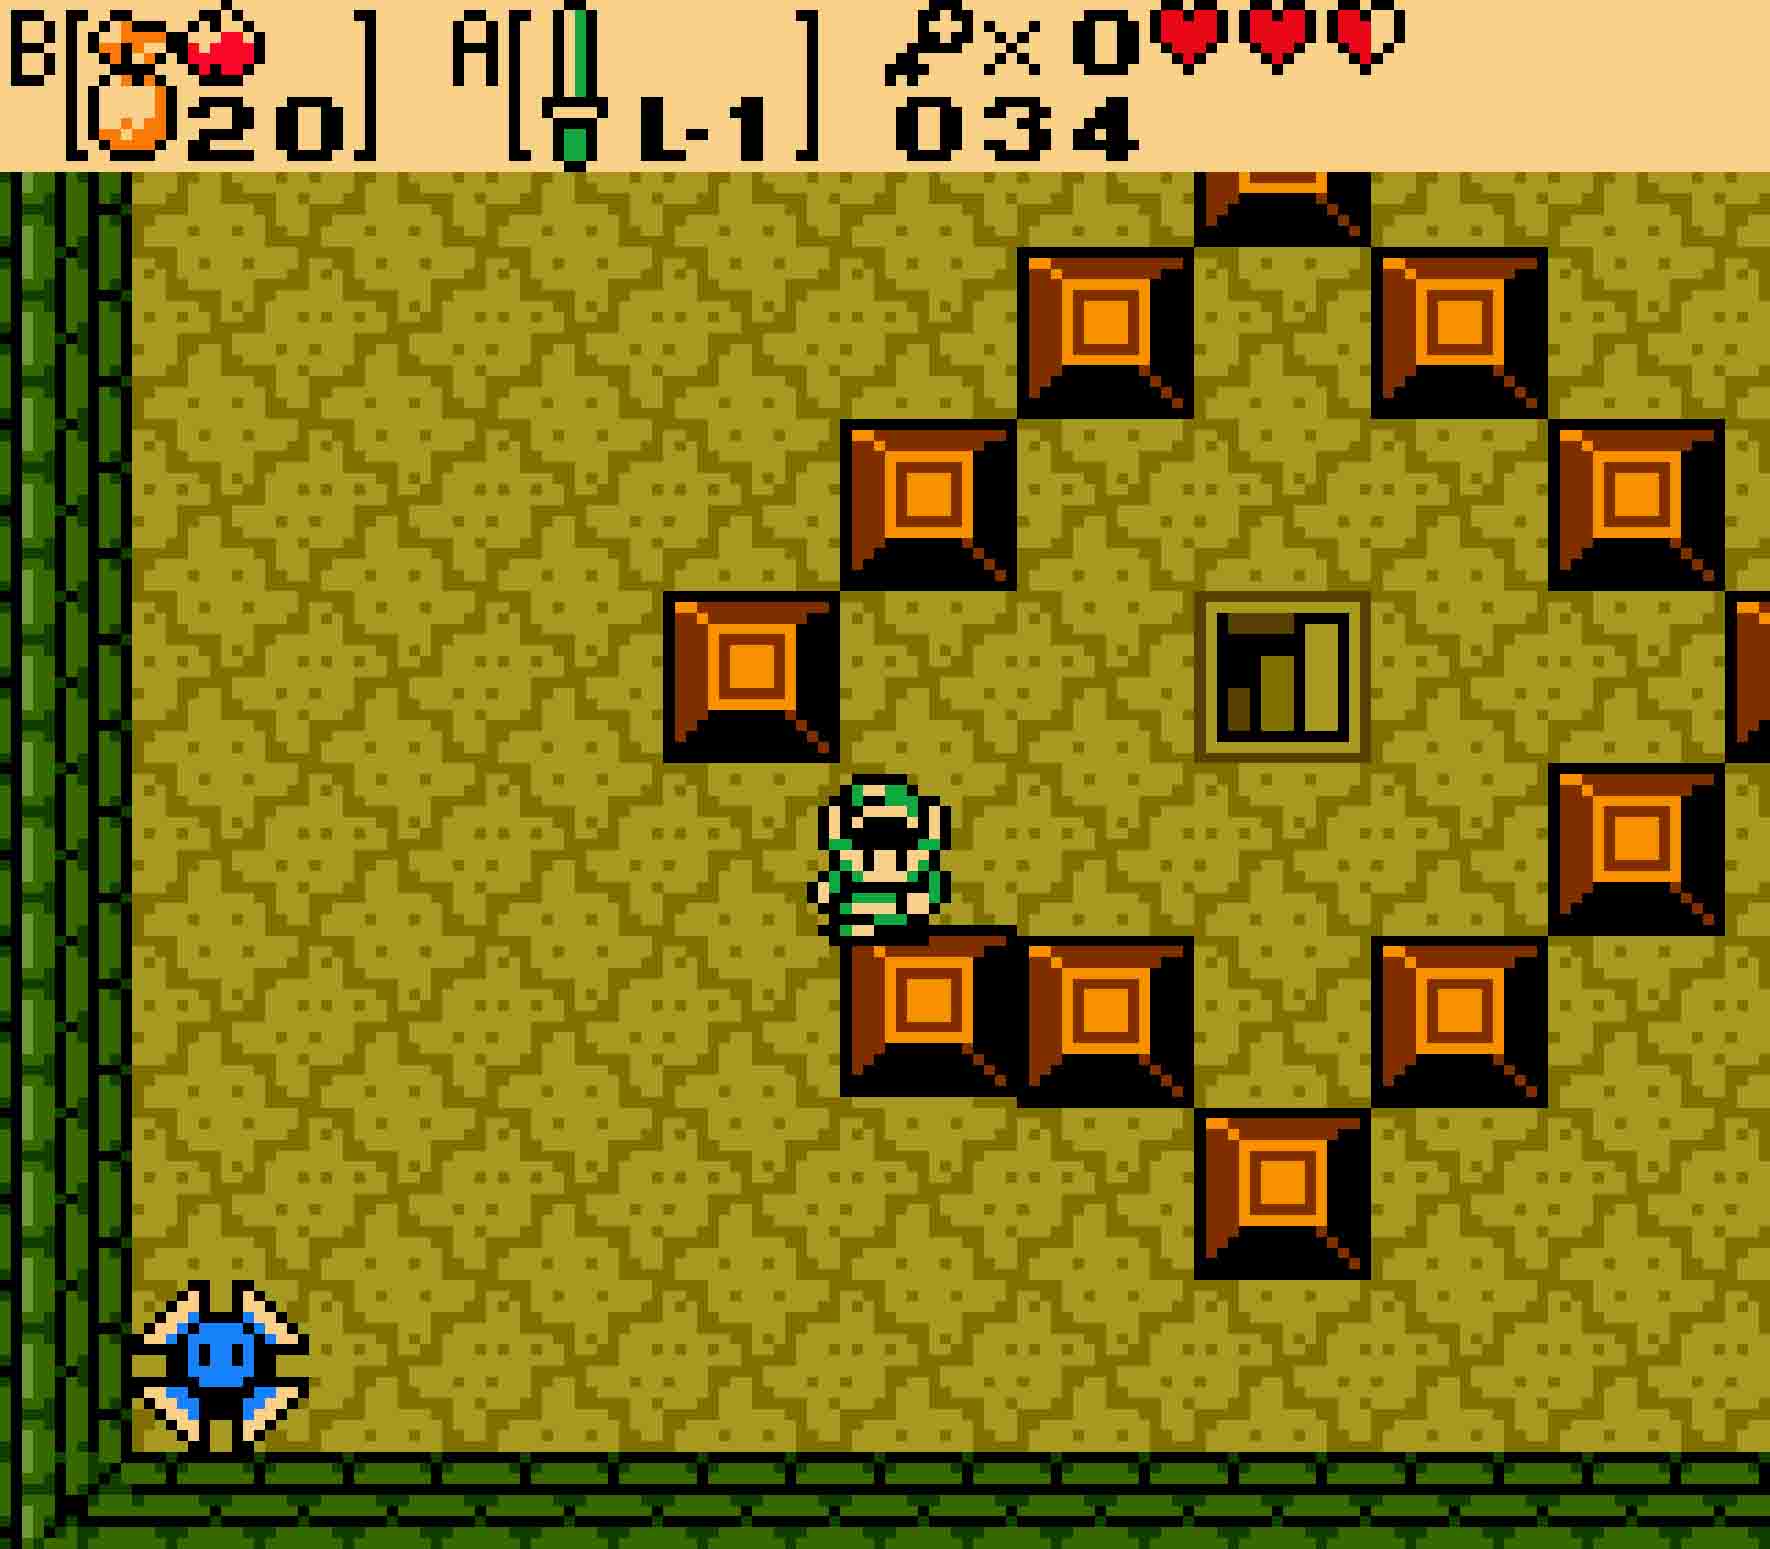
- There’s only one block that can be moved to escape.
-
- Once you pass through the teleporter, put your Ember Seeds to work.
Inside, you’ll need to contend with some more Moblins. But hey, this isn’t anything you haven’t encountered before. Beat them up with your sword, but this time make sure to avoid falling into the pits in the floor. Once you kill them all, a chest will appear containing the Boss Key that will open up Aquamentus’ lair.
2.7 Reach the boss’ lair
 To reach Aquamentus, you’ll need to backtrack a fair way. Head east back to the room with the teleporter in it, and then proceed south and east back to the main thoroughfare near the beginning of the dungeon. Continue east again, back to the room where you got the first key. This room also has two unlit lamps surrounding a sealed door. Light these as well, and the doorway will open unto you. Head north.
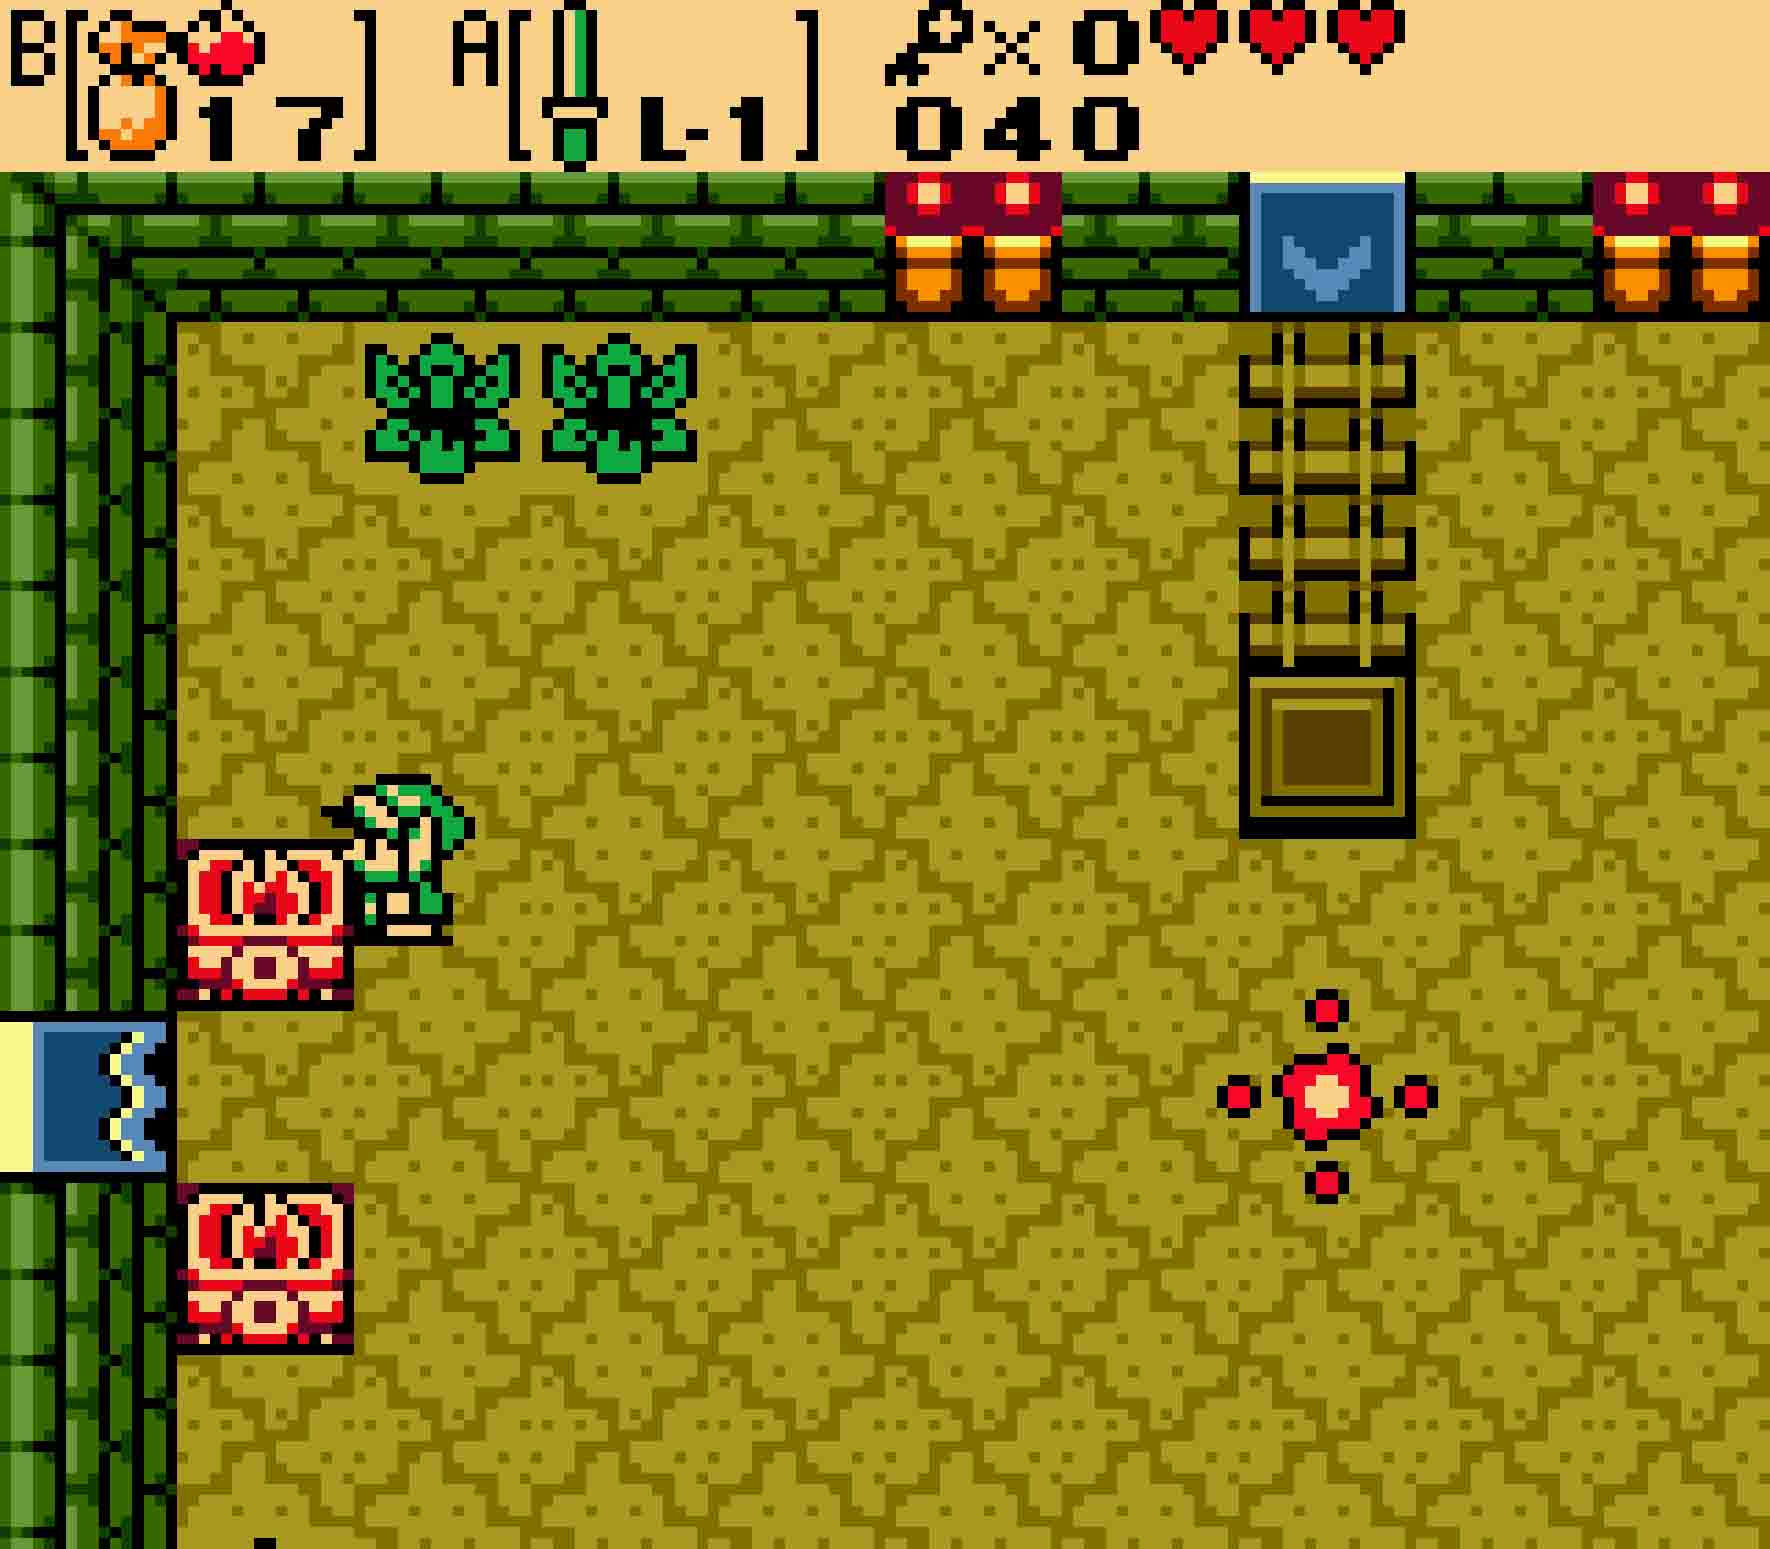
In this room and the next, you’ll have to contend with a rather annoying enemy: the Floormaster. Floormasters are enemies shaped like hands. If they manage to touch you, they’ll grab you and transport you back to the beginning of the dungeon. Thankfully, the beginning isn’t that far away, but it’s still annoying. Fortunately, they’re not hard to kill, though they are a bit resilient. There will be around four of them in this room; make sure to kill them until they stop respawning; then you know you’re safe. If you want, you can open up the treasure chest in this room to collect Ring #41, the Discovery Ring.
As you head east, take the topmost passageway heading that direction. The next room will also have a series of Floormasters; make sure to kill them all before worrying about proceeding. Once they’re all dead, you should have a fairly easy path to reach the door to the boss’ lair along the northern wall.
-
- Wallmasters are evil; if you’re grabbed, it’s back to the start of the dungeon.
-
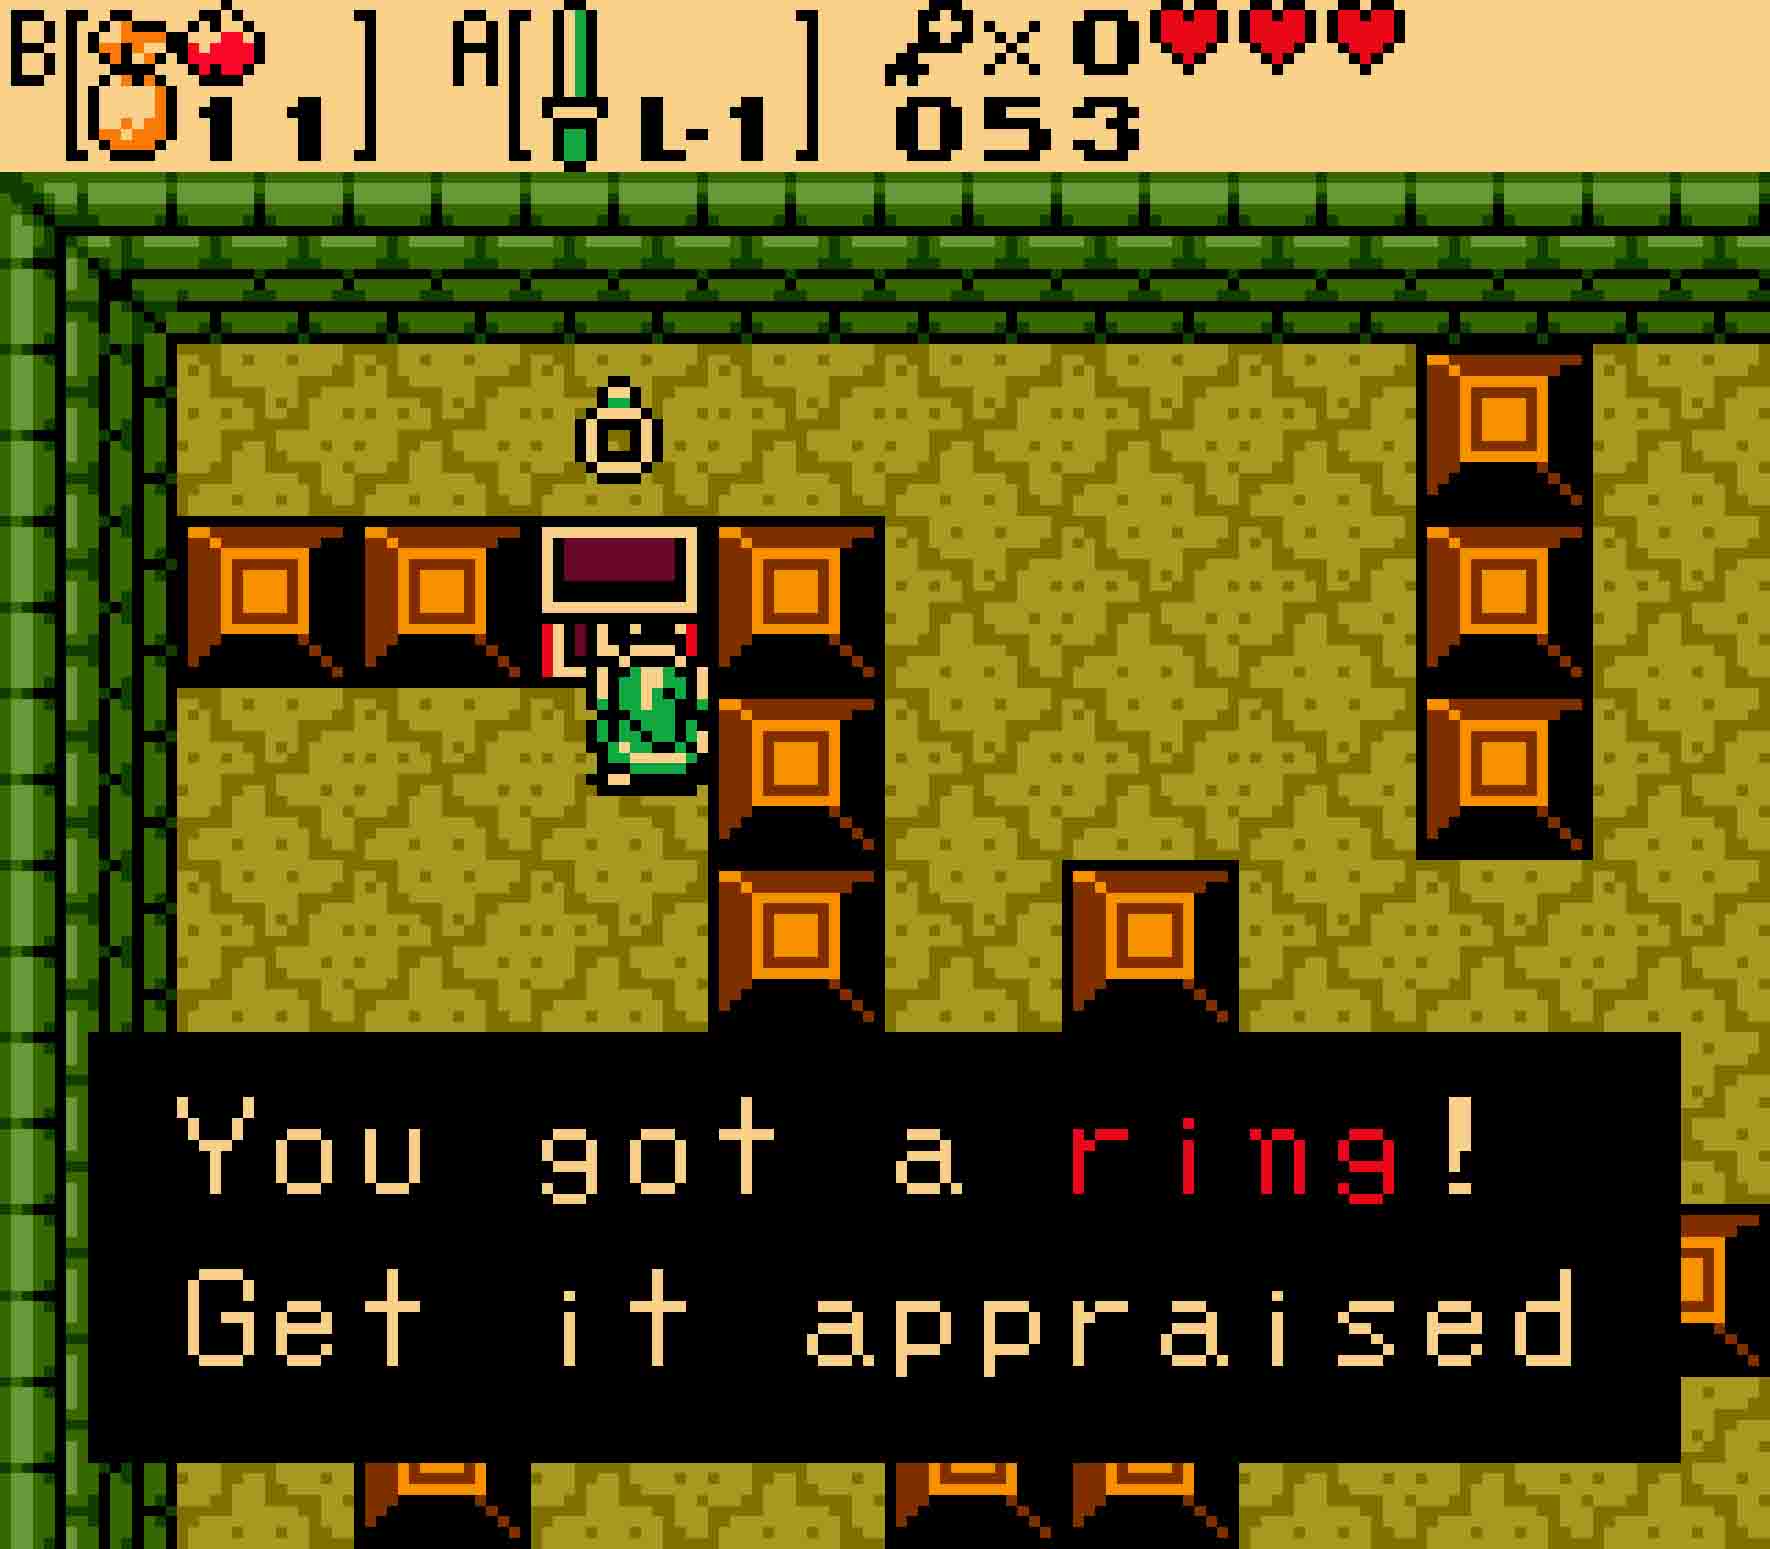
- Don’t miss this ring in the treasure chest. Bring it back to Vasu in Horon Village.
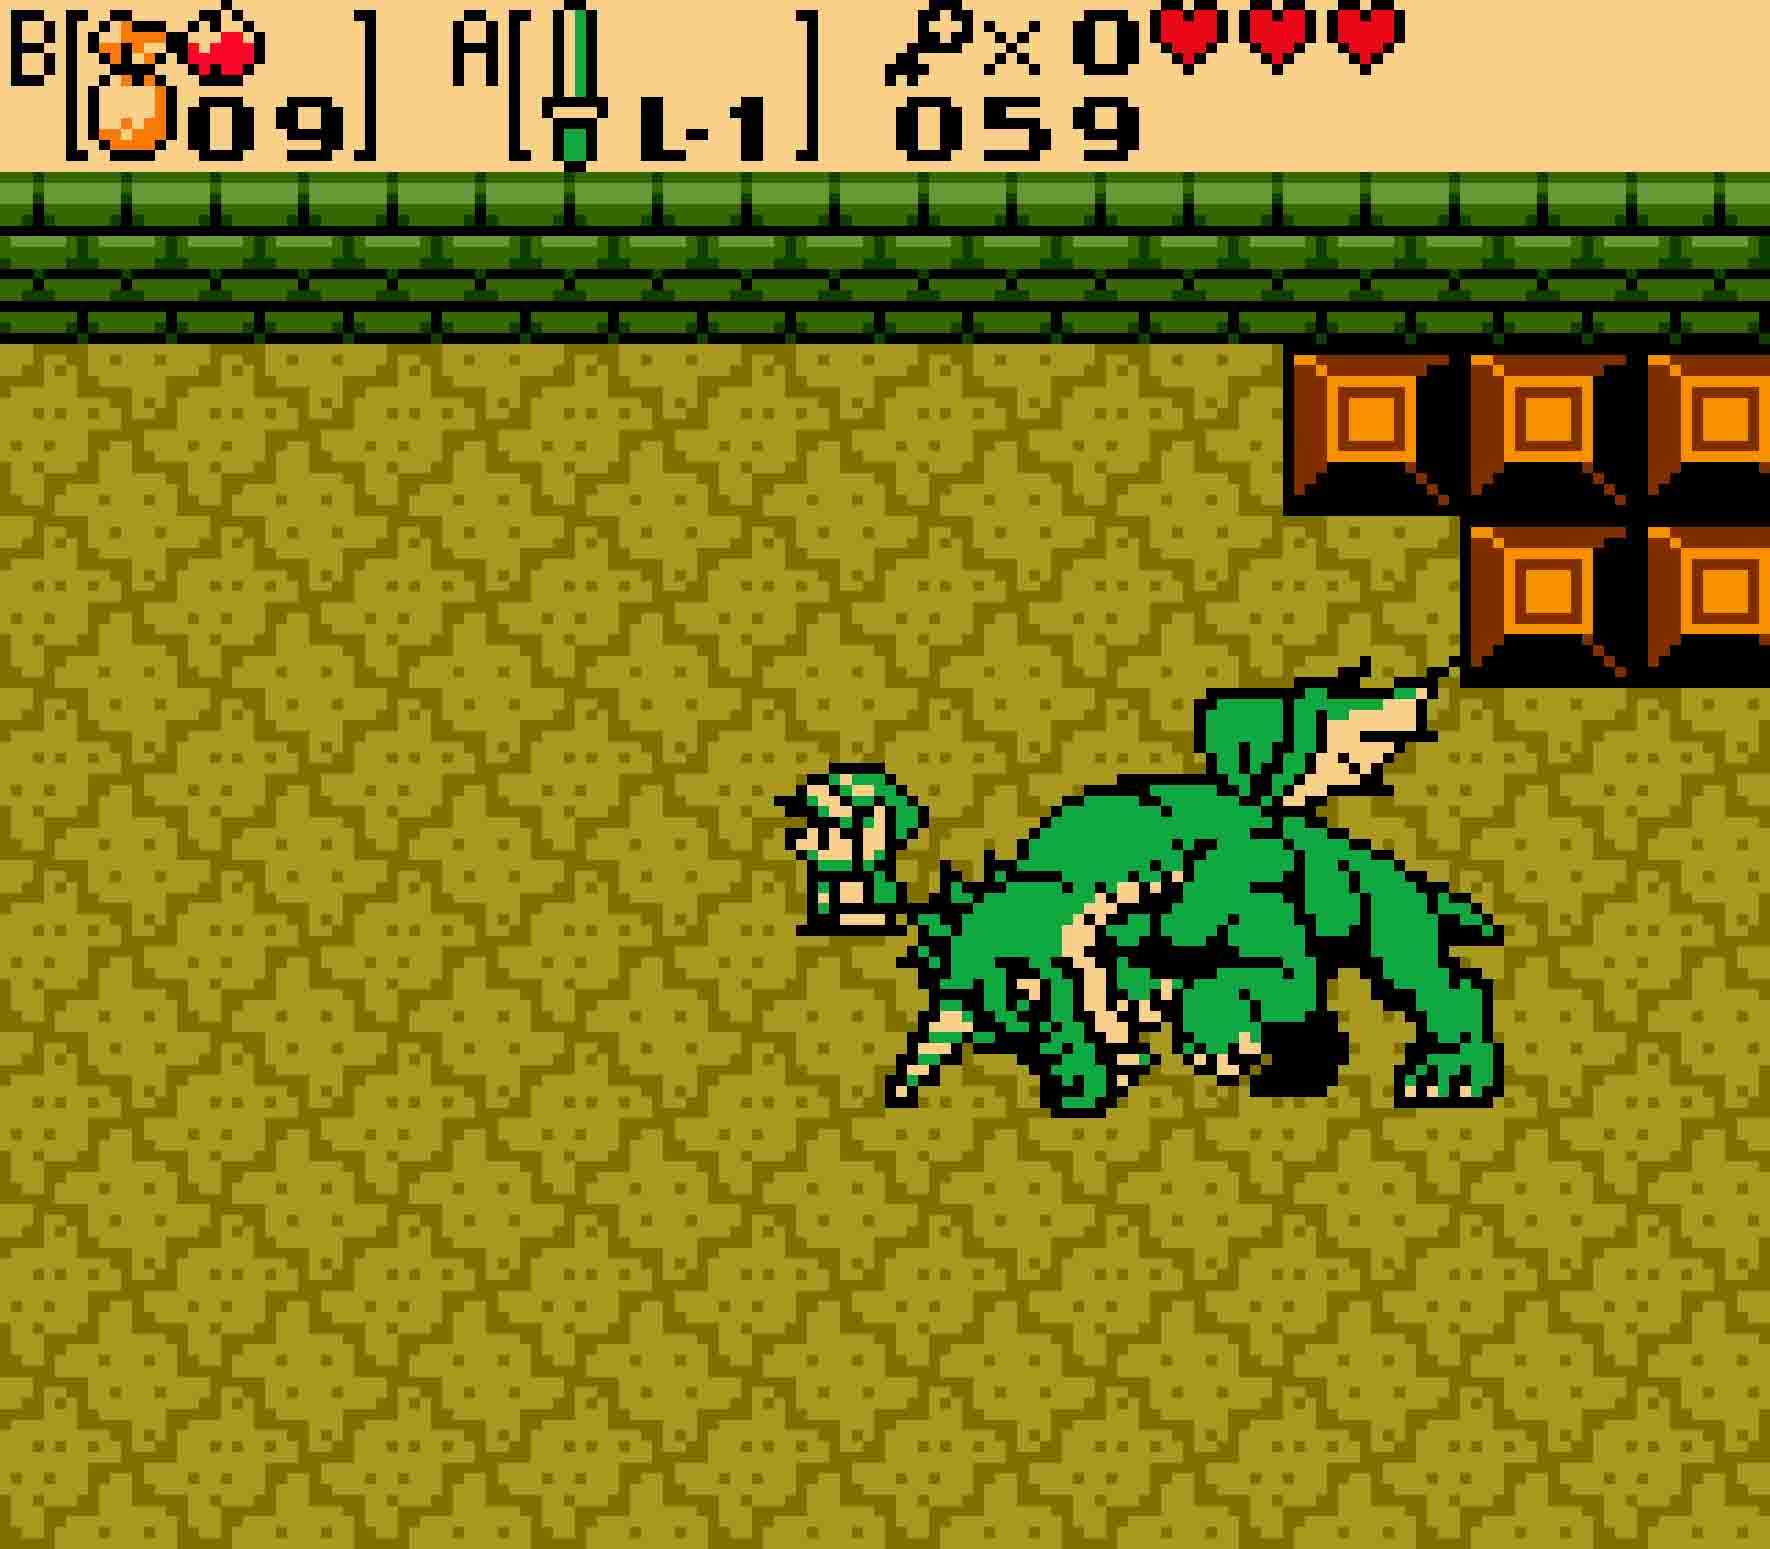
2.8 Defeat Aquamentus
If you played the original Legend of Zelda, you might have noticed that this dungeon might feel familiar. If you haven’t yet, maybe the boss will make you realize it. The boss Aquamentus is the same boss as the first level of the first Zelda game. In order to defeat it, you need to do the same trick as you needed to in order to kill that boss, namely using your sword to strike Aquamentus’ horn.
-
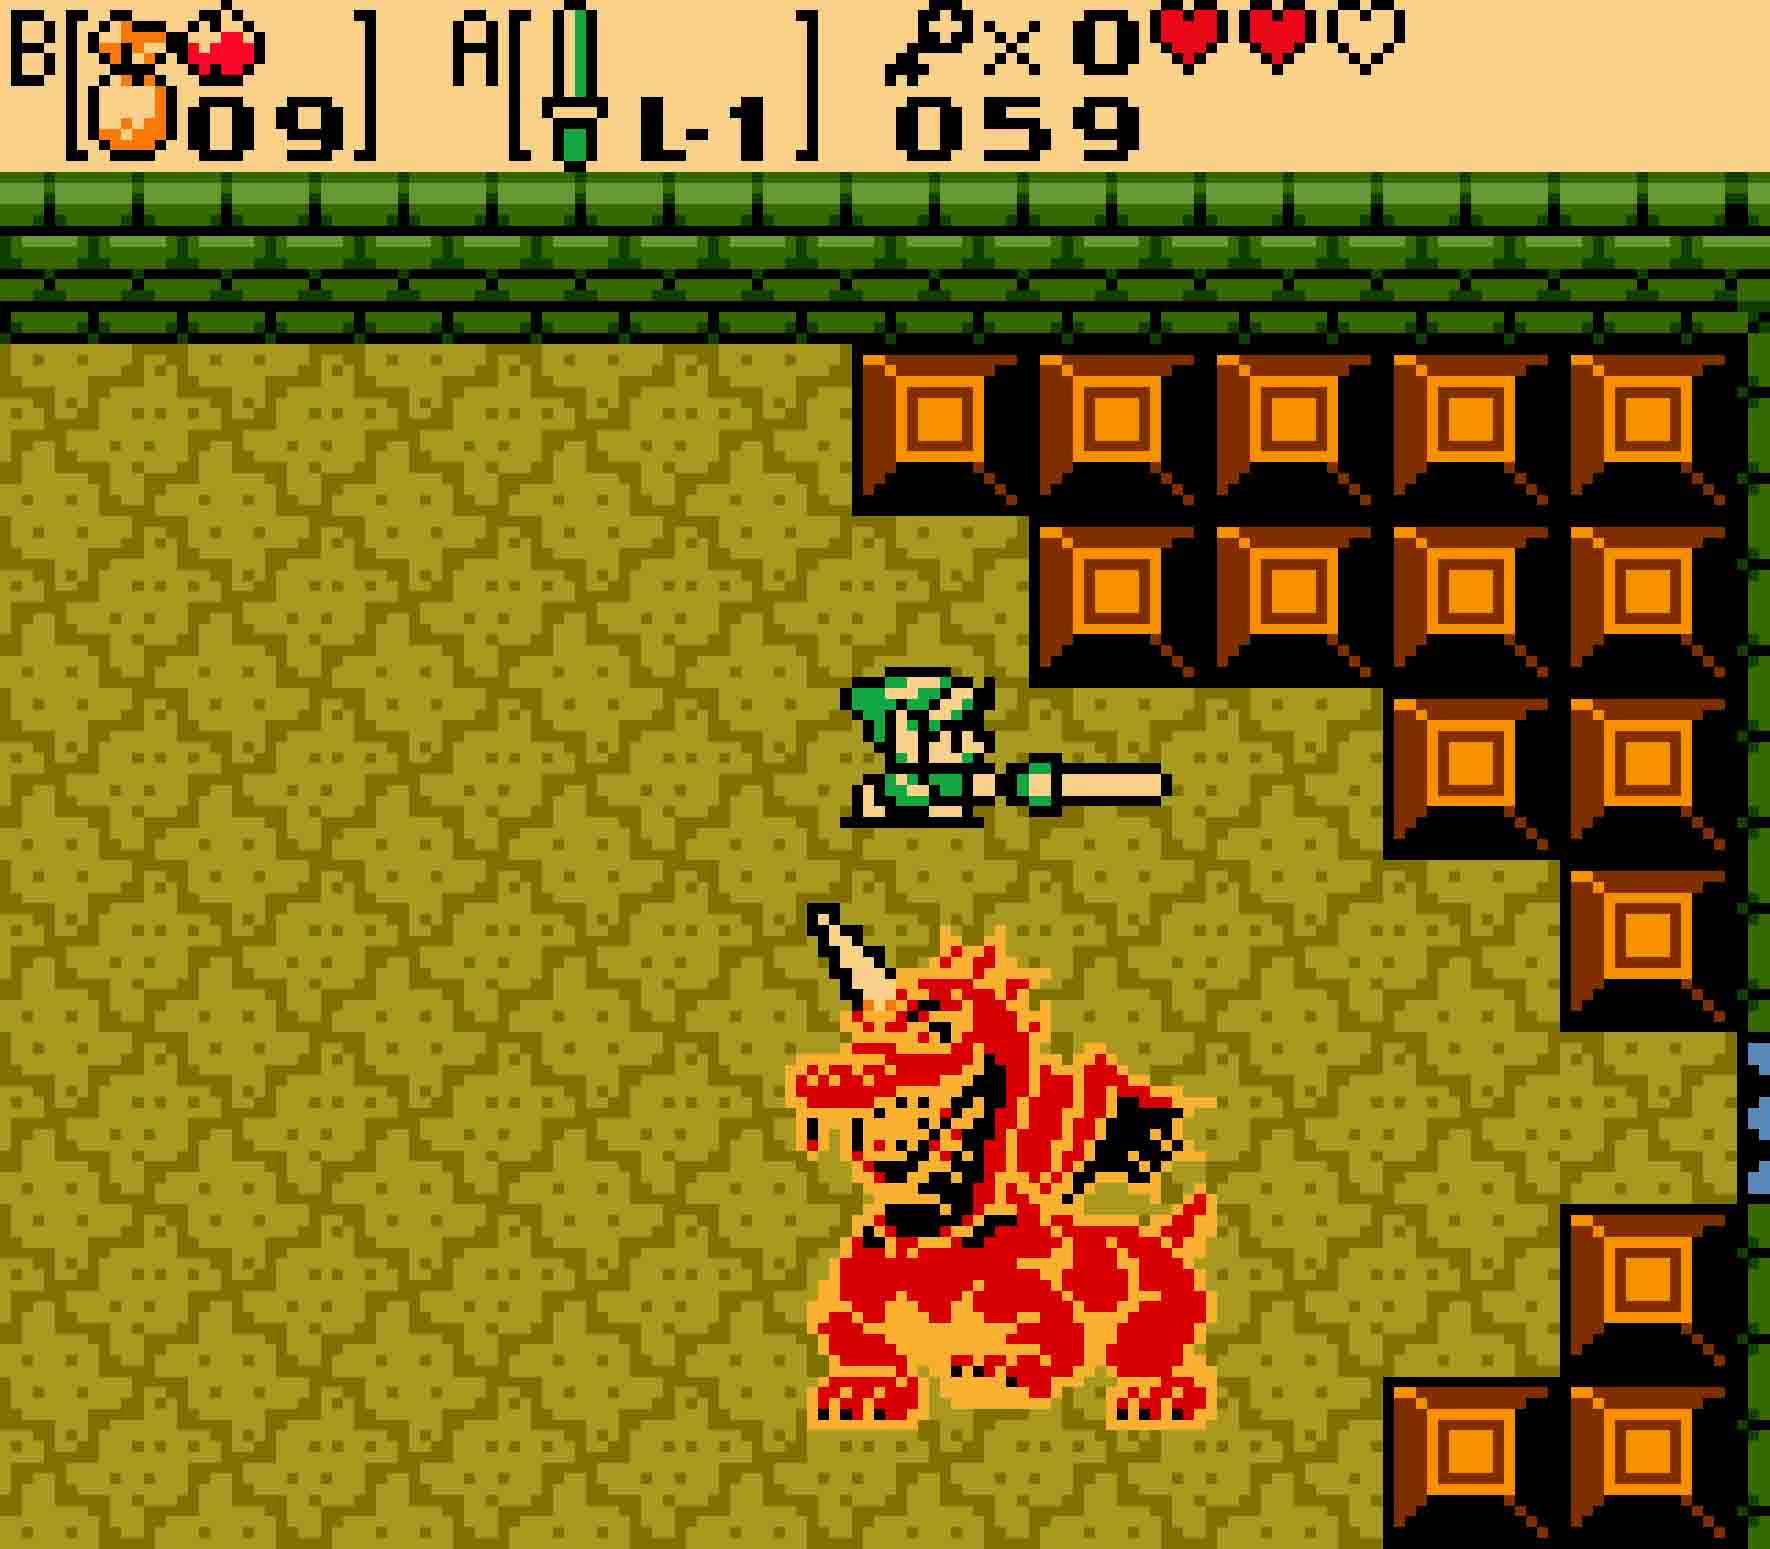
- You’ll want to stay on Aquamentus’ top side to strike its horn.
-
- Watch out and keep back if it goes into a charge.
However, unlike the original game, Aquamentus has a few more attacks up its sleeve, er, horn this time. Its primary attack is to emit three beams of energy towards Link; the best way to dodge these is to carefully stand between two of them as they pass. You’ll have a little bit of advance warning when the beams will fire as Aquamentus’ horn will light up before the energy is thrown. Aquamentus also has the ability to charge you. When it does this, get out of the way as fast as you can. After it hits the wall, it will then take to the air and fly back to the right side of the screen.
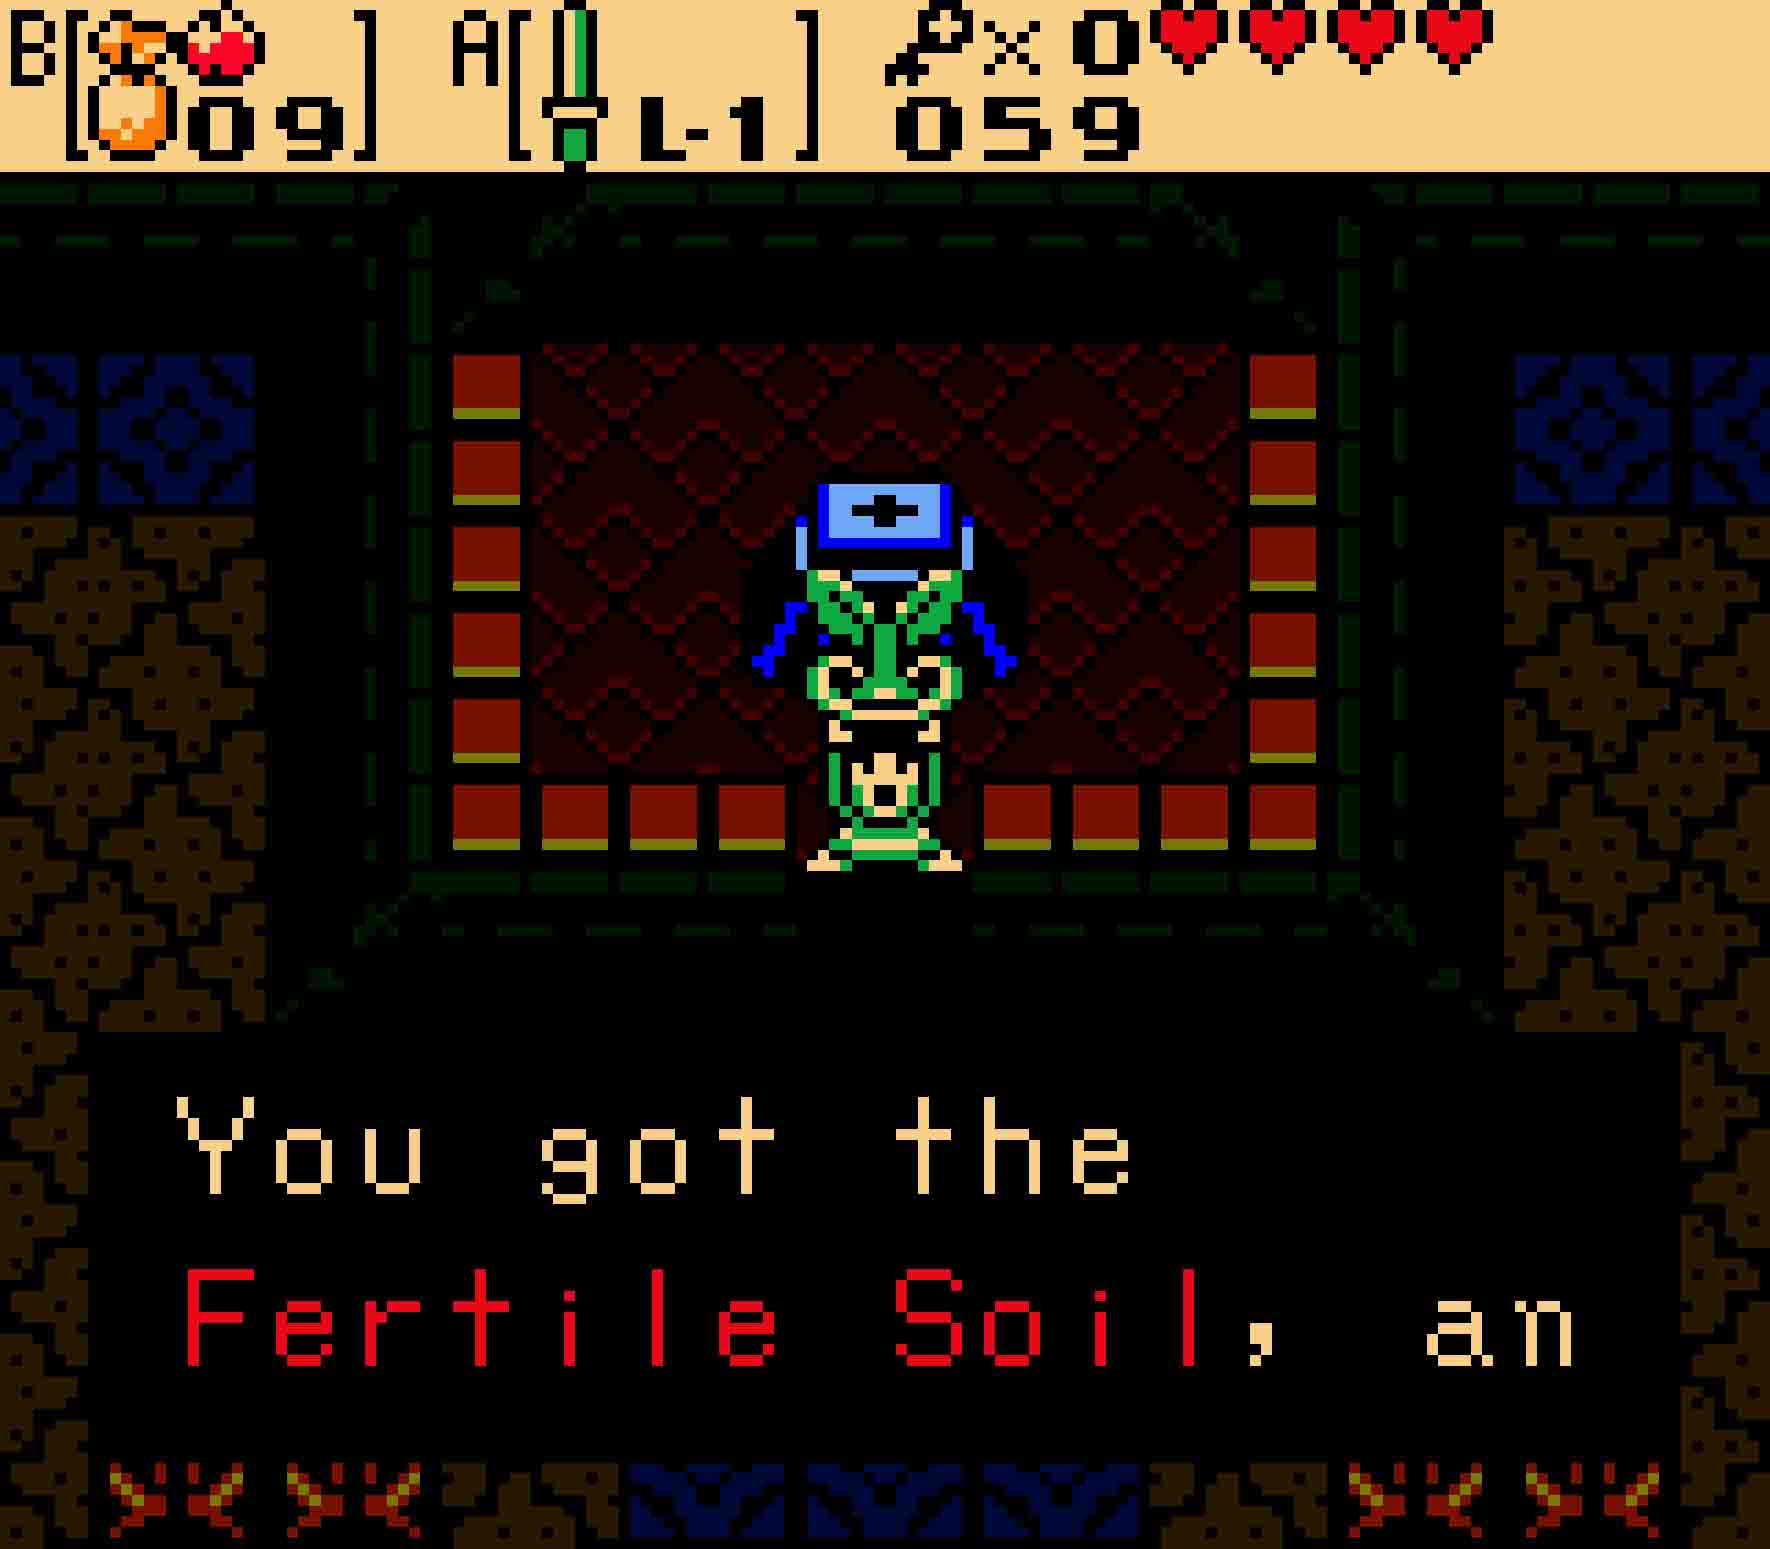
In between shots, you should make your way over to Aquamentus to hit its horn. It’s definitely recommended to charge your sword and execute Spin Attacks as they will do extra damage. Continue your onslaught until the horn breaks off, which will kill the dragon. It will leave behind a Heart Container that will extend your life and also, in the next room, the Fertile Soil, the first of eight Essences for the Maku Tree.