
Chapter 18: Temple Remains
- 18.1 Enter the Temple Remains
- 18.2 Find the second tree stump
- 18.3 Destroy the temple
- 18.4 Enter the temple’s sanctum
- 18.5 Return to Subrosia
18.1 Enter the Temple Remains
There’s just one Essence of Nature left, and there’s only one major location on the map that hasn’t been explored. The Maku Tree might not know where to guide you, but it should be crystal clear to you where to head.
Before you leave the Graveyard area, it’s worth noting that the eleventh Piece of Heart is very close by and is fairly easy to get!
That big blank area on the map? That’s where you’re headed.
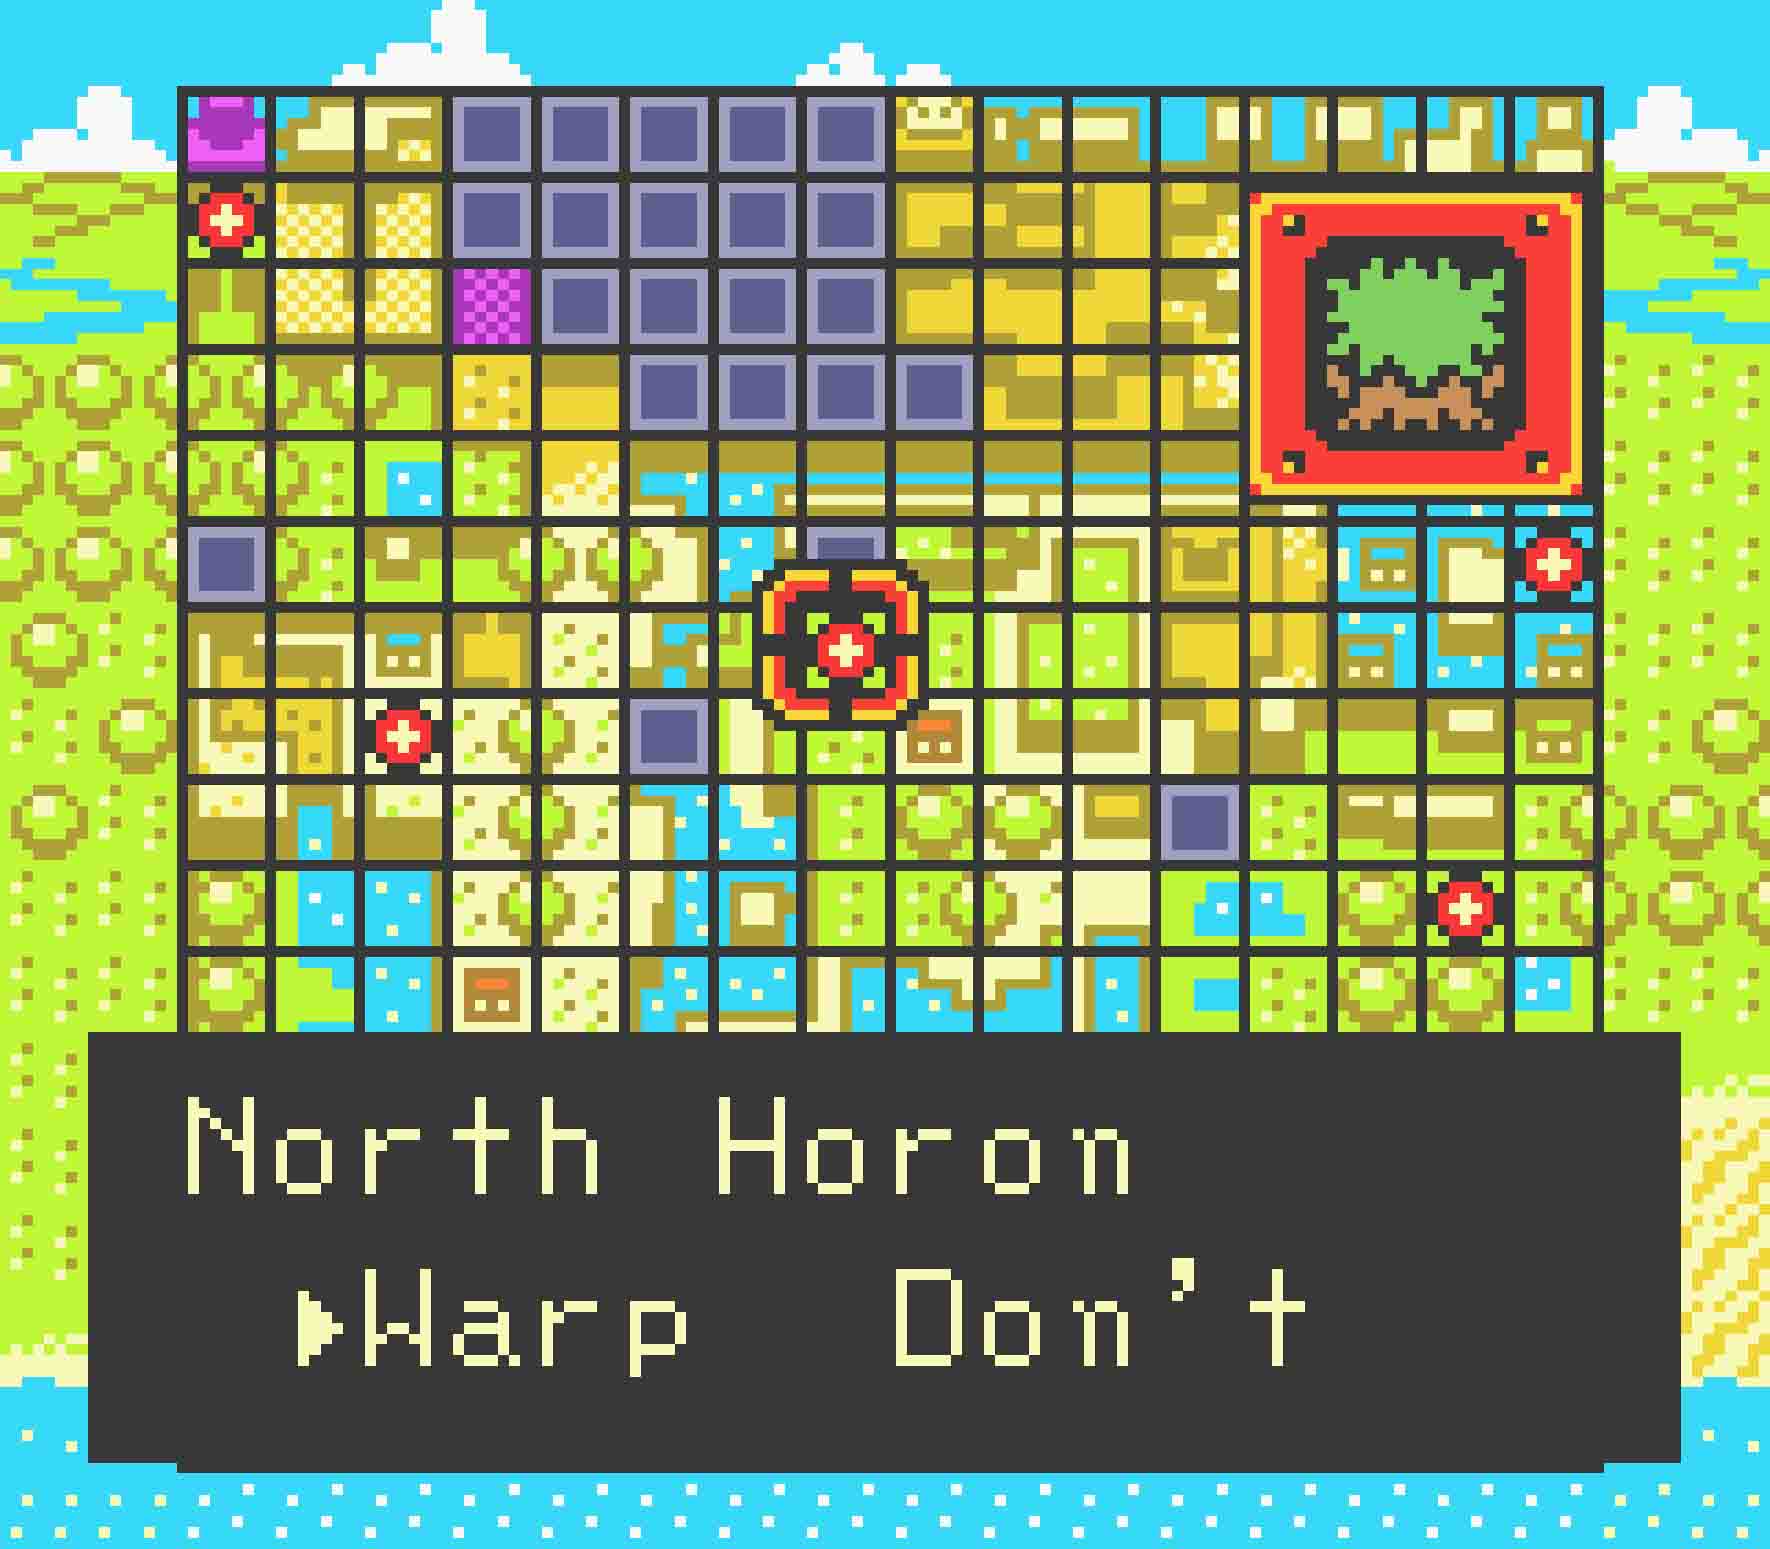
Use a Gale Seed to warp to the North Horon teleportation tree near Blaino’s Gym. To reach the Temple Remains, you’ll be taking a rather familiar route. Travel south, west, and then north to take you just before the outskirts of the Natzu region. Avoid the Peahats, and then head west, crossing the bridge you find. Once you cross the bridge, this time you should head northward into new territory. The way should be clear for now, at least until the seasonal transition. Continue heading north, and then enter the log tunnel leading westward.
-
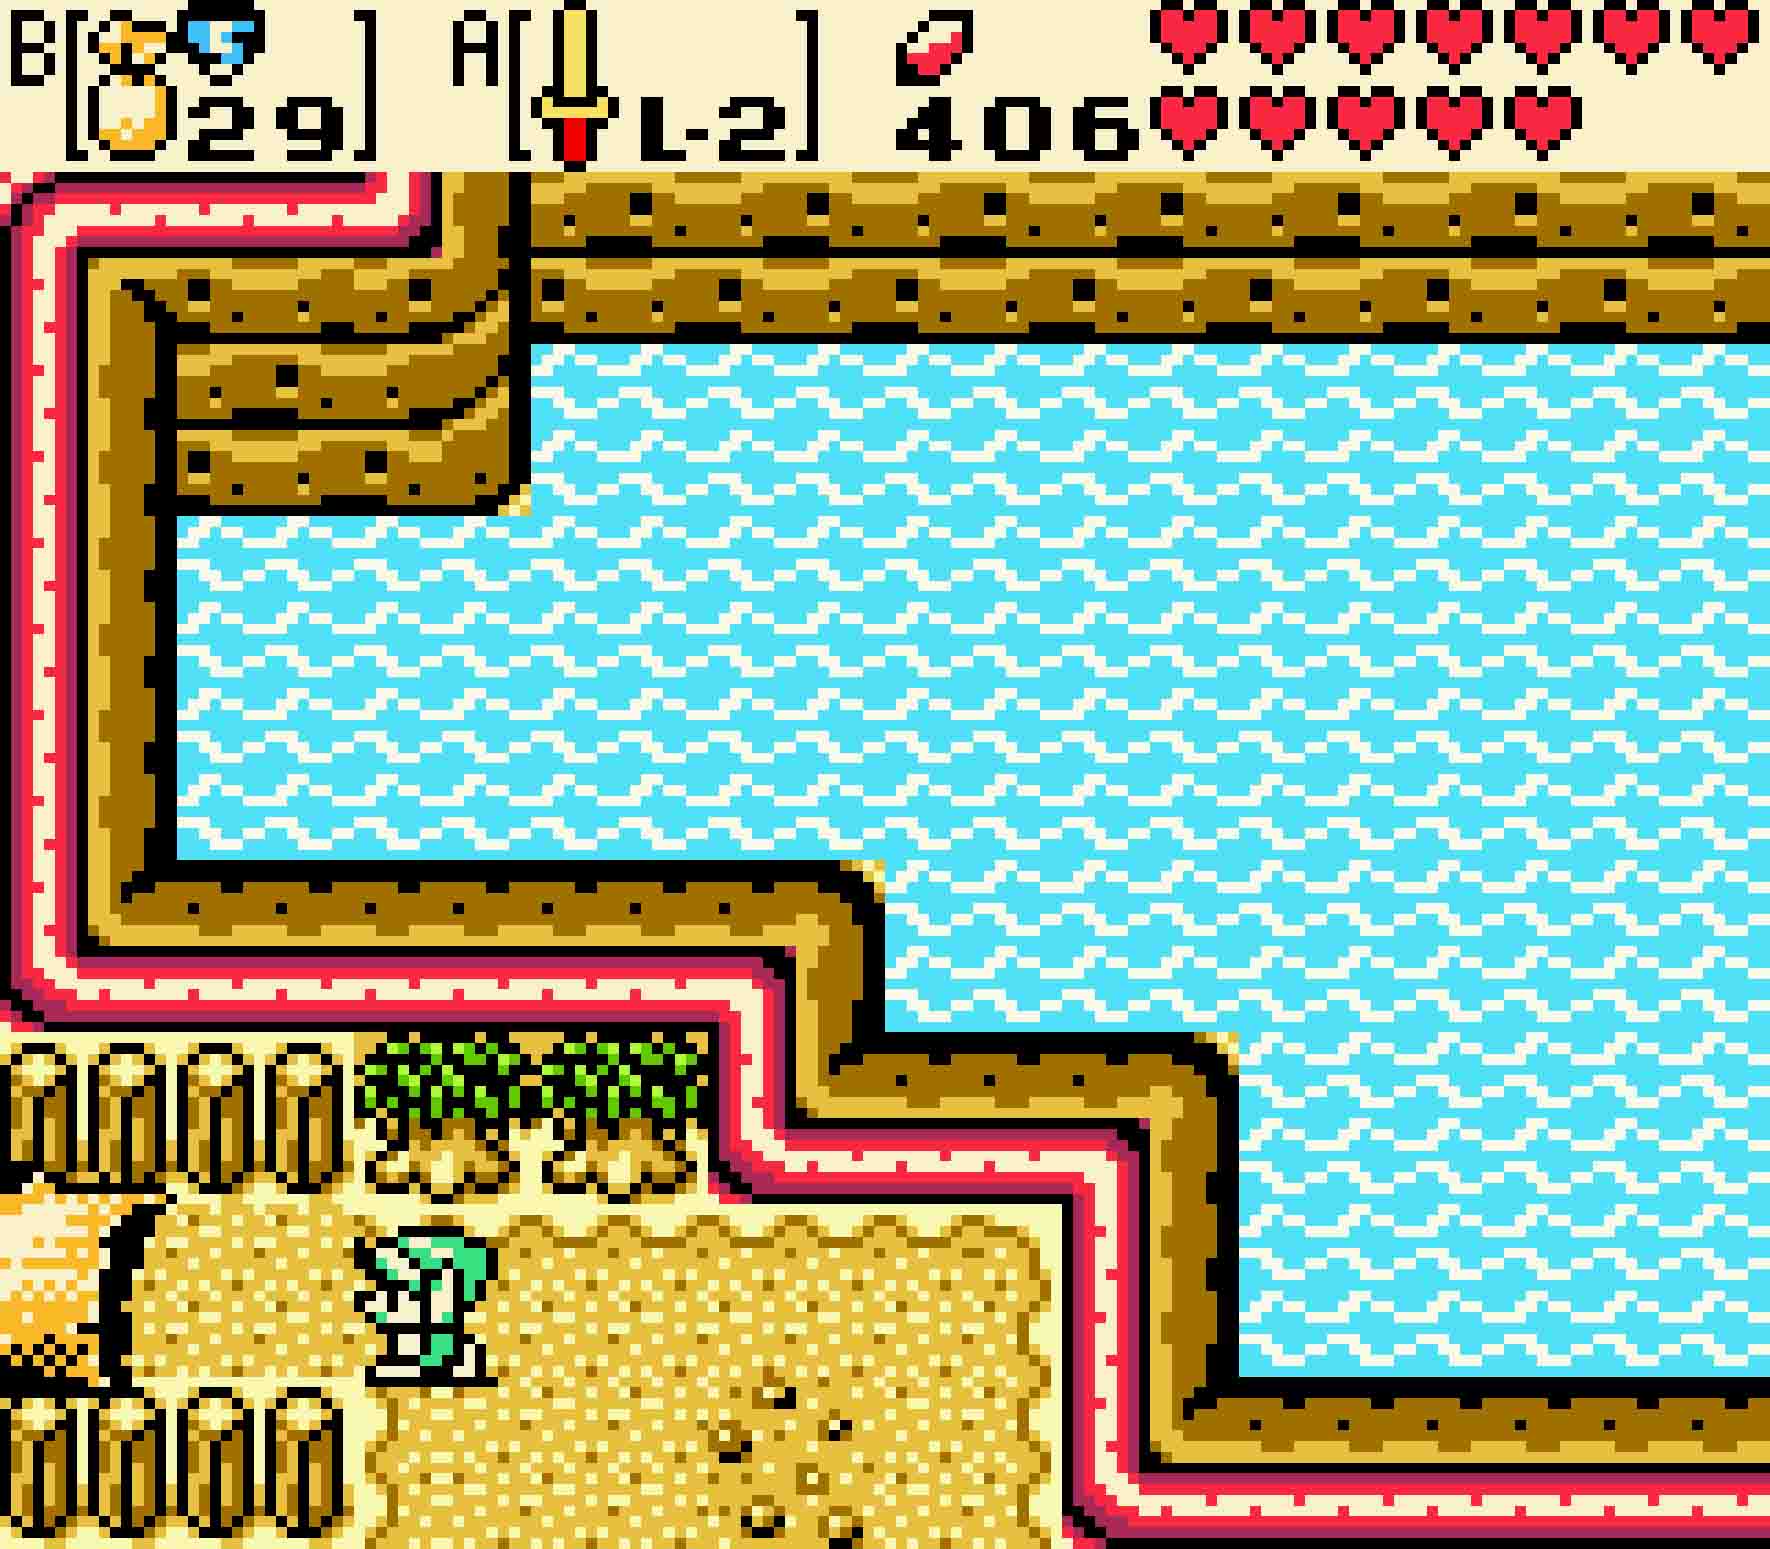
- This tunnel along the river will be what takes you into the new area.
-
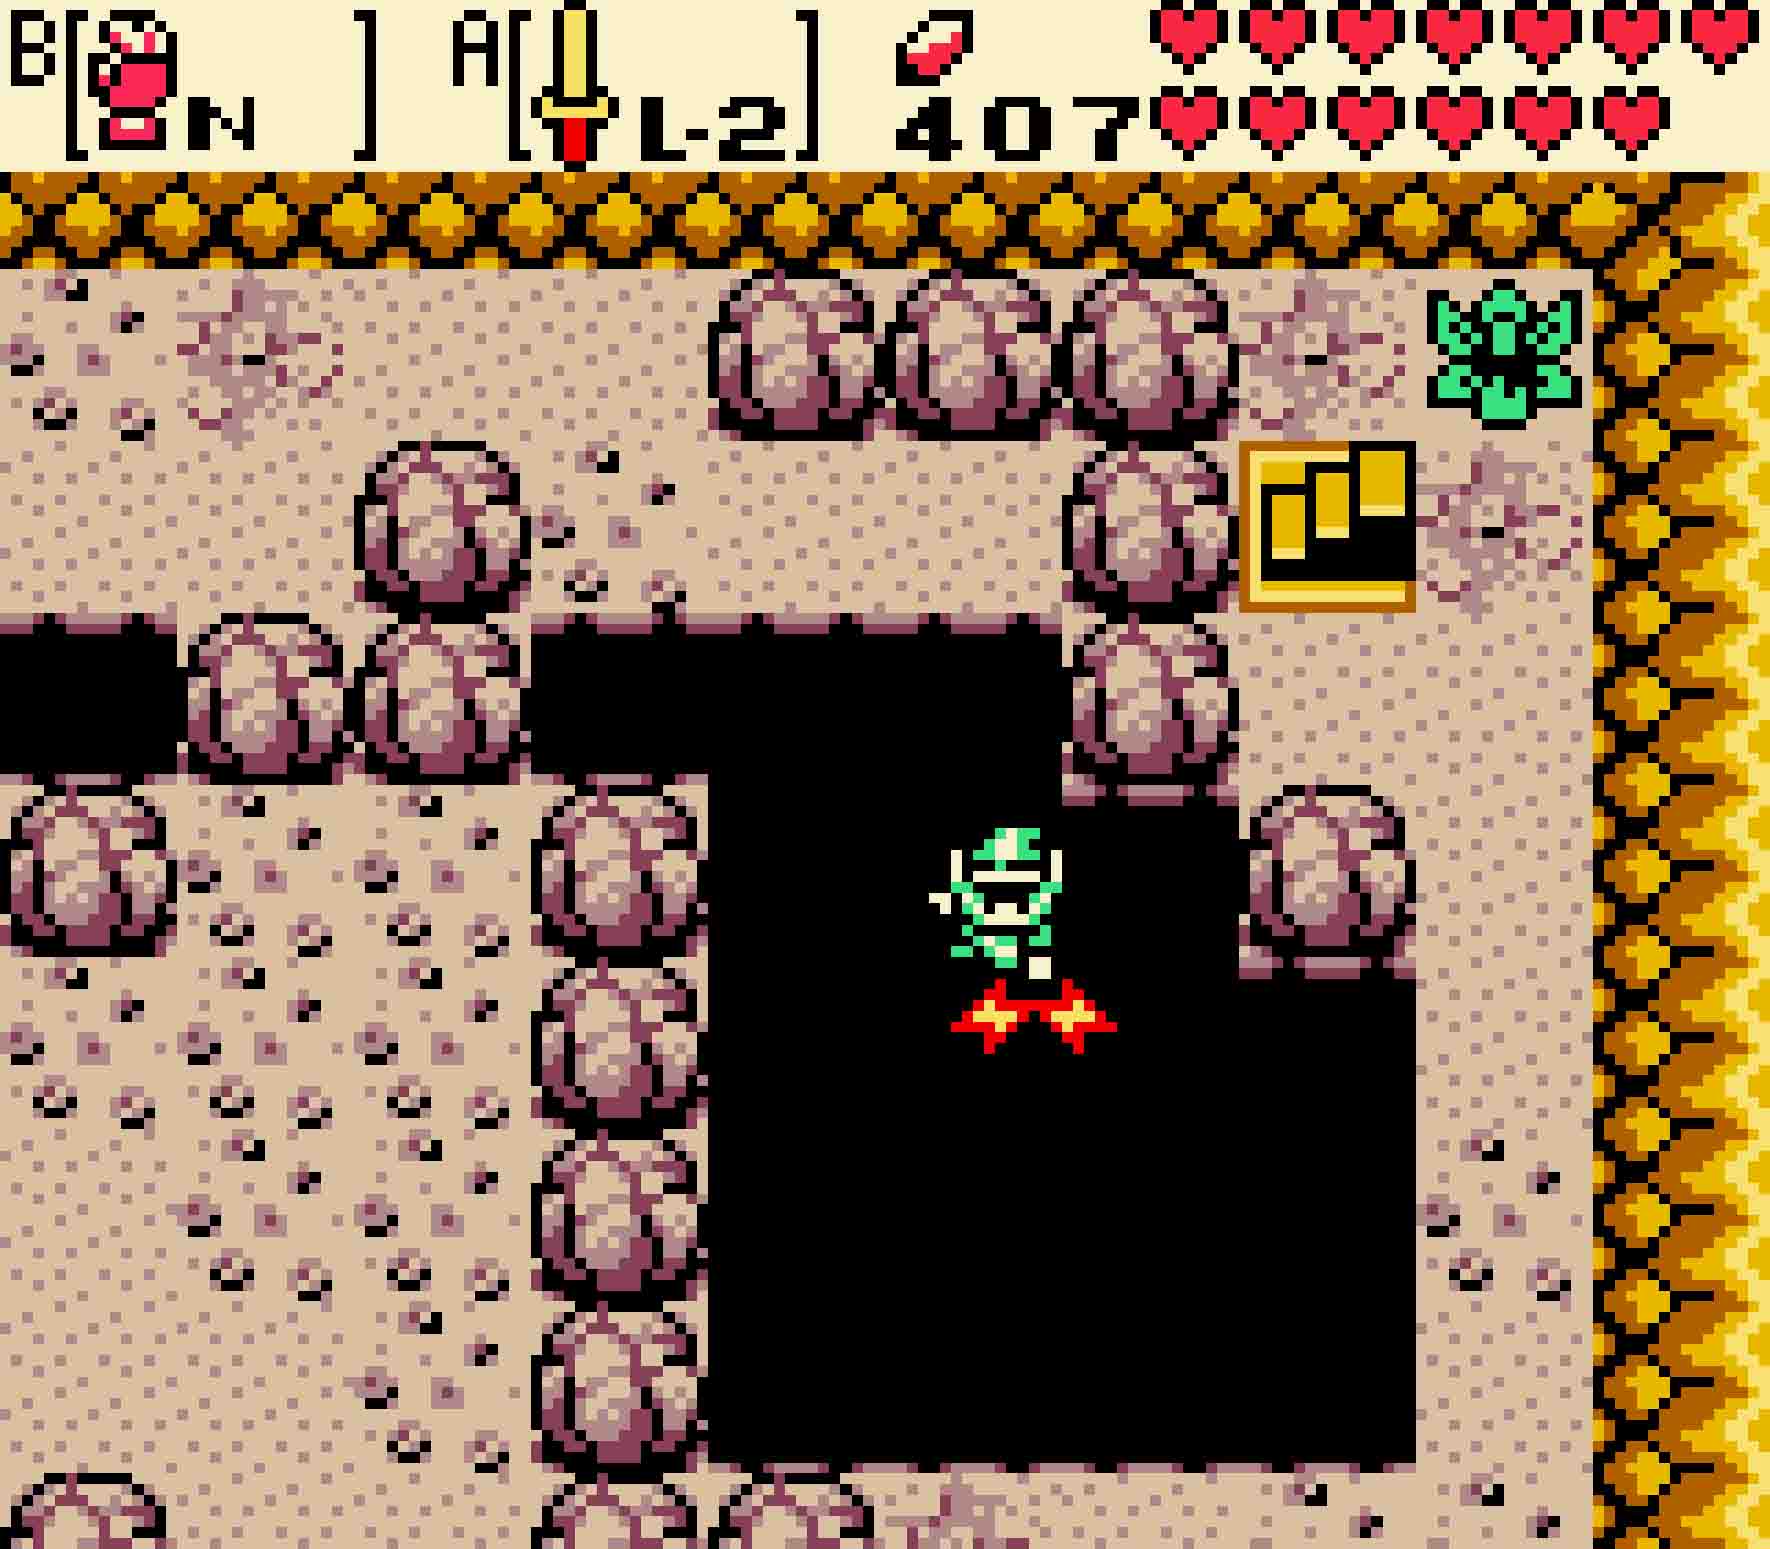
- Once you cross over this gap, you’ll be in the Temple Ruins.
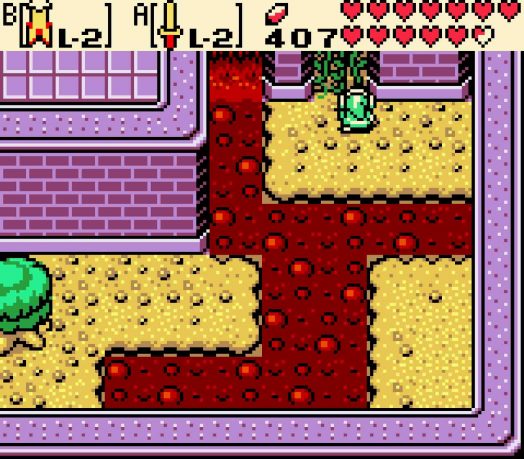
Head east when you pass the main gates to find a well-guarded tree stump.
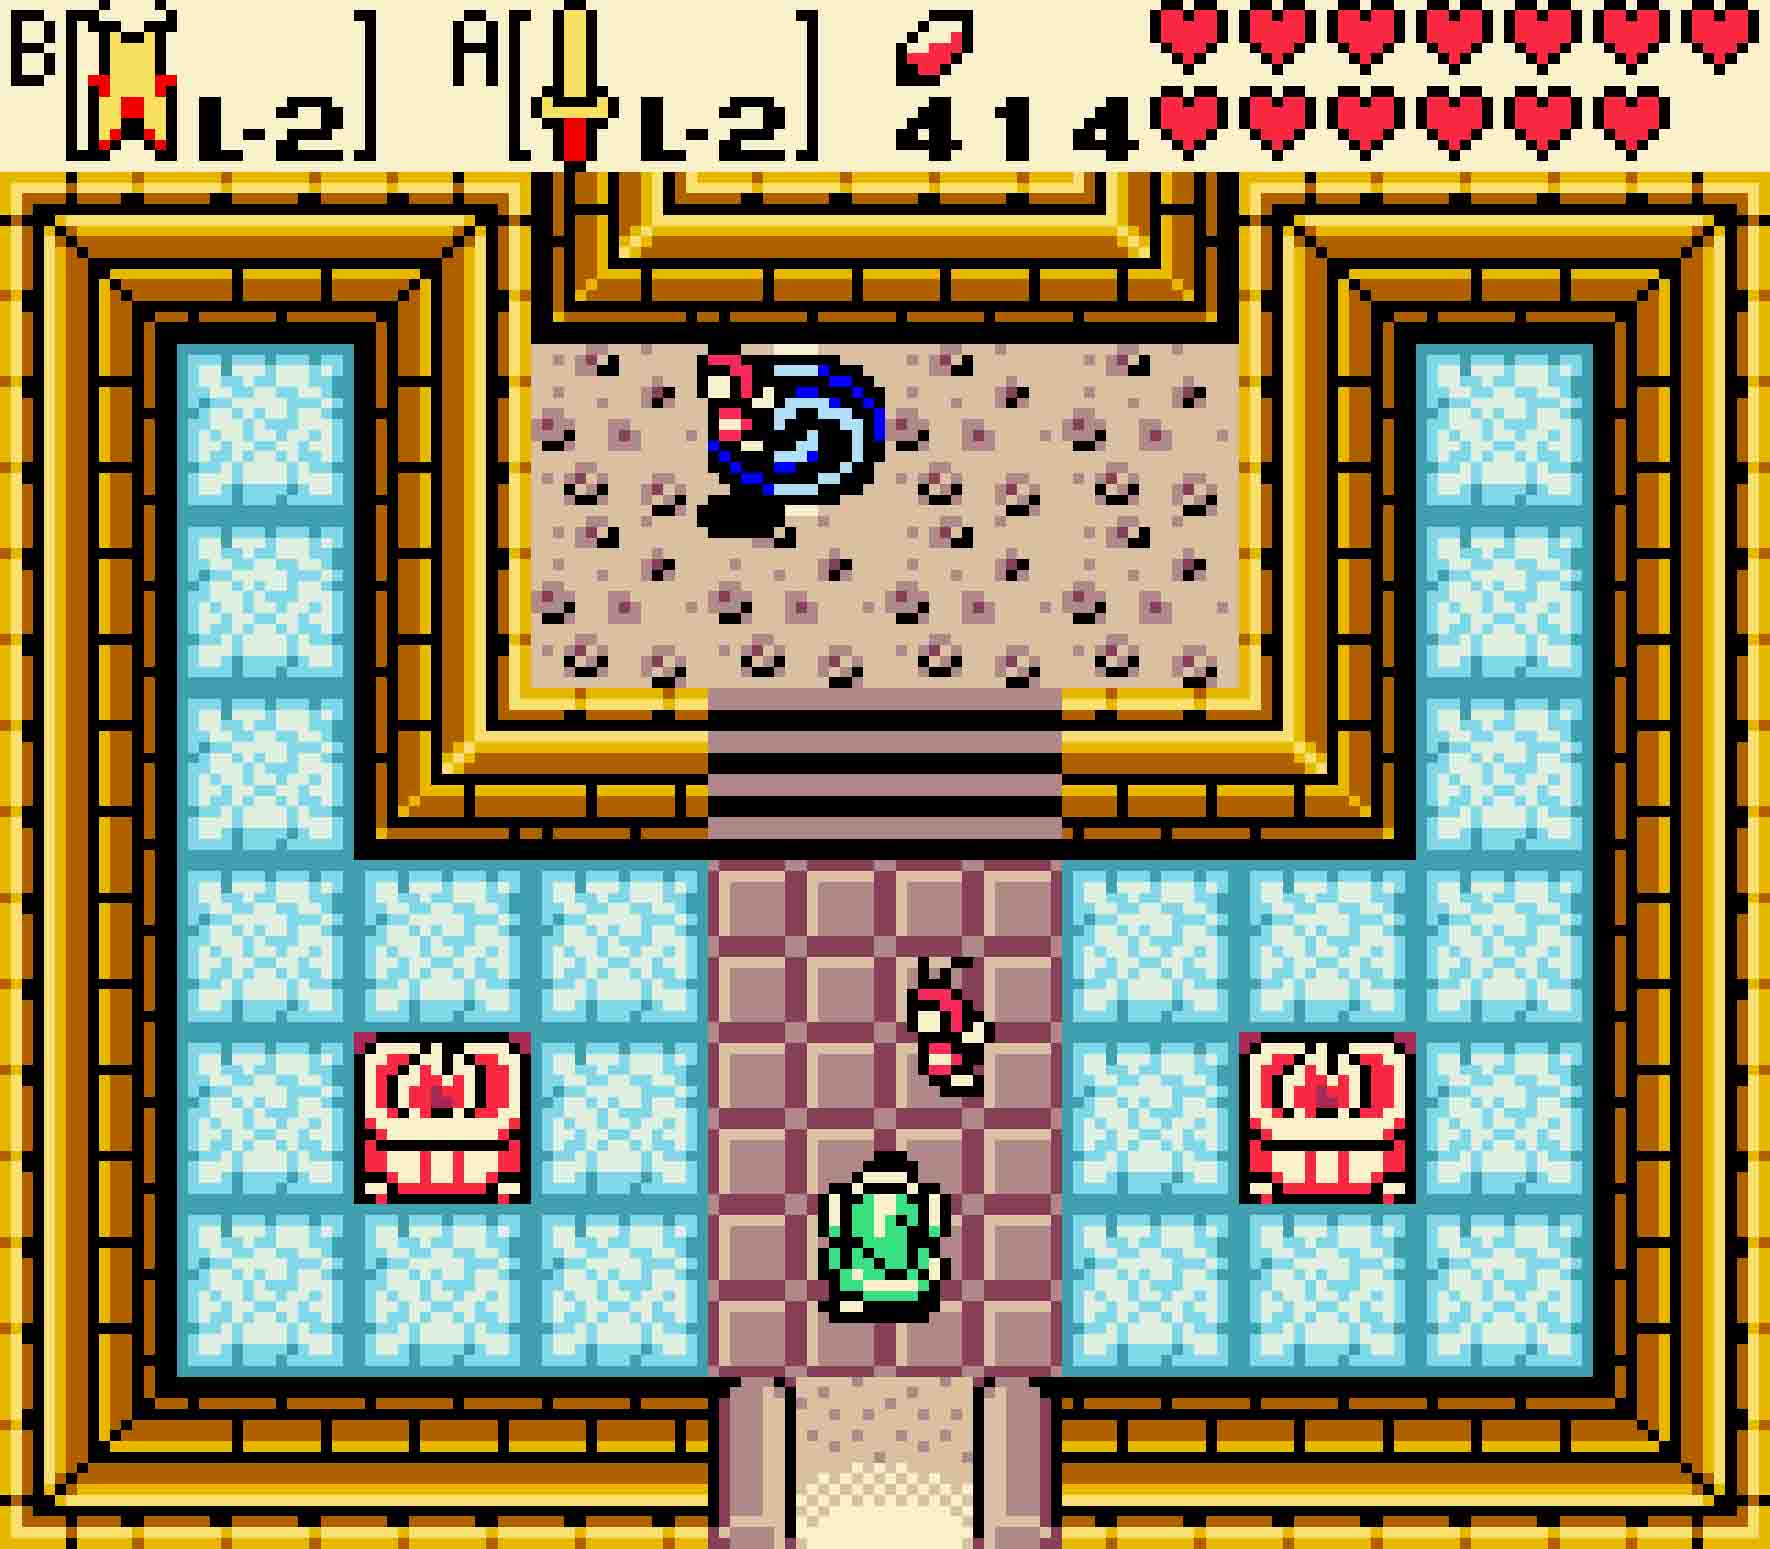
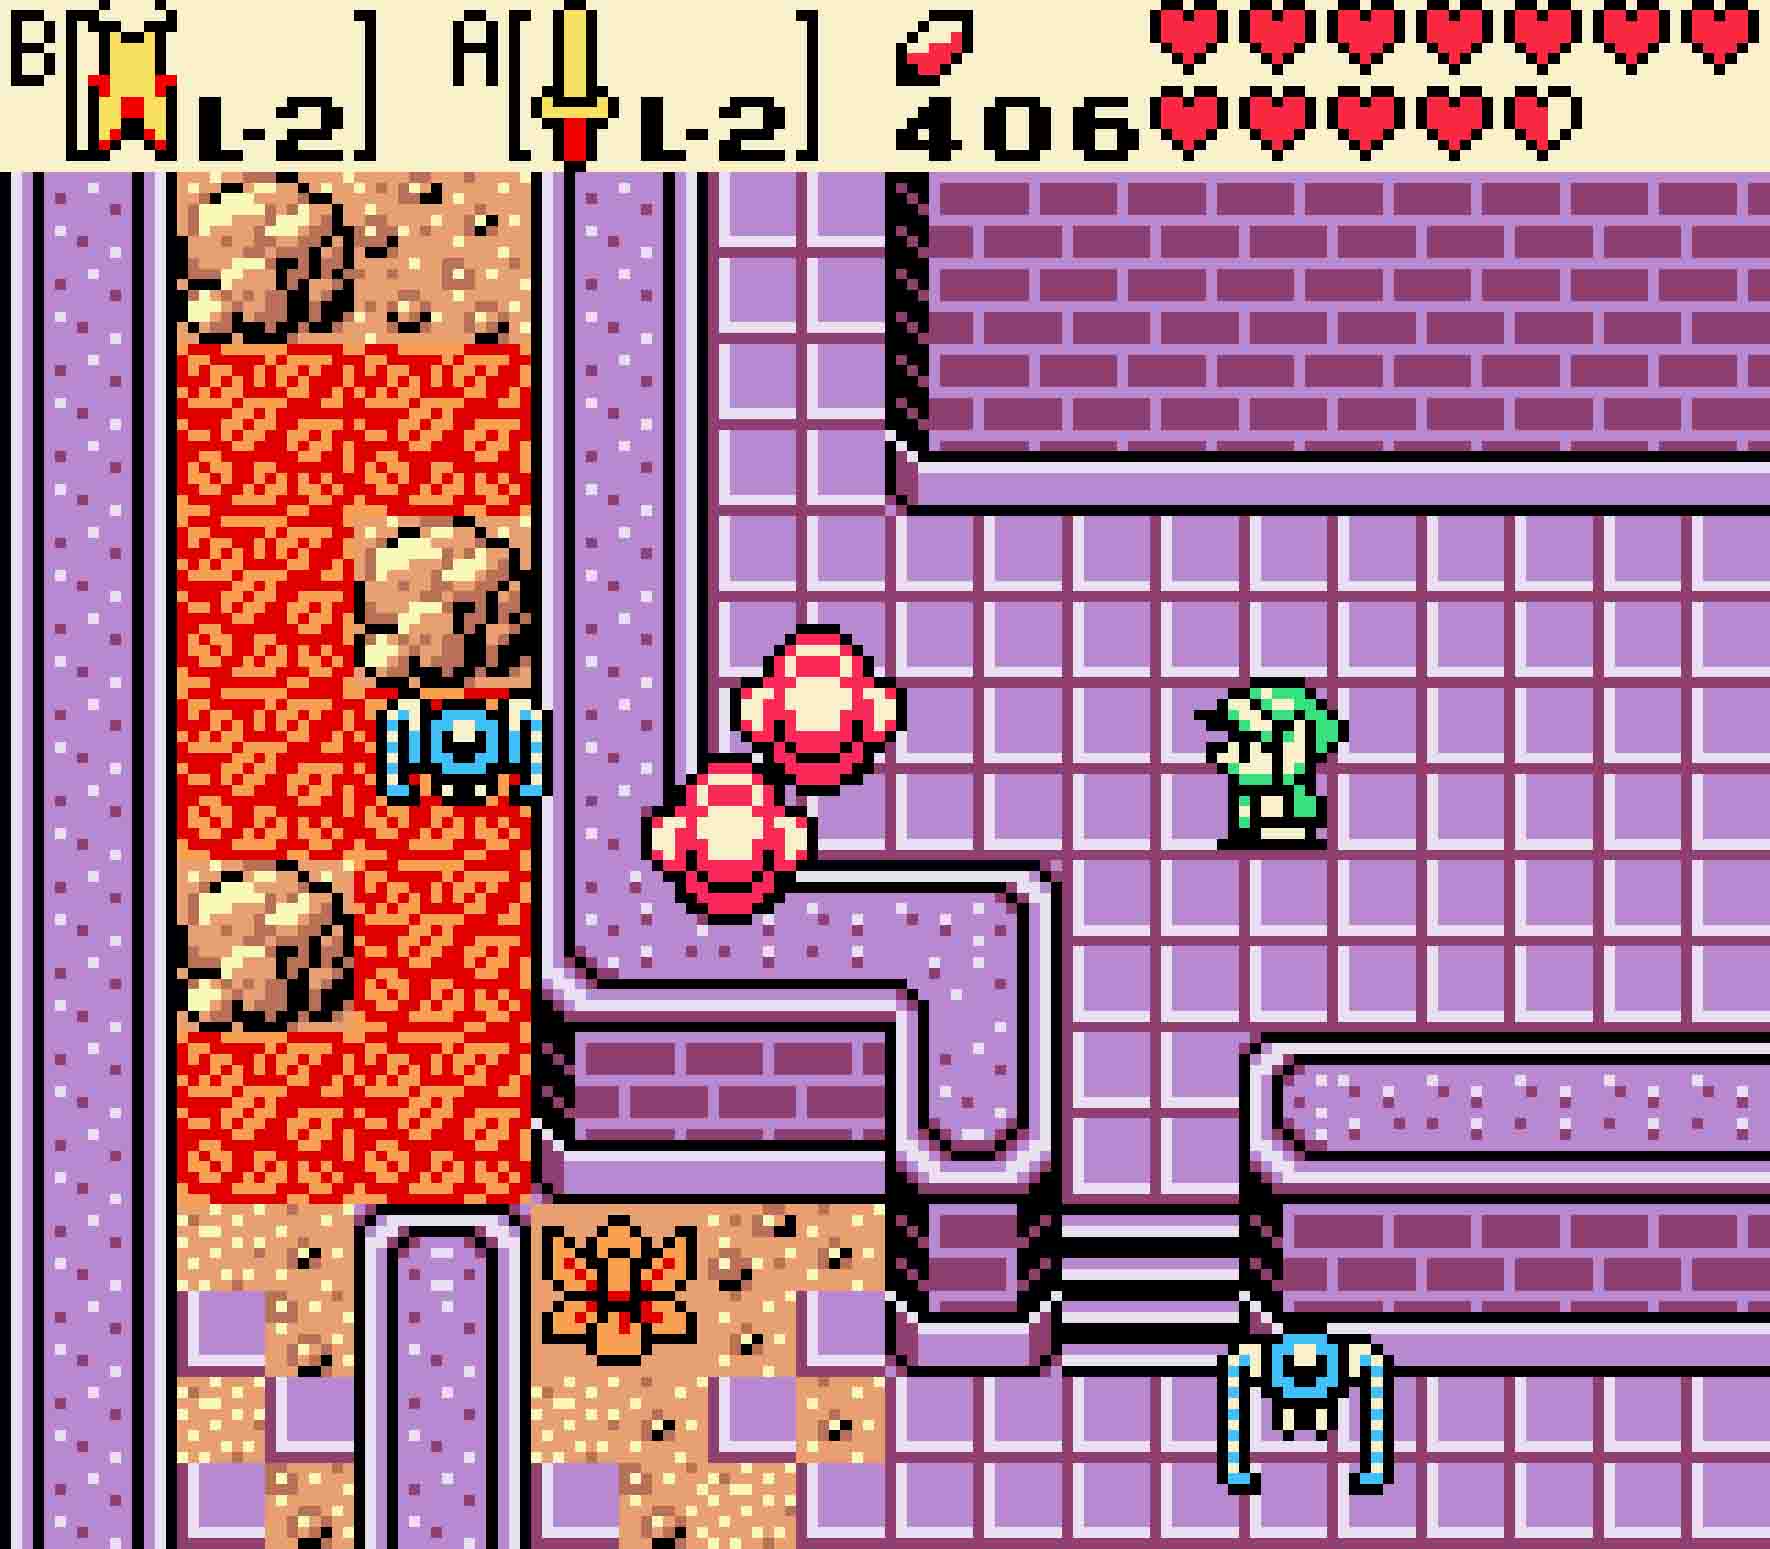
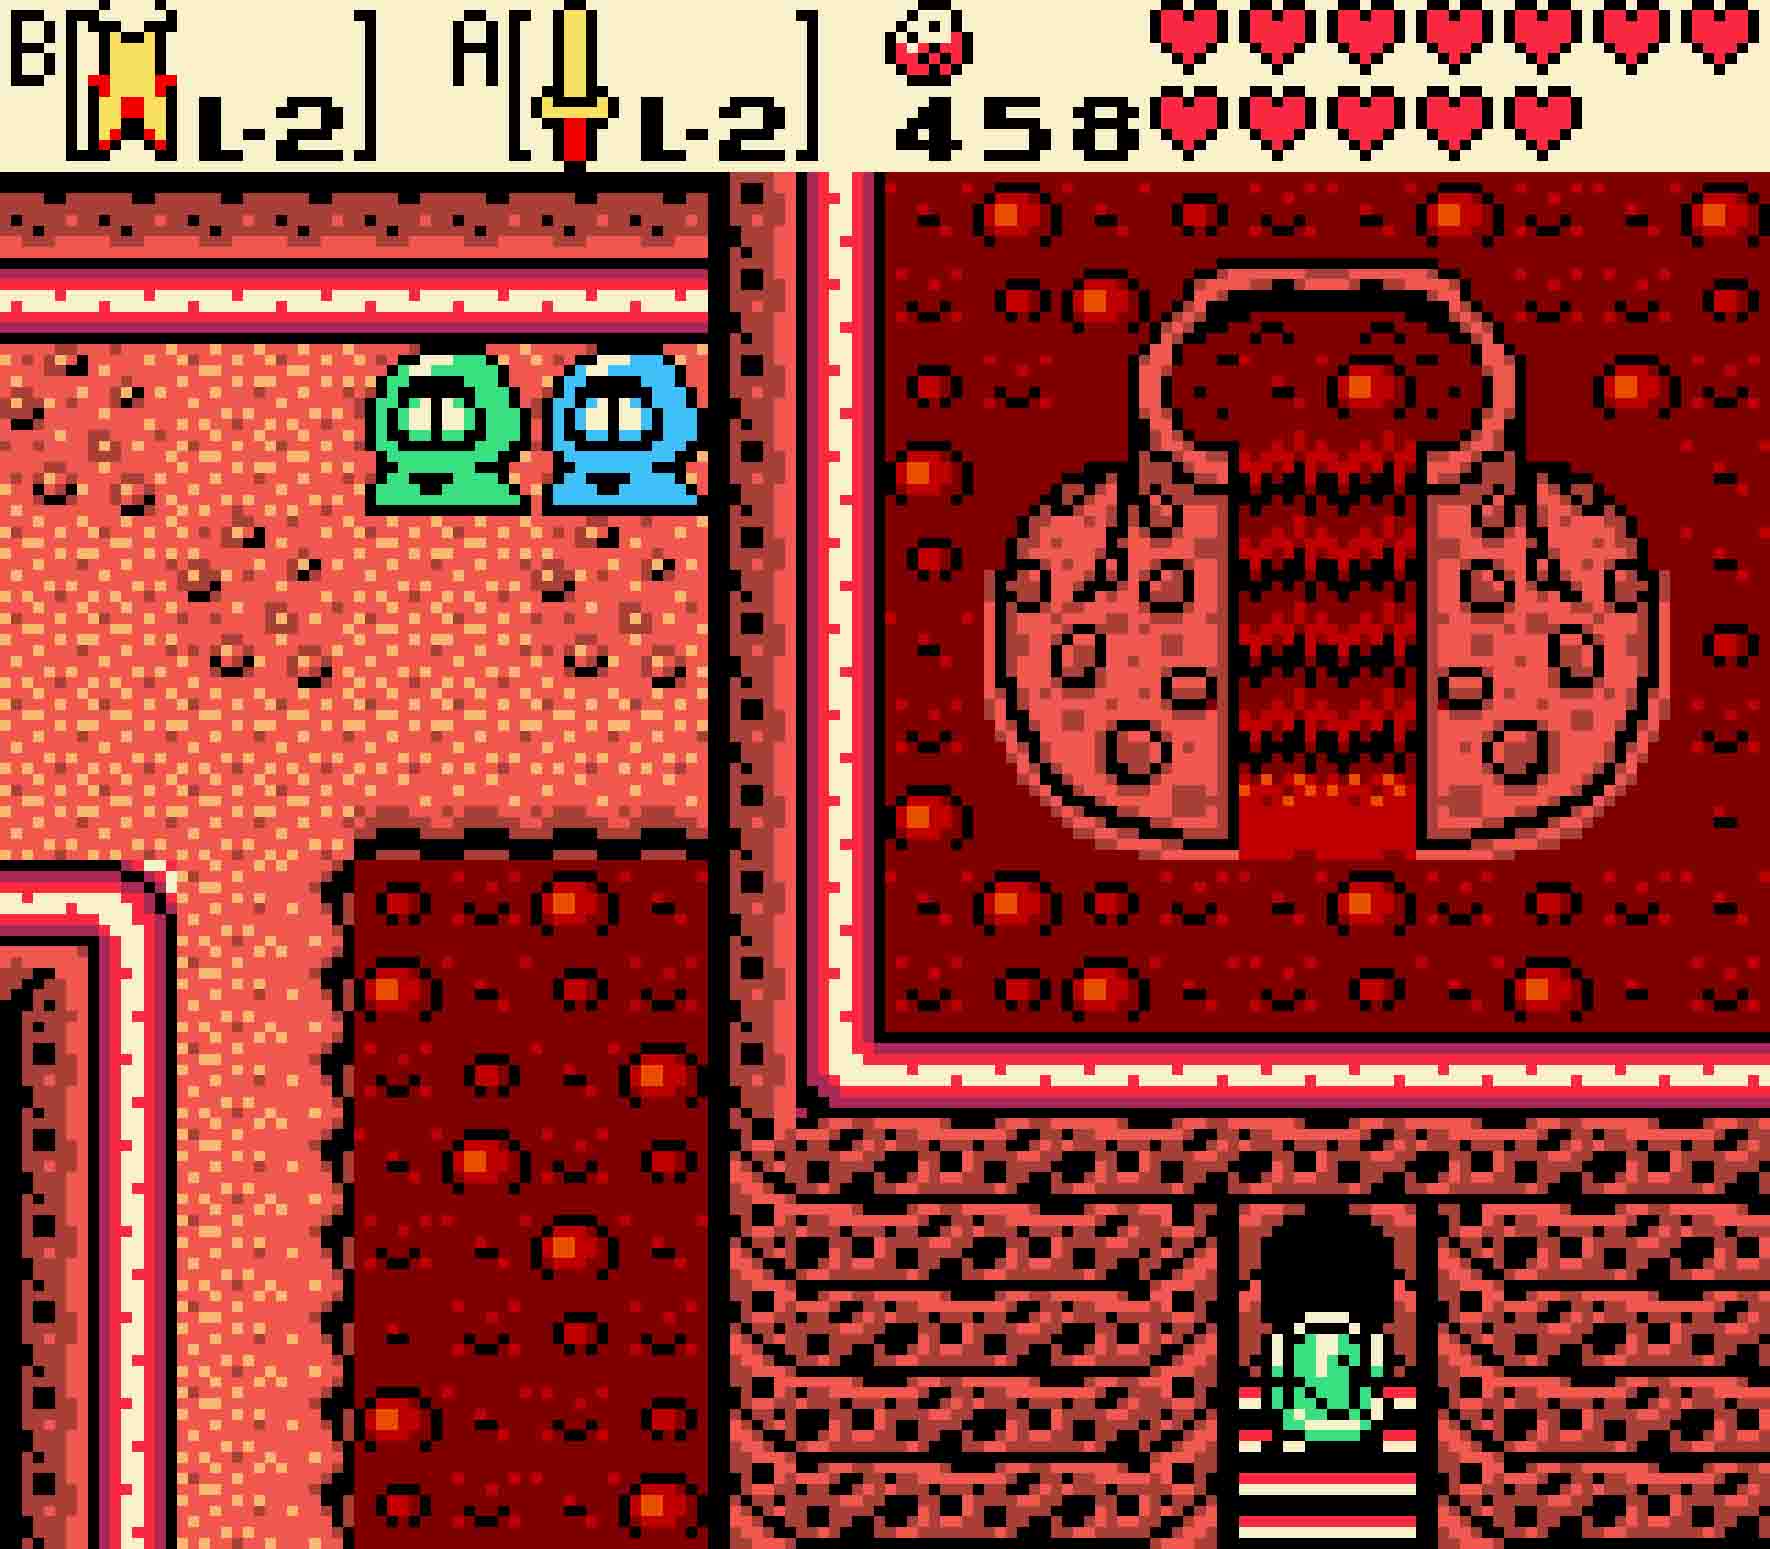
This is where the gauntlet of tough enemies begin. First, you’ll have to face down two Darknuts, each with a sword ready for you. Then, as you head north, a Ball and Chain Trooper also awaits you. Equip your Roc’s Cape from there, and take a daring leap over the consecutive potholes so you can head east. This will put you into an encounter with two red Lynels. Watch out for the flame arrows that they shoot at you. Kill them, and then pass through the stone walls by way of the gate to the north.
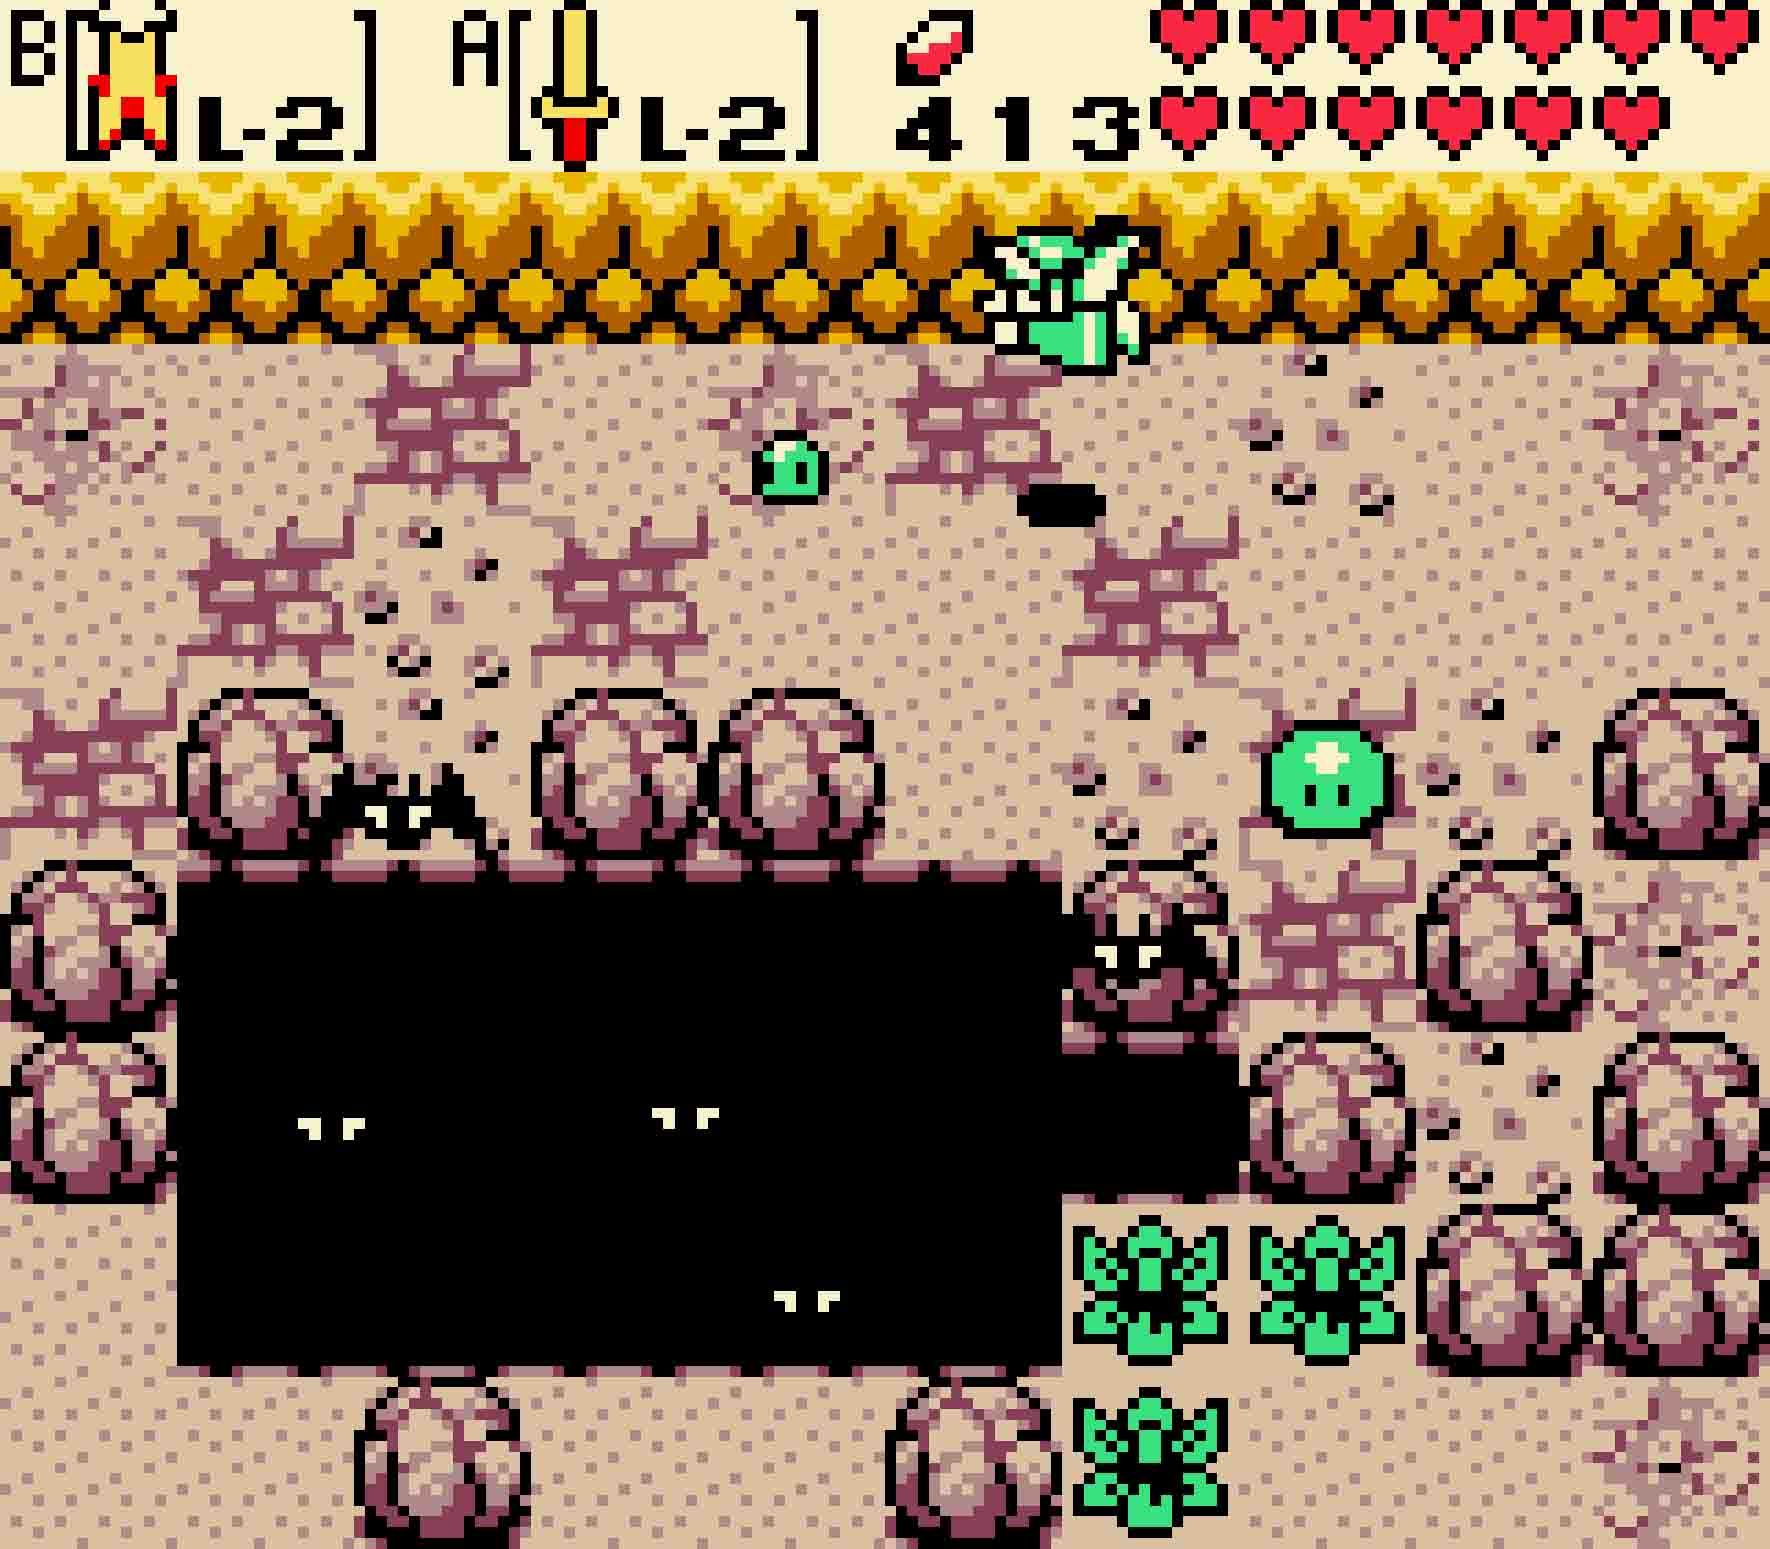
You’ll now officially be inside the temple walls, but with the season as it is, you won’t get anywhere fast. One screen to the east, aside from three Tektites ready to pounce on you, is your old friend the tree stump. Once the Tektites are cleared out, hop atop the tree stump and cycle the seasons around to autumn.
18.2 Find the second tree stump
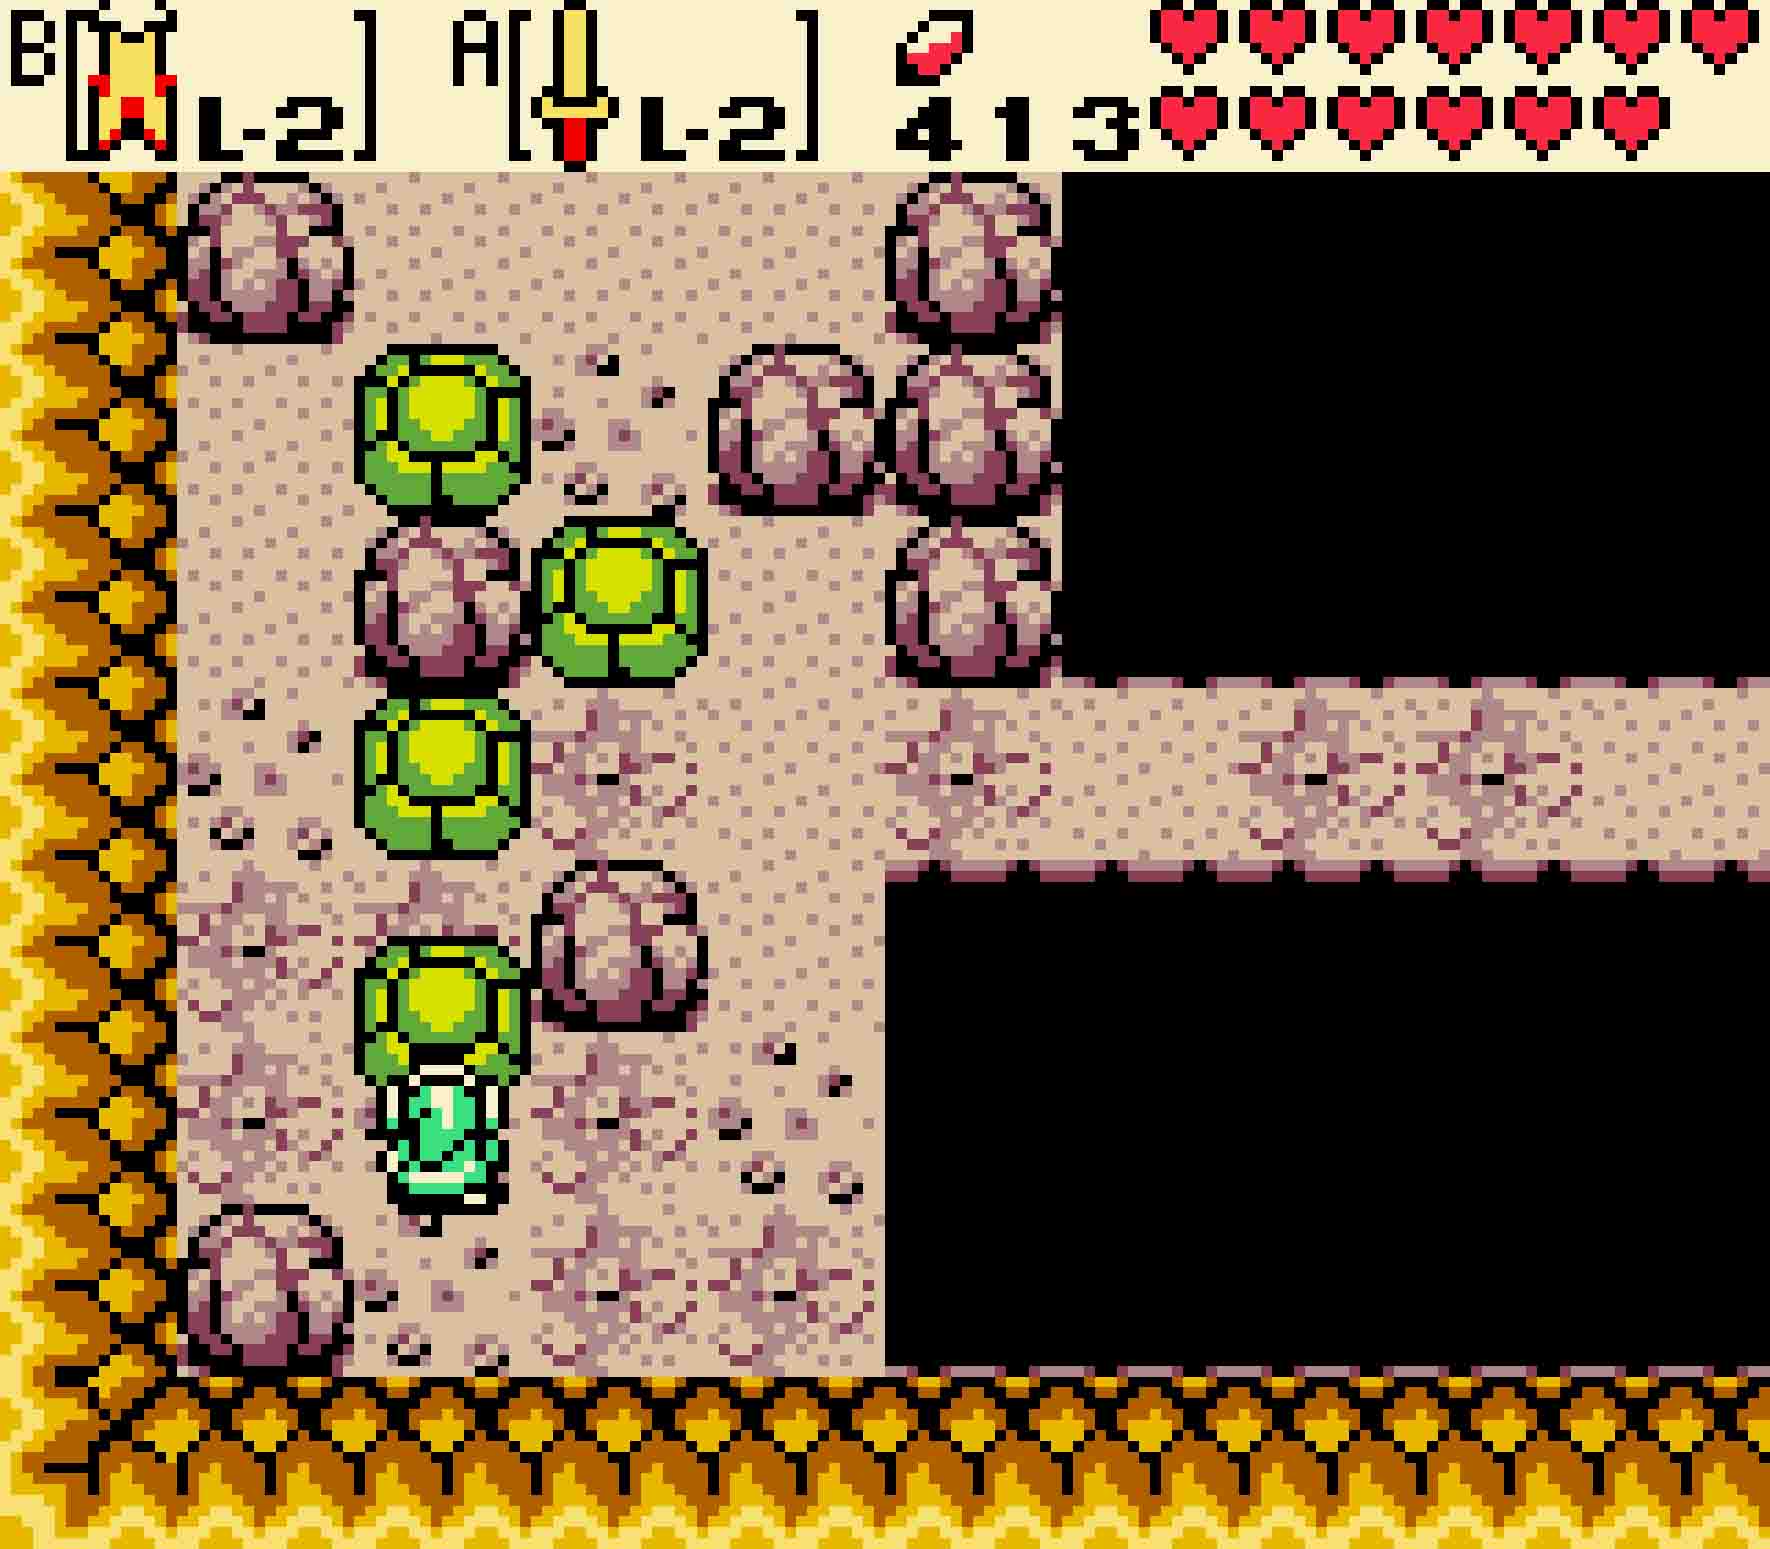
With the temple’s ruins in autumn, head west two screens. There you’ll meet a Darknut. Because of the cramped quarters, this one will be difficult to avoid, so kill it before following the narrow pathway over and up to the north.
-
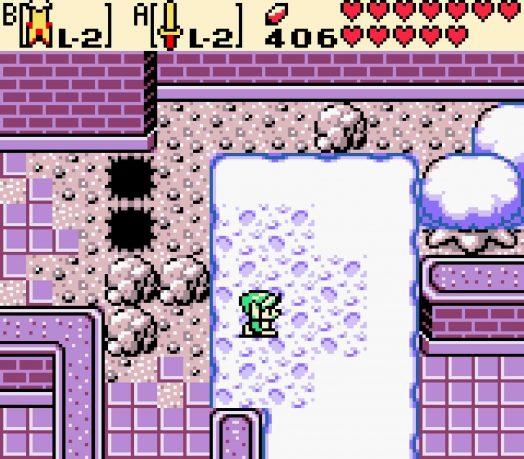
- Autumn is the season you need to squeeze through the western corridors.
-
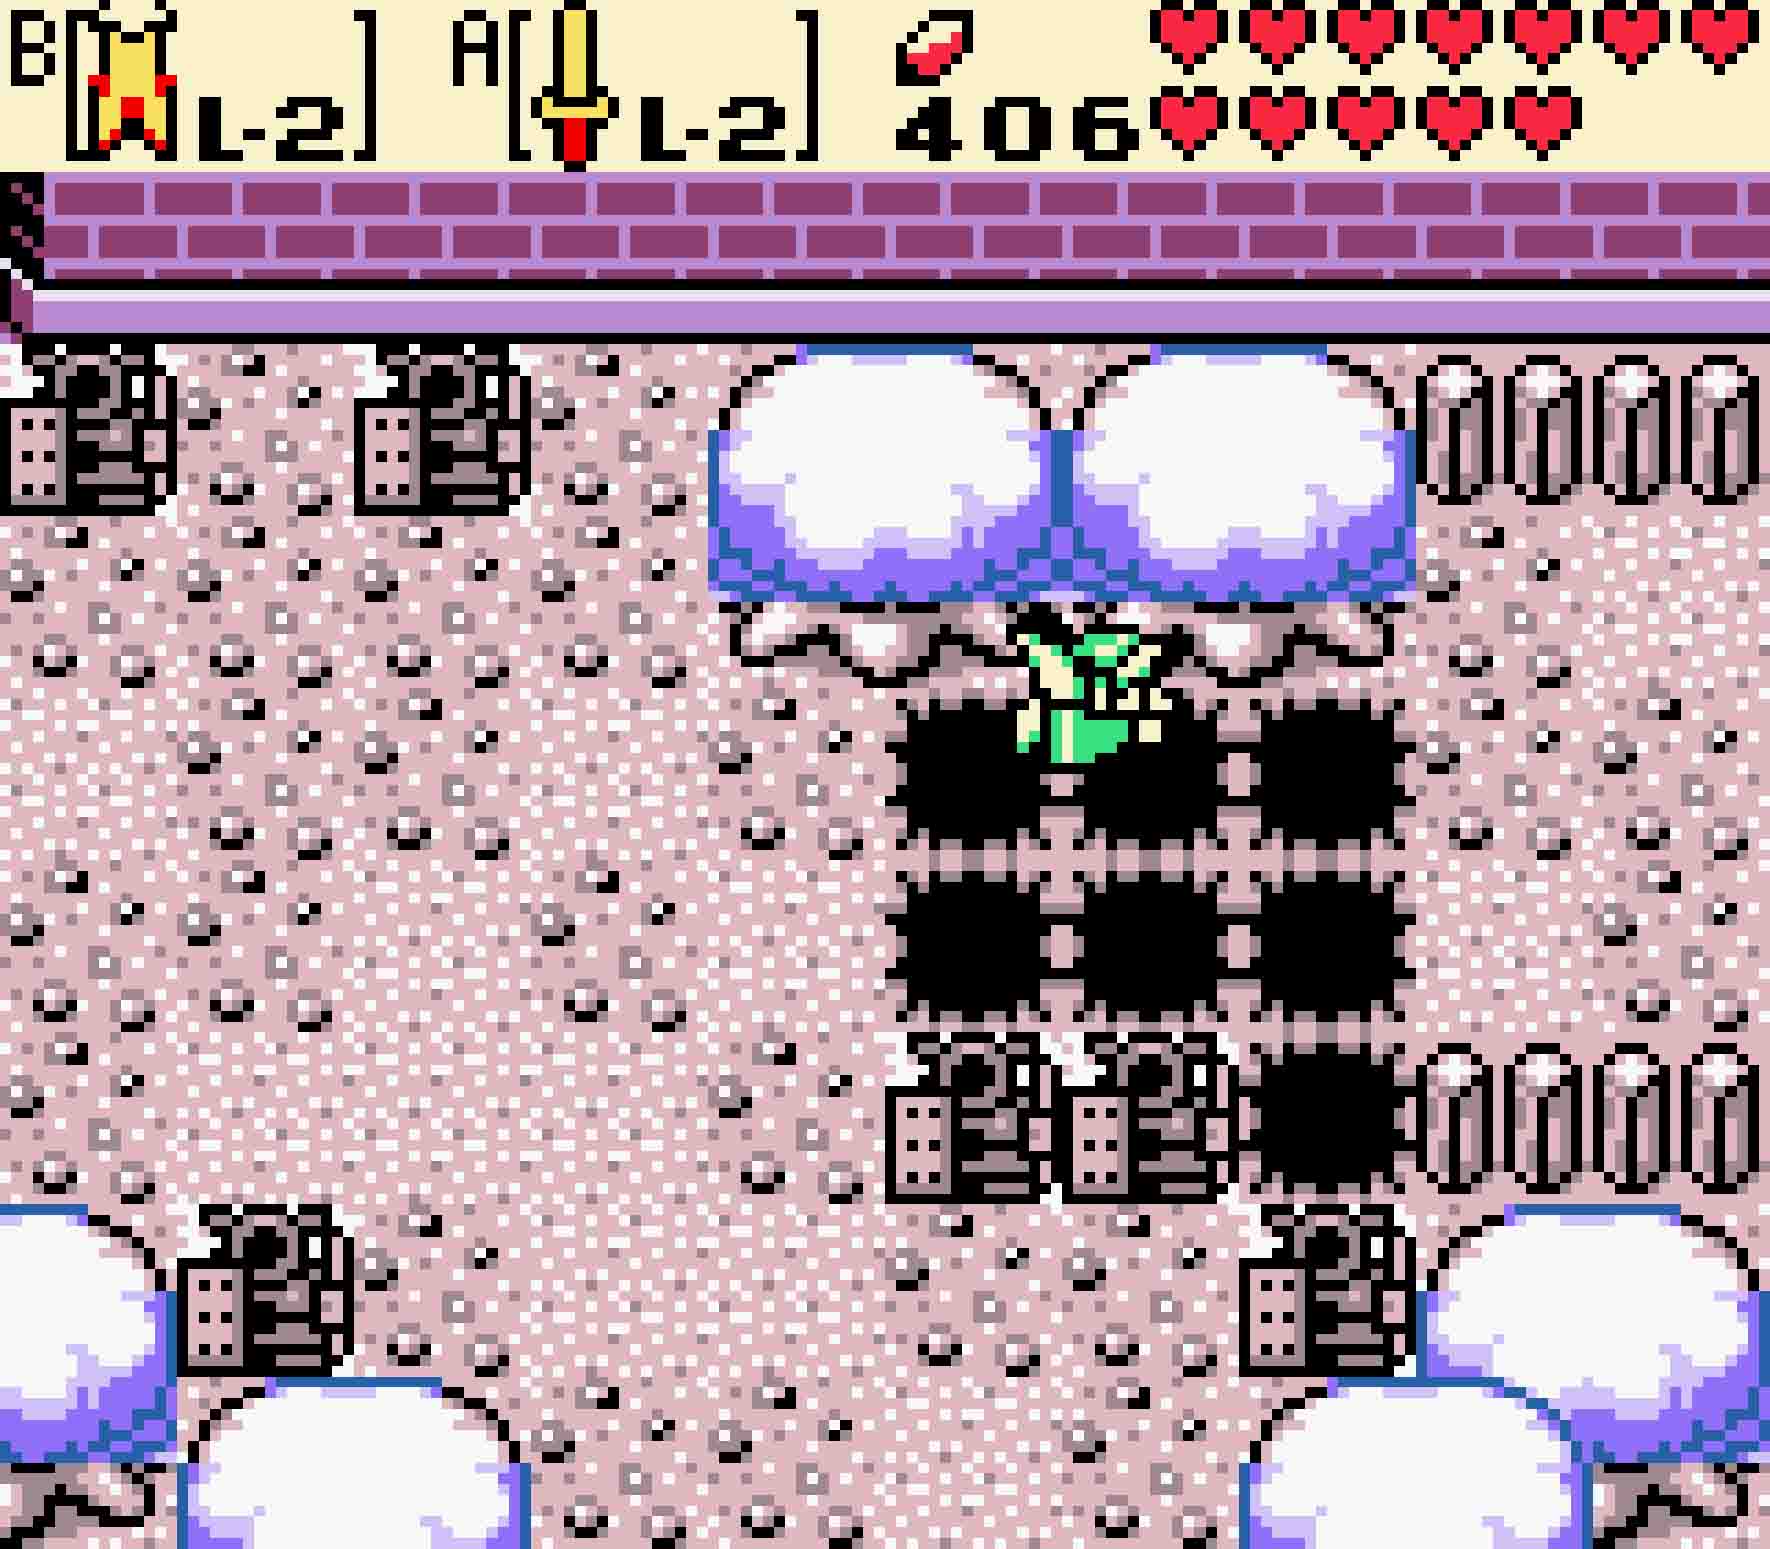
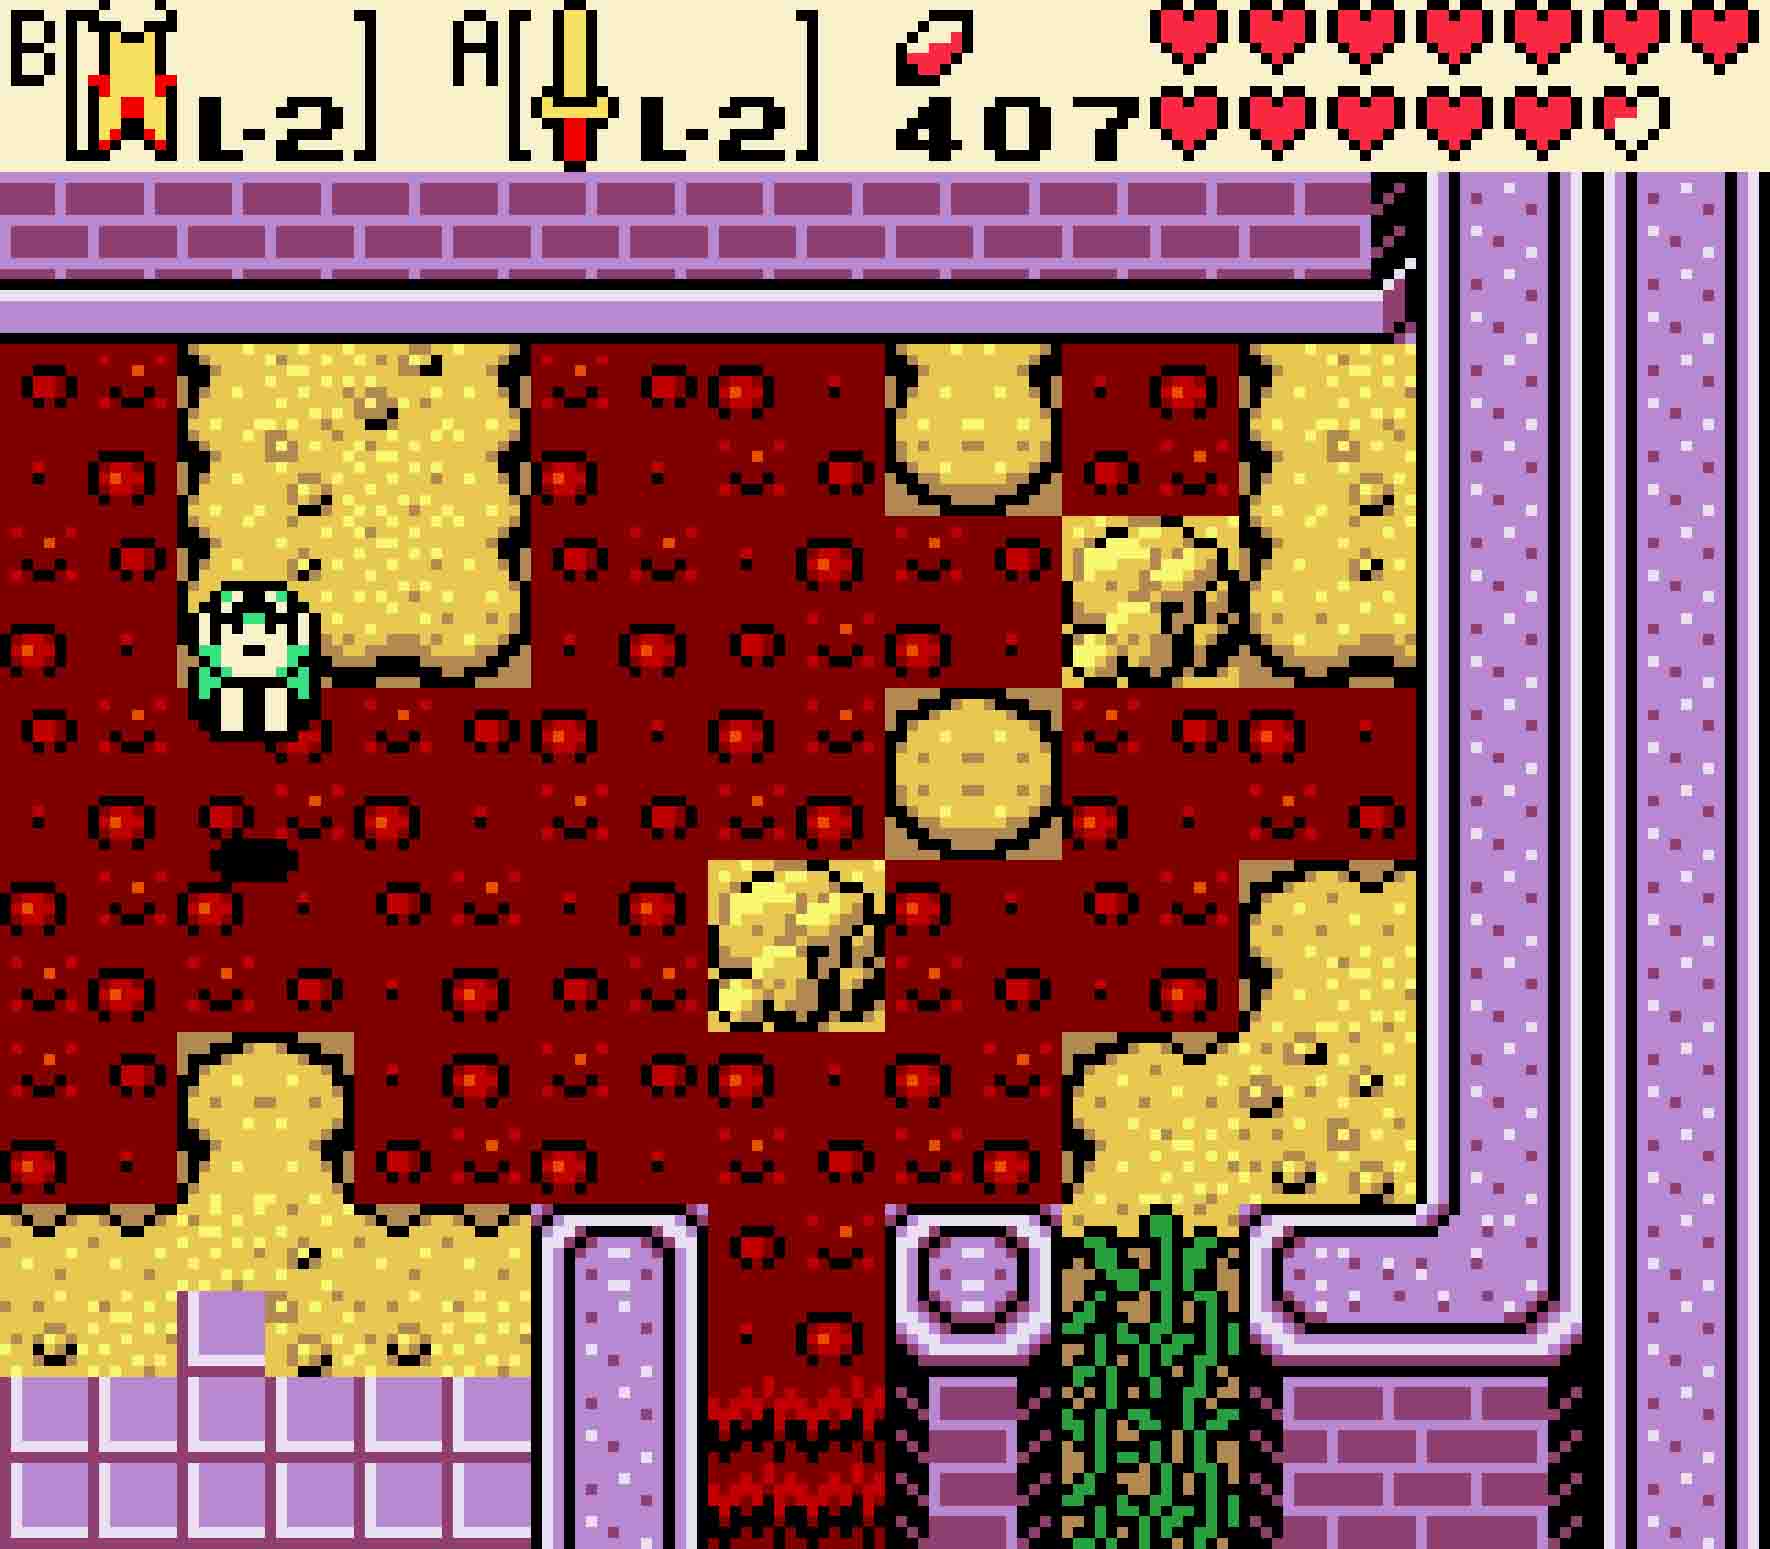
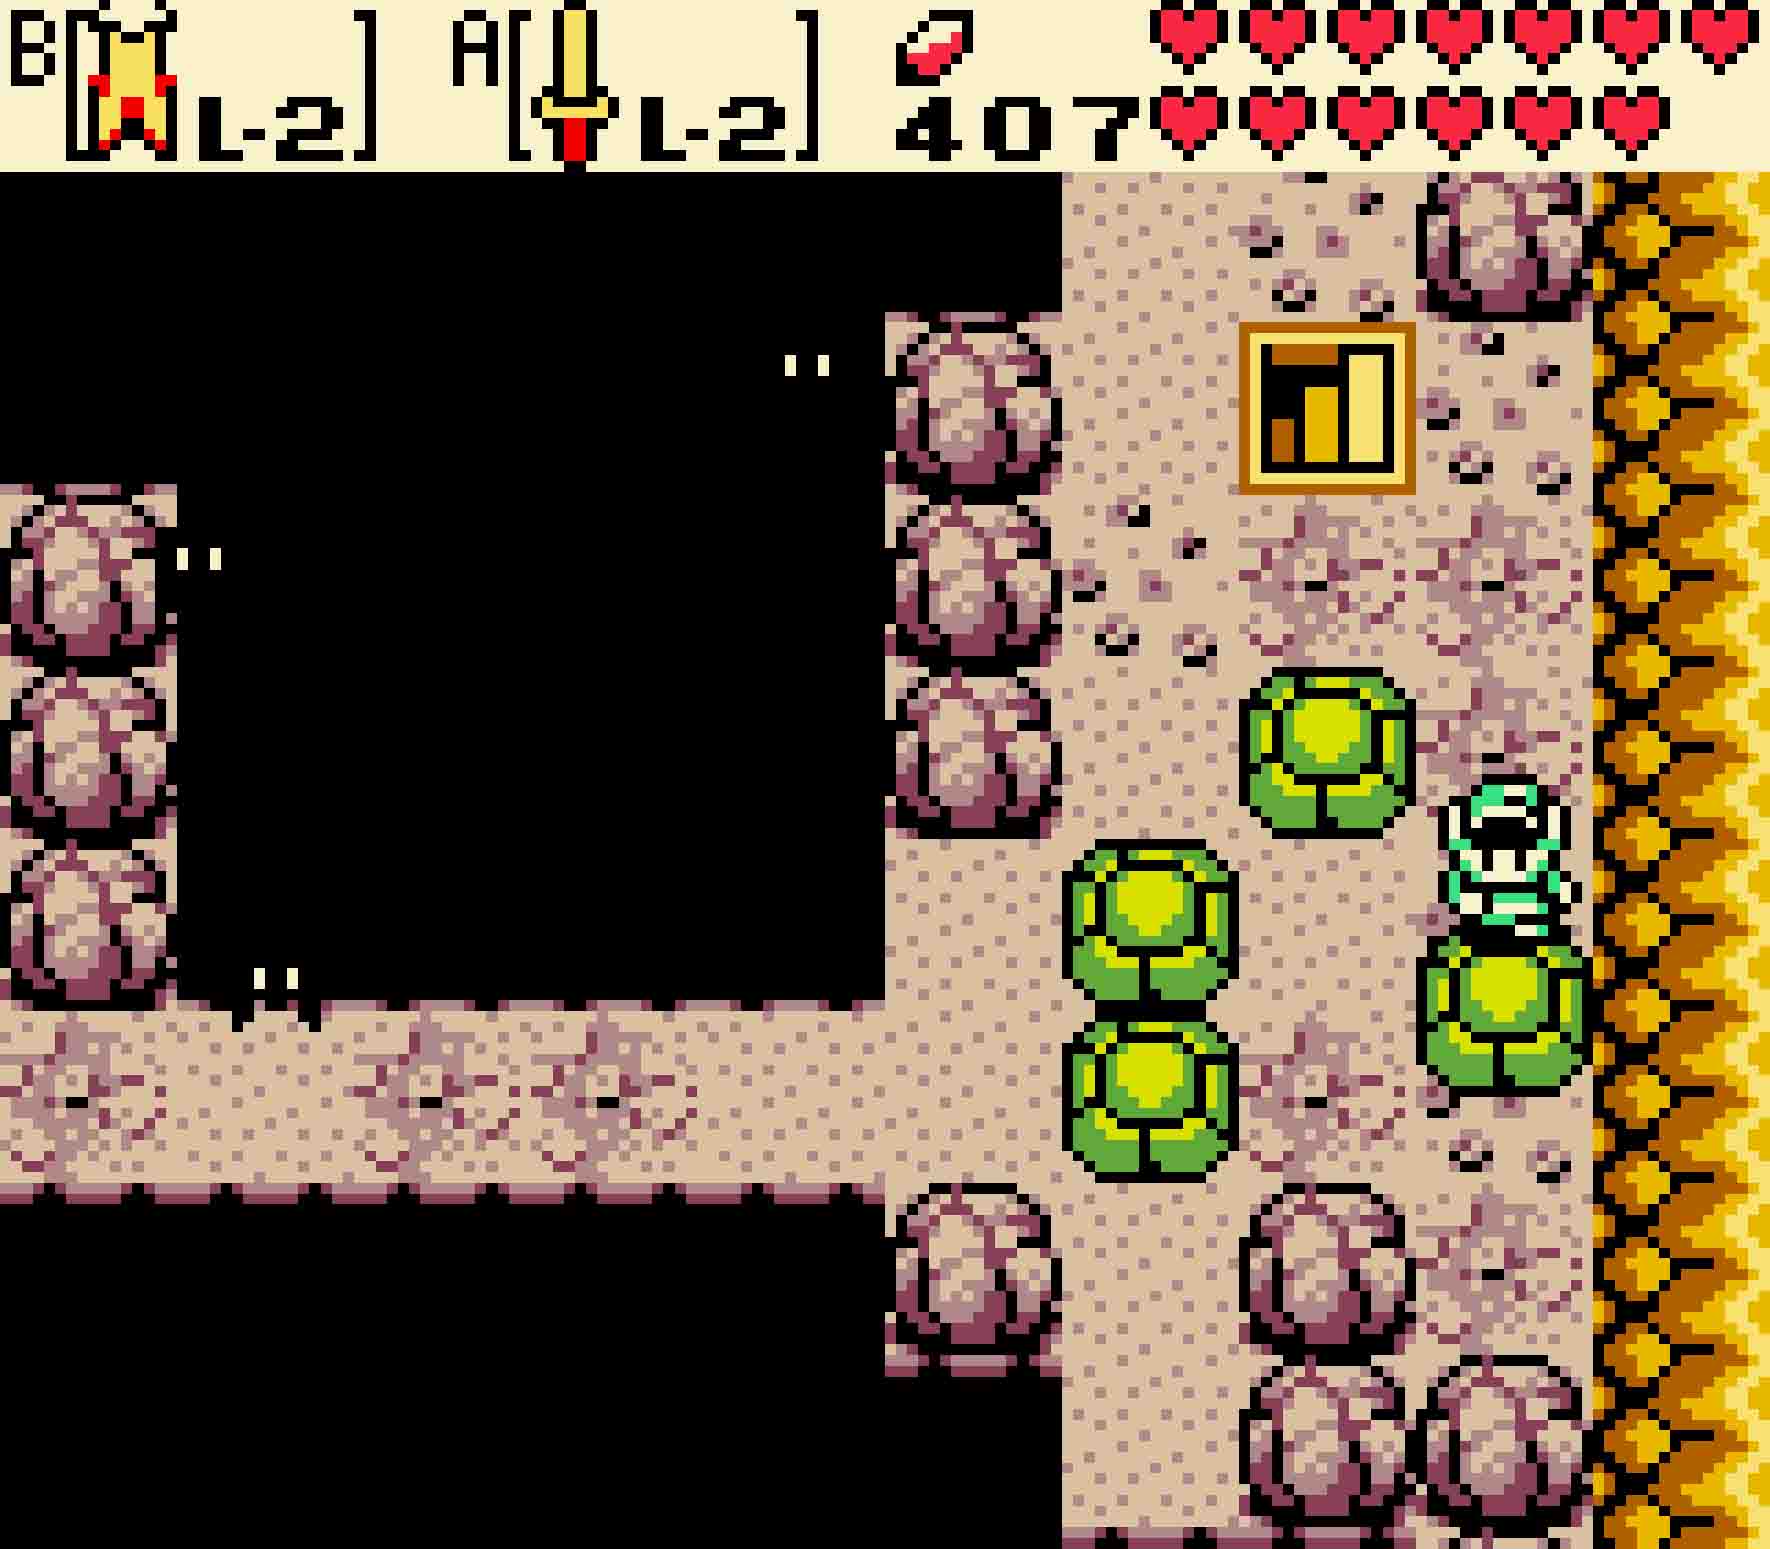
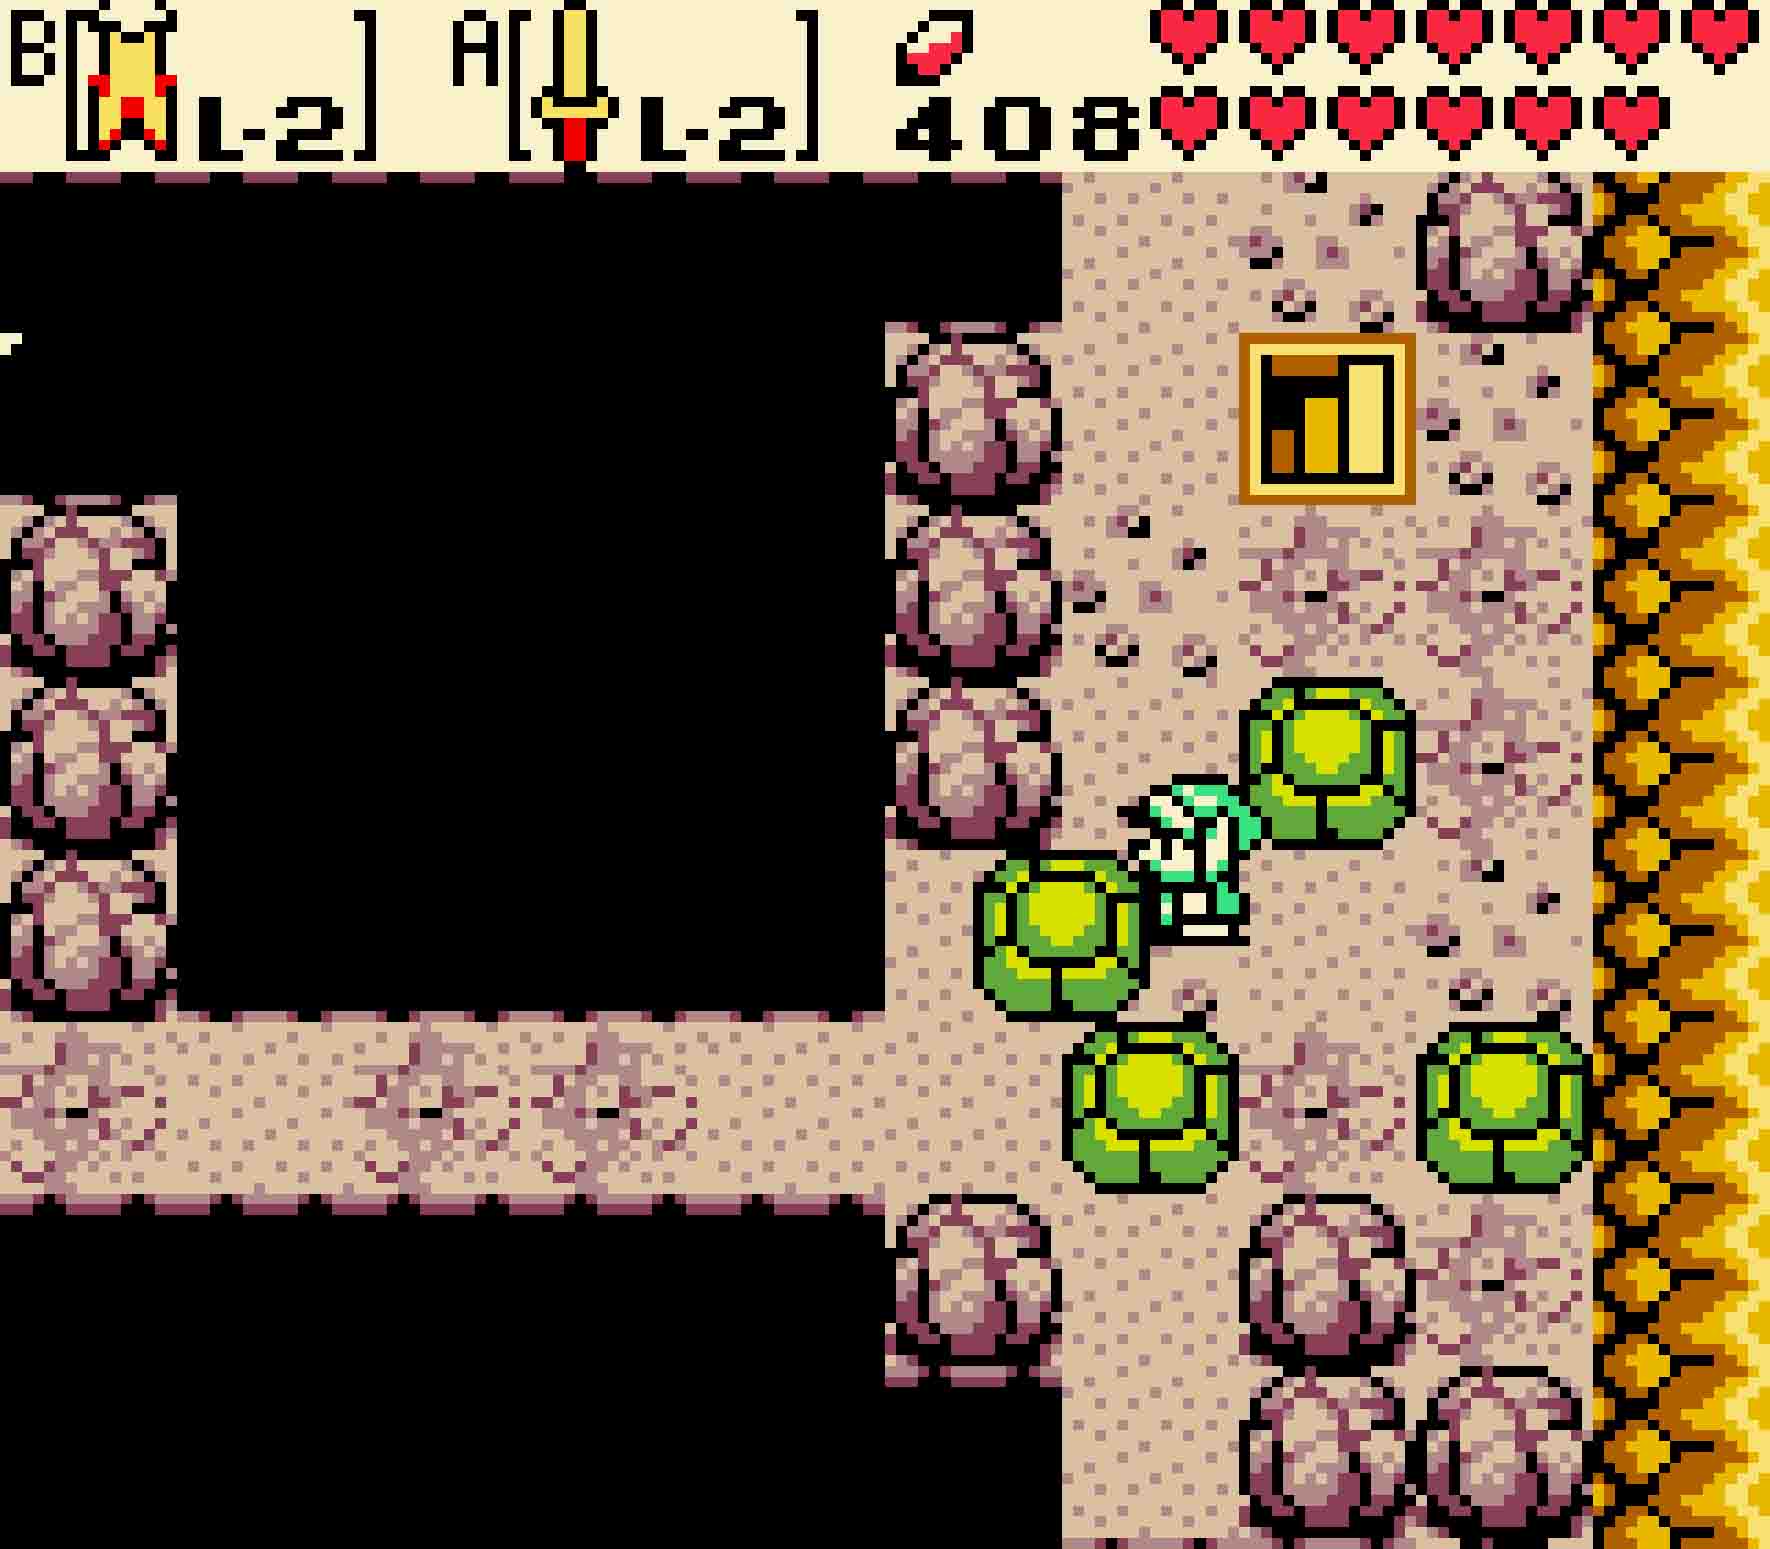
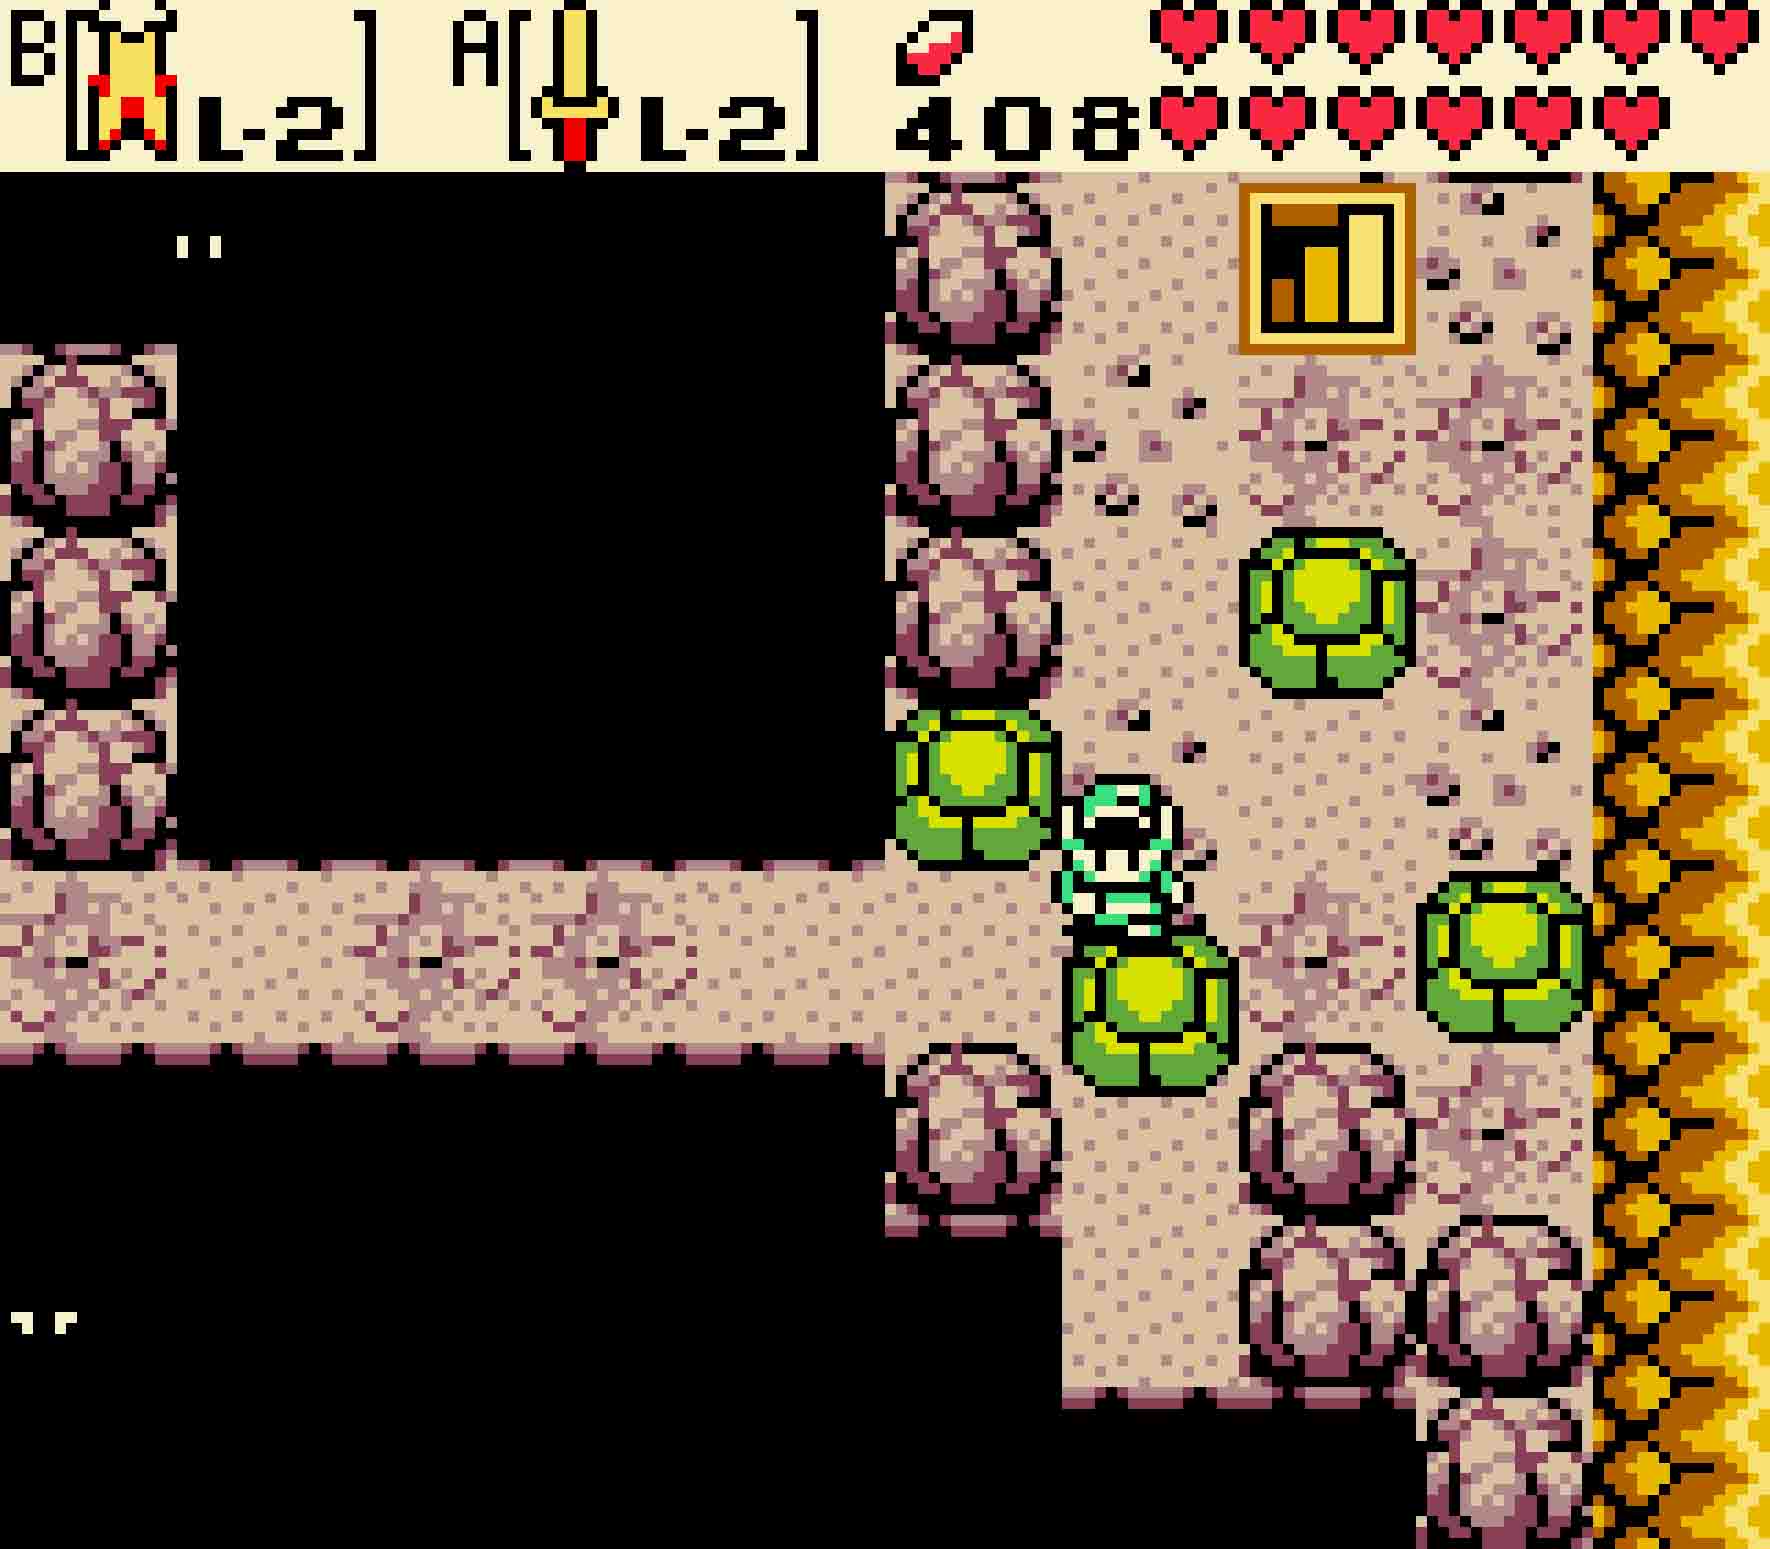
- You need to be really careful because even these leaves won’t hold you for long.
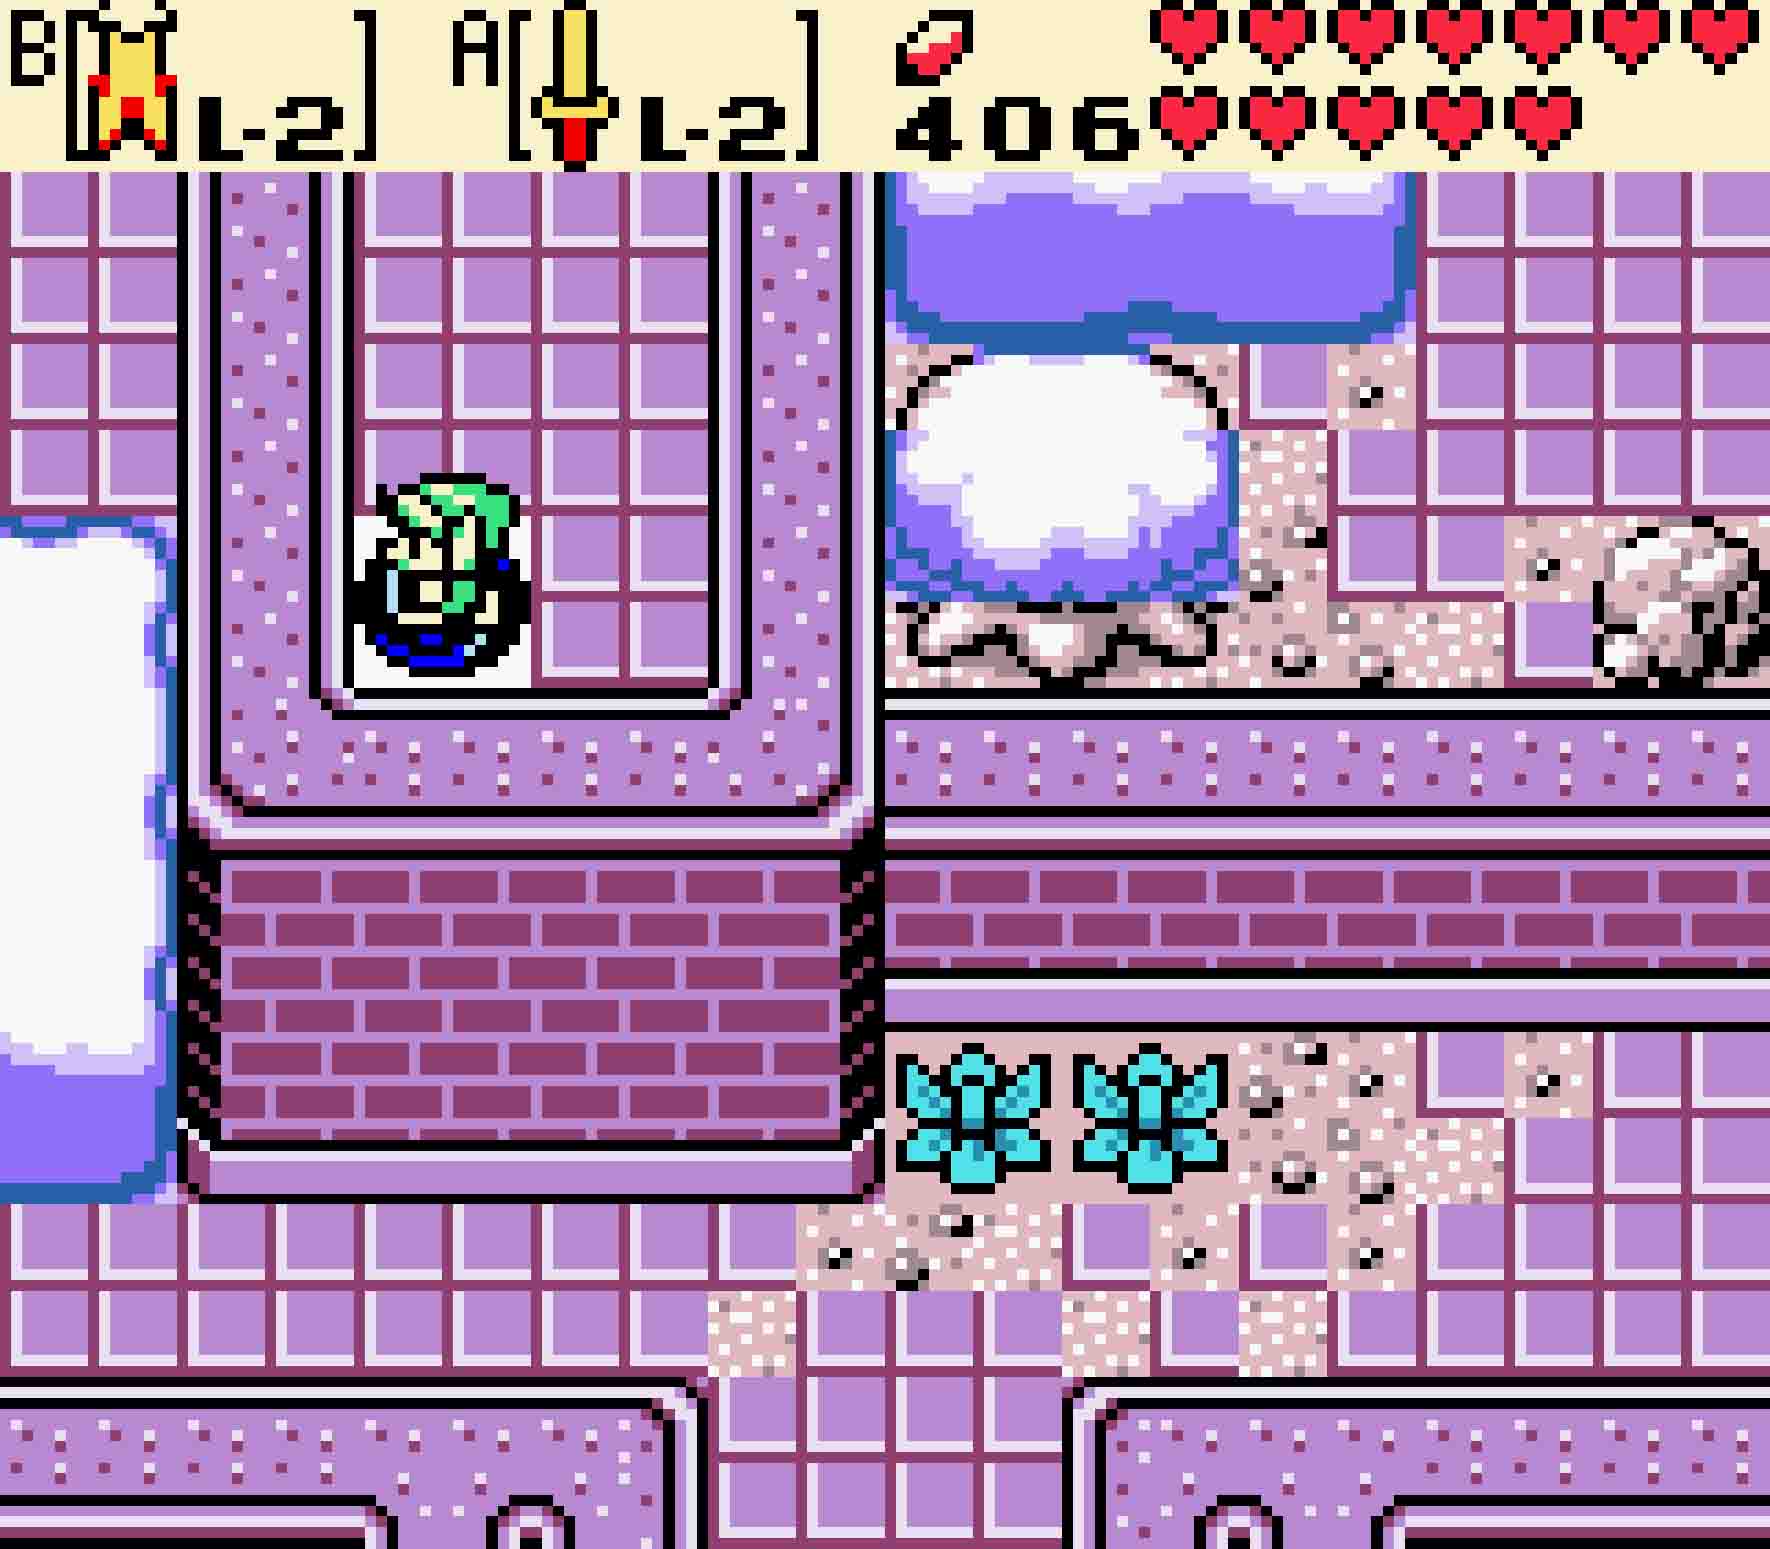
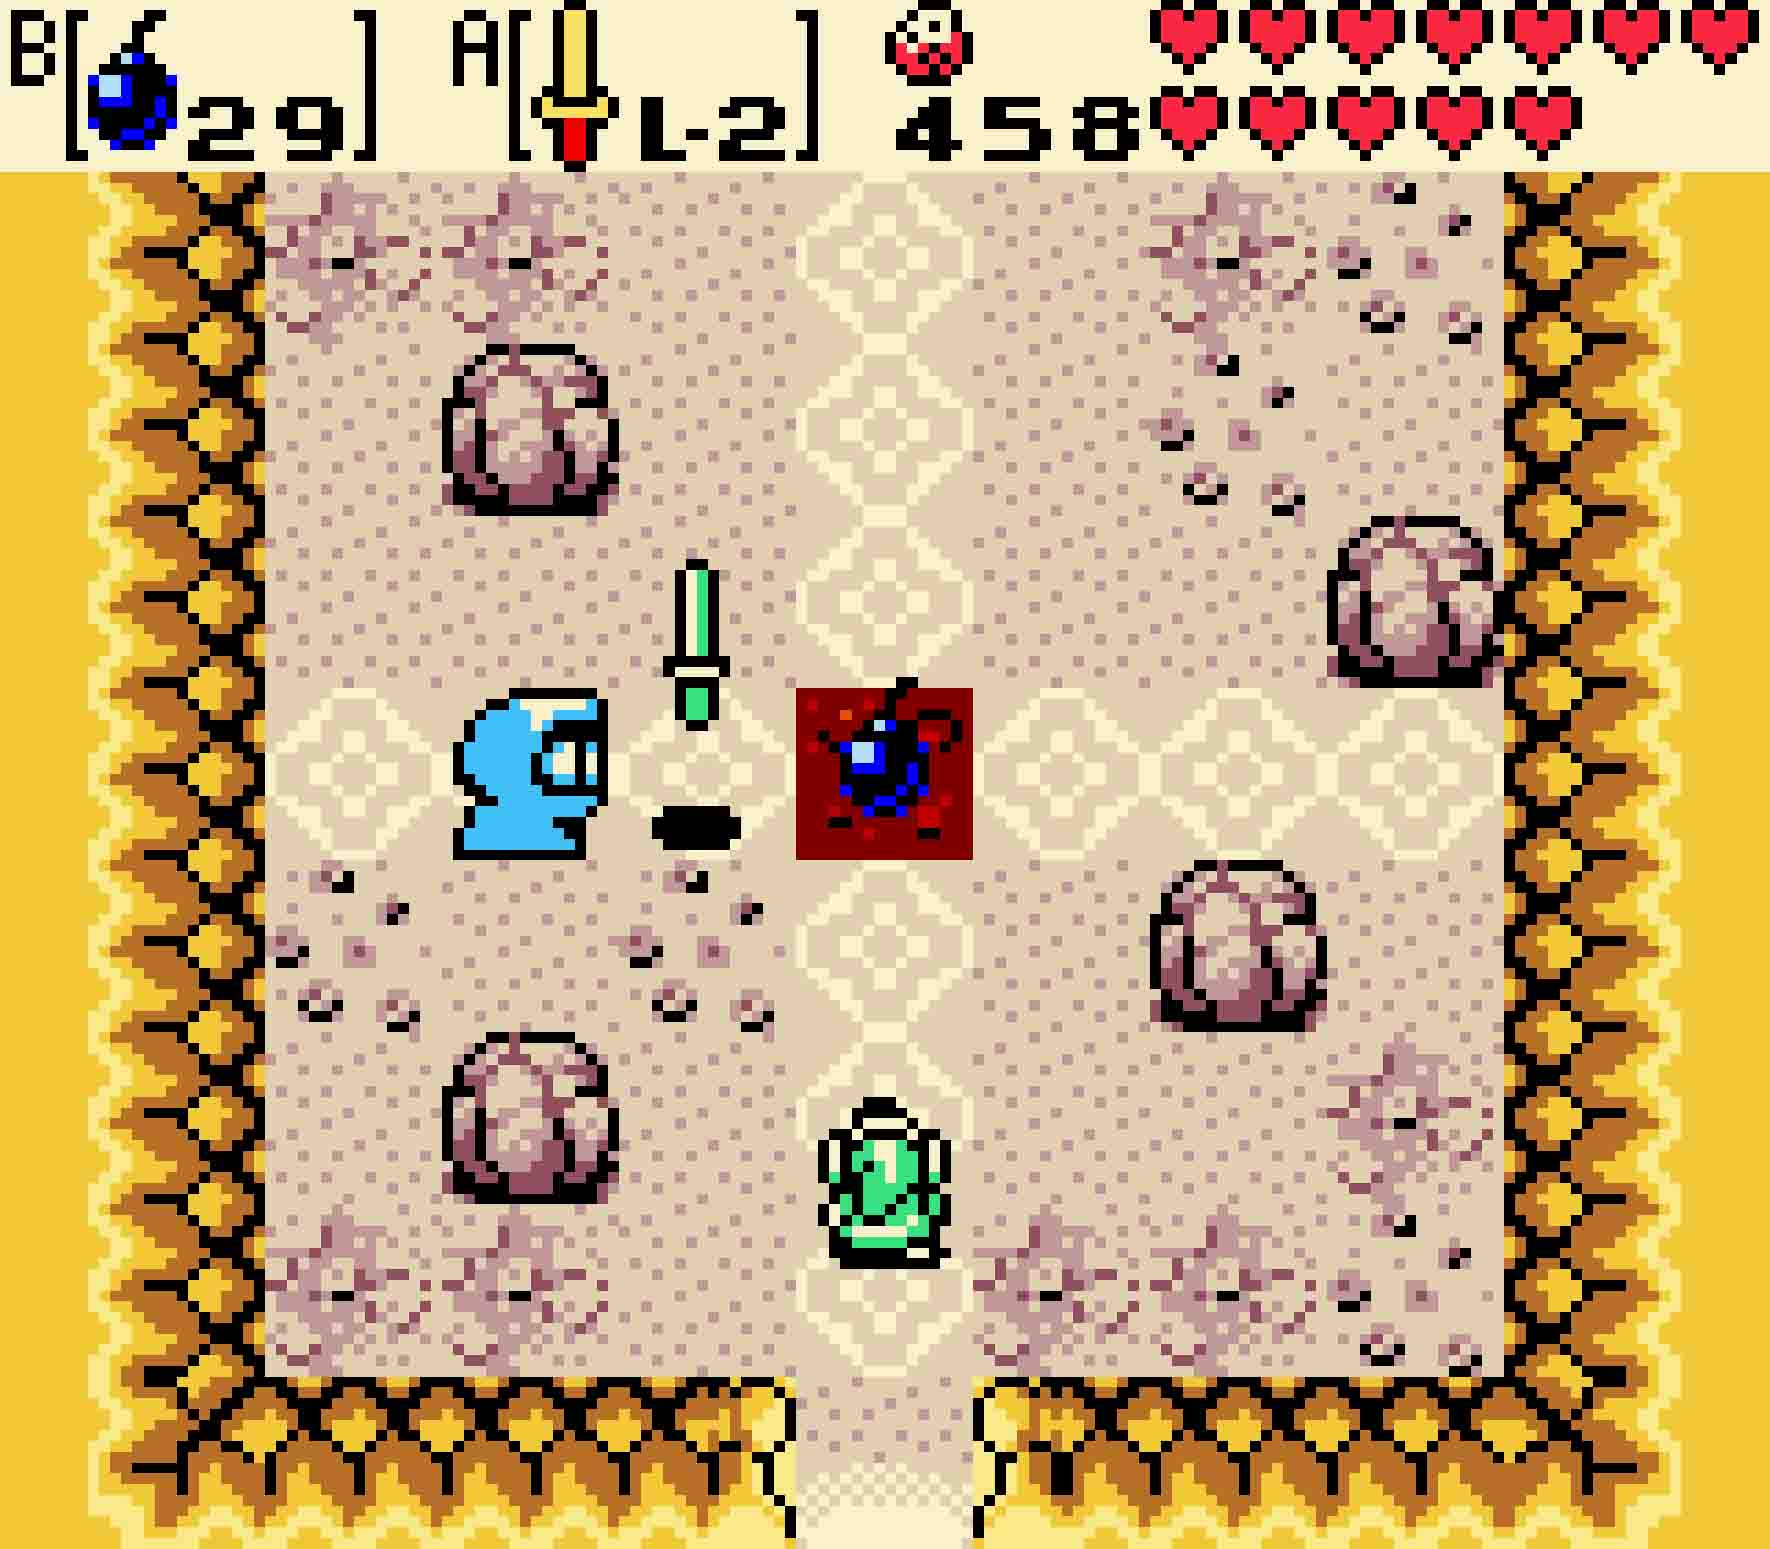
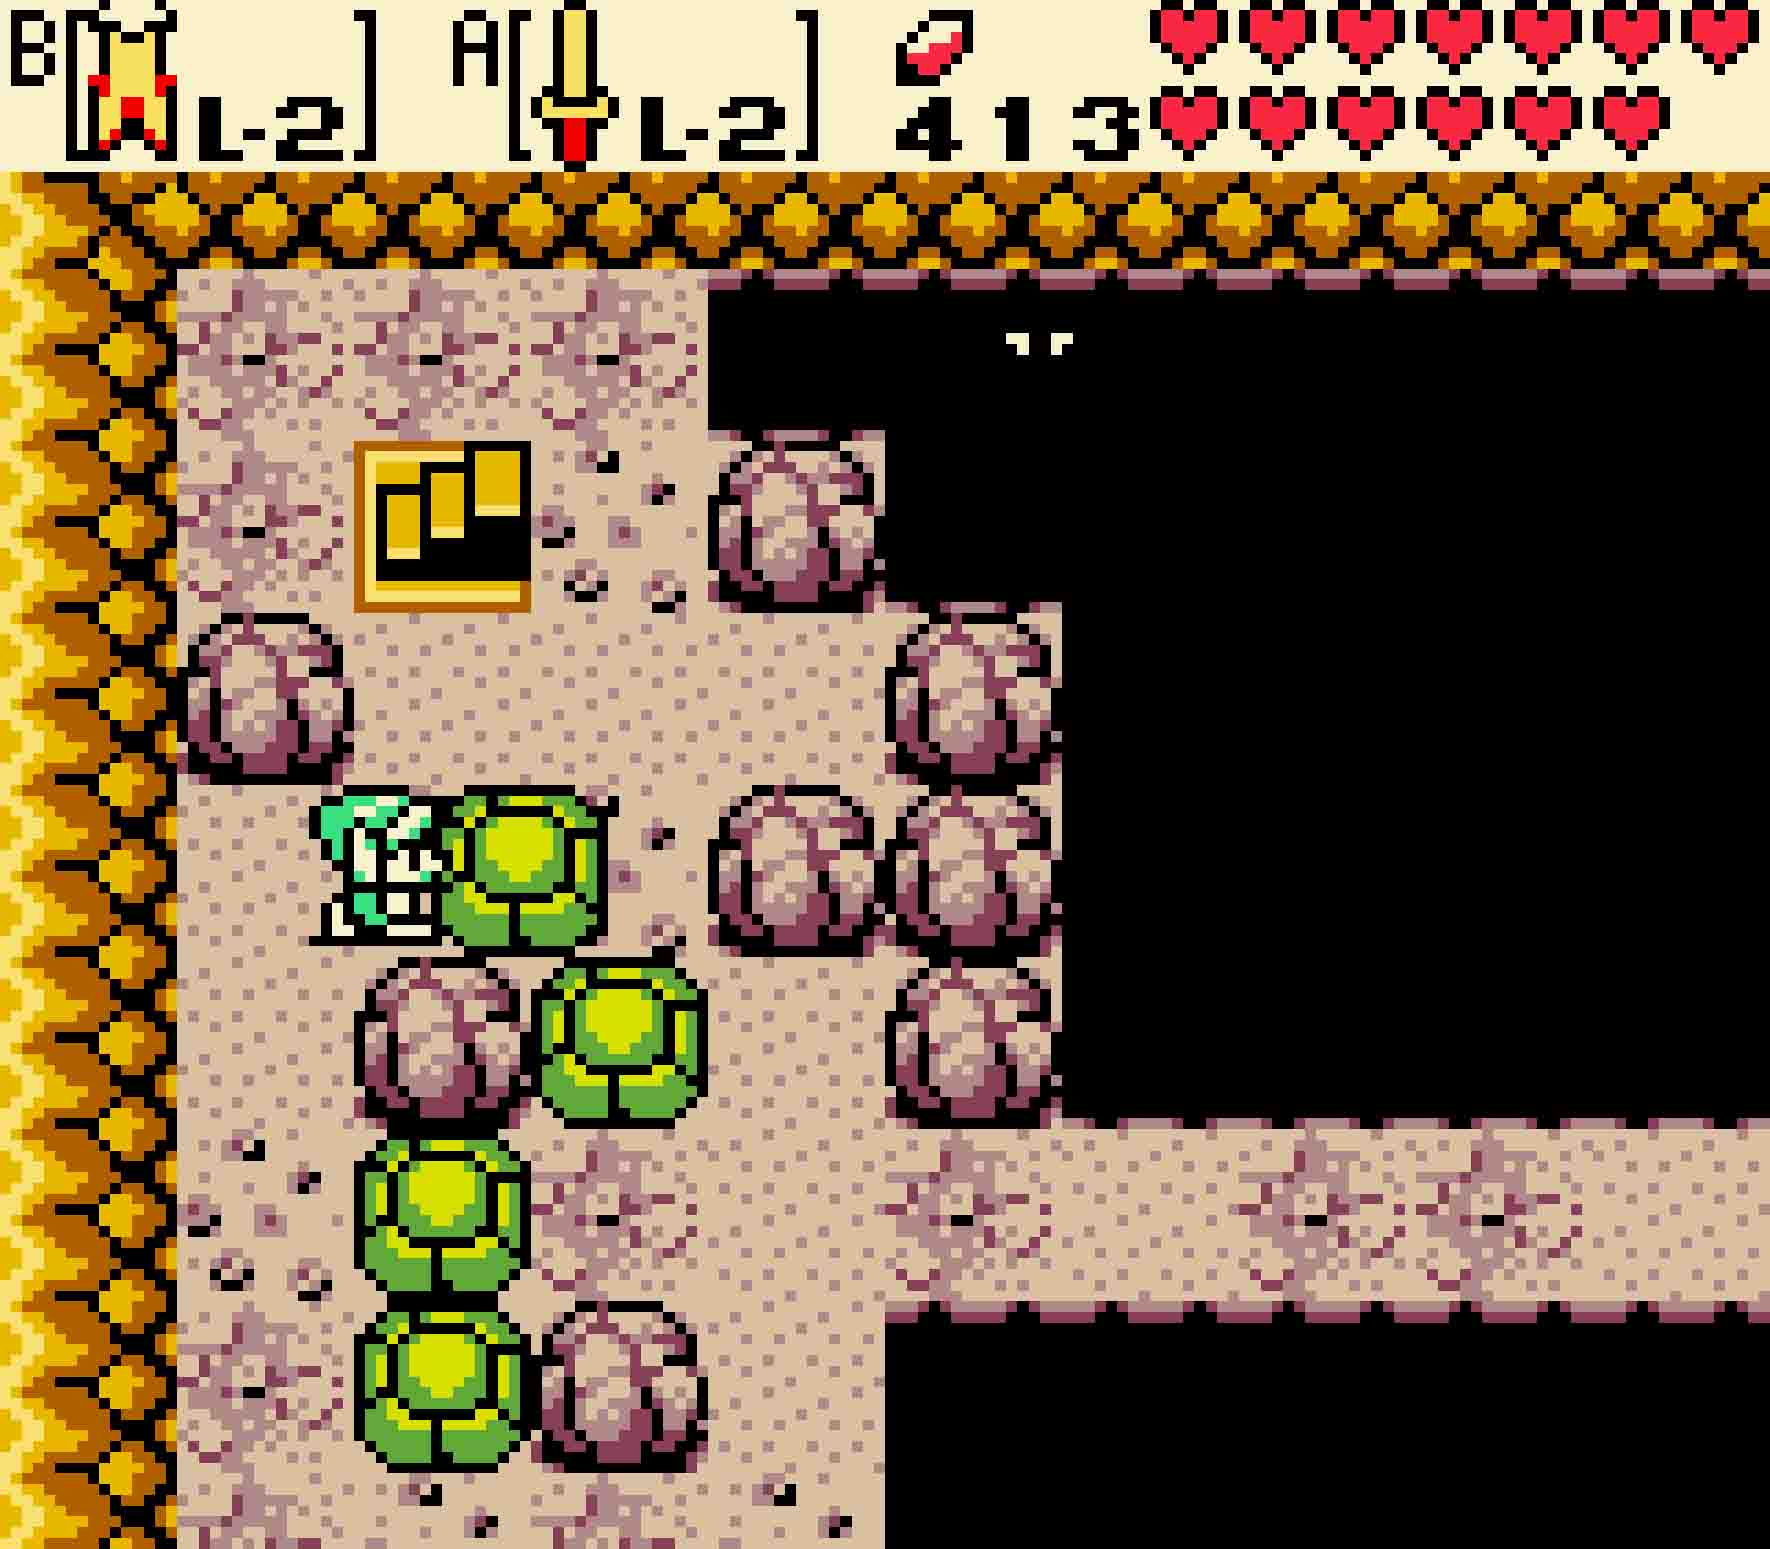
You’ll see several Tektites on the next screen, and if you’re lucky most of them won’t have spawned down upon the leaf-laded section below. This is important because those leaves are covering some inconvenient potholes. If you stand on them too long or swing your sword, you will cause several holes to appear; too many Tektites might make traveling this way treacherous. If more than one spawns on the leaves, reset the screen by deking south and coming back to this screen. Hurry across the leaves with all due haste, and continue to the north.
This pathway will continue in an abrupt U-turn that leads back to the screen you were just on, and you should continue that trend by following the steps down towards the south. This will put you right next to the second tree stump in the Temple Remains. From here, you’ll need to change the season back to wintertime.
18.3 Destroy the temple
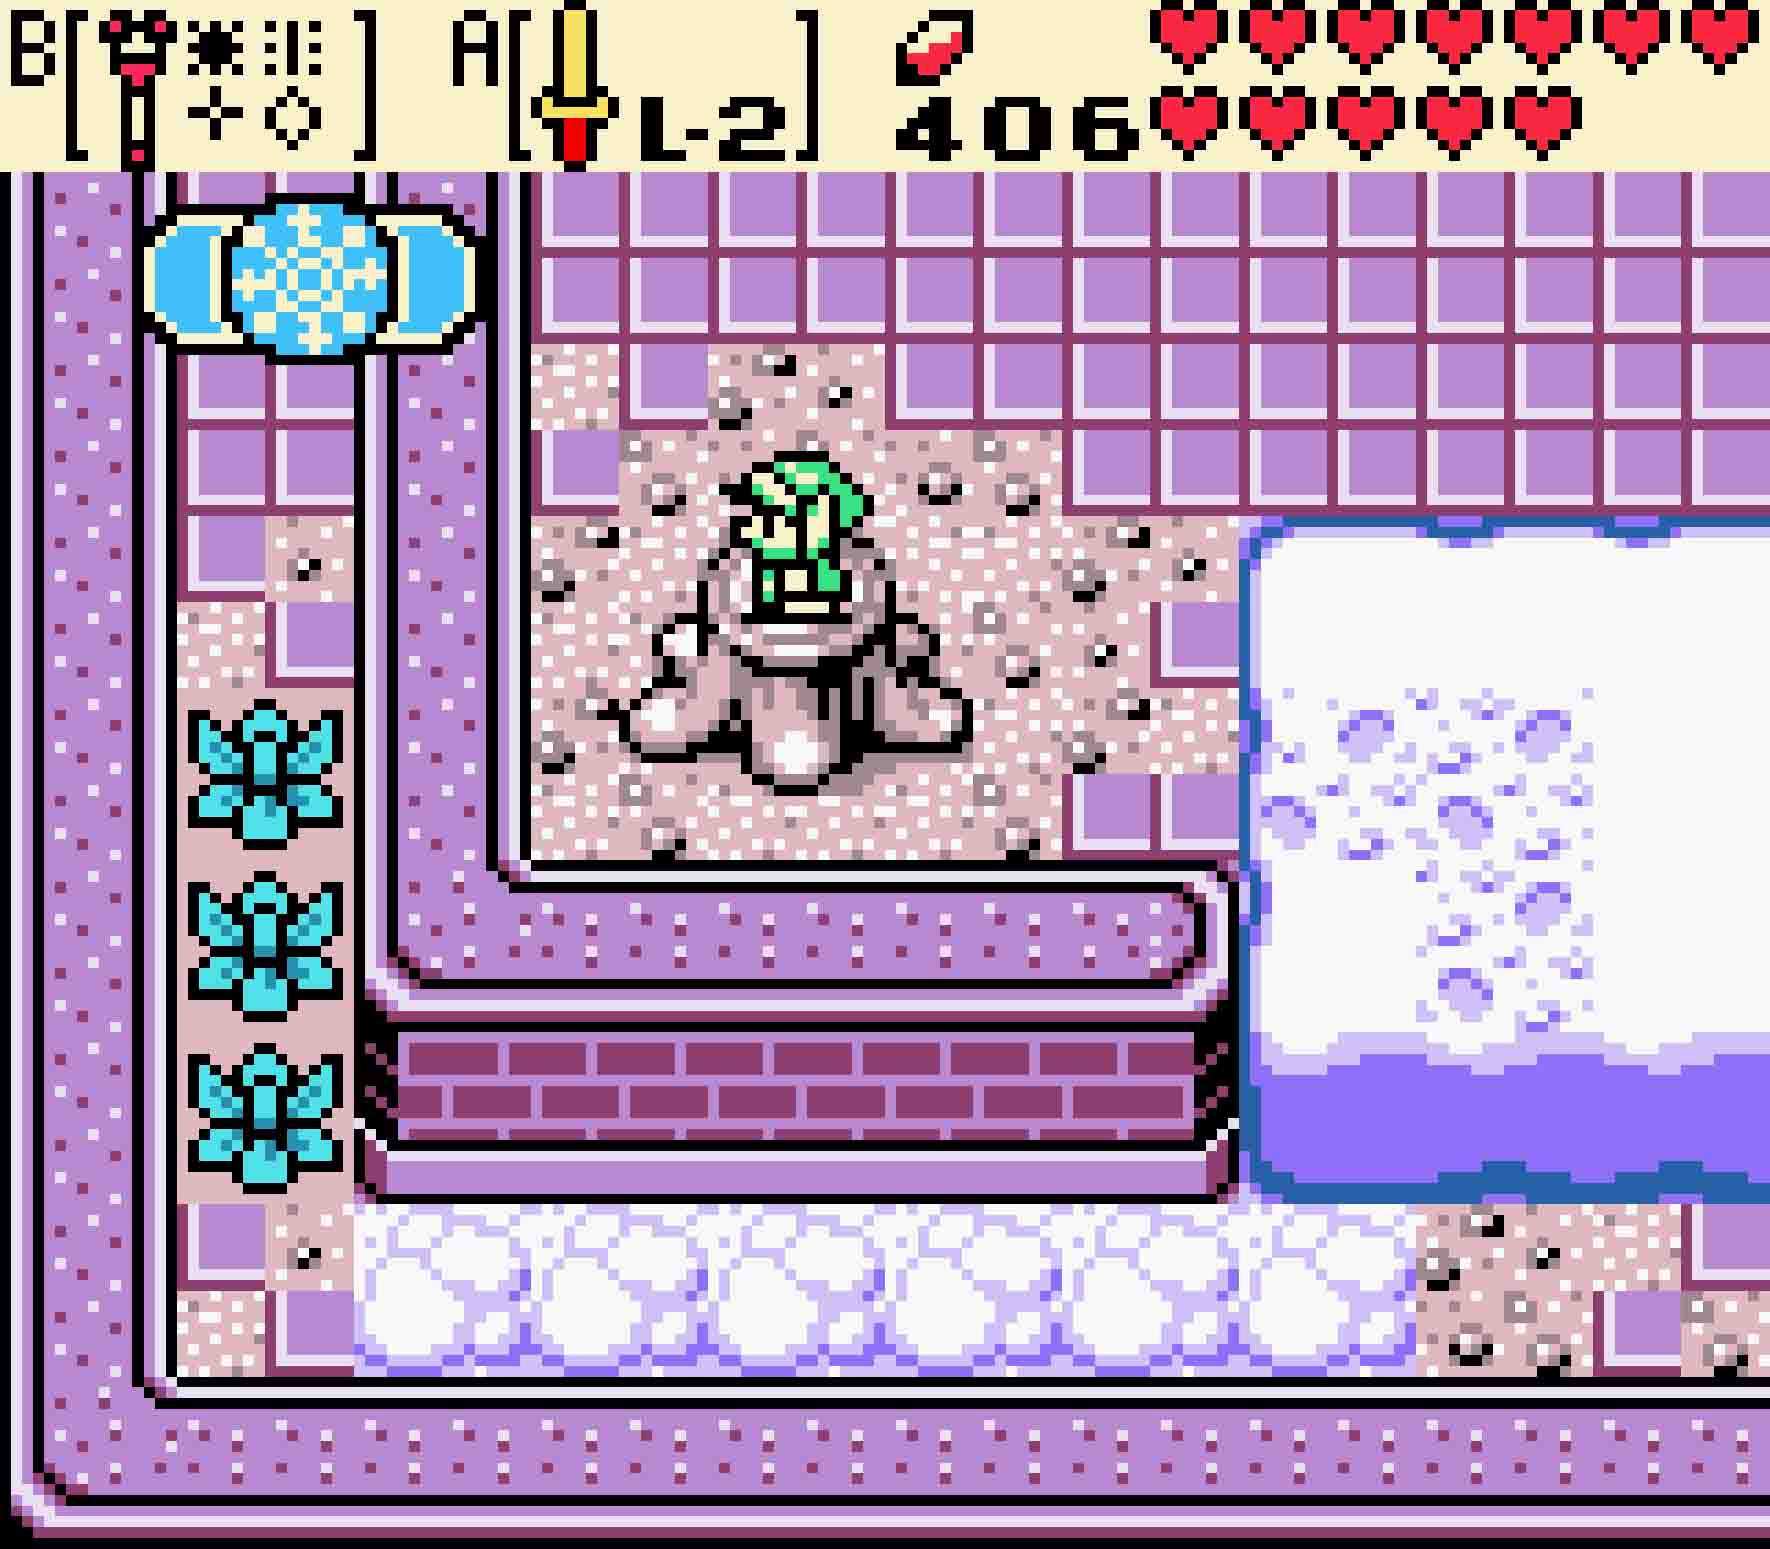
Winter allows you to sneak around this barricade.
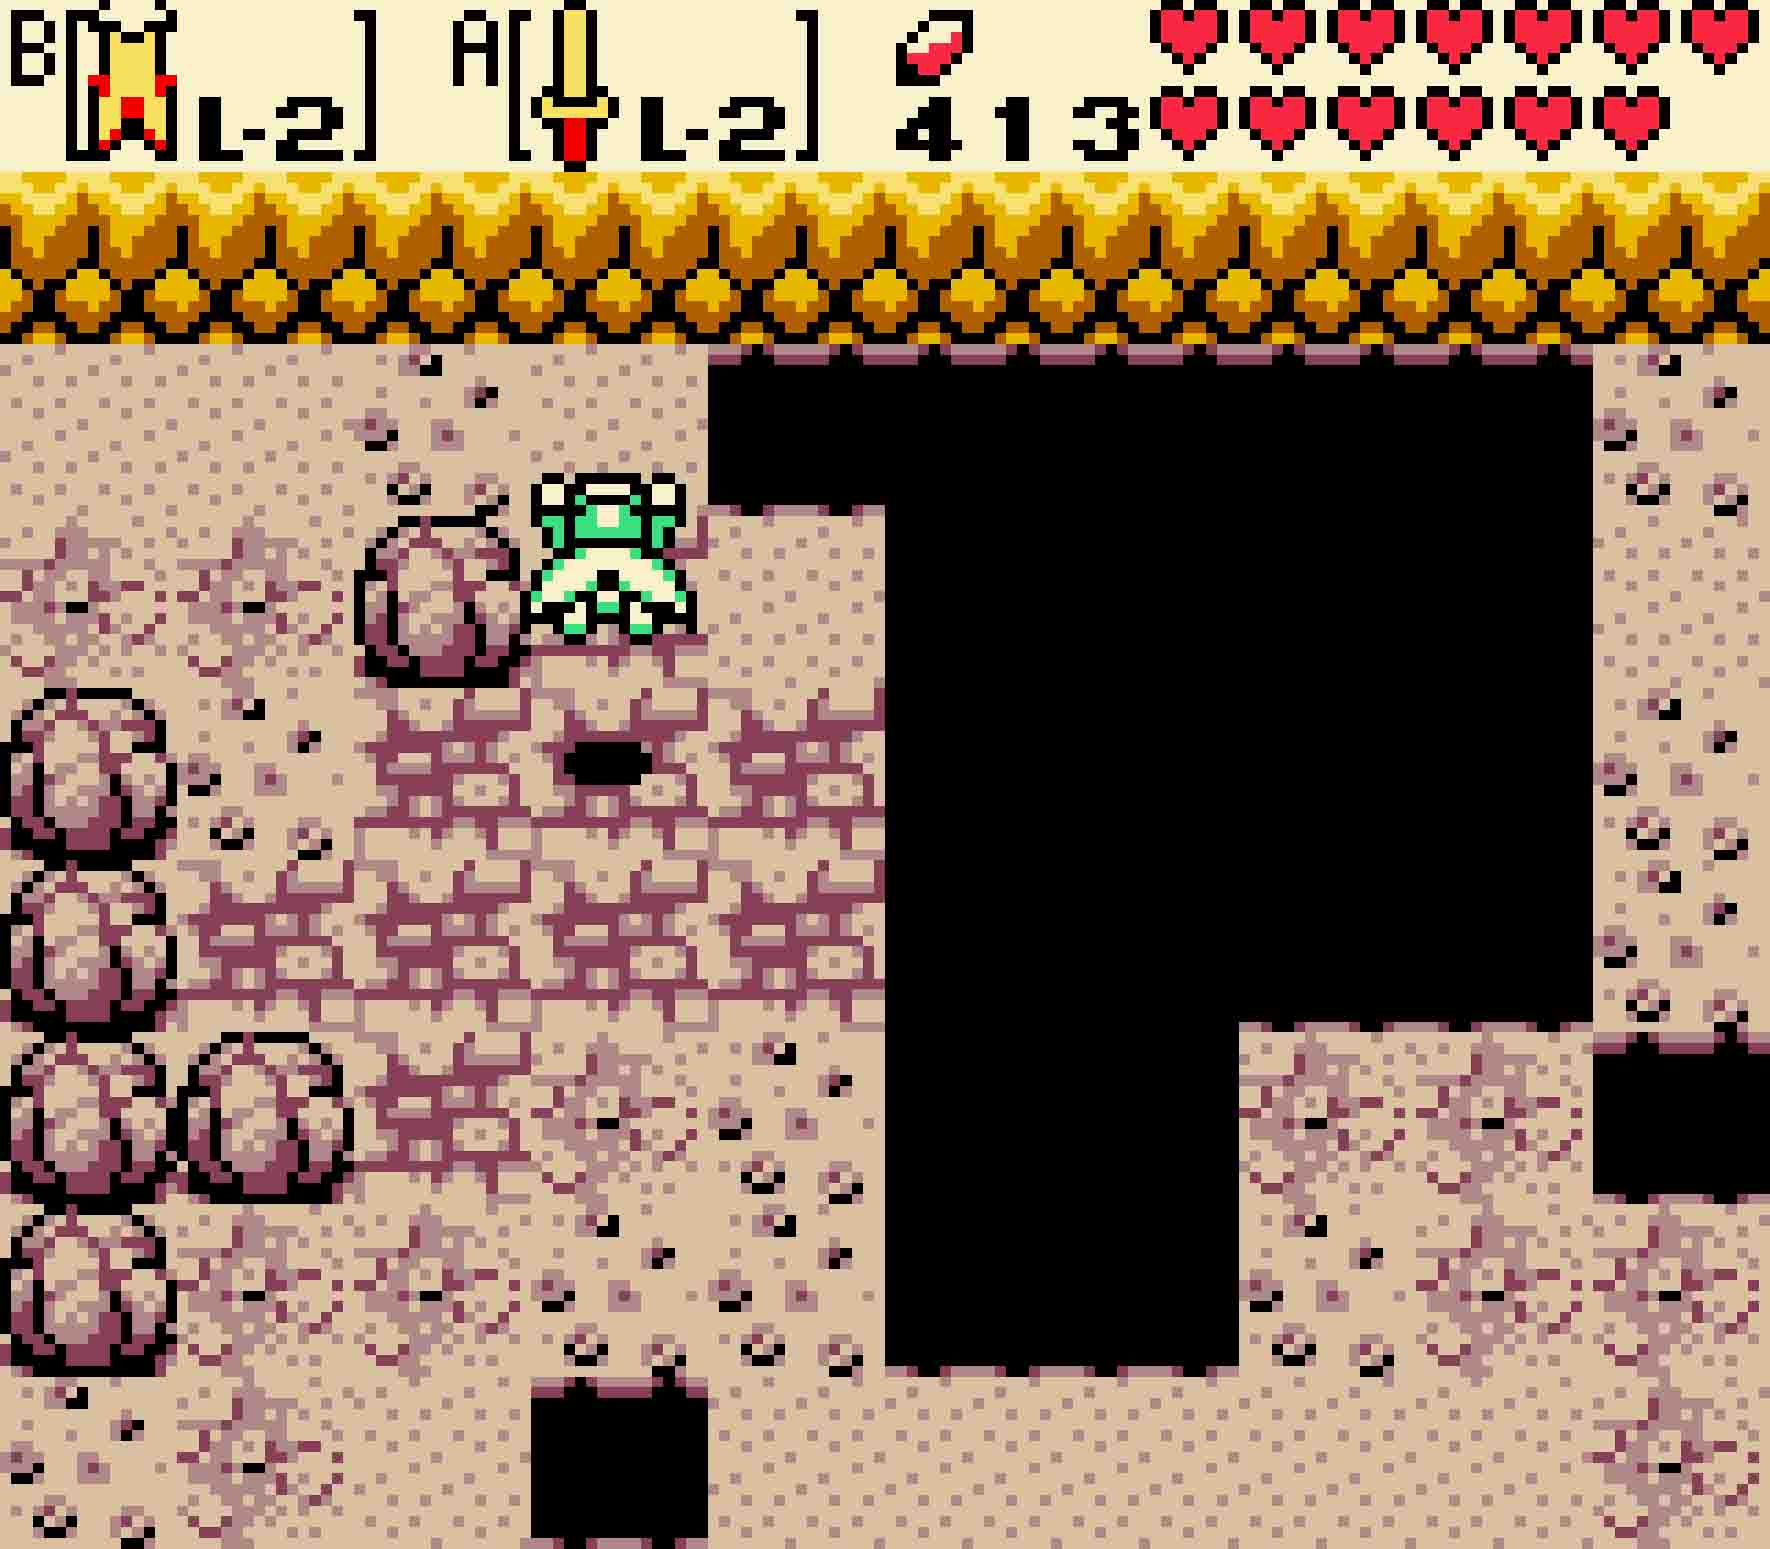
Once you’ve changed the season again, return back north, and then resume your journey by heading to the east. Use your Cape to jump over the potholes in front of you.
Then you’ll notice that there’s this convenient snowbank that provides a footpath around some otherwise inconvenient rocks that would be impassable any other time of year. Walk around them and continue southward. You’ll then see a portal to Subrosia, and you should enter it to go to the world below.
This portal doesn’t allow you a lot of transit, though clearing away the rock that cases you in should mean you can use this portal freely from any point in Subrosia should you decide you have other errands to perform. Otherwise, simply head north, and enter the cave at the end of the steps.
-
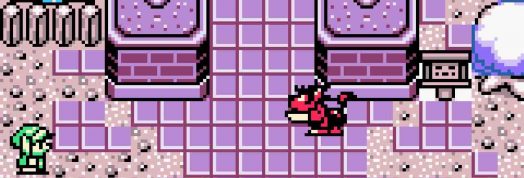
- Once you’re in Subrosia, use a bomb to cause this volano to erupt.
You’ll find a plucky little Subrosian that is tossing a heap of wonderful items into a lava pit that, incidentally, is right beneath a major volcano. Said Subrosian is hoping to upset the volcano enough to cause a major eruption. Unfortunately for him, nothing he’s tossing in is explosive. If you toss in a live Bomb, it hitting the lava will set of a chain reaction. It and two other volcanoes will erupt skyward, breaking through the surface of Holodrum and filling the Temple Remains with lava. This will cause major landscape changes. It might be environmentally unfriendly, but there was a small grove of trees blocking off where you needed to go, and the ends justify the means in this case.
18.4 Enter the temple’s sanctum
Leave the cave, head south, and re-enter the portal to return to Holodrum and the newly destroyed temple. Though it’s winter, all the snow is now melted, meaning that winter isn’t going to do much for you.
It turns out destroying the temple has other fringe benefits too. With the temple destroyed, you can now access the twelfth and final Piece of Heart in the game.
-
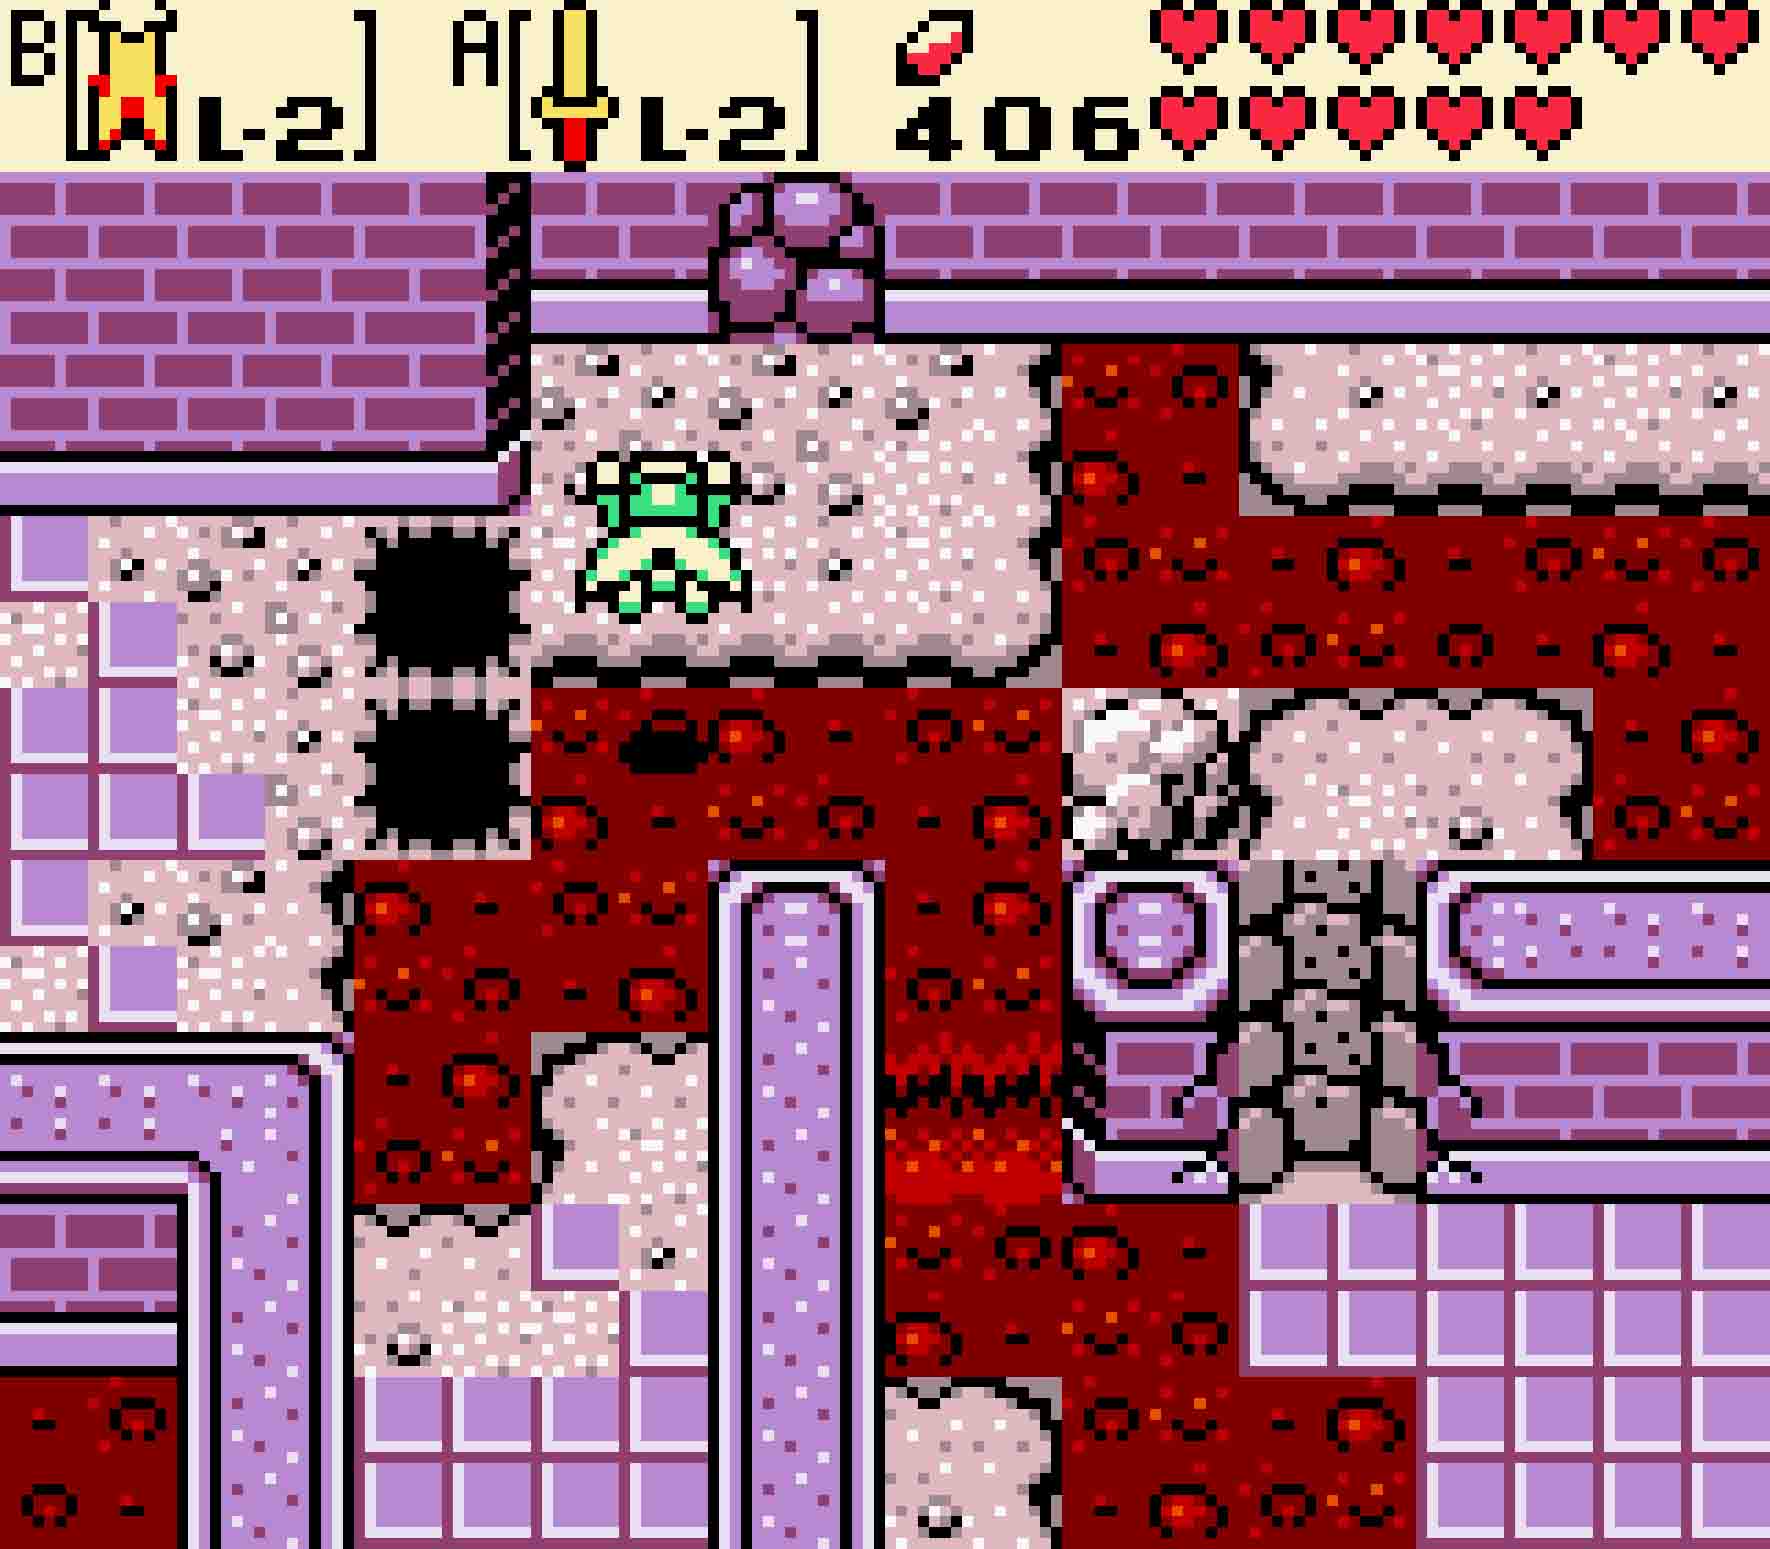
- Now with lava everywhere, you’ll have to make a creative path to the dungeon.
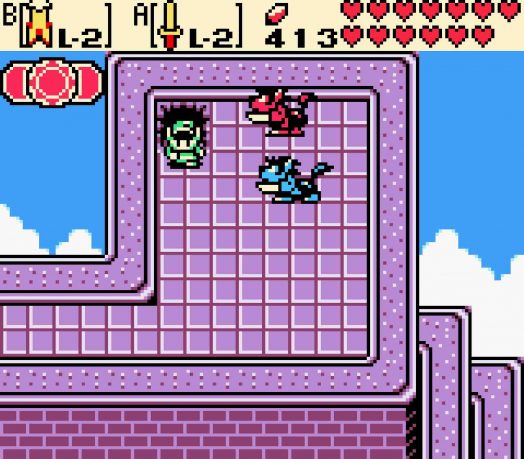
-
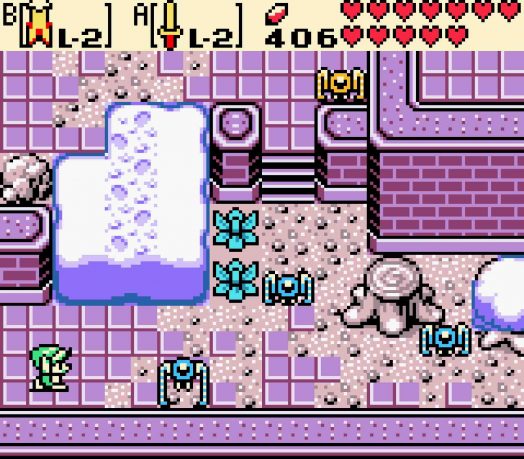
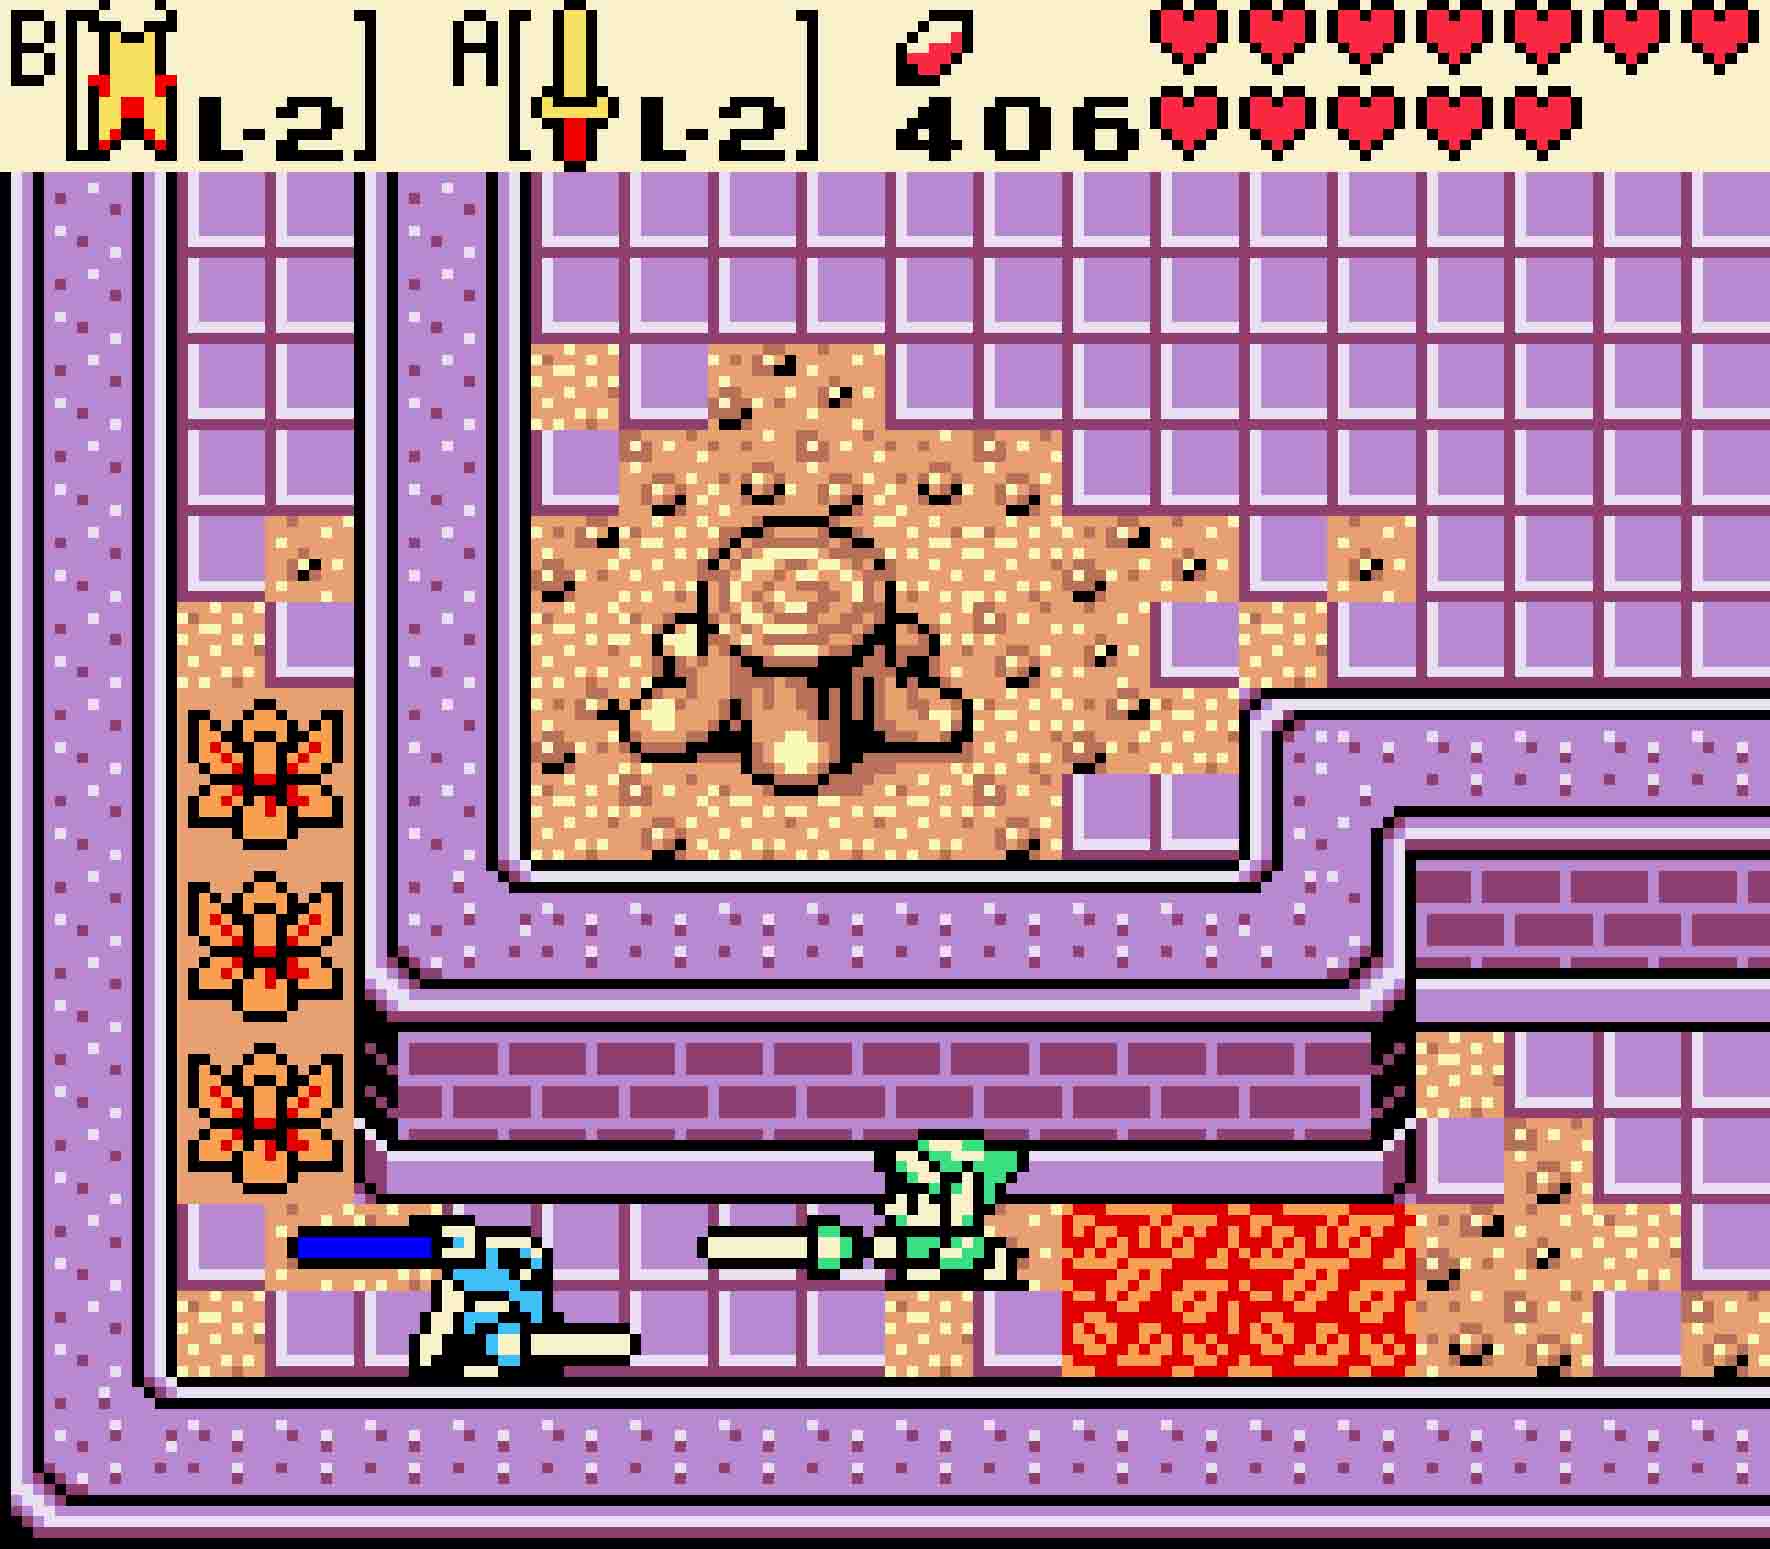
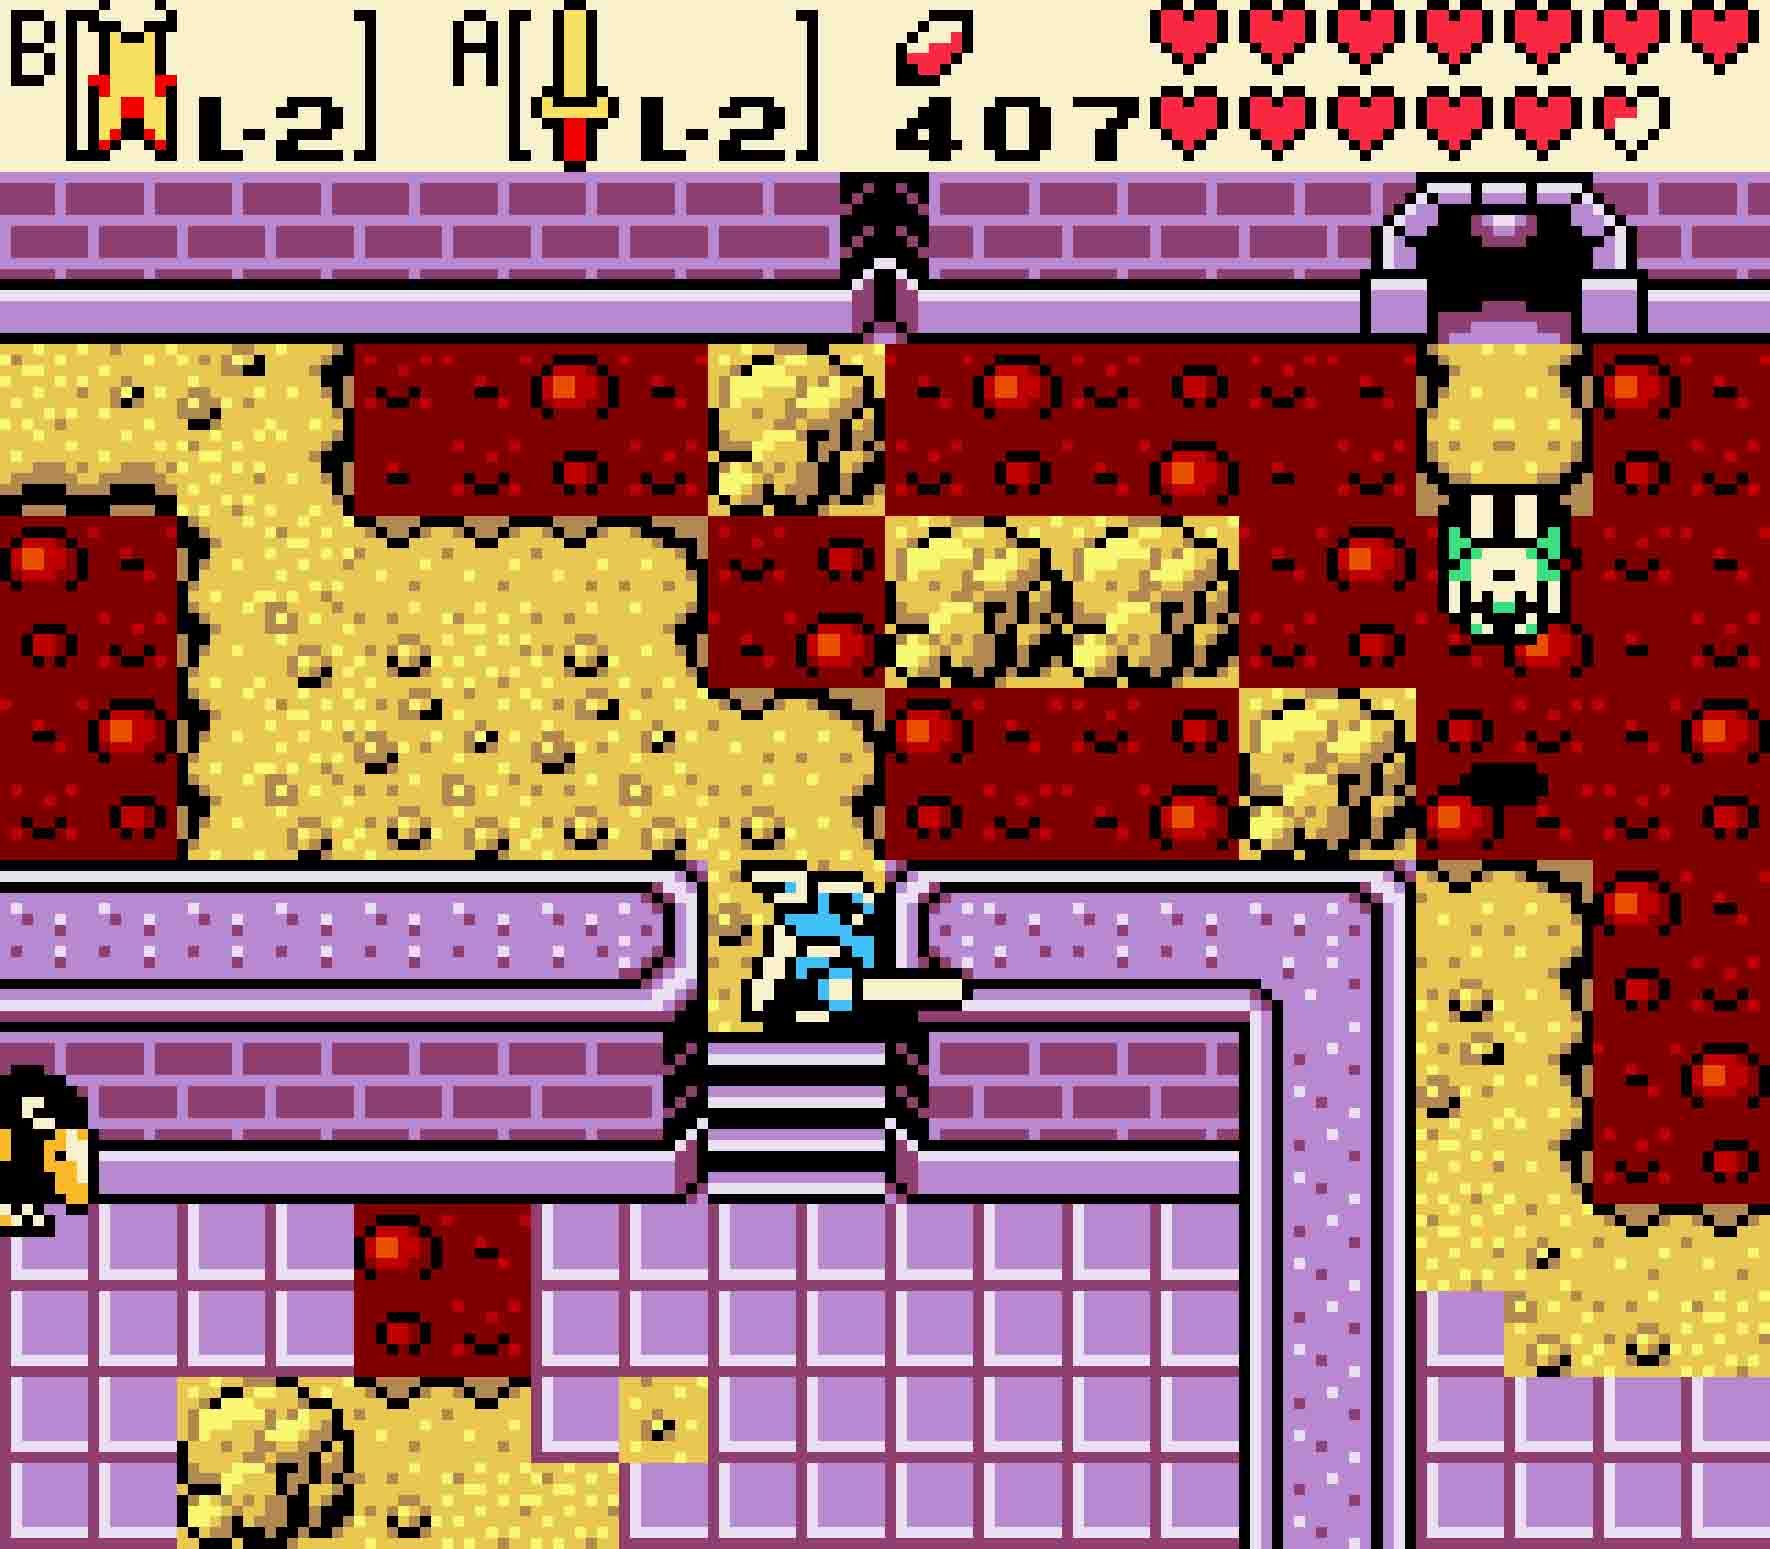
- This screen is very tricky because of the narrow walkway and Darknuts.
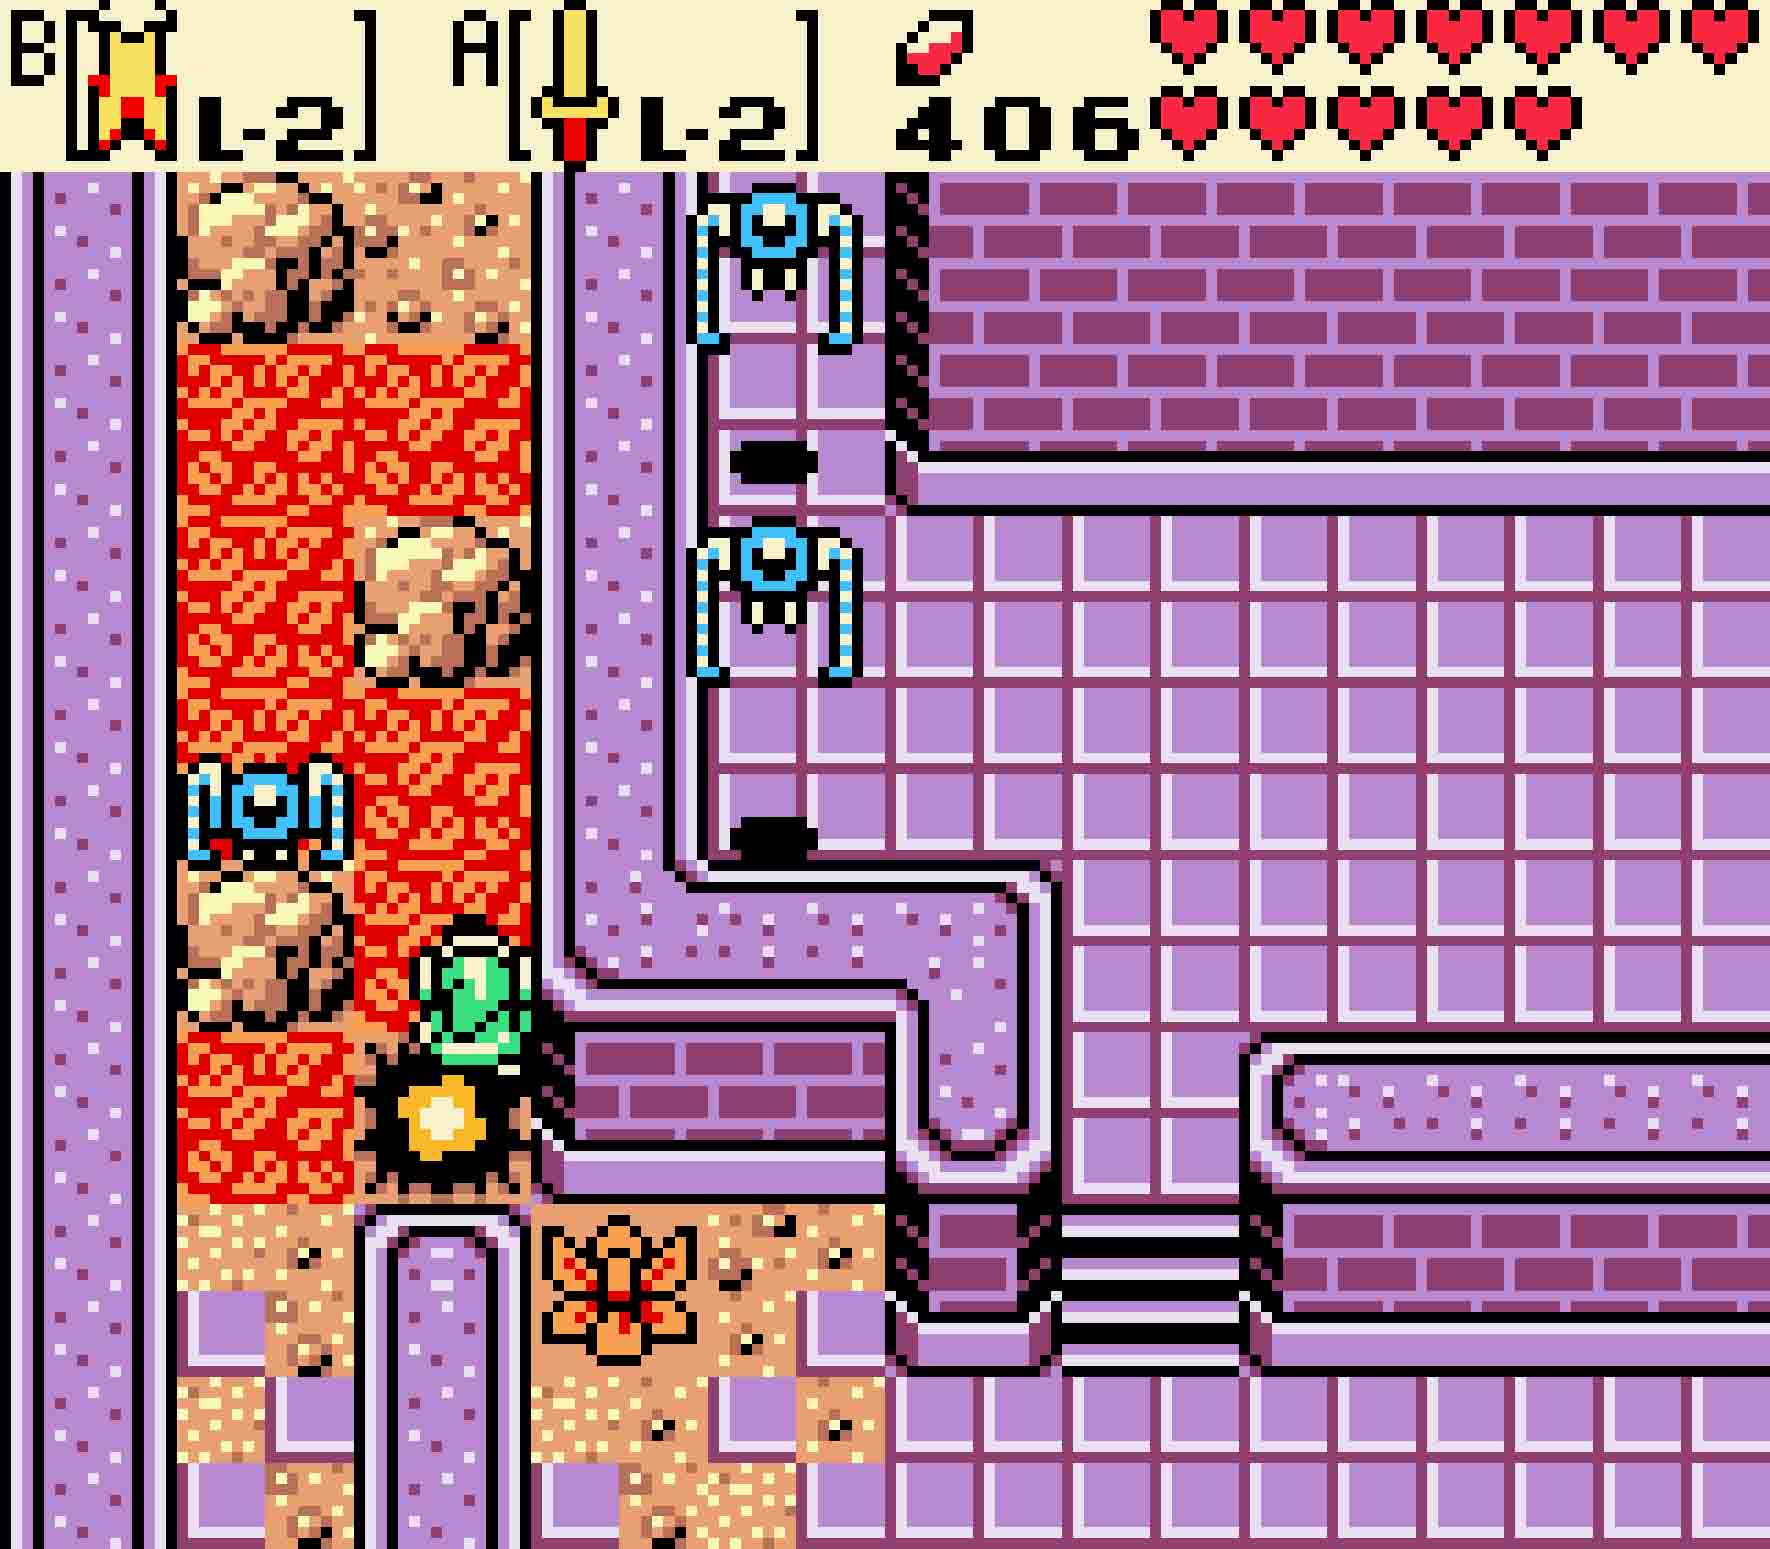
Once you switch to summer, you’ll have access to the northeast part of the area.
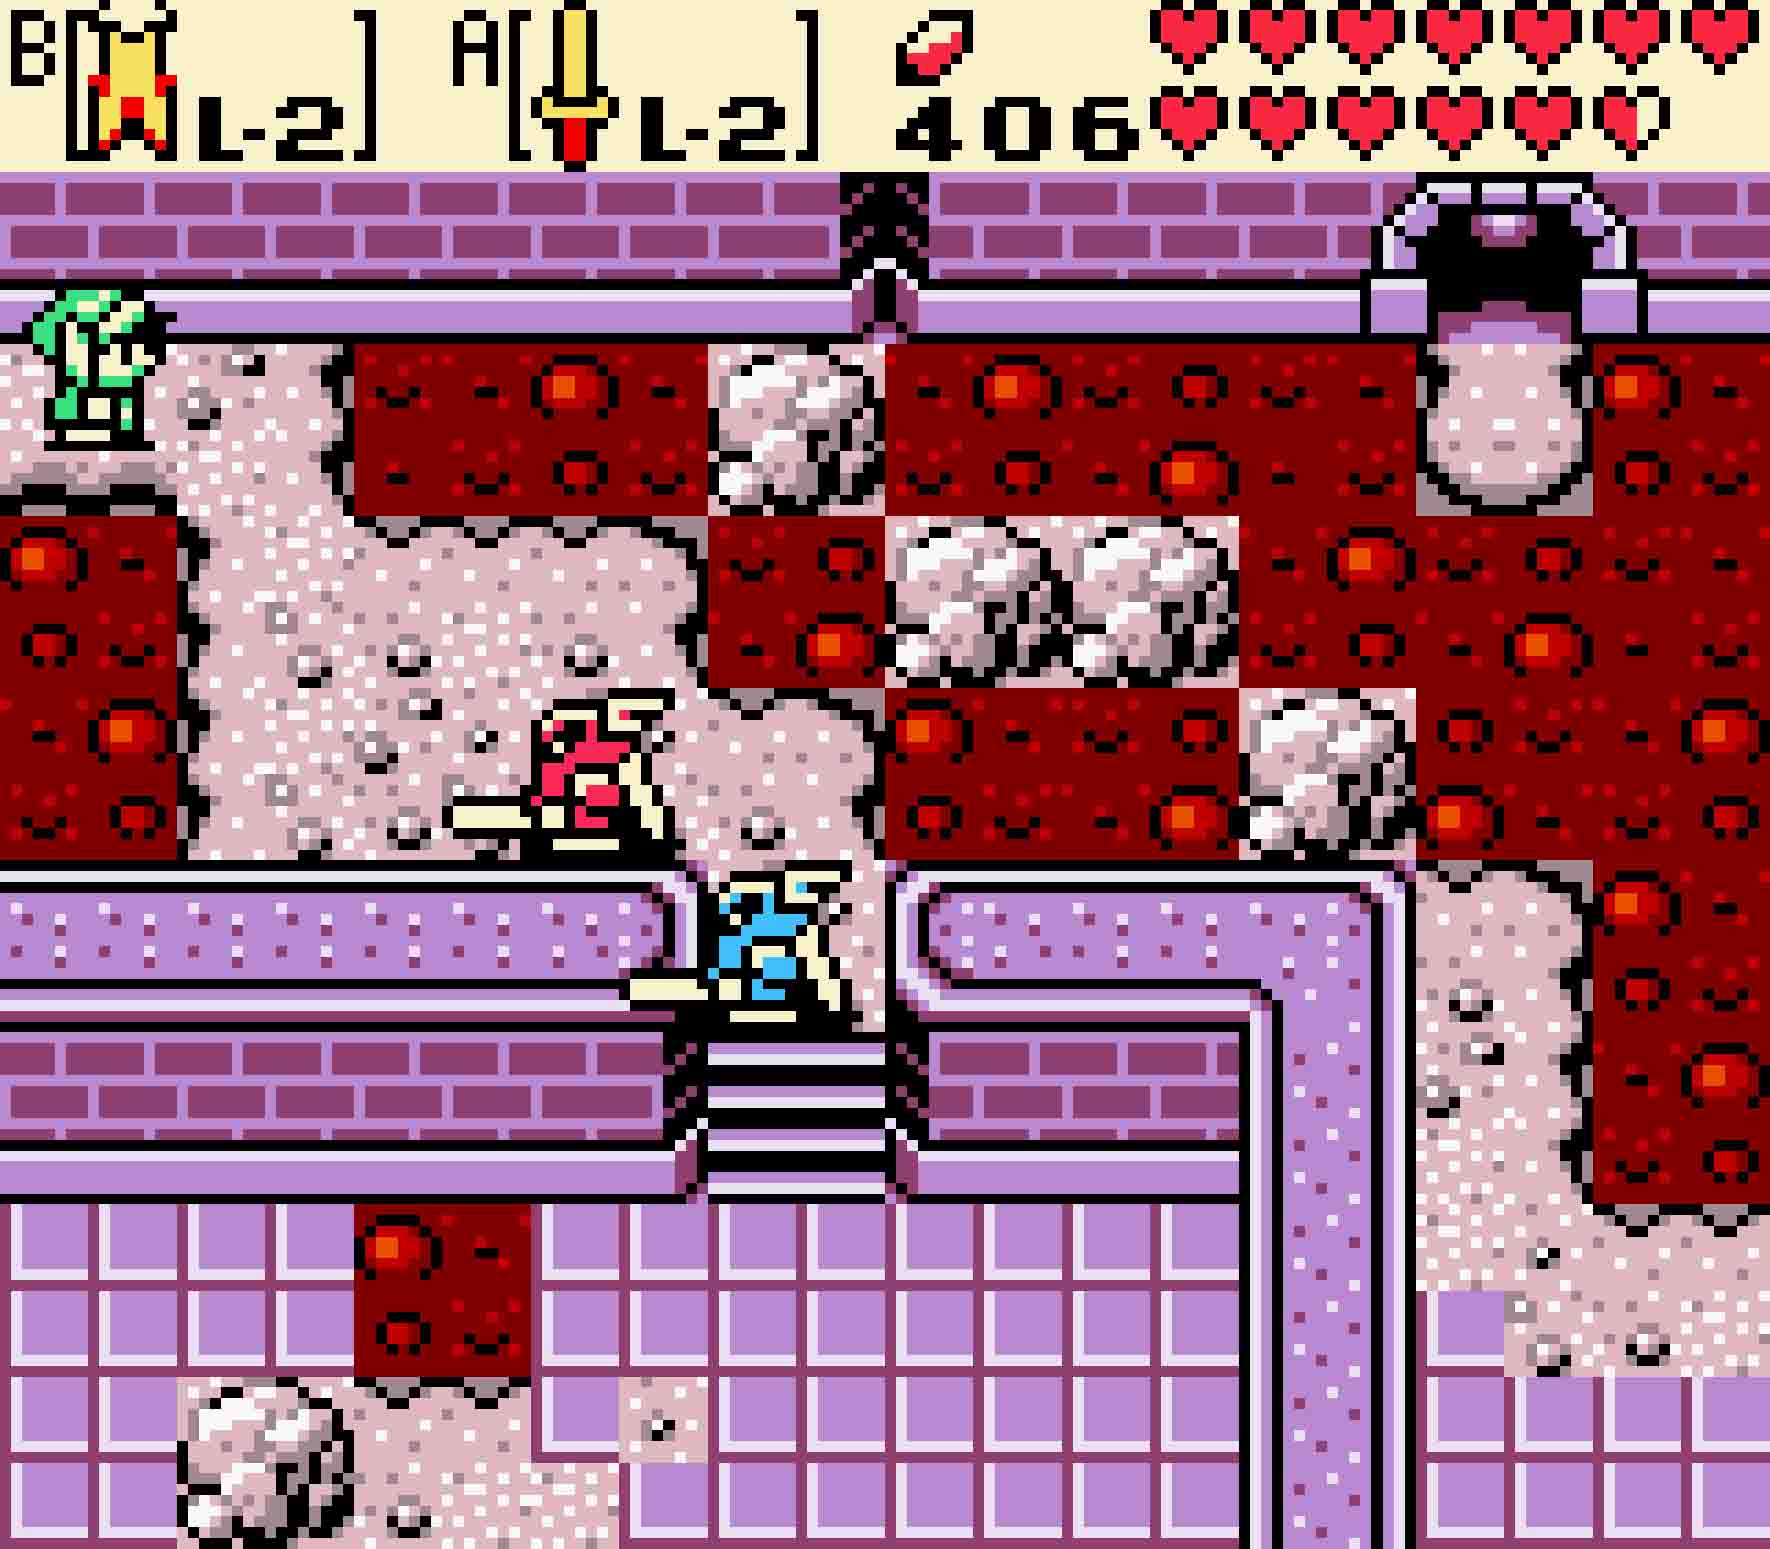
Head north, and use the Cape to hop over the lava river to reach the island with the crumbled wall. Then hop over the small gap to the right and continue eastward. You’ll be fighting on some relatively close quarters, but two Darknuts will challenge you for precious ground space here; knock them into the lava to show them who’s boss. Then proceed back southward, following the path. This will put you so conveniently right next to the original tree stump and less conveniently the Tektites guarding it. From here on, you’re going to need the season to be summer.
Head east. Be wary of the two Lynels on this screen. With luck (or lack thereof), one of the two Lynels will spawn on the far island, meaning that kill it will be very difficult. It also means that it can shoot arrows at you. Dodge them as best you can as you hop to the top island and climb the vines leading northward.
From here, there’s not much creativity in your pathway. Hop around the outsides of this screen from island to island until you reach the 2×2 island along the north wall. Then hop to the south so that you can proceed westward. Follow the pathway around, hop over the lava, and then enter the entrance to the destroyed temple.
18.5 Return to Subrosia
At first, it’ll be difficult to figure out what to do. But if you end up drawn to the bushes, you’ll discover a south-polarity magnet at the end of the gap between the two peninsulas of land. Use the north-polarity Magnetic Gloves to pull yourself across the gap to it. Avoid the Zols on the other side, and then do the same to cross the otherwise out-of-sight magnet to head back to the southeastern corner of the room. Ascend the steps at the far end.
-
- From the south wall, there’s a hidden south pole up north. Pull yourself across.
-
- The second one is easier to find, but it’s still equally mysterious from the other end.
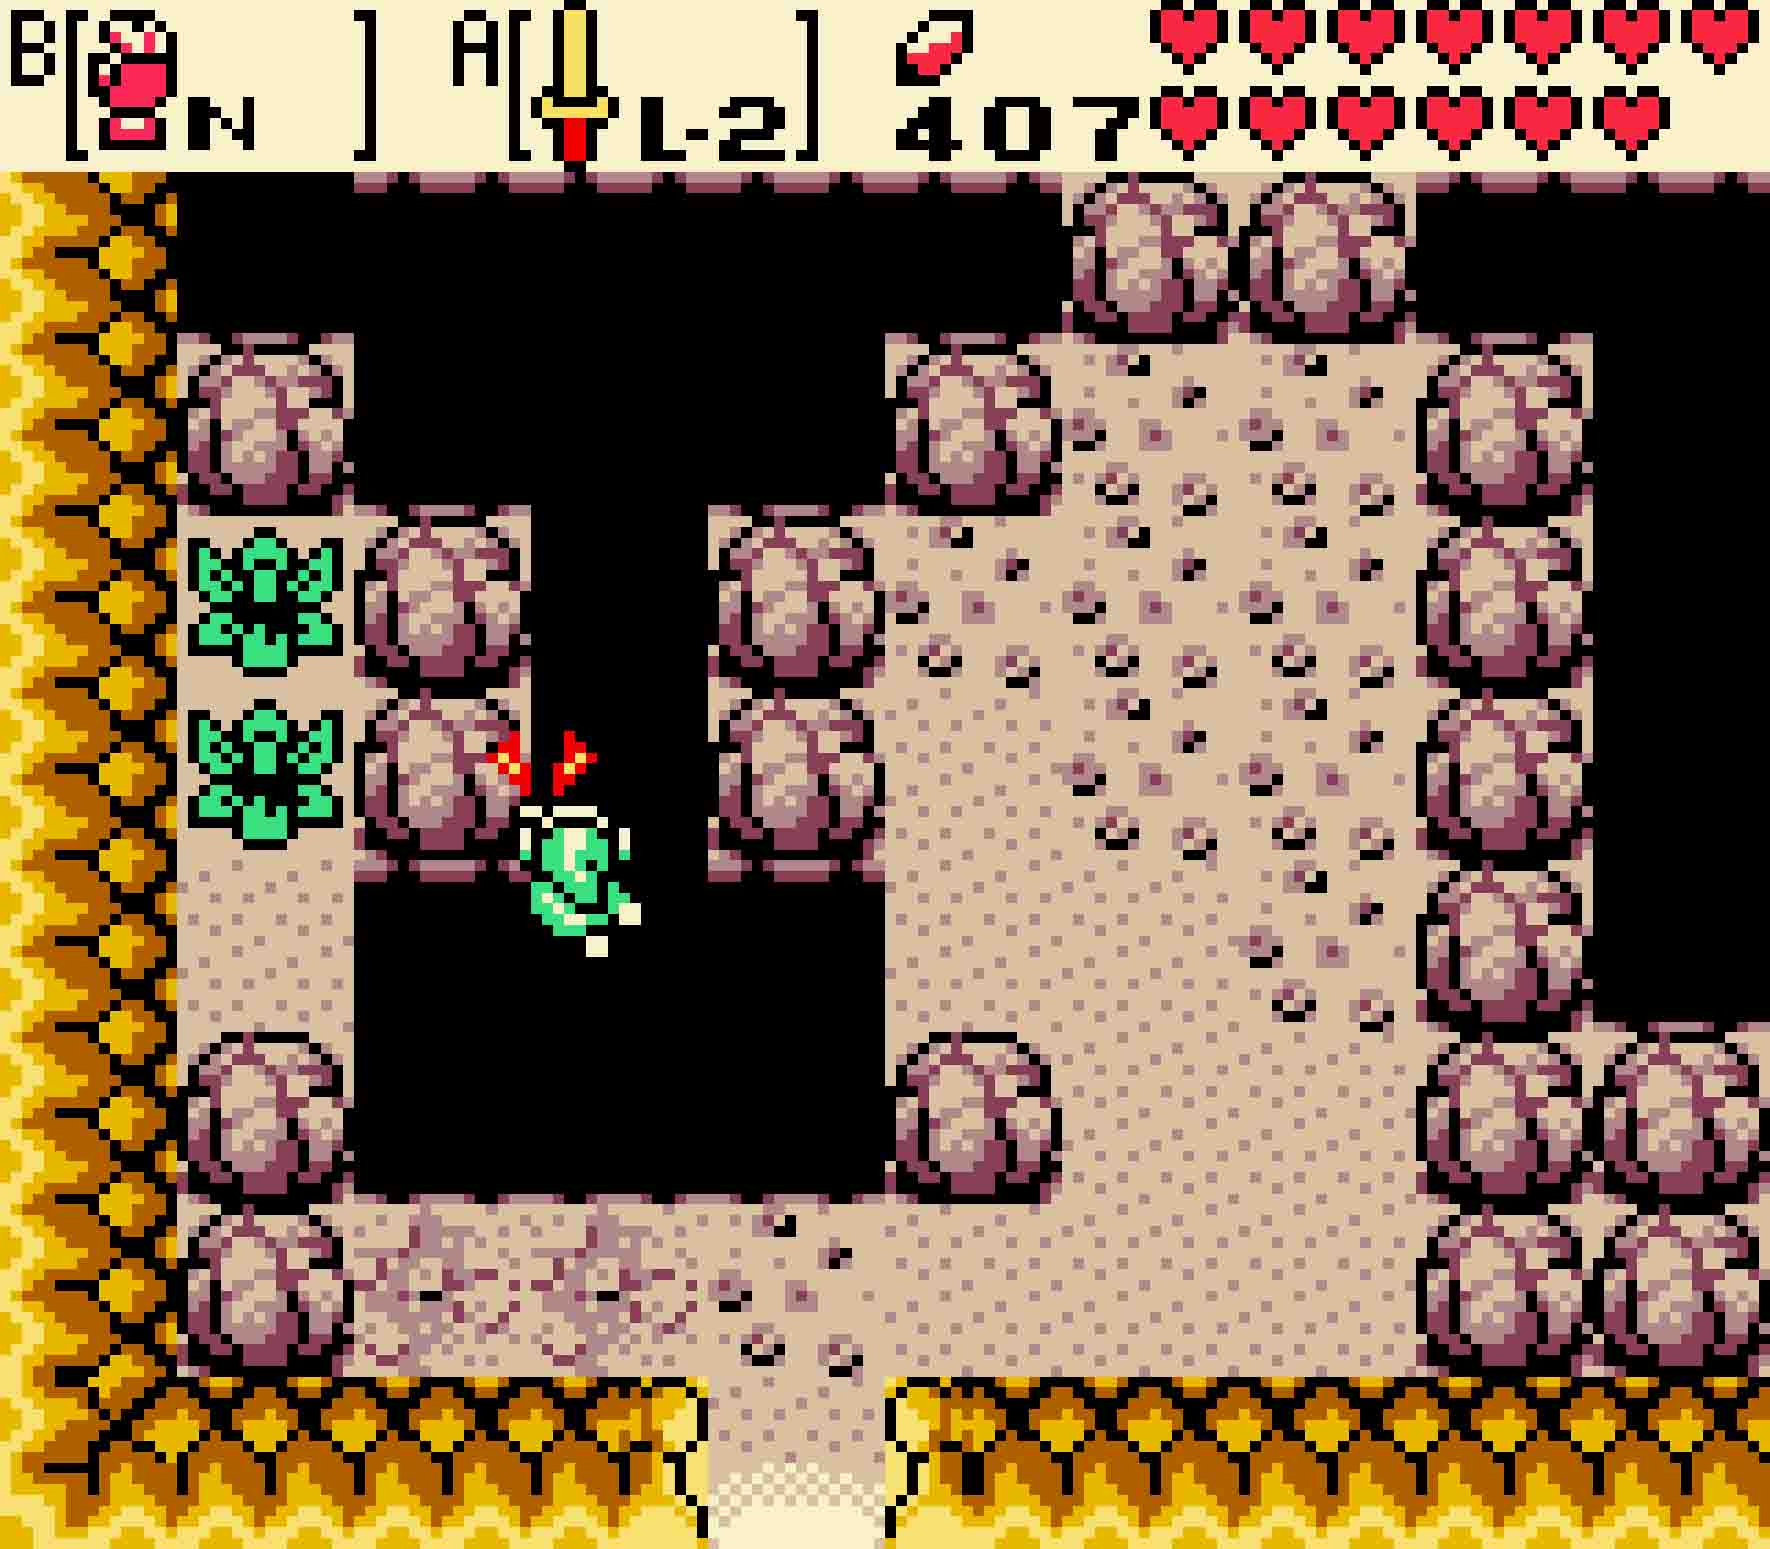
You’ll then encounter another classic boulder pushing puzzle whilst being surrounded by Keese.
Getting past the boulder shifting puzzle
Step One Push the rightmost boulder down one square.
Step Two For the boulder that’s now to your left, push it to the right.
Step Three To access the long bridge, you can push the boulder below you south. Now you’ll be able to tackle part two.
Step Four On the right side, push the bottommost boulder up one to access the west wall.
Step Five That will allow you to get to the very top boulder, and you can push this right to the steps.
Watch out when you come topside as there’ll be an ambush waiting.
These will take you out of the dungeon… and immediately within the line of fire of two Lynels. Move quickly and escape off to the west as fast as your feet will carry you. There you’ll find another staircase, which you should lead you back into the temple caverns. Hop over the pits, and eventually you’ll find a Mini-moldorm flitting about the middle of the room (or at least thereabouts). From here you can only head west, but there are two possible pathways west. You’ll want to take the north one after carefully crossing the crumbled cavern floor.
From there, it’s just a matter of passing by some Keese and Zols in order to get to the steps leading you back outside. But watch out! The moment you get back above ground, you’ll have two tough Lynels waiting for you there. So you’ll need to move fast!
-
- Take the northern route this time. The southern route will be a dead end.
-
- Watch out for the Keese and the Zols. Thankfully they’re all weak enemies.
Head west, and kill the Lynel on the next screen before continuing your westerly trek. Eventually you’ll reach the northwestern corner of the temple once again, but this time you can access the sanctum at the end of the path. Head inside, and collect the two fairies to help restore your health after all those Lynel encounters. Once you’re ready to face the music, pop into the provided Subrosian portal.
This will place you at the far northwest of Subrosia, and there’s only one way to head: up. Ascend the several sets of steps cut into the cliffside, and eventually you’ll reach a Subrosian cavern. Enter inside, and you’ll find yourself in the eighth dungeon of Oracle of Seasons.