


Chapter 16: Samasa Desert
- 16.1 Parley with the pirate captain
- 16.2 Enter the Samasa Desert
- 16.3 Find the captain’s bell
- 16.4 Get the bell polished
- 16.5 Get the pirates back onto the sea
- 16.6 Enter the graveyard
16.1 Parley with the pirate captain
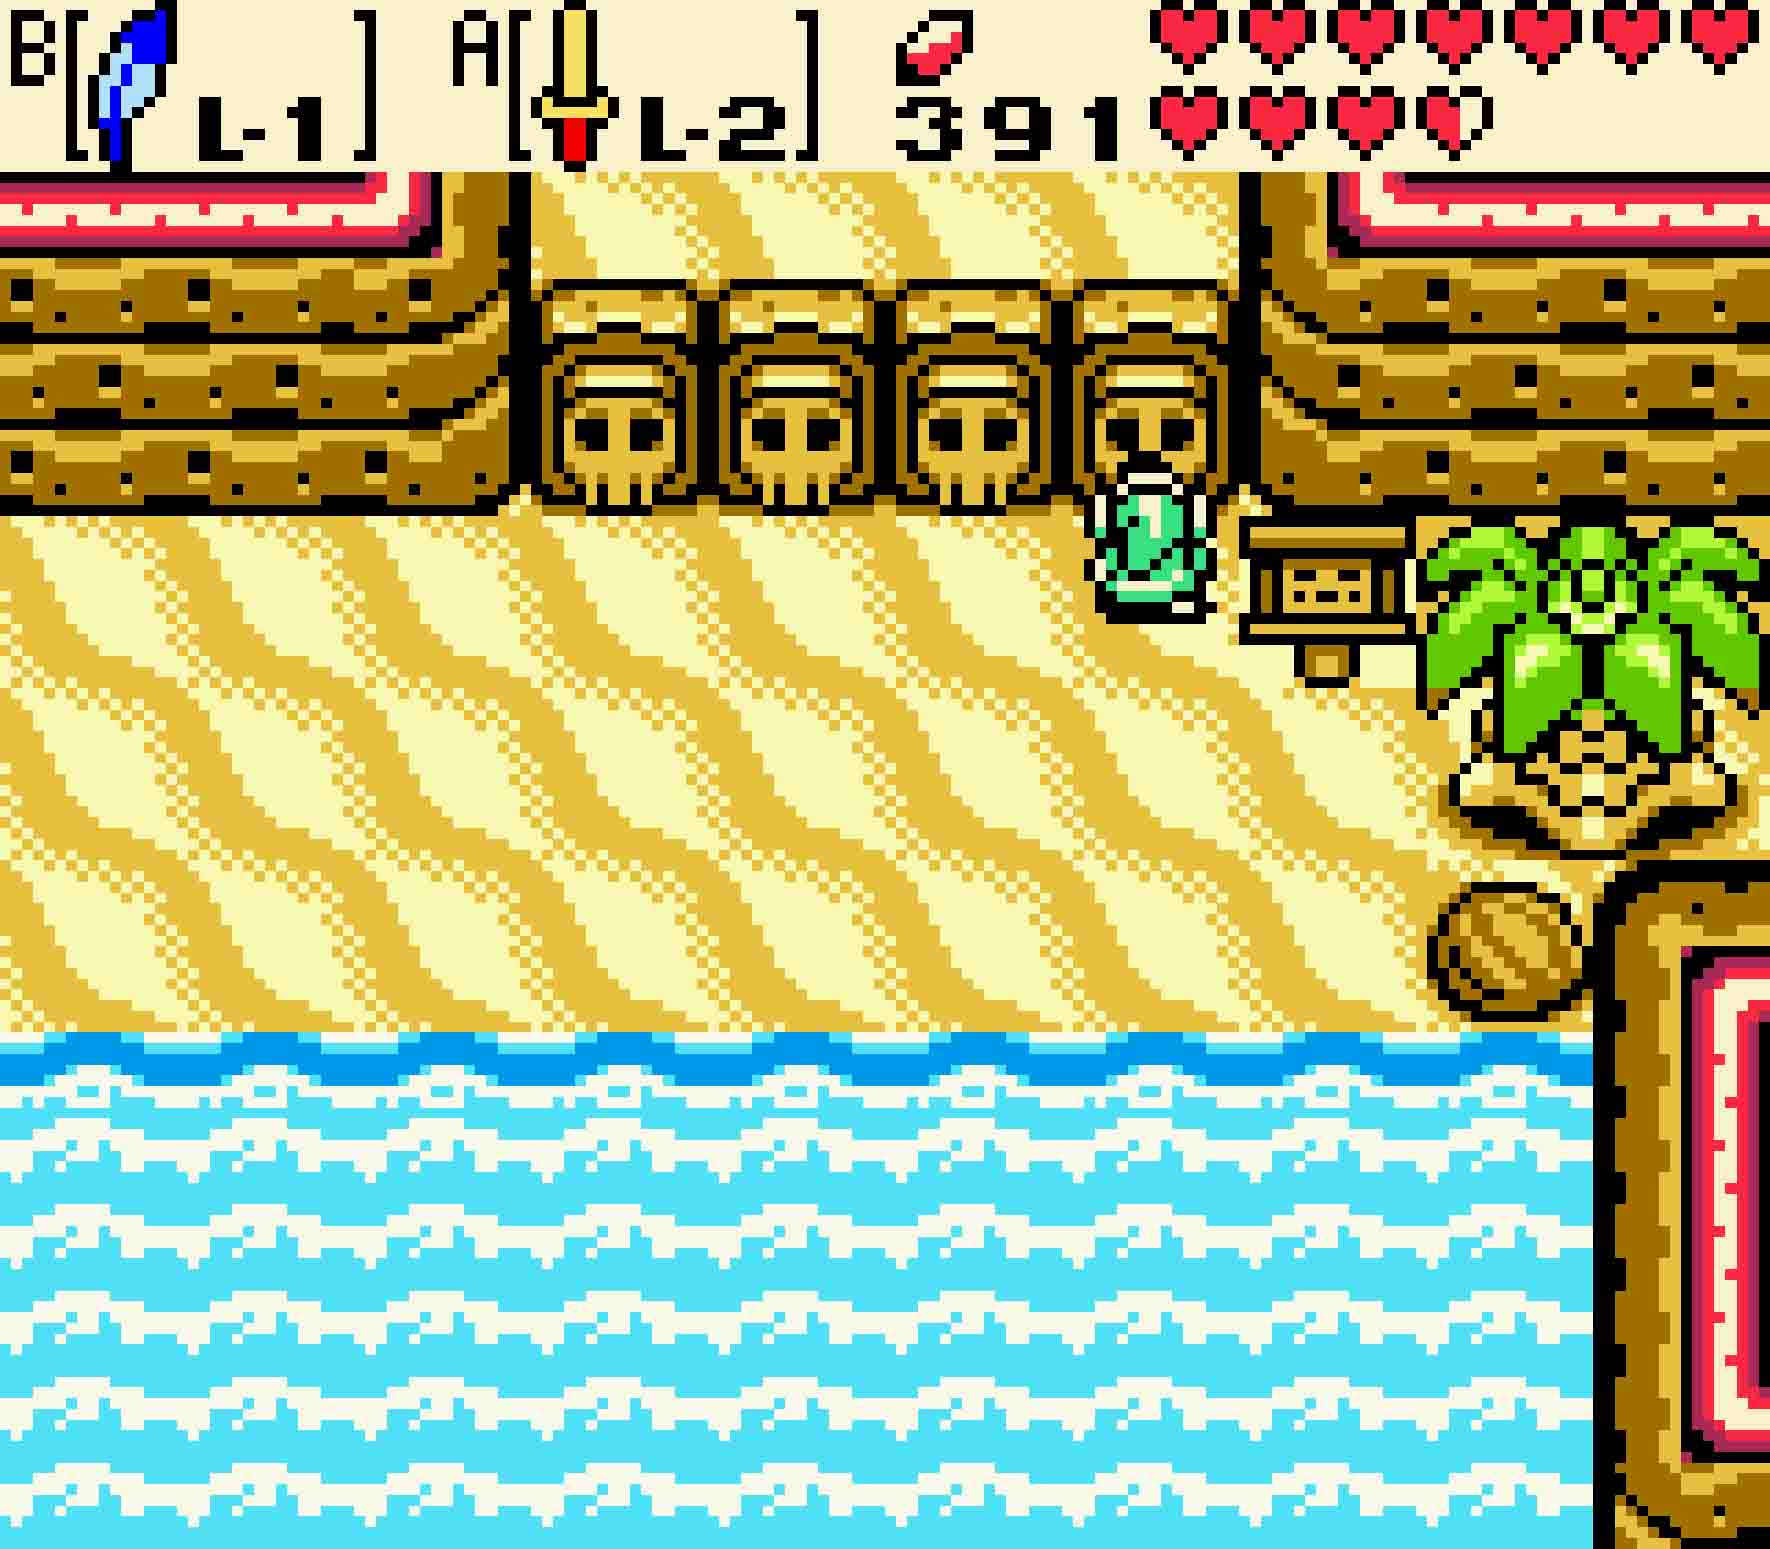
After you come out of the Ancient Ruins, pop a Gale Seed and warp back to Horon Village to save yourself the long walk back. Go about any business you need to do, but then head out of Horon Village via the eastern exit towards the windmill. Instead of heading towards the windmill though, immediately head south after you leave. This will put you out on the beach.
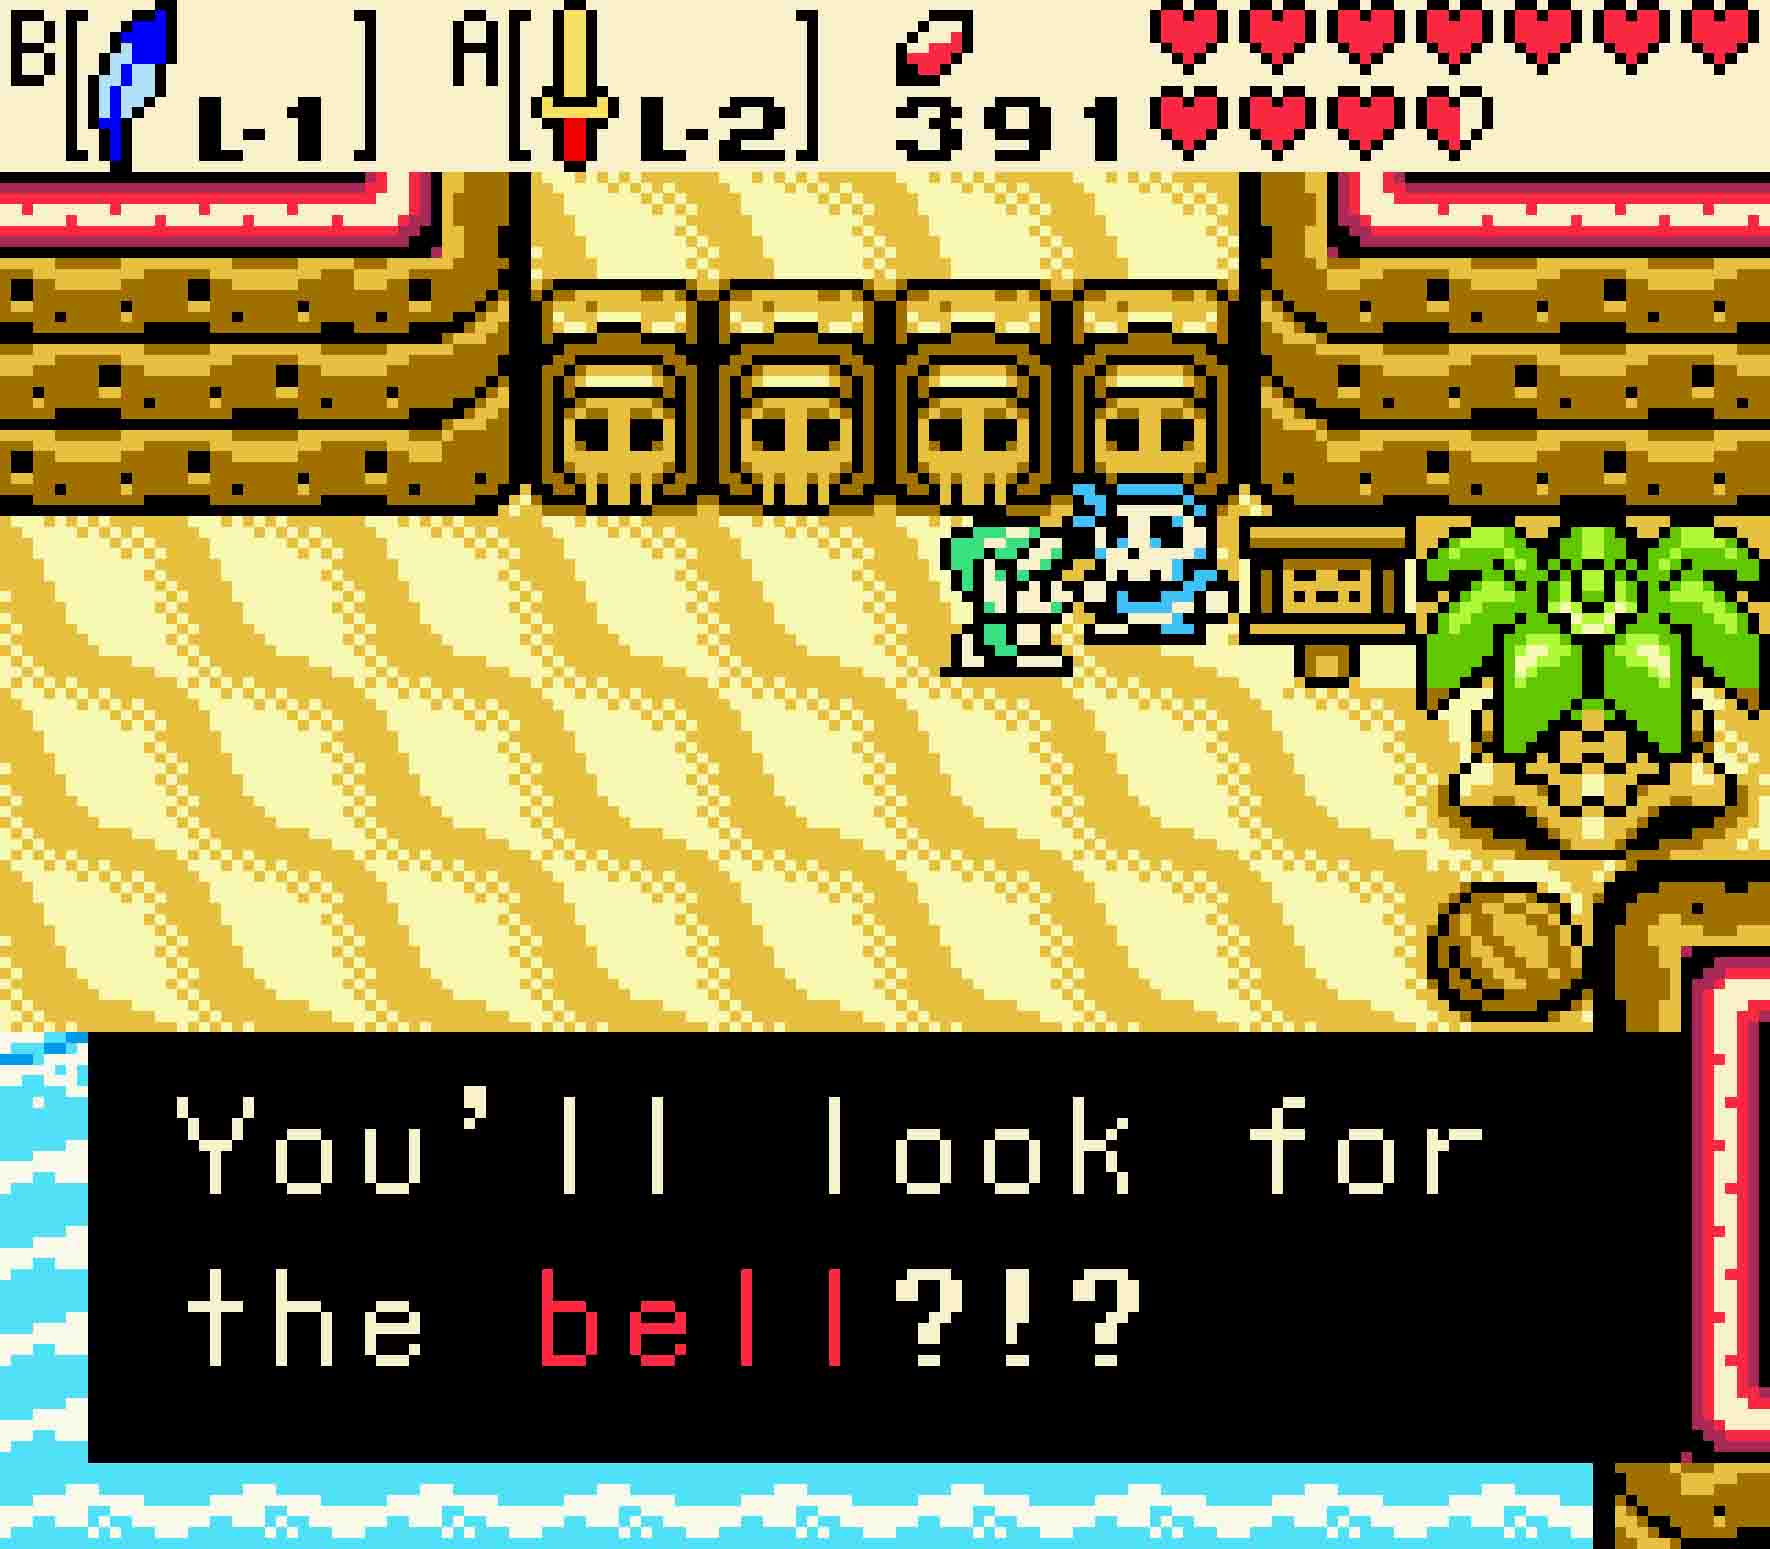
There are no enemies here, so there’s time to enjoy some peace and quiet. But once you reach the end of the beach, you’ll find a skeletal pirate sitting at the edge of the gate. Go and talk to him; he’ll whine about needing to find a bell but doesn’t seem all that motivated to do it. Sounds like a great opportunity for you to pull off though.
-
- Head out to the eastern suburbs of Horon to reach the beach.
-

- You have to talk to this Skeleton in order to activate this quest.
The skeletal pirate is in Subrosia, and thankfully there’s a portal just nearby. Return west and north to get back to Horon Village. That familiar portal is just two screens west and one screen south from the edge of Horon Village. Head down the staircase and into the portal… and voilà! You’ll be just atop of the pirates’ headquarters.
Drop down off the cliff and enter the front entrance to find the pirate captain. Speak with him, and he’ll lament that he needs his bell in order to get his ship back to sailing. As part of your conversation, agree to find the bell for him. This is one of the two things you need to allow you to enter the Samara Desert.
-
- Aren’t you glad you opened up this Subrosian entrance earlier?
-

- By talking to the captain, you have full access to enter the desert… almost…
16.2 Enter the Samasa Desert

Talking to this pirate on the right will give you the secret combination to unlock the desert.
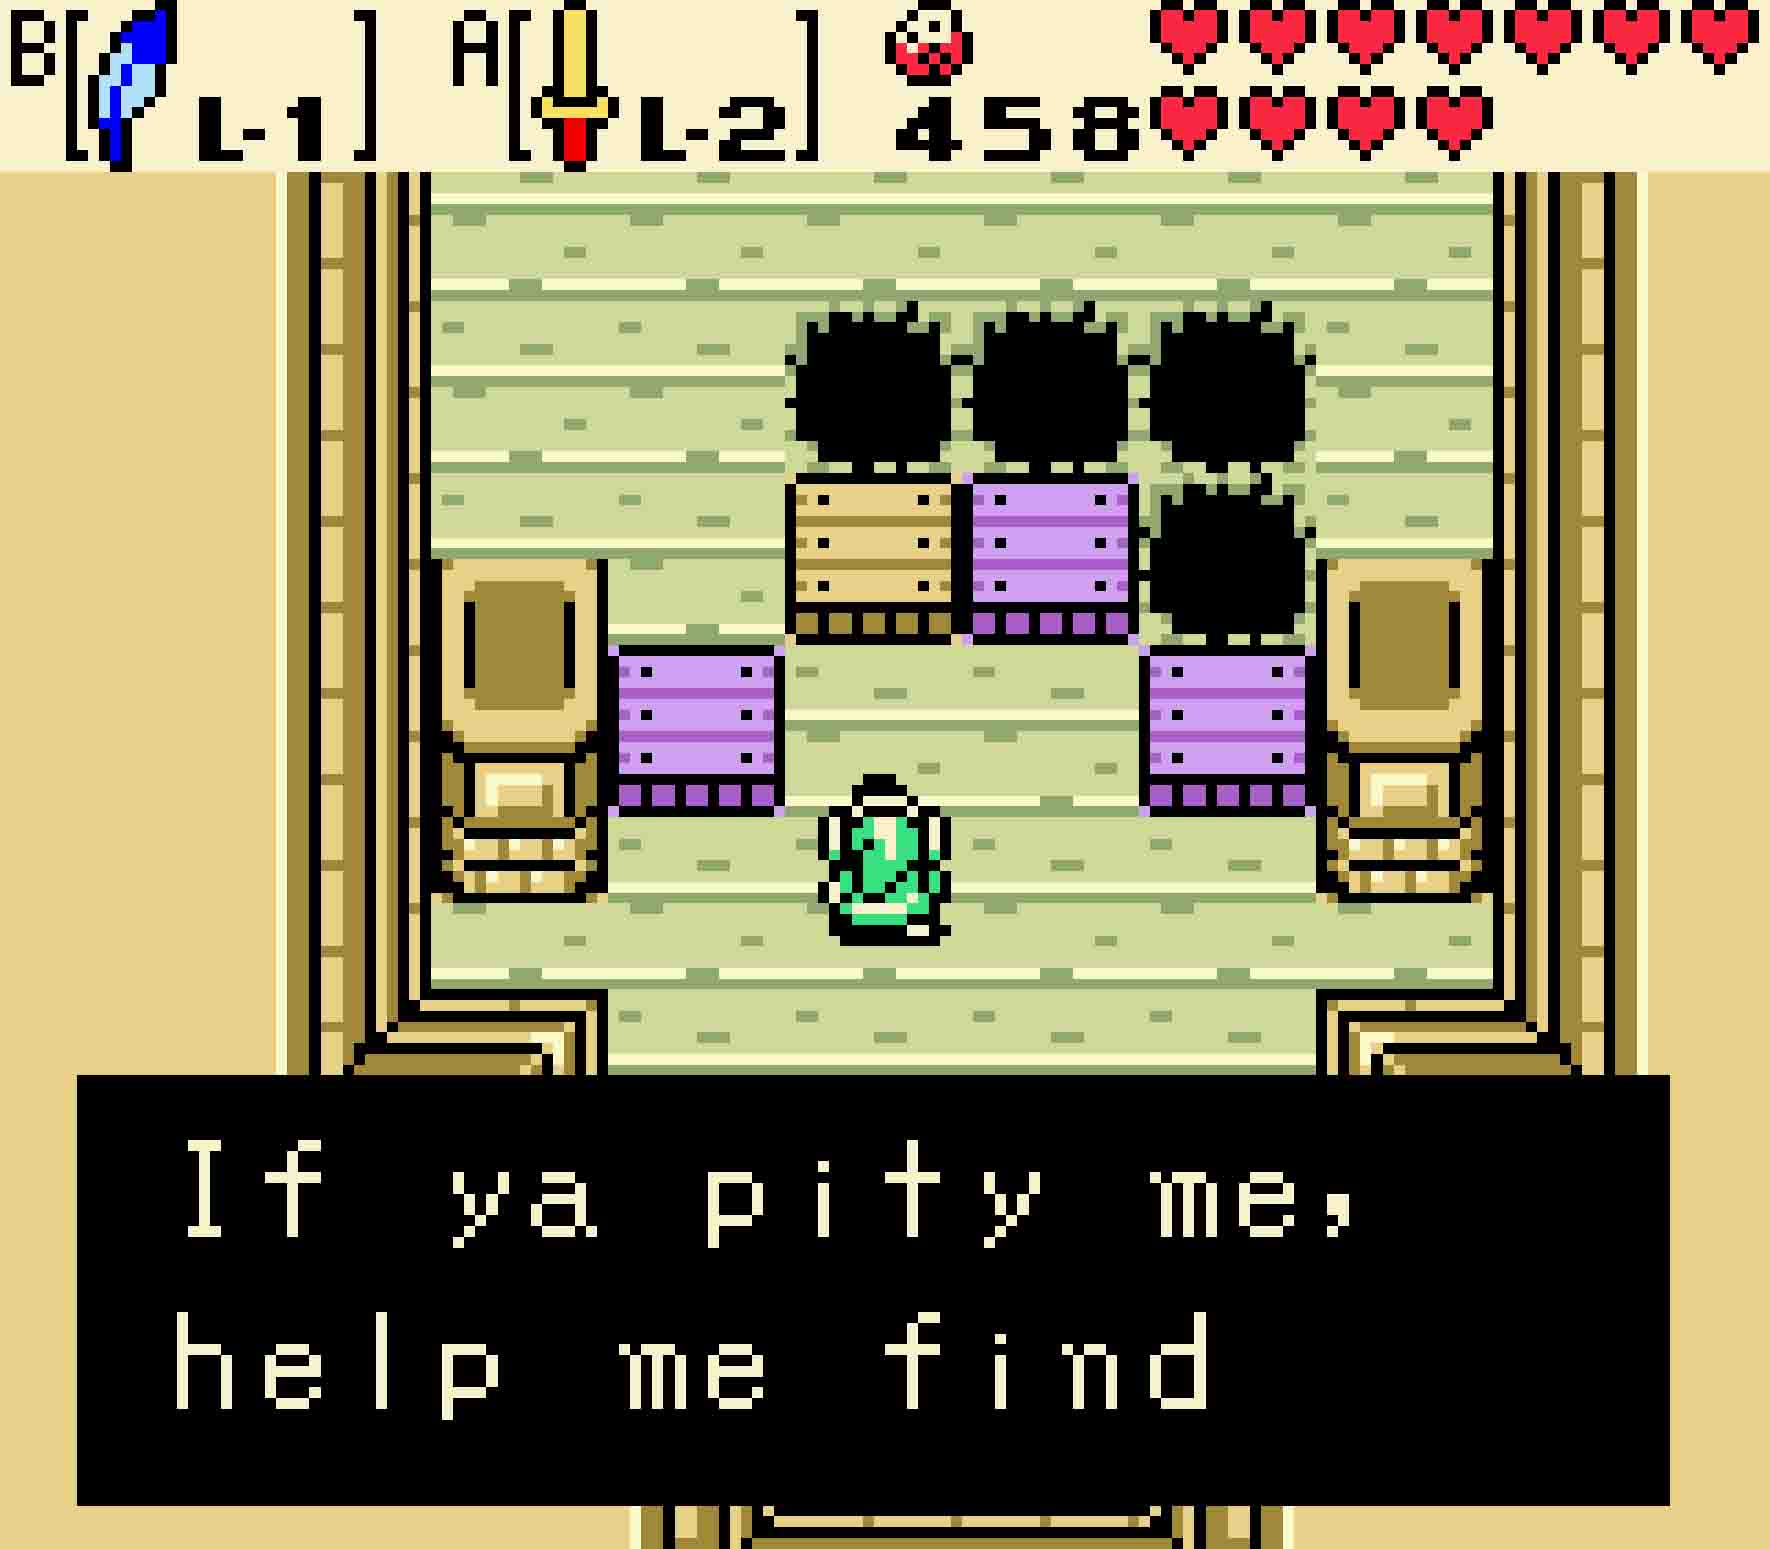
The other thing you need is also close at hand as well. Head upstairs, and talk to the skeletal pirate on the right side of the screen. He’ll mumble to himself, as if he isn’t even aware of your presence. Instead, he’ll recite some code by shoving some drawers into the wall. Take notice of the combination: It should be the third one twice, the second one once, the first one twice, and the last one thrice. With this in mind, head upstairs, and re-enter the portal back to Horon Village.
Topside, you guessed it; it’s time to head back to the beach. Head back to the east exit to Horon Village and south to the beach. At the beach’s east end, talk to the pirate again. He’ll be so glad that you’re taking up the search for the bell. With that, he’ll leave, and as part of that luxury, he’ll allow you to press the fourth of those switches. Enter the code just as you saw the pirate do earlier, and the gate separating you from the desert will vanish. The desert is now yours.
16.3 Find the captain’s bell
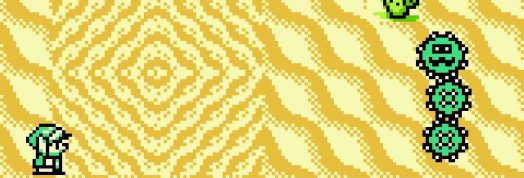
The desert is filled with enemies. Though by and large, the two biggest ones will be Leevers, which you have had ample experience with, and Pokies. Pokies are cactus-like creatures with their bodies made up of multiple segments. You can only kill the bottommost segment of each, and each time you kill one bit, the rest goes faster. It’s also worth noting that the cacti within the desert aren’t your friends either; running up against them will cause minor damage as well.
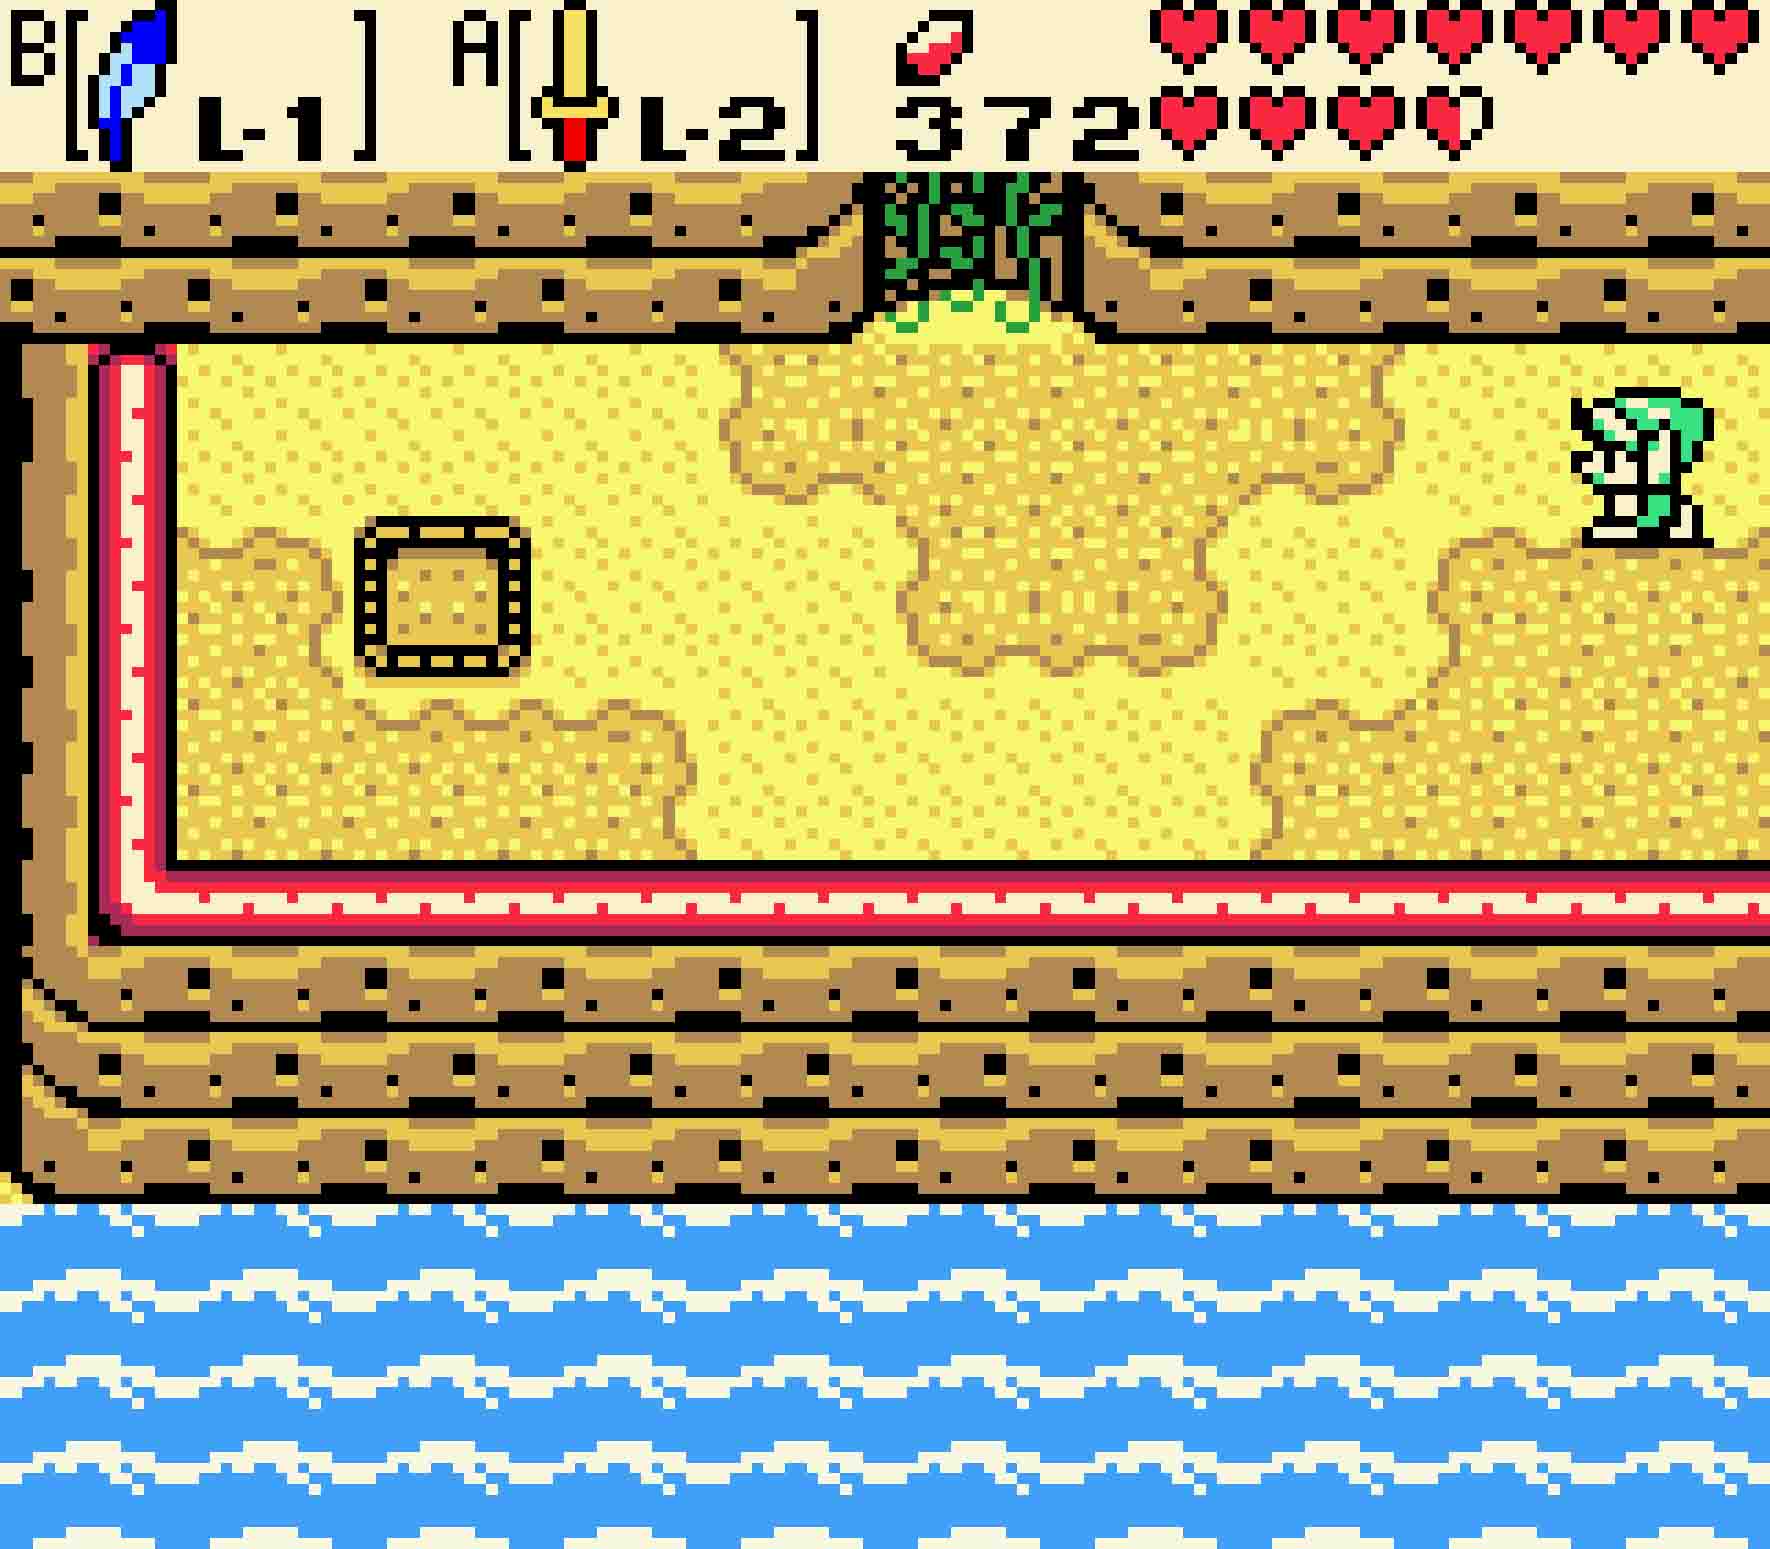
Once you’ve entered the desert proper, head two screens to the east. There you’ll find something of a buried ship, its aft sticking curiously out of the sand. Enter inside, and you’ll see a… ghost of a skeleton pirate. Talk to him, and he’ll admit that he was searching for the bell as well in his prior life. However, he can still help… provided you find a good head to put on his shoulders.
-

- Find the rear end of the ship in order to investigate the captain’s orders.
-
- It may look like you’re talking to no one, but there’s actually a ghost here.
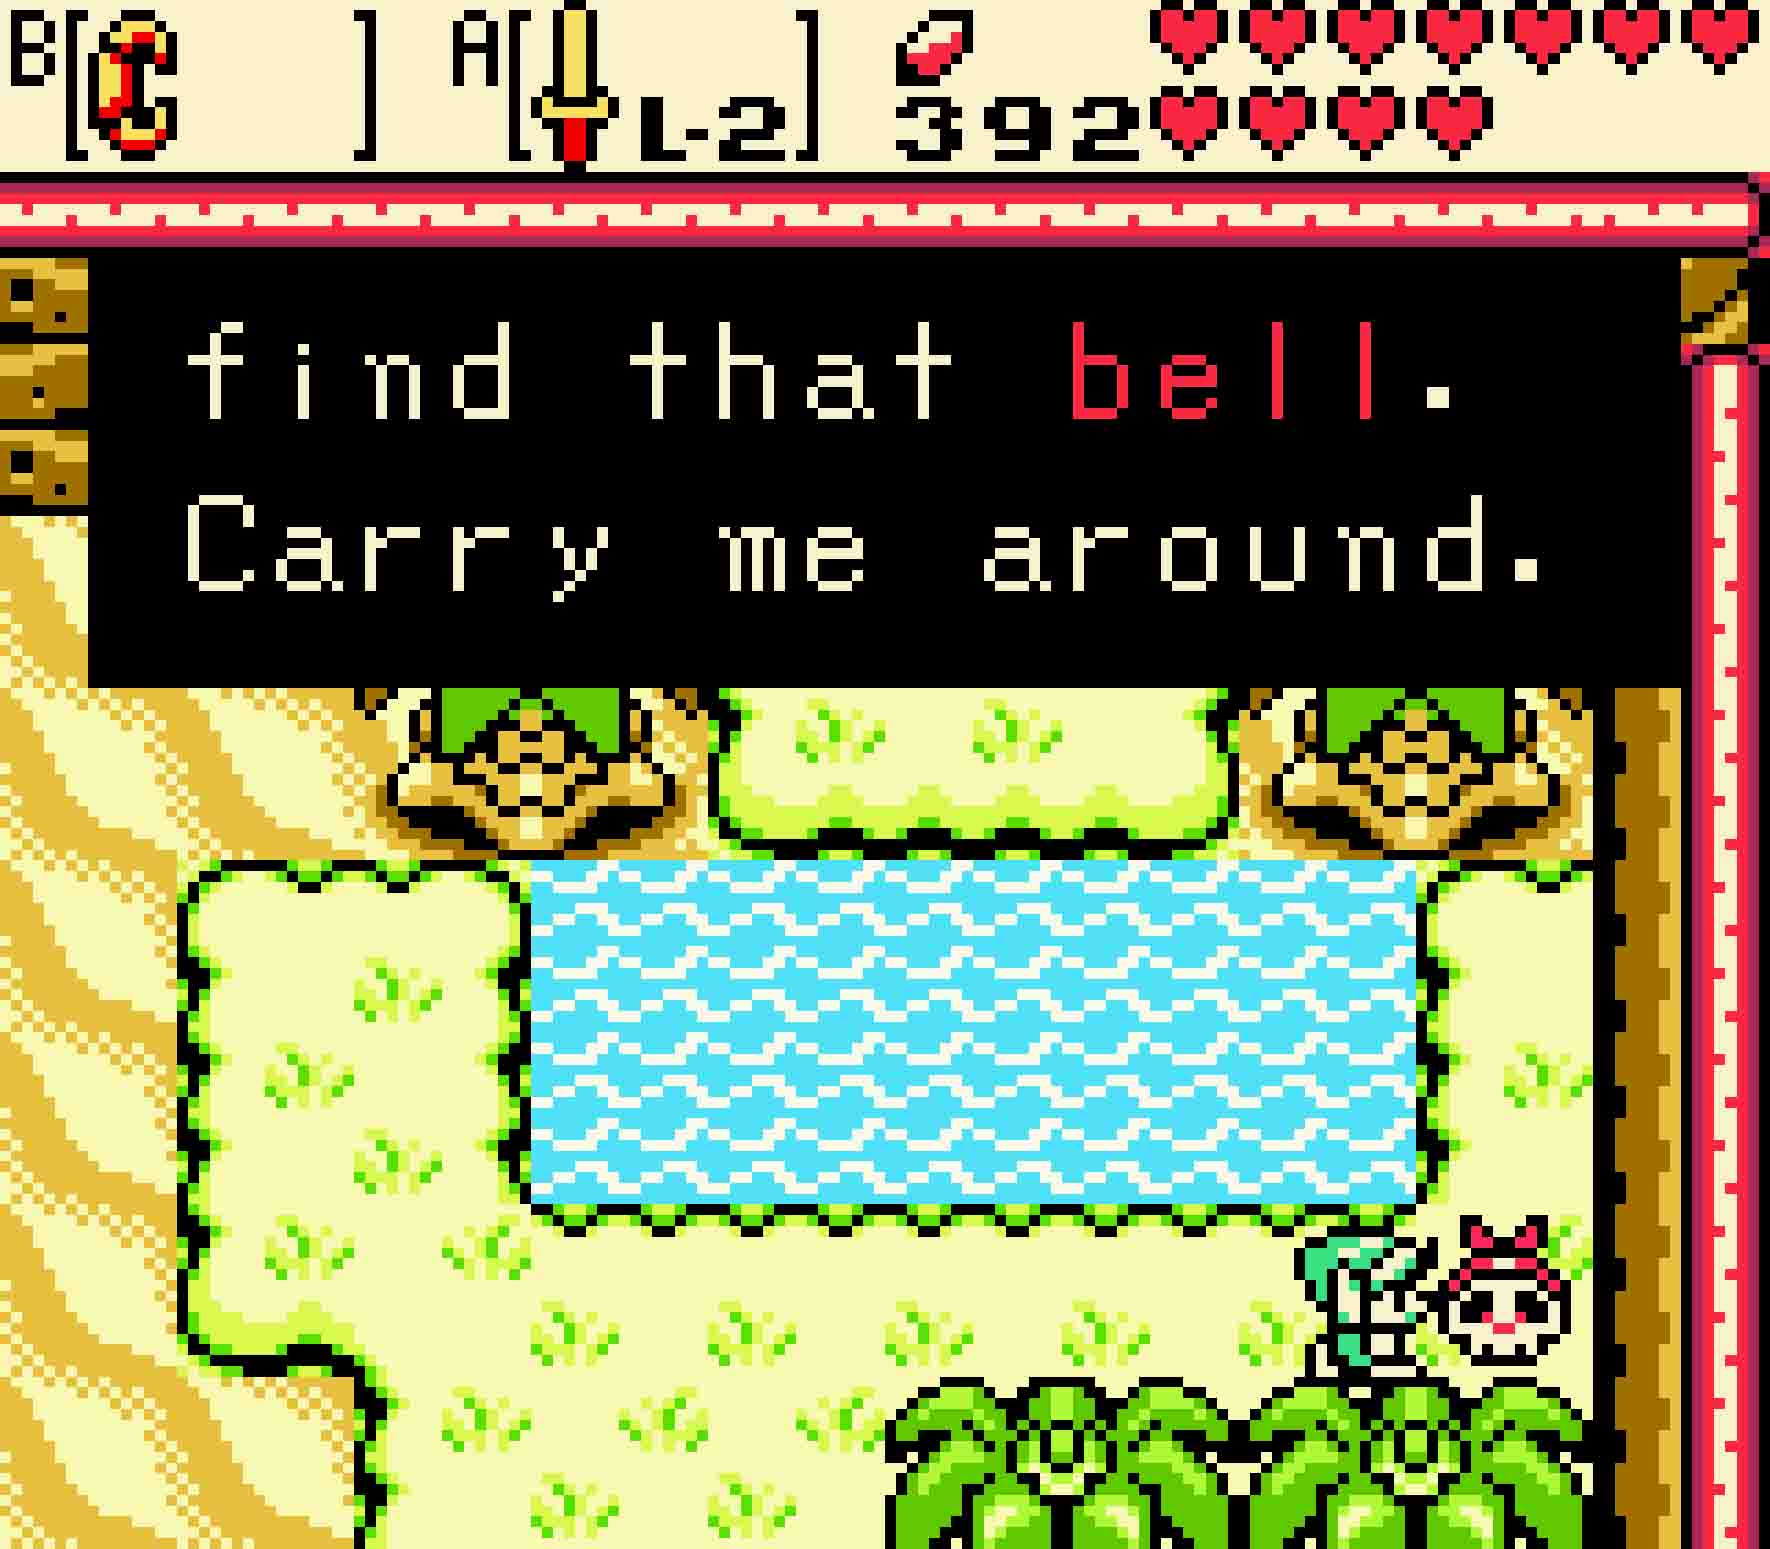
To find the ghost skeleton pirate’s head, leave the ship. Head east one more screen to the edge of the map, and then continue north until you can’t go north any longer. Eventually, at an oasis, you’ll find the chatterbox of a head. Talk to him, and he will agree to help you locate the pirate’s bell. But you’ll need to carry him around as you go; he can sense when it’s close, and he’ll give you the heads up when you’re nearby.
Where exactly is the bell? That, unfortunately, is rather random. You’ll just have to carry the skull around to every quicksand pit in the desert until the skull reacts. You’ll actually need to step into the quicksand squares, but if you see no reaction, get out quickly. If the skull starts yammering away, let it take you down. You’ll fall through into a cave, and the bell is right in front of you.

-

- Finding the bell is about luck… and not being bumped by enemies. Wait ’til the skull starts chattering and then fall into the sand.
16.4 Get the bell polished
Unfortunately for you, that bell is pretty rusty. The captain might not appreciate it in its current form. However, you know a guy that will buff it up as good as new.
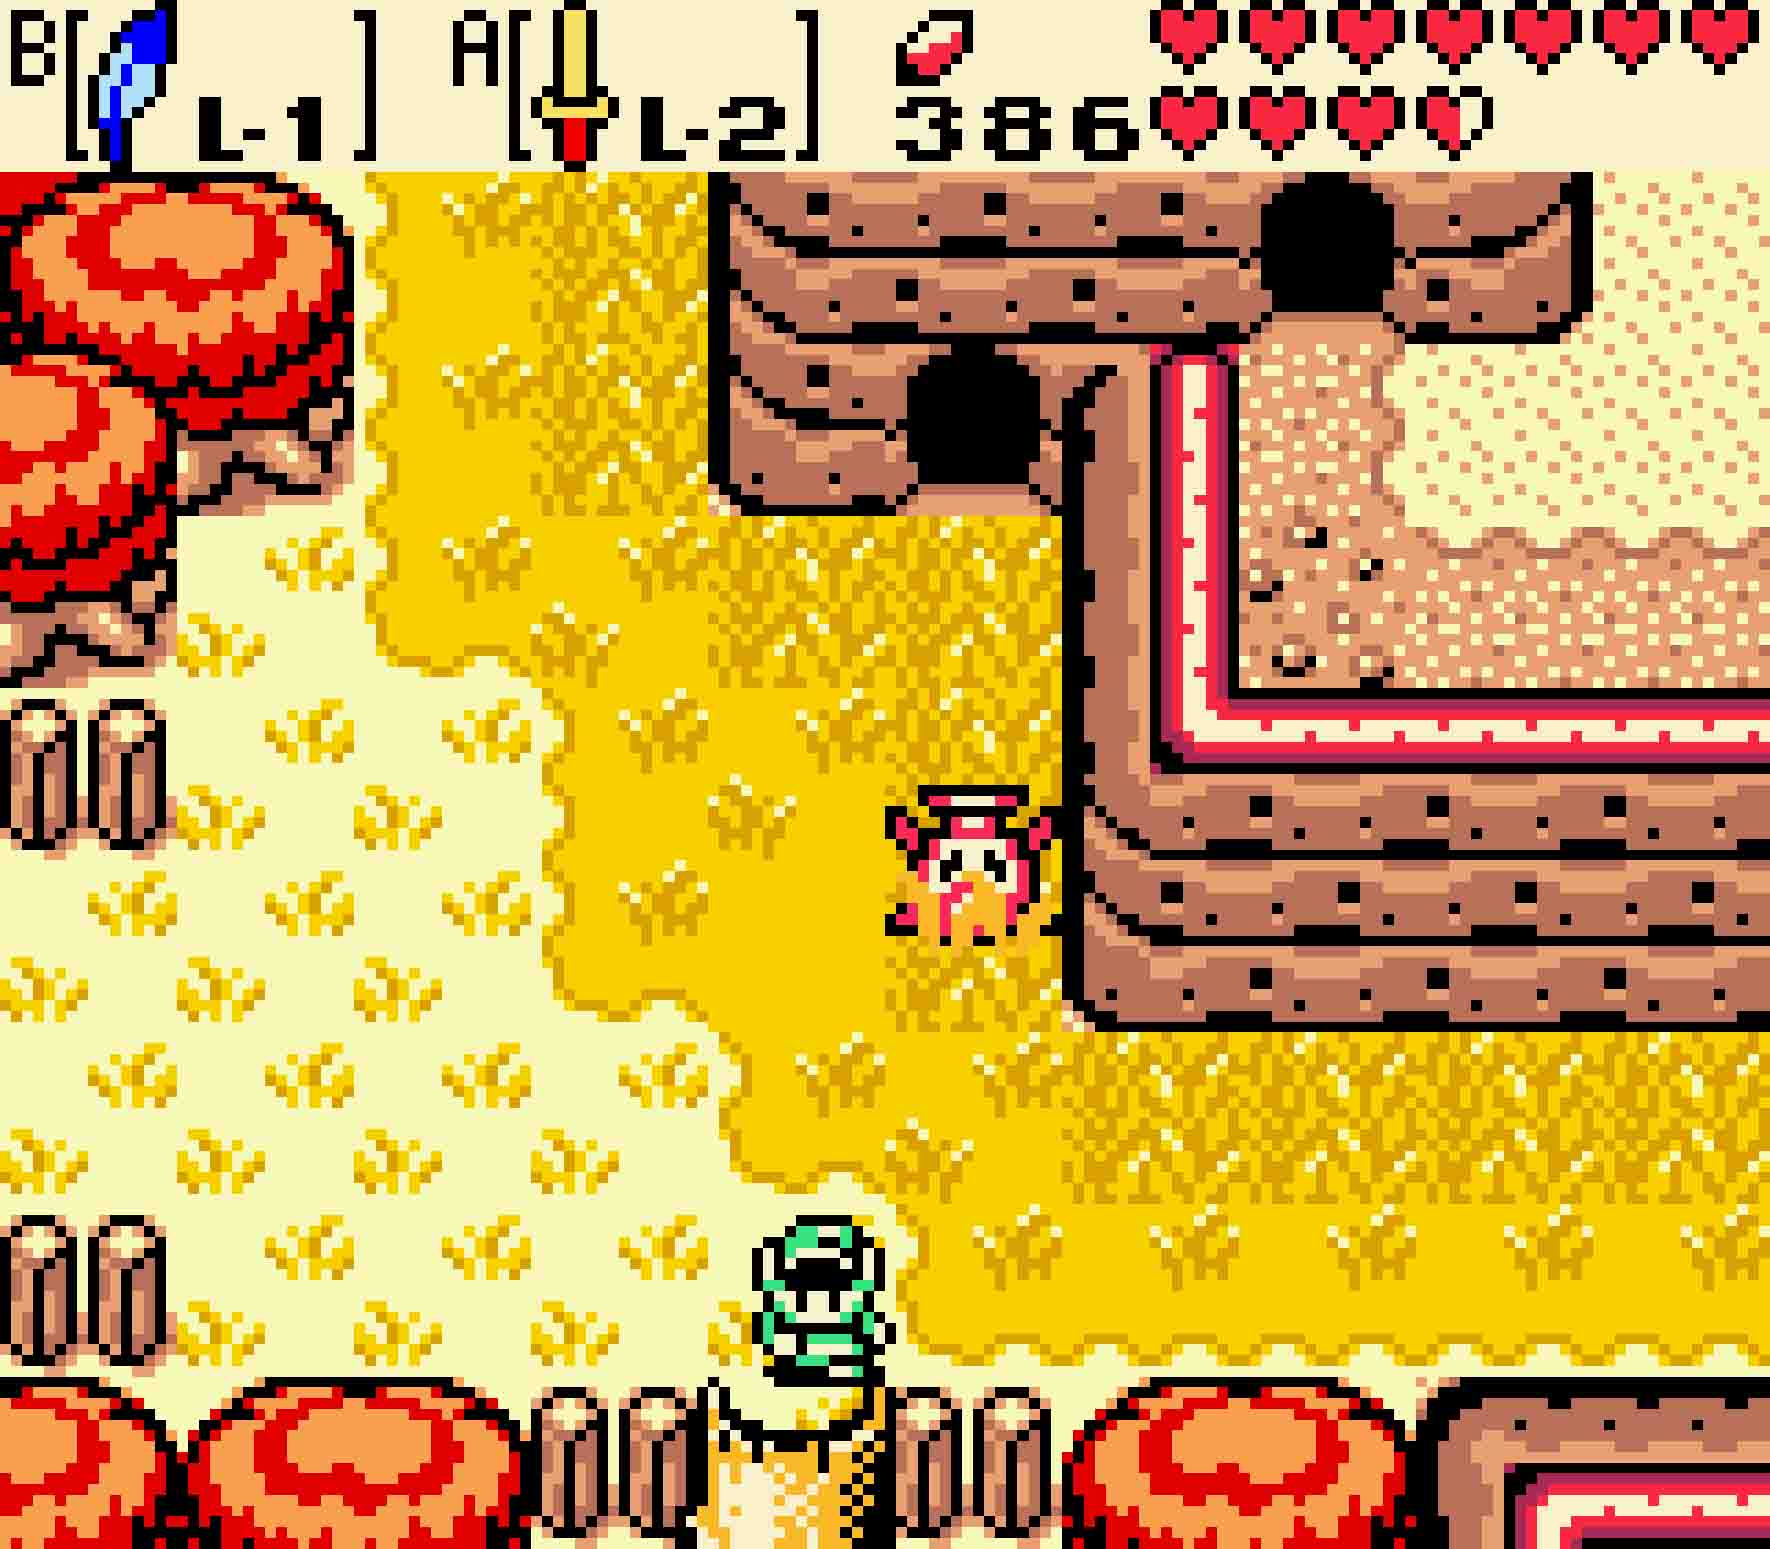
Getting out of the cave is child’s play; simply head up the steps. Then to leave the desert, simply head south twice in order to wind back up at the gate. Enjoy your last walk along this eastern beach as you head back to Horon Village. Once in the village, it’s time to head back to Subrosia. Enter the cave on the south side of town, and then warp yourself to southern Subrosia.
 You can show the bell to the captain if you want, but it’ll be no good. He’s in denial about how long it’s been since he’s had a working bell. (It’s been 400 years in fact!) Unfortunately, the Subrosian Smithy is a bit of a hike, so you’ll have to walk.
Head up off the Subrosian beach by heading north twice. Return east as if you were going to the shop; hop over to the island to the south that has the staircase into the earth, and then continue heading east. Once you use the Magnetic Gloves to pull you over the lava river, change direction and head north. After two screens, you’ll be back at the formerly locked cave that you once unlocked when on your date with Rosa. Head in, take a U-turn and then leave out the other side.
From there, it’s just a simple matter of heading to the west twice. However, be careful as the screen in between the cave entrance and the Subrosian Smithy does have an active volcano, so keep a quick pace as you pass it.
Once inside the smithy, the Subrosian at the counter will get a hint from the smithy master that you’ve got something that inspires him. He’d love to do work on it. And so the clerk kindly asks how you’d like to answer him. When given the choice, the Subrosian Smithy prefers bold confidence than polite acquiescence. Order him to “Do it!” The master will gleefully accept. In just a jiffy, the bell will be returned to you, completely polished and ready for presentation.
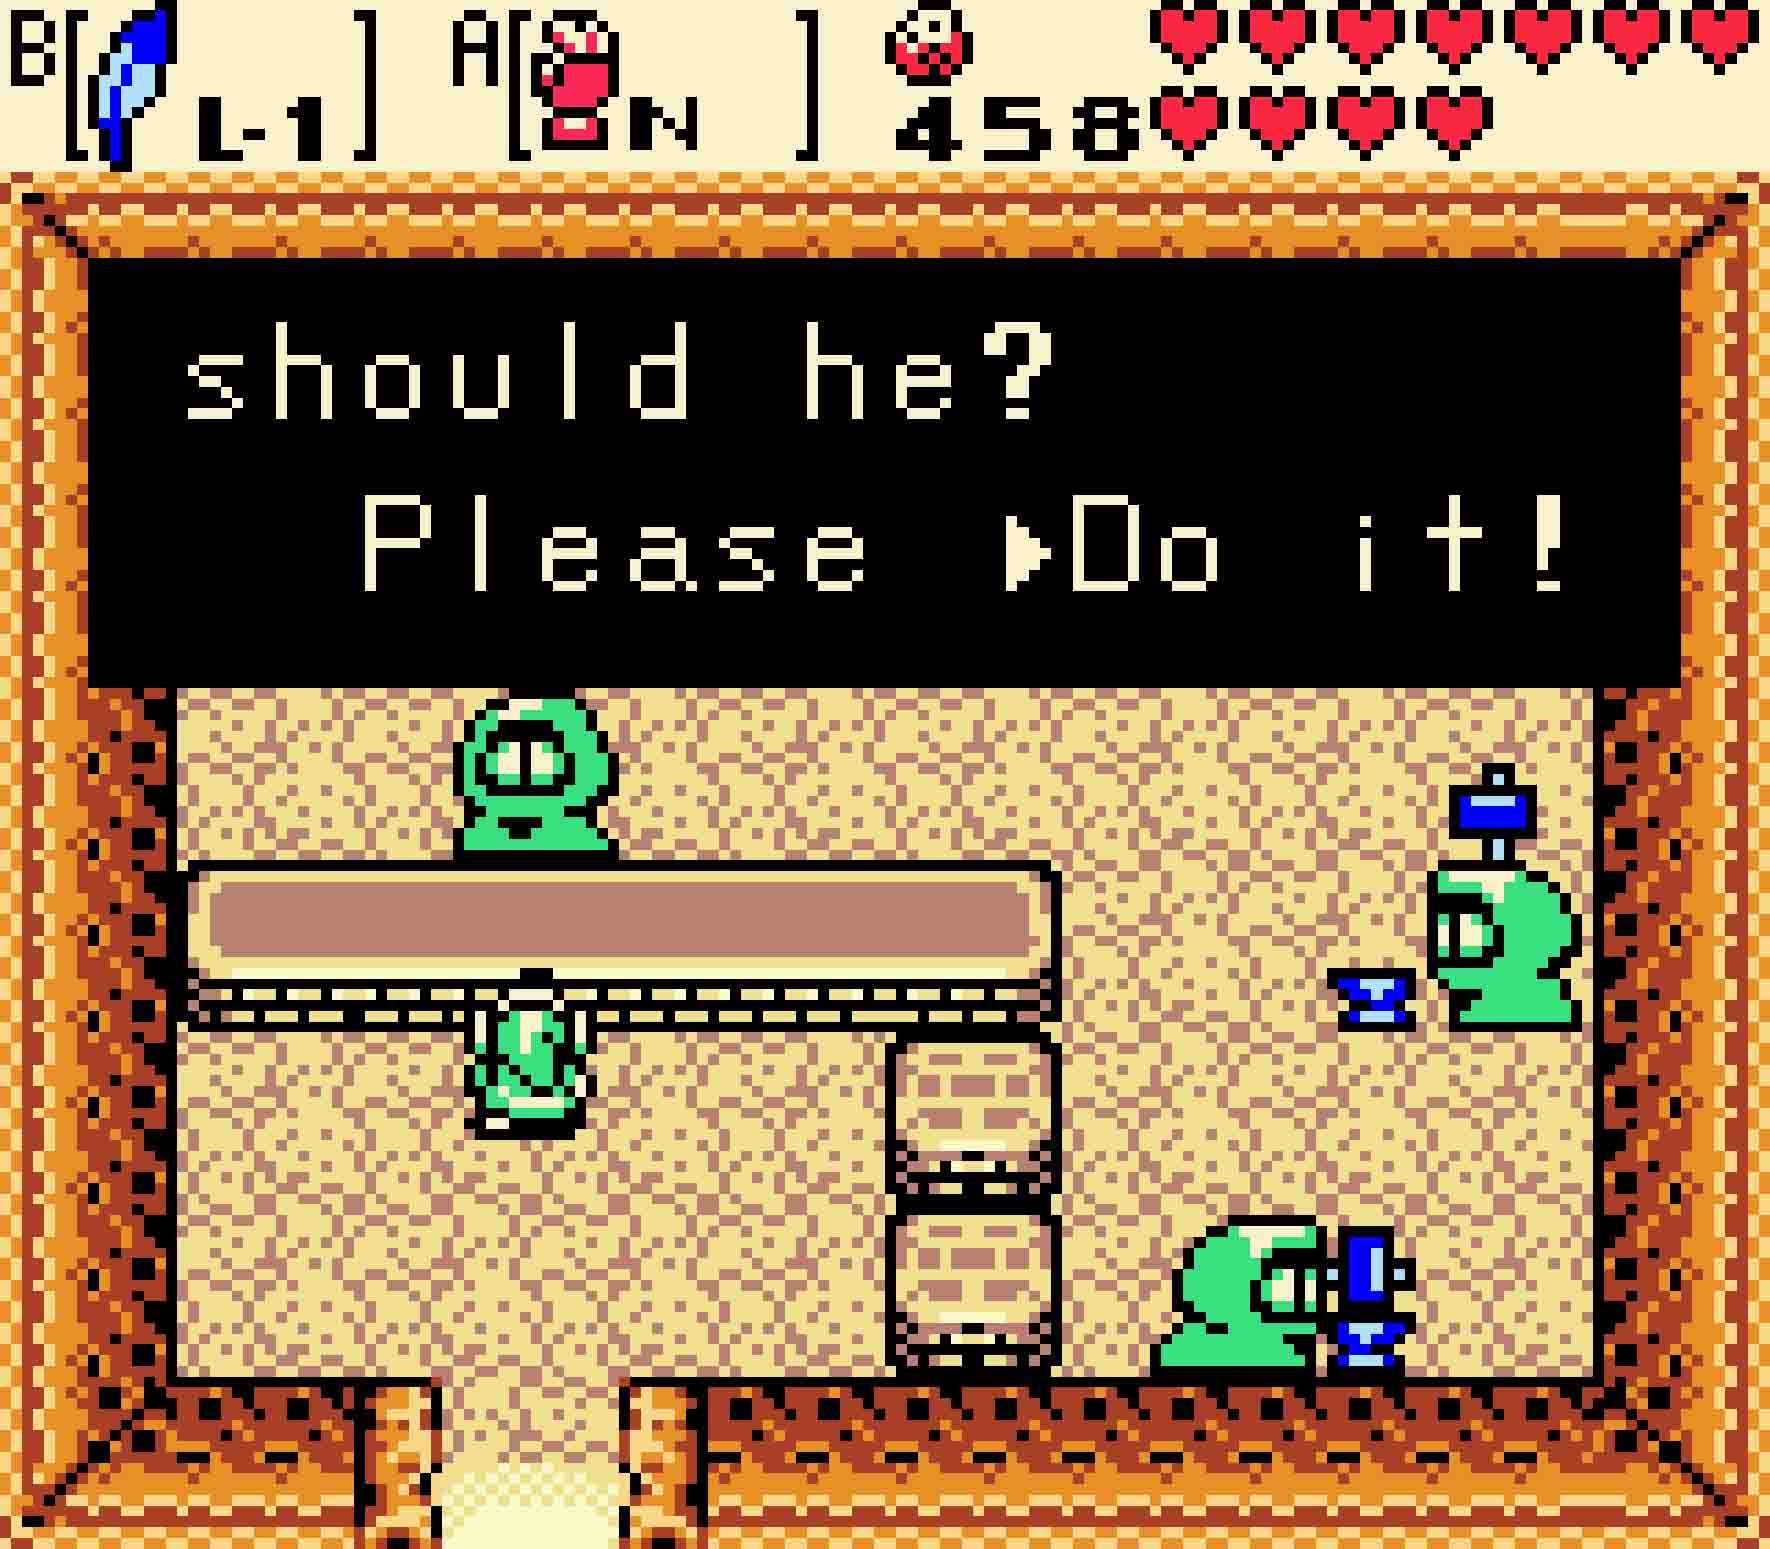
The Subrosian Smithy is a bit odd. Don’t bother being polite; just order it to be done.
16.5 Get the pirates back onto the sea
Return to the pirate captain, and he’ll be inspired to take his ship on the seven seas.
With the bell in tow, it’s time to head back to the pirate captain. Really, it’s just a prolonged walk back the direction you came. Head east twice to return to the cave, and then traverse the cave. Head south twice, and use the Magnetic Gloves to sling yourself across the lava river. Head west three screens and then south two, and finally you’re as good in the captain’s quarters.
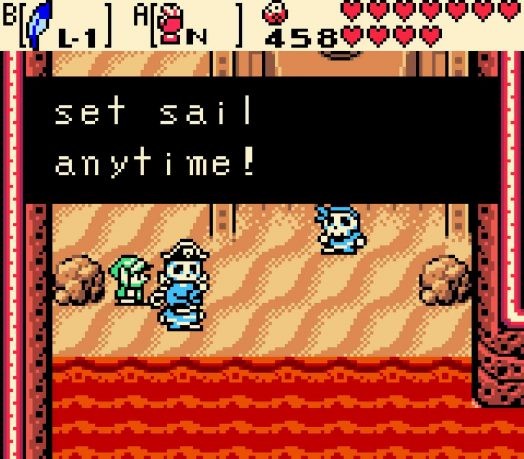
Hand the captain the bell, and then prepare for the longest cutscene in the entirety of Oracle of Seasons. There’s an epic scene as the piratical crew pushes their ship out of the sand of the Samasa Desert and makes for the open sea. Of course, this crew hasn’t had their sea legs for quite some time, so they immediately decide to head back to the dock for the time being and make the transition more slowly.
Where do they dock? Thankfully in a super convenient spot, right inside a little inlet just to the west of Hero’s Cave. They’ll helpfully extend planks to the cliffs on either side, thus giving you access to yet another area of Holodrum.
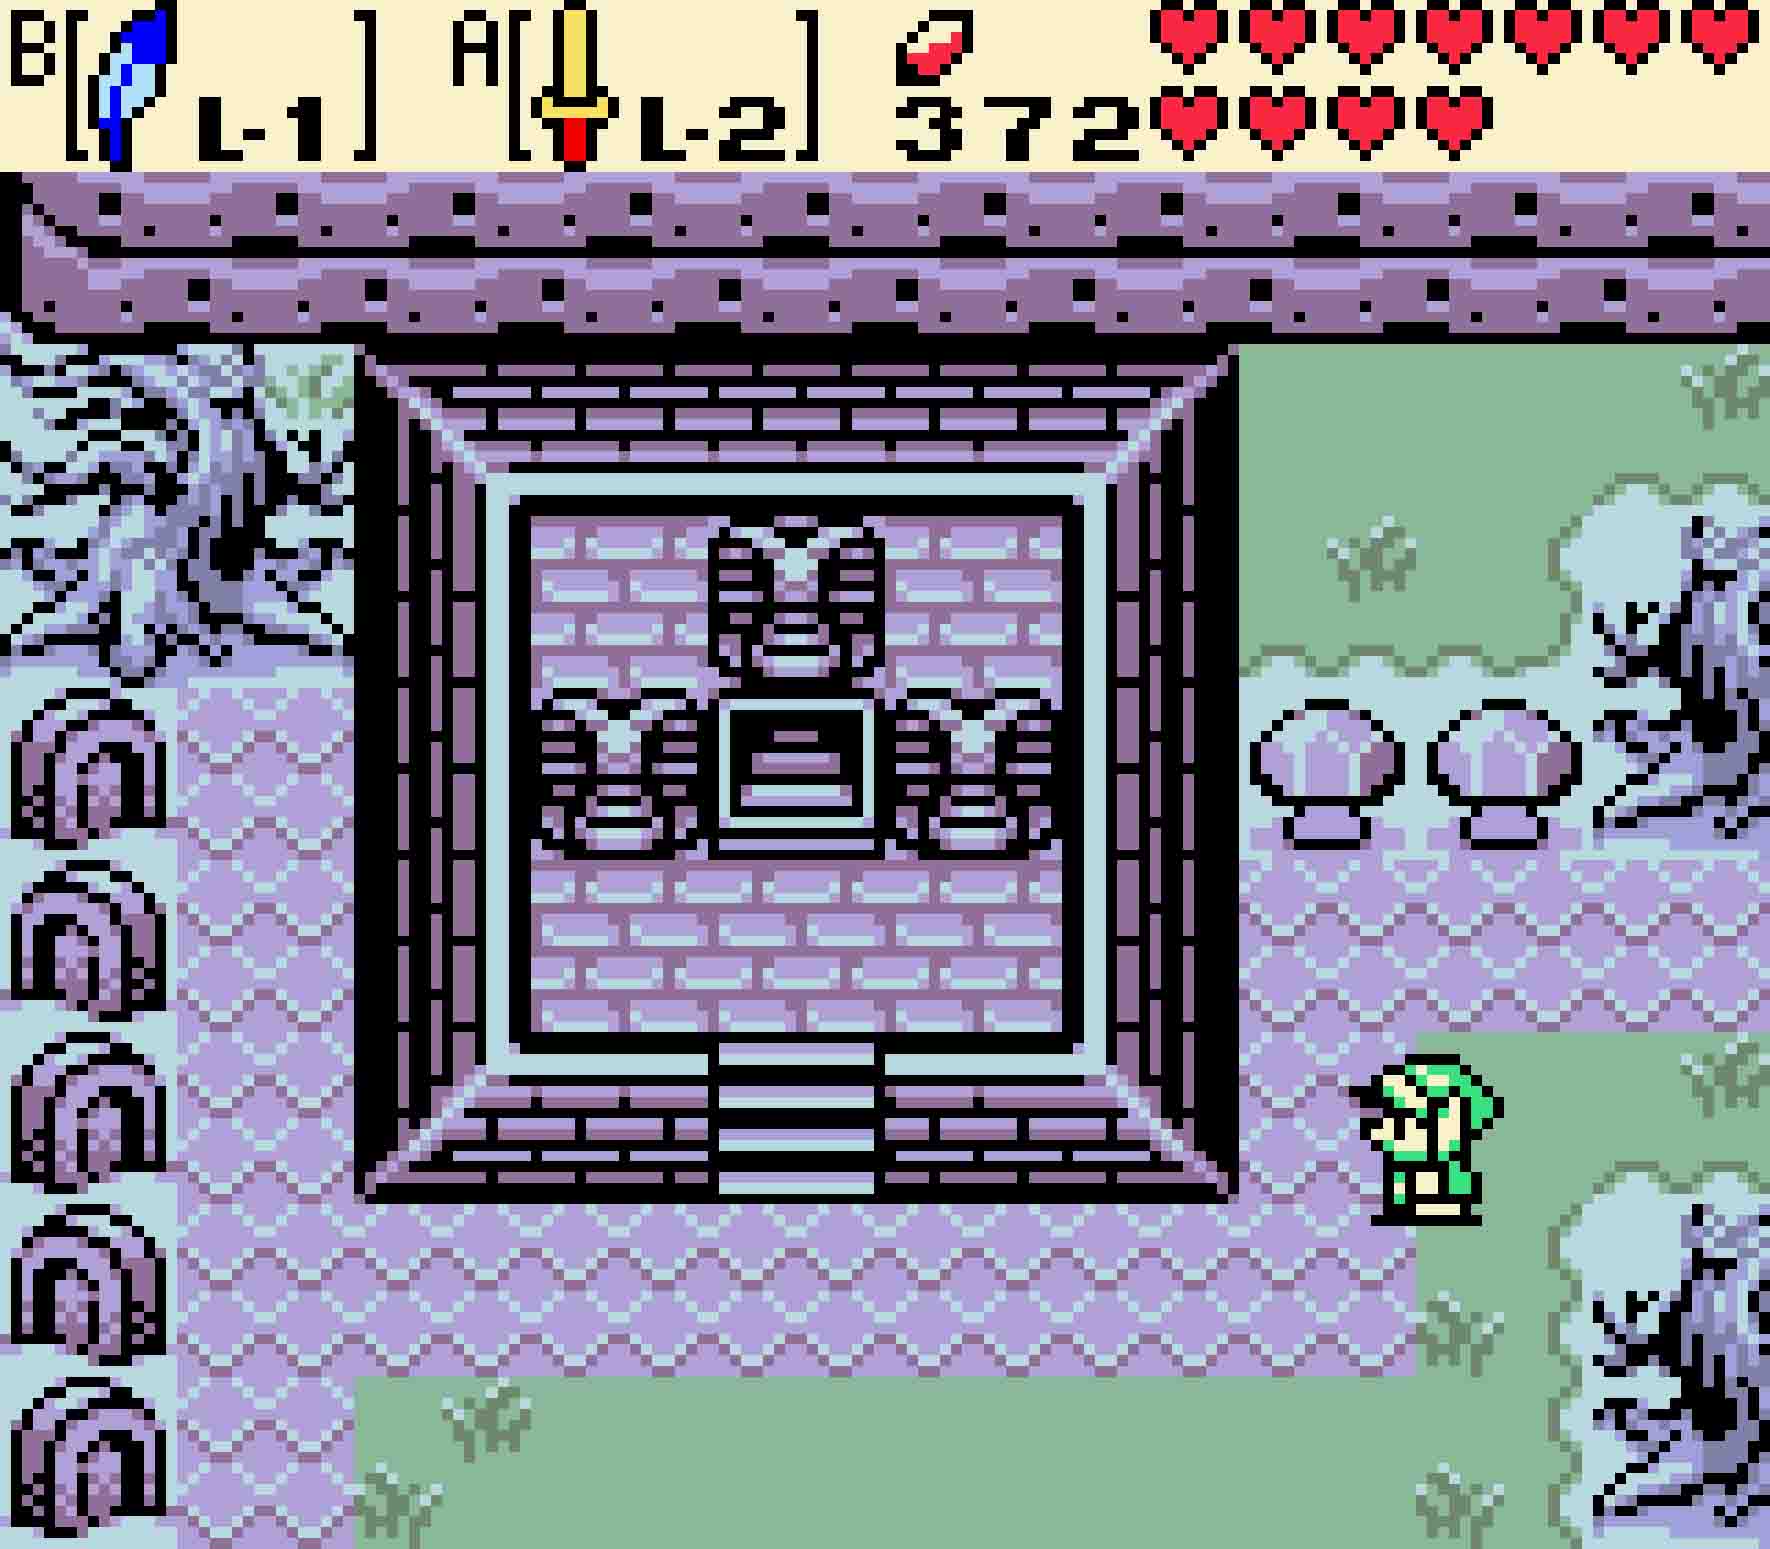
16.6 Enter the graveyard
The seventh dungeon is almost in sight now. You might want to head all the way to the west right away, but that season of winter isn’t going to help you all that much. You’re going to need to change the season in order to compel the Graveyard to yield its secrets.
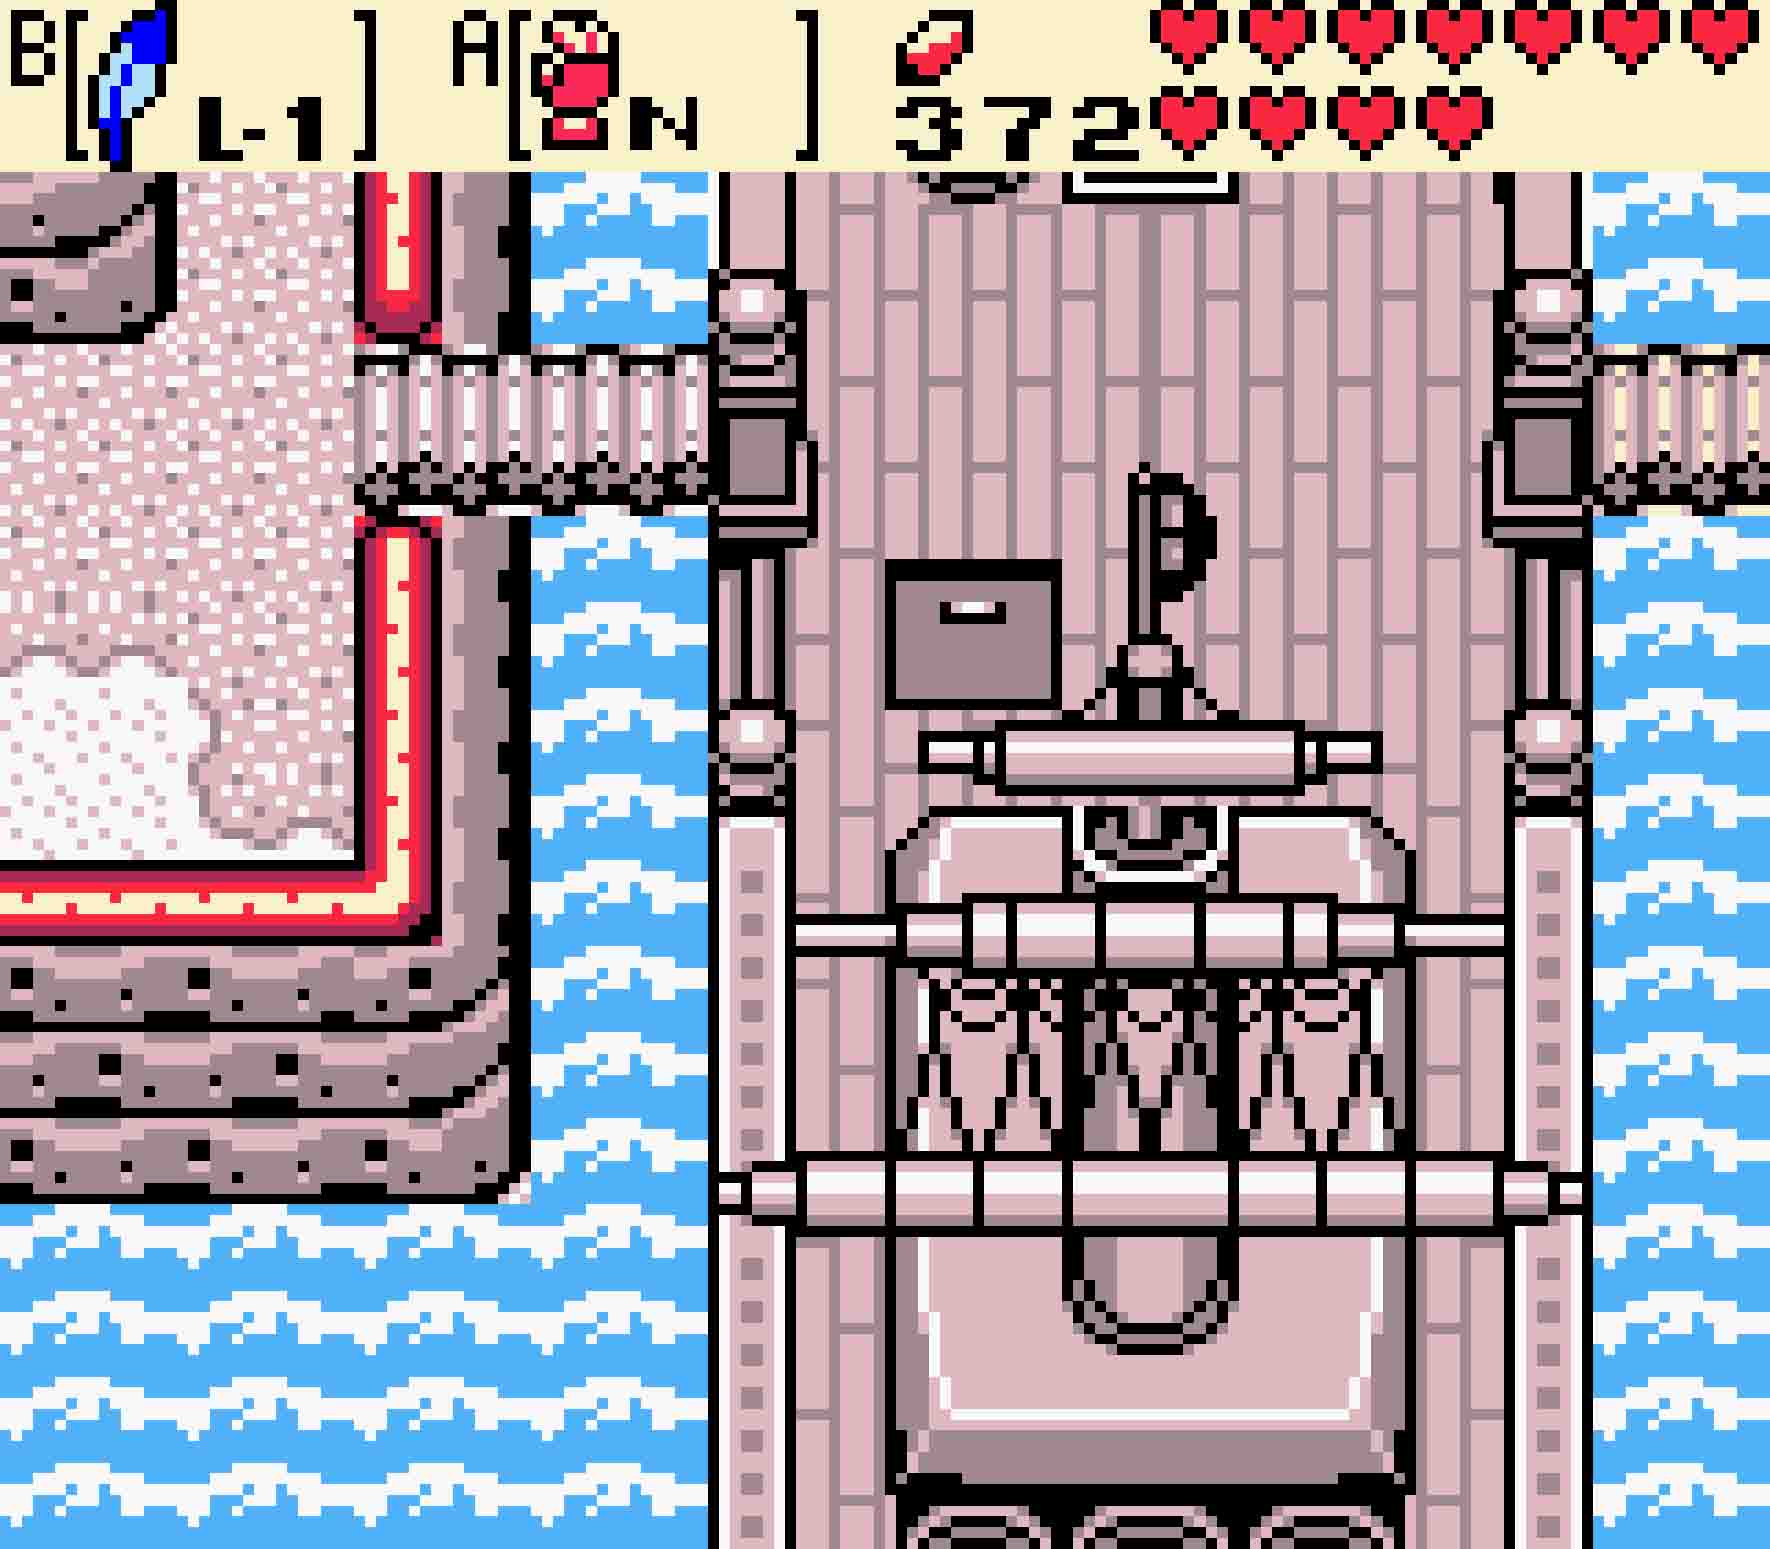
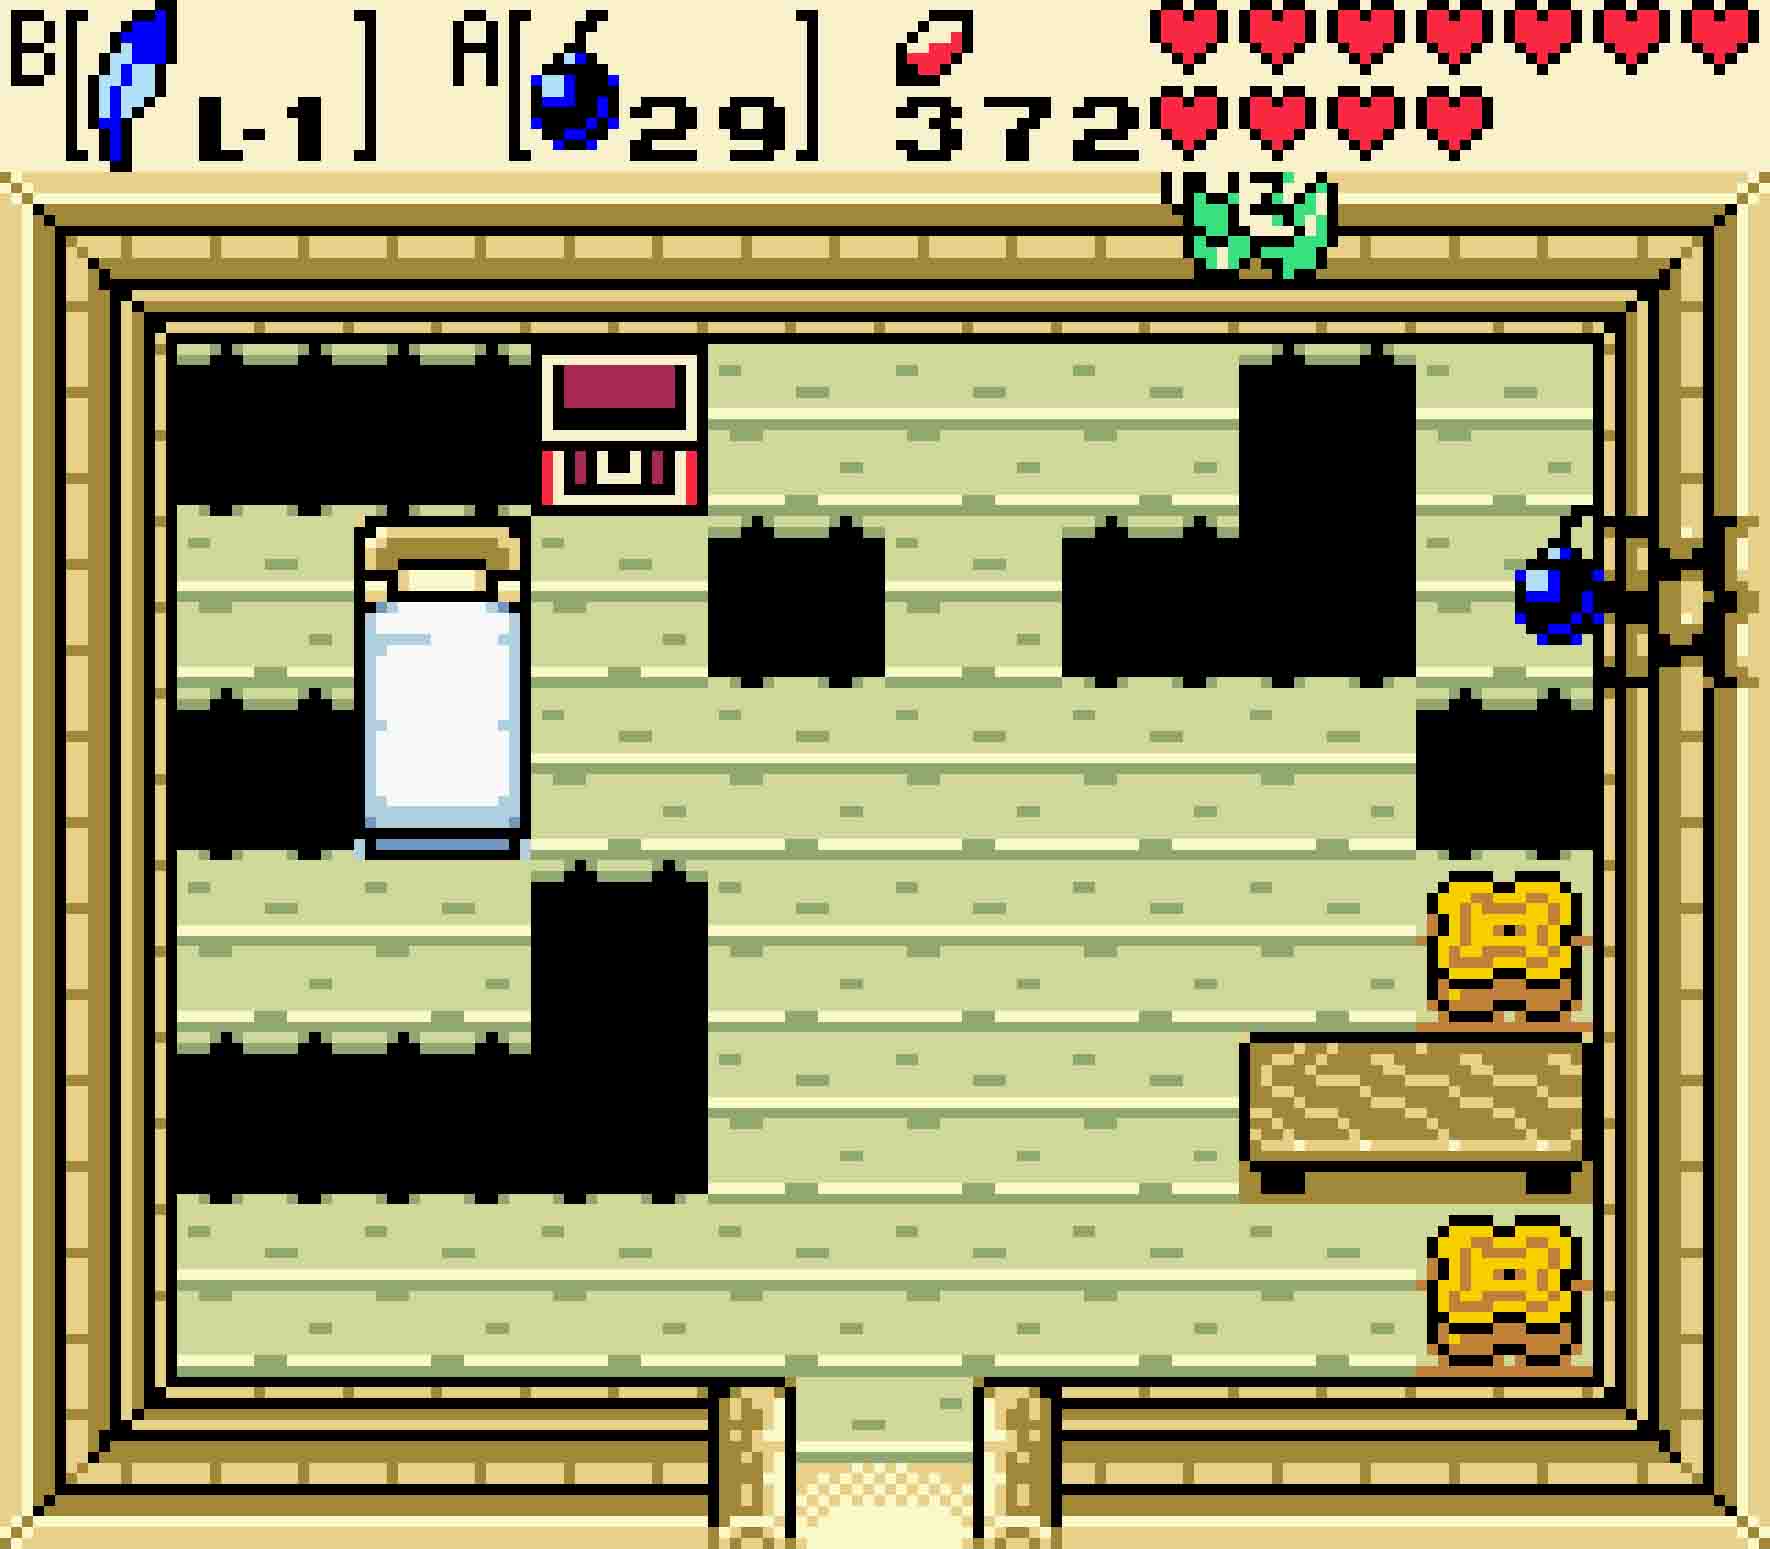
Once you disembark the ship on the west side, head northward twice. There you’ll find this abandoned, rundown cottage just off the sea. But hey look! There’s a tree stump on the other side of the fence. To get to it, head inside. If you need a refill on Bombs, there’s ten of them in the treasure chest therein. Otherwise, place a Bomb on the conveniently crumbled wall in the upper-right corner to blow open the secret second room of this cottage. Use Roc’s Feather to leap over all the potholes until you hit the exit.
-
- Once you’re back on land, head north so you can finally switch seasons.
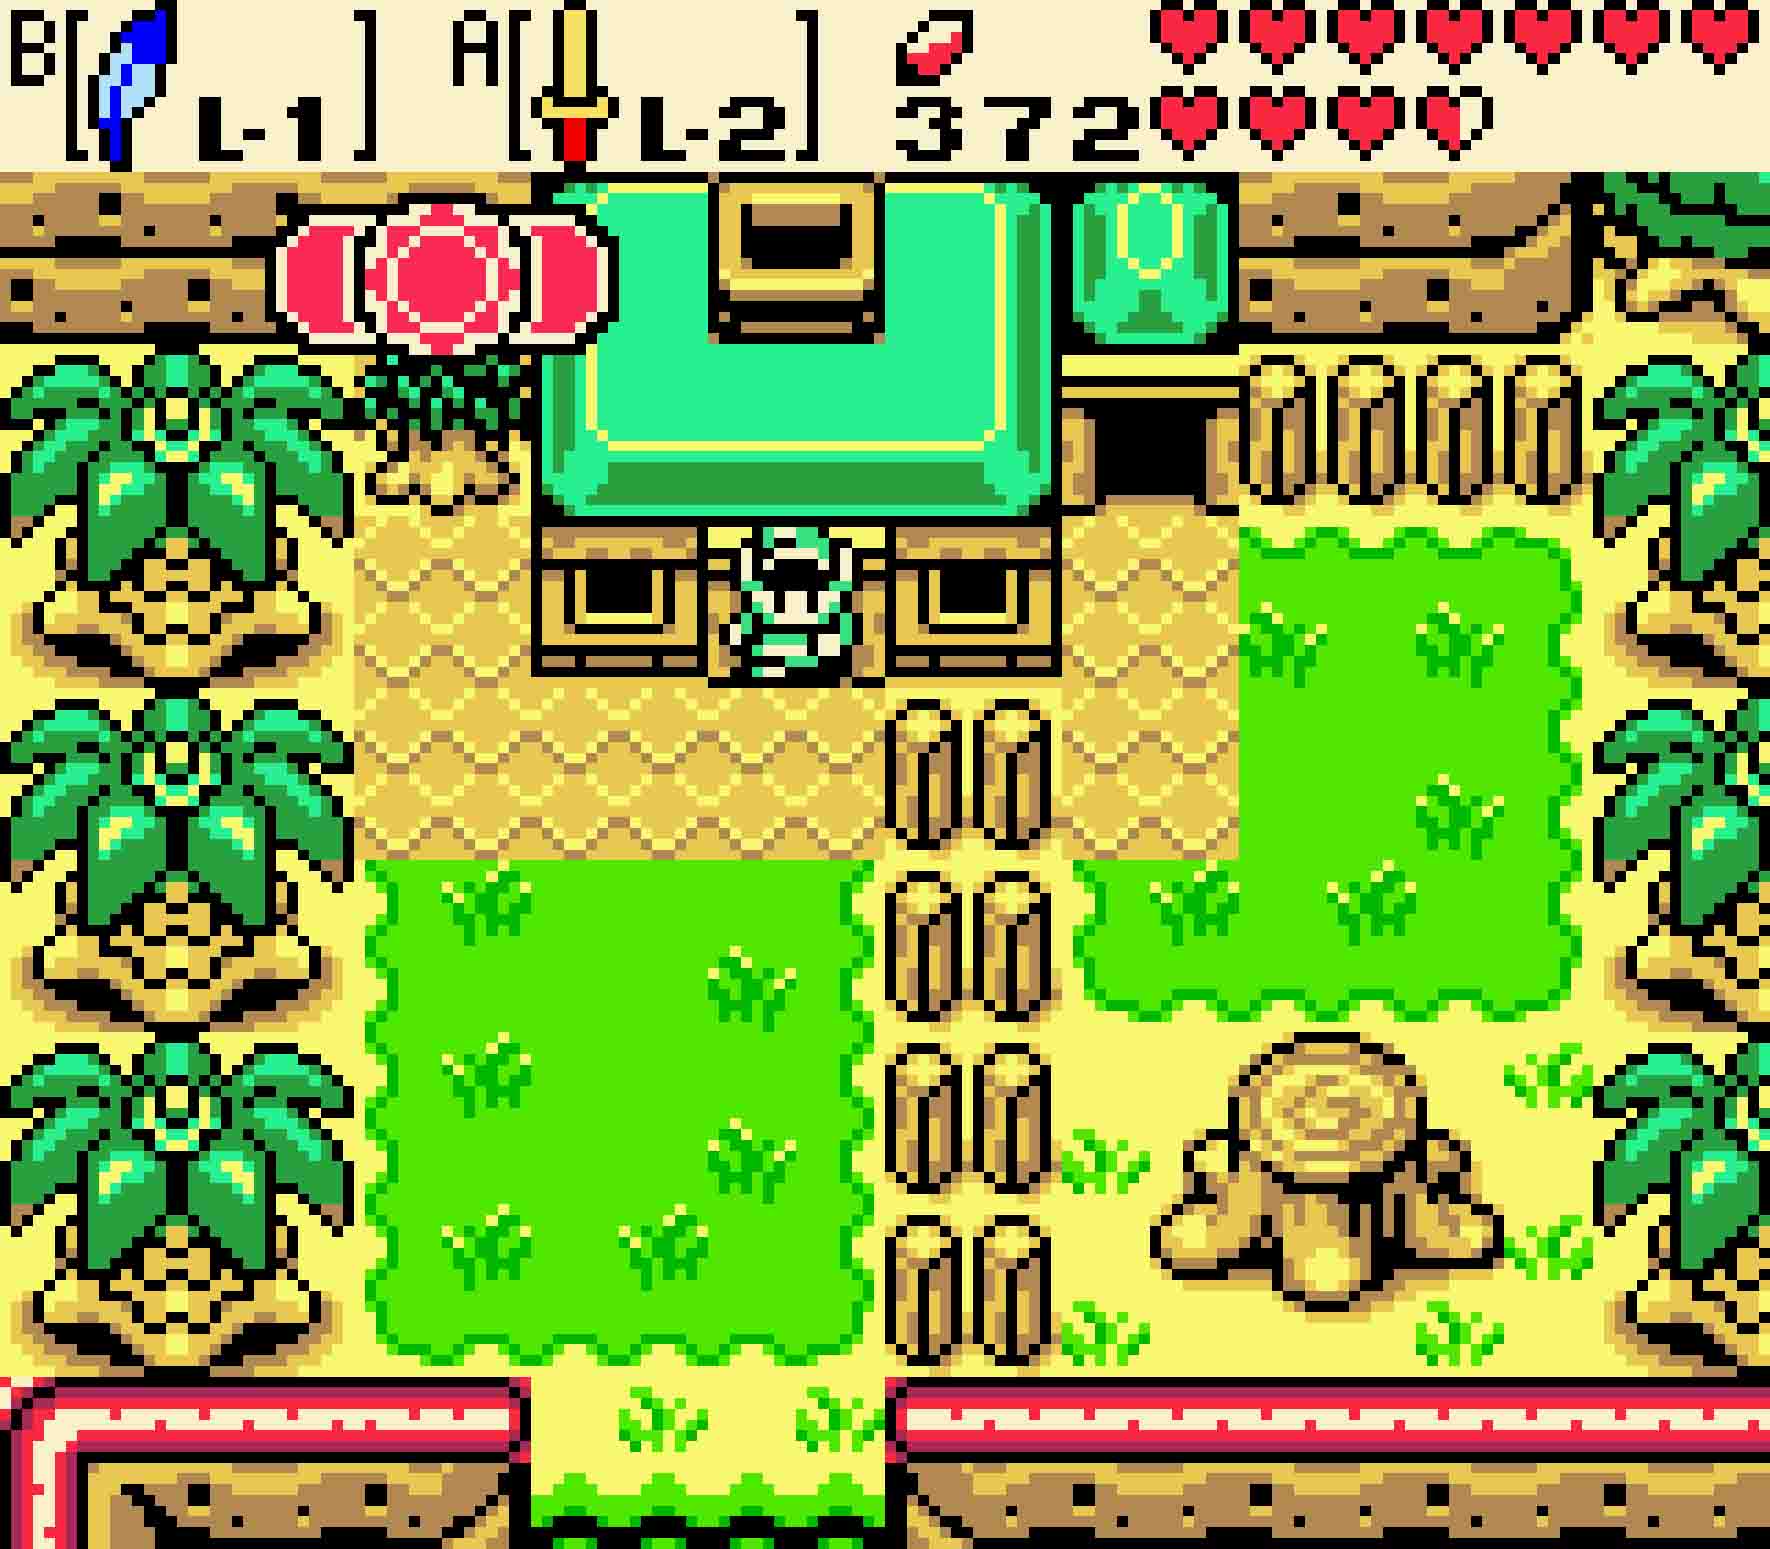
Hop onto the tree stump, and change the season to summer. Head back through the house and out the main entrance. Then return south two screens. With the proper season in place, you can now head to the west. Pass the cave on the first screen and wait to try ascending until you get to the vines on the second screen. Climb them up, and you’ll be in the creepy, dimly-lit Graveyard.
You’ll notice there’s a Ghini flying about the graveyard. If you want to kill a bunch of enemies, feel free to touch all of the graves here to spawn yet another Ghini. However, the one that starts on each screen is extra special; killing that one will immediately kill every other Ghini on the screen. In case you spawn too many and lose track of the original one, the original one is the only Ghini that moves exclusively in the cardinal directions (up, down, left, and right).
However, you needn’t kill any if you don’t want. Simply head north to arrive at Level Seven.
-
- For now, you can only reach the graveyard during summer.
-
- Get ready for a rather spooky adventure underground.