


Chapter 14: Tarm Ruins
- 14.1 Trade for the Member’s Card
- 14.2 Purchase the Treasure Map
- 14.3 Get the X-shaped Jewel
- 14.4 Find the Round Jewel
- 14.5 Discover the Square Jewel
- 14.6 Grab the Triangle Jewe
- 14.7 Pass the Tarm Ruins pond
- 14.8 Navigate the Lost Woods
- 14.9 Enter the Ancient Ruins
14.1 Trade for the Member’s Card
With the Unicorn’s Cave completed, you’ll now be able to enter the sixth dungeon. Or at least you’re almost able to enter it. The sixth dungeon, found within the Tarm Ruins, is closed off by a wall that can only be opened with the power of four gems.
Oracle of Seasons can be actually rather kind to you in your attempt to find these things if you want to be only given light hints. Doing it the way the game expects, you need to acquire a Treasure Map in order to collect the gems. However, collecting the Treasure Map is technically optional with this walkthrough. So if you wish, you can technically skip this section and the next if you wish to save a few hundred Rupees.
 There’s an item in the game that will provide you with the rough locations of these four gems. However, you won’t be able to purchase it without a special item. Use a Gale Seed to return to the teleportation tree in Horon Village. From there, head north, west, and then south before heading down the steps into the cave in the earth. Then enter the portal into Subrosia.
Your destination is the Subrosian Shop. It’s not a far walk there. Jump off the cliff, head north, leap over the lava river, and then head north again. Next, head east twice, jump over the lava river to the island to the south, and then jump onto the landmass that’s heading east. If you haven’t lifted the rocks on the next screen yet, do so with the Power Bracelet. Then use the Magnetic Gloves to pull yourself over the lava.
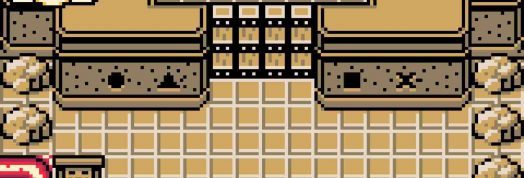
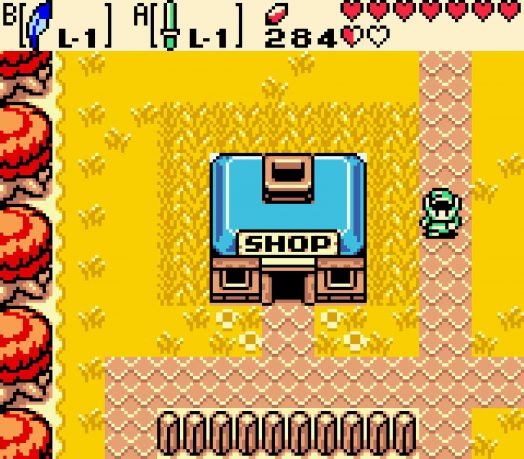
The Subrosian Shop is just one screen to the north. Head inside, and buy the Member’s Card, which will be the blue rectangle, the bottommost of the five items up for grabs. It’s super cheap, just five Ore Chunks.

-
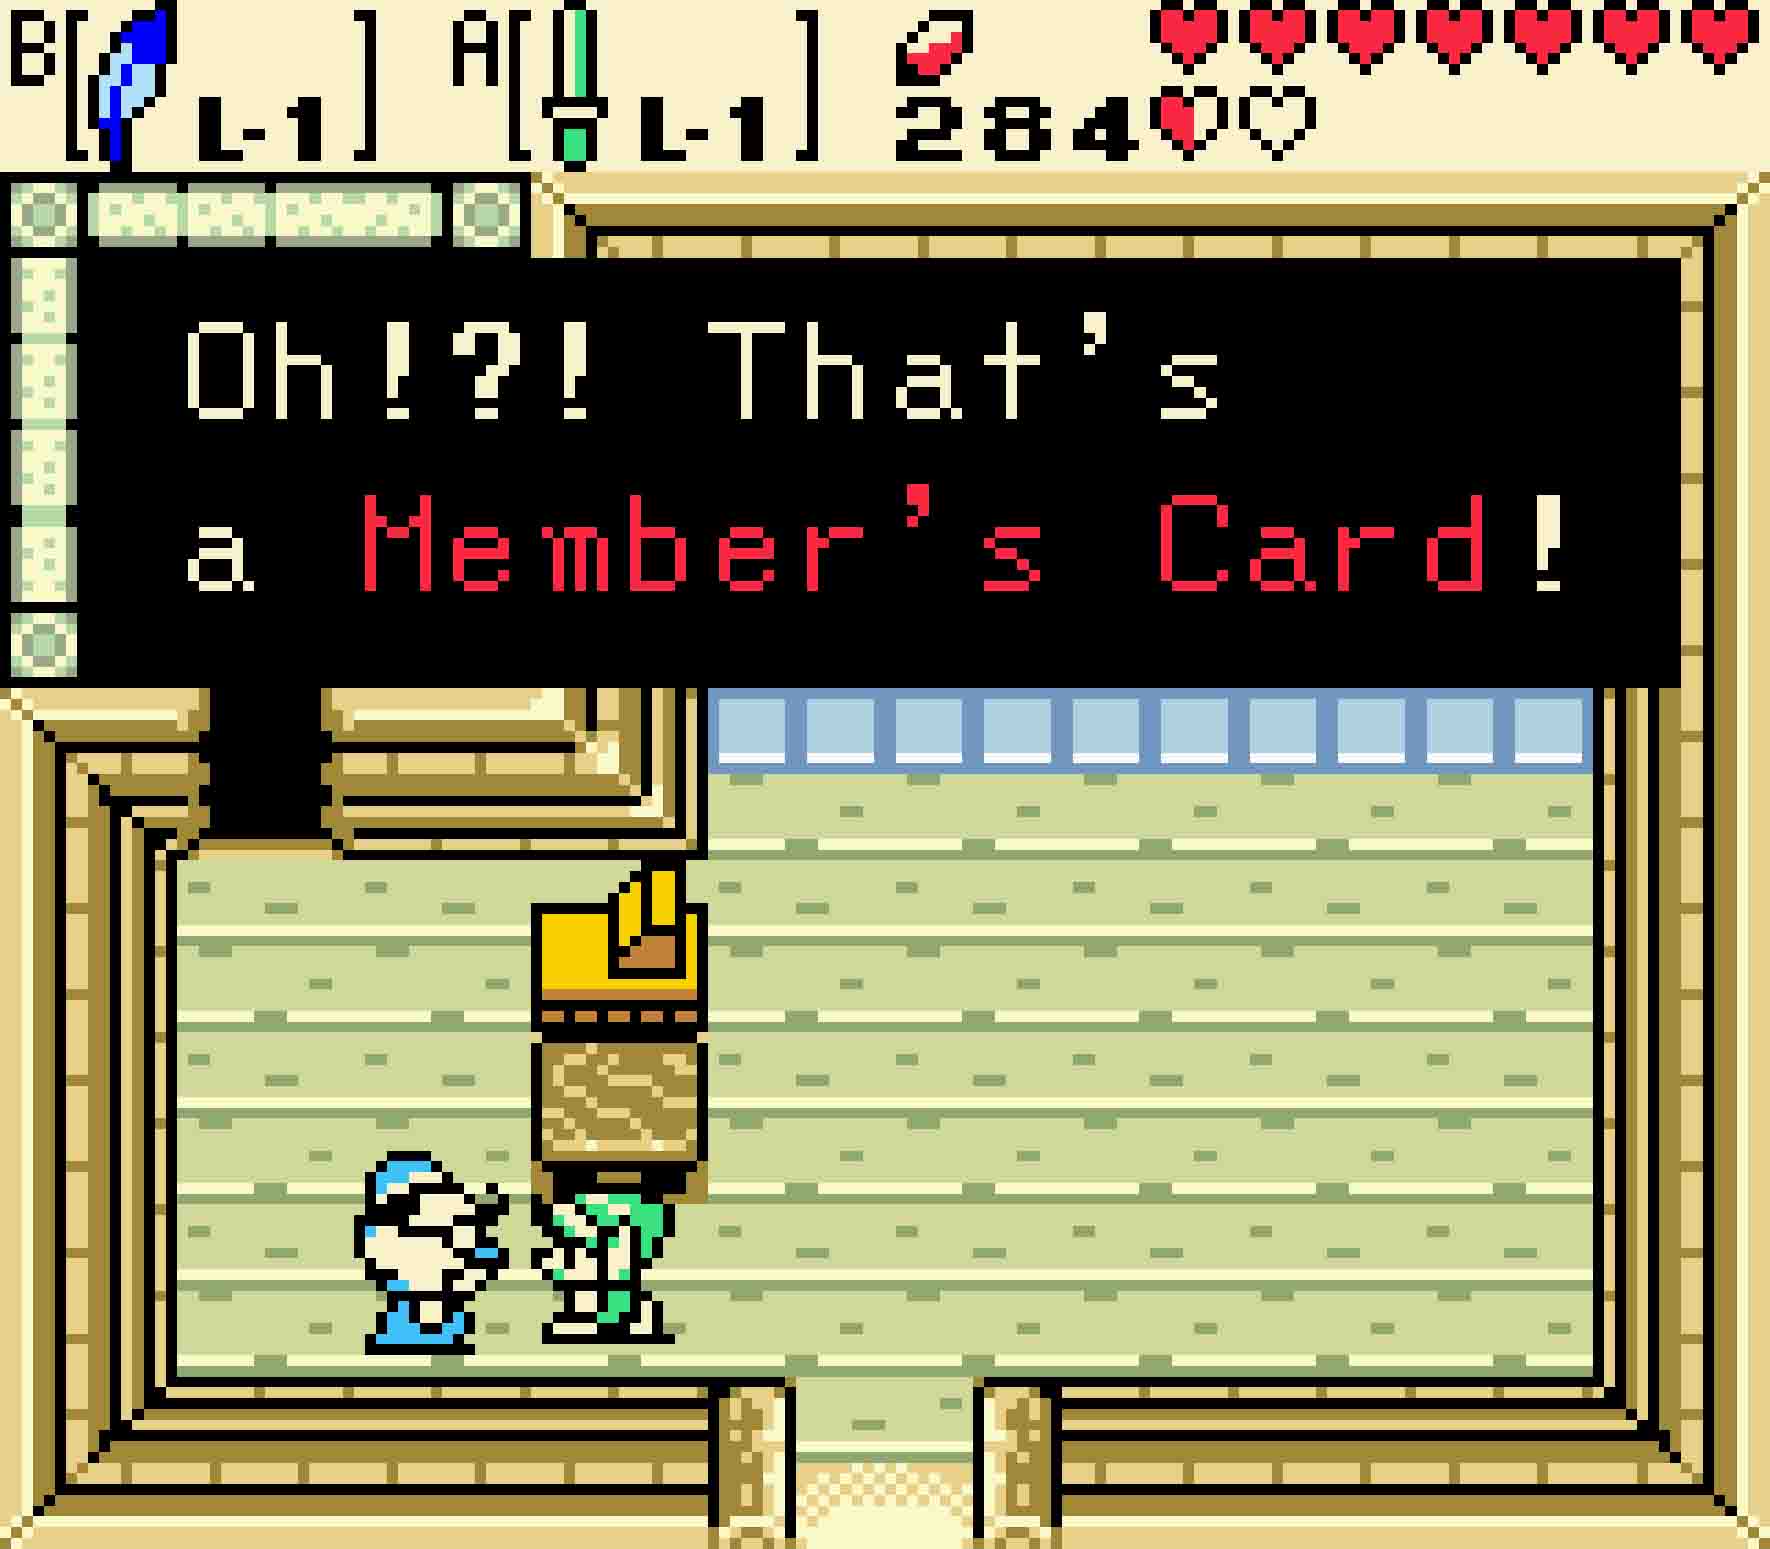
- This Member’s Card is incredibly cheap but will give you so much information.
14.2 Purchase the Treasure Map
 Now you’ll want to head back to where you came from. Exit the shop, head south, use the Magnetic Gloves to go over the pothole, and then head west three times. Turn to the left and head south twice, and then enter the cavern with the skulls on either end. Ascend the two floors to emerge right next to the Holodrum portal, and then return topside.
Back in Horon Village, simply head northwest to arrive at the Horon shop. The shopkeeper doesn’t have this secret and rare treasure map out on display. Instead, he keeps it in his back room. With the Member’s Card, attempt to walk behind his desk. He’ll stop you at first, but once he sees that VIP card, he’ll allow you on. Head through the door, go downstairs, and find his secret shop.
That scroll in the last slot is the Treasure Map you need. It may be a little steep at 300 Rupees. However, there’s really not much in this game that you need to spend money on unless you’re going for extra Gasha Seeds. Purchase the Map, and then you will find four glowing dots on the map indicating the position of the four gems you need.
-
- The shopkeeper has a secret store “in the back.” That doesn’t sound ominous at all.
-
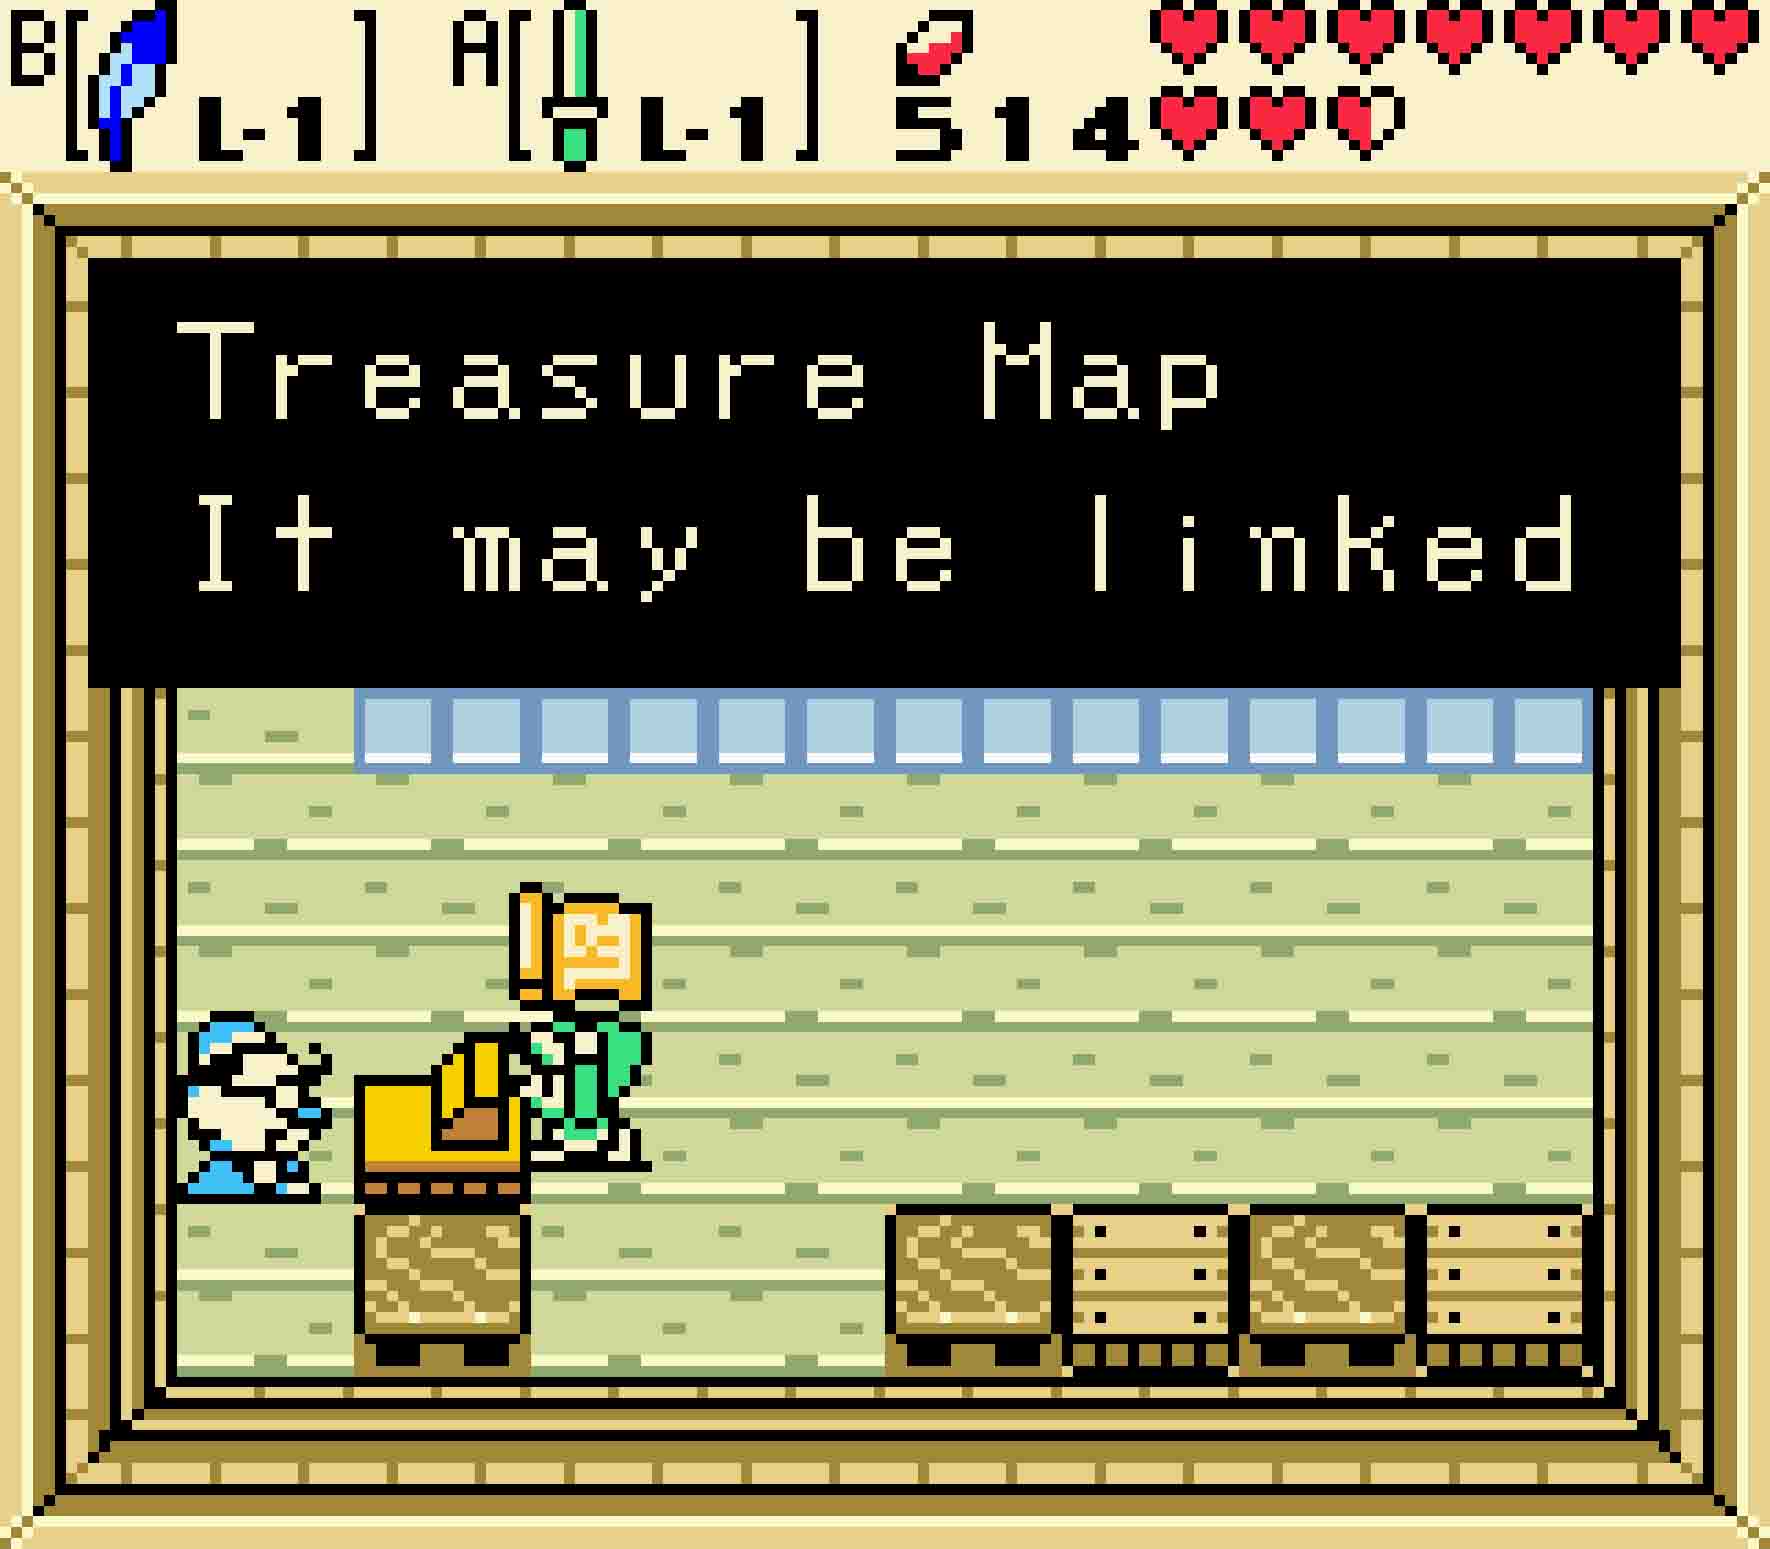
- The Treasure Map is quite a bit expensive, but it’s one of the few expenses you need to make.
14.3 Get the X-shaped Jewel
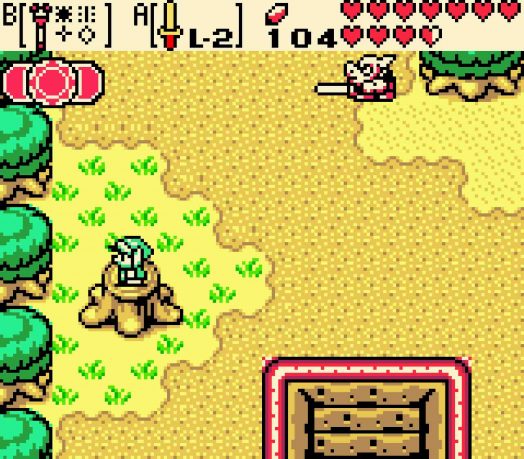
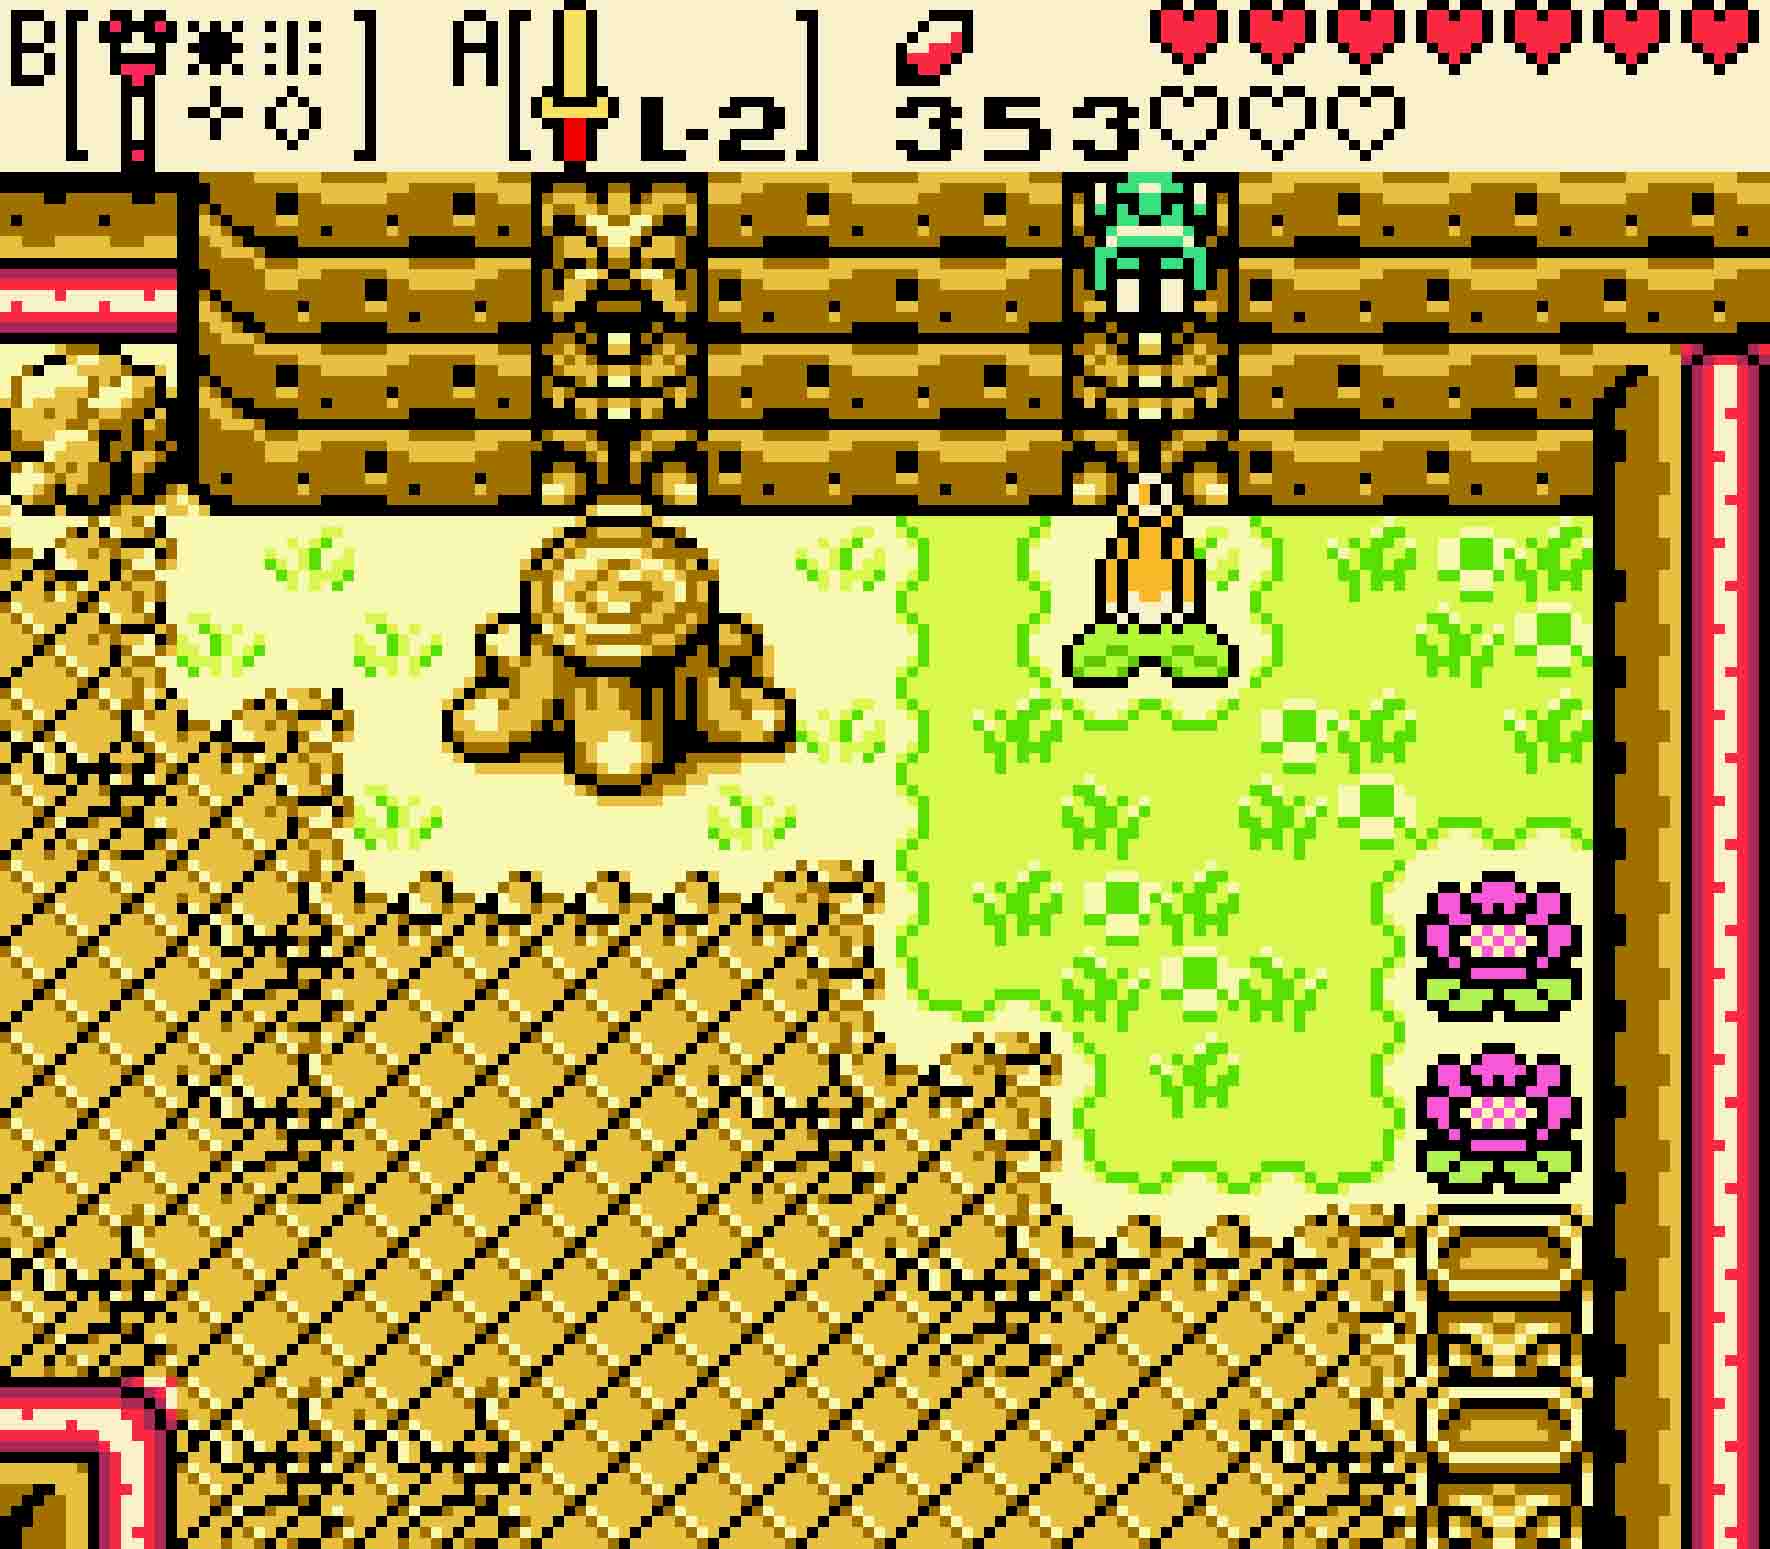
Head out to the beach and pop an Ember Seed in this torch.
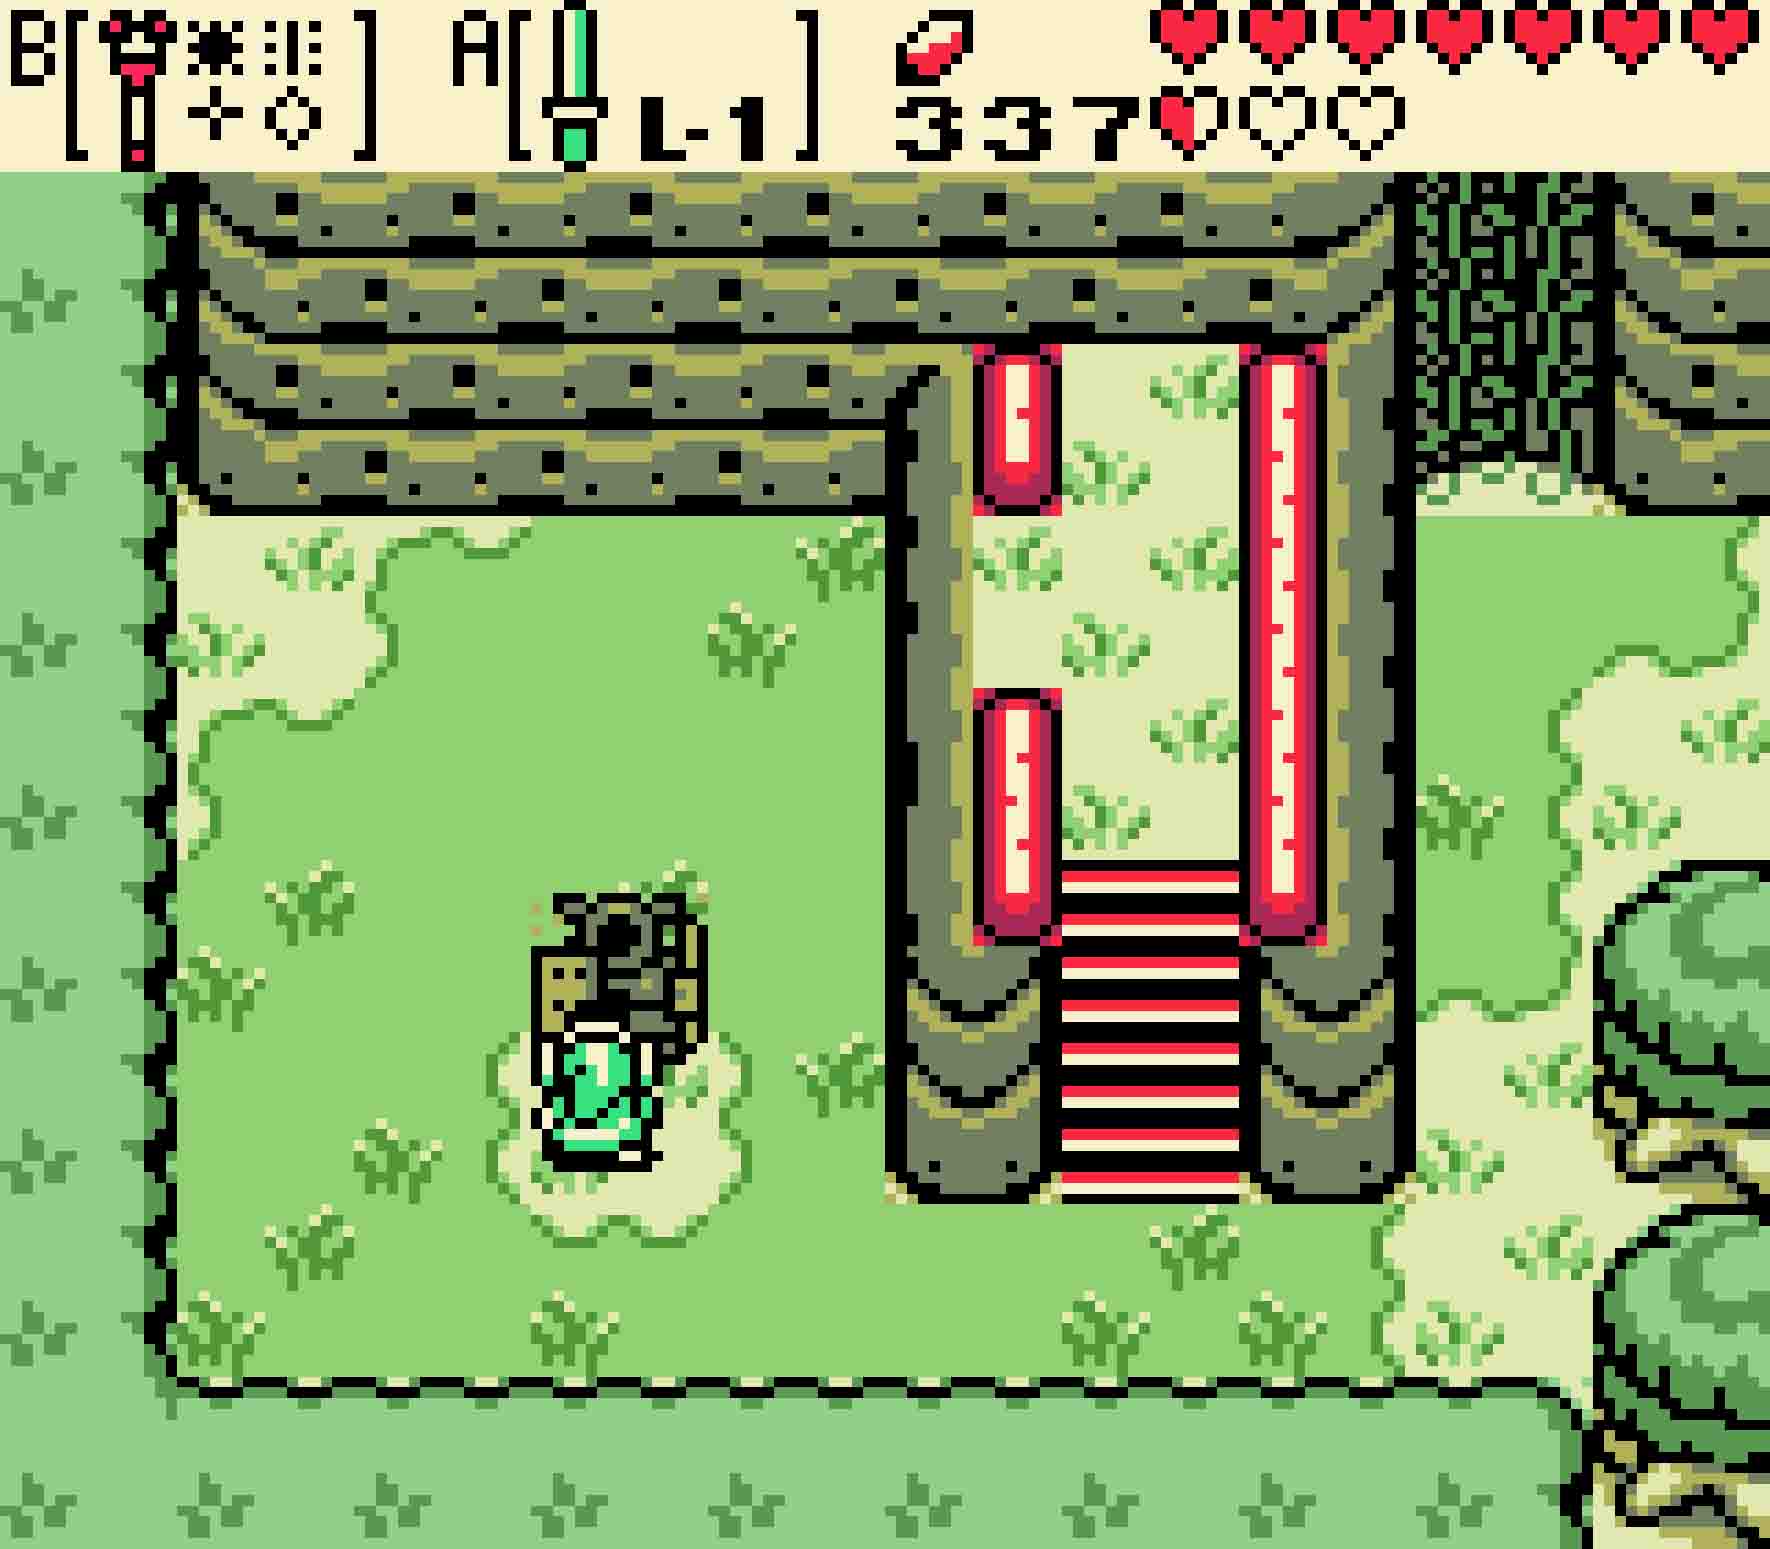
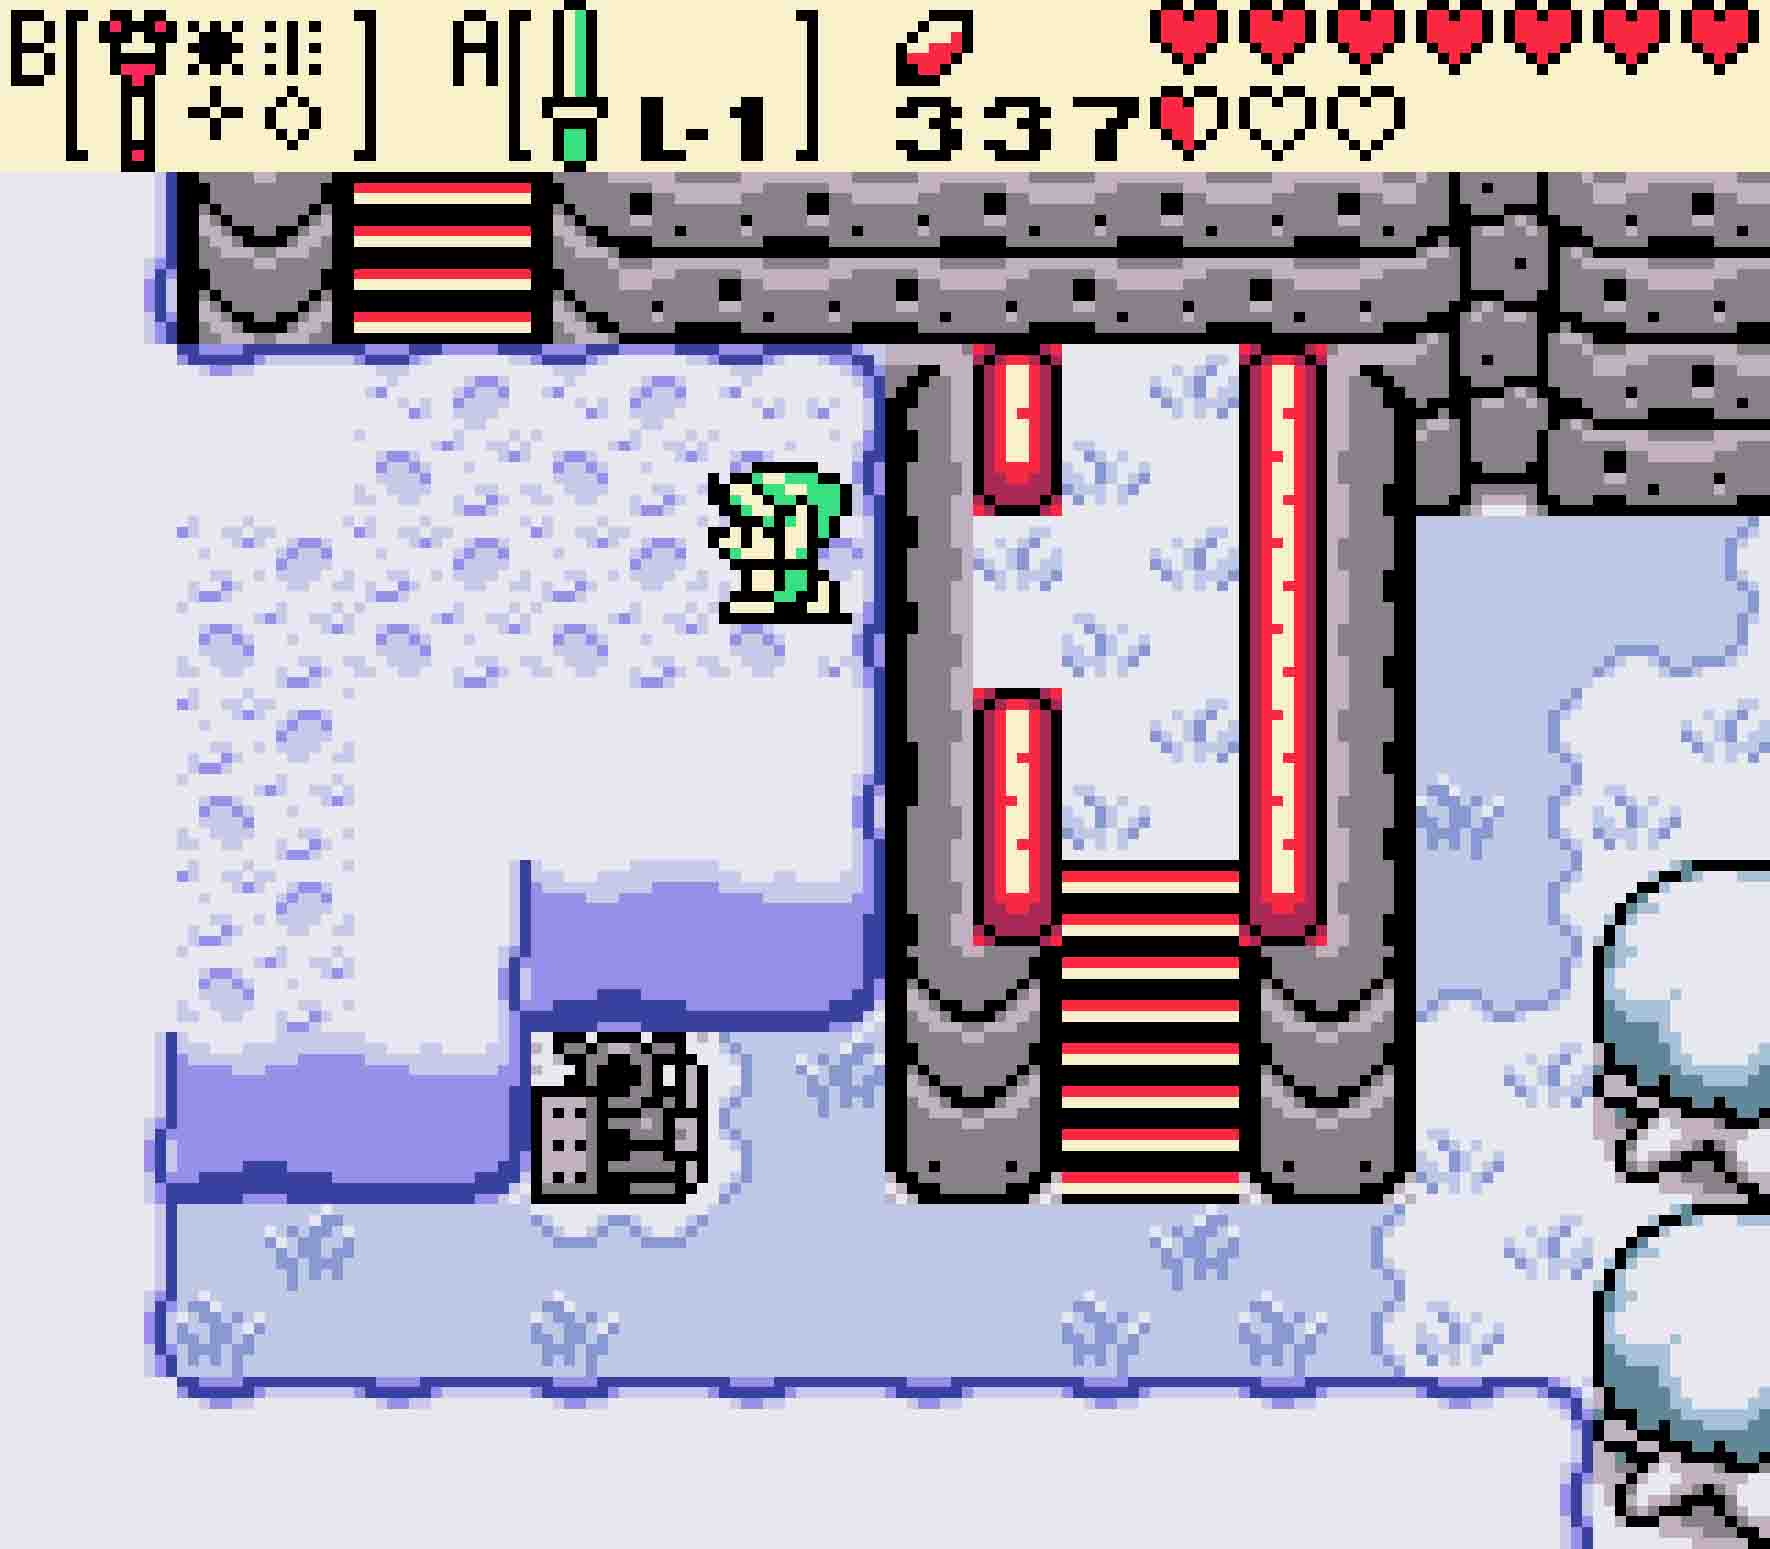
The first of the gems is extremely close. Exit the shop, and then leave Horon Village using the western gate in the northwest of the village. Once you emerge onto the winter landscape outside the village, head west, pass the huge piles of snow as you continue south, and then head back east taking the lower of the two pathways. This will take you directly outside Hero’s Cave, a rather familiar sight.
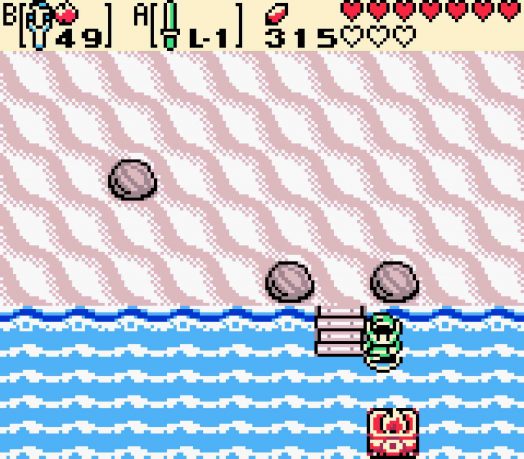
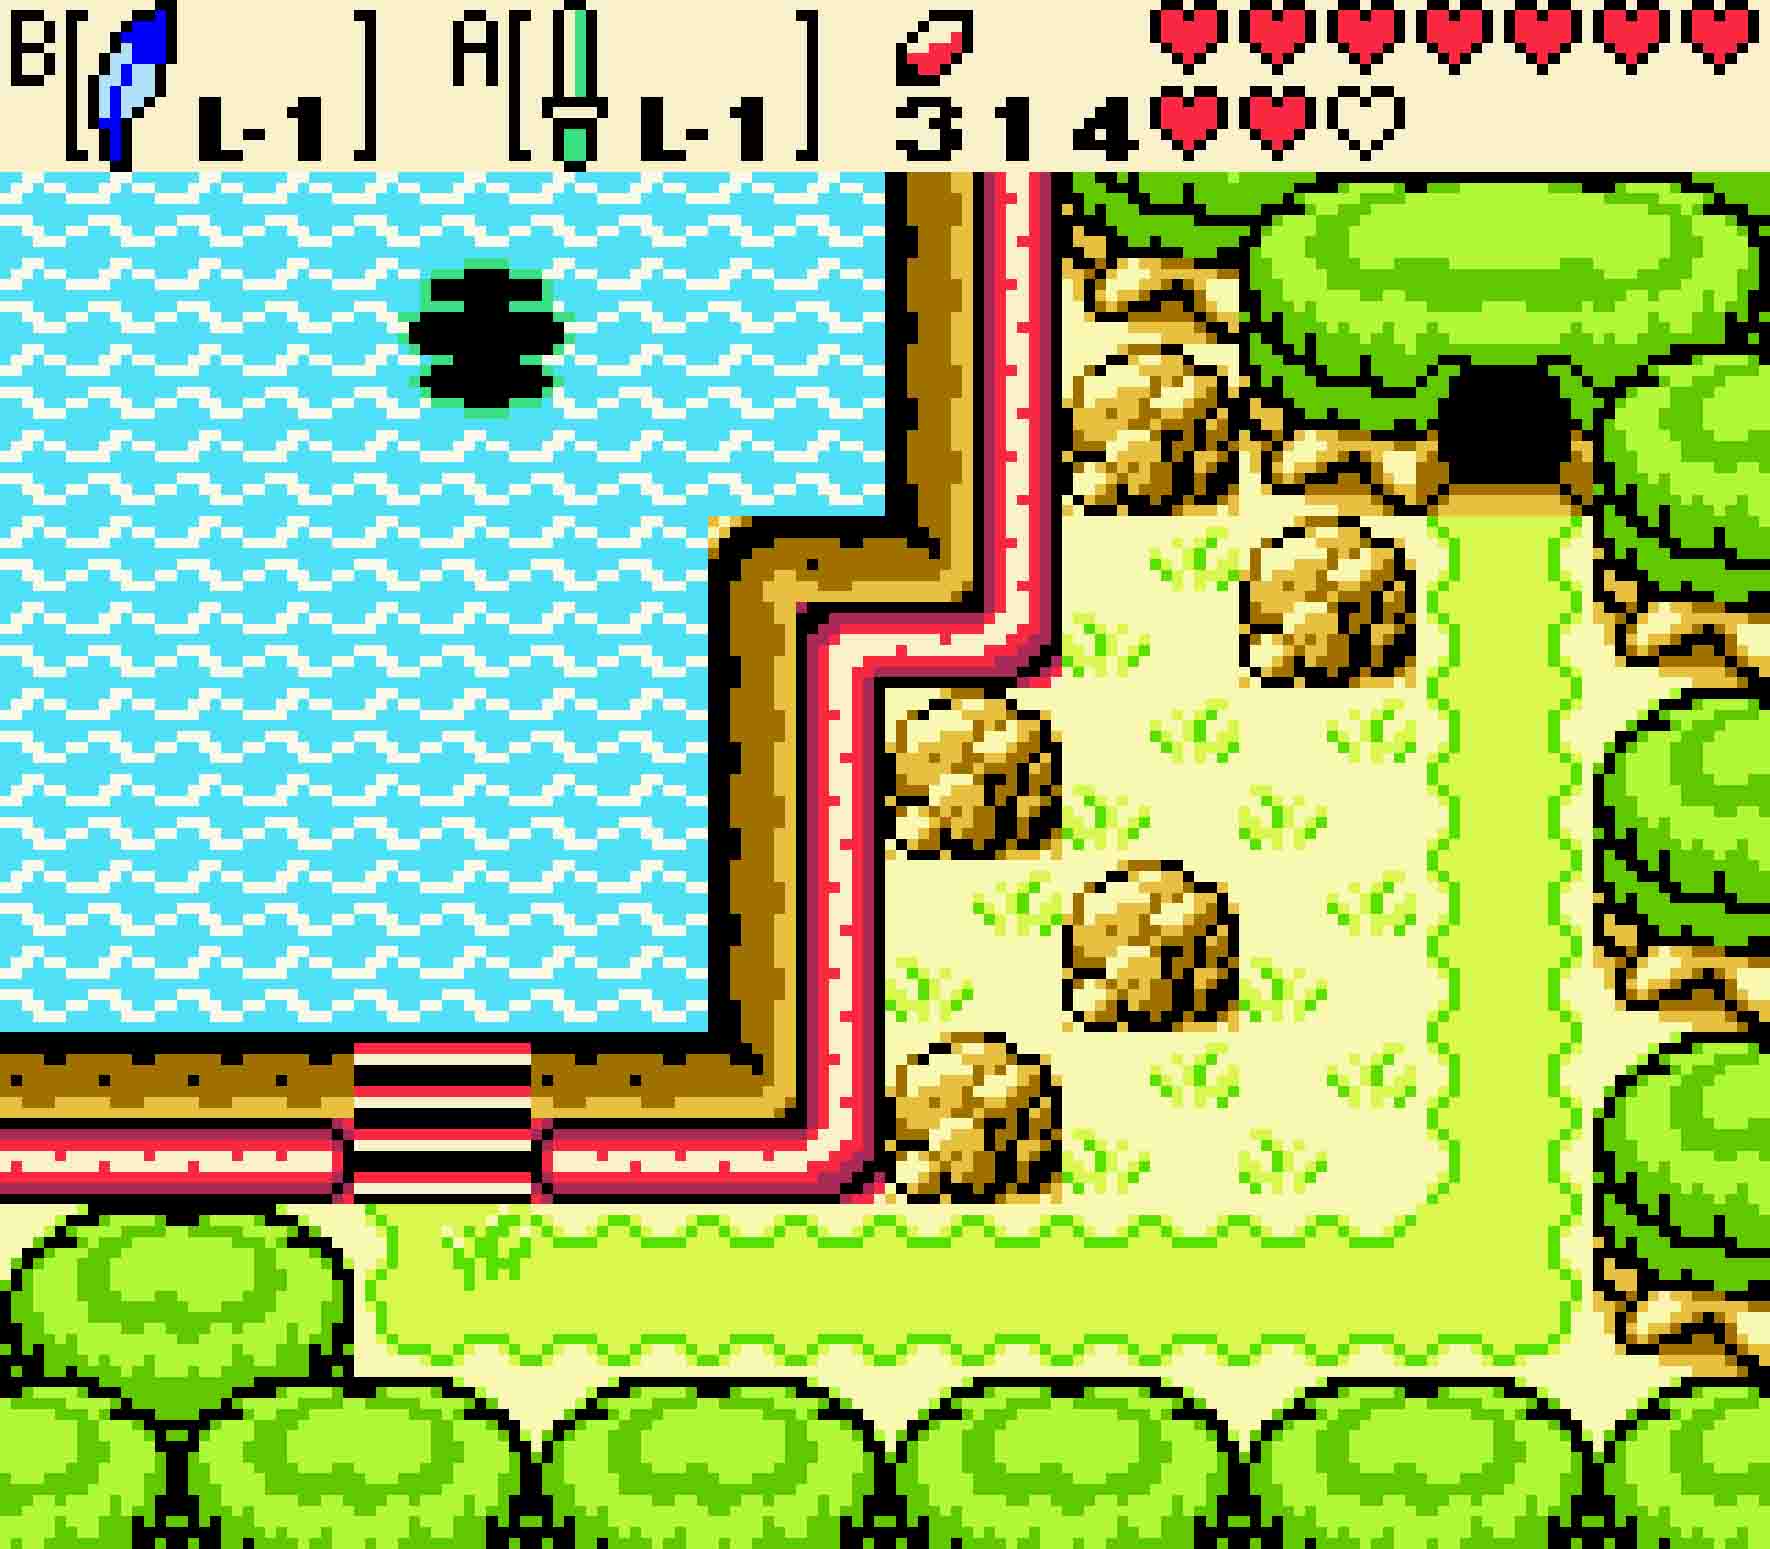
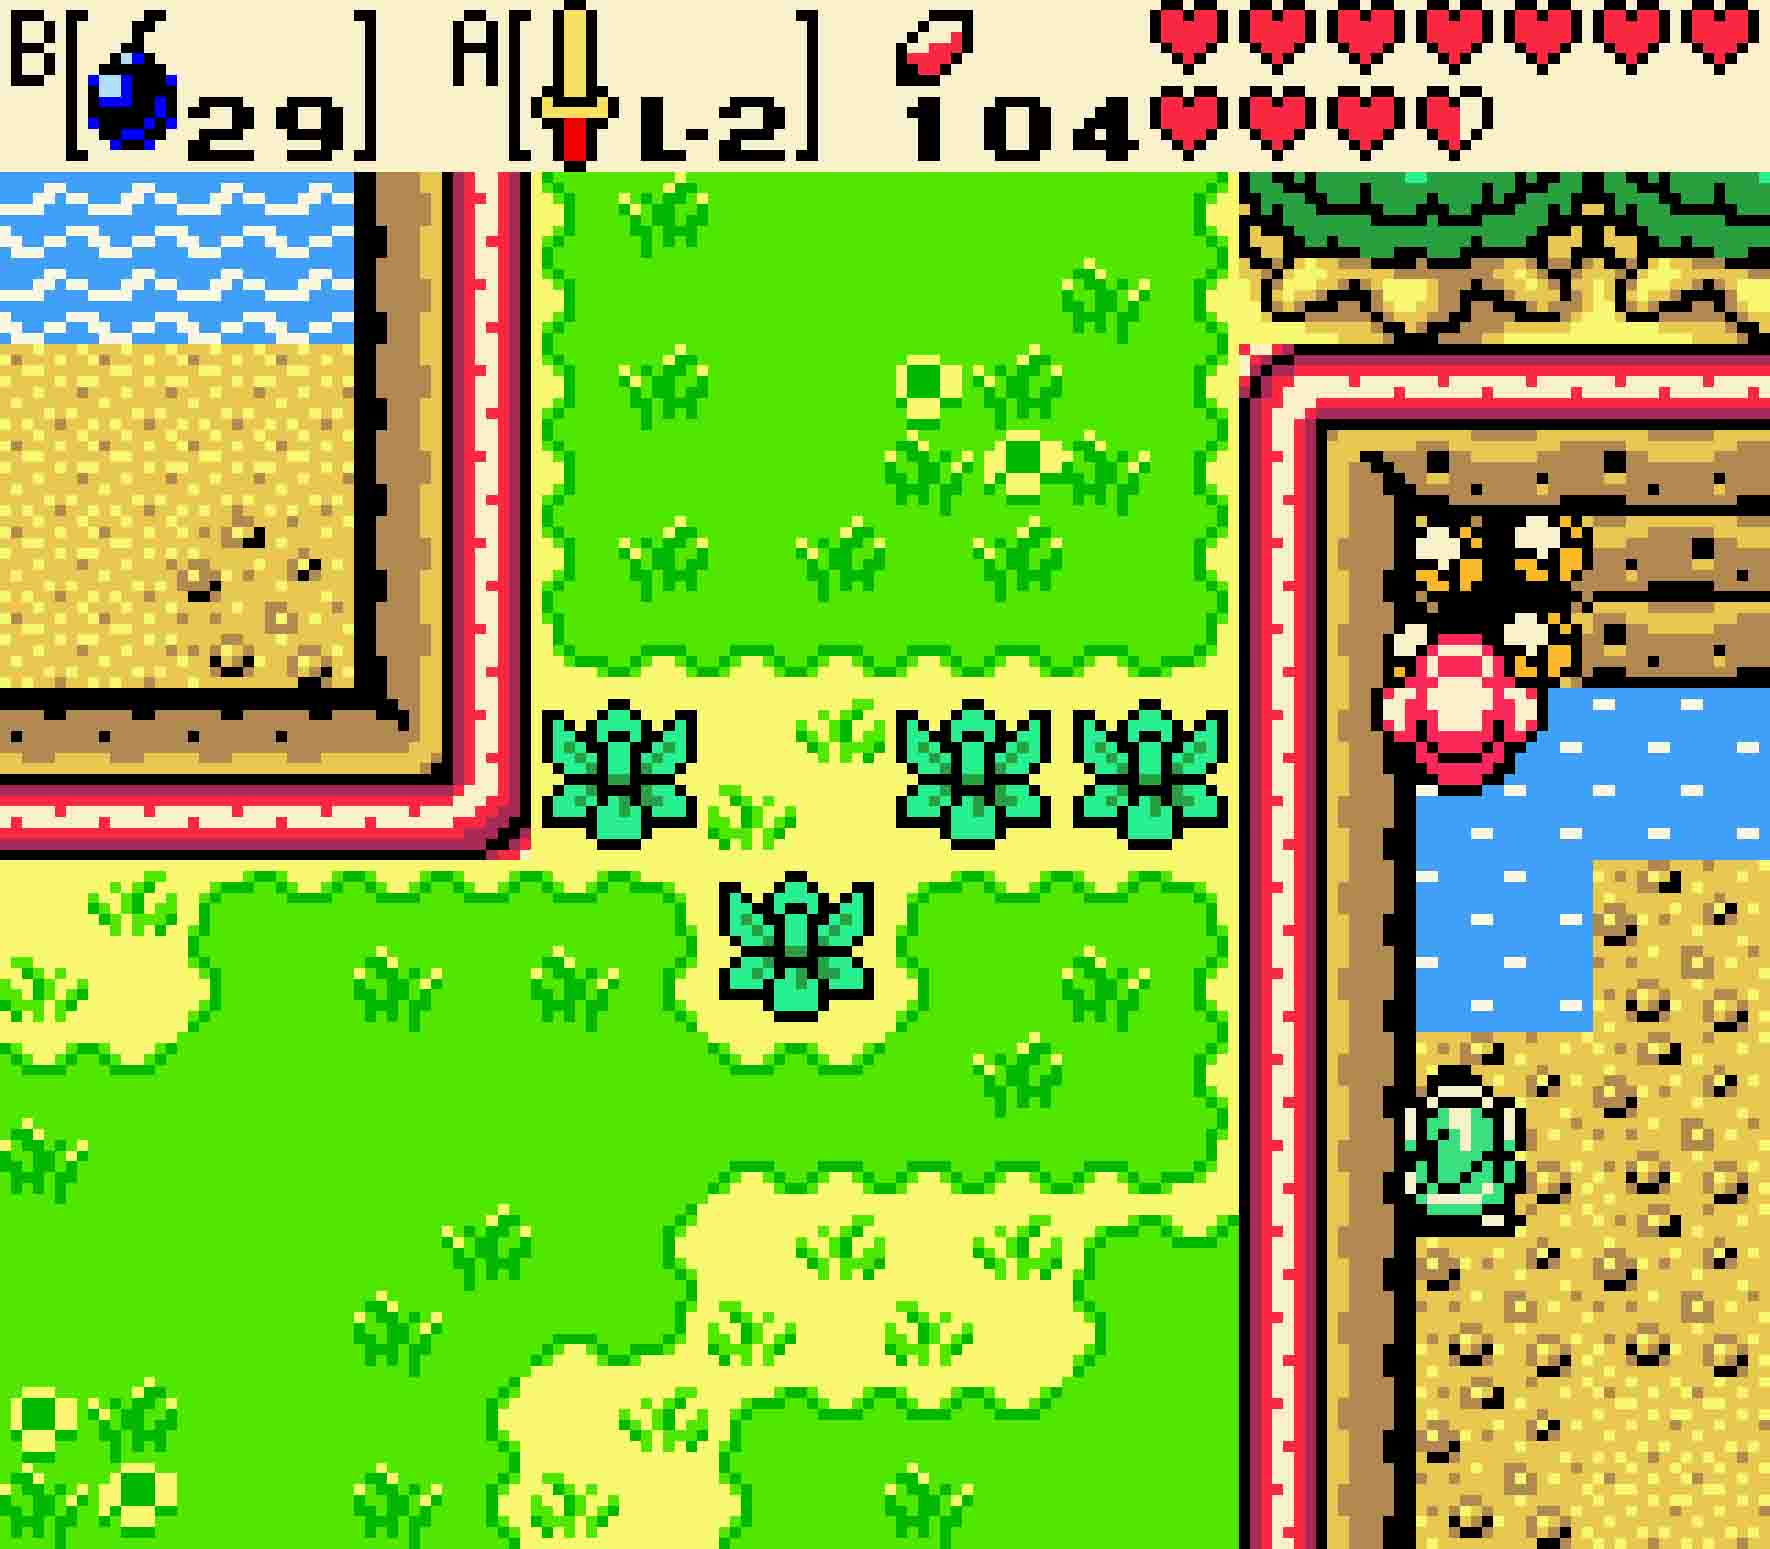
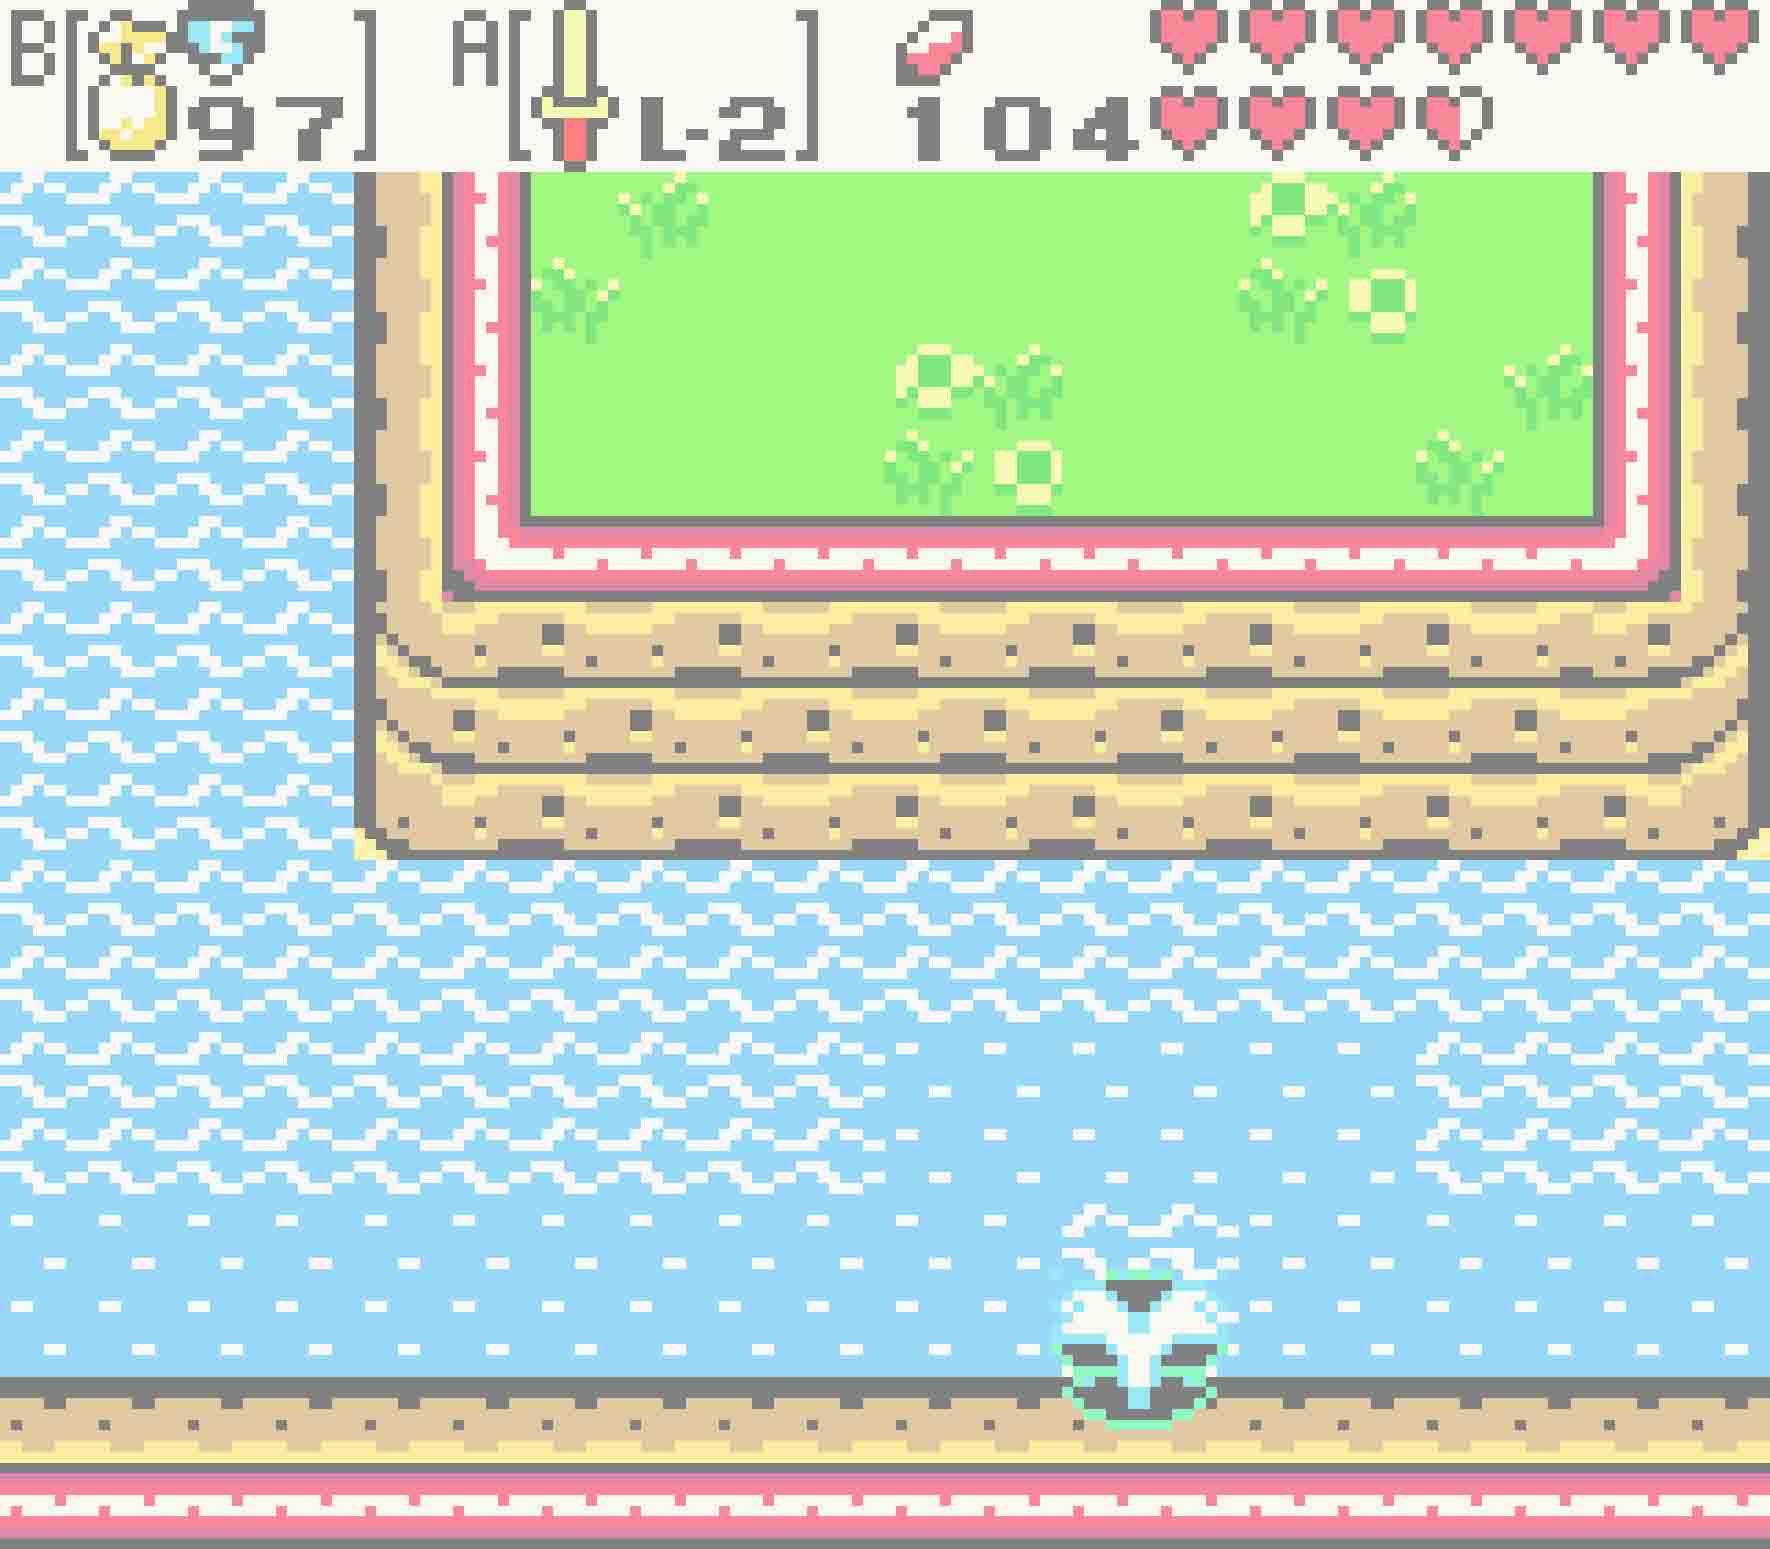
From Hero’s Cave, head south. You’ll notice a rather curious unlit torch all by its lonesome out in the sea. Equip some Ember Seeds, and use your Slingshot to hurl one into the torch. Doing so will extend a bridge out to the ocean. Follow the bridge, and you’ll find a curious little rock that’s in the shape of a question mark. What a mystery, huh? In fact, you should use a Mystery Seed on the rock.
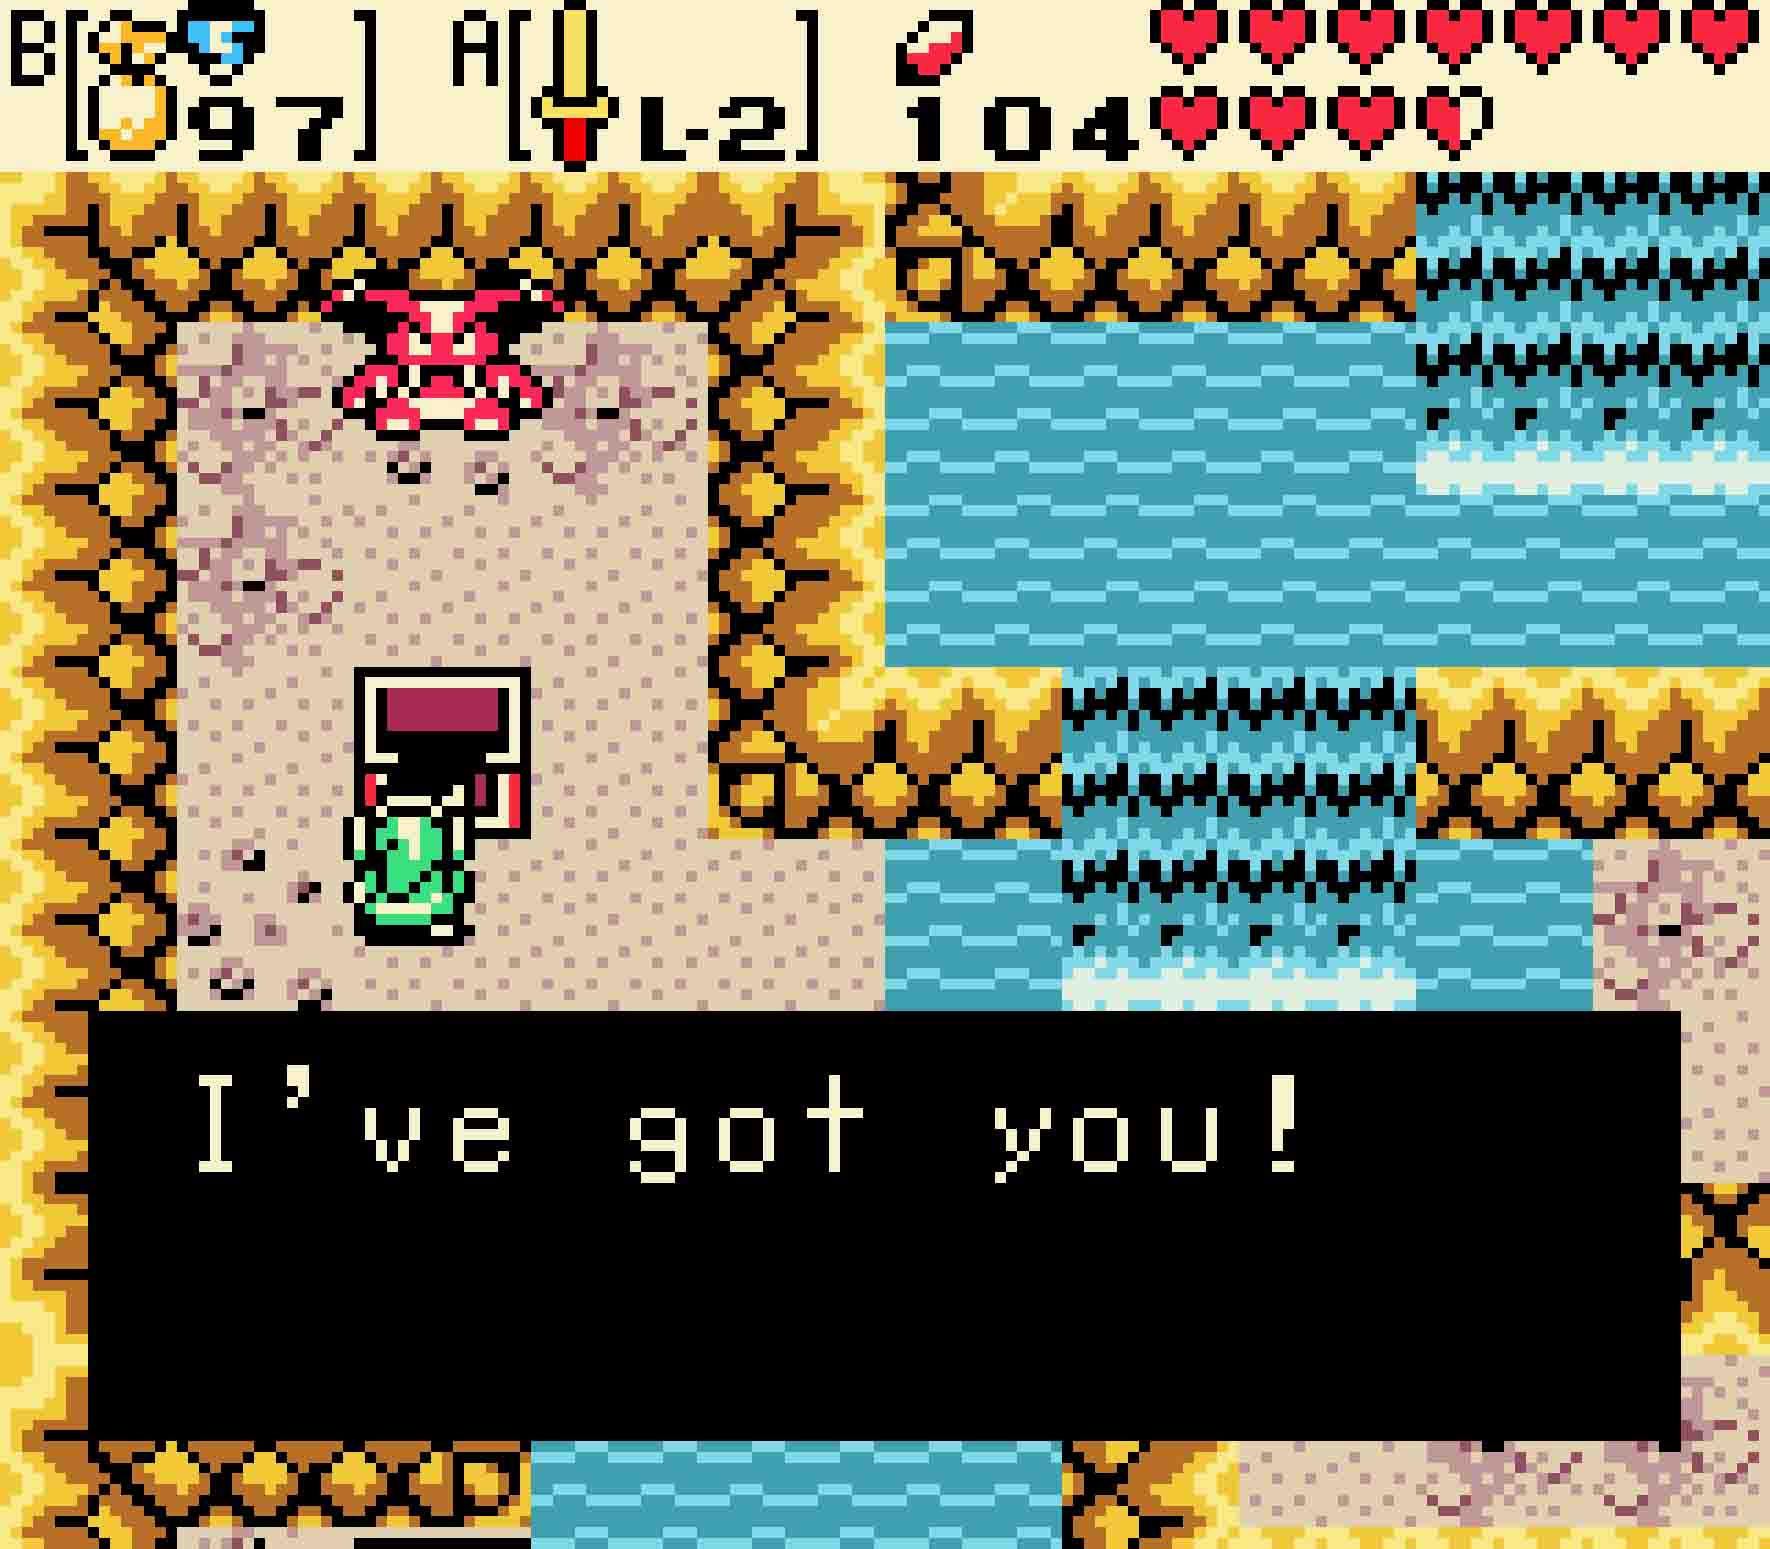
In doing so, you’ll be warned that a dark creature will be released, but that’s just a Mini-moldorm. Kick its butt, and a chest will appear containing the X-shaped Jewel.
-
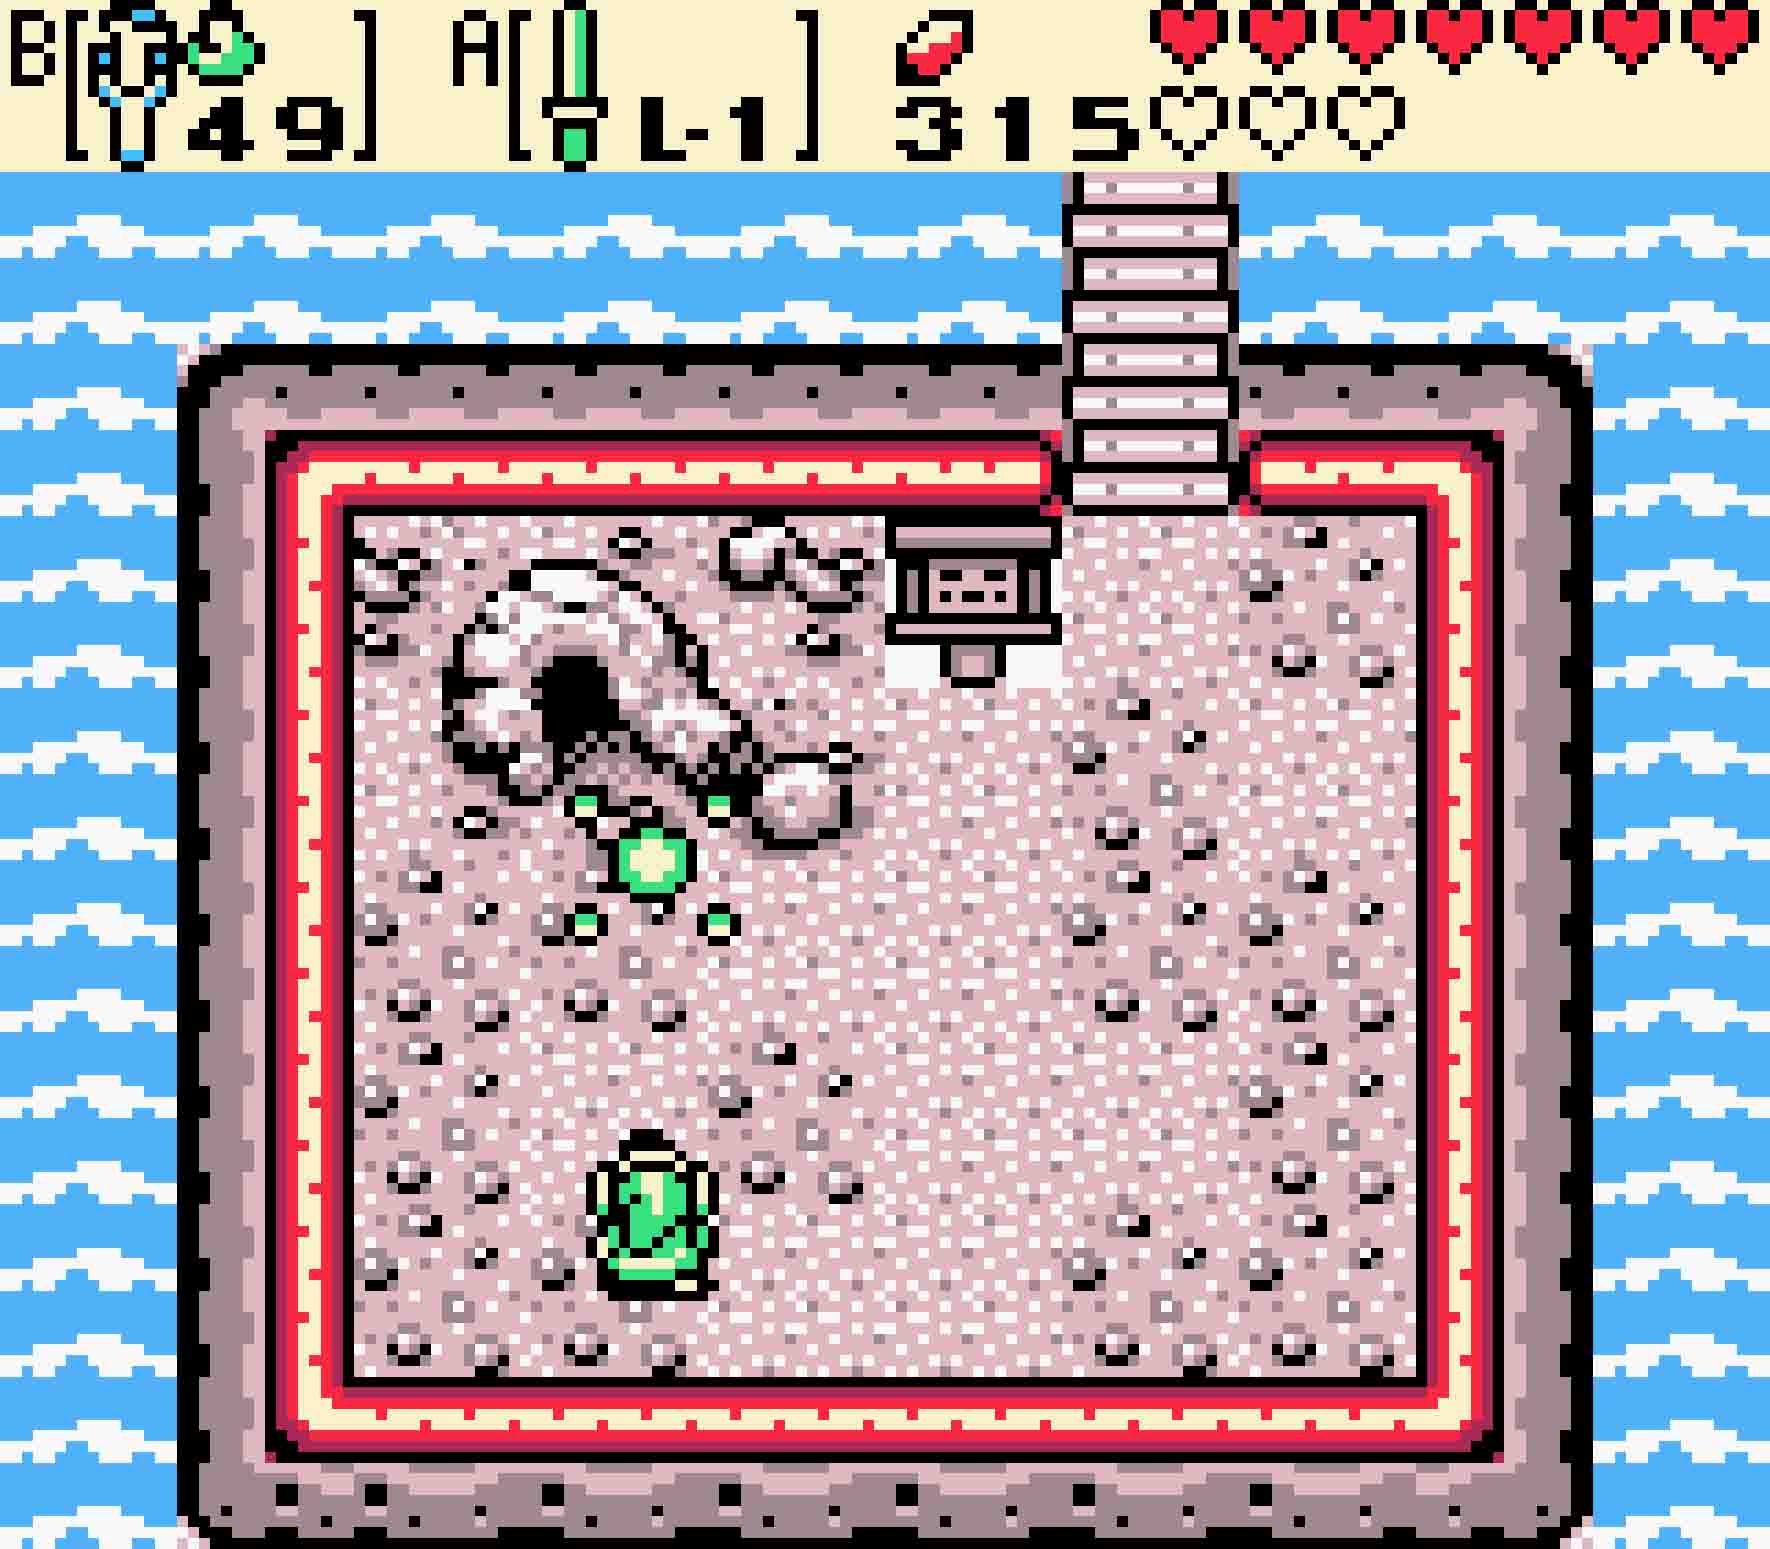
- Use a Mystery Seed on this mysterious question mark rock.
-
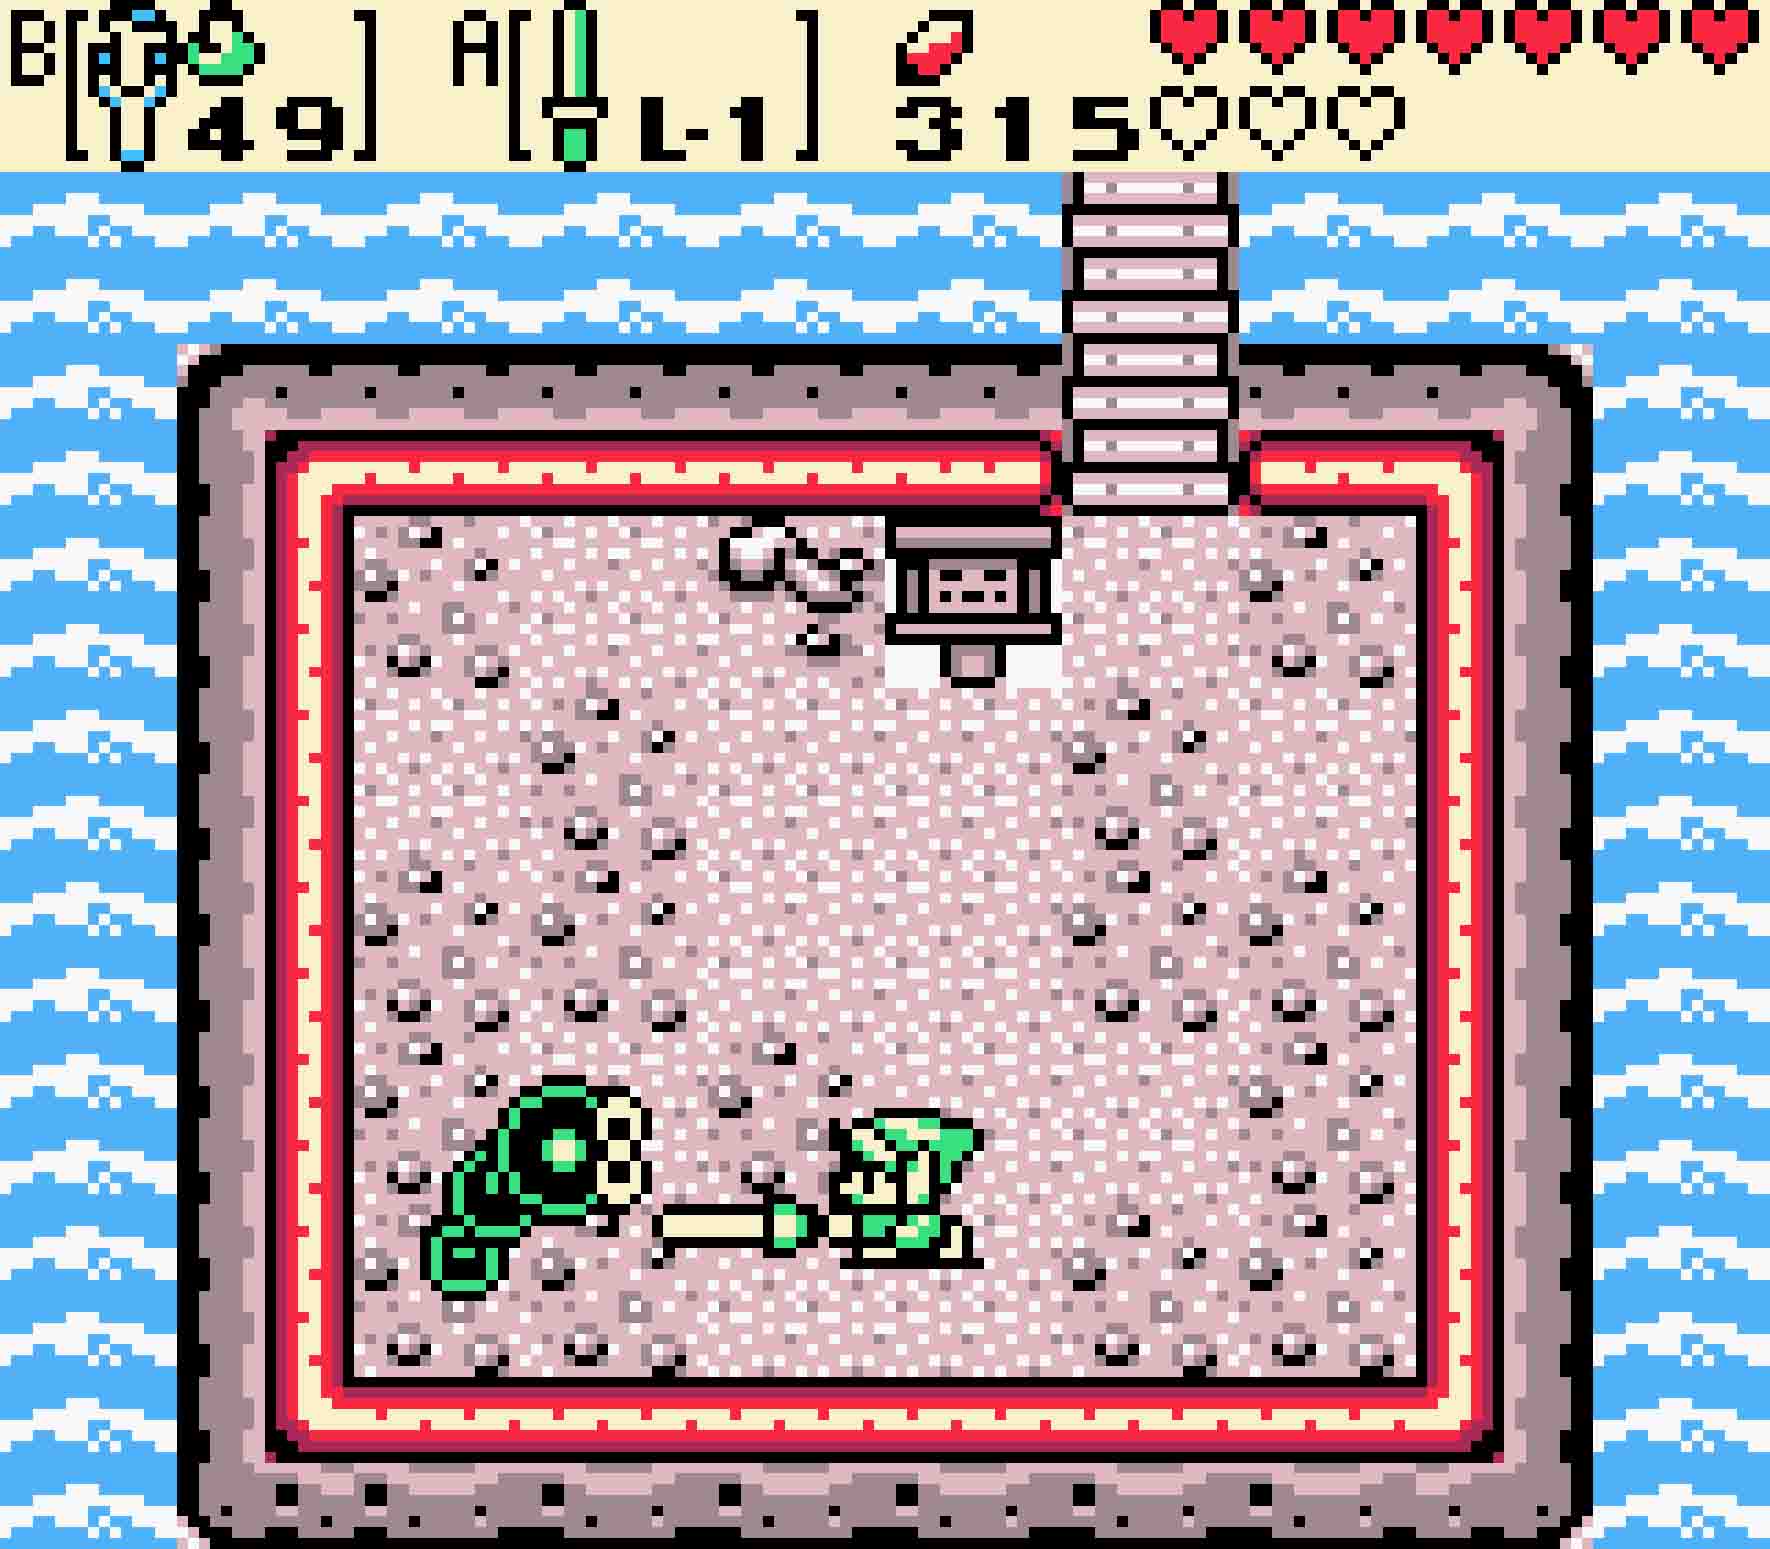
- Kill the Mini-moldorm that comes out to earn the first of four jewels.
14.4 Find the Round Jewel
 Depending upon how frivolous you want to be with spending Gale Seeds, you might consider walking to the next jewel of the four. If you want to be lazy, warp to the teleportation tree near Blaino’s Gym, just a few screens up from the Gnarled Root Dungeon. You’ll then want to head back down a few screens and then head west to return to Level One. If you want to conserve your seeds, return to Horon Village, exit through the northern gate, pass Impa’s place, head northeast into North Horon, and then cross the bridge to the first dungeon.
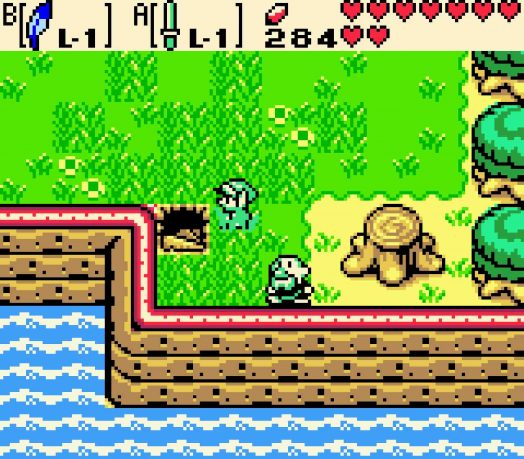
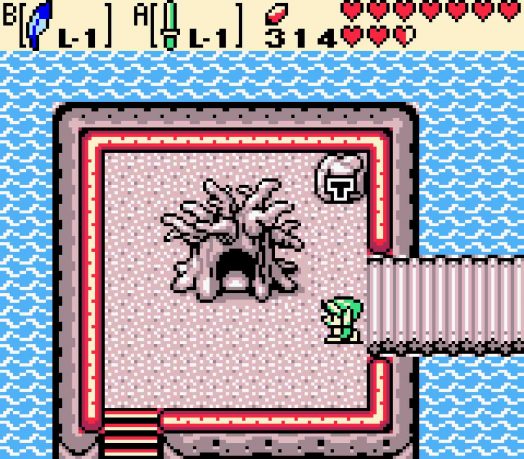
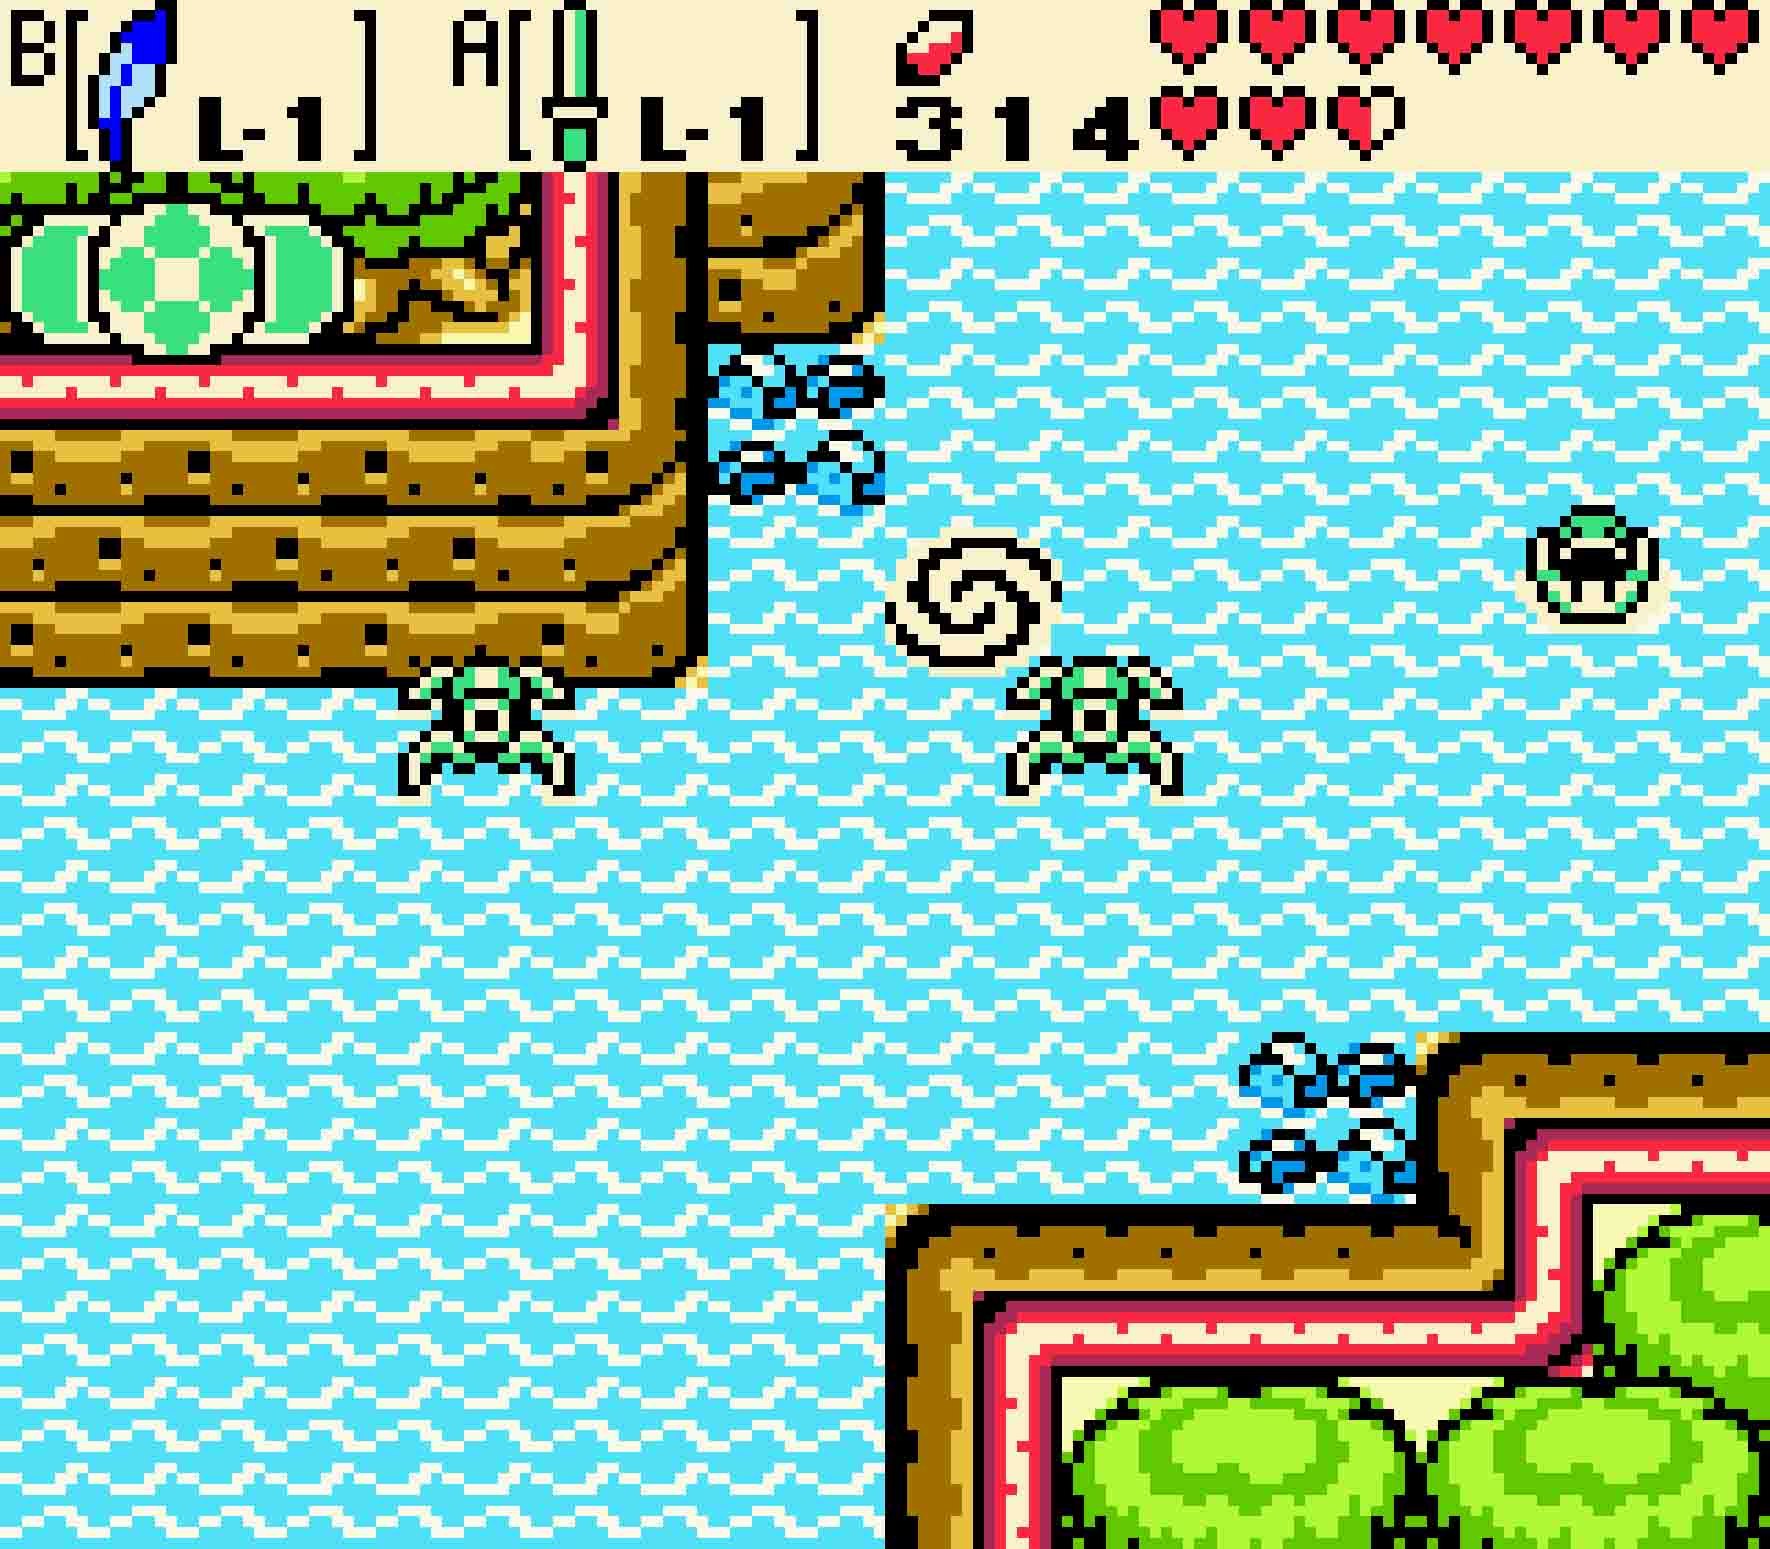
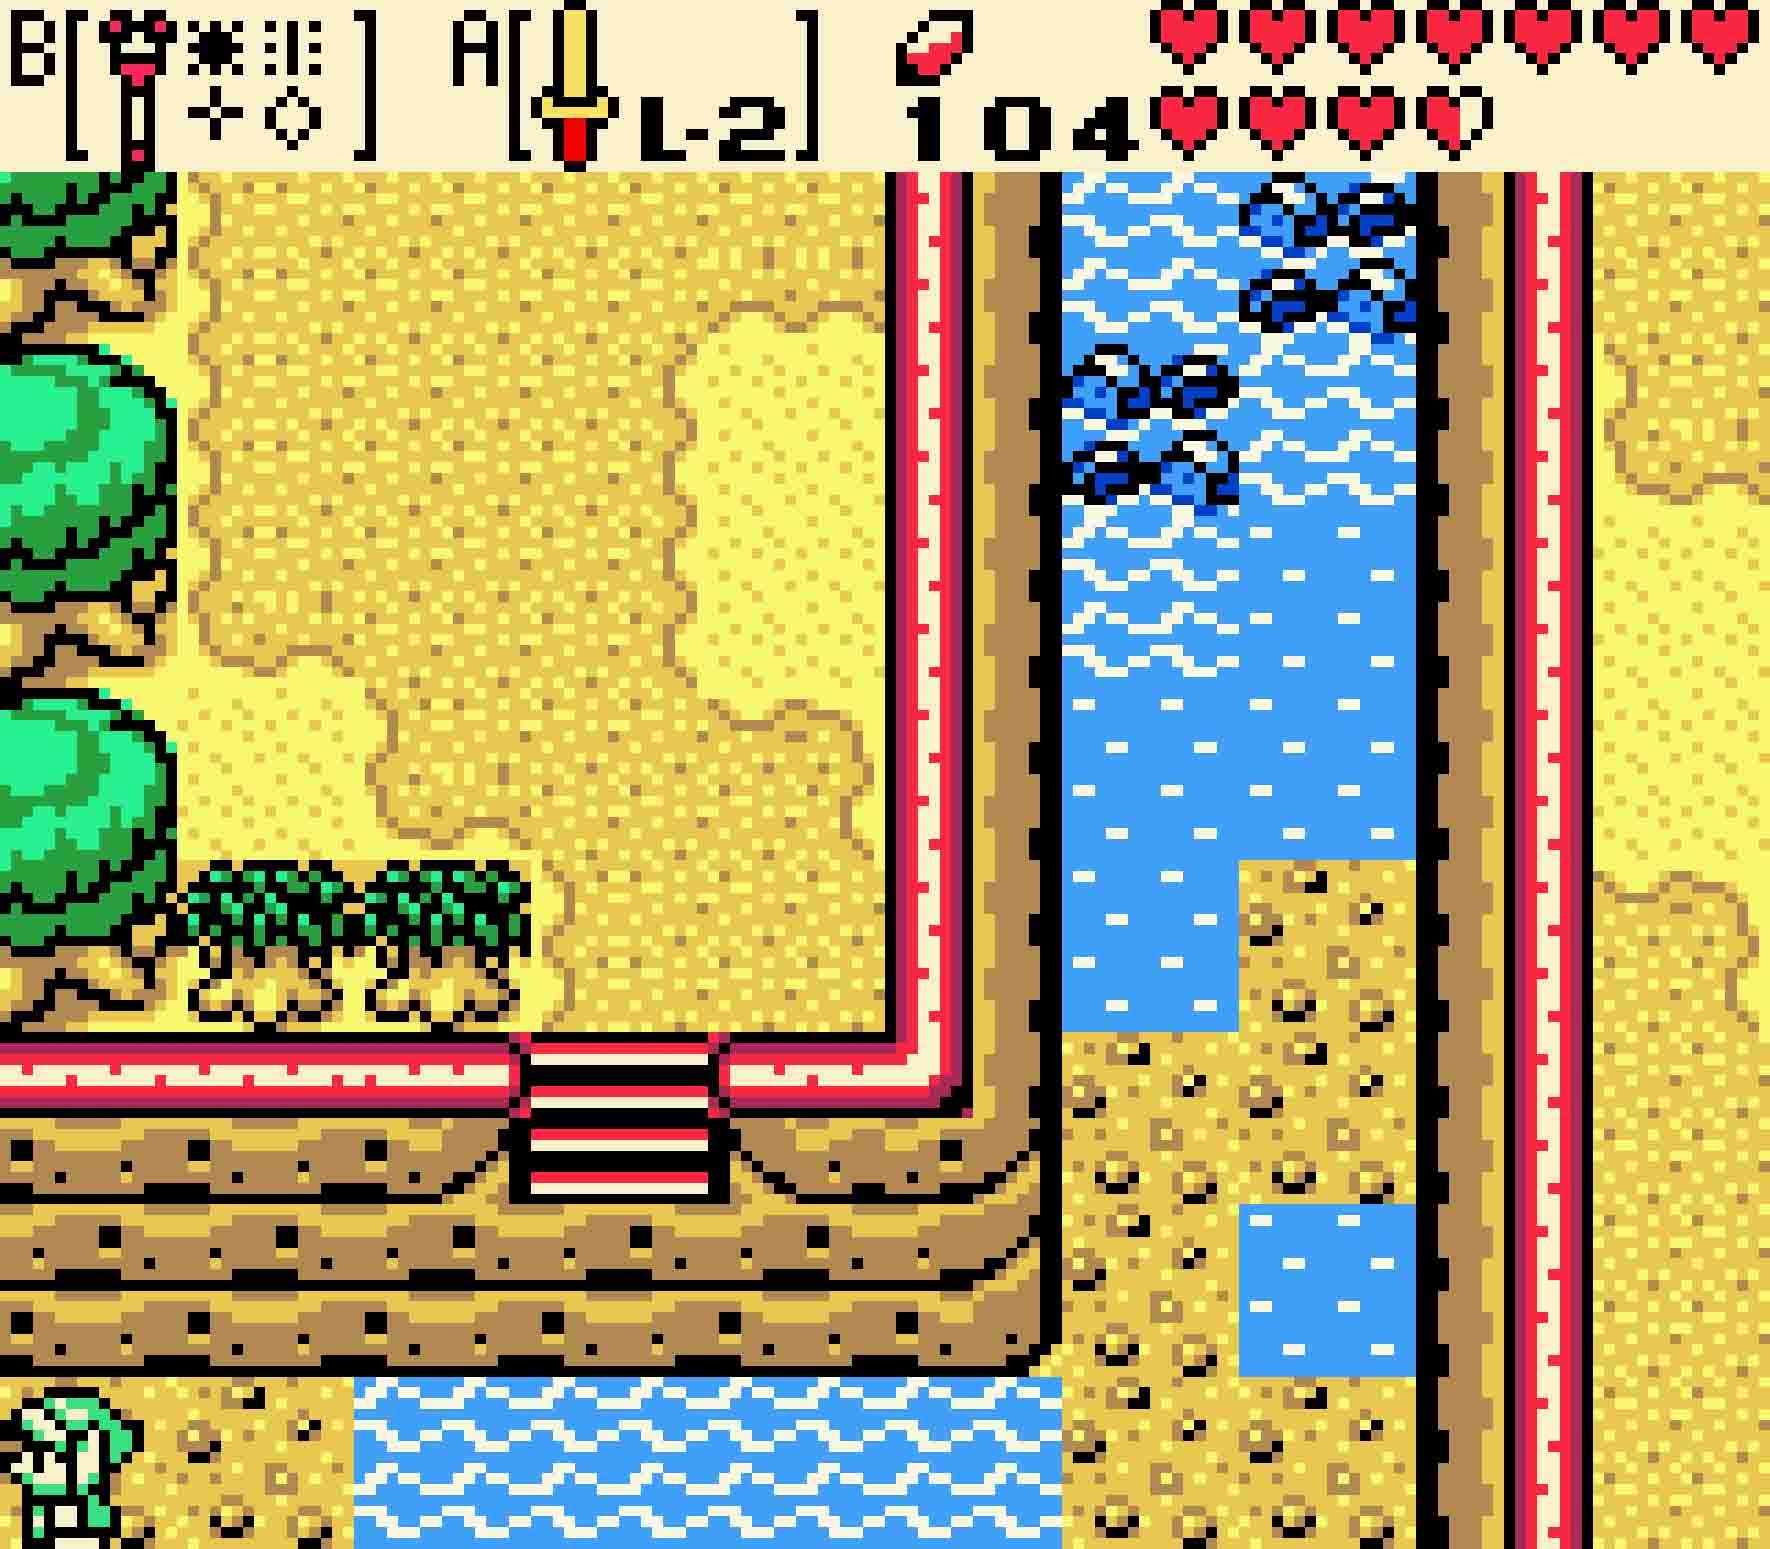
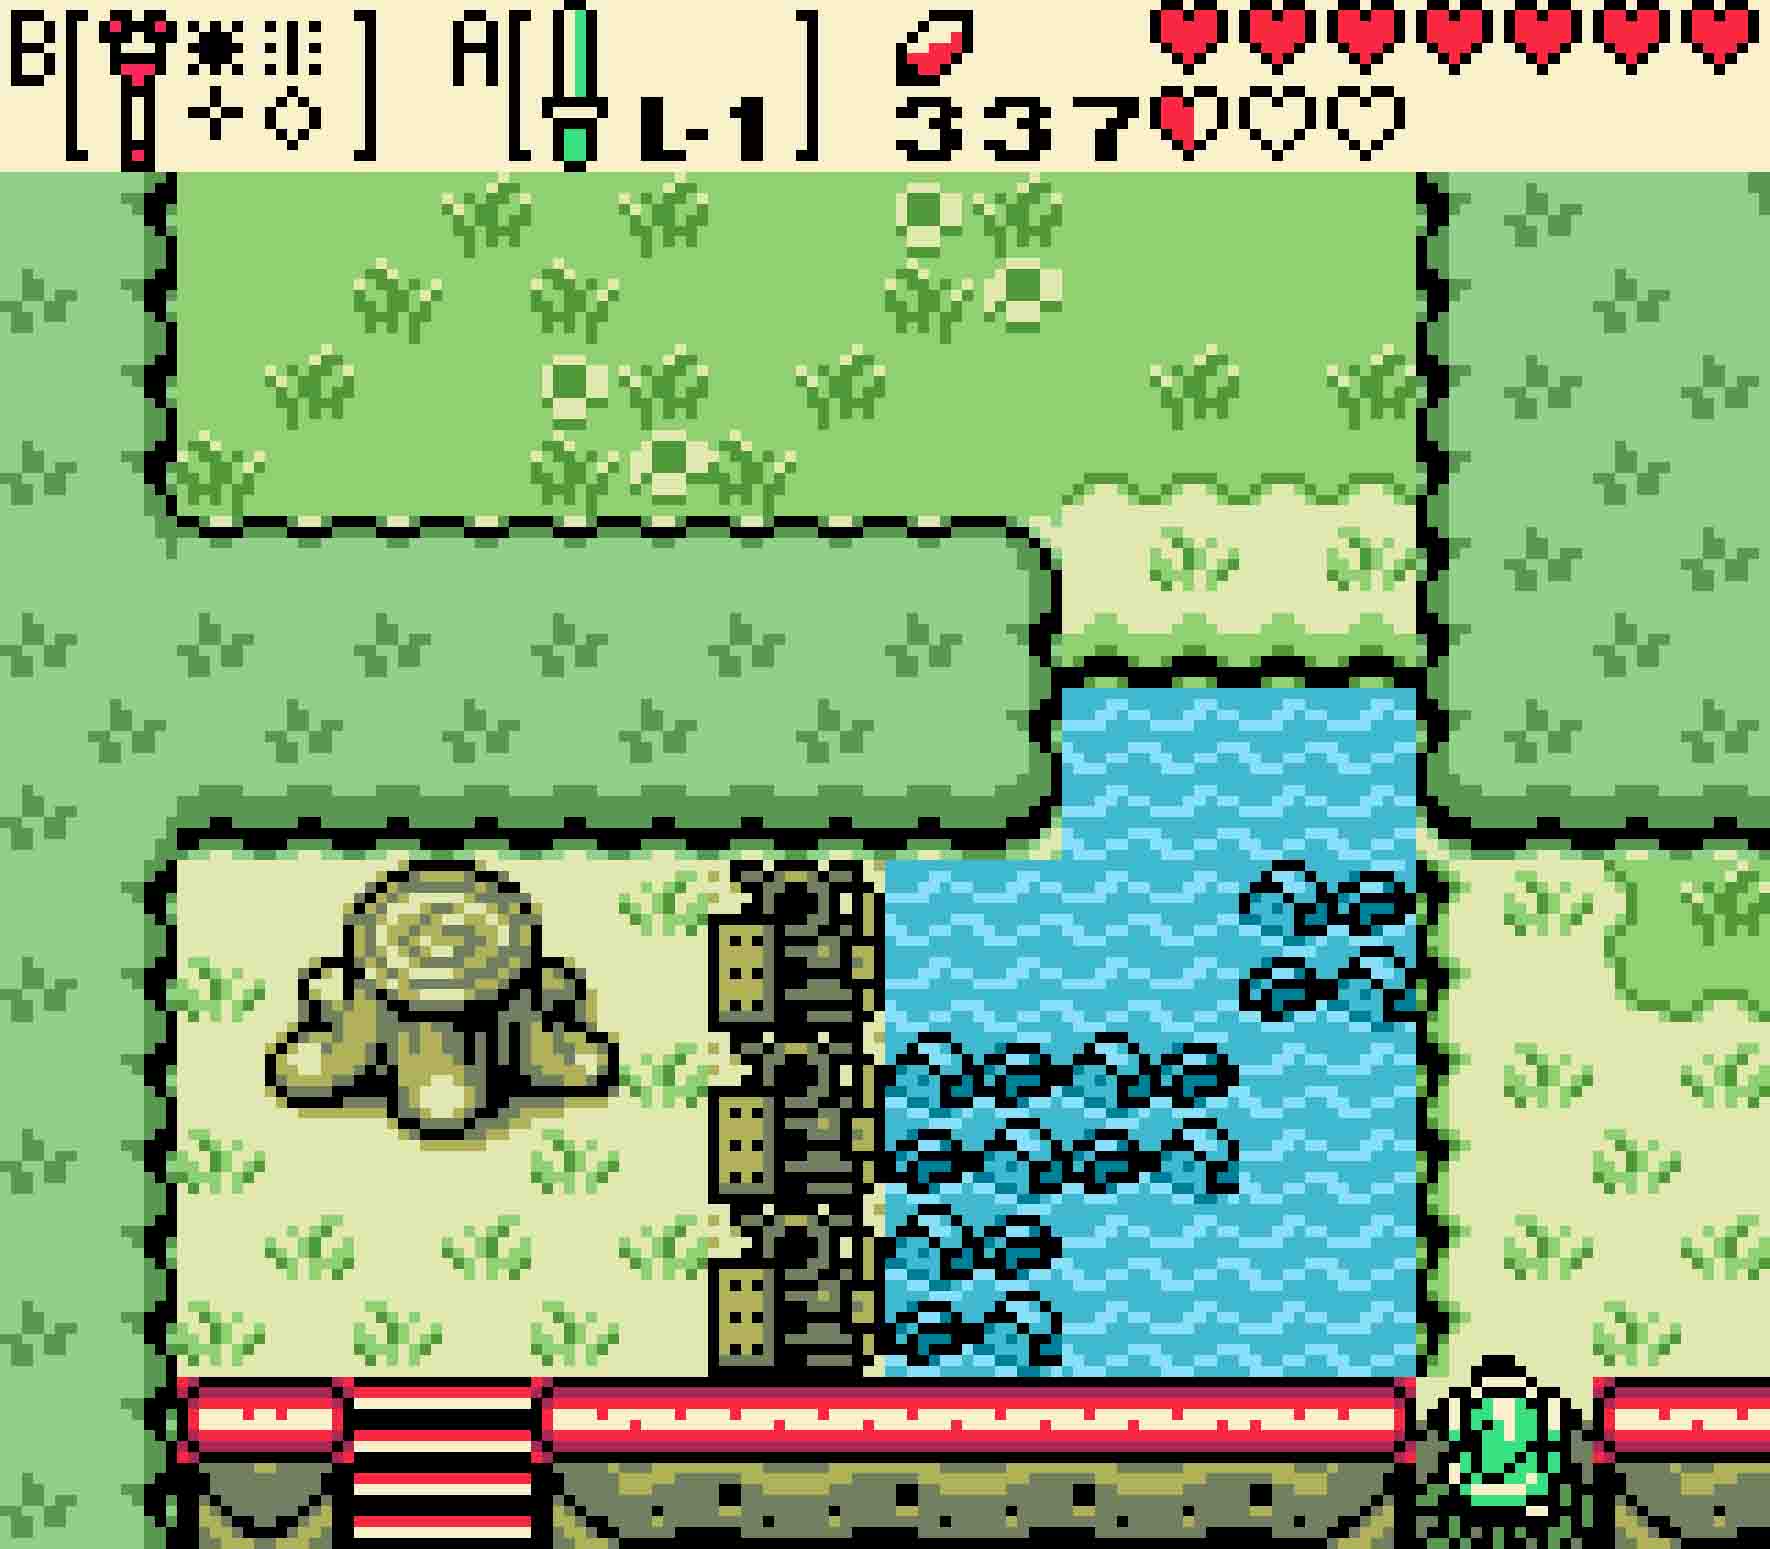
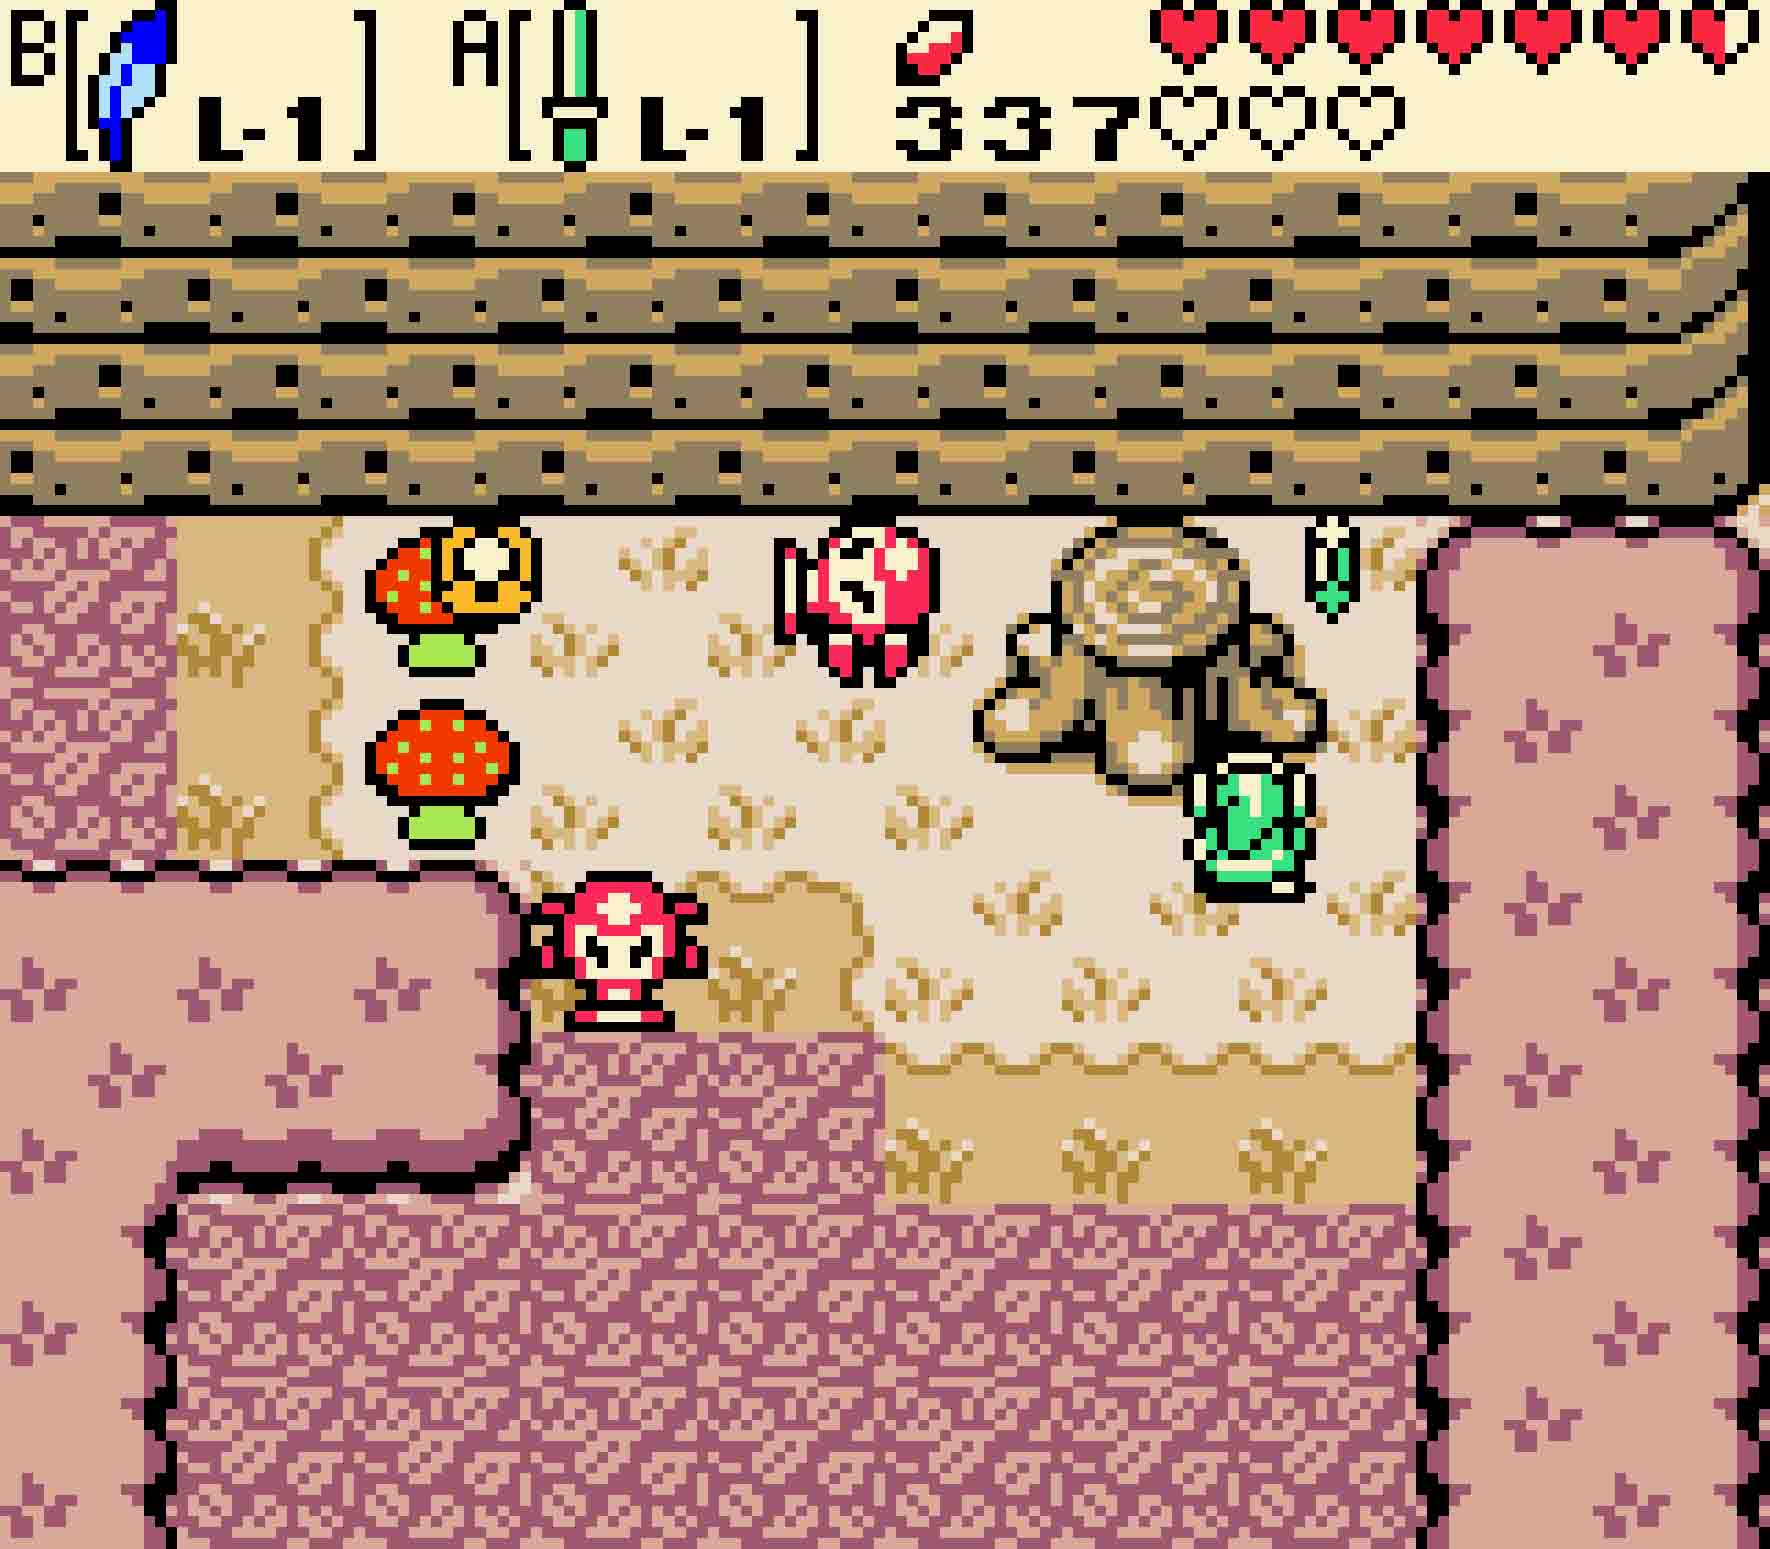
Once you’re at the first dungeon, it’s time to get wet. Descend the steps at the south of the screen. There’ll be some Zora and eventually some Water Tektites milling around as you make your way west one screen and south one screen. There’ll be a landing on the south side of the screen. Clamber up onto dry land and enter the nice hole hollowed out in the tree stump. Inside you’ll meet an Old Man, and he will give you the Round Jewel as thanks for visiting you.
-
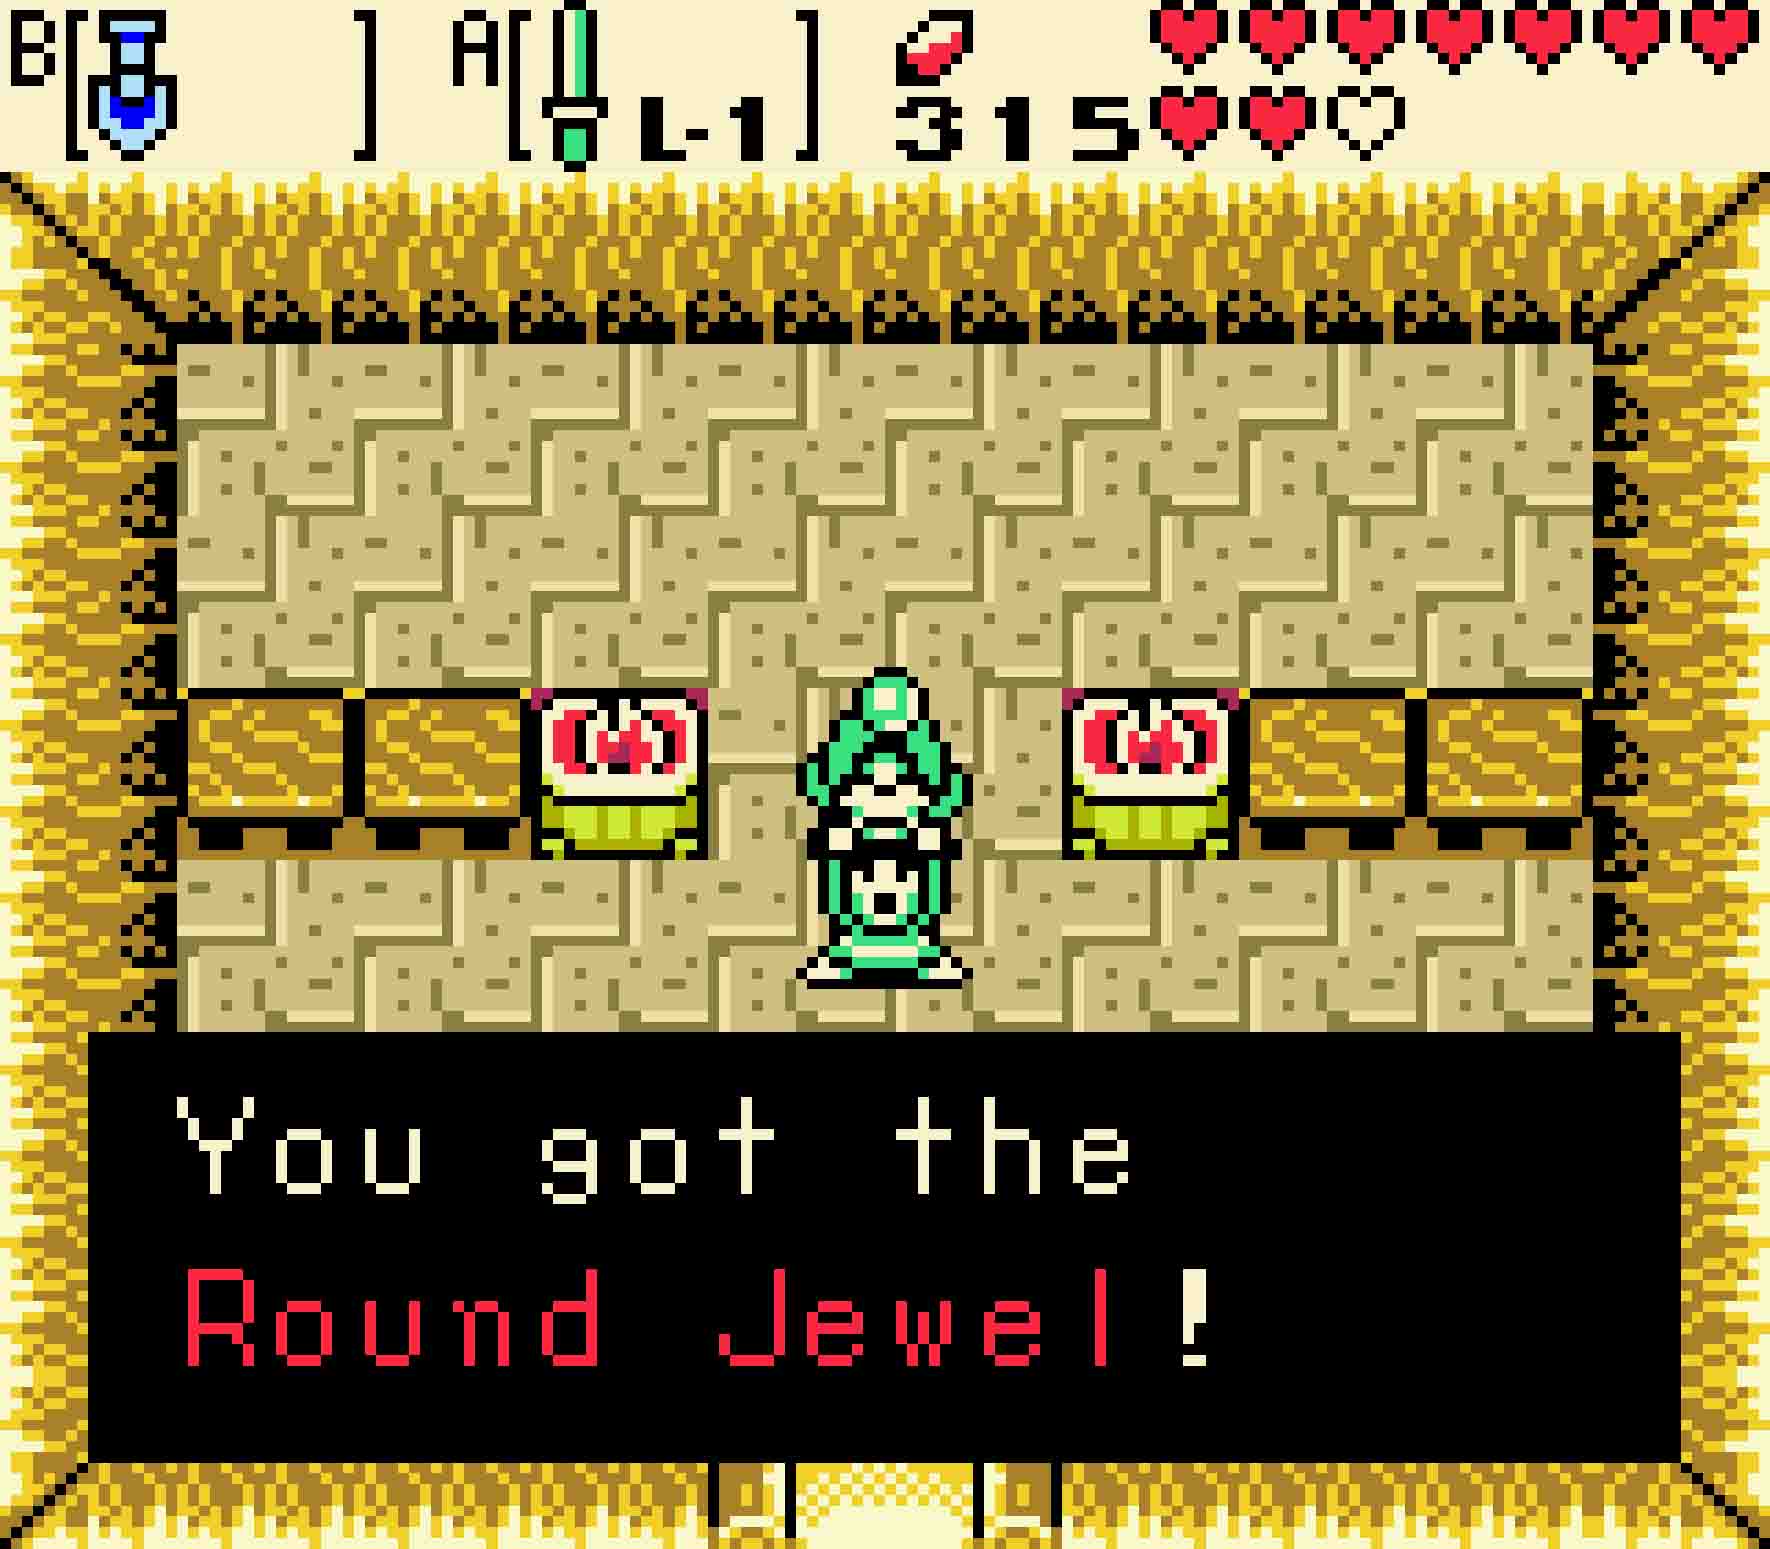
- This old man is hard to find, but he will give you what you seek.
14.5 Discover the Square Jewel
The first two gems were easy. The remaining two are a little bit trickier to get. What’s more is that both this gem and the next have their positions moved depending upon whether or not you’re playing Oracle of Seasons as a normal game or a linked game after Oracle of Ages.
14.5a In a normal game
In the normal game, you’ll need to start at the tree stump just south of Poison Moth’s Lair. So use a Gale Seed to head to the teleportation tree in Spool Swamp. To reach the tree stump, head south, go west, return north, and then hop off the cliffside into the water before continuing west. The tree stump will be there waiting for you.
-
- You’ll need to return to Spool Swamp’s tree stump to make it winter.
-
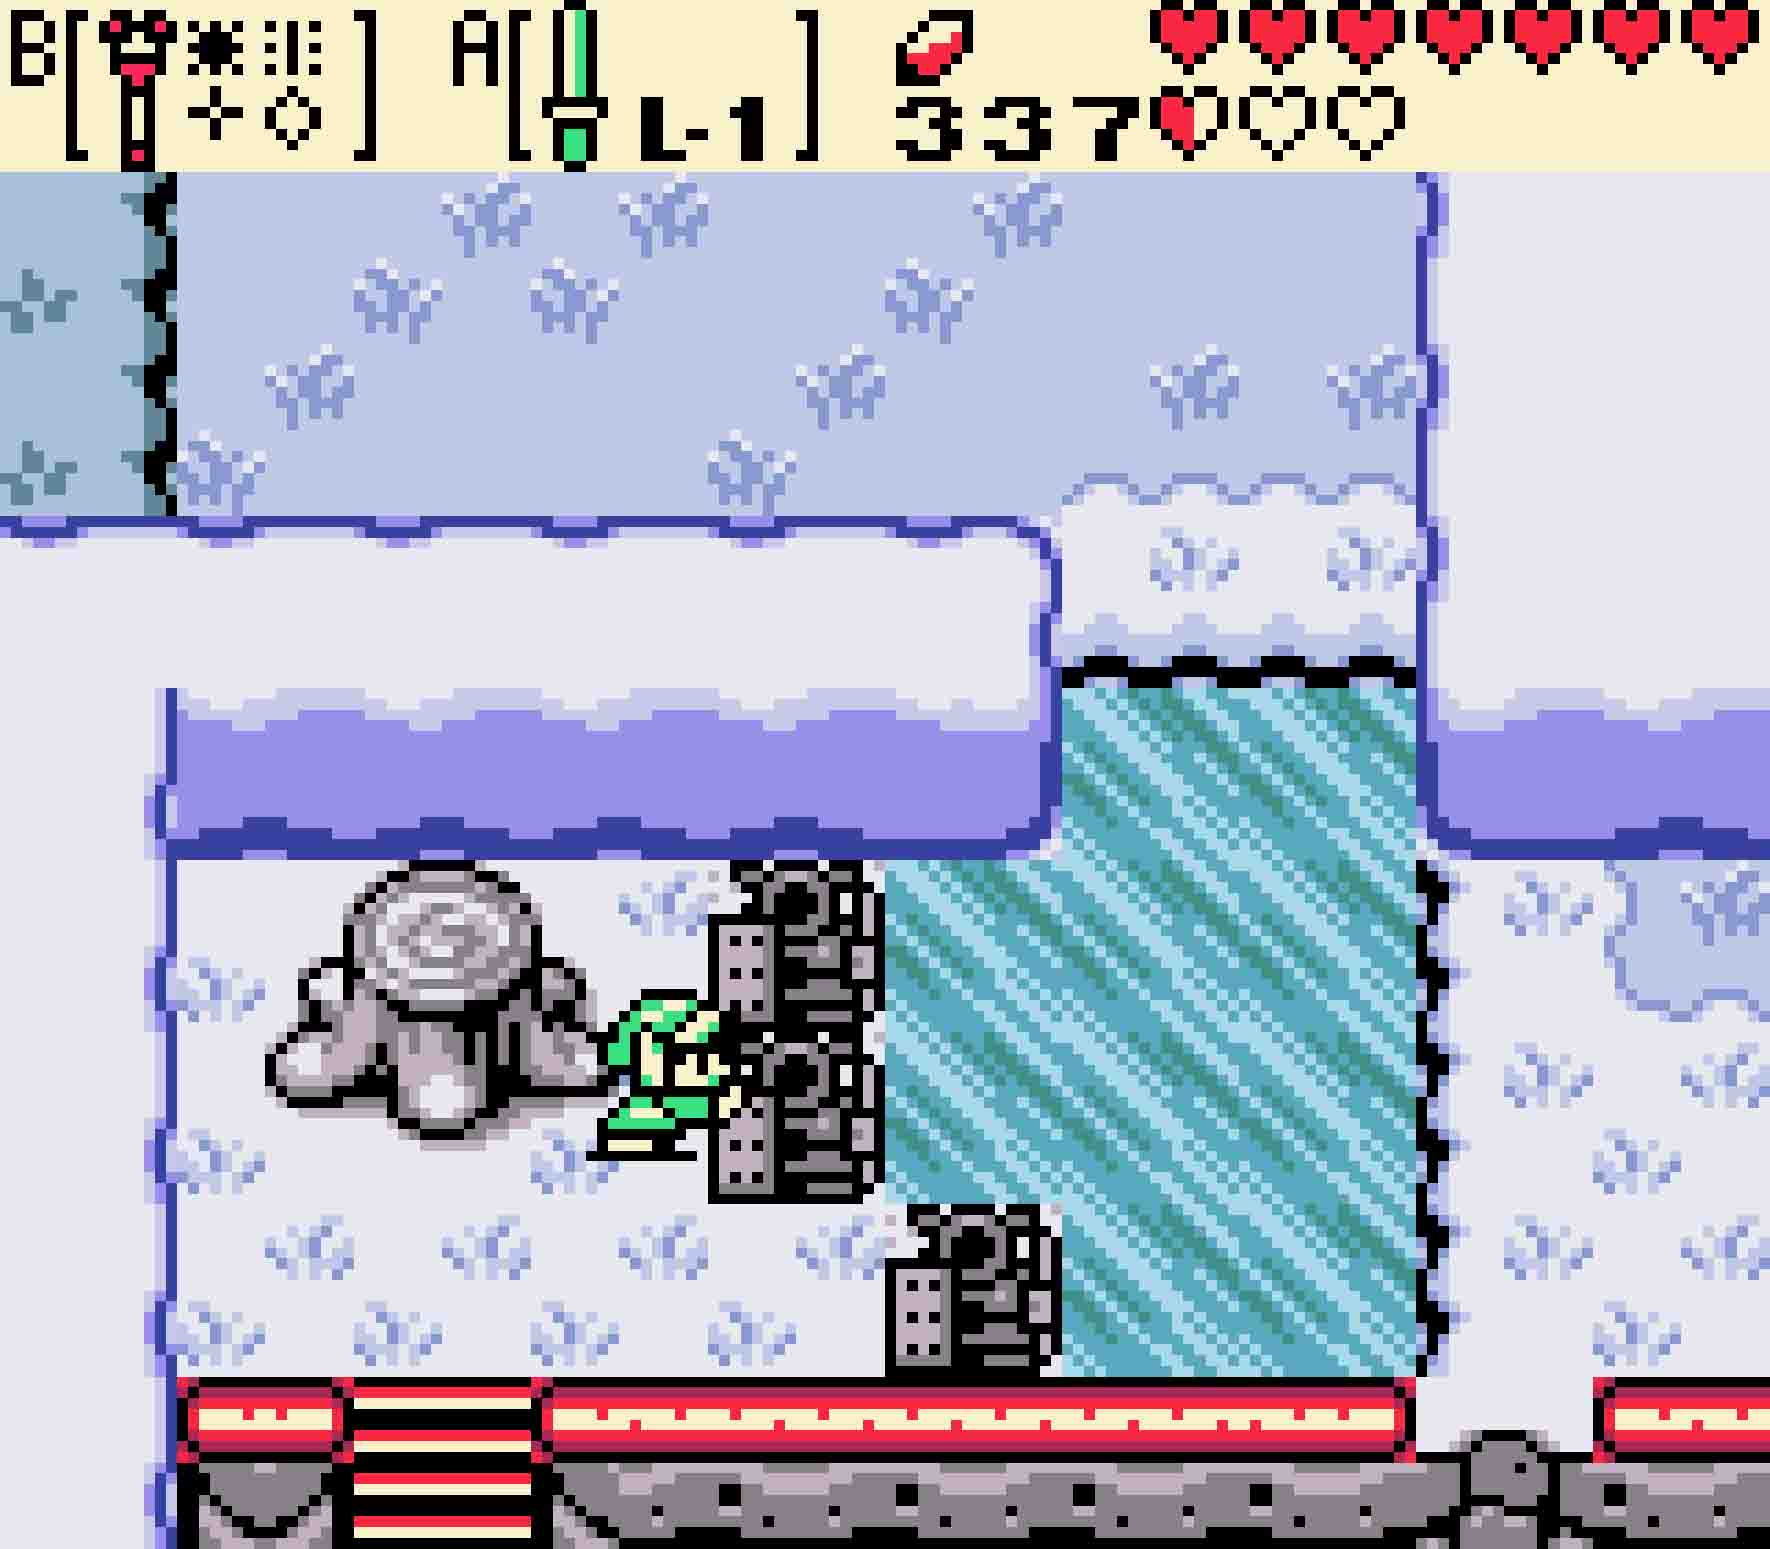
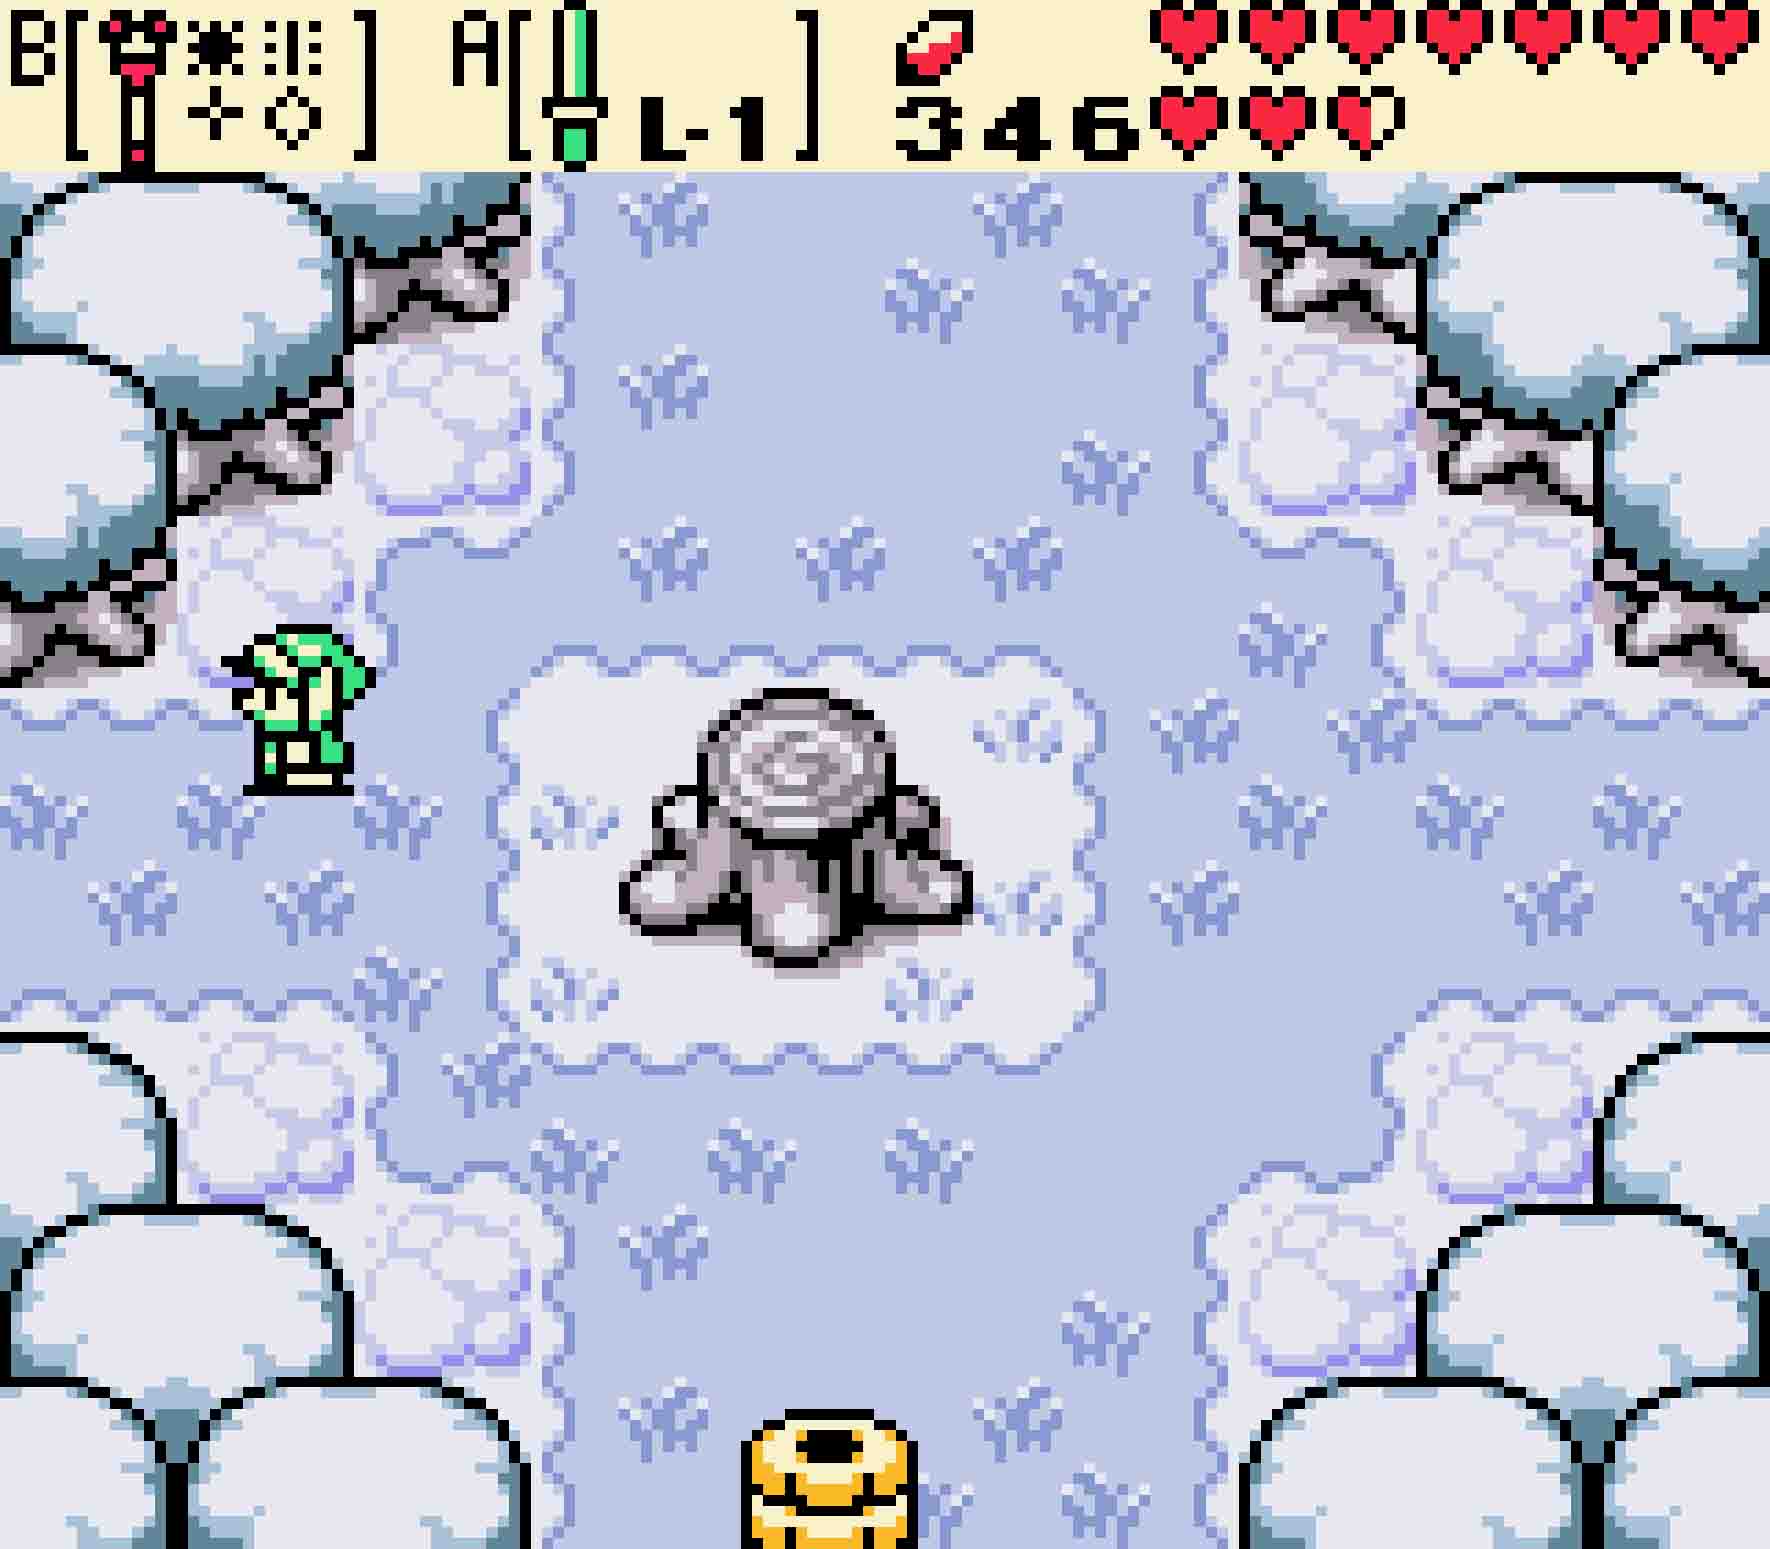
- Head down past the dam and cross the frozen waters.
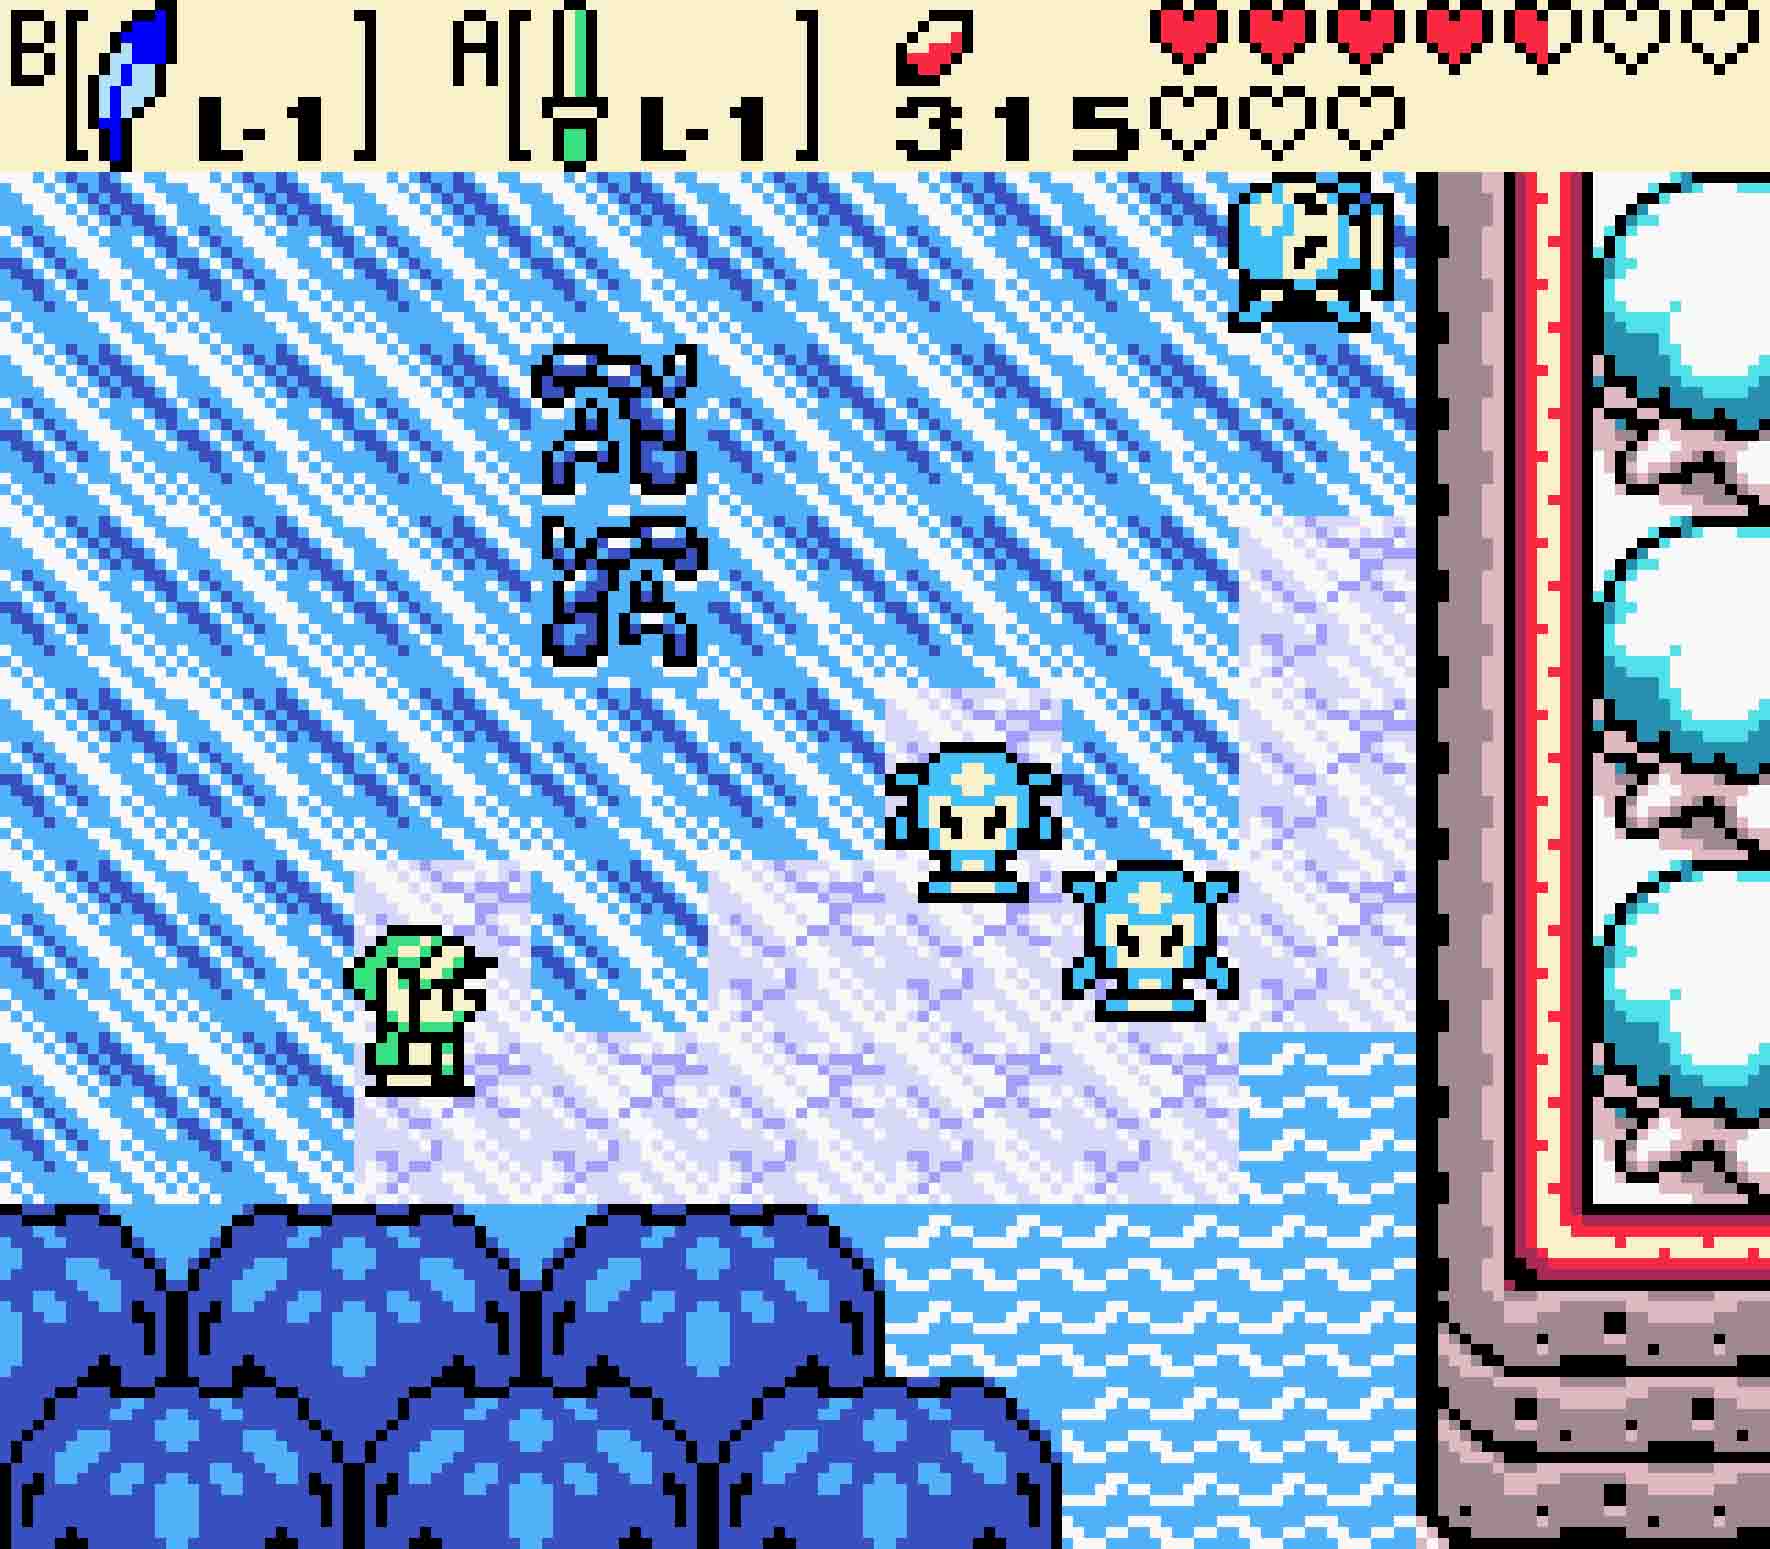
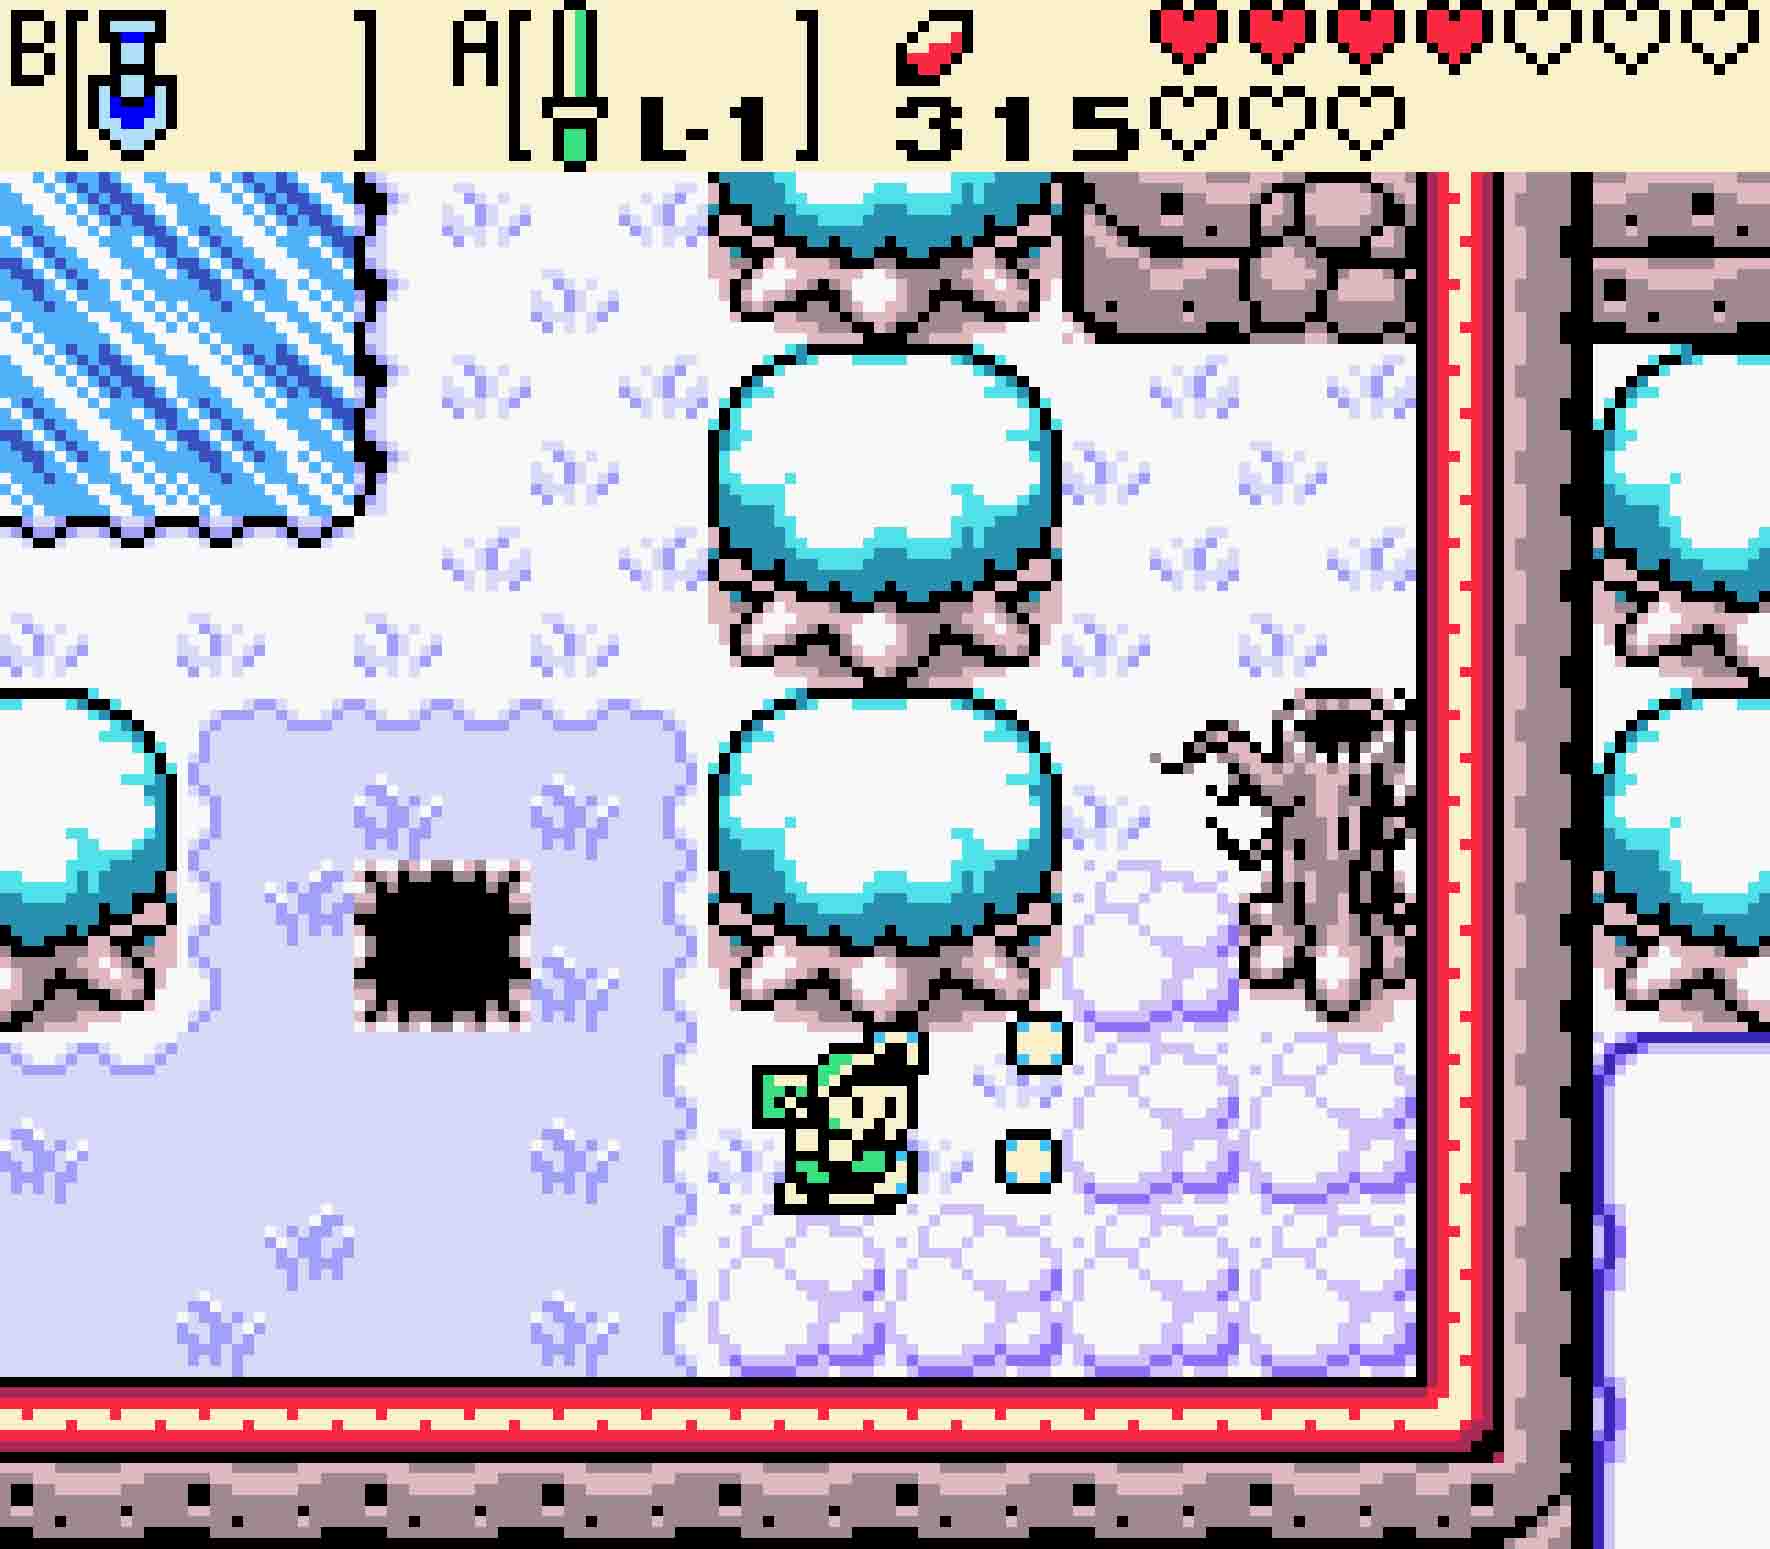
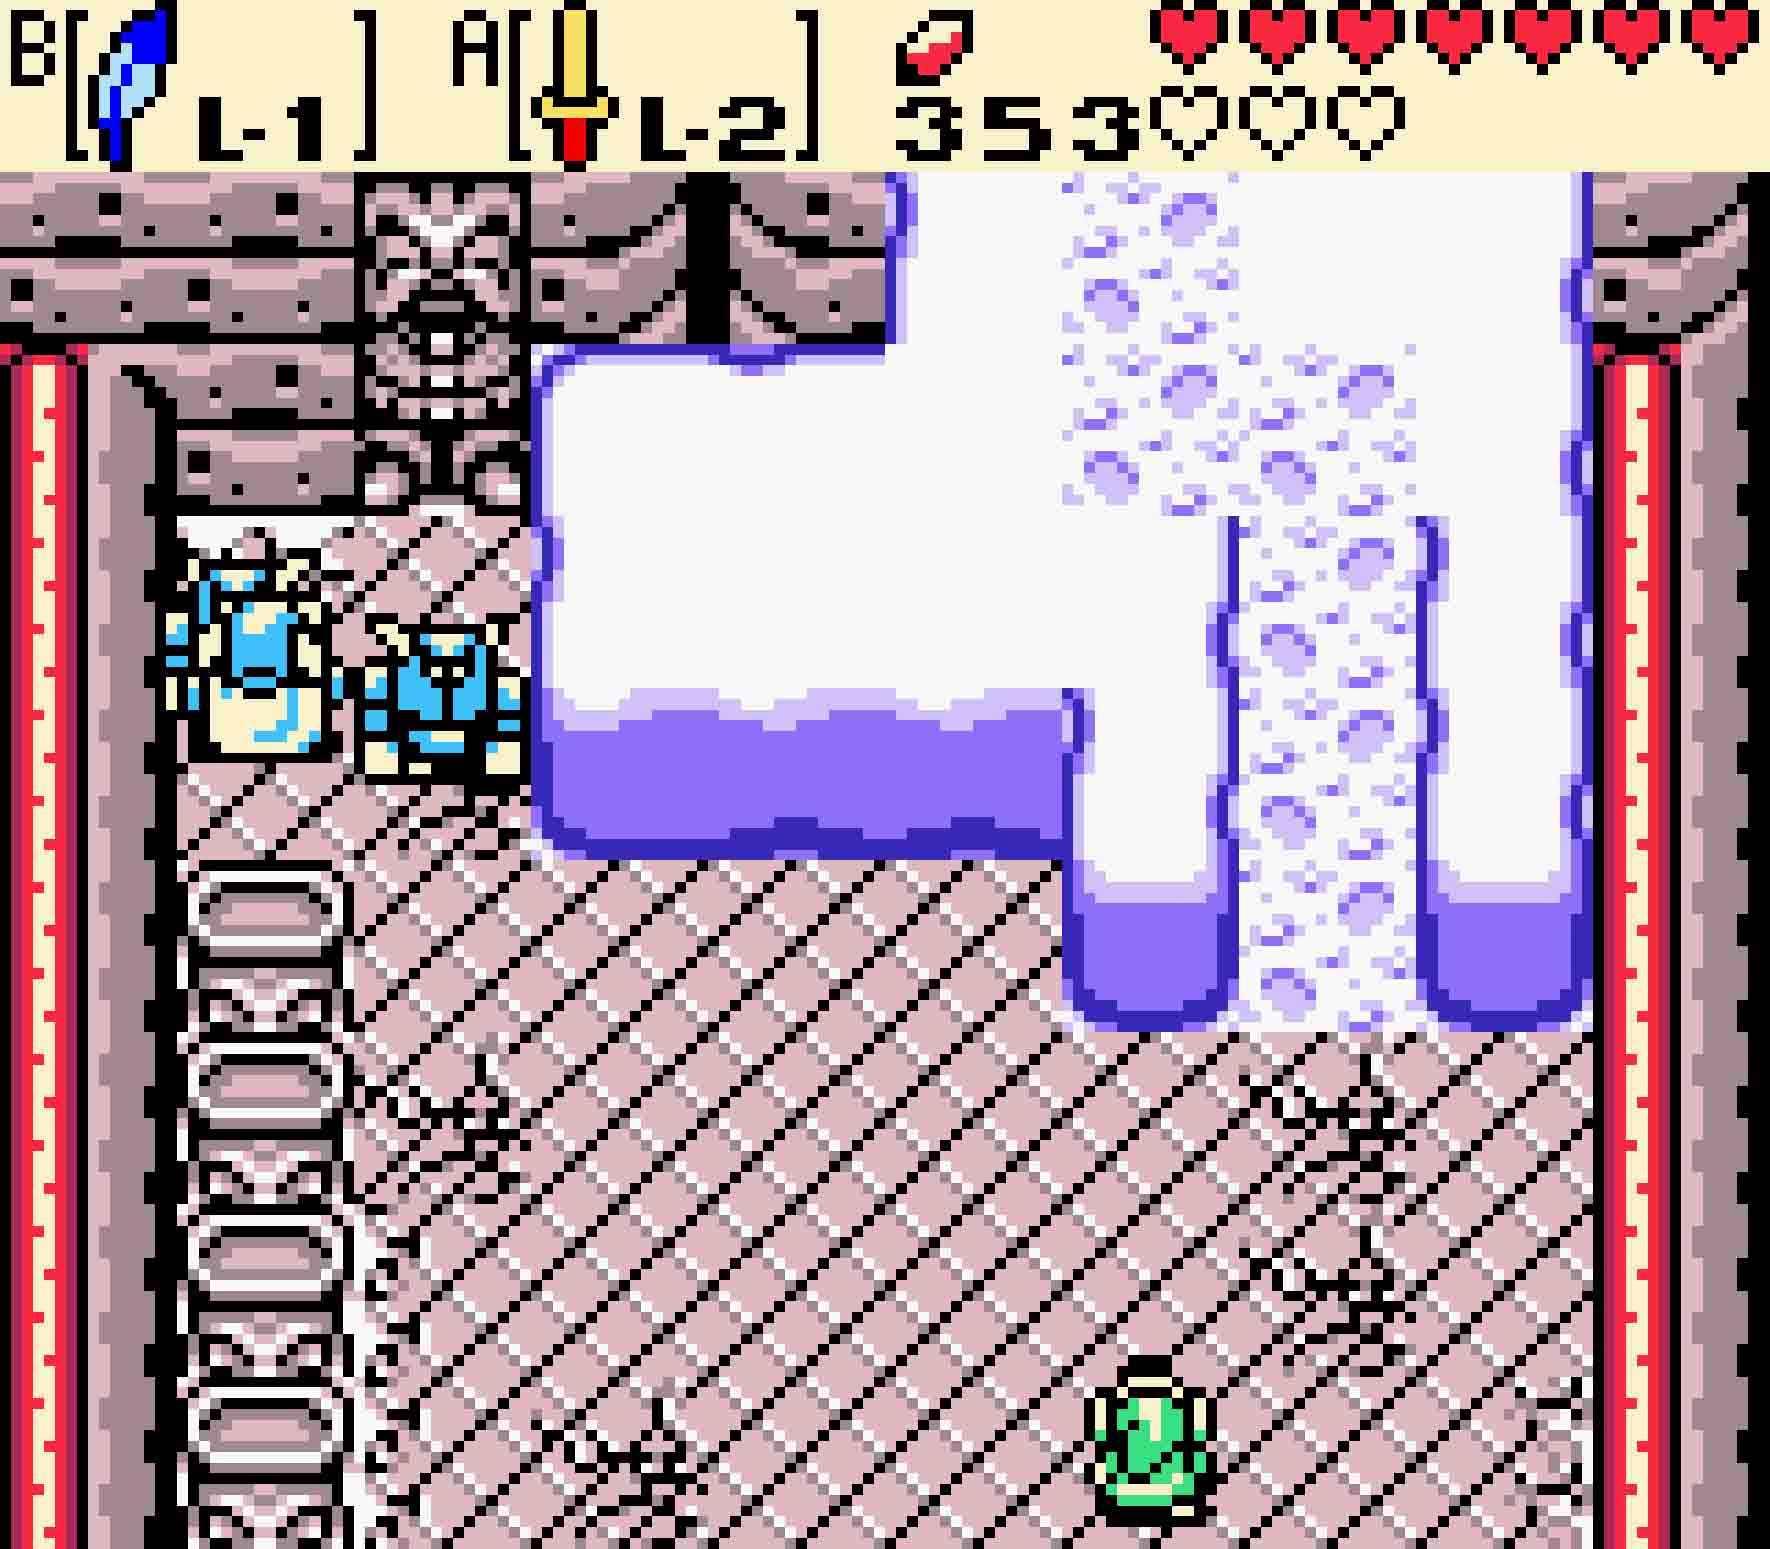
To get this gem, the season will need to be winter, so flip the season once in order to do the trick. Head east and then south three times. You’ll notice that, for the most part, the water has frozen over, so you’ll need to be careful lest you slide around.
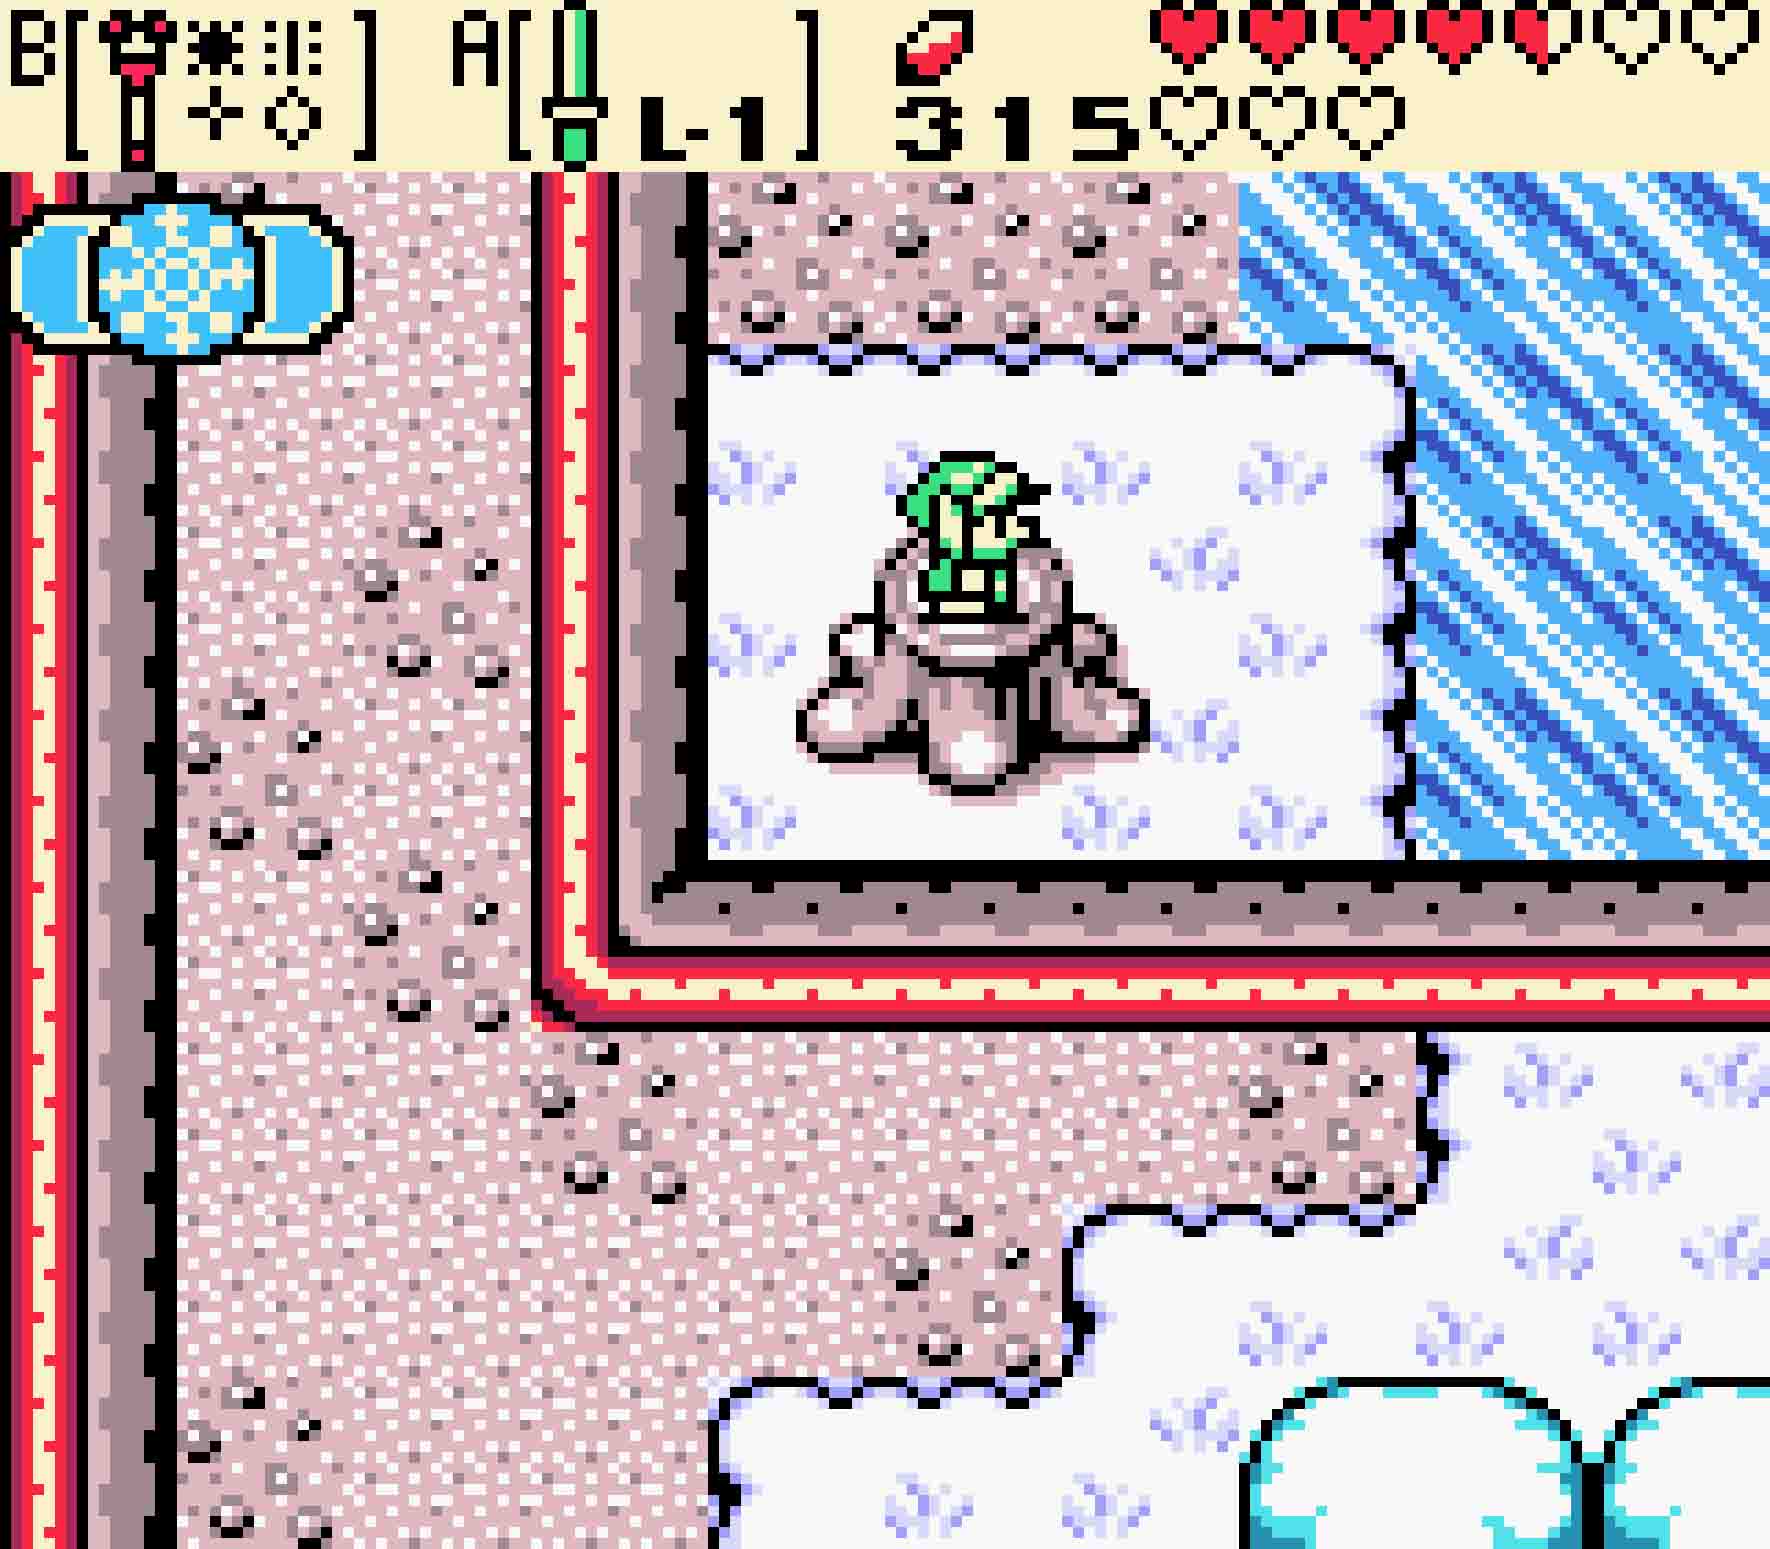
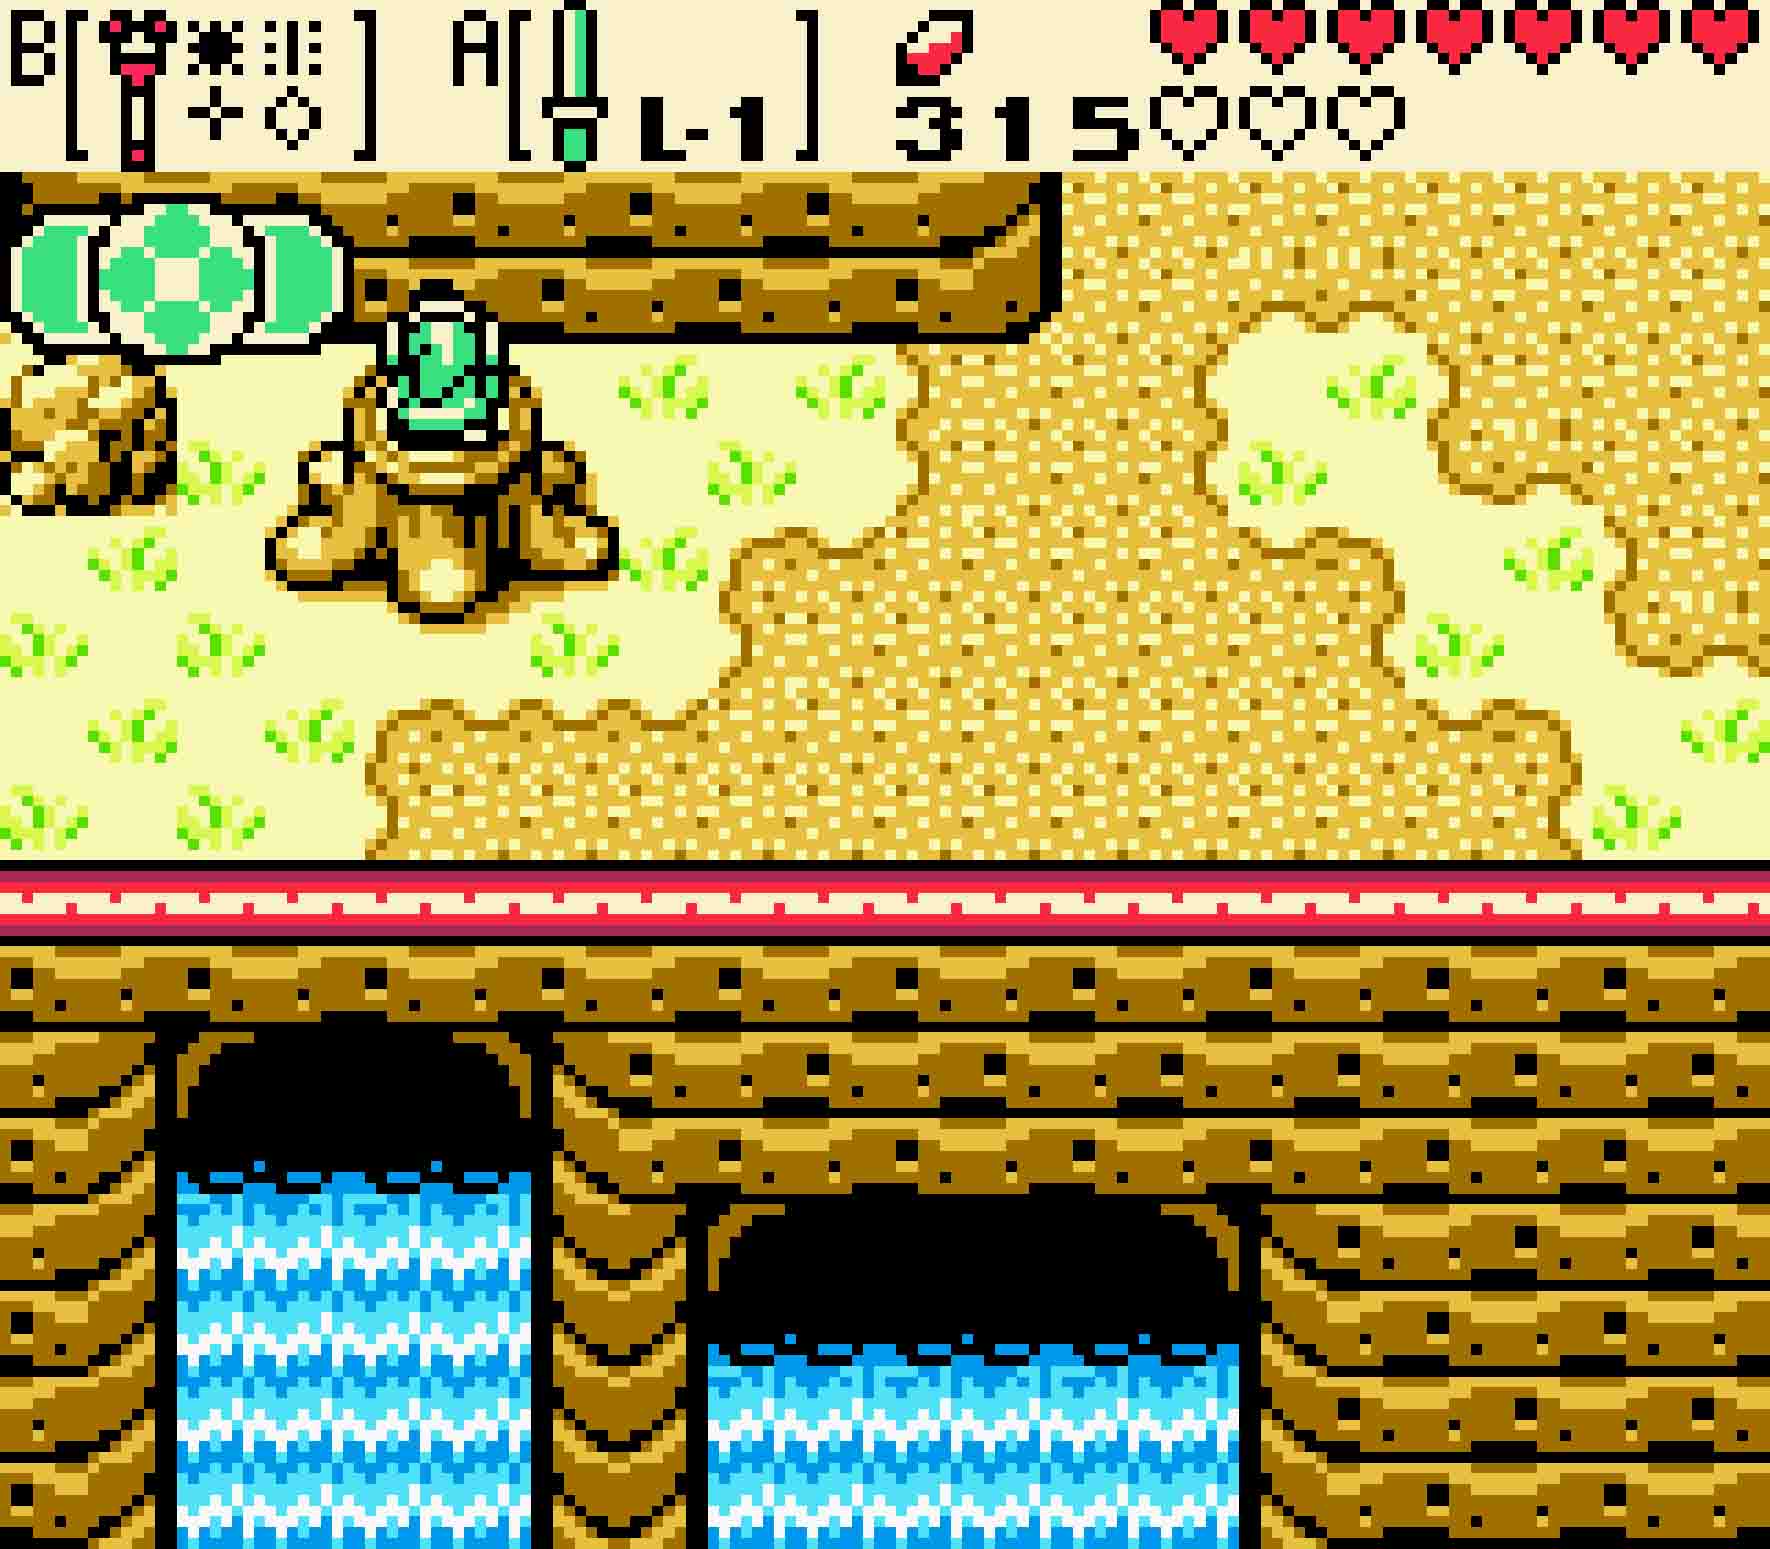
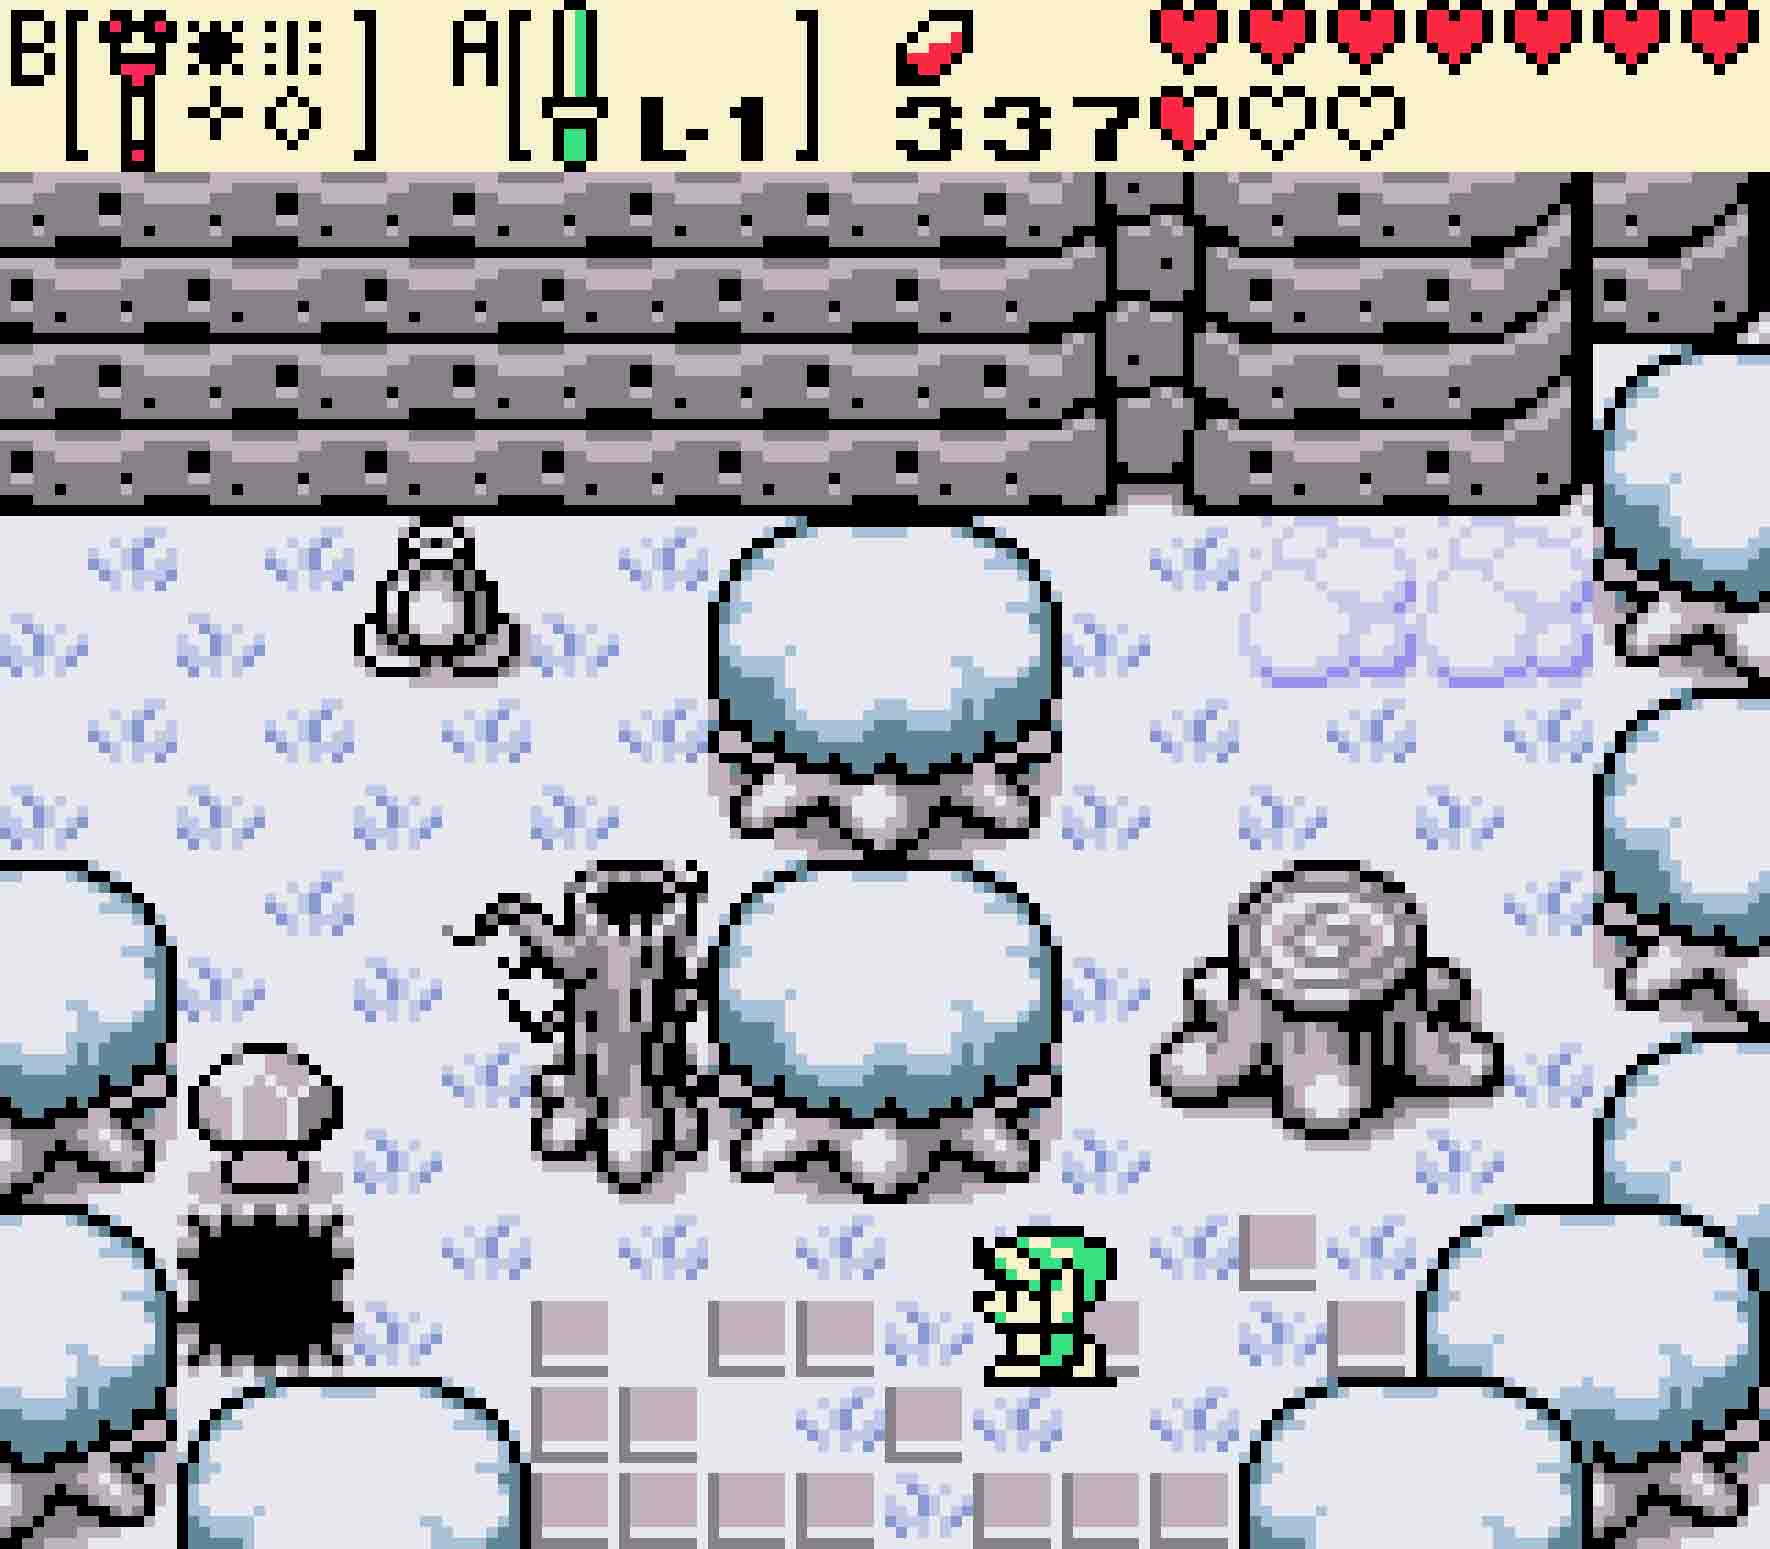
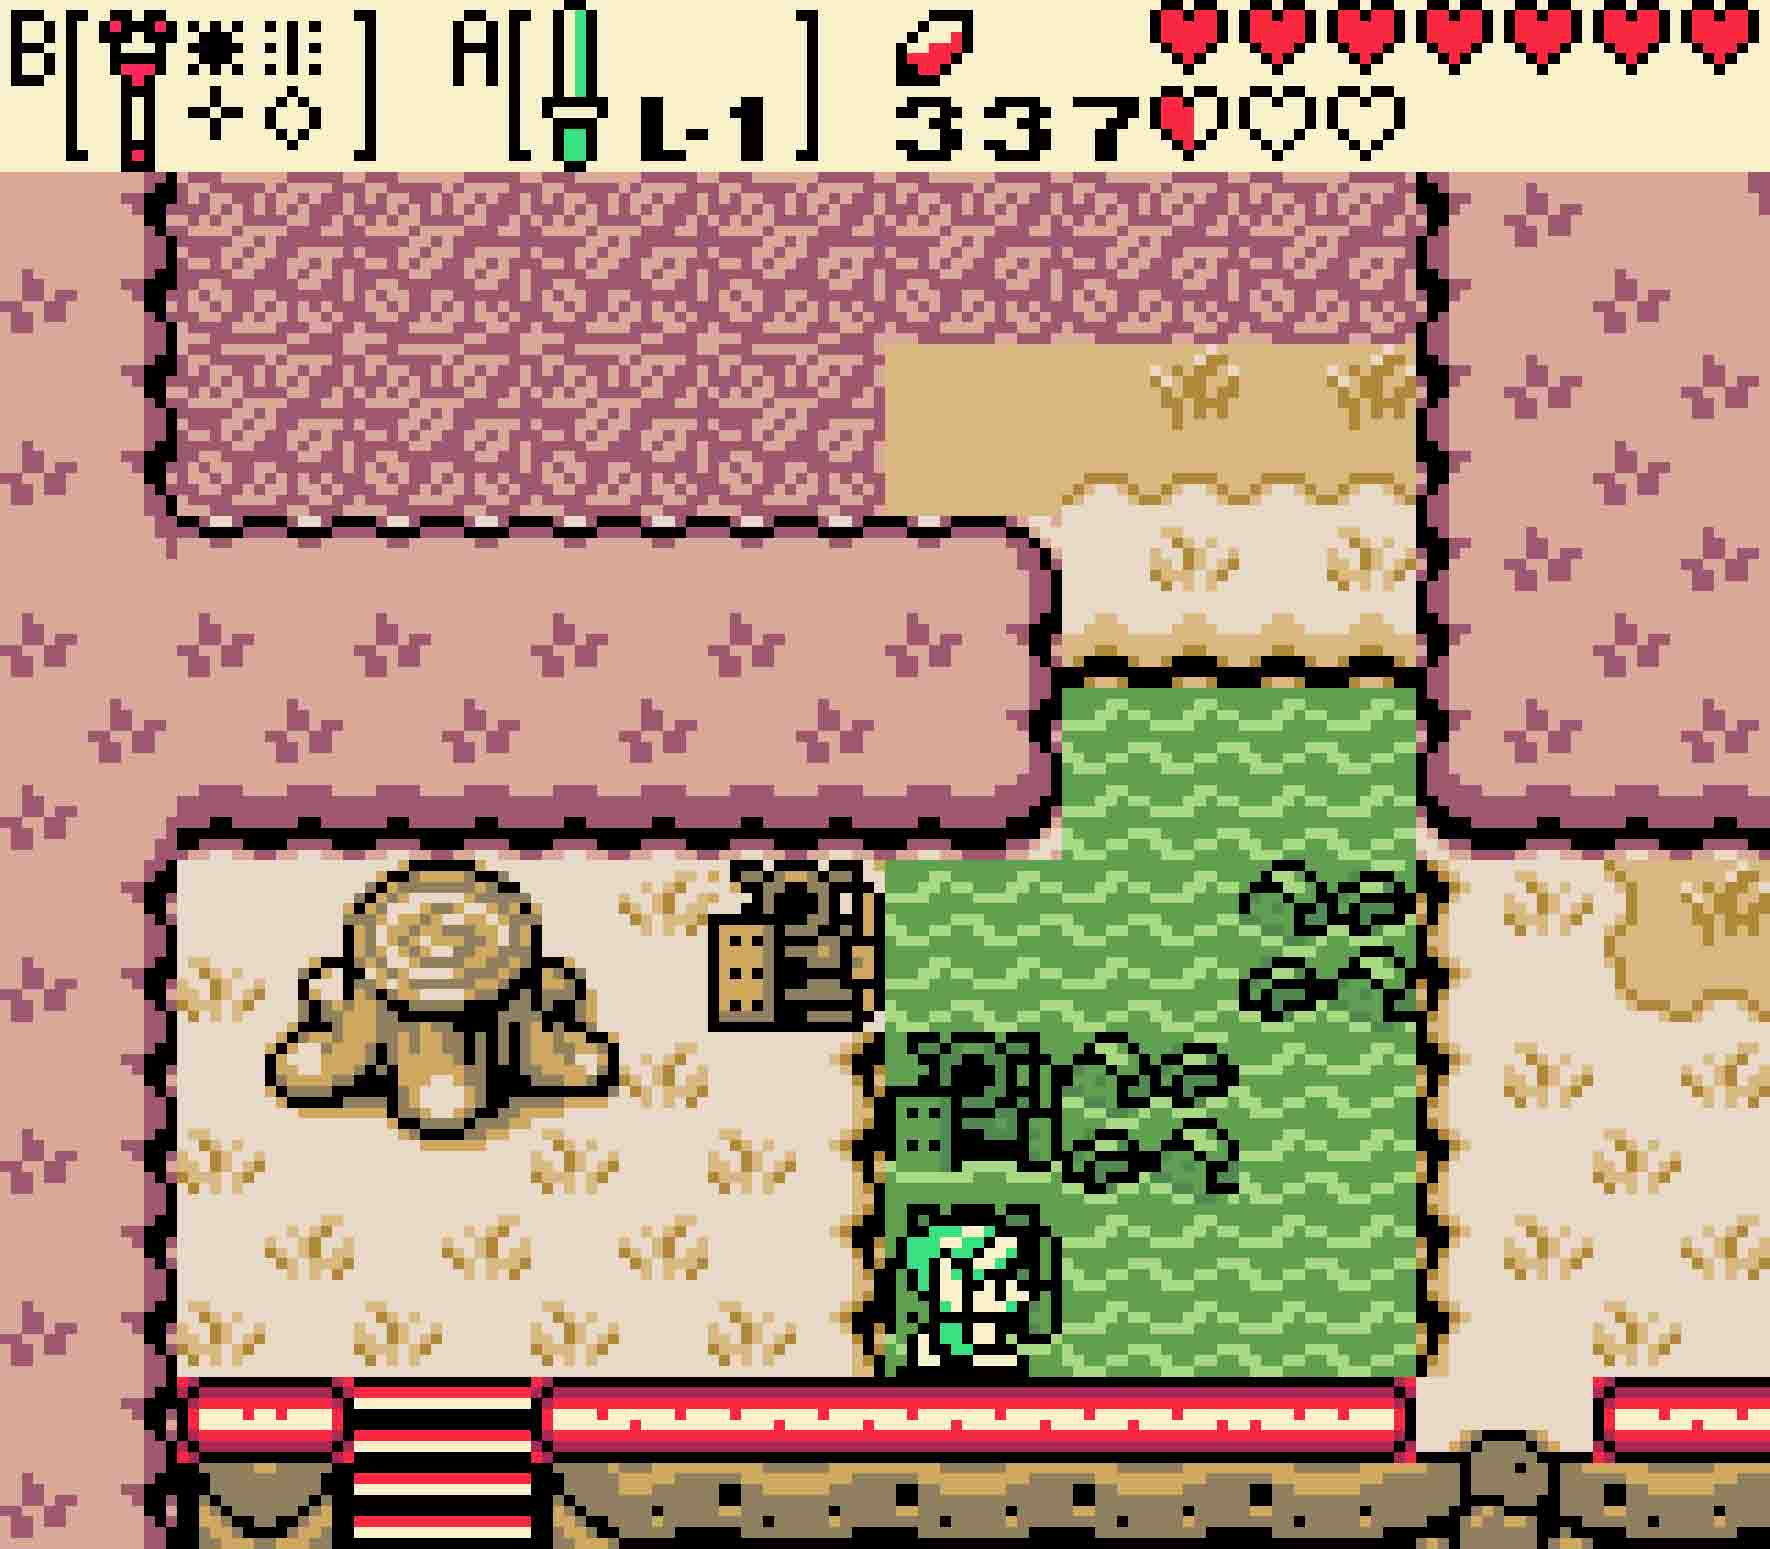
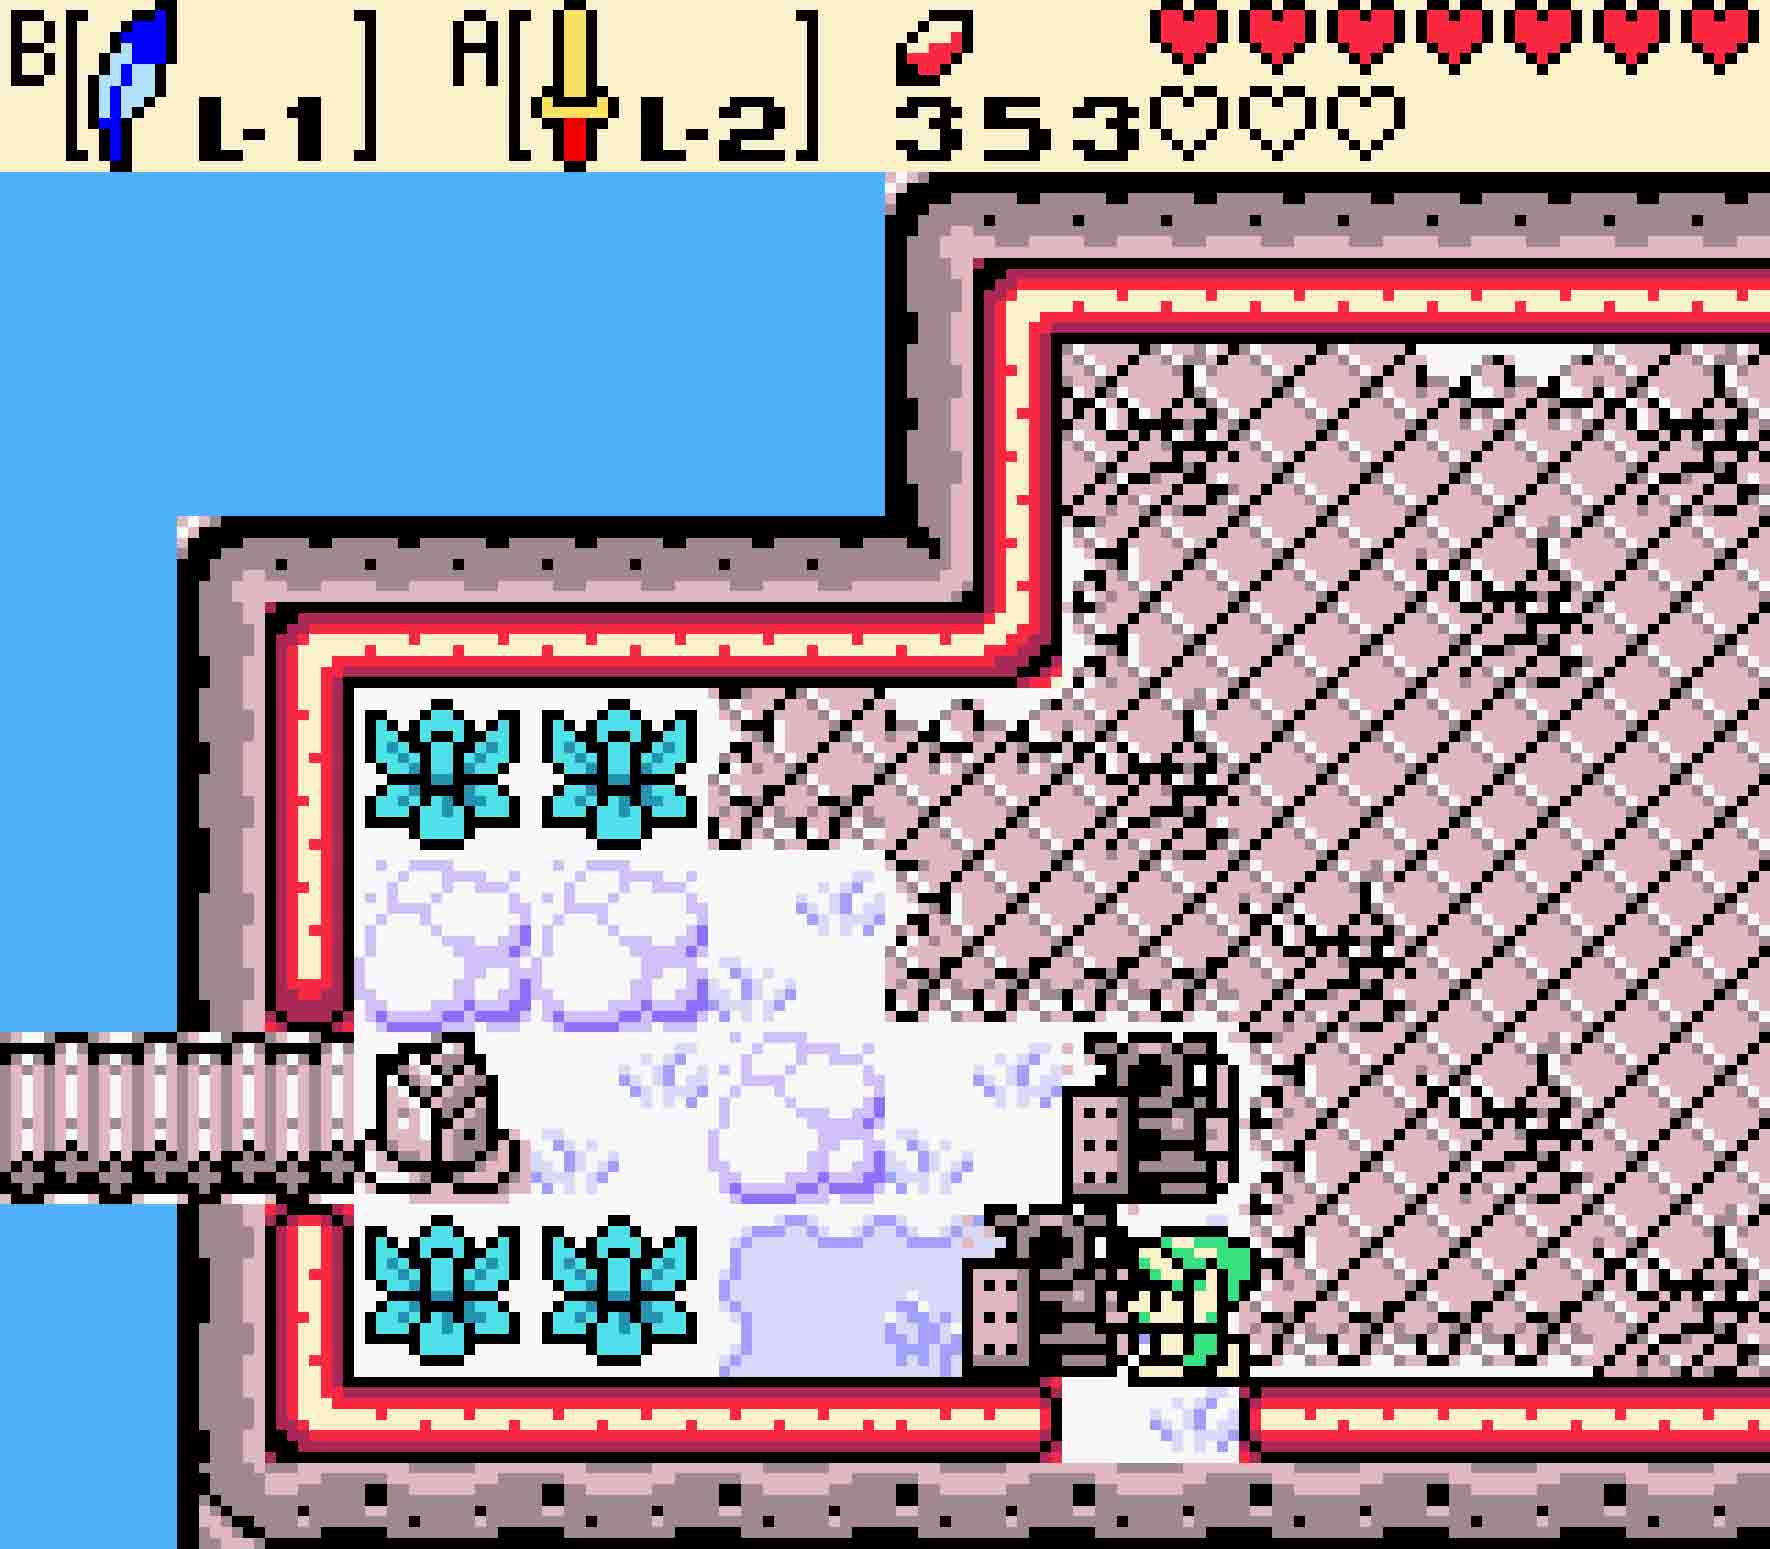
When you’re able to go east again, do so. You’ll eventually run out of ice to walk on, so hop into the water and swim south. Come back onto dry land, and head south one more time. Beware of the Pincer lurking in the hole, and then make your way to the right side of the screen by shoveling out some snow. You’ll notice a cracked wall just beyond the hollowed winter tree. Drop a Bomb on it to blow the cavern open. Inside is a treasure chest containing the Square Jewel.
-
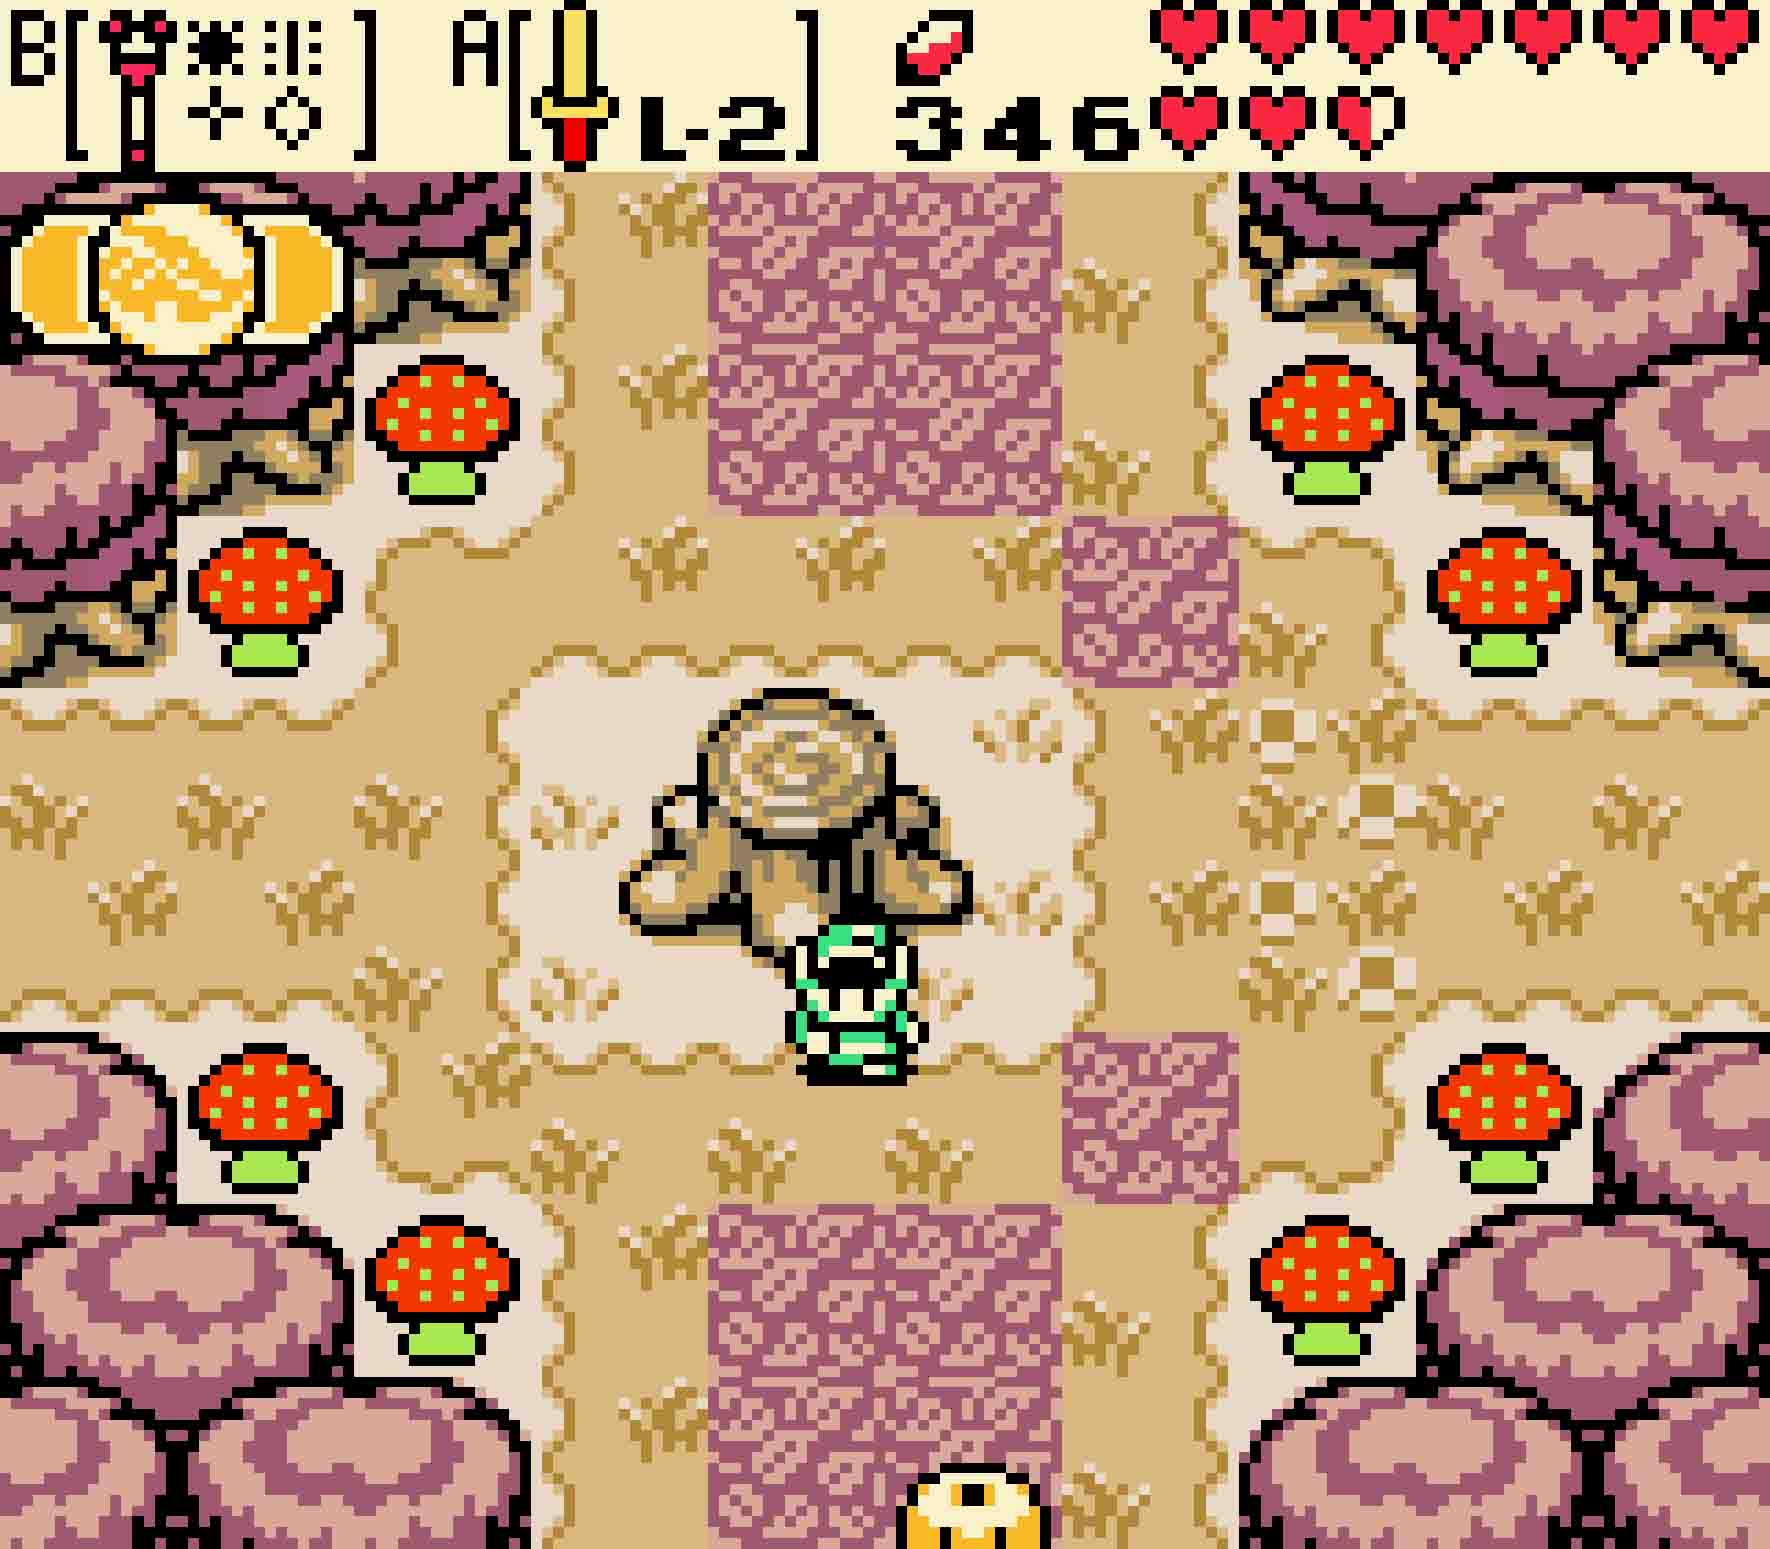
- In the southeast corner of Spool Swamp, you’ll find this snowscape.
-
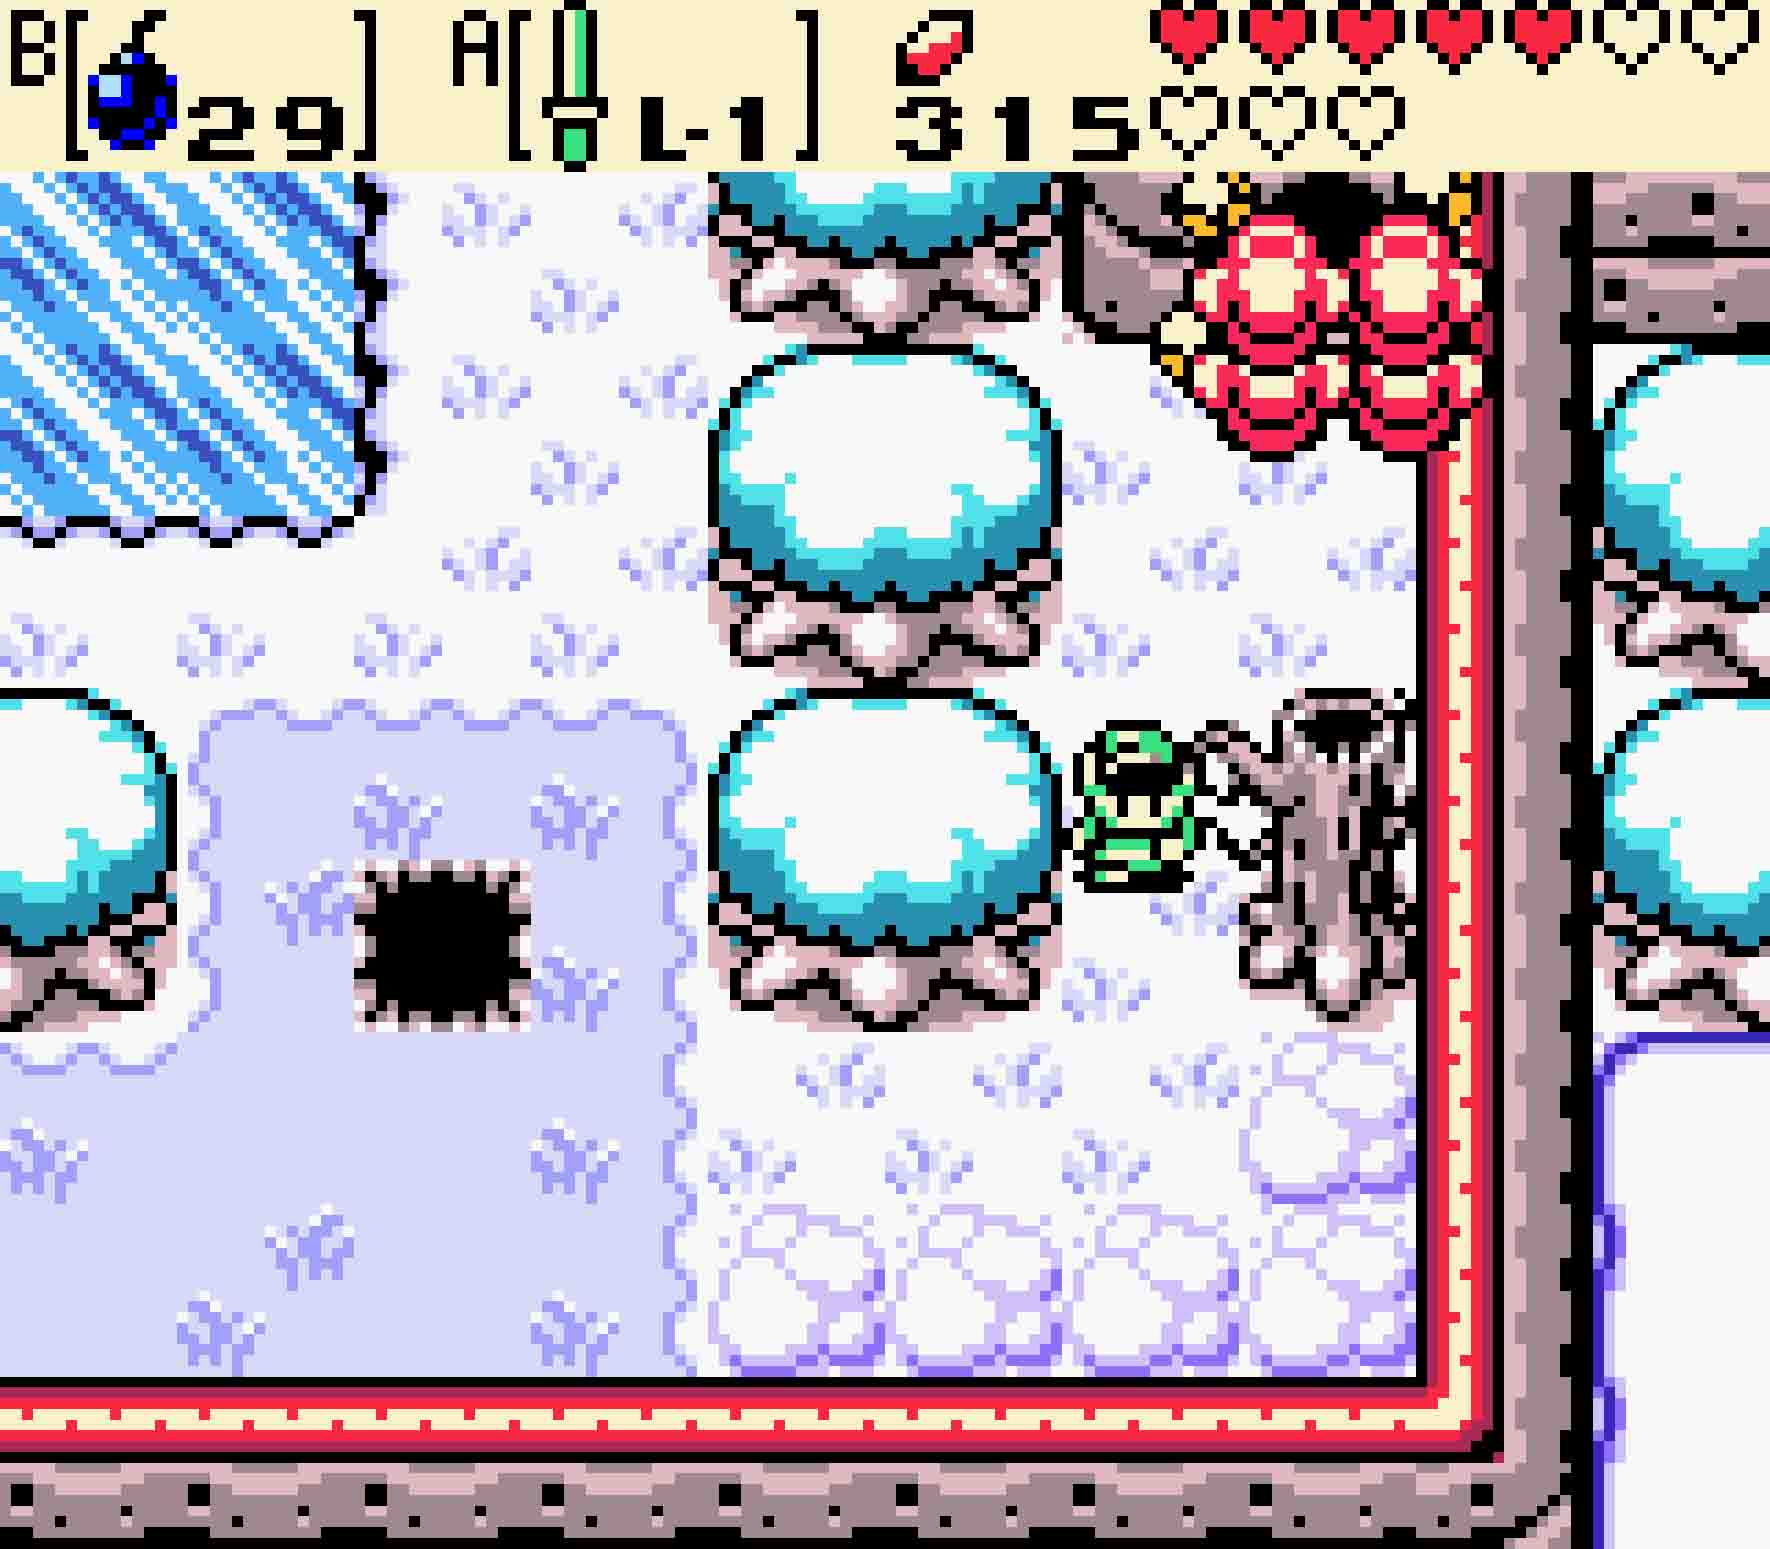
- Blast open this secretive cave to get the Square Jewel.
14.5b In a linked game
Retrace your steps to the tree stumps near Unicorn’s Cave.
In a Linked Game, the Square Jewel is very close to the Round Jewel, so you might as well walk from here. Exit the cave, and then leap back into the water. Swim one screen north and one screen east, and you’ll be back outside the Gnarled Root Dungeon. Get to the small piece of land and ascend the steps. Cross over the bridge, and you’ll be back in very familiar territory.
Continue heading east and then hop over the potholes southward as if you were going back to Unicorn’s Cave. Step onto the ice, go east, and then head back north. Hop up onto the tree stump and change the season to summer. With this, the lake you just crossed will be mostly dry. Head back south, and then fall into the now puddle. From there, head west two screens, and you’ll see some tell-tale cracks in the wall. Use a Bomb to blast it open. Inside you’ll find a chest with the Square Jewel.
14.6 Grab the Triangle Jewel
As mentioned before, the Triangle Jewel also changes position depending upon how you’re playing Oracle of Seasons.
14.6a In a normal game
If Seasons is your first game, then you’ll need to warp to the teleportation tree in Sunken City. Swim north and then west twice, and once again use the Master Diver’s secret diving spot. Swim through the Cheep-cheep filled tunnel before emerging at the base of Mt. Cucco.
-
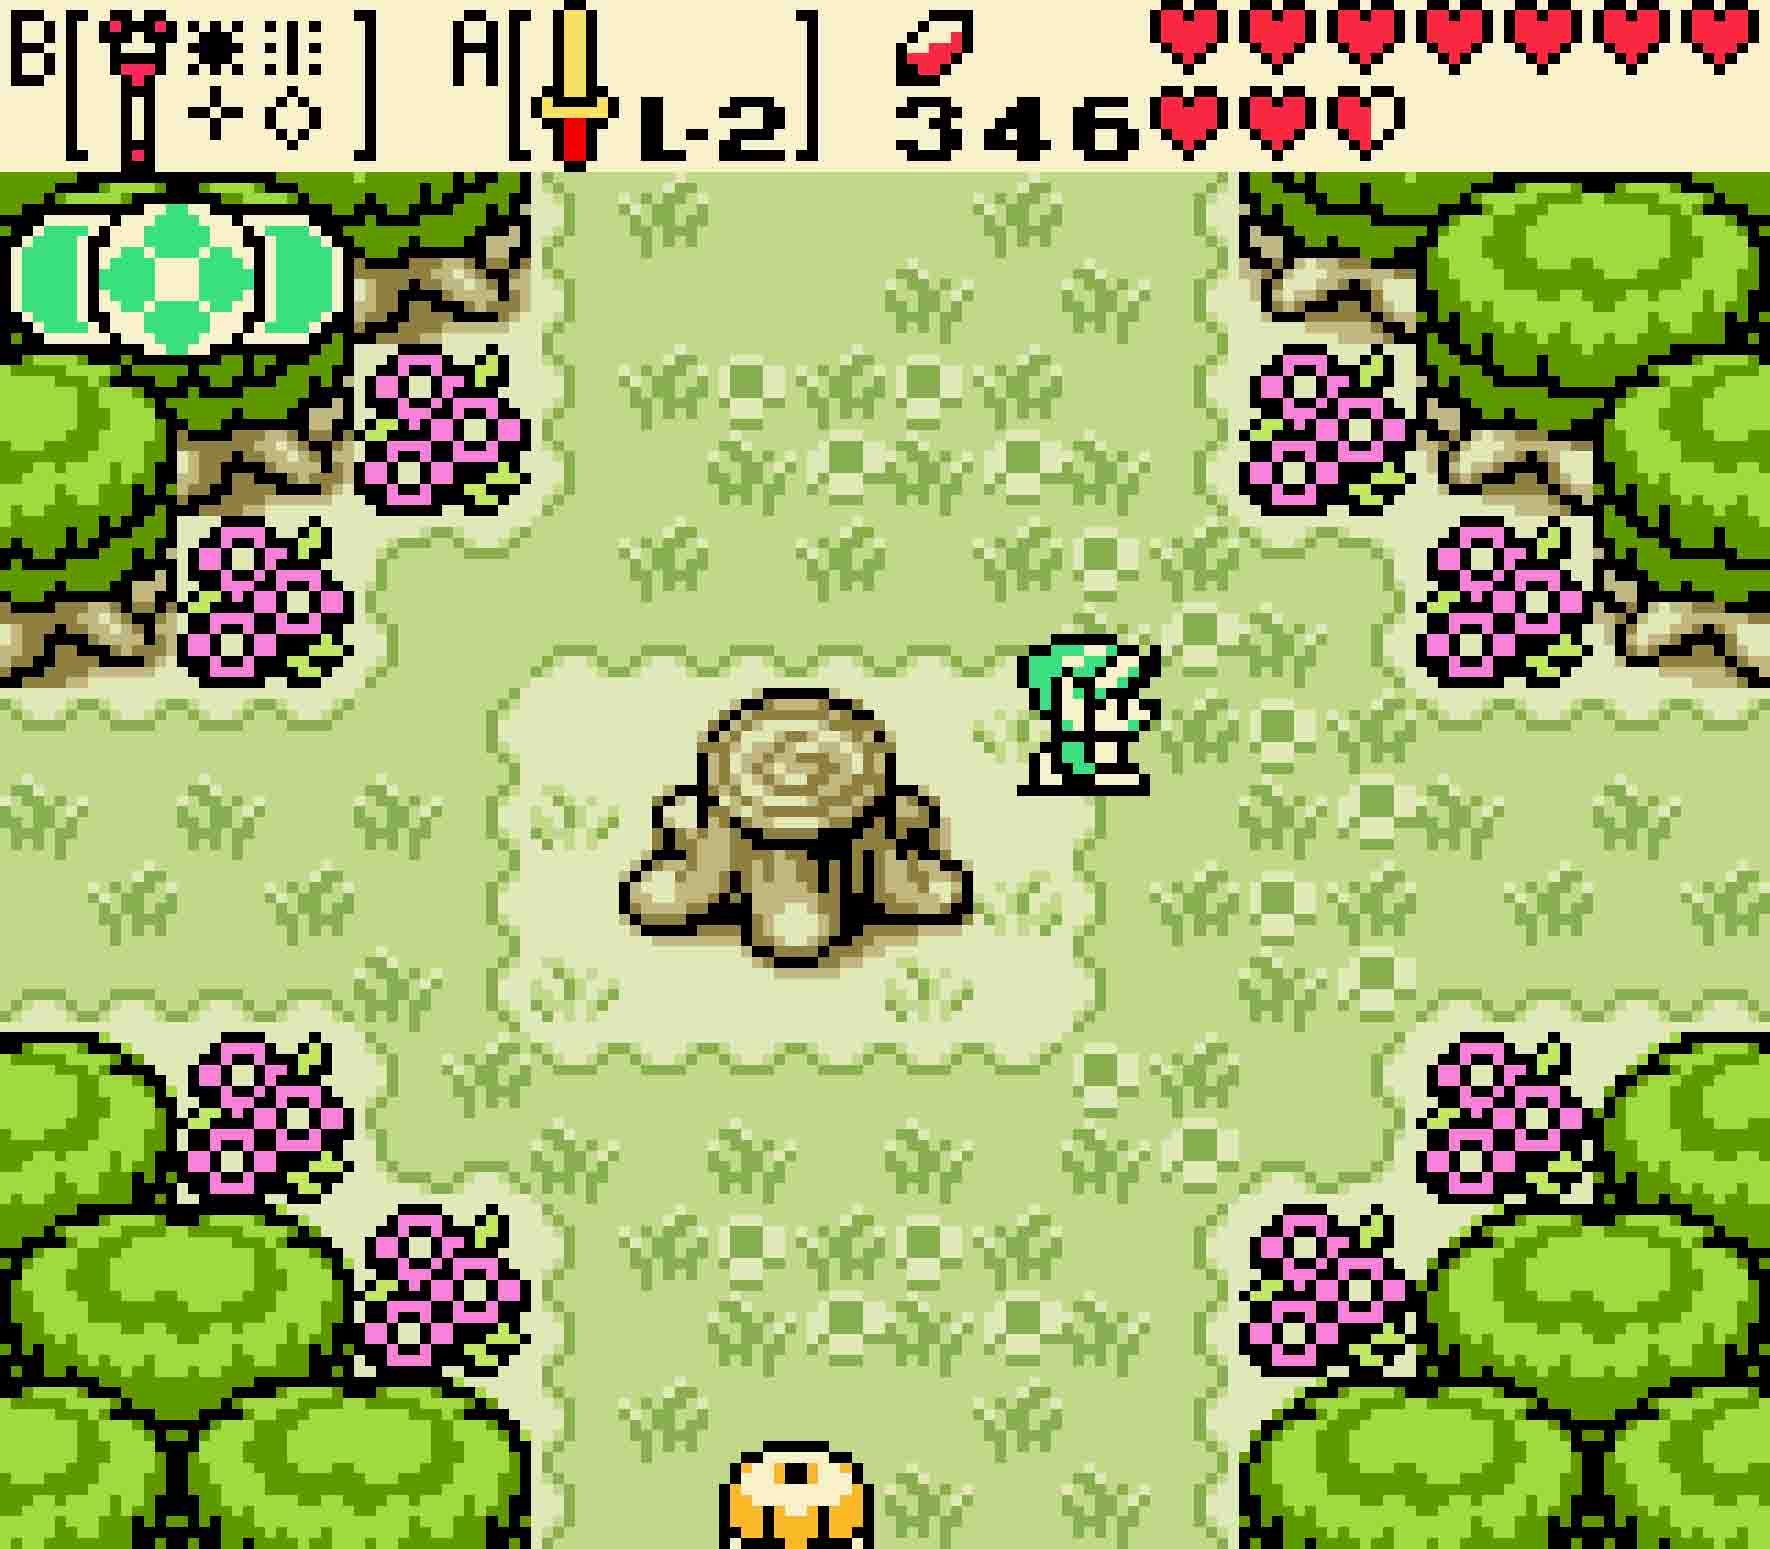
- Return to Mt. Cucco and change the season to spring.
-
- Use this spring flower to boost you up to the ledge above.
Climb up the vines, and then head east to reach the Mt. Cucco tree stump. Hop on it, and change the season to spring. You can then head three screens west to reach the jumping flower. Use it to propel yourself up the cliffside. After going north, head east twice more to arrive just outside the Dancing Dragon Dungeon. That little pond up on the cliffside is hiding something. Swim all the way to the upper-right corner of it; then go for a dive.
This water-filled cavern doesn’t have any enemies in it. In fact, it’s not even a challenge at all. Just keep swimming to the right through all that emptiness. At the far right side of the waterlogged cavern, you’ll find the Triangle Jewel. You can then leave the cave as there’s nothing else to find here.
-

- Dive down into the waters just next to Level Four.
-
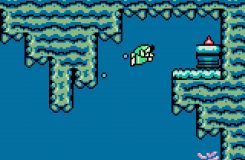
- In this isolated aquatic cavern is the Triangle Jewel.
14.6bIn a linked game
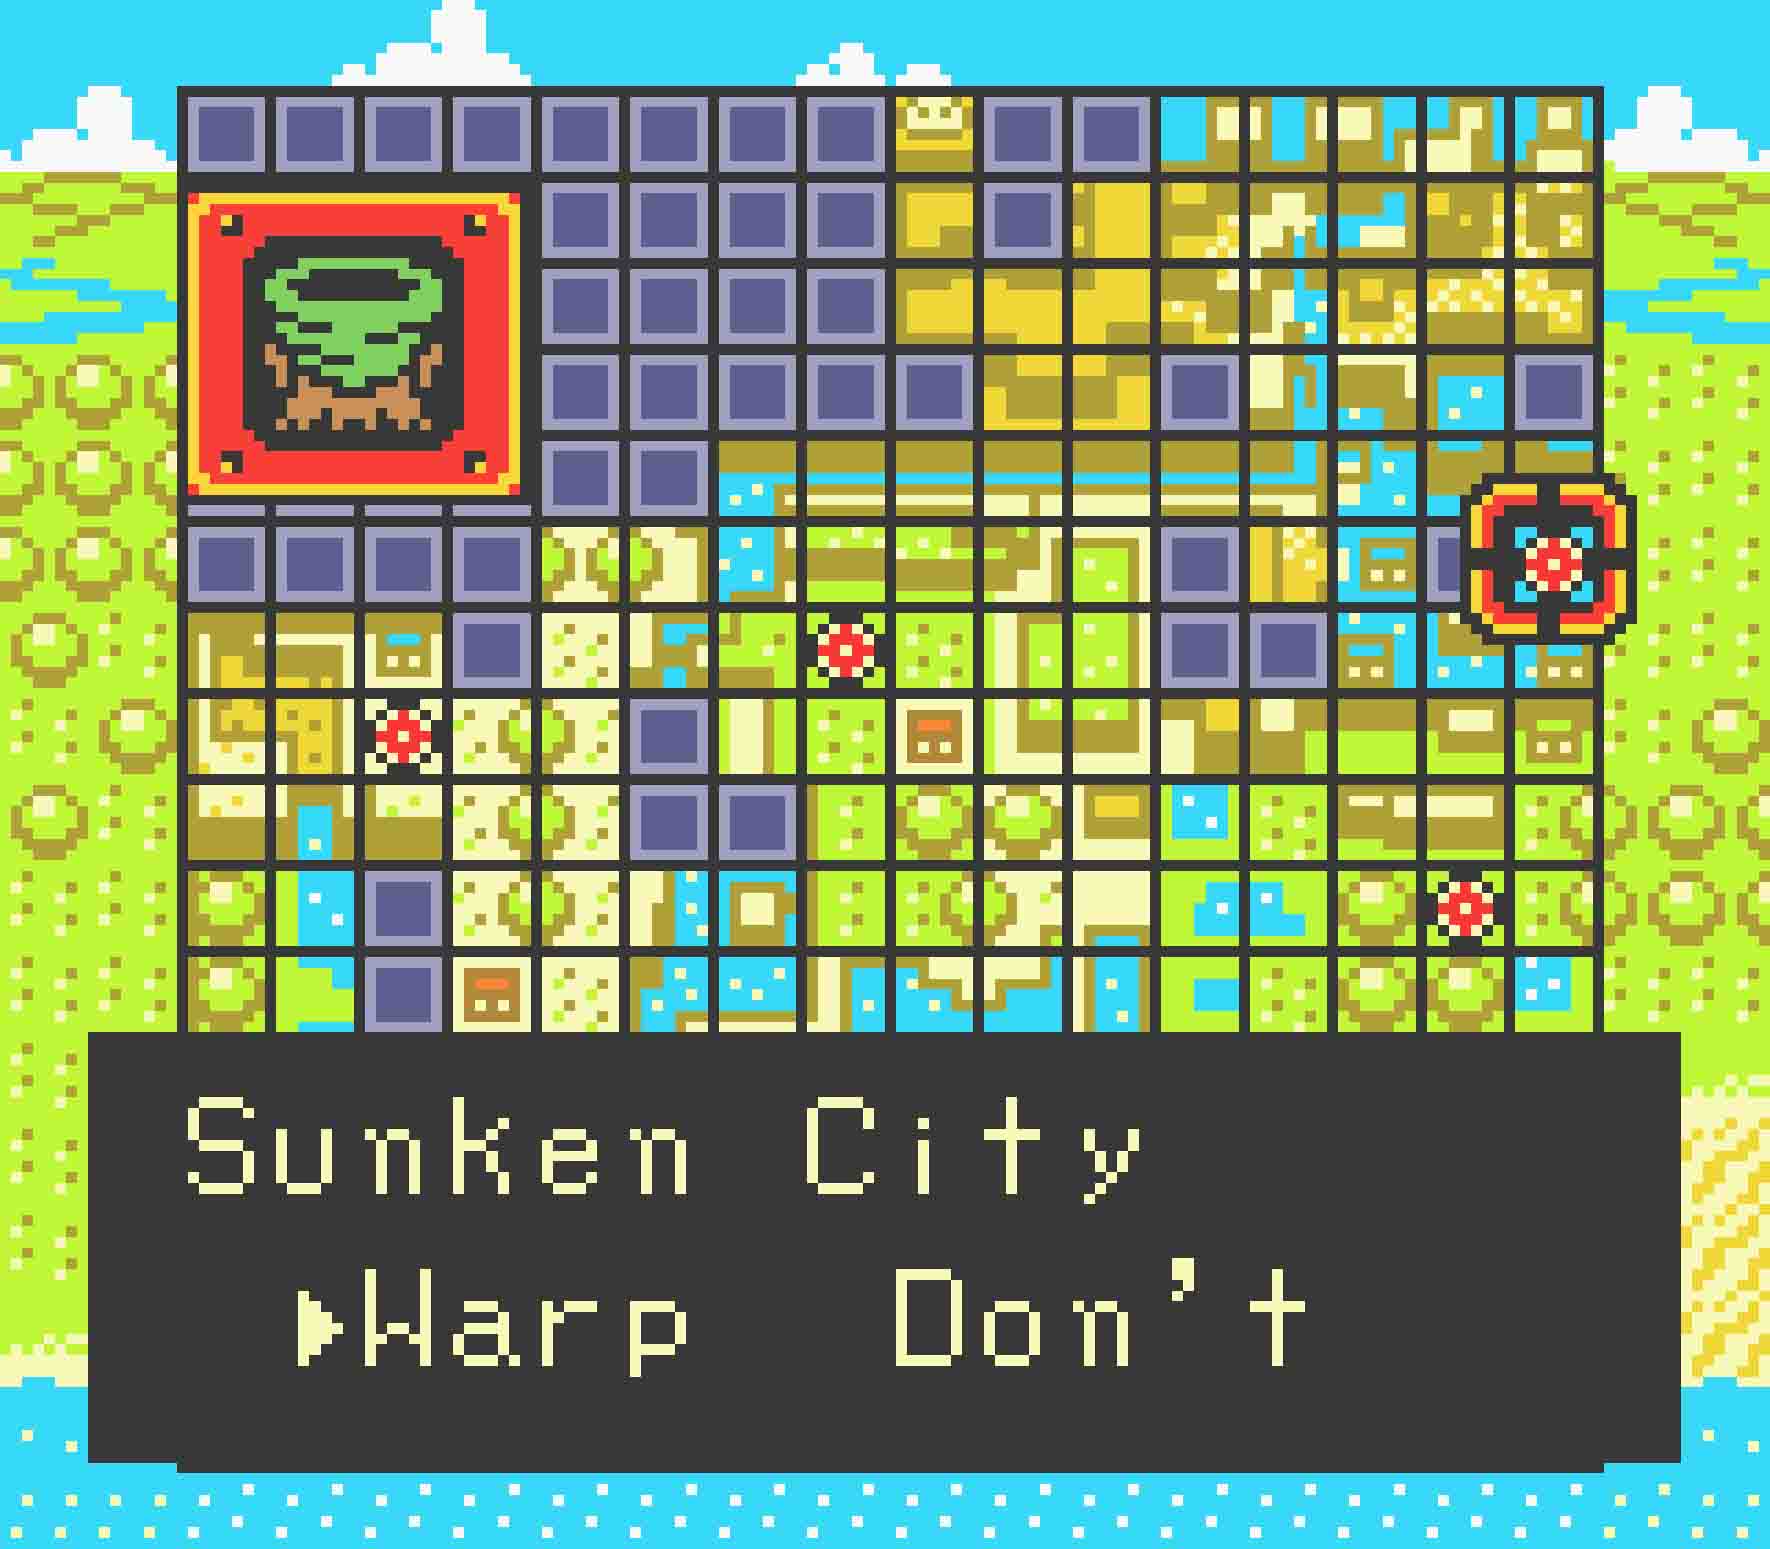
This could be considered the most annoying gem to get without Gale Seeds in the Linked Game. However, if you’ve been collecting your Seed Satchel upgrades, you should have plenty to spare. The fastest way to collect this jewel is to use a Gale Seed to warp to Sunken City. From the teleportation tree there, head south, and then west. You’ll notice that the shallow water there has a slight bend in an otherwise straight path. That should be a clue. Swim into the 1×1 tile of deep water, and then dive beneath the water.
-
- In Sunken City, dive down into this suspicious water.
-
- Unfortunately, this is all just a sadistic, little trap.
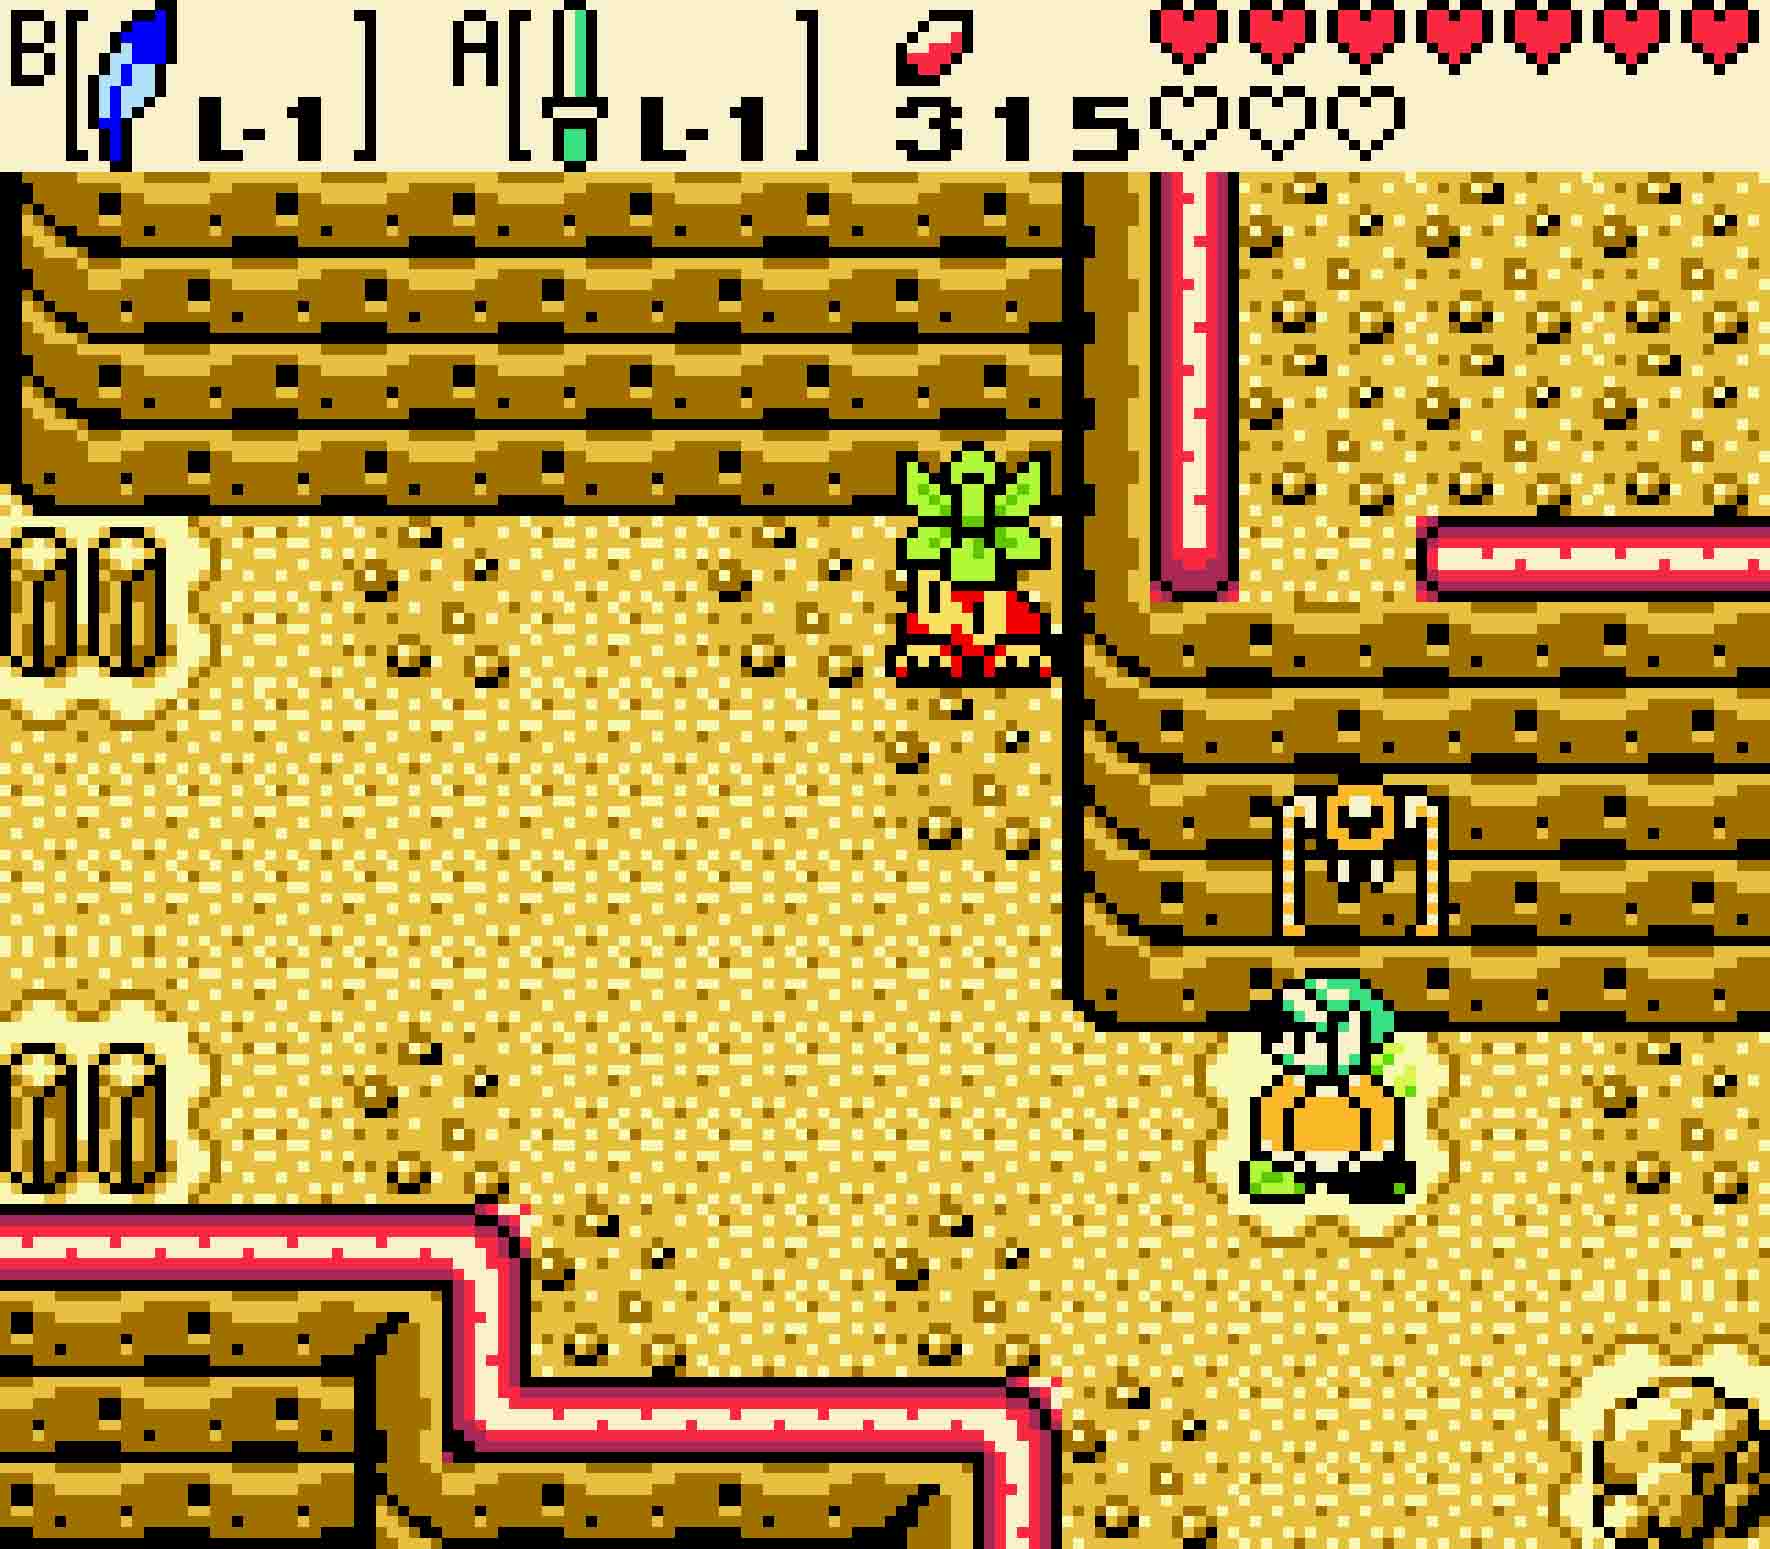
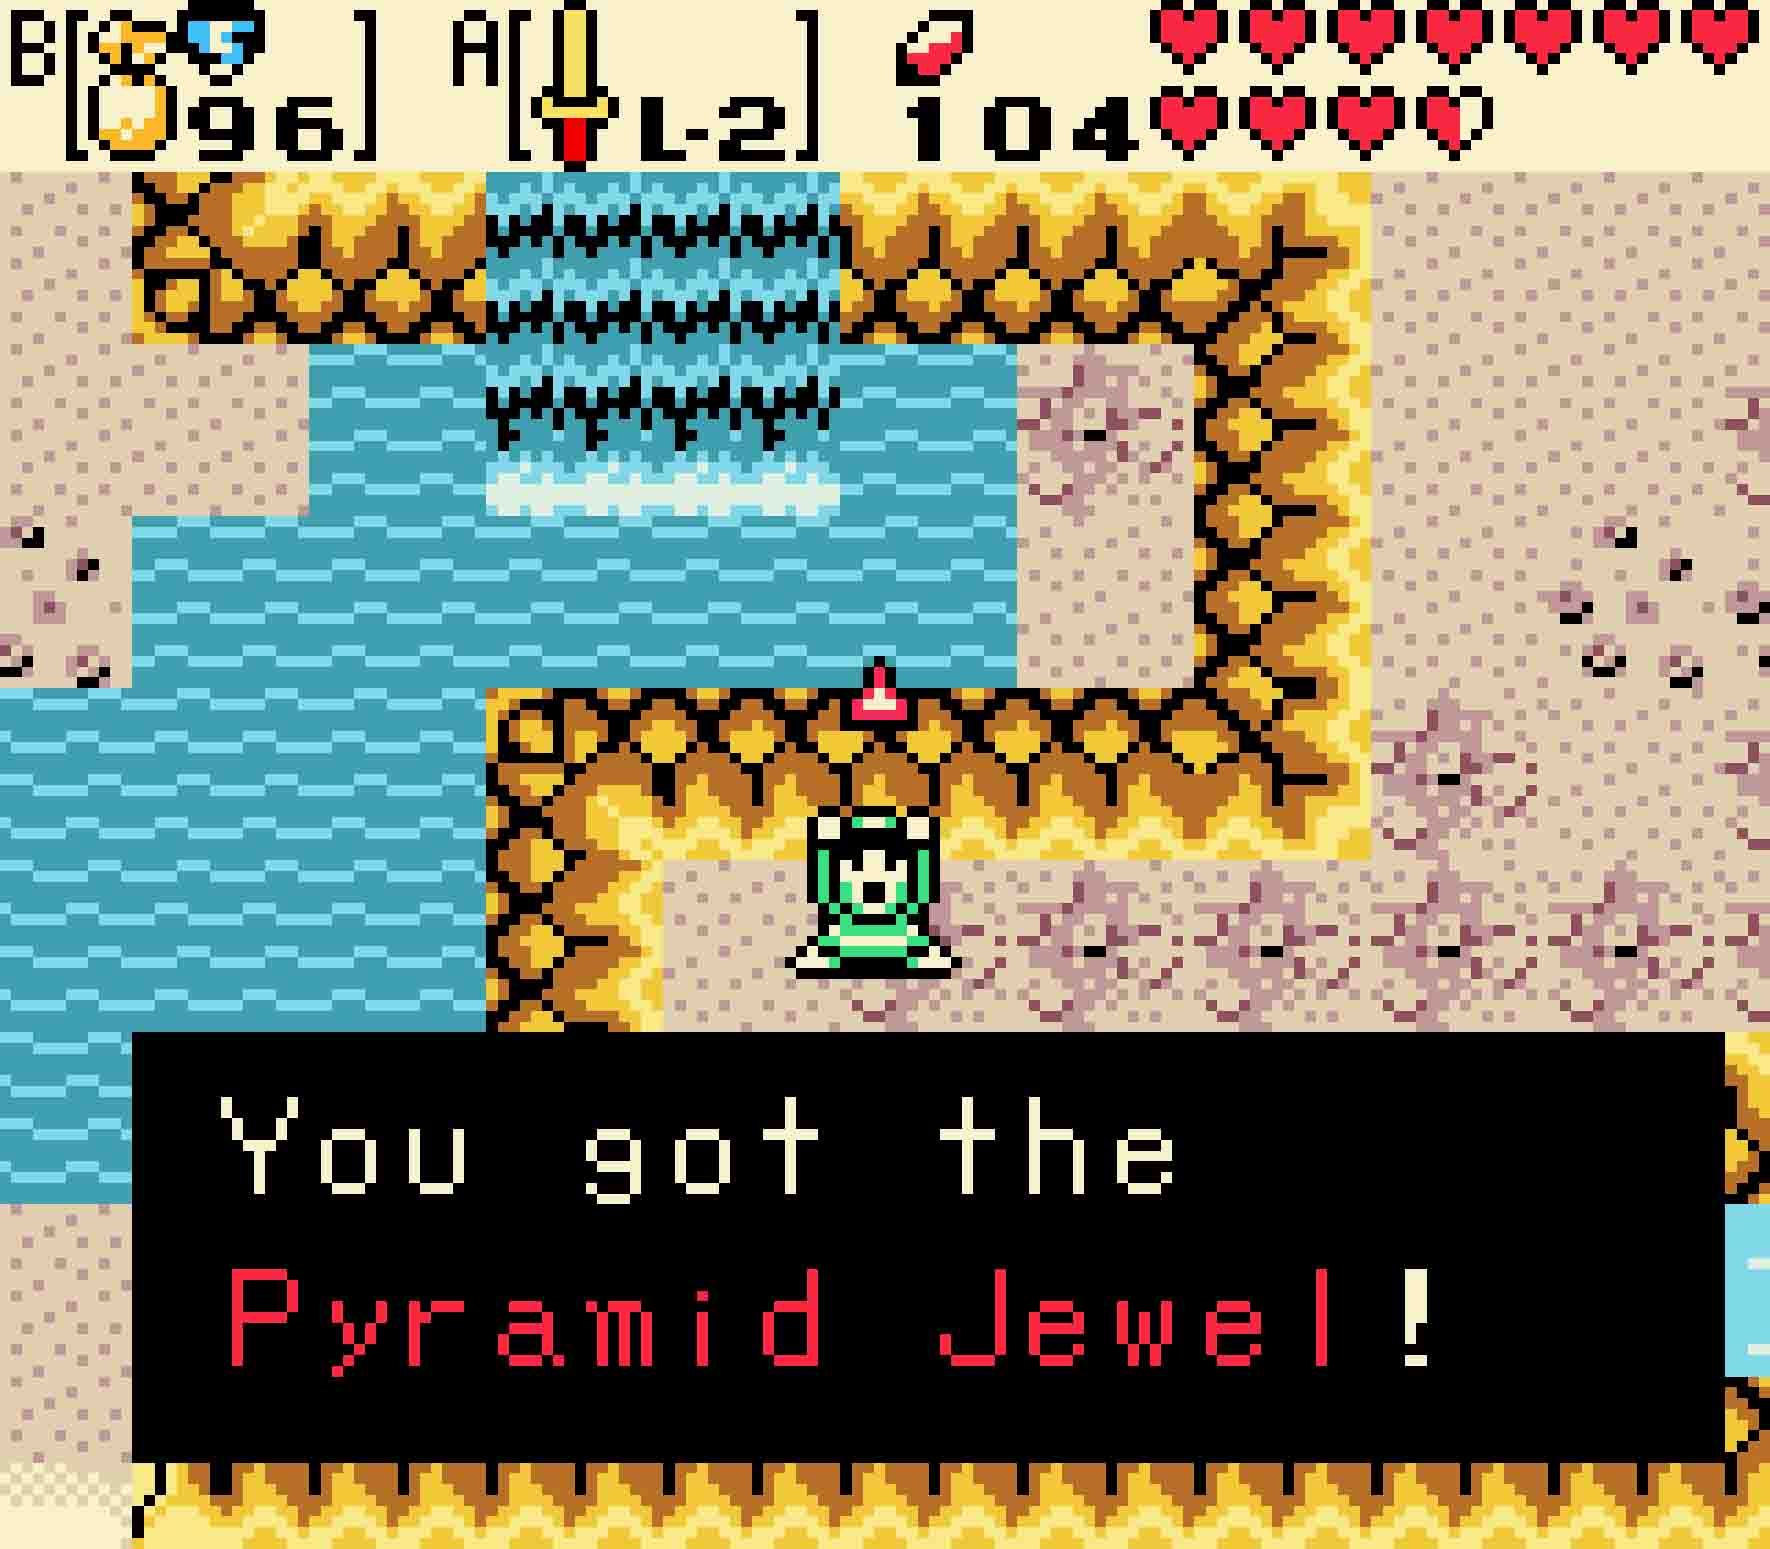
You’ll fall down a waterfall into a cave. Hop off the upper ledge of the cavern, and you’ll find a chest in the upper-left corner of the room. Open it to find… an enemy!? Oh, it’s just Vire, here to taunt you. Vire could have been extremely mean and stolen the Triangle Jewel for itself, but instead it just does something minorly evil and place it on top of the cliff you just jumped down from.
Exit the cave, and use a Gale Seed to warp back to Sunken City. Again, head southwest and dive again. Whatever you do, don’t jump down. Head easterly around the cliff to pick up the gem Vire left behind.
-
- Simply warp back and do it all over again.
-
- At least Vire didn’t move the jewel very far…
14.7 Pass the Tarm Ruins pond
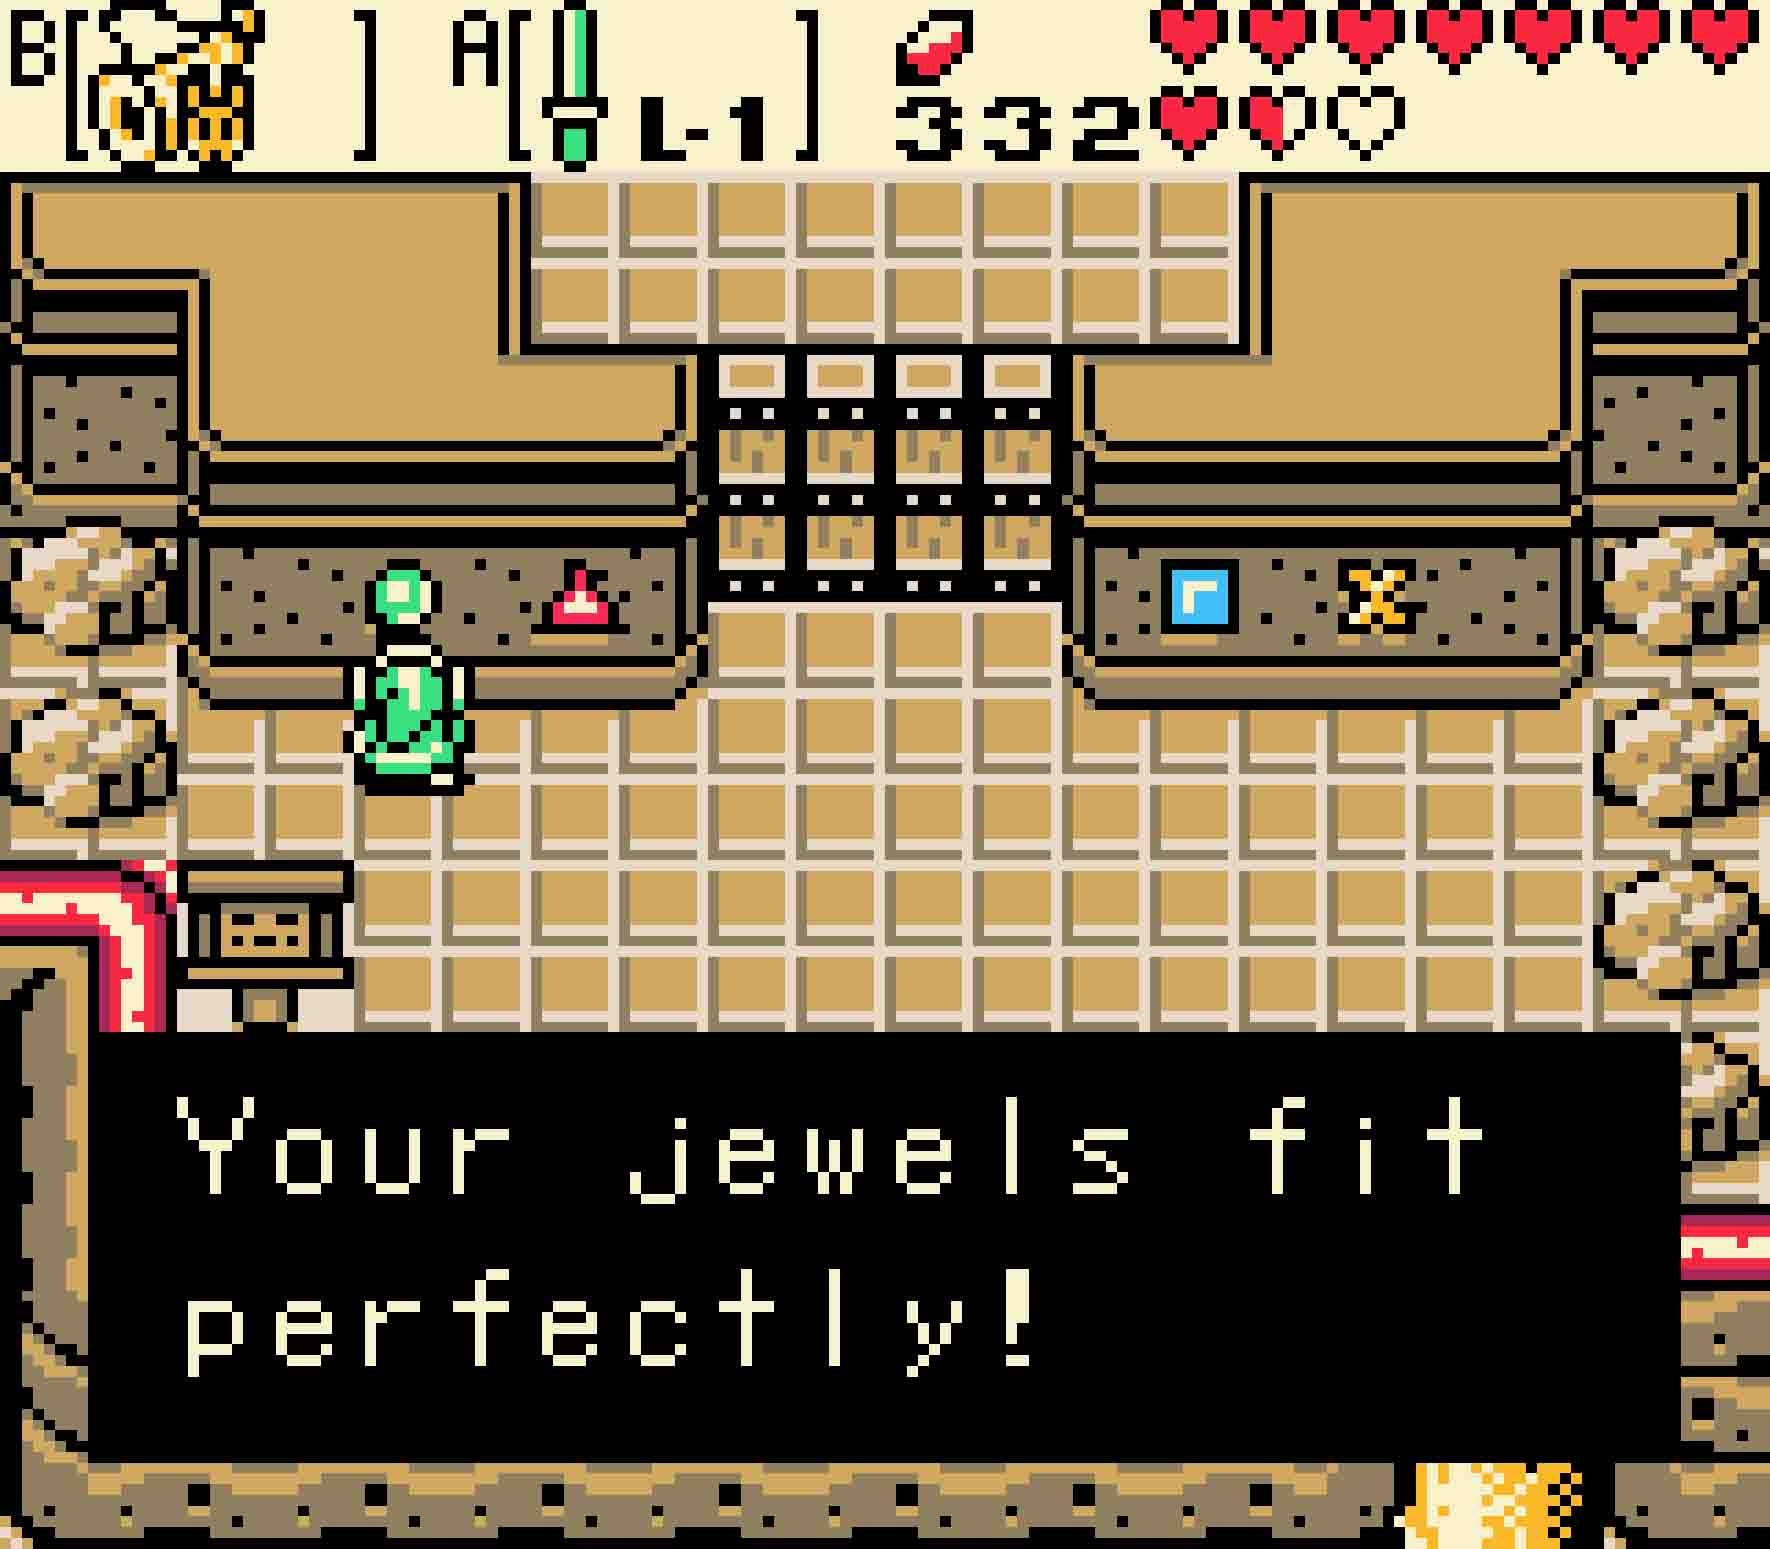
With all four jewels in your possession, it’s finally time to invade Tarm Ruins. Teleport to the tree in Spool Swamp. Head east, pass the crows, and then take a new passageway northward. There stands the Tarm Ruins wall, designed to keep all out save those that have the jewels. Walk up to each of the holes in the wall so you can place the gems inside their respective spaces. The door will open up, and you’re ready to begin your whirlwind of seasons.
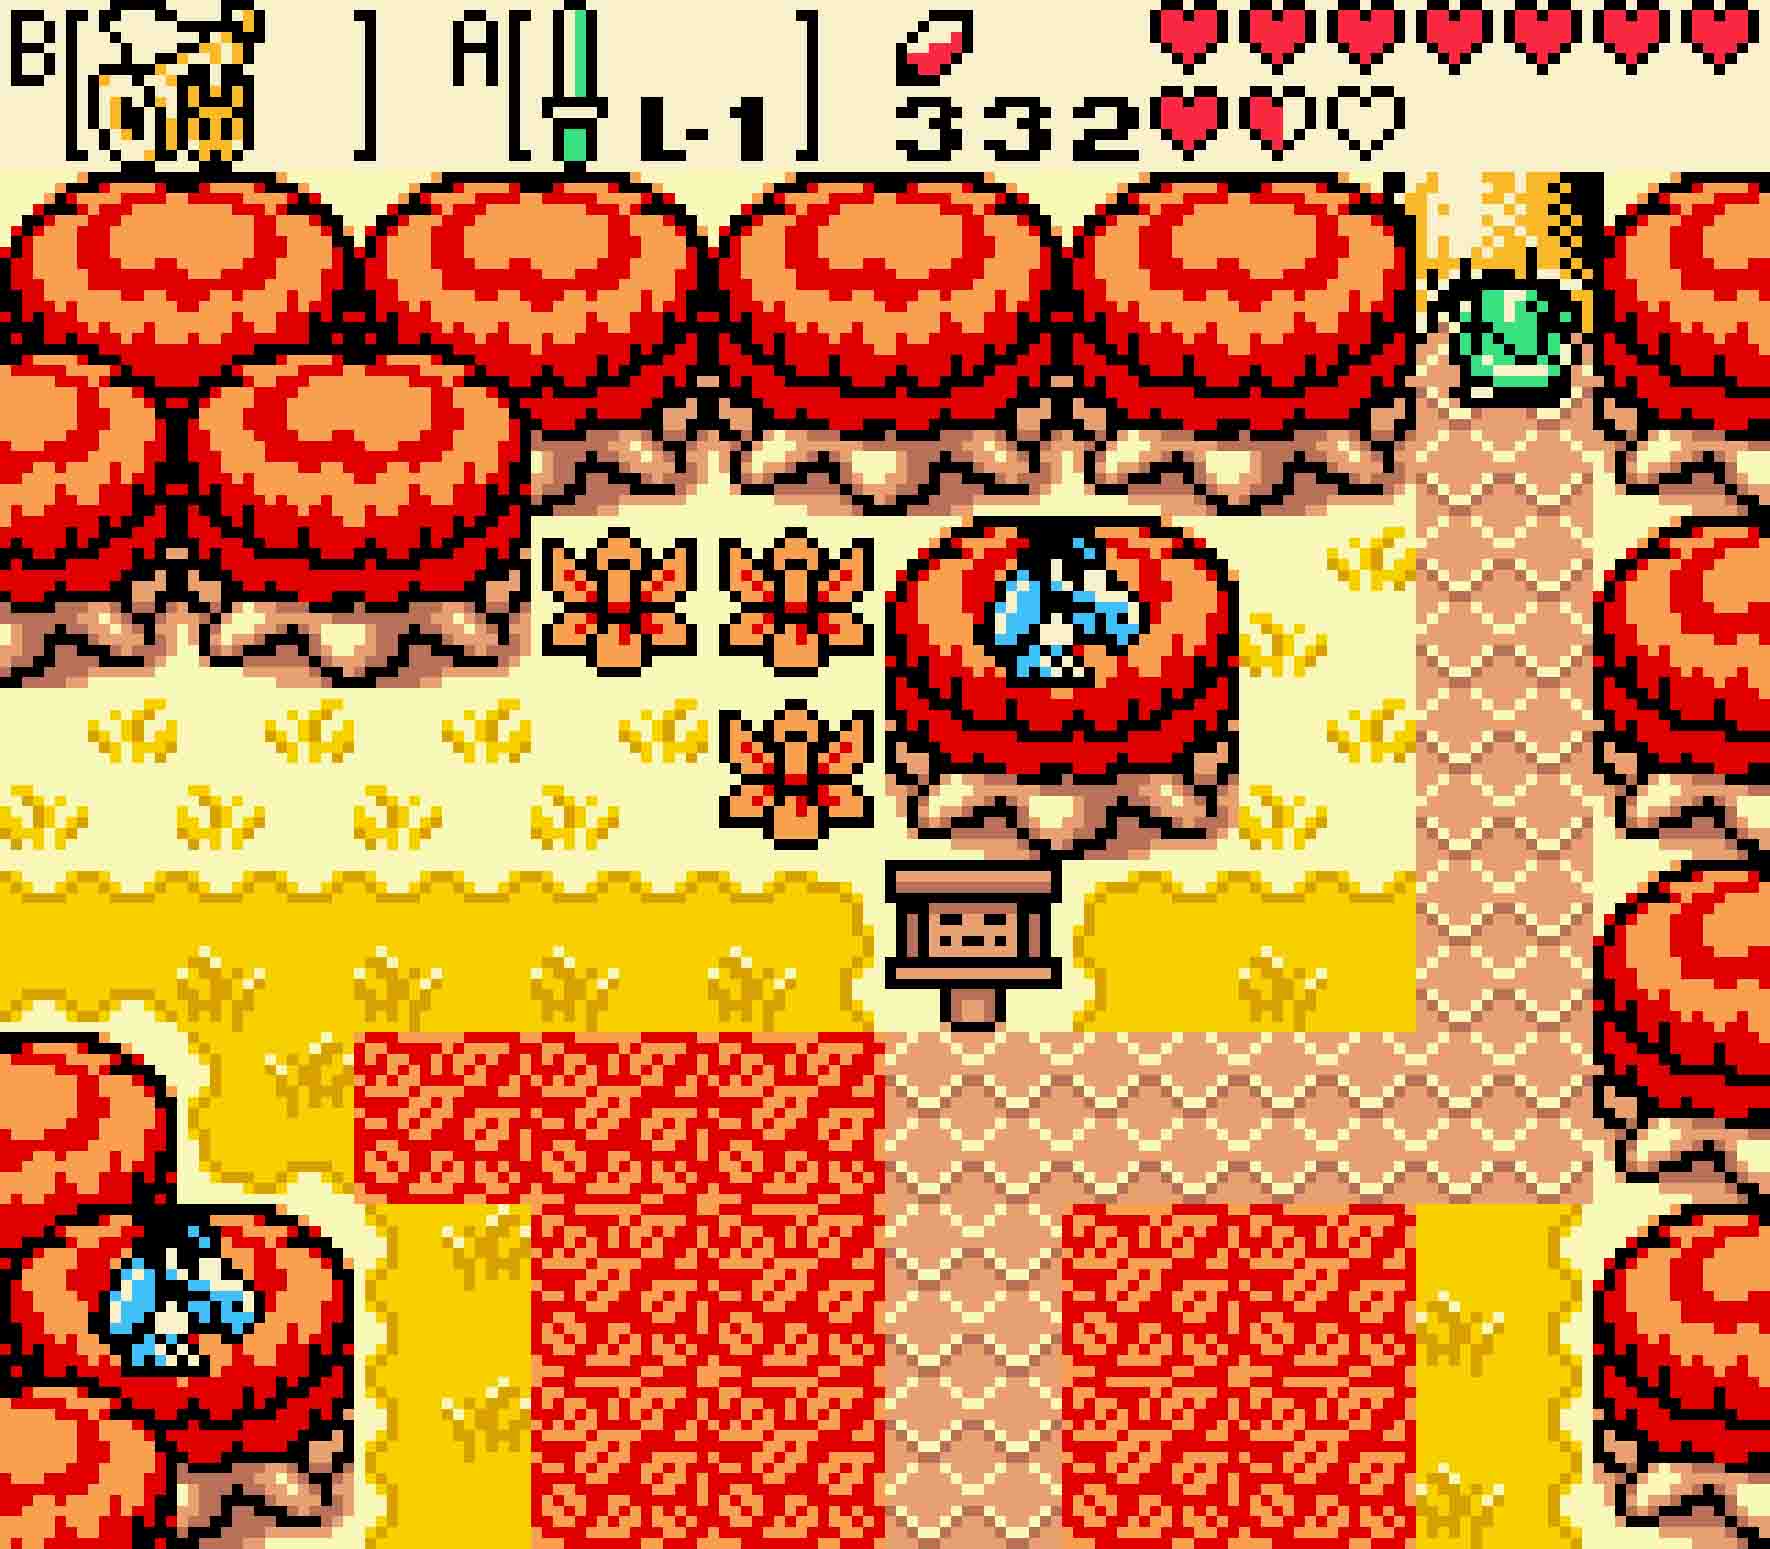
Passing through the Tarm Ruins
Step One Hop atop the tree stump here and change the season to summer. This will allow you to climb the vines along the northern wall.
Step Two Avoid or kill the Darknuts atop the wall; then hop down the gap in the cliff in the lower-left of the screen. Then after you land, head west.
Step Three Push the lone Armos statue on this screen one square upward. This will cause a short staircase to appear in the mountainside. Unfortunately, it’s too high up to climb…
Step Four Head up the vines on this screen. Head east, and then climb back down the vines on the other side.
Step Five Upon the tree stump again, change the season to winter. This will allow you to directly head west.
Step Six Hey look! There’s a huge snowbank in front of the Armos. Hop down onto it, and use the stairs to head northward.
Step Seven While it’s still winter, push the bottom two Armos statues one space east.
Step Eight Change the season to autumn atop this tree stump, and notice that the Armos statues have now fallen in the water, allowing you to walk atop them.
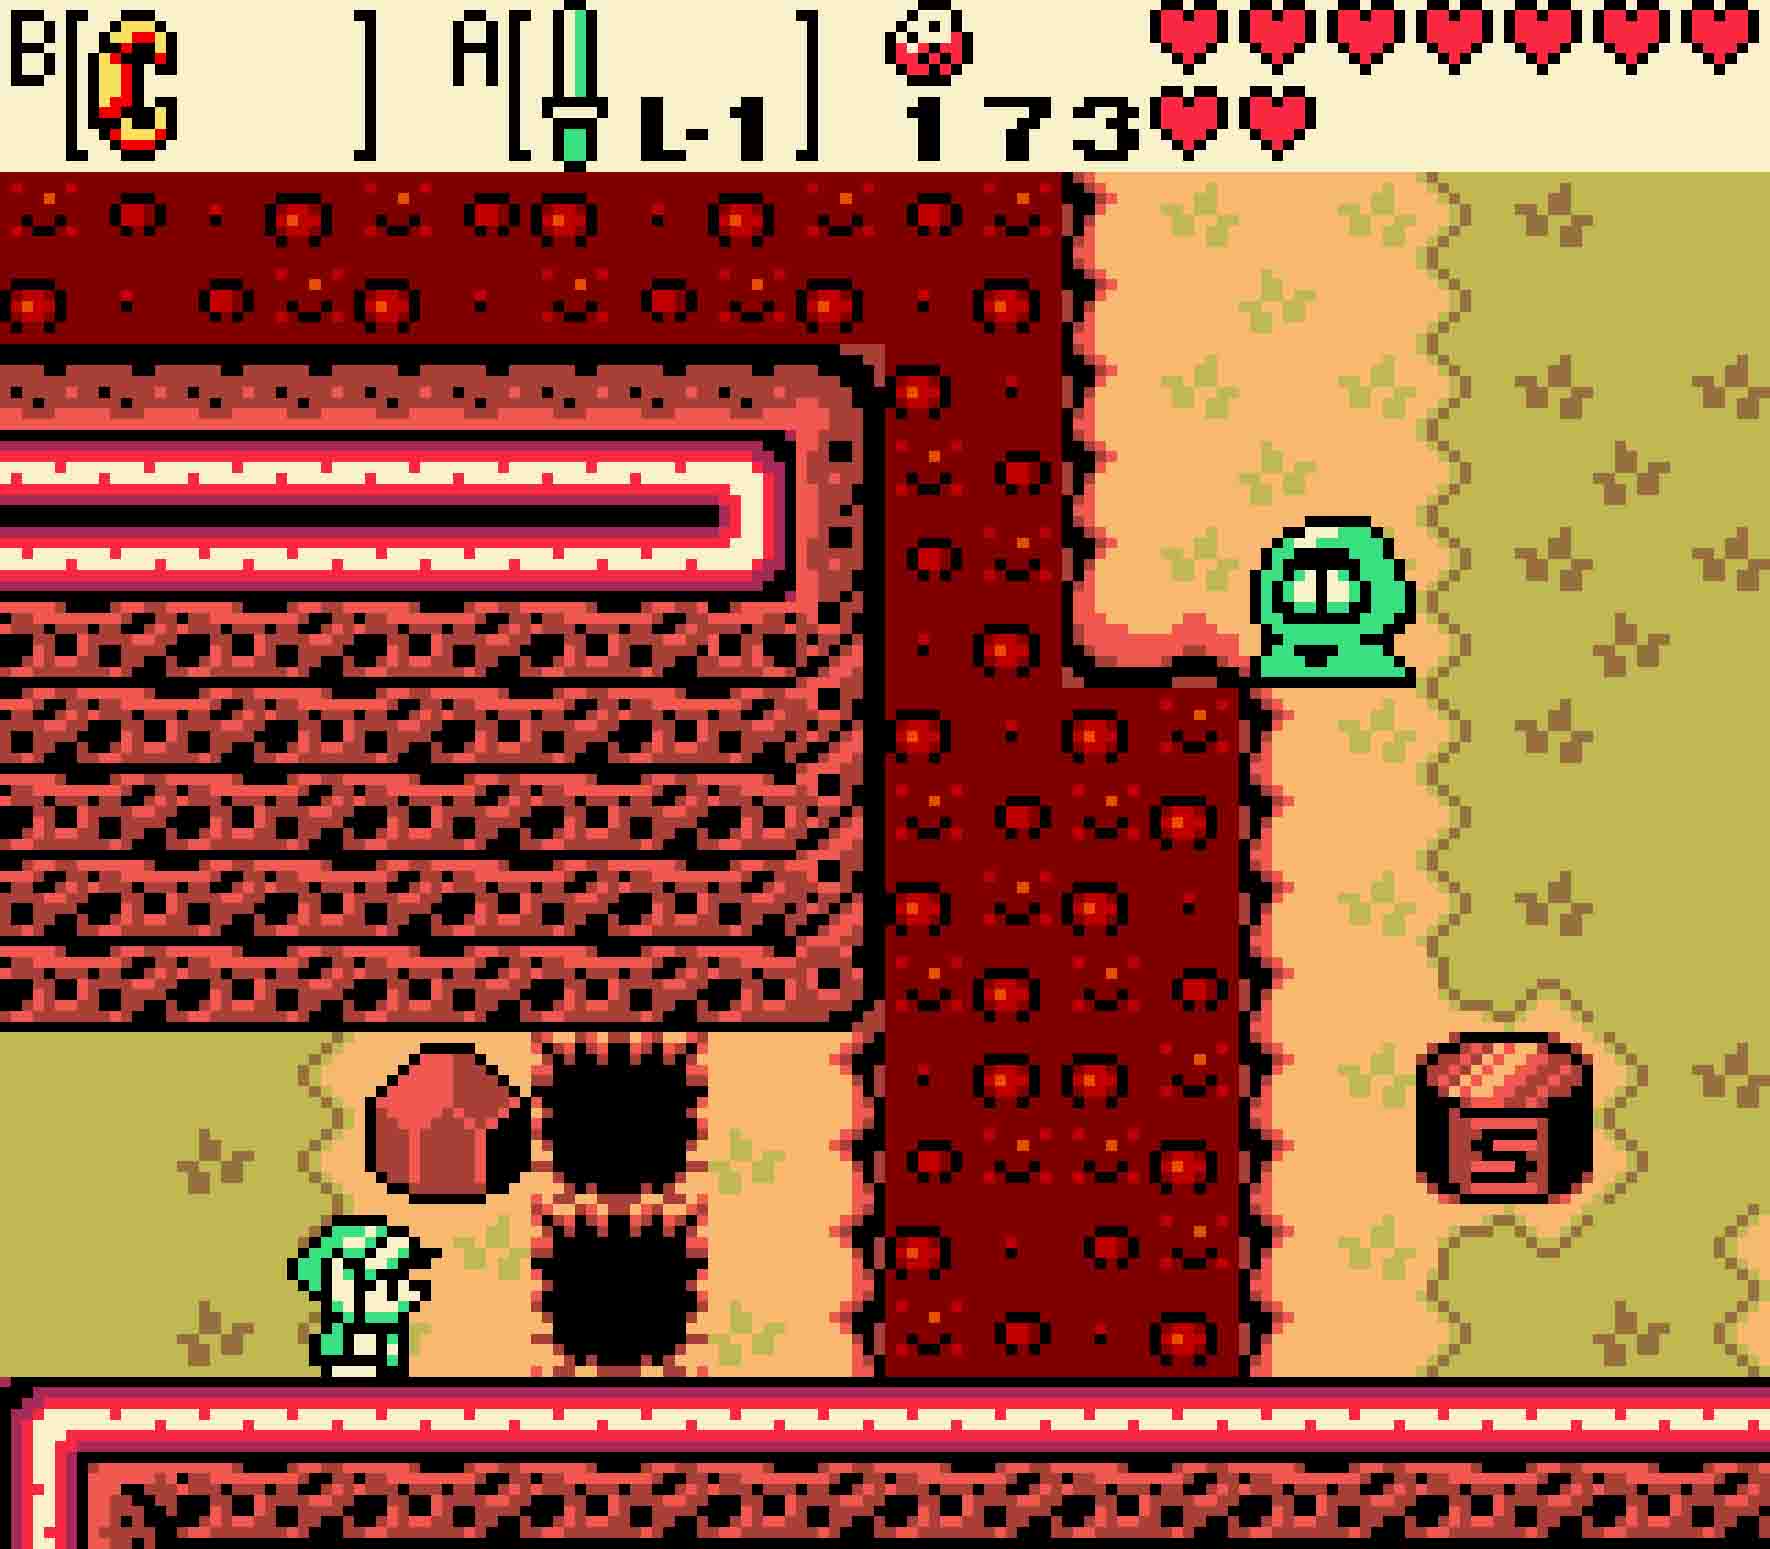
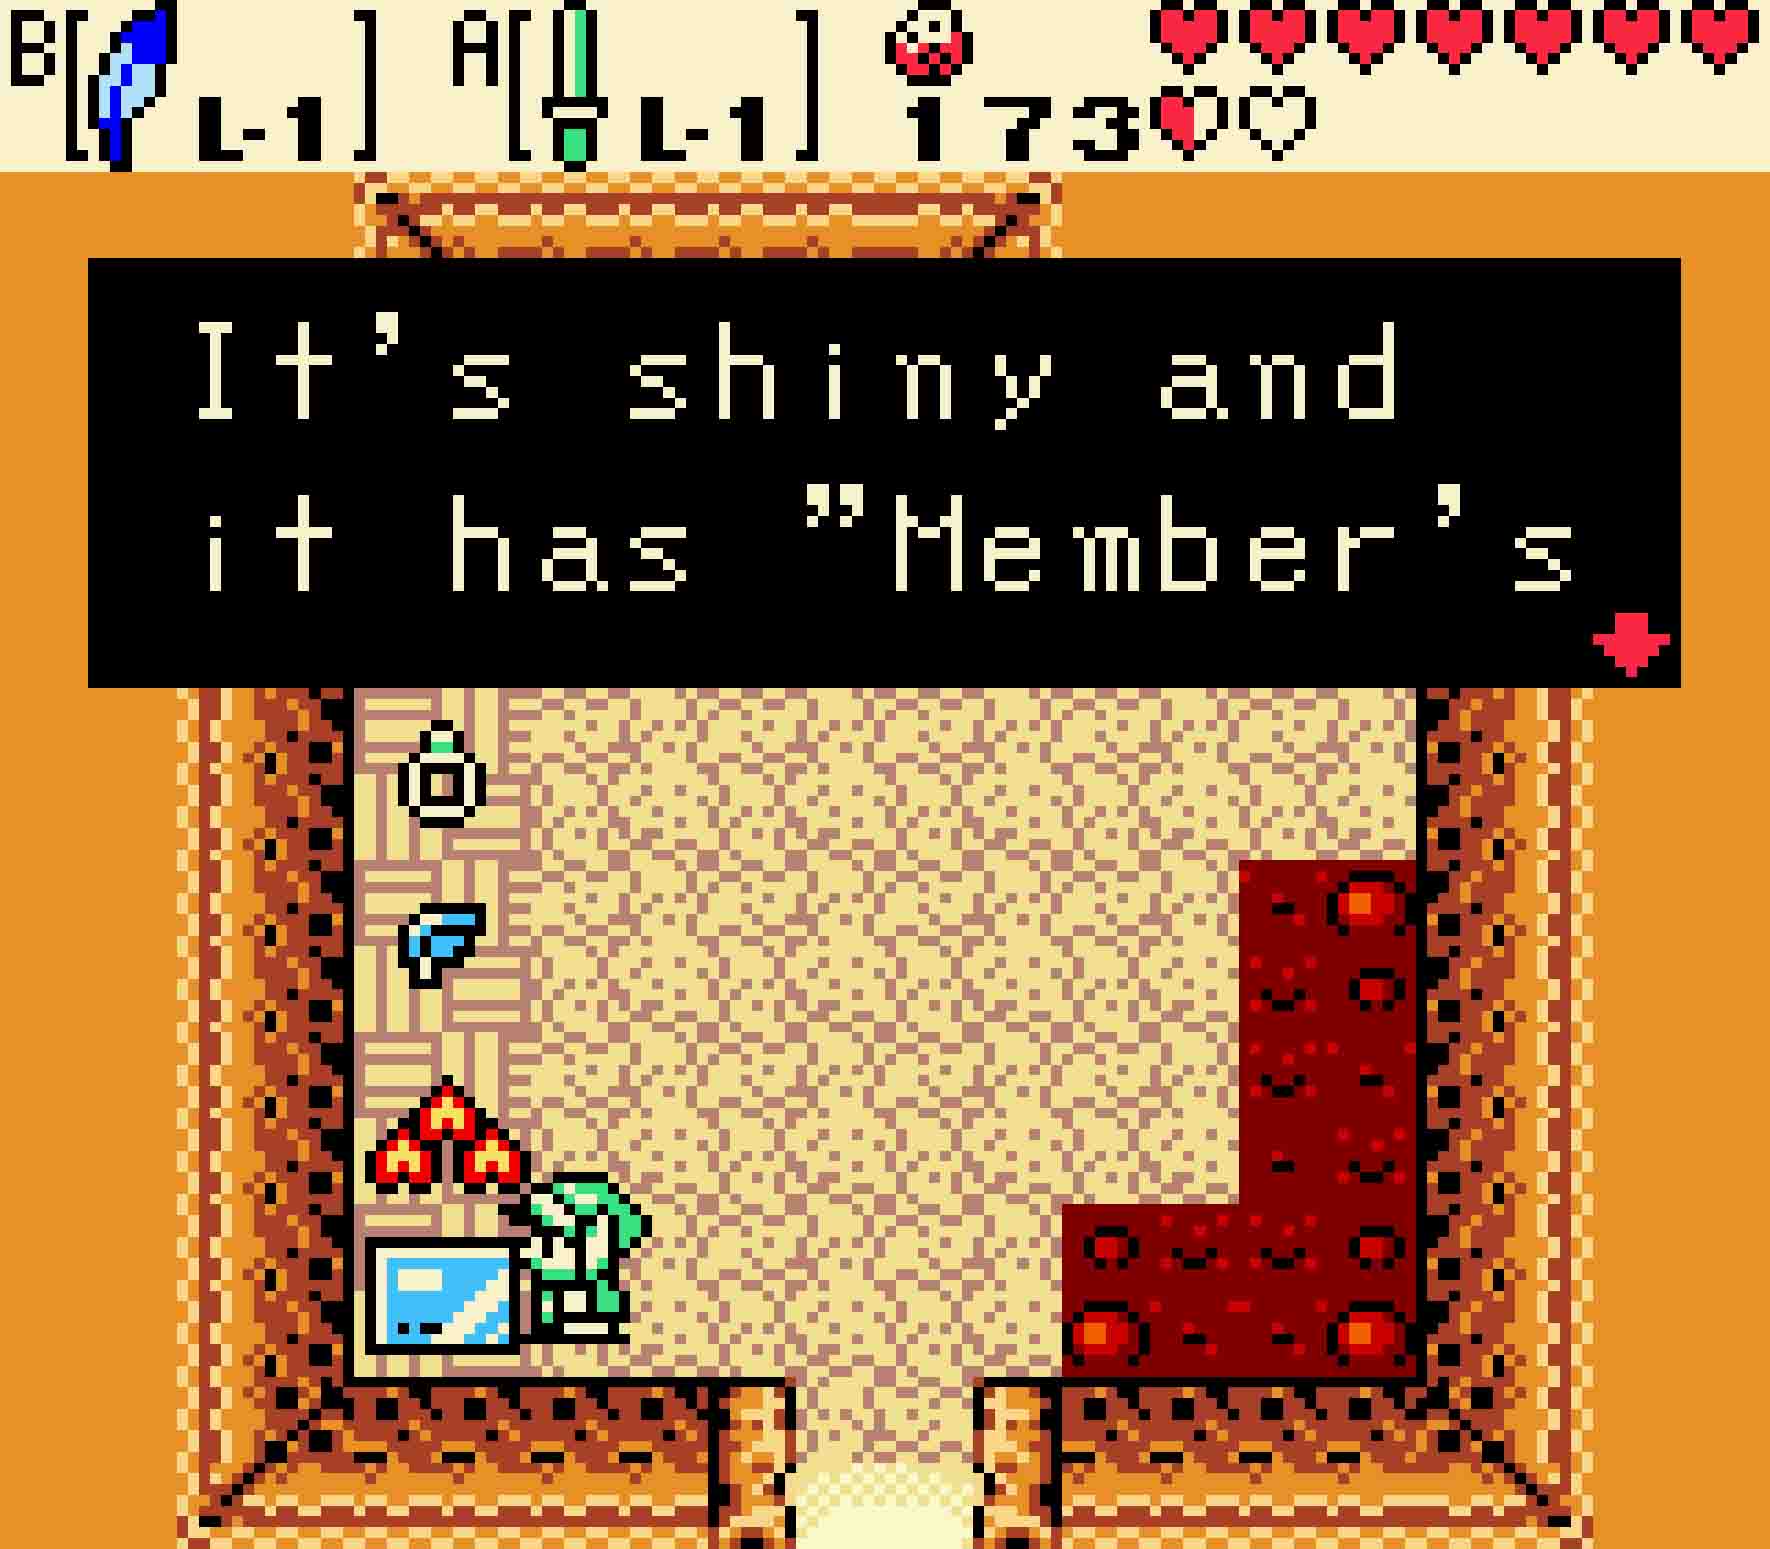
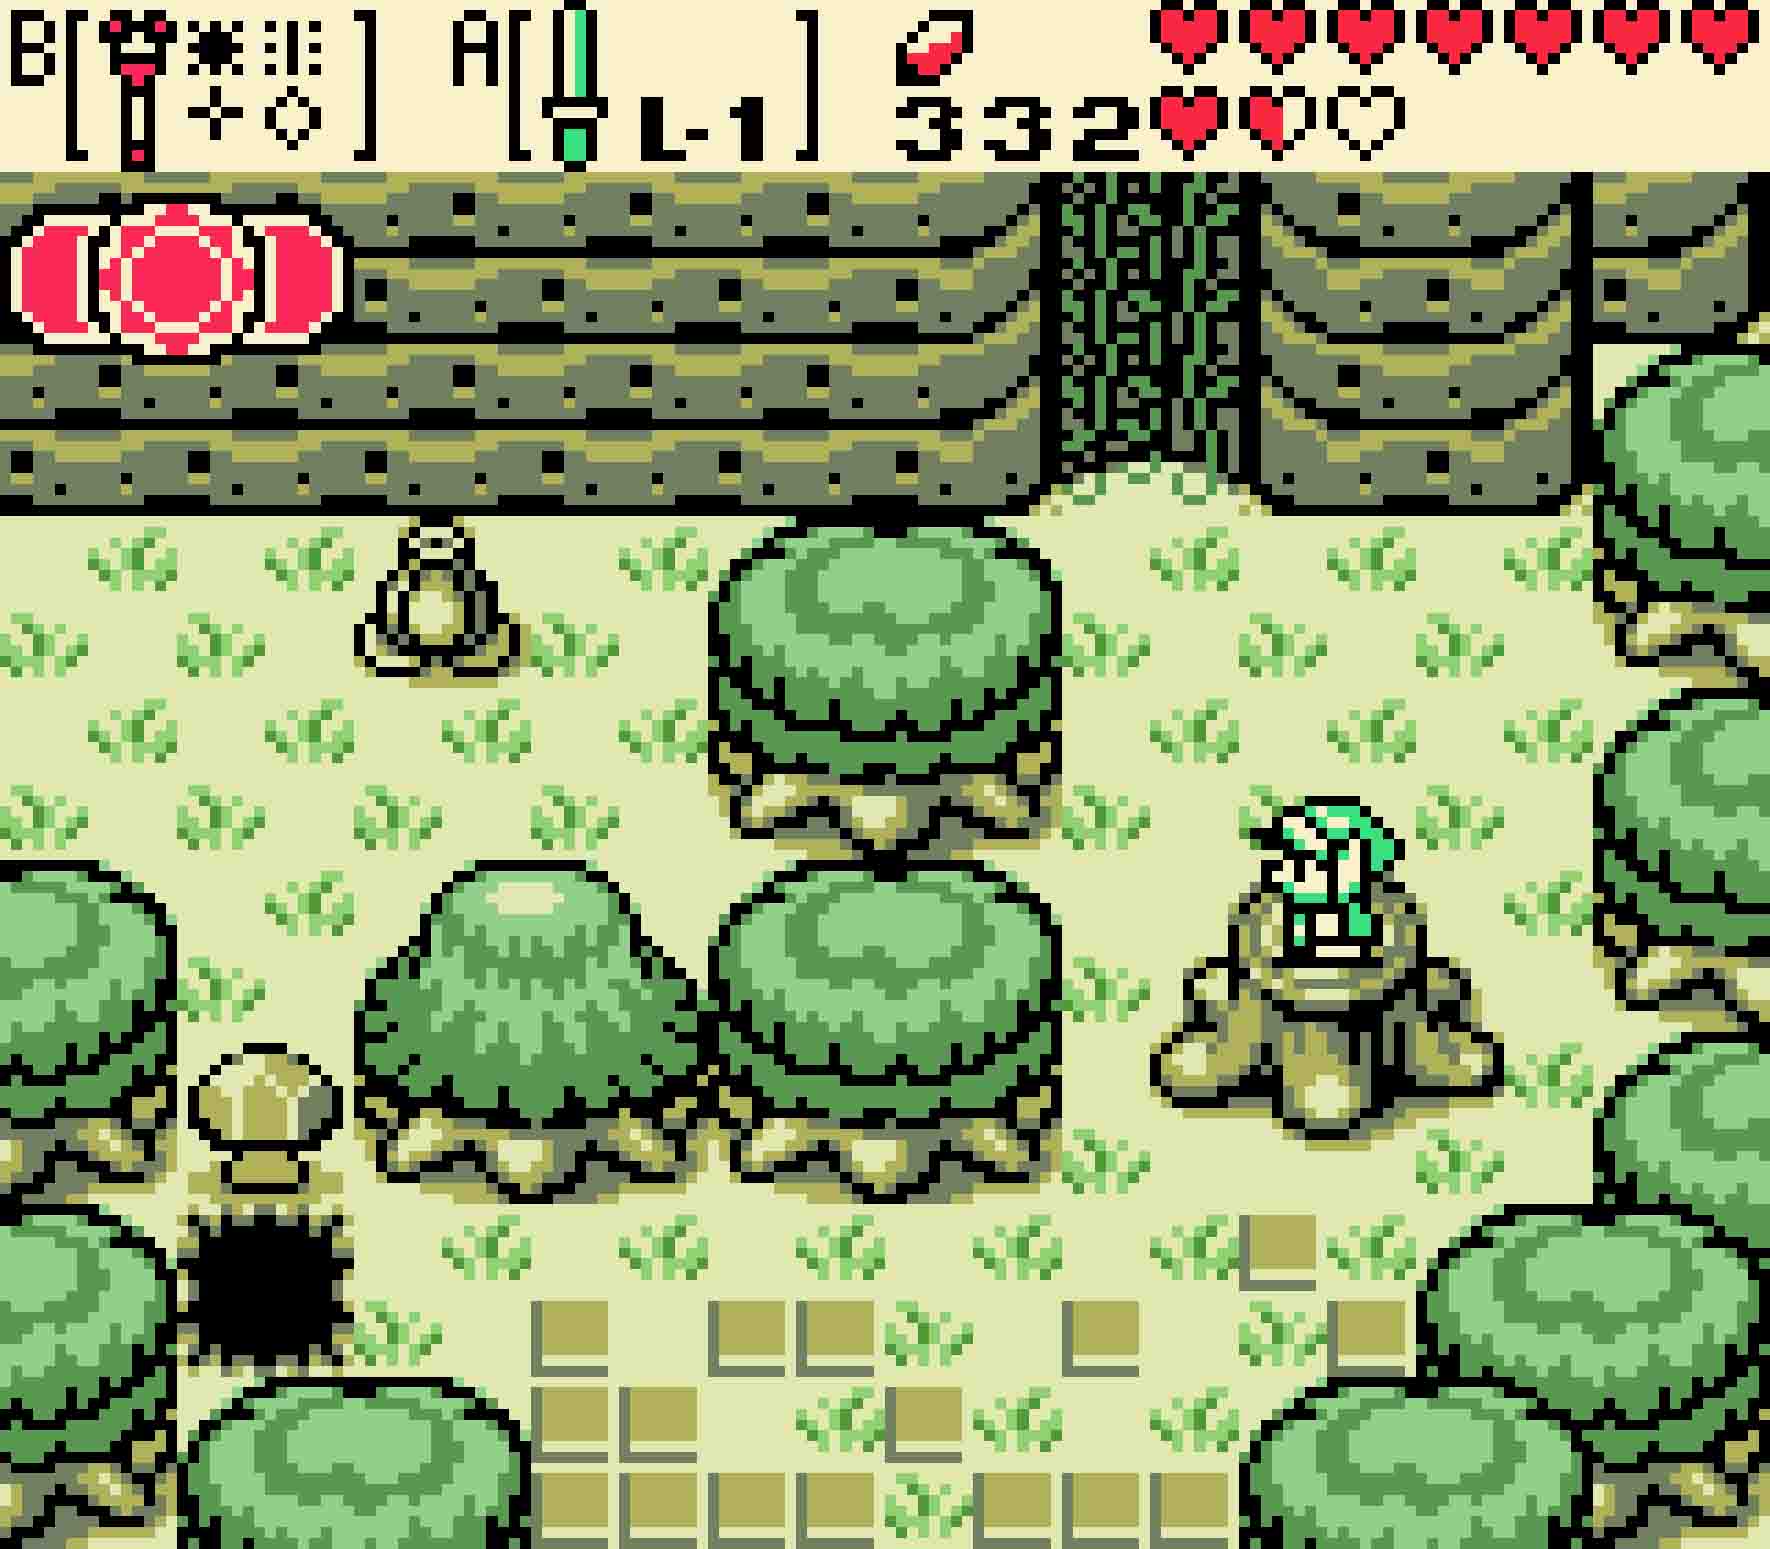
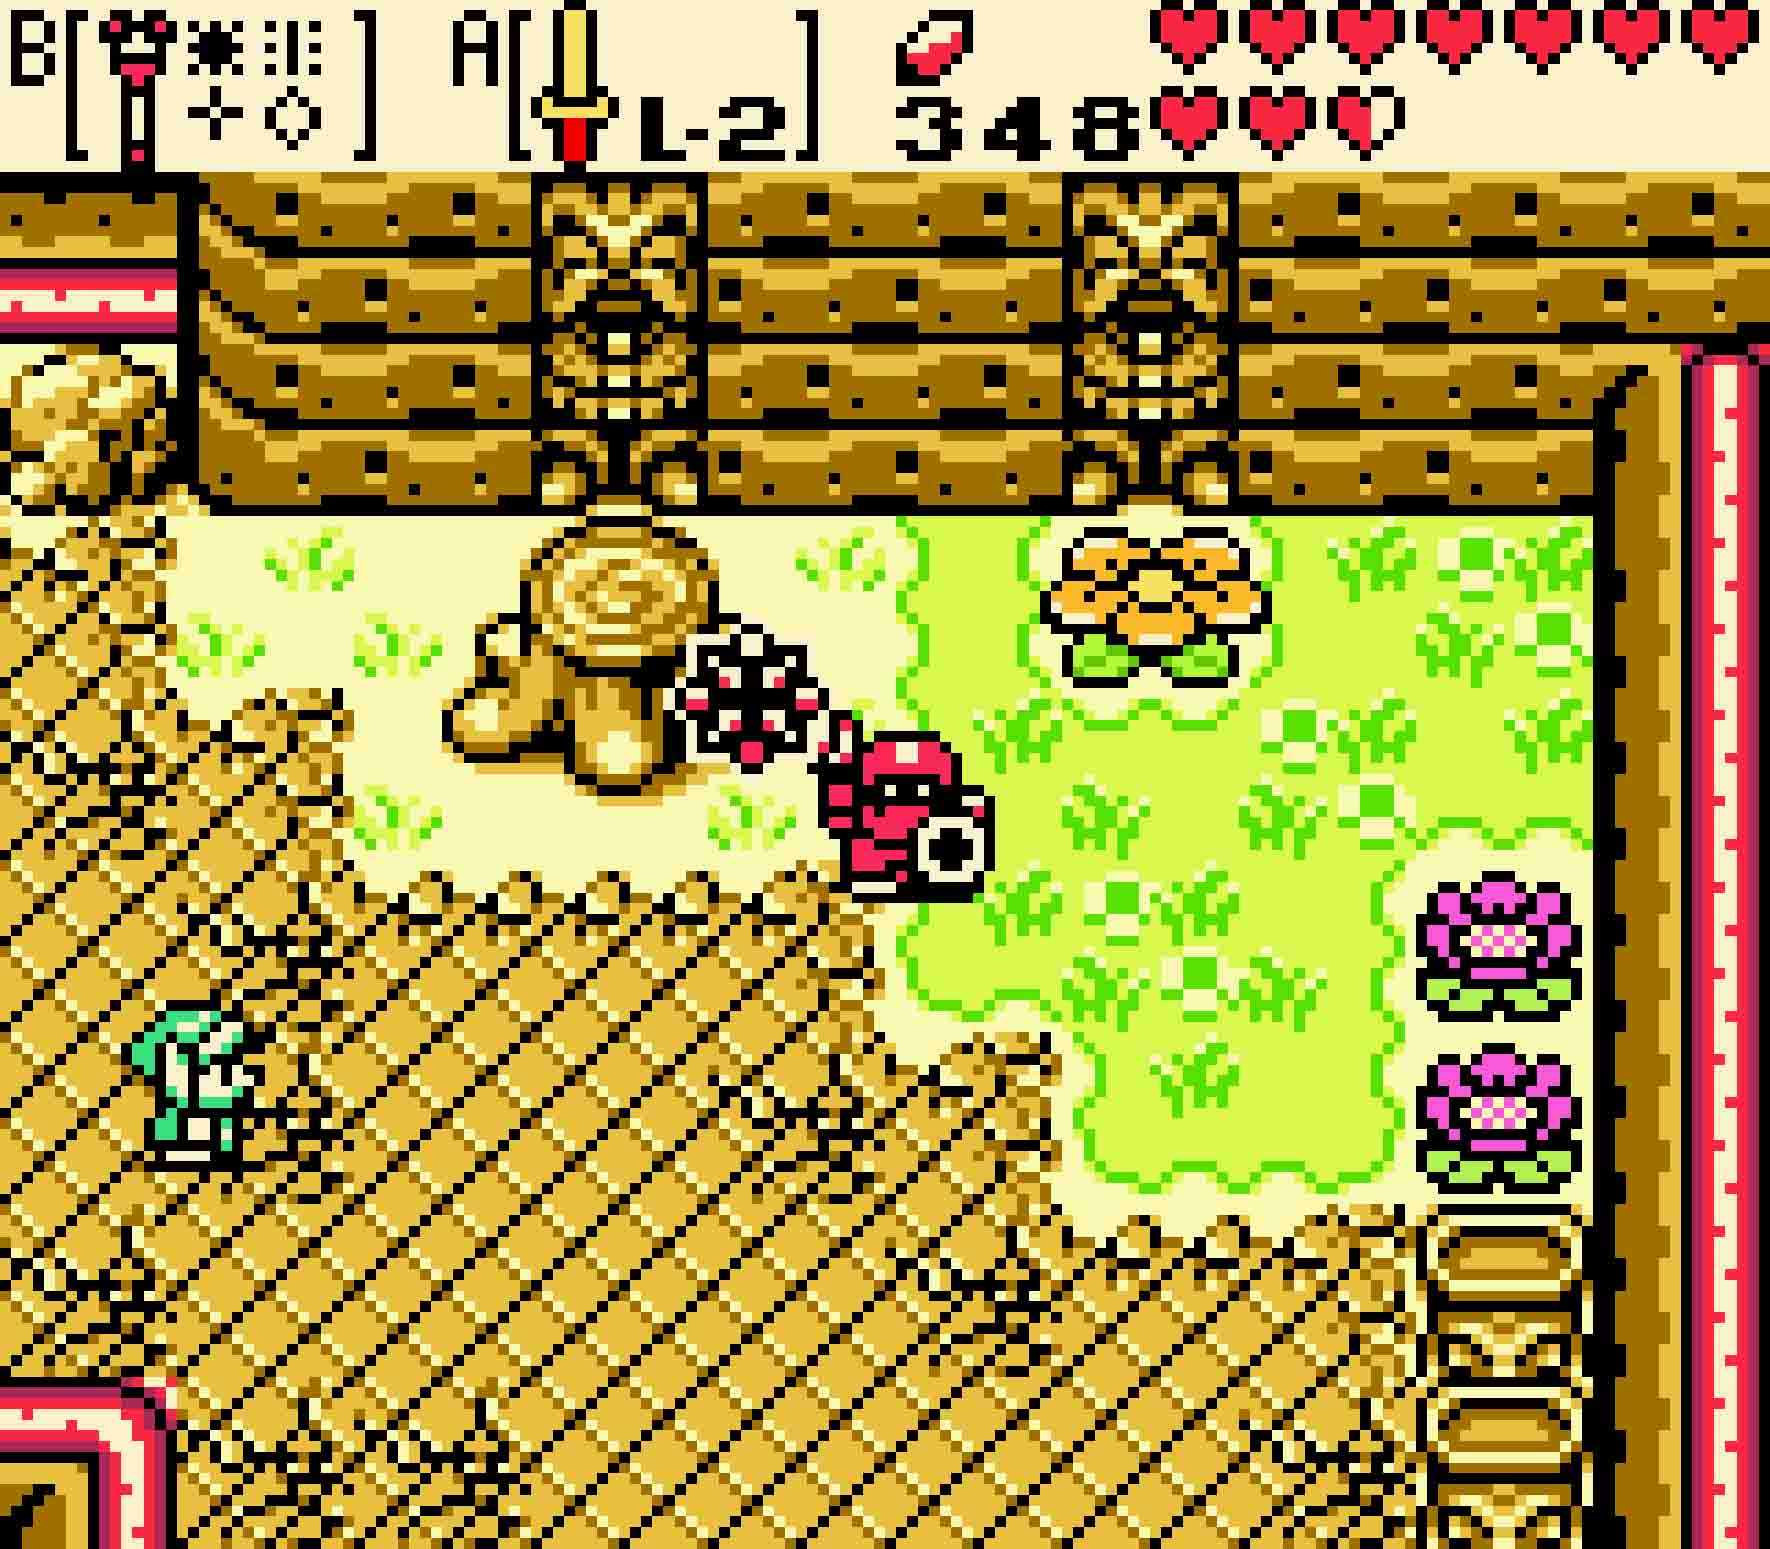
Before heading to the north, first head back to the east. You can now lift up the rock mushrooms to finally access the steps down into the earth here. Inside you’ll find a rather rude Deku Scrub. It doesn’t want to talk (yet); it just wants to shoot you. Hold up your shield and bounce a seed right back into its face. It will then tell you a secret about how to escape the Lost Woods.
Head back to the west, dispatching the Darknuts again, and then you can proceed north to pass the Tarm Ruins pond.
-
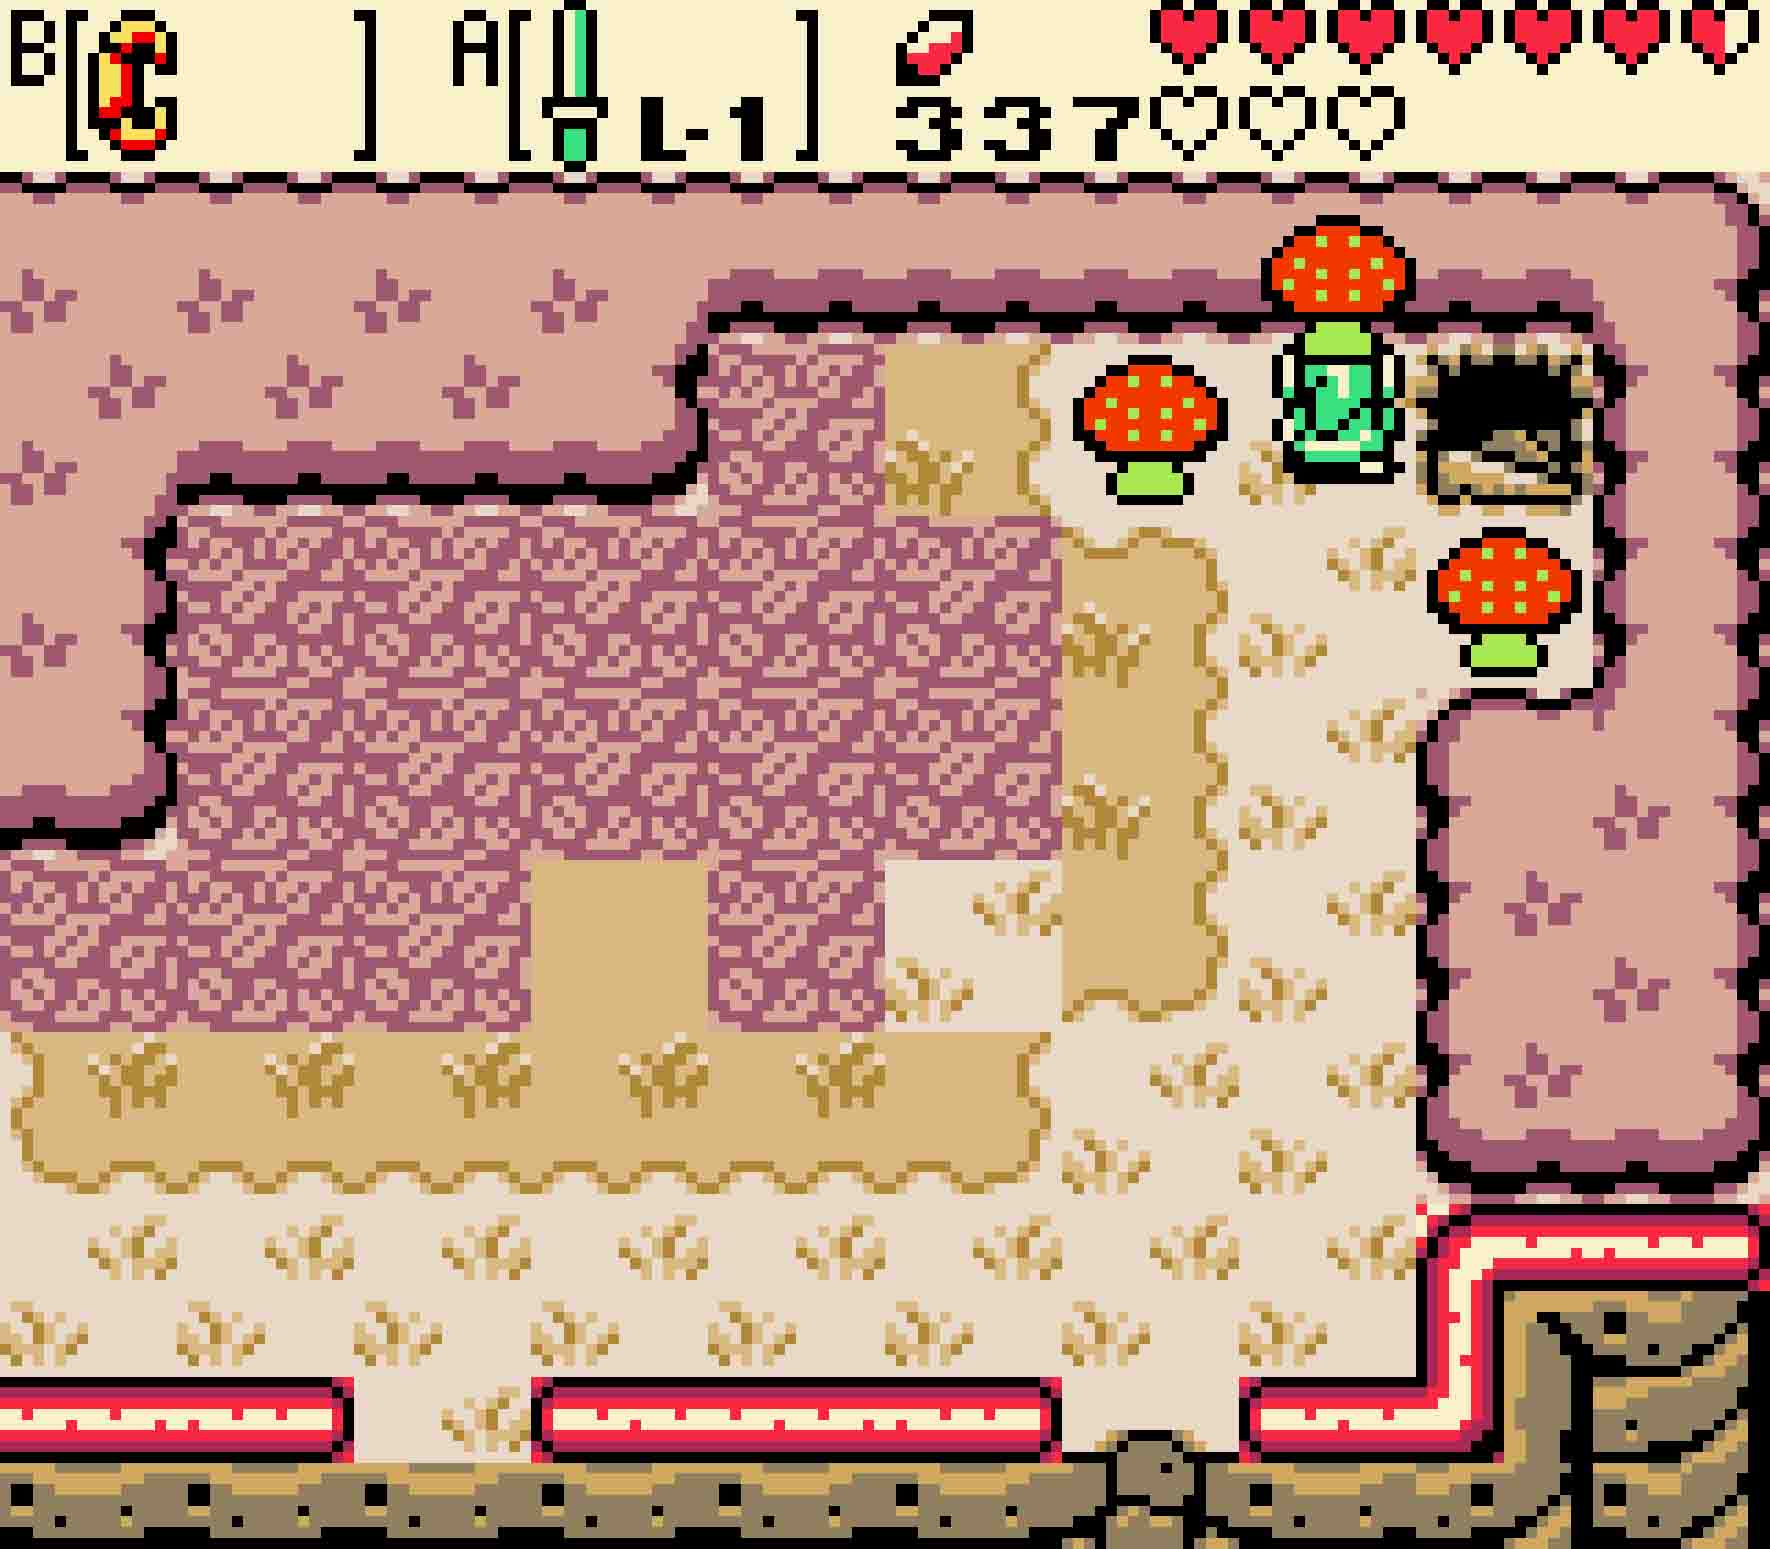
- Only in autumn can you access this cavern amongst the mushrooms.
-
- A helpful Deku Scrub will help you… once you block some seeds into its face.
14.8 Navigate the Lost Woods
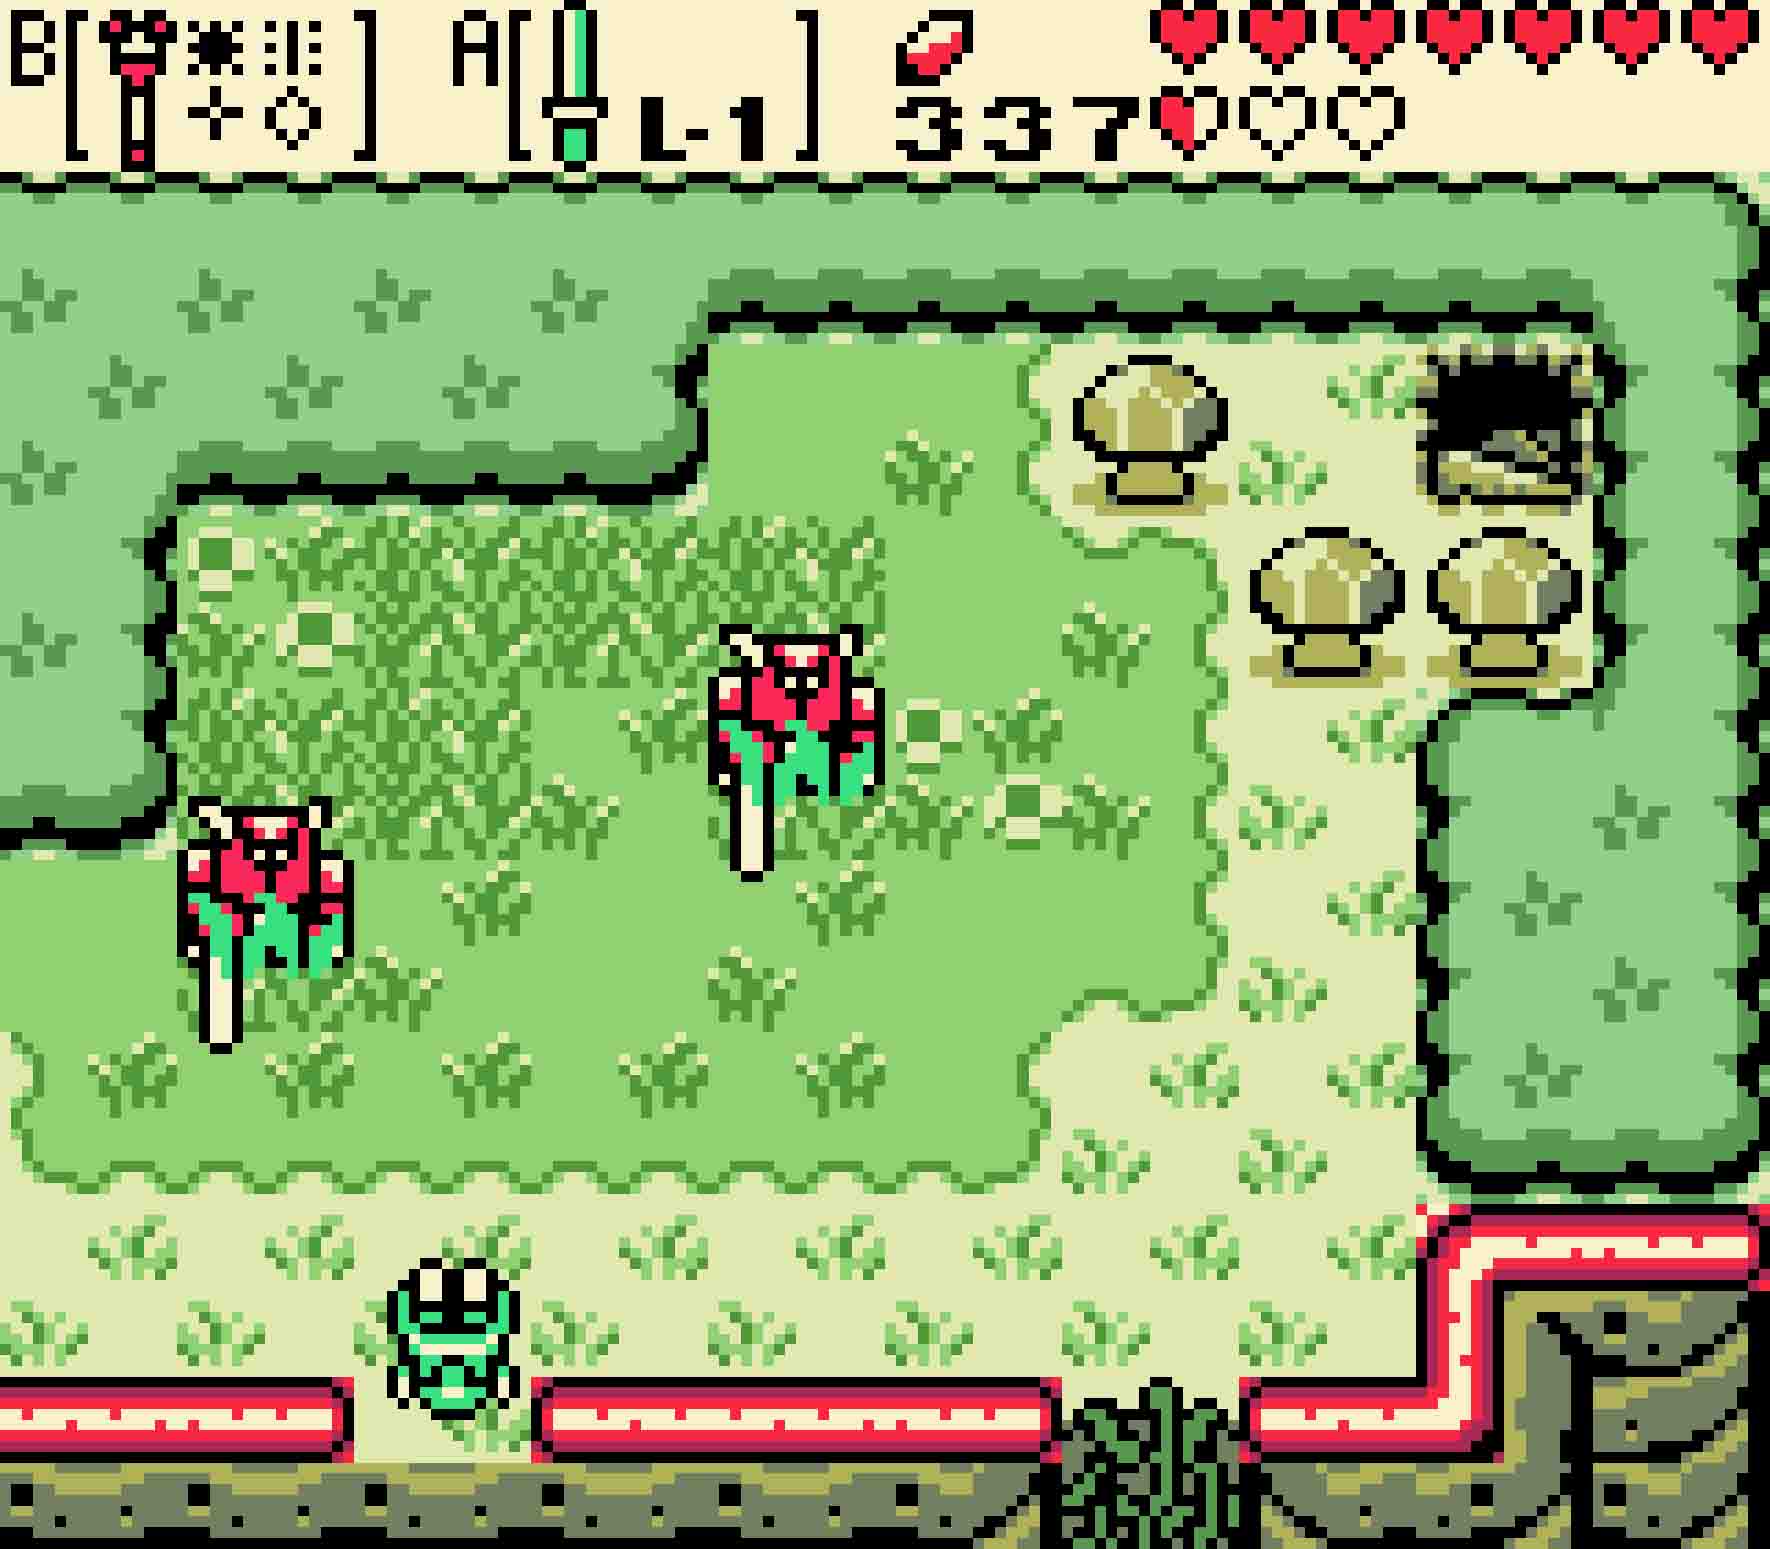
Two Octoroks will await you by the third tree stump in this area. Kill them, and then lift up the autumntime rock mushrooms in order to proceed west. You’re now going to proceed into Like Like country, which is rather unfavorable. Be extremely careful as you work your way through this area so your shield doesn’t get eaten. From here head south.
The end of the trading sequence is just in sight! If you’ve collected the Phonograph, you’ll be able to use it to get a sword upgrade around here, thus completing the sidequest.
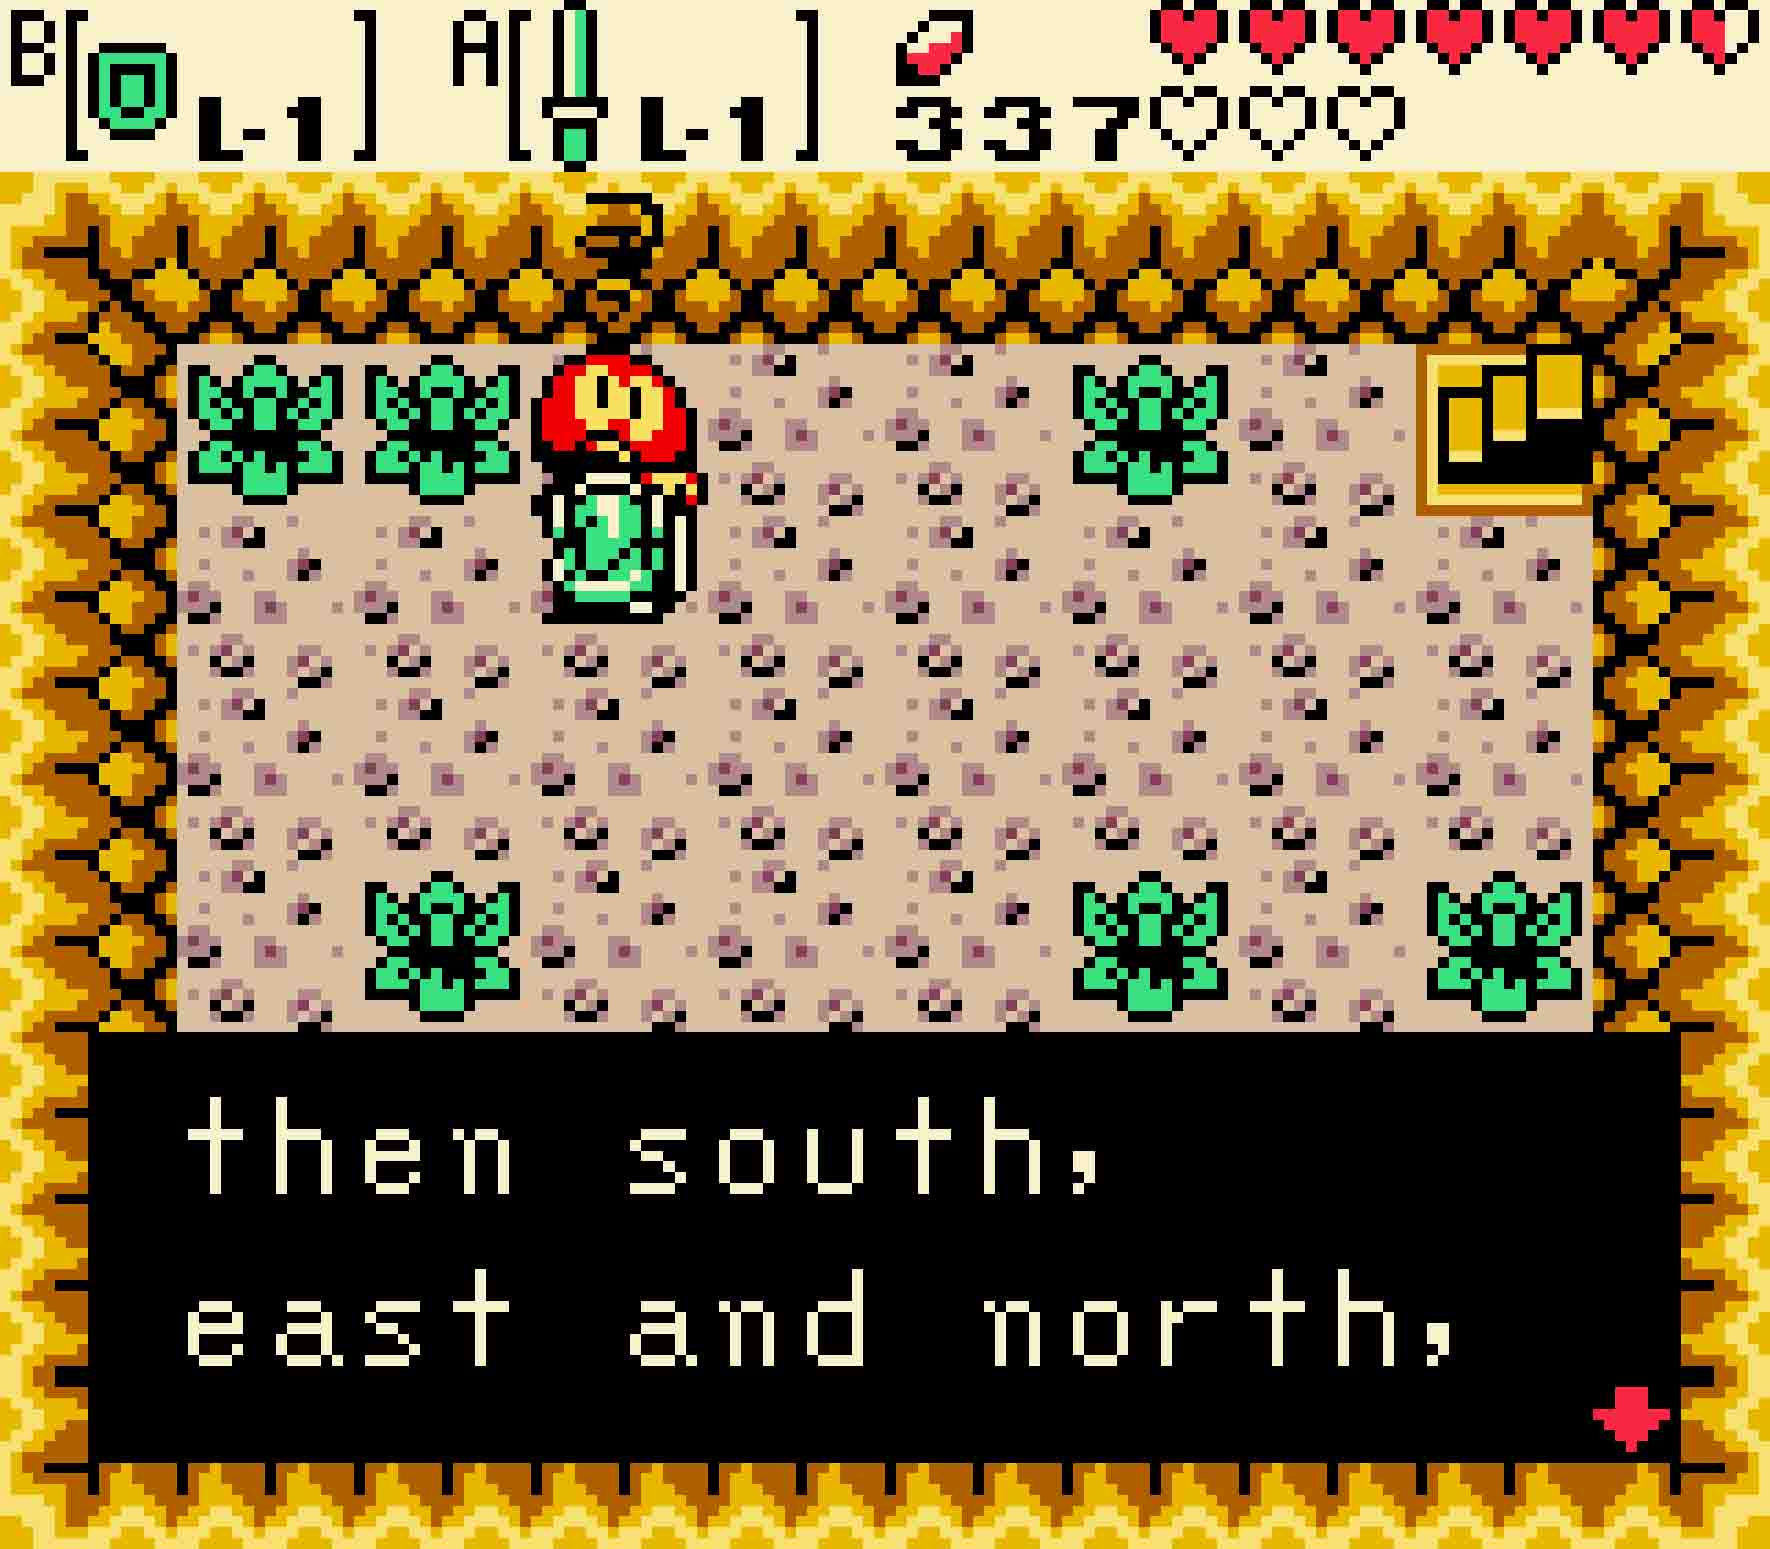
There’ll be no enemies here, but you can head west, and this will take you into the Lost Woods. The Lost Woods is a single screen that repeats ad infinitum until you walk a path in the right sequence in the correct order of seasons. That Deku Skrub told you that you needed to head west, south, east, and north, each of which in incrementally warmer seasons.
The coldest season is winter. Jump on the tree to change the season, and then head west. Then switch to autumn and head south. From there, springtime is the next warmest, and then head east. Finally, change the season to summertime and head north.
-
- Head west in winter, south in autumn, east in spring, and north in summer.
You’ll be walking amongst a row of Armos statues guarding this pathway as you head into the final phase of Tarm Ruins. Do beware as you continue heading north as some of the statues will animate as you pass by.
14.9 Enter the Ancient Ruins
Once you reach the teleportation tree in Tarm Ruins, you know you’re almost at the end. There are just a few more season changes to go before you won’t need to change seasons for a while.
First head west. Defeat the Ball and Chain Trooper that’s guarding the tree stump. If you want a Gasha Seed, change the season to autumn and head back west and burn the bush for one. Otherwise, change the season to winter and head south. You’ll face a duo of Darknuts and a duo of Like Likes here. Kill them and then head east. Shovel through the wintry pathway as you then turn north, and defeat the Darknuts as you ascend the snowbank. Head all the way to the top of the peak before you turn to the west.
-
- After defeating this Ball and Chain Trooper, change the season to winter.
-
- Winter will provide you a snowdrift that you can use to climb the cliff.
You’ve reached a dead end here, but there’s still a way to get past that stone flower. Push the lower of the two Armos statues out of the way, and then use the gap in the cliff to hop back down to the tree stump. Hop on it one last time, and change the season to springtime. This will enable you to stand in the jumping flower right next to it, propelling you back up the cliff. From there, the former stone-shaped flower can now be cut down, allowing you access to the very northwest of Holodrum and the Ancient Ruins.
-
- Move this Armos out of the way; this will allow you access to the stmp again.
-
- Switch the season back to spring and return via the flower.