
Chapter 13: Unicorn’s Cave
- 13.1 Retrieve the Compass
- 13.2 Traverse the basement
- 13.3 Get the Map and the Magnetic Gloves
- 13.4 Steal the key from the Armos
- 13.5 Collect another key and reset
- 13.6 Press an out-of-the-way switch
- 13.7 Collect the last two keys
- 13.8 Defeat Syger
- 13.9 Move a magnetic orb
- 13.10 Obtain the Boss Key
- 13.11 Reach the boss’ door
- 13.12 Defeat Digdogger
13.1 Retrieve the Compass
The first goal is to obtain the Compass. Technically speaking, you could get this later in the dungeon, but it’s available straight away, so we suggest getting it first.
 To start, head northward. There will be Water Tektites and Peahats waiting for you around a big pond. You’ll probably need to dive under the Water Tektites and Peahats alike. Head up the ladder at the upper end of the room, and follow the raised walkway to the west and eventually north.
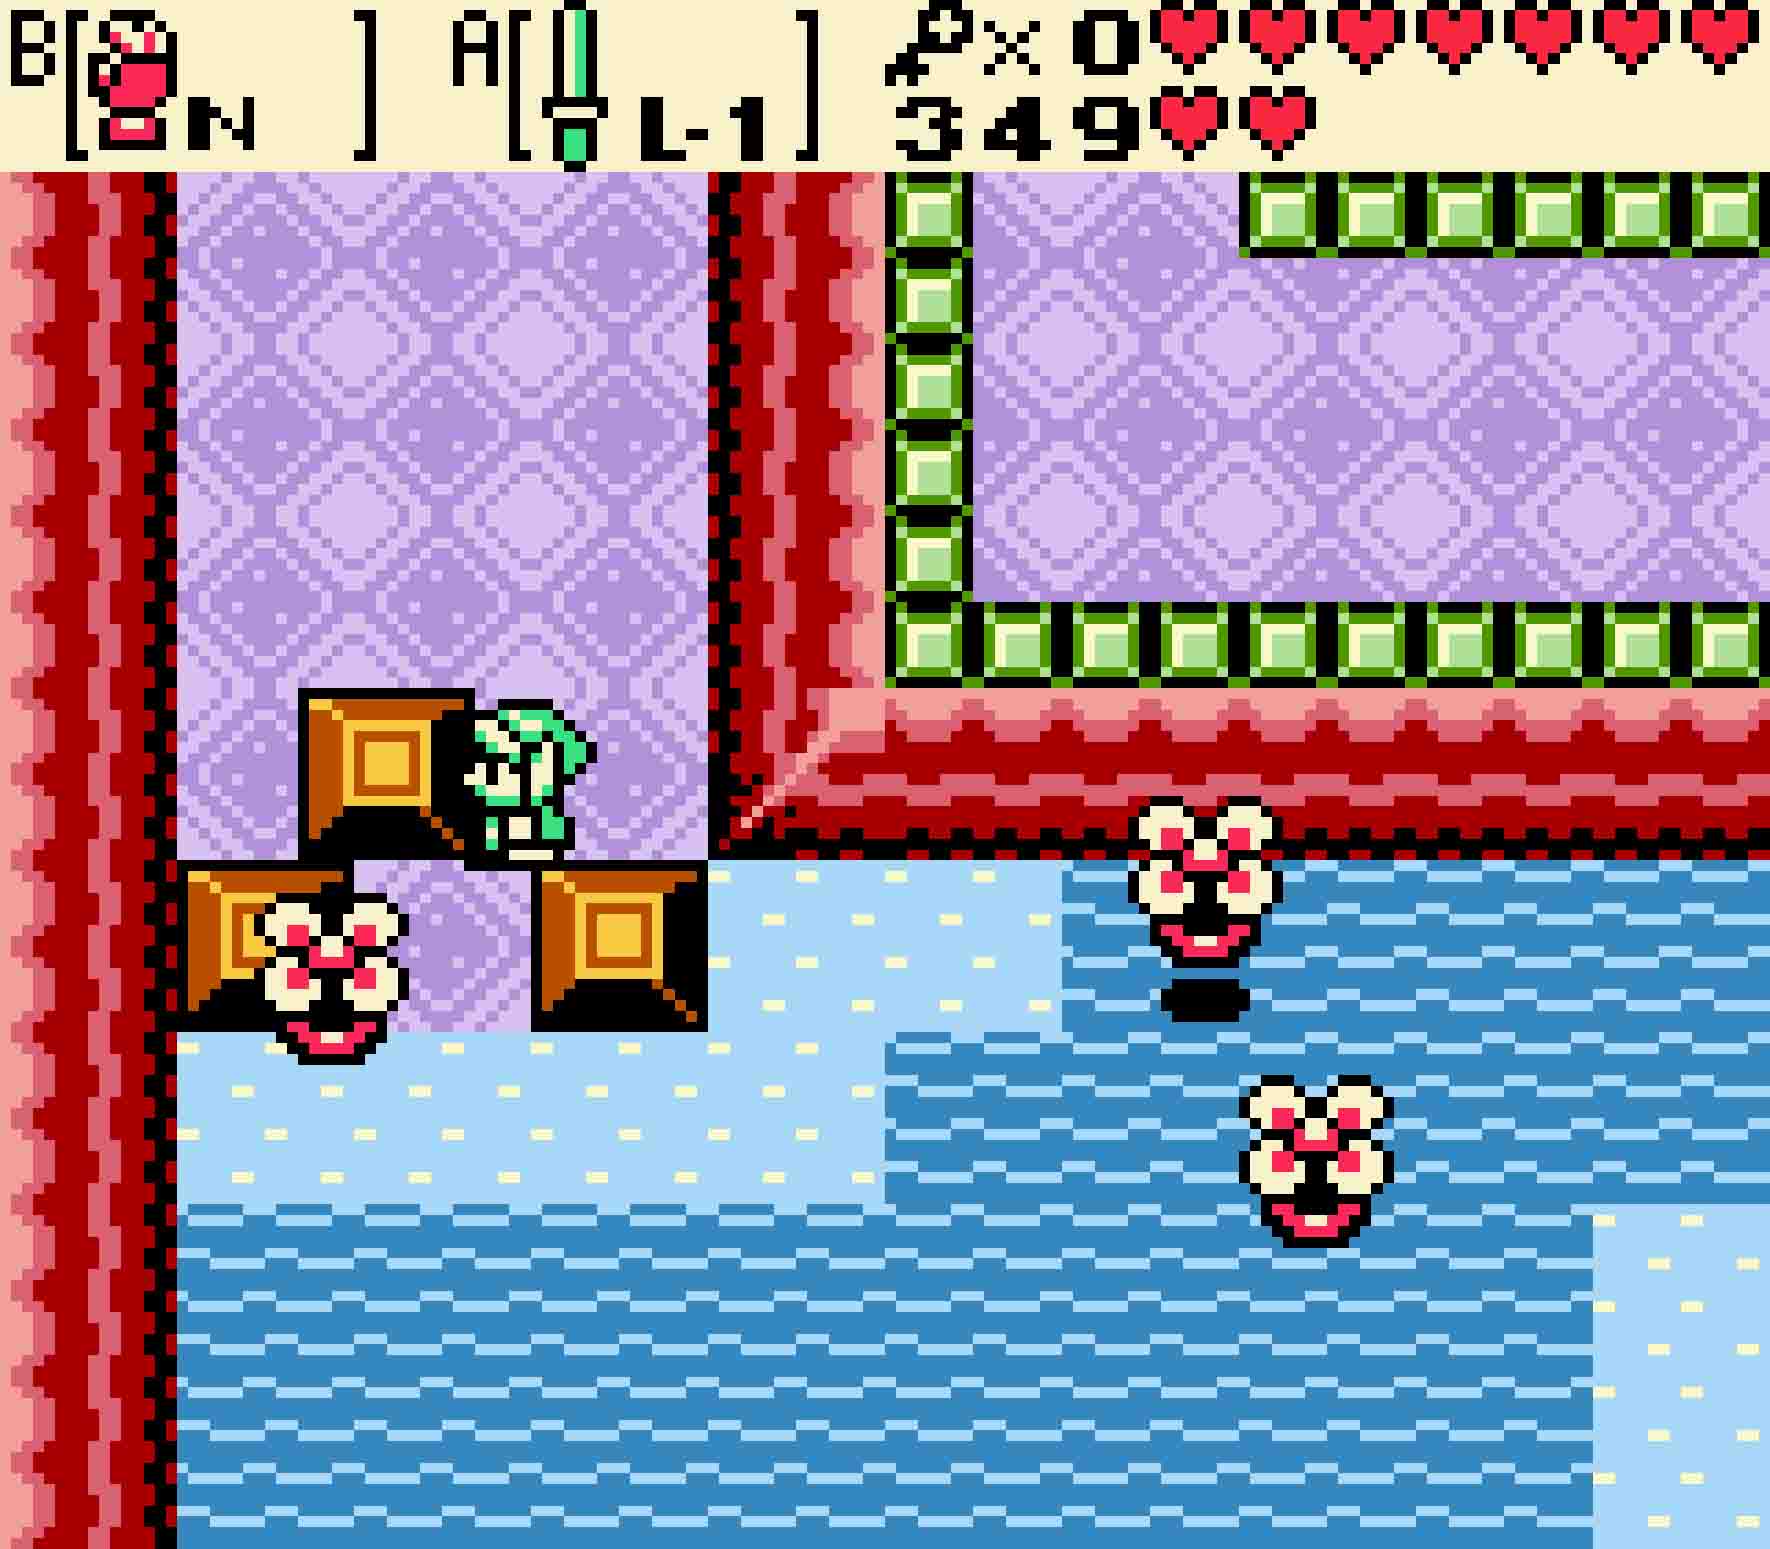
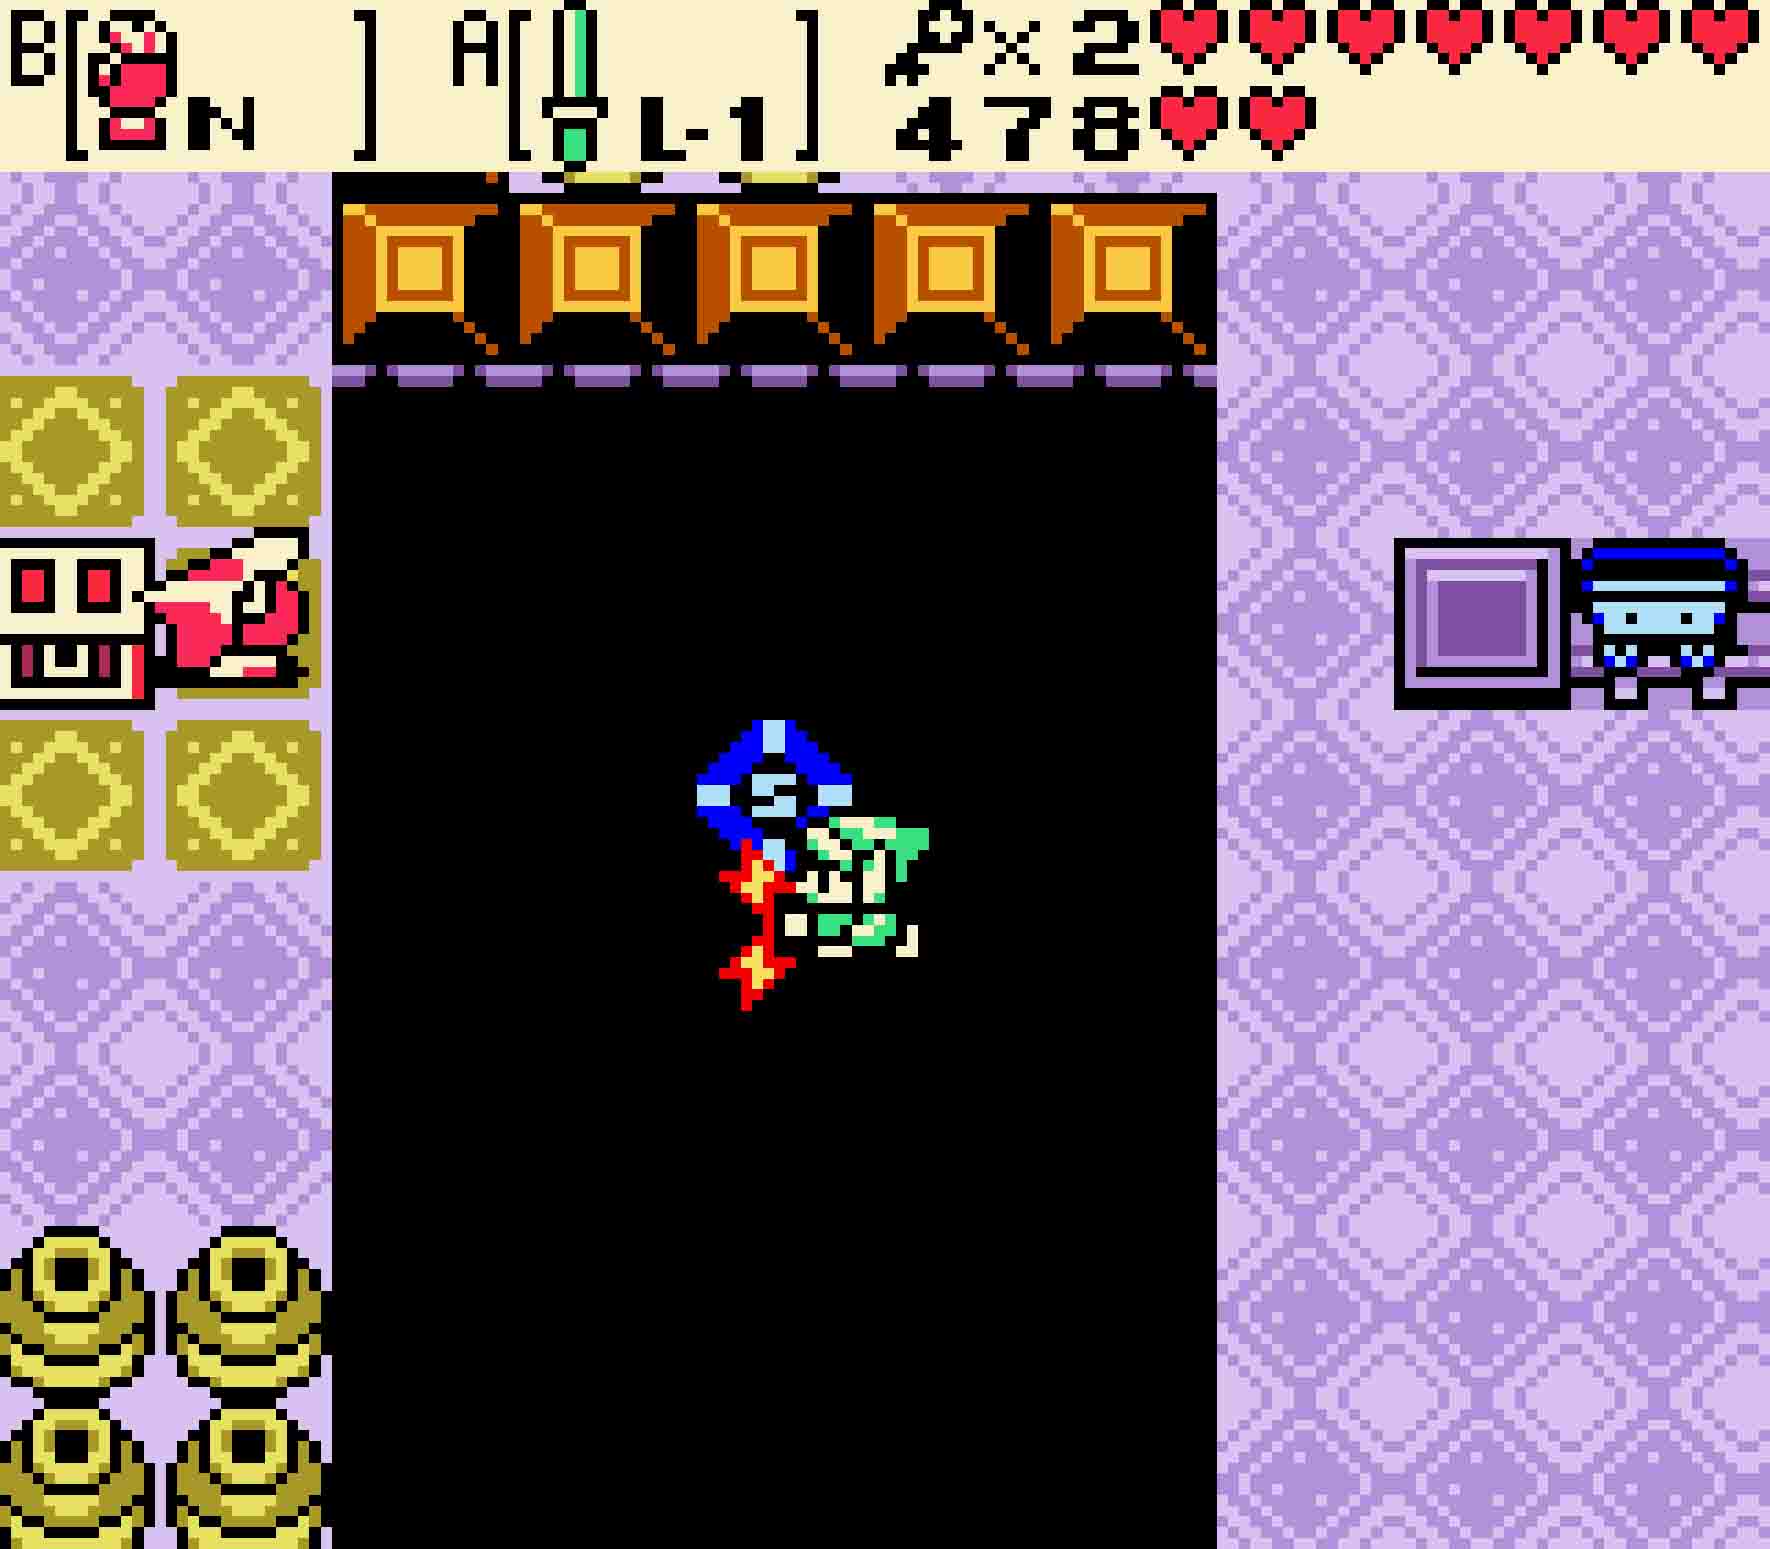
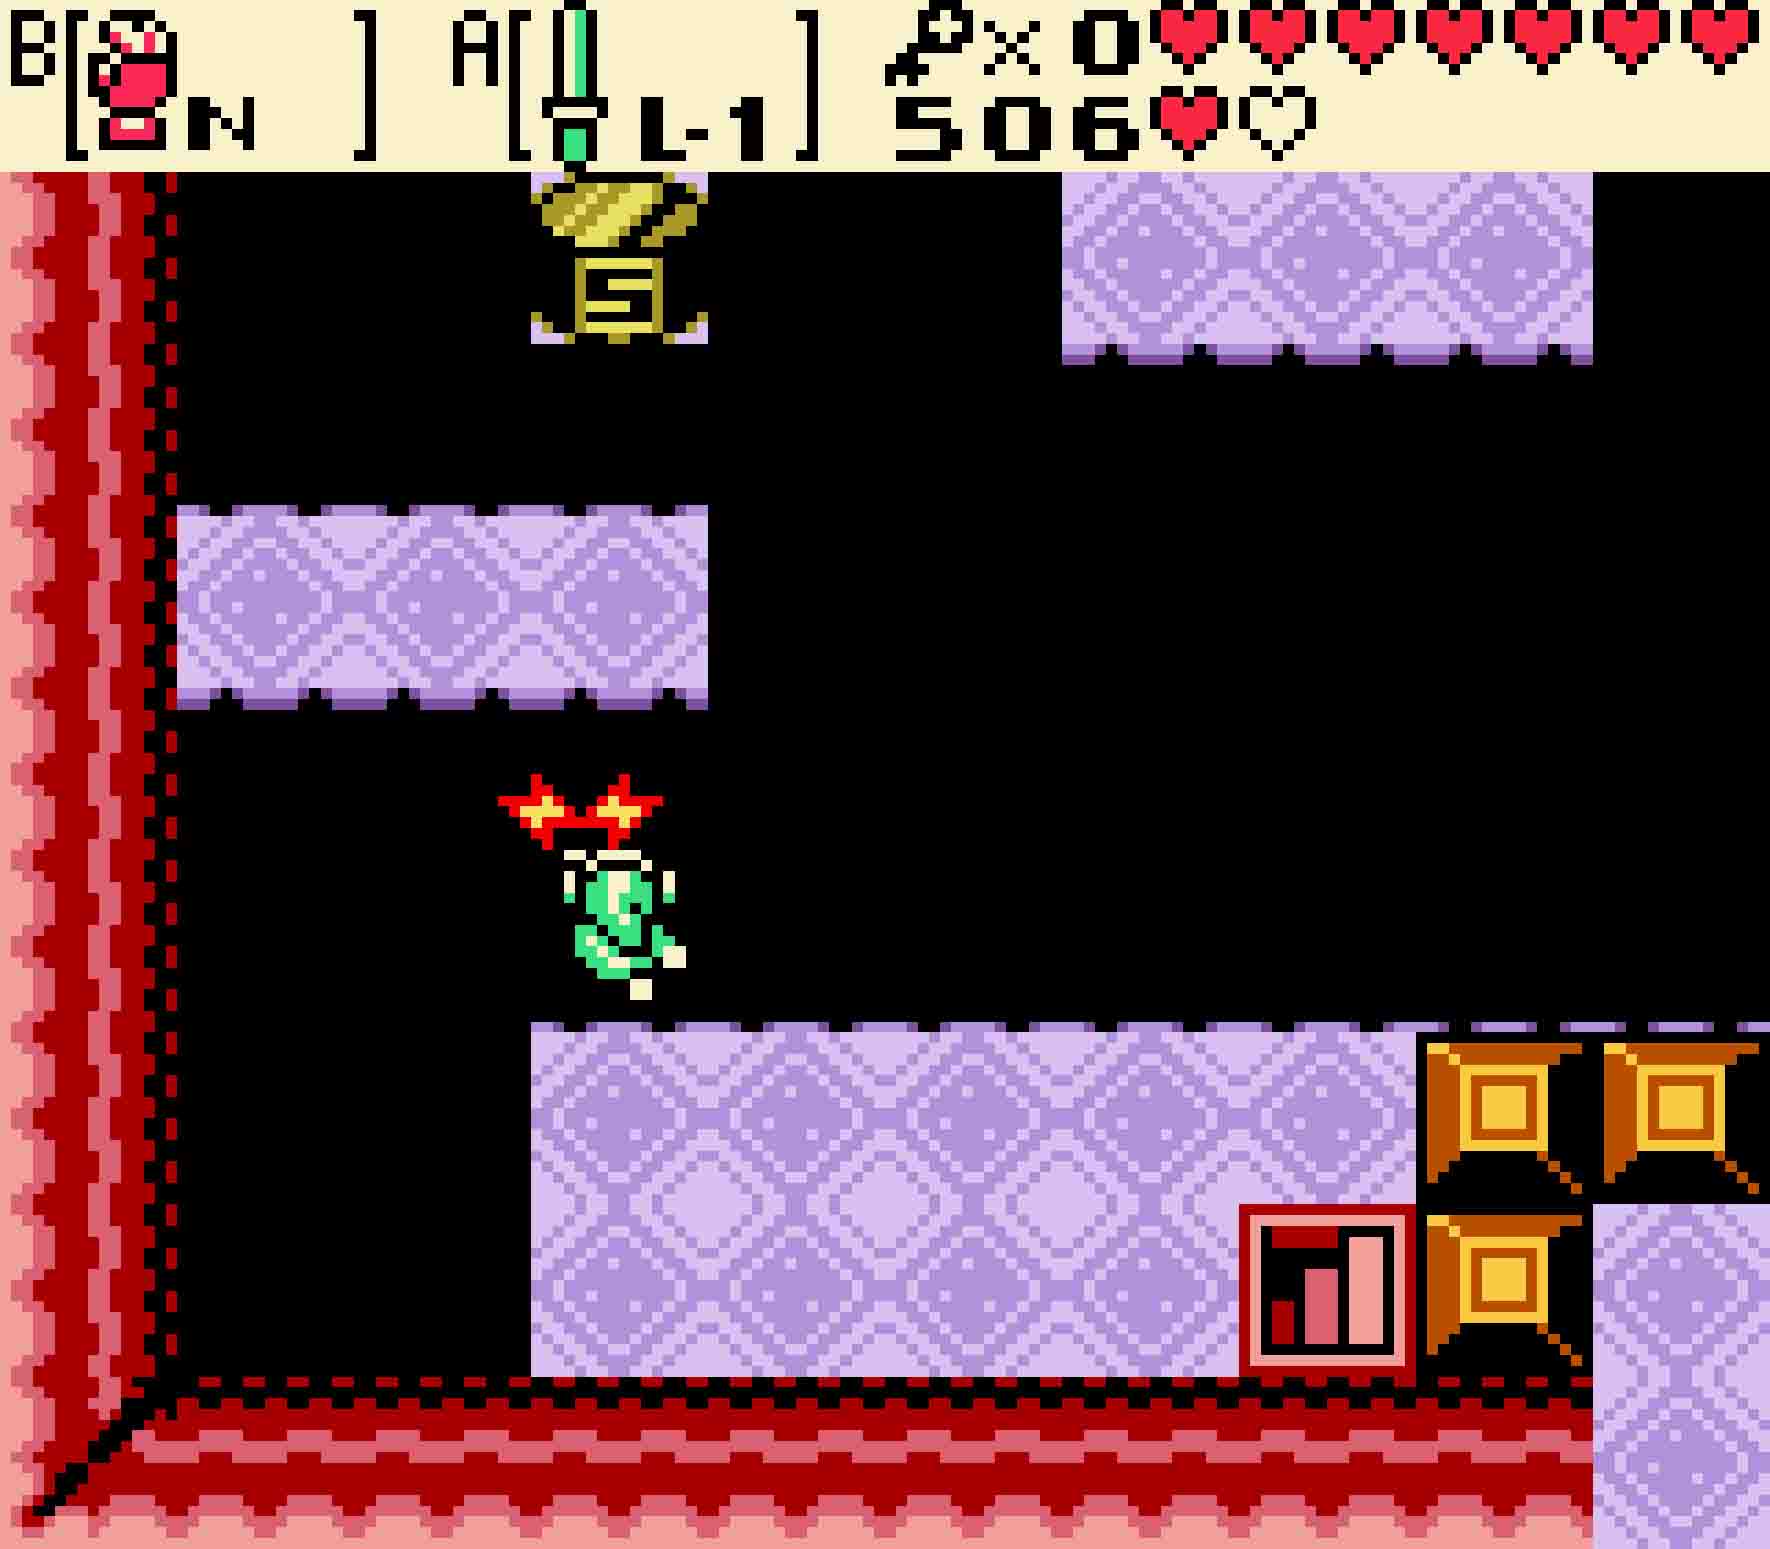
When you finally jump off of the raised walkway, you’ll see Mini-moldorms as well as a new enemy: the Iron Mask. Iron Masks wear a mask on their heads that make them invulnerable to any frontal or side attack. The only way to kill them with your sword is to hit them from behind. These Iron Masks can be fairly tricky, but you can also progressively push them back with frontal attacks so that they eventually fall down into the infinite pit. Once all of the enemies are defeated, the door to the west will open up.
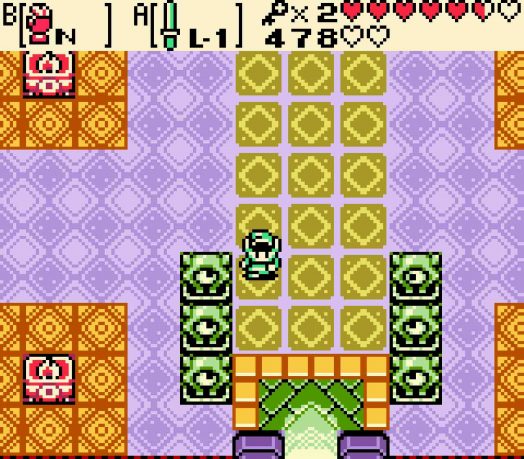
Herein lies the Compass. The Compass is in the chest in the middle of the room surrounded by a sliding walkway that spirals around it. There are two ways to get to the Compass. You can try the quick way by using Pegasus Seeds and Roc’s Feather to jump over the gap, but sticking to the outside and following the entire spiral isn’t that tricky and really only gets slightly treacherous once you leave the outer wall. Once you reach the center, you’re generally safe, so collect the Compass from the chest.
You need to be careful when approaching this chest. One small move will send you to the beginning.
13.2 Traverse the basement
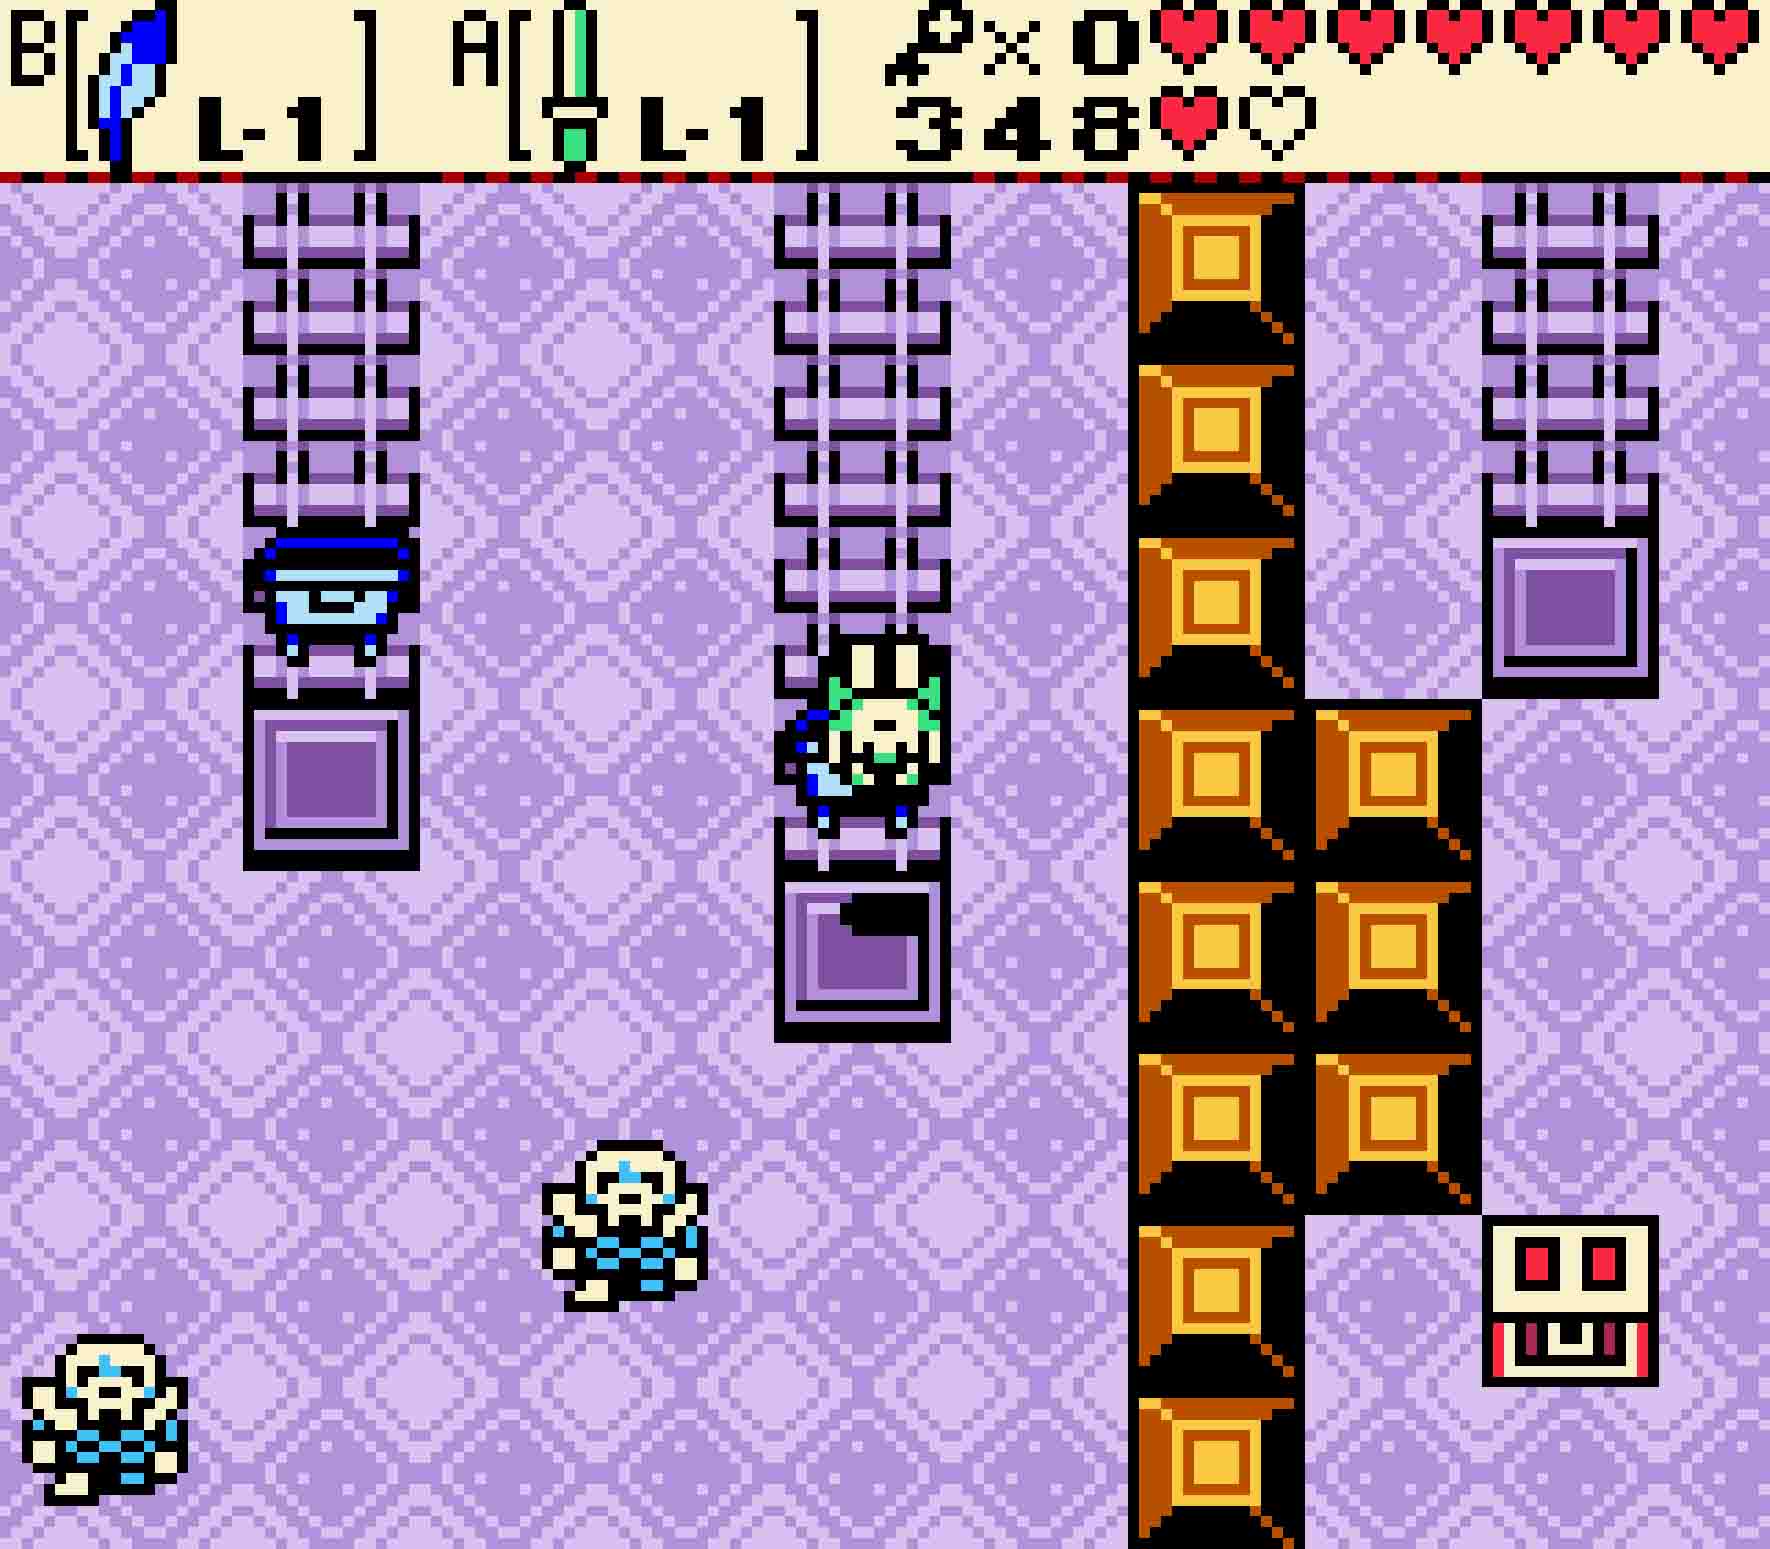
Leave the room, and then in the next room head back south. Only red Zols will challenge you here. Take a dip in the pond on the east side of the room, pass by whatever Water Tektites and Peahats remain, and then continue heading east.
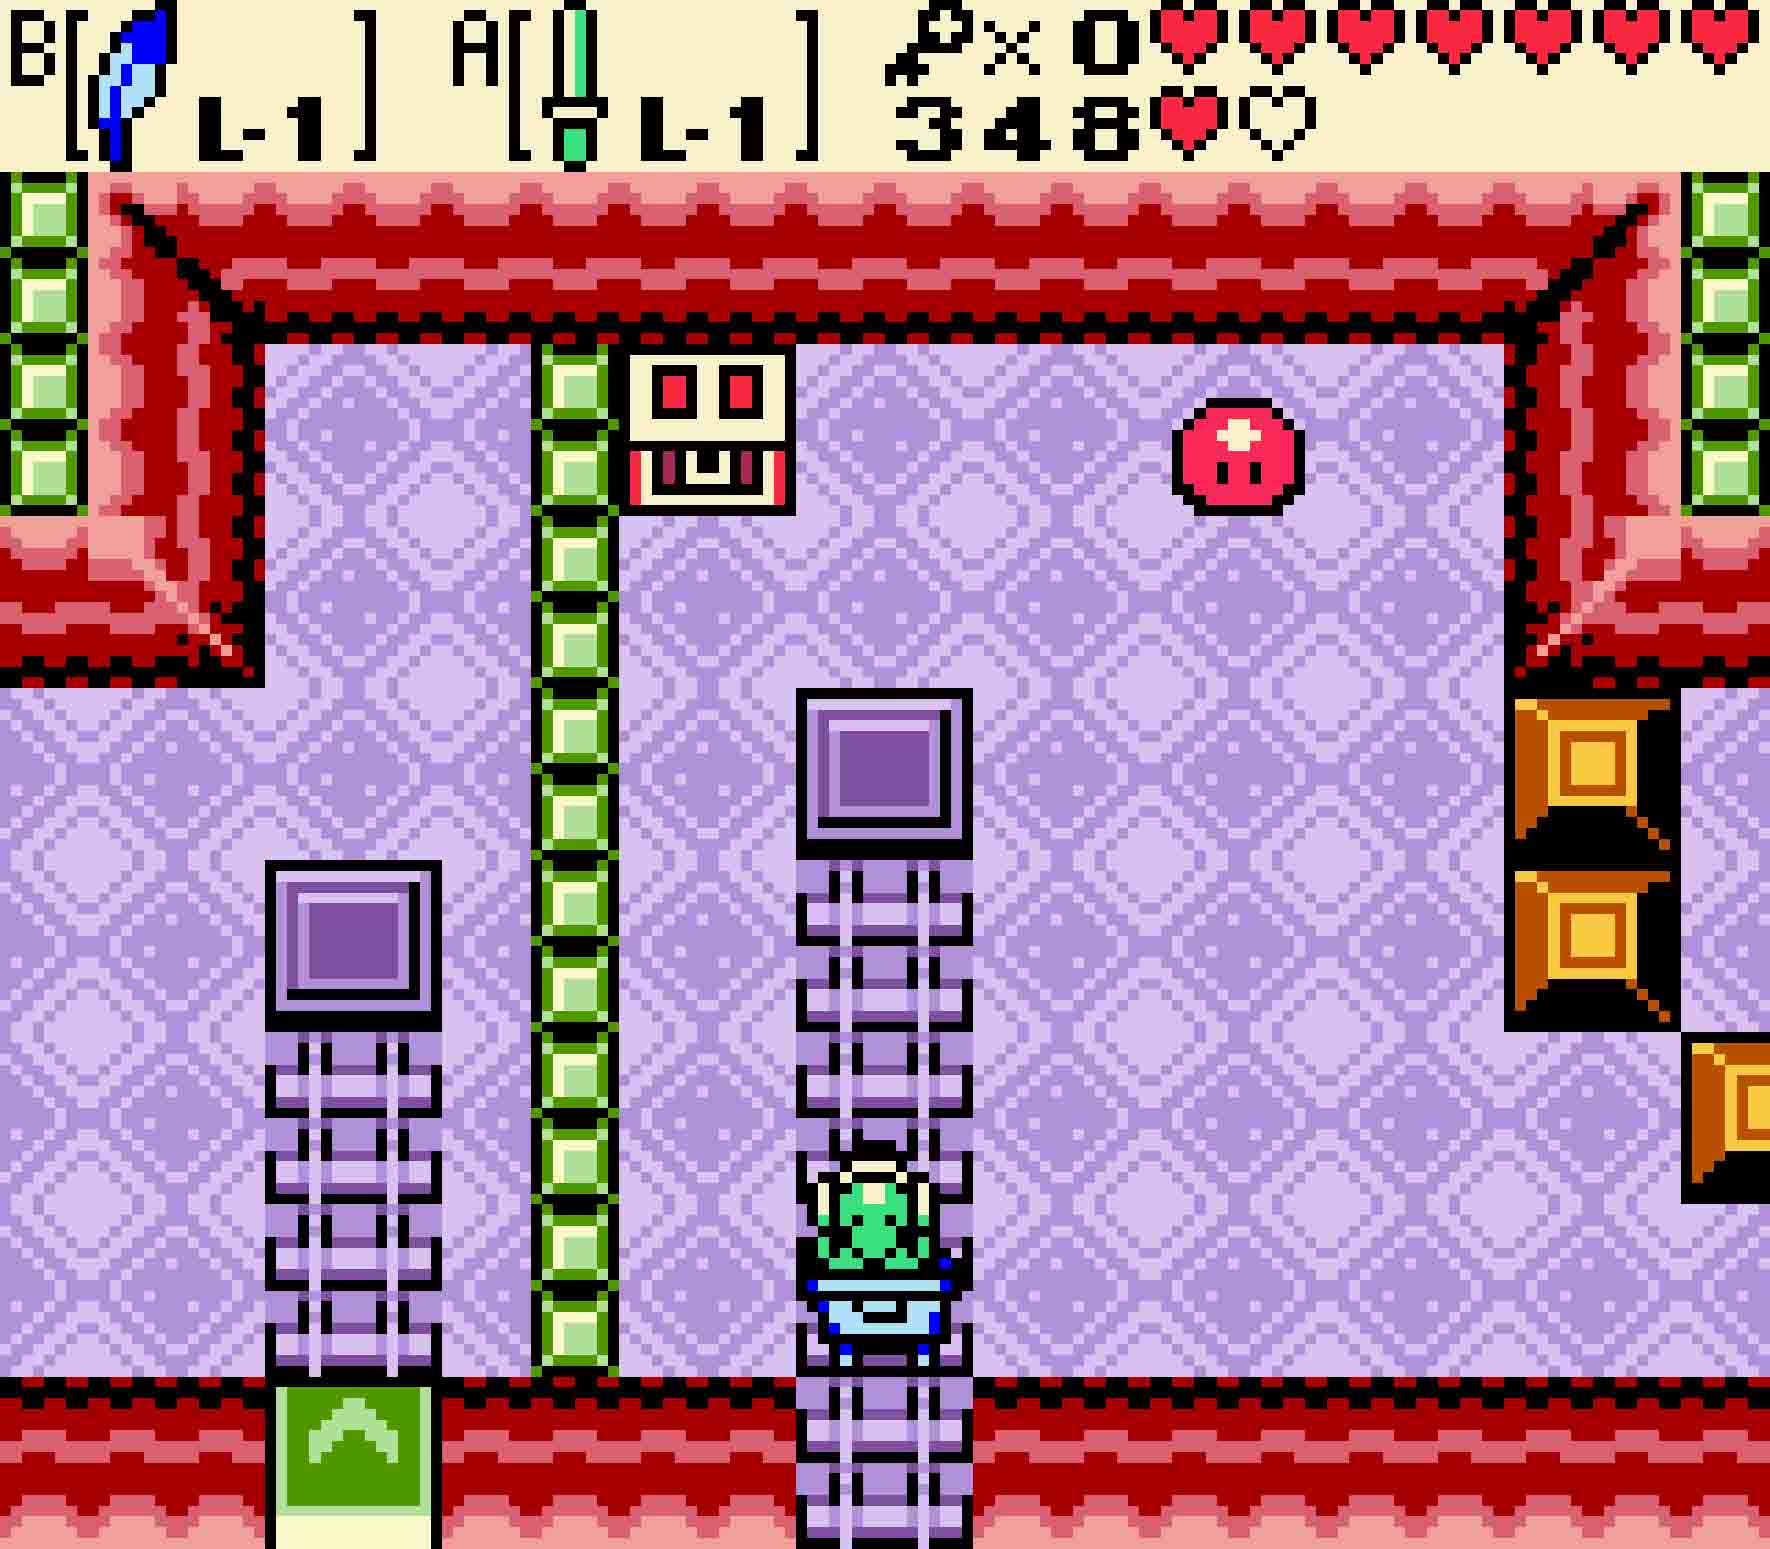
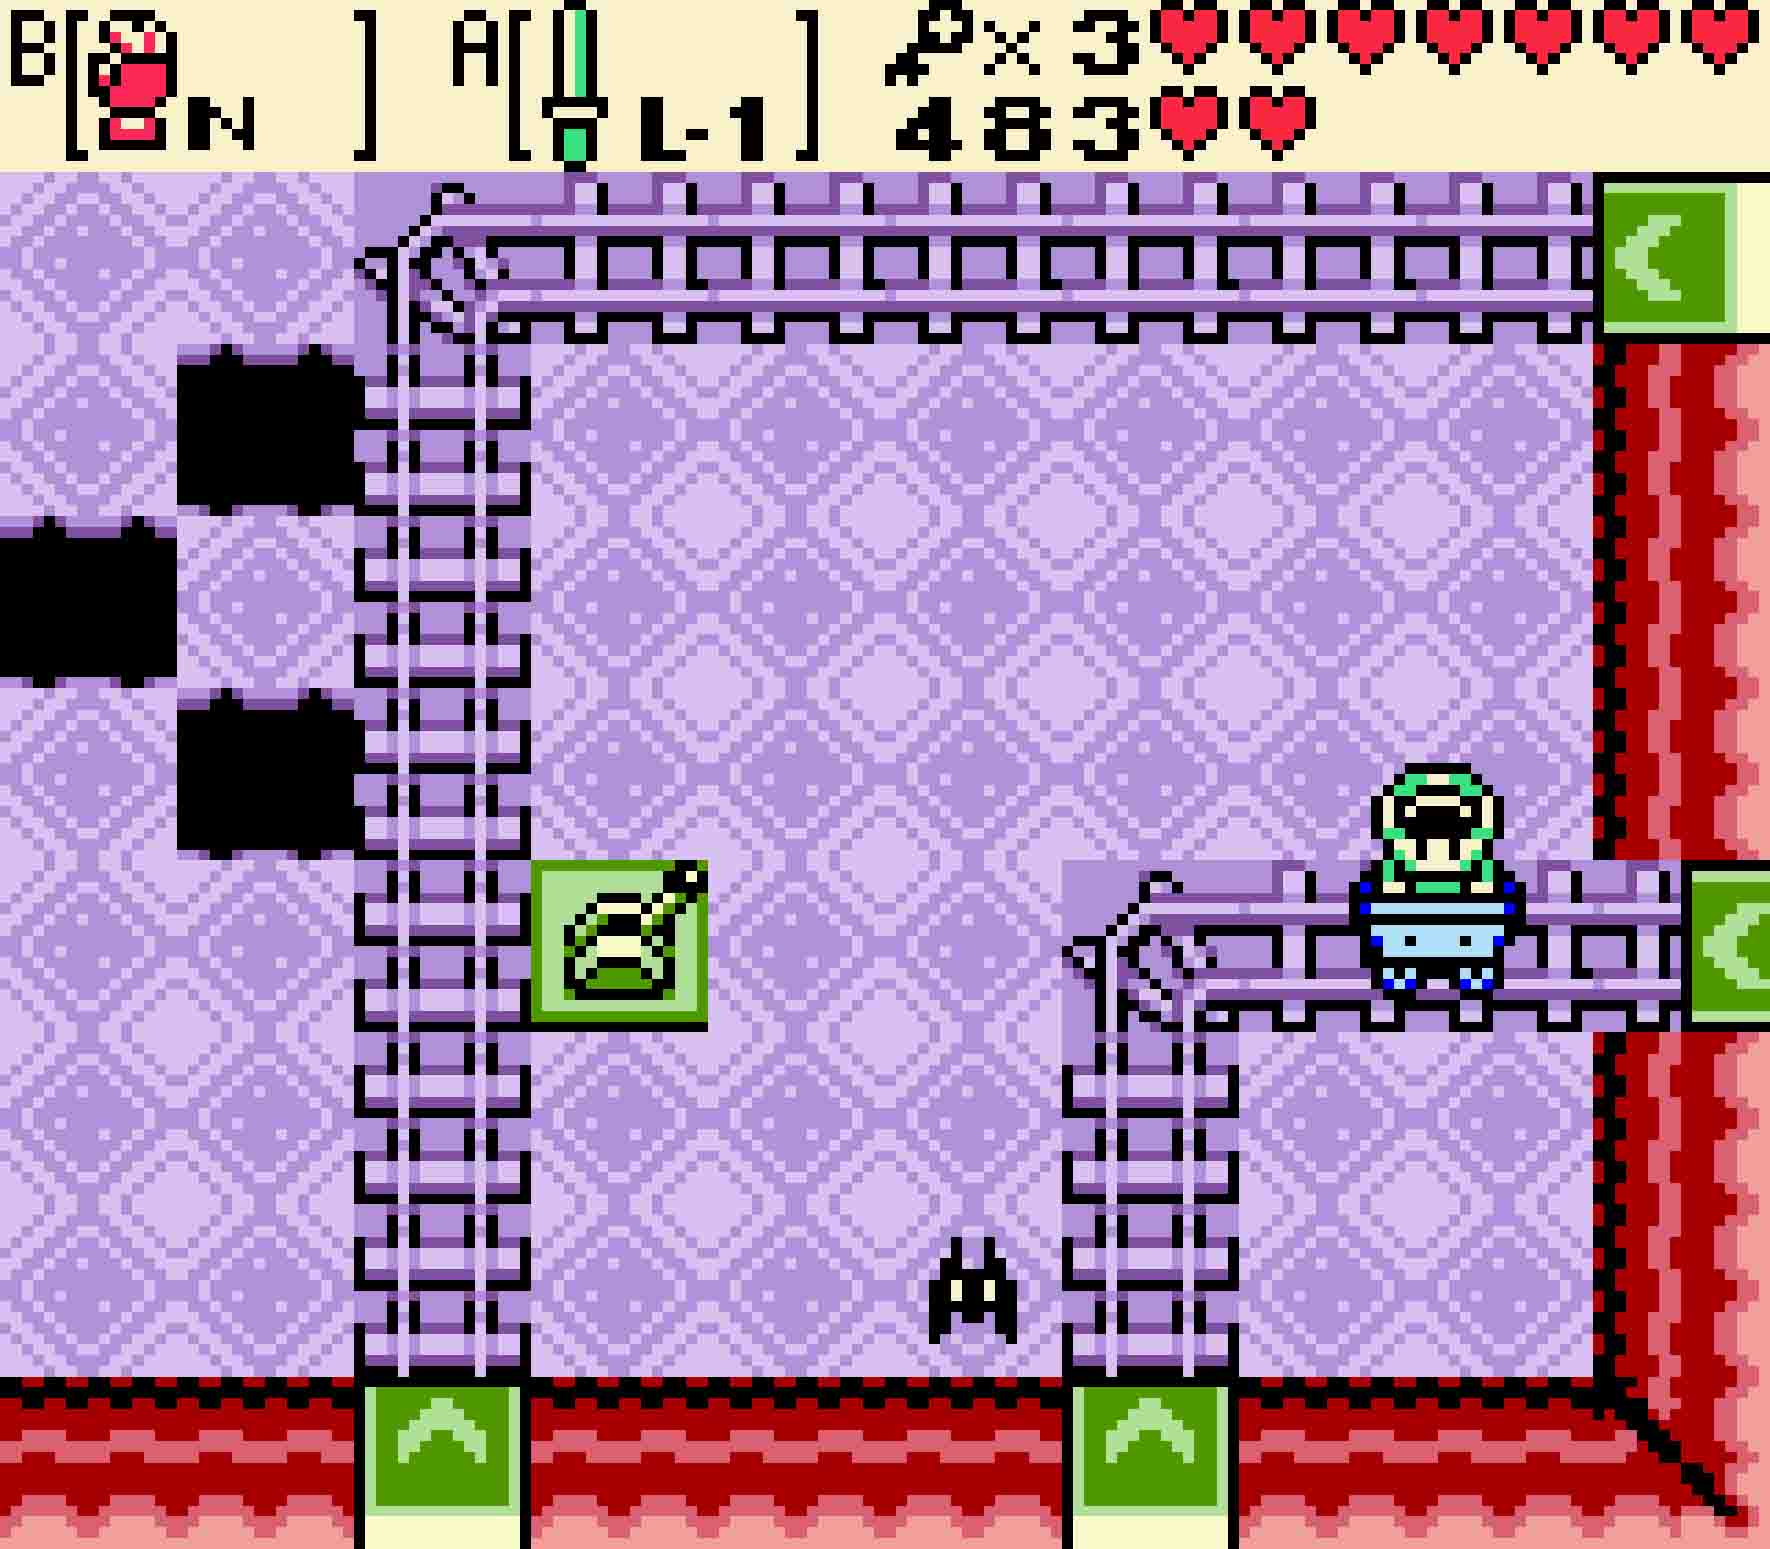
Blue Stalfos haunt this next area; remember that blue Stalfos are mostly cowardly and jump away from your attacks. Once you’ve defeated them, you’ll notice that there are two minecarts in this room. You’ll want to hop into the right one, but keep your sword ready as the train tracks take you northward as you’ll want to flip the switch in the next room to connect the train line with the northern exit. There’ll also be Keese to combat as well.
-
- Get the key by going north first. Then flip the switch so you can go east.
When you hit the end, you’ll find a chest containing a small key. Once you have it, get back in the minecart to head south, flipping the switch once more to change the direction of the line so that the southern and eastern segments connect. Again, at the end, hop back in, and this time head east. You can then head down the staircase into the basement.
Crossing through the basement is relatively easy. For the first screen, just hop down the staircases until you get to the pipes. The pipes will occasionally spit out fire, but they’re easy to avoid. Heading left, all you need to do is trigger the Spiked Thwomps and walk upon their heads in order to reach the staircase leading upward.
-
- The second pipe’s timing is different than the first’s.
-
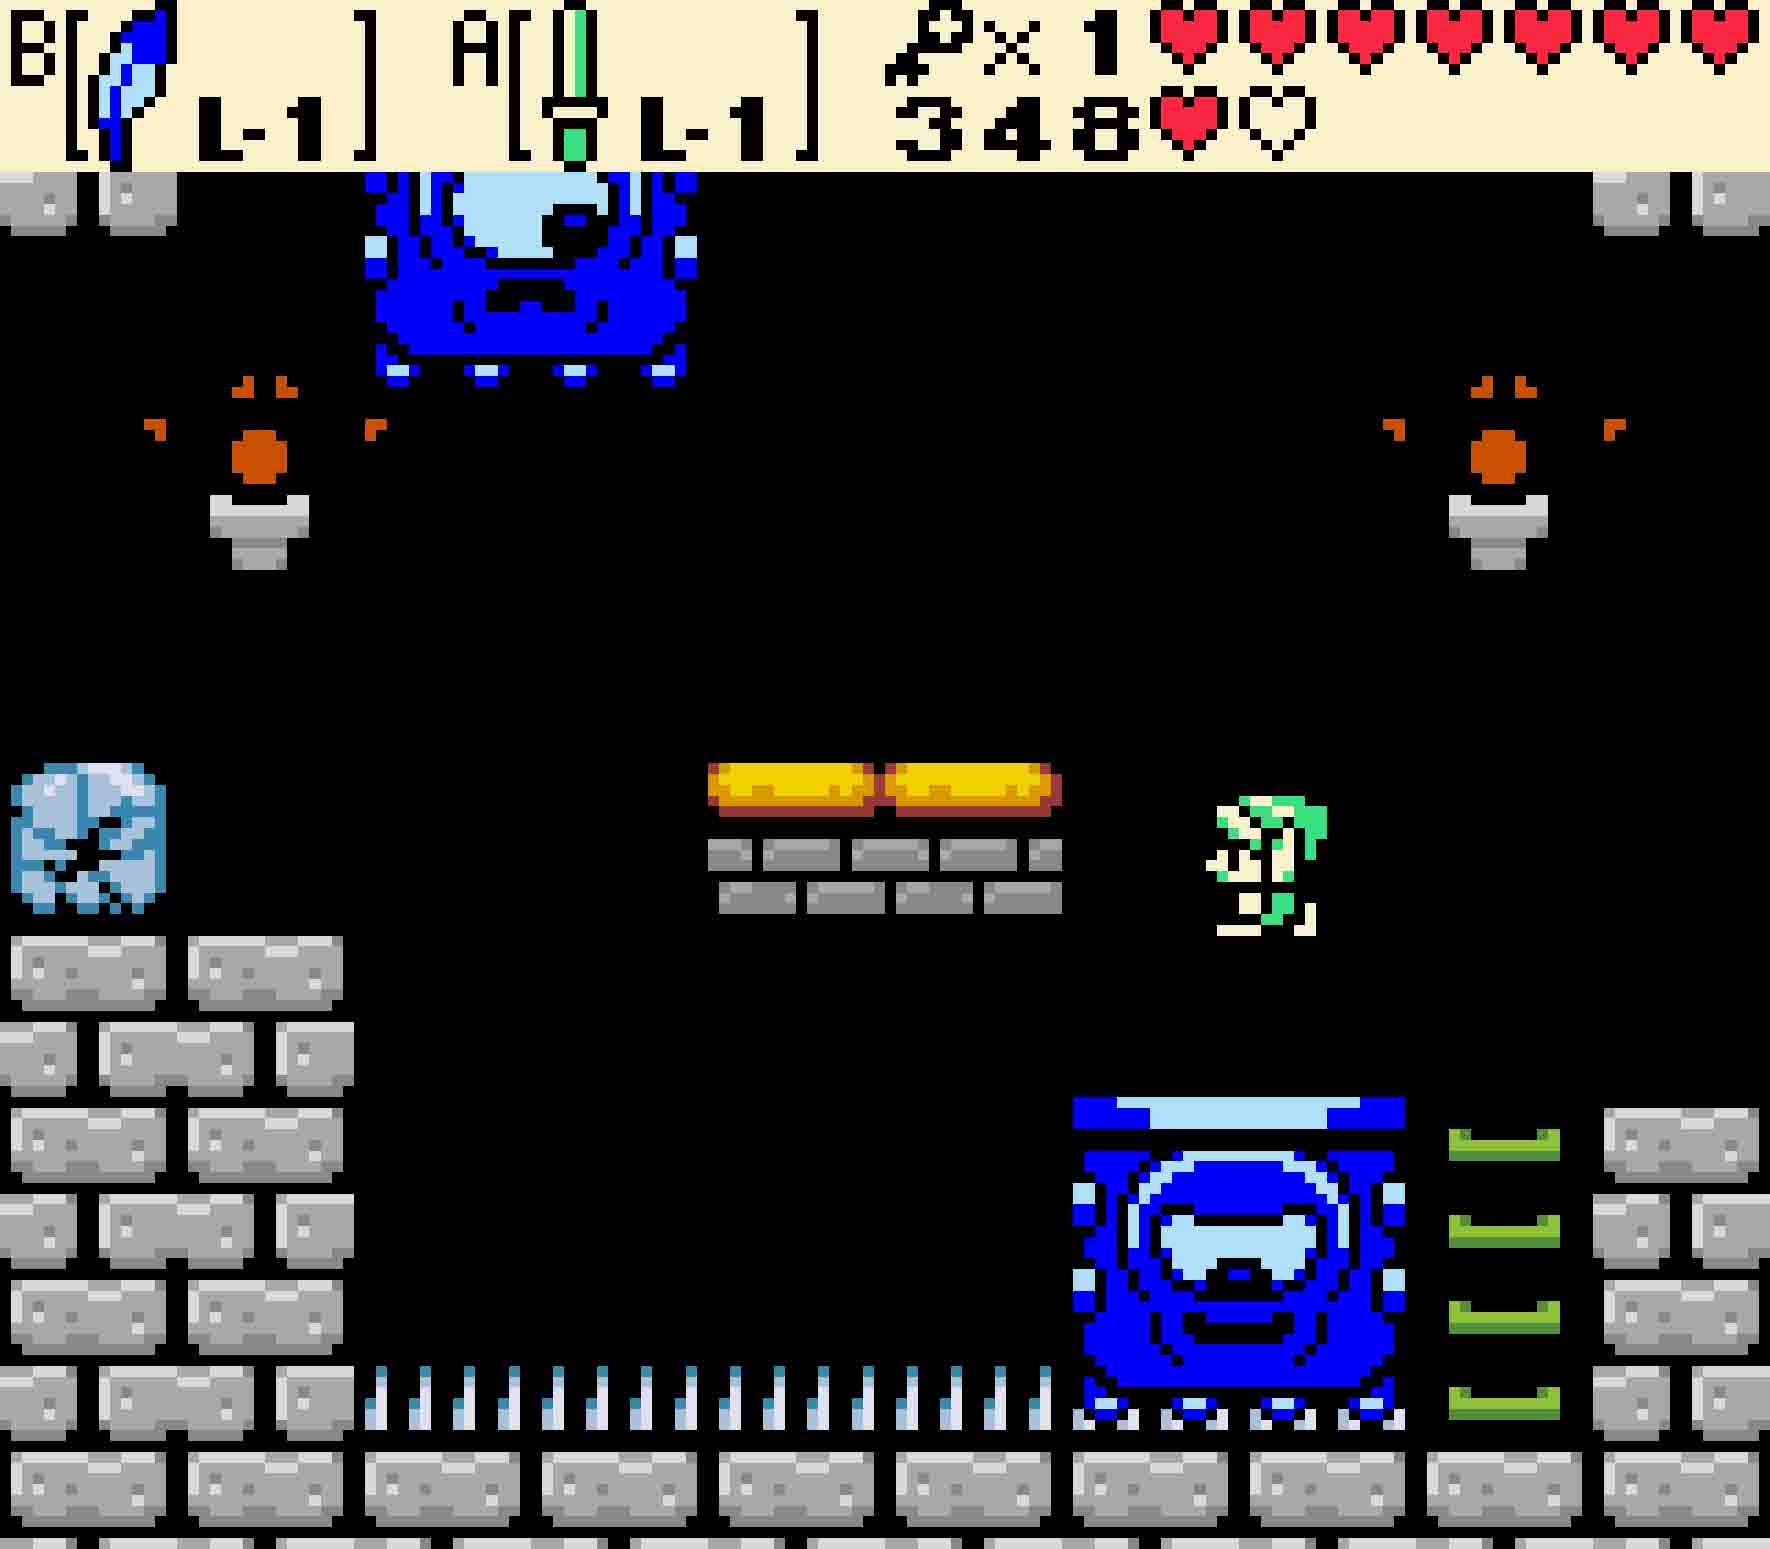
- Spring these Thwomps; then you can walk over their flat heads.
13.3 Get the Map and the Magnetic Gloves
Defeat these Gibdos and Zols to score the Map.
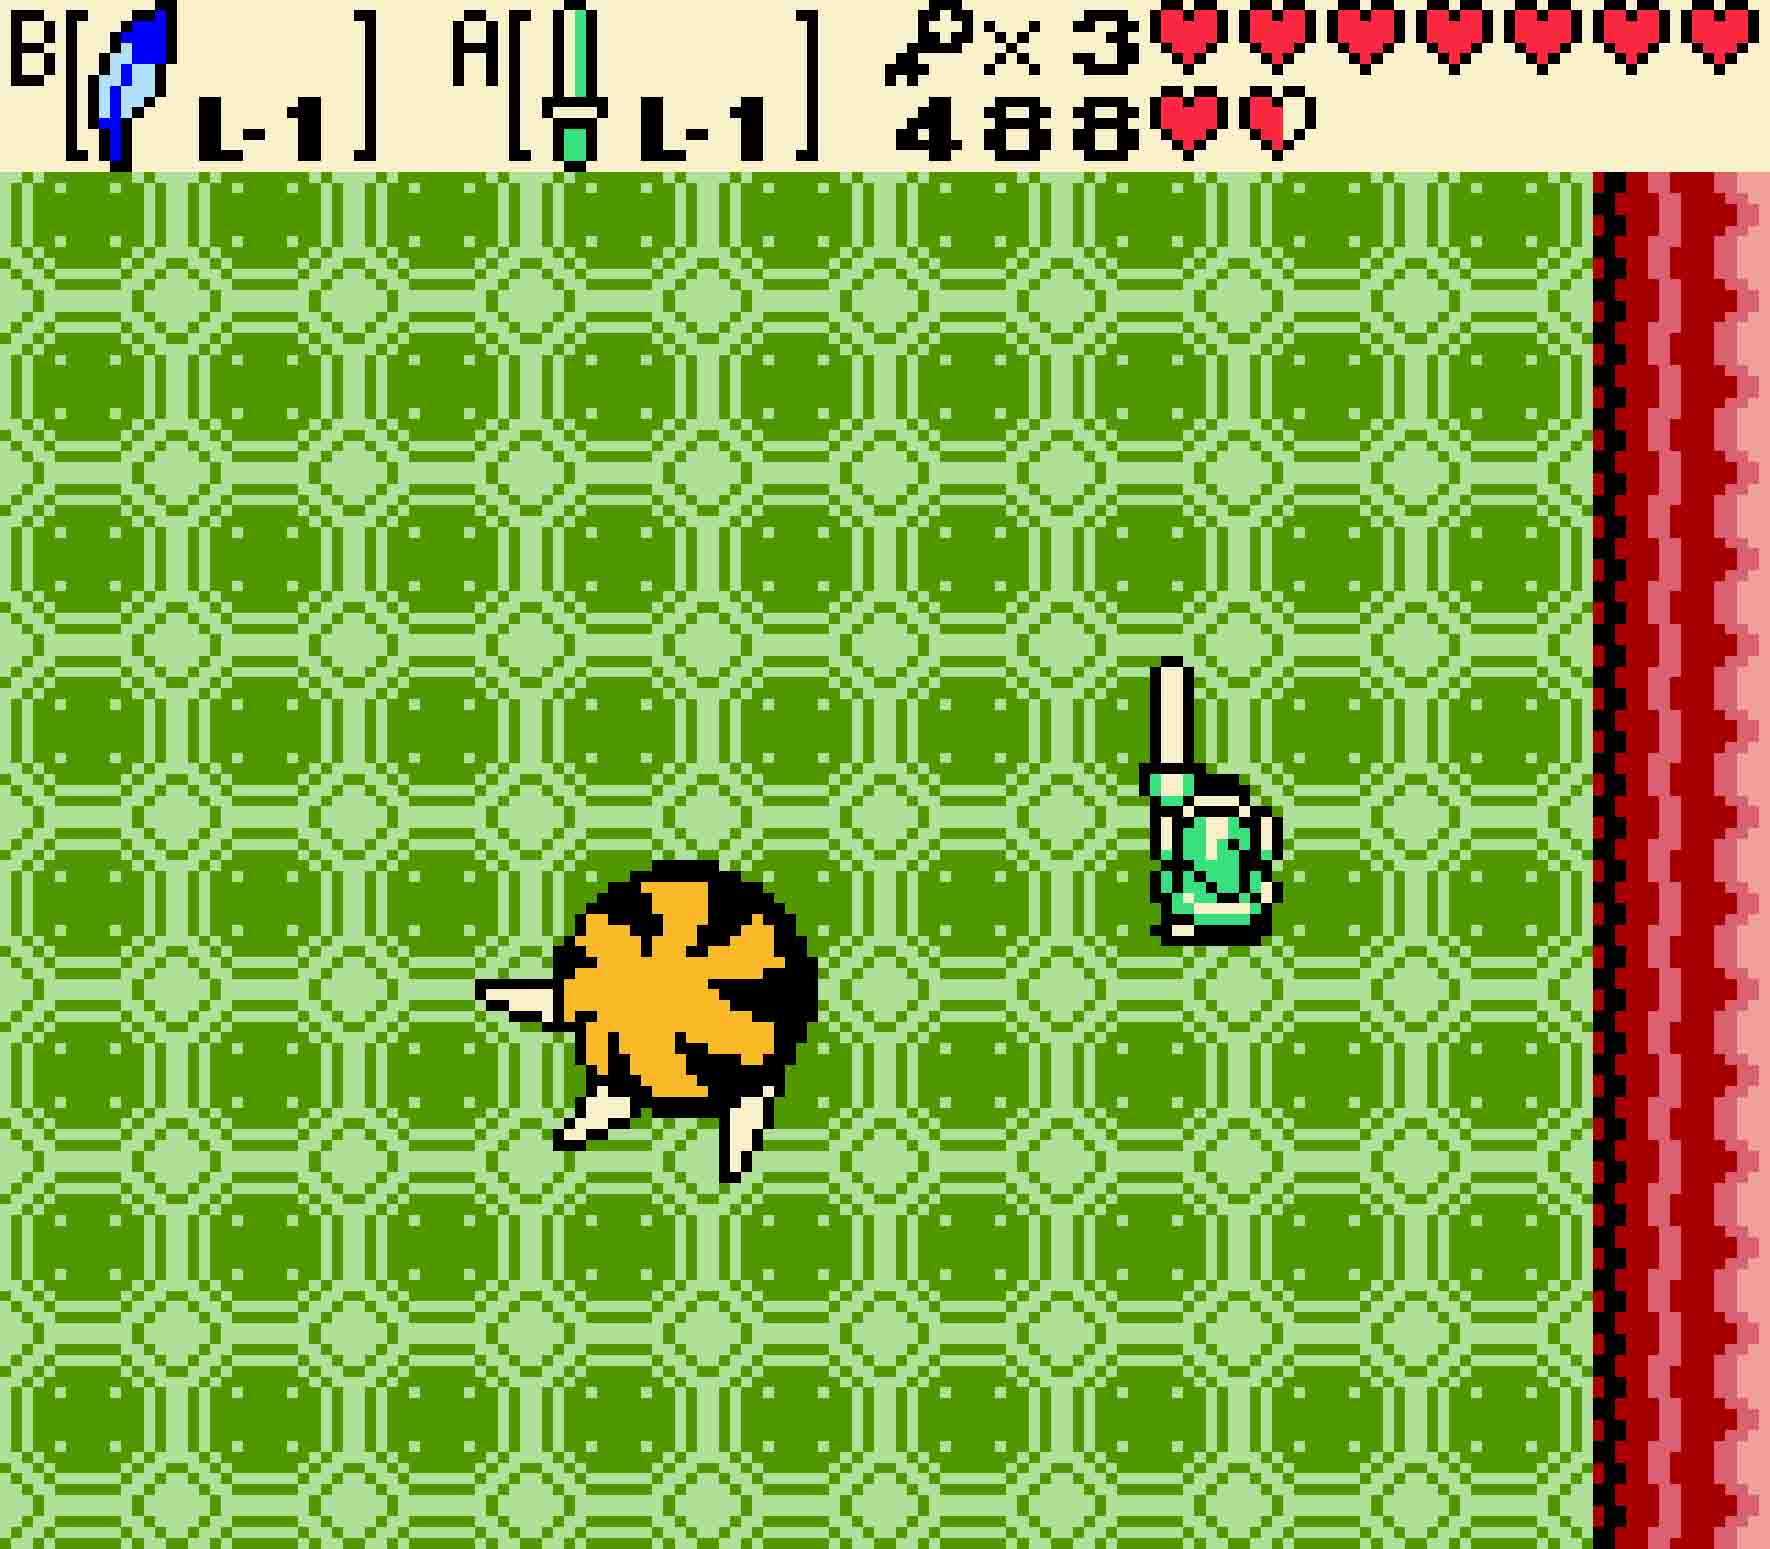
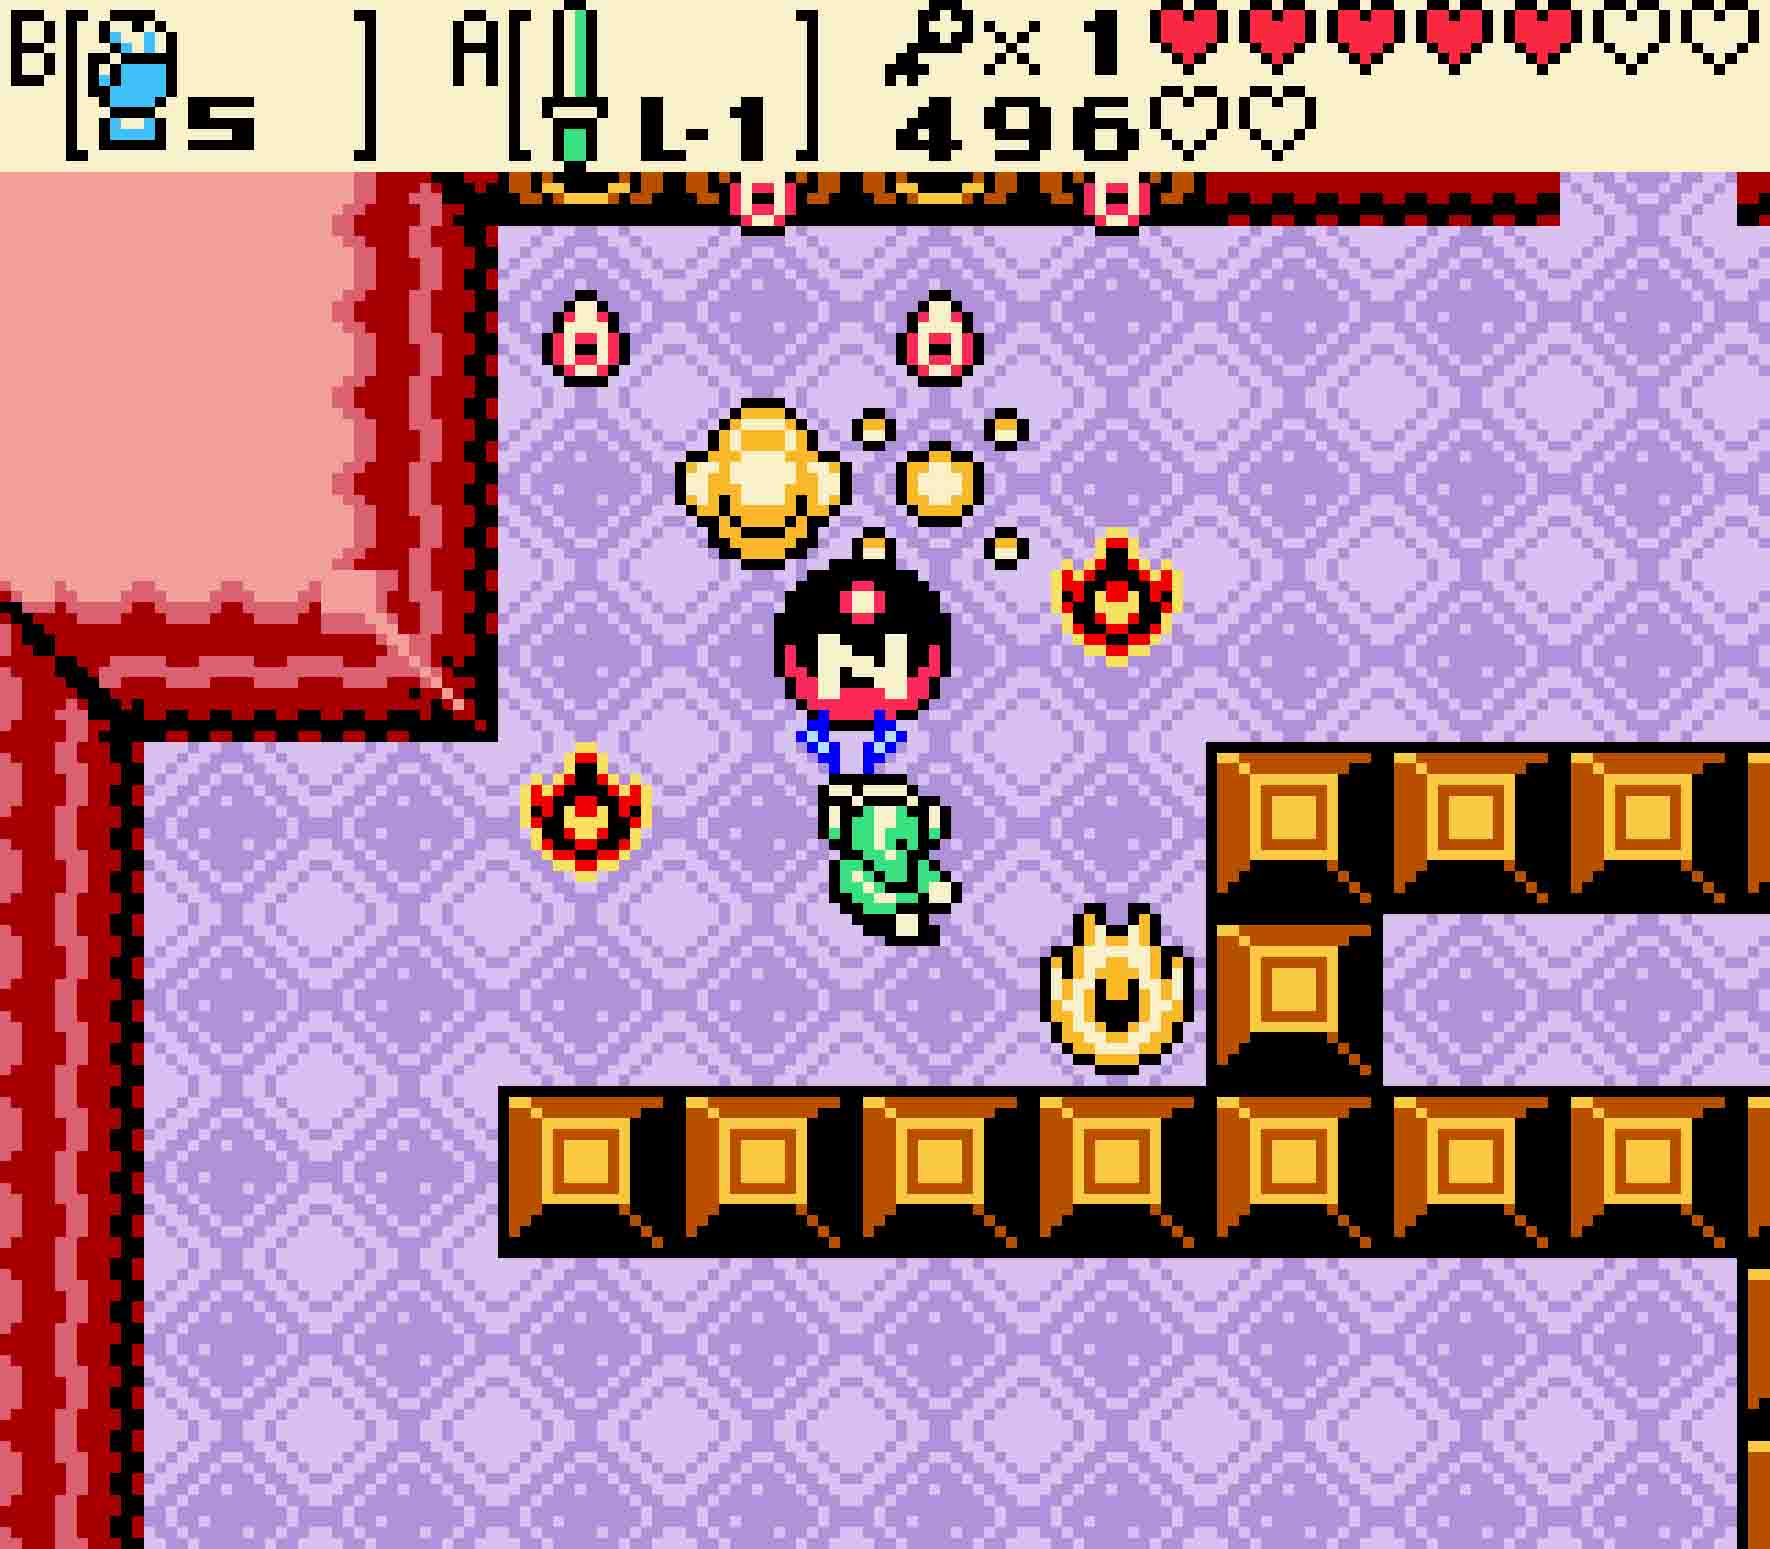
Exiting the staircase, you’ll find Mini-moldorms and a pair of new enemies: Bubbles. Bubbles won’t hurt you; however, for a period of time after being hit, you won’t be able to use your word due to their curse. There’s a lot of space to avoid them, so make sure you do as you head to the east.
There you’ll find two red Zols and again a pair of new enemies: Gibdos. Gibdos are pretty tough and pack a big punch if they hit you. The most dangerous part about them is that you can’t knock them back that far. Kill the lot of them, and a chest will appear containing the Map.
Head west, pass the Bubbles, and head west again. For now, you can take the shortcut by ascending the steps, follow the raised walkway around, and then jump off the gap in the wall later on. This will largely keep you out of the way of the Peahats, at least initially, though once in the water, you should dive to avoid them, the Water Tektites, and the Anti-fairy patrolling the depths.
-
- Taking the upper path will keep you out of trouble on the way there.
-
- Though you will have to dodge this small gauntlet in the end.
You can then finally use the key you collected on the door heading to the west. There are only Keese here, so they’re easily no challenge. Walk up to the chest and open it up for the Magnetic Gloves. These gloves are a powerful asset, switching polarity from being north-attractive to south-attractive after each time you use them. As like real-life magnets, opposites attract while like repels like. So when the Gloves are set to being north polarity, it will attract anything with a south polarity while repelling things with north polarity.
13.4 Steal the key from the Armos

As with real-life magnets, opposites attract and like forces repel each other.
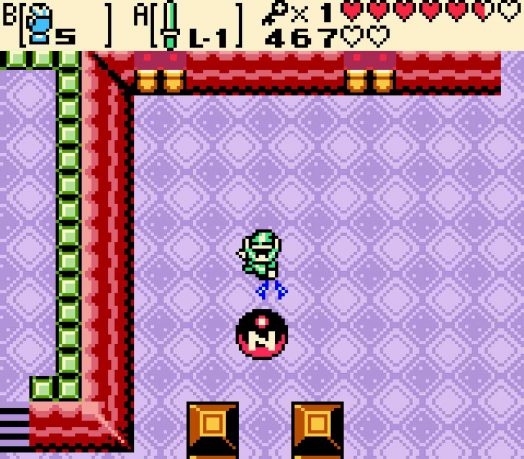
You’re done here; however, the door sealed shut behind you. Thankfully, there’s a switch, but it needs to be held down to activate. You’ll get a quick chance to try out your Magnetic Gloves. The orb in the room (as all orbs are in the game) is of a north polarity. Use the Gloves with a south polarity to bring the orb to you. Then, walk it over to the switch, and then release the power of the Gloves to drop the orb on the switch. The door will open, allowing you to leave.
Head south, and you can push the outer blocks down one space with the center block shifted sideways to get through the gap. Swim across the water, and then head back through the door to the east. From there, avoid the Bubbles once more as you descend the stairs at the top of the room.
You could head all the way back through the basement, but that’s actually not the fastest way to travel. Instead, if you have two Bombs, use your Bombs to blow through the cracked rocks just next to the ladder. Then make sure your Roc’s Feather is equipped before you fall through the gap and head to the left.
-
- You can get through the basement using this extra pathway, though doing it without taking damage can be a bit tough.
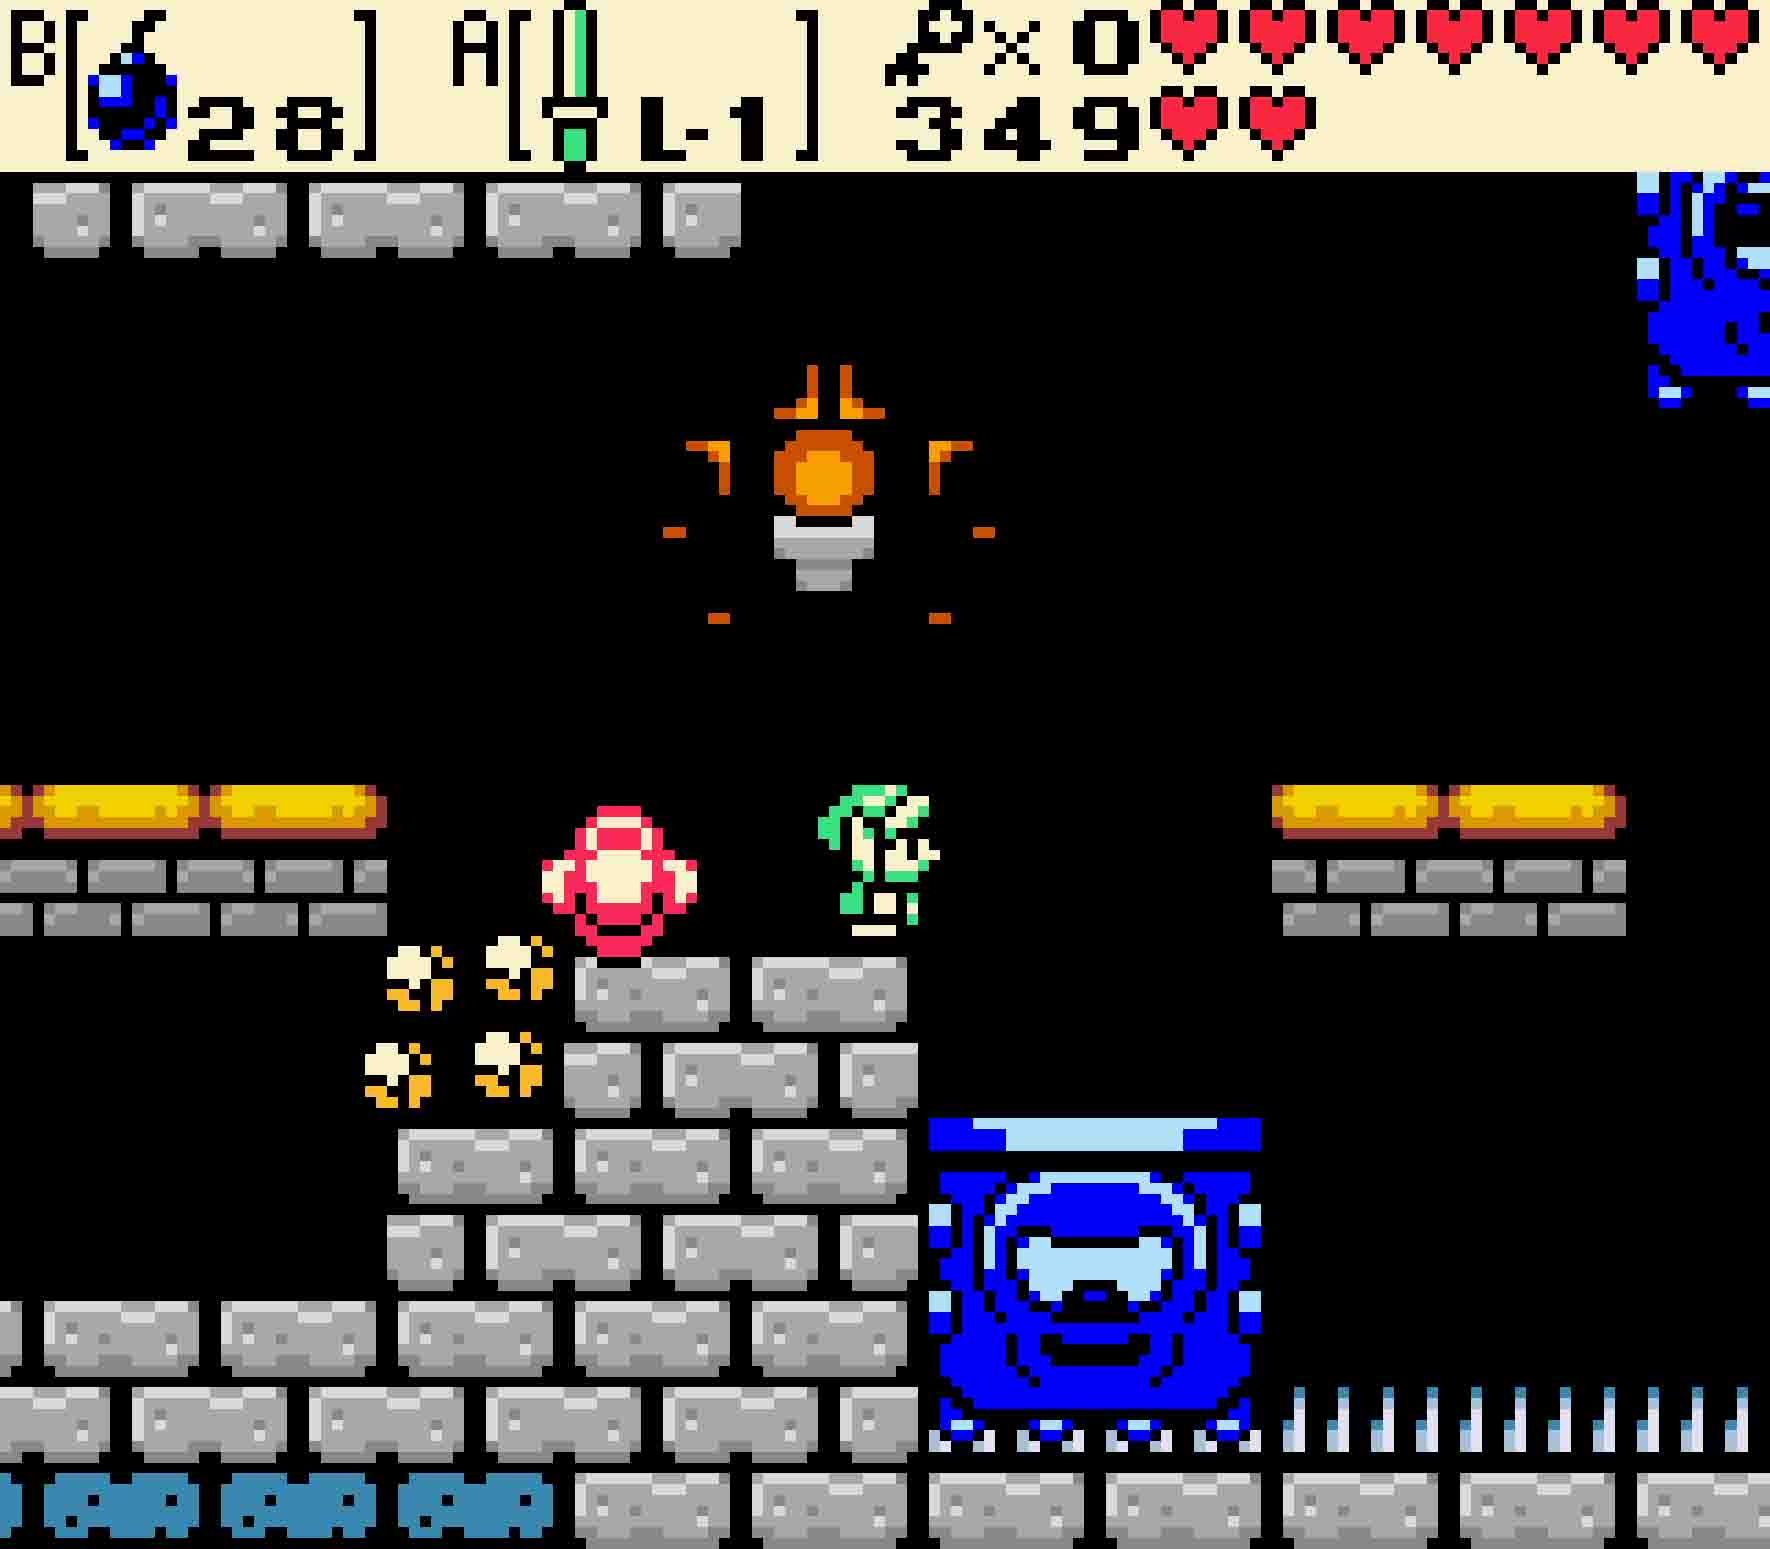
Do this because, in the next room, you’ll have pulses of energy spat at you from two heads that look like Bowser. These pulses of energy should be able to be dodged easily; jump over the ones thrown at your level while staying put as they shoot overhead. When you get the chance, jump onto the moving platform, and then be prepared for another volley higher up. Transfer to the left moving platform, and then hop over to the far left, where you can ascend the ladder.
When you escape the dungeon, you’ll notice two Armos statues and a floor switch in the next room. You can’t reach the Armos on the far side, but it will move whenever you move the Armos on your side on the room; however, the Armos move in opposite directions. Push your Armos down, and the other will move up. Push yours left, and the other will move right.
Solving the Armos puzzle
Step One Start by pushing your Armos three squares southward.
Step Two Then push your Armos two squares to the right.
Step Three Finally, simply push the statue back to the north, and the door will open for you.
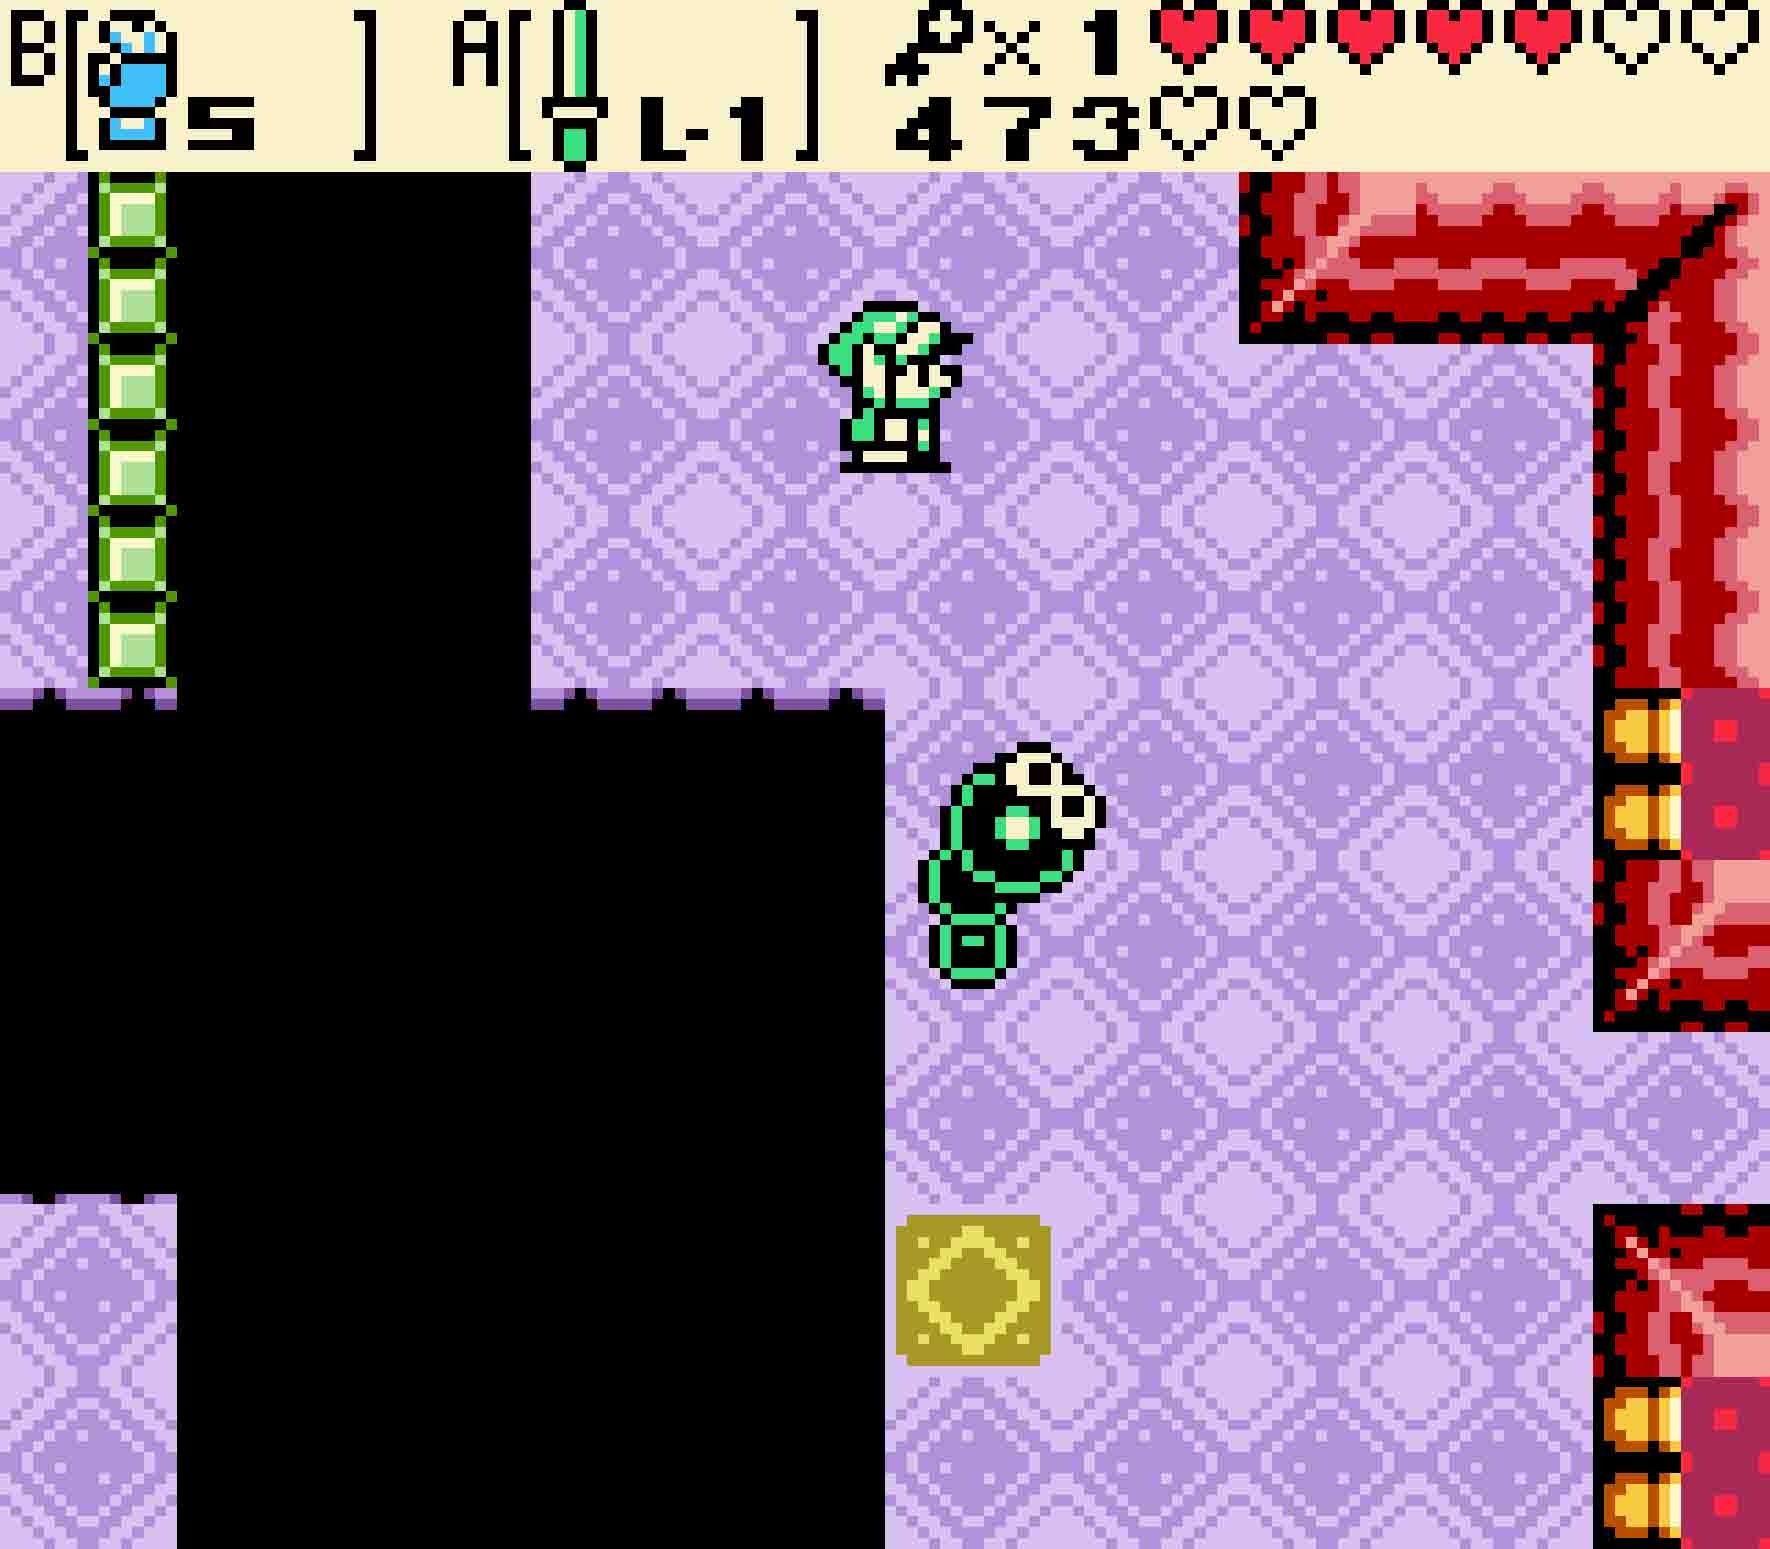
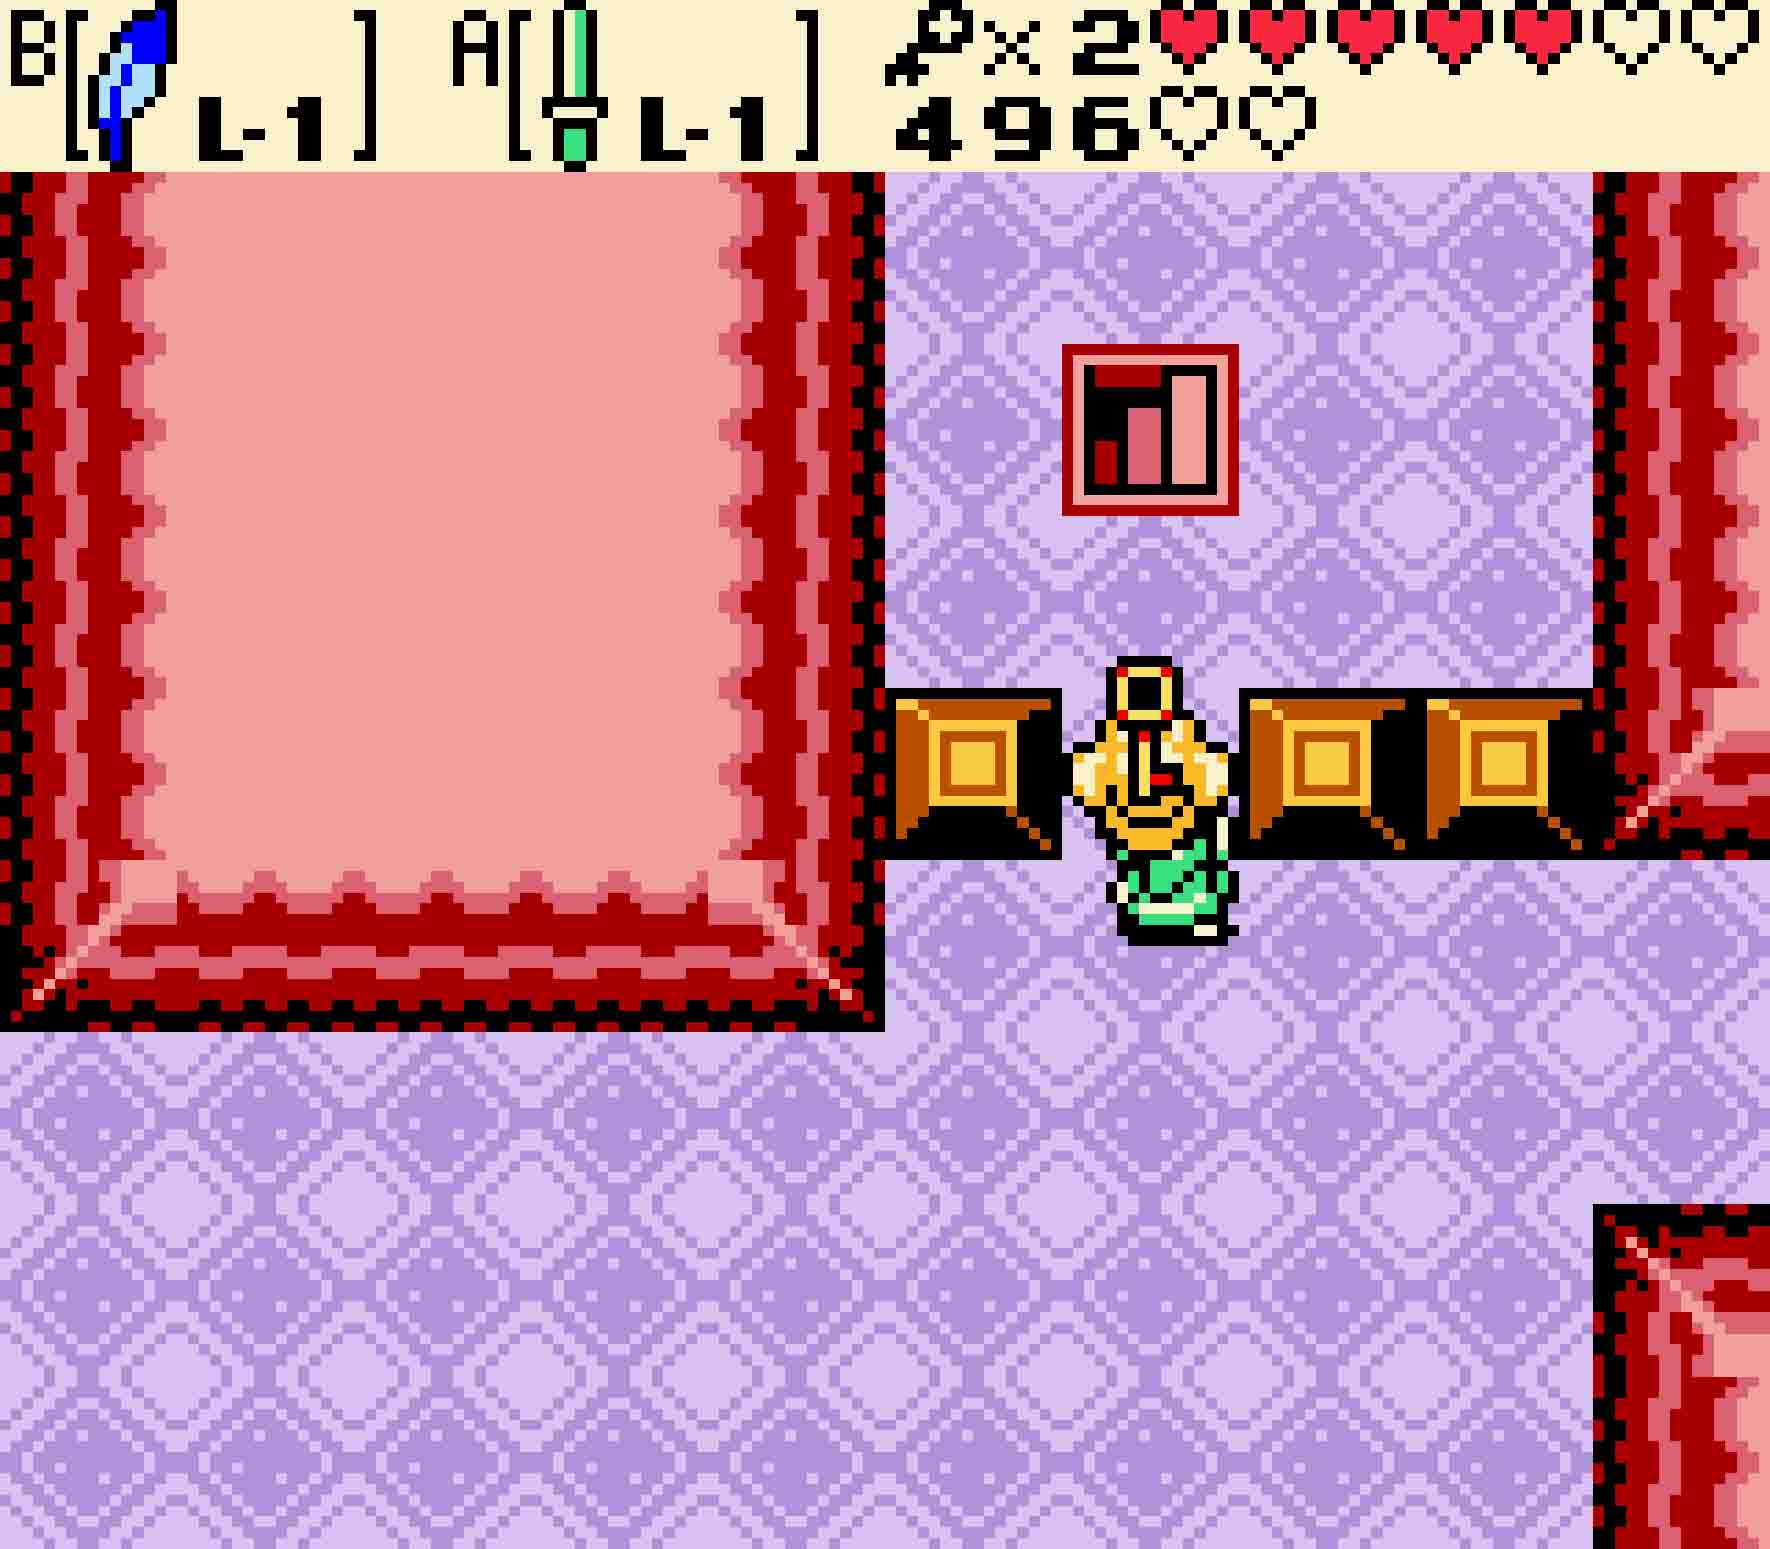
 The next room has a narrow catwalk. Simply destroy the Gibdo and the Keese that harass you as you continue heading to the west. You’ll encounter more Keese in the next room. There’ll also be another magnetic orb, but there’s no point in moving it yet. Simply head to the left side of the room to collect the 100 Rupee prize in the chest before heading to the north.
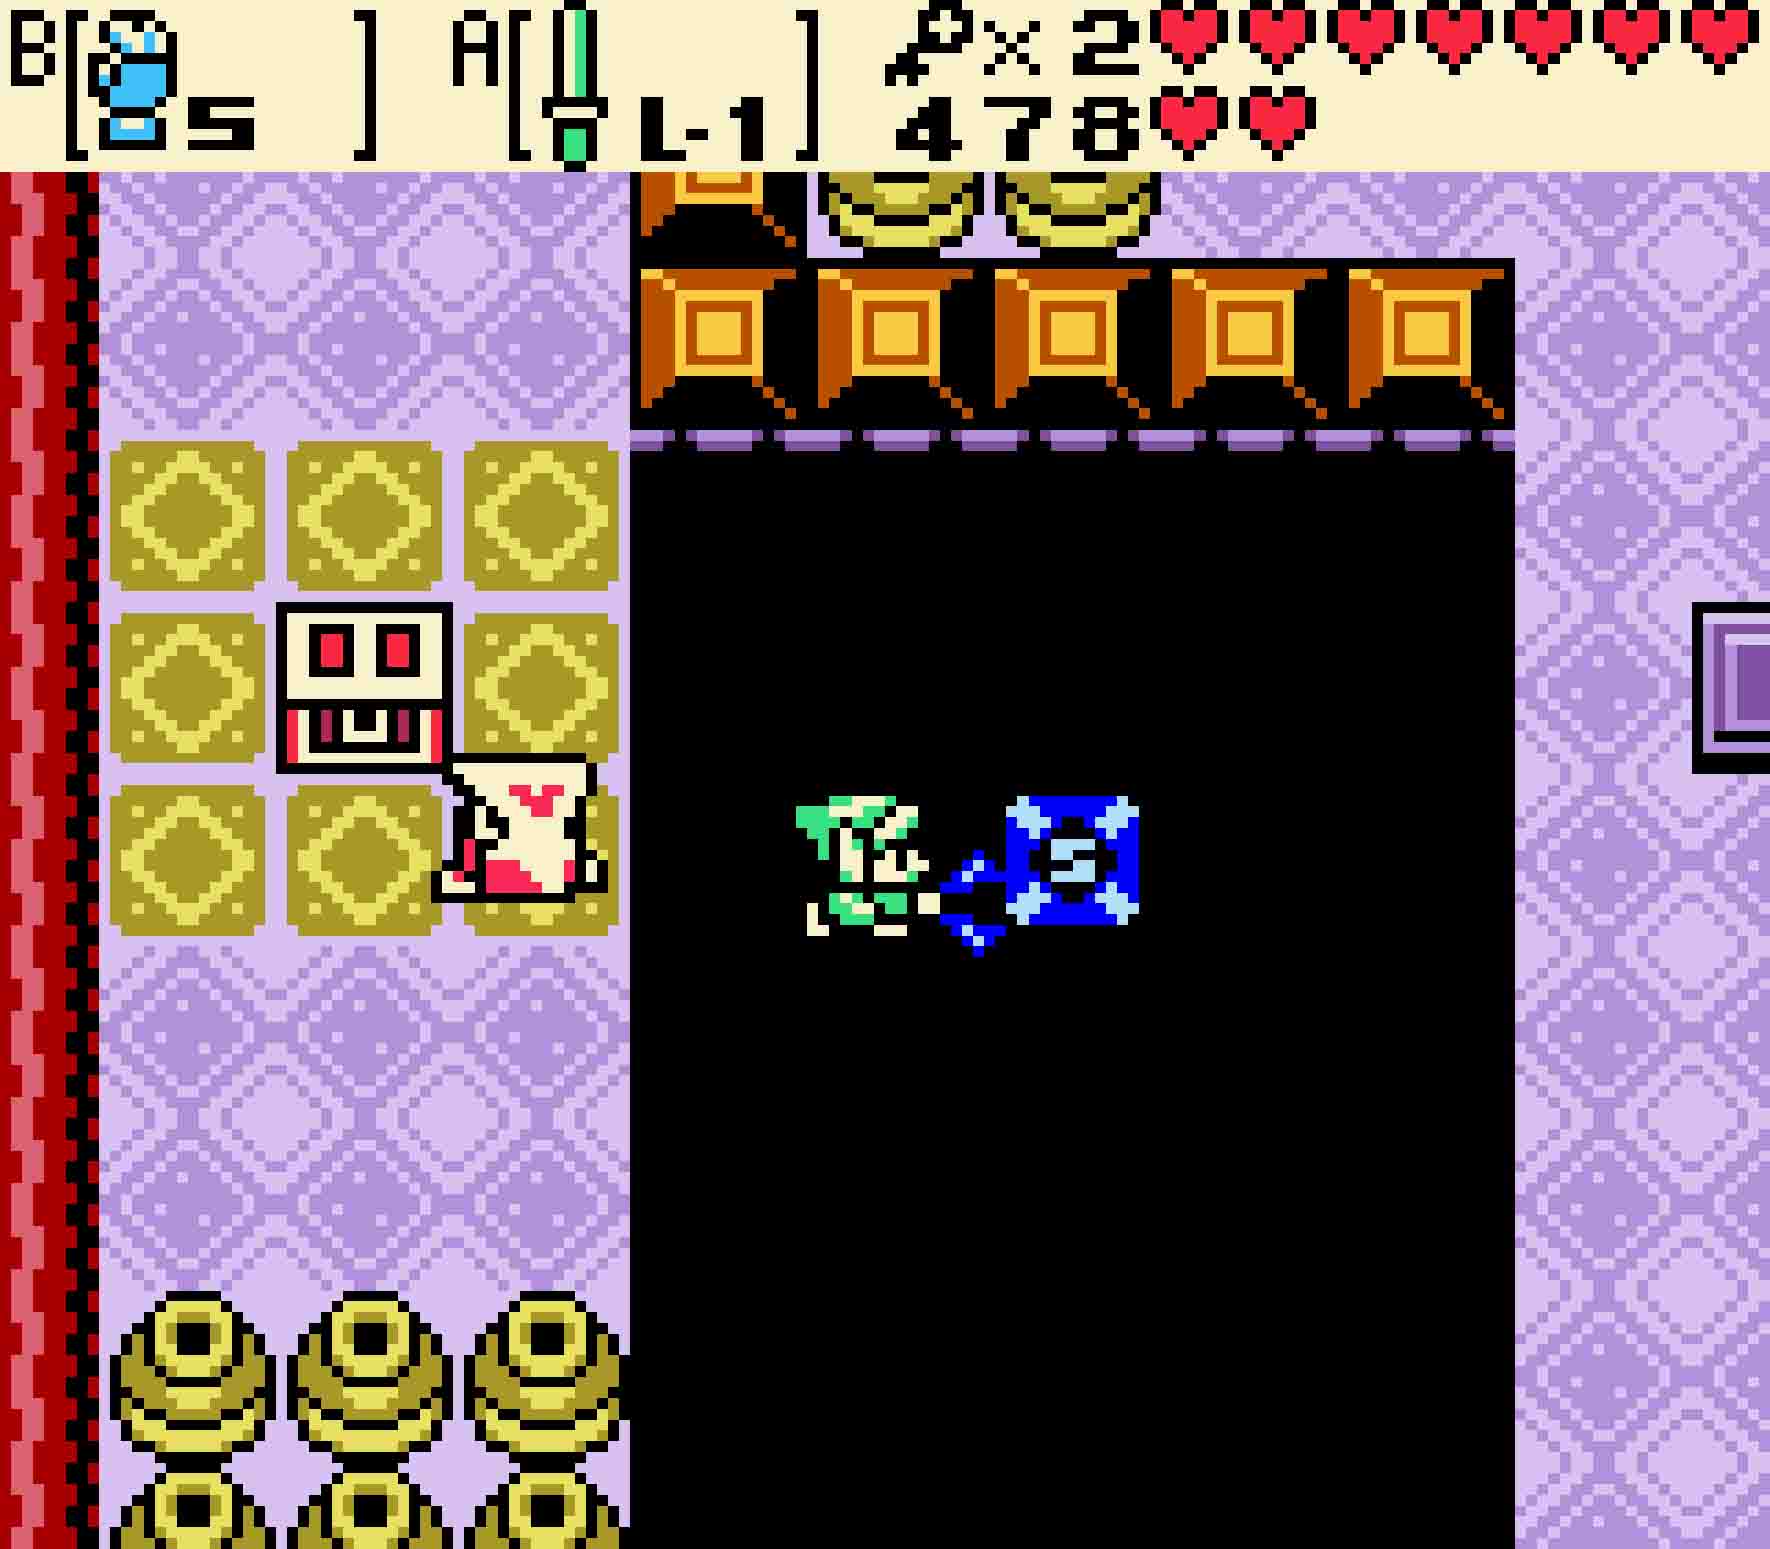
You’ll come to a room with a duo of Mini-moldorms and a duo of Iron Masks. Now that you have the Magnetic Gloves, you can actually do a cool trick with the Iron Masks. Use your Magnetic Glove near them, and it will pull their facemasks straight off, allowing you to hit them extremely easily. Once you kill all the enemies, you can use a Mystery Seed on the owl if you want, but we know what it says. Head west.
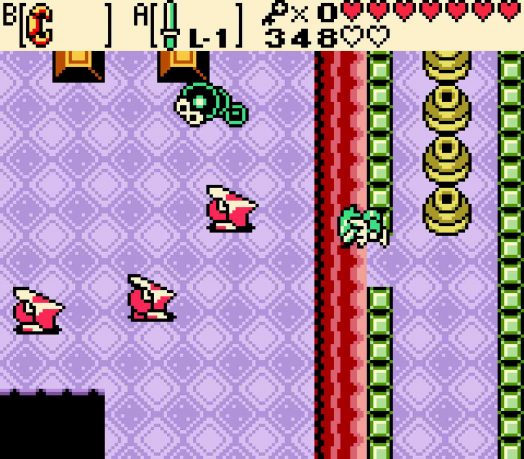
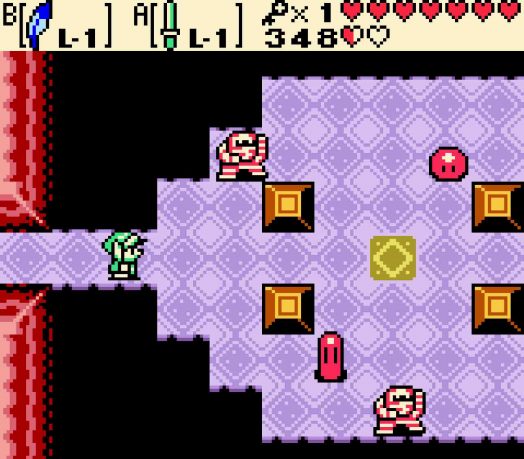
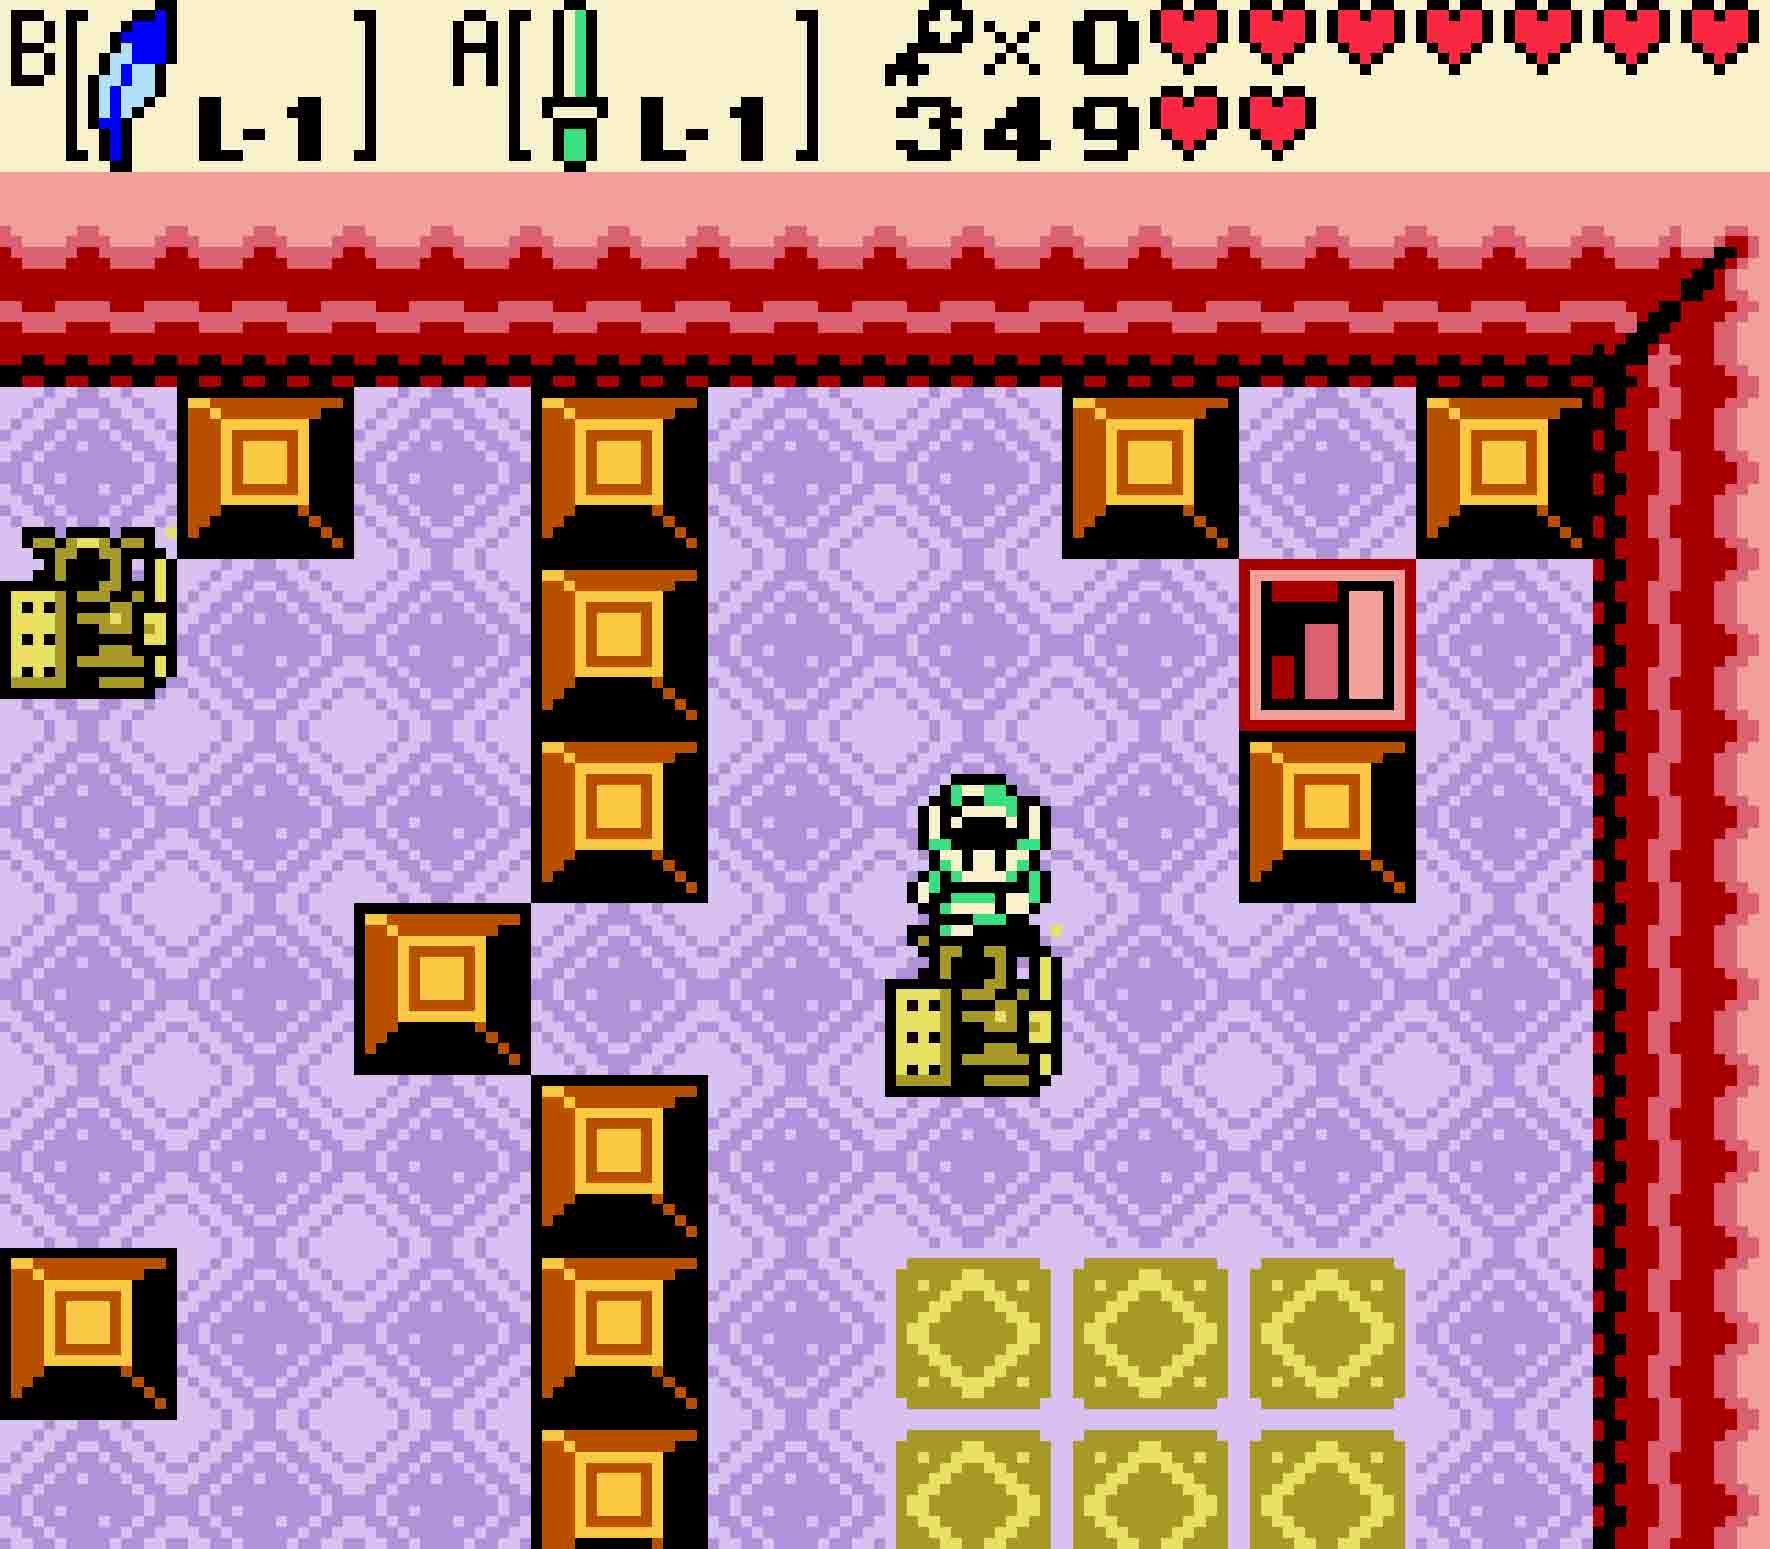
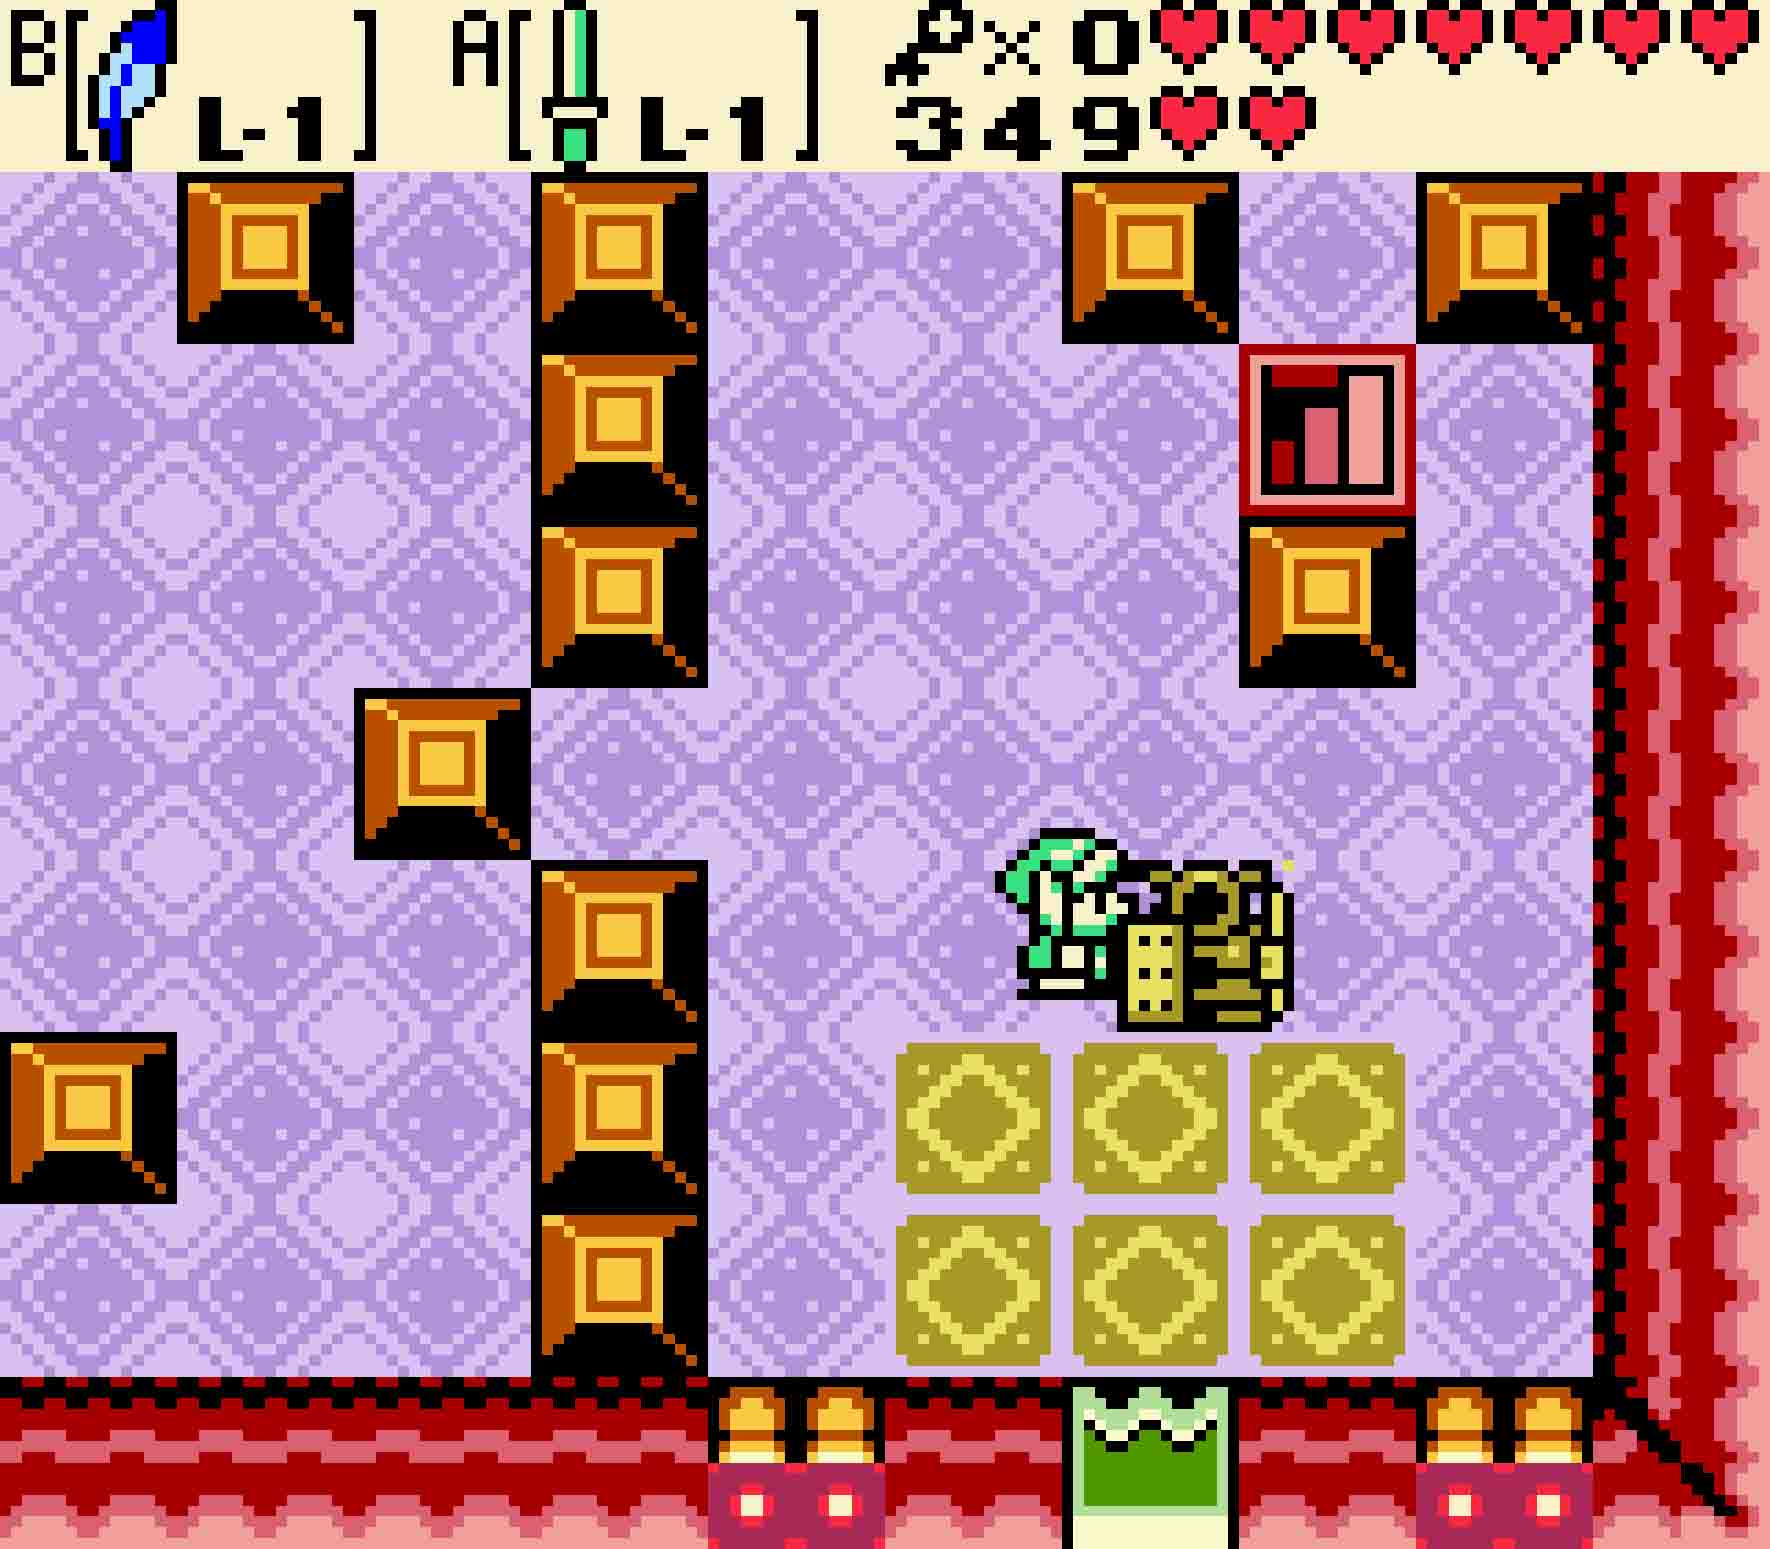
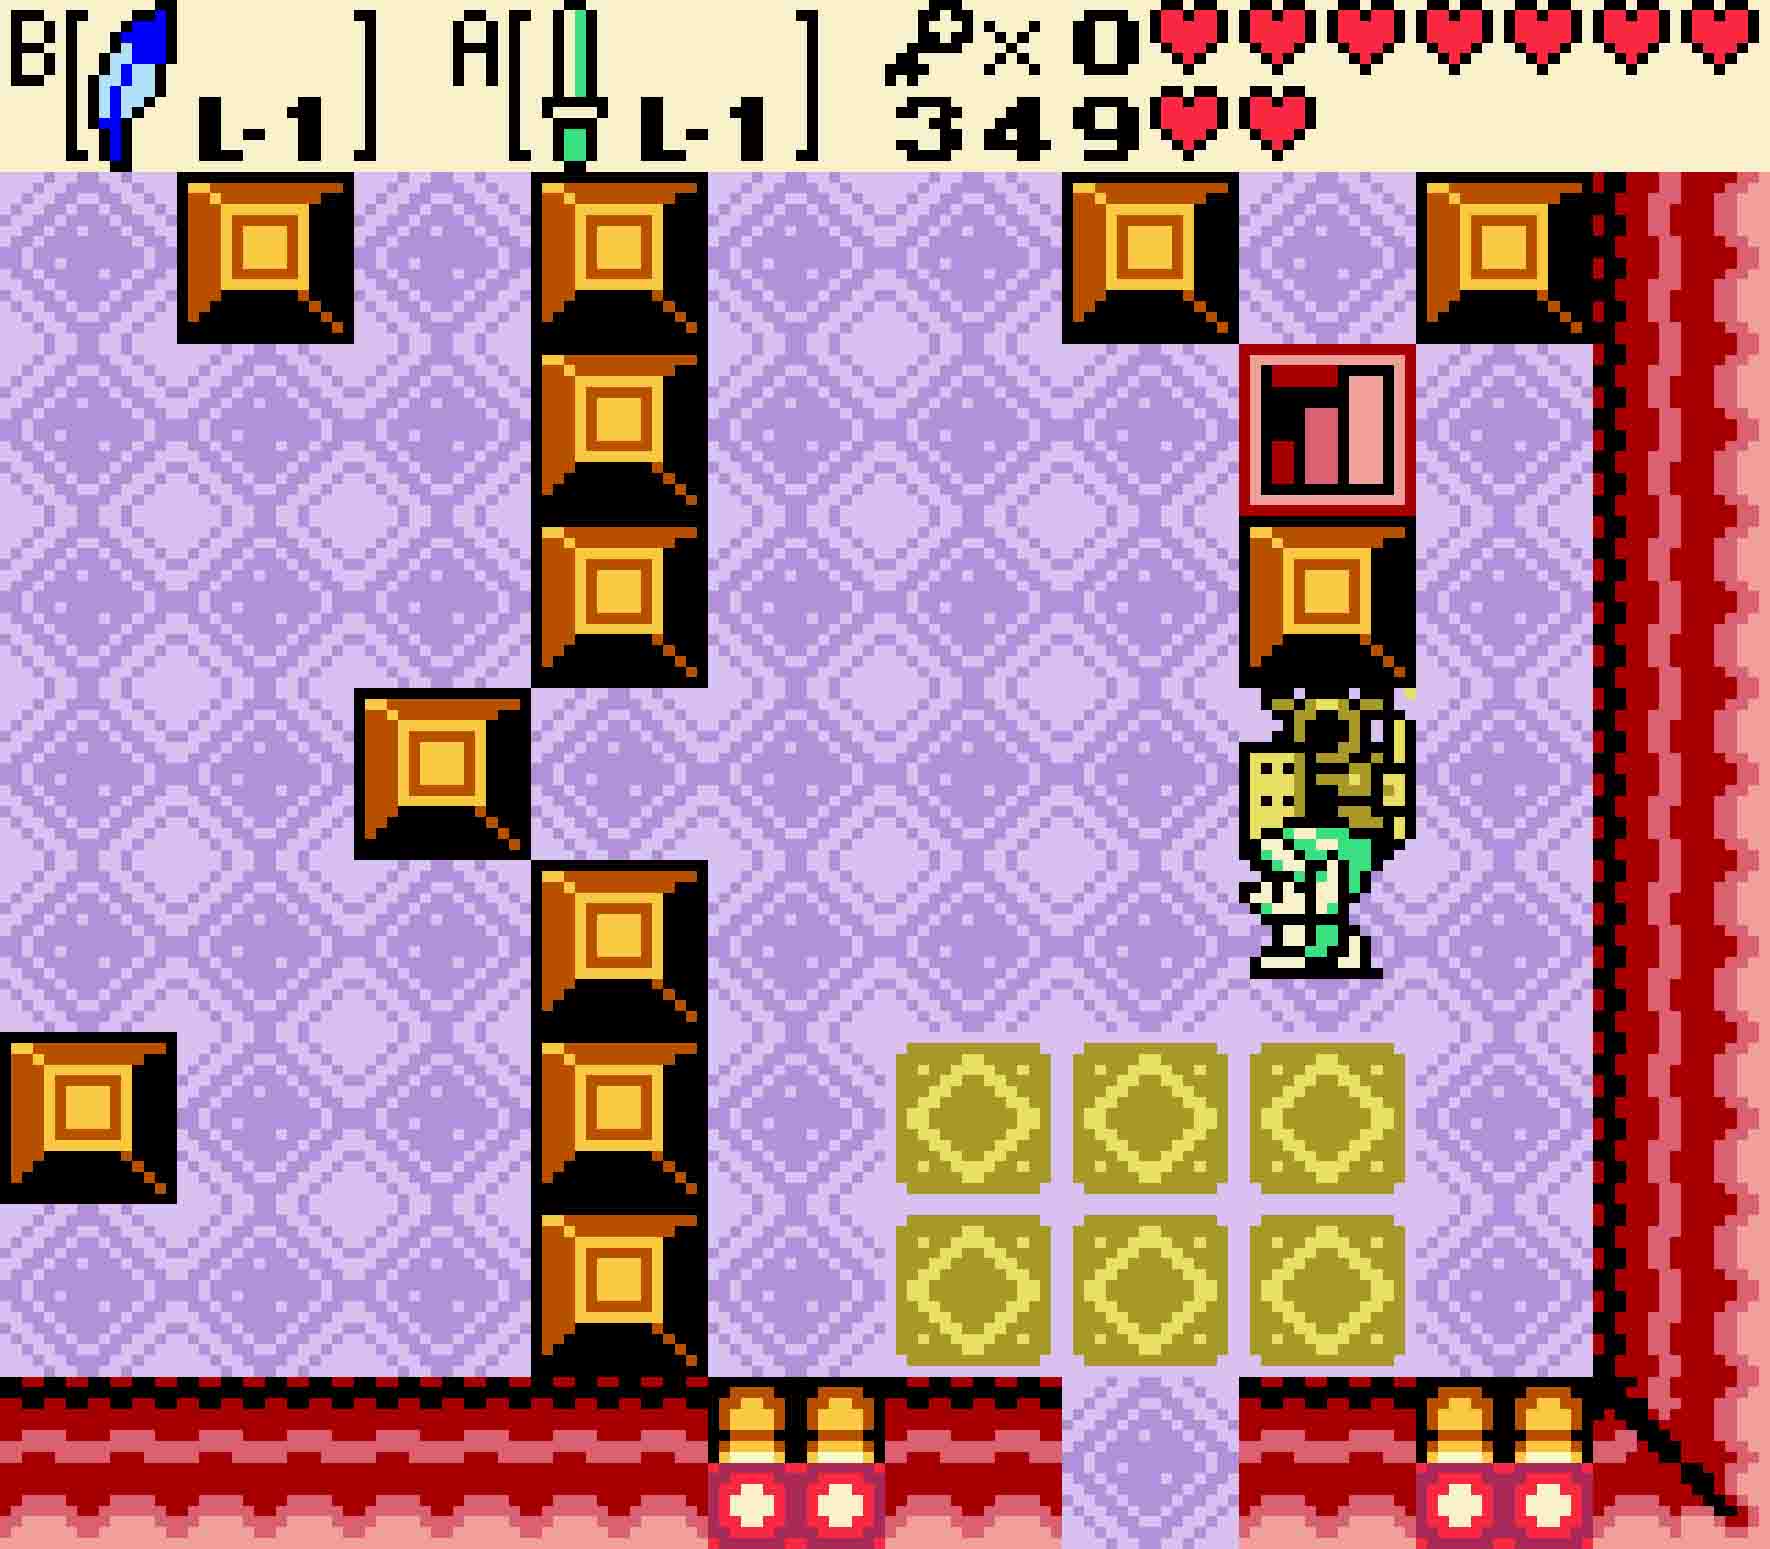
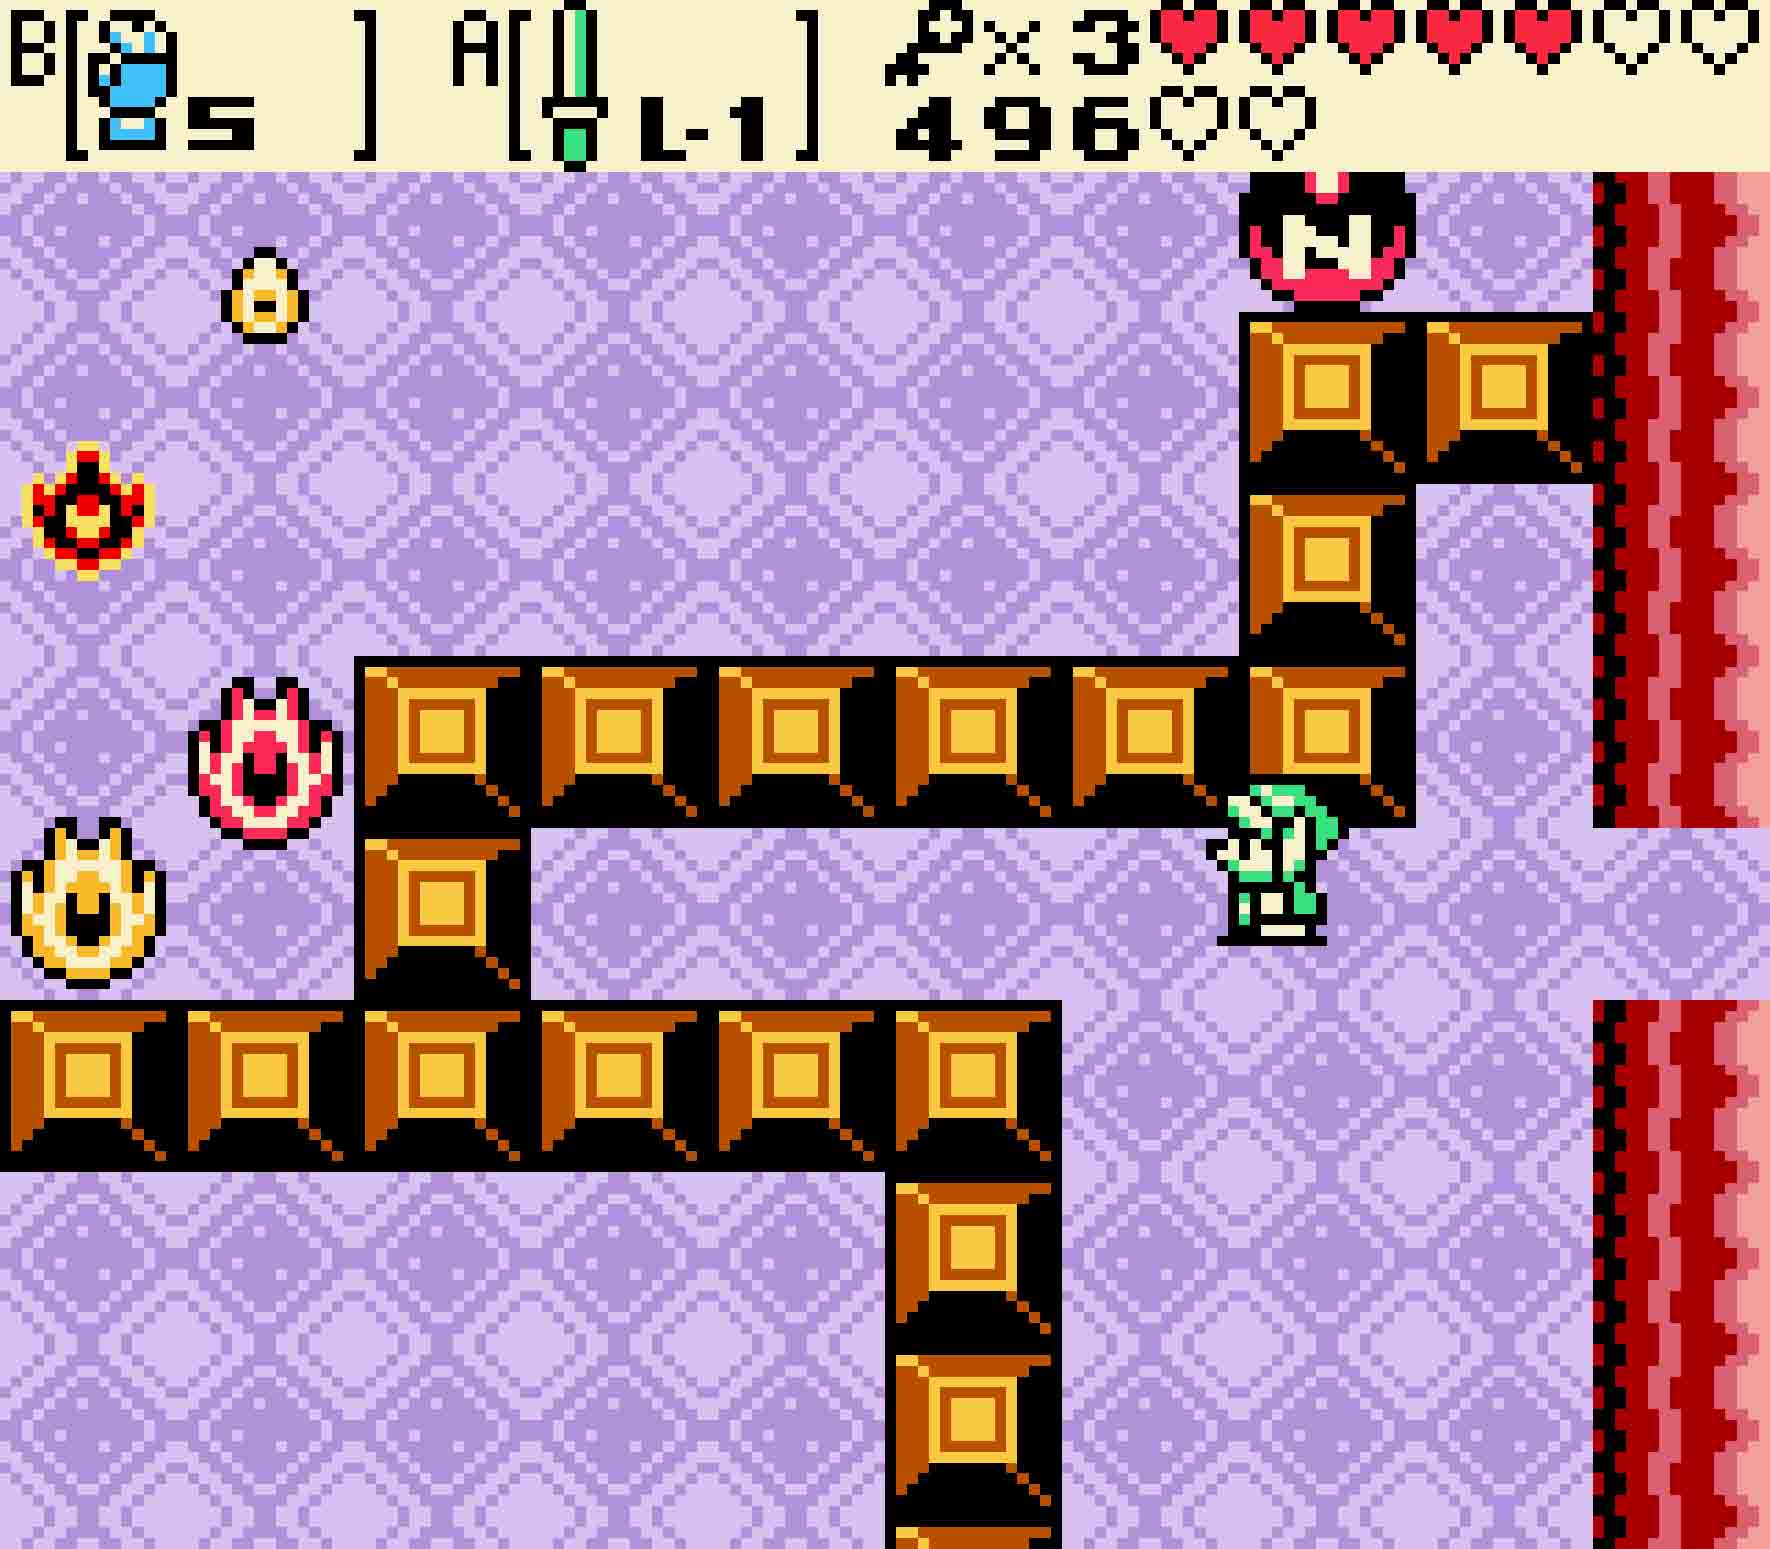
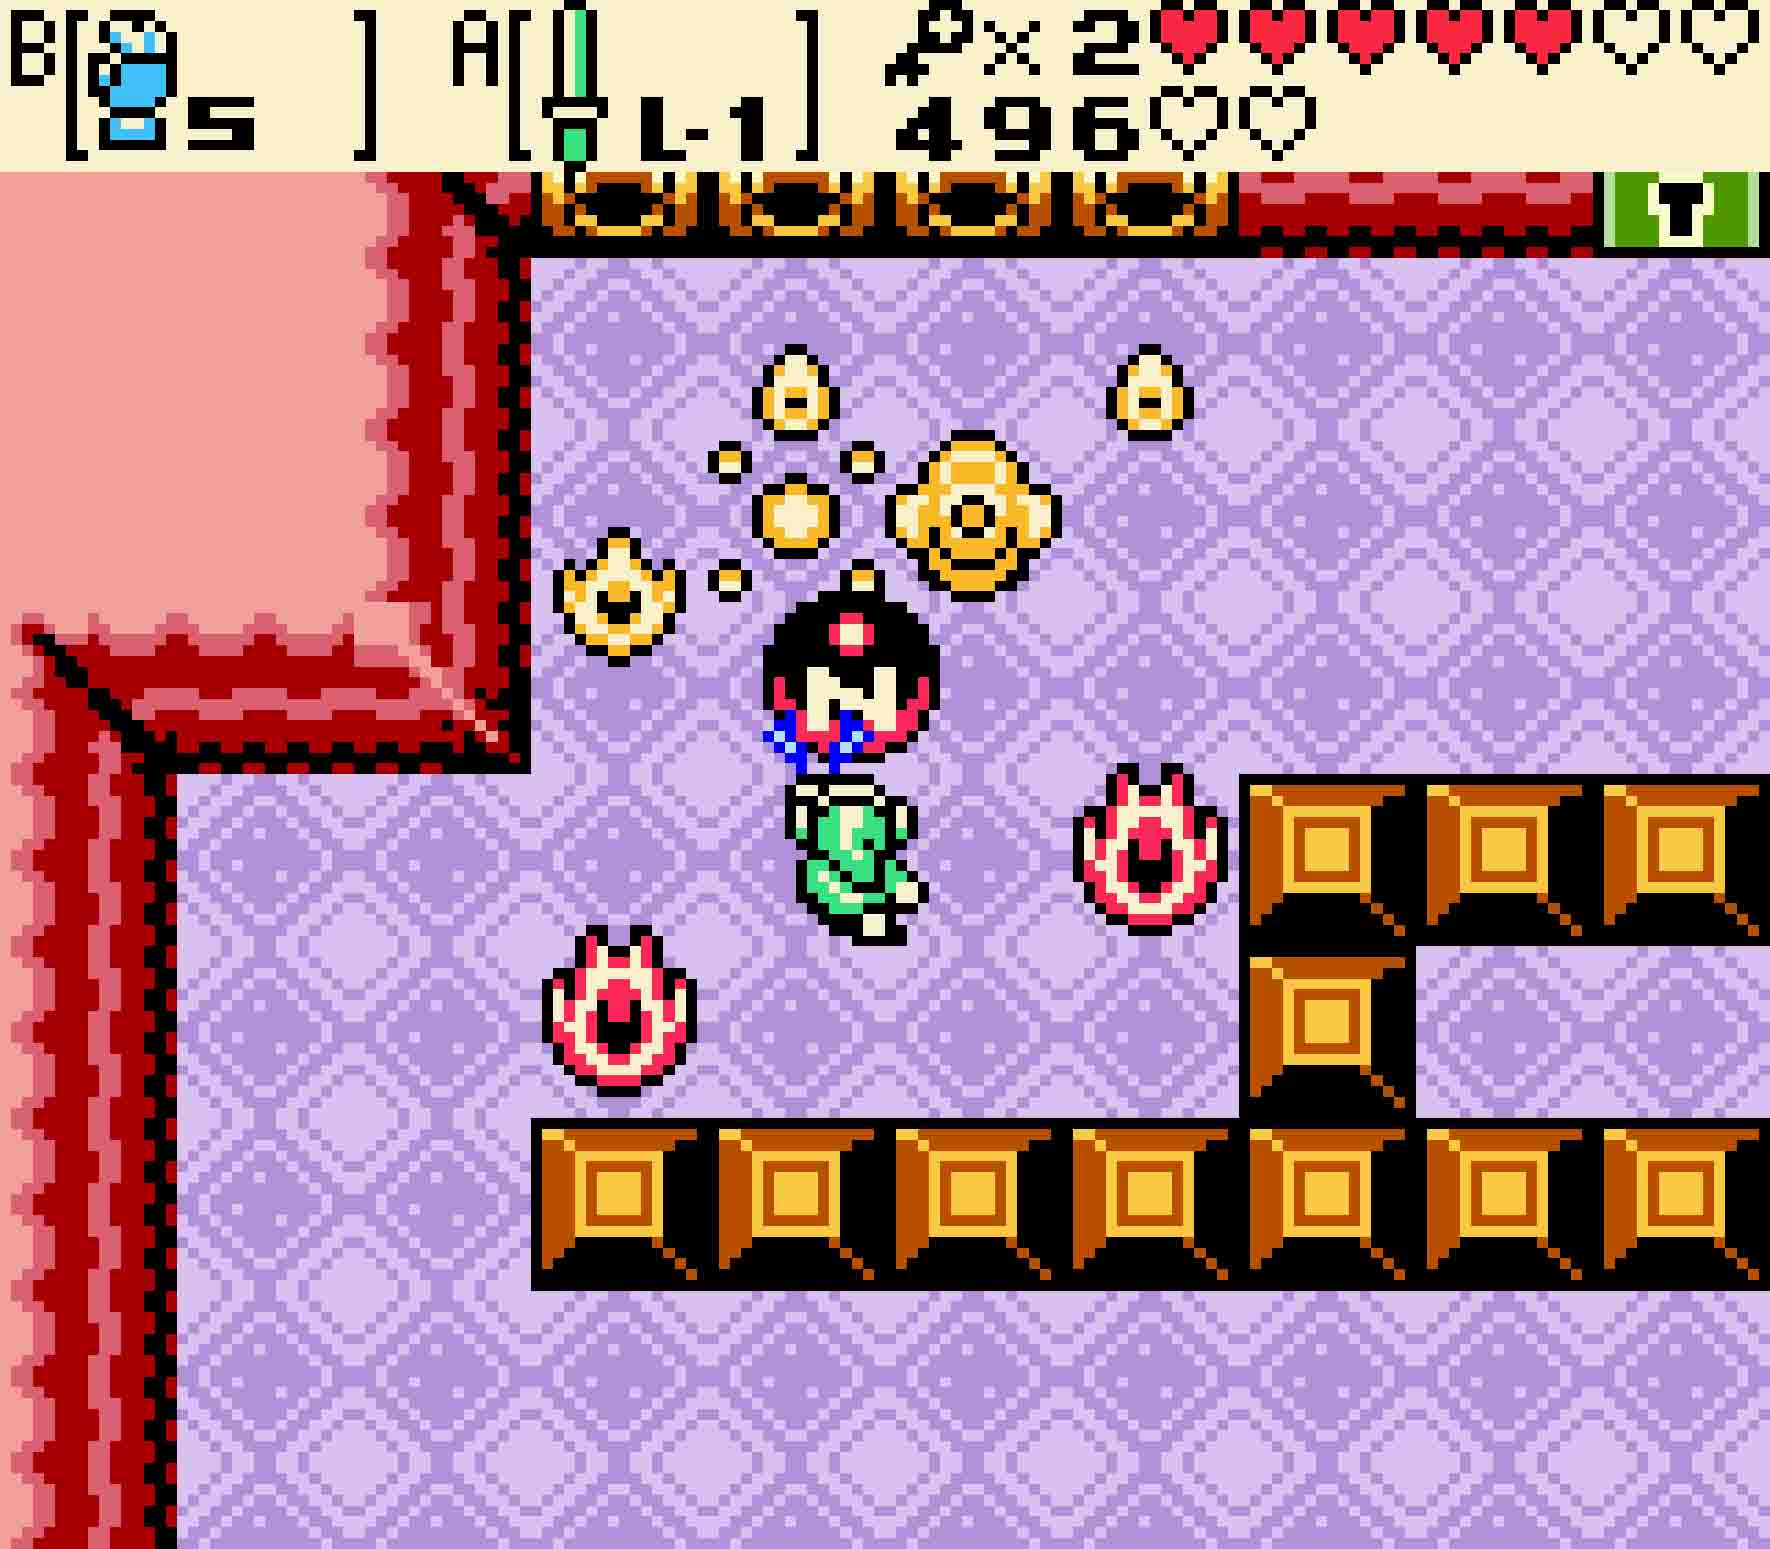
This room has four Armos statues. Each Armos will activate whenever you come near them, and they will take a few sword swings to actually defeat. In this room, you’ll want to remember the order in which you kill the Armos. So as a helpful aide, try your best to only activate one Armos at a time; should you accidentally wake a second one, do your best to remember which Armos is which. Once you kill all four, chests will appear where the Armos once stood, and you will need to open these chests in the order that you defeated their respective Armos. If you’re correct, each treasure chest you open will grant you better prizes, starting with a single Rupee, ten Bombs, four Ember Seeds, and finally a small key.
-
- Try to only activate one Armos at a time. The order in which you defeat them is important.
-
- You’ll have to open these chests in the order you defeated the Armos. Have a good memory!
13.5 Collect another key and reset
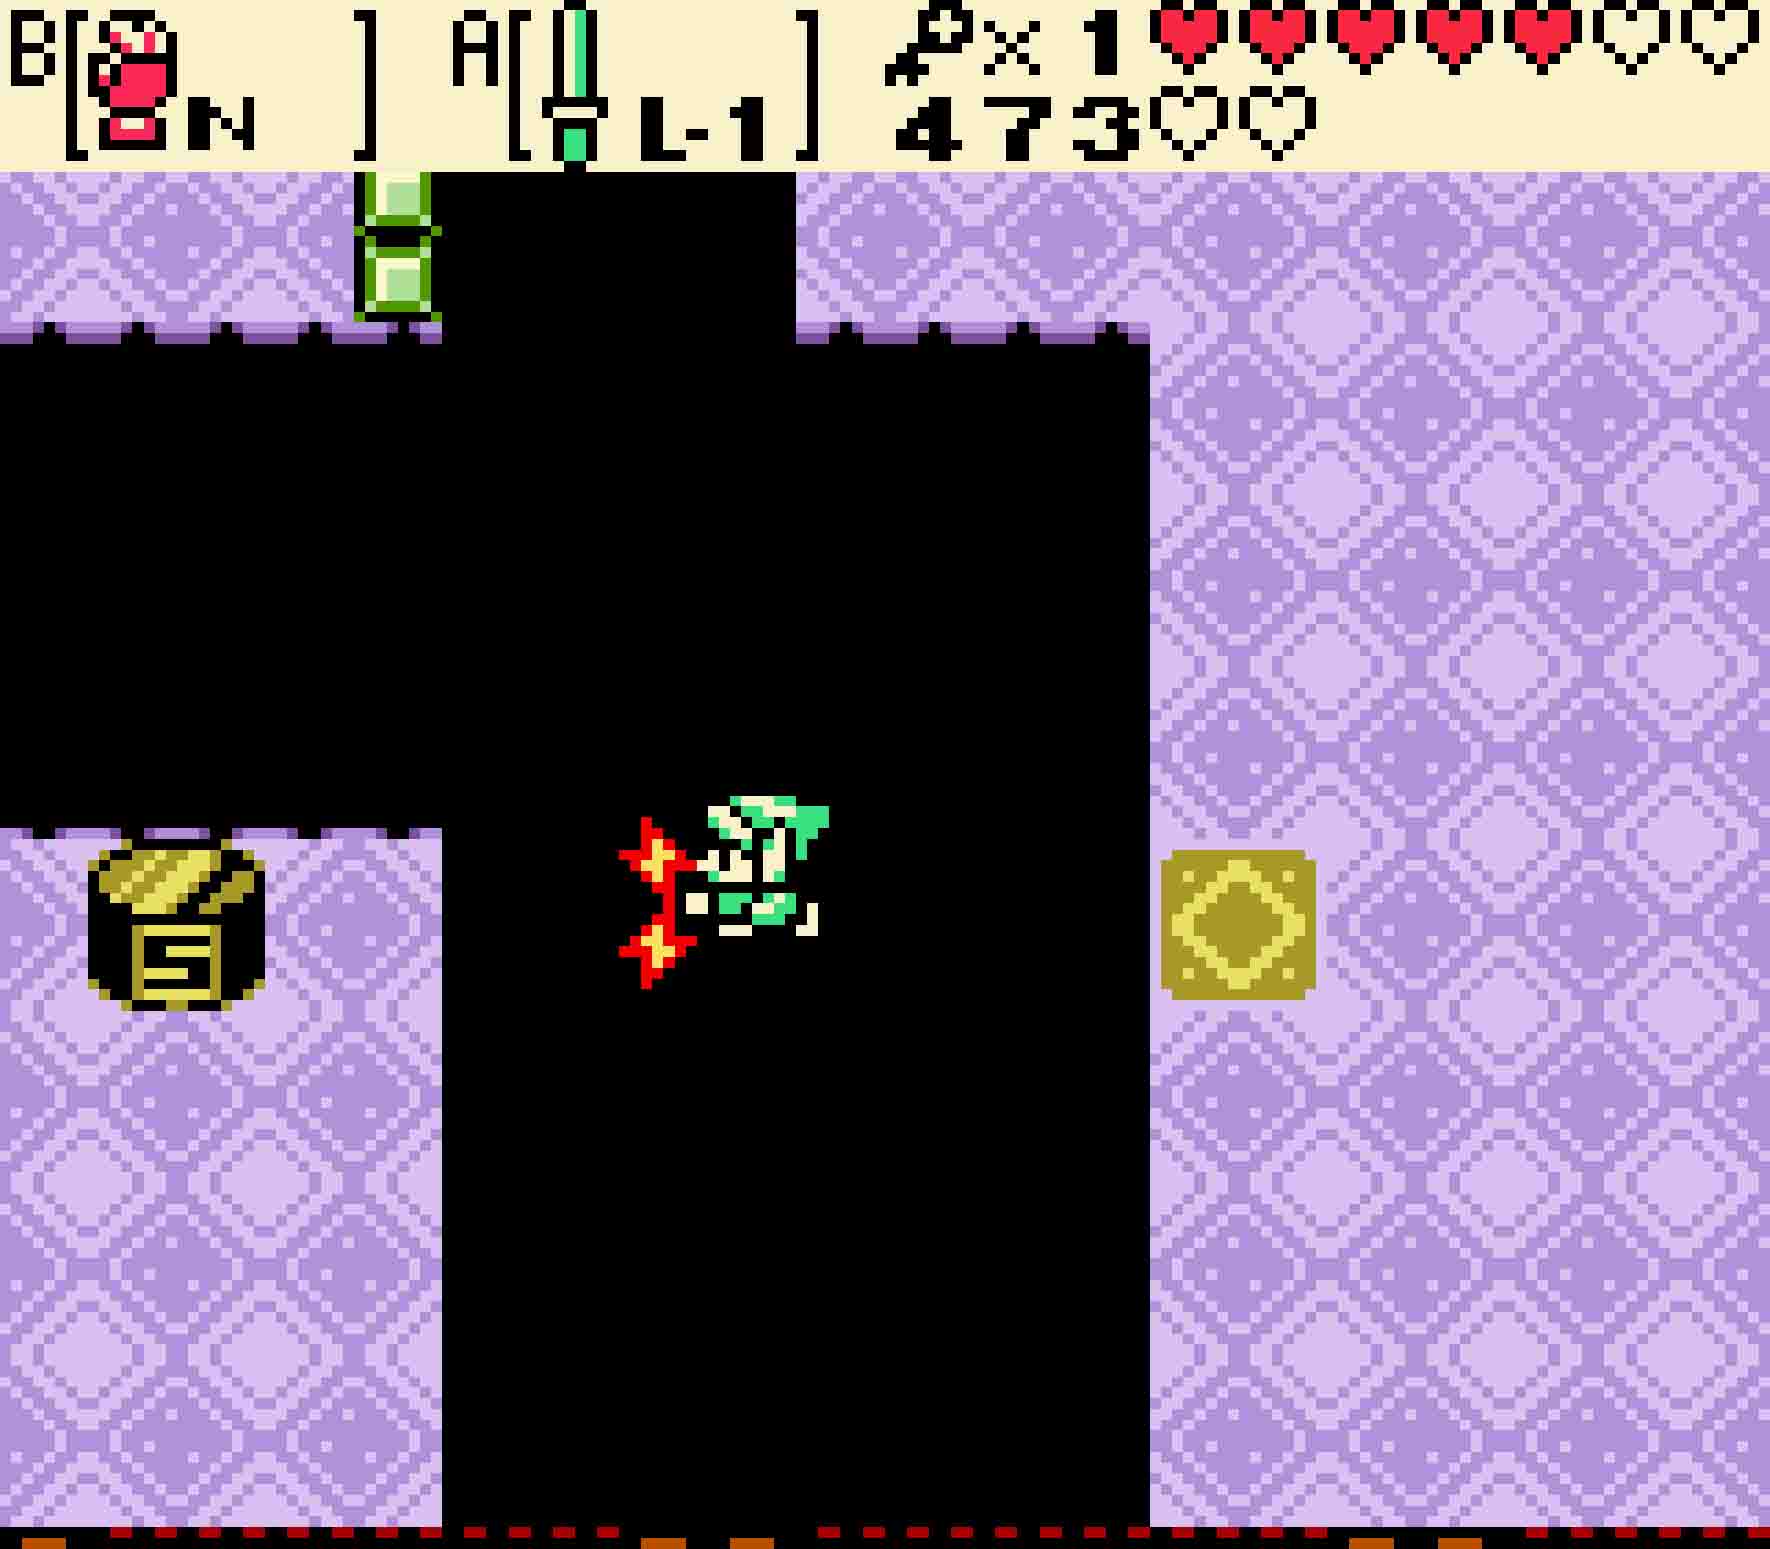
 To leave, head east and then south. Use the Magnetic Gloves to move the north-polarity orb out of the way, and then continue south again. You’ll find yourself in the room that’s just outside the room that contained the Compass. No doubt the Iron Masks and Mini-moldorm will have respawned by now, but you don’t have to kill them; simply walk south two more screens, passing Zols and Mini-moldorms alike.
When you can’t go south anymore, you’ll find a yellow-colored tile on the otherwise purple-colored floor. Stand on the tile, face to the west, and then use your Magnetic Gloves with north polarity. This will pull you across the pit to a heavy south-polarity disk, so don’t let go while you’re crossing the gap. Once on the other side, head north, defeating any leftover enemies, in order to get your second small key out of four.
-
- You can use the Magnetic Gloves to pull yourself over large gaps.
 Before you collect any more keys, the fastest option from here is to exit and re-enter the dungeon. You need to do this in order to reset the location of the minecart you took earlier; the minecart is still on the far side of the room with the train tracks, but you’re now on the front side of it. Leaving the dungeon will reset this and save a fair bit of time in the process.
To leave the dungeon, walk south. Stand just to the right of the south-polarized disc, face left, and use the Magnetic Gloves with south polarity to propel you back over the gap. Once on the other side, you’ll be at the dungeon entrance. Leave and come back in.
13.6 Press an out-of-the-way switch
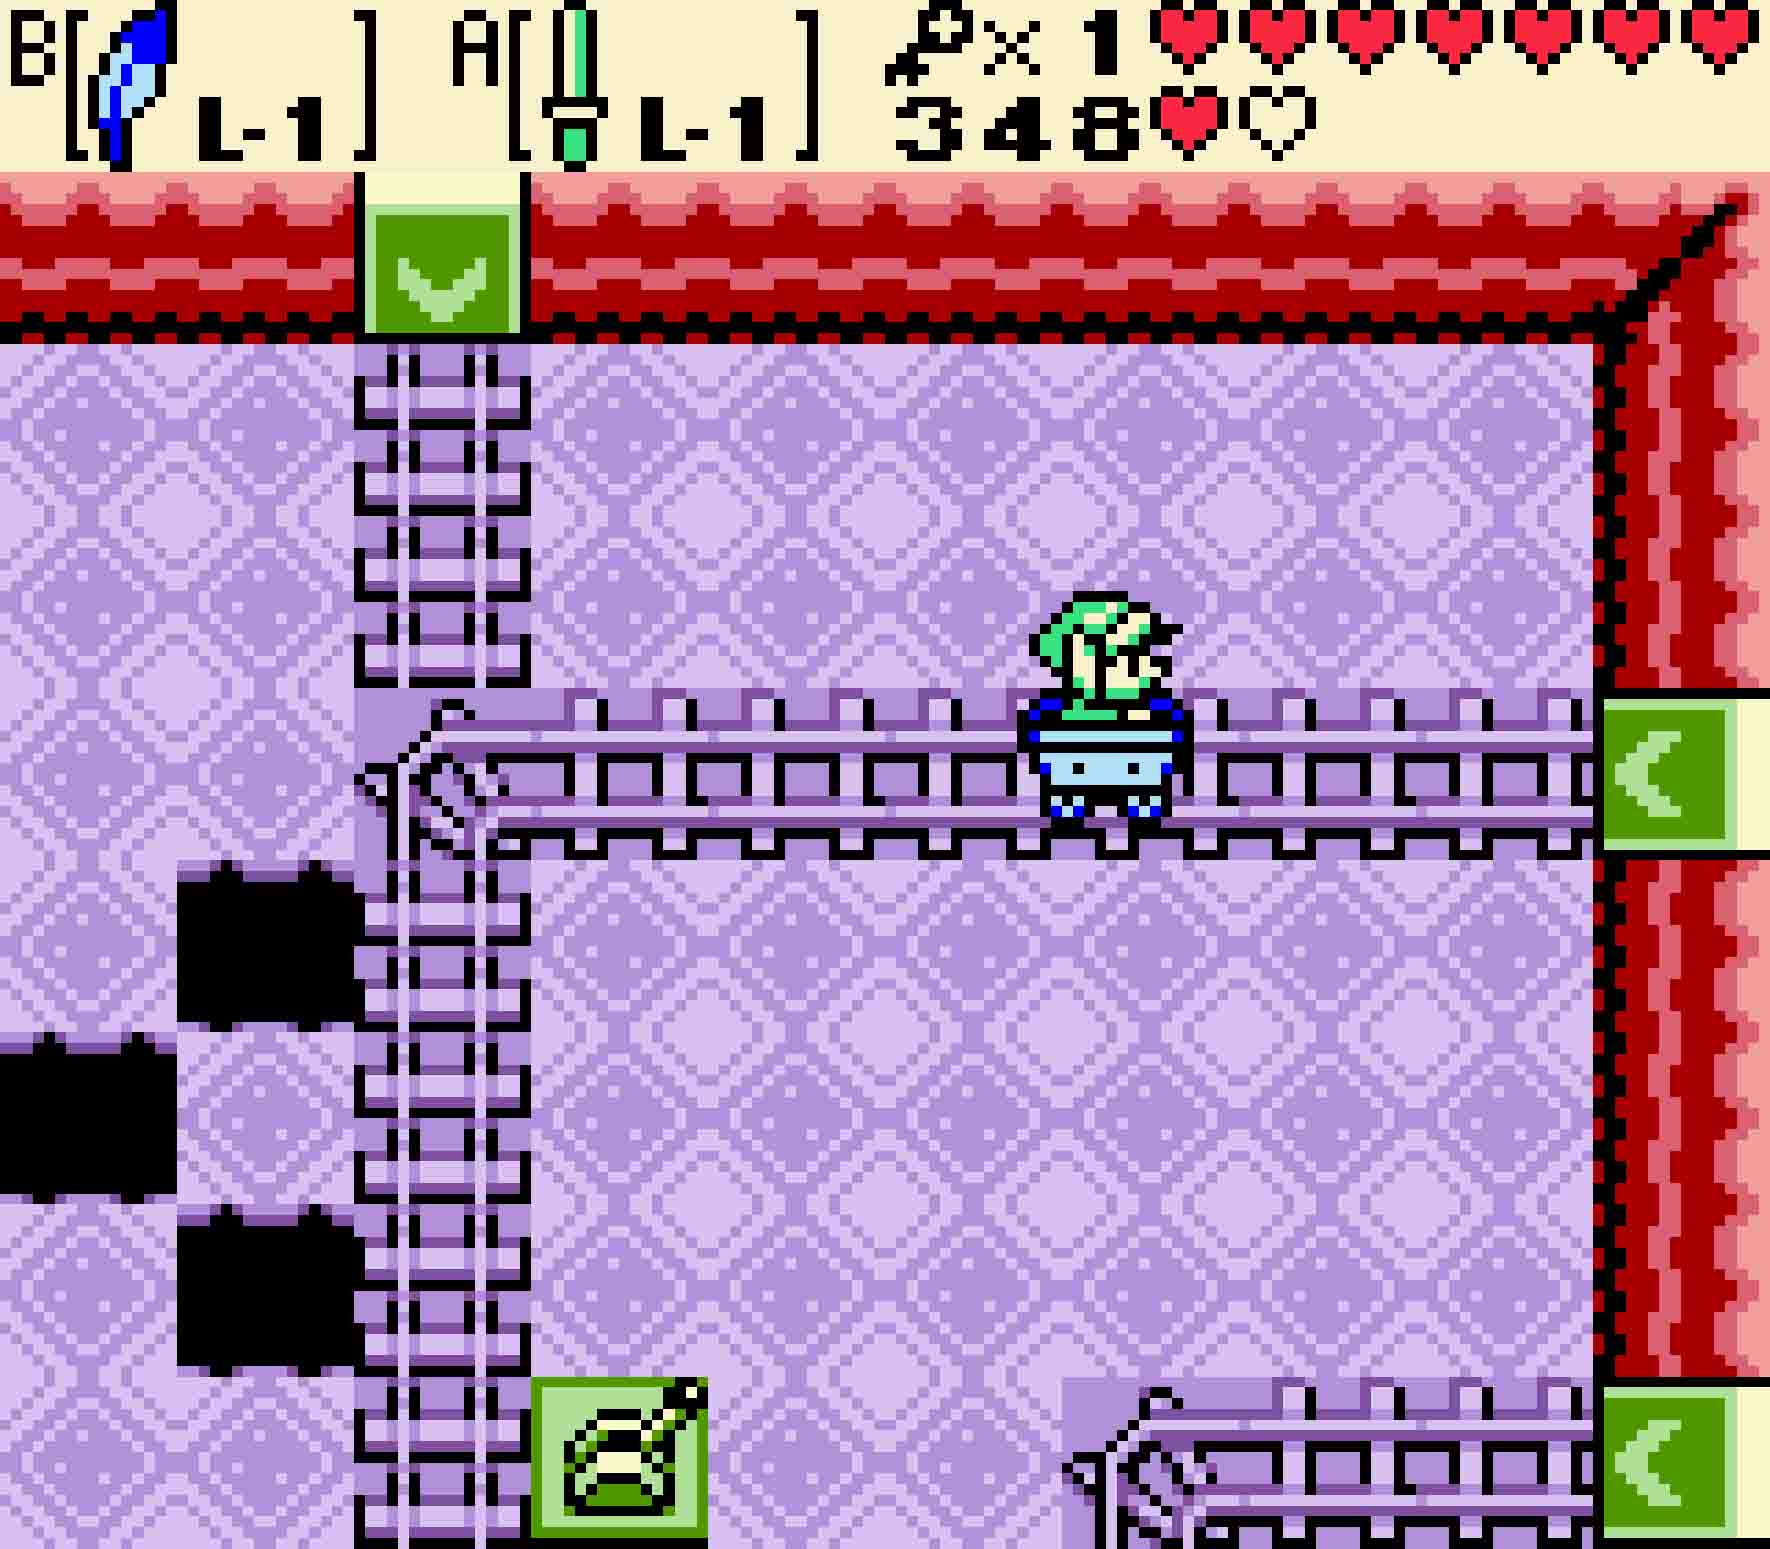
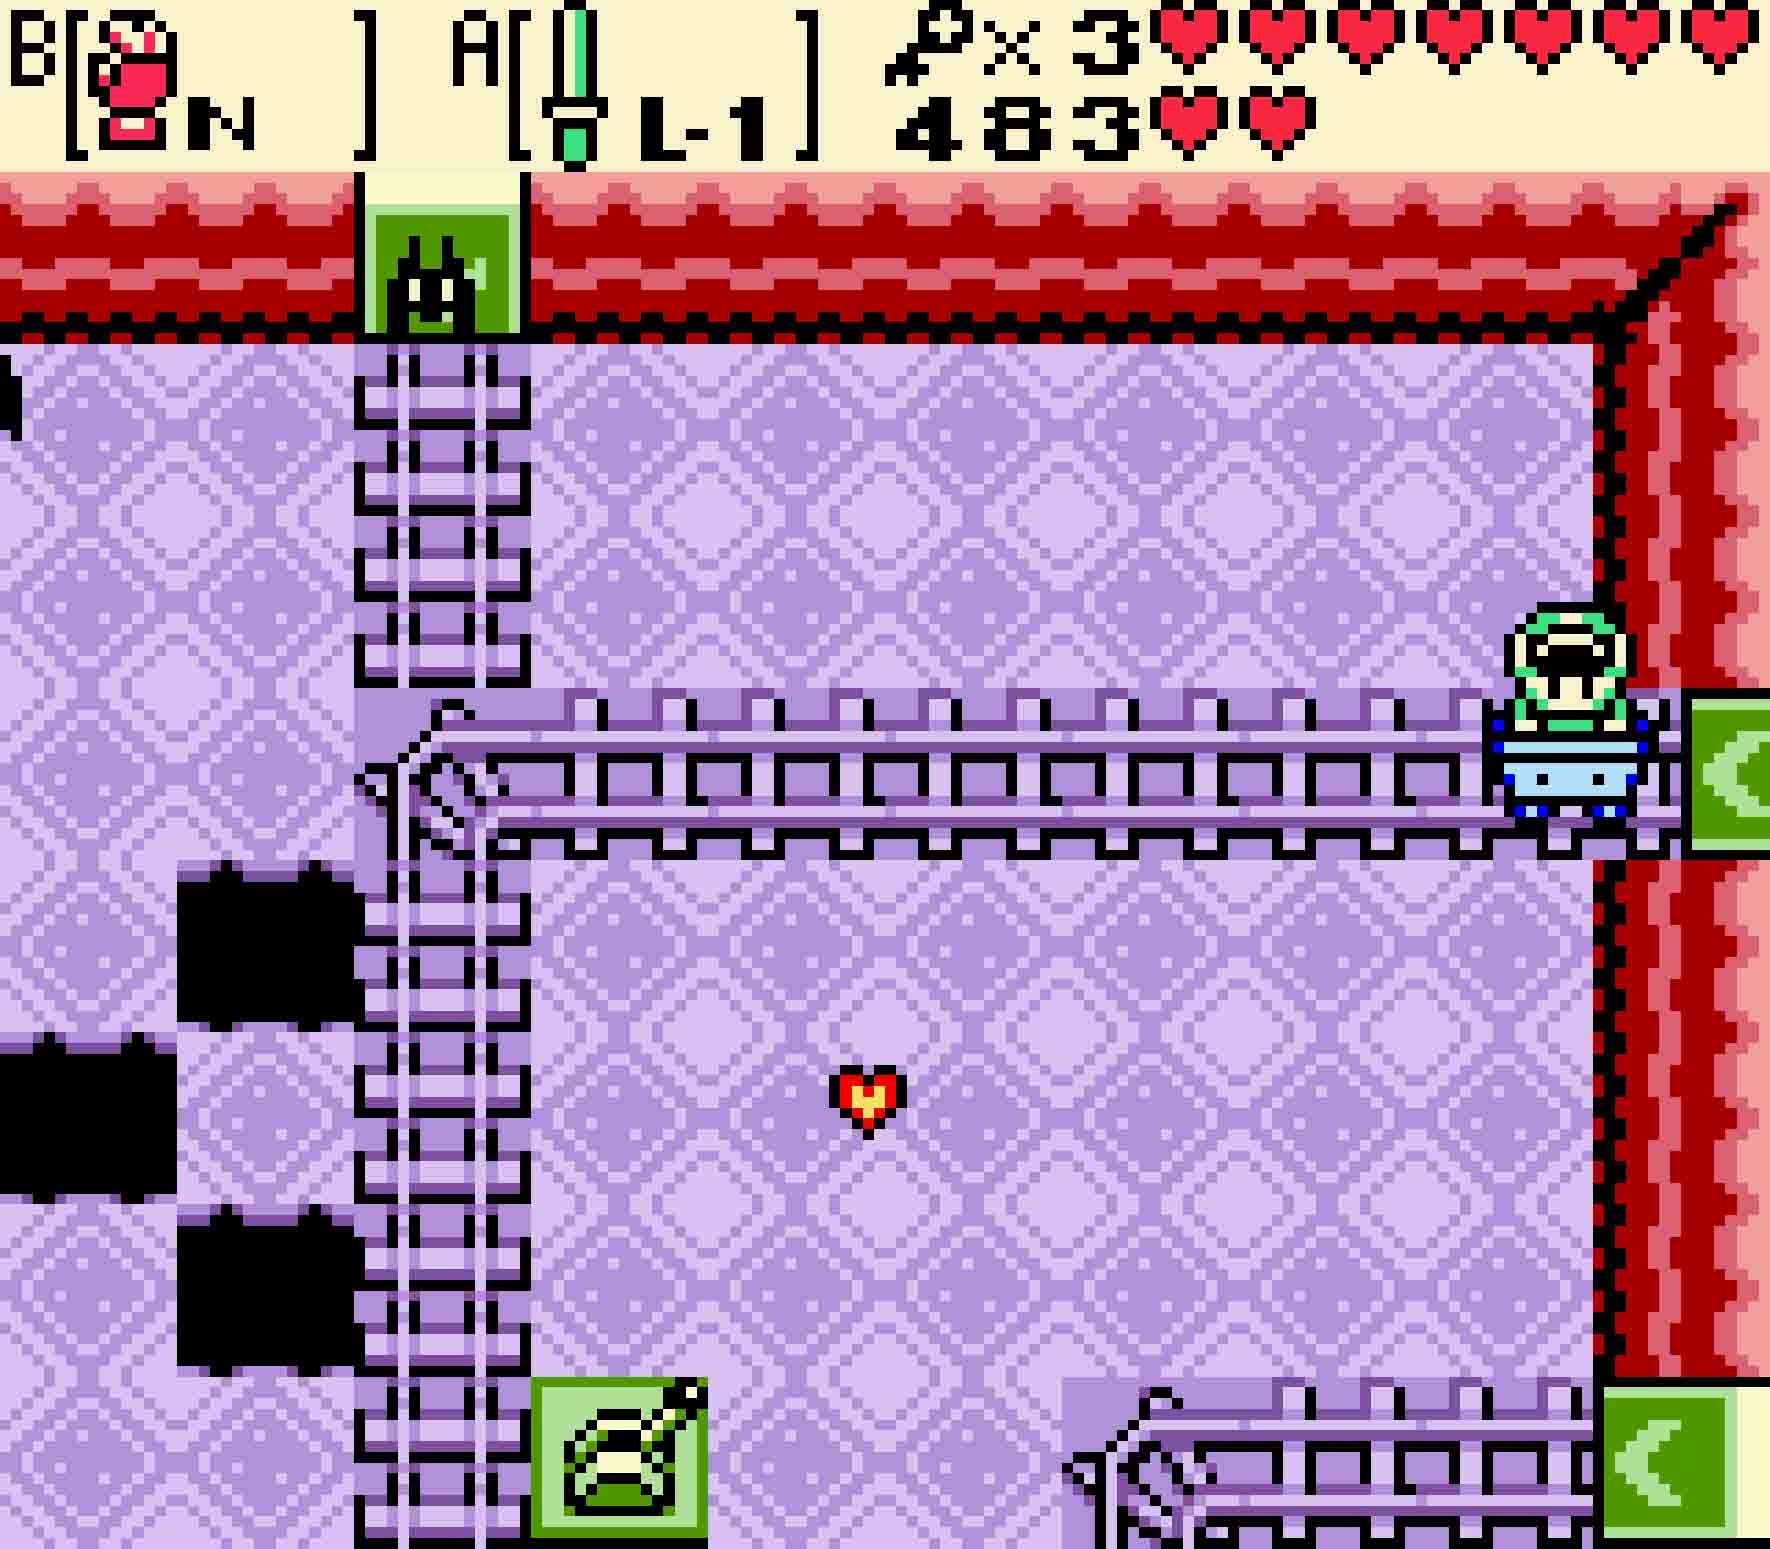
To get back to the minecarts, head north and east again. If you left the dungeon, you should see both minecarts here instead of just one. Hop in the left minecart this time, and make sure you flip the switch next to the tracks as you travel northward. This will cause you to continue northward. At the end of the line, all you’ll have to deal with are red Zols and Keese. Follow the raised walkway around the center section, eventually heading east.
Here you’ll find a Darknut. Unlike most games, in the Oracle games Darknuts are able to be struck from any direction, even a frontal assault. This Darknut will hurl spears at you every once in a while, so be careful as you hit it. Once defeated, walk over to the lone block in the southern half of the room, and push it one square in any direction. This will cause a north-polartiy orb to drop into the pathway. You can’t access it yet, but you will need it later.
-
- Take the left train track this time.
-
- Push the block to reveal the magnetic orb.
It’s time to return back from whence you came. Head west. Walk up and around the center section, and then hop in the minecart to head south.
13.7 Collect the last two keys
 Either on your way back in the minecart or when you hop back in the left minecart, you’ll want to strike the switch next to the tracks. This will cause the southern and western tracks to connect. Use this to exit the room to the west.
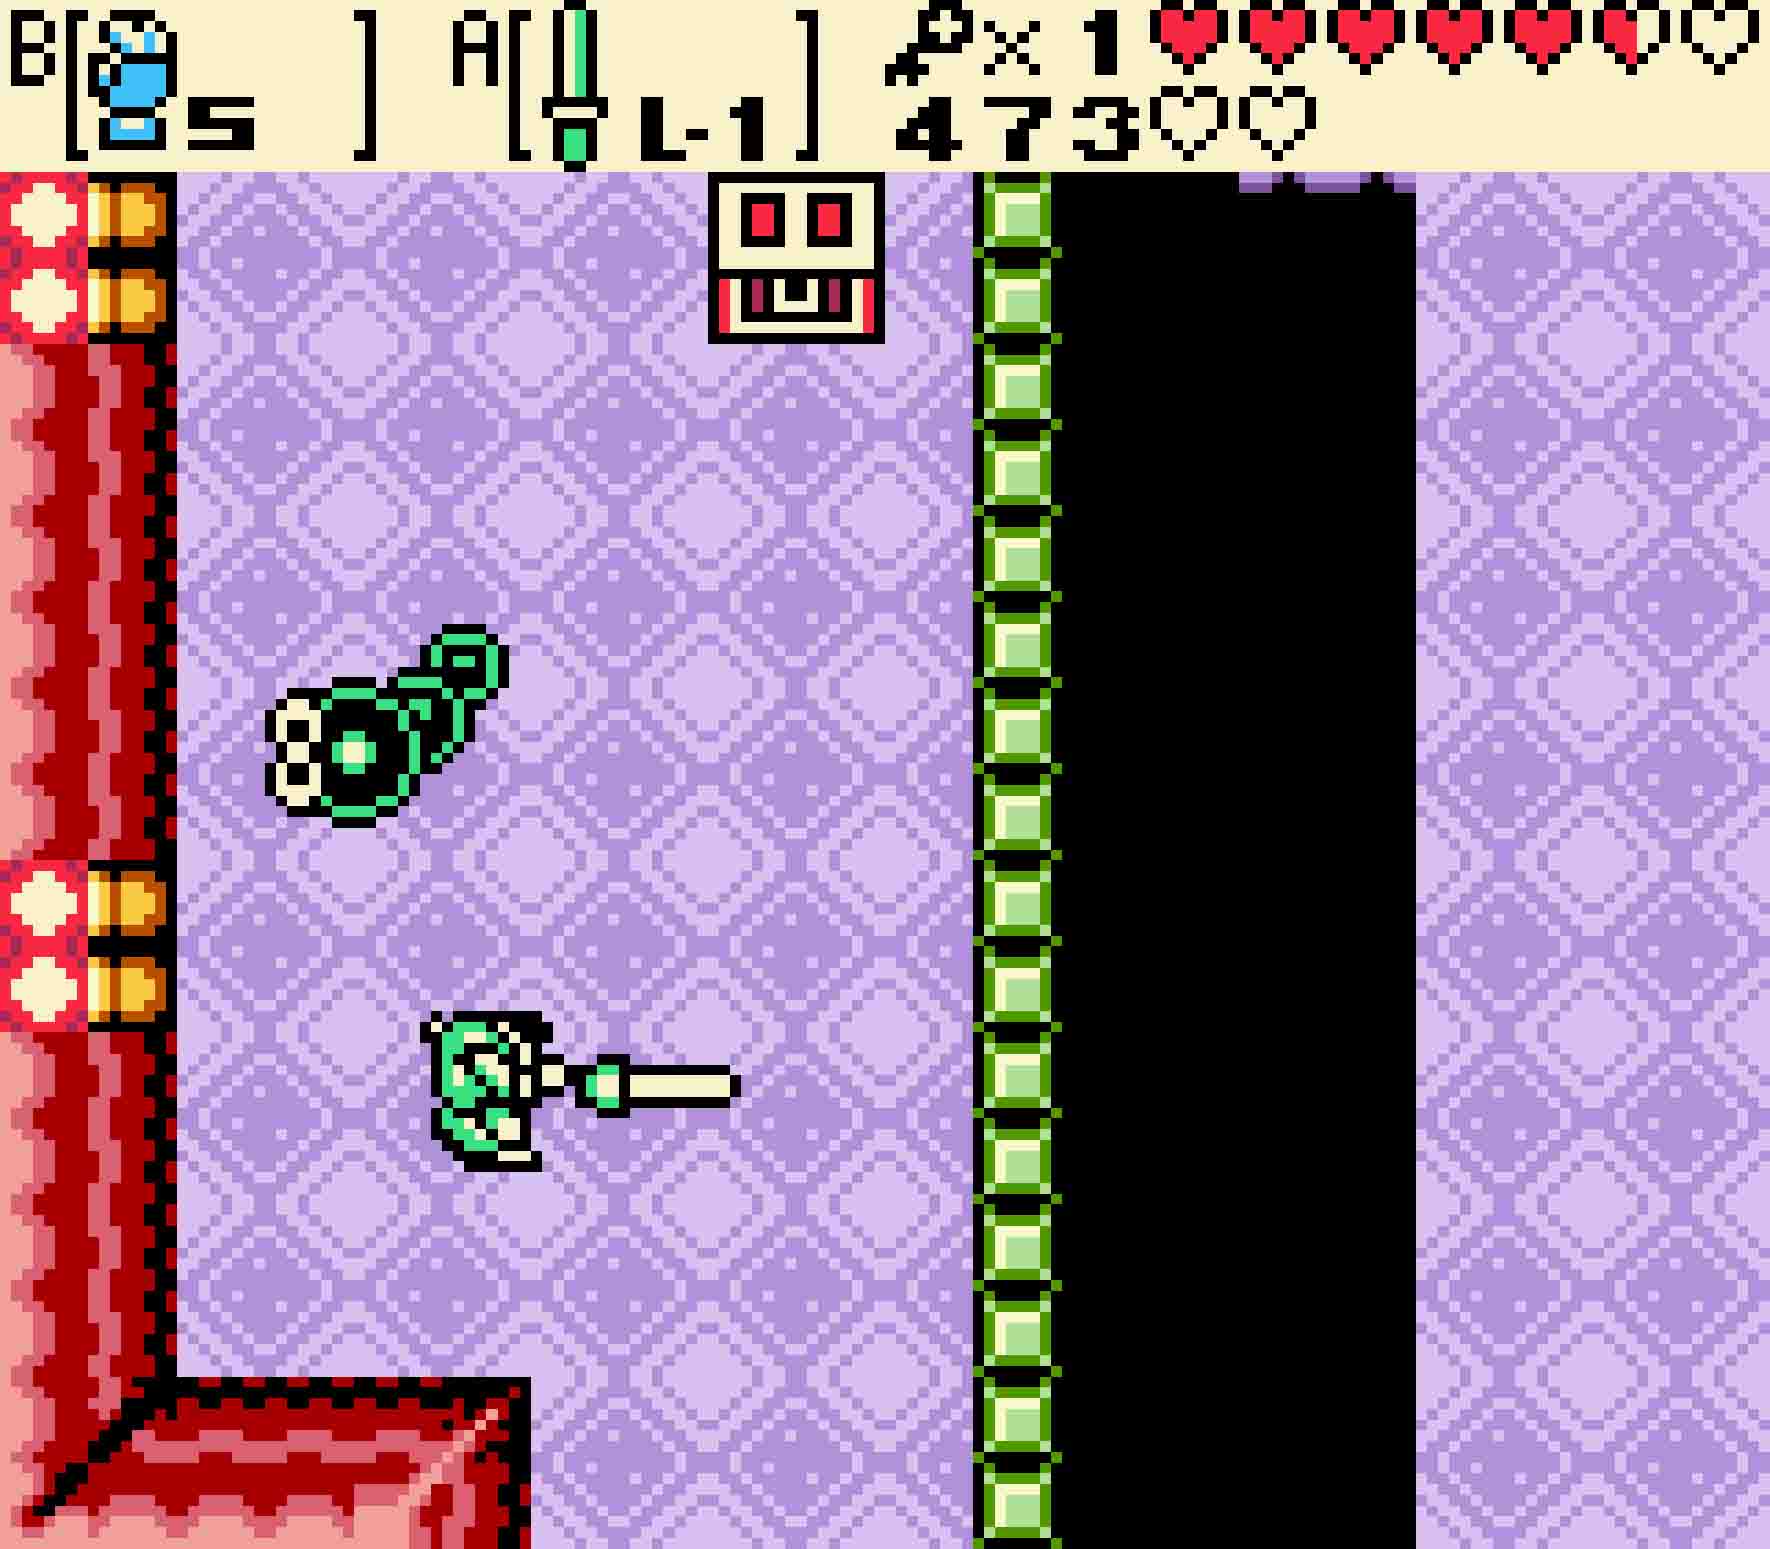
There’s just a mere two Iron Masks in this room, and the Magnetic Gloves will help take care of both. You might notice that there’s a treasure chest on the far left side of the room. The key to getting there is that rotating block in the center of the gaping pit. That rotating block is magnetized with a south pole. If you stand in line with the rotating block and use the Magnetic Gloves with north polarity, you will become attracted block, fly over the pit, and attach yourself to the block.
-
- Keep attracting yourself to the spinning block until you’re in position.
-
- On the flip side of it, quickly switch polarities to repel to the other side.
Let it rotate you about 180°, and then quickly switch the polarity by letting go and then reusing the Gloves. The sudden south polarity will push you away from the block before you can fall. Once you’re on solid ground, let go and collect your third key in the chest. To return to the other side, do the exact same thing. Leave the room via the minecart.
Back in the room with the two minecarts, hop in the rightmost minecart, and don’t flip the switch in the next room so you can head east. You’ll be back in the room with the staircase, but you’ve already been there. Instead, use the Magnetic Gloves with south polarity to repel yourself across the gap. Once on the other side, hop in the minecart on the southern side of the room. This will take you back through Grand Central Station and drop you right off at another key, this one being your fourth.
-
- Get one more key by going on this railroad adventure.
13.8 Defeat Syger
Hop back in the minecart so you can head northeast. It’s finally time to start spending that key surplus you’ve been acquiring. Use one of your keys on the eastern door, bringing your total back down to three.
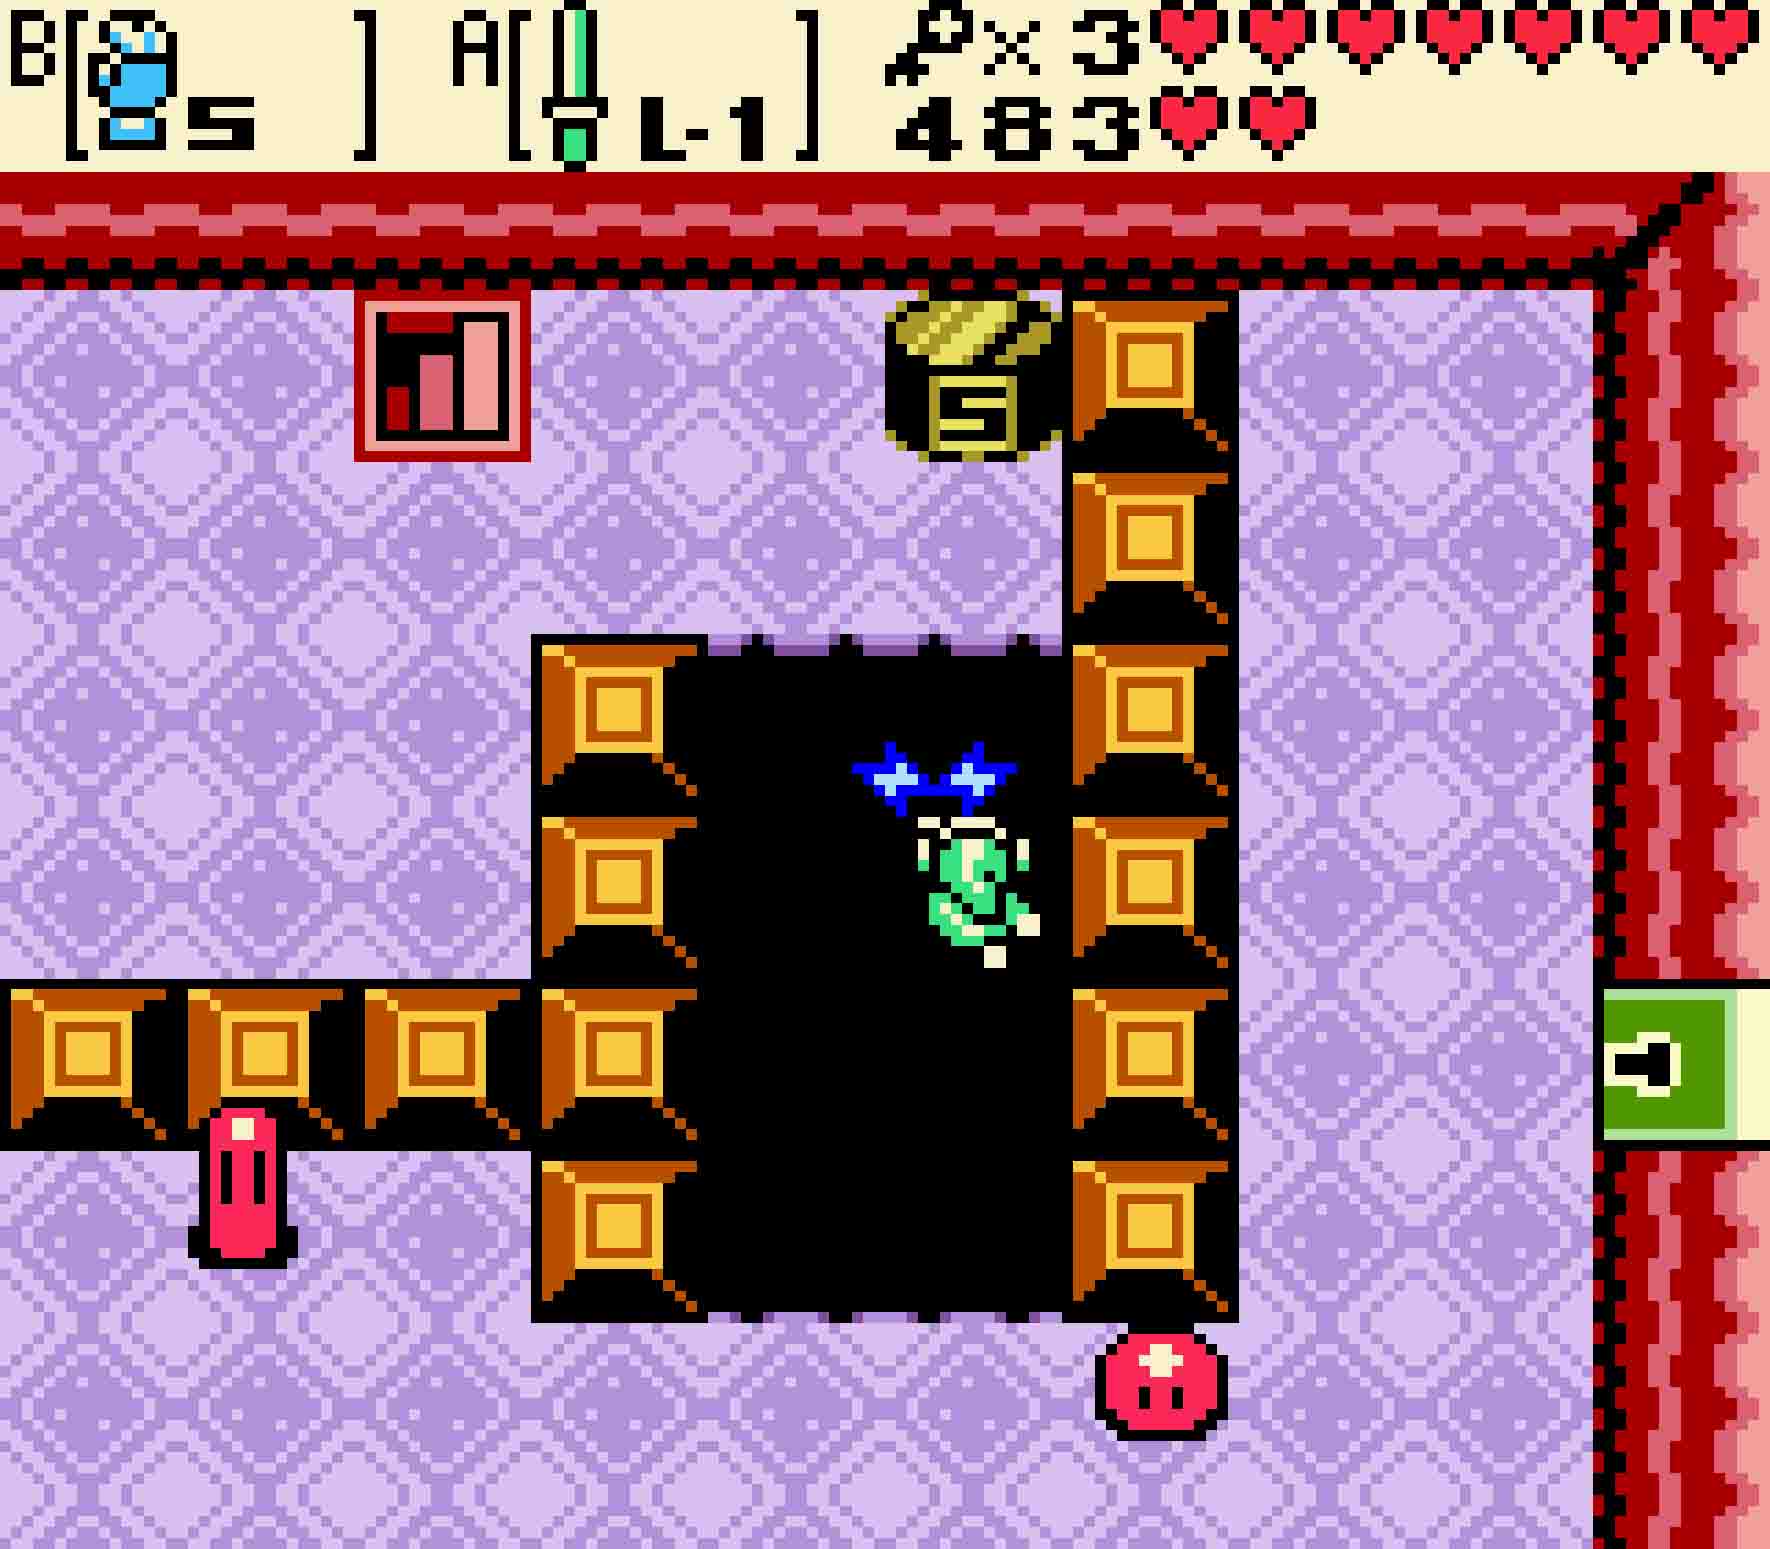
And then you’ll be immediately thrust into the mini-boss fight. The mini-boss’ name is Syger, and unsurprisingly the boss is a tiger-shaped beast. However, this tiger can do more than simply bite you. Every so often, and always immediately following you successfully attacking it, Syger will curl up into a ball and attempt to smash into you. Syger has several different patterns of attack during this phase. It sometimes will stalk you horizontally as it dashes from the bottom of the screen to the top and vice versa. Sometimes it will travel in sweeping arcs as it travels from corner to corner. You’ll just need to be wary of its patterns.
-
- Syger only attacks in very predictable patterns. Learn how to dodge these attacks.
-
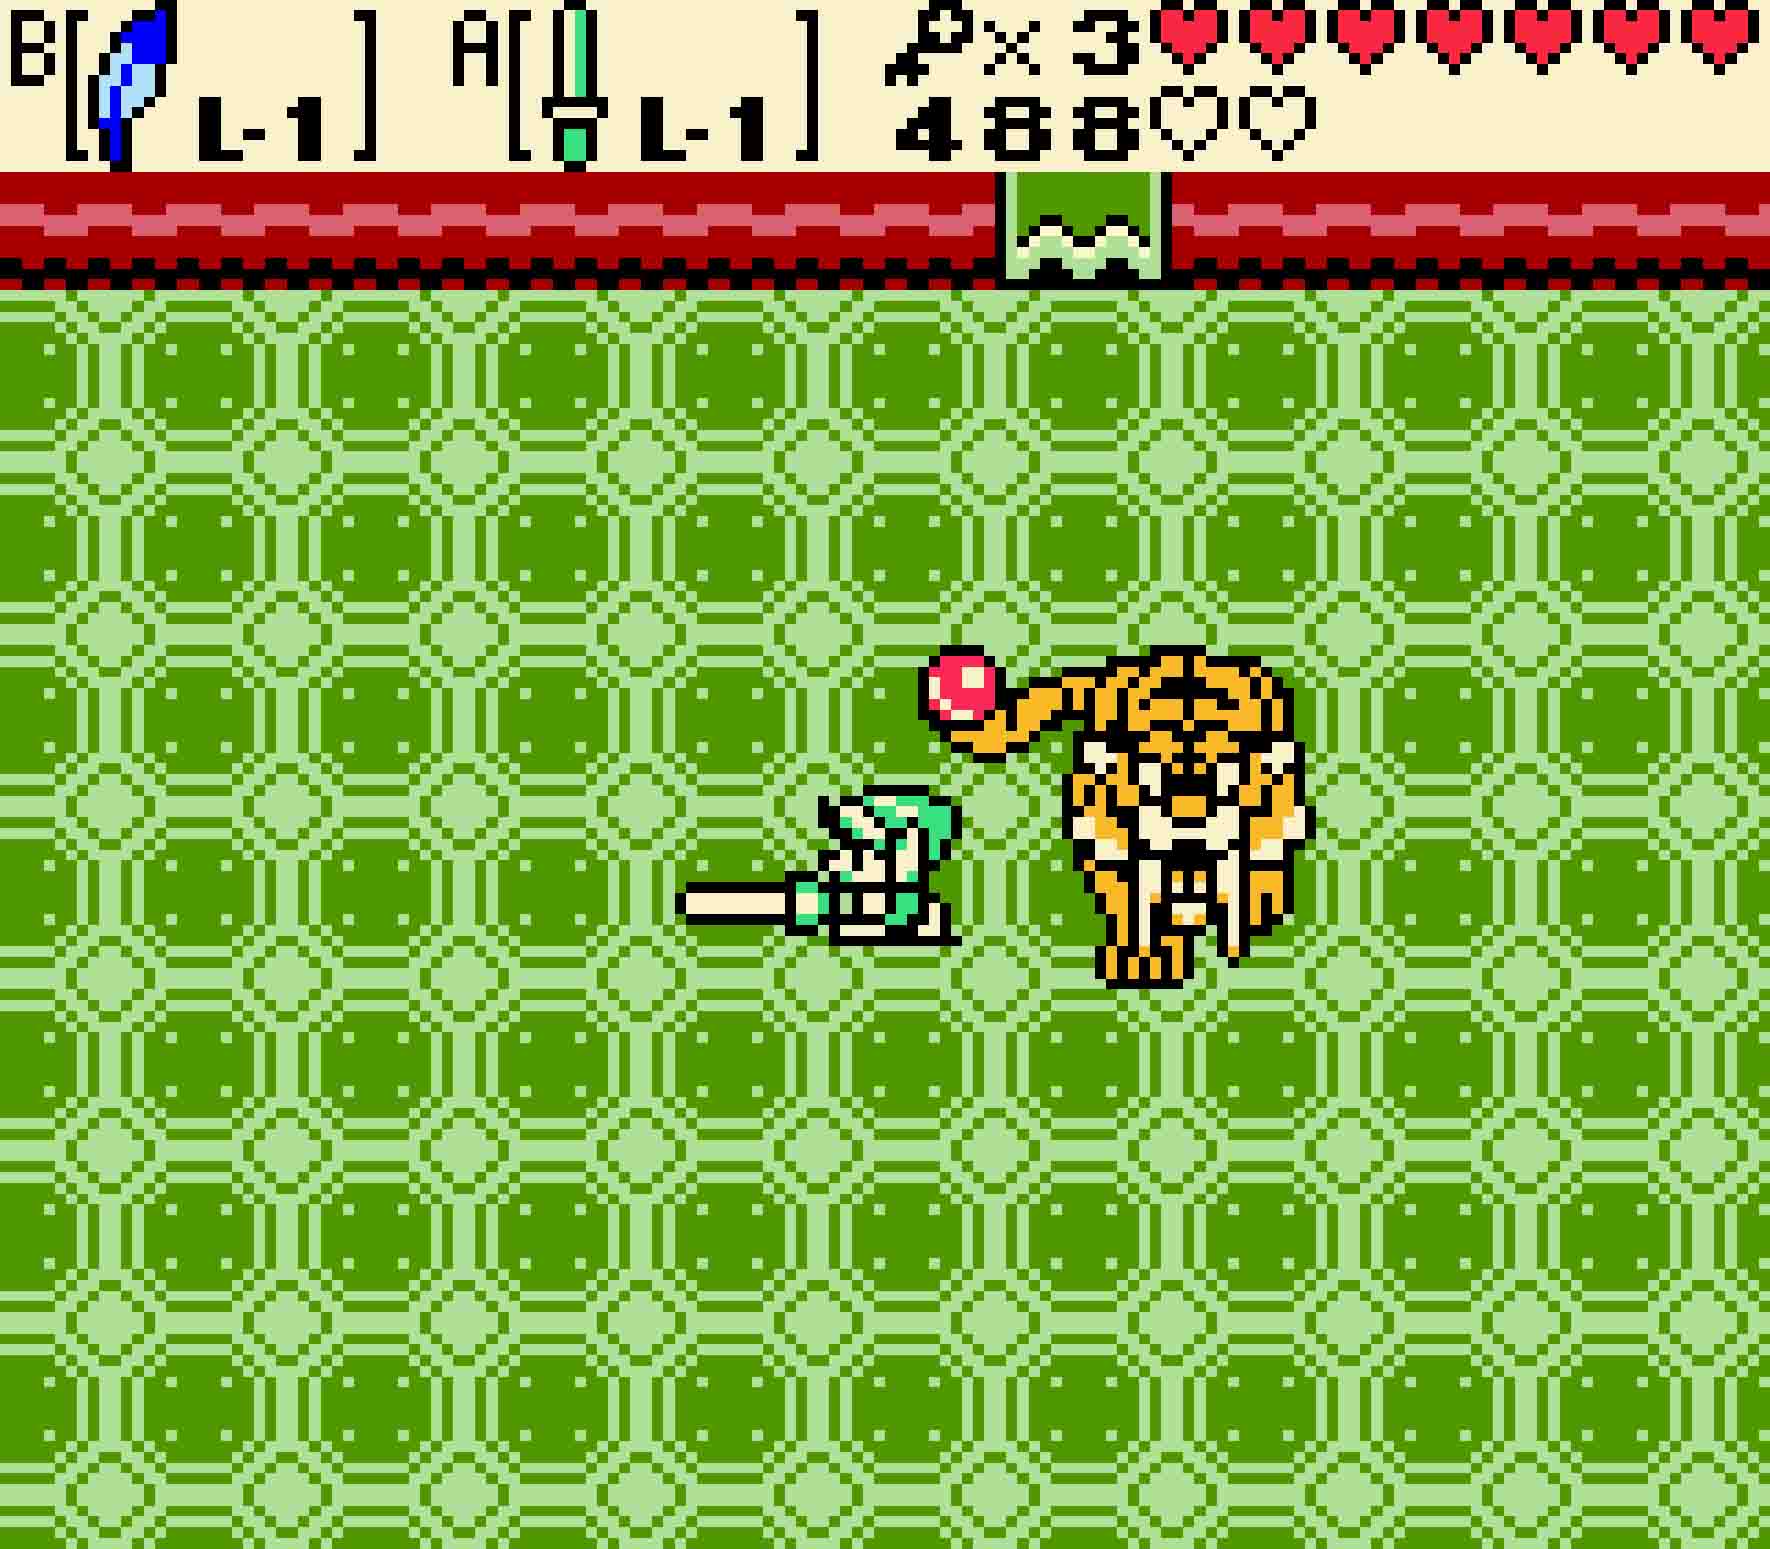
- Avoid it in its ball phase; then attack the tail when it’s on all fours.
Its weak point should be obvious: the very tip of its tail. The best approach is to wind up a Spin Attack, unleashing it on the tail. Immediately go on the defensive, preparing for whatever attack might come next. In between, Syger doesn’t have any real attacks other than walking slowly about, so you should be able to rinse and repeat. Once defeated, it will leave a fairy behind as well as a teleporter to the beginning of the dungeon.
13.9 Move a magnetic orb
Now that Syger is defeated, head north. Defeat the Keese, and then look around to see that you have three pathways to go from here: west, east, and then down. The quest for the Boss Key should be your first order of business, and to do that, you’ll need to head east.
You’ll find yourself in a block maze with two Sparks swirling around the exterior of the room. There are also hidden green Zols within the floor that will appear as you pass by. Along the north wall in the middle of the room, there will be a switch that opens the door heading north. Head up there to hit it; then carefully navigate the narrow corridor to the right to reach the door.
-

- Avoid the Sparks as you navigate to the switch. That will open the doorway.
-
- This Beamos is fairly dangerous, as are the Darknuts.
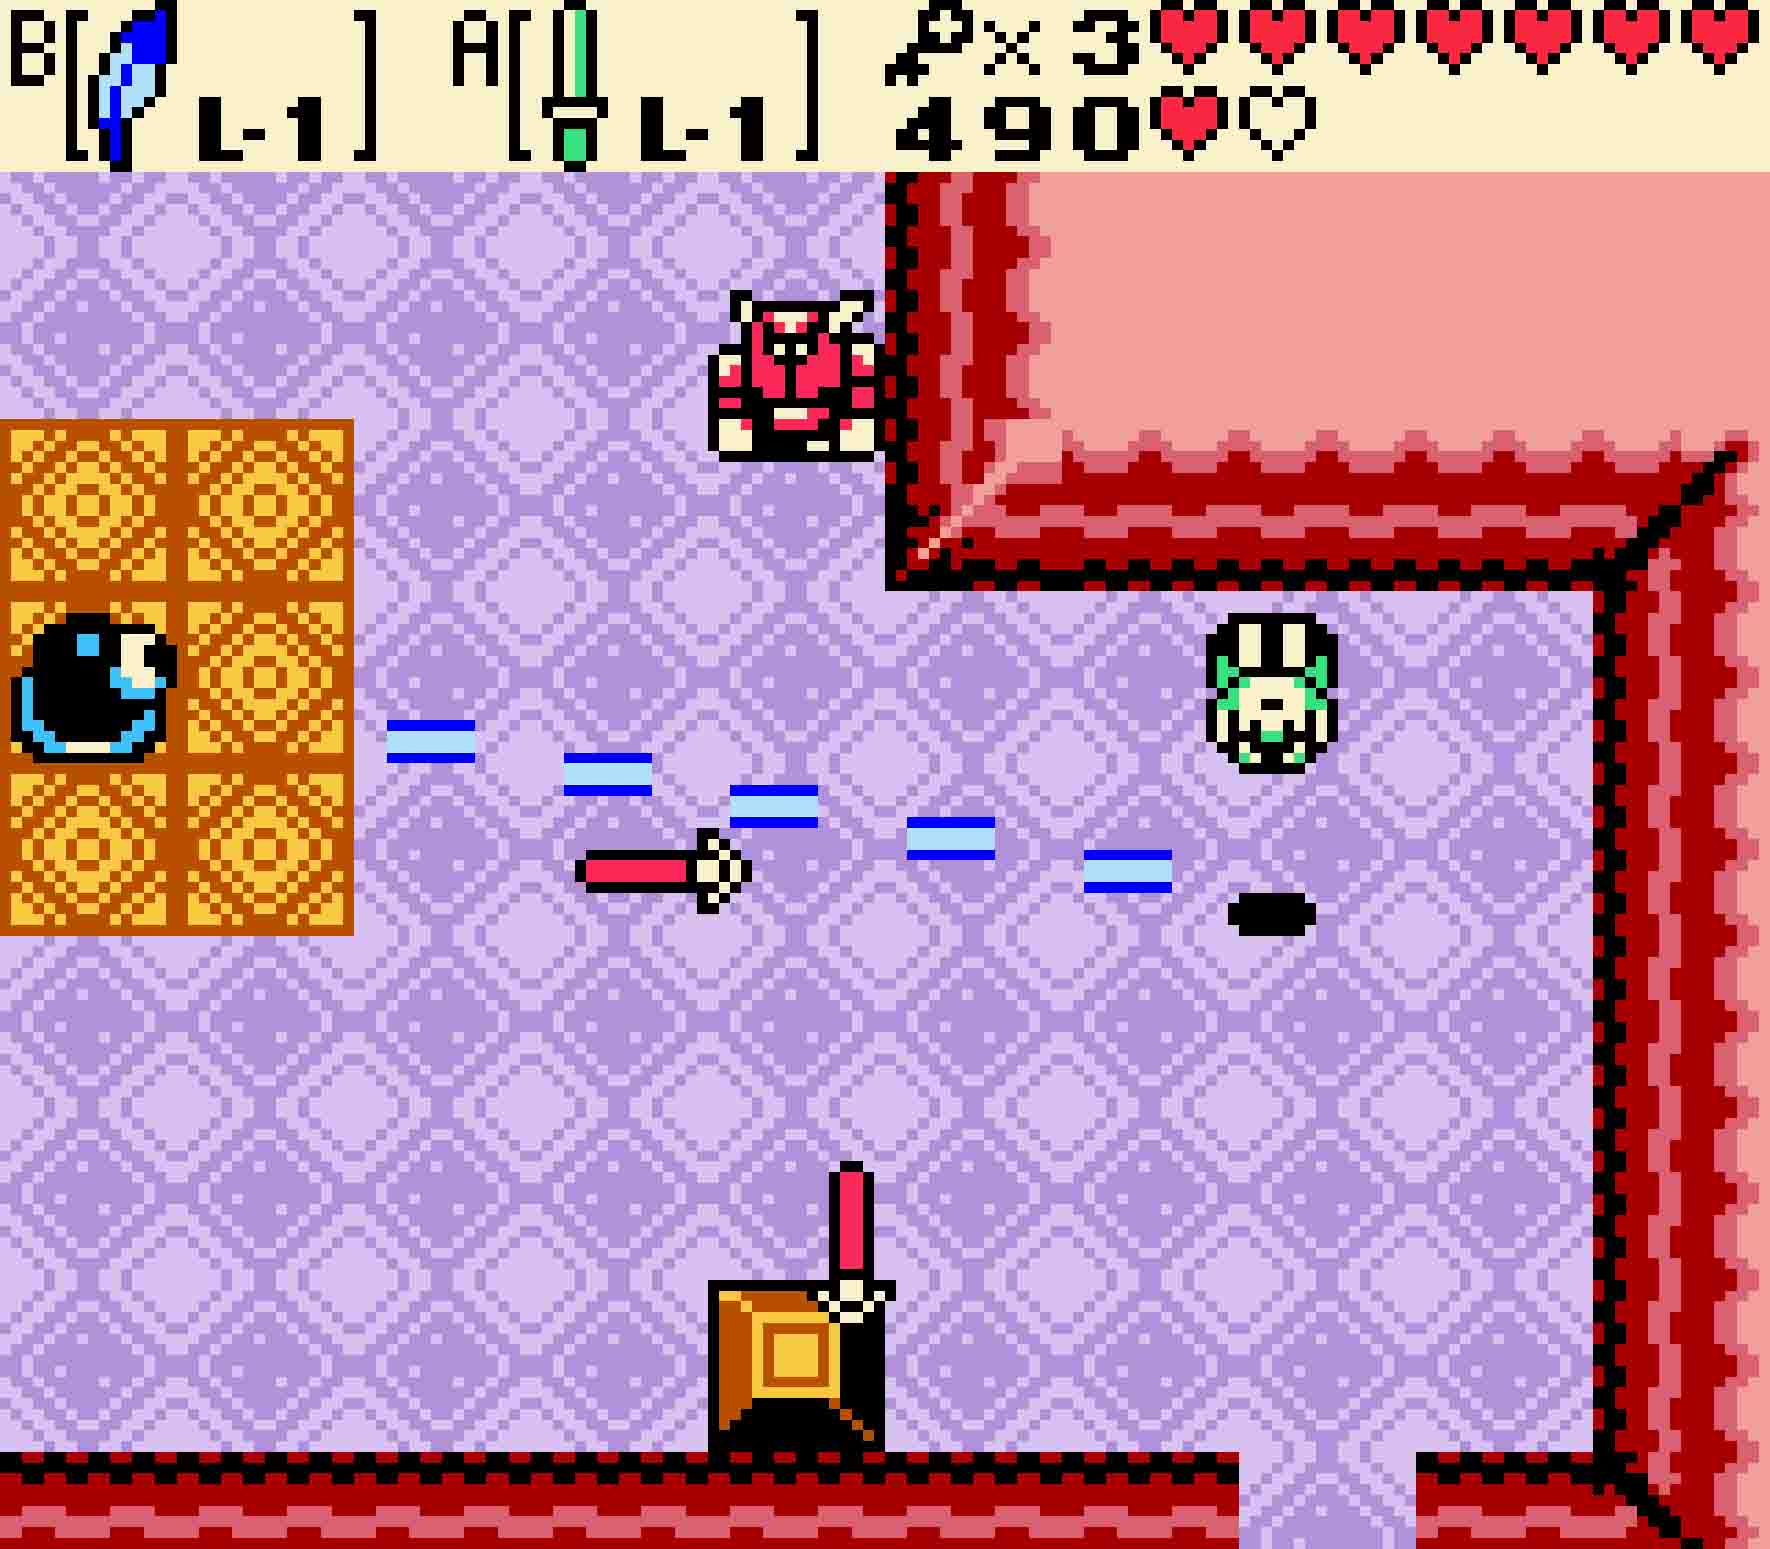
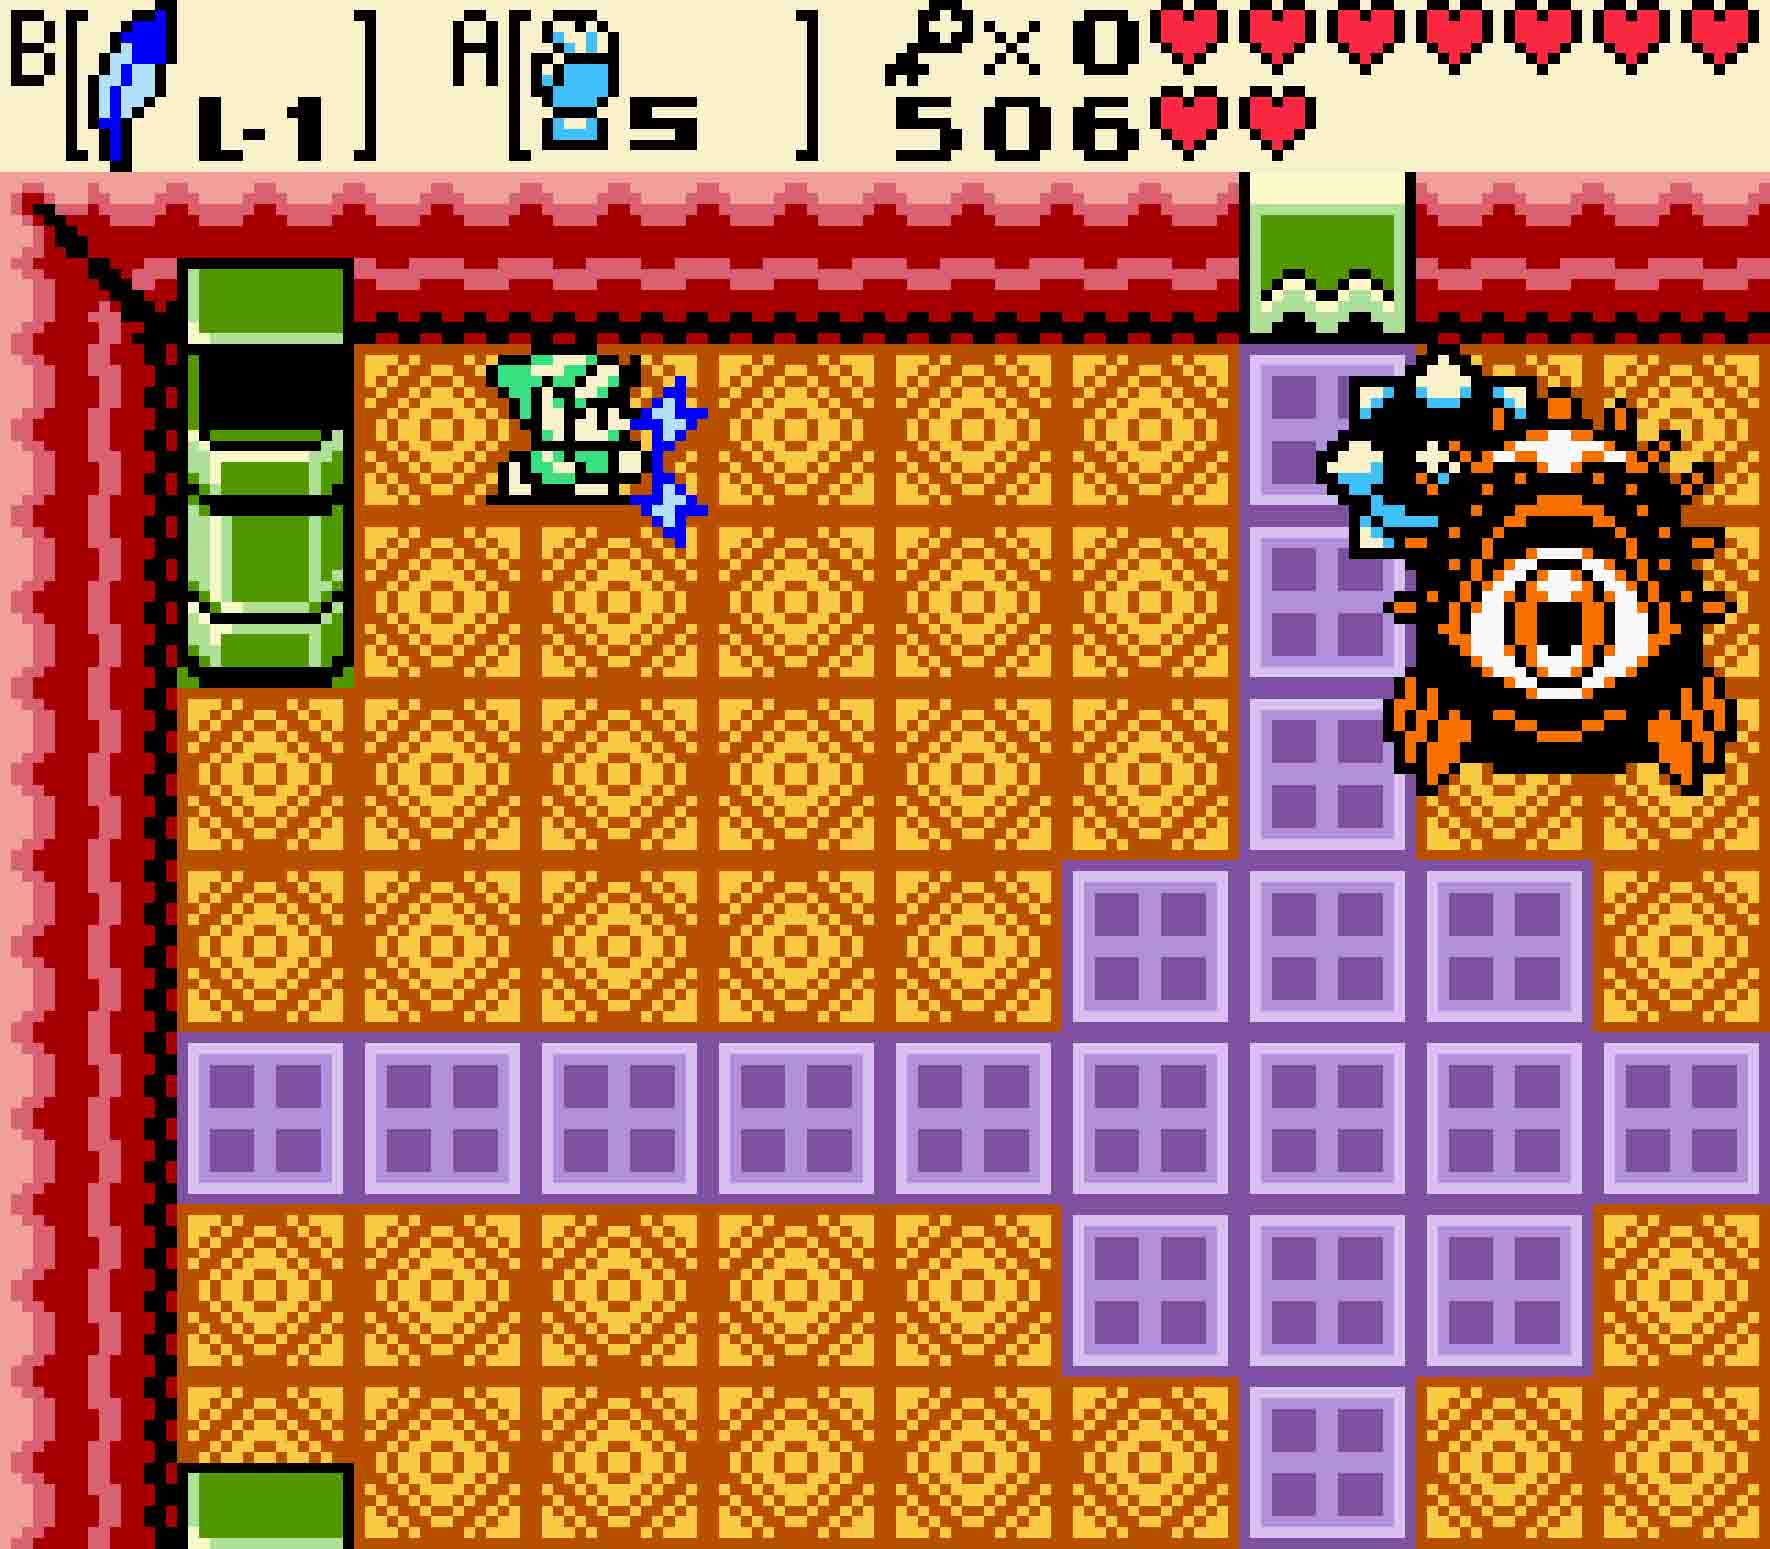
This next room will make you think you’re out of the frying pan and into the fire. Two Darknuts await you, but worst of all is a Beamos that pretty much has a line of sight to everywhere in the room. Keep your Roc’s Feather equipped to easily dodge the Beamos’ attacks. Thankfully, these Darknuts aren’t tricky, but you should watch out for their spears. Head west.
These creatures are annoying. You’ll need to pull them toward you to attack them.
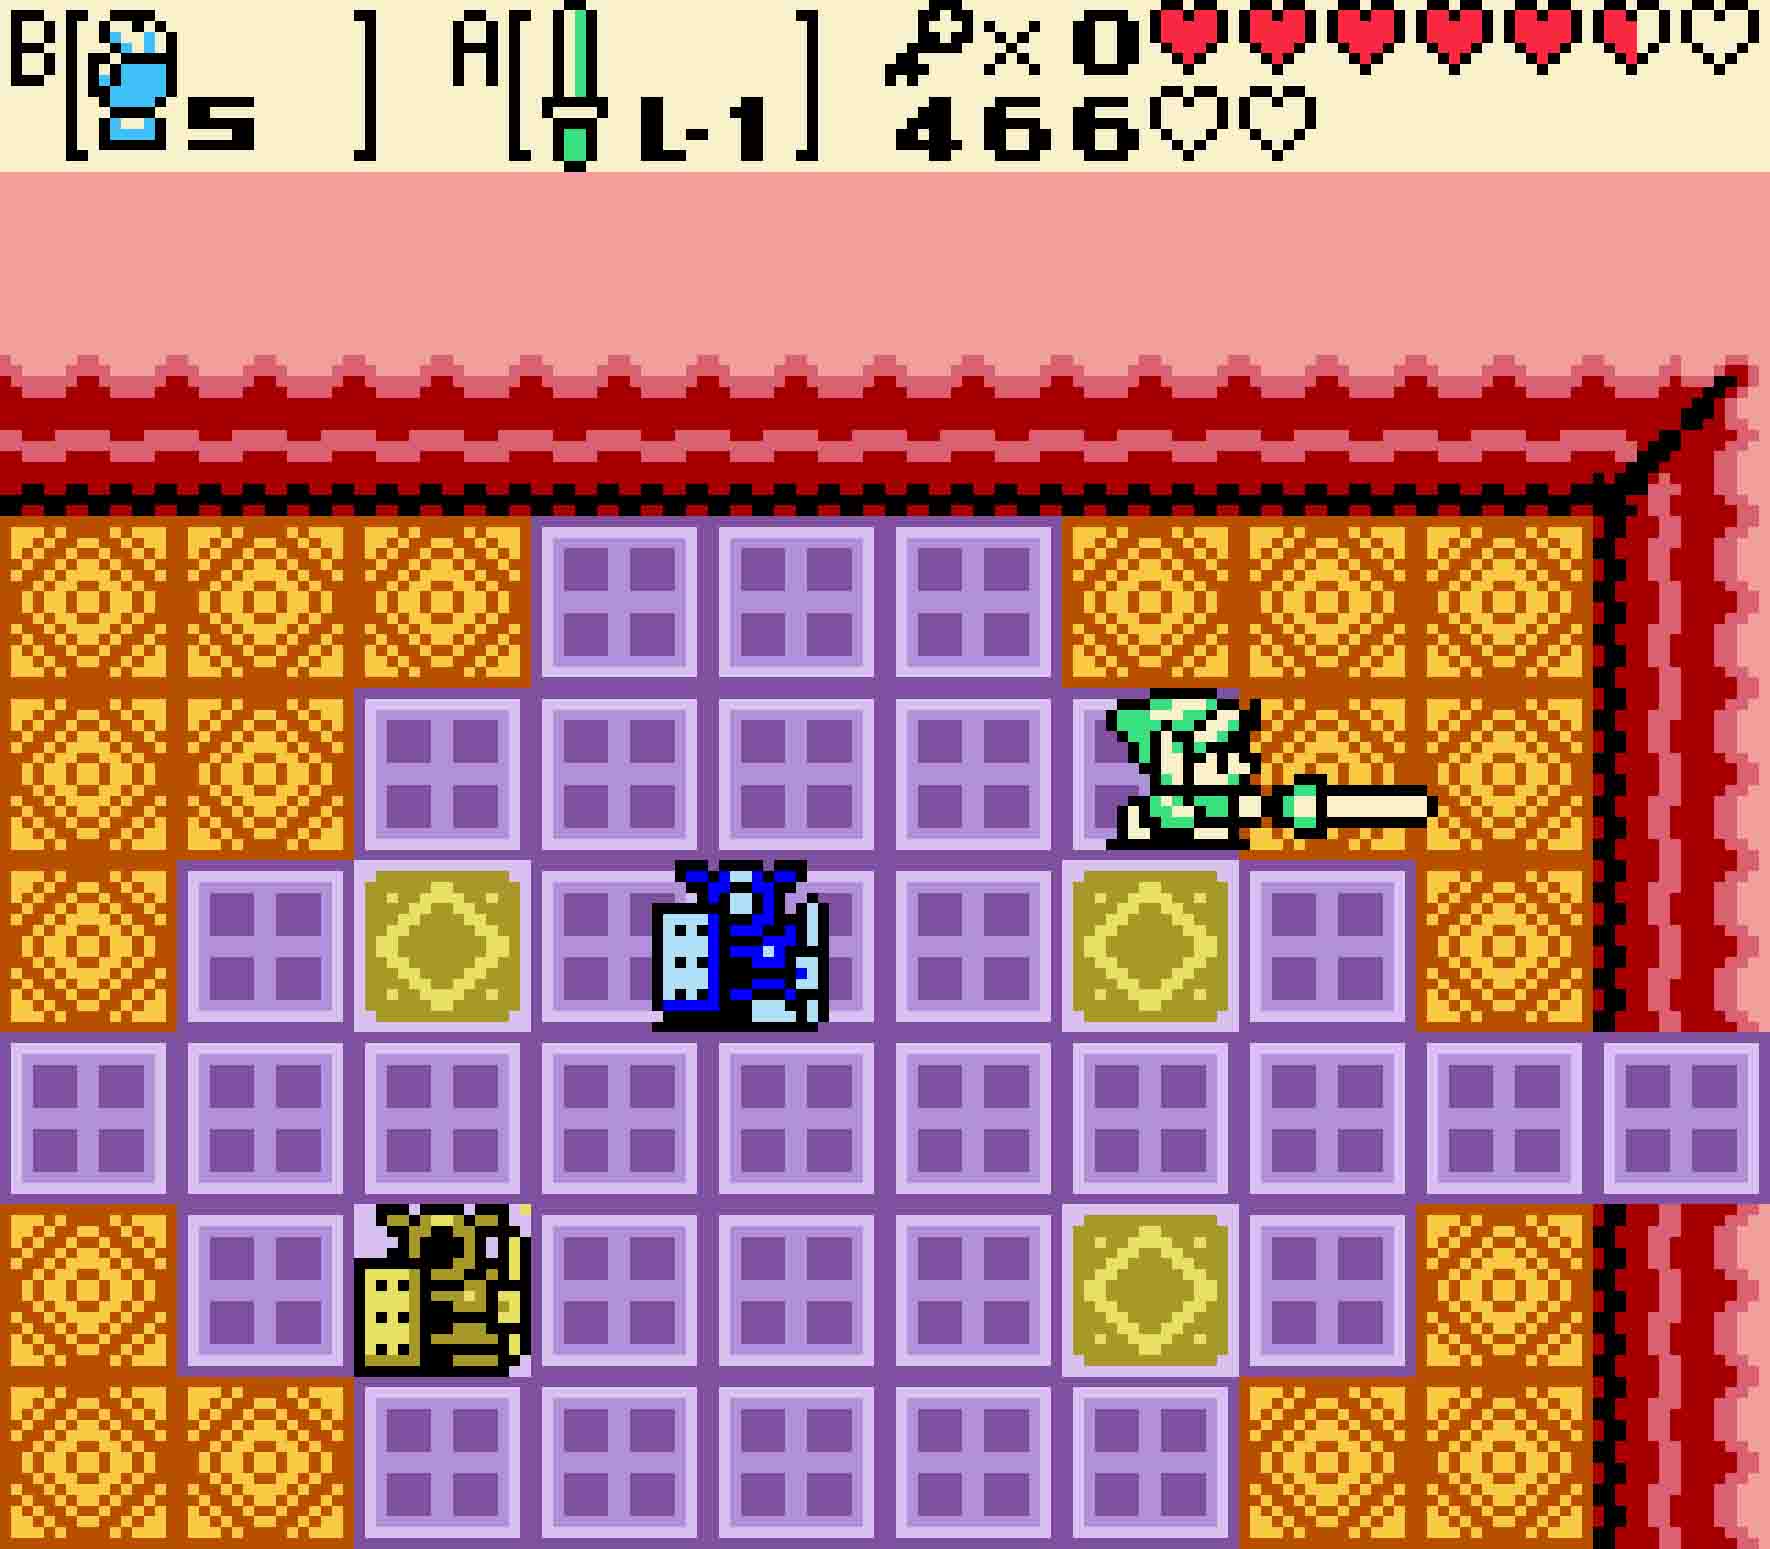
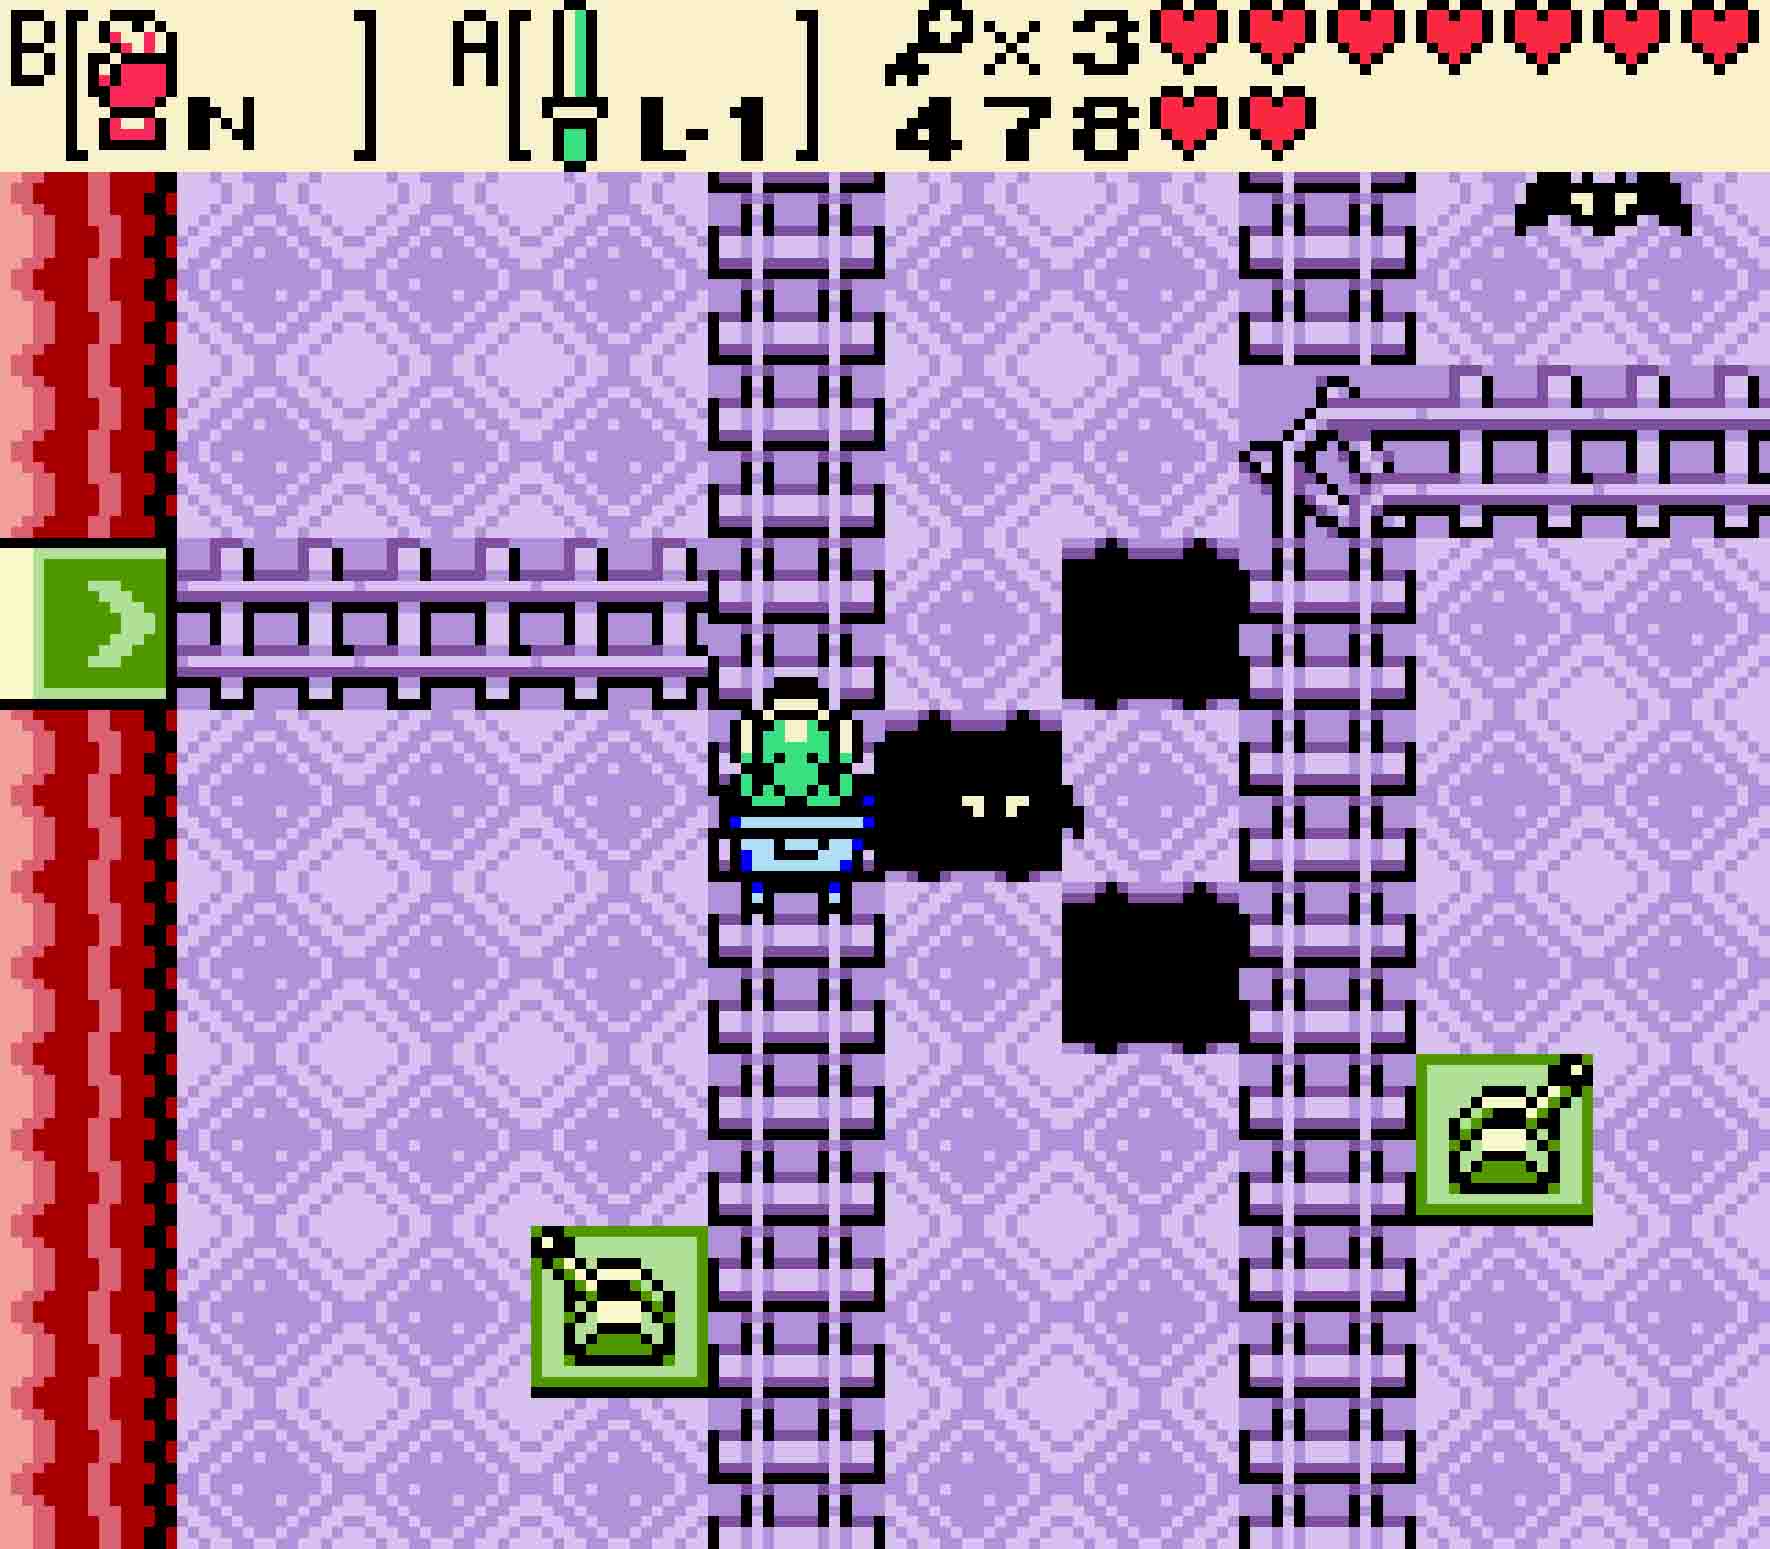
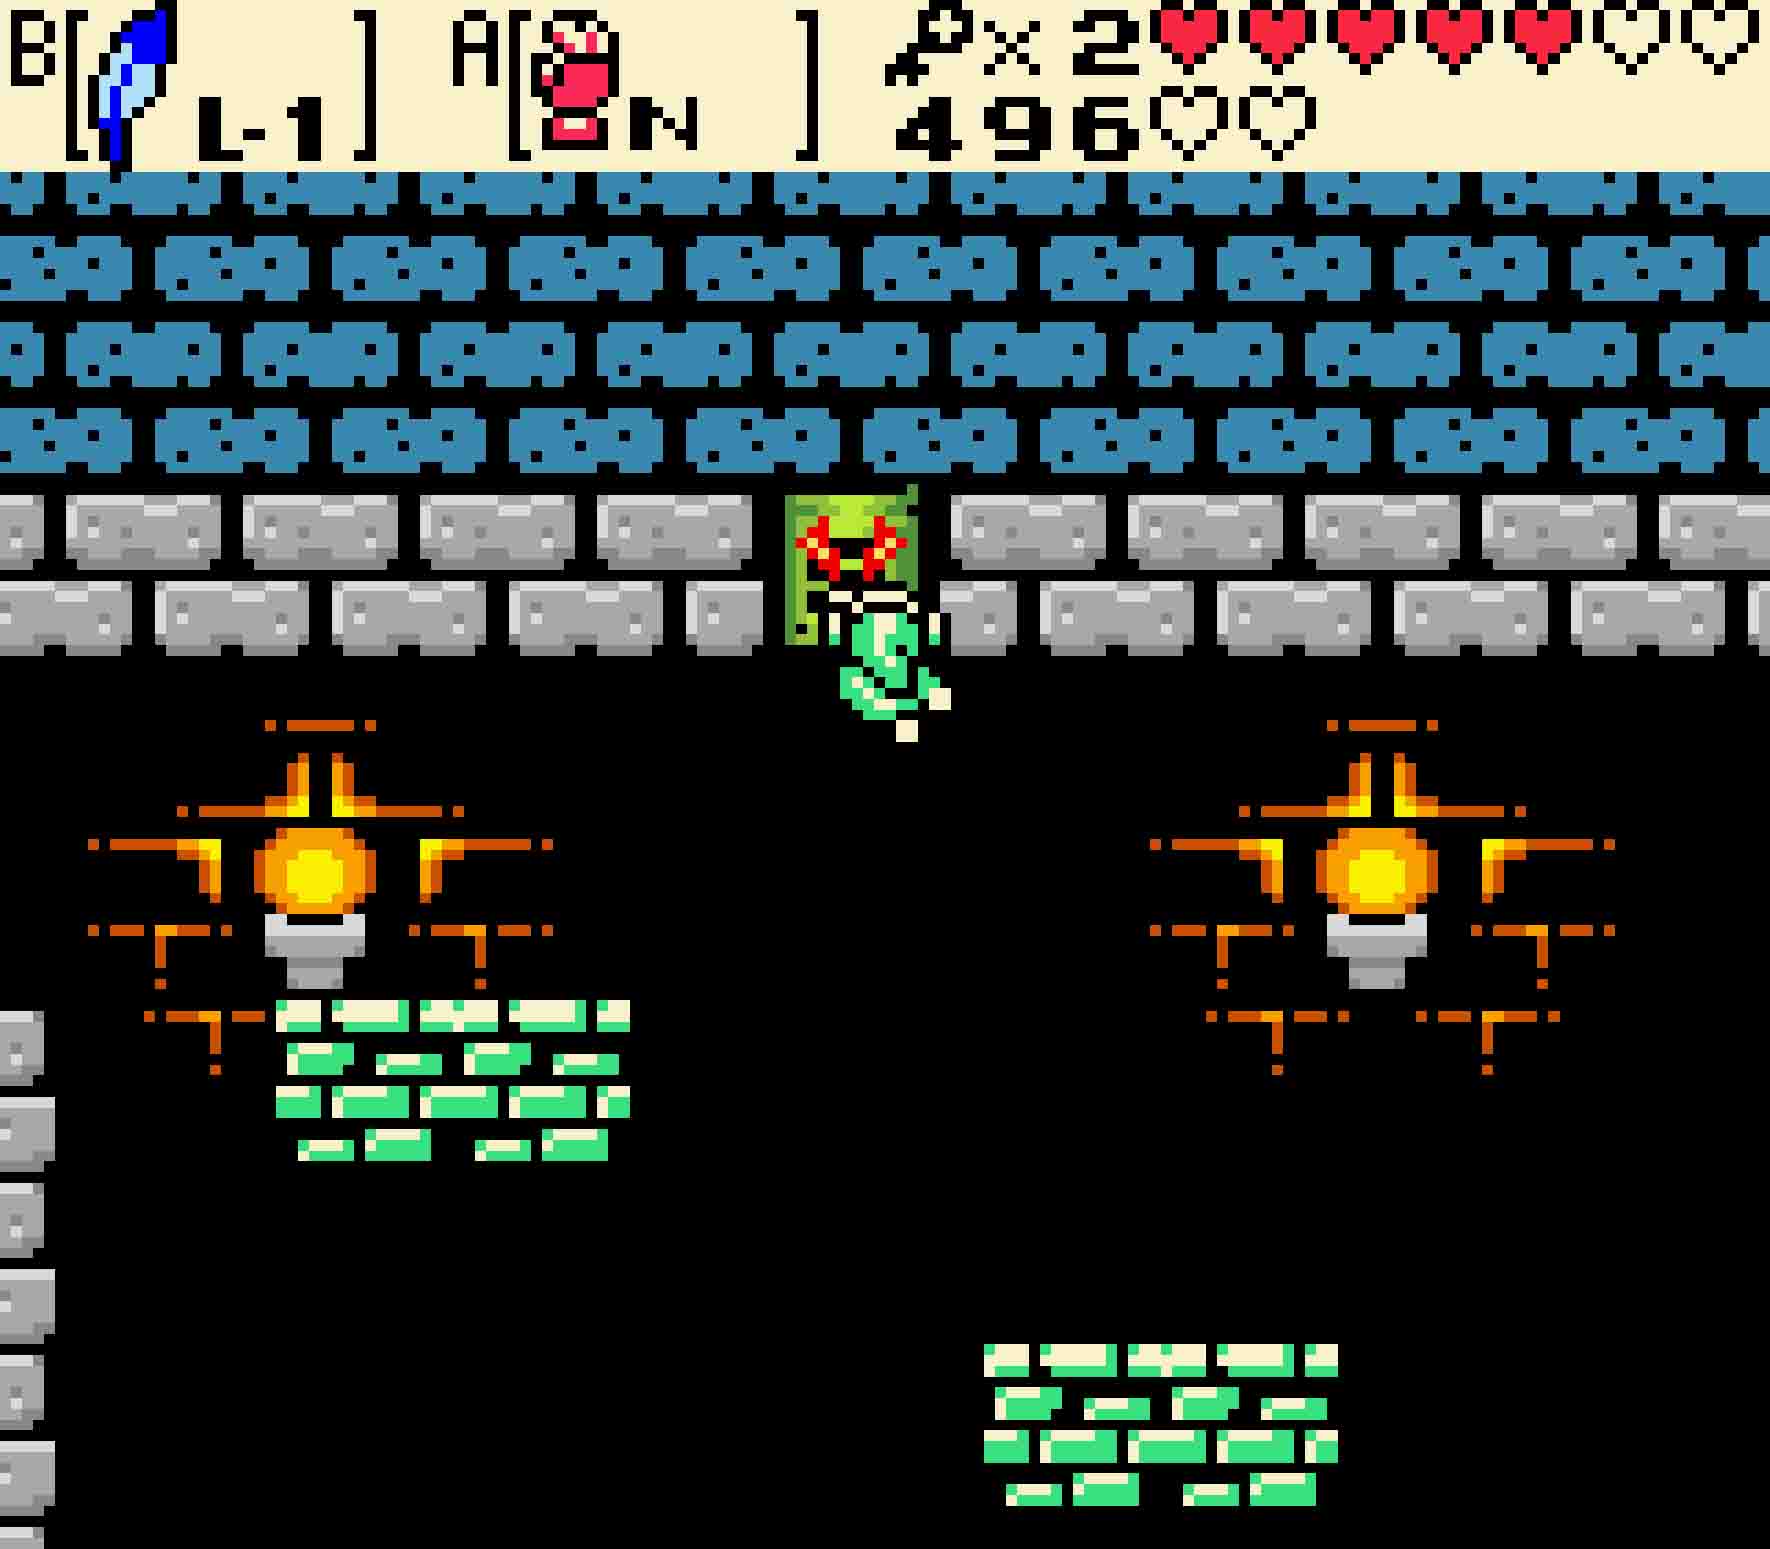
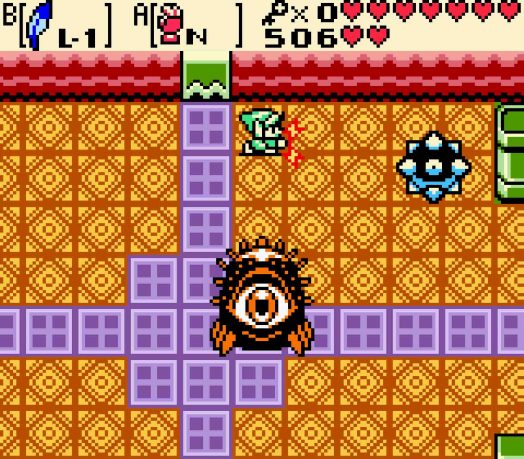
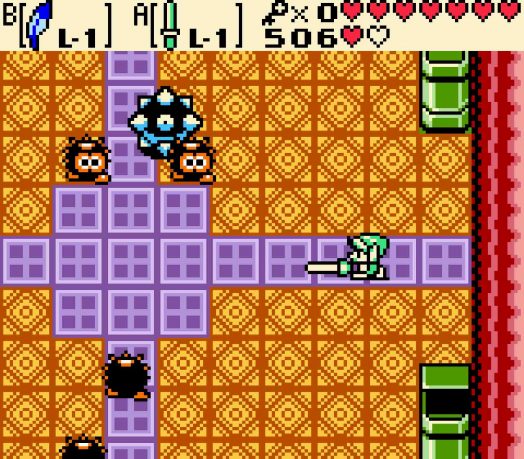
You can’t advance past this room until you defeat all the enemies here. Speaking of enemies, these are an entirely new type: Magunesu. You’ll notice that each of these have a bit N or S on their heads, indicating they might be magnetic. Use the Magnetic Gloves, and depending upon their polarity you will drag several of them towards you. Magunesu will occasionally change their polarity; when they do, they’ll spit a fireball towards you. At that point in time, switch your own polarity to continue drawing them close. Once they’re close, hit them with your sword. Kill them all, and the door west will open up.
And you’ll come all this way to realize you’ve hit a dead end. However, it’s still a very necessary excursion. You’ll see a magnetic orb on the north side of the room on the other side of a block wall. Using south polarity, you’ll need to pull that orb as far to the west as you possibly can given your current mobility. Once you’ve pulled it all the way west, you’ll need to backtrack.
-
- The doorway forward is just out of reach, but this orb isn’t.
-
- Pull it as far to the left as you can, and then leave it behind for later.
13.10 Obtain the Boss Key
To get to the main junction, head east twice, south, and then back west. Spend your second key by unlocking the door to the west.
You’re safe in here, and you’ll notice — because you moved the block in this room earlier — that there’s a nice magnetic orb sitting in front of you. Use the Magnetic Gloves to pull it onto the floor switch to weight it down, thus allowing the door to stay open. Go north.
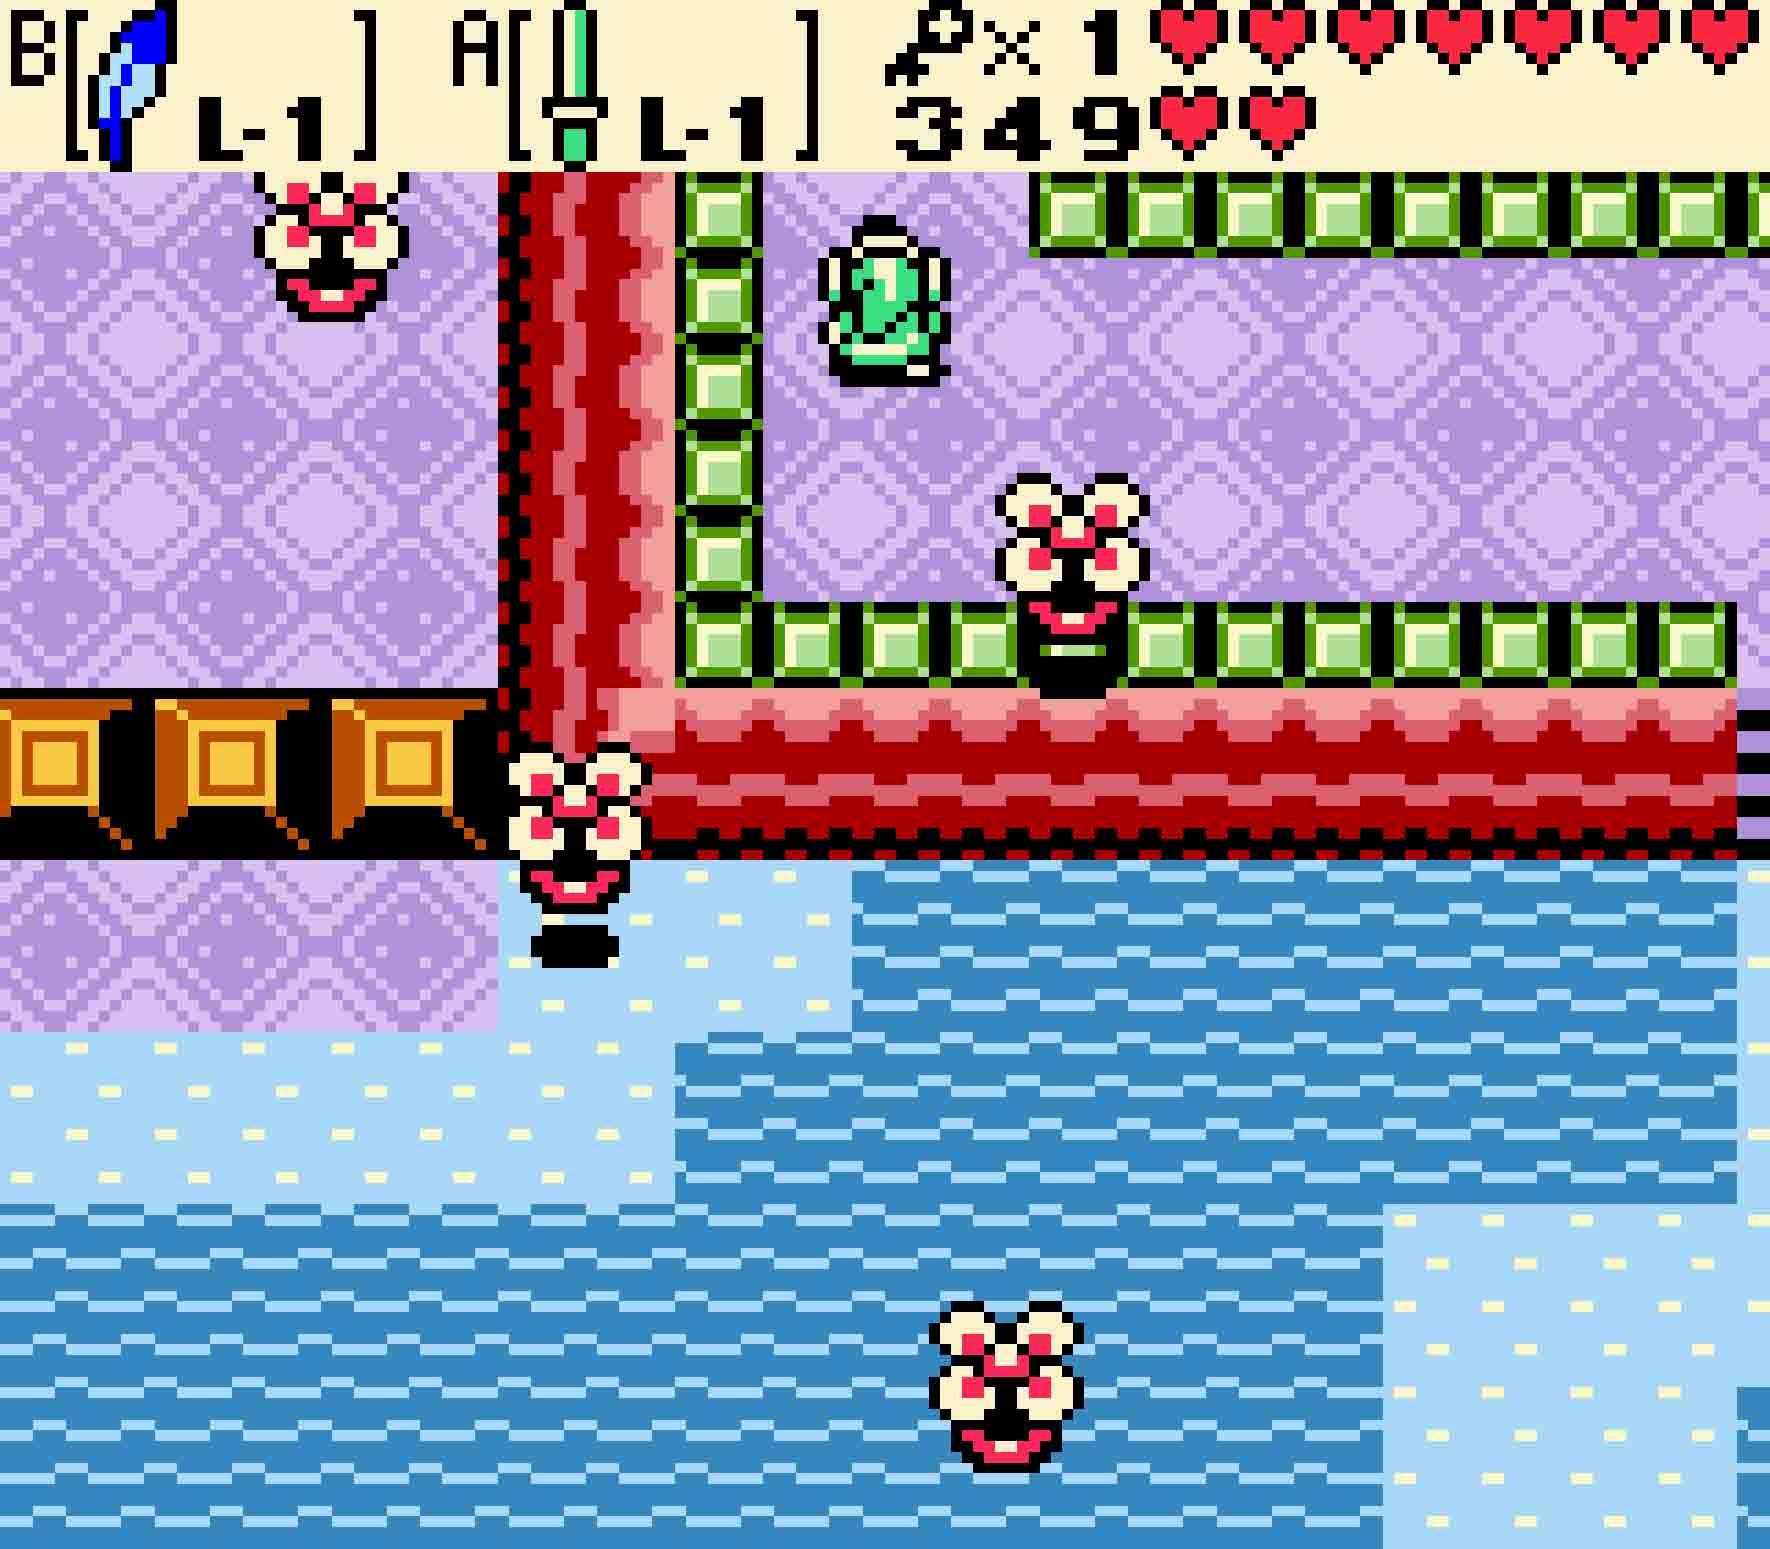
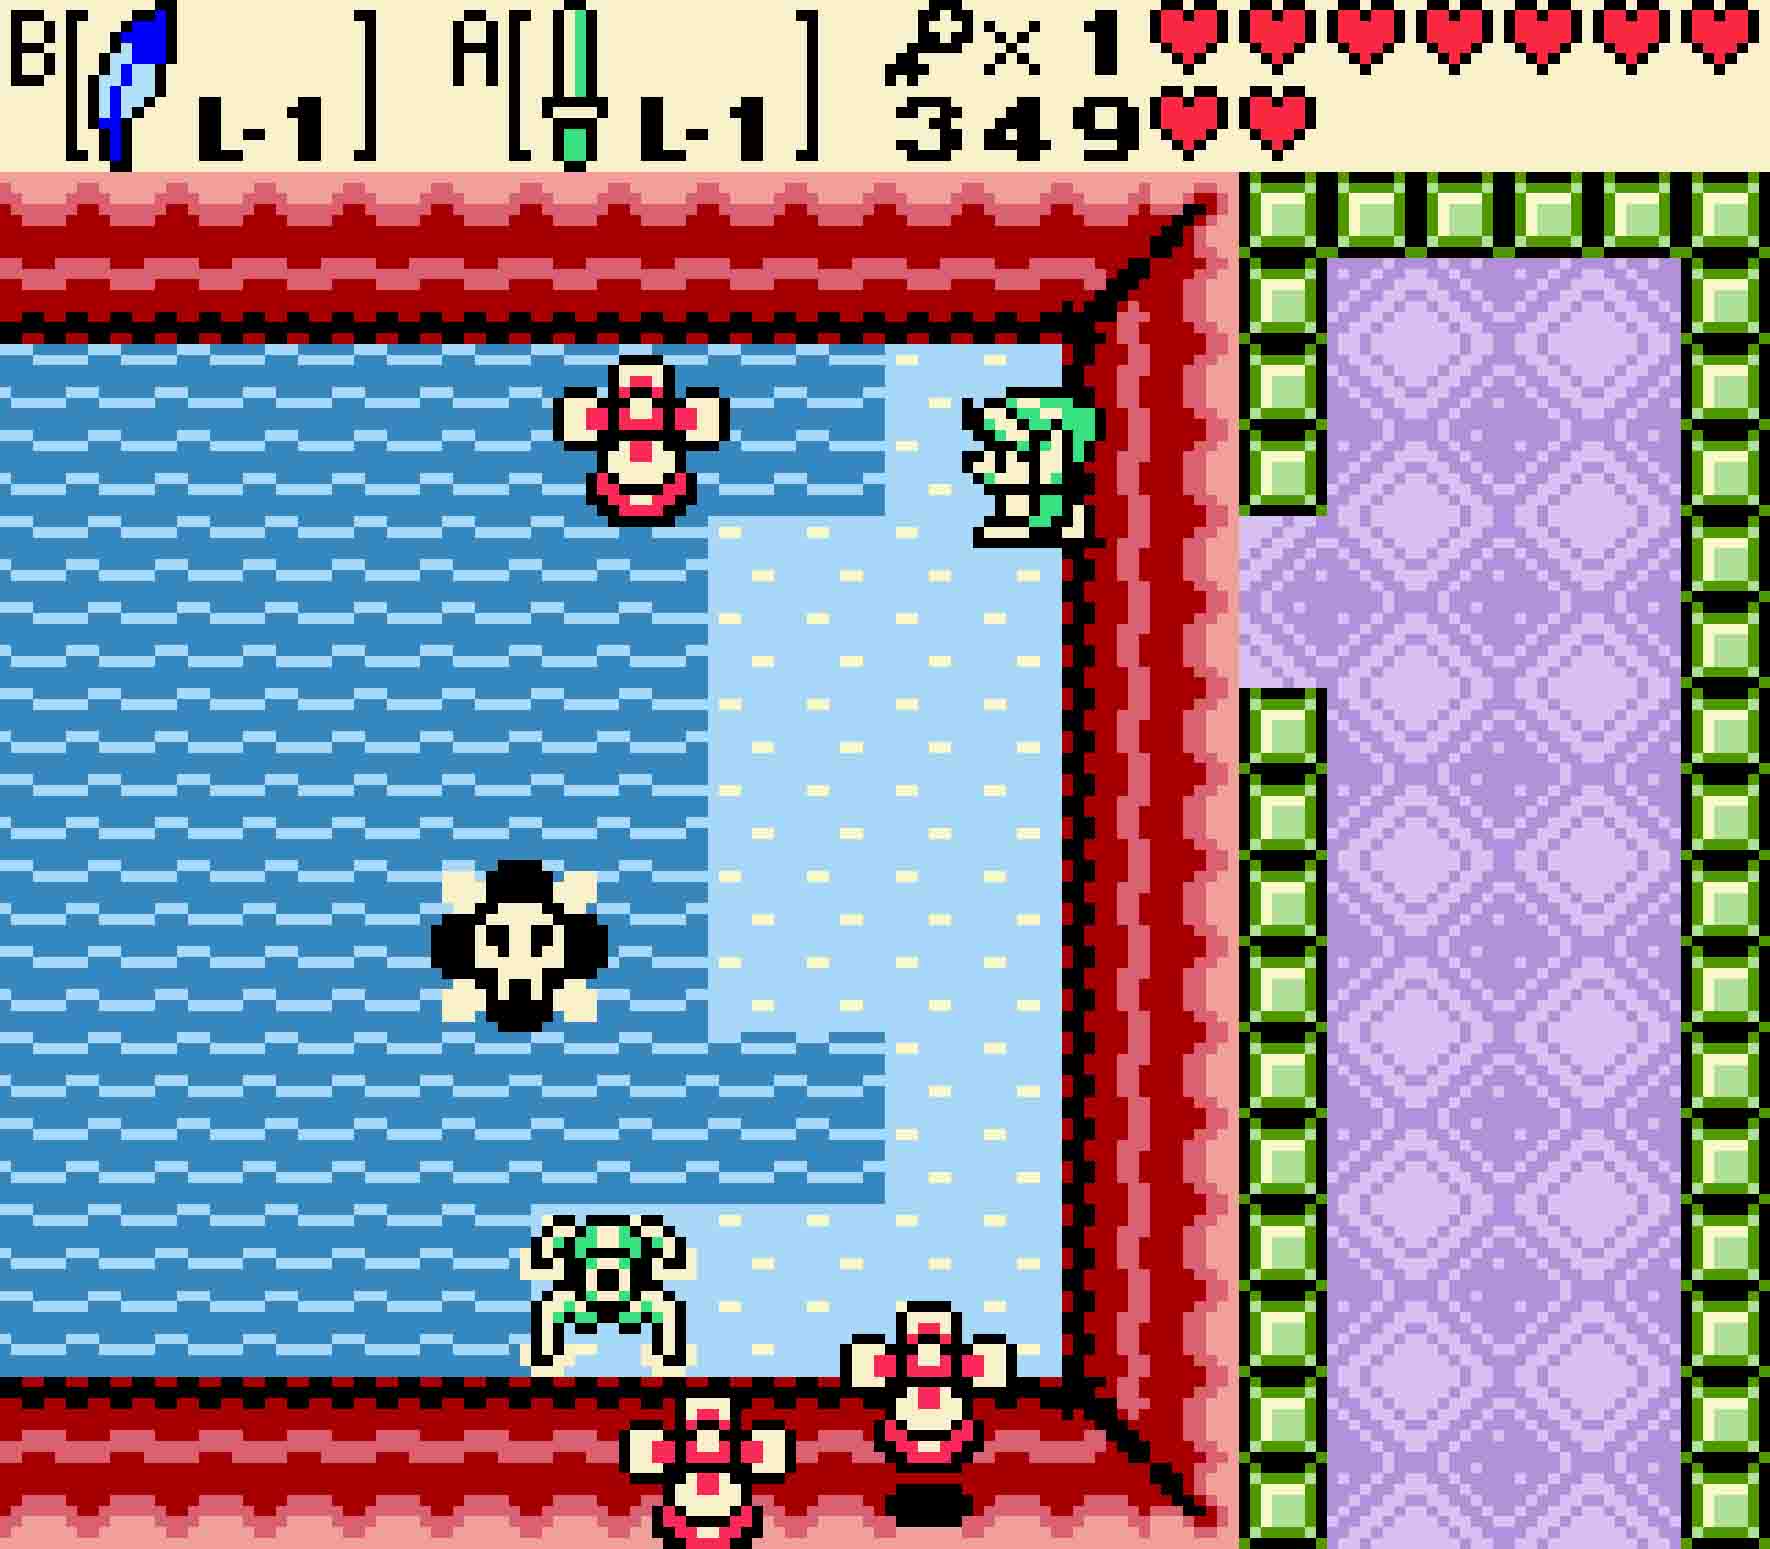
You’ll then be in the room that was a dead end for you earlier. However, because you moved the magnetic orb, you can use south polarity again to pull the orb all the way to the left — through the wall of flames — so that you can grapple onto it. This orb will serve as your personal shield through the wall of flames. Still with south polarity, hold it in front of you, walking very slowly and carefully to the right. Once you make it through the flames, head through the door. It will lead you to a staircase heading down.
-
- With the orb in position, you can pull it the rest of the way.
-
- This magnetic orb will become your trusty shield against the fire.
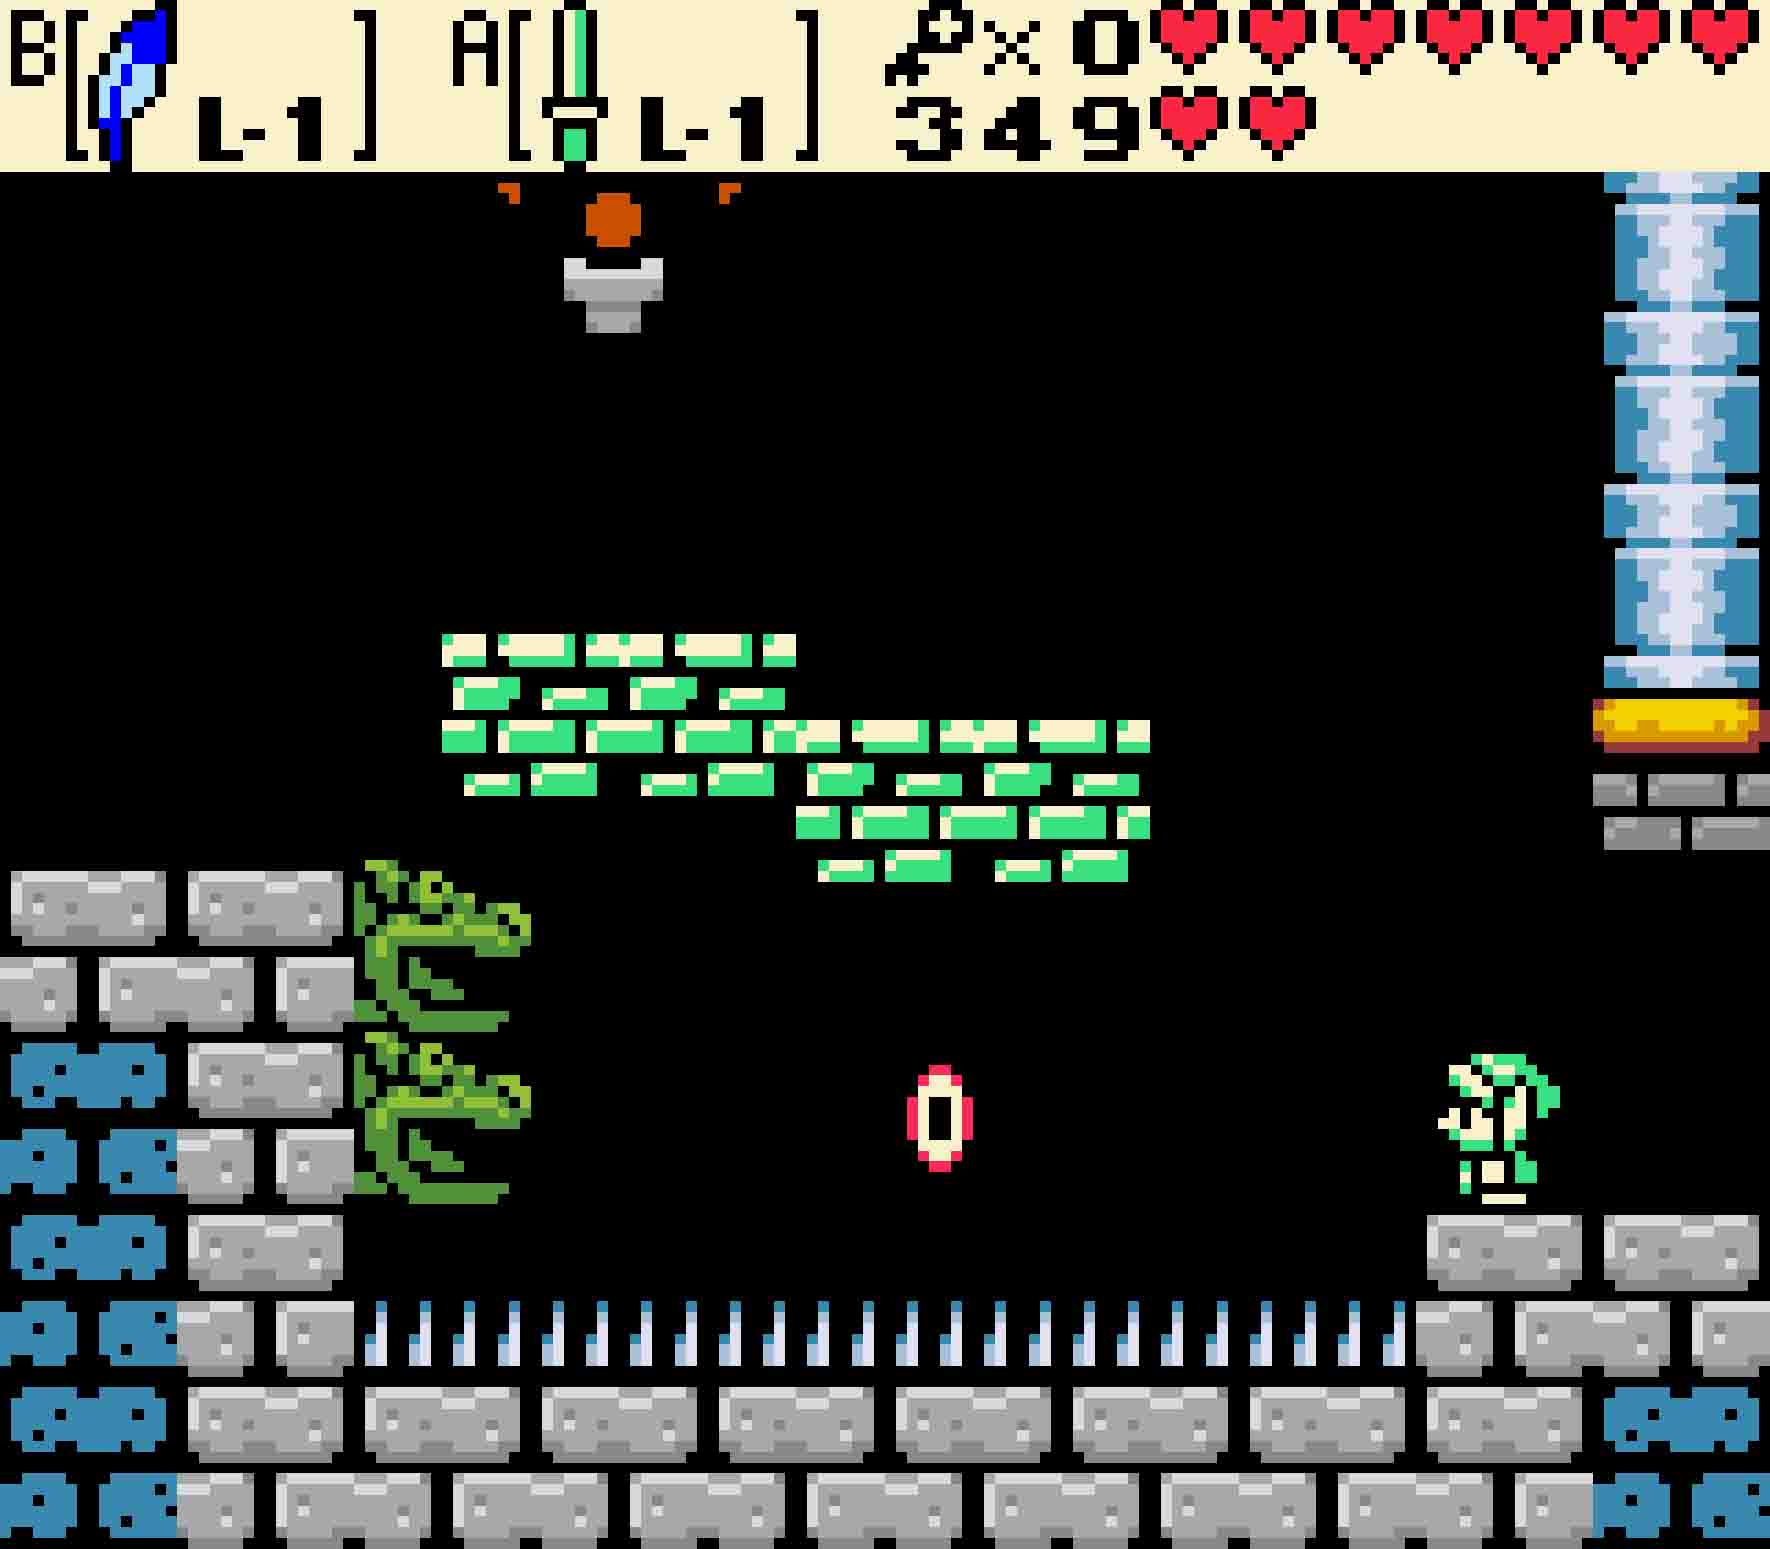
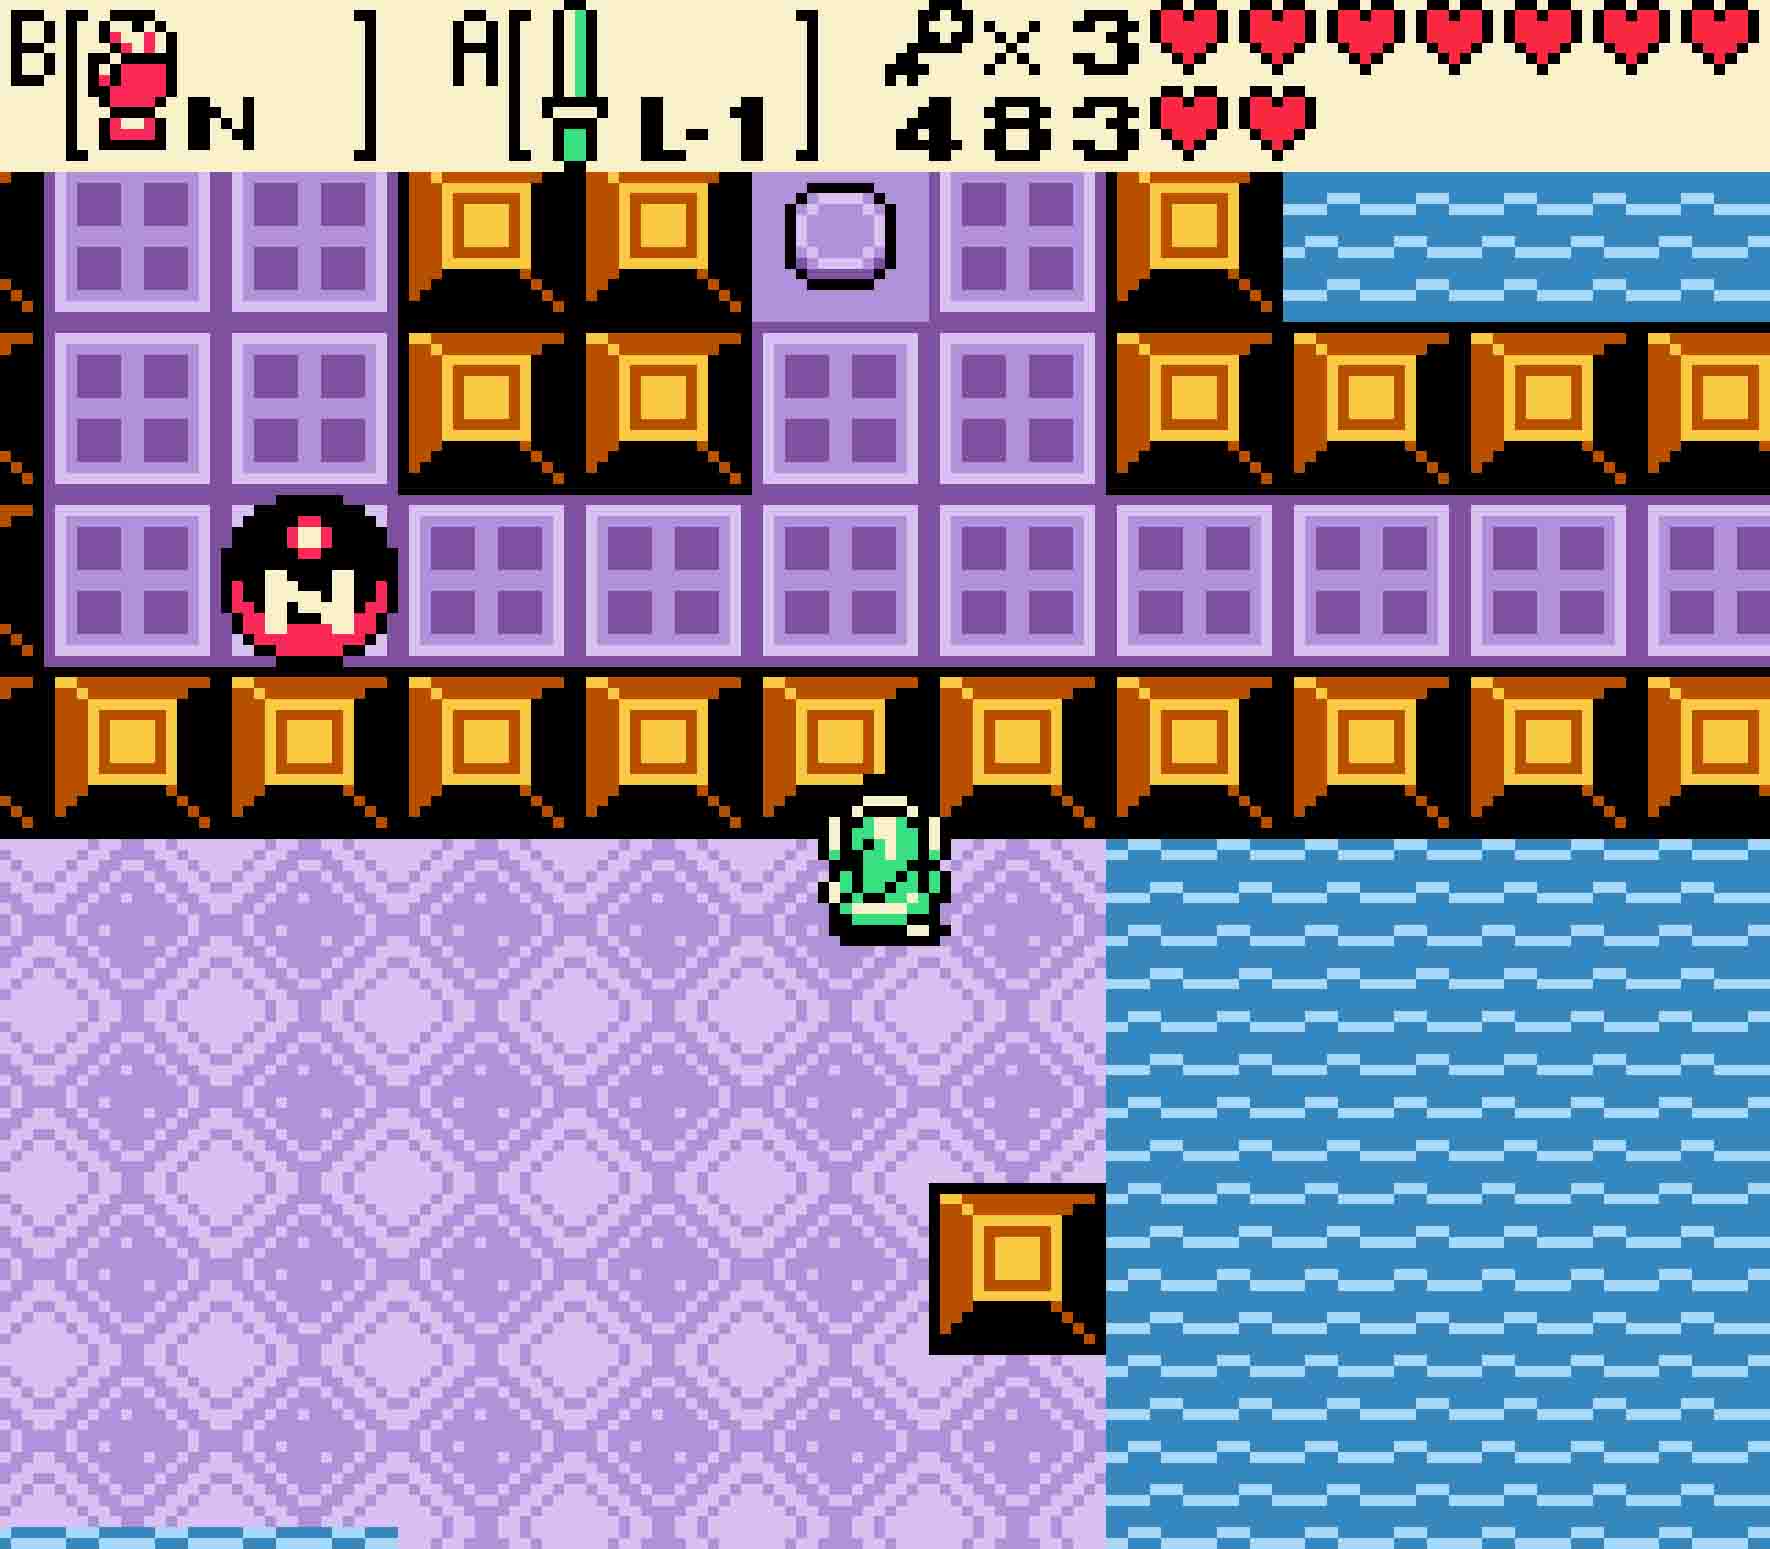
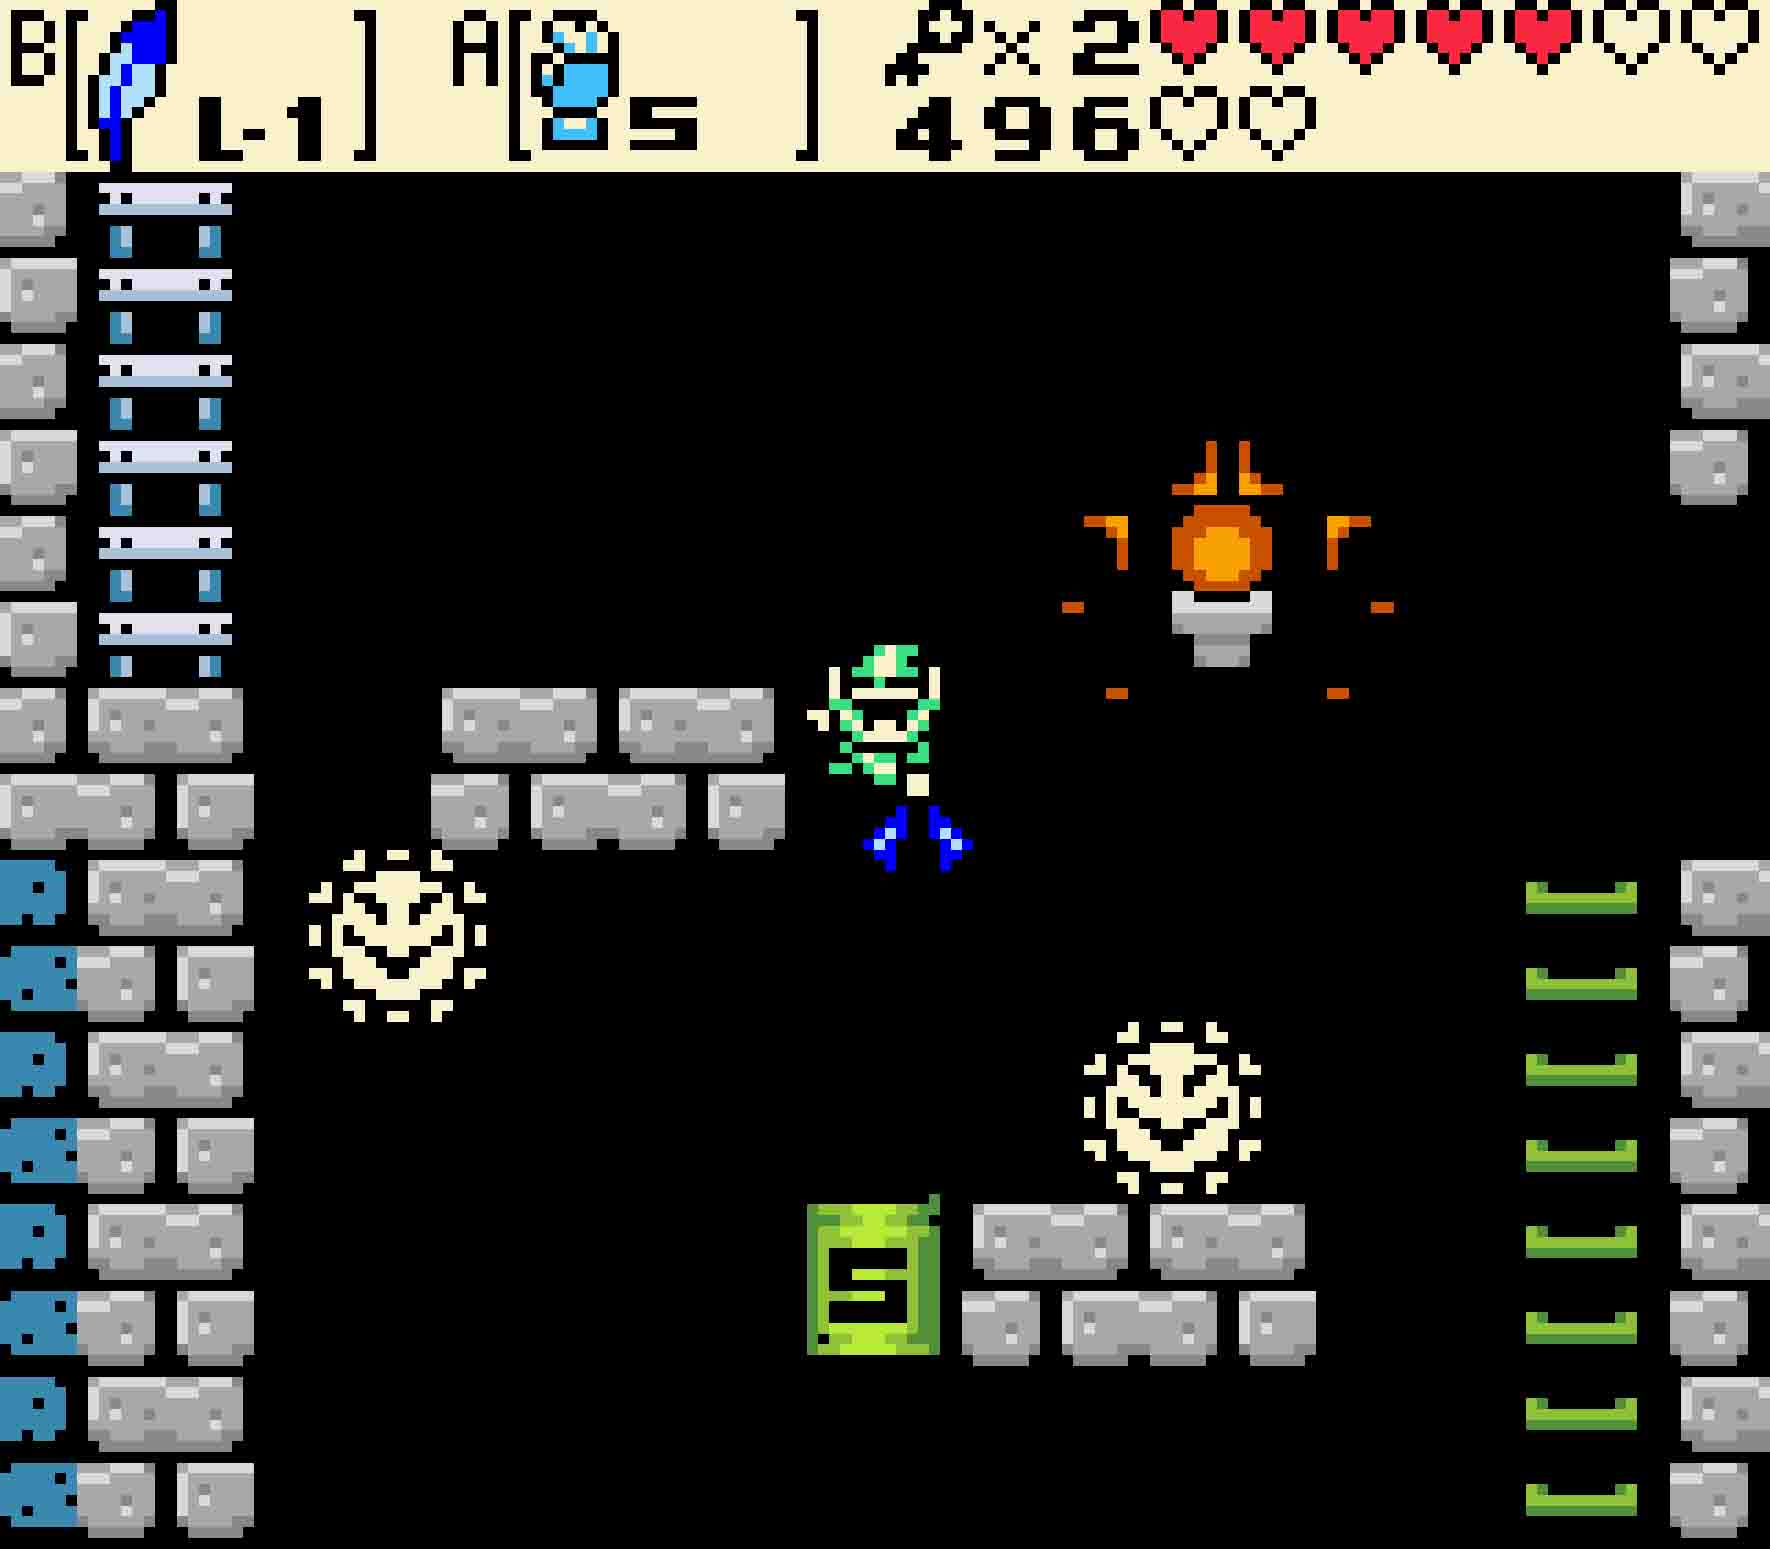
This will take you to the first vertical basement area in the game. Equip the Magnetic Gloves and, using north polarity, pull yourself up over the first ledge on the left. Roc’s Feather will take you onto the moving conveyor belt and then afterwards the ladder. Head down. Two more conveyor belts await, and these will require a bit more of a lighter touch. Really analyze them to determine which way they’re traveling; you’ll then need to walk the opposite direction to make headway and also not fall off into the spikes below. Hop across, and then use the Magnetic Gloves to pull yourself up to the Boss Key.
13.11 Reach the boss’ door
You’re now set to head for the boss. Use Roc’s Feather to leap from the right side, across the conveyor belts, back to the ladder on the left. Head up, keep pace with the conveyor belt as you let it carry you upward. Then hop off and head to the ladder.
When you’re back in the main part of the dungeon, head south, and use the magnetic orb once again as your shield as you head to the left. Once you’ve cleared the wall of flames, head south and then east. Once again, you’ll be in the room just after the mini-boss.
-
- You have to return the way you came.
-
- Finally, this staircase will take you to the boss.
You’ve one key left, so it’s time to unlock the block to access the final staircase. Once again, you’ll be using Roc’s Feather and the Magnetic Gloves to cross the span. Use the Feather to leap to the first moving platform, but you’ll then use the Magnetic Gloves to pull yourself up to the ceiling so you can fall onto the second, much higher platform. The screen to the left doesn’t have moving platforms, but now it has Sparks, giving you an actual time window to make your moves. Jump to the first platform, and then immediately repel yourself upwards with south polarity to reach the upper platform. Wait for the Spark to pass; then, quickly use your Feather to make it over to the ladder. Head up.
There’s just one more obstacle to navigate to reach the boss. Kill any Keese that gets close; then lift up the two clay pots on your small little island. Your first move will be to use north polarity to drag yourself towards the south-polarity disk that you can see. However, be careful as you don’t want to drag yourself past the only bit of land between you and that disk. Once you reach land, face to the right, and use north polarity again to pull you to an unseen disk to the right. From that island, a jump (made much easier with a Pegasus Seed) to the final platform in front of the boss’ door is all you need. Unlock it, and prepare for an unusual boss fight.
-
- Your Magnetic Gloves will take a workout getting you to the boss’ room.
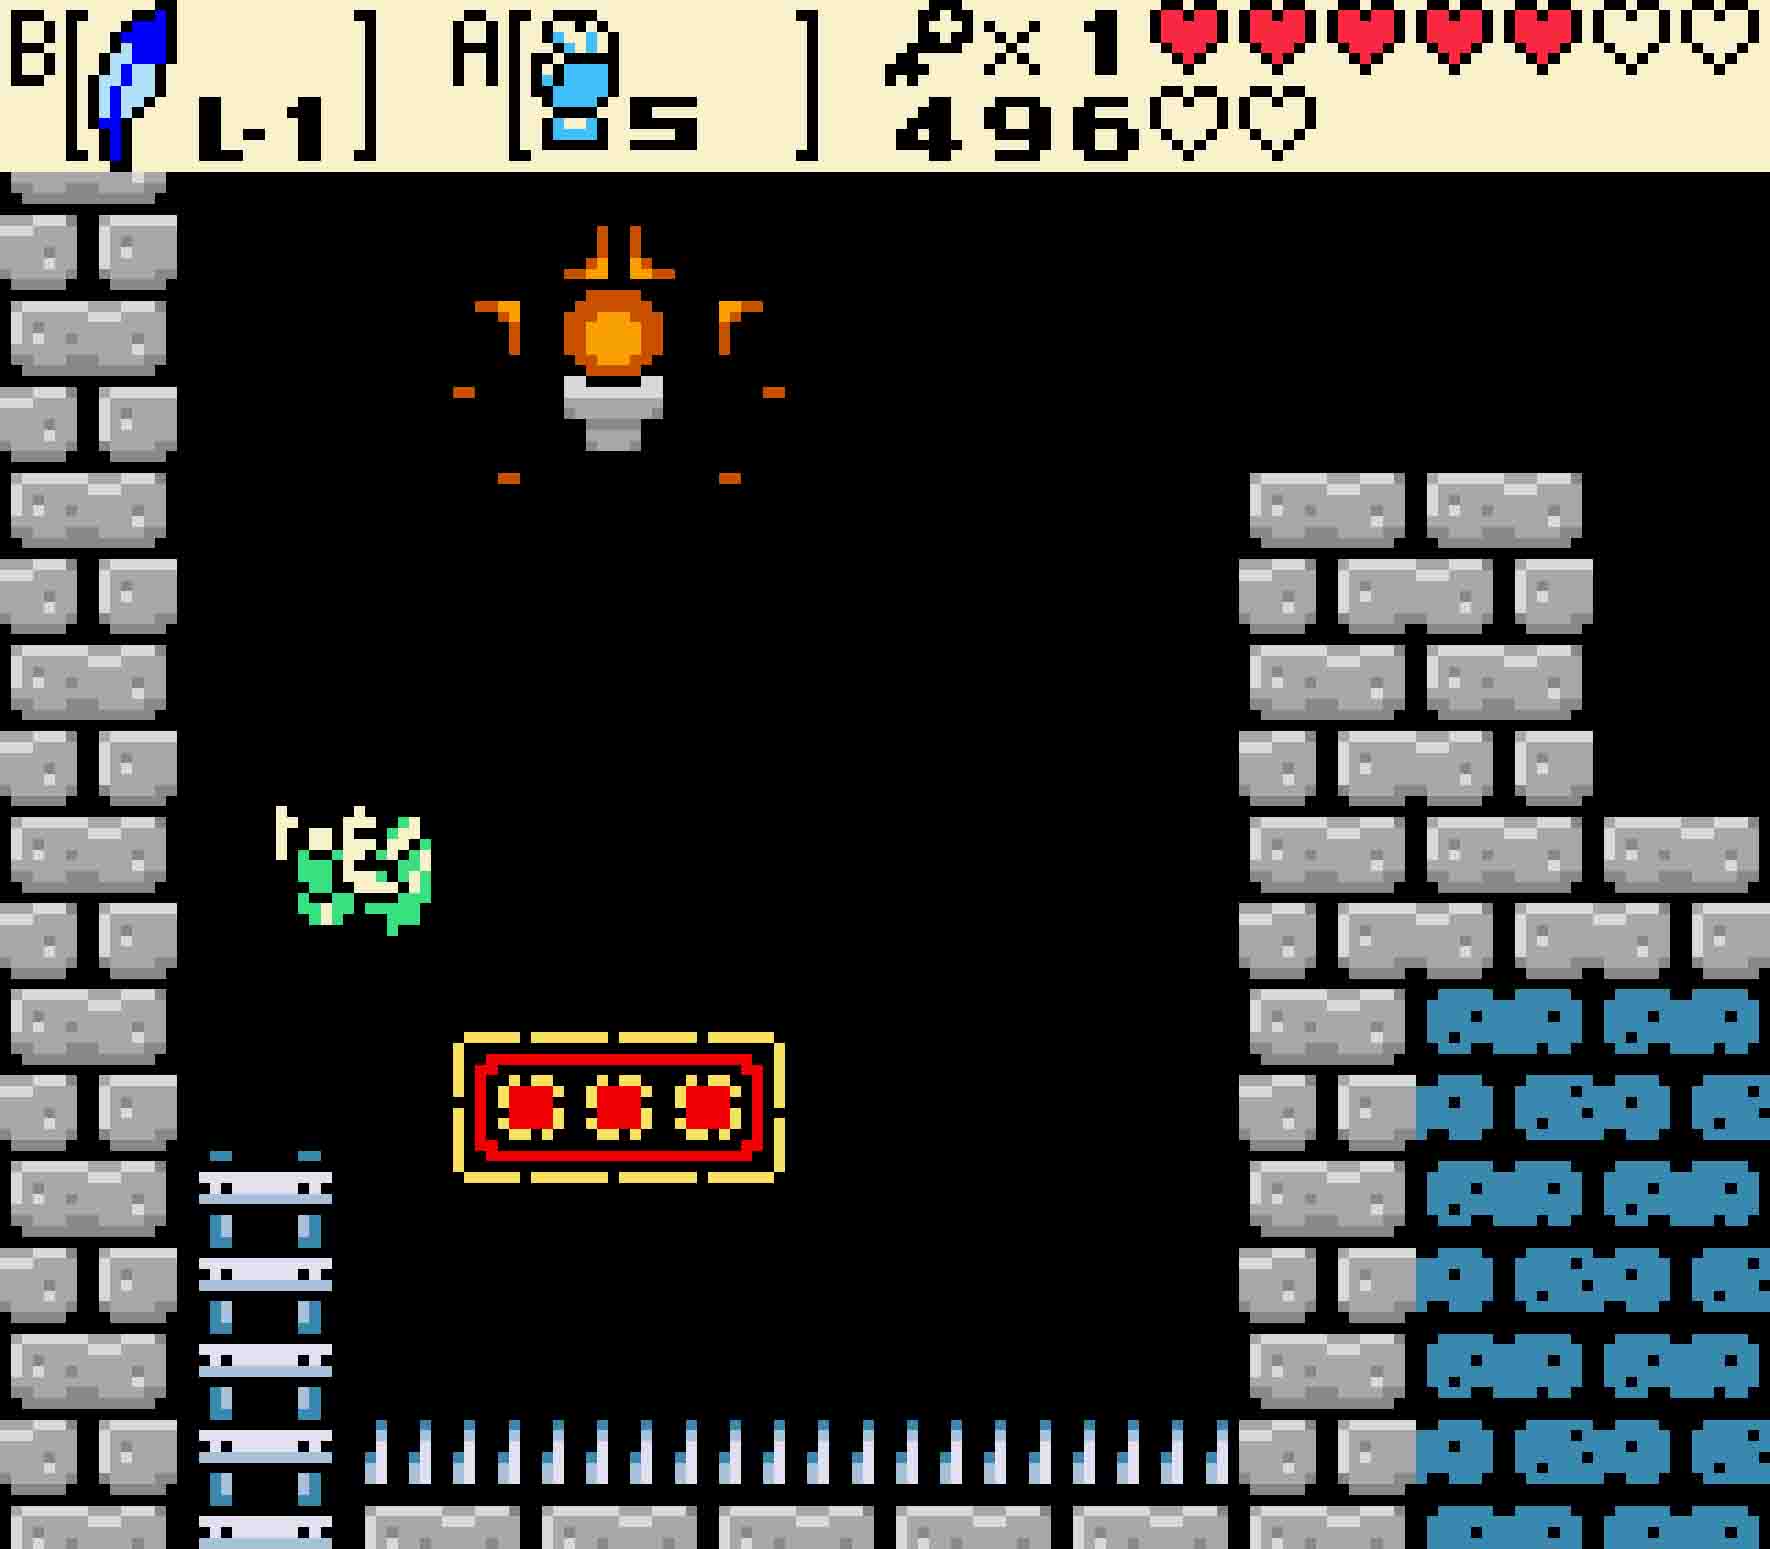
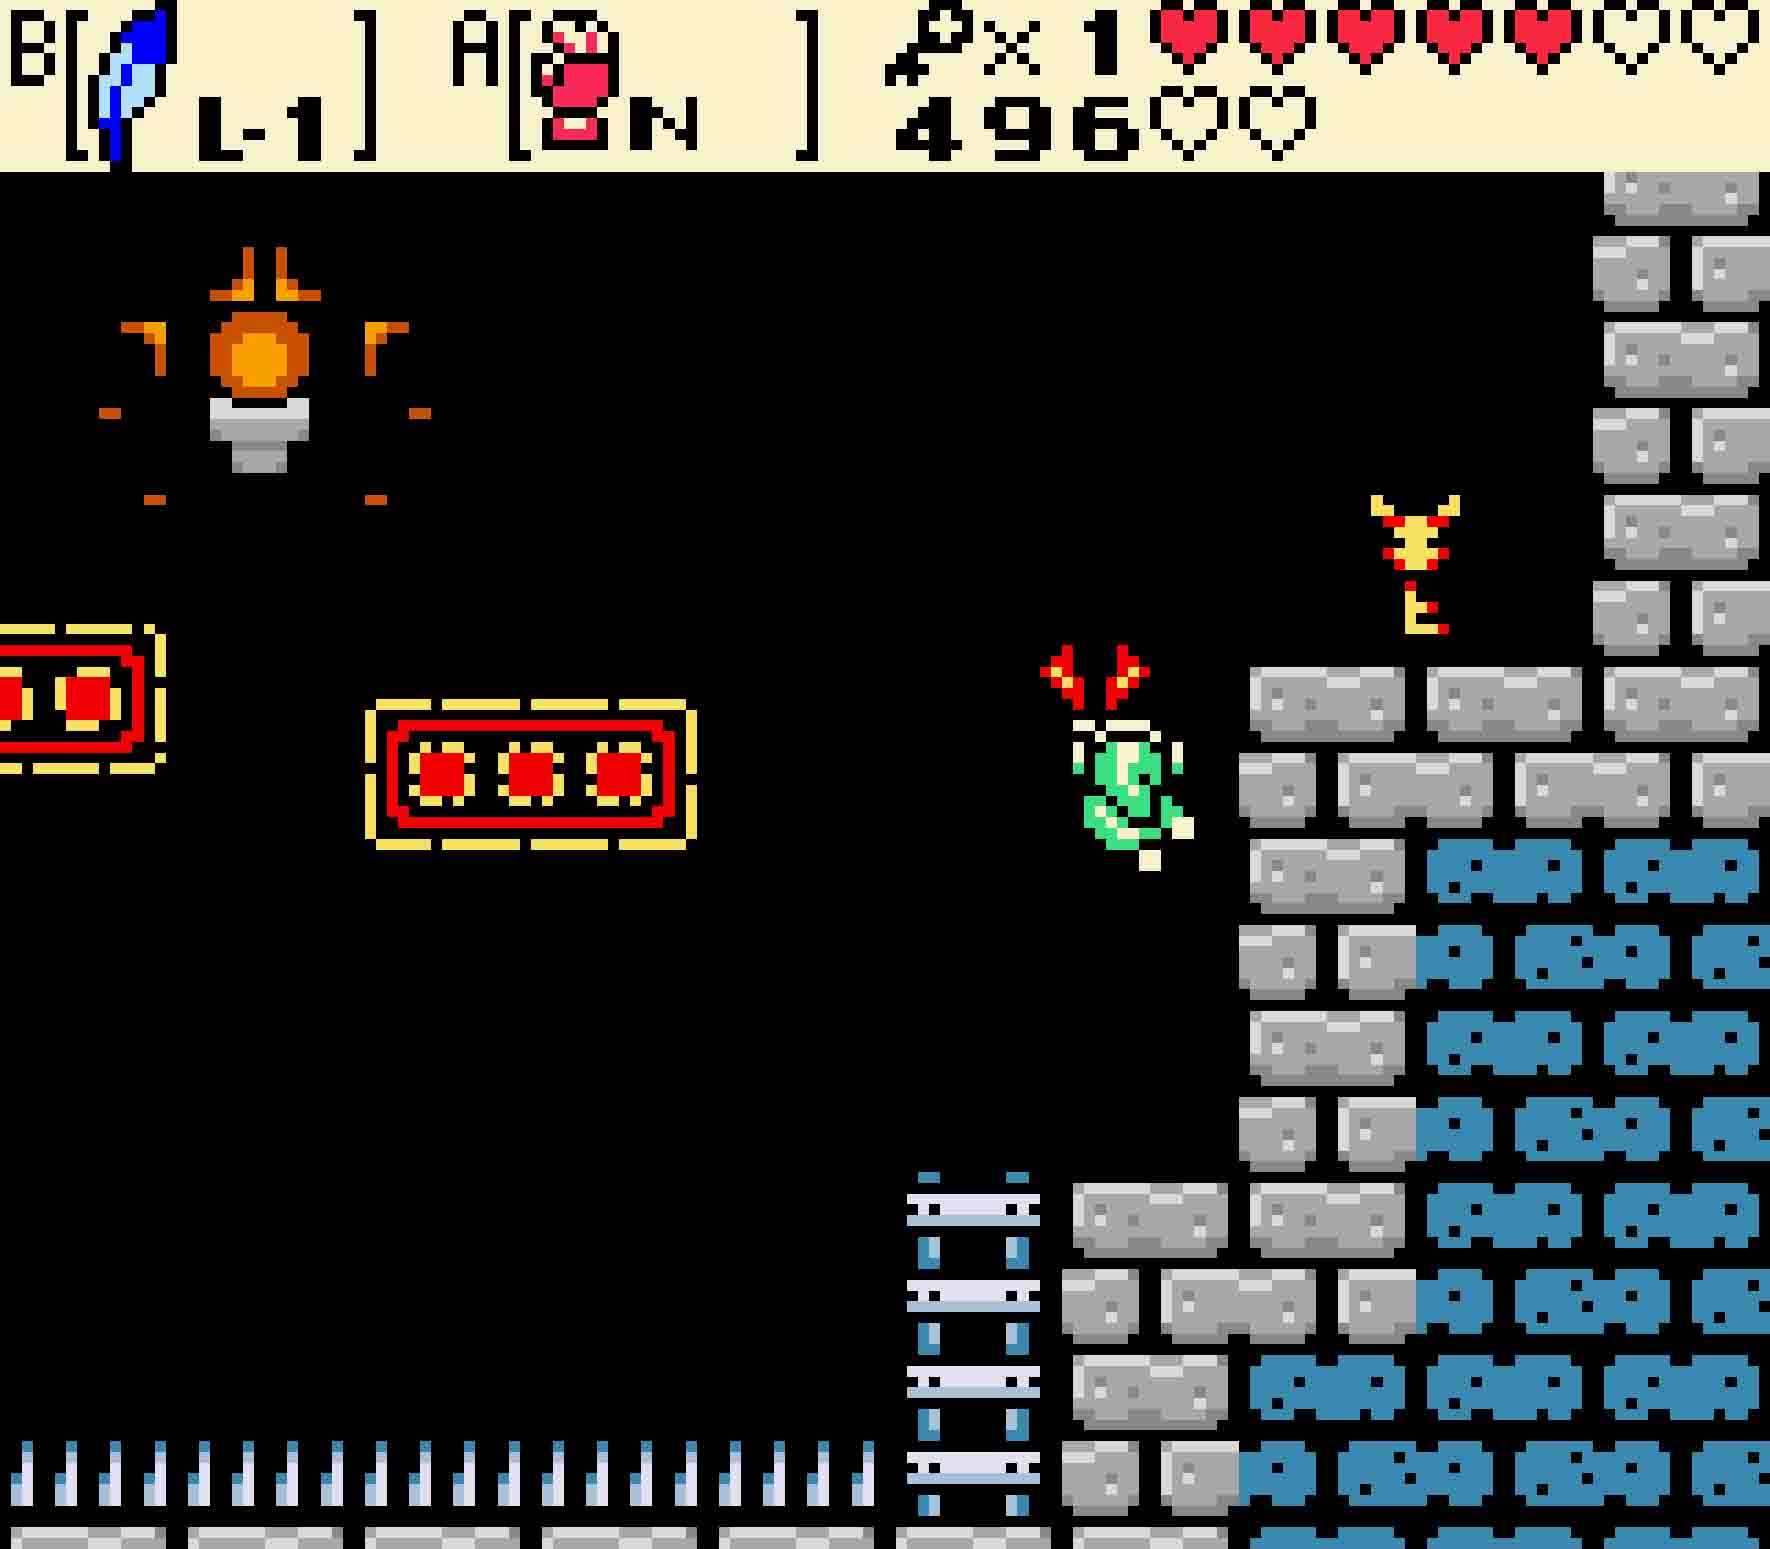
13.12 Defeat Digdogger
 Digdogger, like many of the Oracle bosses, is straight out of the original Legend of Zelda. However, this boss fight is very different than the original. Digdogger cannot be hurt directly with any of the weaponry you’ve collected thus far. Instead, in the upper-right corner of the room is a gigantic, blue spiked ball. In case you haven’t discovered it thus far, red is the color code for north polarity with blue being the color for south polarity. As a result, this ball is south polarity, meaning you can yank it off its pedestal with north polarity. This spiked ball is the only way to do damage to Digdogger.
As for Digdogger, it really isn’t a complex boss in terms of how it attacks. It just bounces around and tries to land on you. Every now and again, Digdogger will take a much bigger leap up, and it will jump to more or less where you were soon after it leapt up. For this phase of the fight, all you have to do is avoid it. Well, that and try to position yourself so that the spiked orb in this room will serve you.
-
- The spiked ball is the only way to give Digdogger damage, so you’ll have to use it in lieu of, say, your sword.
-

- If you’re good, you can stun-lock Digdogger by repeatedly hitting it with the spiked ball over and over.
To damage Digdogger, you need to ram the spiked orb into it. To do this will require a bit of coordination. You’ll want to position yourself so that you, the orb, and Digdogger are in a rough line, and you shouldn’t be in the center. If Digdogger is in the center, use north polarity to attract the orb into Digdogger; if the orb is in the center, use south polarity to repel the orb into Digdogger. During this phase of the fight, the absolute biggest danger to yourself is that spiked orb and your Magnetic Gloves. If the spiked orb hits you, you will take damage. So always be careful with north polarity, and recognize that the orb will continually gain speed as you drag it.
If you strike Digdogger with the orb, it will be stunned momentarily. If you’re lucky, you’ll be able to use this time to quickly reverse polarity and drag the orb back into it, thus perpetuating a stun-lock. If not, find a new position.
While you can use the sword on Digdogger’s miniatures, use the magnetic orb instead to flatten them in one hit.
When Digdogger gets hit four times, it will split into a handful of baby Digdoggers, and they will proceed to scatter around the room. While each of these can be hit and killed with the sword, the sword is actually extremely inefficient in killing these buggers. What’s more, the lack of knockback they take will mean you take significant damage. Instead, put the sword away and use the Magnetic Gloves. Each time these things hit the spiked ball, they’ll be instantly squashed.
After several seconds, what few miniature Digdoggers will reform into the full-sized one (no matter how many are left!). Digdoggers speed of hopping will increase, but it’s really all just rinse and repeat until all of the miniature versions are dead.
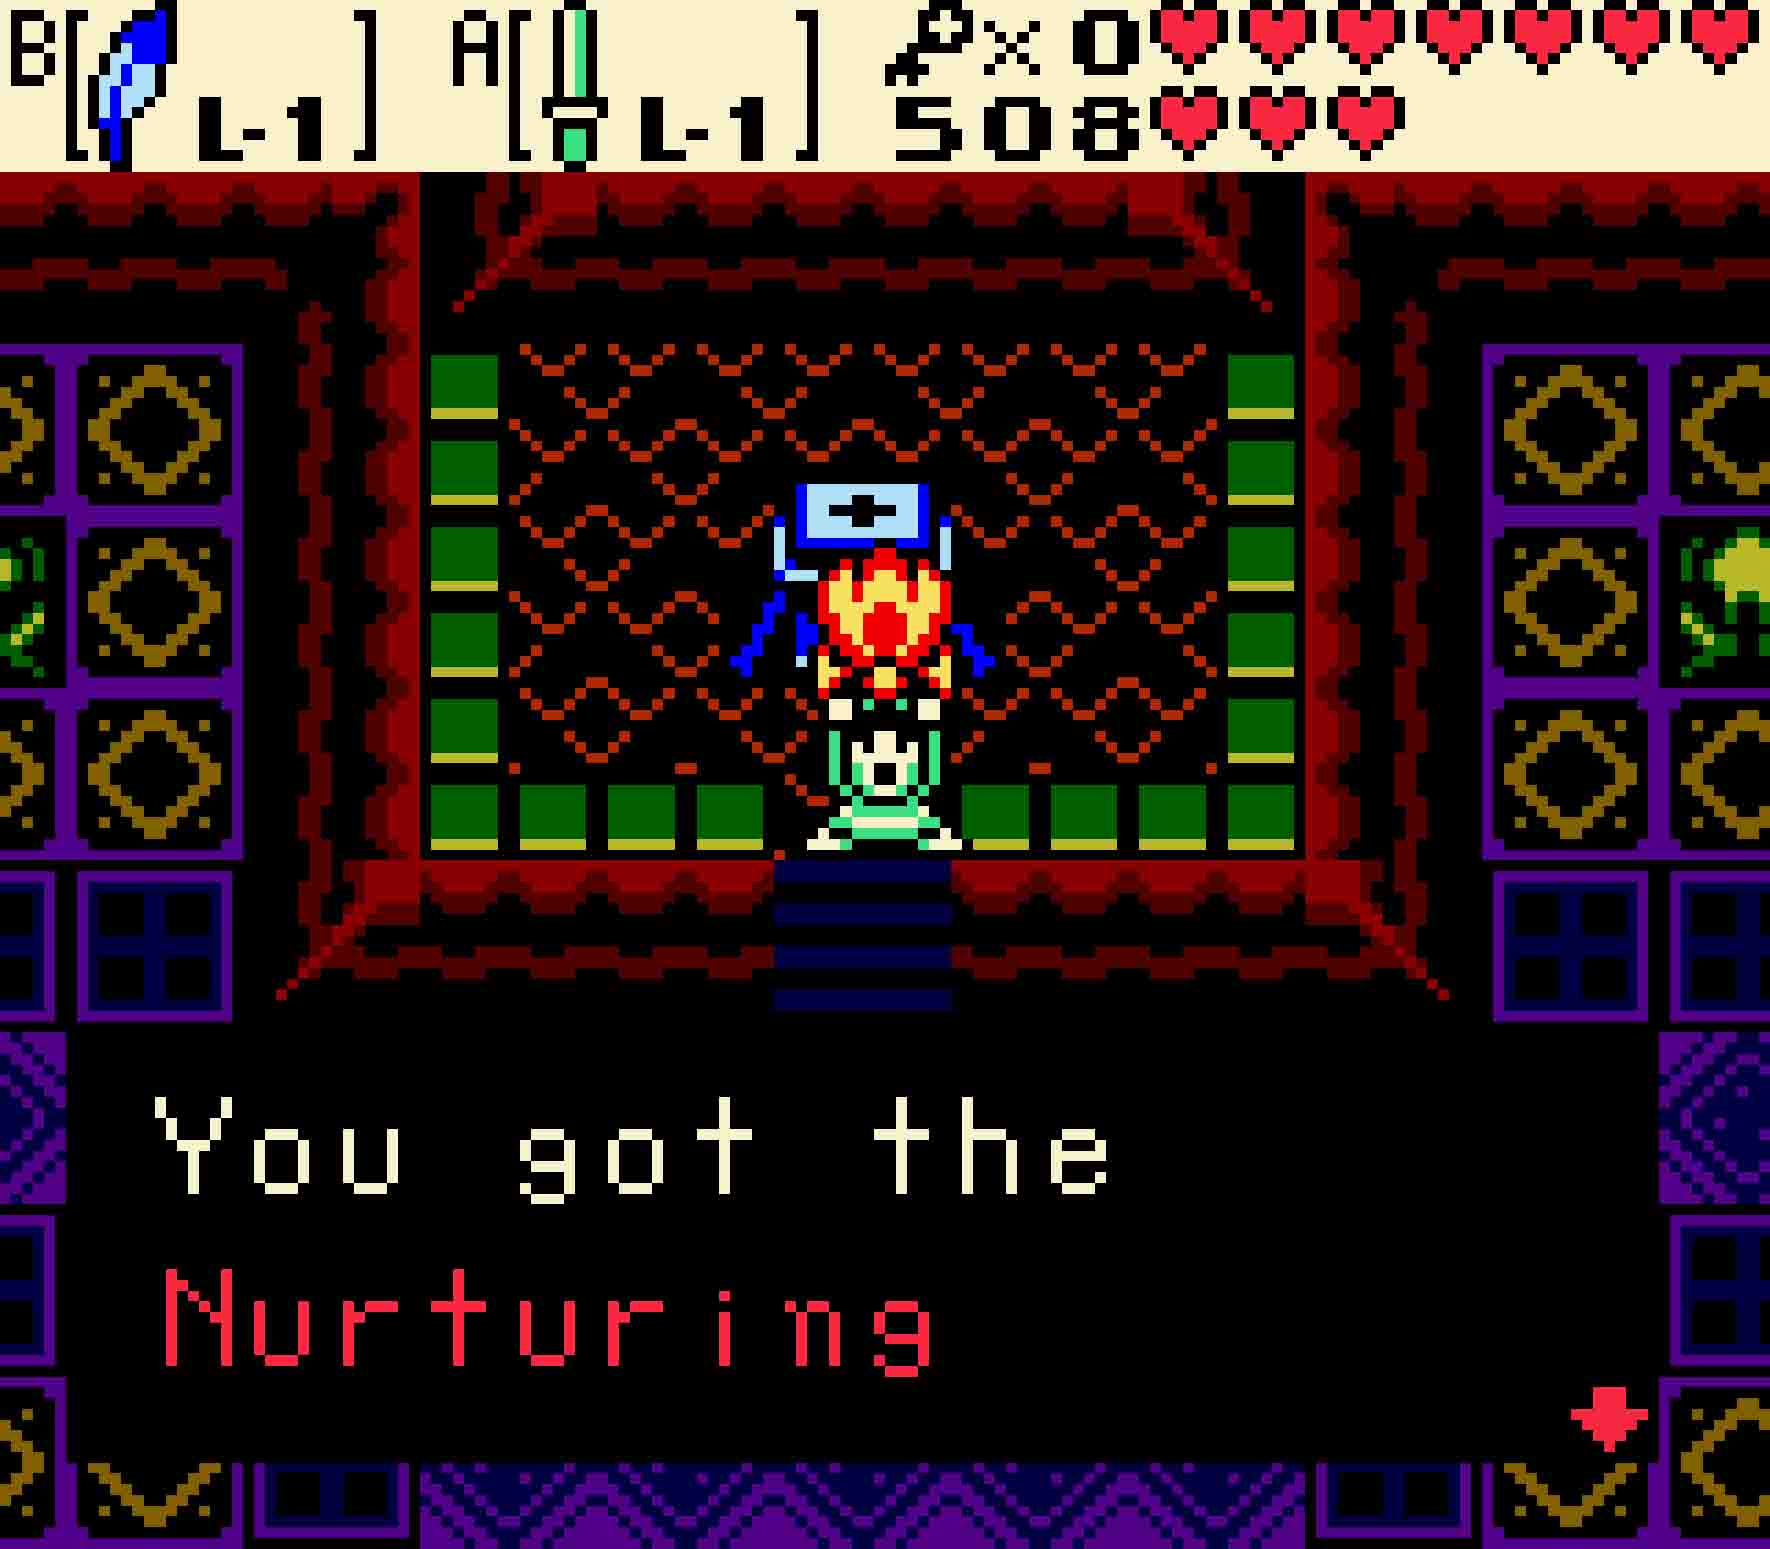
Once that happens, you’ll get a Heart Container as well as the Nurturing Warmth.