
Chapter 11: Dancing Dragon Dungeon
- 11.1 Get your first key
- 11.2 Obtain the Map
- 11.3 Get the key from the isolated room
- 11.4 Collect the Compass
- 11.5 Earn two more keys
- 11.6 Defeat the Agunima
- 11.7 Earn the Slingshot
- 11.8 Backtrack for the last small key
- 11.9 Get the Boss Key
- 11.10 Reach the boss’ chambers
- 11.11 Defeat Gohma
11.1 Get your first key
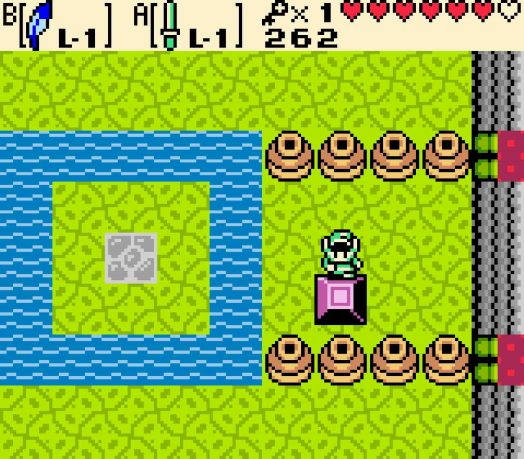
 As you come in, you’ll immediately have to put your flippers to use. Cross the pool of water in the first room and head north. You’ll meet some Shrouded Stalfos in the next room; these Stalfos will wander about, occasionally throwing spears at you. Once you kill them with your sword, turn your attention to the blocks at the bottom of the room. You can push one of the blocks on the right down in order to access the chest. It only has 10 Bombs in it, but you will need Bombs sooner than later.
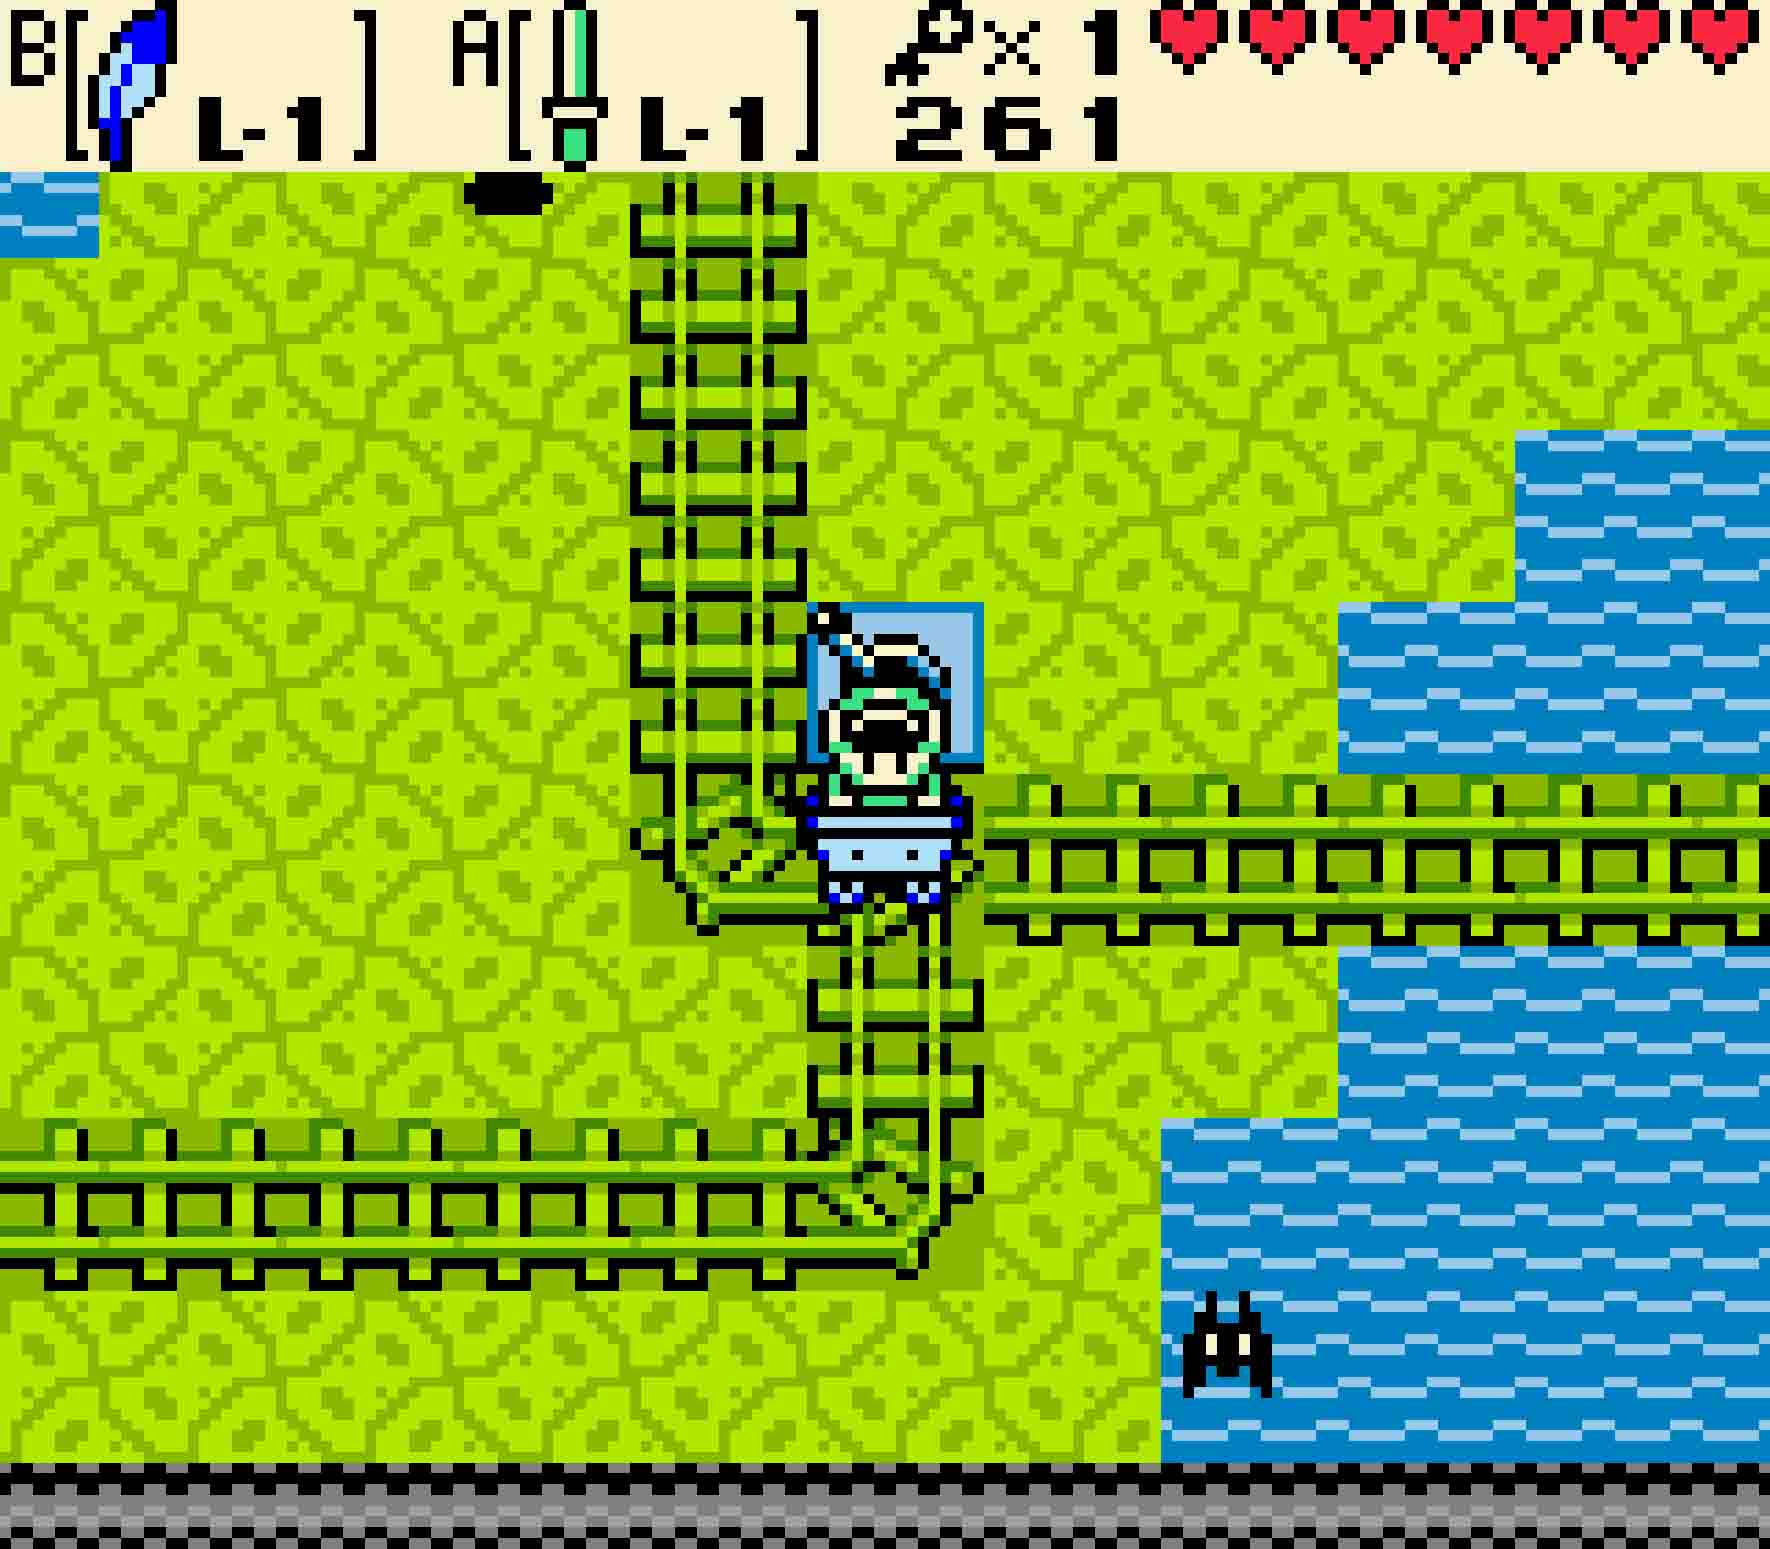
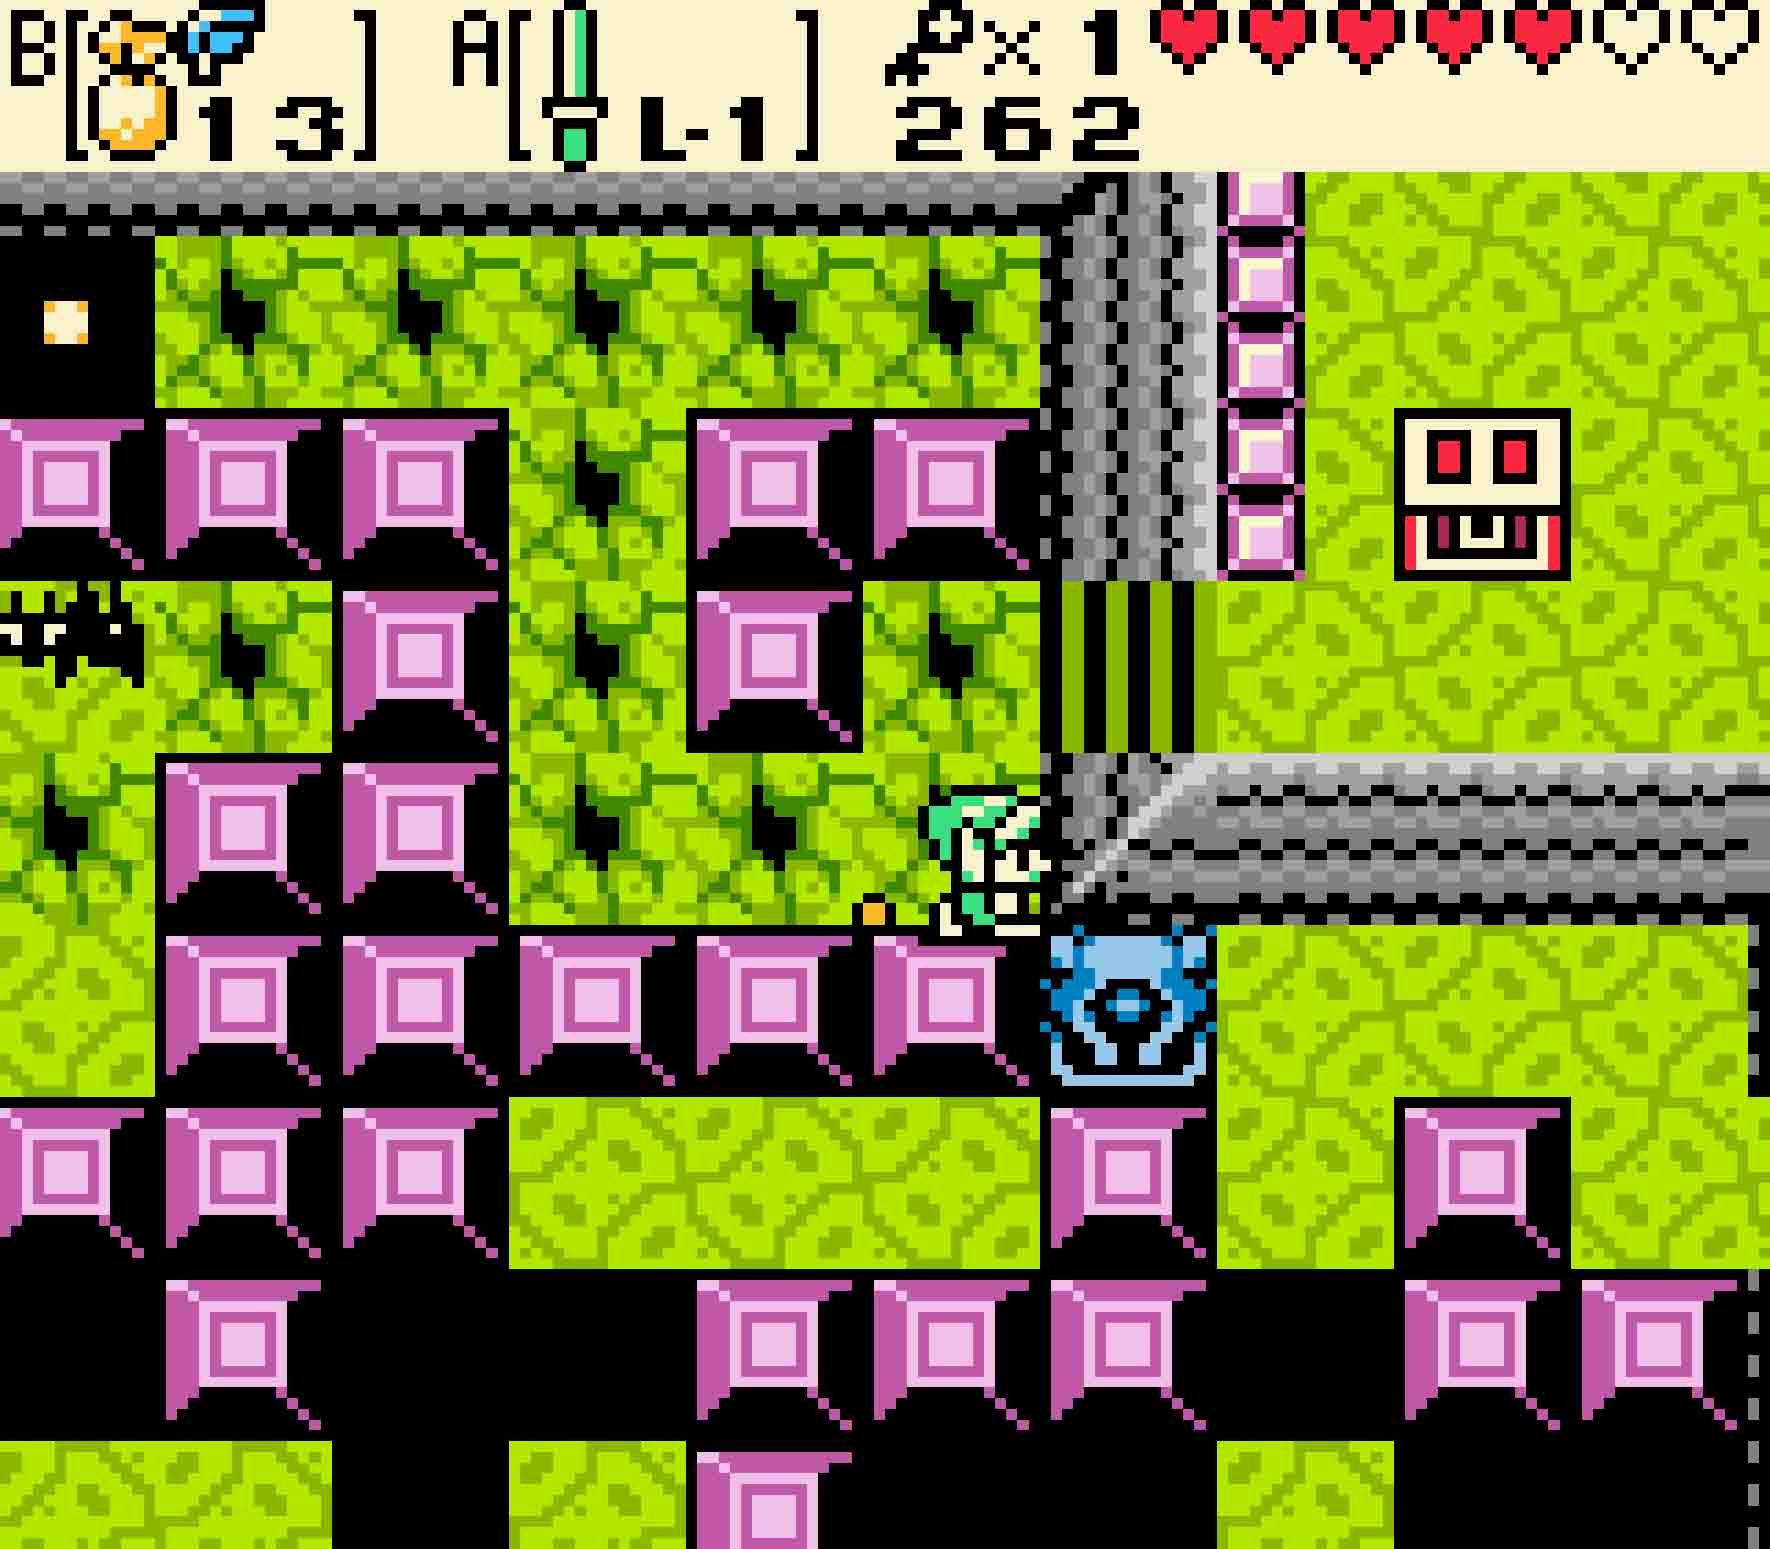
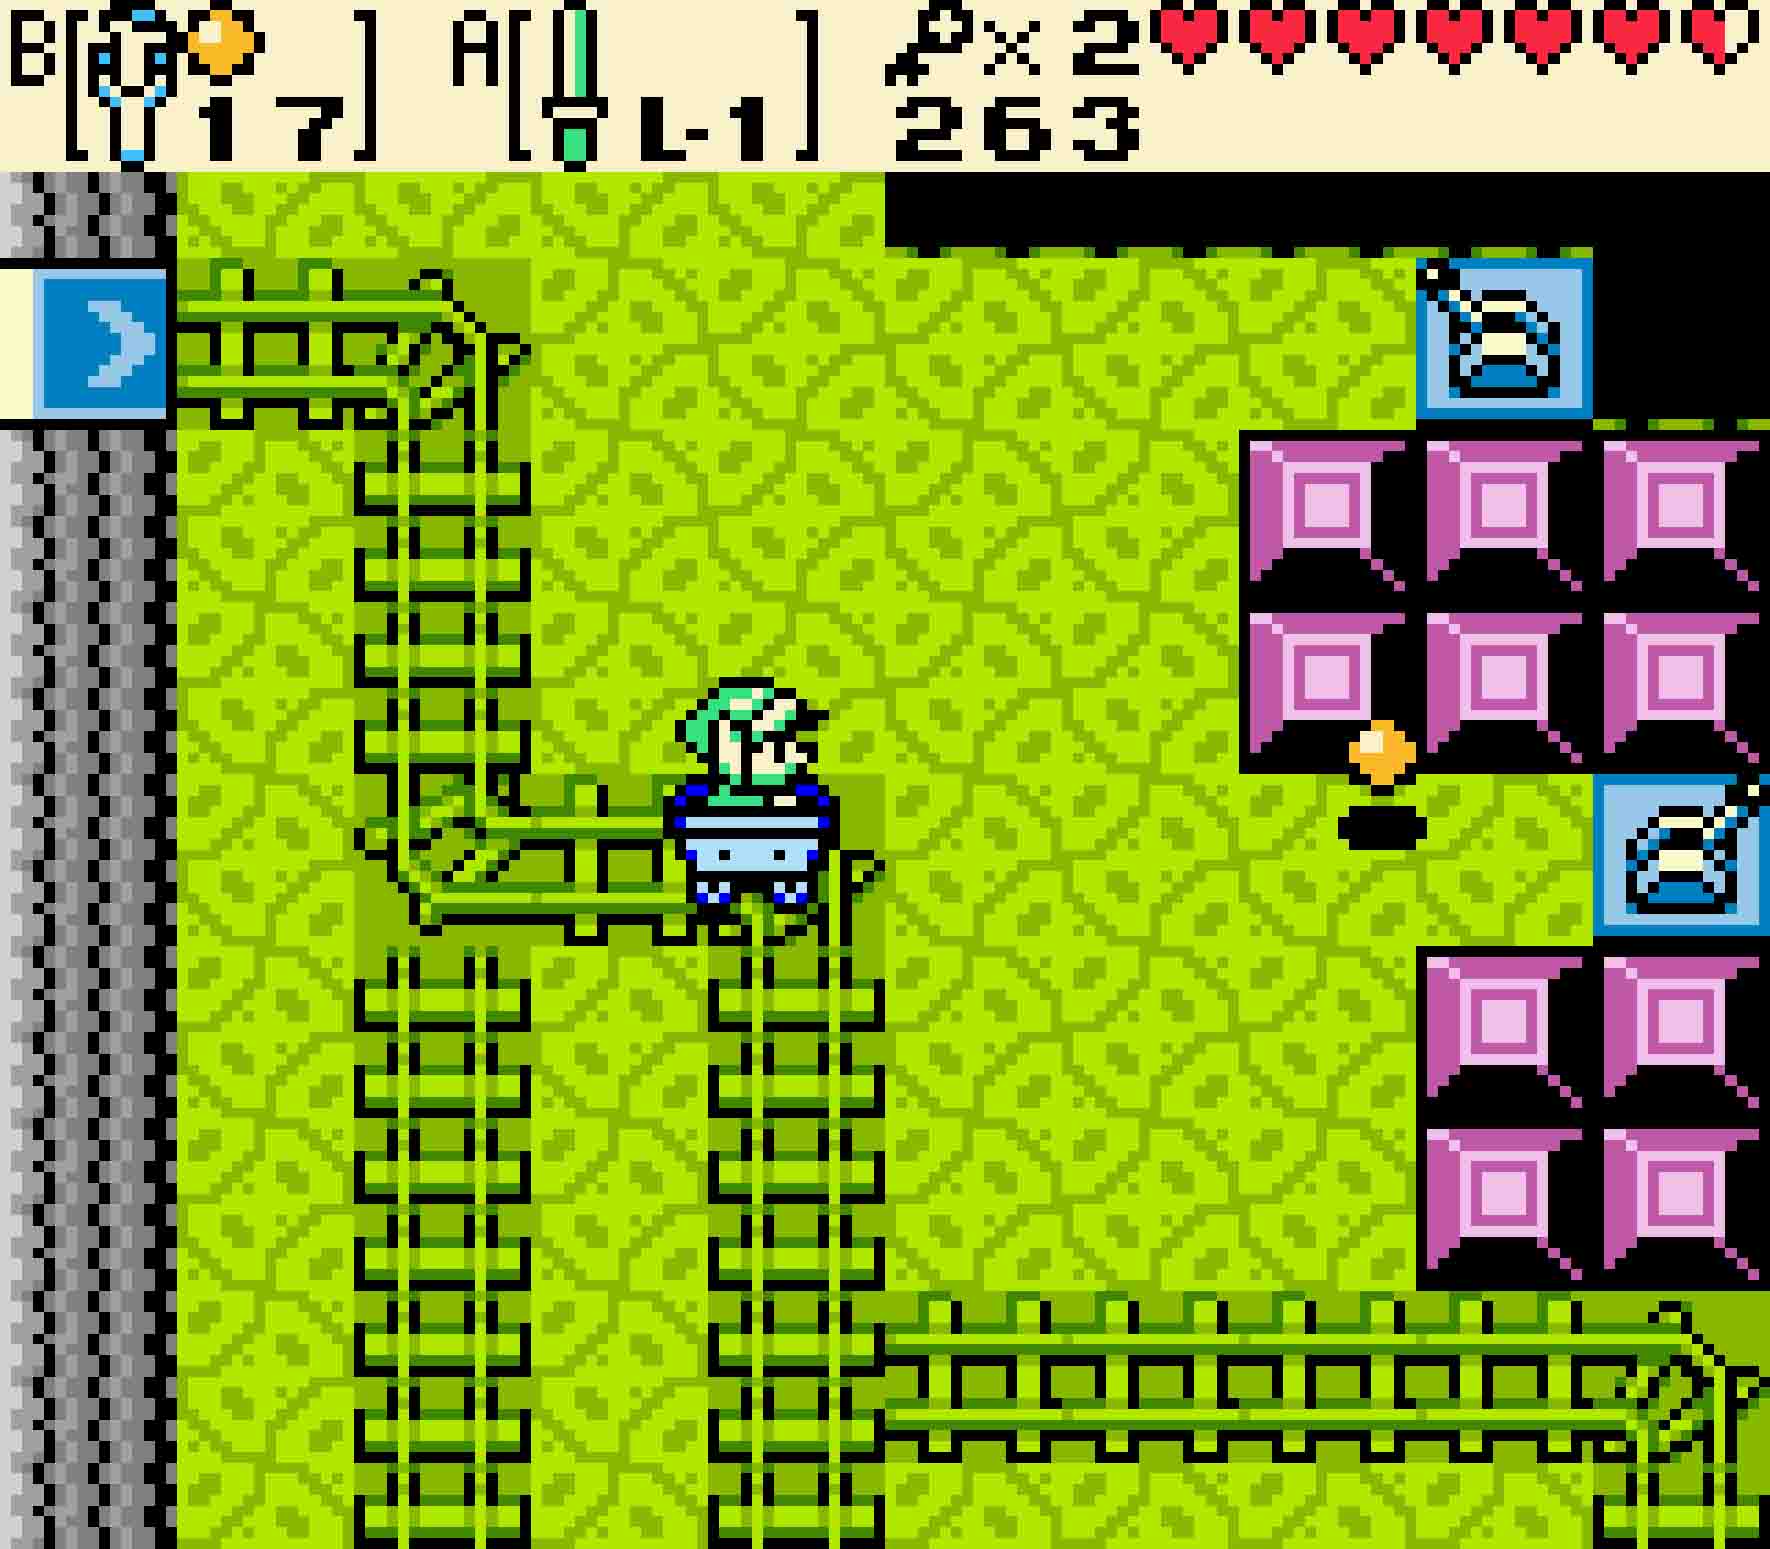
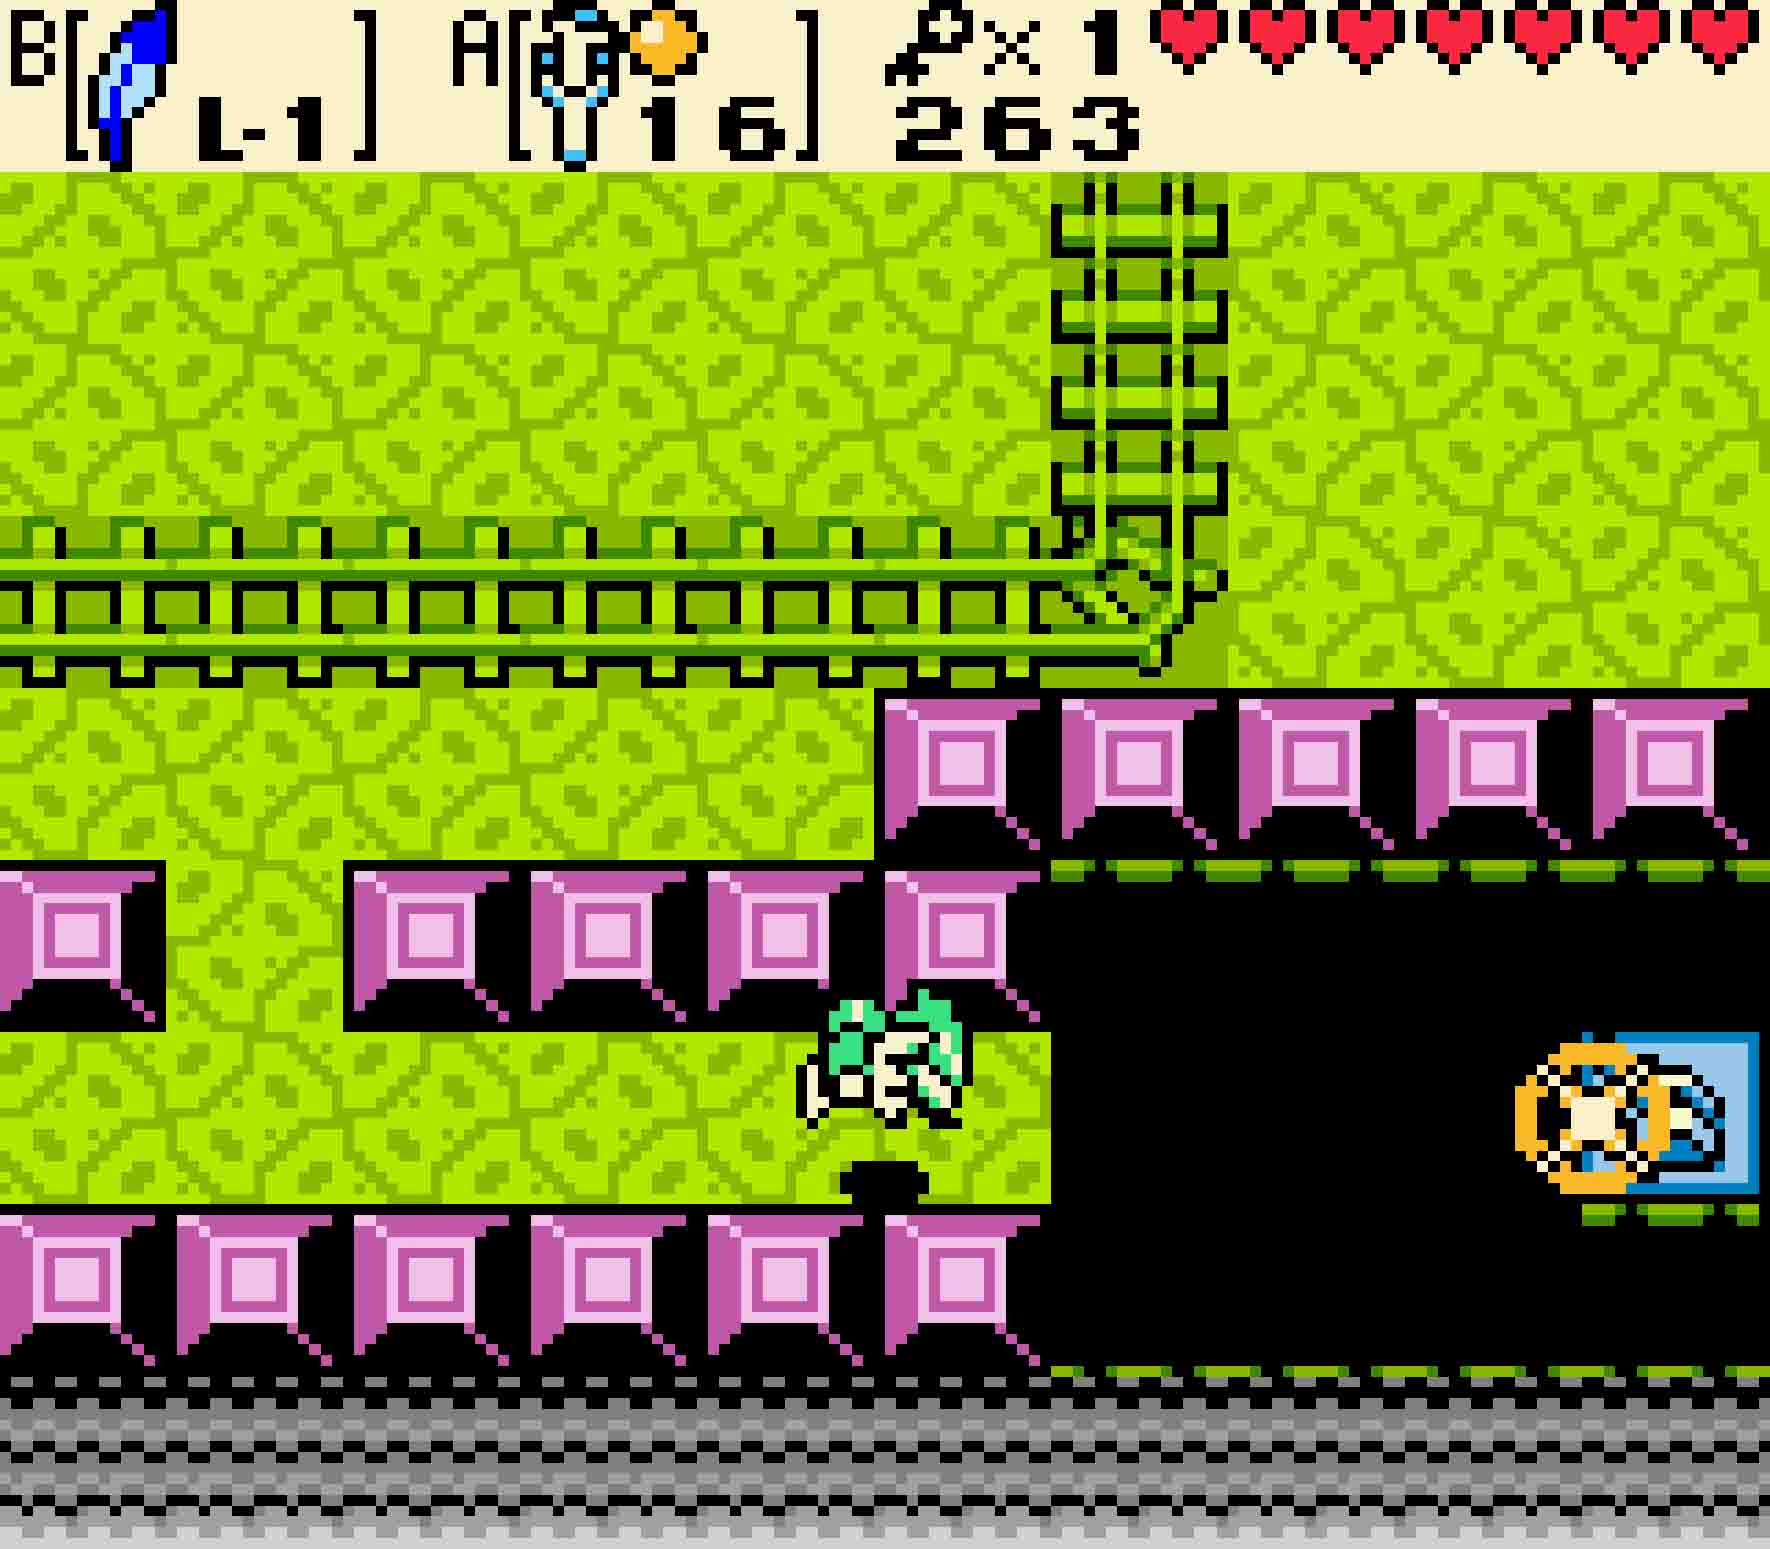
Jump into the minecart on the western side of the room, and prepare to go for a ride. You’ll see a bunch of Keese in the next room. Be careful when getting near the track switcher in the room’s center as it’s currently configured to go the way you want to go: northward. More Keese and Shrouded Stalfos will await you there. Kill them, and then place a Bomb on the obviously cracked wall on the east side. It’ll blow open a hole, and you should go inside.
-
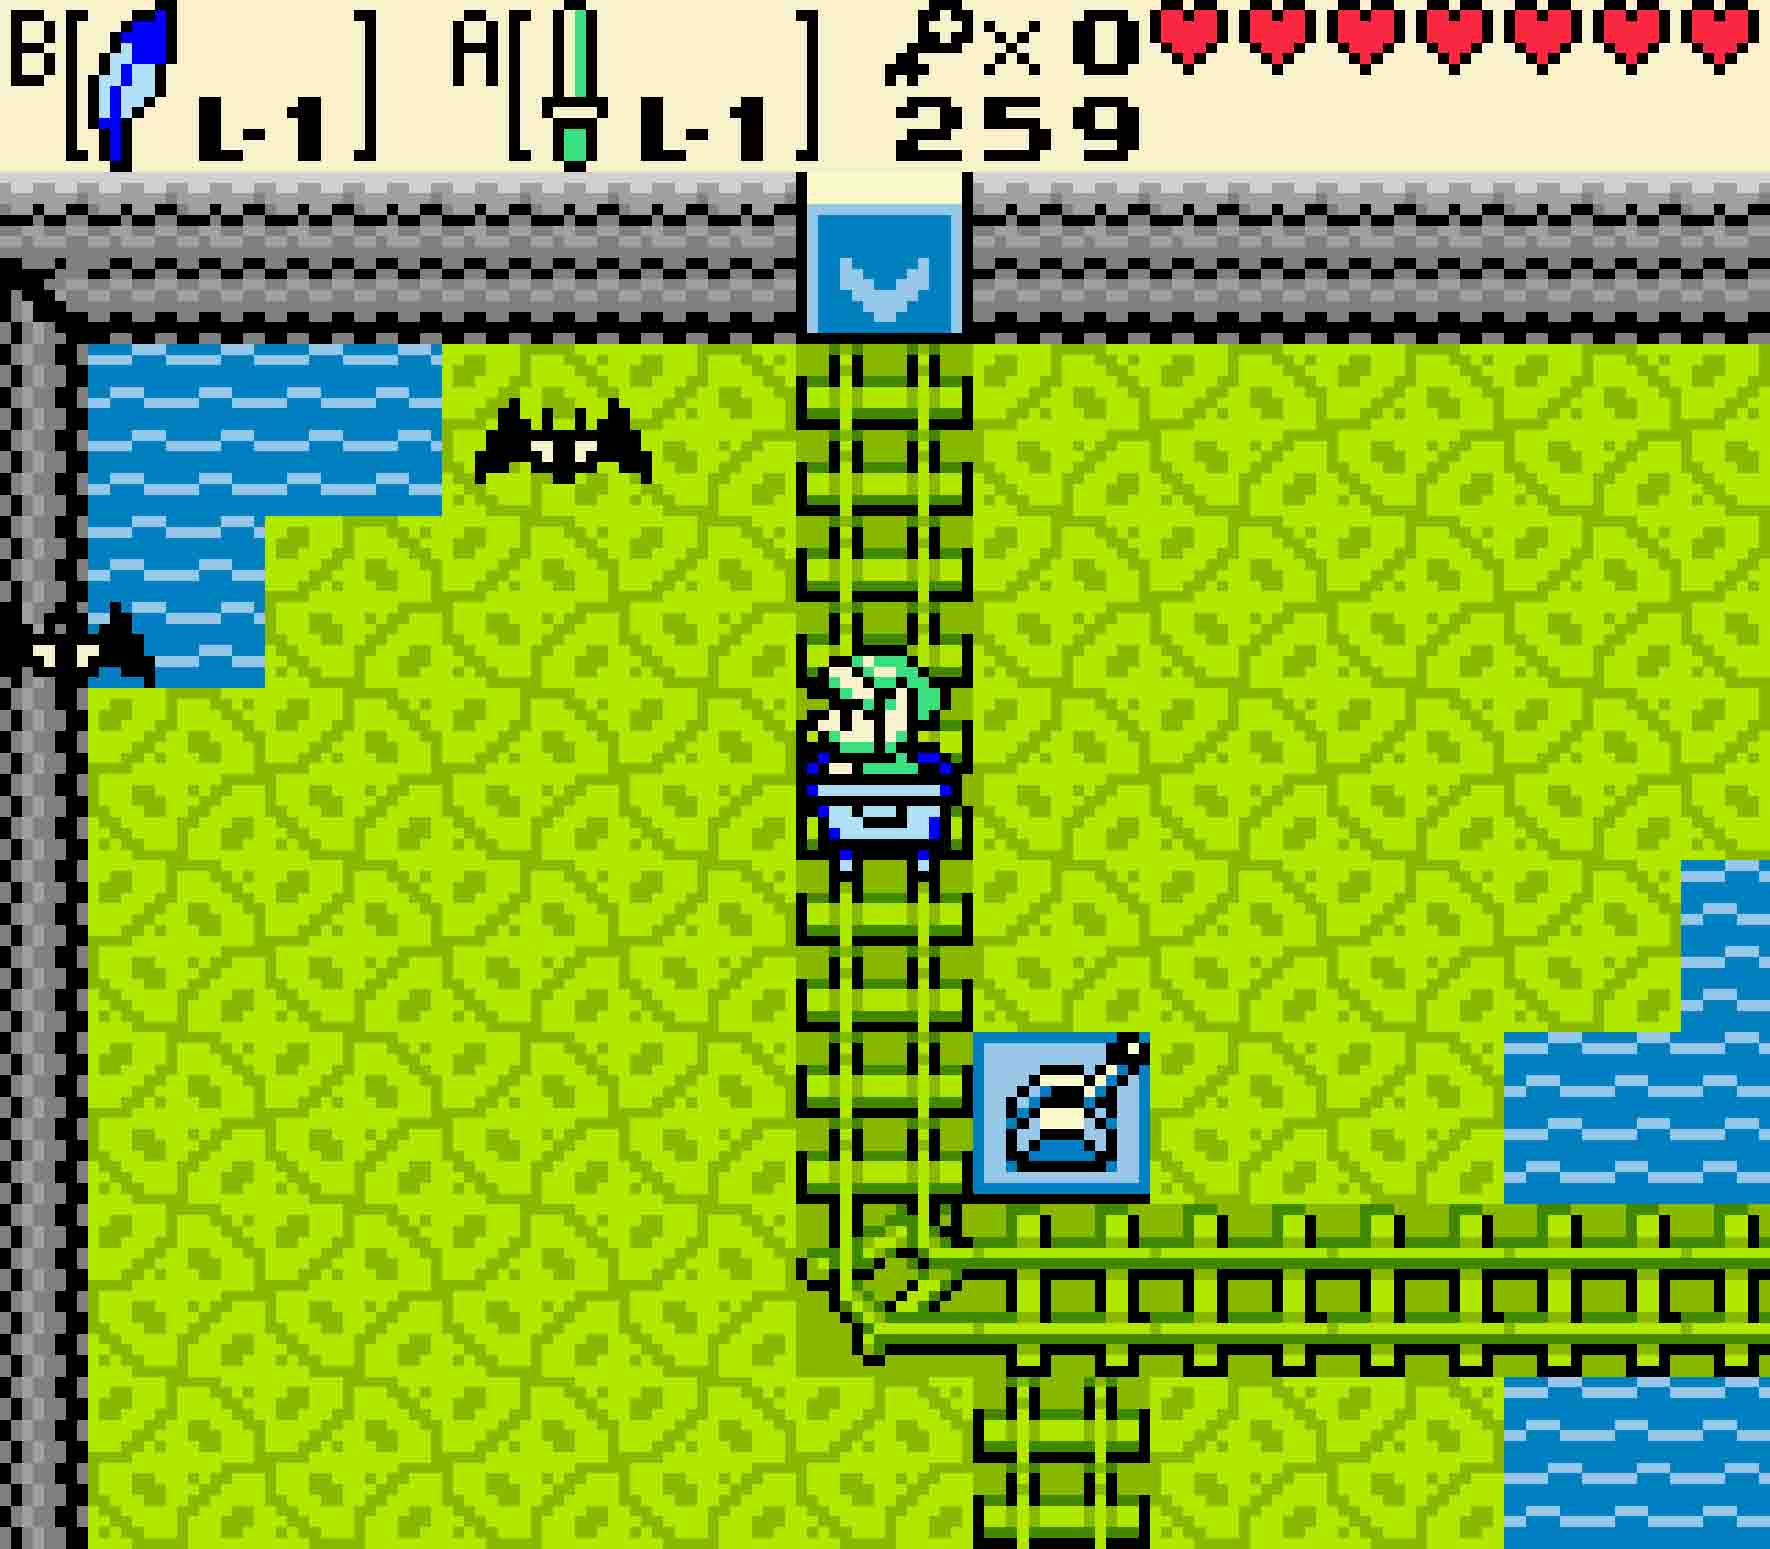
- Don’t hit this switch on the way out; hit it on the way back.
-
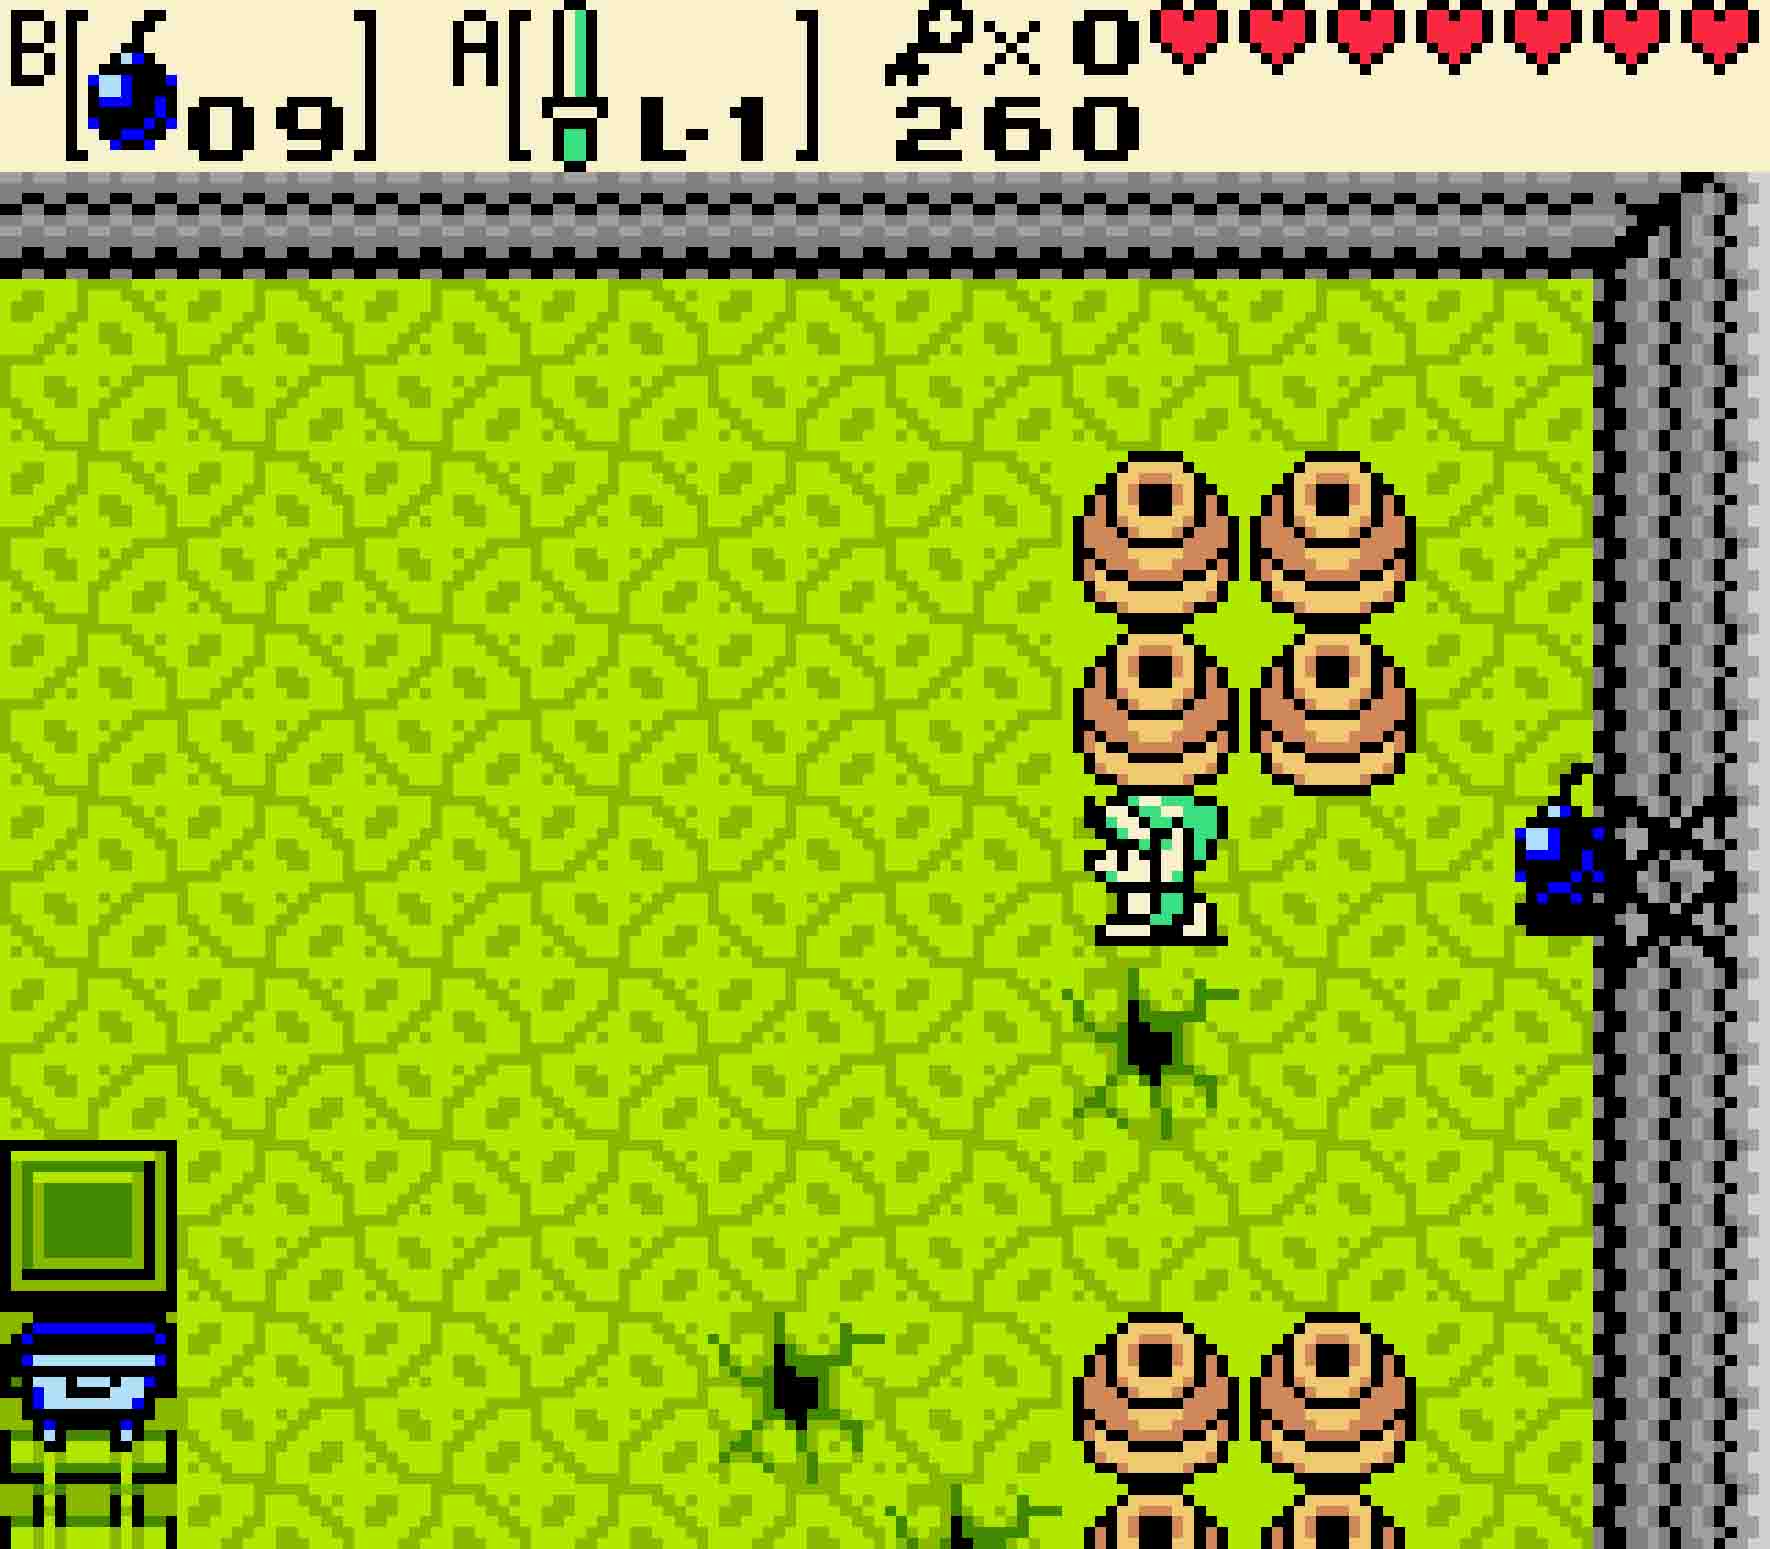
- You can get your first key by blasting through this wall.
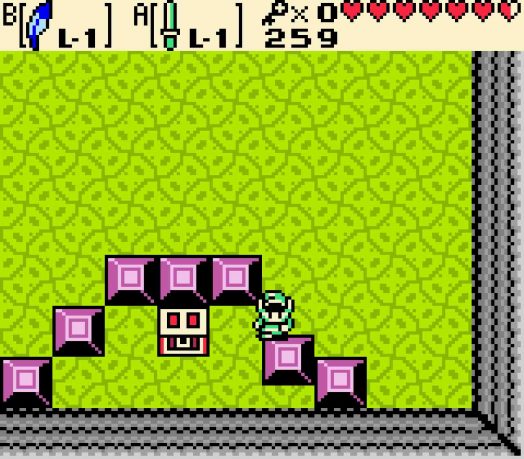
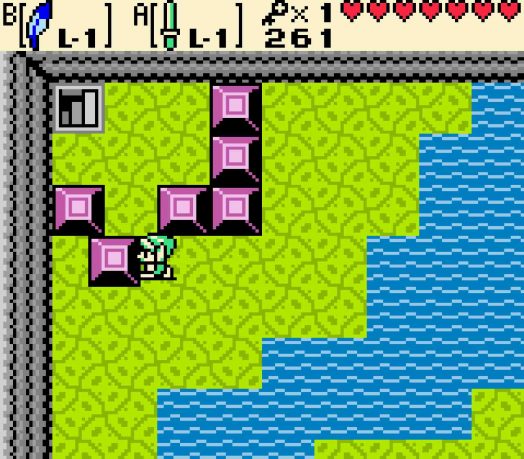
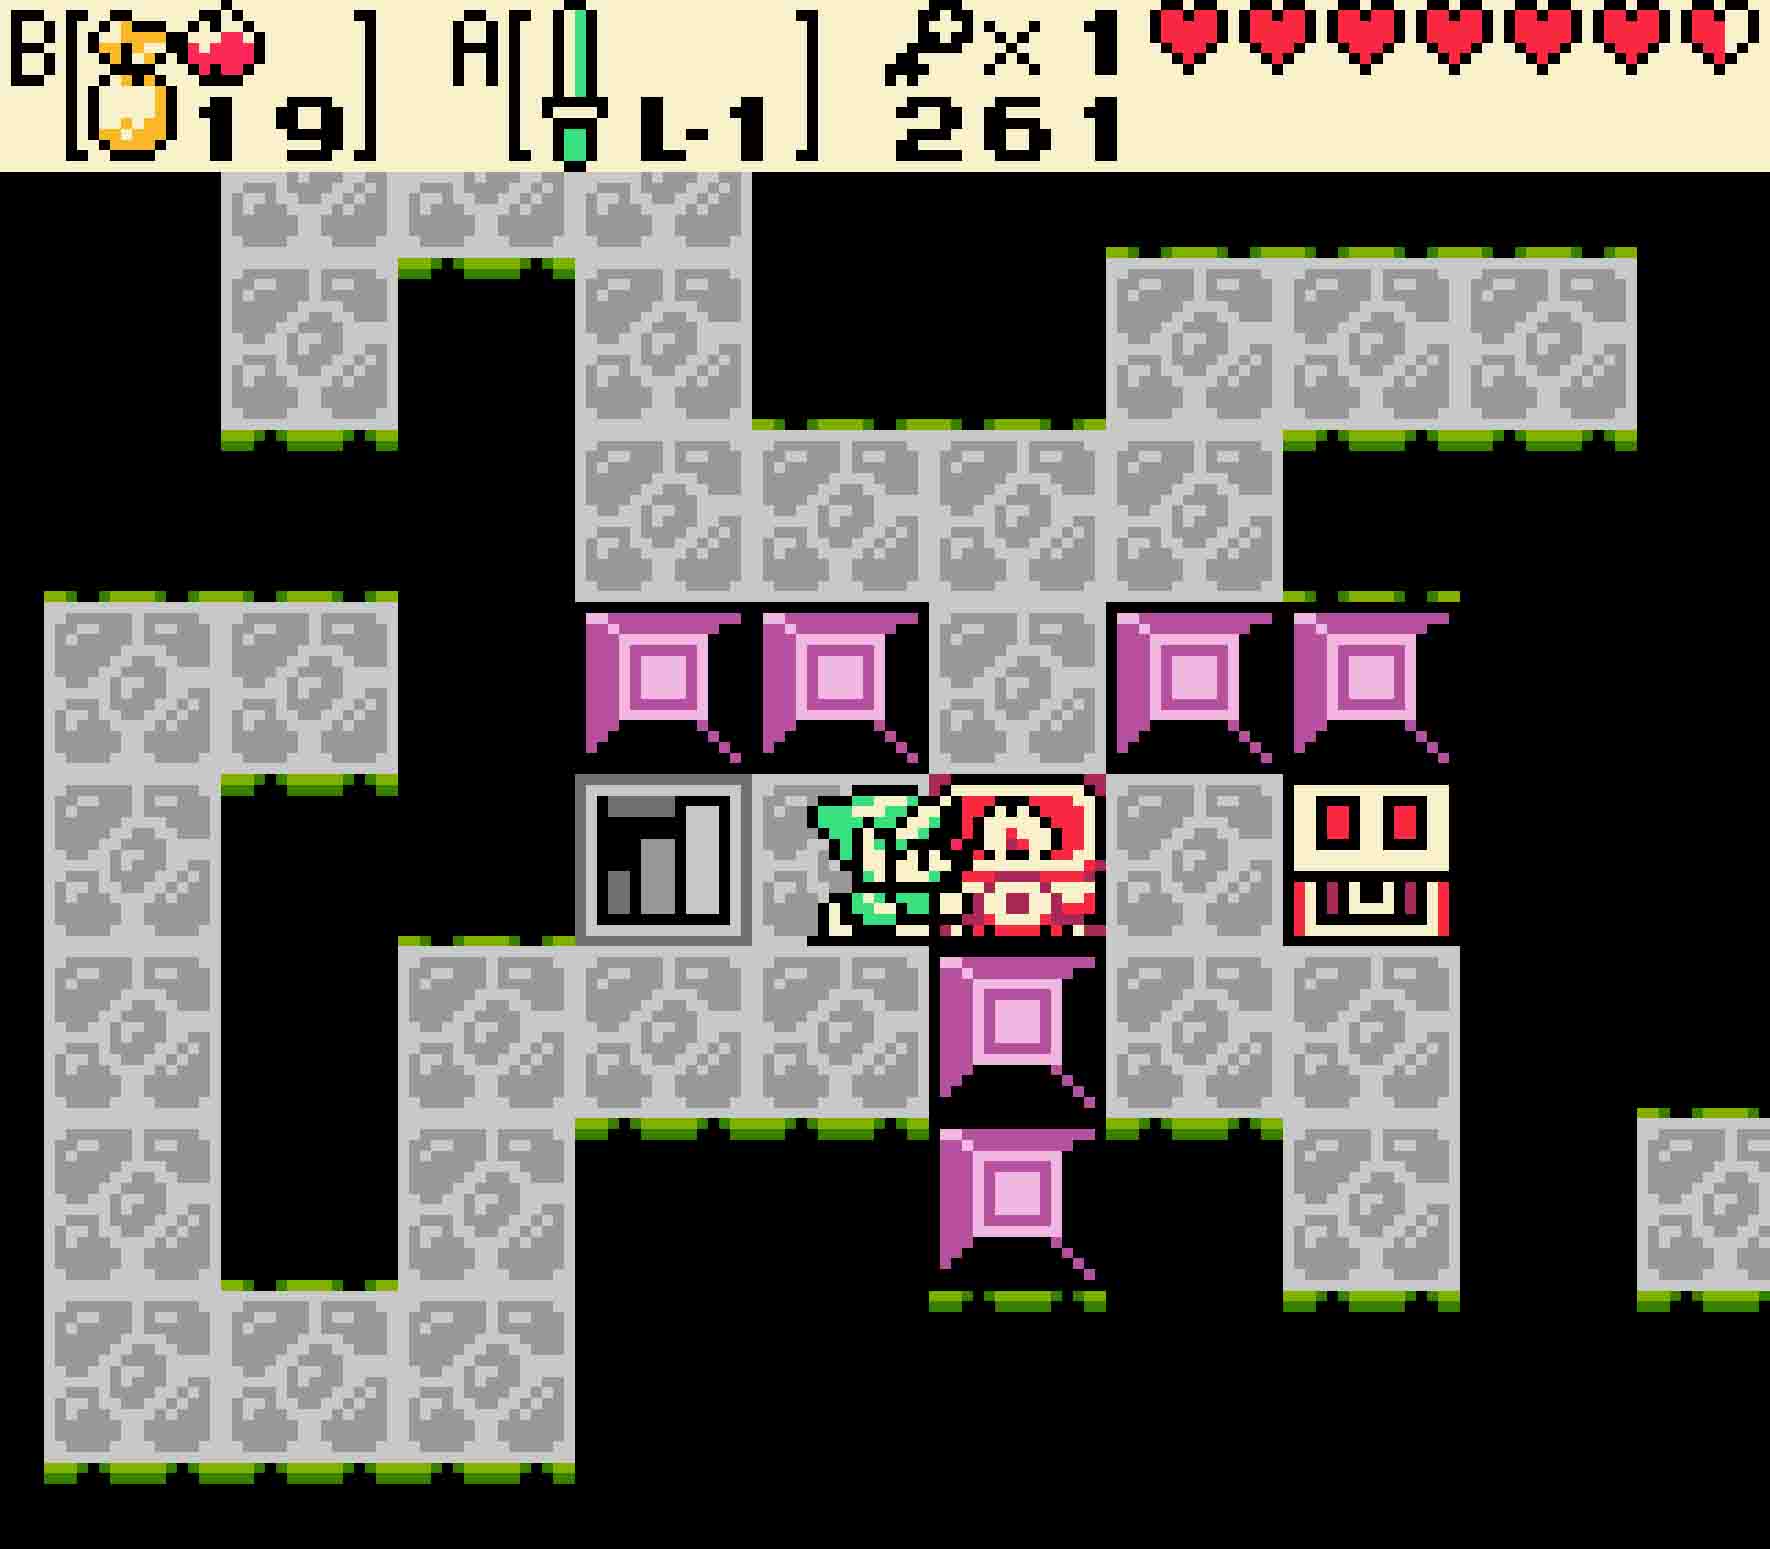
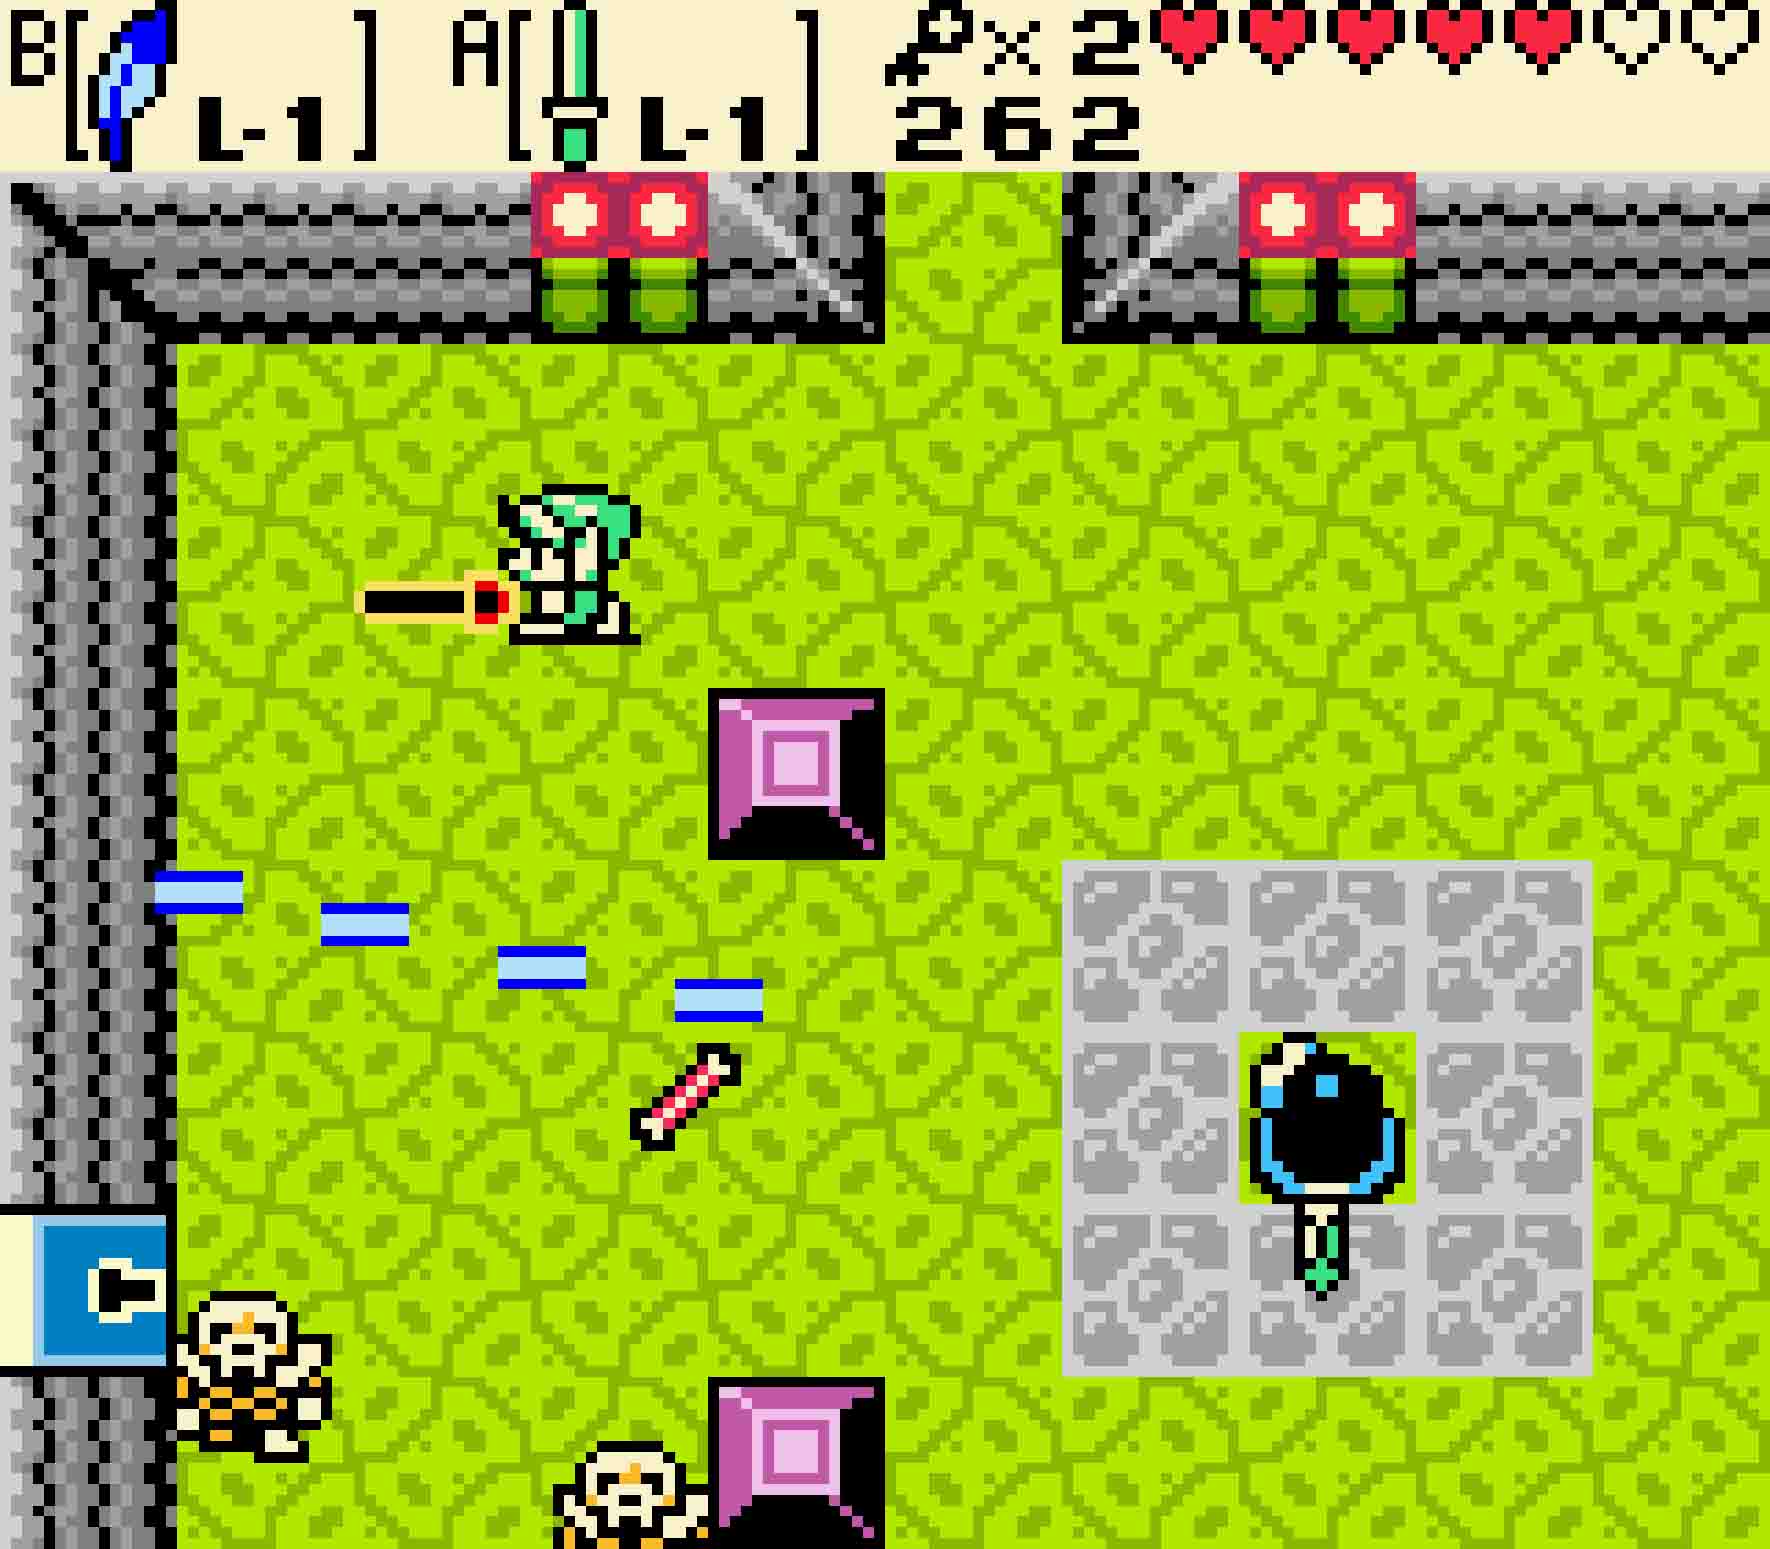
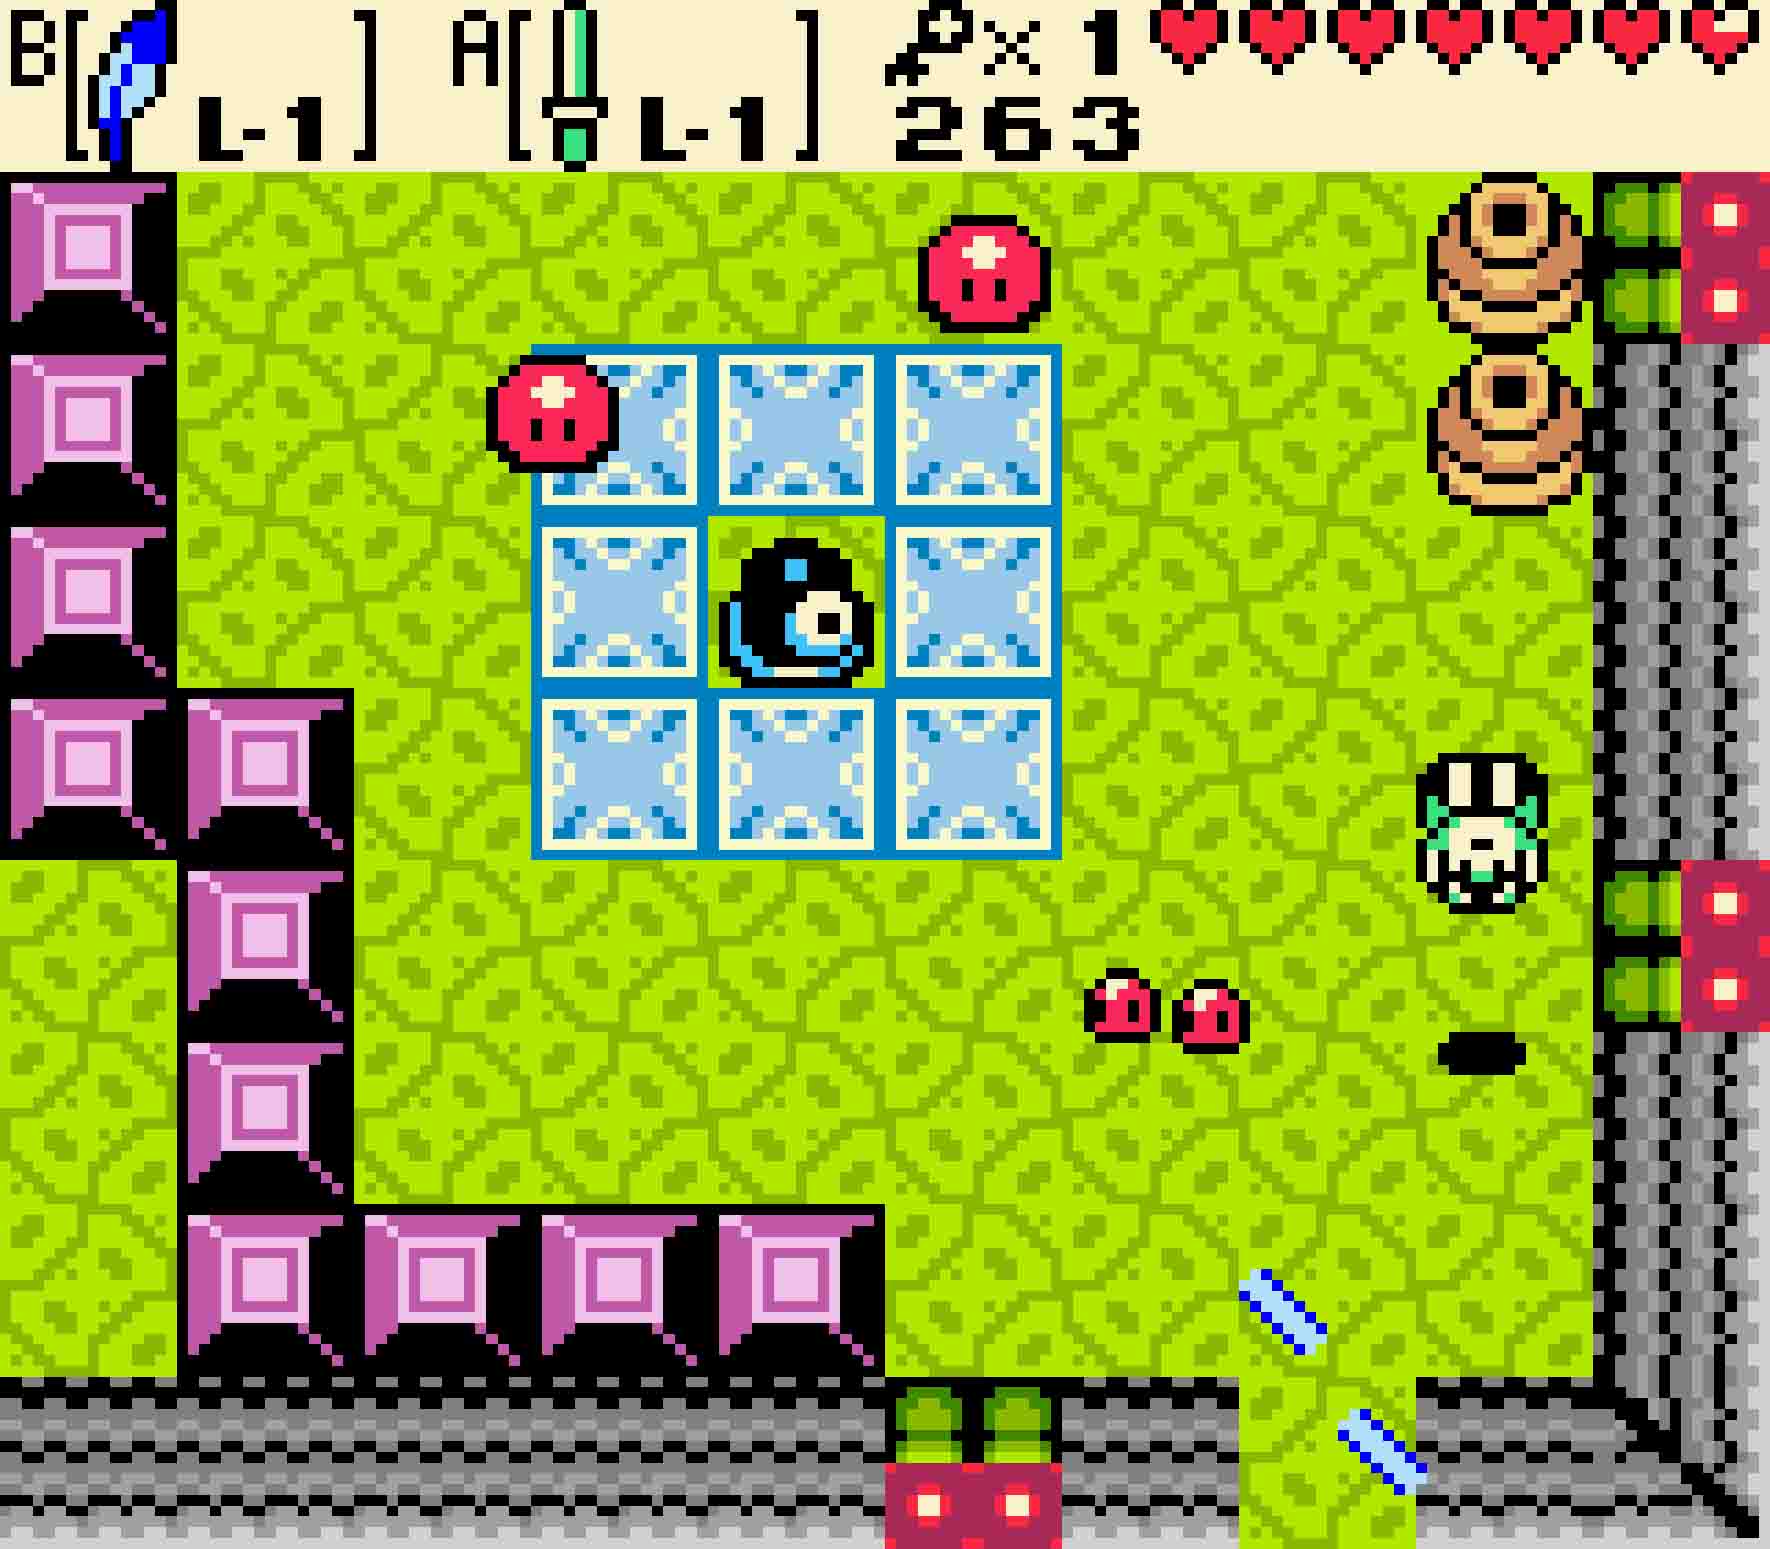
You then will see a room with eight switches on the floor and nine pots in the center of the room. You might think that you need to push eight of the pots onto the eight switches, but you can’t actually do that. Instead, you need to put seven pots on seven of the switches and then personally stand on the last one.
Pushing the pots onto the switches
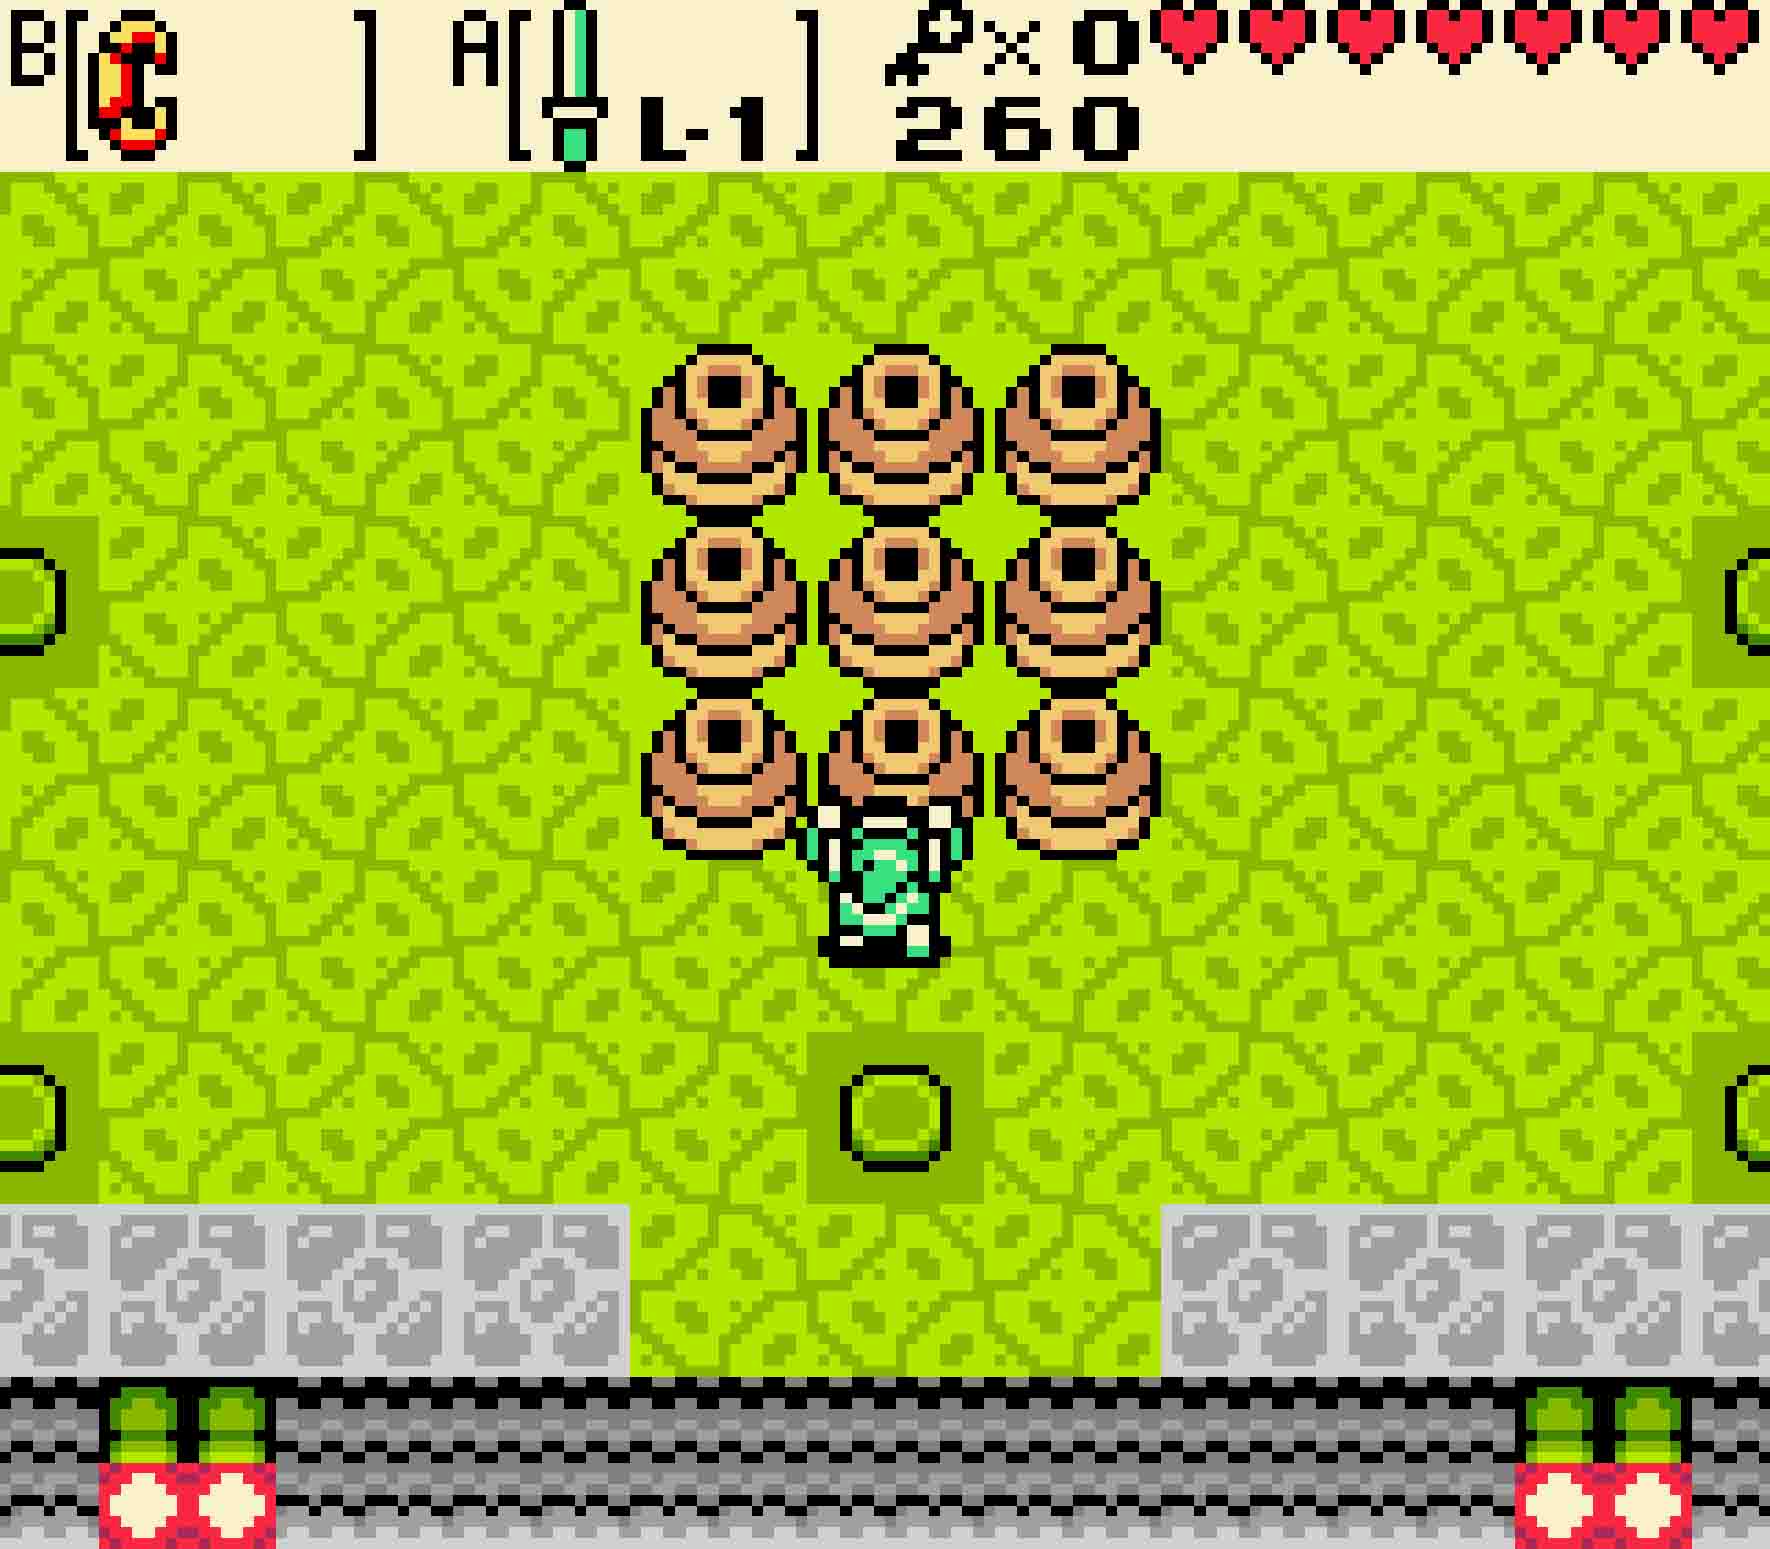
Step One To do this, pick up and destroy two of the pots — the center pot and one other pot.
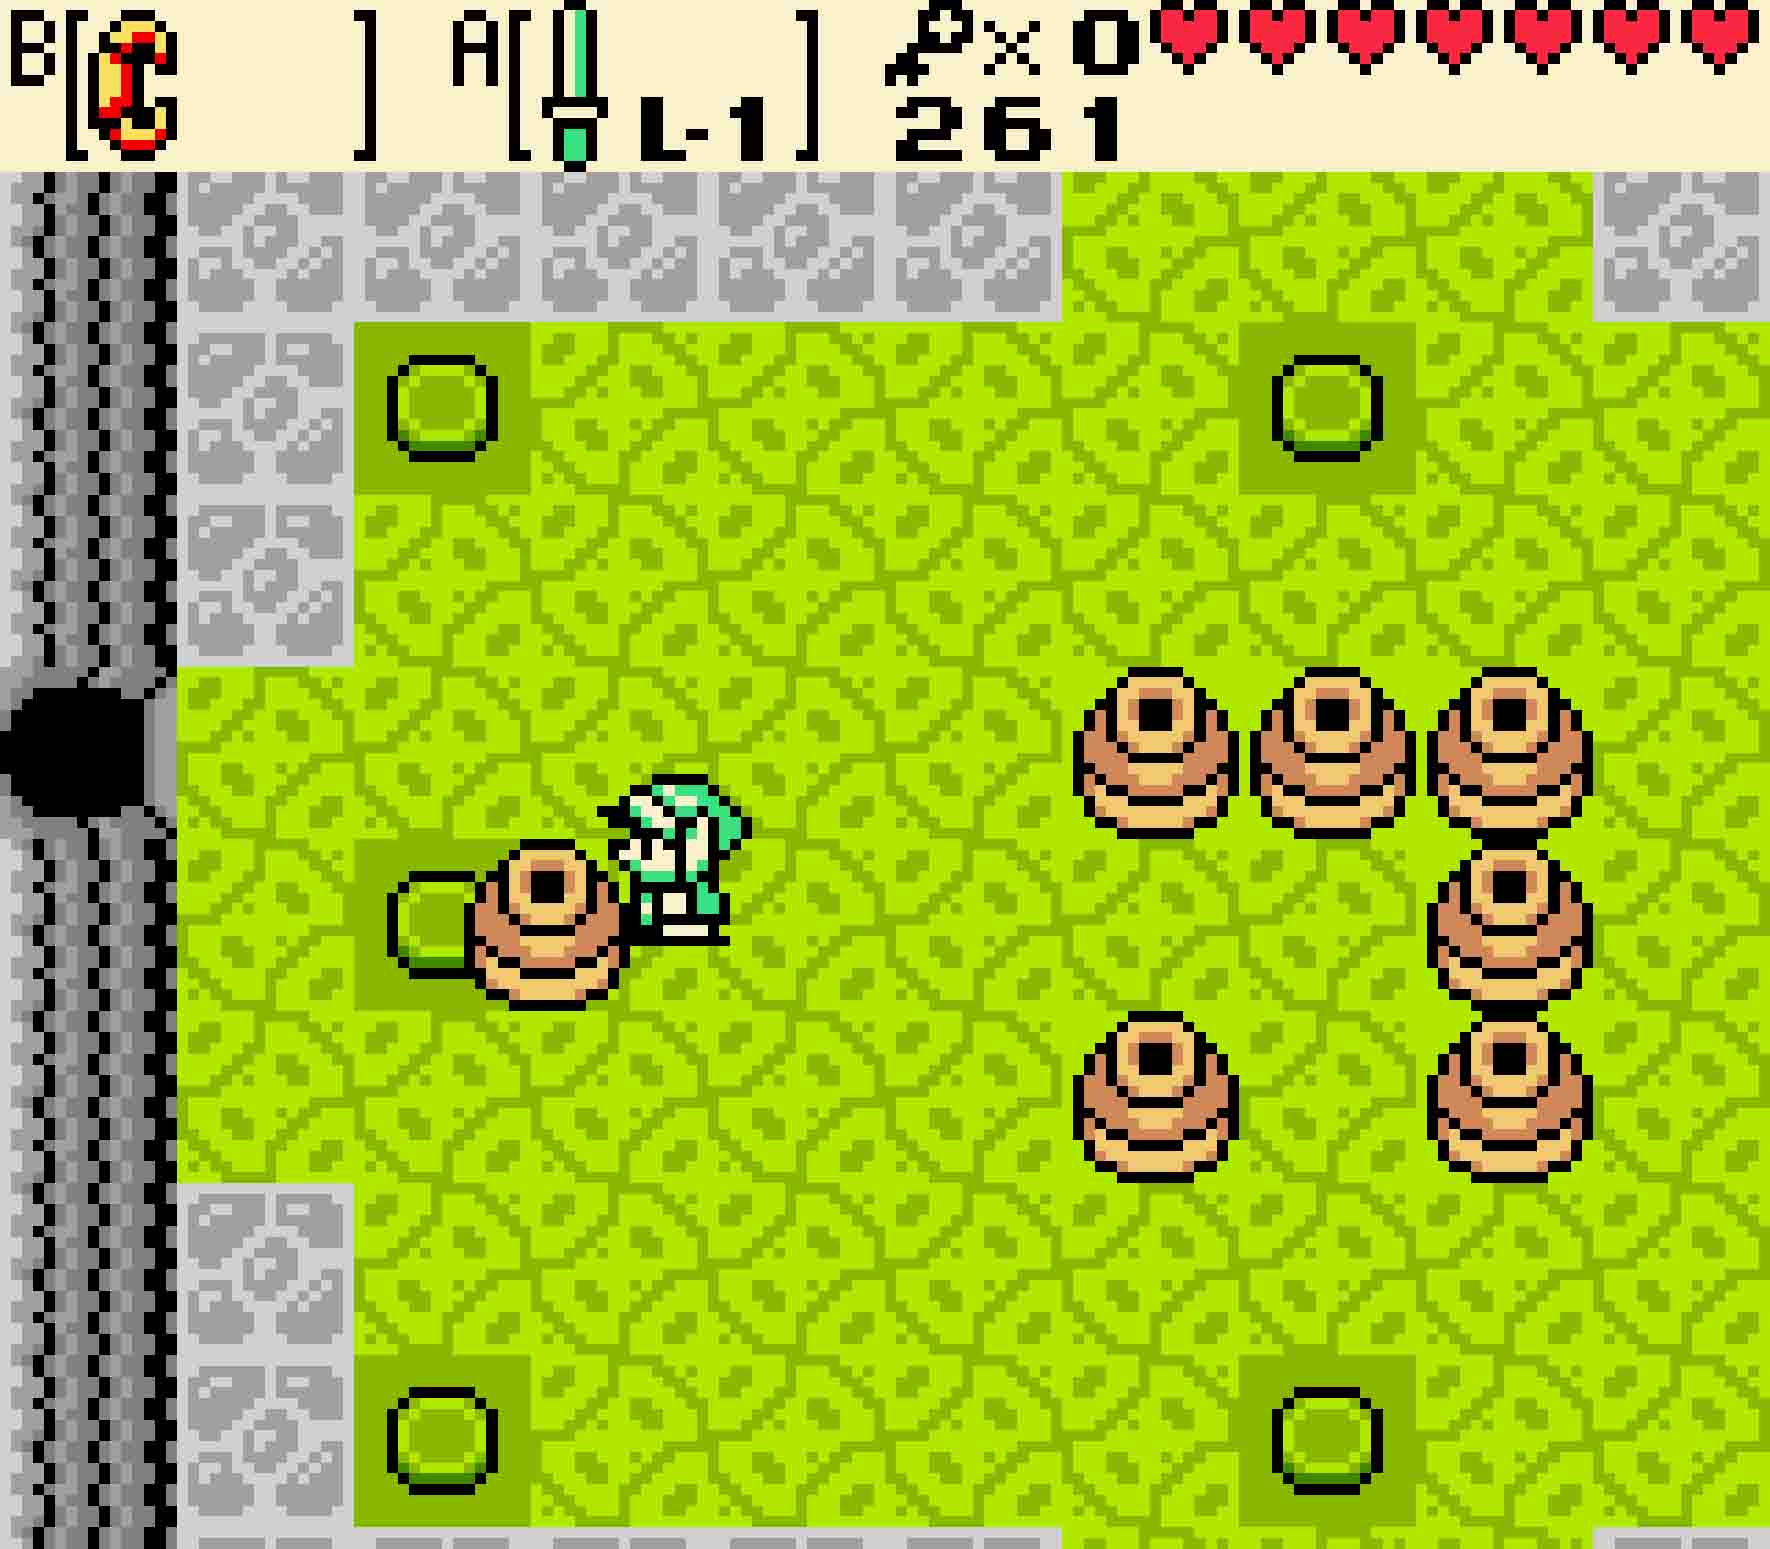
Step Two Start moving the pots away from the center, pushing them carefully over each of the switches.
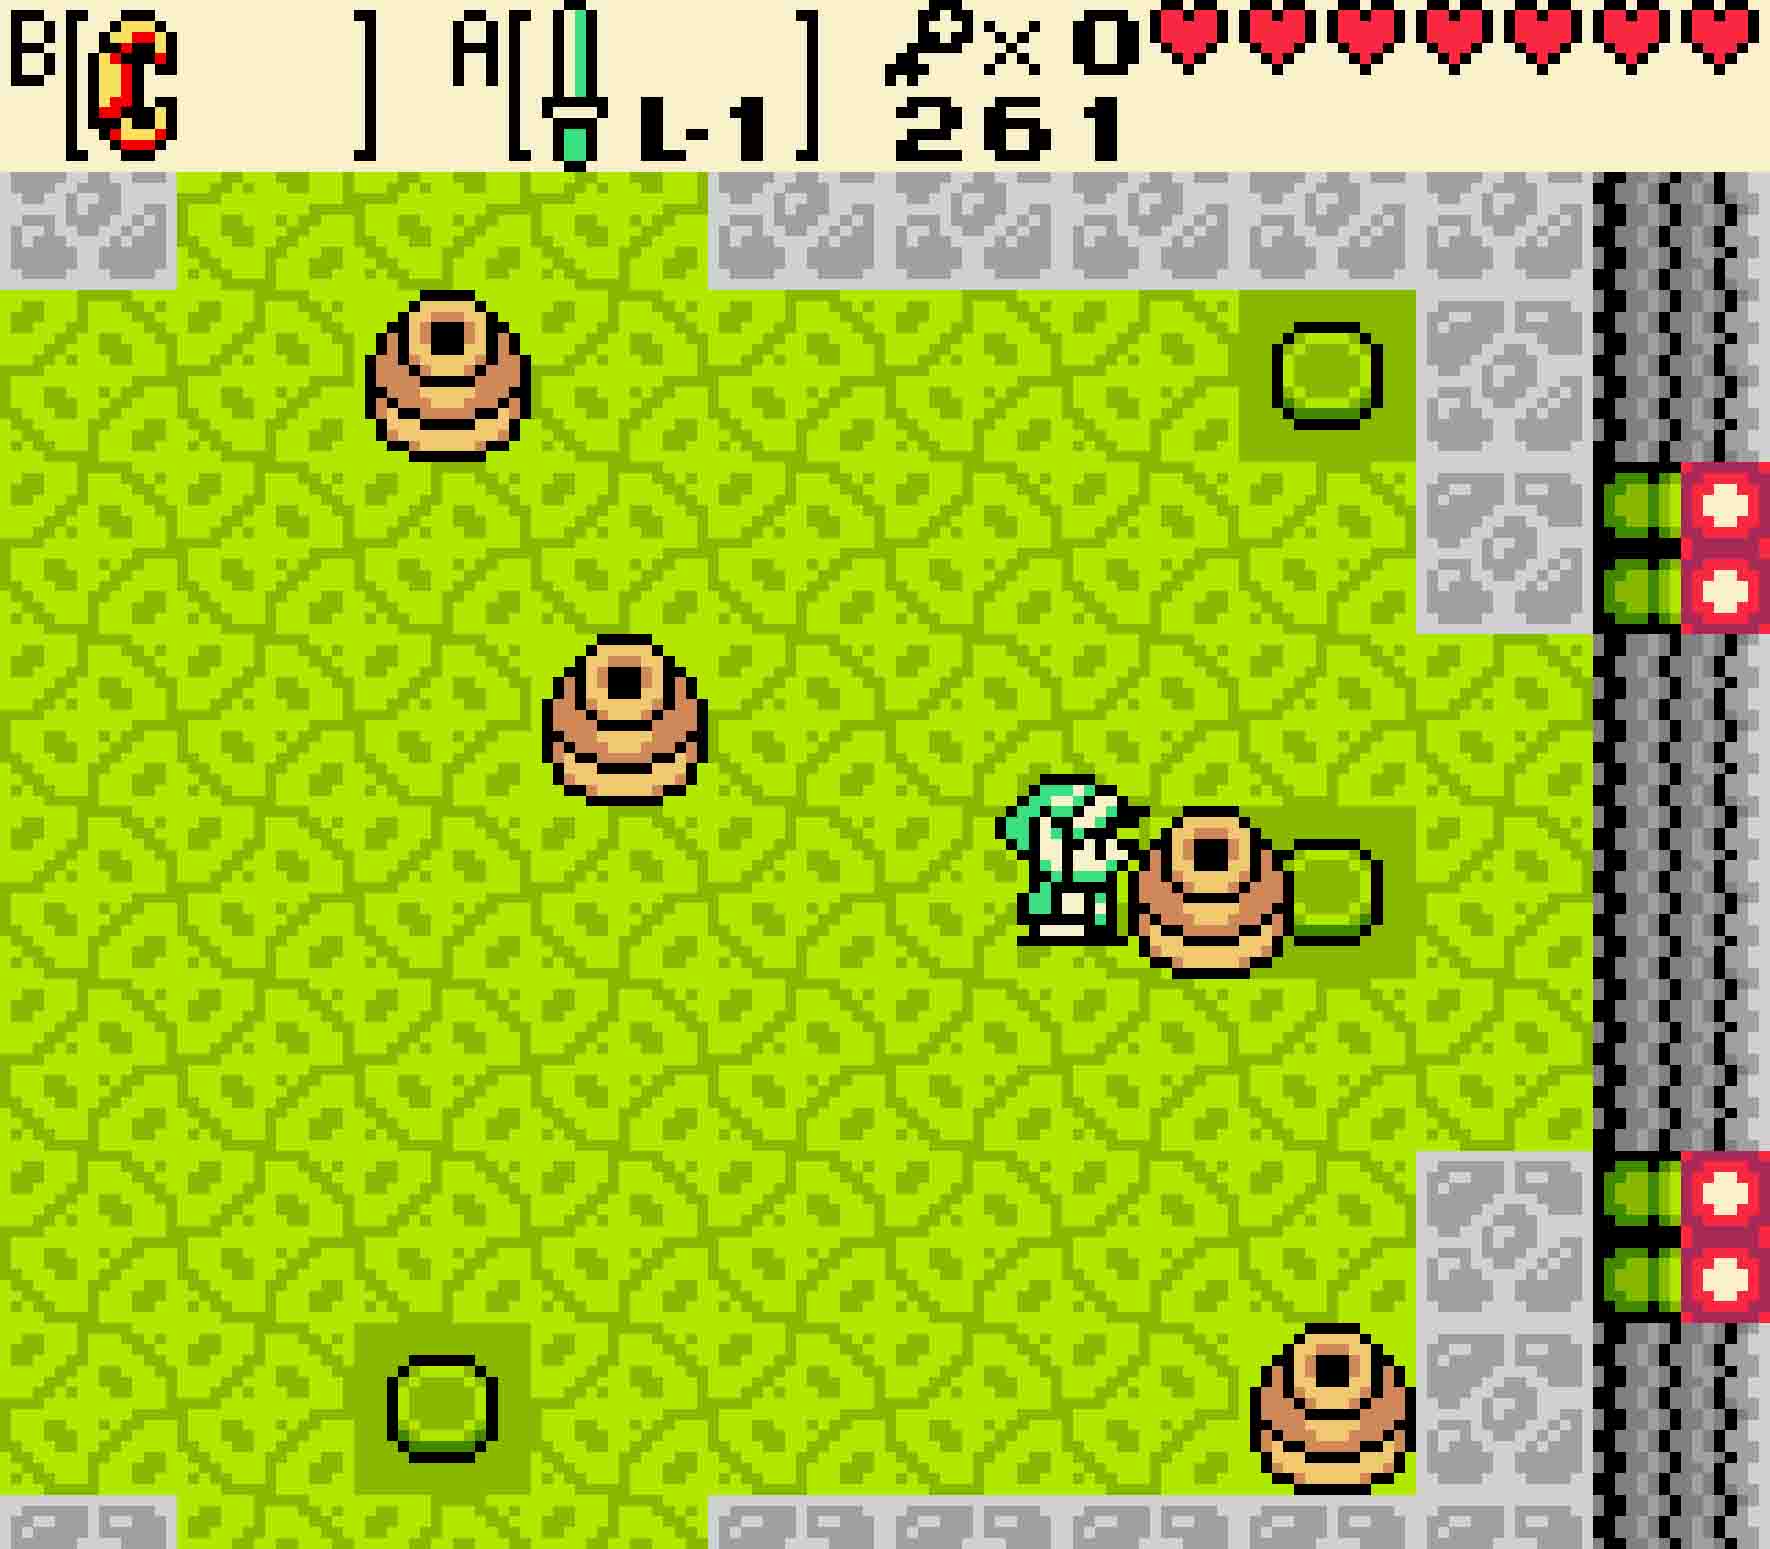
Step Three Keep doing this until you have all seven pots on top of switches.

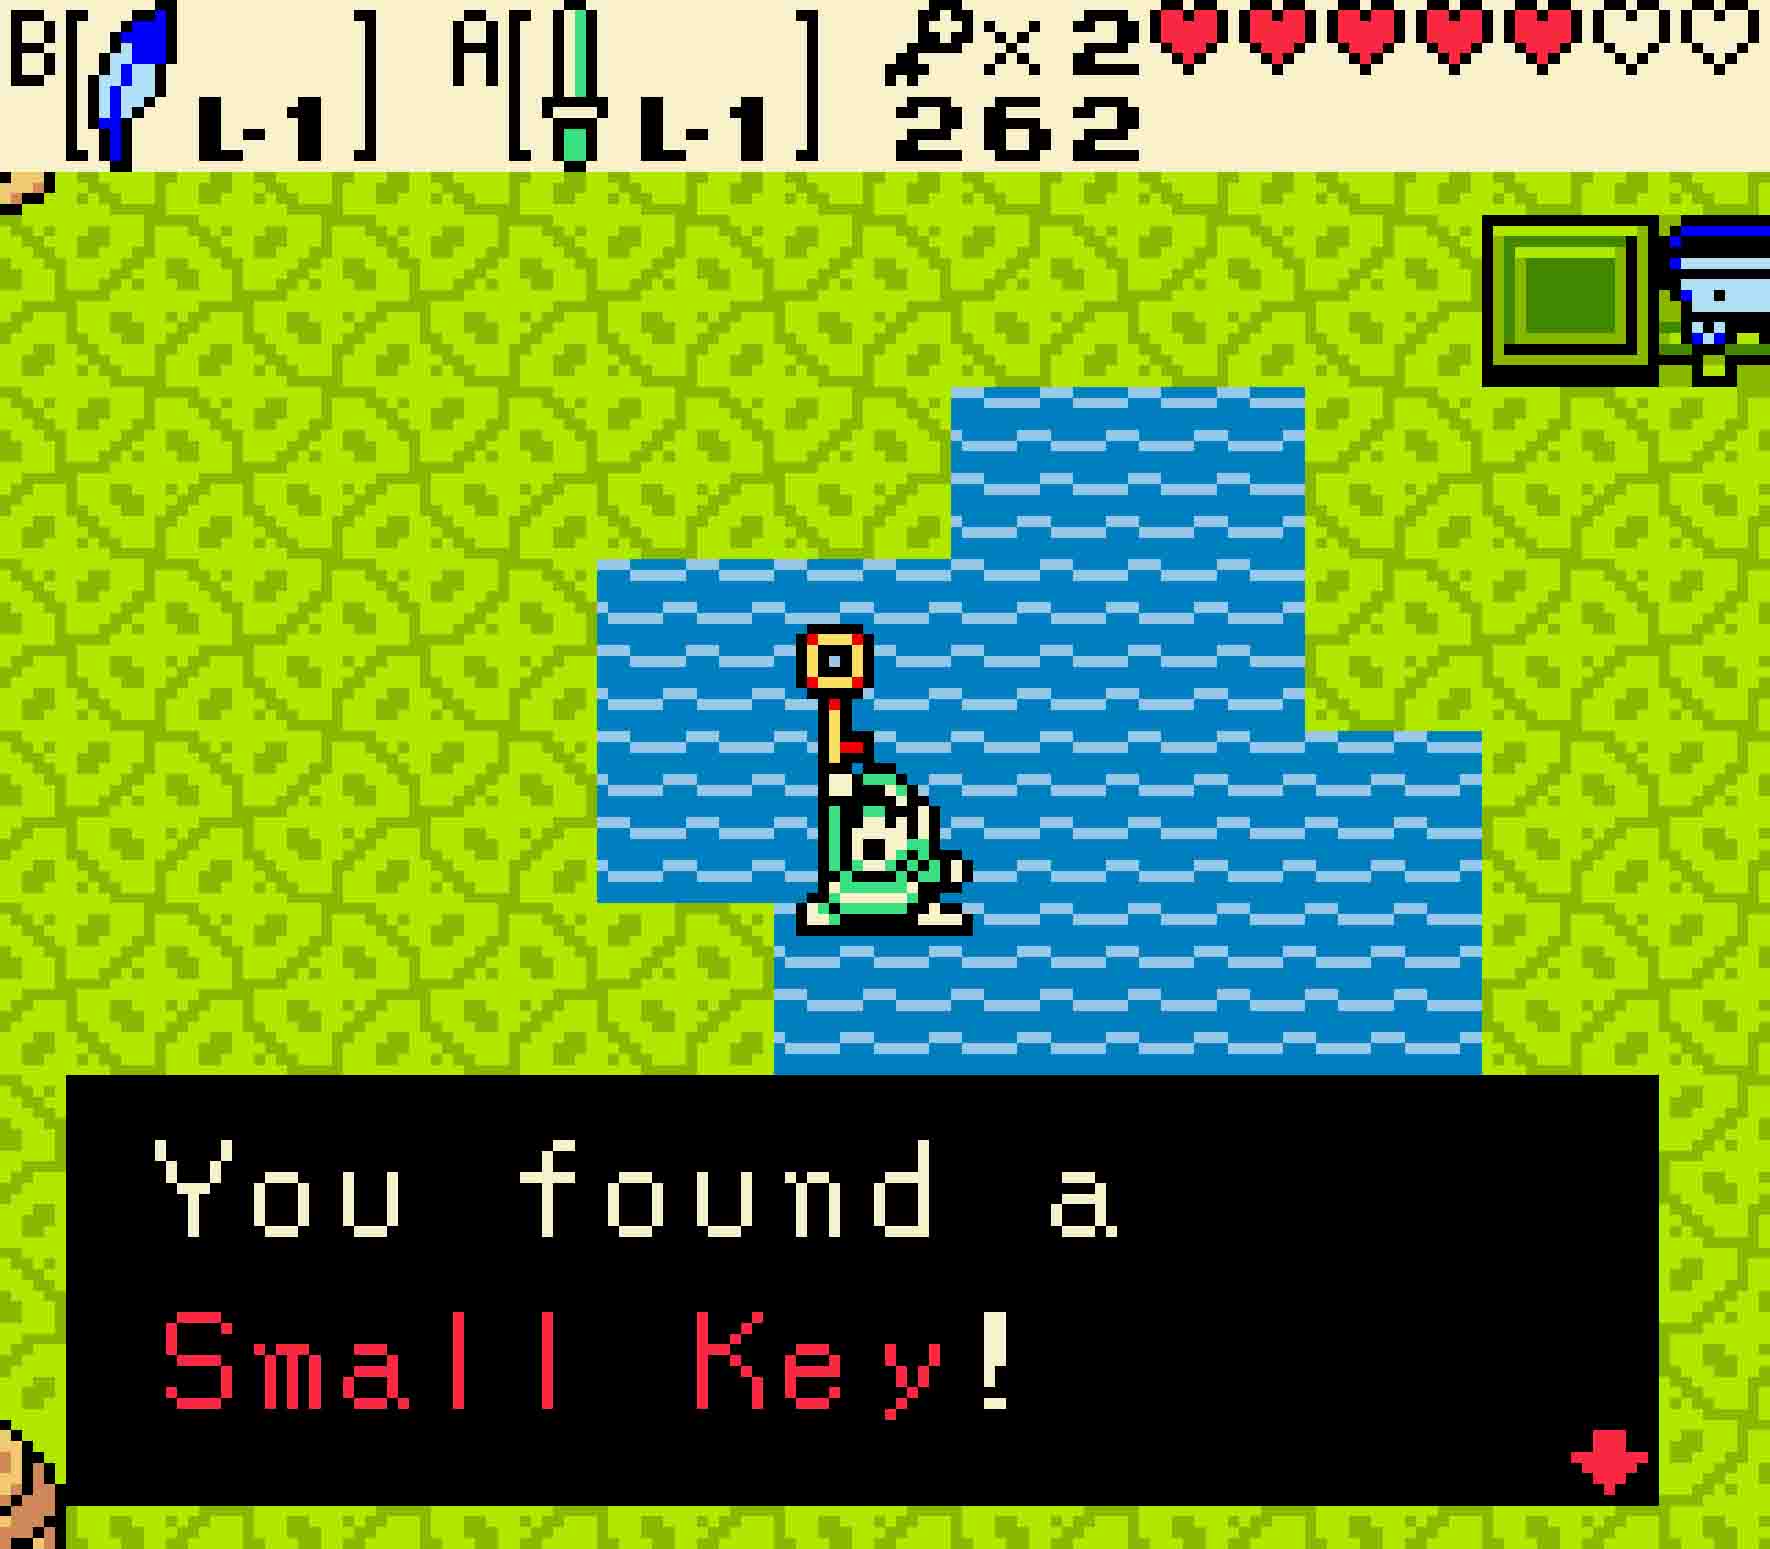
Step Four Step on the last of the switches to cause a key to drop down in the center of the room.
11.2 Obtain the Map
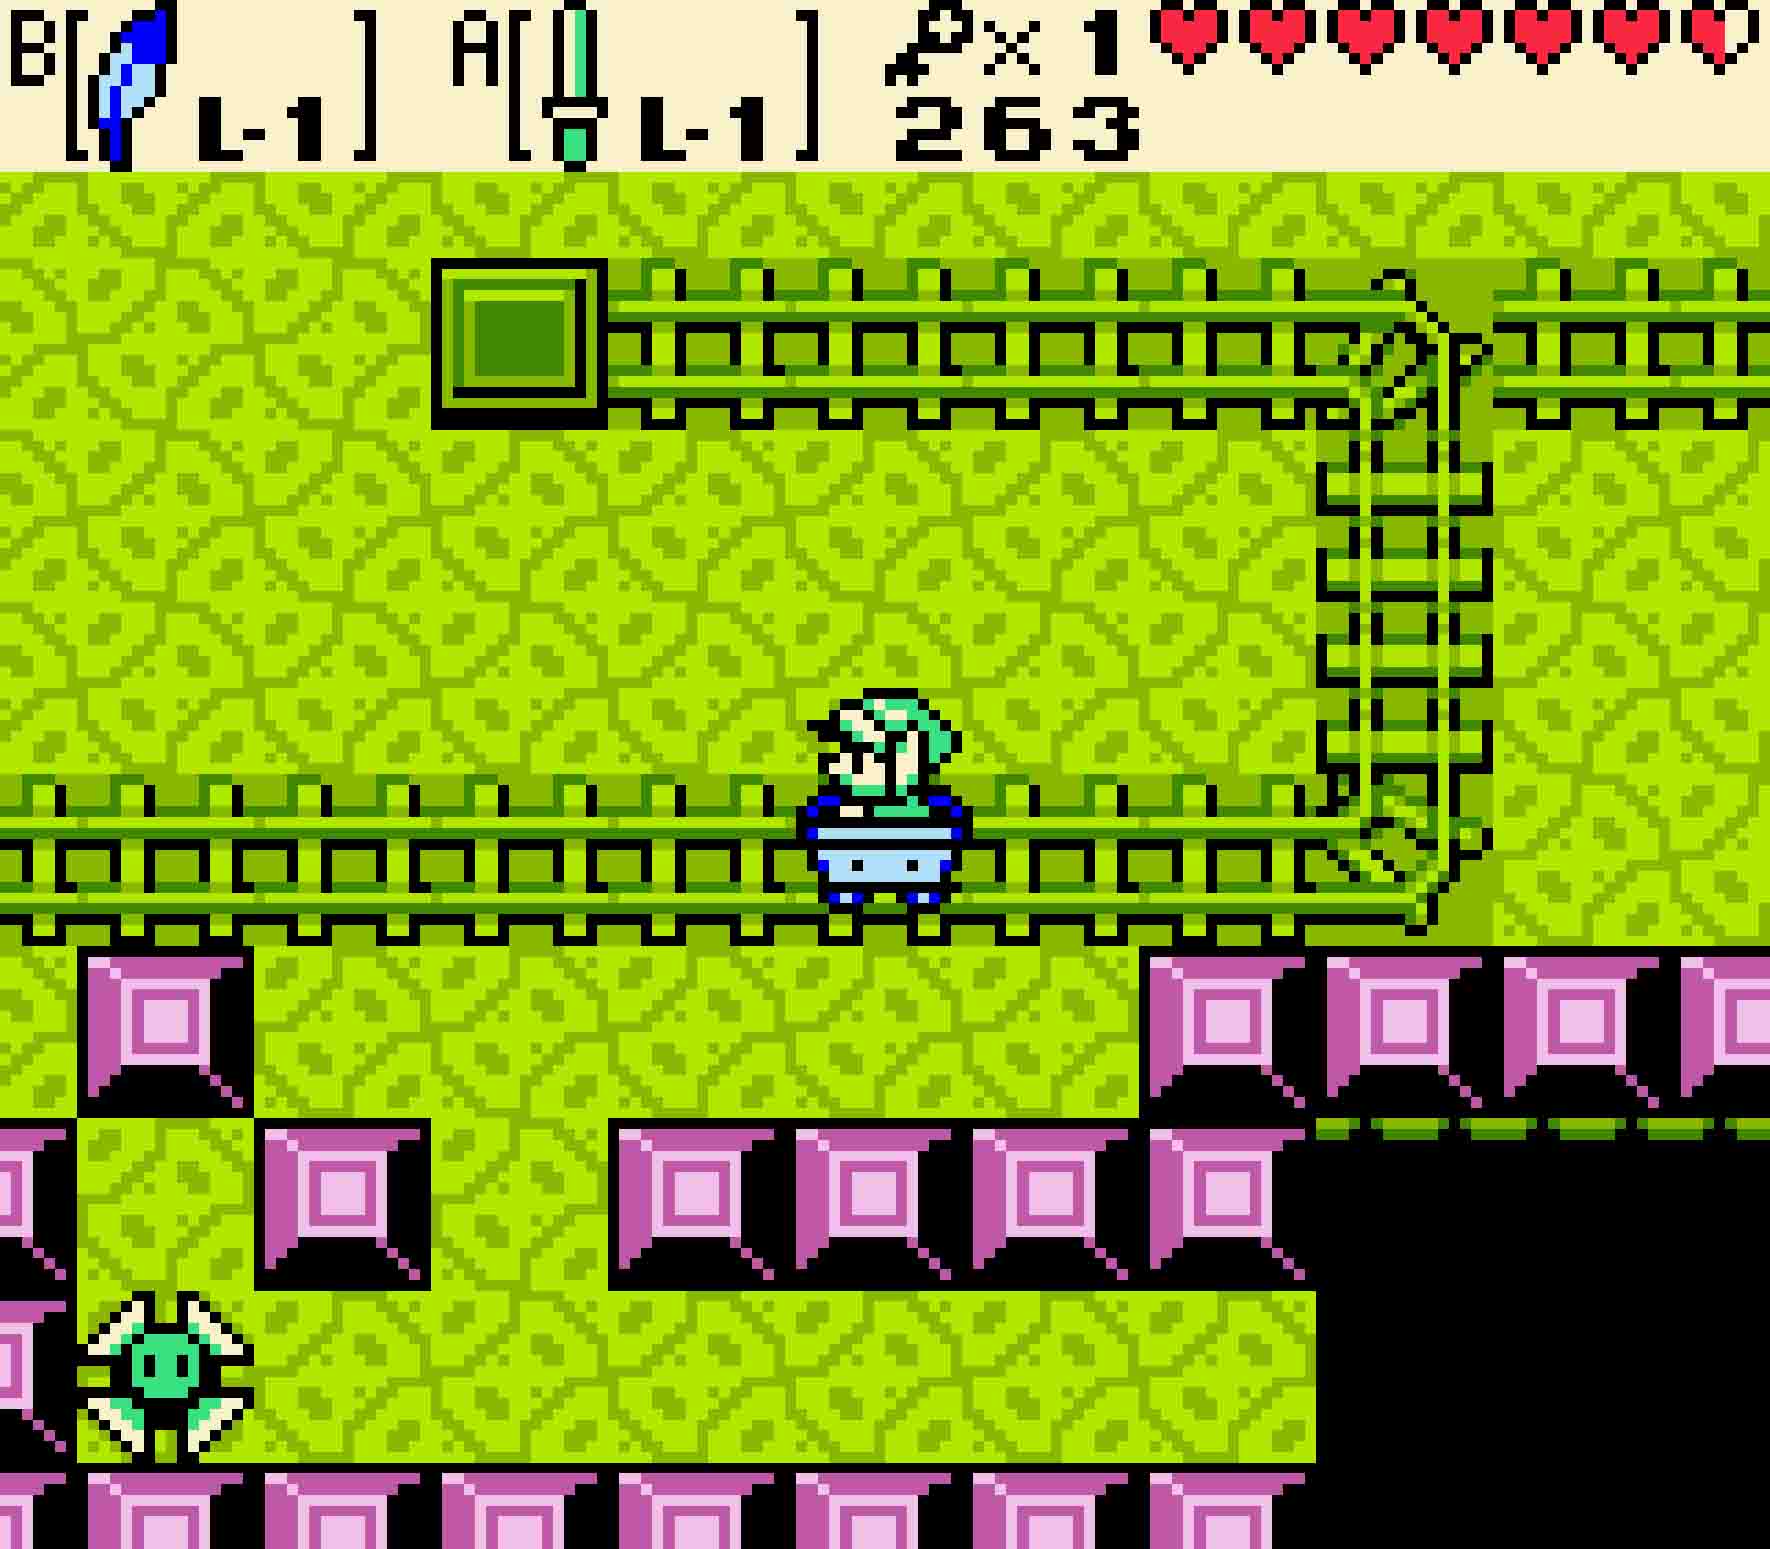
Return back west, and then hop in the minecart again. This time, as you head back but before you pass the railway junction, use your sword to hit the switch, causing the eastern track to switch so it’s connected to the southern track. Ride the minecart to the end of the line, and then hop back in it. This time you’ll head along the southern track, heading through the western door.
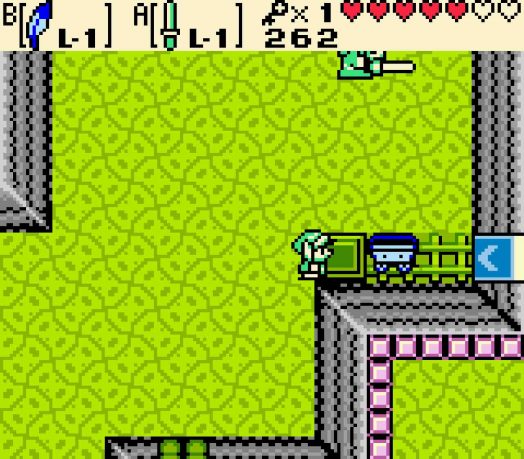
This room is full of Water Tektites. They’re difficult to kill as they don’t always cooperate and remain near land, though do your best. Eventually you’ll want to swim to the left part of the room, where you’ll need to push a statue so that it sits on a floor switch in the top-left corner of the room, causing the door to open. Head northward.
-
- When traveling back on the trains, change the tracks so you can head south.
-
- You’ll need to hold this switch down, so you’ll have to use this statue to do it.
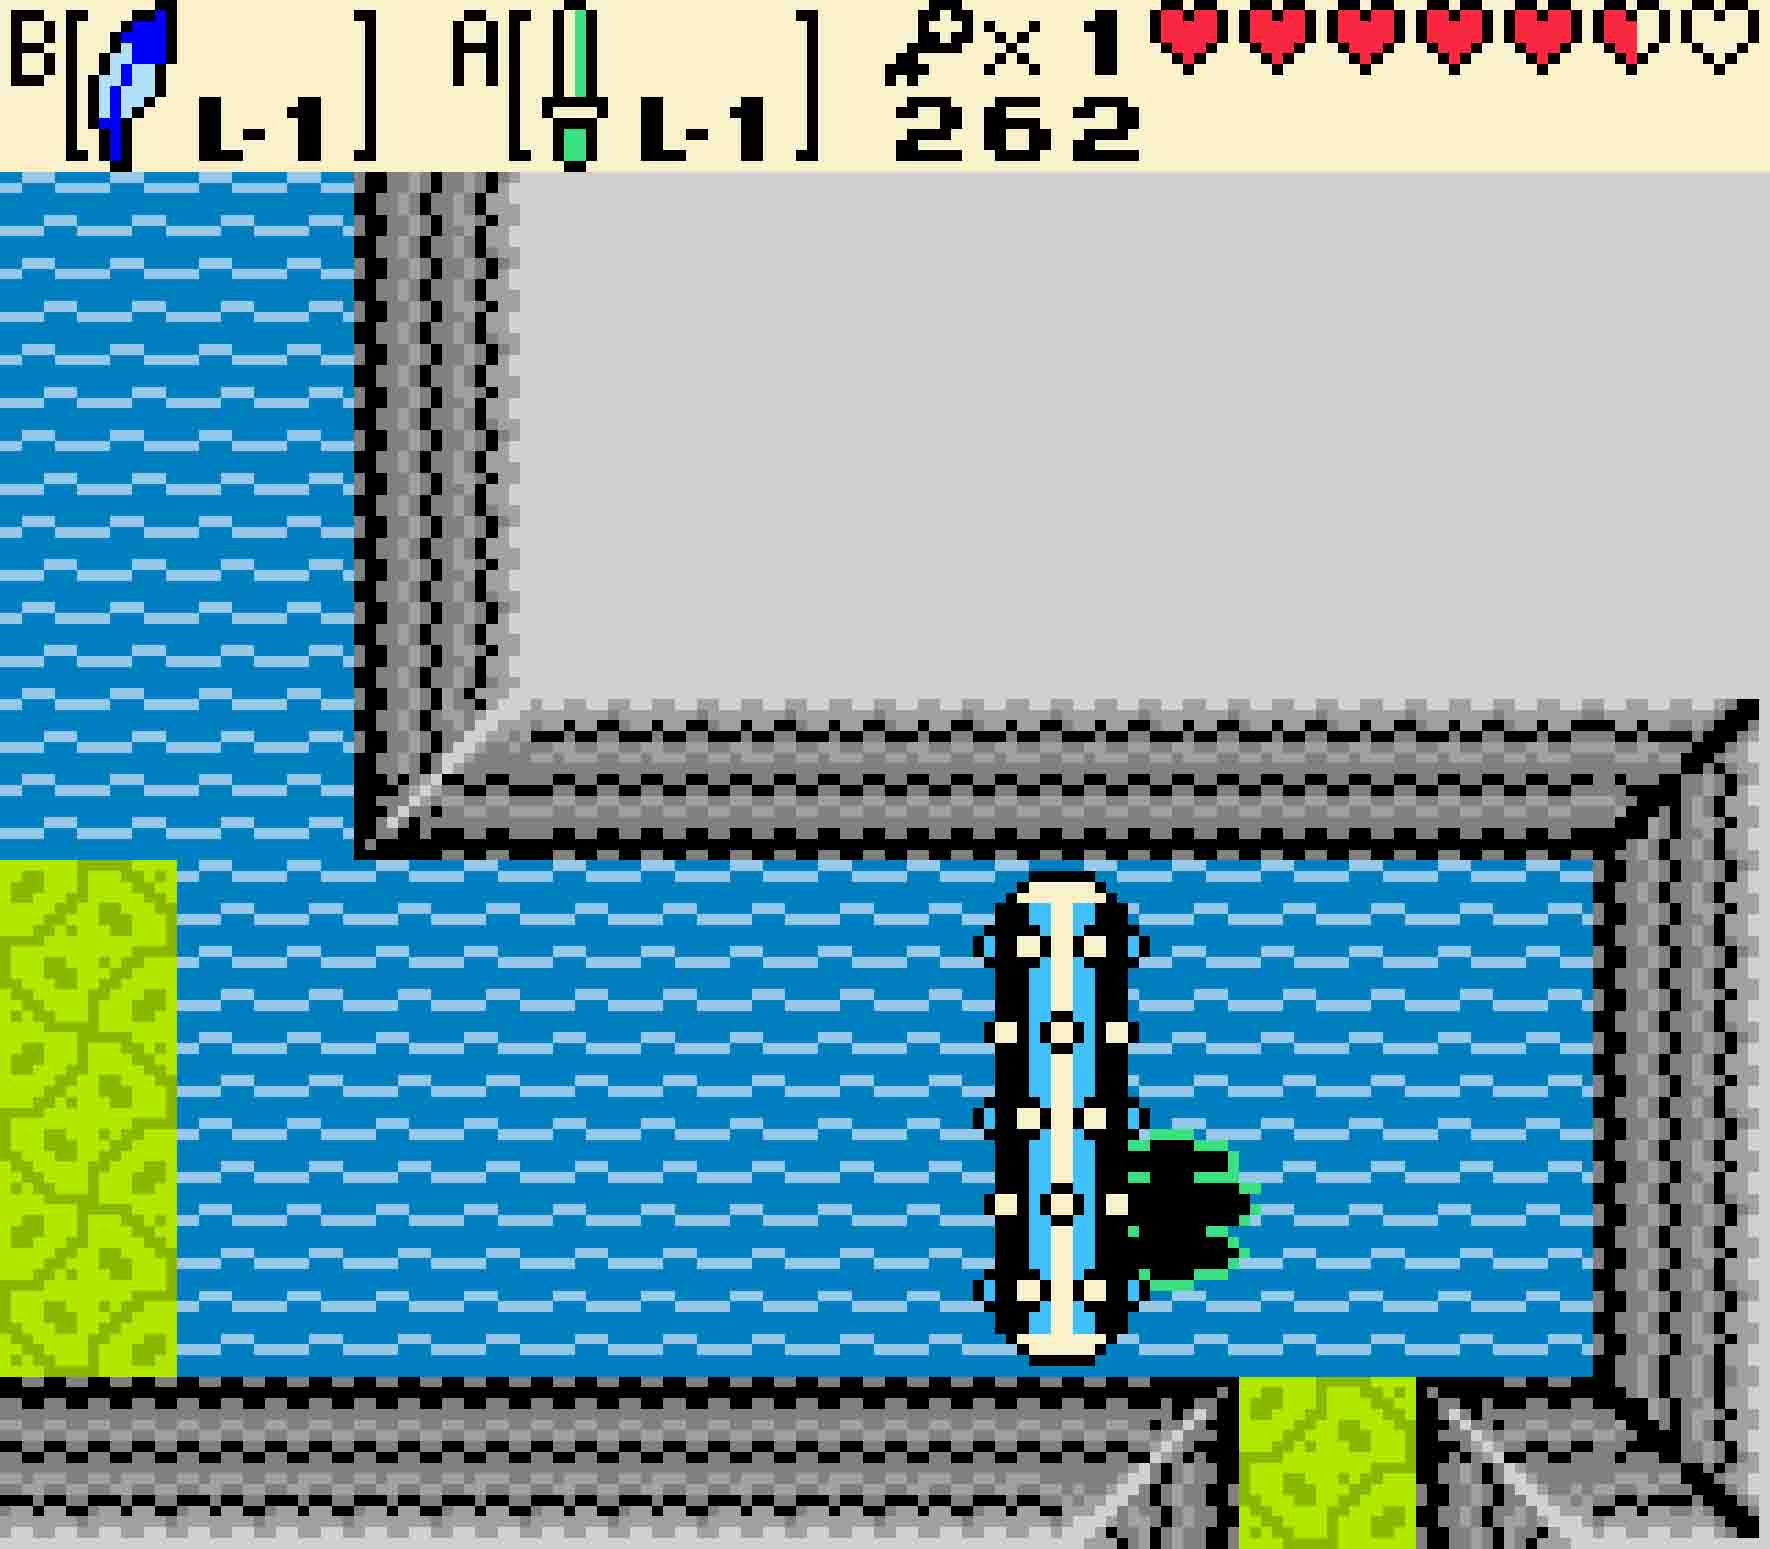
 More Water Tektites can be found in the room beyond. Your goal is again the upper-left corner of the room. There’s a staircase sectioned off by blocks. For one of the two segments of three blocks, you can push the outer blocks in one square while pushing the one between them to the side, allowing you access to the stairwell. Then you can head down.
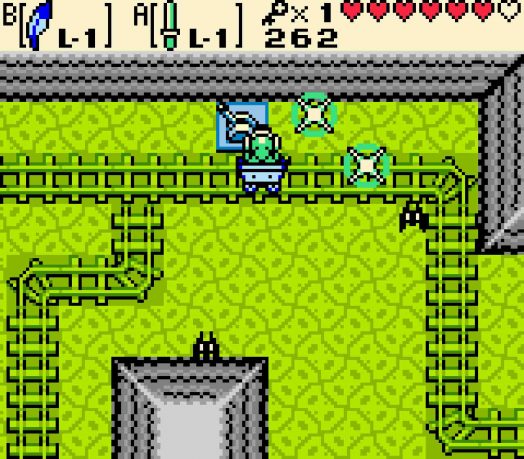
You’ll now be on the first floor, and you’re about to encounter a new enemy type: Green Wizzrobes. Wizzrobes of the green variety will periodically phase in and out of existence. However, they’ll always reappear in the same spot. When they do appear, they’ll wait a moment before firing a magical projectile in the cardinal direction they’re facing, which is usually roughly the direction you were when they started phasing in. Keese will also be in the room, but the Wizzrobes are much more of a threat. Navigate the block maze, and then take either of the passages southward.
The next room only has Keese and Anti-fairies. For the Anti-fairies, either equip your Boomerang to dispel them or hop over them with Roc’s Feather. Eventually navigate the block maze until you reach the bottom-right area of the room, and then head east. All that’s guarding the treasure chest in this room is a Zol right in front of it. Kill it; then claim the Map inside the chest.
-
- Wizzrobes will disappear and reappear before throwing spells.
-

- Either door will take you here, but each involves narrow passageways.
11.3 Get the key from the isolated room
 Head back west, and then make your way to the bottom-left of the room. Head down the staircase to enter a side-scrolling area. There are Keese in the room, and ideally you should be patient and kill them before making risky jumps as they can throw you off. Use Roc’s Feather to make your way across the platforms heading right.
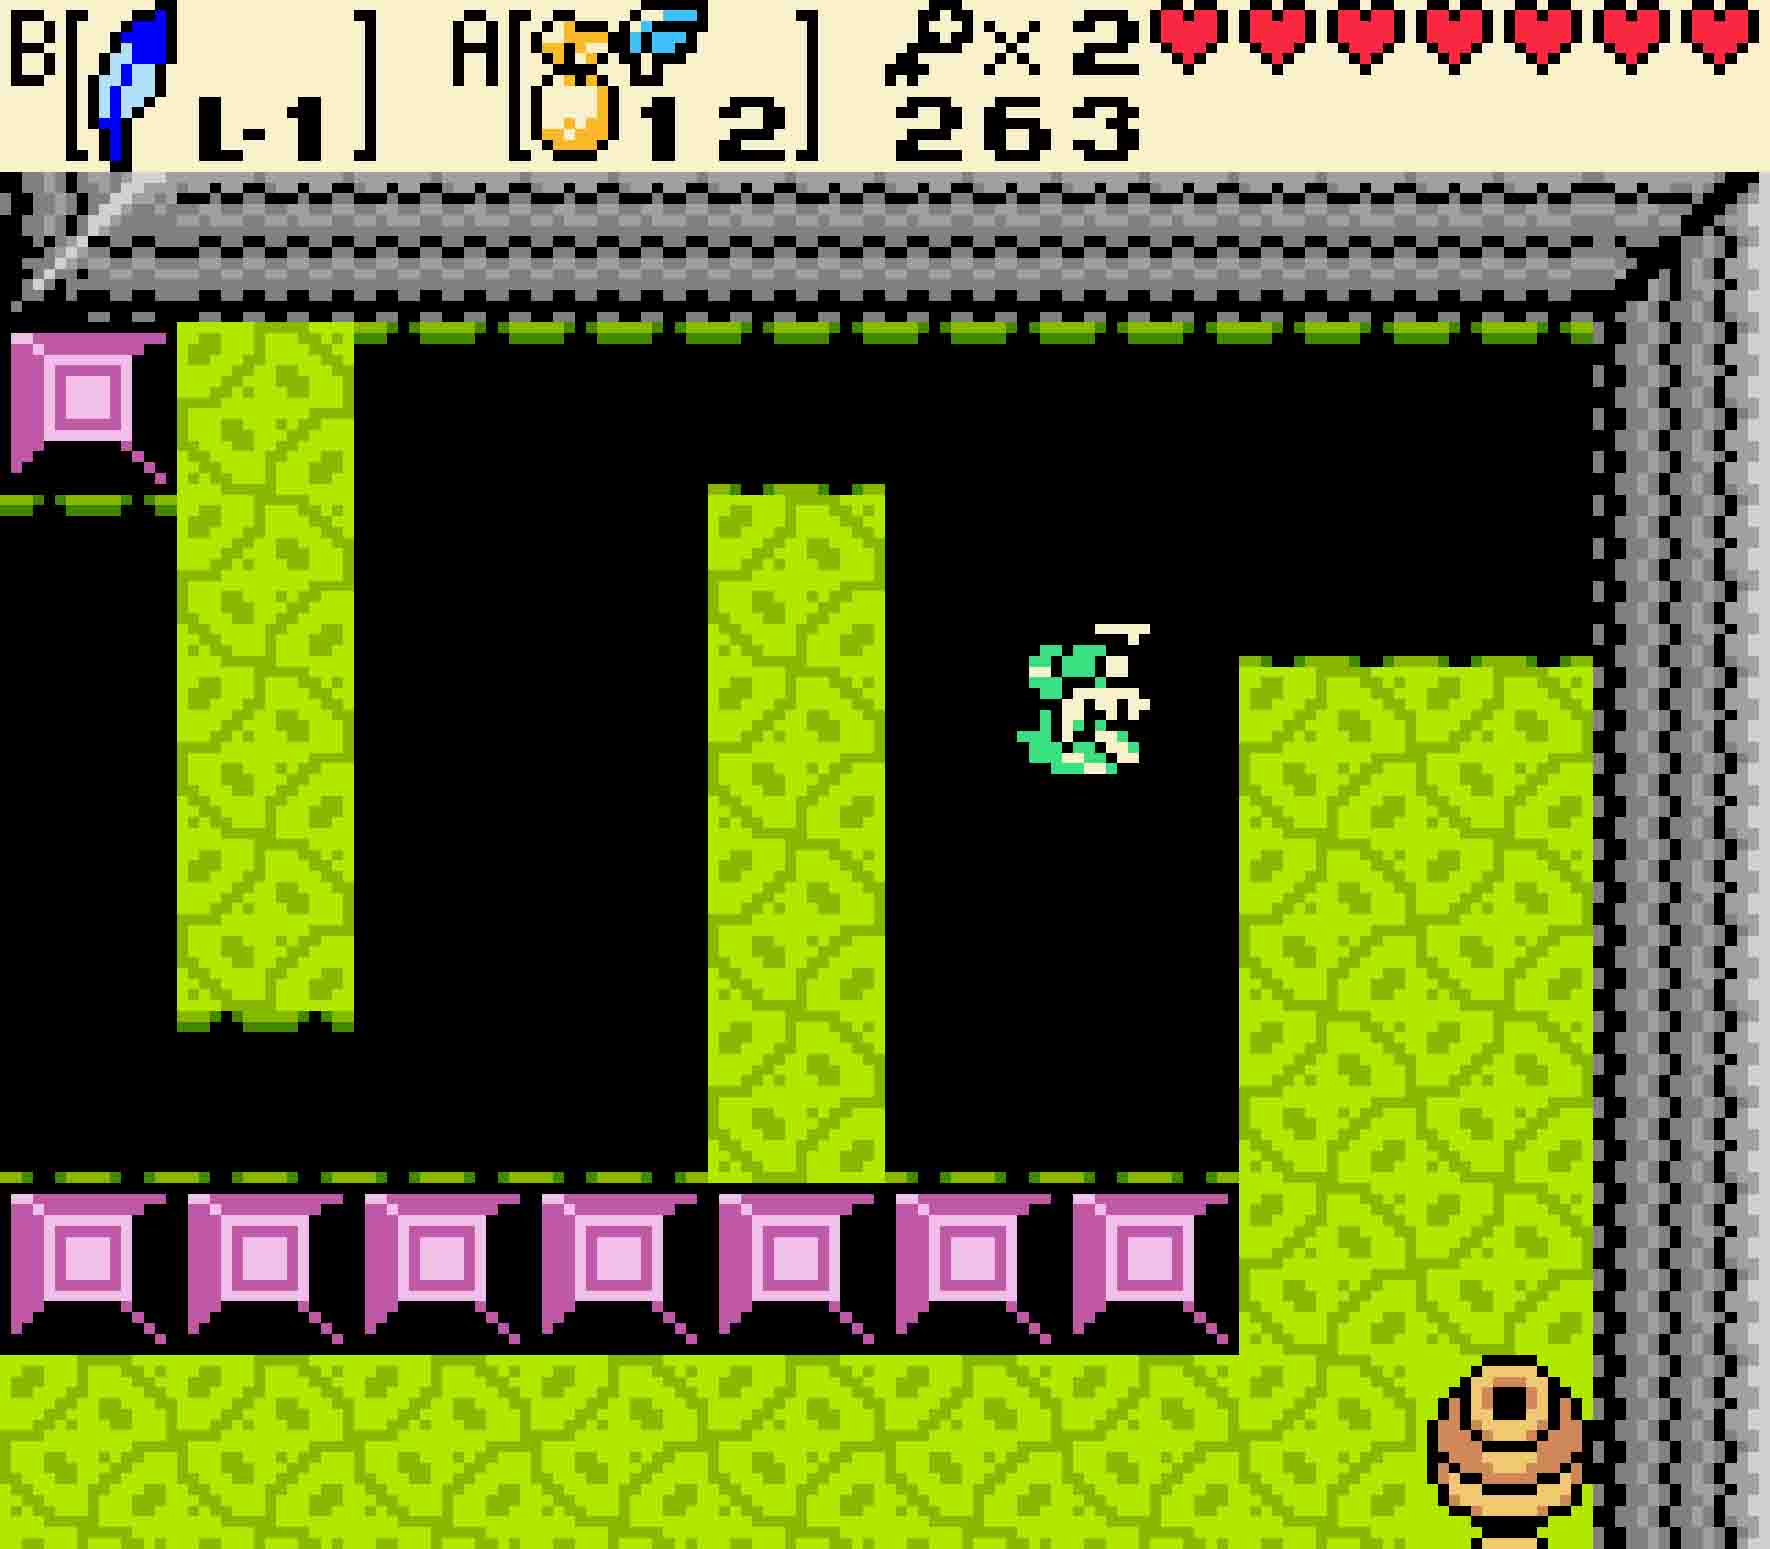
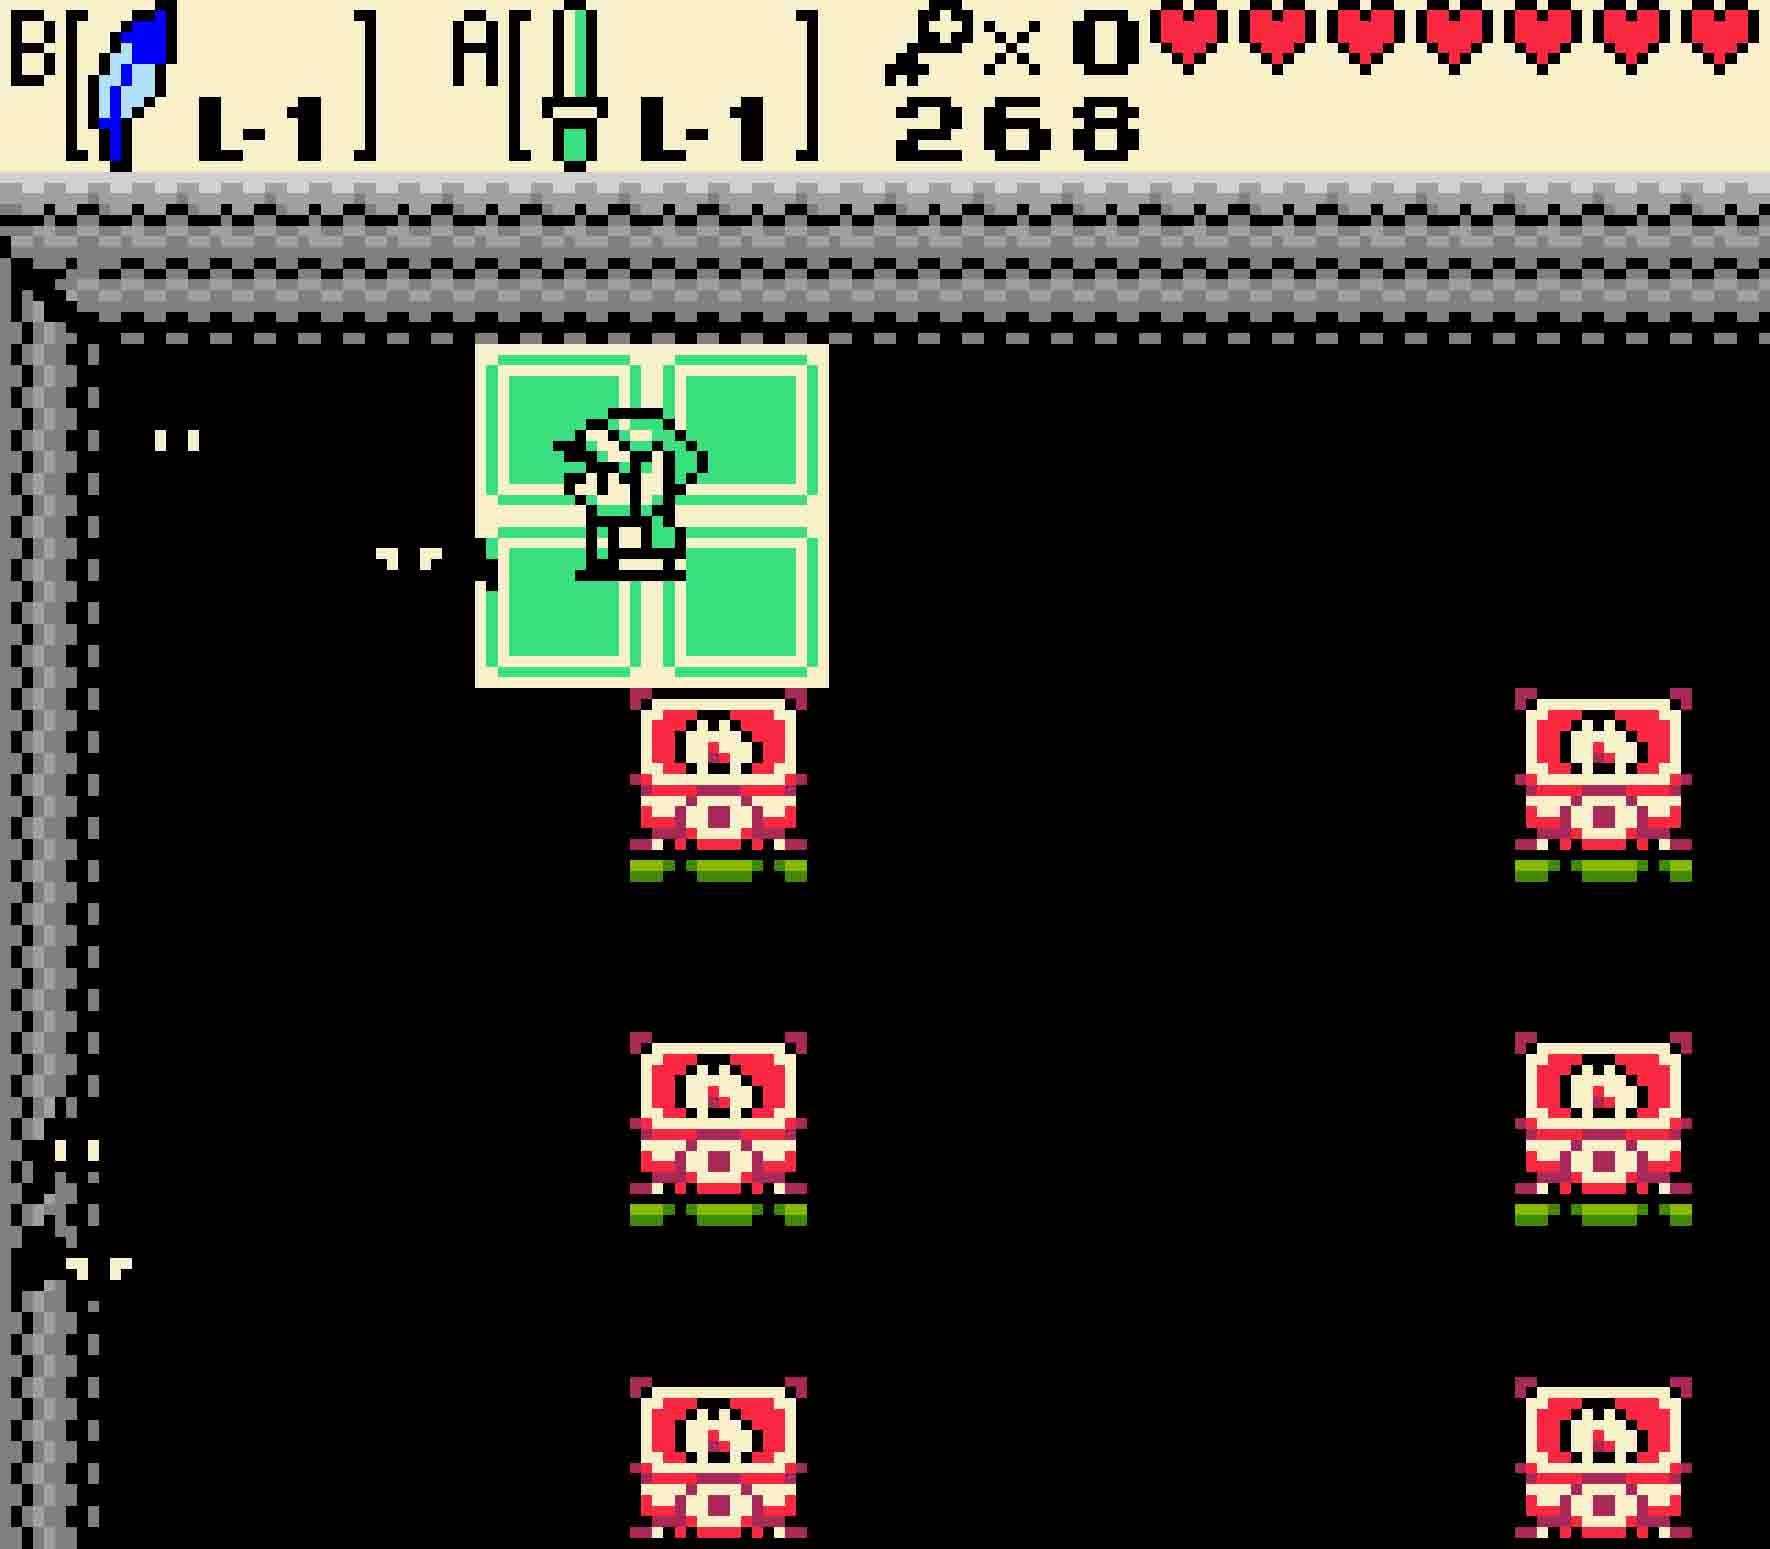
The next room, however, will be most vexing. Platforms will wink in and out of existence regularly. These platforms have a fixed pattern, and this cycle will repeat endlessly until you leave the room. This room can be tricky, so we’ll guide you platform by platform to the other side.
Crossing the disappearing platforms

Step One Wait on the left-hand side until a platform appears right next to you. You’ll immediately want to jump onto the platform just beyond it.
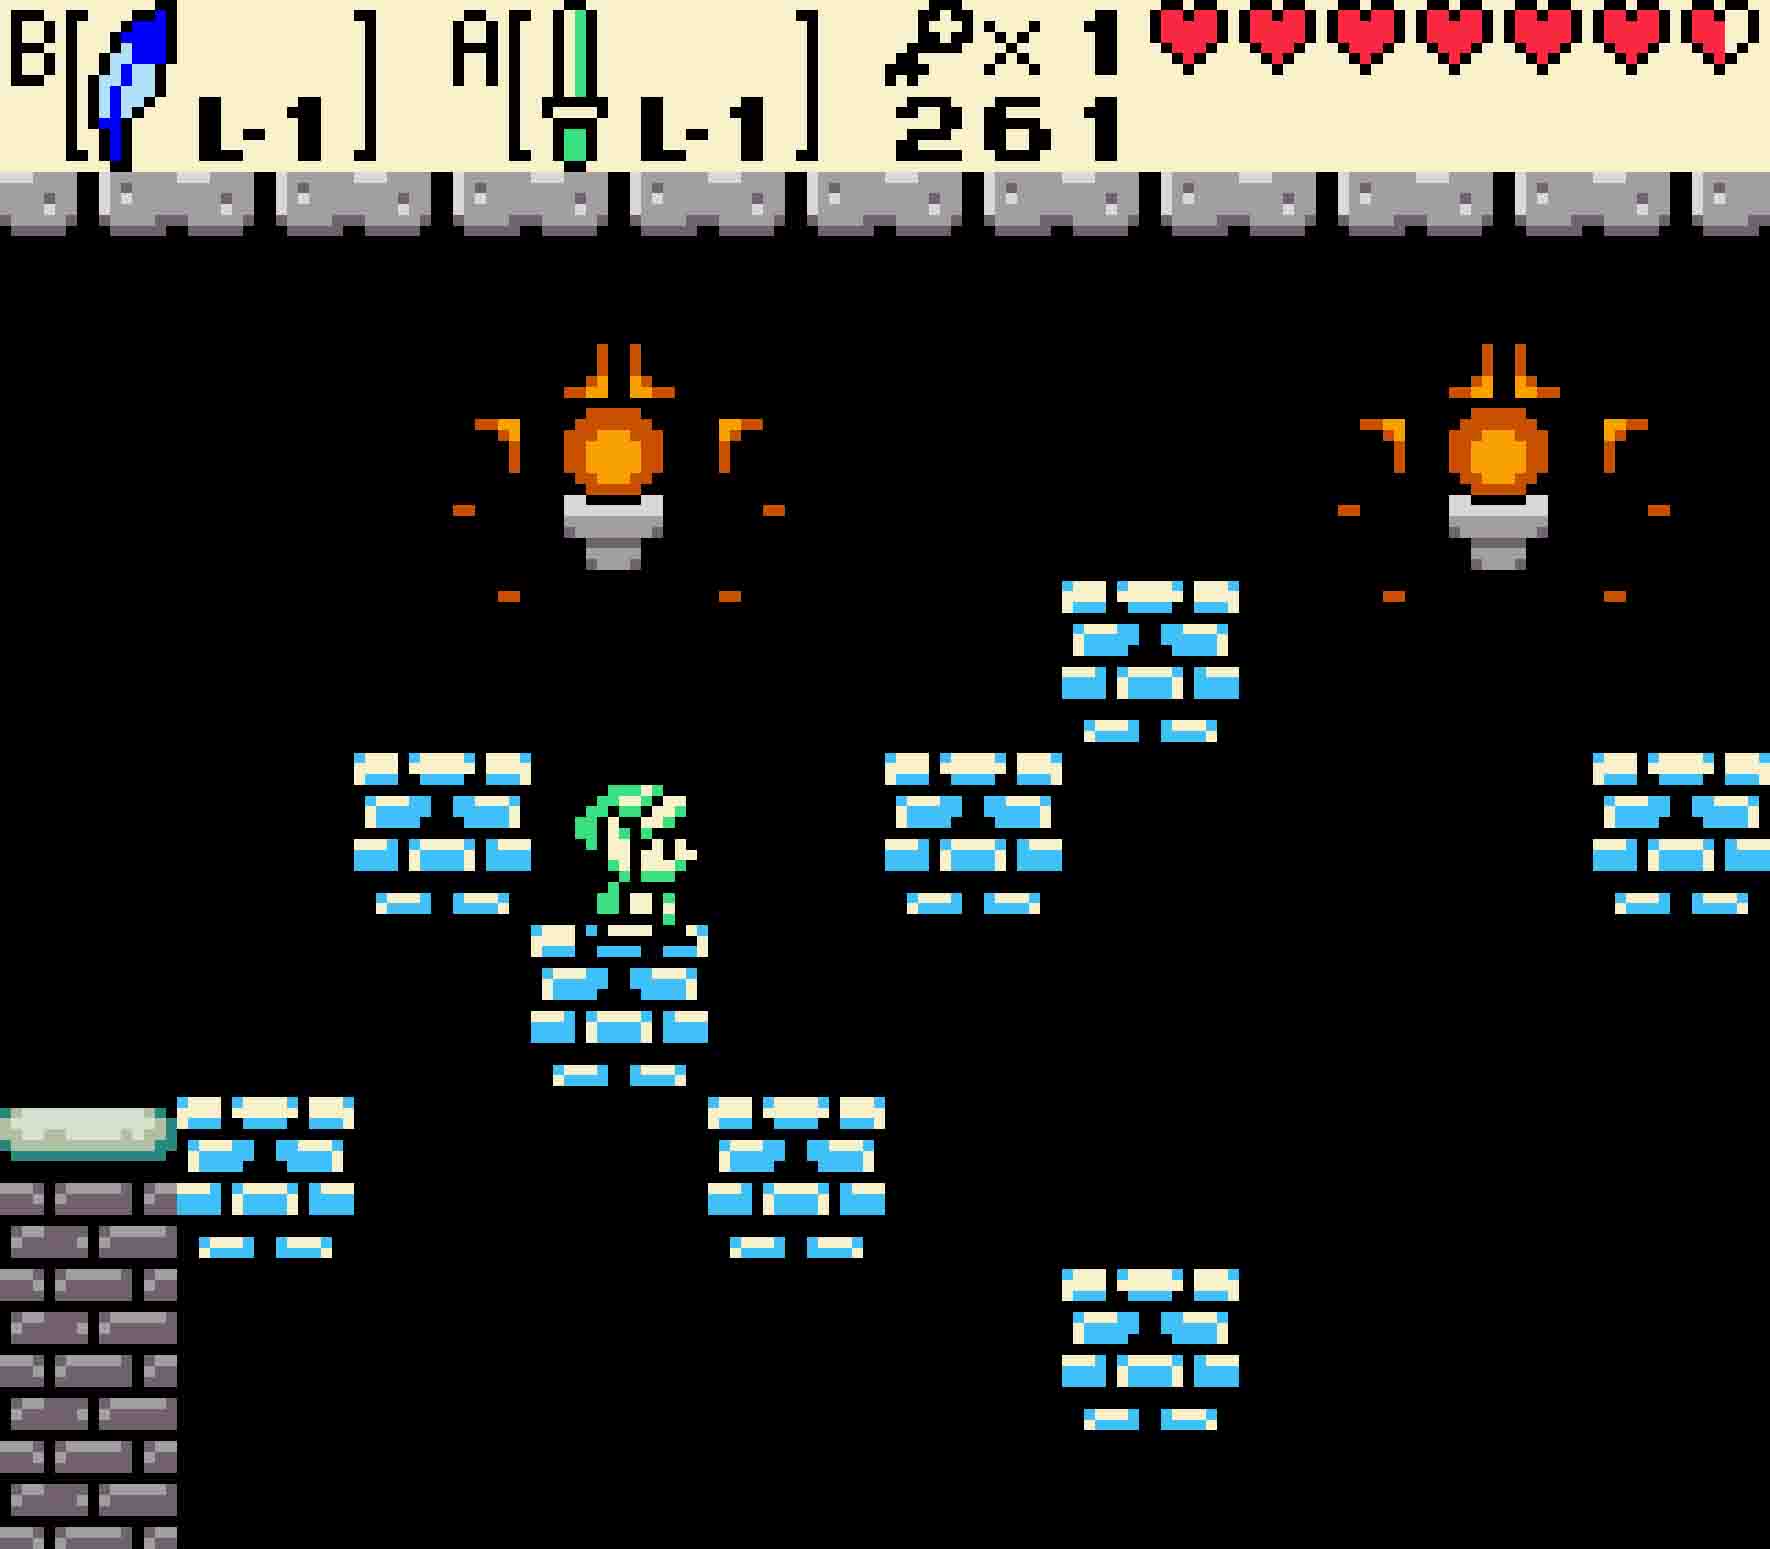
Step Two The next set of blocks will appear, and you’ll want to jump forward to the next block in front of you. However, don’t jump to the block just beyond it as it will soon fade away.
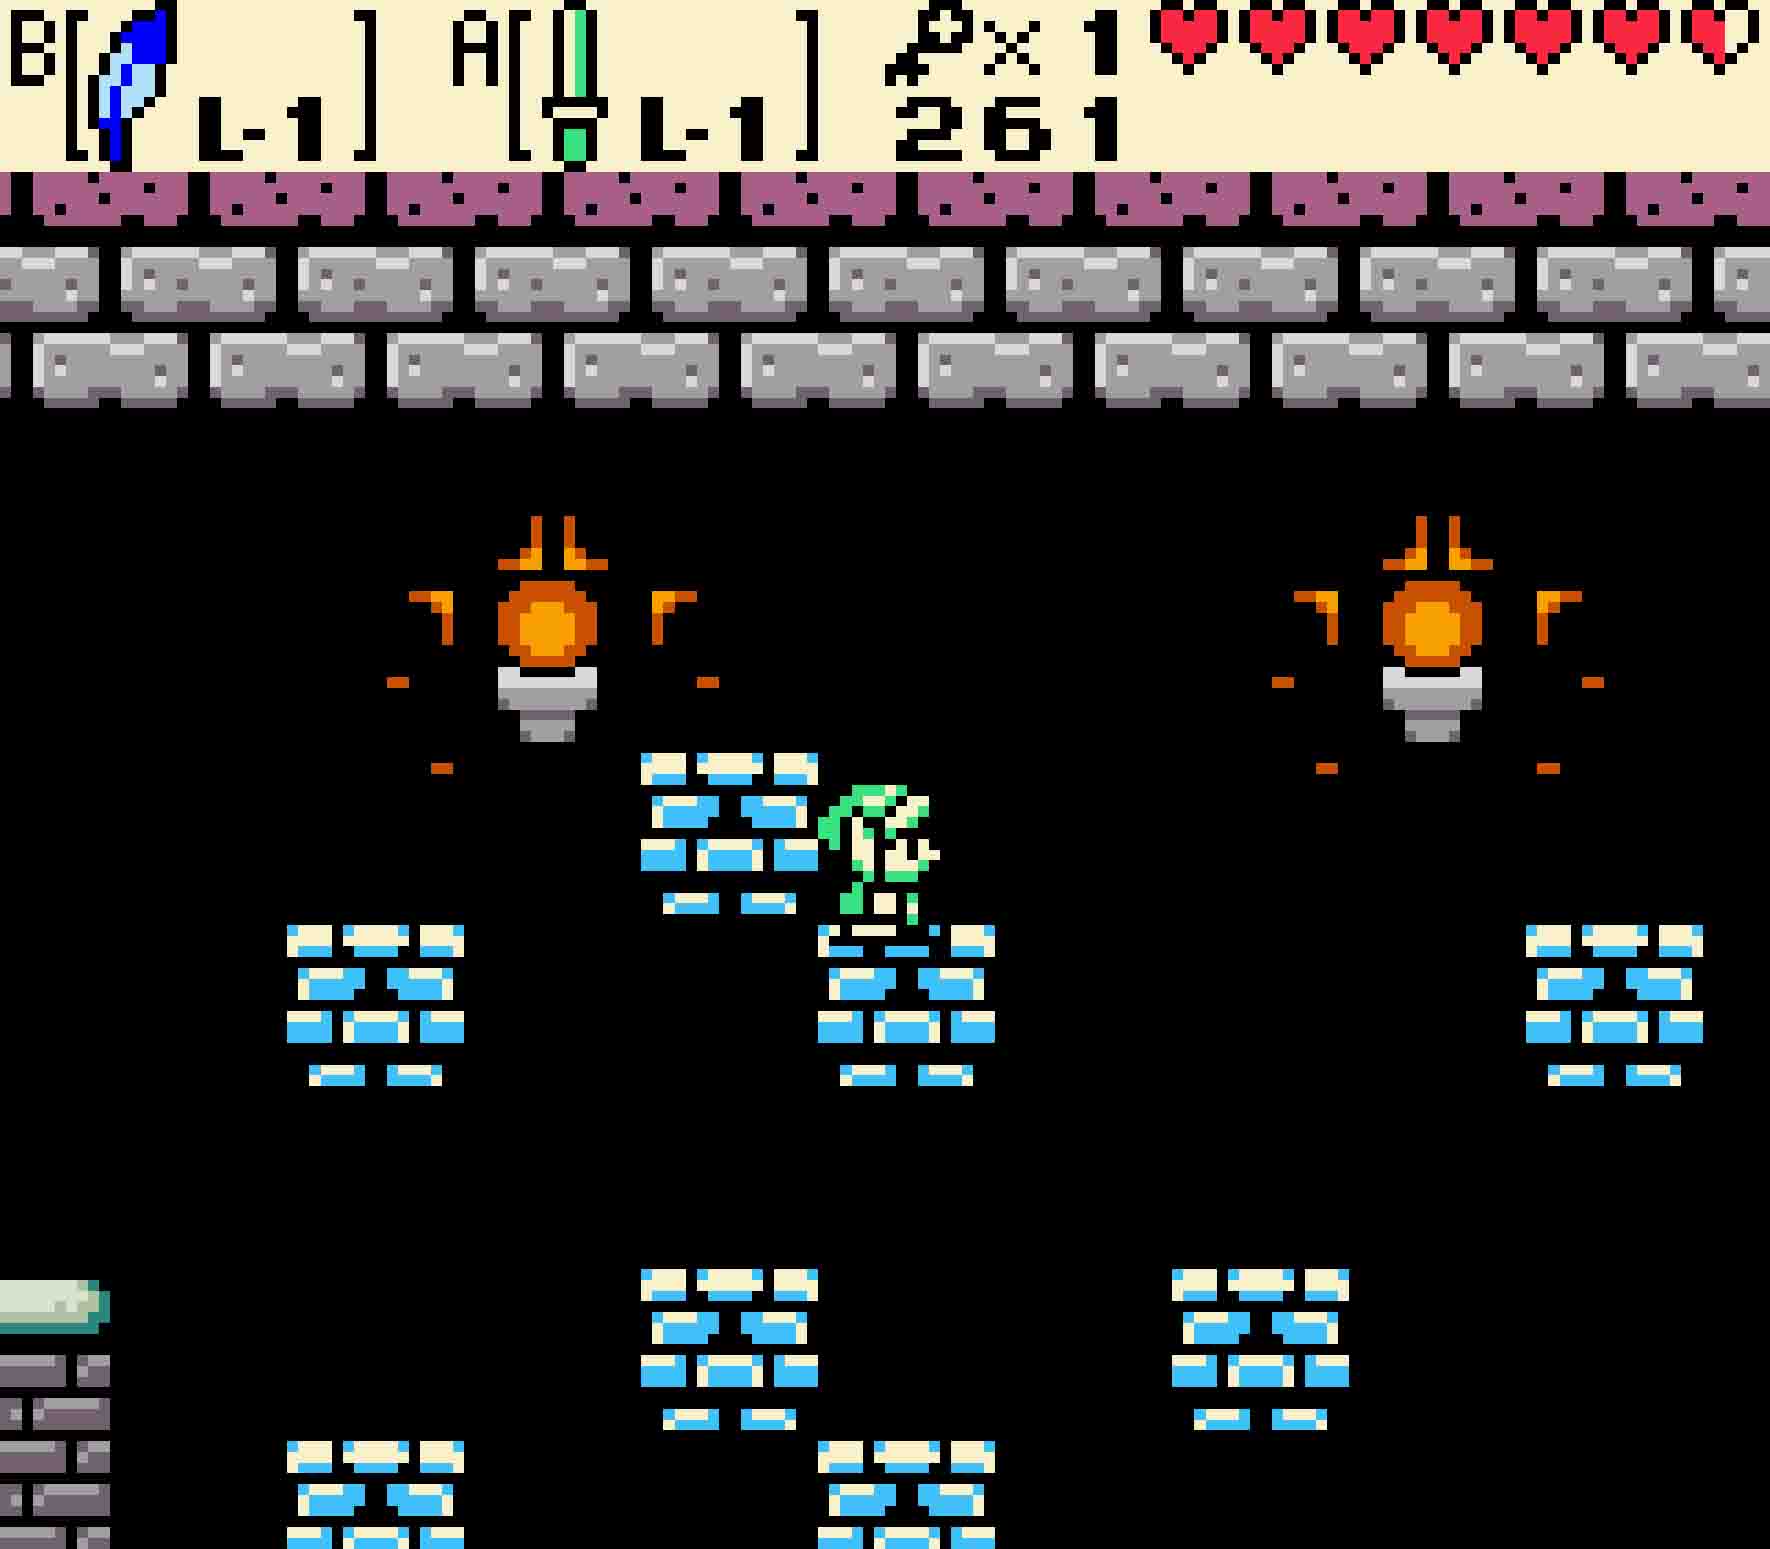
Step Three When the next set of blocks phase in, there will be one just behind you. Jump atop of that one.
Step Four From here, the cycle repeats, allowing you to jump onto the block going forward that just recently phased out.
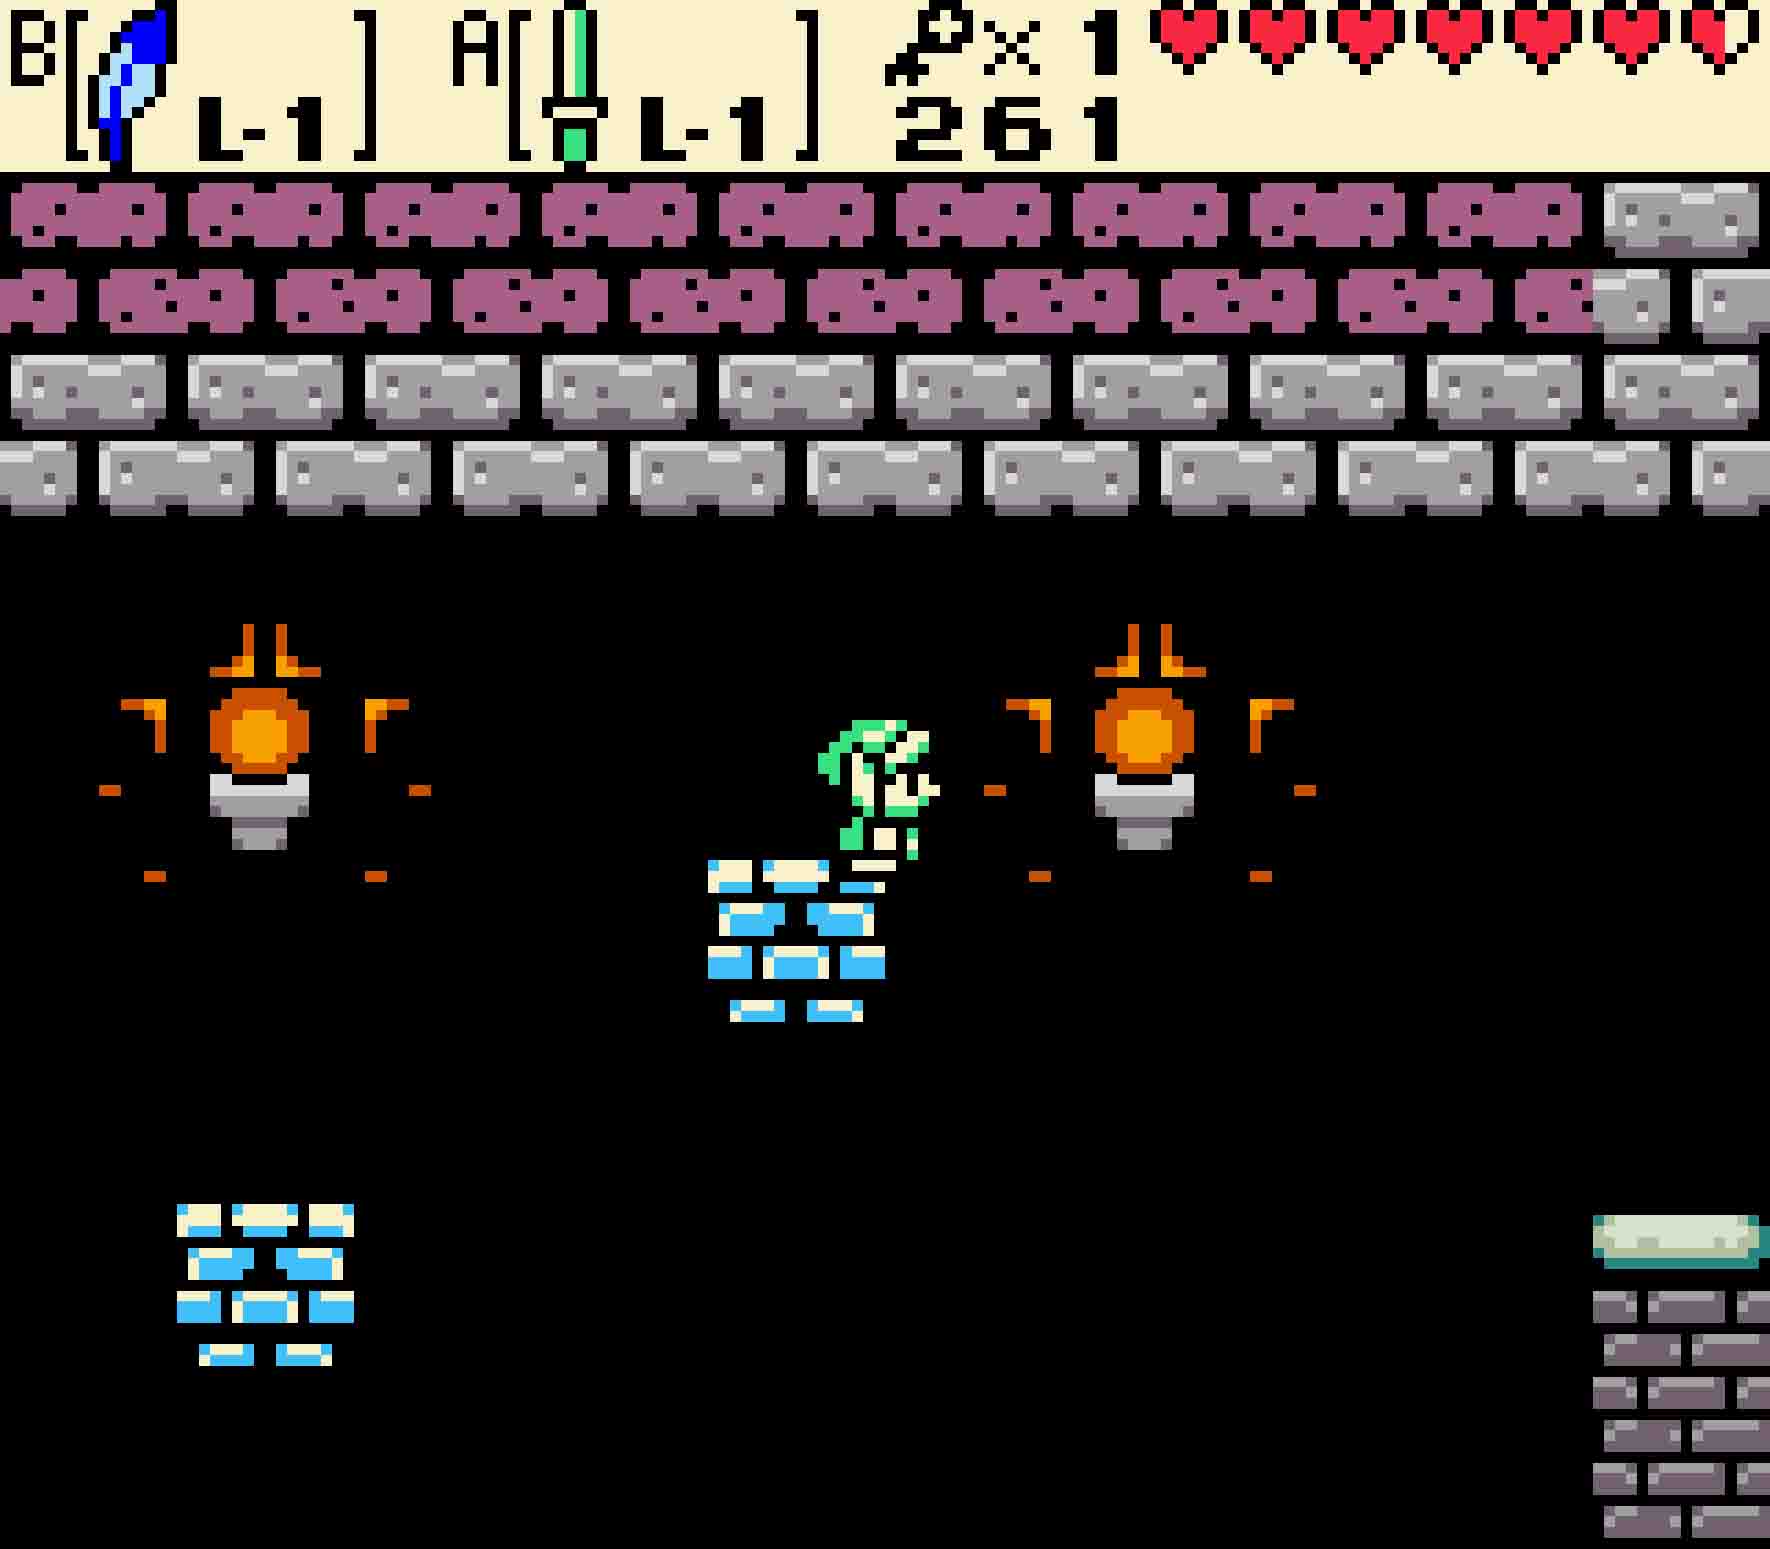
Step Five Then a block very close to the far end will appear. Because it’s so far down, you can make the big jump all the way to it, and then you can skip off of it to the staircase.
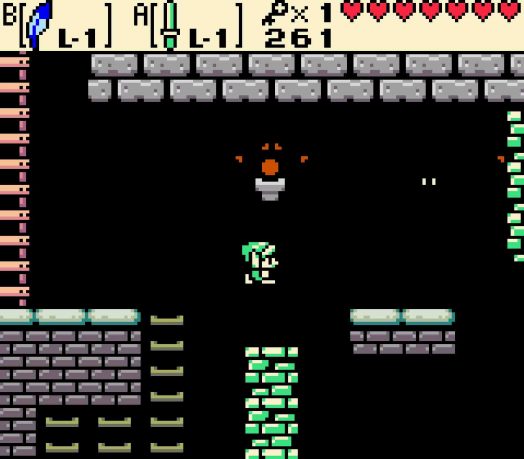
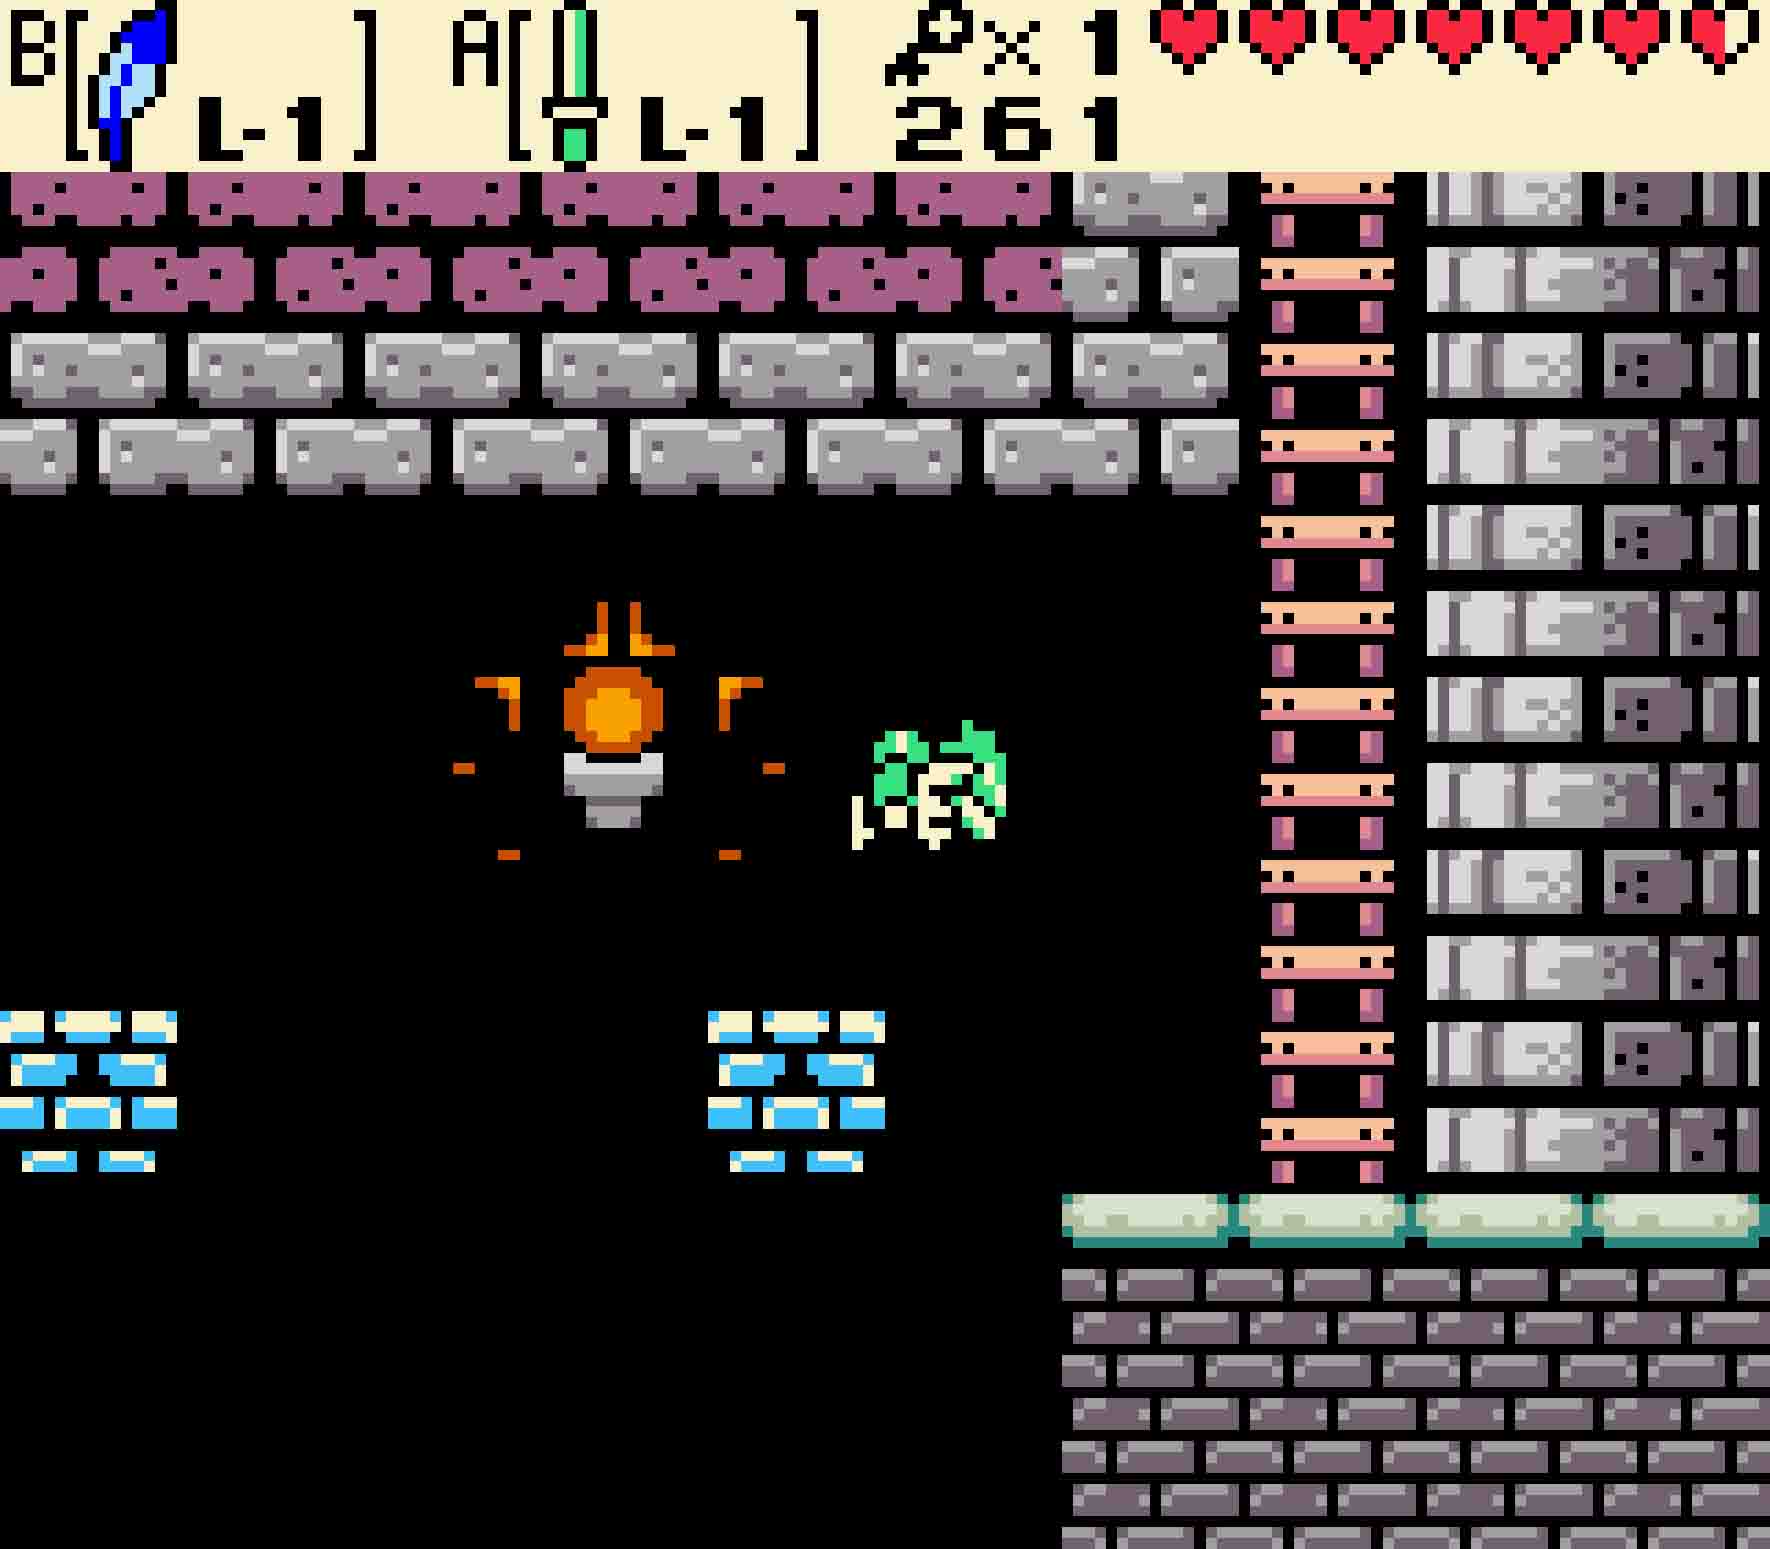
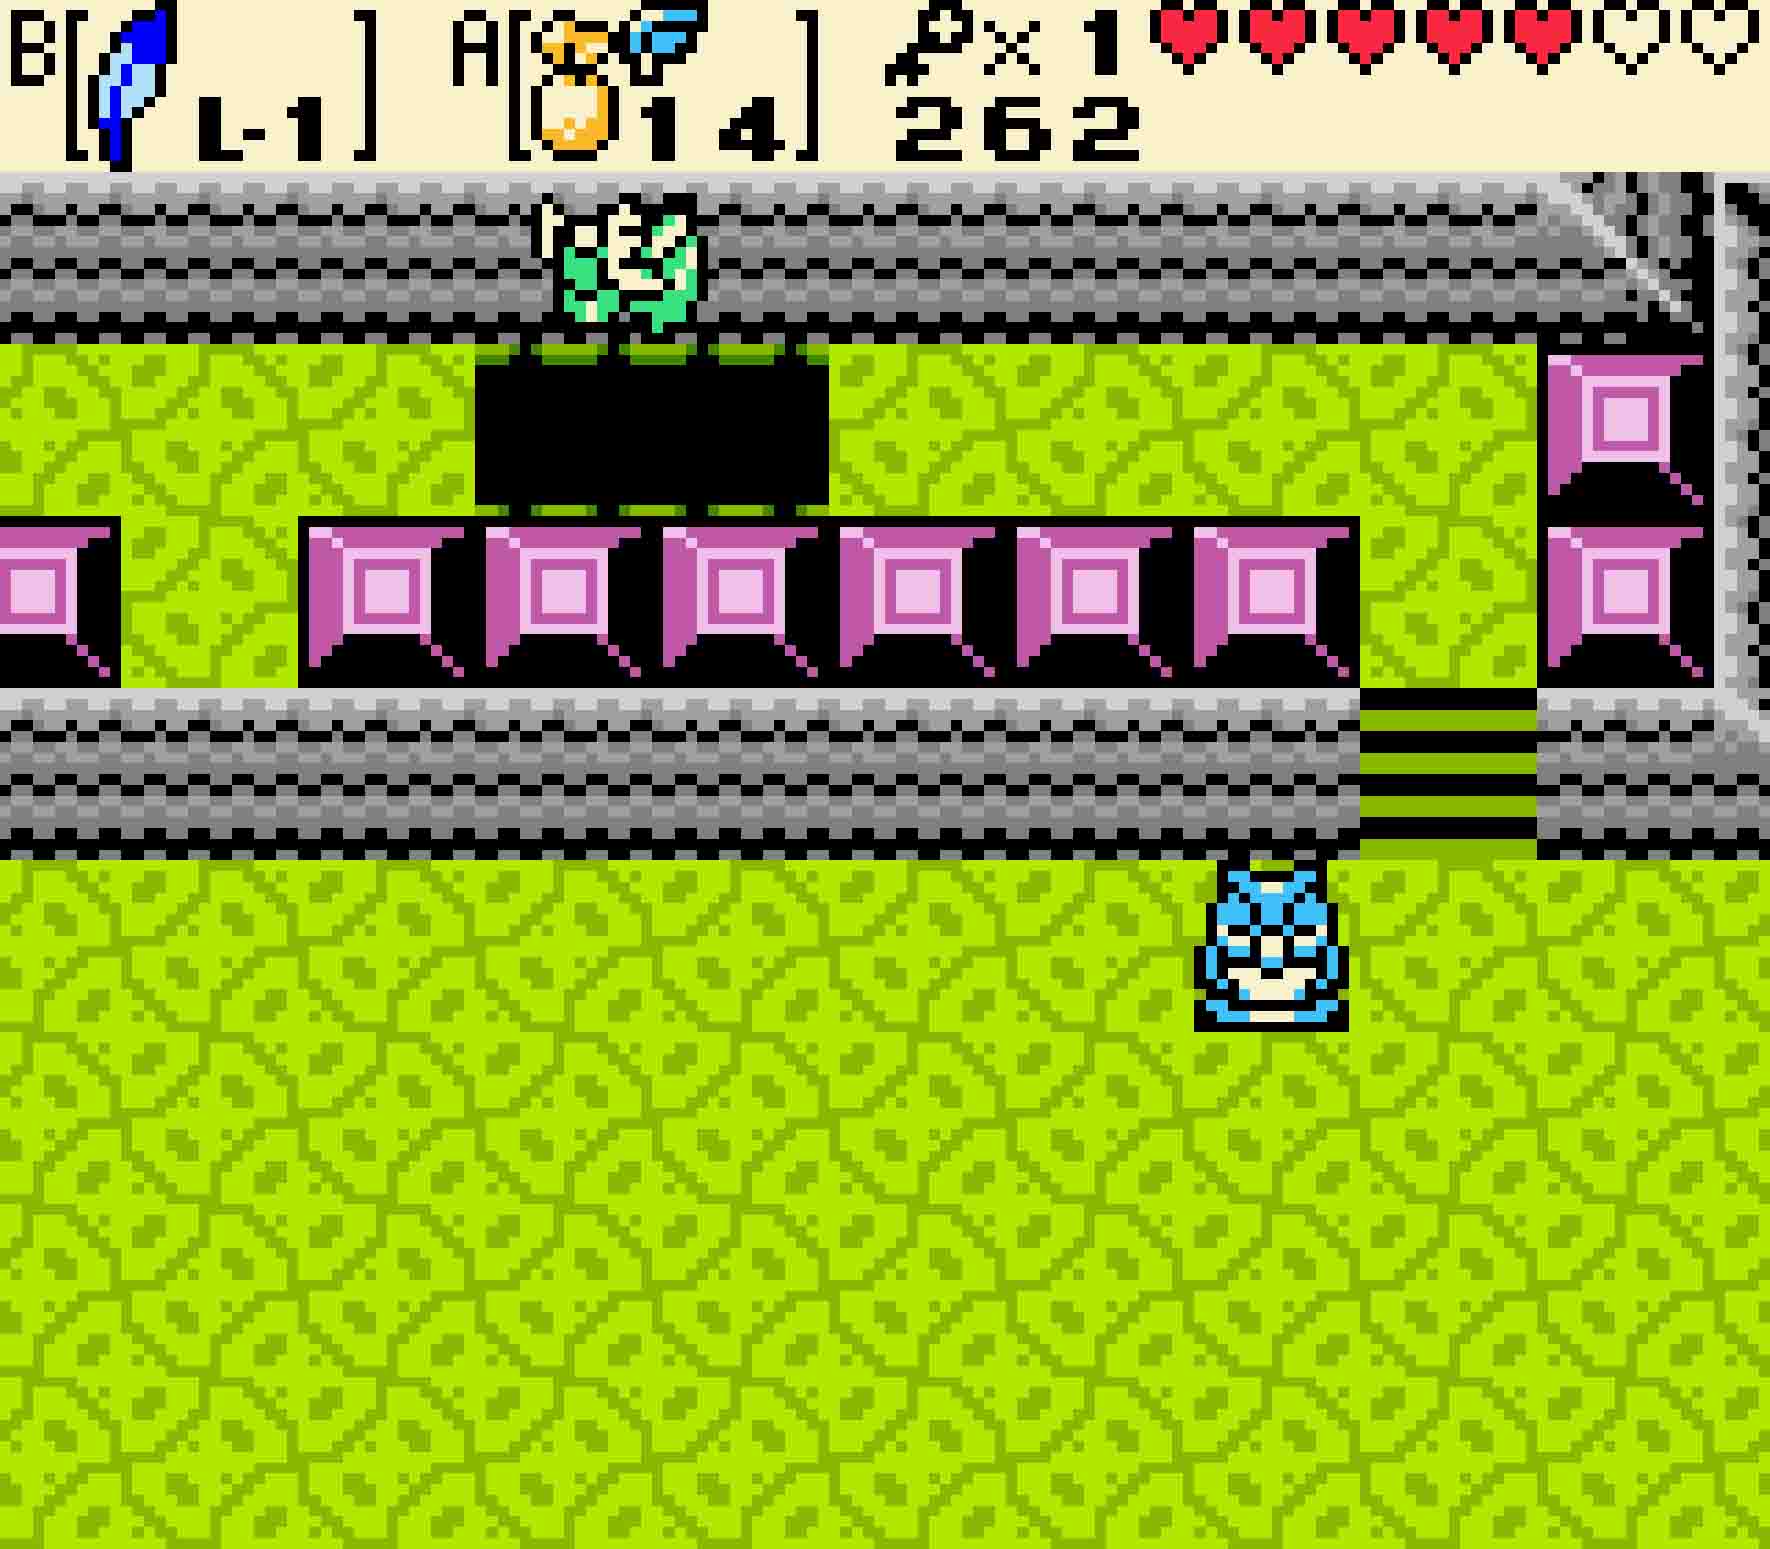
The next room will be dark. In theory, you’re supposed to light the torch in the center of the room in order to see better, but really there’s nothing that you really need that torch for since the floor is still entirely visible, so don’t stress if you light the torch and it goes out midway. Make your way over the narrow catwalks, jumping over the pits, until you reach the chest at the end. Open it up to receive another small key.
You don’t need to light this torch as, for some reason, the floor is quite visible on its own.
11.4 Collect the Compass
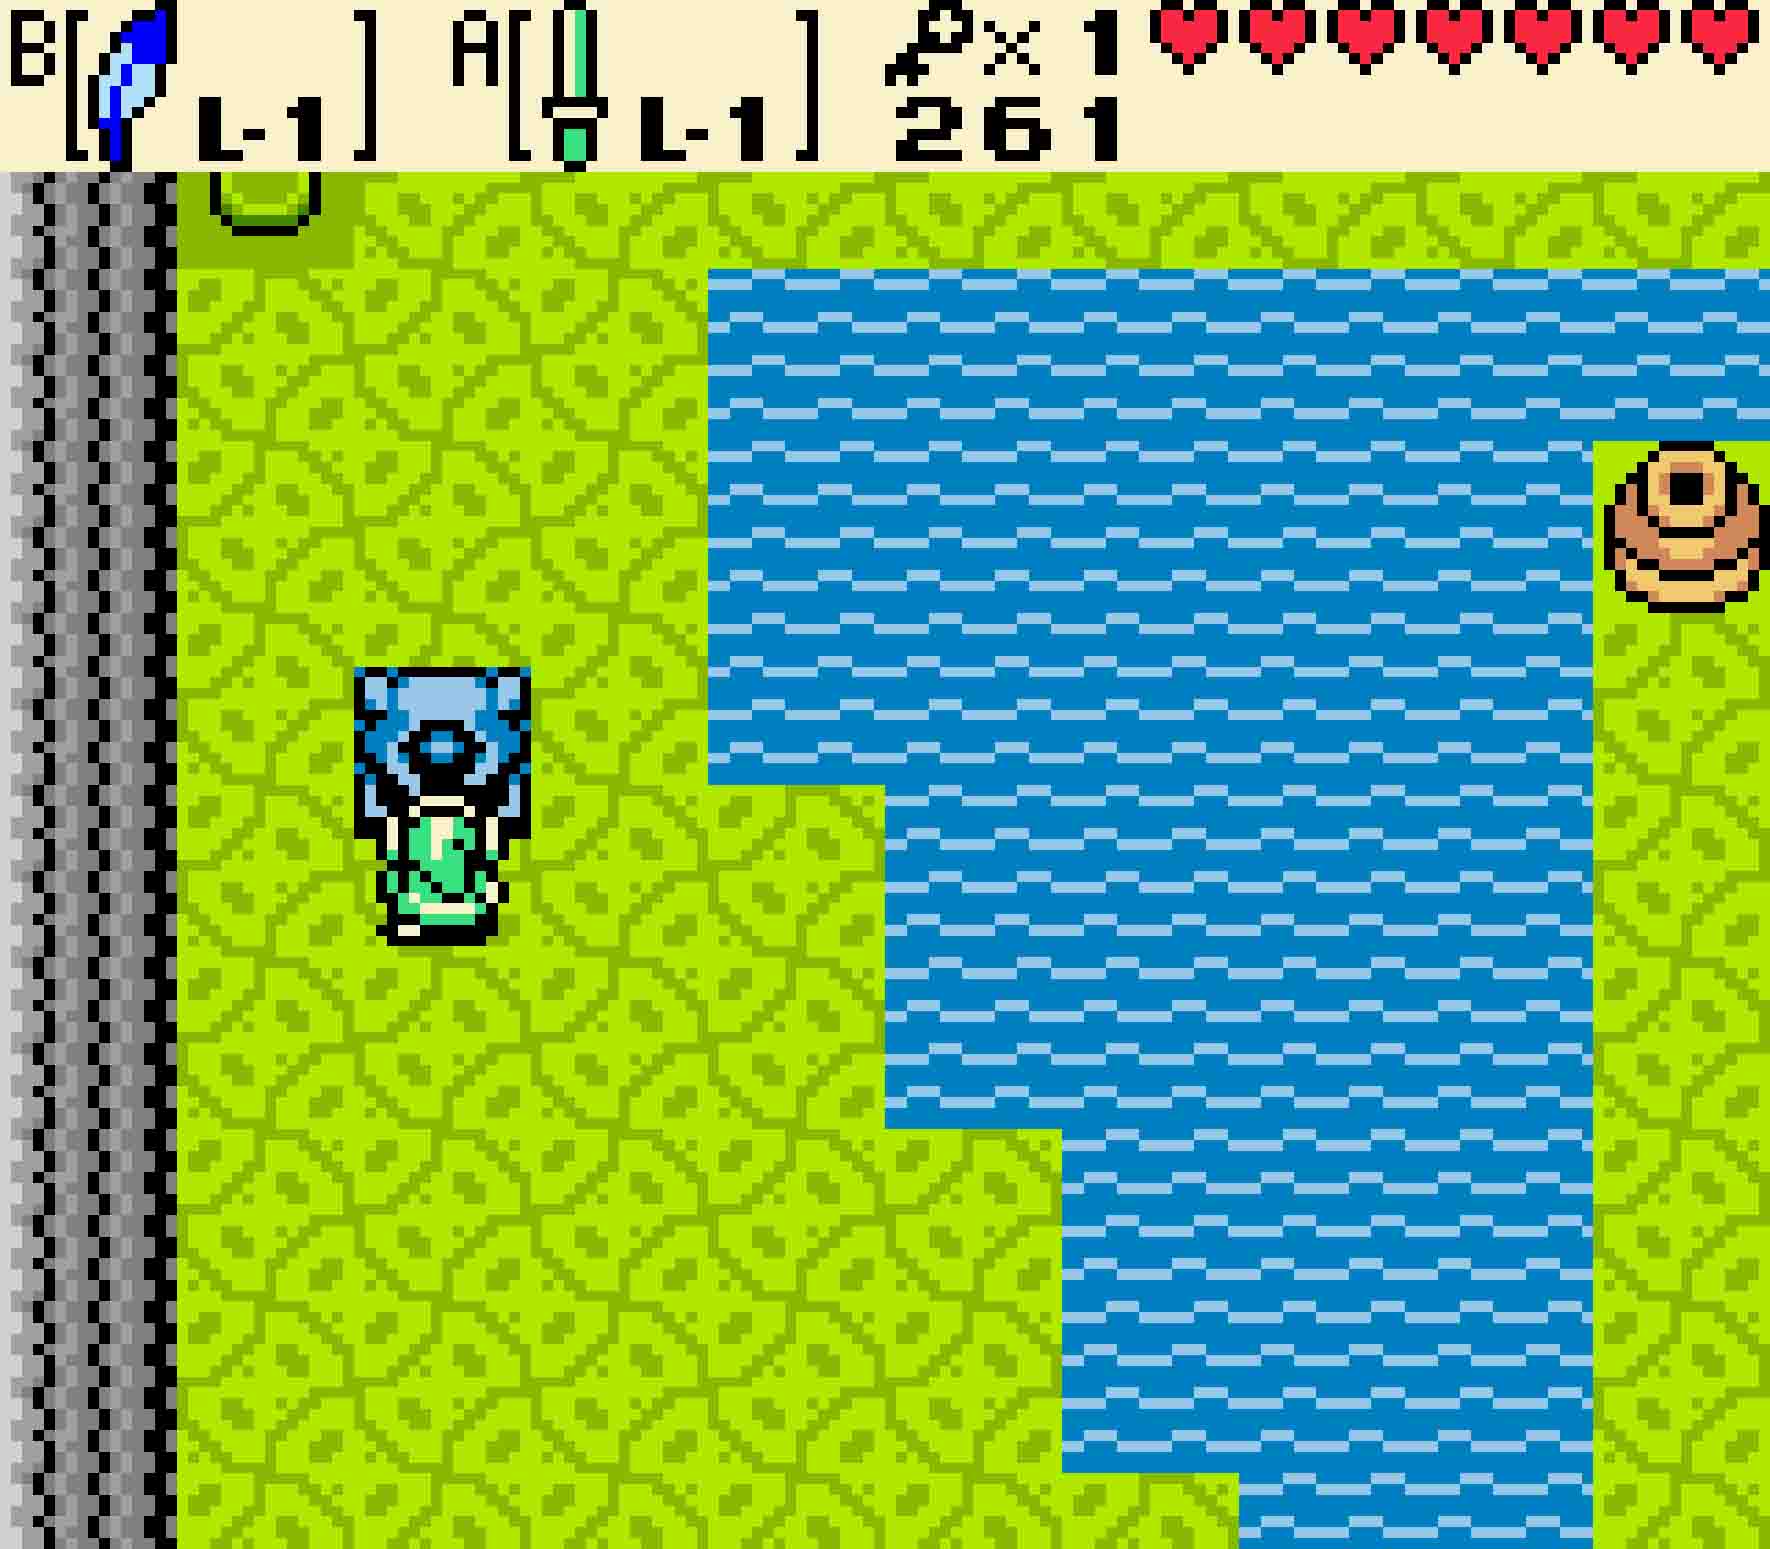
Unfortunately, at this point, your next destination is right off the beginning of the dungeon. You can instantly warp back using Save and Quit, but otherwise you’ll have to cross back over the invisible block bridge. It’s your choice on how to get back, but you’ll want to get back to the beginning as there’s nothing else to do here.
Push this block in order to trigger the chest.
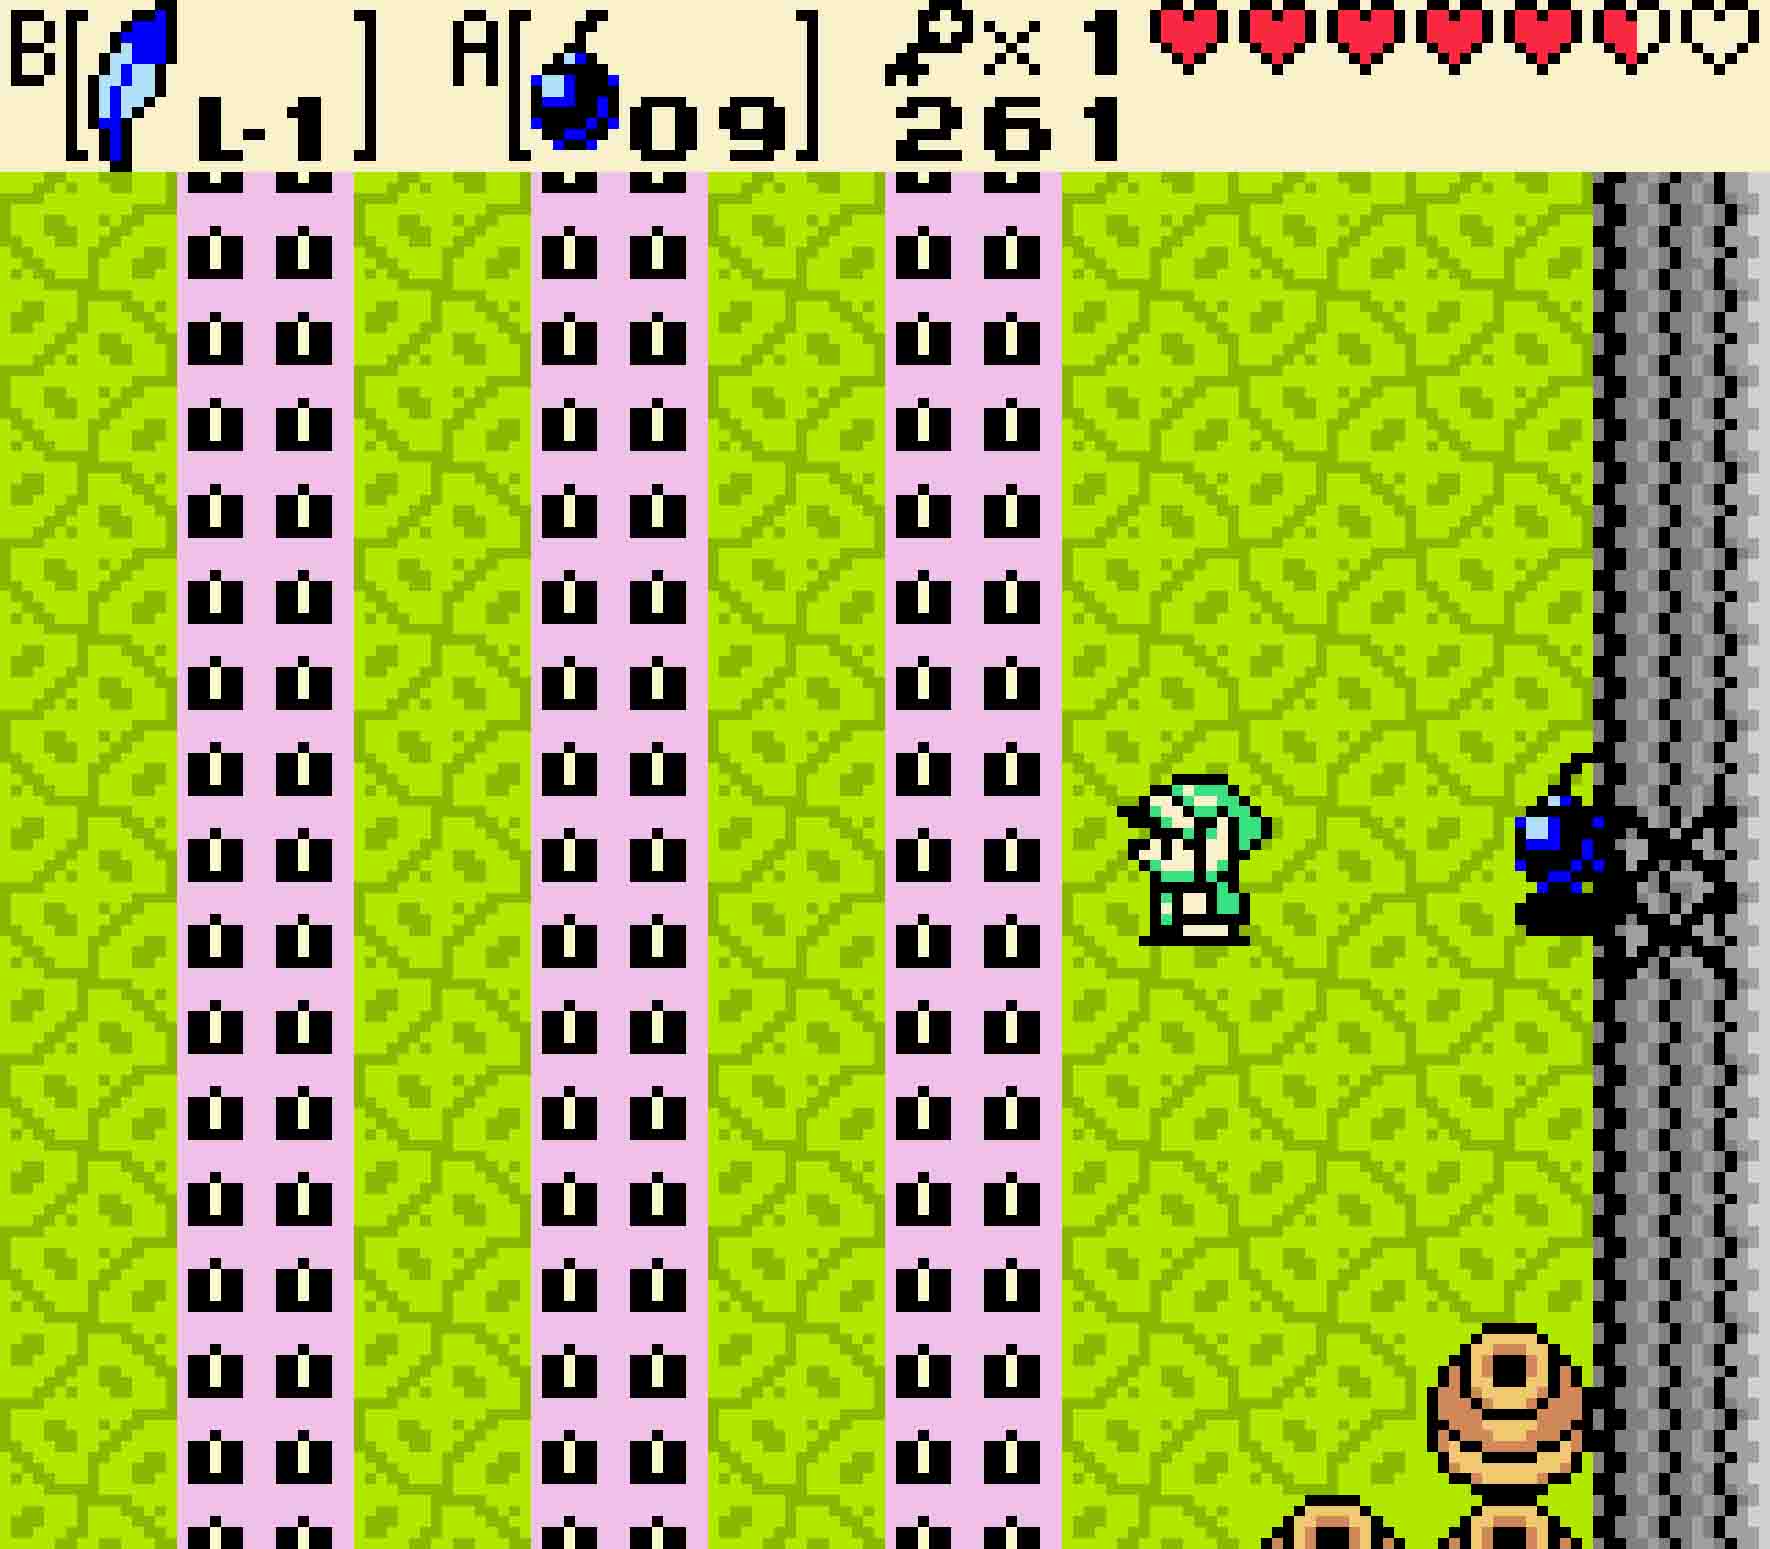
From here, unlock the door on the east side of the room. You’ll encounter a few Anti-fairies patrolling columns of spikes. Use your Boomerang to dispel the Anti-fairies, and then use Roc’s Feather to carefully jump over the spikes as you make your way to the right. You’ll find another weak wall on the right, so Bomb it open and enter.
Inside you’ll meet some Keese and some green Stalfos. Green Stalfos will generally wander away from you, but every now and again, one will leap up into the air and try to stomp on you. Kill the enemies, and then make your way to the eastern side of the room. Push the lone block any direction in order to cause a chest to appear containing the Compass.
11.5 Earn two more keys
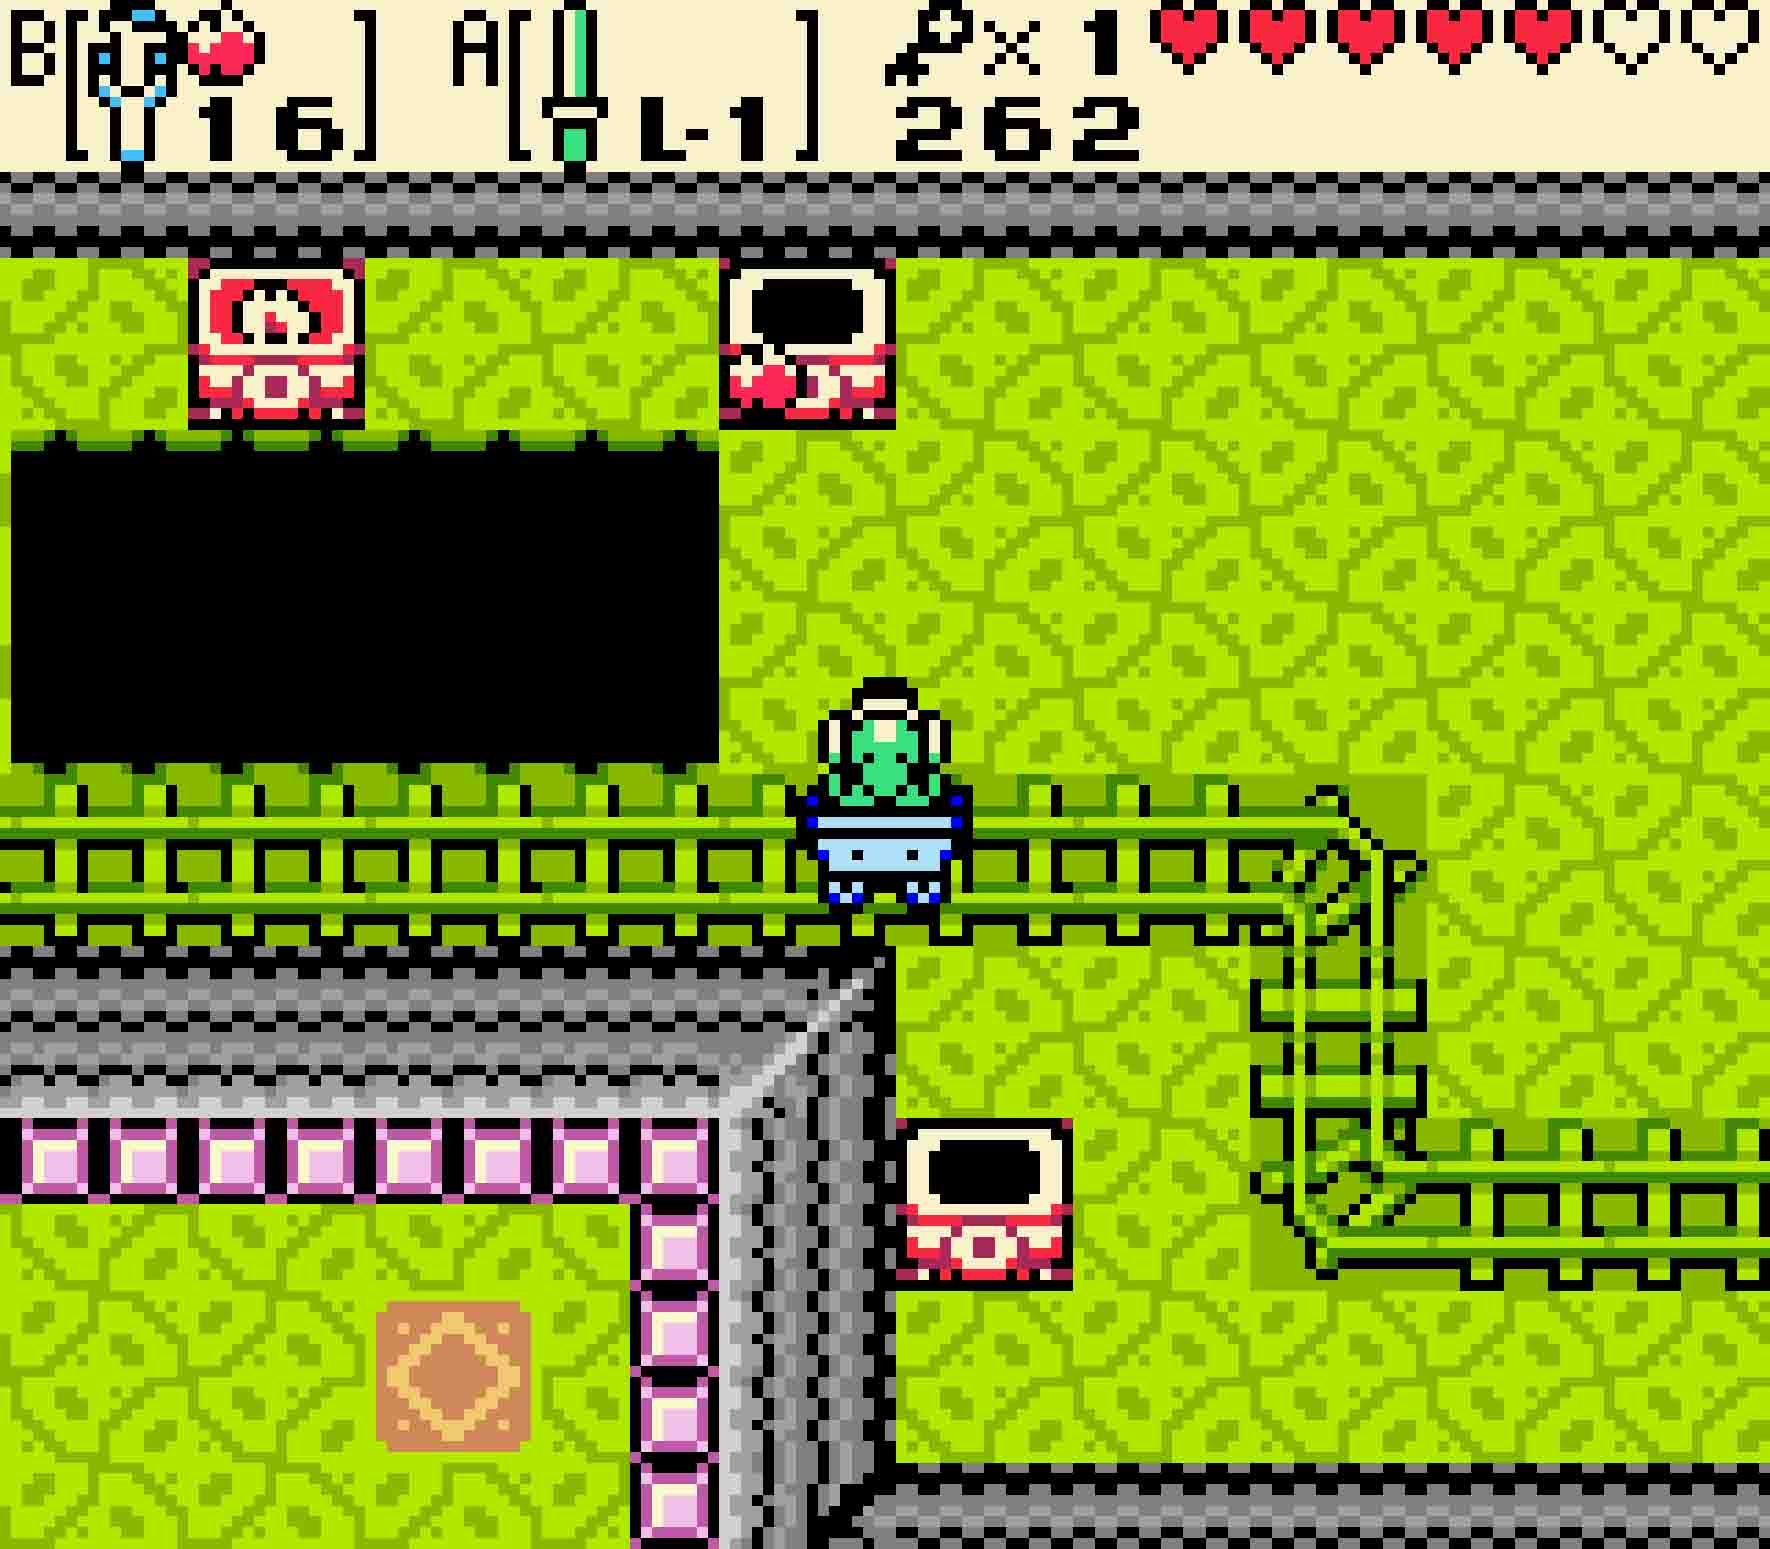
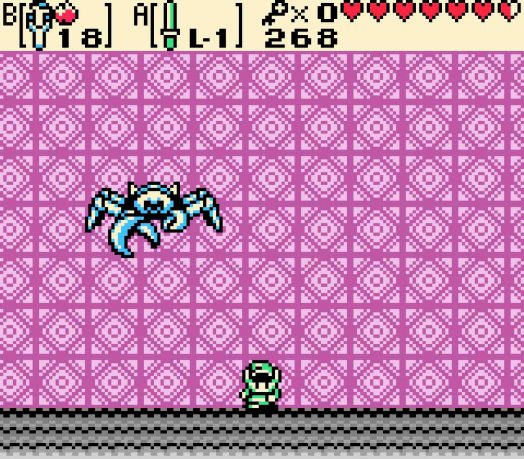
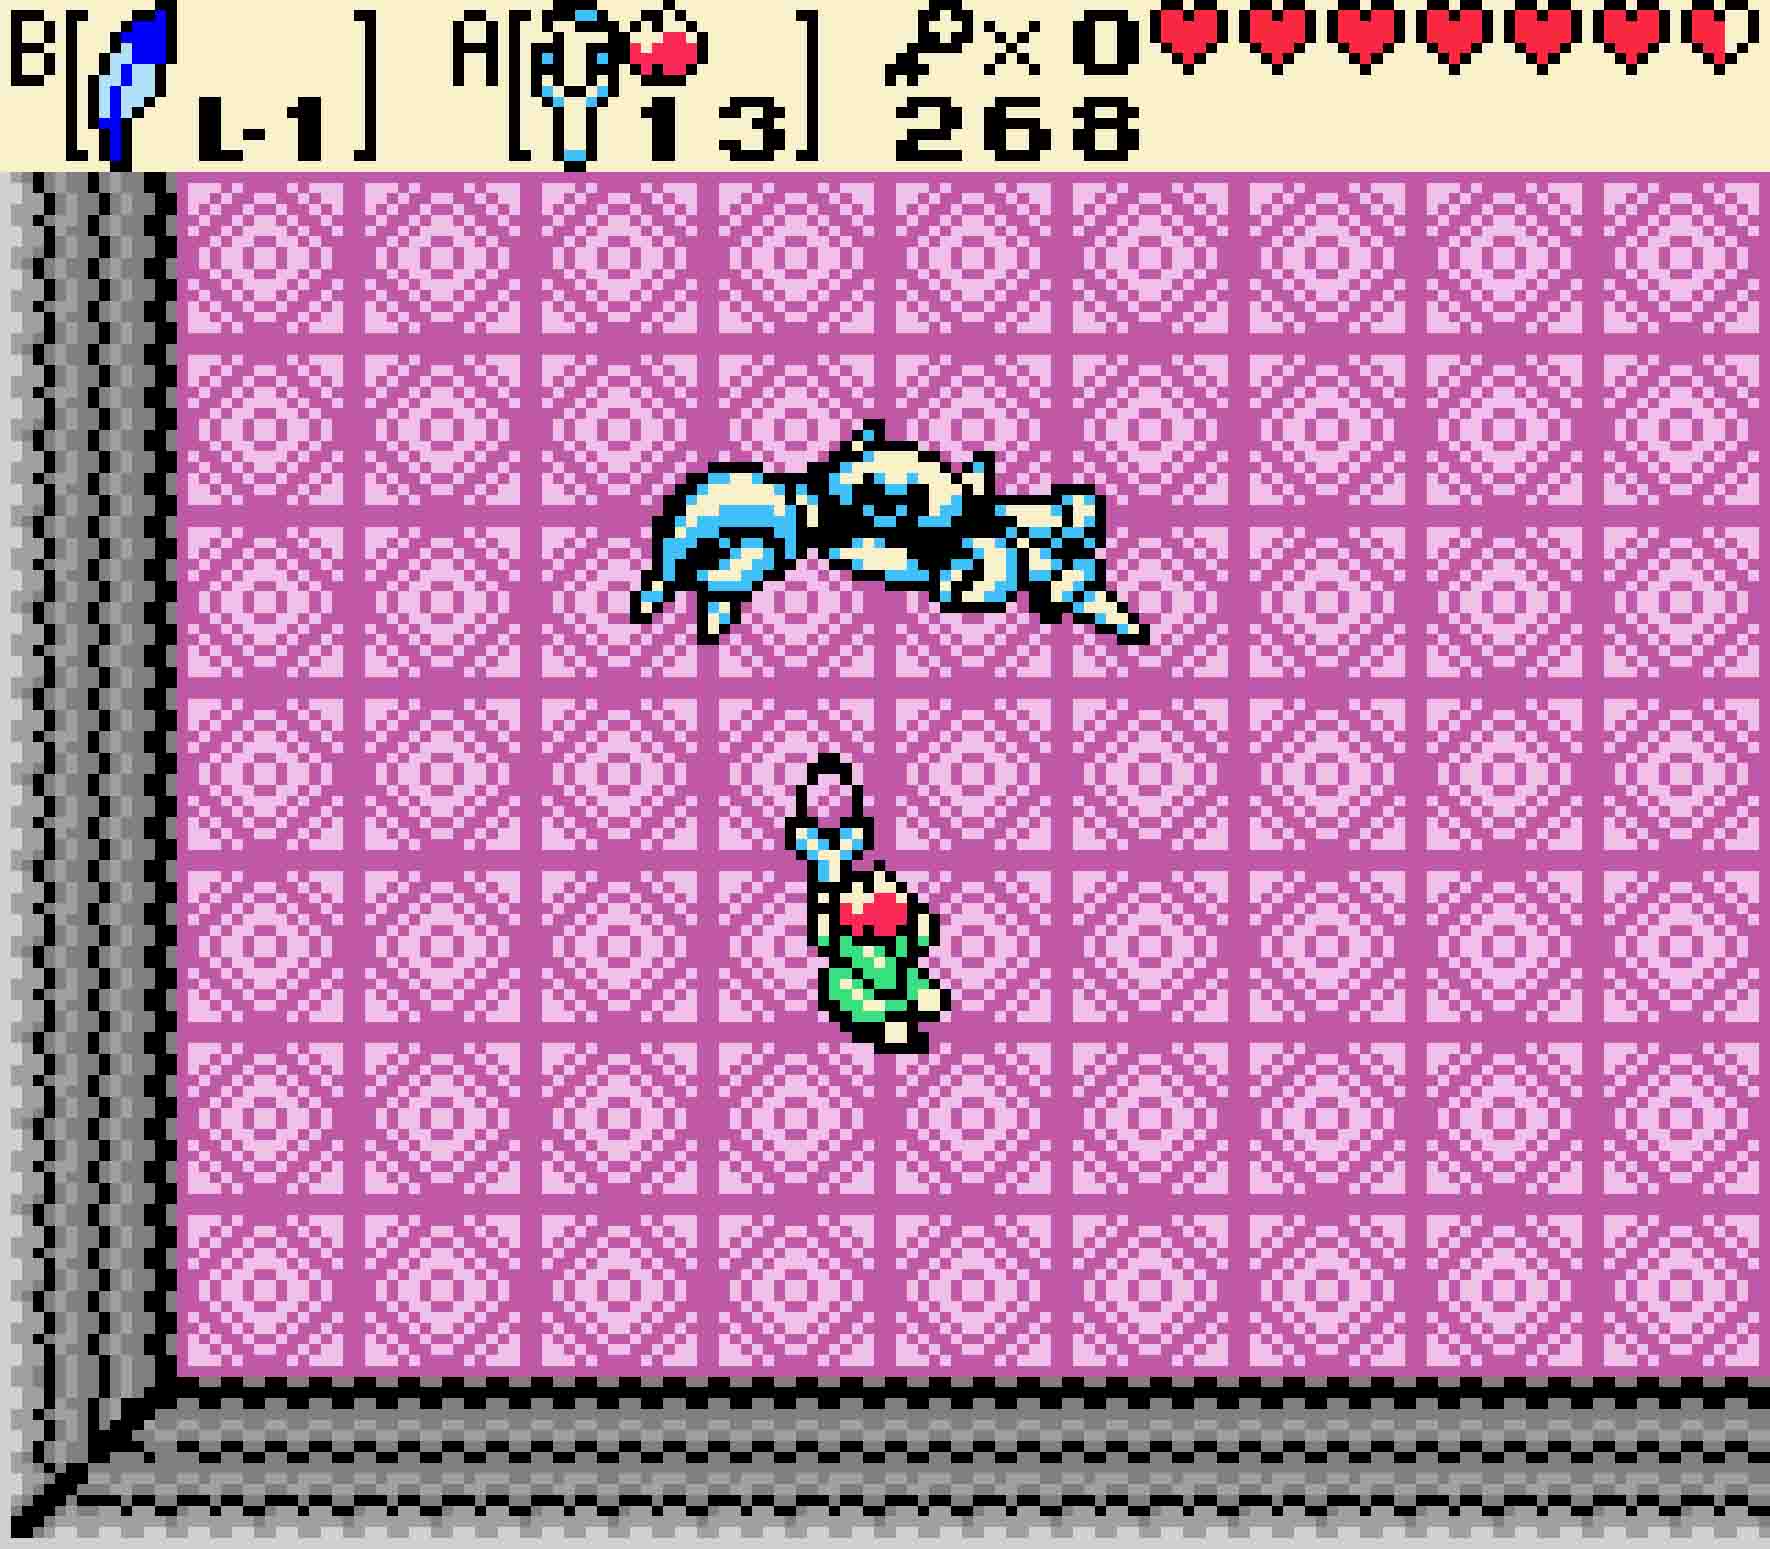
Head west, and then north. You’ll see two Rolling Spiked Traps hovering over the water. Dodging these spiked logs are easy. Jump into the water, and when the trap attempts to roll over you, dive deep with Zora’s Flippers. Resurface after it goes away. Dodge both of them and continue northward.
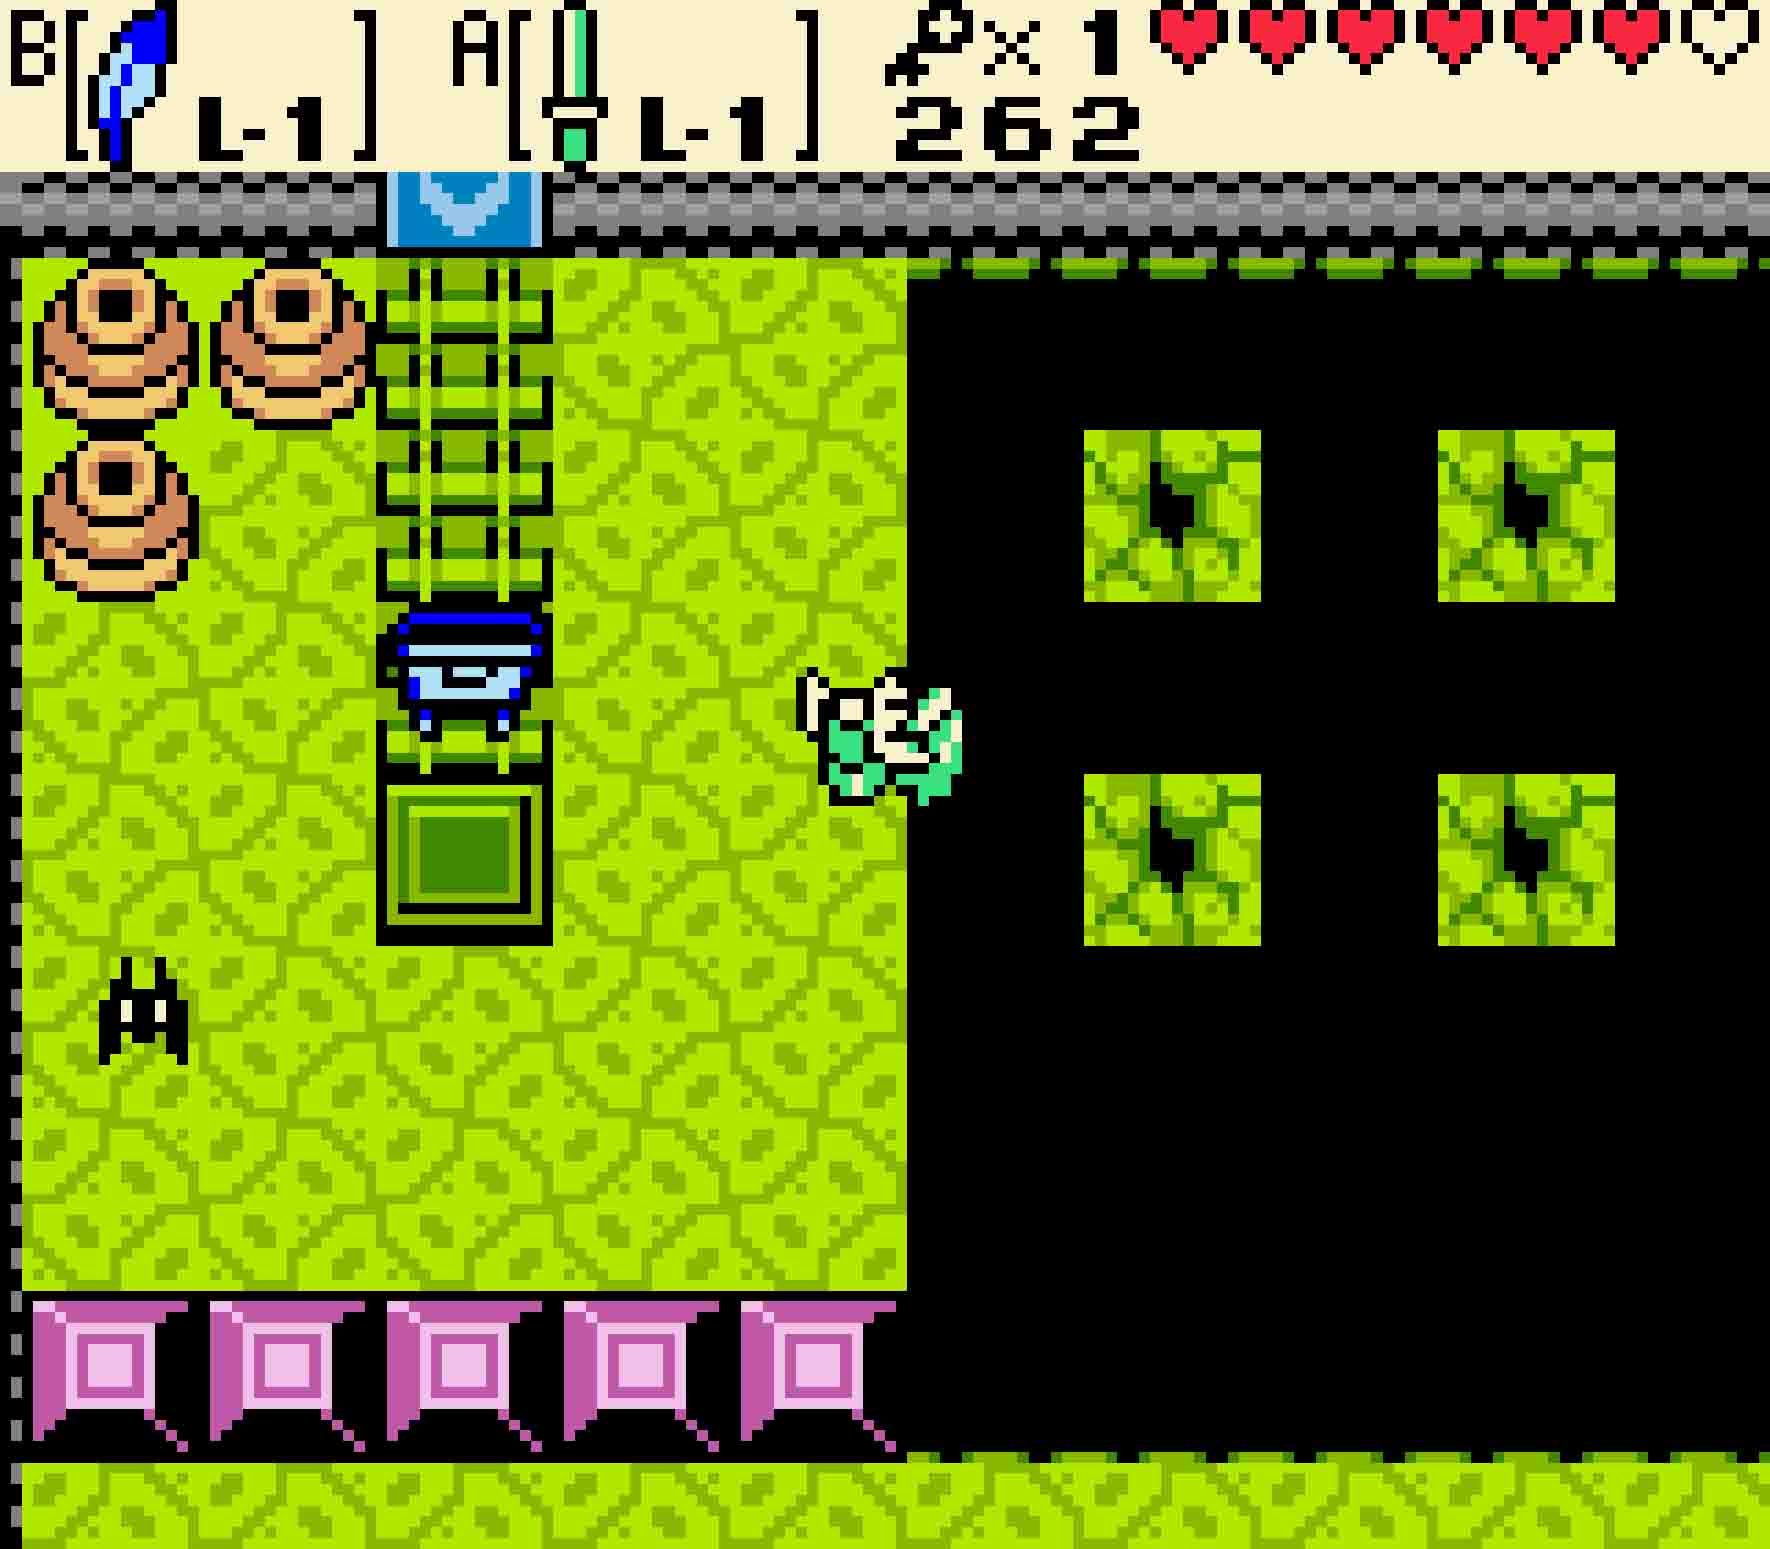
You’ll now be buffeted with enemies. First things first: Take care of the Like Like, but also watch out for the Spiked Beetle. Once the Like Like is dead, use your Shield to take out the Spiked Beetle, and then deal with the Keese whenever they’re problematic. Use Roc’s Feather to gingerly jump over the crumbled floor islands in the middle of the room in order to reach the mine cart. Hop in, and allow it to take you northward.
Hit this switch on the way out. You’ll immediately be coming back this way.
As with most minecart rides, the next room will mainly contain Keese. As you pass by the track switching lever, flip it to cause the tracks to shift, allowing the eastern track connect to the western one instead of the southern one you came in from. When you reach the end of the line, hop back in the car so you can go westward.
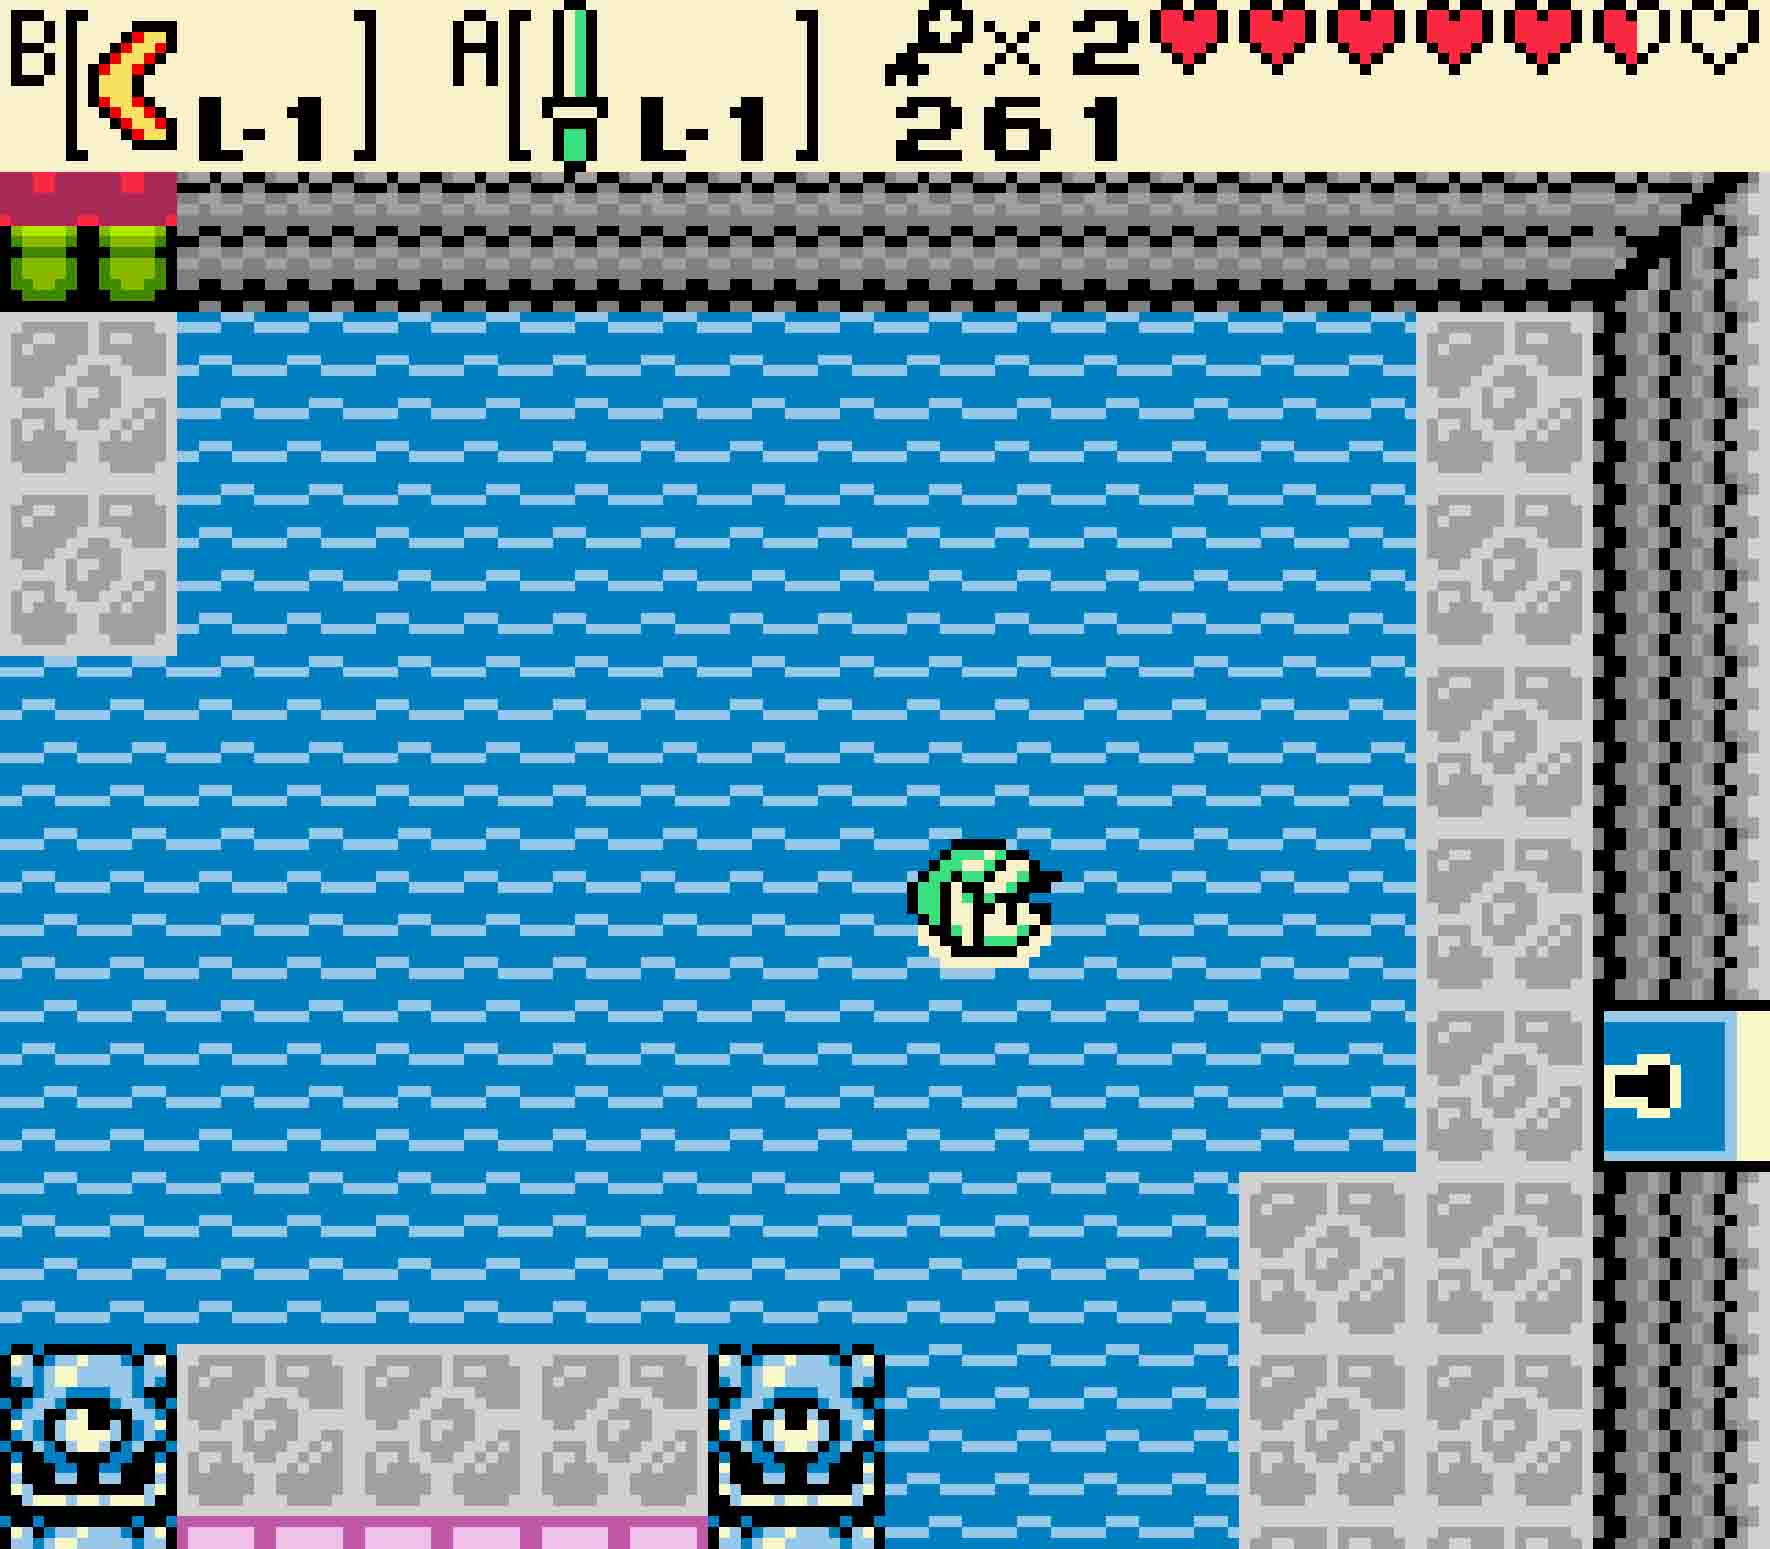
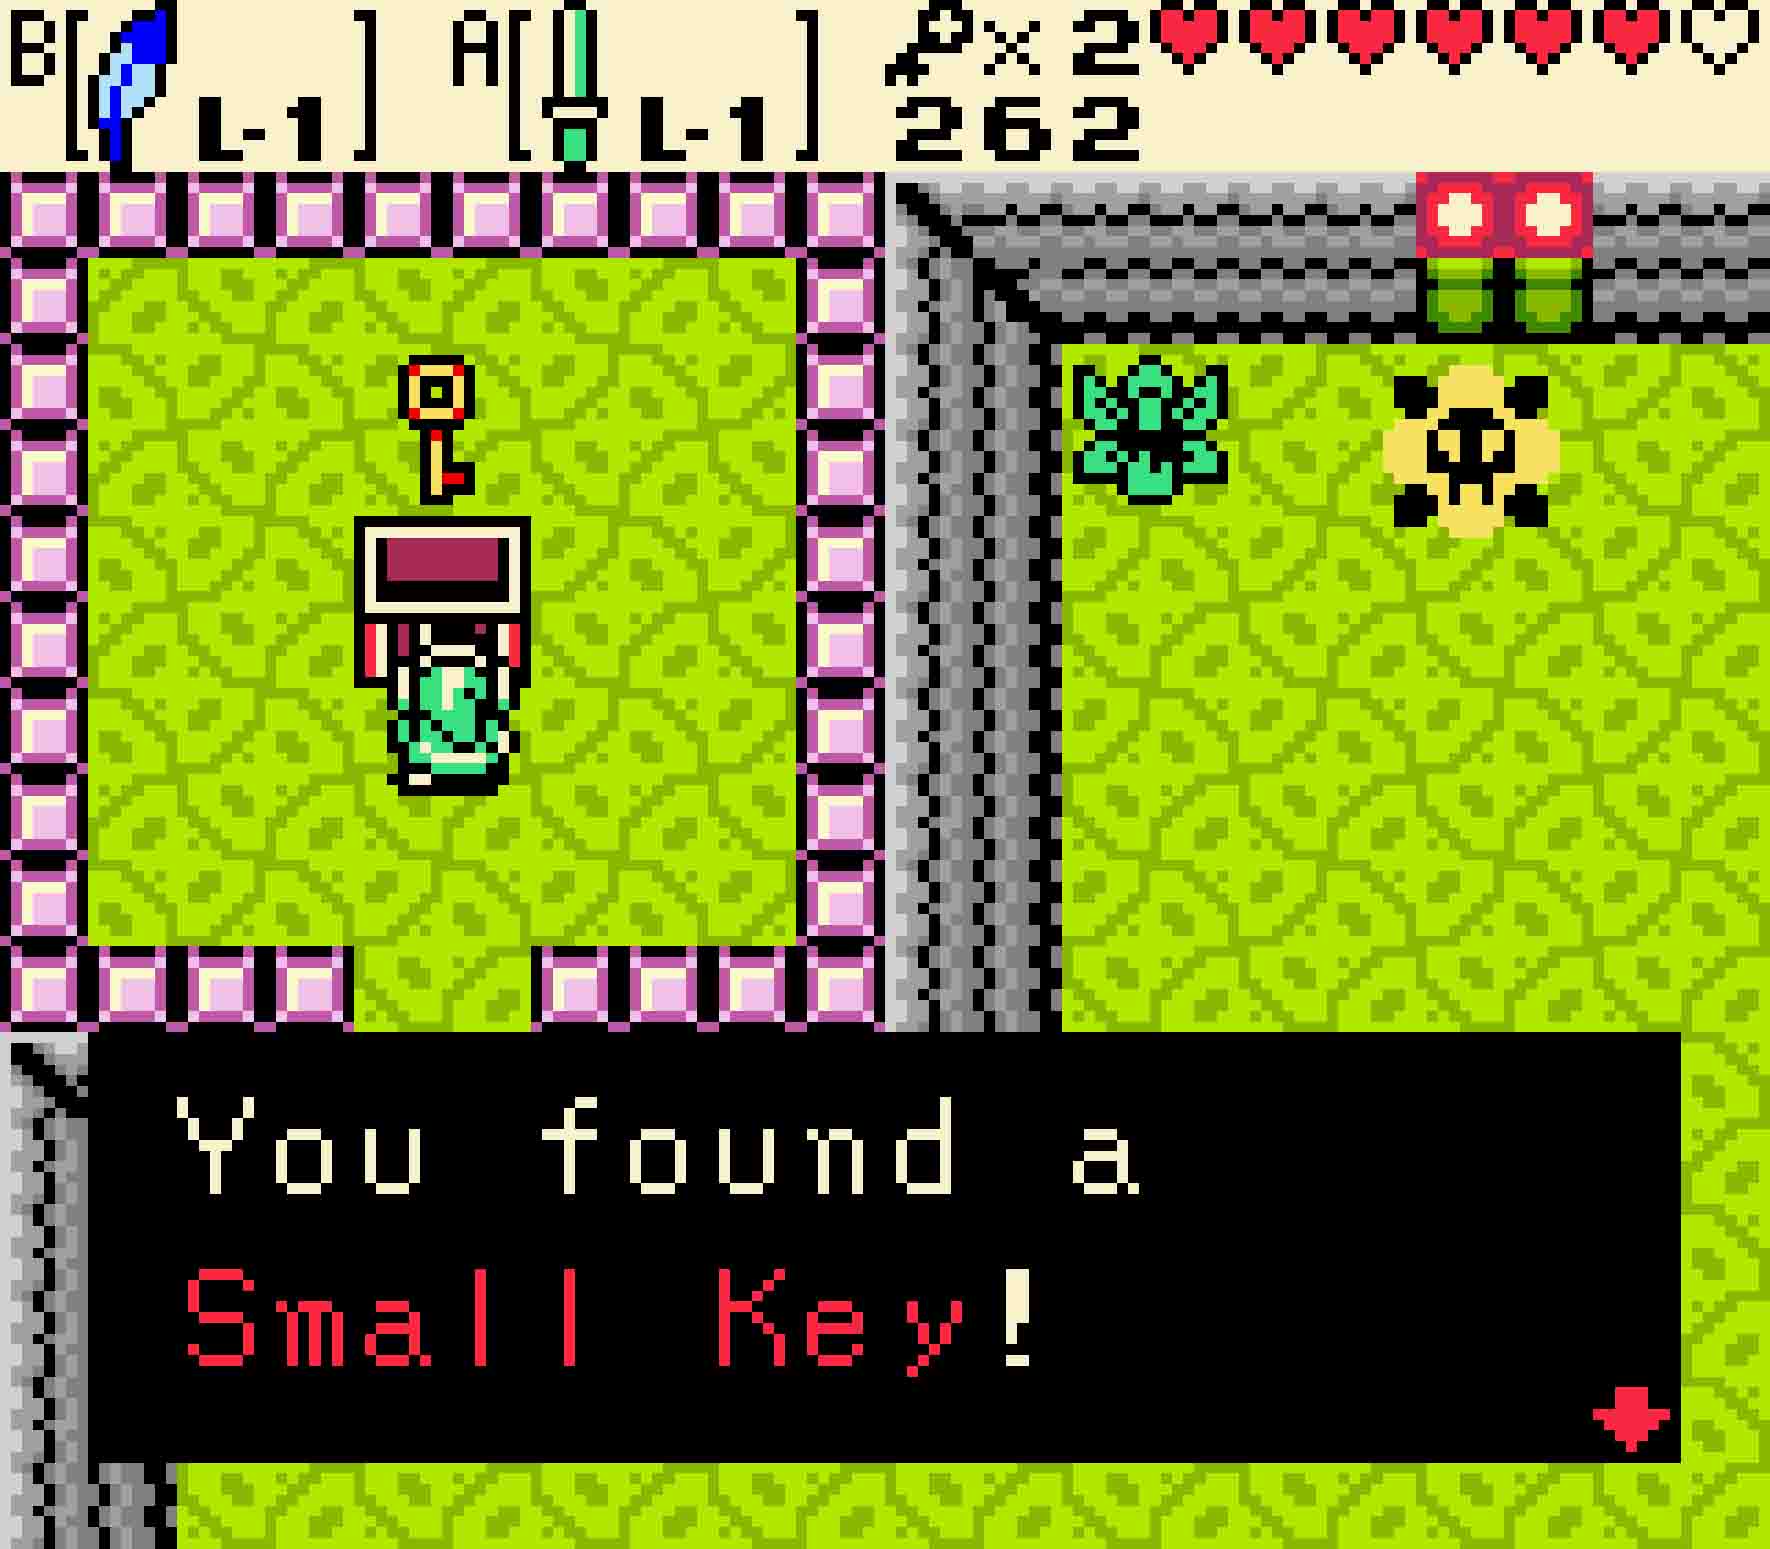
In the far west room, you’ll see one Water Tektite patrolling the pool in the room’s center and Like Likes around the edge. Kill the Like Likes first for peace of mind, and then dispose of the Water Tektite. Once all the enemies are in, hop in the pond and dive. Somewhere under all that water is yet another small key. Once you find it, hop in the minecart, letting it take you east twice.
At the end of the line, you’ll face more green Stalfos and an Anti-fairy. After they’re gone, continue east and unlock the locked block that’s in your way. There are two more enemies in the next room — one a Shrouded Stalfos and one a Sword Stalfos. Ascend the steps up to the dais, and then set a Pegasus Seed on yourself to make you dash. Use that along with Roc’s Feather to jump over the long gaps until you reach the staircase down at the end of the platform.
Back on the first floor, there’s a red Zol and a yellow Stalfos. The yellow Stalfos is generally cowardly and will try to jump away from all your sword swings. After it does so, it will also hurl one of its bones at you, so be sure to avoid it. Push the block out of the way at the base of the stairs, and pop into the minecart in the room. It will take you through a room filled with unlit torches; unfortunately there’s nothing you can do to solve that problem right now, so just head to the end of the line.
-
- You’ll need to get these two small keys in remote locations.
You’ll find an Anti-fairy and a Sword Stalfos there. There’s also a Deku Scrub that will offer to sell you Ember Seeds here. Don’t buy just yet if you don’t have many in your inventory; there’s an opportunity to get some for free just ahead. For now, just grab the chest high on the dais to raise your key count back to two.
11.6 Defeat the Agunima
 Head south. This next room will feel familiar, though the context has changed slightly. There’s more Anti-fairies guardian a treacherous pathway through spikes. Your goal is to head southward, so keep to the middle in order to find the route through the spikes.
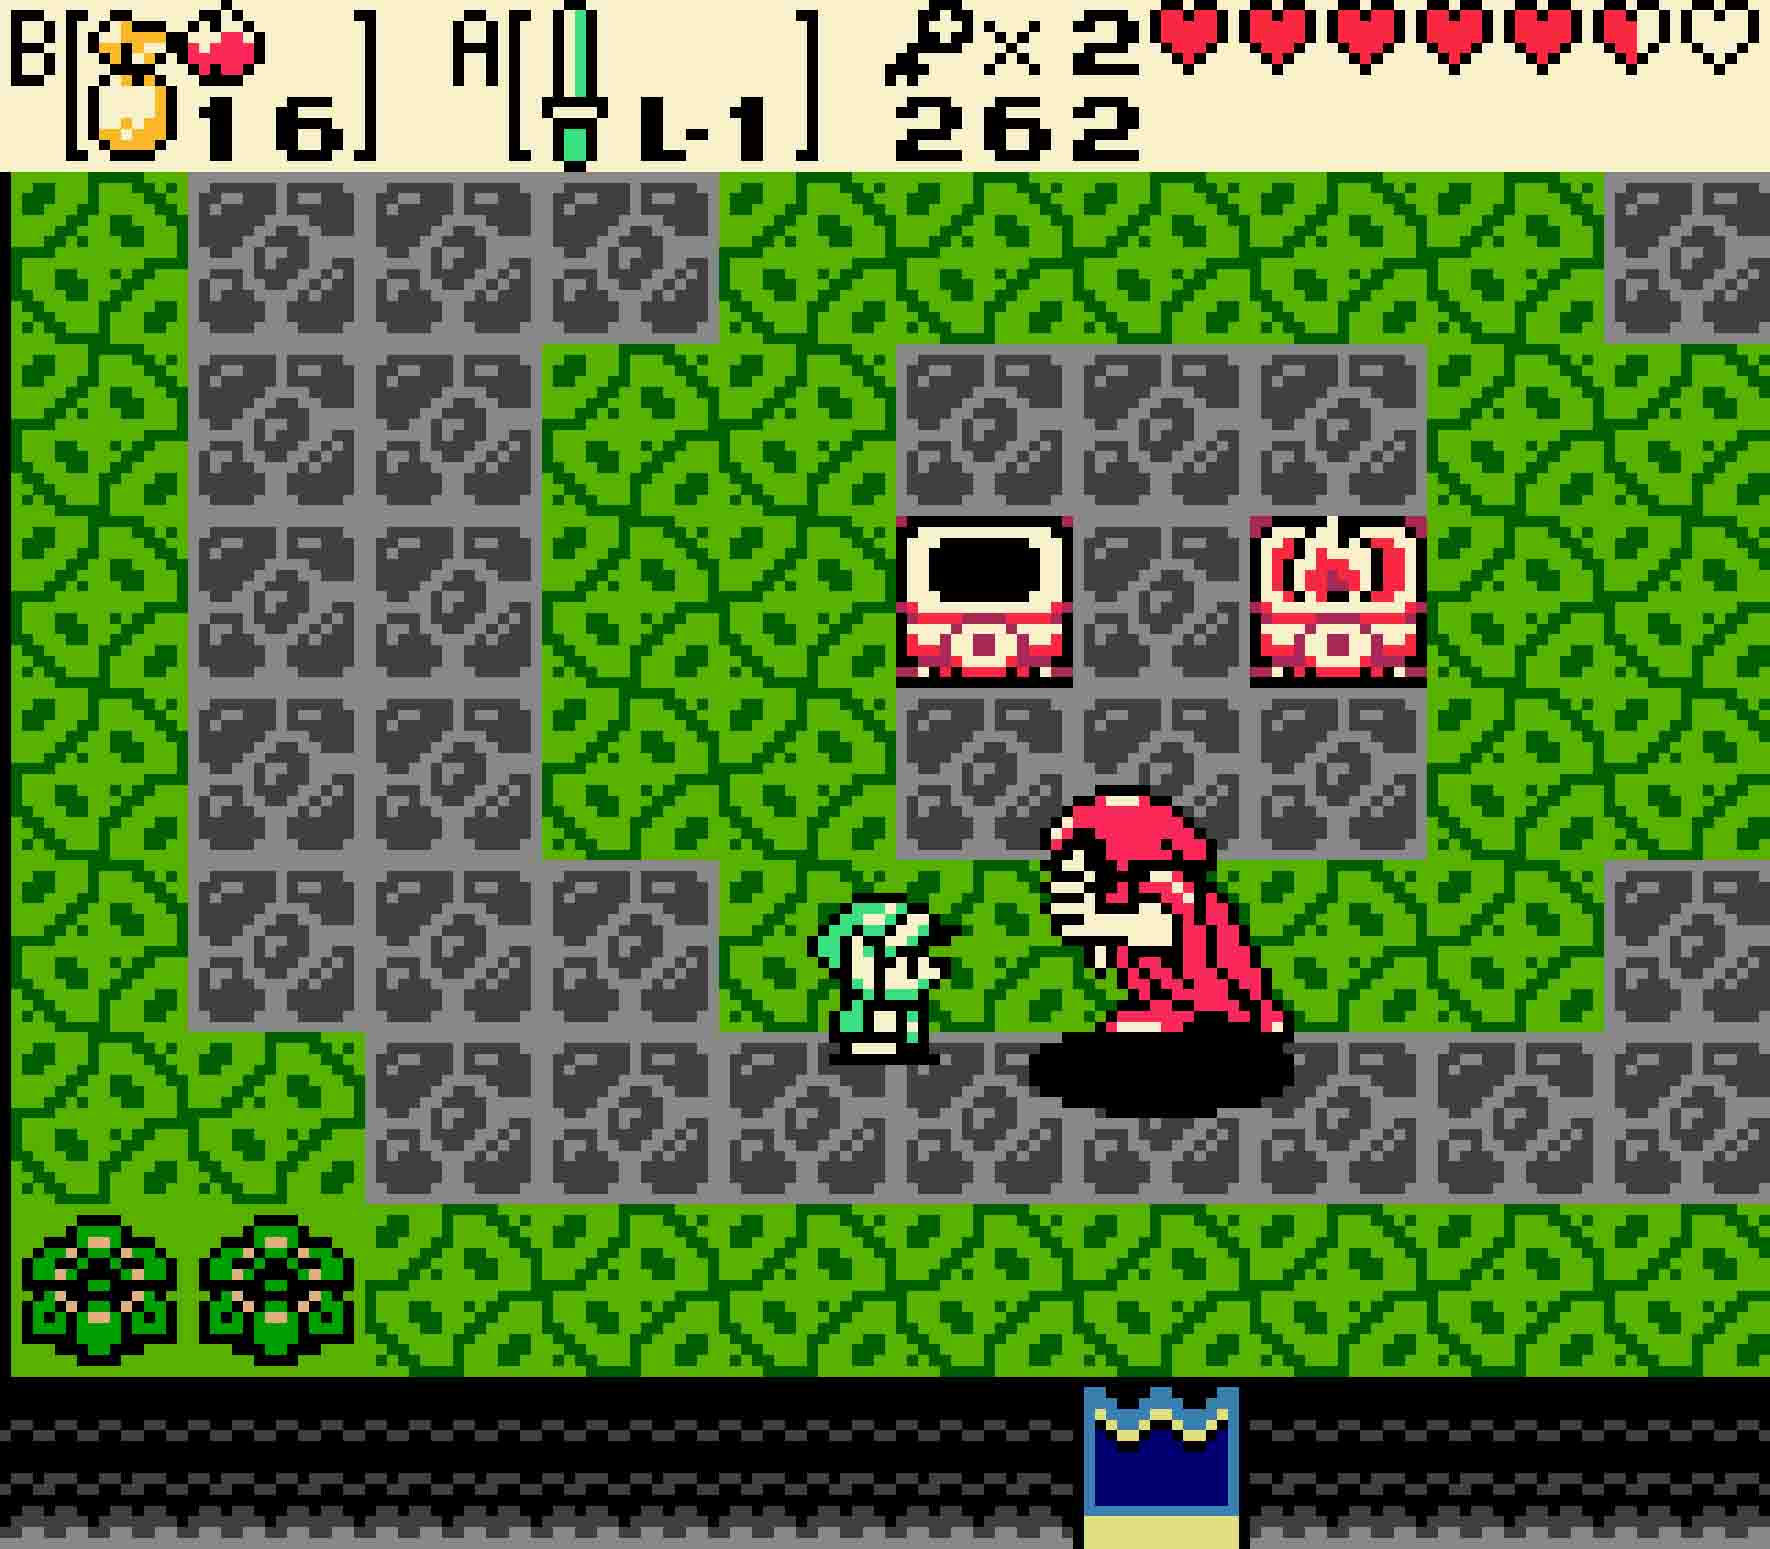
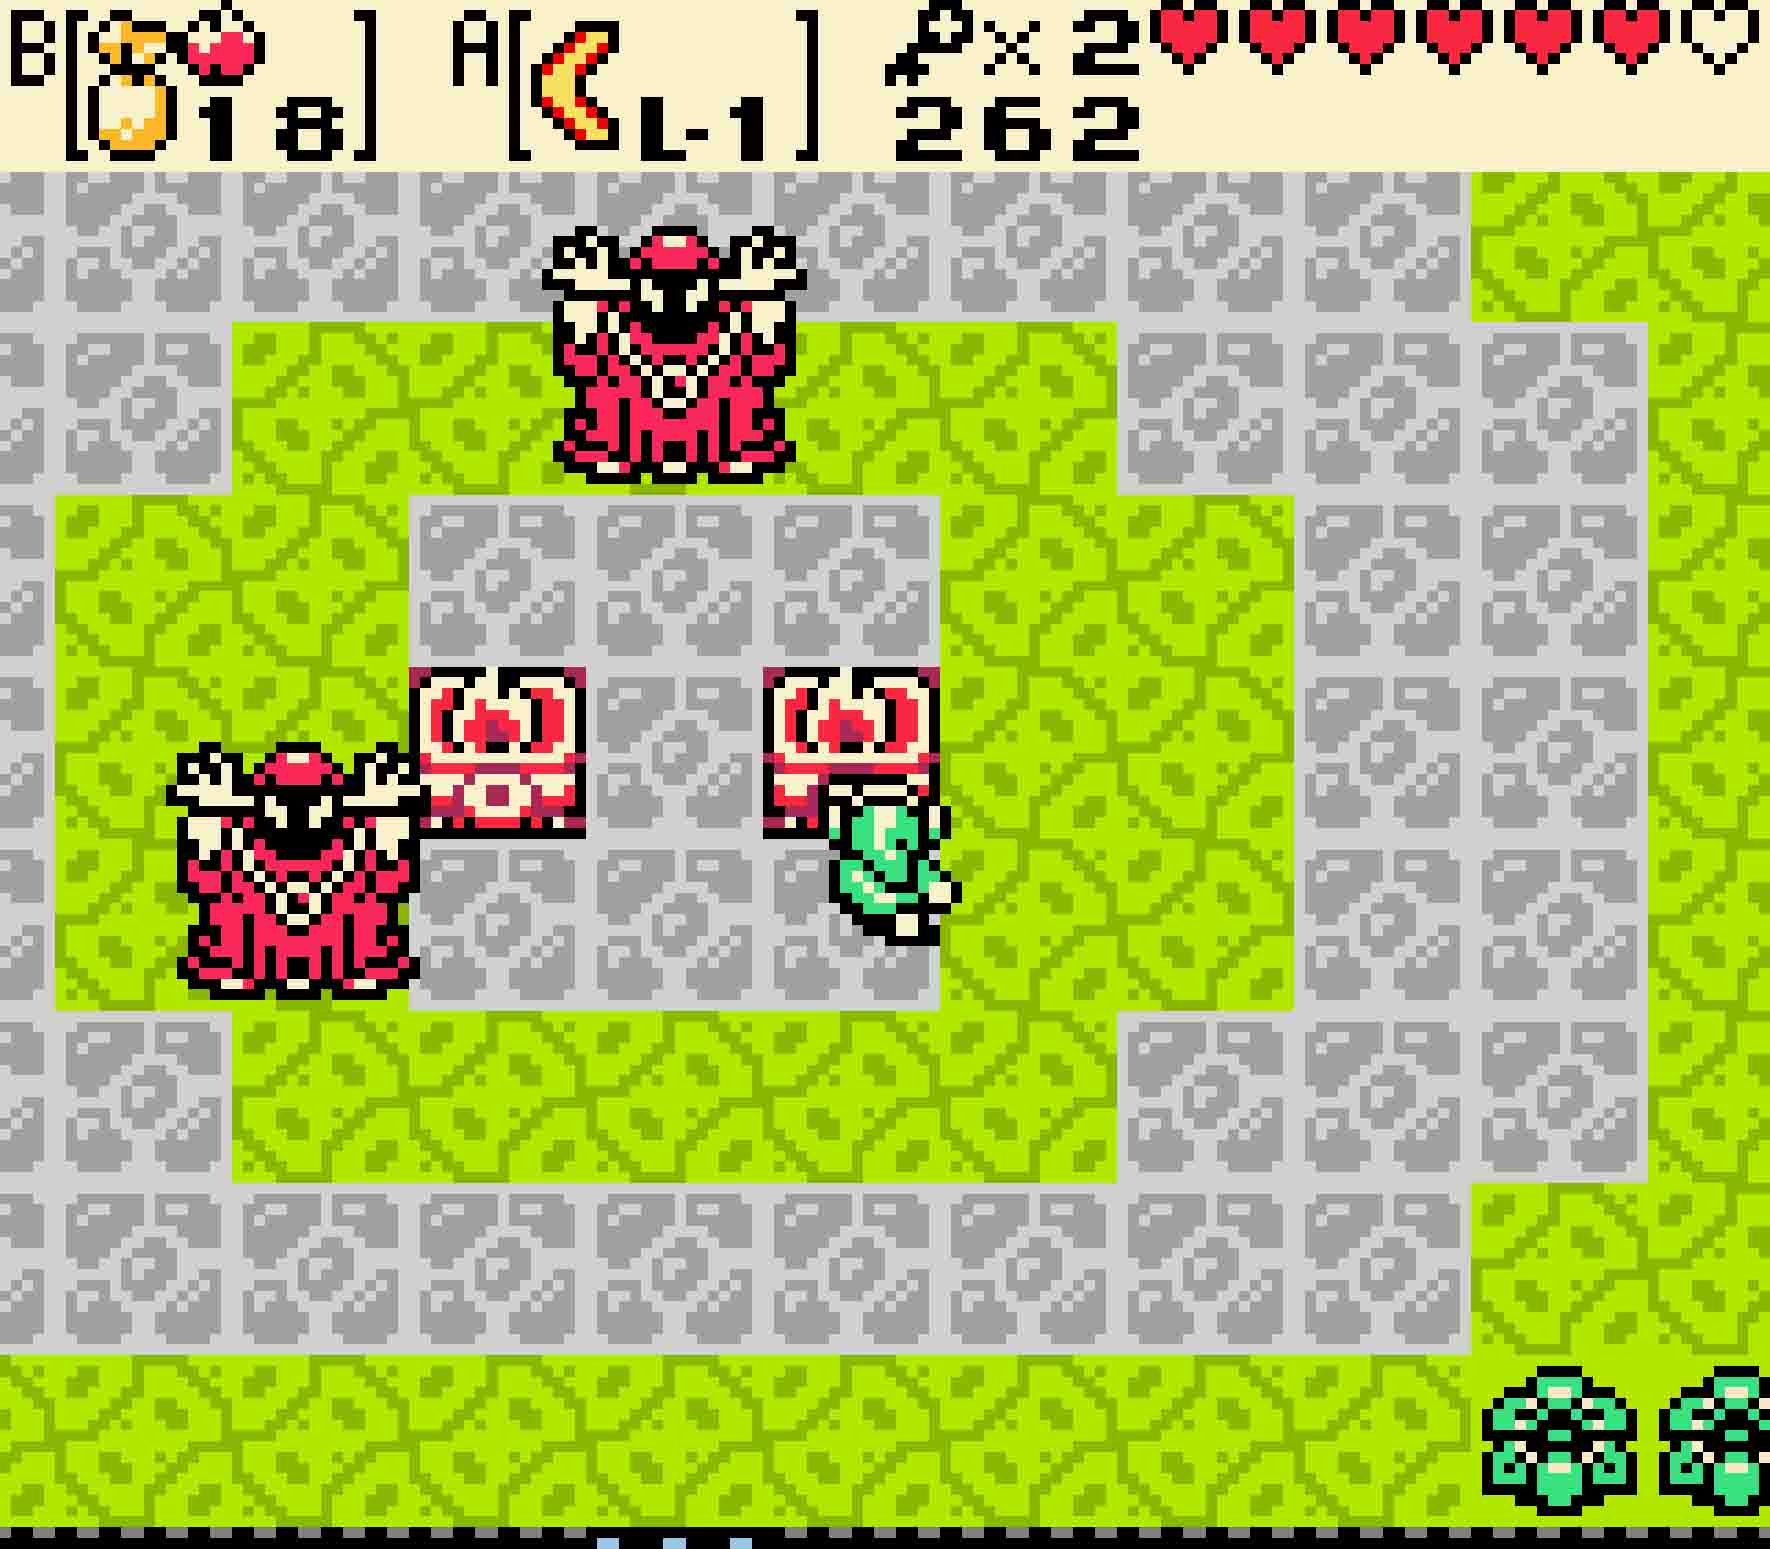
You’ll then be thrust straight into the mini-boss fight. This boss is Agunima, likely related to A Link to the Past‘s Agahnim, though this boss fight is somewhat different. Agunima, like his counterpart, will split into three parts, two of which being invulnerable copies of himself. Each of these will hurl magical blasts at you. However, unlike Agahnim, these blasts cannot be deflected with a sword hit nor can they be absorbed by a shield.
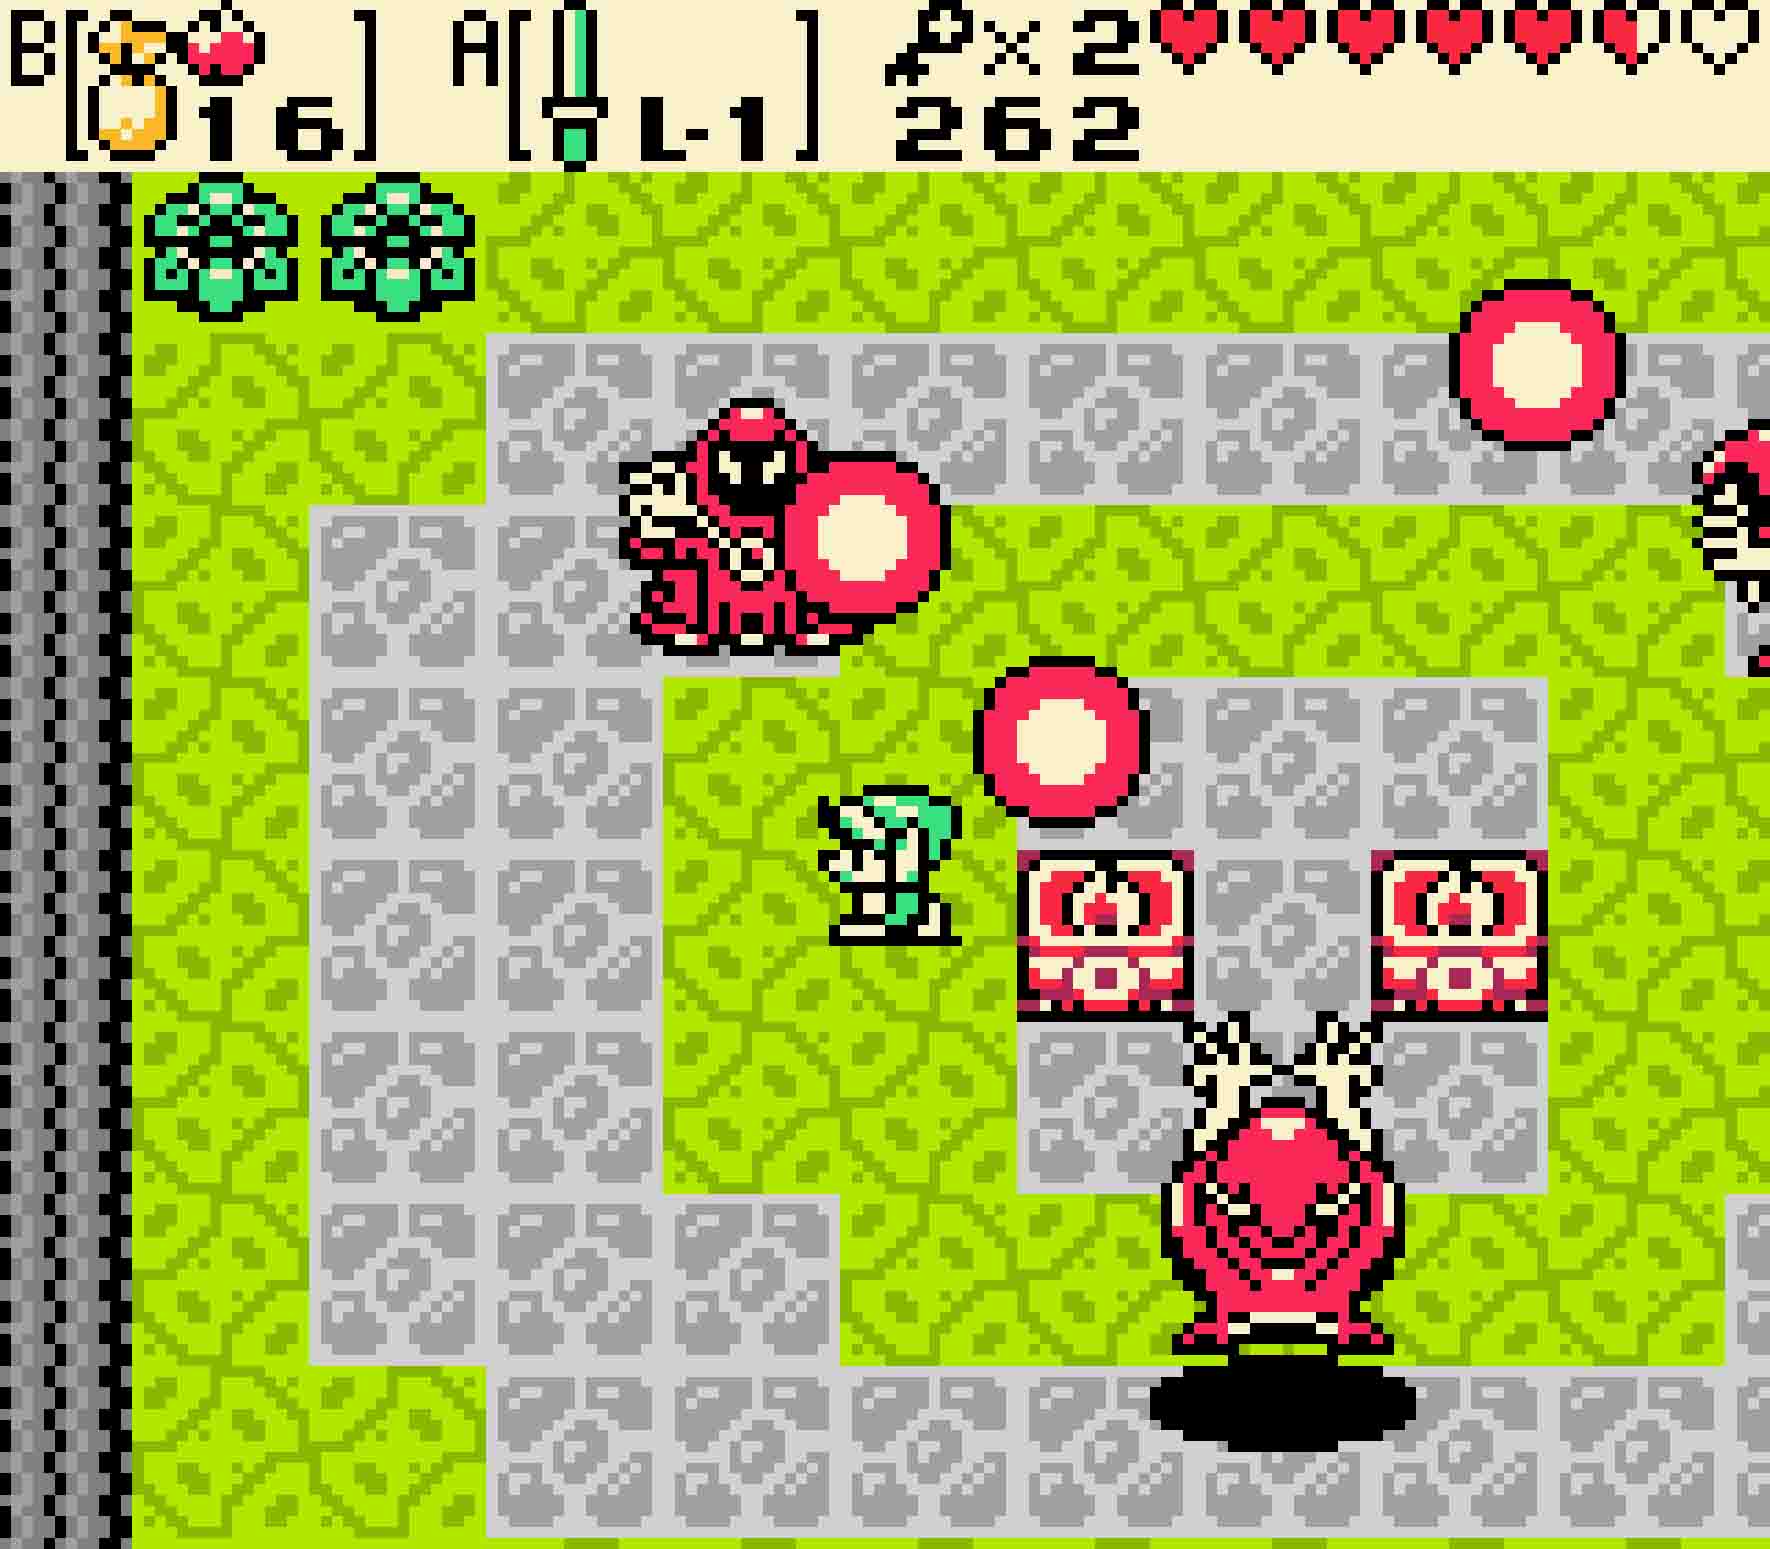
The lights in the torches will eventually go out, and you’ll need to use two Ember Seeds to light both torches. So long as even one of the torches is unlit, Agunima cannot be harmed at all. Once both torches are lit, however, one of the three copies of the mini-boss will be vulnerable. To know which one is vulnerable, look for the shadow as only the real version will cast a shadow. If ever you should run low on Ember Seeds, the regenerating bushes in the room’s corners will supply you with more.
-
- Keep the torches lit, and then watch out for the shadow to find the real enemy.
The cycle will continue for a while. Agunima will disappear and reappear; look for the shadow, slash at him, and then relight the torches when they go out. Eventually Agunima will take enough damage to be destroyed, leaving behind a fairy and a teleporter to the dungeon’s beginning.
11.7 Earn the Slingshot
From the mini-boss’ lair, head south. Blue Stalfos are here, and blue Stalfos are just less aggressive versions of the bone-throwing yellow ones. You can ignore them if you want as your target is to get into the minecart. As it travels, you won’t be able to change its destination at all, which is just as well as it’s going where you want it to go.
At the end of the line, head south, and now you’ll have to face two yellow Stalfos, but this time there’s a Beamos that will also be firing lasers at you. Try to stay under cover from the blocks in the room if you decide to kill the Stalfos. However, you don’t really need to as you can simply unlock the door heading west.
-
- Hop into the minecart to go for a wild ride through the next room.
-
- Just watch out for the enemies on the other side.
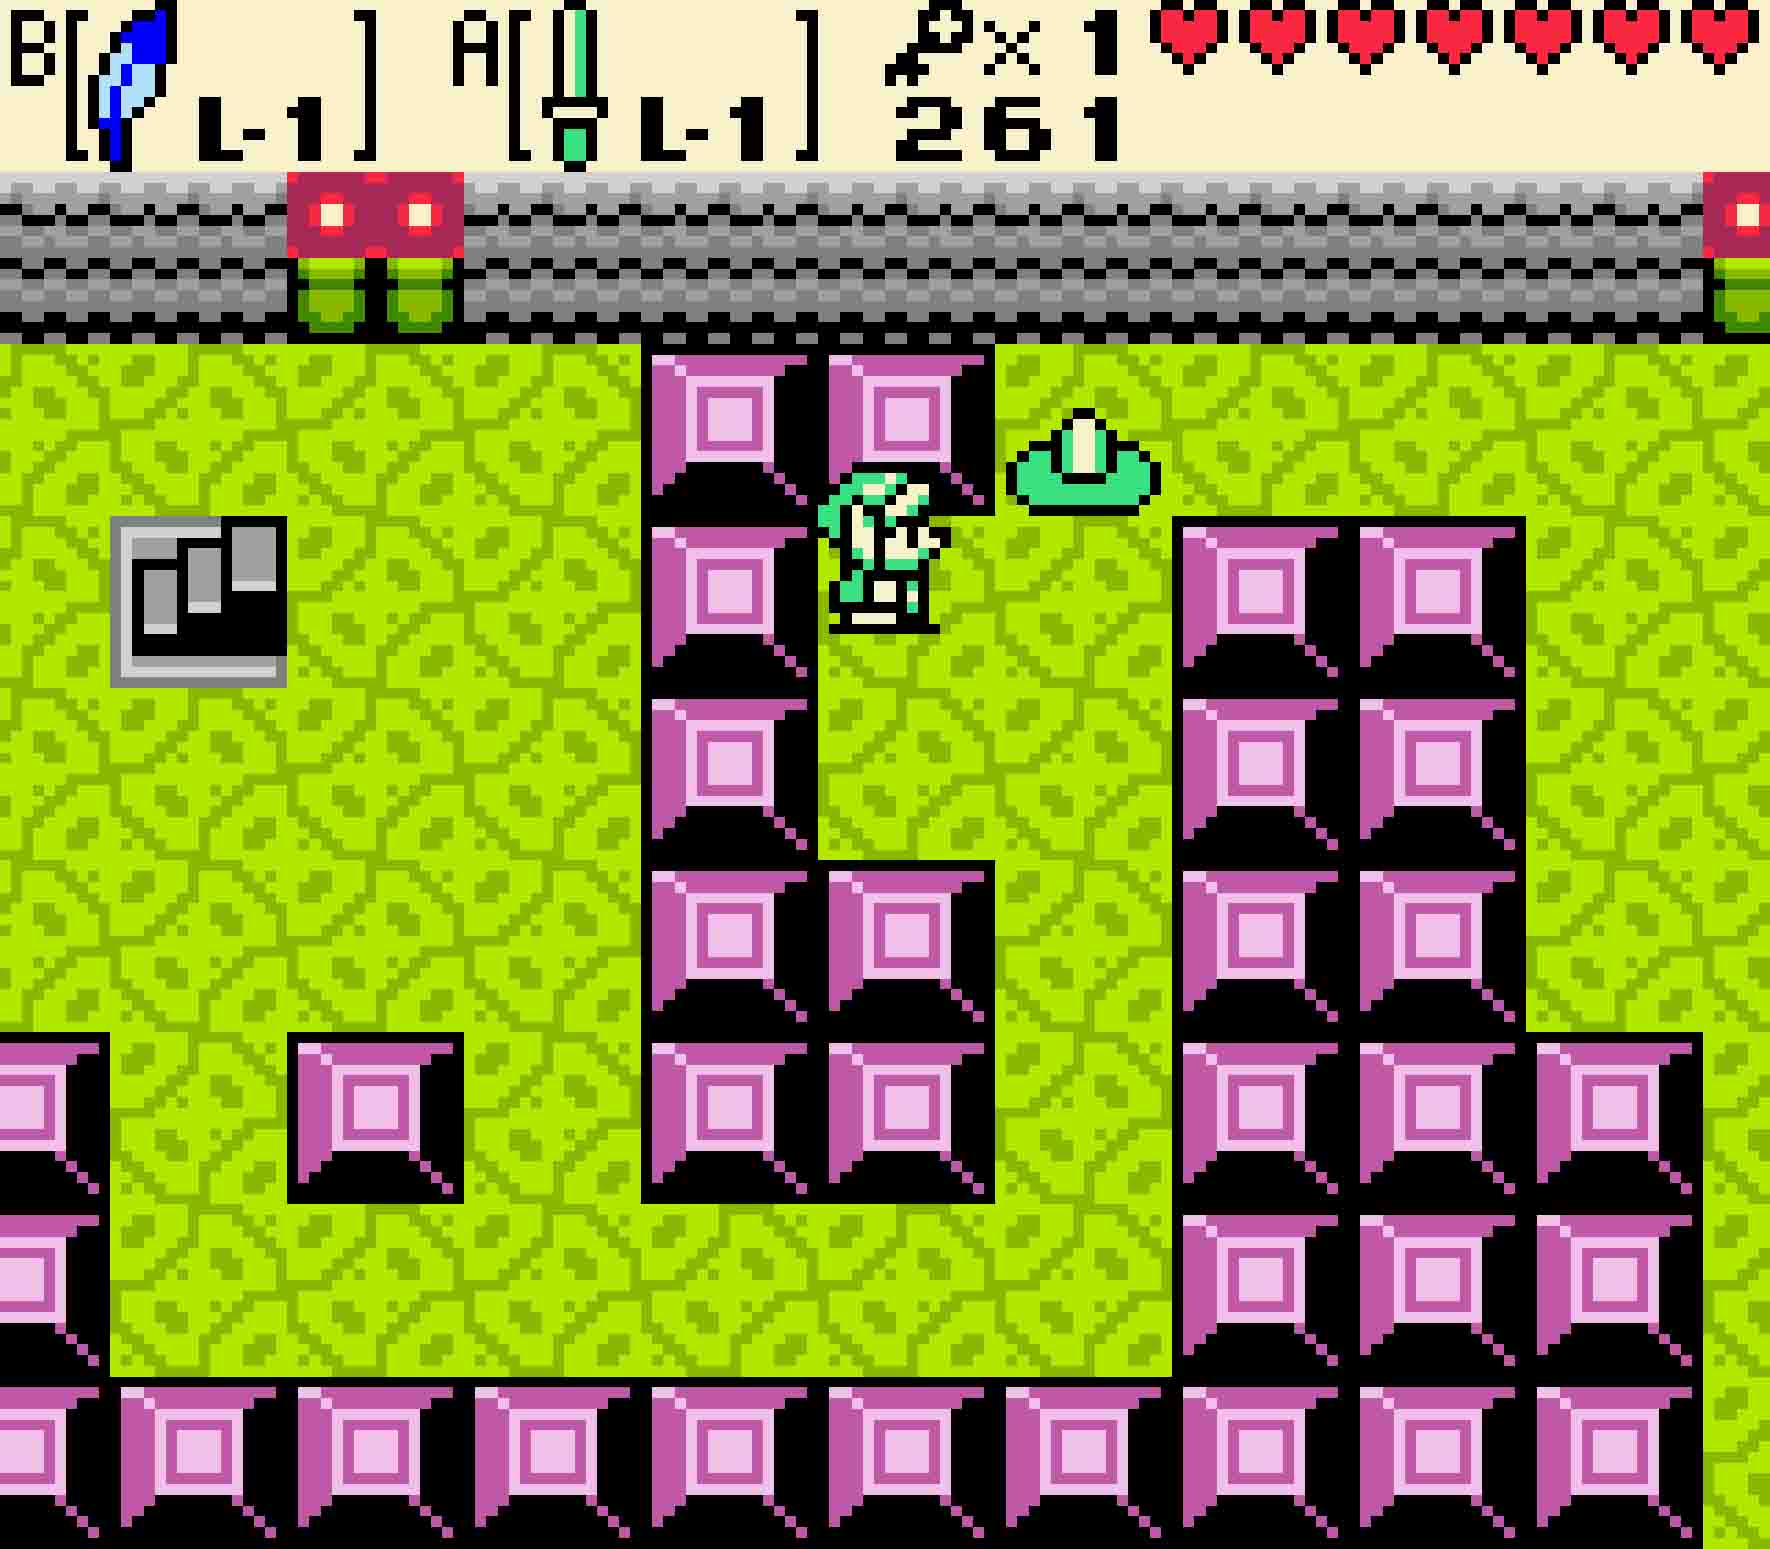
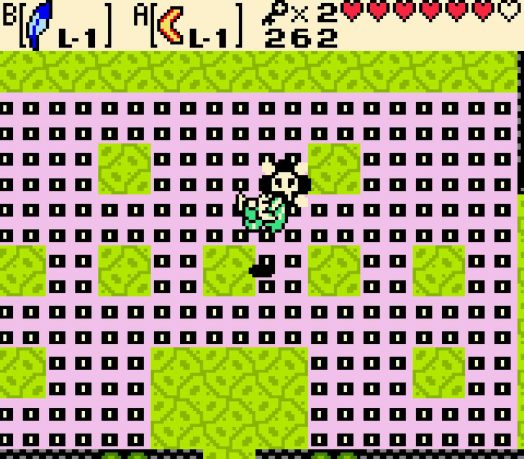
You’ll emerge into a middle of a massive block maze. What’s problematic is the sinking feeling all those crumbling floors portend. Once you push the statue onto the switch, every single crumbling floor tile will slowly give way to become an inky black pit. It thankfully doesn’t happen immediately but instead starts from the bottom-right and heads clockwise around the room to the upper right. You need those floors to be whole as you come across them as, otherwise, you won’t be able to reach the chest at the end.
You’ll need to use a Pegasus Seed for this endeavor. Consume a Pegasus Seed first; then push the statue onto the switch. And then run. The general path is to touch the south wall, turn to the west, hit the west wall, and then just follow the pathway to the end. If you beat the crumbling floor to the end, you’ll arrive at the chest, which contains the Slingshot. Now, instead of simply dropping Seeds on the ground, you can now toss them at your enemies!
-

- Once you depress the button, you’ll start an impending calamity.
-
- Use Pegasus Seeds to cross the broken floor. Leave the enemies behind in your wake.
11.8 Backtrack for the last small key
 Now it’s time to head back several rooms to pick up a key that you had no choice but to pass up. Head back east to the Beamos room, and then head back north to the minecart. Hop in the minecart, and let it take you to the end of the line. Head back north into the mini-boss’ room, and then head north again to the room full of spikes. Make your way across the spikes, and exit to the north.
This will return you to a room that formerly held a chest with a key and also one more minecart ride. Before you hop in the minecart, equip the Slingshot with Ember Seeds. Three of the torches in the next room are unlit. In order to light them all, you’ll need to face north for the first two and then either south or — if you wait a little longer — west to get the last chest. Once you manage to light all three, a chest will appear in the room. If you miss one, you can always pick up the remaining ones on the way back through.
With the Slingshot, you can finally hit all these unlit torches.
End up so that you’re in the room to the west of the room with the torches, and then head south to the room with the spikes. This time, head hard towards the right side of the room so that you can reach the safe floor in the bottom-right. Head around the trio of blocks and ascend the steps to the catwalk. Follow it north and east to get the final small key of the dungeon.
11.9 Get the Boss Key
You have all of the keys that you need now save one: the Boss Key. To get it, head west and south, cross the spikes so that you can head south into the mini-boss’ room, and then head south one more time. This will put you back in the room with the other minecart ride on this floor. Equip the Slingshot with any type of seed equipped. It’s best to equip seeds you don’t often use, such as Scent Seeds or Mystery Seeds as the objects you need to hit just need to be struck.
-
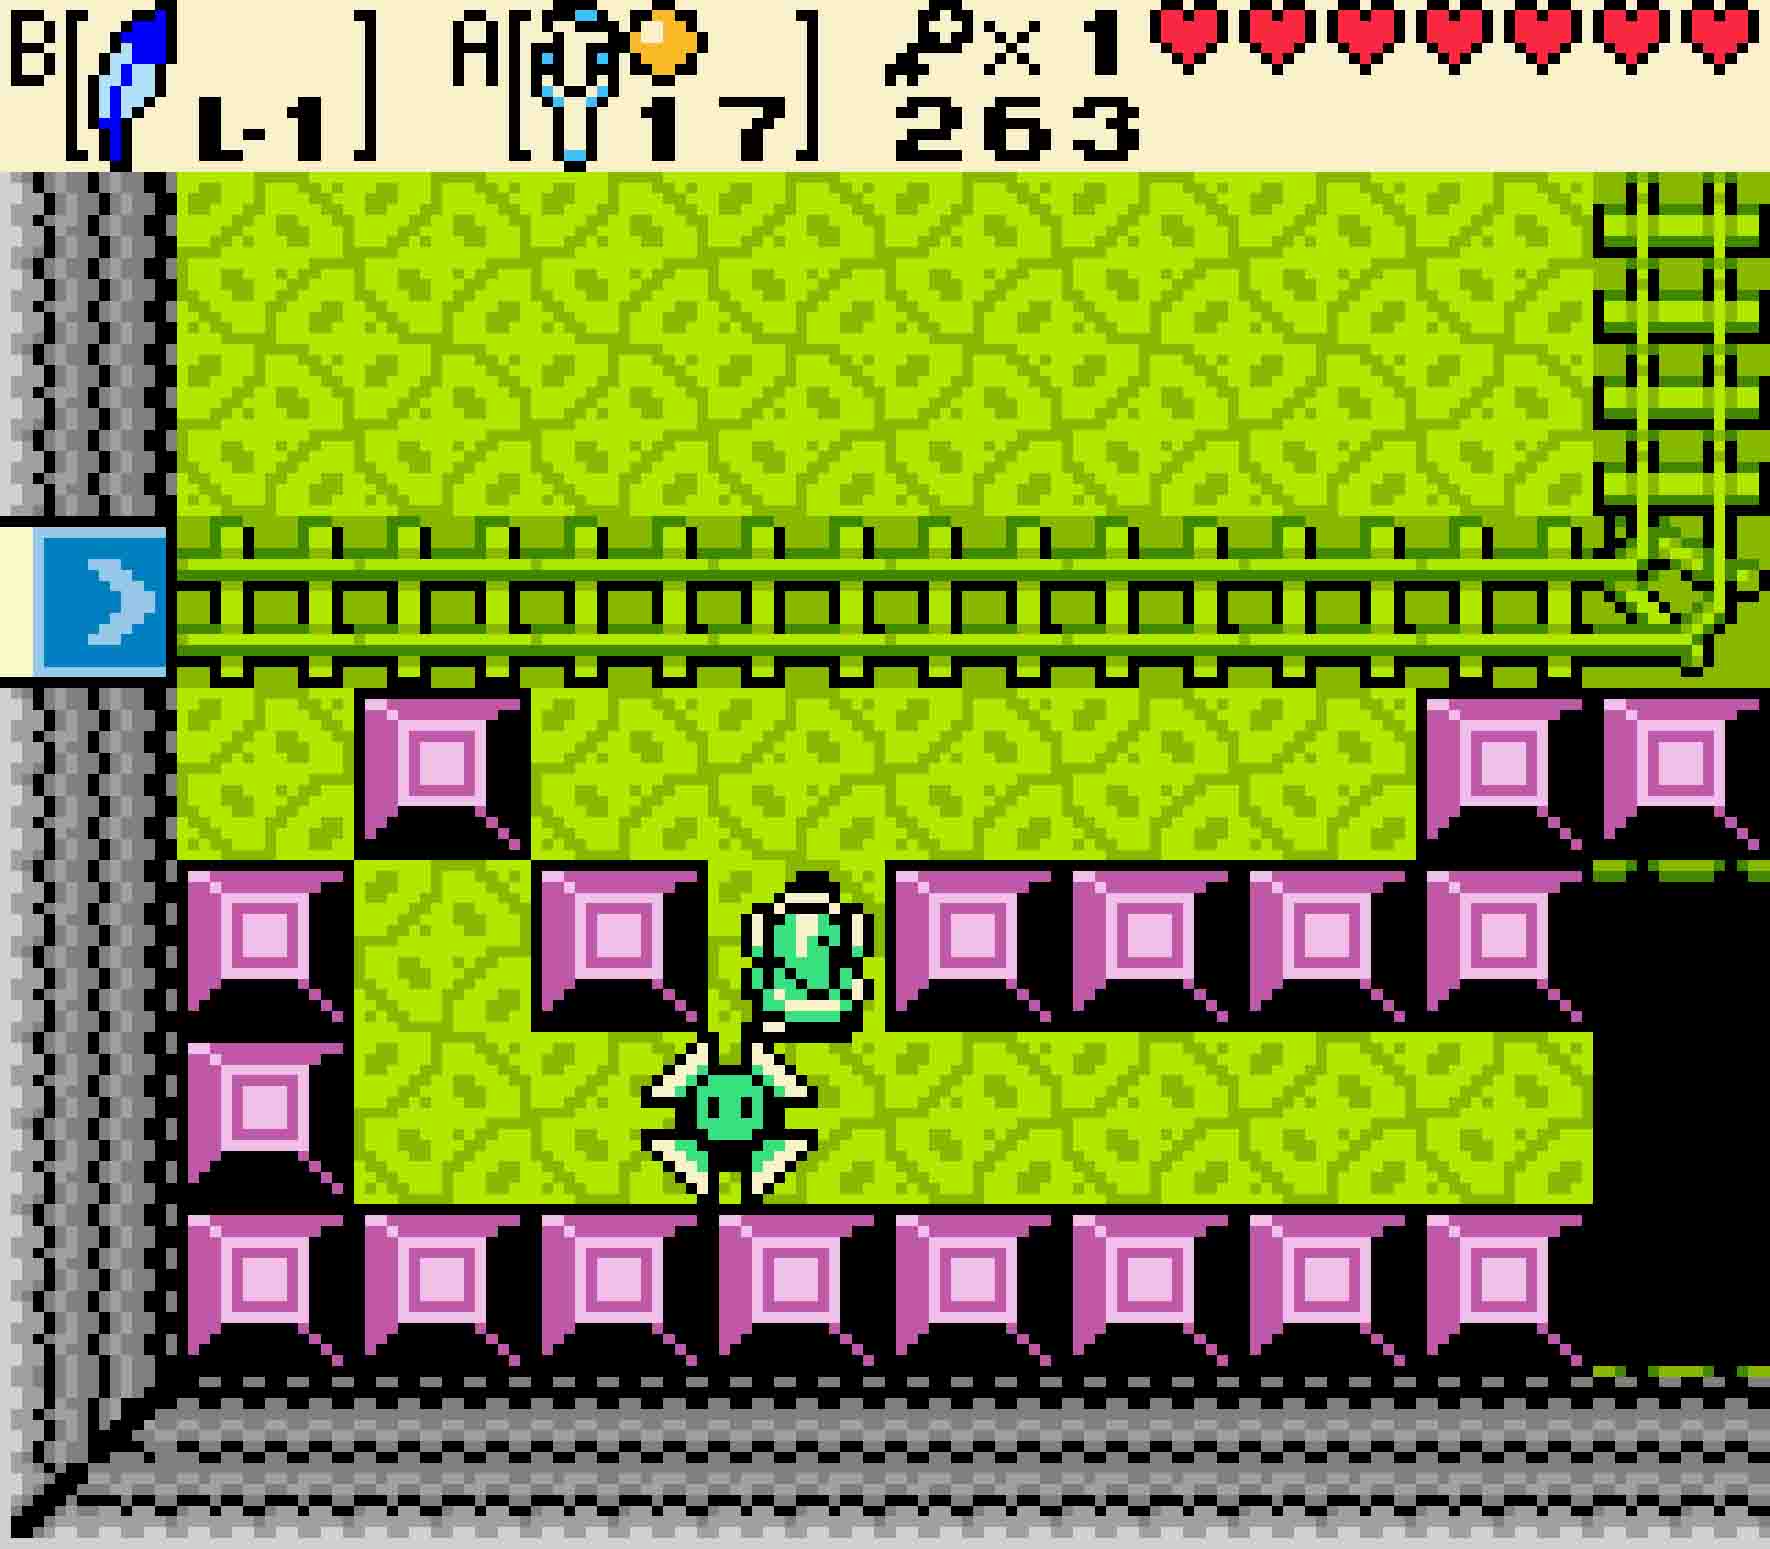
- Use the Slingshot and any seed to hit both of these switches to change the tracks.
-
- Your Pegasus Seeds will allow your Feather to get the distance on these jumps.
Hop in the minecart, and let it take you east. The moment you enter the room, face east and shoot the Slingshot. It will hit a switch, redirecting the next junction. If you’re successful, when you ride over the next horizontal bit of track, fire again to the east. This will trigger one more junction. If you were successful, you should now end up in the northeast segment of the destination room with a wide open door heading back north. If you failed, try it again, making sure to hit the switches you missed.
Head north and then east. Keese are in this next room in addition to some gaping holes in the floor. Kill the Keese, and then equip a Pegasus Seed using the Seed Satchel, not the Slingshot. Eat the Seed, and then use Roc’s Feather to jump over each of the elongated gaps in the floor. This will eventually bring you to the island in the upper-left, which has a locked block. Use one of your two keys to unlock it and head north.
The guardians of this dead-end room are two Water Tektites and a Like Like. Kill the Like Like as soon as you can, ensuring that you keep your distance from it. You might notice that the island in the center of the room is somewhat in the shape of a face. Dive into the pool representing the rightmost eye in the face. If you dive down to the bottom, you’ll find the Boss Key.
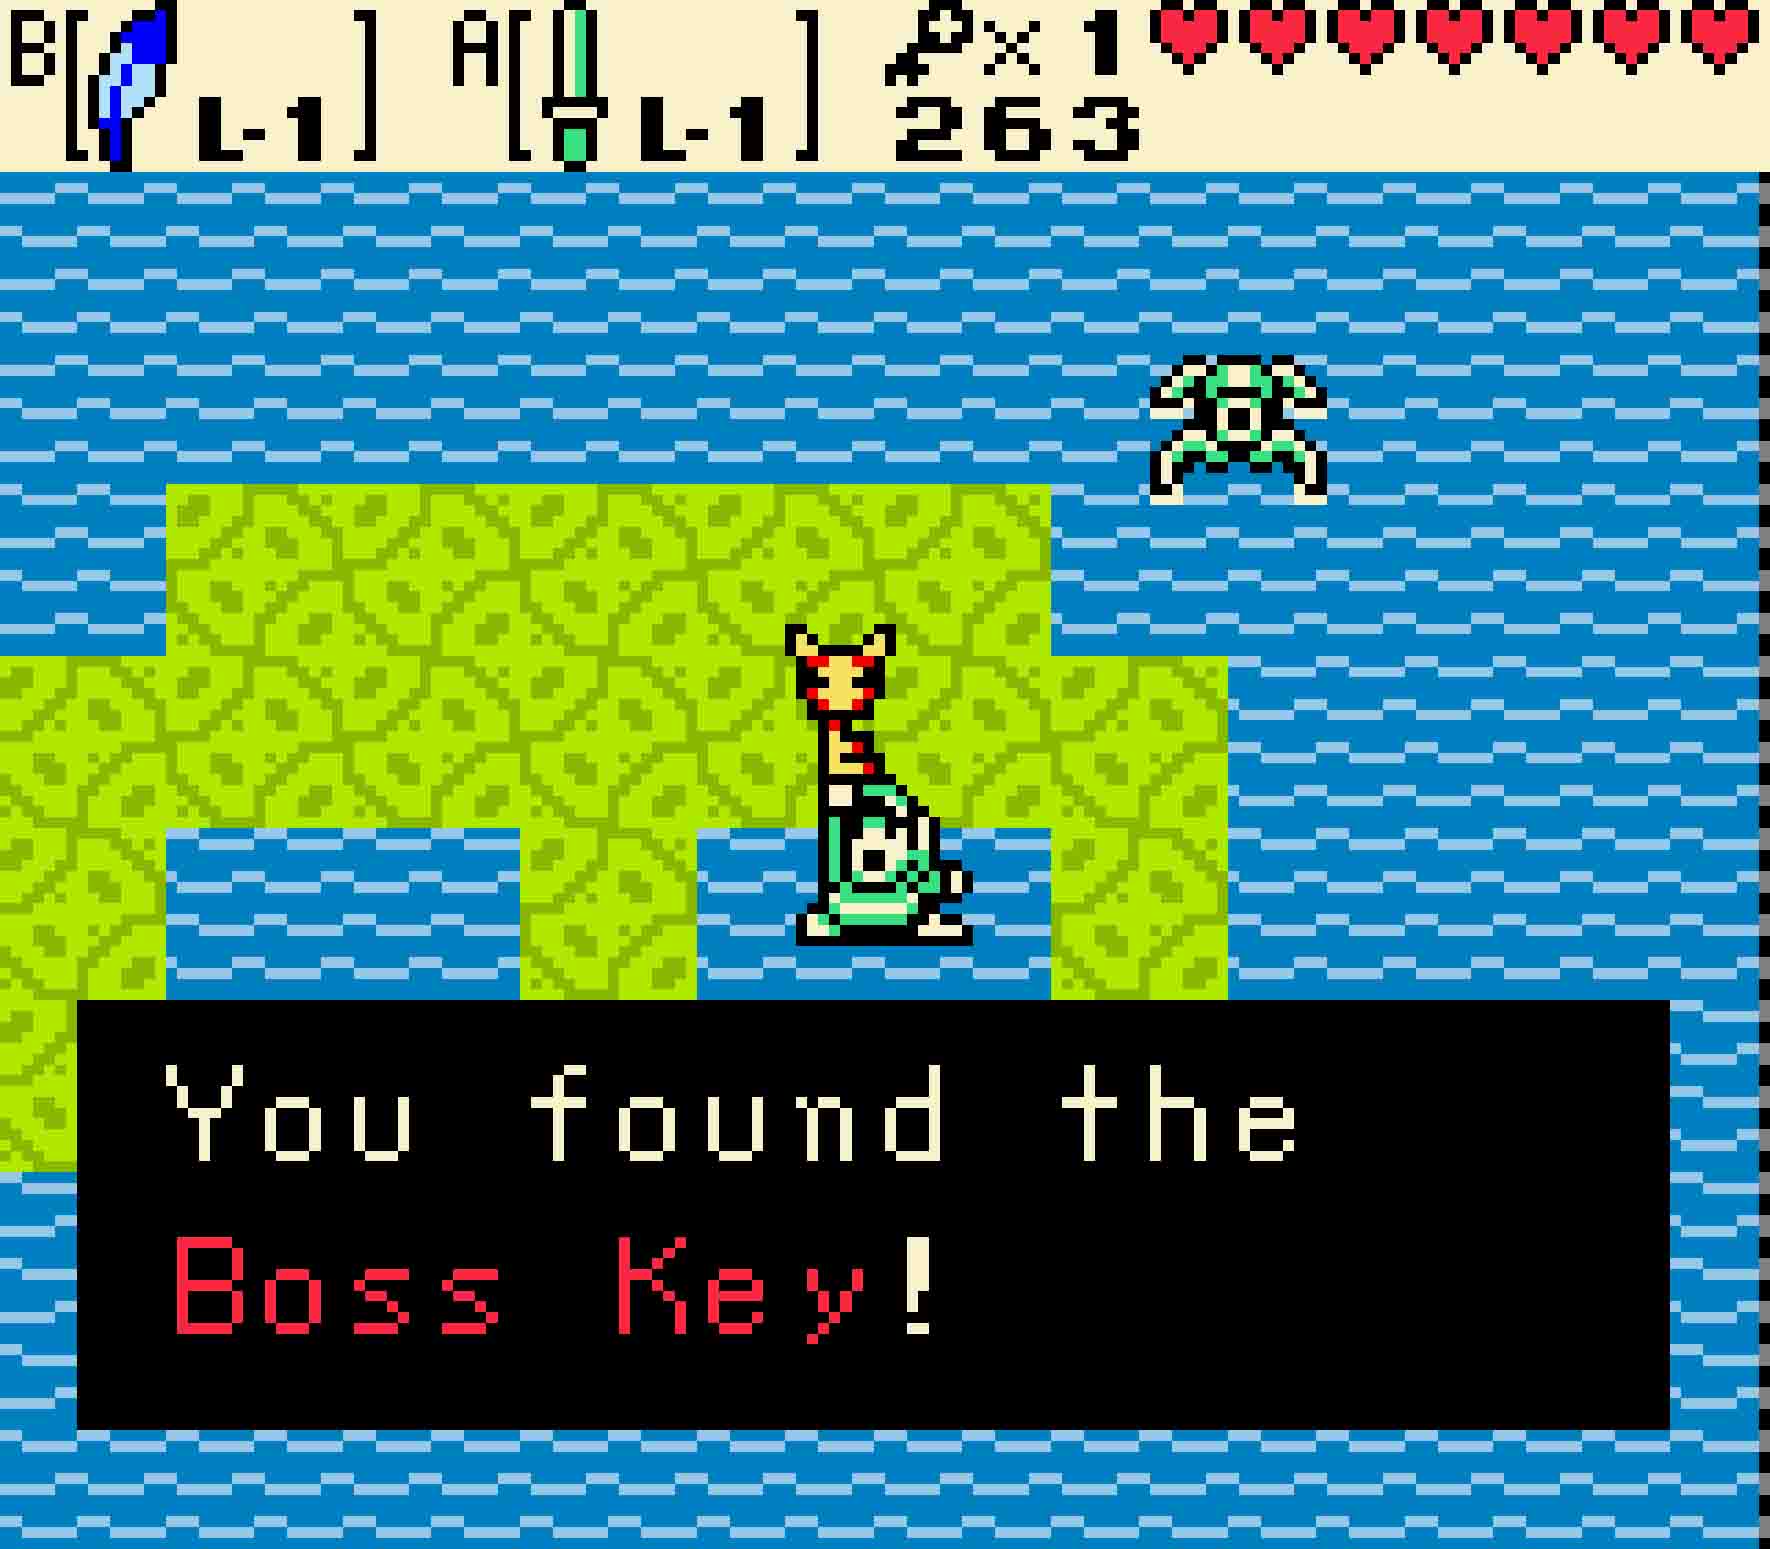
You’ll find the Boss Key deep within the right eye of the skull.
11.10 Reach the boss’ chambers
There’s only one last stretch to the dungeon, and you’ll need to backtrack a bit to get it. Head south out of the room, and then use another Pegasus Seed to jump over the gaps in the floor. Head west and south to reach the minecart, and then ride it all the way back to its original origin. If the Stalfos have respawned in this room, kill them, and then equip your Roc’s Feather and your Slingshot associated with any type of seed.
-
- You can hit this switch earlier, but you’ll eventually need the Boss Key along this path.
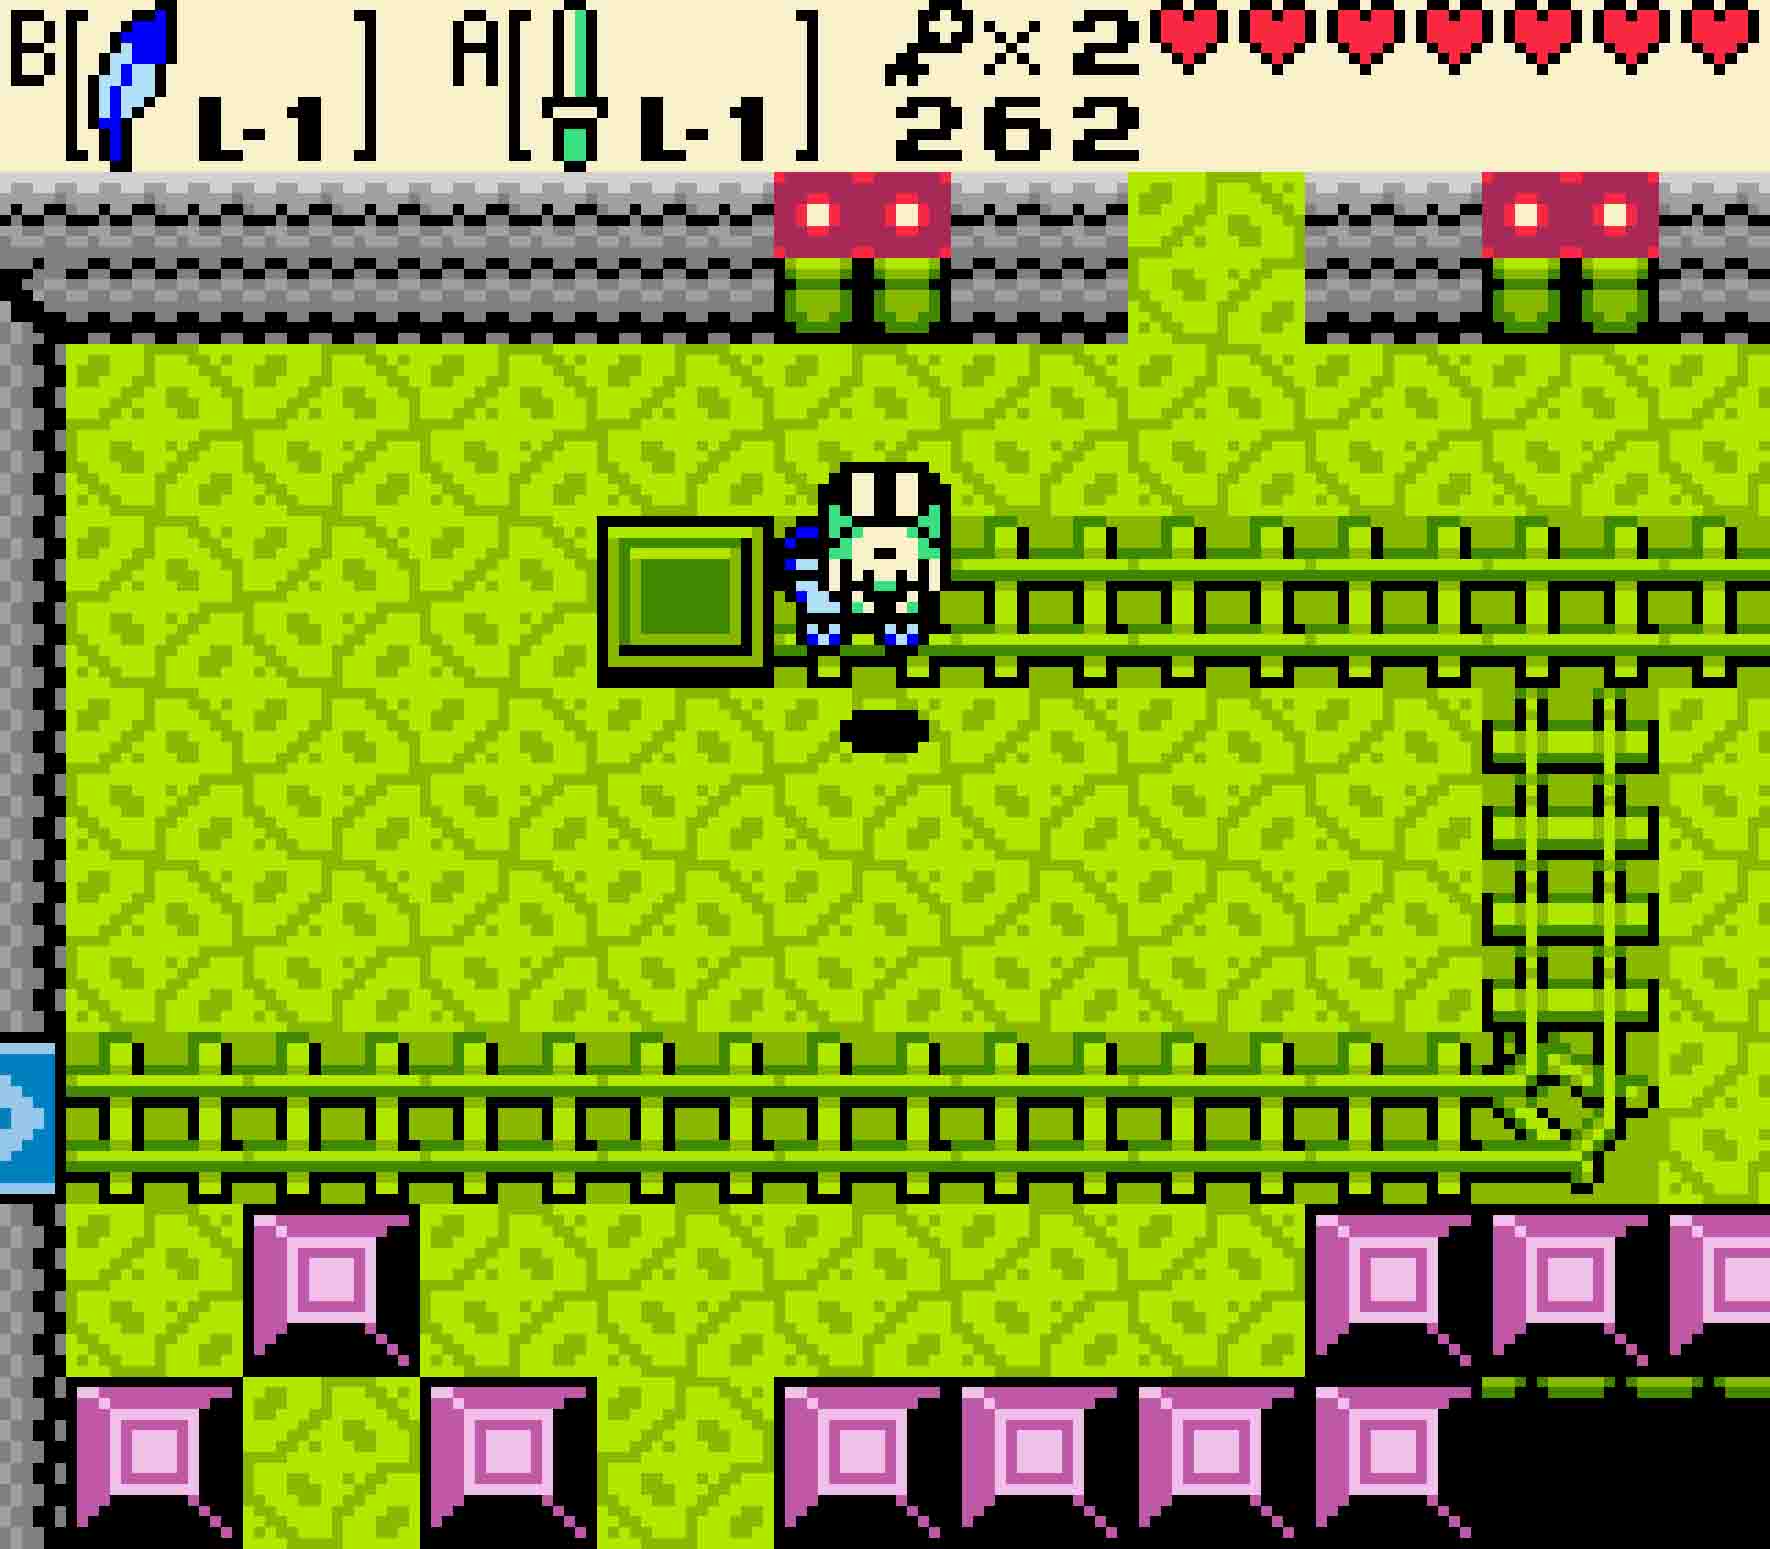
At the bottom of the room, you’ll find a green Bladed Trap. These are medium-velocity Traps, but you still need to be on your toes. This Trap will cross the entirety of the horizontal space allotted to it. However, the only place that you can hit the switch within the great chasm is that very horizontal space the Bladed Trap guards. Spring the Trap by getting close, wait for it to hit the end, and then enter its domain. Use Roc’s Feather to jump over it; then, fire a Seed to the right to hit the switch. You might need to jump over it on the way back as well. Get out, and notice that the minecart, should you jump in it, will ultimately head west. Do so, and enter the western room.
Here you’ll meet another sort of Wizzrobe, the red sort. These red wizards are similar to their green counterparts, but they differ in that they don’t always reappear in the same spot; instead they will randomly warp around the room. Kill all of them, and that will unseal the door in the north of the room. Head on through.
You’ll immediately enter a world of trouble. There’s a Beamos in the center of the room, and it’s line of sight covers the entire section of the room you’re standing in. There are also red Zols in the room which, when defeated, produce Gels. Don’t let the Gels on you as this will make you extra susceptible to the Beamos. Make your way through the room so you can unlock the block and get out of the line of fire and, ultimately, down a staircase.
-

- Red Wizzrobes, unlike their green counterparts, don’t stay in one spot.
-
- The Beamos here has full access to the whole room, so be careful.
You’ll now be in the dungeon’s basement. Dispatch the Anti-fairy with your Boomerang, and kill the green Wizzrobes with your sword. Walk up to the edge of the chasm to find two unlit torches on the other side. Fire Ember Seeds out of your Slingshot to light them and cause a bridge to appear. Cross the bridge and head east.
The next room is simply full of pots. There aren’t any enemies here, but this is your chance to refill anything you need before the final boss. Once you’re done, proceed north.
The last room before the boss is easy, though it’s a little annoying. There is a very fast moving platform that will dance about the room before taking you to the boss door in the upper-right corner. The downside is that there are some Keese in the room, and you can’t really control what they do or where they go. Stand on the platform, and say a little prayer as it spins you about the room. Once it pauses ever so briefly in the upper-right, step off and unlock the Boss Door.
-

- Light these two torches with the Slingshot to extend the bridge.
-
- Watch out for the Keese on this fast-moving platform.
11.11 Defeat Gohma
Be careful of Gohma’s claw; it will rush at you and try to grab you.
Walk into the boss room, and eventually Gohma will drop into the center of it. To be fair, Gohma can be somewhat treacherous, but Gohma is a boss about simple patterns and simple reactions so that, eventually, you will completely understand what the boss is all about.
Gohma only has two real components: its eye and its claw. Its eye, as with most eyes in Zelda, is the vulnerable part. Its claw is the thing that will hurt you. Gohma will mostly walk up and down repeatedly, but if you stand too close directly in front of it, it will throw up its claw and dash at you. If it catches you in its claw, it will hurl you into the ground and do a fair bit of damage.
The claw actually can be simply destroyed with the sword, but destroying the claw isn’t required to defeat the boss. It will make it much easier, of course, but destroying the claw will cause it to spawn several helper minions, though these will prove a help instead of a hindrance as they’ll restore your Seed Satchel mid-fight.
Unless you kill Gohma’s claw, you’ll be hard-pressed to hit Gohma’s eye. But it can be done.
However, if you don’t destroy the claw, Gohma will retrain a great deal of predictability; you just simply have to be quick with your reflexes. Equip your Roc’s Feather and your Slingshot. Wait in a position that will cause Gohma to come near you. Once it sees you and tosses its claw out of the way, quickly fire your Slingshot into its open eye. Then immediately afterwards, jump out of the way with your Roc’s Feather. To completely dodge the attack, you will need to jump backwards and left or backwards and right, typically. It takes about 18 Seeds in the eye to destroy Gohma, but you can use any seed type.
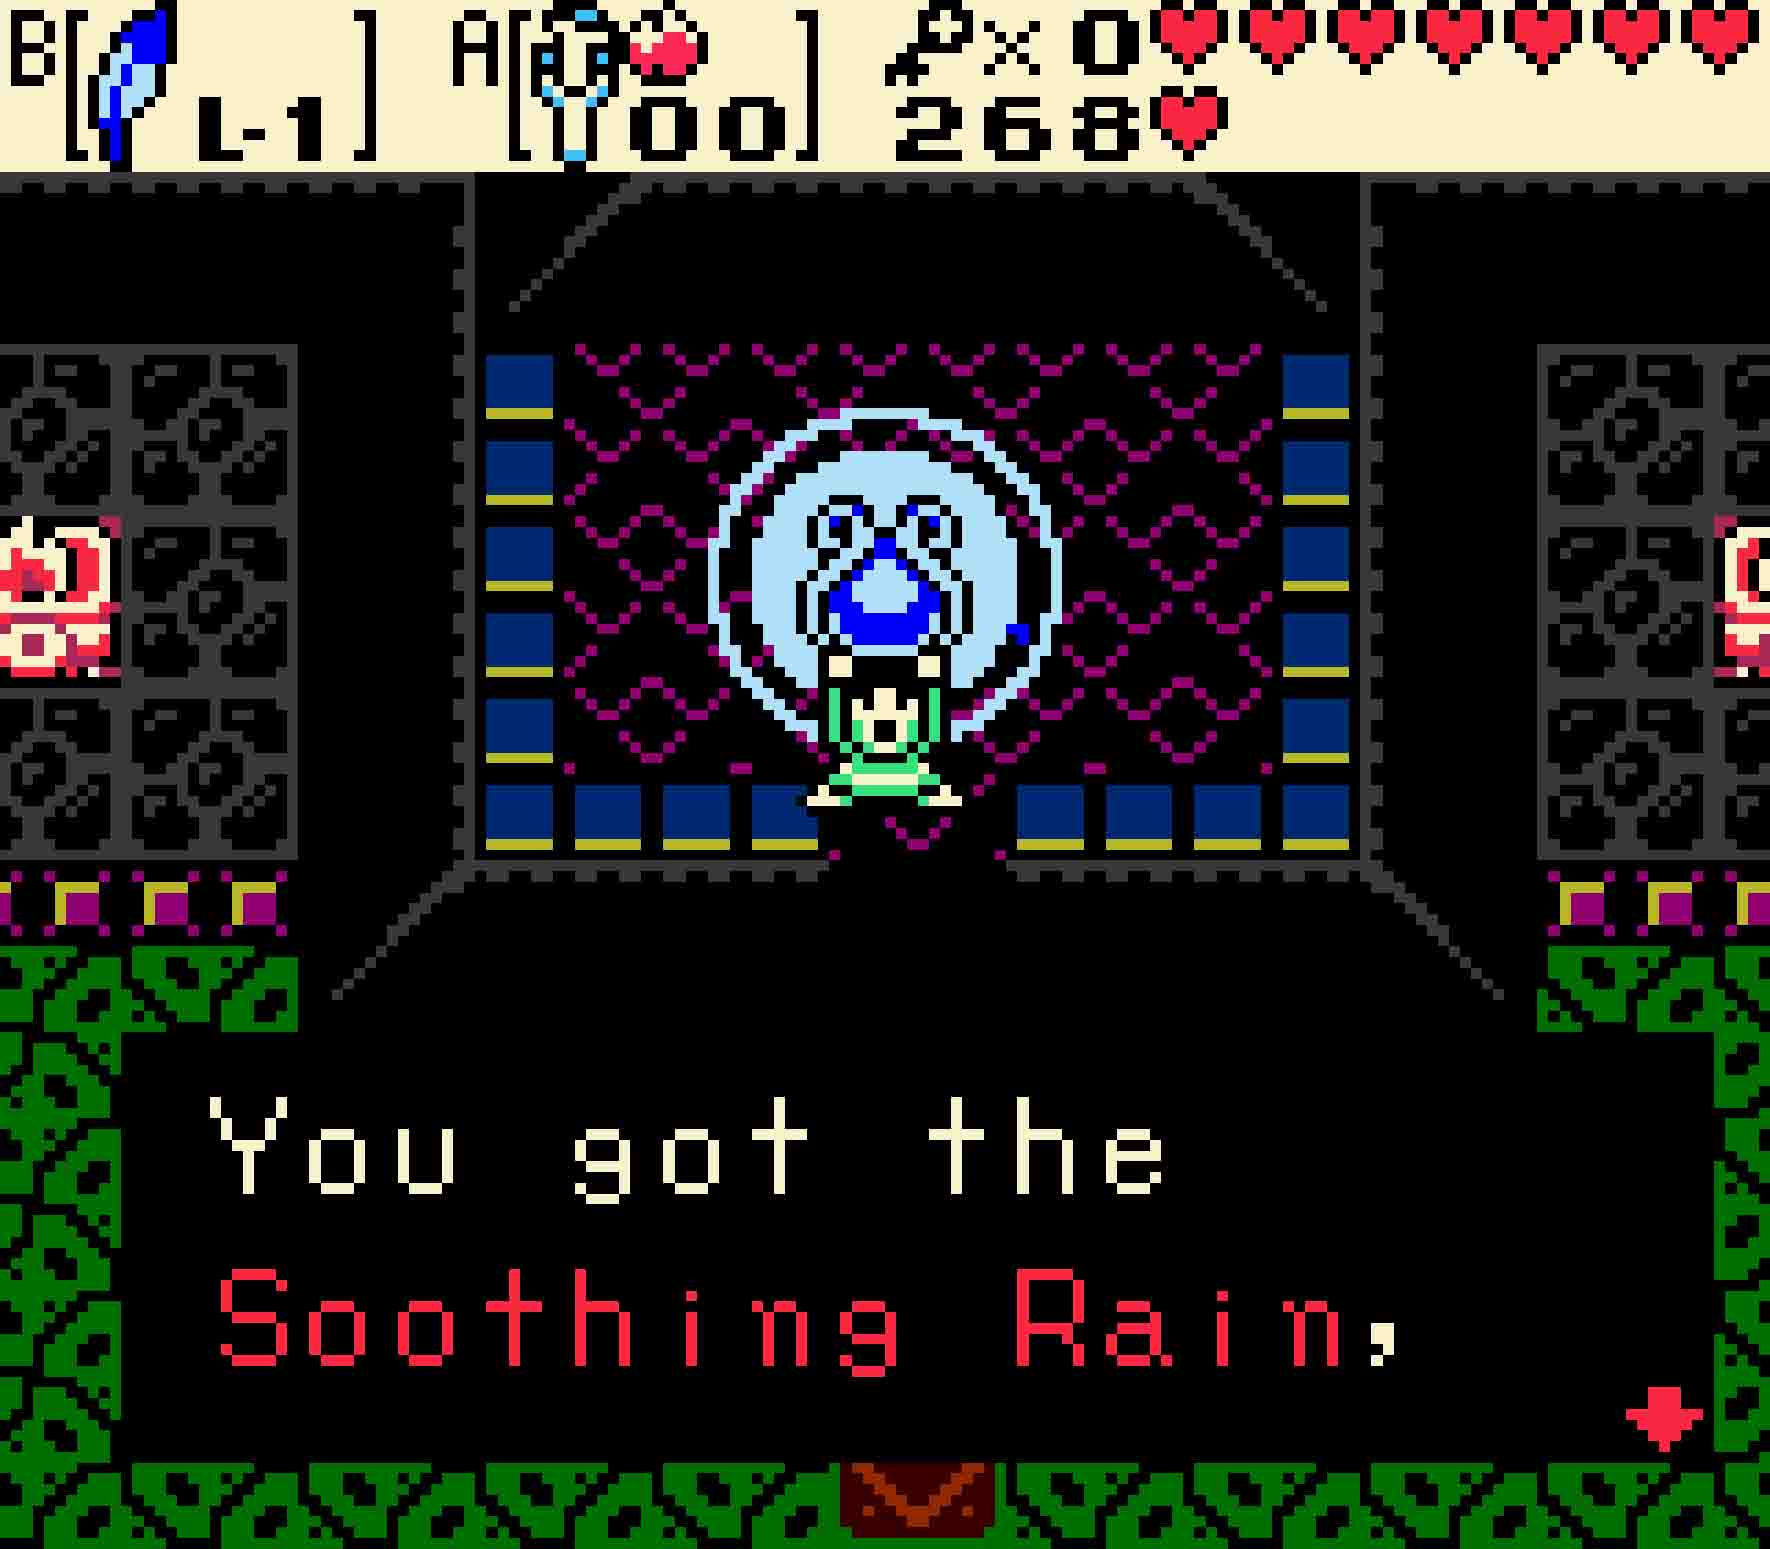
Once it’s destroyed, you’ll pick up another Heart Container and eventually the Soothing Rain, the fourth Essence of Nature, from the room to the east.