


Chapter 10: Tower of Spring & Mt. Cucco
- 10.1 Recover your Roc’s Feather
- 10.2 Gain the power of spring
- 10.3 Feed Moosh the Spring Banana
- 10.4 Grab the Dragon Key
- 10.5 Open the fourth dungeon
10.1 Recover your Roc’s Feather
You’ll arrive in Subrosia upon a little island. First thing’s first is to jump over the lava river onto the main body of land.
And then all the trouble begins.
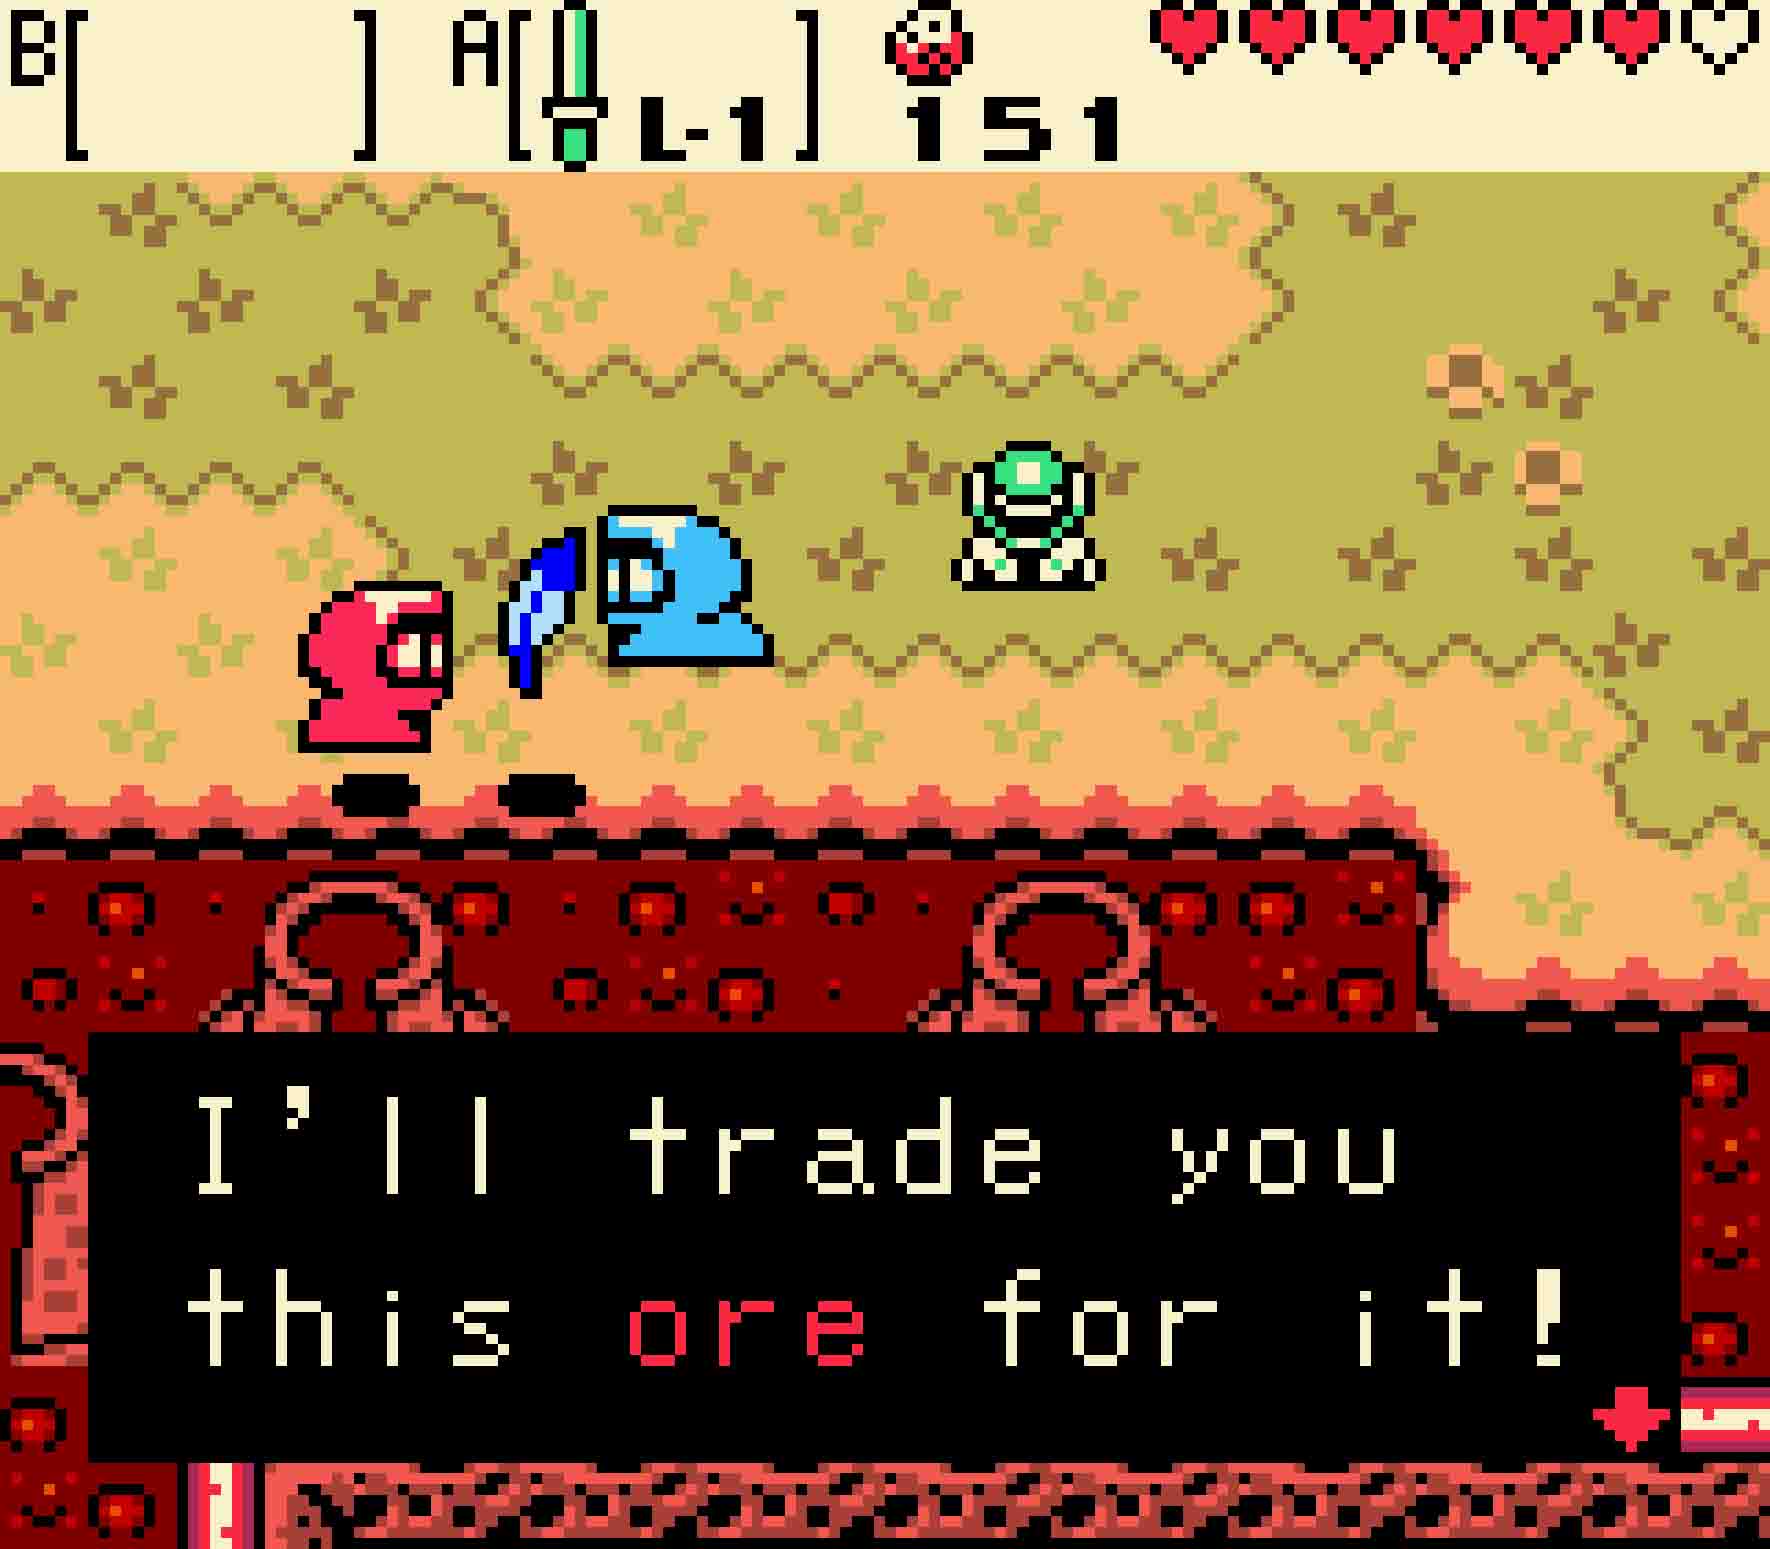
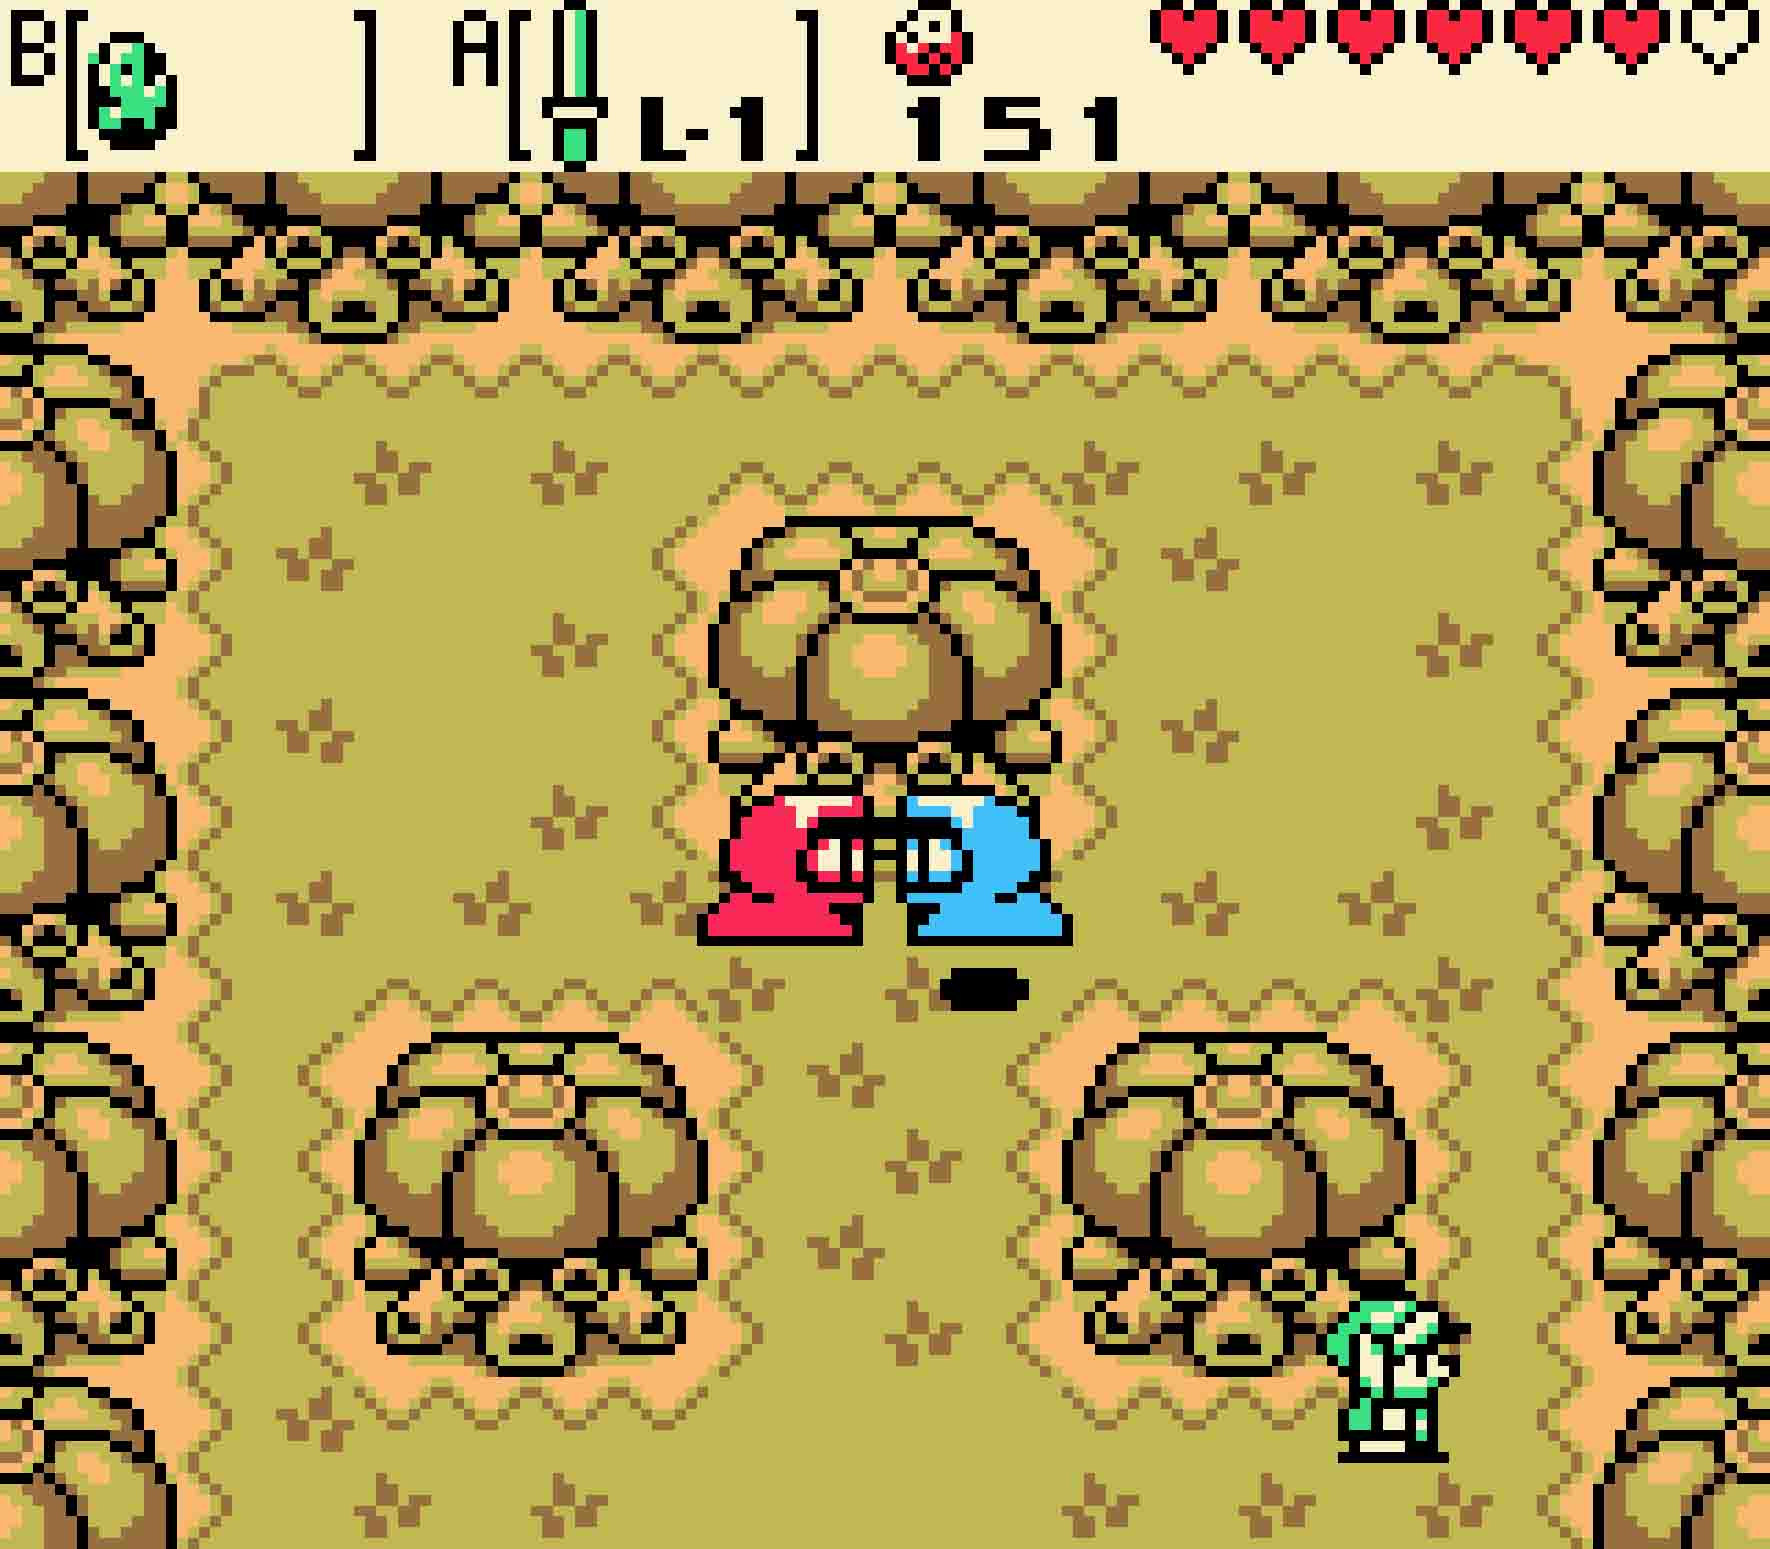
Two Subrosians will bump into you, and in so doing you’ll drop your Roc’s Feather. They’ll swipe it in hopes of adding it to their weird stuff collection, but you need that to access the next tower in the Temple of Seasons. You’re just going to have to get it back.
Follow them west two screens. You’ll come to a house at the edge of the screen. Enter inside, and you’ll immediately see the two rude Subrosians from before. They’re planning on burying your Feather in secret, so you need to make sure you know where it’s planted. They’ll dash off to the left, so follow them, exiting the house using the other door.
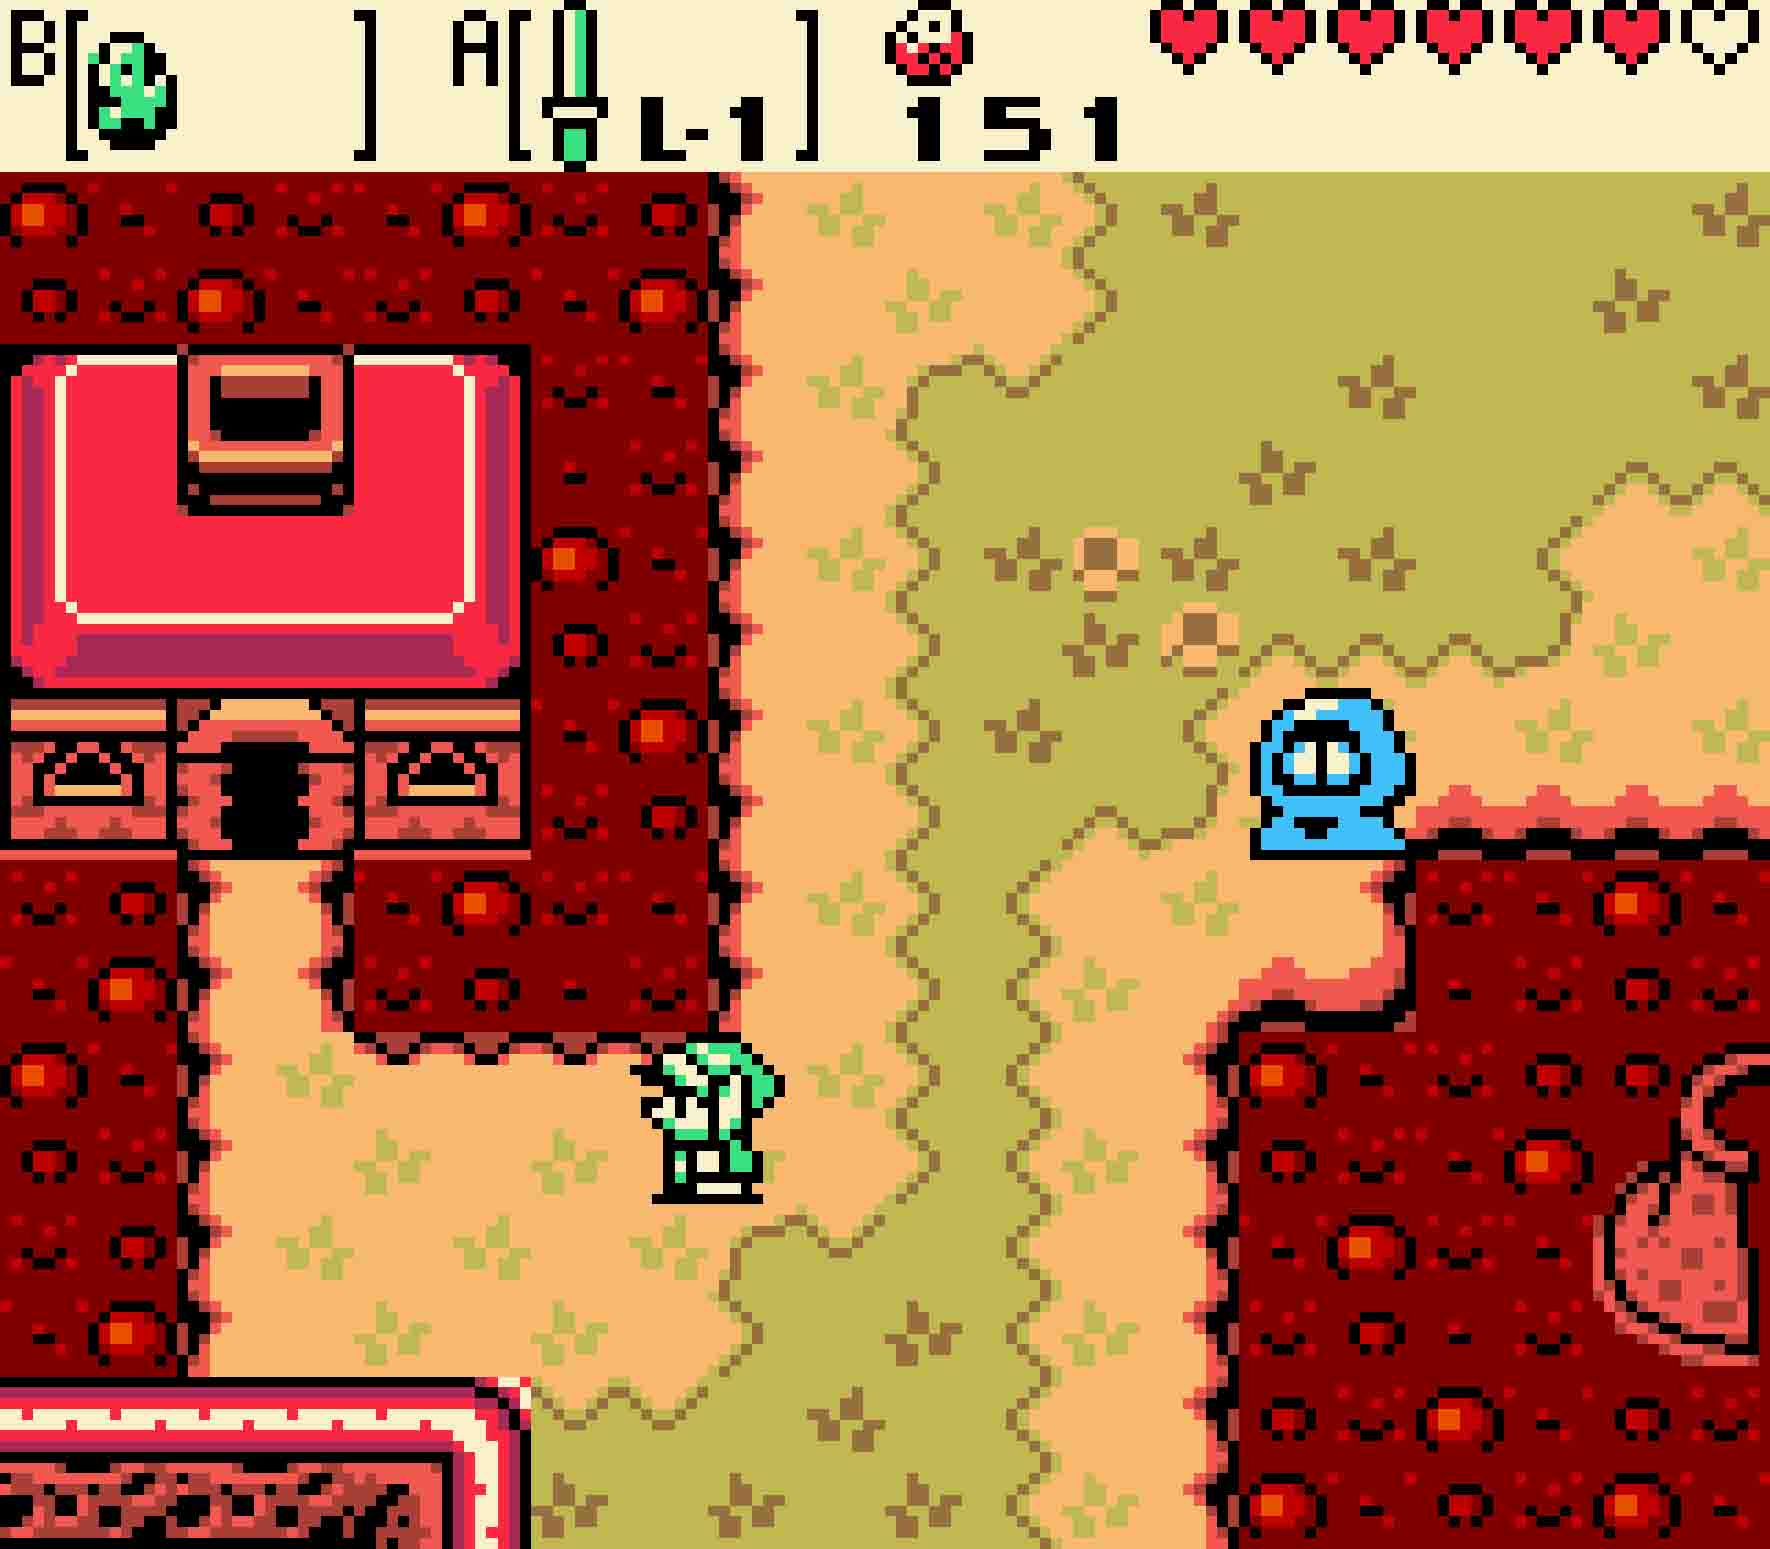
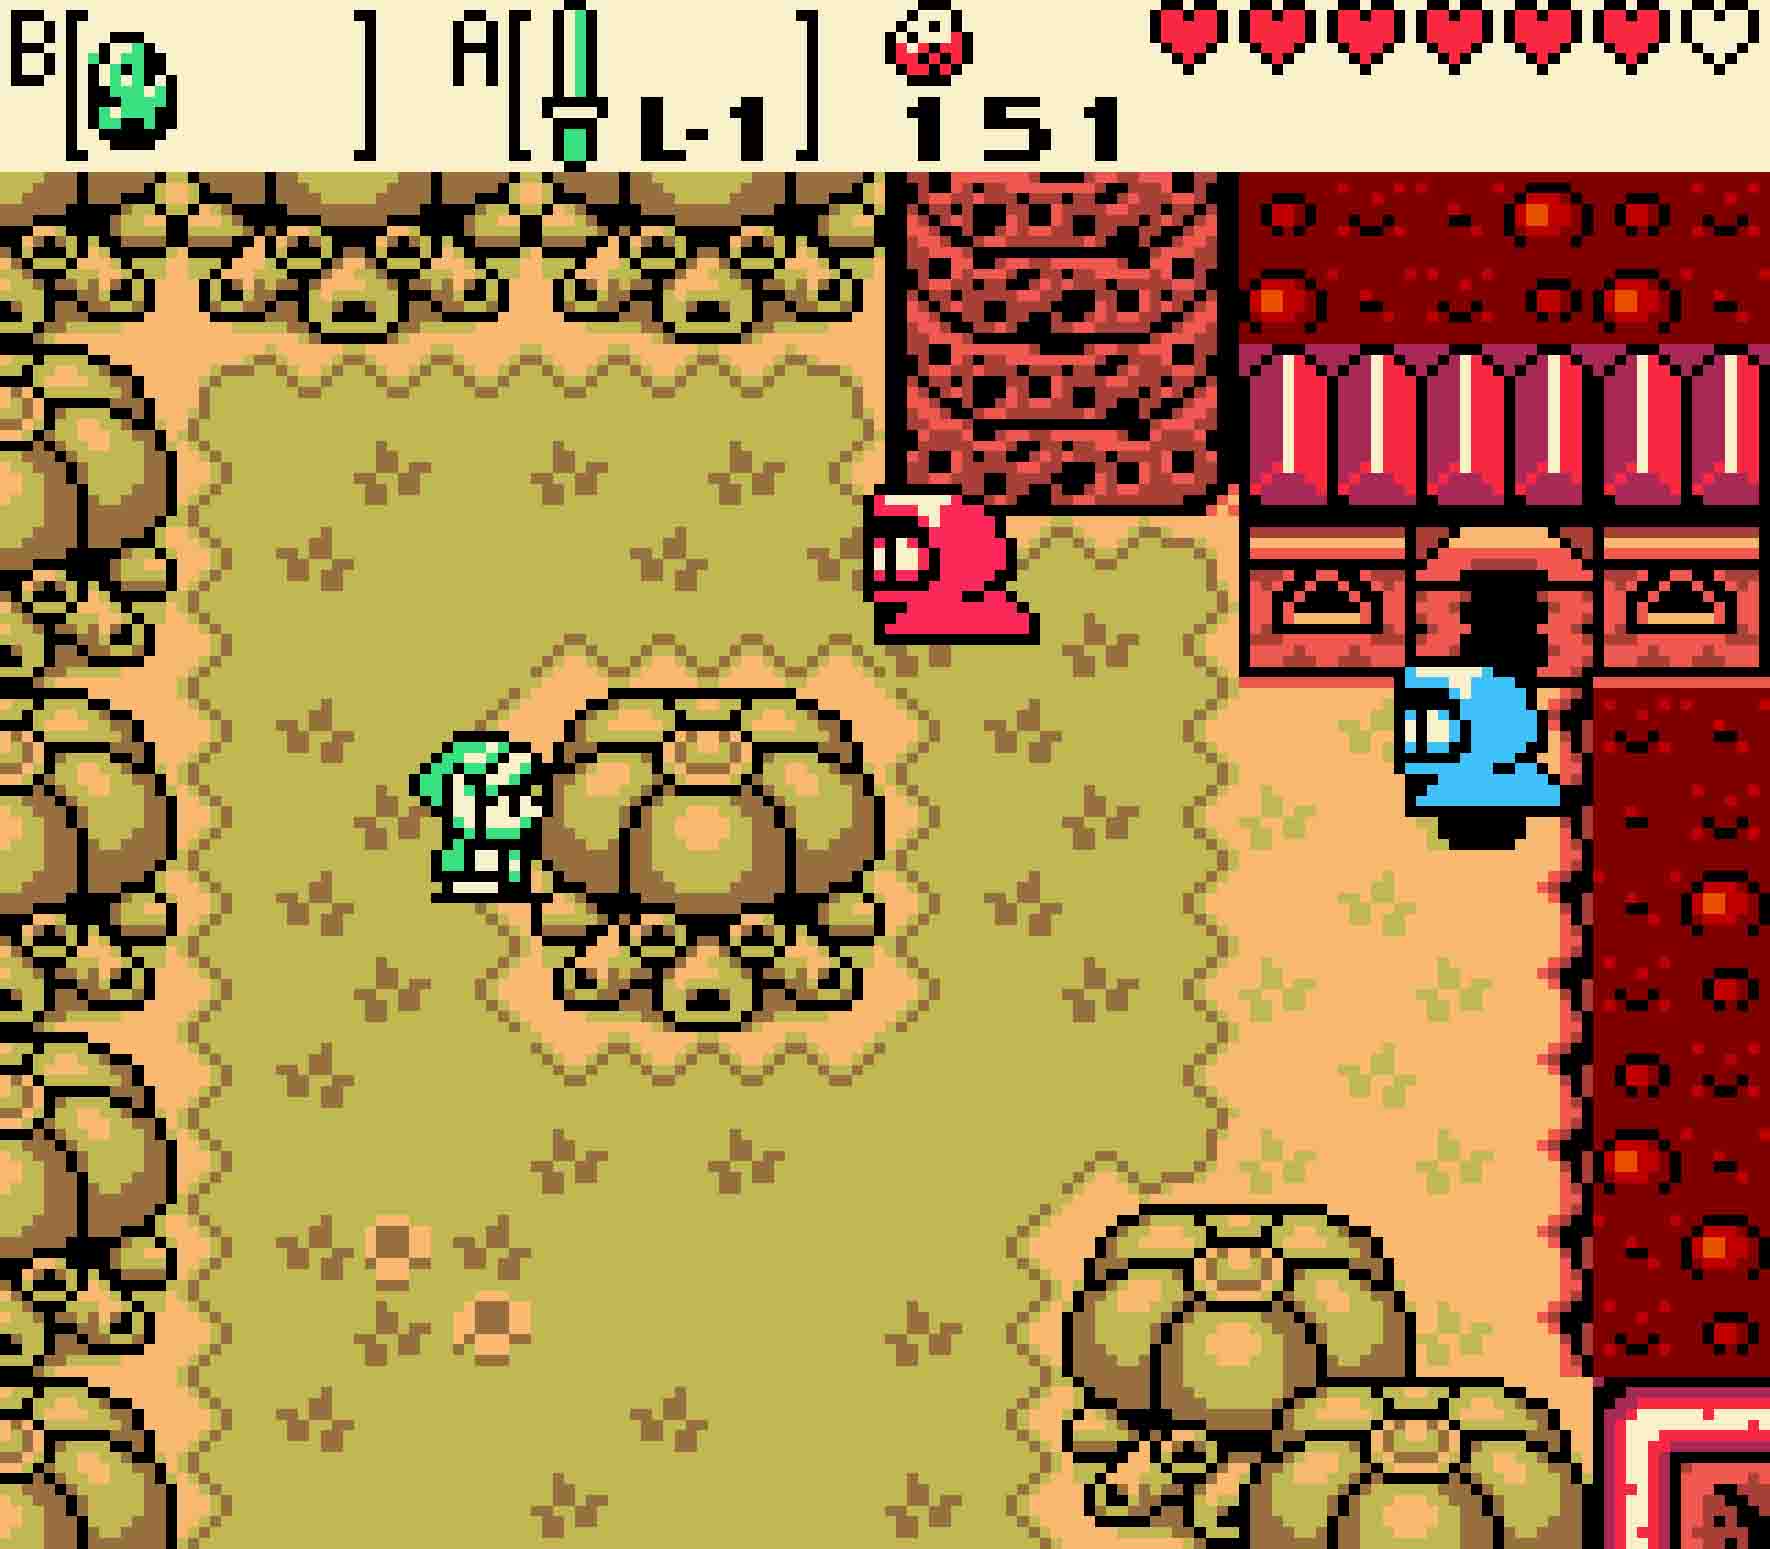
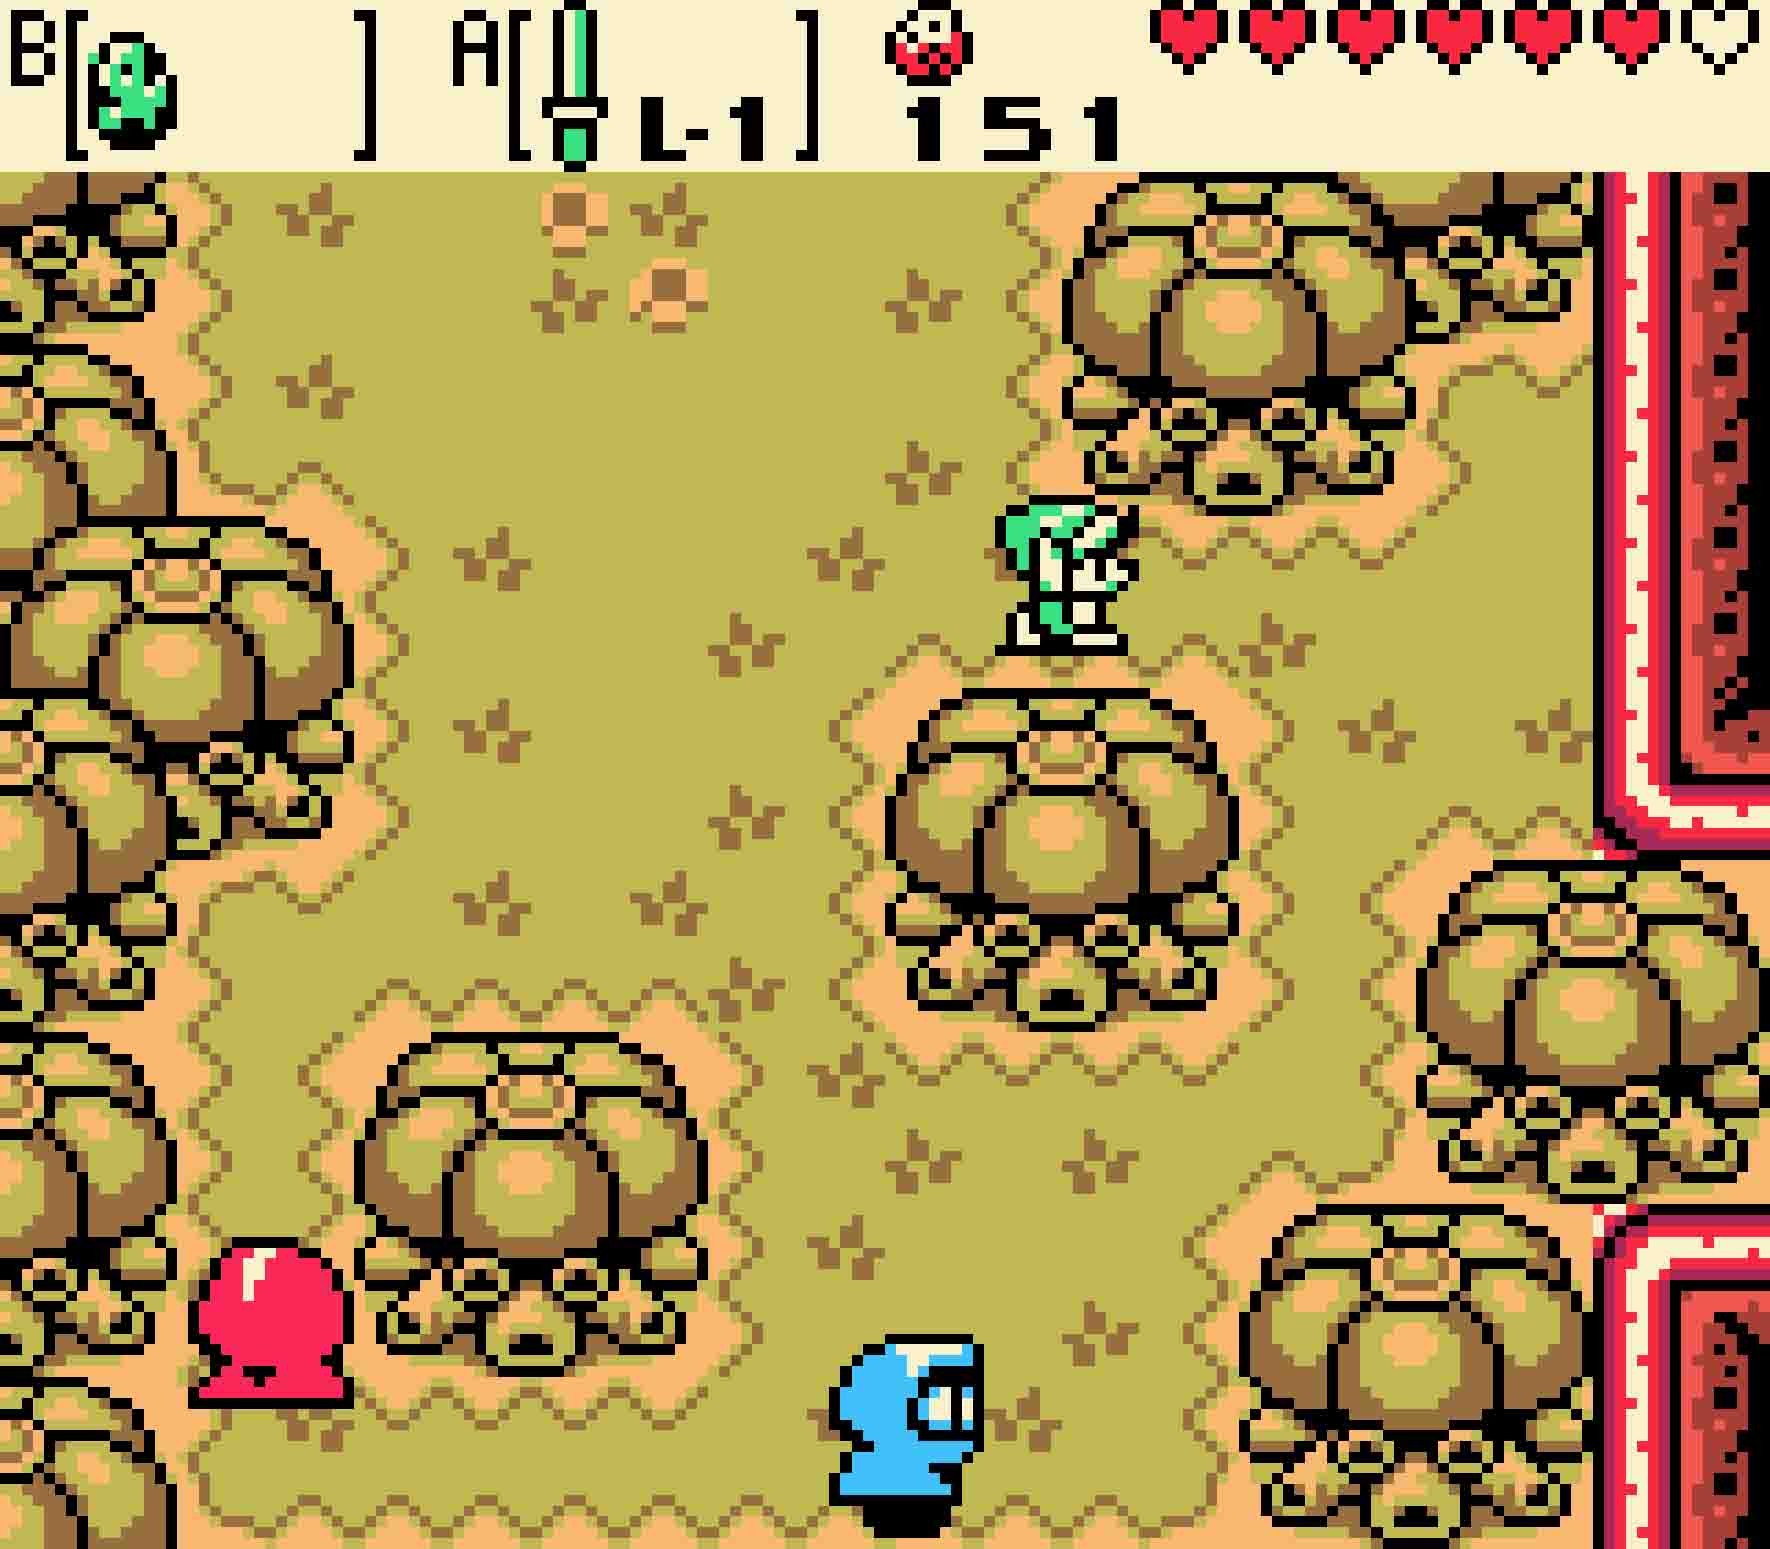
And thus it’s time to once again play the hide-and-seek game that you once played with Rosa. Just like last time, these two Subrosians will meander about each screen in semi-predictable (though this time entirely deterministic) patterns, and your job is to stay out of sight. Subrosians only ever see things in a straight line, and even then only in the direction that they’re facing. Even with two of them here, very often these two will either stick together, leave large vacant spaces open, or separate completely as one bounds off ahead. Each of the (count them) six upcoming screens is more or less the same in principle: The secret to winning, of course, is to use the trees in this area as cover. Always be near one of the trees or other 2×2 blocks of obstacles as this gives you the most potential to find spaces where these Subrosians can’t see. Remember, you can’t lead; you have to wait for both Subrosians to leave before you can follow.
Following the Subrosians
Step One You’ll generally want to hang around the lone tree towards the upper-left of the screen. The Subrosians will be making their way clockwise around it. Follow around the tree until both Subrosians make their way south.
Step Two The easiest way to dodge the Subrosians in the second area is to hide. There’s a little alcove in the upper-right of the screen that will be out of all the lines of sight the Subrosians will try. However, if you want to be more adventurous and practice being a ninja, use the rightmost of the two lone trees.
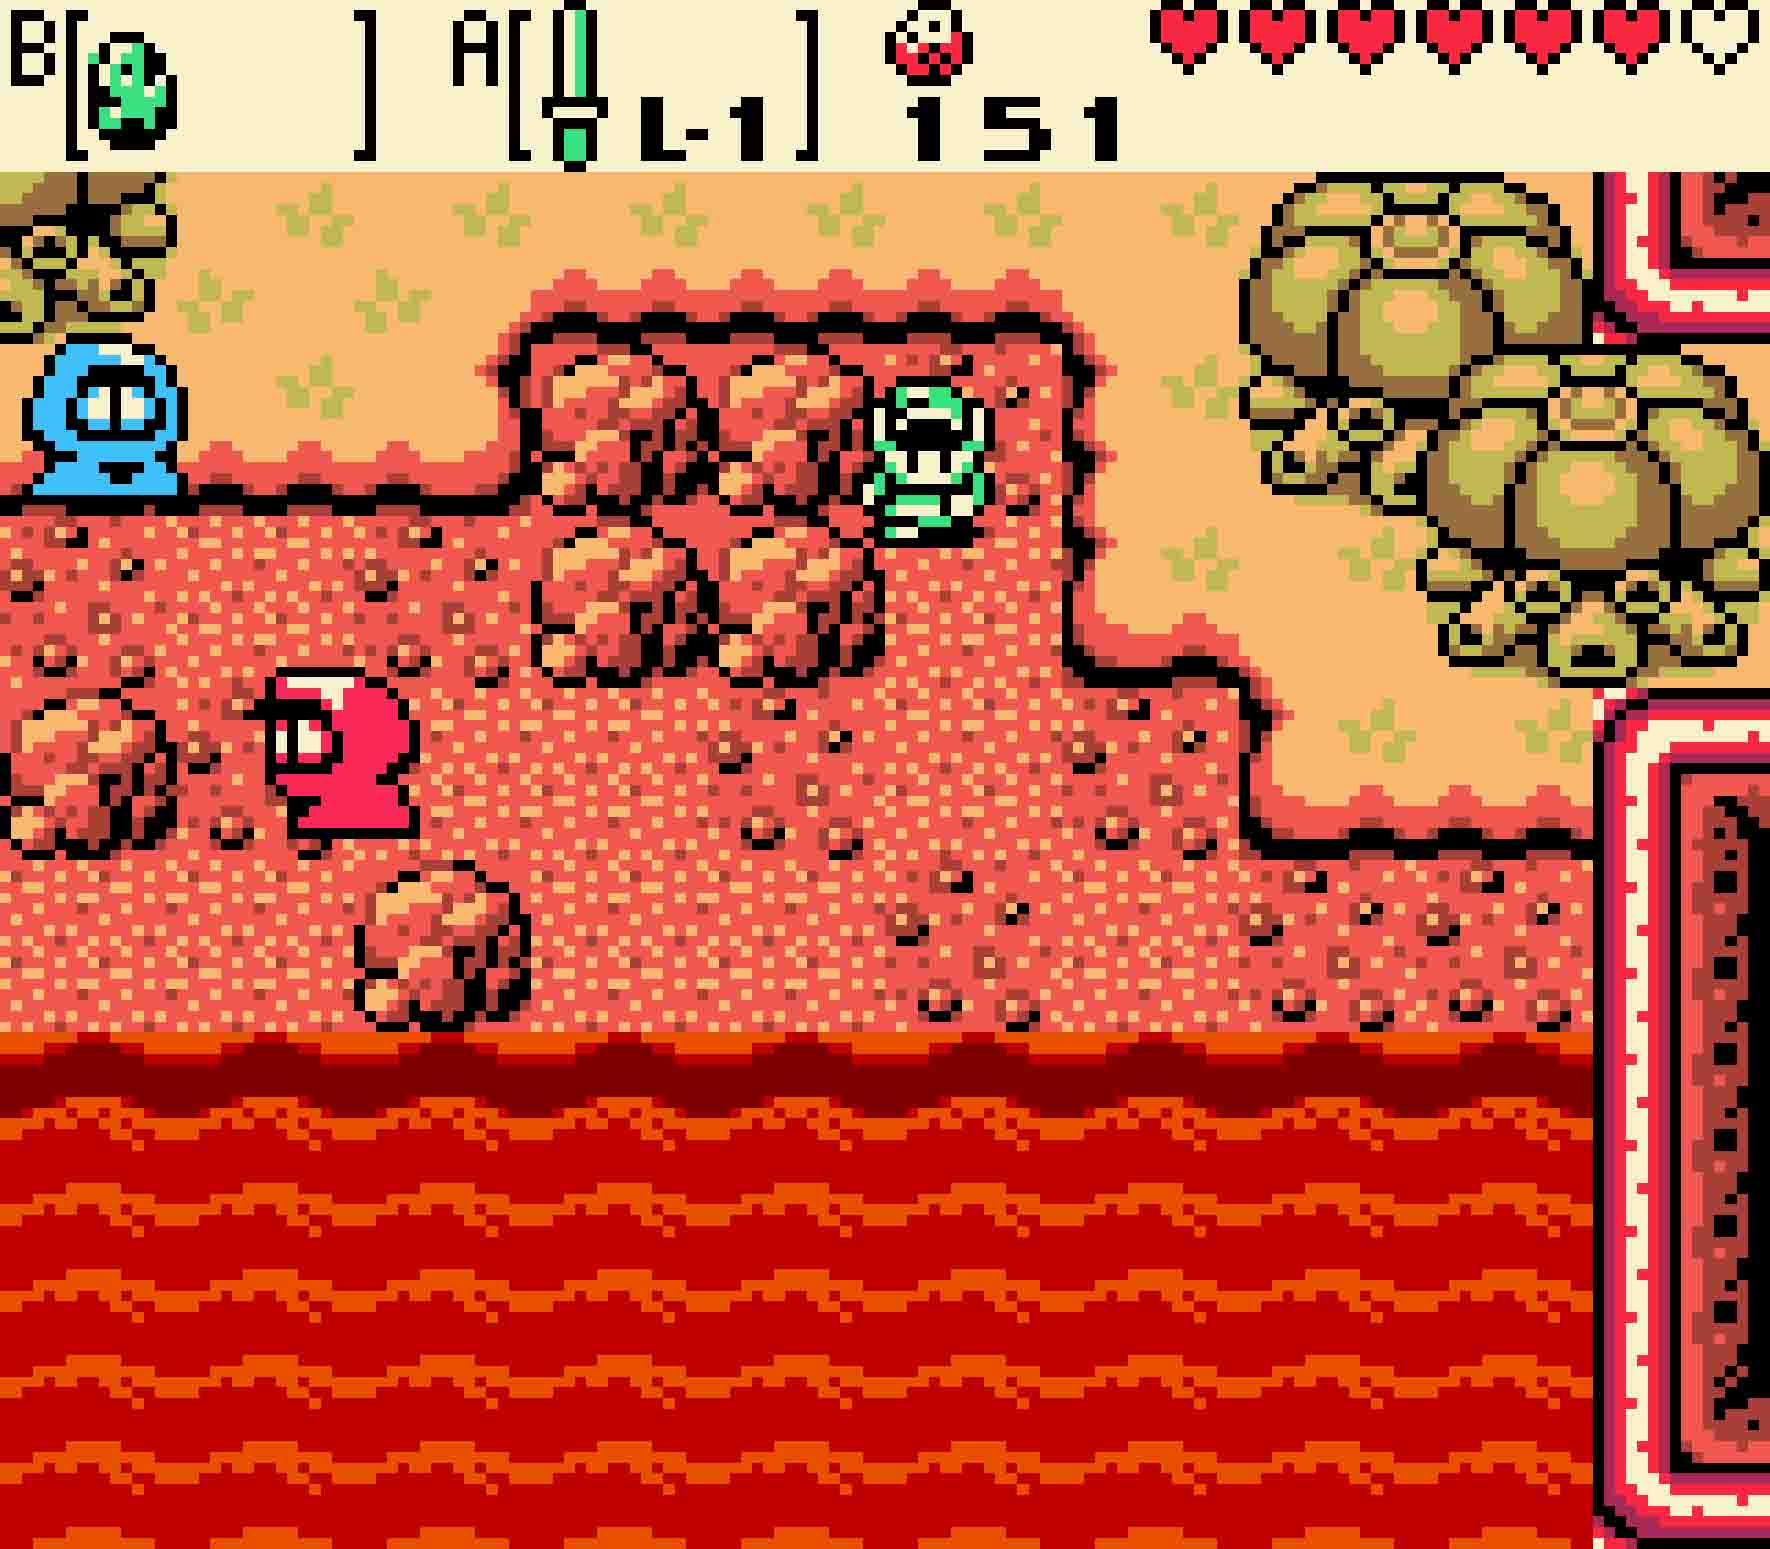
Step Three This screen will feel like close quarters as there’s not a lot of maneuverability here. However, it’s actually similar than it seems. For the most part, stick to the right of the 2×2 block of rocks. The red Subrosian — who feels awfully close — will remain where he is for a bit before just waltzing off the screen. Only then do you need to worry about the blue one, and then you’ll just dance around the rocks as you wait for him to leave as well.
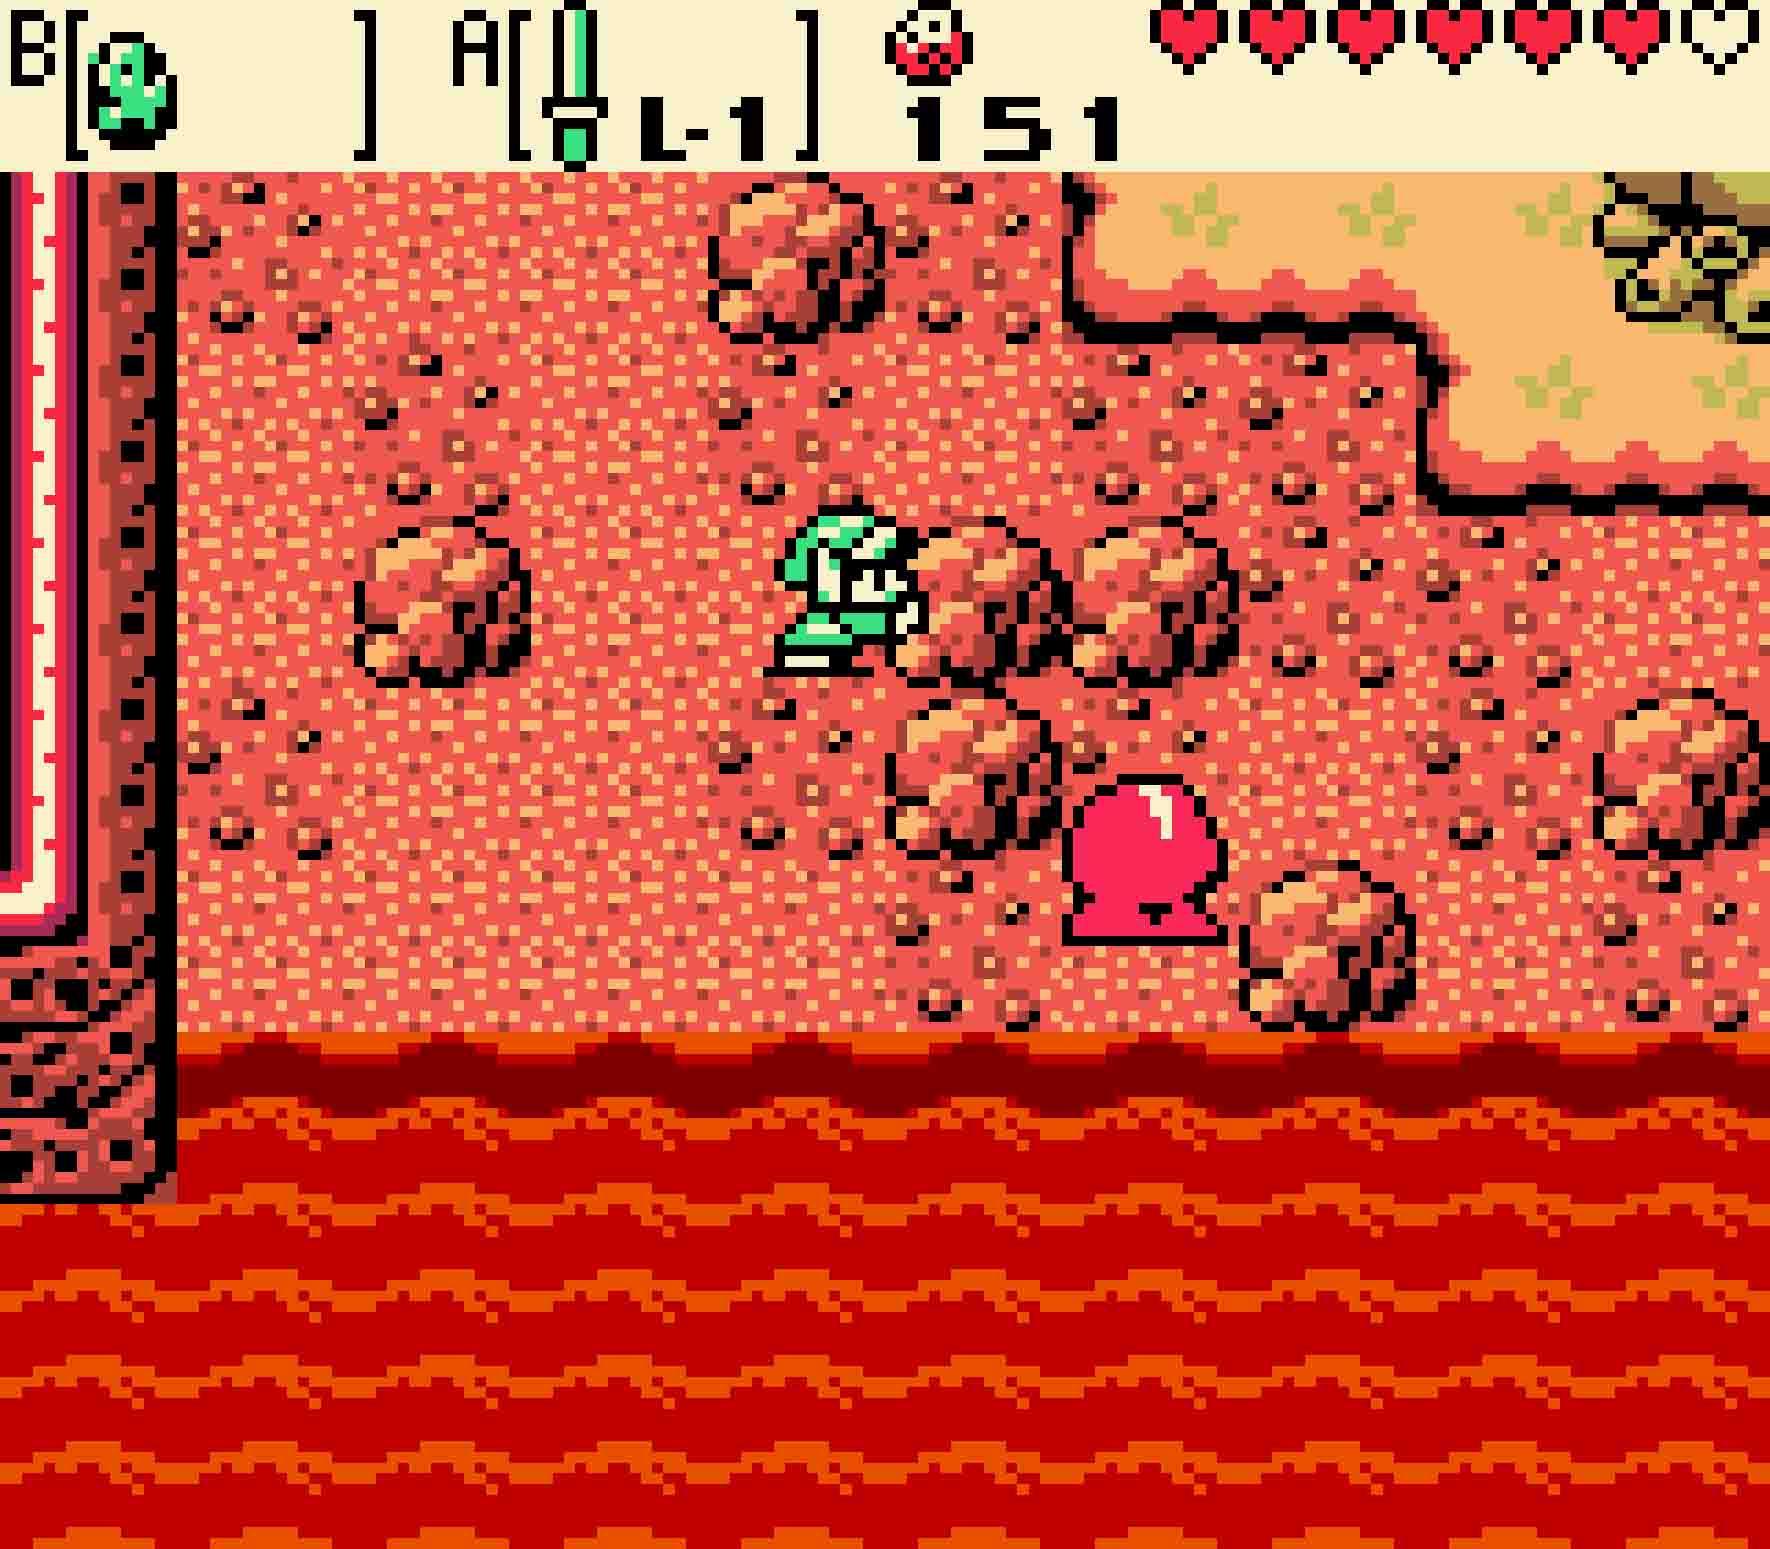
Step Four Again, maneuverability is rather limited on this screen; your main hiding obstacle will be the lowercase-R shaped trio of rocks in the middle of the room. The blue Subrosian will leave rather quickly, meaning you just have to keep the red one out of sight and out of mind. When you finally head north, do so along the left edge of the screen.
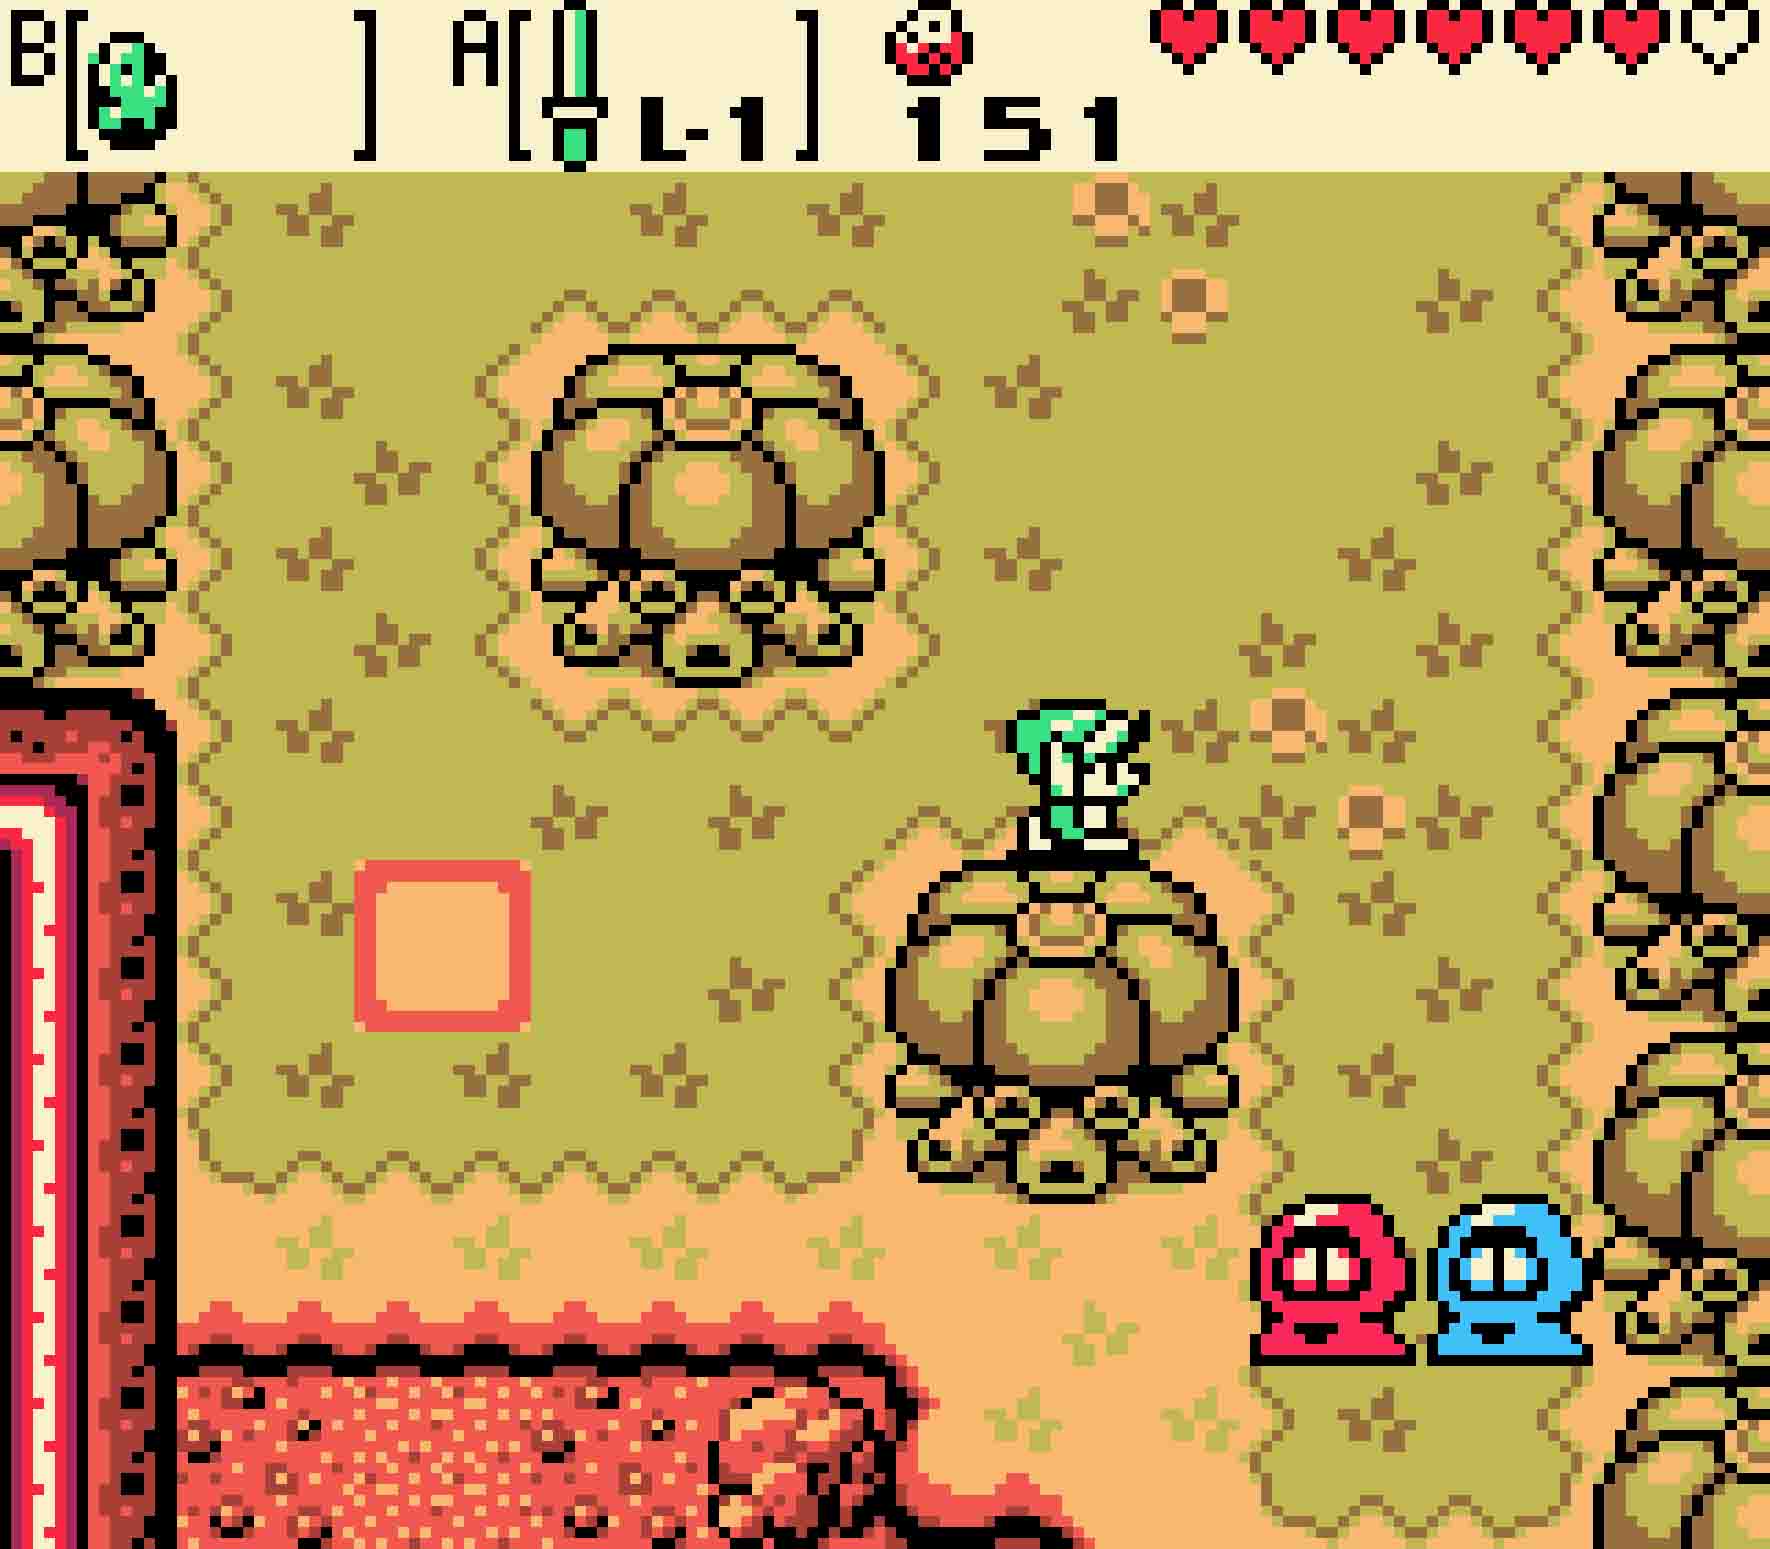
Step Five The Subrosians will start in the upper-right corner. The easiest place to dodge them is by weaving around the lower-right tree. The two Subrosians will separate this time, each one covering unique lines of sight, so be careful and don’t jump out of hiding too quickly as one will linger back after a few moves. Head north in the center of the screen.
Step Six This is by far the trickiest of the rooms. The two Subrosians start to split up, and at first it will appear there’s nowhere to hide. Stand on the south side of the lower-right tree; these guys will eventually come to the middle, and that’s your chance to sneak around the outside. From this point, you should have ample hiding space available to you until they leave.
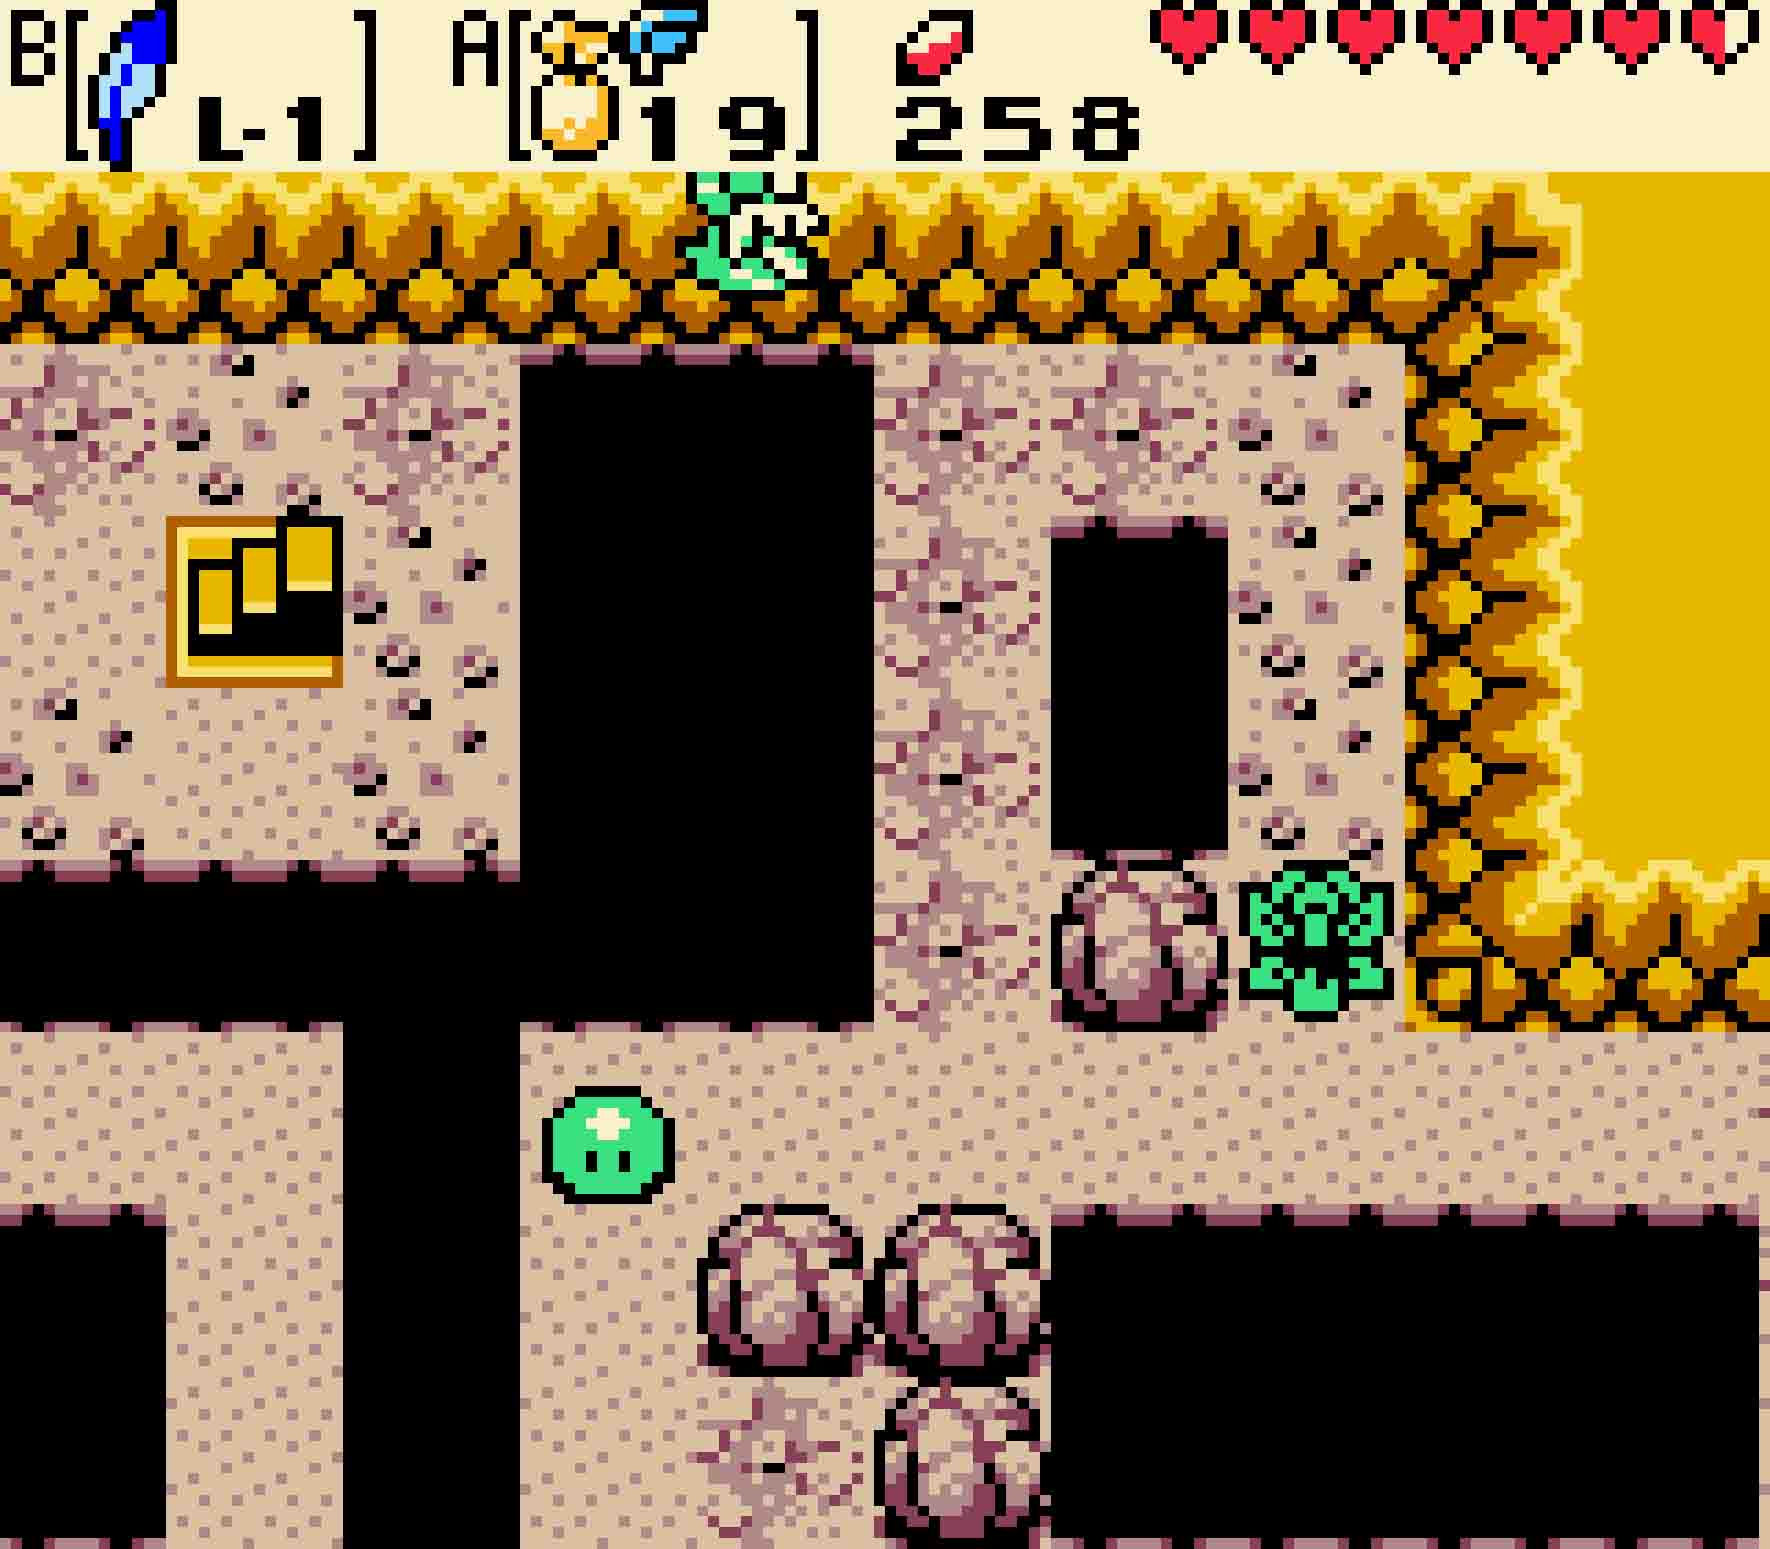
Once you head back south, they’ll bury the Roc’s Feather in a rather predictable spot of soil. Once they leave, use your Shovel to scoop it back up.
10.2 Gain the power of spring
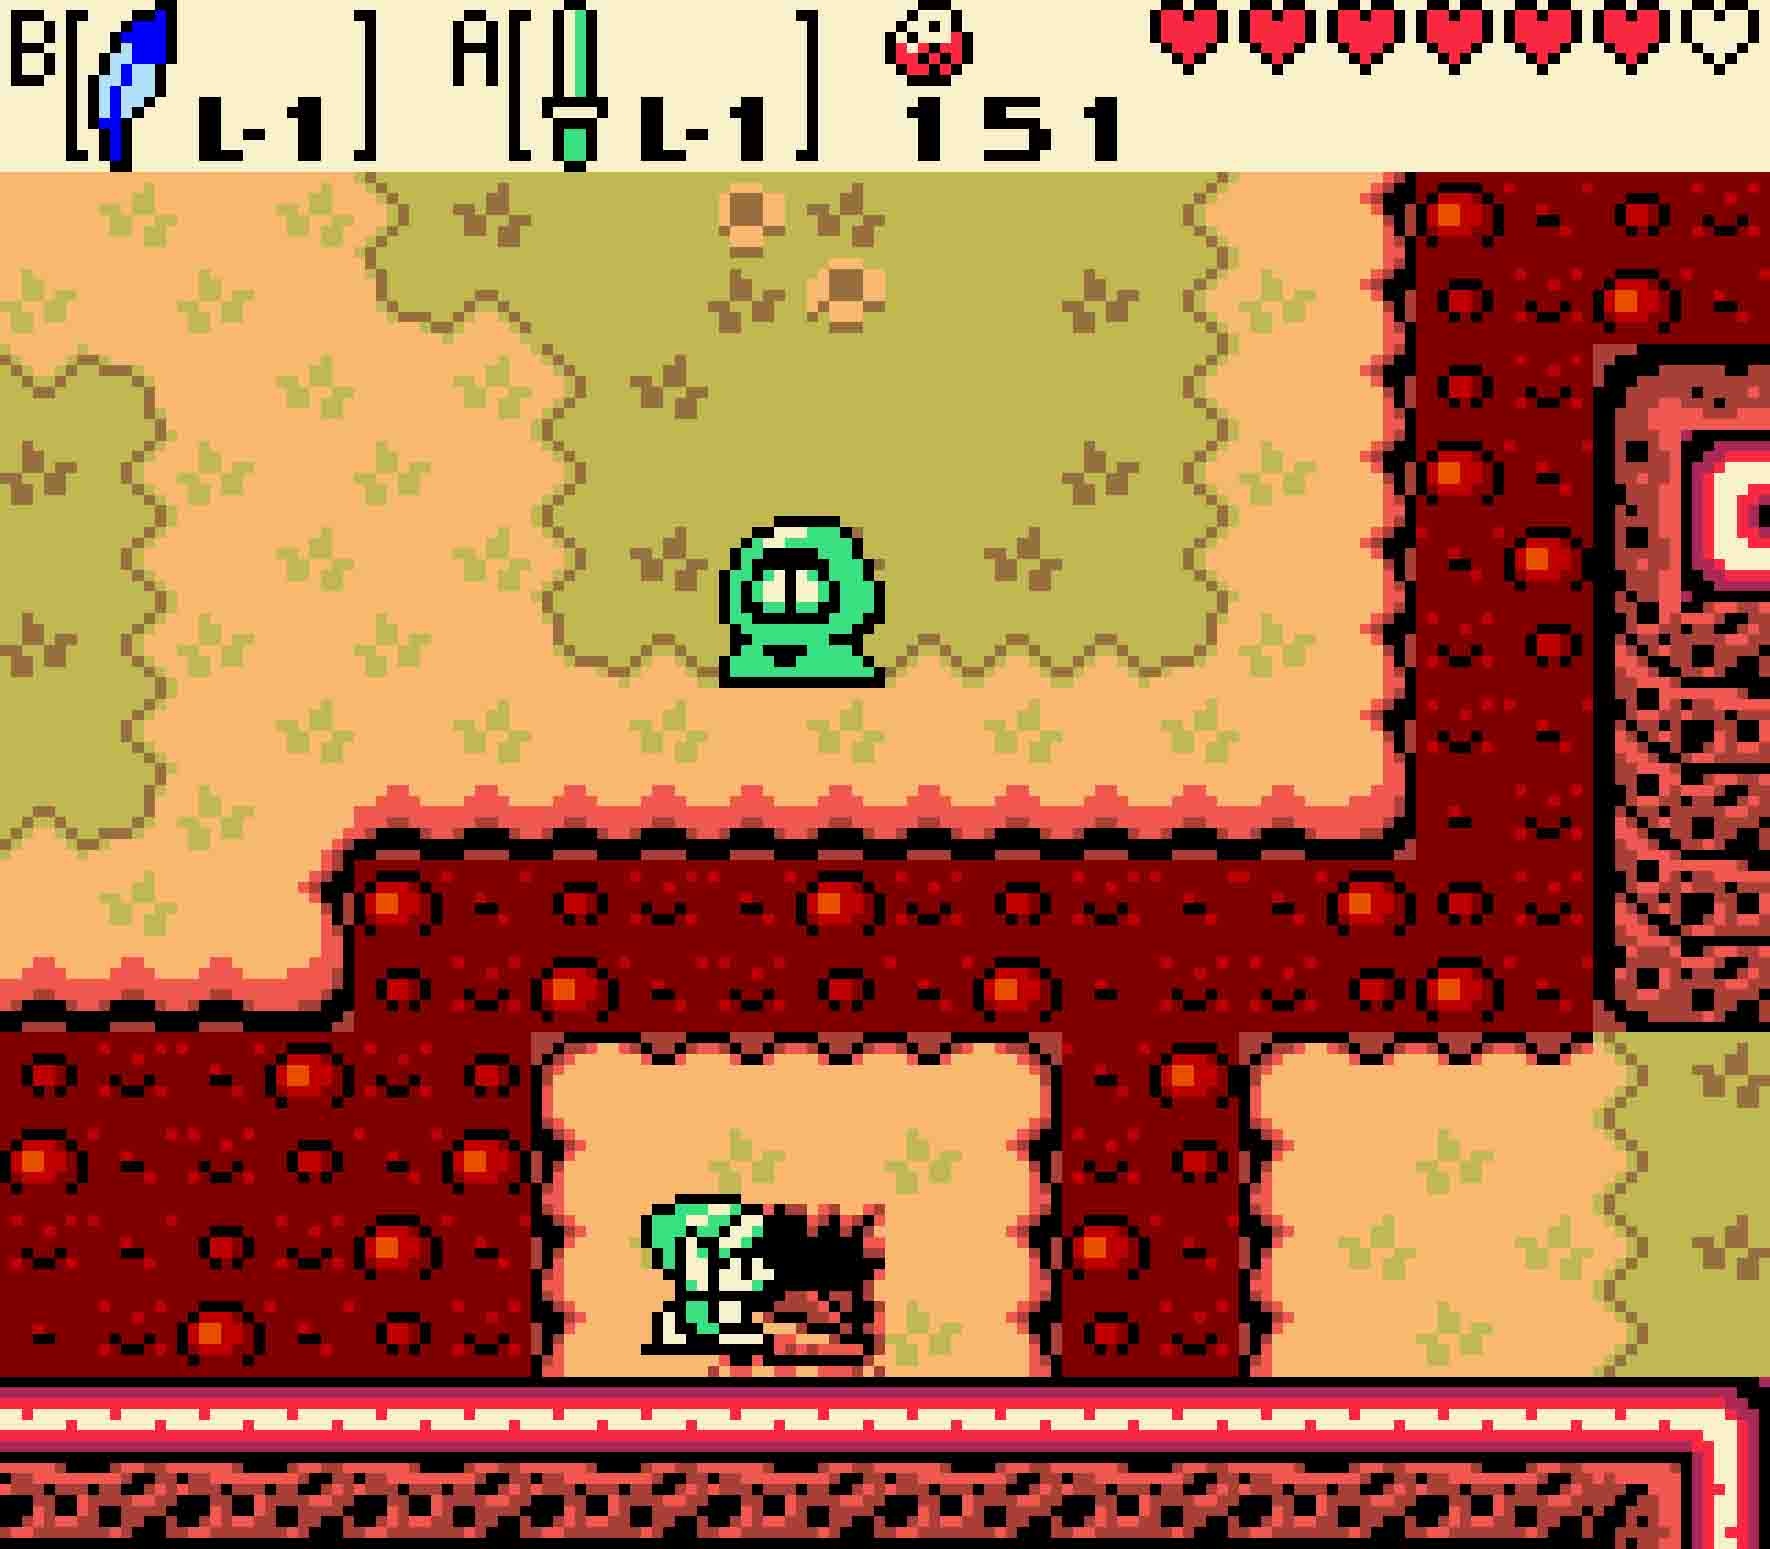
Finally, it’s time to visit the Temple of Seasons. Head back south, east, and north twice to reach the Subrosian house. Make your way in and out of it to get back to the part of Subrosia you just came from. From there, head east twice. You’ll see a staircase descending into the ground. Use your Feather to jump over the lava, and then descend the steps.
-

- The path to the Tower of Summer is actually a bit secretive, as is this Gasha Seed.
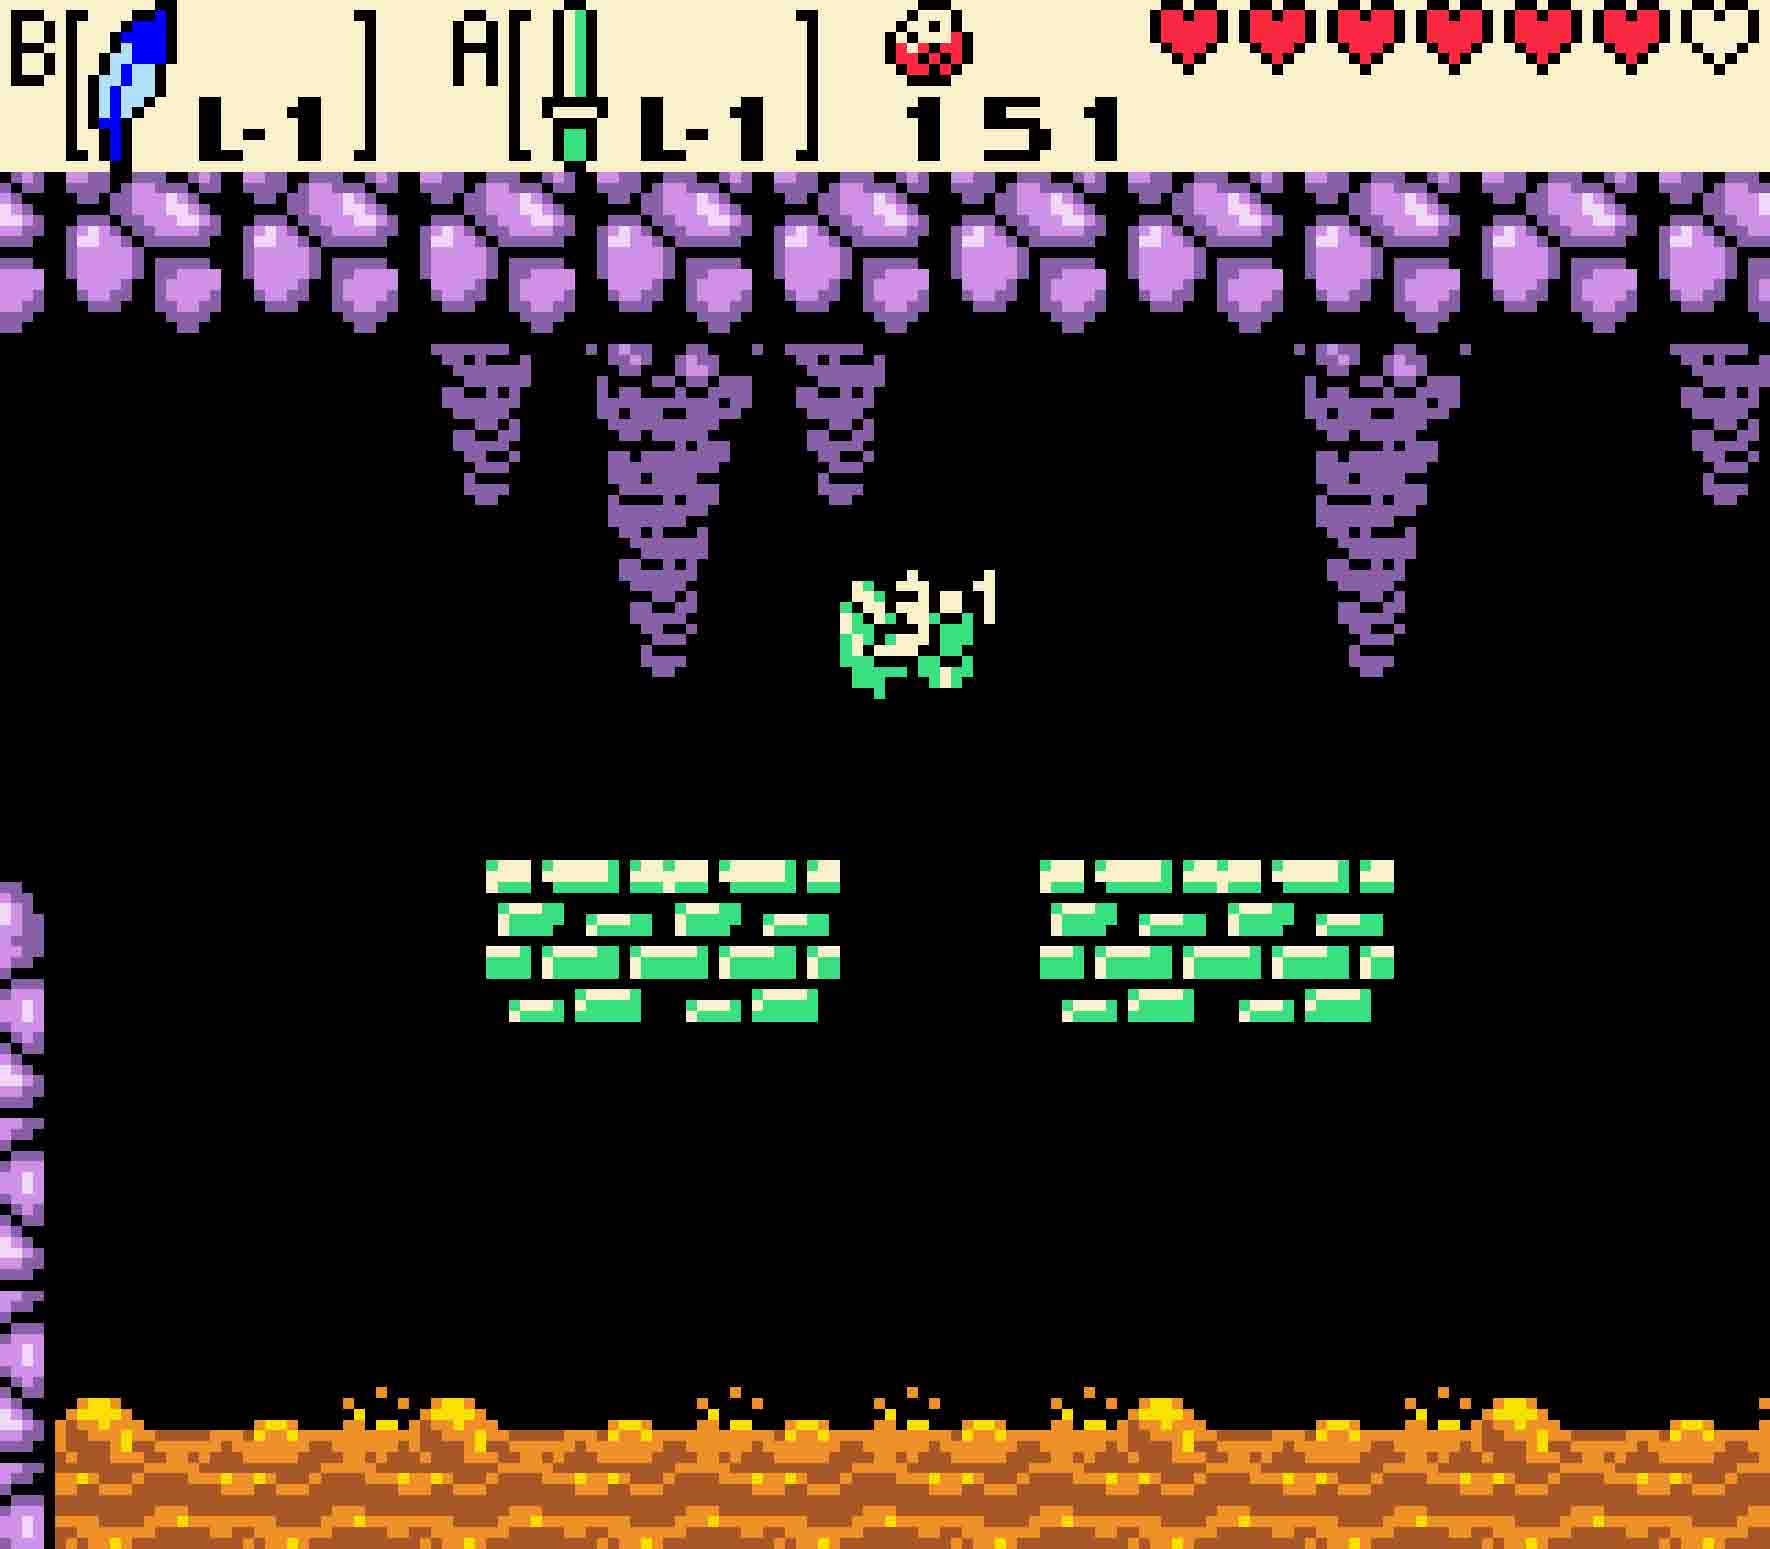
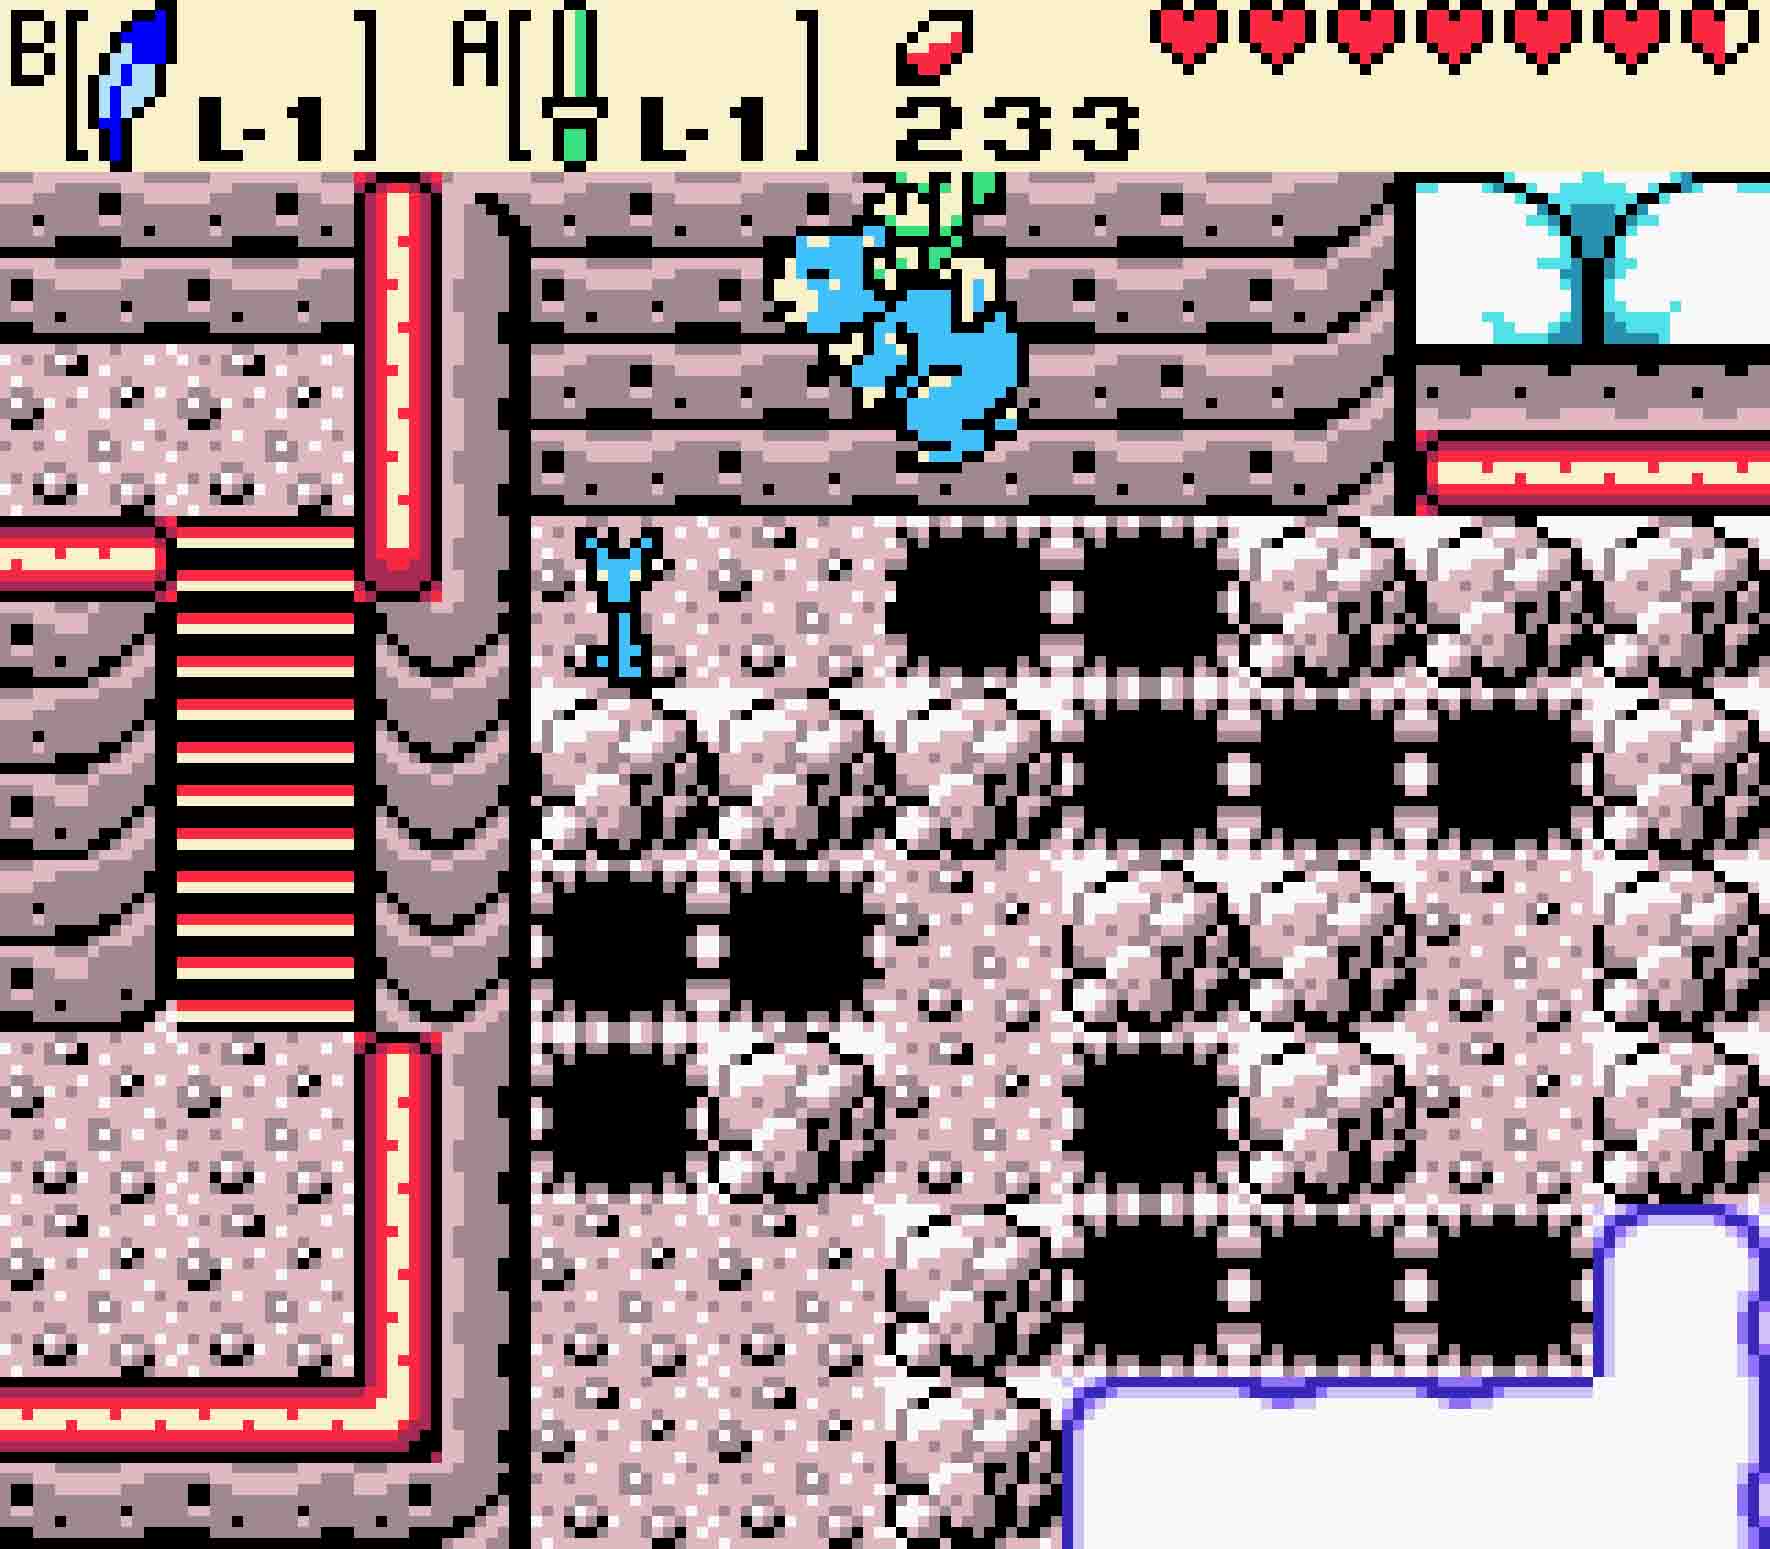
The caverns you must cross aren’t that tricky. There aren’t any enemies except your own impatience. Use the feather to jump across the platforms, ensuring you don’t fall into the lava lake below. Once you reach the ladder on the right side heading upward, you can continue to the right and down to claim a free Gasha Seed before pulling your way back up topside.
When you emerge, you’ll suddenly be at the temple, right in front of the Tower of Spring! Easy! Head on inside, and use the Roc’s Feather to jump over the narrow rivers of lava in the floor. Ascend the steps, and then ascend the second set of steps in the next room. You’ll eventually end up standing in front of the statue where you will claim the Spirit of Spring.
With the power of springtime, you can now acquire the ninth Piece of Heart in the game. It’s a bit of a backtrack at this point in the game, however, so you might consider saving it until after you complete the fourth dungeon.
10.3 Feed Moosh the Spring Banana
It’s time to head back to Mt. Cucco. Descend the two staircases and leave the Temple of Seasons. Head back through the lava-filled cave using the Roc’s Feather, and then emerge topside again. Head back west to reach the Subrosian portal that will head back to Mt. Cucco.
If you have Moosh’s Flute, you’ll be able to skip this entire section as players who have a different animal’s Flute need to meet Moosh in order to open Dancing Dragon Dungeon. You still might want to complete this section as there’s a Ring exclusive to Oracle of Seasons nearby. Otherwise, to proceed you’ll need to summon Moosh with your Flute.
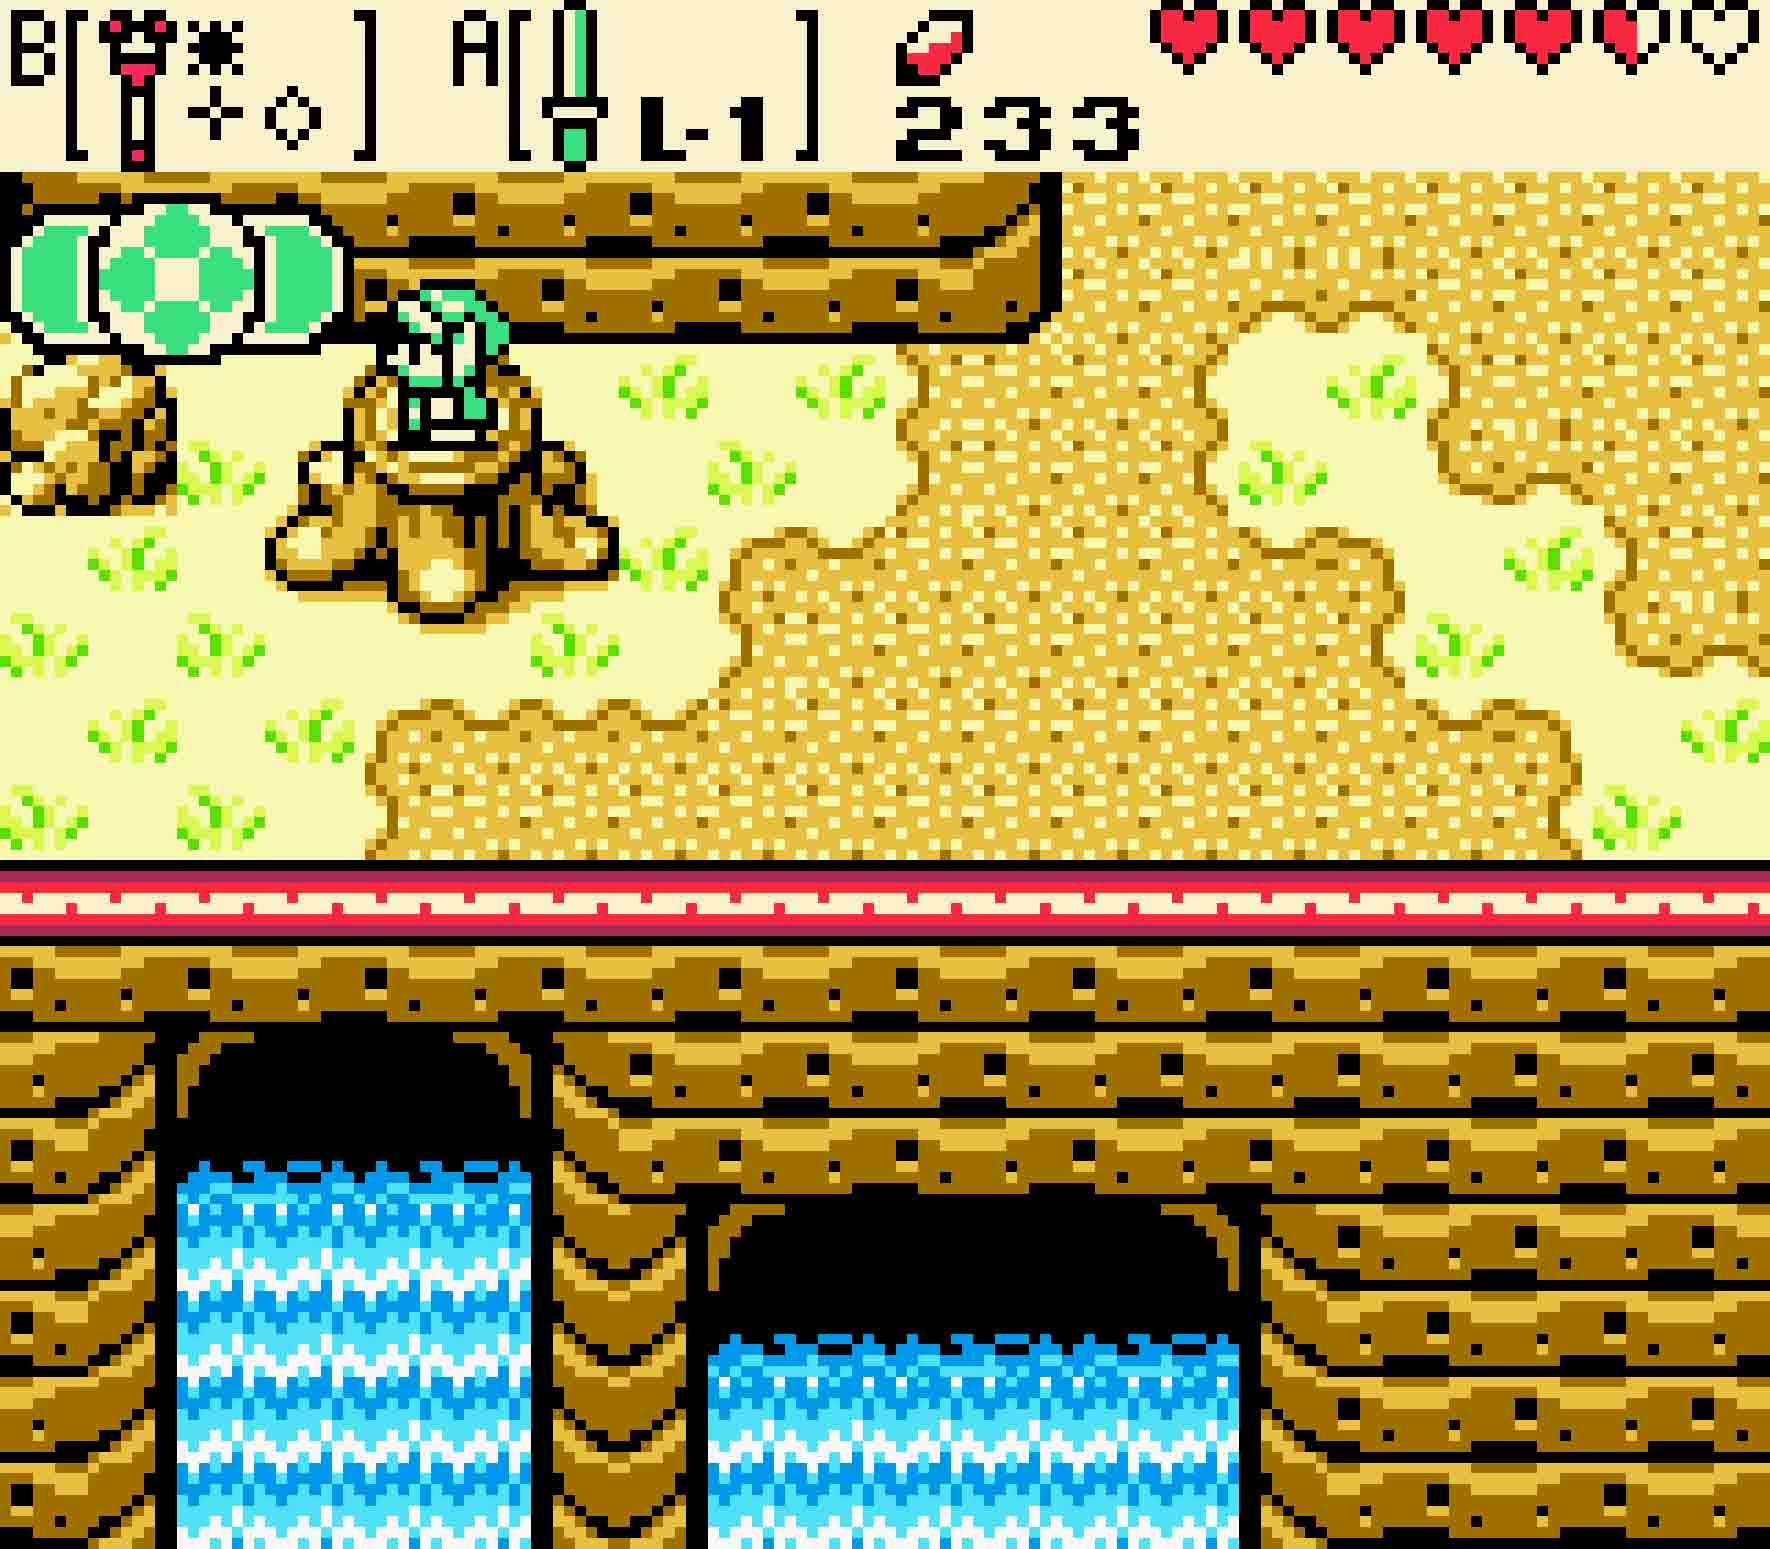
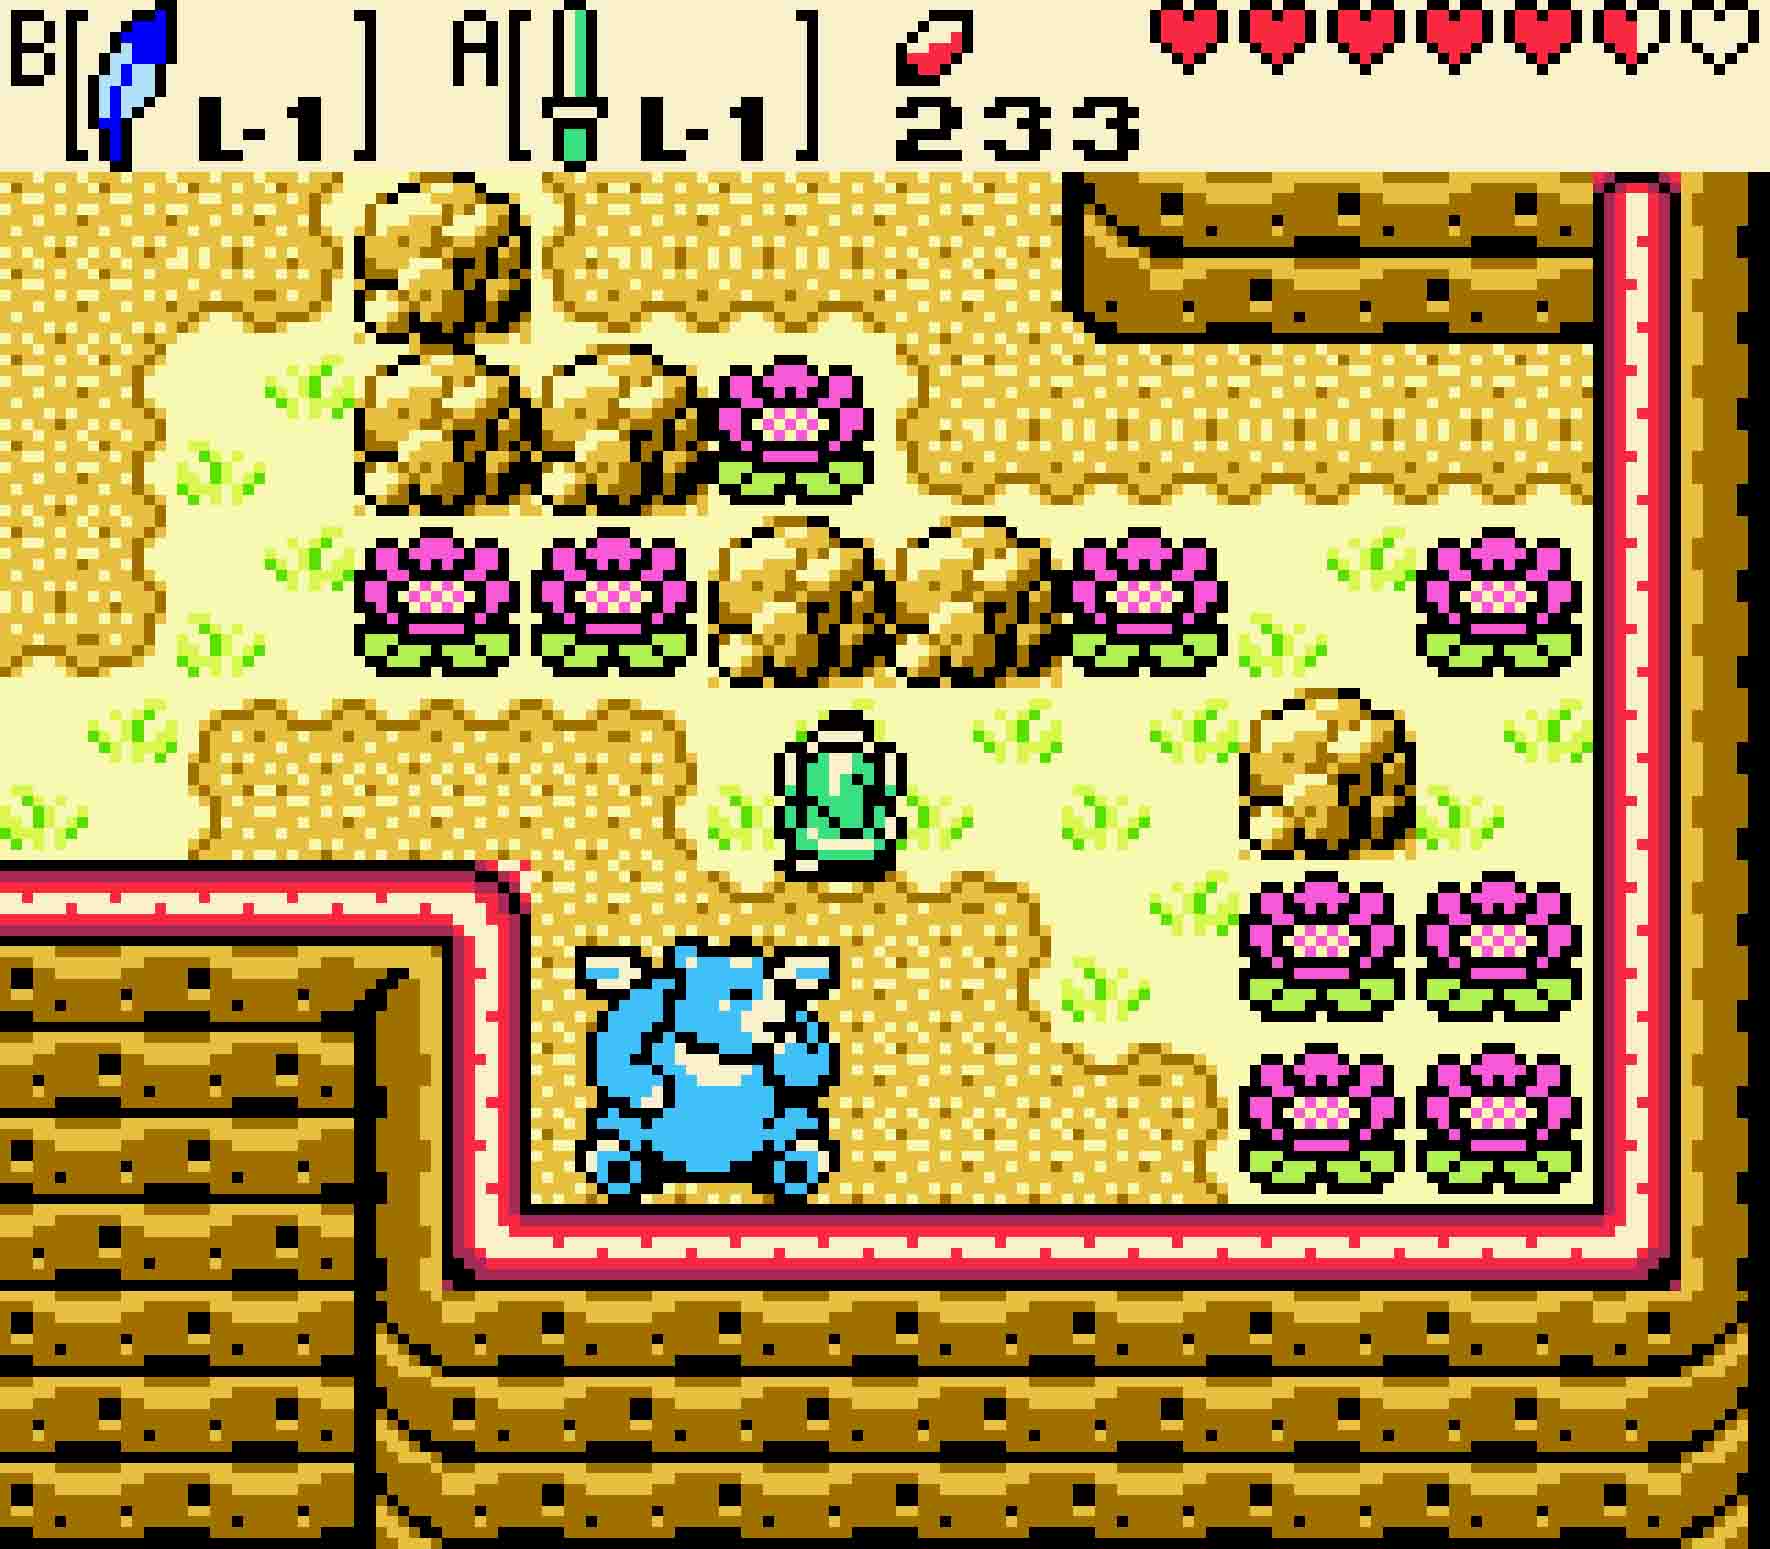
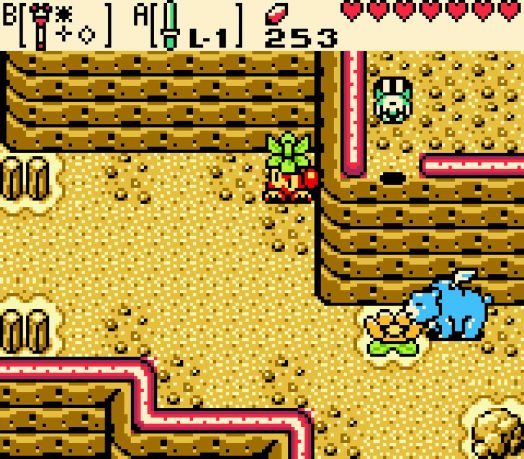
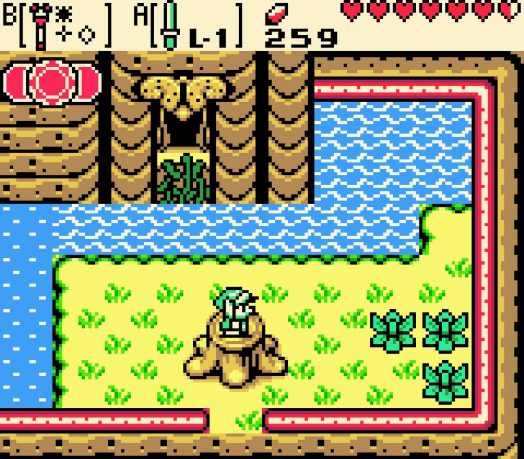
Hop down off of the cliff, and you’ll conveniently land right next to a tree stump. Time to put the power of springtime to use. Change the season to spring, and then head east. You’ll find Moosh the Bear sitting there, pining for some fruit. Unfortunately, he doesn’t quite feel sufficiently motivated to help you right now, but you can spur that motivation. Clear away the bloomed rock flowers and head north, sticking right next to the rising cliff on the right.
-
- You won’t be able to help Moosh without the power of spring.
-
- Only in spring will you be able to cut down these rock flowers.
When you head north, you’ll see a blue rooster hoping excitedly. The sign will tell you that this rooster can fly you up cliffsides. Don your Power Bracelet and put it to the test. You’ll need to tap your button pretty quickly to gain height, but the rooster can indeed fly you up to the upper ledge. Once there, head north and enter the cave.
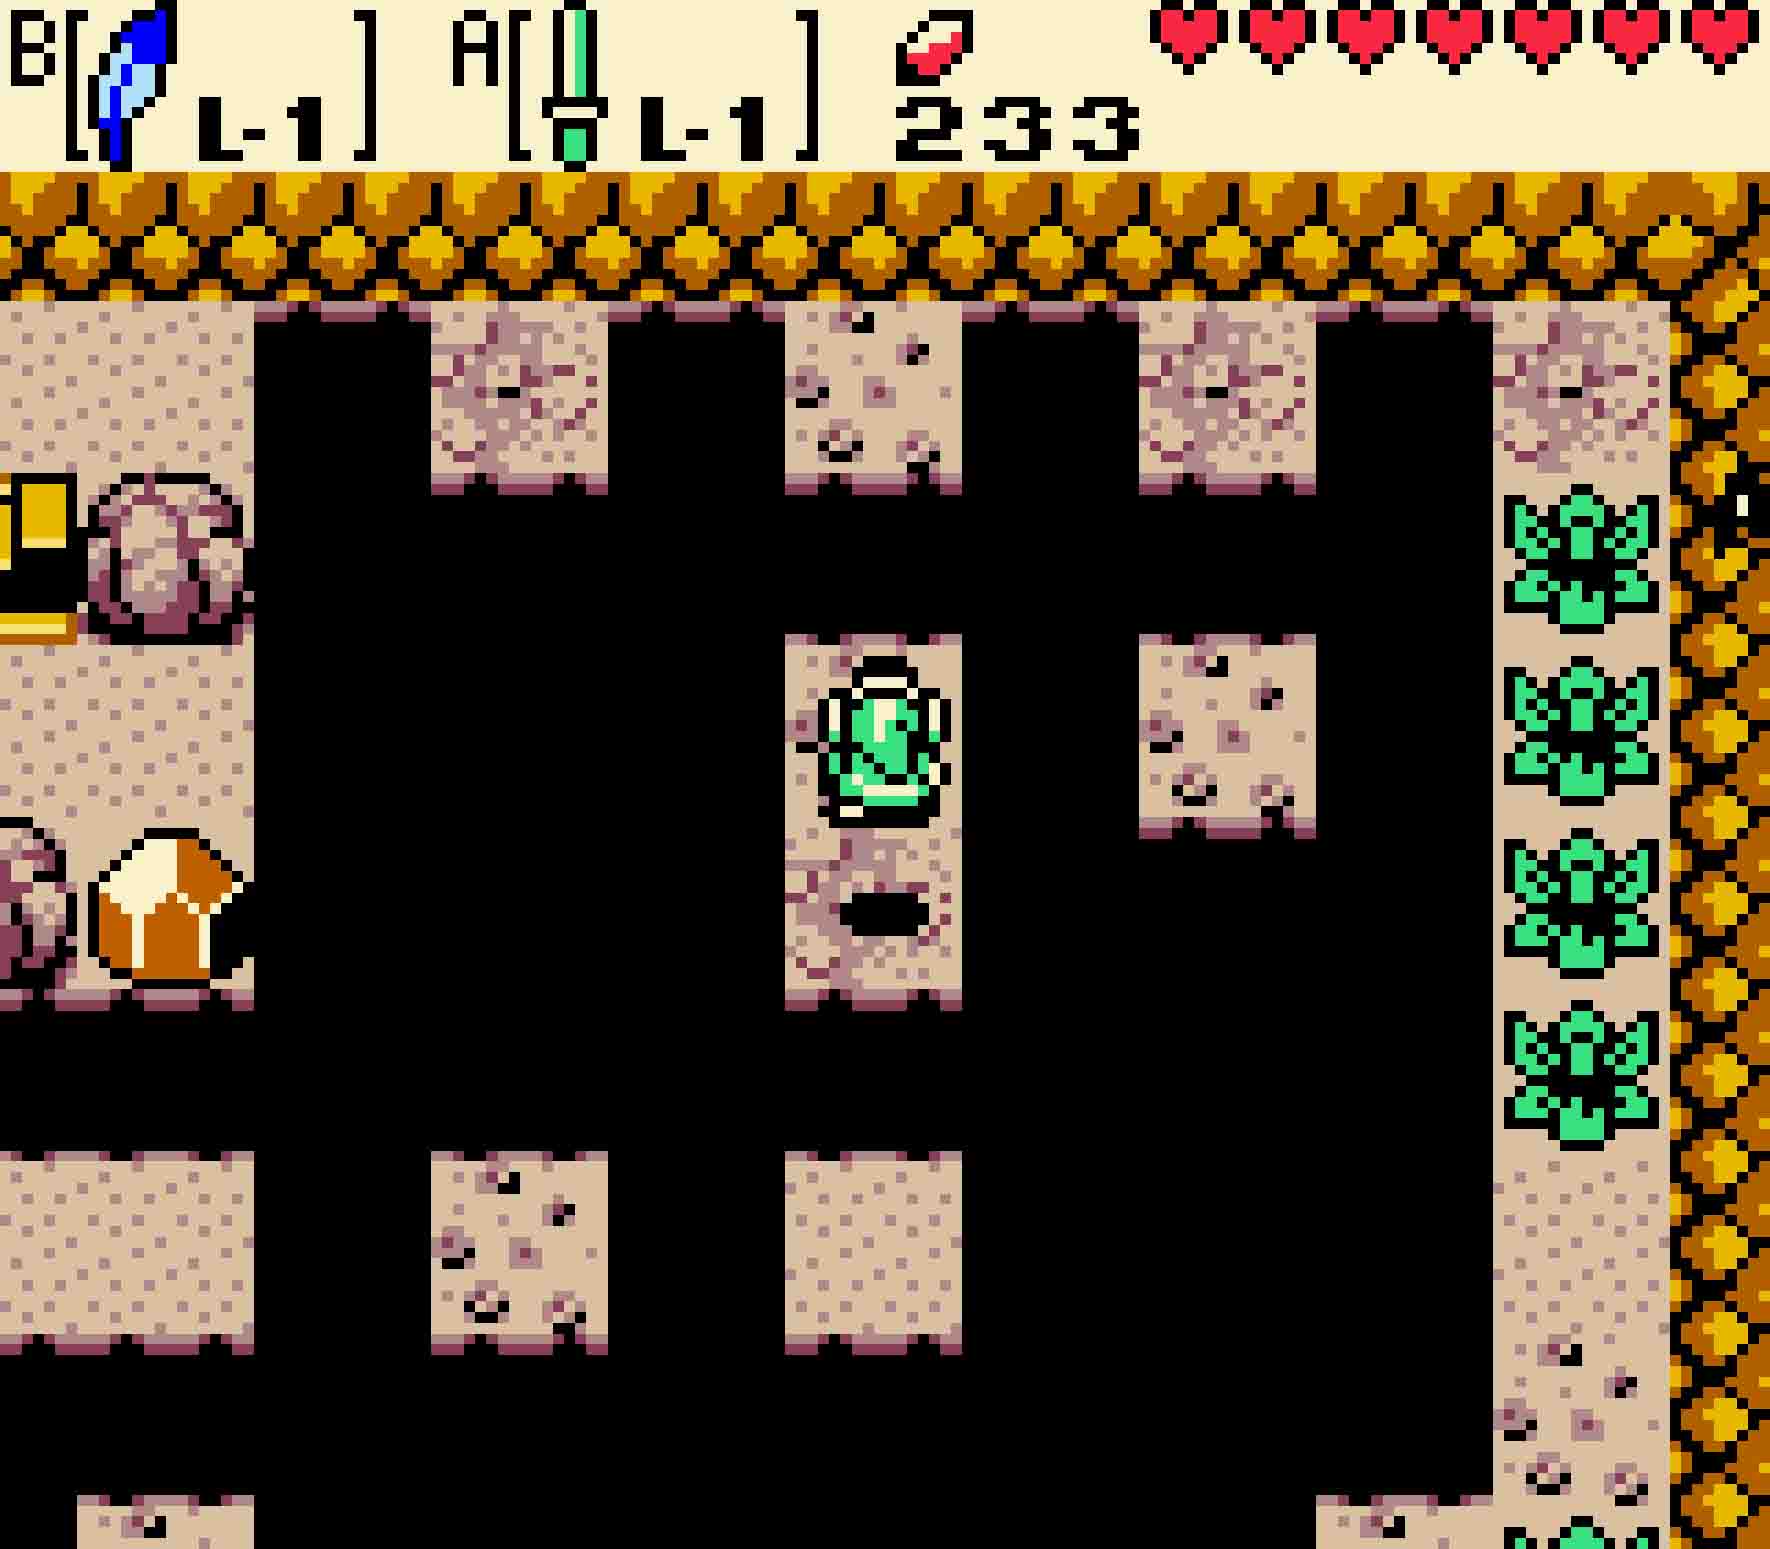
Inside, there are only a bunch of Keese flapping about. Meanwhile, you’ll need Roc’s Feather to make several small jumps onto incredibly tiny platforms. Jump up, right, up, and then back left to reach the staircase on the big platform. Once you ascend, you’ll be outside on the highest peak, and there’ll be some Spring Bananas hanging from the tree. Use your sword to slash them down, and grab them with all due haste.
To make your way back to Moosh, simply head south twice. Cut through the rock flowers again, and then offer the flowers to Moosh. He’ll eat them and, in thanks, offer to give you a ride.
-

- Use the blue rooster to fly up to the ledge.
-
- Use Roc’s Feather to reach the cave exit.
10.4 Grab the Dragon Key
 The fourth dungeon, unfortunately, is locked away, so first you’ll need the key, and Moosh is the only one that can obtain it. Ride Moosh’s back westward. On the way, you’ll pass a spattering of enemies — namely Tektites and Deku Scrubs. The two Deku Scrubs you’ll pass will shoot rocks after peeking out from their bushes; simply avoid them as you pass.
Once you head west enough to automatically change seasons to winter, you’re almost at the key; instead of continuing west, head north, avoiding the Leevers that will be occasionally popping out from the ground. There, on the next screen, you’ll find the Dragon Key.
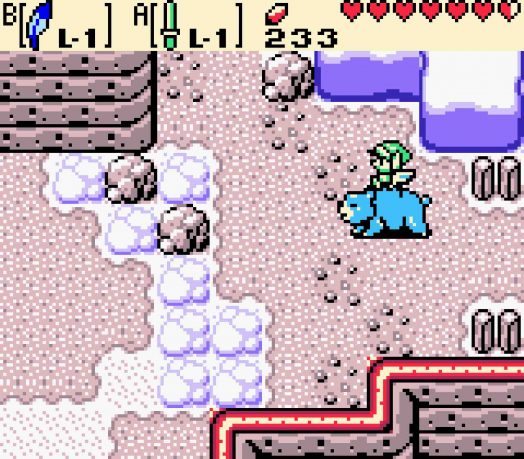
The key to Moosh, if you’re unfamiliar with him, is that he can fly in a similar fashion to the blue Rooster. There is a limit on how far he can fly before touching the ground, but keep tapping and you’ll always make it. There are three sets of consecutive potholes, and you’ll need Moosh to fly around each of them. Head up and around the first, landing on the first 2×1 stretch of land. Then continue right to the second safe spot. Then go for the longest of the three gaps to reach the Key. Then, all you’ll need to do is reverse it in order to leave.
-
- You’ll need to use Moosh to fly over these potholes to get the dungeon key.
-
- The last one is difficult, so just keep mashing the button to fly.
At this point, Moosh will leave you once you hop off his back and leave the screen. However, that’s okay as you can just about complete the rest of the trading sequence! Trade the Lava Soup for the Goron Vase, then trade that for the Fish. You can eventually work all the way to obtaining the Phonograph, the item just before the final reward.
10.5 Open the fourth dungeon
 After you head south, it’s time to return to Mt. Cucco. Head east, and you’ll discover that the season has reverted to summer. That’s kind of a bummer as you really do need it to be spring. You’ll need to head east three more screens to return to the tree stump, passing Tektites and Deku Scrubs as you do so. Change the season, and then return west three screens where you’ll find the westmost Deku Scrub as well as a springtime jumping blossom. Step into the blossom, and let it propel you up the cliffside.
Head north, and beware of the Pig Warriors and Like Likes you’ll meet here up on this ridge. In order to reach the keyhole, you’ll first need to head east twice, dispatching more enemies along the way. This will lead you to a second tree stump.
You can get the tenth Piece of Heart simply by jumping off the ledge through the cliffside’s gap to the south.
Change the season to winter here, and then return west two screens. As you do, you’ll notice that a snowbank has formed alongside the tall butte to the north; furthermore, this snowbank will give you access to a cave that was beforehand inaccessible. Climb onto the snowbank through the use of the steps and the tall ledge, jump onto the snow, and then follow the footprints into the cavern.
-
- It’s a parade of seasons! You’ll need to reset this part of the world to winter.
-
- Only in winter can you make your way to the peaks.
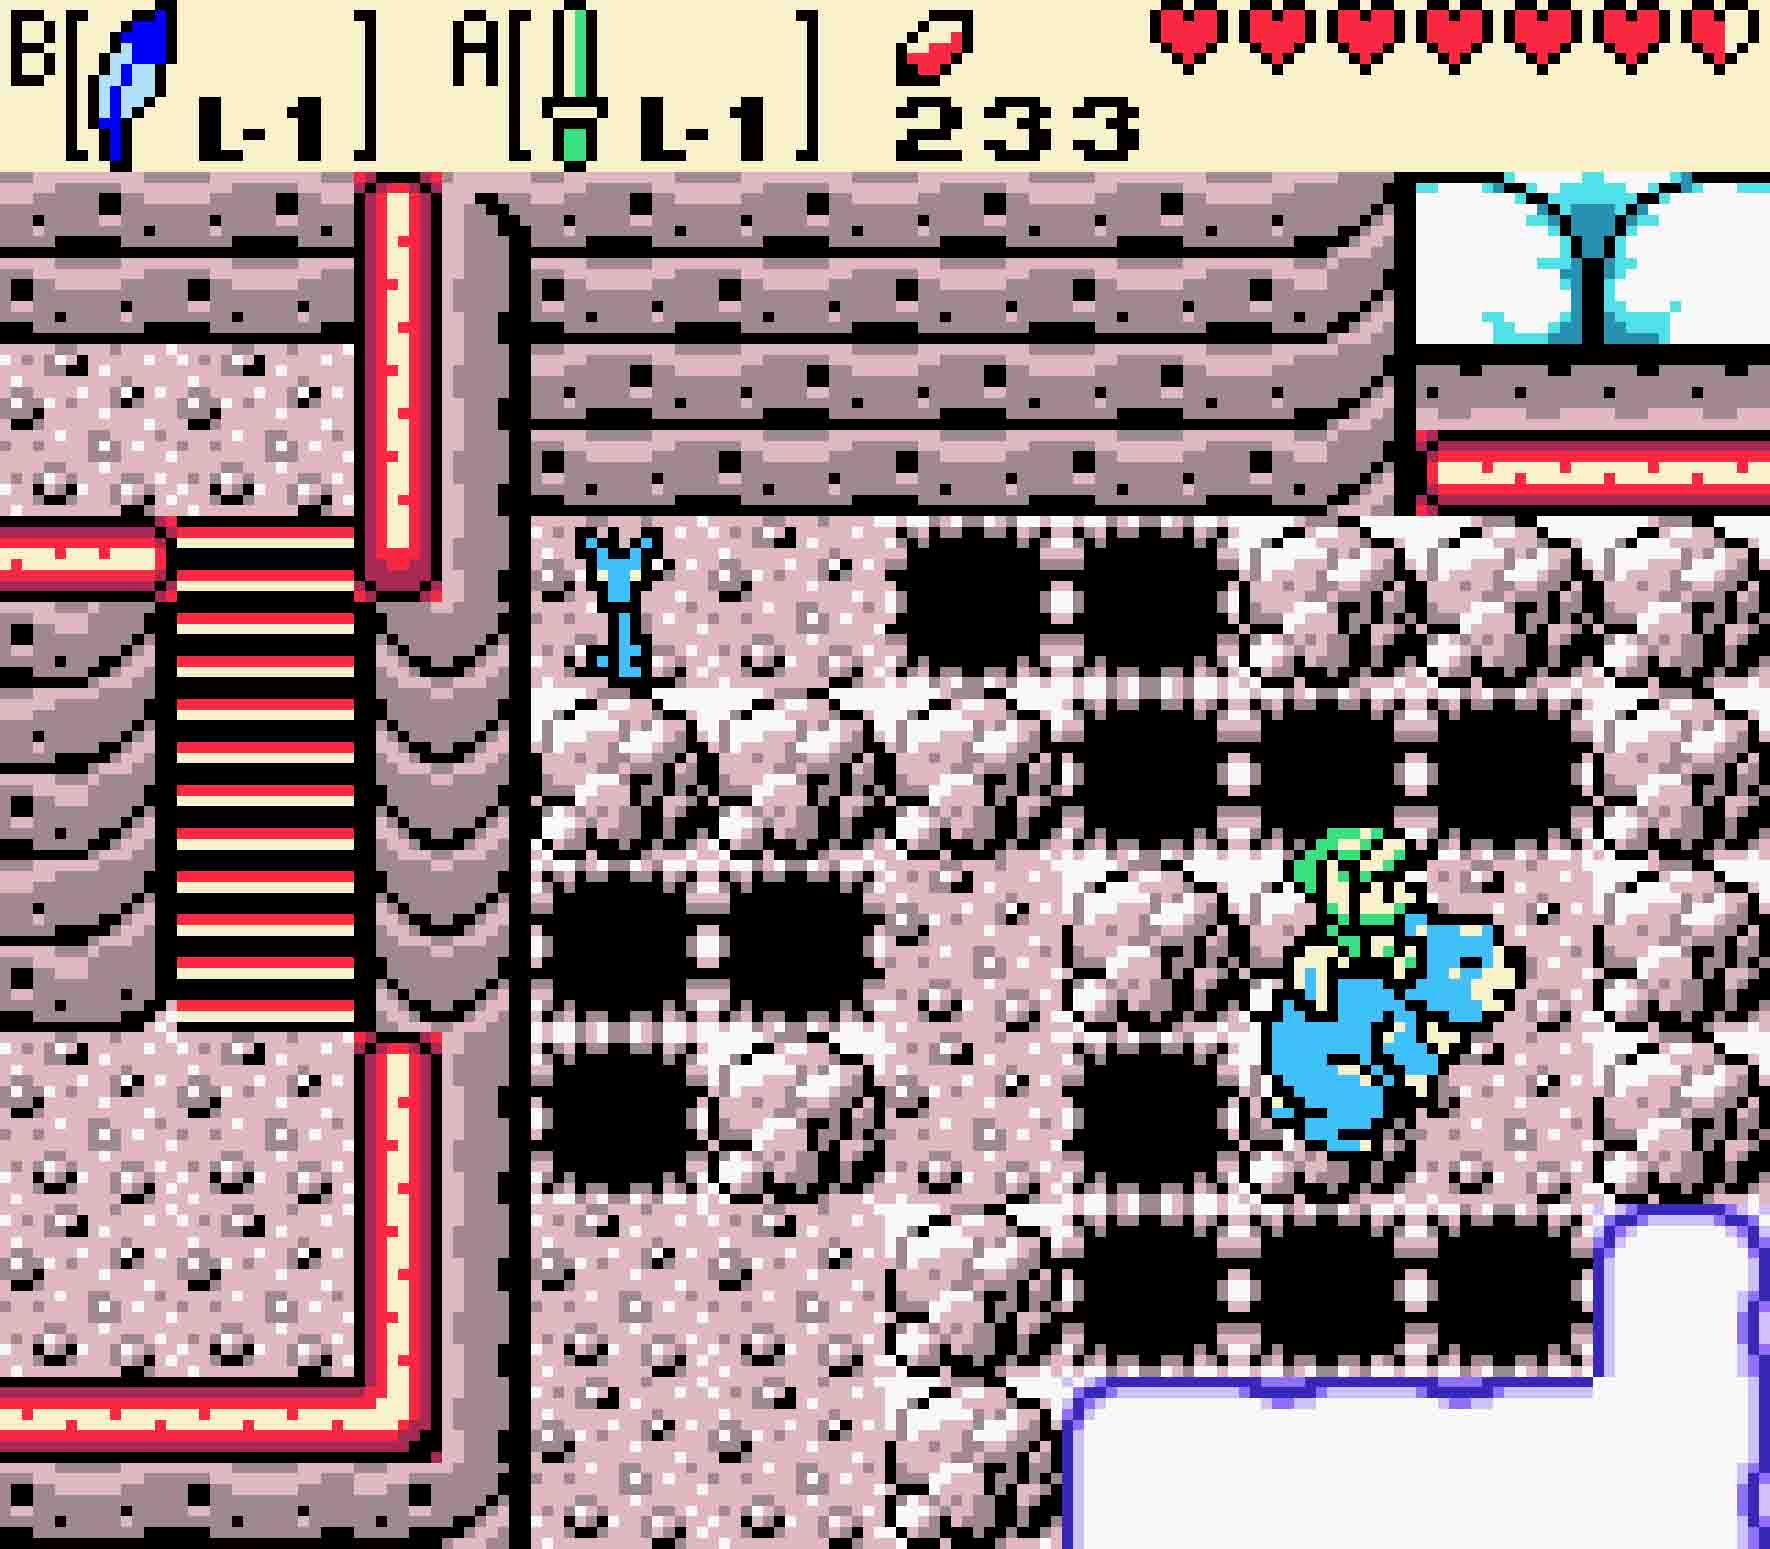
Inside, you’ll find a narrow section of pathways with holes in the floor. Be careful as you tread as not only will Zols emerge from the floor but Spiked Beetles will be hiding amongst the foliage. Hop over the pits and follow the single pathway. Head west, and similarly jump over the pits as you dodge Zols until you can ascend the steps heading upward. The third room will add Keese to the menu, but don’t let that distract you from finding the Spiked Beetle under the bush on the right side of the room. Climb the steps one more to make your way back outside.

Finally, flip the season to summer to grow vines leading to the dungeon entrance.
You’ll be high on the mountaintops in the cold of winter. Head east, and you’ll find another blue rooster. This one functions similarly, but you’ll want to start directing it to fly even as things seem steady as it hovers over the gap because it will soon rely upon your direction to make it fly without any sort of warning or notice. Make it to the other side and head east once more. You’ll find the keyhole corresponding to the Dragon Key.
The waterfall below you will dry up, and that’s worth checking out. Return west, and hop down the gap in the cliff. Head back east, and suddenly a cave in the wall will have revealed itself. Of course, you can’t access it right this moment, but simply hop onto the tree stump and make the season summer so that vines grow up out of the water to the dungeon entrance so you can enter Dungeon Four.