


Chapter 1: Hero’s Cave
- 1.1 Meet Din
- 1.2 Explore Horon Village
- 1.3 Enter the Hero’s Cave
- 1.4 Grab a key
- 1.5 Earn your sword
- 1.6 Visit the Maku Tree
- 1.7 Buy a shield
- 1.8 Enter the Gnarled Root Dungeon
1.1 Meet Din
The introduction is fairly quick, but it certainly does establish an emotional impact. You will find yourself transported to Holodrum, and you’ll be asleep at the beginning of the game. Once you wake, you’ll find a travelling troupe of performers one screen to the right. Talk to them as you see fit, but the most important person to talk to is the girl Din, who’s dancing atop a tree stump.
Don’t be shy. Dancing is fun!
Once you talk with her, she’ll tell you that she’s not just any ordinary dancer. But nonetheless, they’re traveling incognito. However, General Onox is quick to deduce her true identity as the Oracle of Seasons, and he’ll kidnap her and steal her away. Thus it becomes your objective to win her back.
1.2 Explore Horon Village
Again you’ll be knocked unconscious, but when you wake up it will be winter. You’ll meet Impa, Princess Zelda’s faithful nursemaid, and she’ll direct you to take a message to the Maku Tree that resides in Horon Village. Head south to enter Horon Village.
O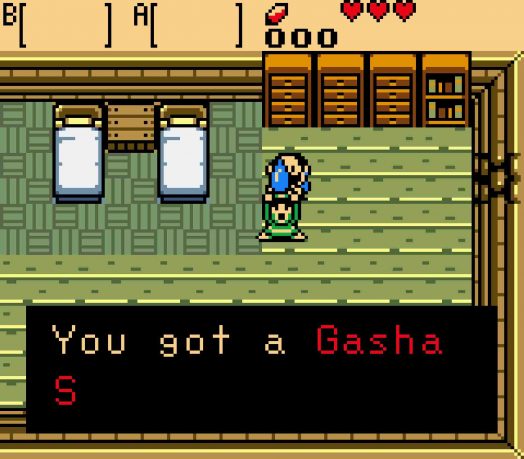 nce you’re here, take the time to explore. At present, there’s not a lot you can do. The shop hasn’t quite been set up (though it will soon), and many of the pathways out you won’t be able to cross. However, there are a few things of note to tick off your list.
First and foremost, you can become introduced to Gasha Seeds in the mayor in the northeast corner of the city. These Gasha Seeds, once planted, will eventually grow into trees that provide a single item — which will end up being a gift you can collect at that time. These Gasha Seeds can be planted in certain tiles of ground, and different tiles of the ground will provide different results.
Second, you can also collect your Level 1 Ring Box from Vasu. This will allow you to collect rings throughout Holodrum (and also Labrynna in Oracle of Ages), and these rings can also provide handy effects down the track. He’ll also offer you a Friendship Ring, which does absolutely nothing, but it starts off your ring collection.
-
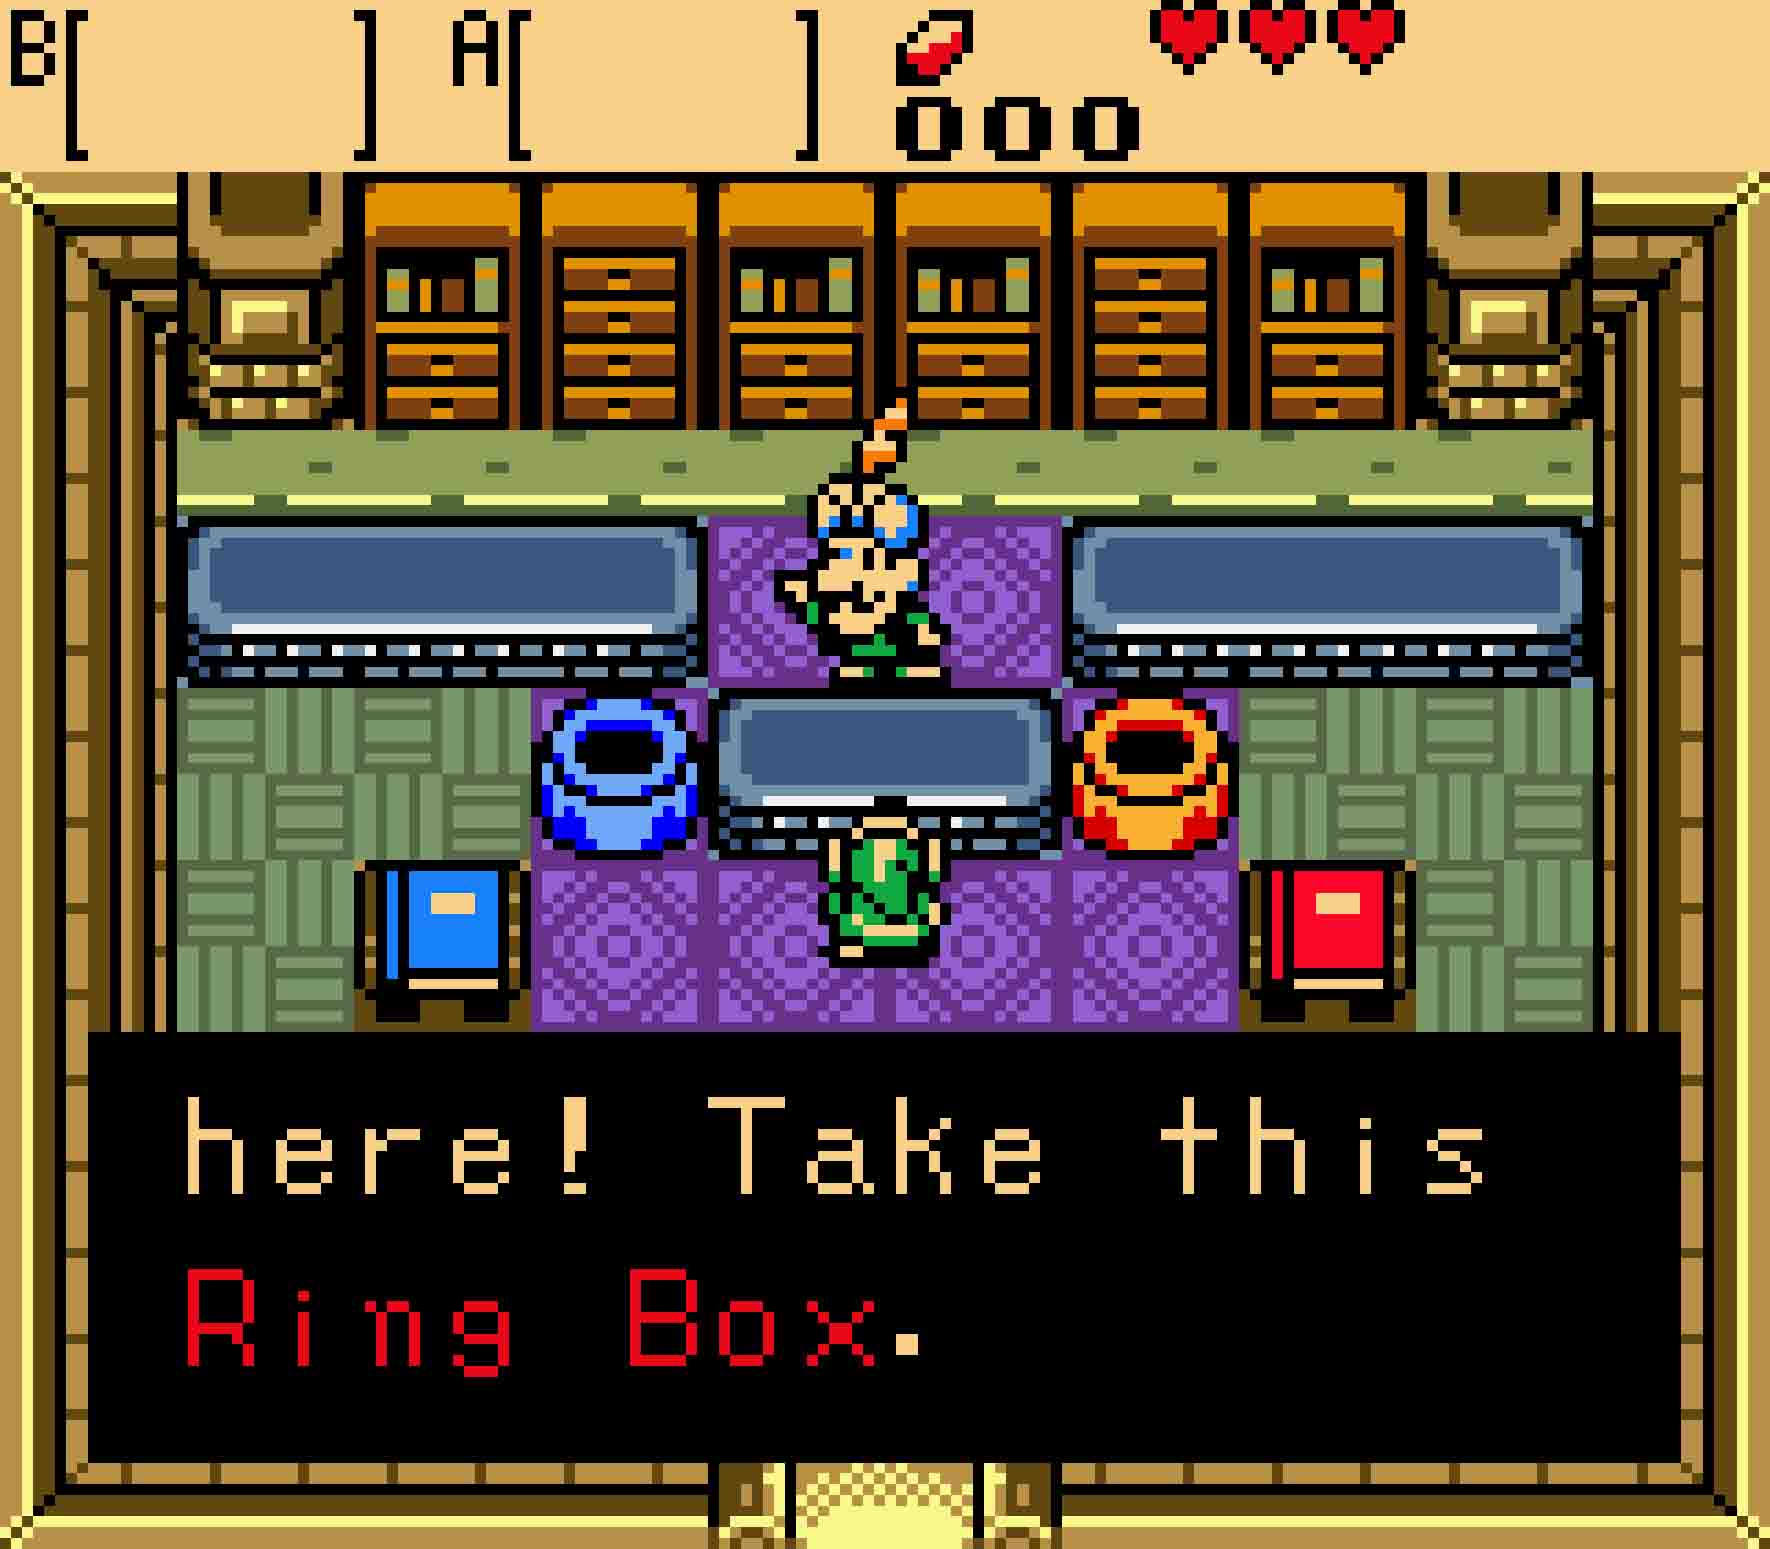
- Vasu will give you the Ring Box, allowing you to collect powerful rings.
-
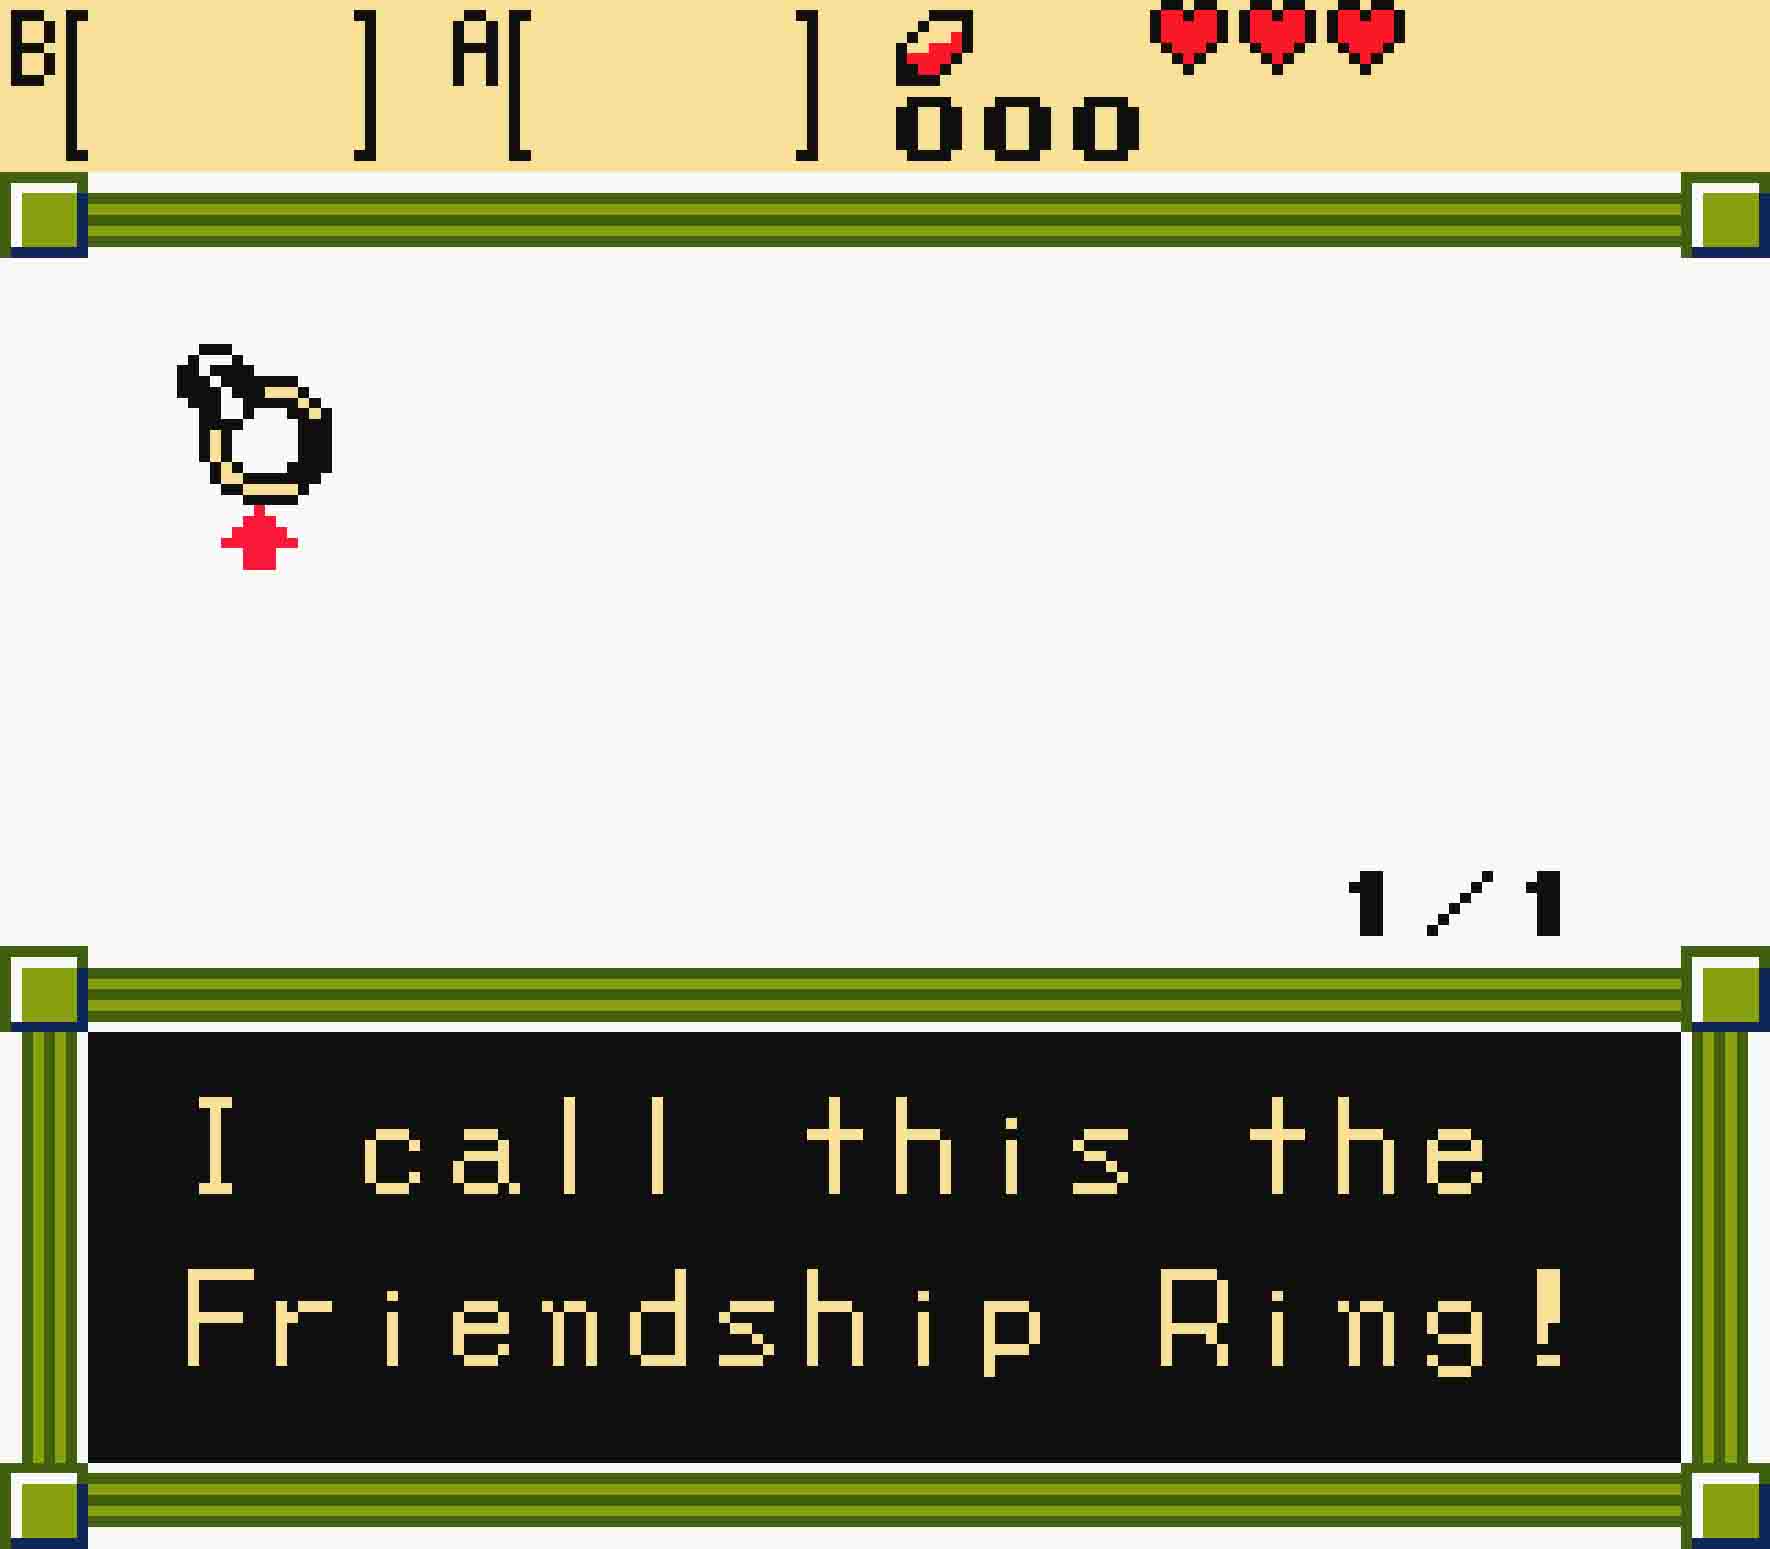
- The ring he gives you won’t do anything, but it starts your collection.
Lastly, you can visit Bipin and Blossom’s house in the southwest corner of the village. There’s an entire sidequest involving their child, who will grow up before your very eyes.
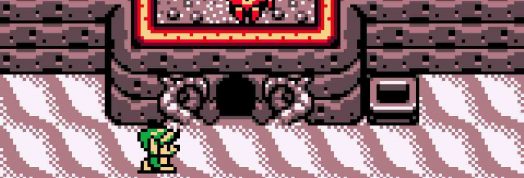
If you try to visit the Maku Tree, however, you’ll be out of luck. There’s a sign in front of the tree asking you to demonstrate courage. However, the mark on your hand isn’t sufficient. You need to demonstrate real courage.
If you’re playing Oracle of Seasons as a linked game from Oracle of Ages, you’ll already have your sword in hand (and an extra heart container to boot!). You won’t have it equipped, but it will be in your inventory. As a result, you won’t have to go through the hassle of obtaining your sword in Hero’s Cave. (In fact, Hero’s Cave will become an optional bonus dungeon to be completed much later in the game!) You should skip down to §1.6 to start the story.
1.3 Enter the Hero’s Cave
Head to the northwest corner of the village, and you’ll see a path leading out of the village to the west. Continue onwards. You’ll now see enemies over here, namely Octoroks. Unfortunately, you don’t have a sword yet, but that’s part of the whole courage thing. Look for the gap in the cliff to the south, and jump off of it to the screen to the south. From there you’ll see a cave on the beach that you need to enter, but you can’t get to it directly from here.
Head west, walk around the edge of the cliff and then return east to the cave on the beach. Enter inside and prepare for your first mini-dungeon: Hero’s Cave.


1.4 Grab a key
Again, there will be enemies within this mini-dungeon, and you’re still without a sword. Nothing will cause you massive damage here, but you’ll need to be careful at all times until you can properly defend yourself. To start, avoid the Keese contained within the first room and head to the room to the east. The doors will slam shut the moment you enter, and you’ll be presented with your first block puzzle. Push the block in any direction to open the doors. First, head to the north.
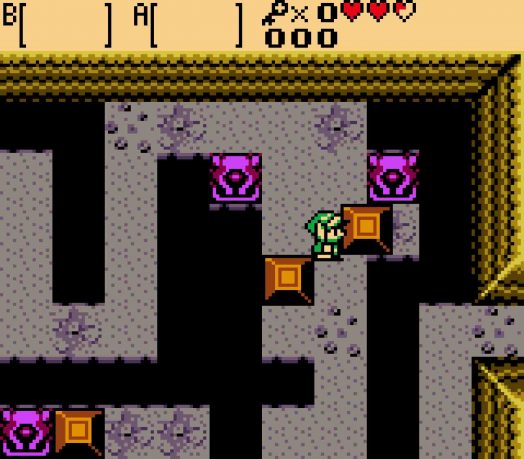
You’ll be introduced to block sliding puzzles in Hero’s Cave. Get used to it now.
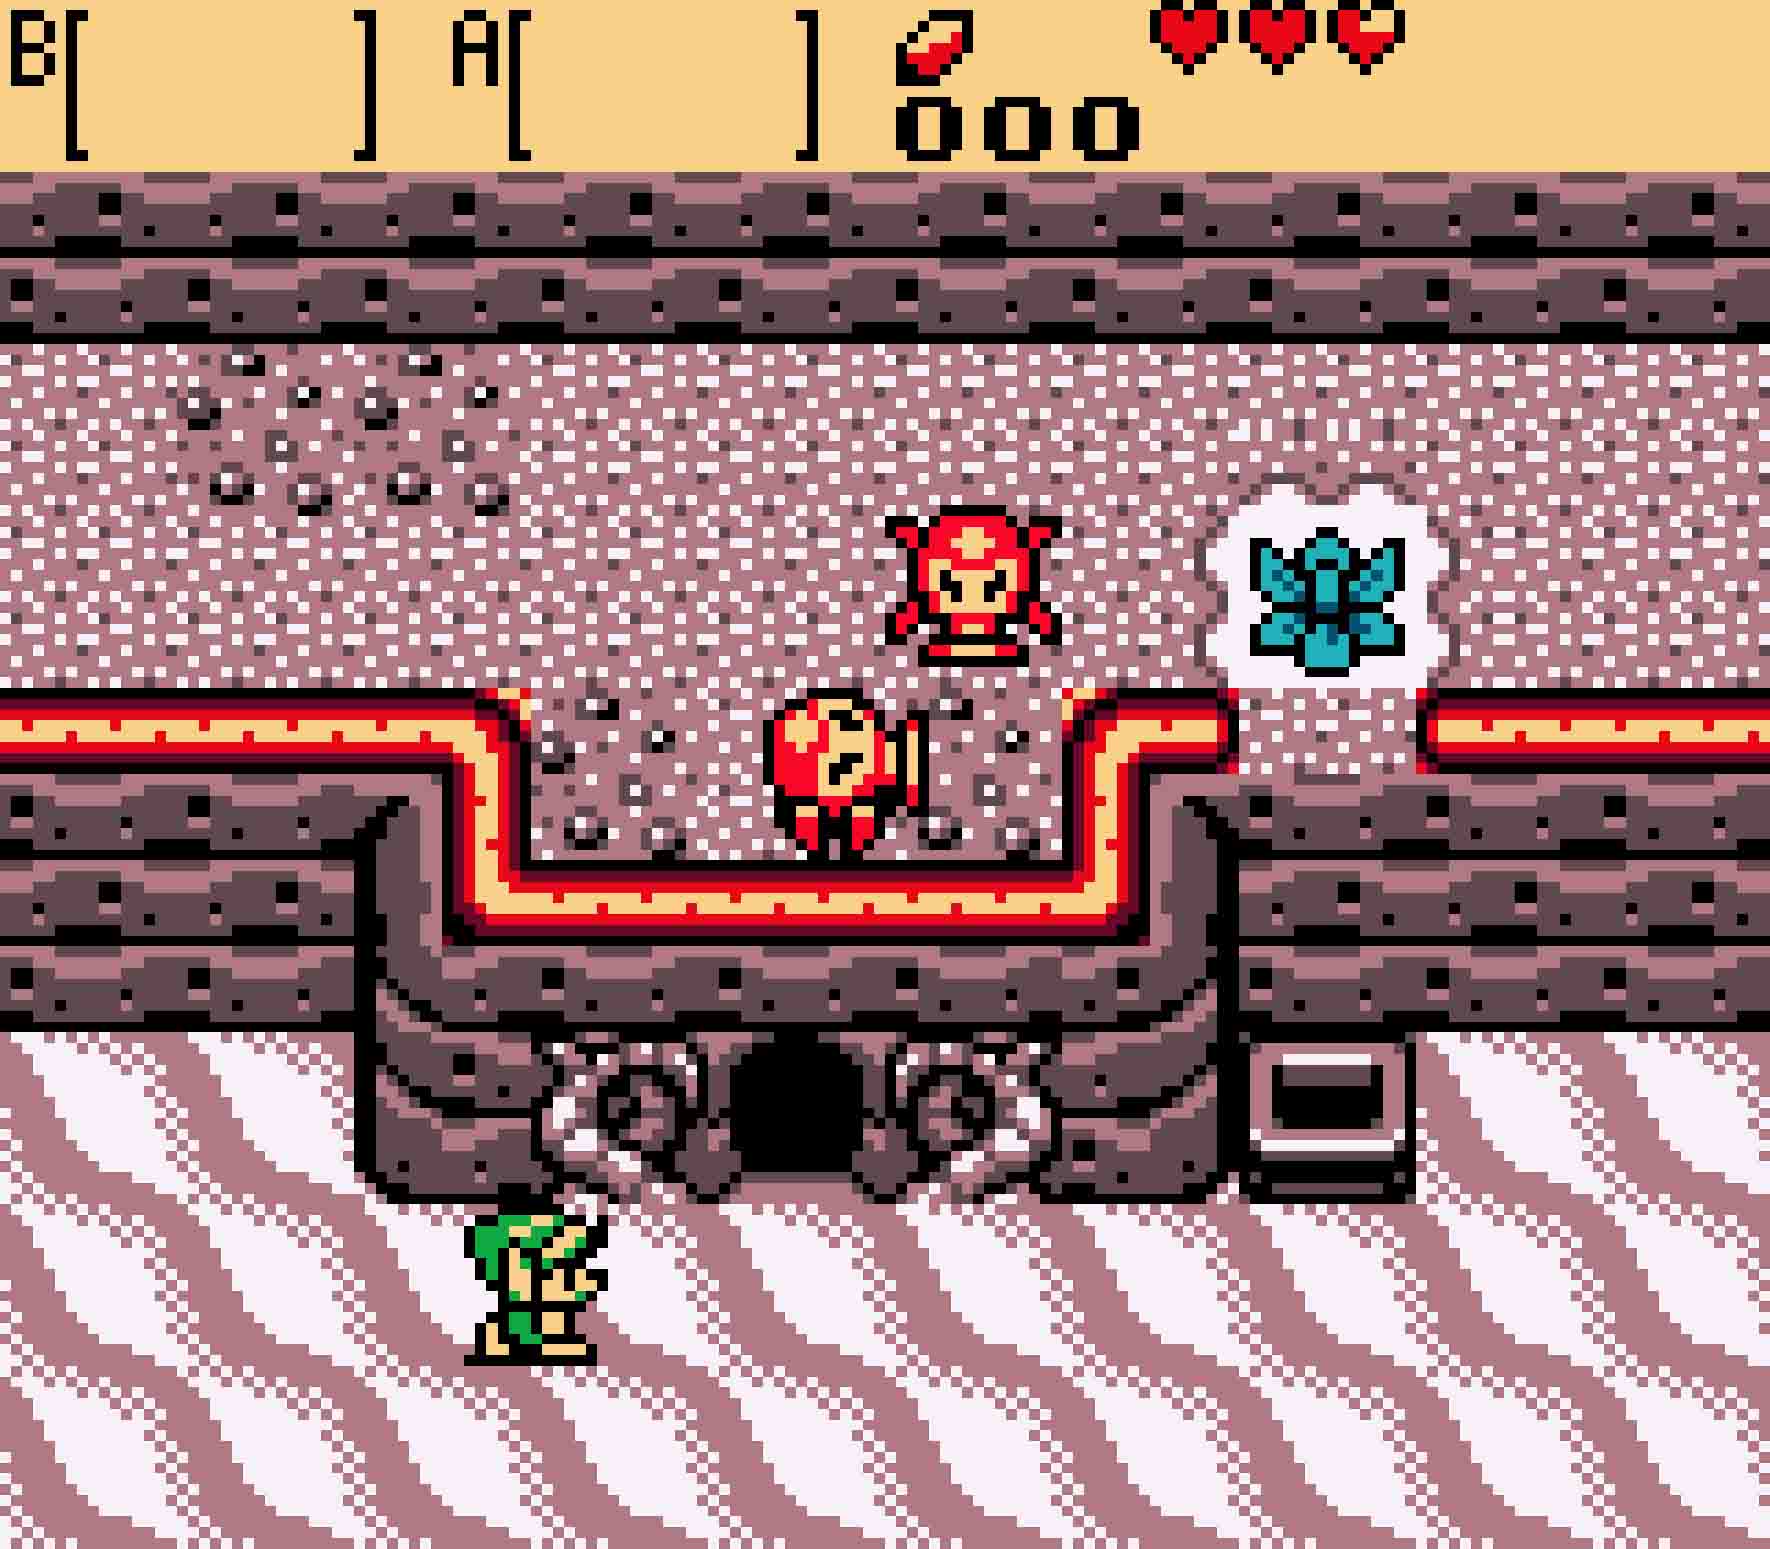
You now need to precariously follow a rather narrow path surrounded by bottomless pits. Falling into the pit will return you to the beginning of the room and cause you to lose a fraction of a heart. Push the first block upward to gain access to the path, and then follow its meandering route until you reach the pair of blocks later on. Push the left block down and then the right block to the right in order to proceed. Keep walking until you reach the door leading east.
This room will also be full of enemies, but most of these are benign though annoying. There will be a Keese but also some Gels. Gels won’t harm you, but they will cling to you and slow down your rate of movement for a period before Link shakes them off. Definitely, it’s better to be hit by a Gel than a Keese if you have to make the choice. On the east side of the room, you’ll find a colored tile and a floor switch. Step on the floor switch in order to have a treasure chest appear on the colored tile. Open it to get your key.
Gels won’t take away life, but they are annoying. Keese, on the other hand, will take away hearts.
1.5 Earn your sword
Head back to the left. You’ll have to navigate the catwalk once again. When you reach the pair of blocks blocking the pathway, push the left block up and the right block right. Continue along, and then when you reach the final block in the way, push it right. This will allow you to head back south. Again, the doors will seal shut once you enter, but push the block again to reopen them. Then continue south this time.

This final button will open the sealed door. Just watch out for the upcoming Zols.
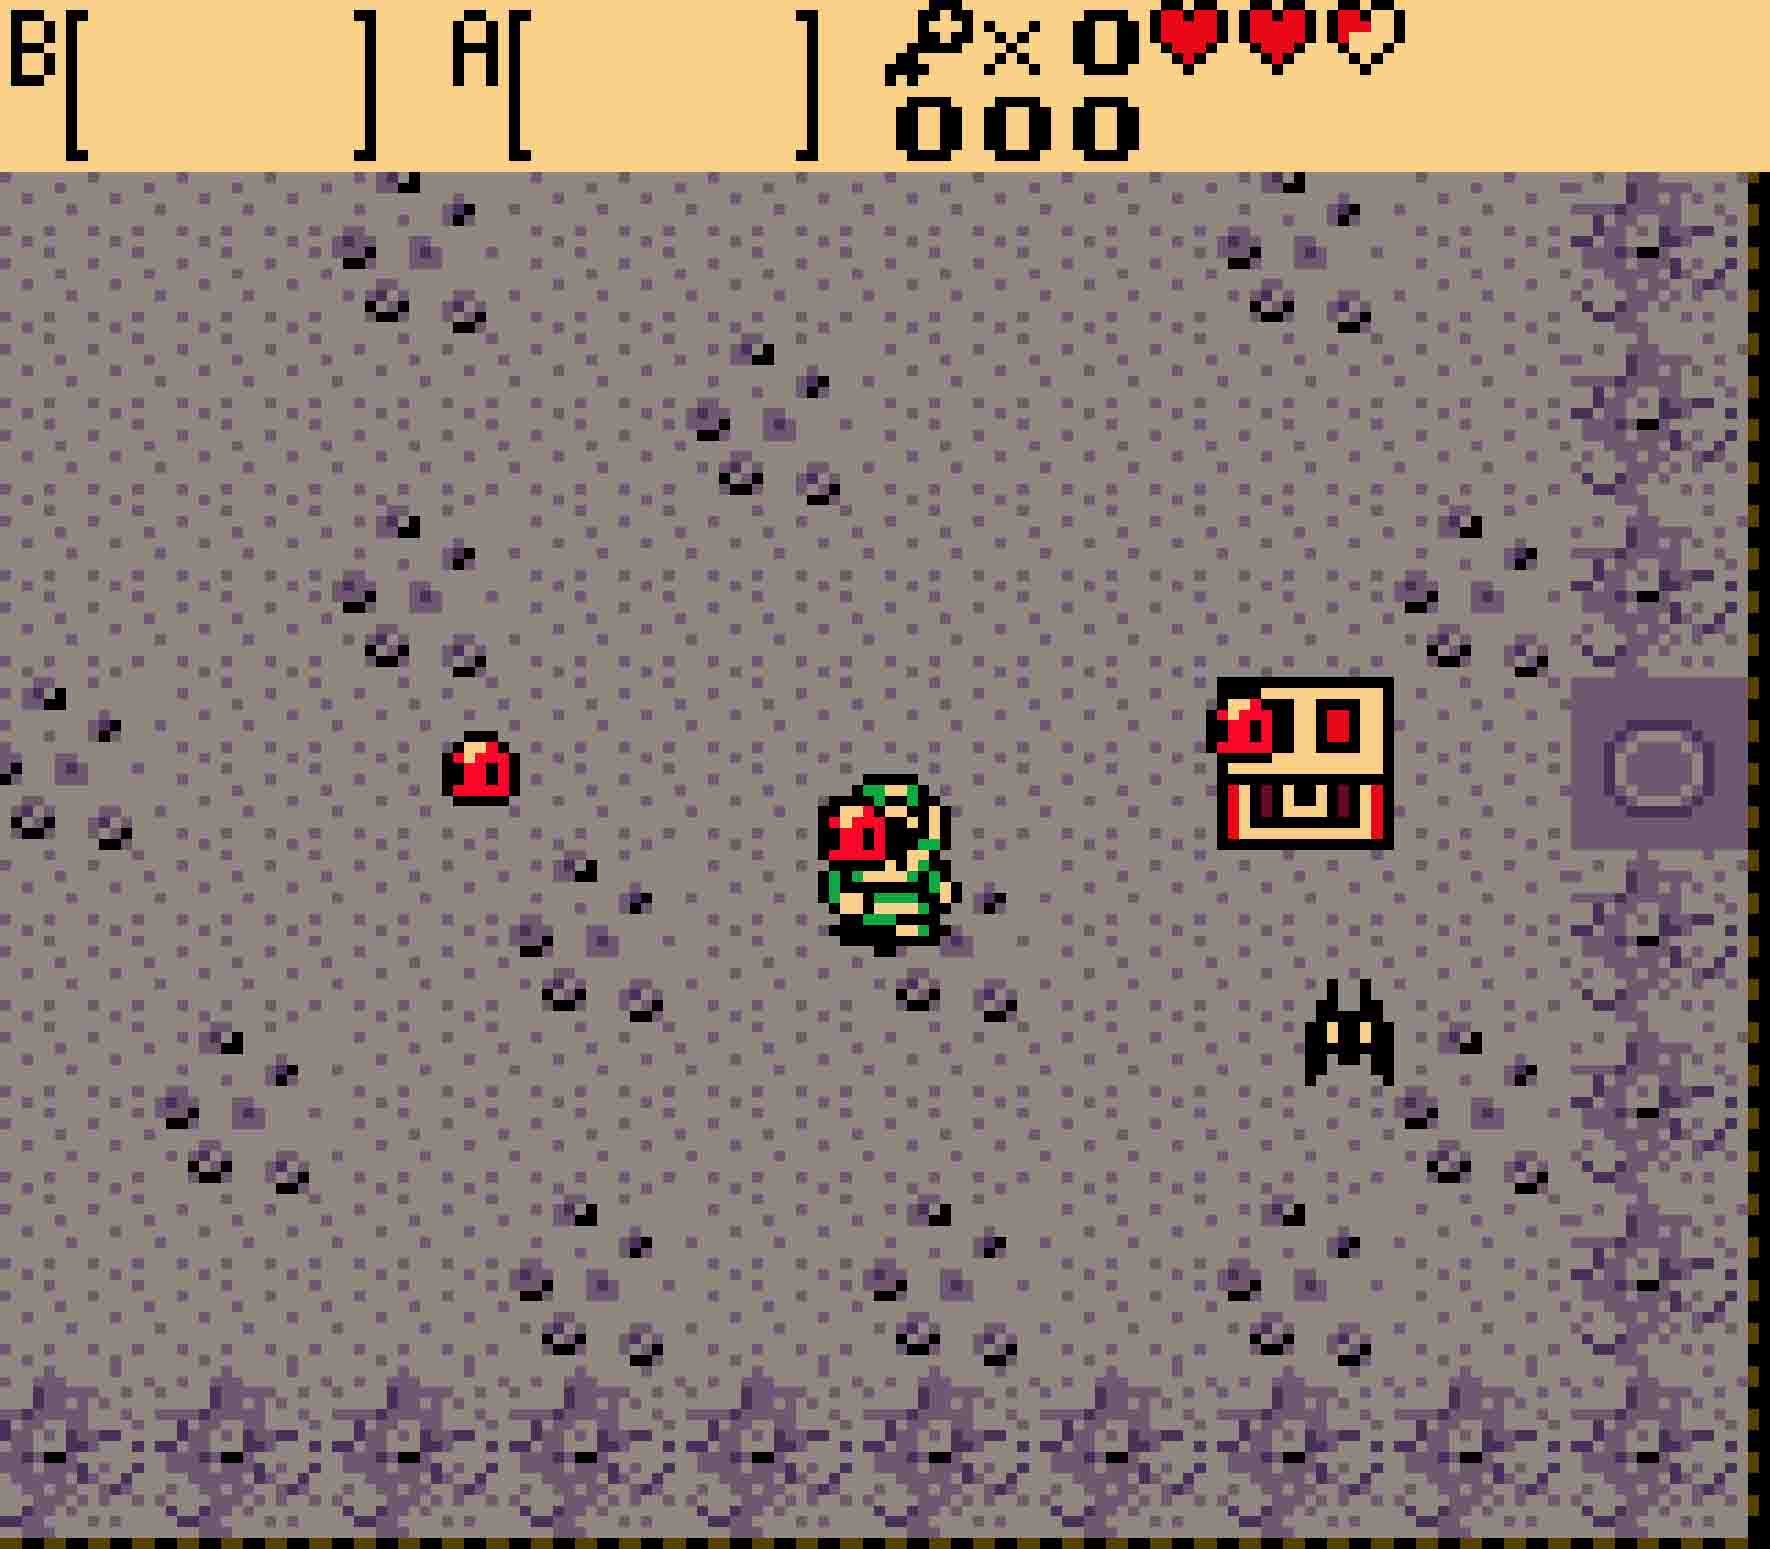
You’ll have the chance to use your small key in the next room. Avoid the Keese fluttering about the room, and unlock the door you find there heading to the east. Walk on through.
The penultimate room of this dungeon introduces green Zols. These enemies, while mostly harmless, will bob slowly toward you before eventually jumping. Still they’re easy to avoid. Press the switch along the northern wall in order to open the door just on the other side of the gap. Then walk around the gap toward the far right of the room so that you can come back around to the door you just opened.
Within you’ll find a treasure chest up high upon a dais. Open it up, and you’ll find earn the Level 1 Sword.
1.6 Visit the Maku Tree
With a sword in hand, you now have earned your courage, so it’s time to head back to Horon Village. The game will deposit you just outside of Hero’s Cave. From there, head west. You can now defeat the Octoroks there, but still beware of the rocks they spit out. After heading west, head north a screen, and then proceed all the way to the east until you enter Horon Village once again.
The Maku Tree is on the east side of the village. You can make it to him regardless of Horon Village’s season. From the northwest corner of Horon Village, head one screen right, one screen down, and three screens right. If the season is winter, you will have to navigate around a snowdrift in town, but that shouldn’t cause you stress. When you reach the gate between the two hollow trees, swing your sword so you can hold it up high! This will prove your courage and allow you entry.
Din was taken while I slept? There’s no sign of the Temple of Seasons?!? This is awful!!! Guarding the Oracle is my duty… Alas, how I’ve withered!
The Maku Tree inside, however, is sleeping. Walk up to it and slash your sword at the bubble coming out of the tree’s nose. This will wake it up, and you’ll then have to listen to a lengthy monologue about how Holodrum has fallen into chaos. The Temple of Seasons has fallen, and your job is to put it to rights. Your first quest is to retrieve the first of eight Essences, the Fertile Soil. In order to help you along the way, the Maku Tree will give you the Gnarled Key, which you’ll need to enter the first dungeon.
-

- Raise your sword high when you approach the gate to enter.
-

- Inside, the Maku Tree will give you the key to the first dungeon.
1.7 Buy a shield
Once you’ve finished your conversation with the Maku Tree, it’s time to be off to the first dungeon since you now have the key for it. But perhaps you’d like to take a small detour first.
Head south two screens and then west three screens, passing Vasu’s Ring Shop and a fountain en route to the town store, which is your destination. Now that you’ve completed the first mini-dungeon and spoken with the Maku Tree, the shop will finally be open for business, and if you’ve collected enough rupees, you should have enough cash on hand to buy the entry-level shield of the game. Go ahead and get it; it will pay dividends as you continue the game.
If you’re playing this on a Game Boy Advance, you can head to the Advance Shop in the northwest of Horon Village and purchase the GBA Nature ring for 100 Rupees whenever you have them. Unfortunately, this can only be done when playing on a Game Boy Advance system; otherwise, the shop will be permanently closed.
1.8 Enter the Gnarled Root Dungeon
Before now, you couldn’t pass without a sword.
Now it’s officially time to get things rolling. From the shop, head north until you leave the Horon Village. You’ll be plunged back into winter as you pass the house where Impa is staying. You can stop and chat with Impa along the way, but she won’t have much help to offer right away.
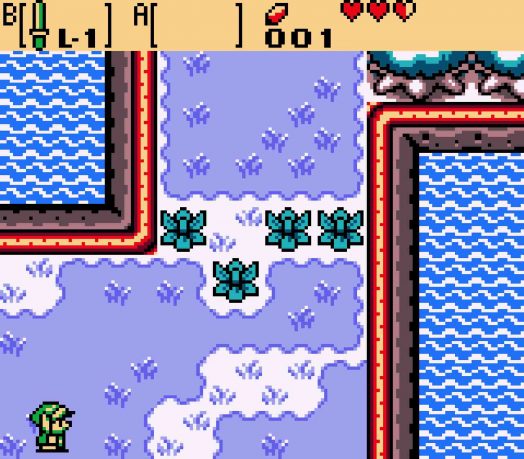
Continue north until you see the lake further on. You can get around the lake by heading east and then north once more after slashing through the bushes blocking your way. About now you’ll start running into enemies again: Octoroks mainly. But they don’t provide much challenge. Once you finally get here, you’ll see a bridge crossing over the lake to the left. Slash down the bushes blocking the bridge and head west until you reach the island in the middle of the lake.
There you’ll find a stump in the ground with a suspicious-looking keyhole in it. Walk up to it so you can place the Gnarled Key within it, and then the dungeon will unearth itself from the ground. Head inside.
-
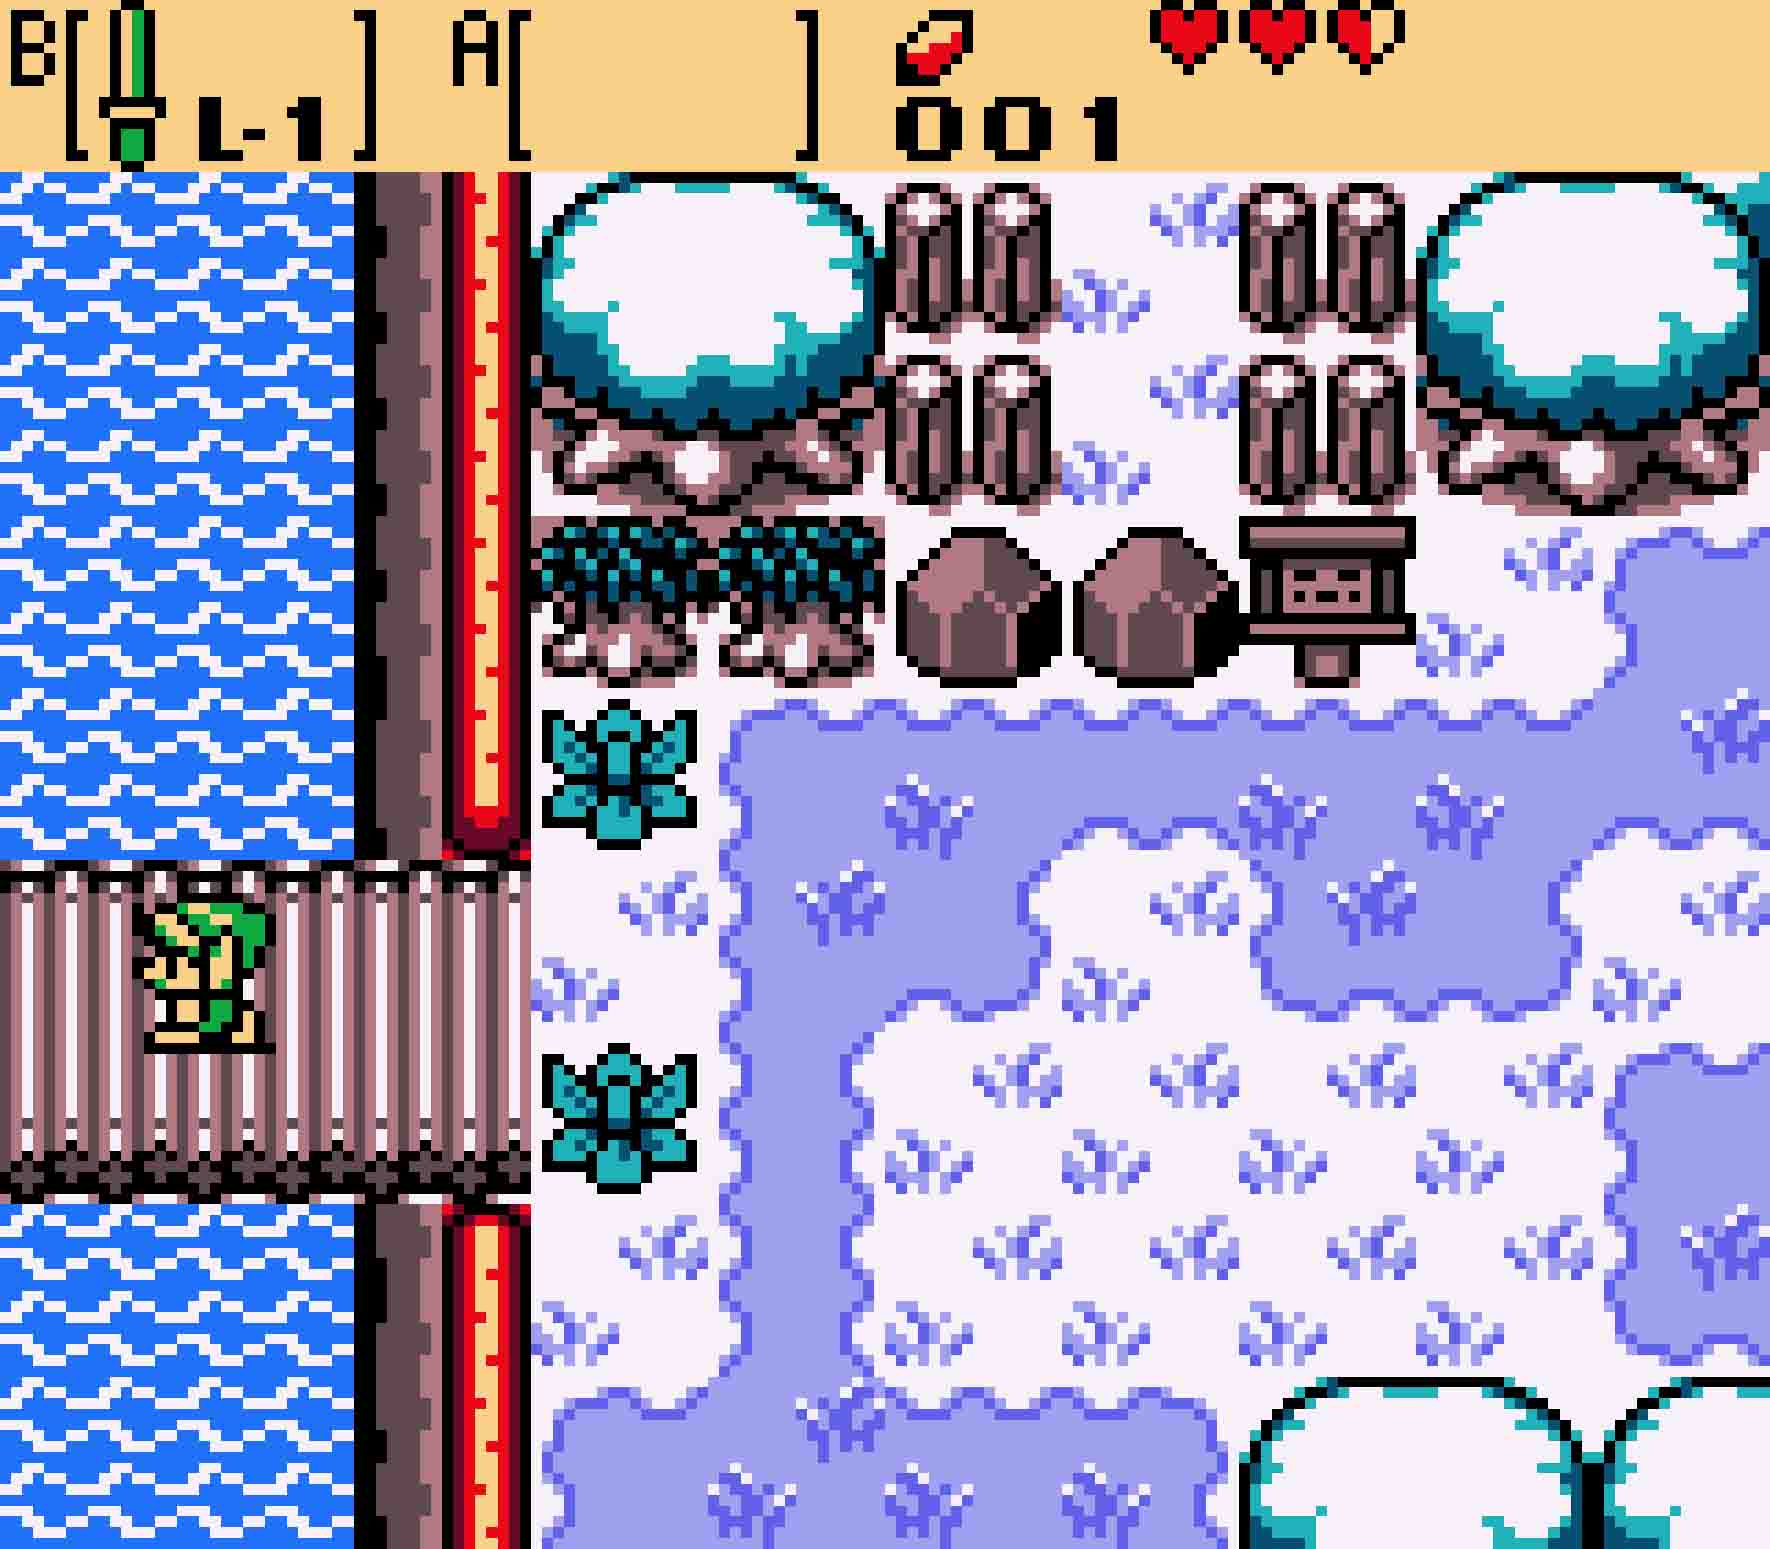
- First cross the bridge to reach the island…
-

- Then use the key to access the first dungeon.