
Room of Rites
- 21.1 Pass the Eyes of Deceit
- 21.2 Thwart Koume and Kotake
- 21.3 Defeat Twinrova
- 21.4 Destroy Ganon
- 21.5 Rescue Princess Zelda
21.1 Pass the Eyes of Deceit
Once you defeat Onox’s dark dragon form at the end of Oracle of Seasons in a Linked Game, you’ll immediately be granted full health by both Din and Nayru. Furthermore you’ll be teleported to the Room of Rites, the ultimate last fight that will capstone the two games.
Even though you have full health, it is definitely recommended that you have the Magic Potion in your inventory. Thankfully, you’re not stuck here in the Room of Rites. You’ll spawn in standing atop a teleporter that will take you back to the Maku Tree, allowing you to prep, trade out for some useful rings, and finish finding any Pieces of Heart or whatever else you need to do before facing Koume and Kotake’s last stand.

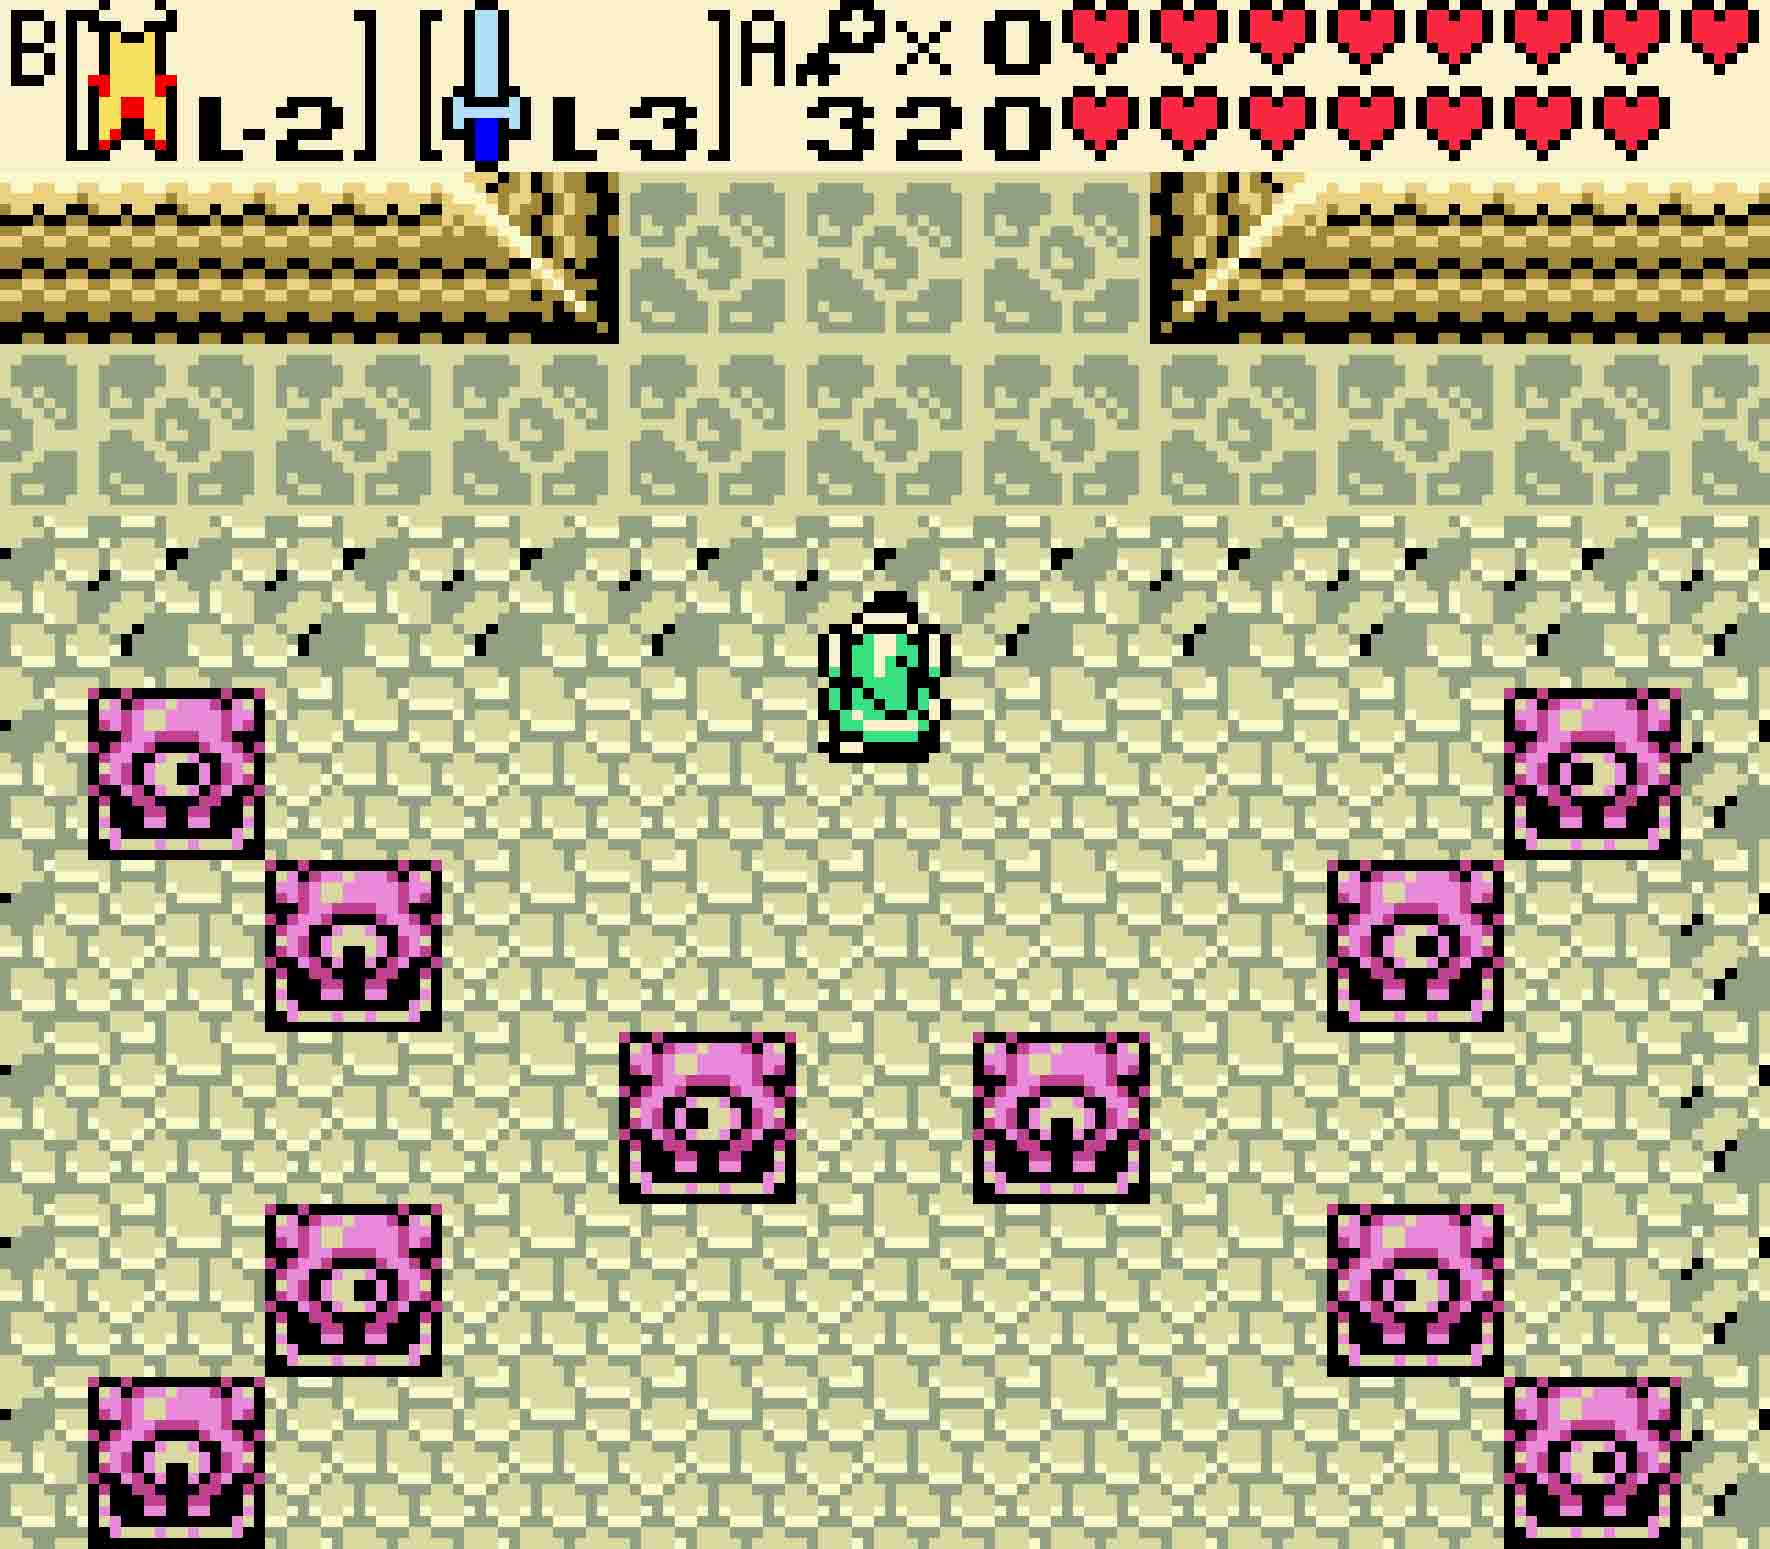
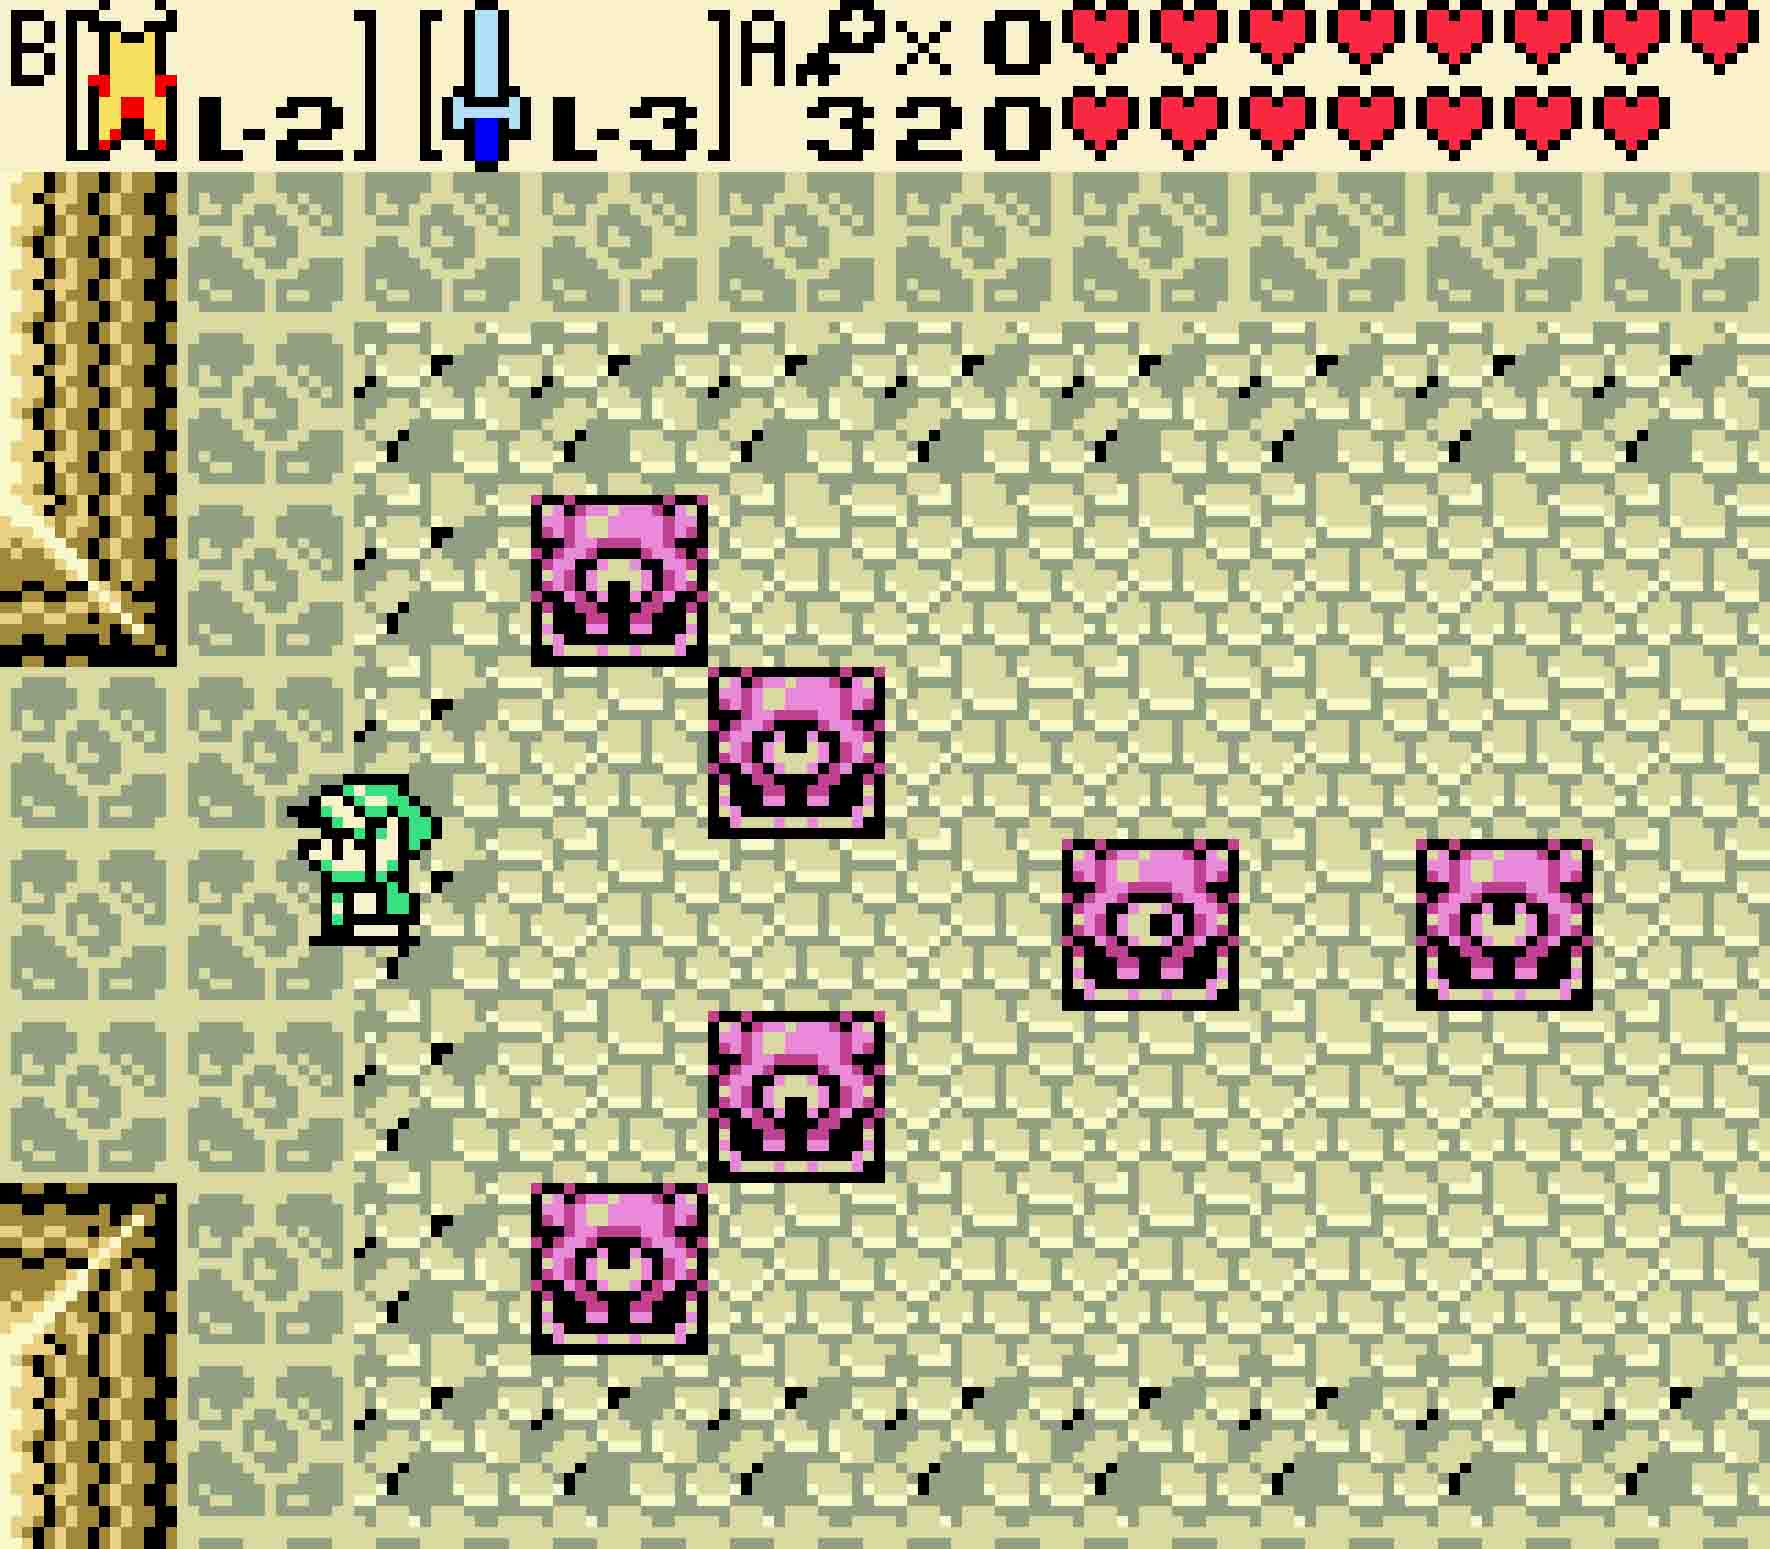
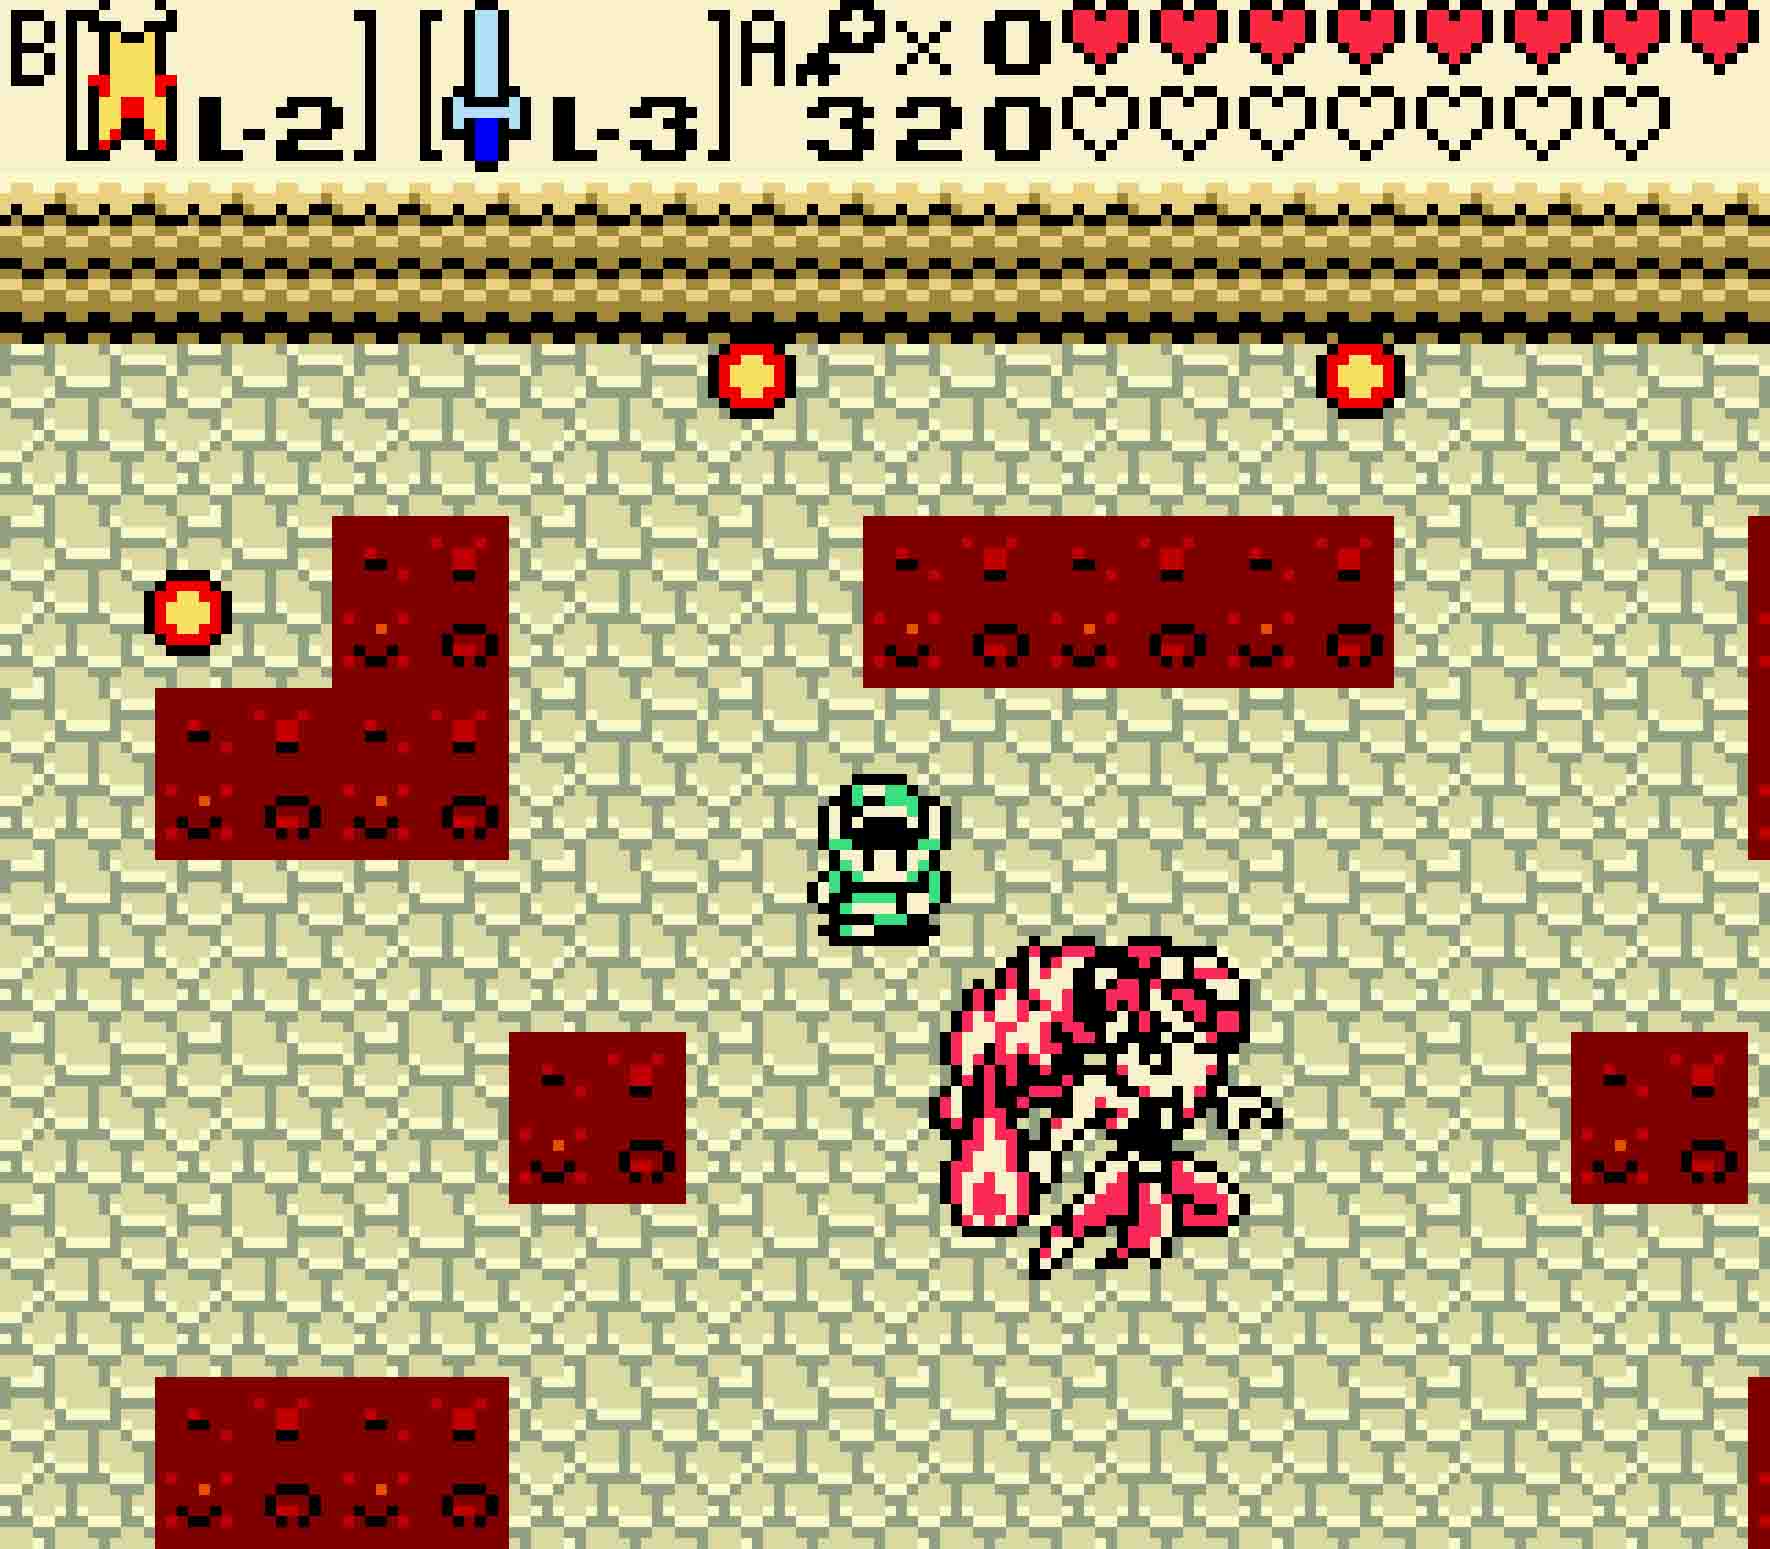
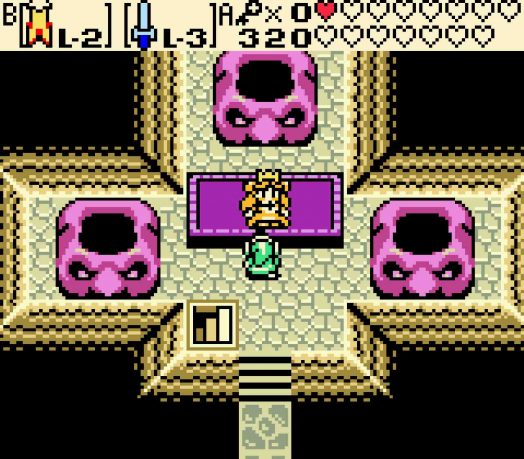
Once you are ready to proceed, head north. You’ll find yourself in what seems to be an infinite maze of rooms. So long as you don’t head back southward, you’ll never seem to make any progress as you’ll keep ending up back where you came from. However, there is a secret to passing it. The Maku Tree will tell you that these are the Eyes of Deceit. Simply put, let the statues’ eyes bounce around for a bit. They’ll eventually all come to a stop with each of them facing a direction. If you see an eye facing a particular direction, you shouldn’t go that way. For example, if you see eyes facing northward, southward, and eastward, you’ll want to go west. As a note, the eyes will never have you go south (as that will take you back to the beginning), so all you need to do is to look for eyes facing two of the other three directions.
Once you pass by a series of rooms in this fashion, you’ll eventually break the cycle and find yourself up at the stone slab upon which Zelda has been laid. However, the moment you try to approach her, you’ll be pulled away by the twin Gerudo witches.
-
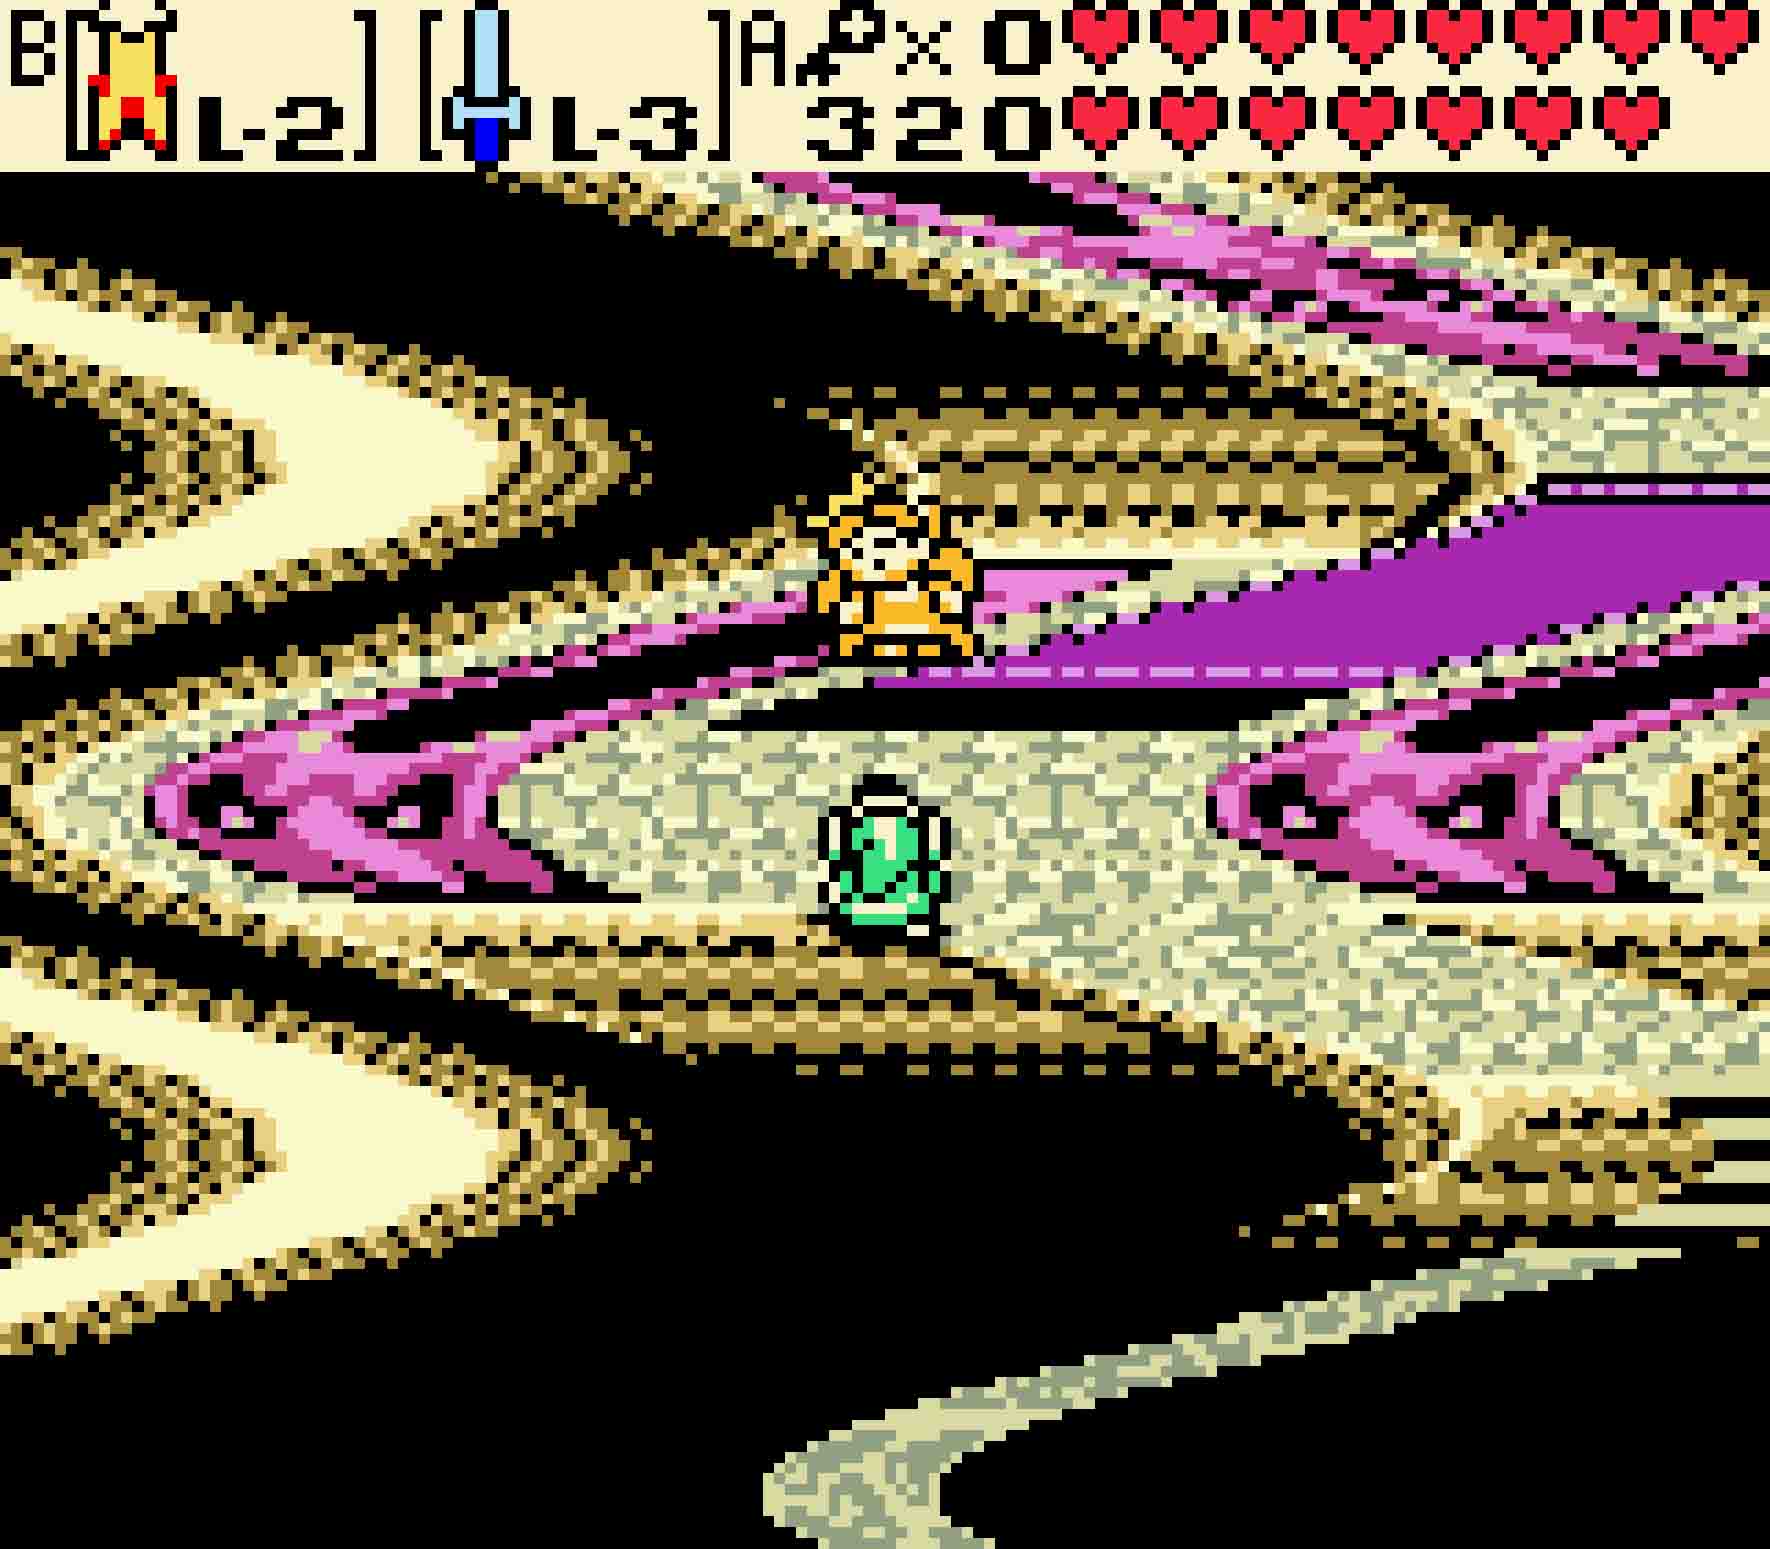
- Always go the direction the eyes aren’t looking. Eventually this will bring you to Zelda.
21.2 Thwart Koume and Kotake
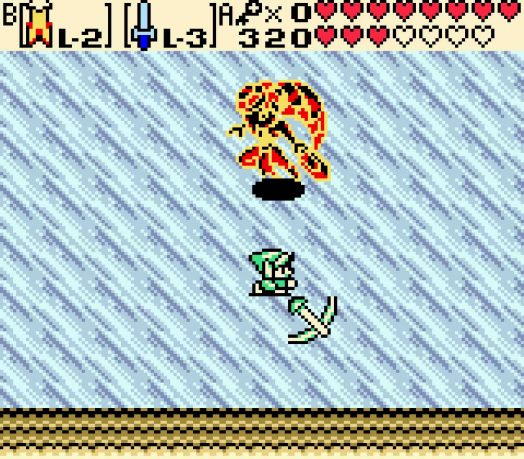
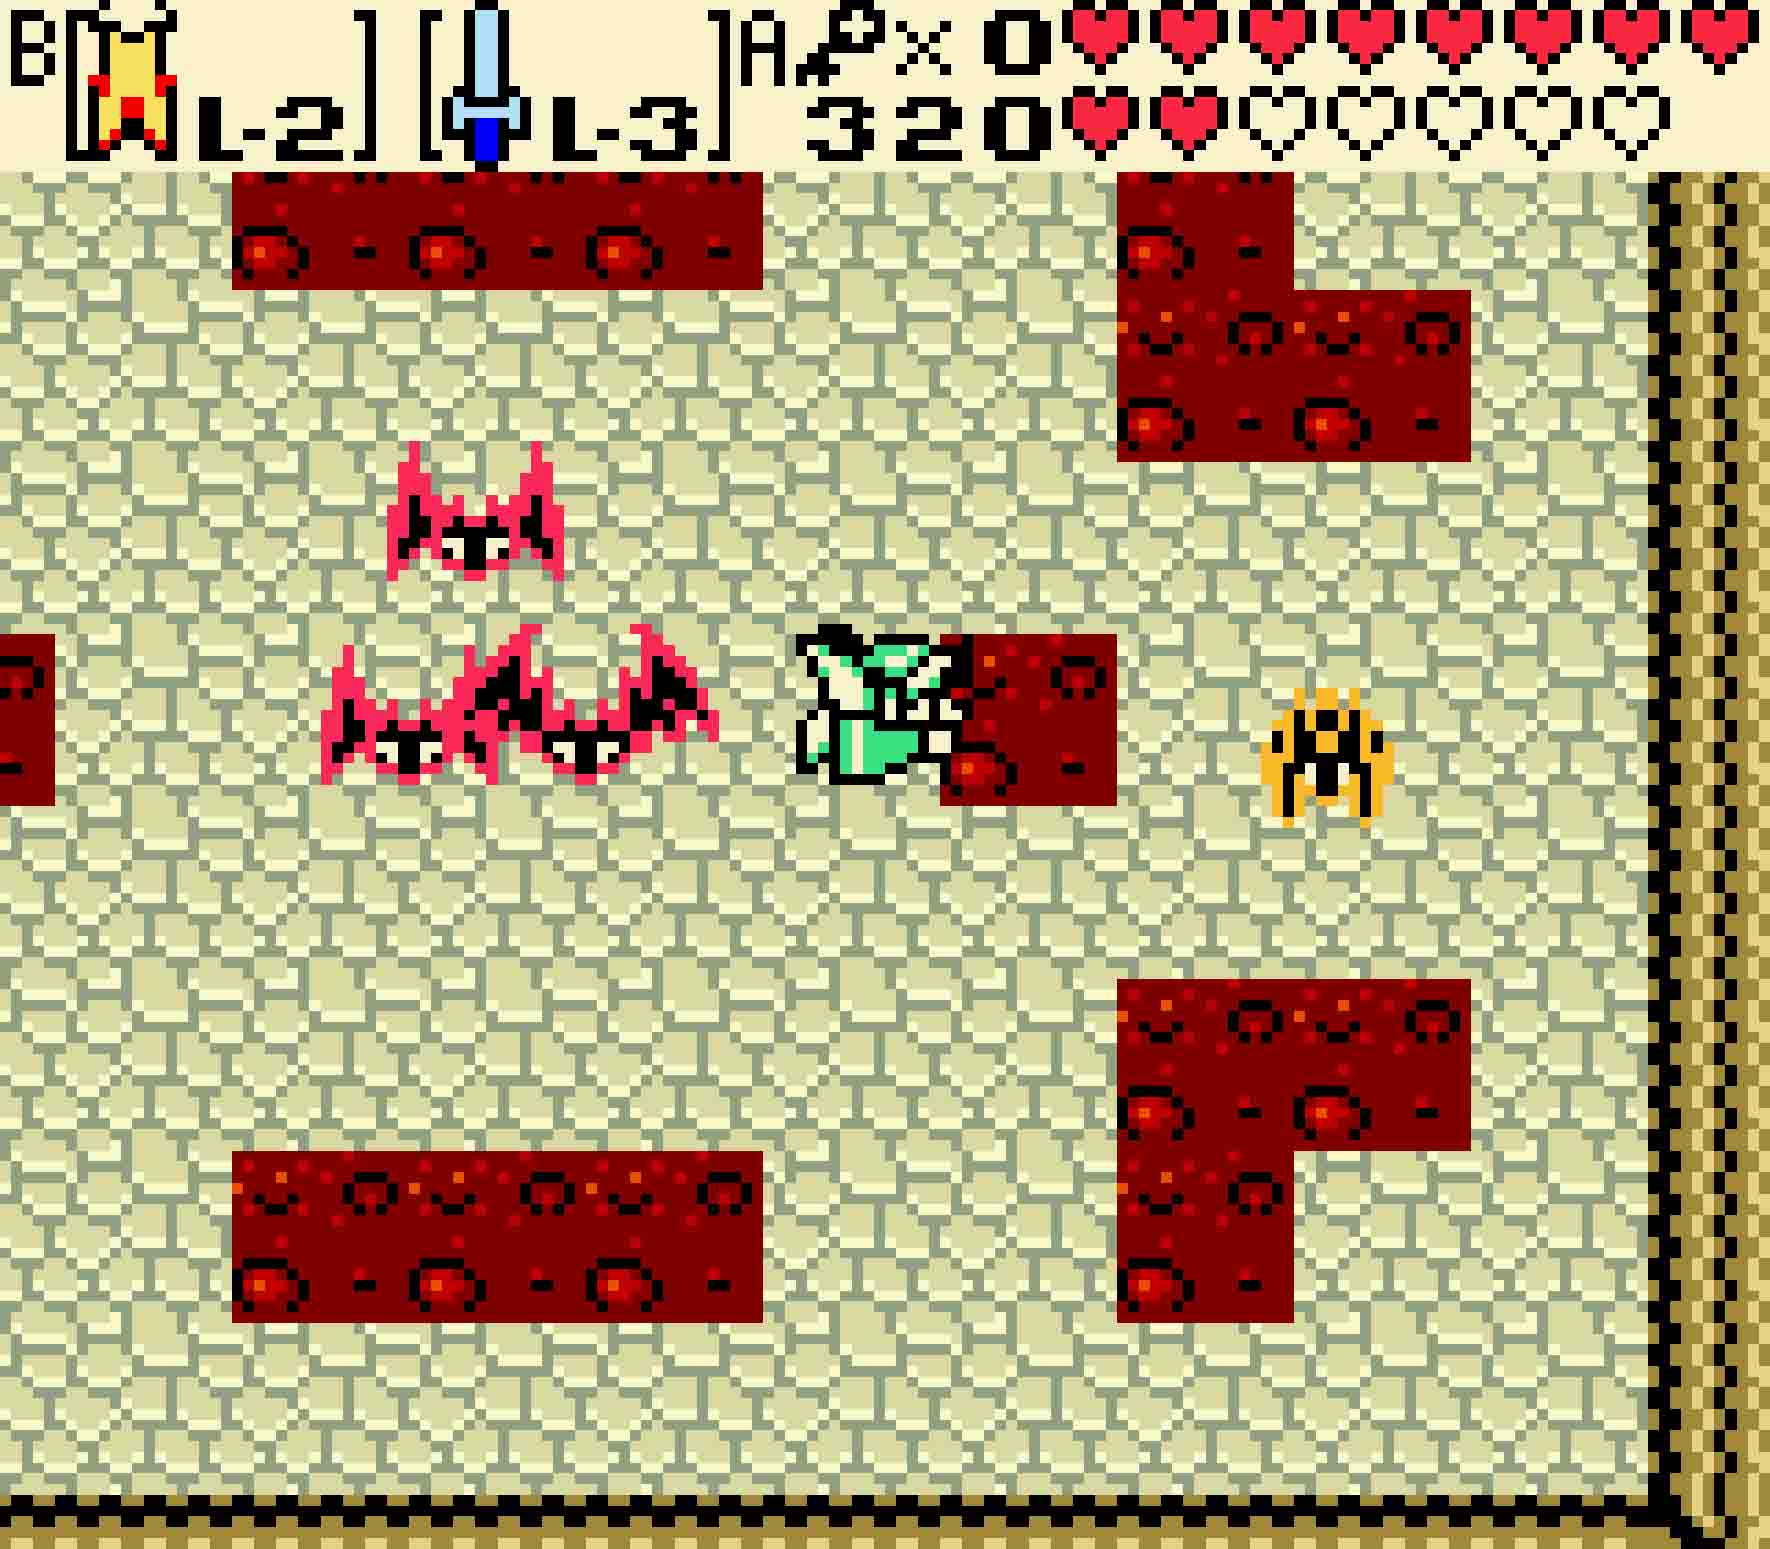
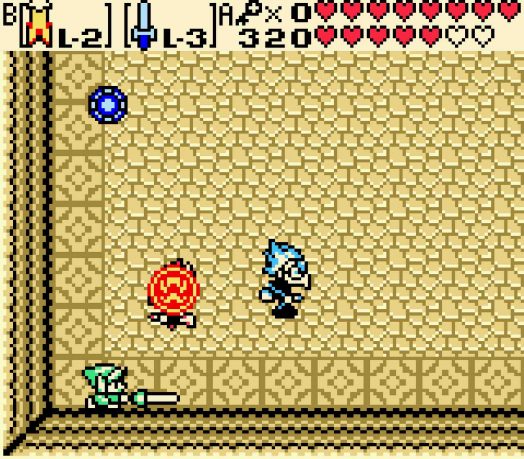 At first, the duo will attempt to take you on as their individual forms. Just as they were in Ocarina of Time, Koume is the red witch wielding spells of fire, and Kotake is the blue witch hurling ice magic. The two will fly around the room upon their broomsticks. Even though they’re low to the ground (and therefore can injure you just by bumping into you), you can’t do any damage to them… at least directly.
Outside of generally being a nuisance and running into you, they only have one attack: fire and ice magic respectively. As with most fire- and ice-wielding characters, they’re naturally vulnerable to their opposite elements. In this case, you can bat their spells away by swinging your sword. Doing so will launch the projectile back in the opposite direction, and if you’re lucky you’ll strike the opposite witch in the process.
This can be, unfortunately, a very tedious and tiring process. Because of the design of dungeons in the Oracle series, you won’t be able to see the entire room you’re standing in from one spot. That means oftentimes you’ll be shooting blind when trying to deflect magic from one witch back towards the other. And given that the witches are pretty fast fliers, you can’t simply follow them around all that easily (at least not without Pegasus Seeds). So patience is definitely a key here. However, the lower corners of the room tend to be safe spots from the witches’ flying, so those are good ways to not take damage. In case you do get caught in a pickle, if you have the Mirror Shield, you can defend against their attacks as well.
-
- Fighting the two witches can be tedious; half the time they’re not even on screen.
-
- Patience and luck are virtues. Just keep swinging in hope of success!
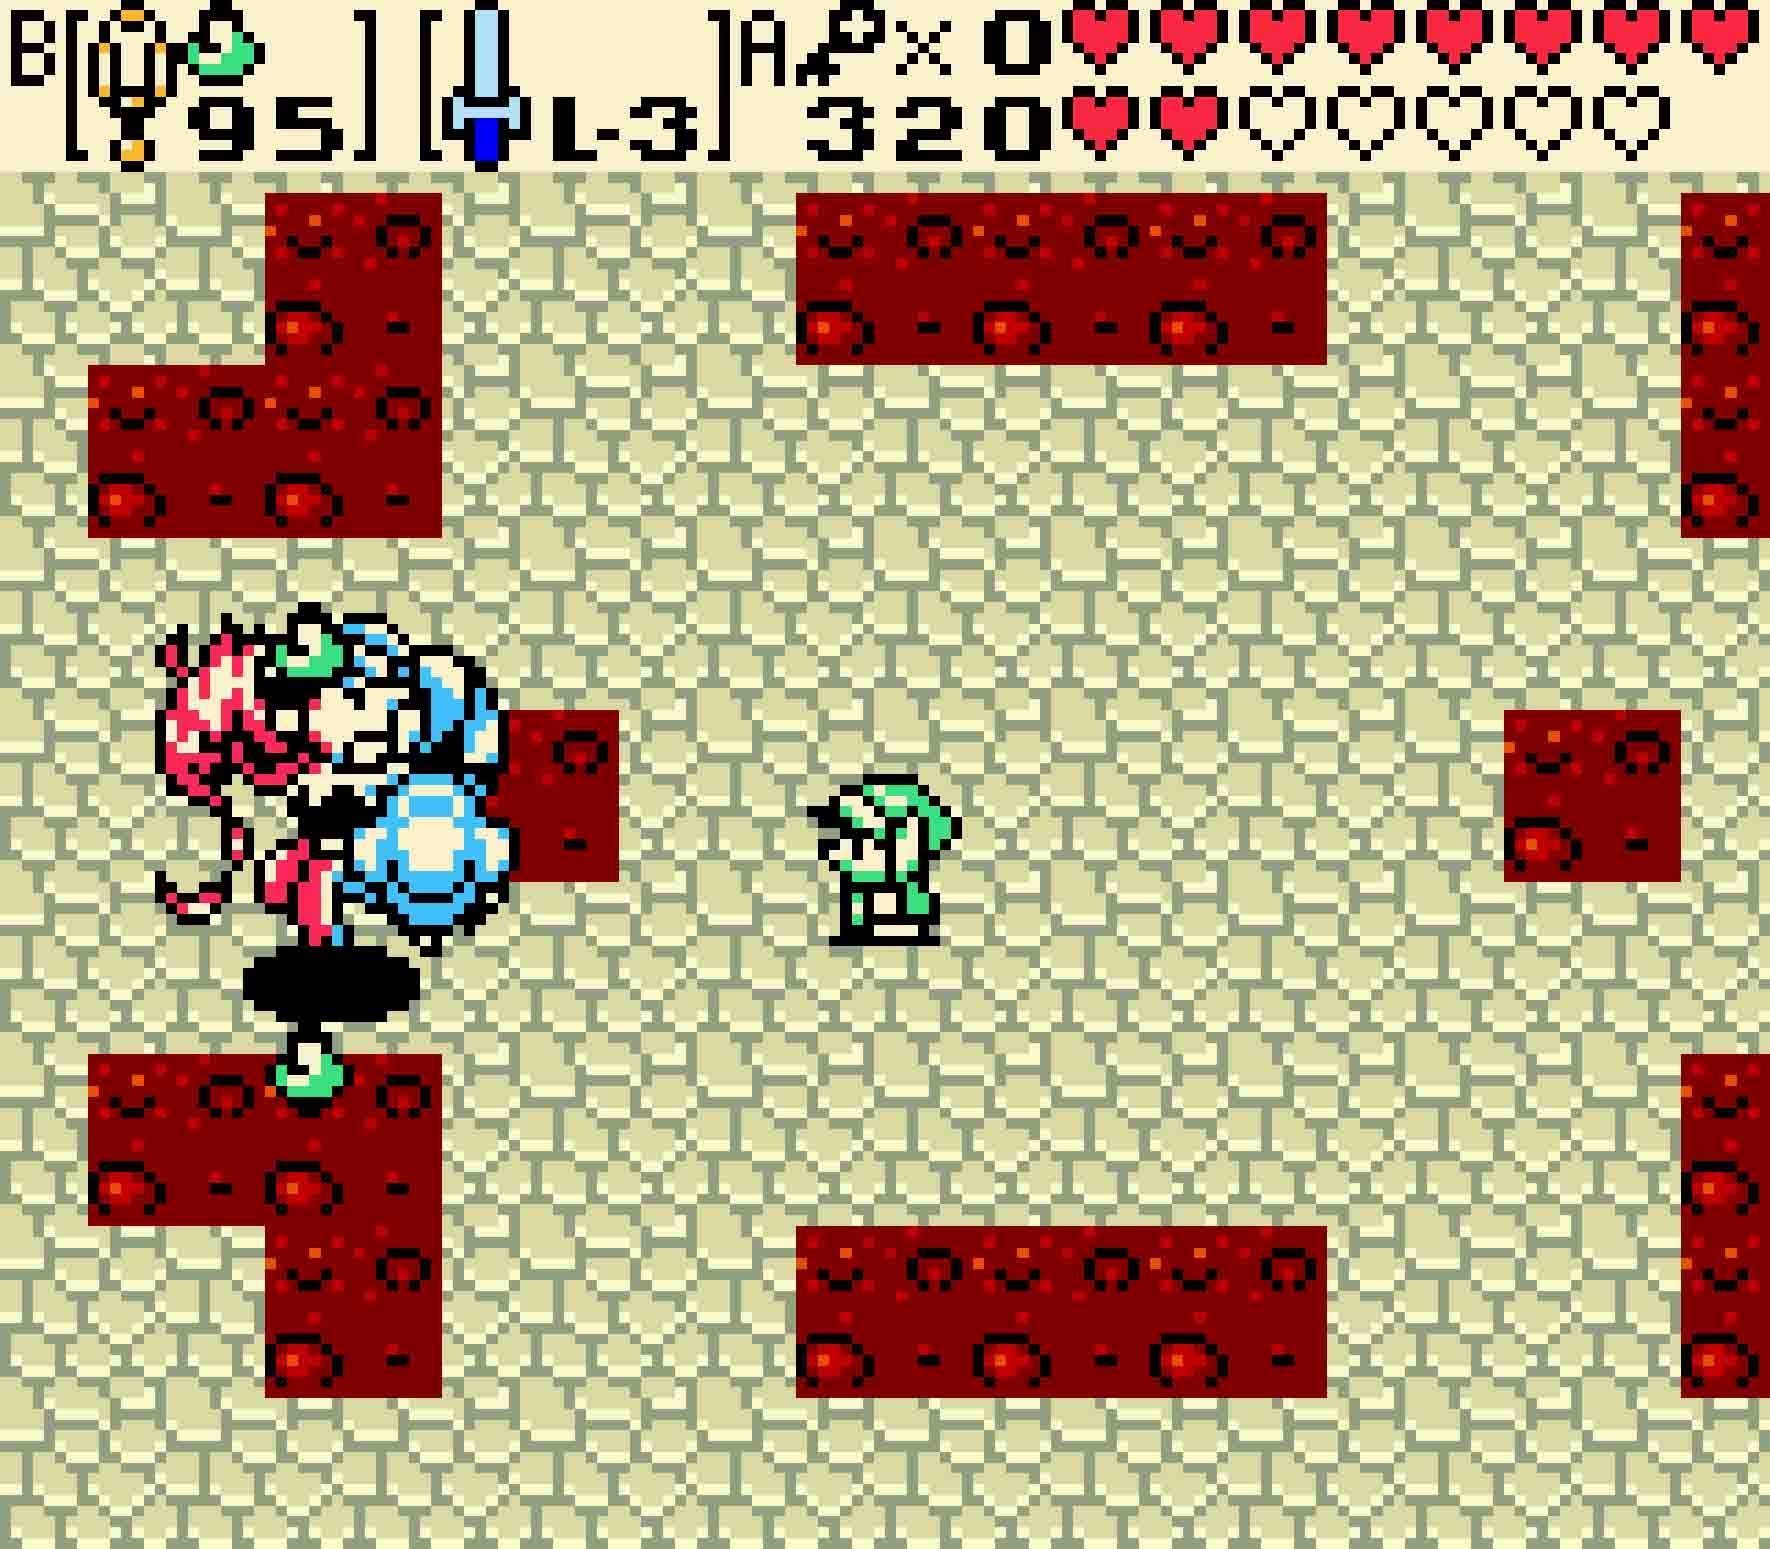
You need to strike the witches three times total, regardless of which witch gets hits each time. Strike Koume with two ice spells and Kotake with one or even hit Kotake with all three: It doesn’t matter. Once you score your third success, Koume and Kotake will combine into Twinrova and try a new tactic.
21.3 Defeat Twinrova
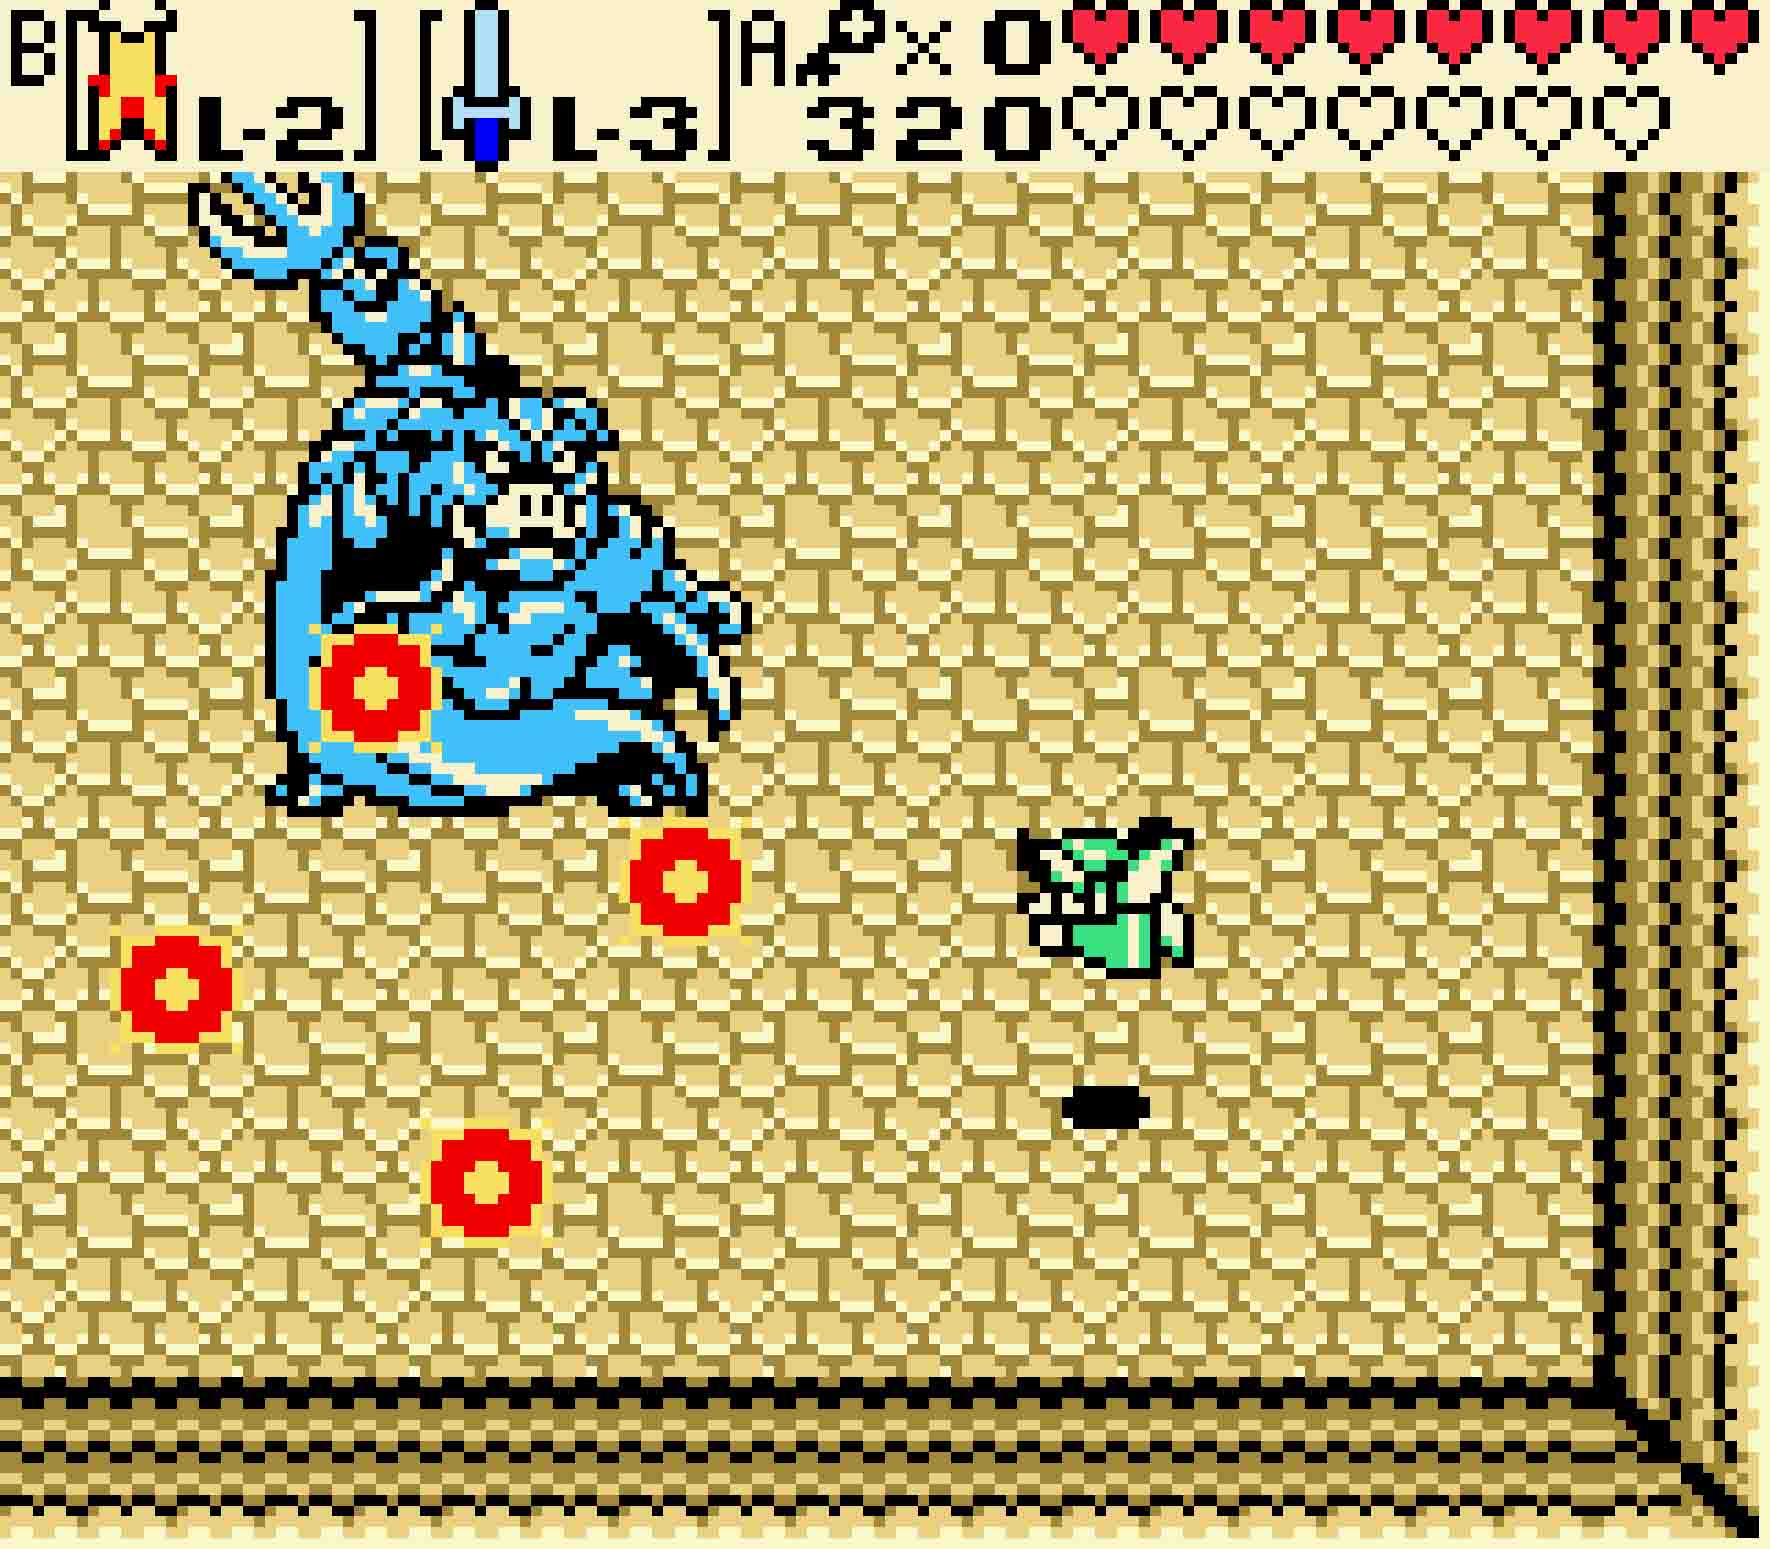
In Twinrova’s icy phase, the floor is iced over. Get a free hit by standing below her just as the room changes.
Twinrova will oscillate between two different attack methods, and both of these will completely change even the nature of the room you’re fighting in. Regardless of which form the room is in, your game plan will more or less be the same. You’ll need to use your sword against Twinrova and strike her several times. If you have the Master Sword, you’ll need to strike her either four times with normal attacks or twice with Spin Attacks. Once you’ve done so, you will stun Twinrova, and you’ll see her split in half, showing both her icy and fiery forms. When this happens, you have just a precious few seconds to bring out your Hyper Slingshot and fire a Mystery Seed at her. Mystery Seeds are the only way to deal true damage to Twinrova. Everything else will just place her closer to being stunned.
In the ice phase of the battle, the floor will be made completely of ice. When Twinrova switches to the icy form, you have a few seconds of opportunity to get a Spin Attack off without having to dodge any attacks. Twinrova will move to the center of the room, and you should stand just above or below her; then let off a spin attack. Shortly thereafter, Twinrova will create two ice spikes to her left and right, and then they’ll be sent off ricocheting off of the walls forever. If you’re lucky, you’ll be able to get a second attack on her just before the ice spikes get sent off.
If not, Twinrova will start flying across the room, pausing every once in a while to hurl some ice magic at you. You’ll need to dodge her direct shots as well as the ice spikes bouncing around. Once you hit strike her for enough damage, you will stun her, and then you need to hit her with a Mystery Seed. Whether you successfully hit her or not, she’ll invariably switch forms to her fiery phase.
-
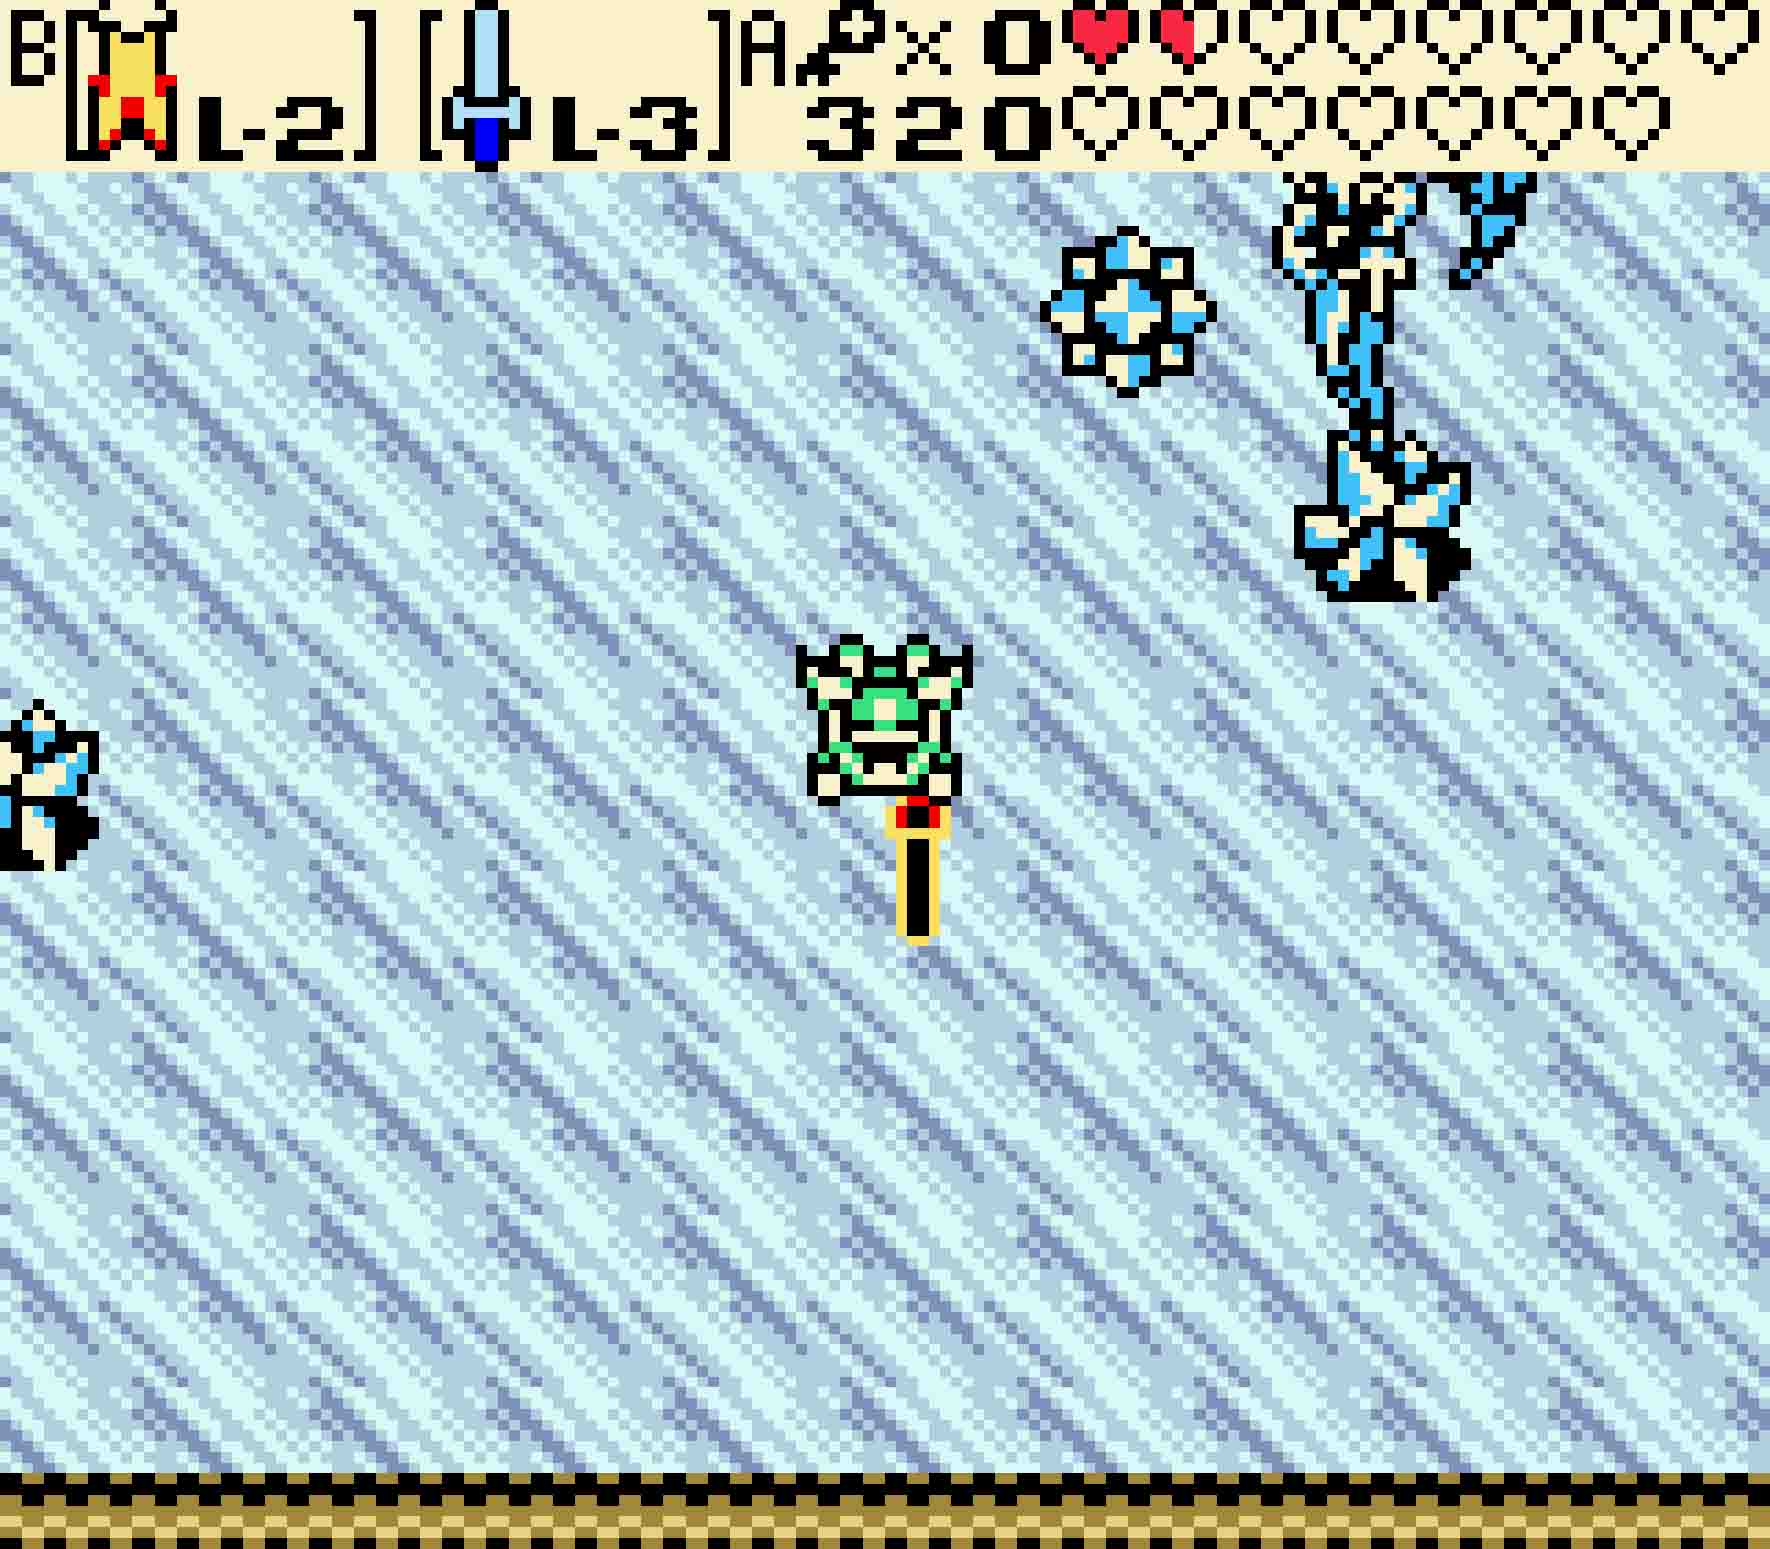
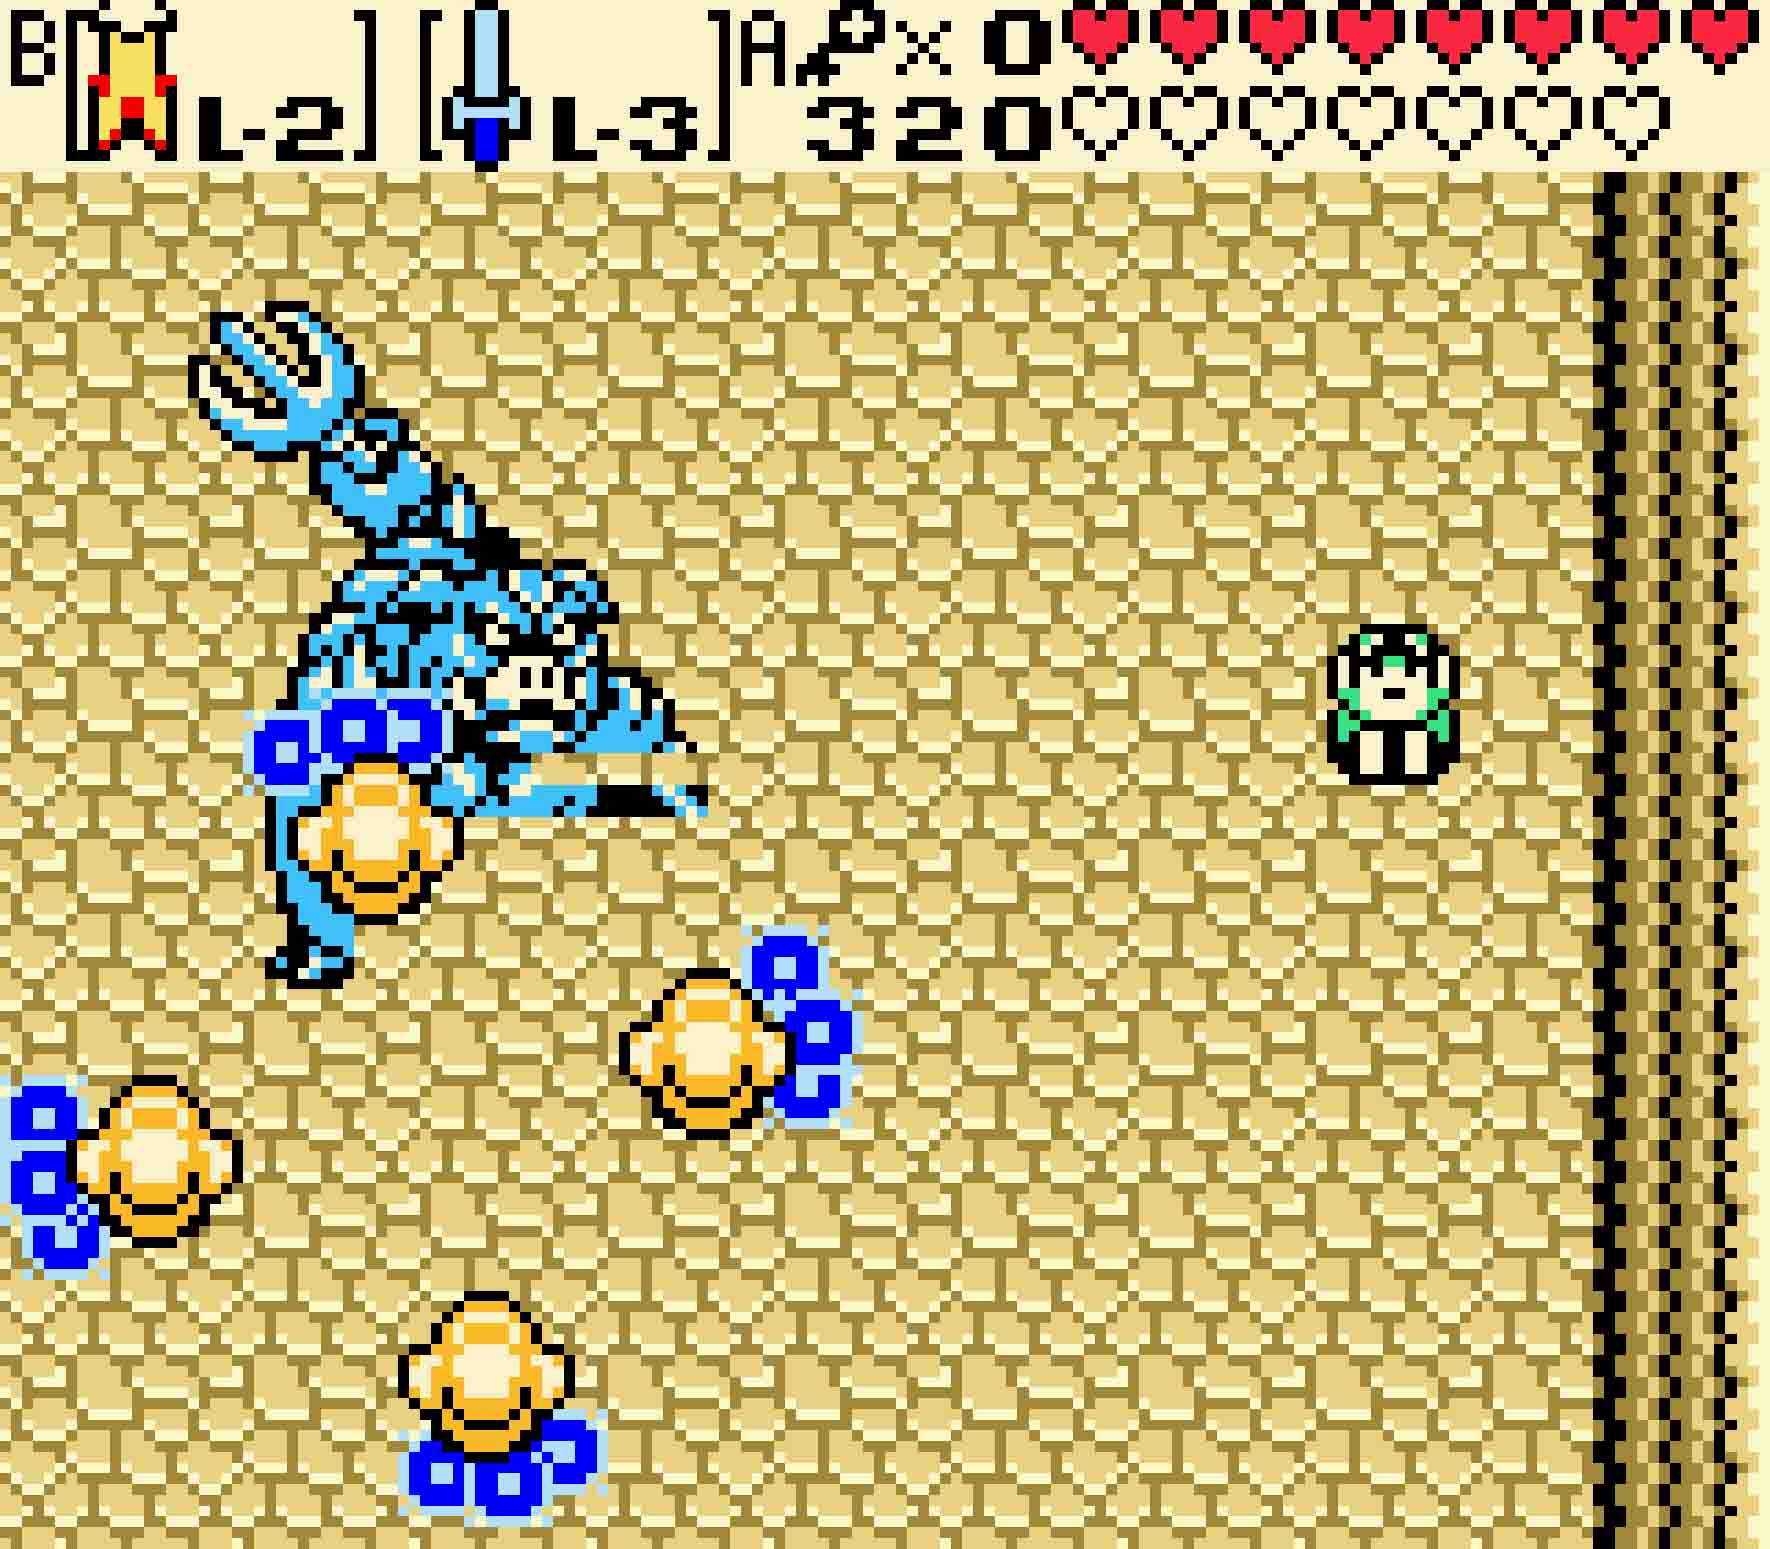
- You’ll not only have to watch for the ice spikes but also Twinrova’s icy spells.
-
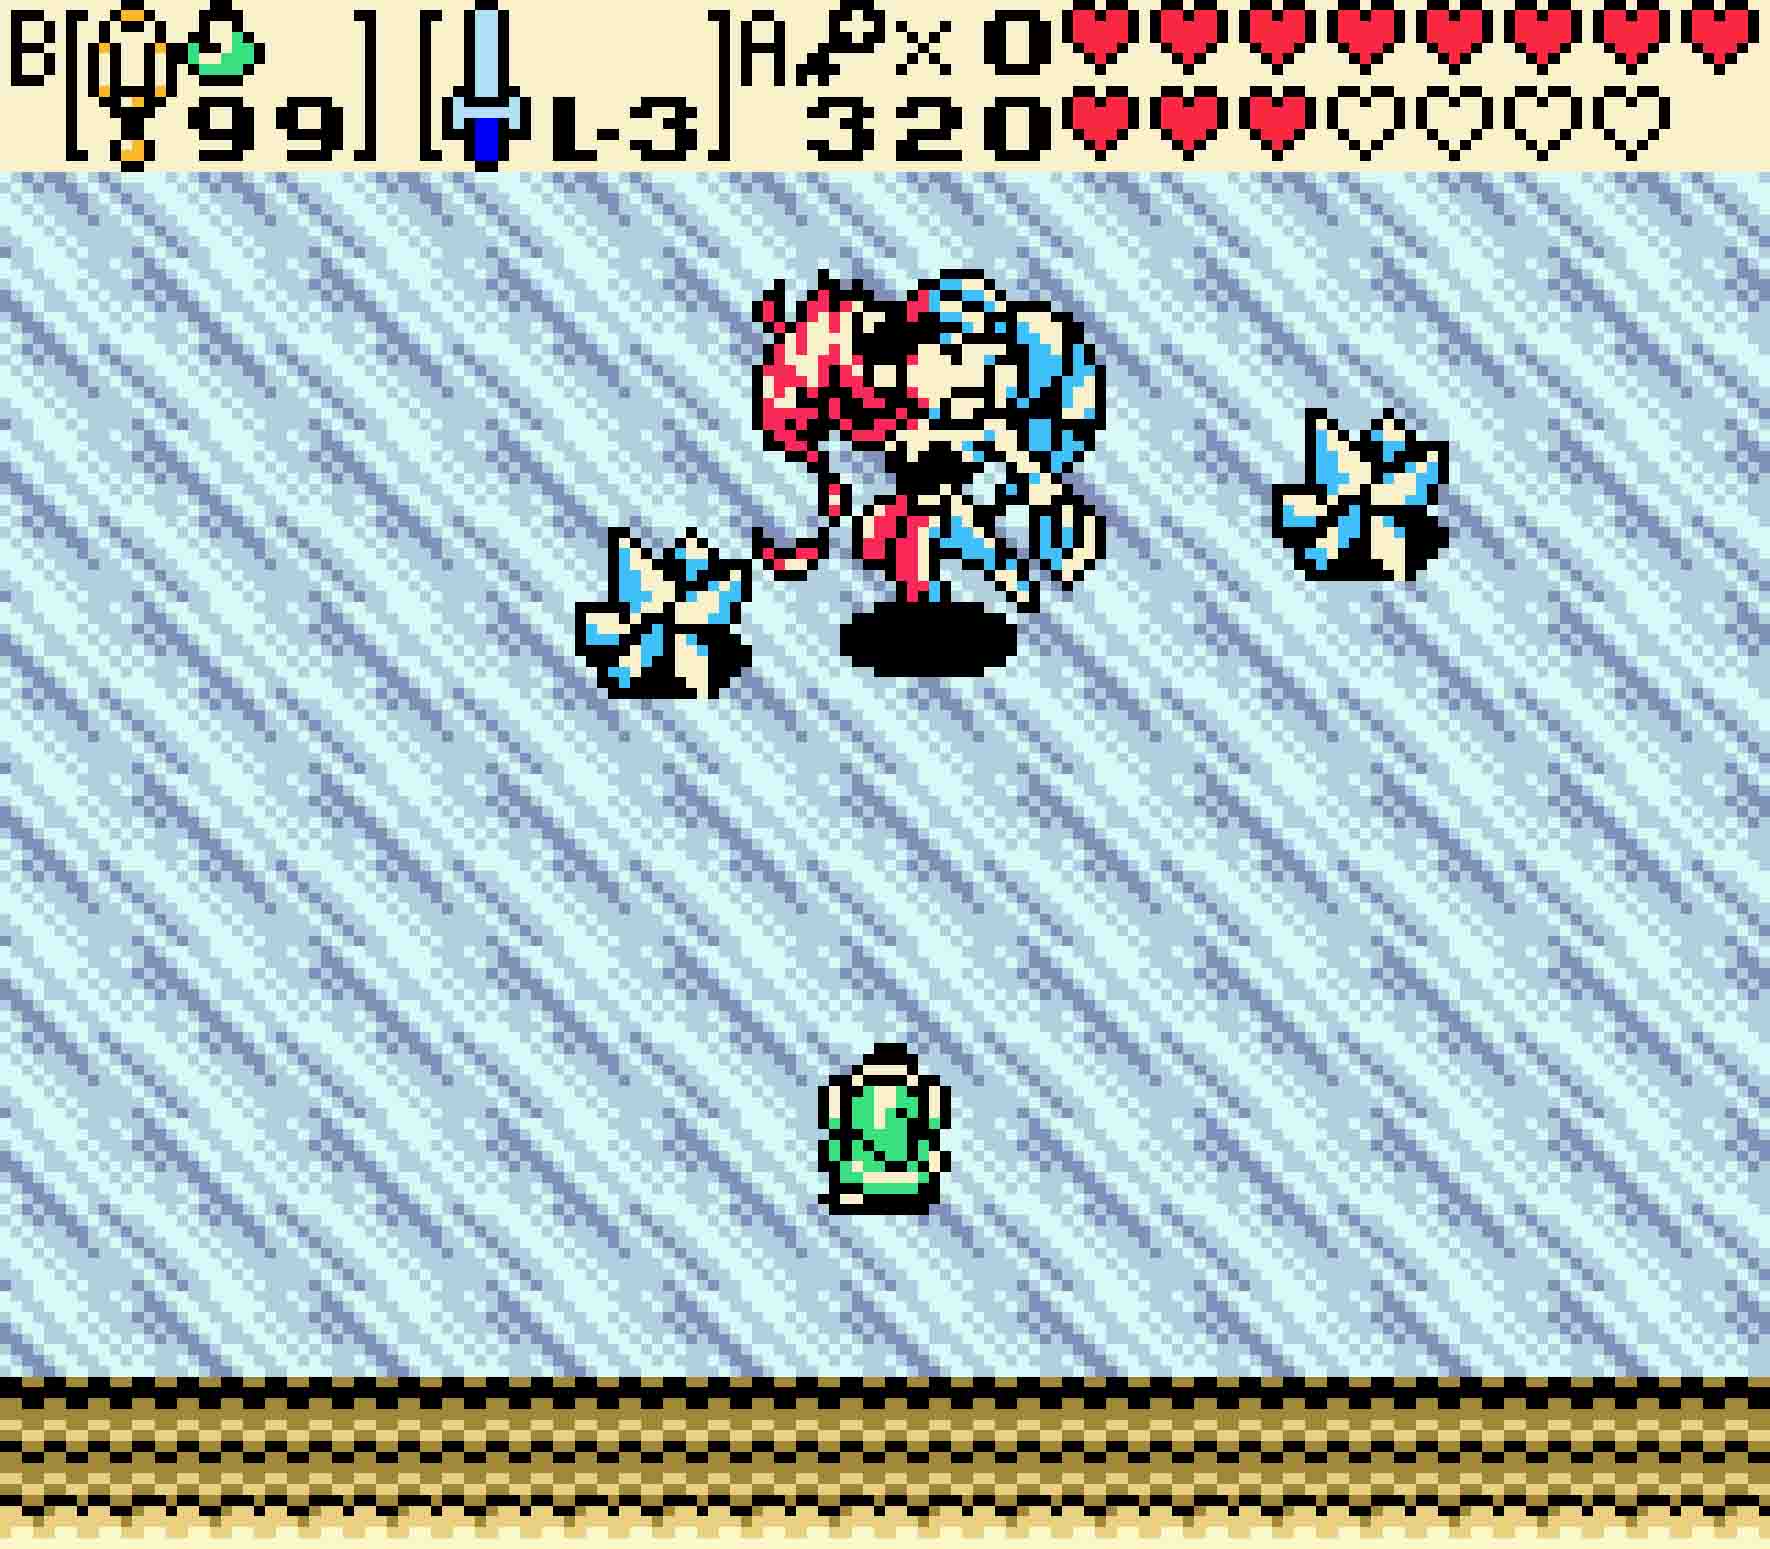
- When you stun her and she looks like this, hurl a Mystery Seed at Twinrova.
As annoying as being on the ice is, the fiery phase seems to be the more annoying of the phases to deal with. Part of this happens to be because striking Twinrova causes a substantial amount of knockback — even if you’re not on ice. And during the fiery phase of the encounter, there will be small pits of lava scattered about the room. As a result, to strike Twinrova without taking damage, you not only need clearance to get to her, but you also need to consider the angle of attack. If you don’t, you’ll get pushed back and fall into the lava. Speaking of the lava, these lava pits are completely deterministic; they always appear in the same spot. So you can always get a safe hit — when the game switches to the fire phase, by standing down and to the left or down and to the right at about a 45° angle from her.
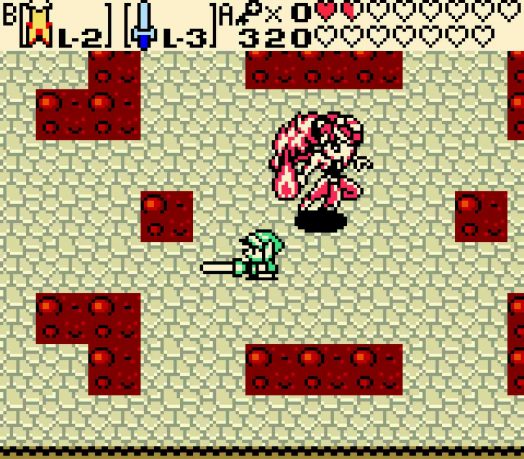
Your free hit at the beginning of the phase is to stand just down and left or down and right from the center of the room.
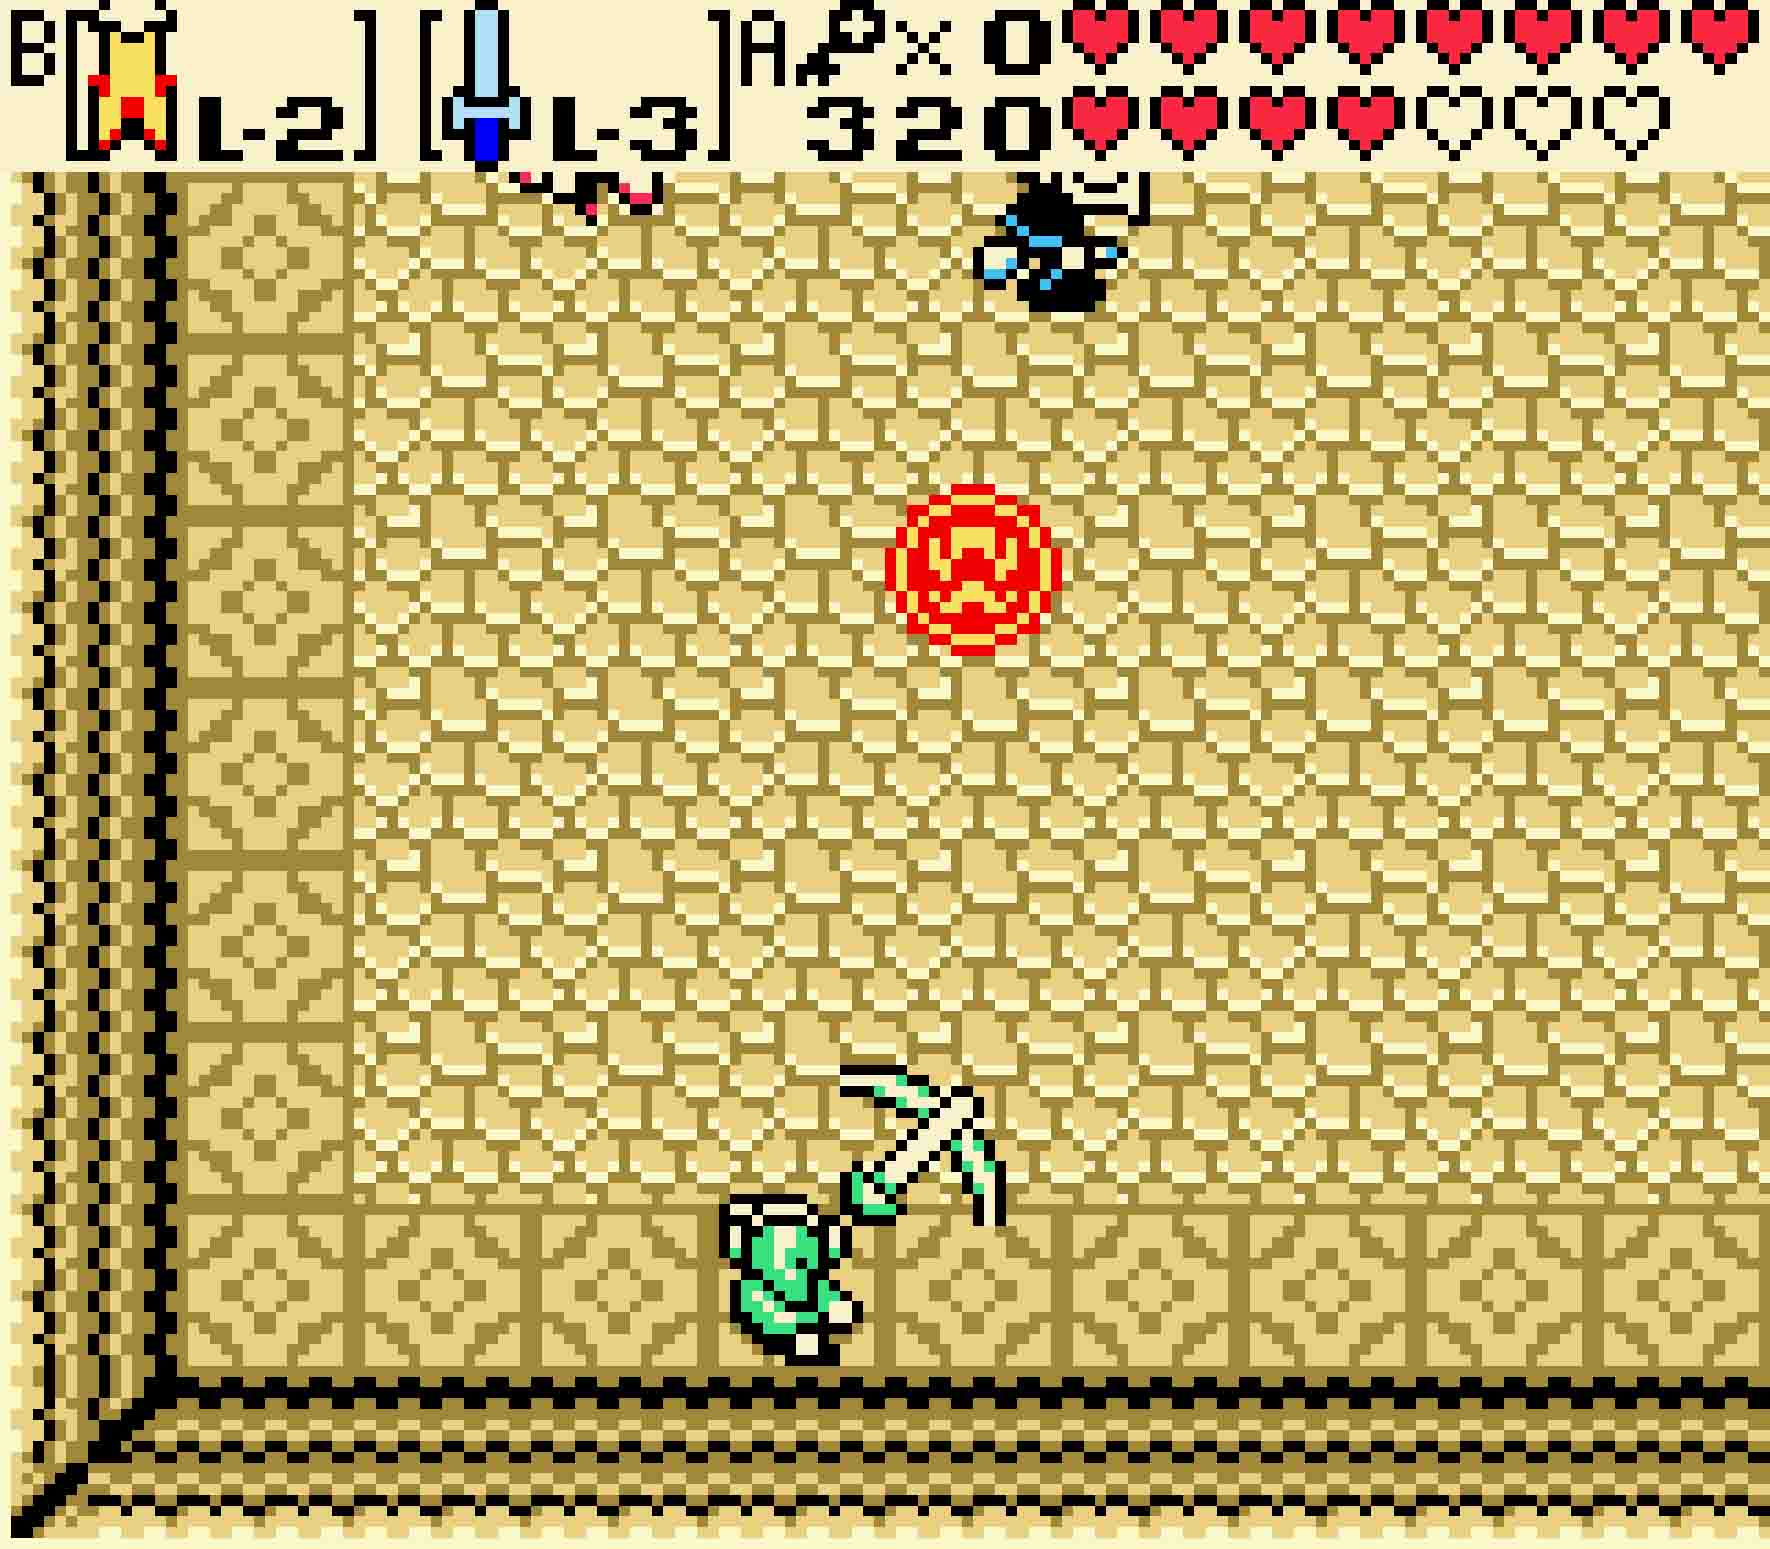
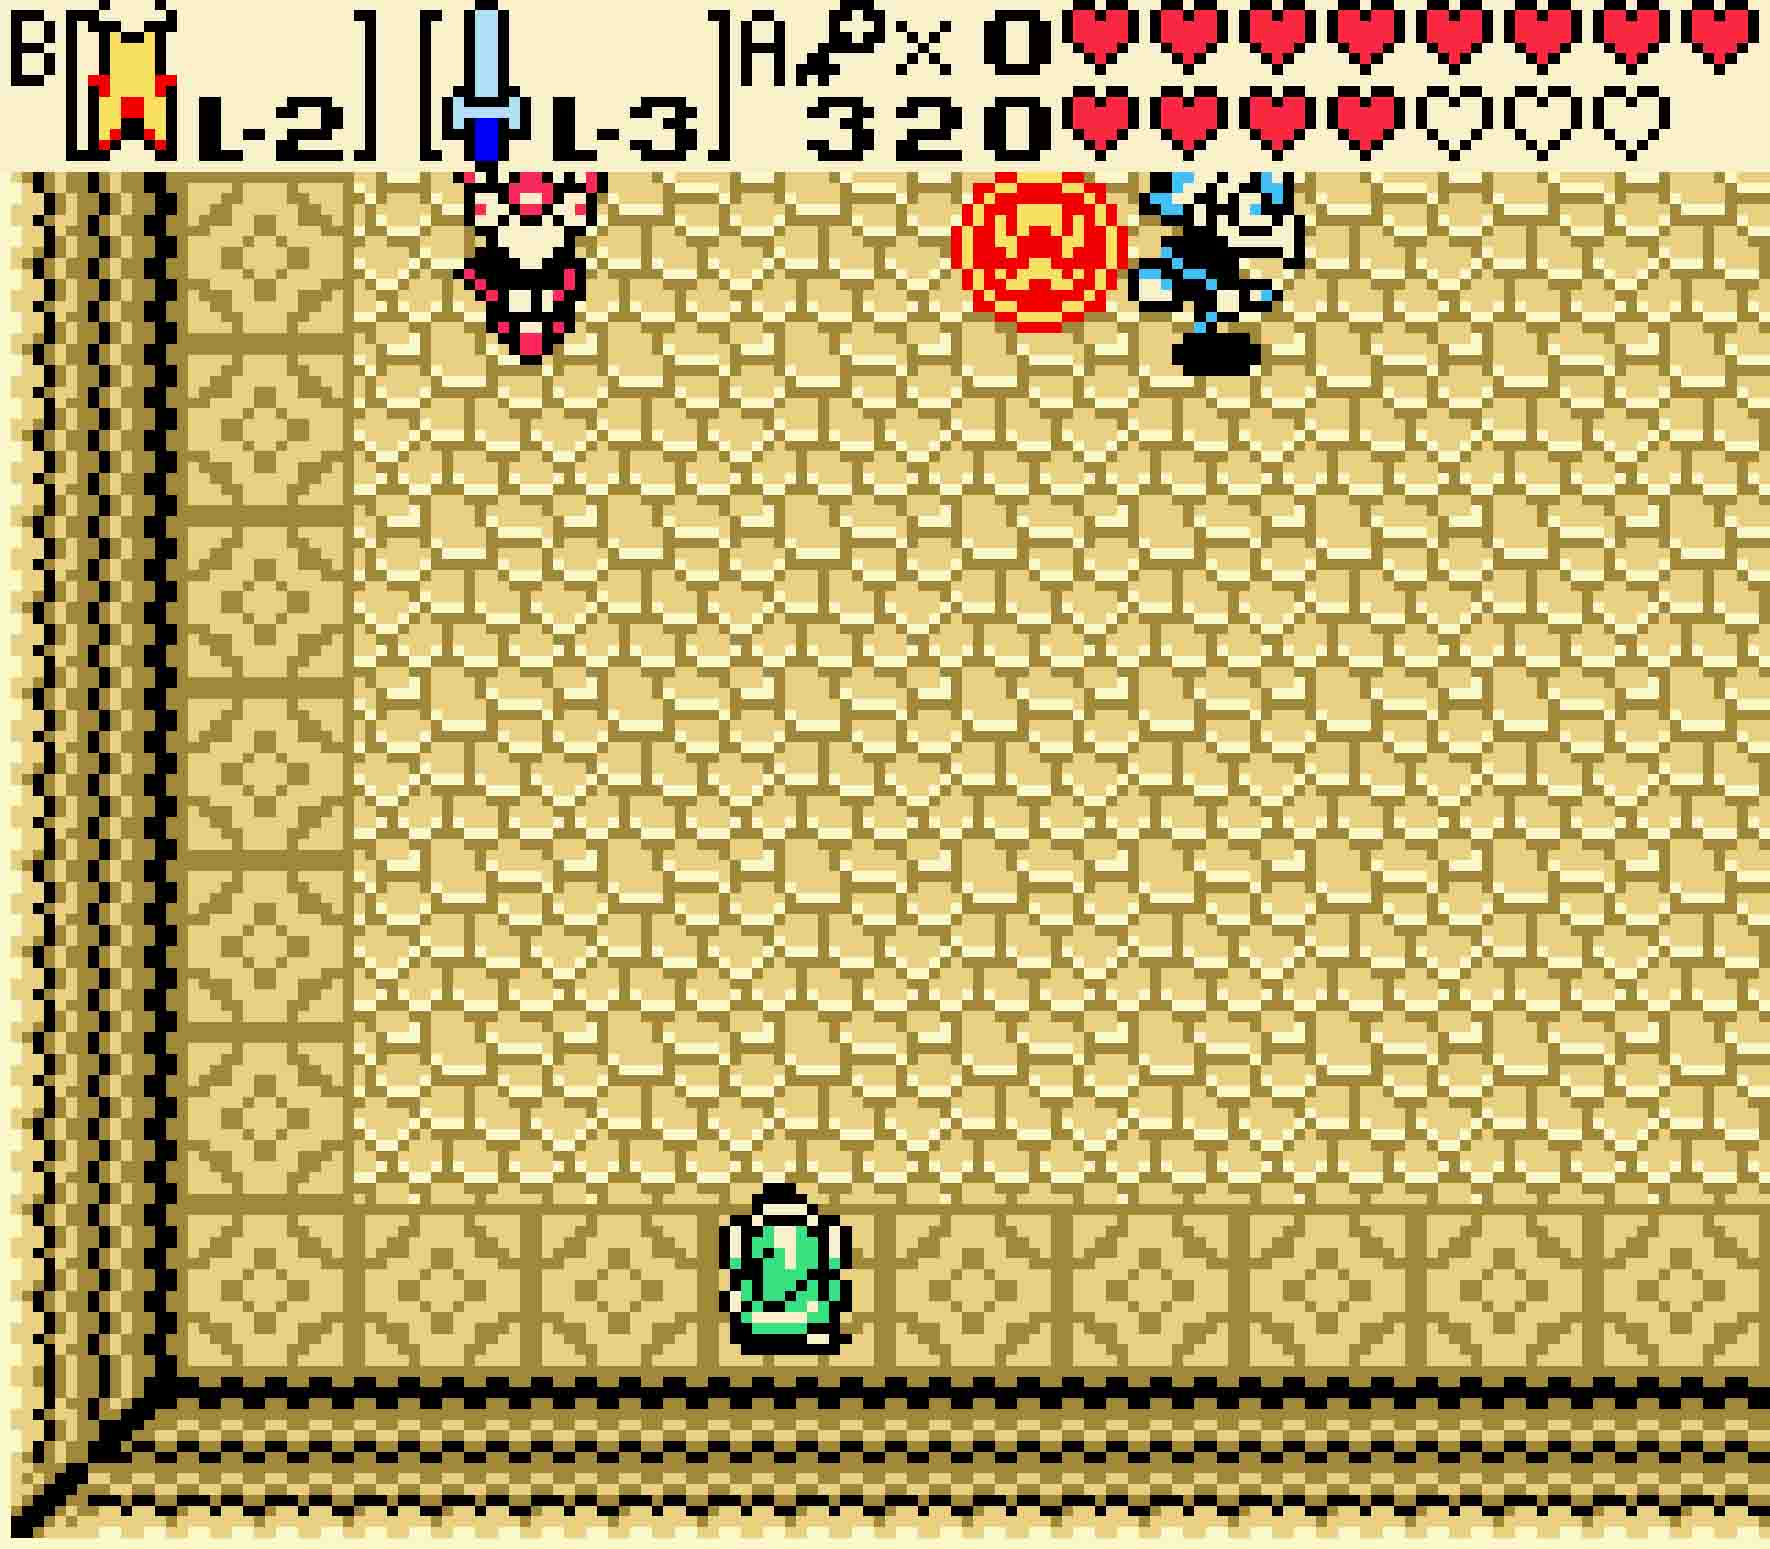
The fire form of Twinrova has two basic attacks. The more prevalent of the attacks is that Twinrova will hurl a fireball at you. Not only do you have to dodge it as it streaks towards you, but it will also bounce back at you from the wall, but this time it will scatter into three fireballs that you have to dodge. As a result, the center part of the room is the safest part of the room to allow you to thread the needle. The second attack Twinrova will use is to send four Keese at you. These Keese are a bit more annoying than normal Keese, but that just has to do with Twinrova usually being where you want to be.
Twinrova will escalate her attacks marginally as you strike her with more Mystery Seeds. Notably, during the ice phase of the fight, she will eventually form three ice spikes instead of two as she takes damage.
Once you deal enough damage, Twinrova will give up. But instead of being able to sacrifice Zelda, she will let her ownself be sacrificed to awaken Ganon, the Gerudo King.
-
- Watch out for the fireballs she throws both on the way out and the way back!
-
- The Keese are more annoying than regular Keese, but that’s partially Twinrova’s fault.
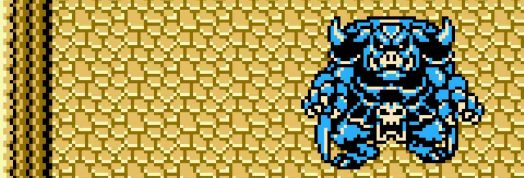
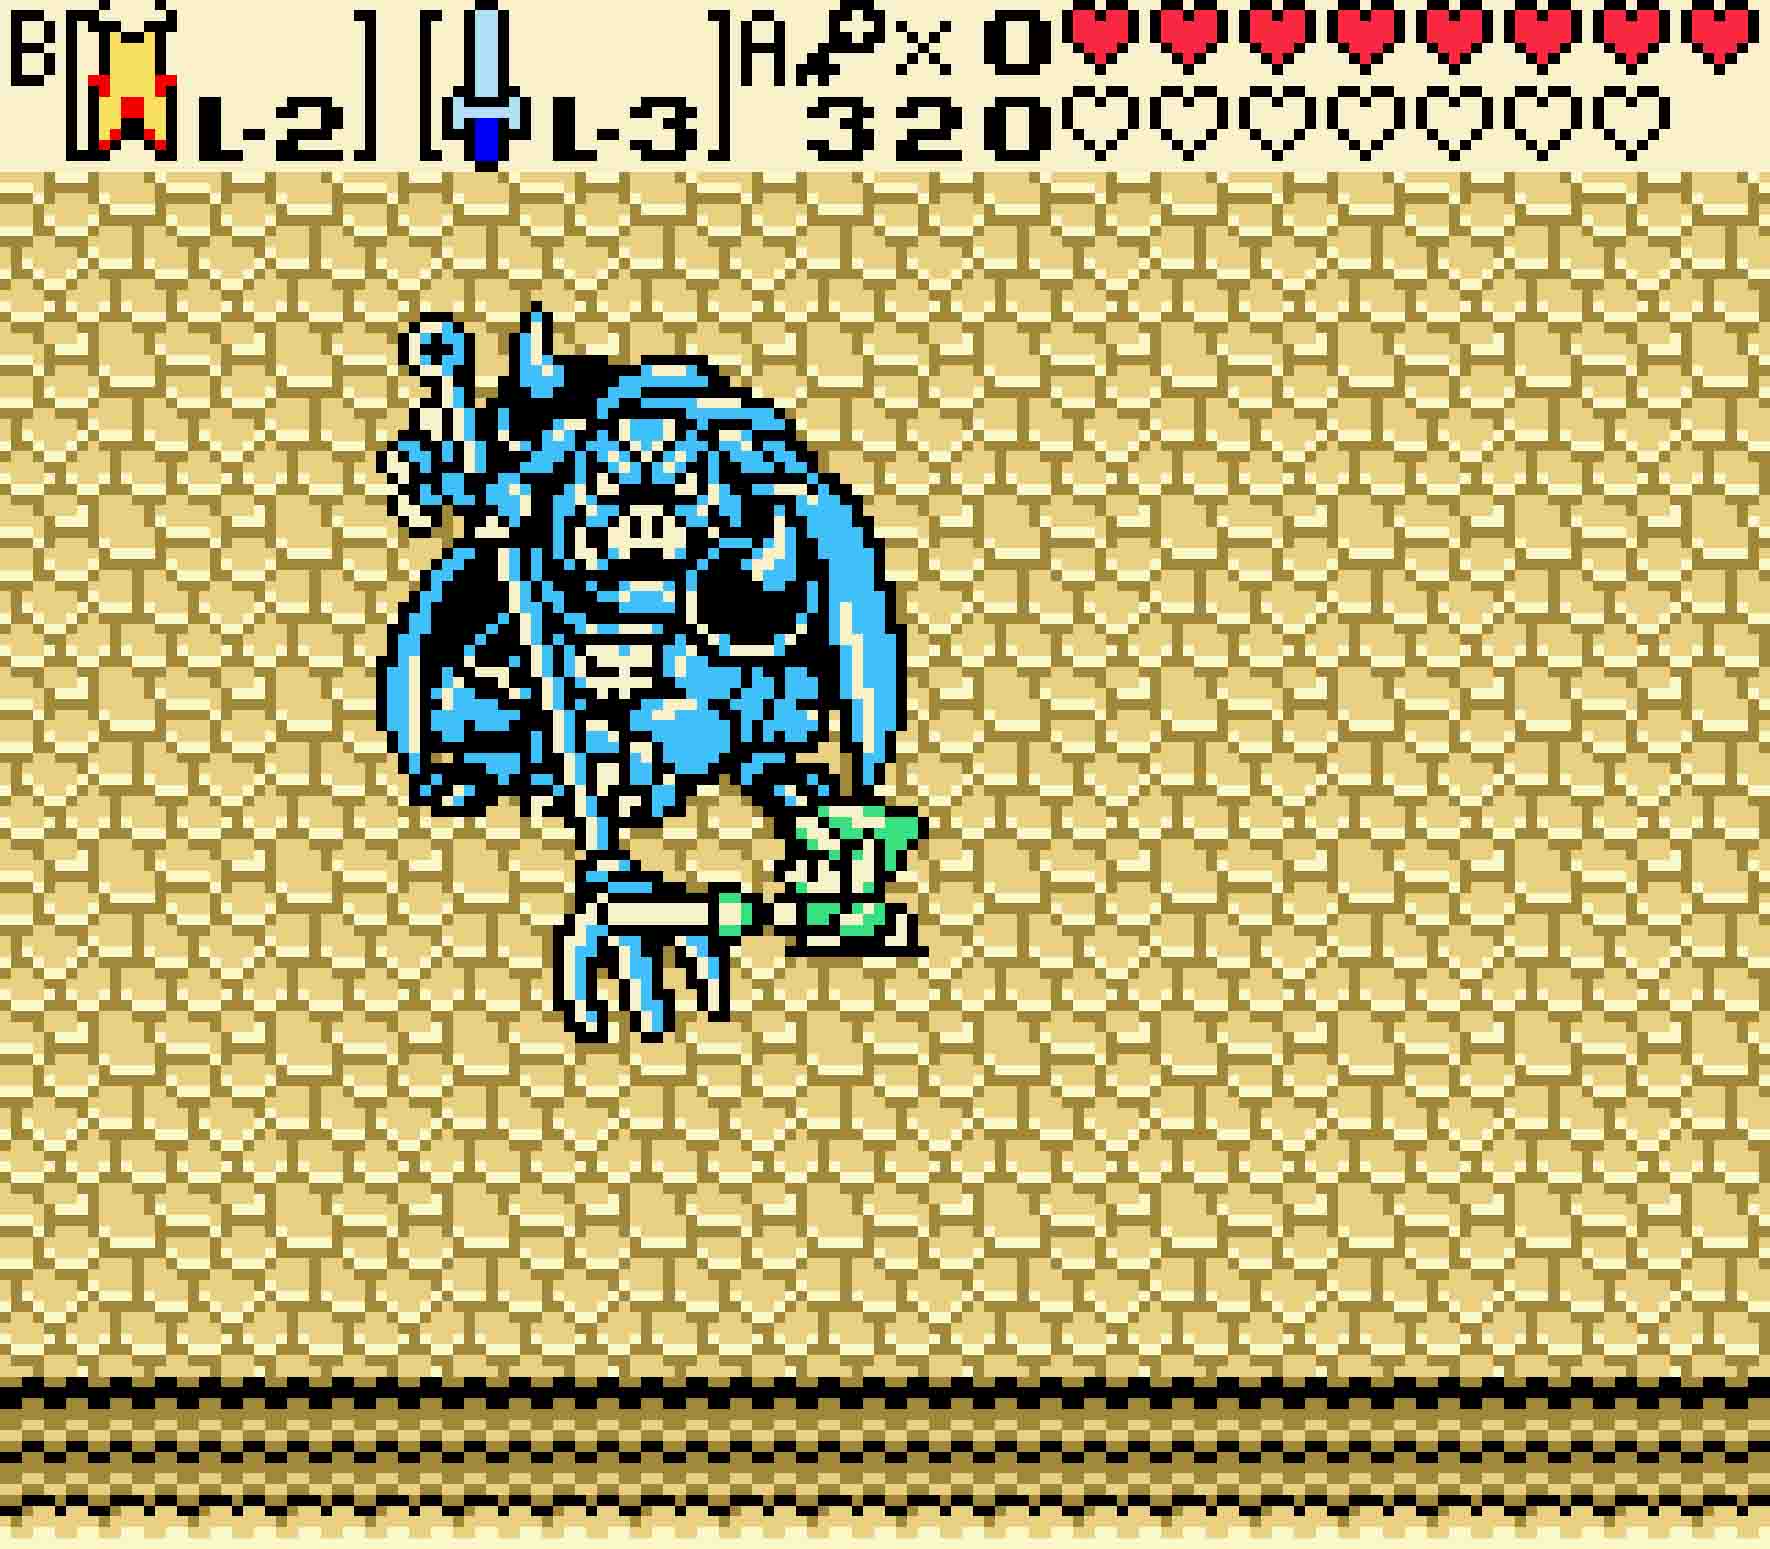
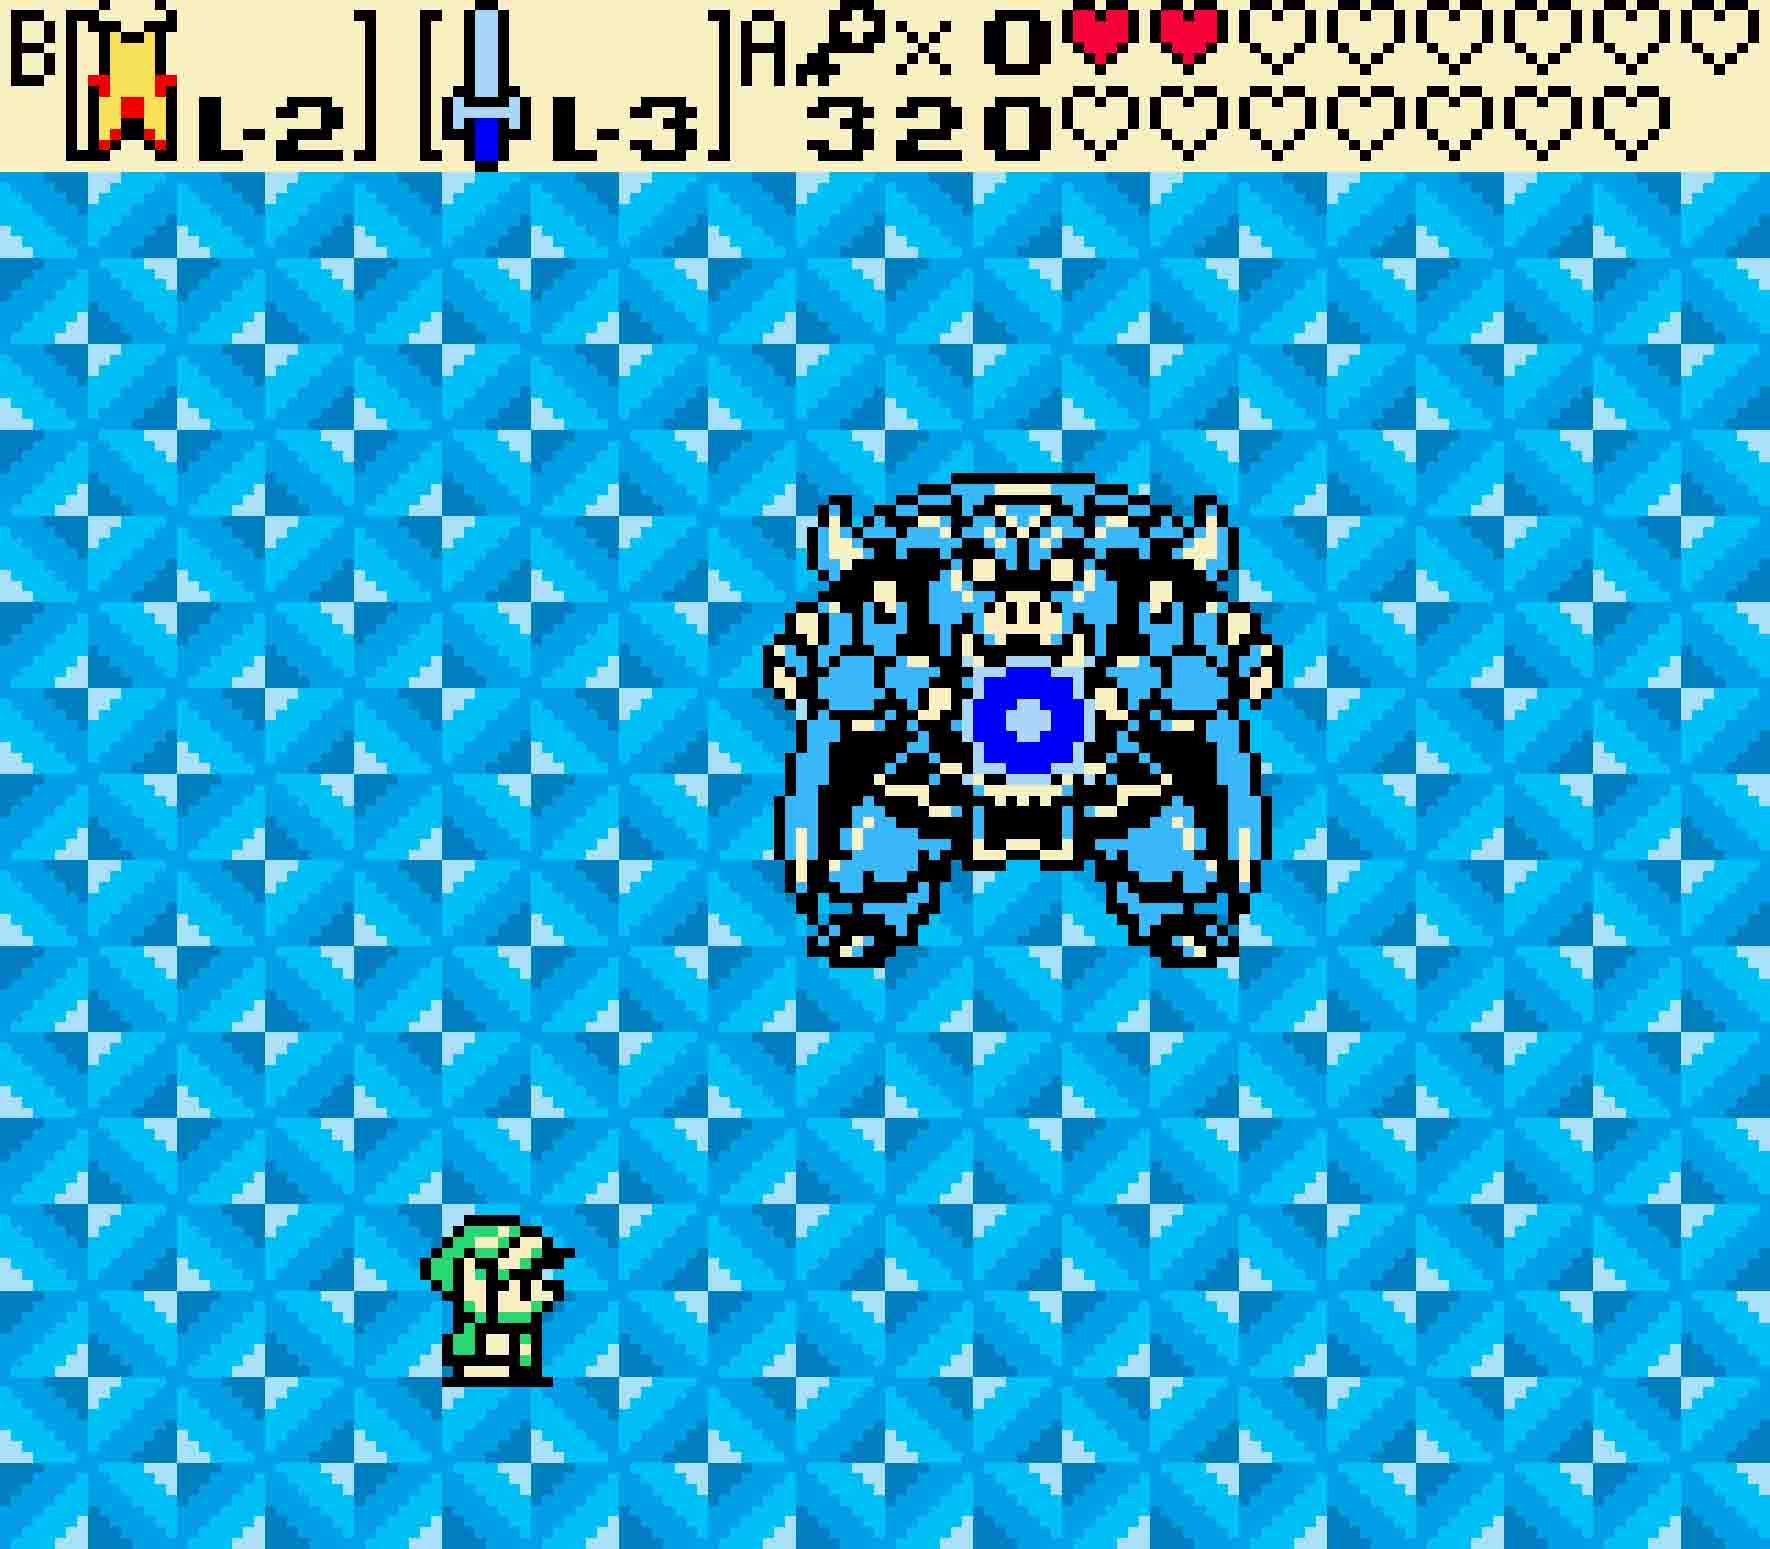
21.4 Destroy Ganon
Ganon is an extremely powerful foe. His attacks will take a good chunk of your life, so hopefully you didn’t have to use a Magic Potion on Koume and Kotake as you may need it here, especially if you took a lot of damage earlier. As a result, the most important thing is to play a defensive game, attacking when the opportunity is right and either blocking or flying out of the way with Roc’s Cape. In fact, Roc’s Cape is preferable to the Mirror Shield as one of the attacks will instantly stun you if you’re on the ground with Ganon hits the ground.
 For much of the battle, Ganon will habitually teleport in, perform a single attack, and then teleport out. If you stand still, you can anticipate the attack Ganon will perform based upon where he stands relative to you.
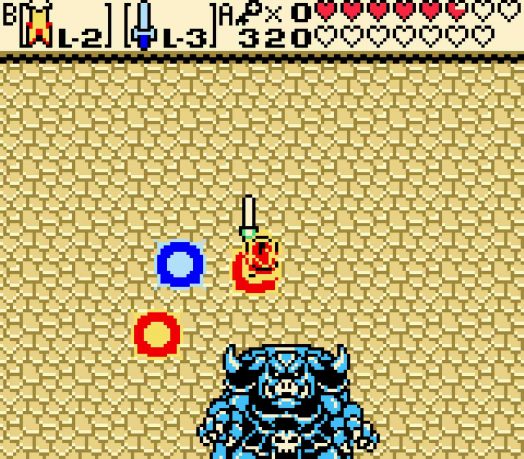
If Ganon spawns right on top of you, he’s likely going to cast tree bolts of energy your way. Those three will be traveling at different speeds: the central one — the one going straight for you — will be slow while the outer ones will be quicker. You can block them with the Mirror Shield or simply fly over them. You can score a quick charged attack here by simply moving out of the way when he spawns, swinging, and then dodging.
If Ganon spawns directly above you, there are two likely attacks. If his trident is lit up, consider passing this round and getting out of there. When he attacks, the light at the end of his spear will break off into four balls of light, each traveling in opposite directions. Those balls of light will further split into three tiny motes of energy each, covering much of the room. Use Roc’s Cape to fly over them and you might be able to score a hit on the way back. If Ganon’s trident isn’t glowing, then he’s going to rush a few paces for you before swinging the Trident. Simply move just out of range, and then give him a taste of his own medicine.
-
- Ganon has two attacks with his trident. They both look subtly different.
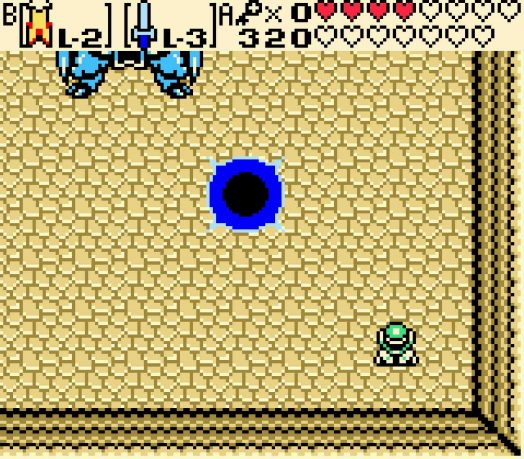
Always be in the air when Ganon slams upon the ground lest you be a sitting duck.
Ganon’s fourth attack will be to spawn far away. Be alert when this happens and have Roc’s Cape equipped. Ganon will jump up before slamming into the ground. If you’re on the ground when he slams down, you’ll be stunned and thus be a sitting duck for his next attack, which will always be a huge energy ball headed straight for you. It hurts a bit, so always be alert.
The last of Ganon’s attacks tends to be employed towards the end of the fight, though by no means is it exclusive to the end of the fight. Ganon will spawn directly in the center of the room, charge up energy, and then fill the room with light. You’ll end up finding yourself in some sort of alternate dimension with the floor being made of a blue, disco dance floor surface. Immediately when you try to move, you’ll notice something very wrong. Your controls are completely reversed; pressing right will move you left and so on. Ganon will take advantage of this situation by throwing energy blasts towards you. Get your bearings correctly and meet Ganon, swinging your sword mercilessly at him.
Once you learn Ganon’s subtle cues, the battle isn’t that tough. In fact, Ganon is much less annoying than Koume, Kotake, and Twinrova; however, if you aren’t careful, you will take a bruising with Ganon.
Once you destroy him, a stairwell will appear in the southeast corner of the room.
Ganon’s alternate dimension will reverse your controls. Get your bearings quick because Ganon won’t wait!
21.5 Rescue Princess Zelda
 After you take the stairs, you’ll see Zelda up on the stone table above. Approach her, and she’ll wake up, ready and eager to thank you for being her hero. Well, that is, that happens before the Room of Rites attempts to collapse inward and implode. Thankfully, the Maku Tree has your back and will warp you out just in time.
And then finally, both Holodrum and Labrynna are saved. And who knows, maybe you’ll actually get a reward out of it.
At the very least, you’ll get the Hero’s Secret, allowing you to play through the games in reverse order to find the extra bits of story in Labrynna as well as enable you to finish your collection of all 64 Rings.