


Chapter 5: Wing Dungeon
Table of Contents
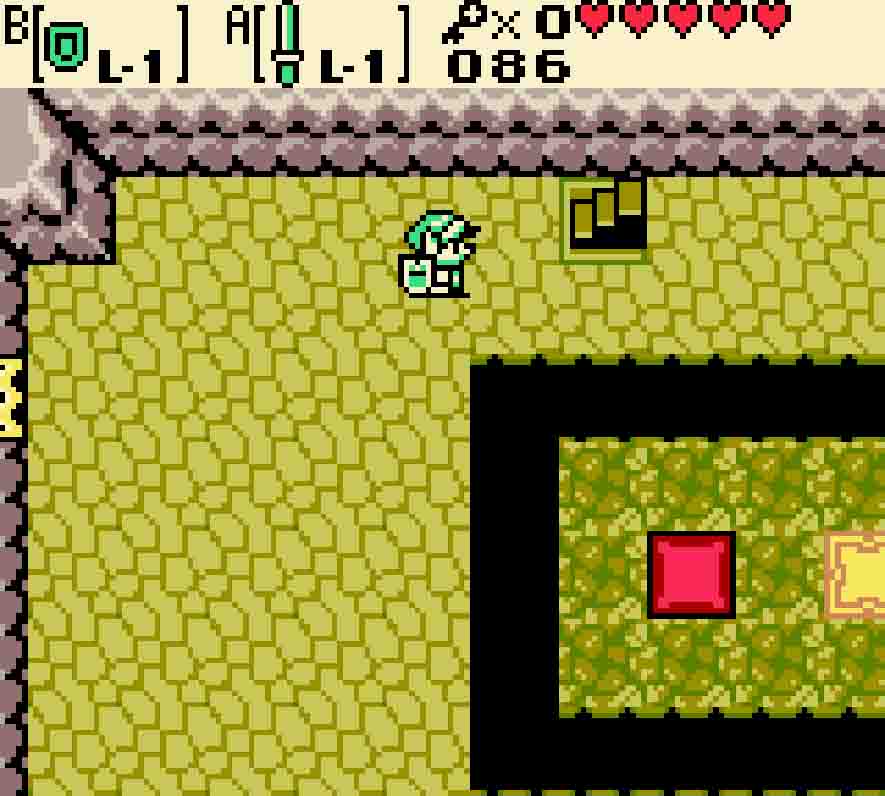
Obtain the Map
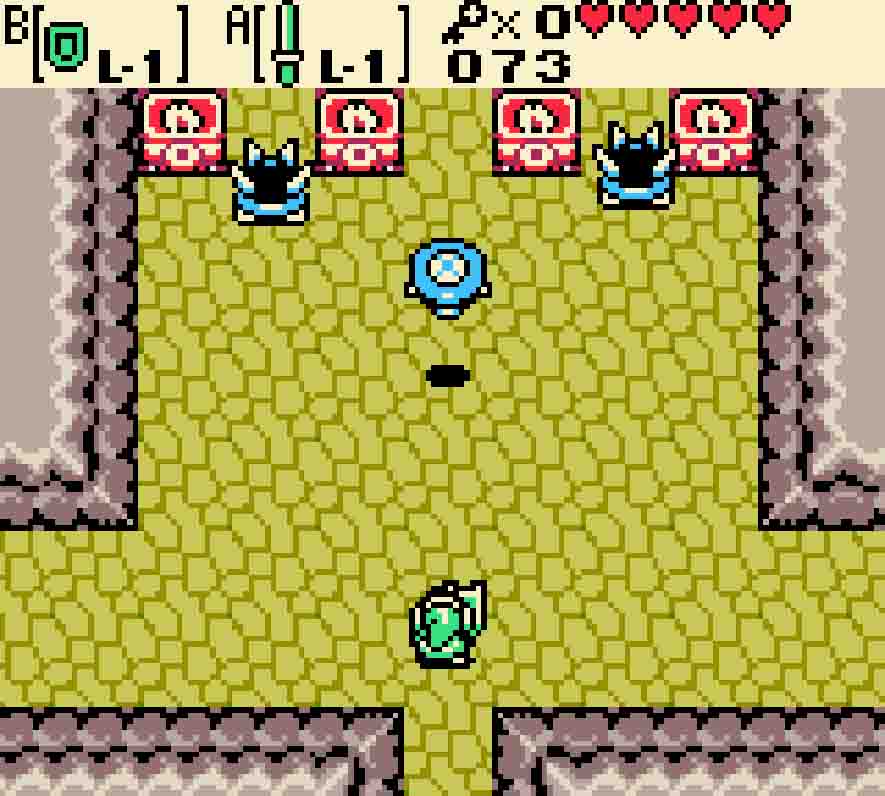
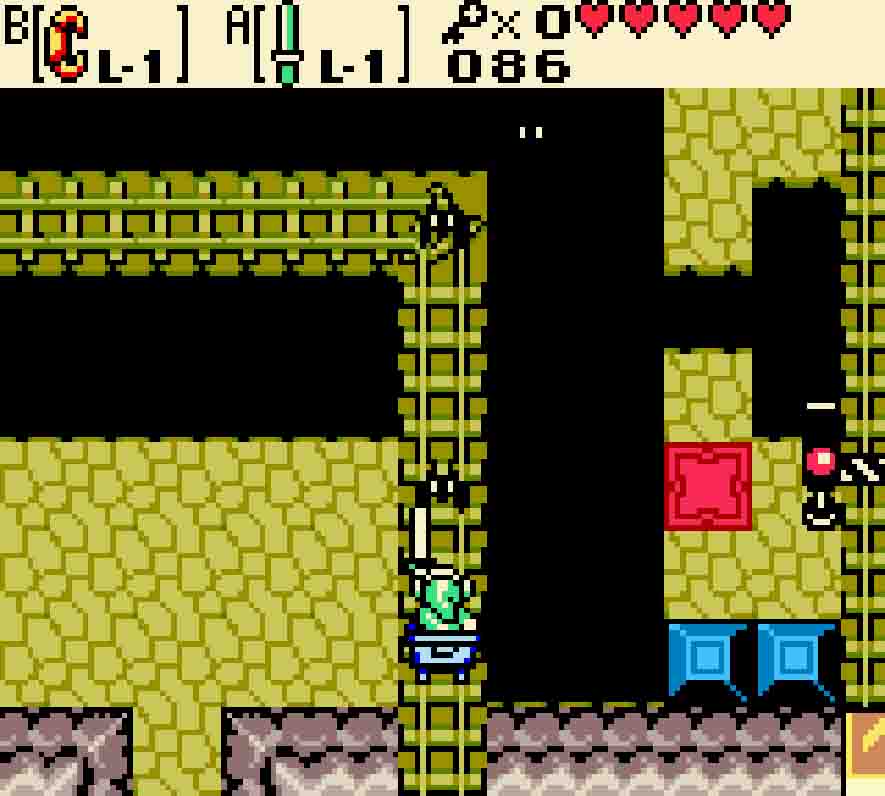
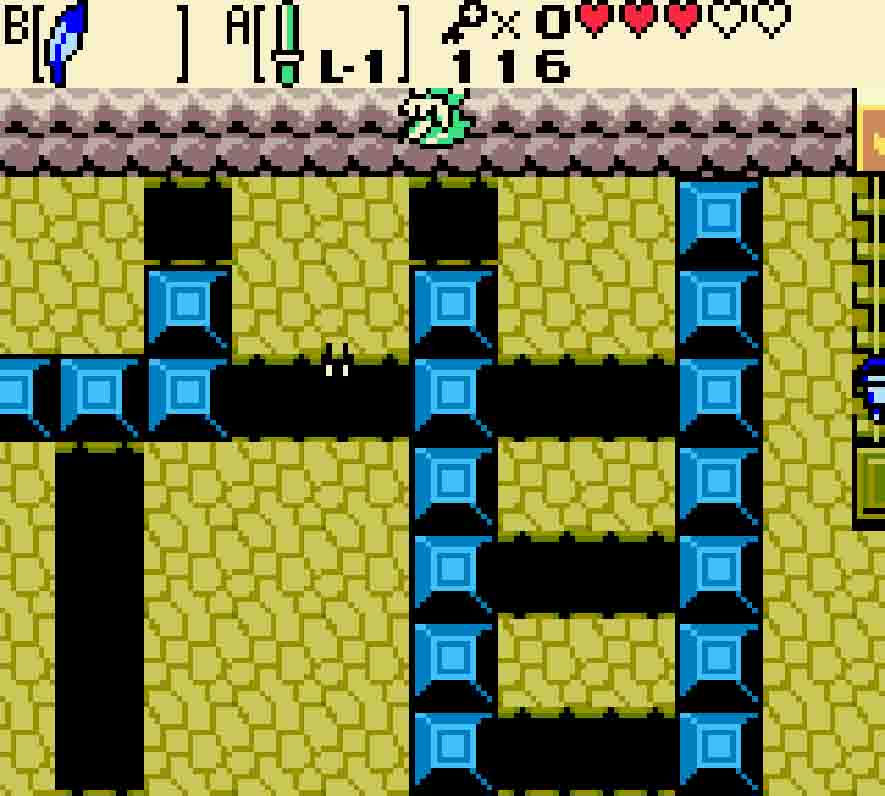
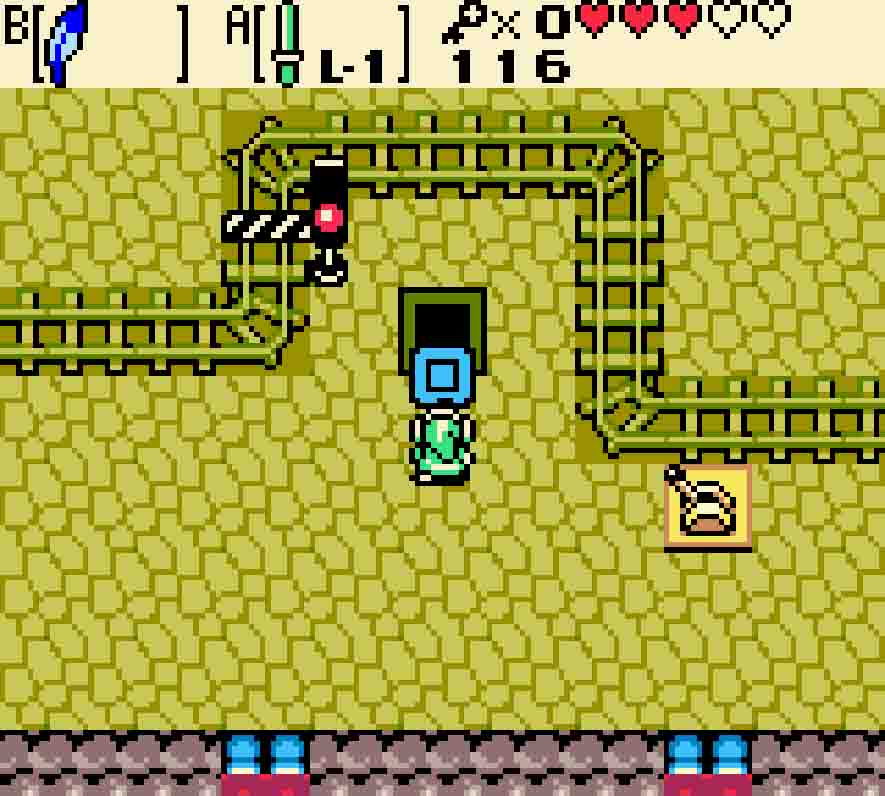
Before going anywhere in this dungeon, you’ll want to equip your Shield. If you don’t have it, your Shovel will have to do, though it will be slightly trickier work to use it. Once you’ve got those equipped, go ahead and proceed north. Immediately after heading north, you’ll be completely gang-rushed by a new enemy type: the Spiked Beetle. These beetles are completely invulnerable to the sword, but they do have a weak spot. If they run into you while you’re holding your Shield, or if you use your Shovel moments before they slam into you, they’ll get knocked upside down, exposing their soft underbellies. Once that happens, go after them with your sword to kill them. Once you’ve killed them all, head through the now open door to the west.
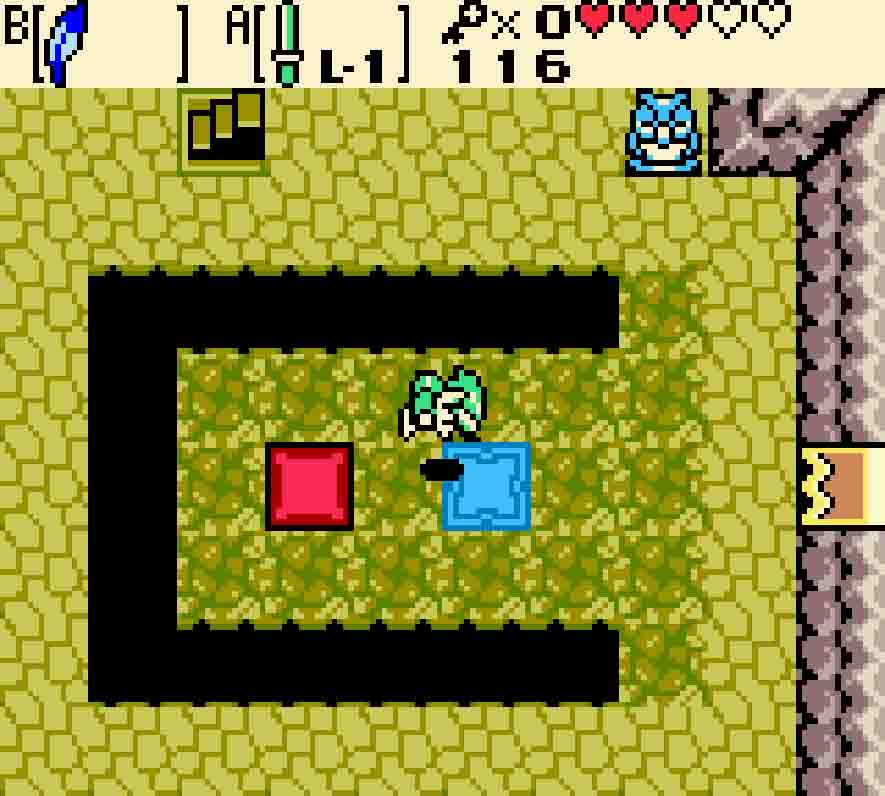
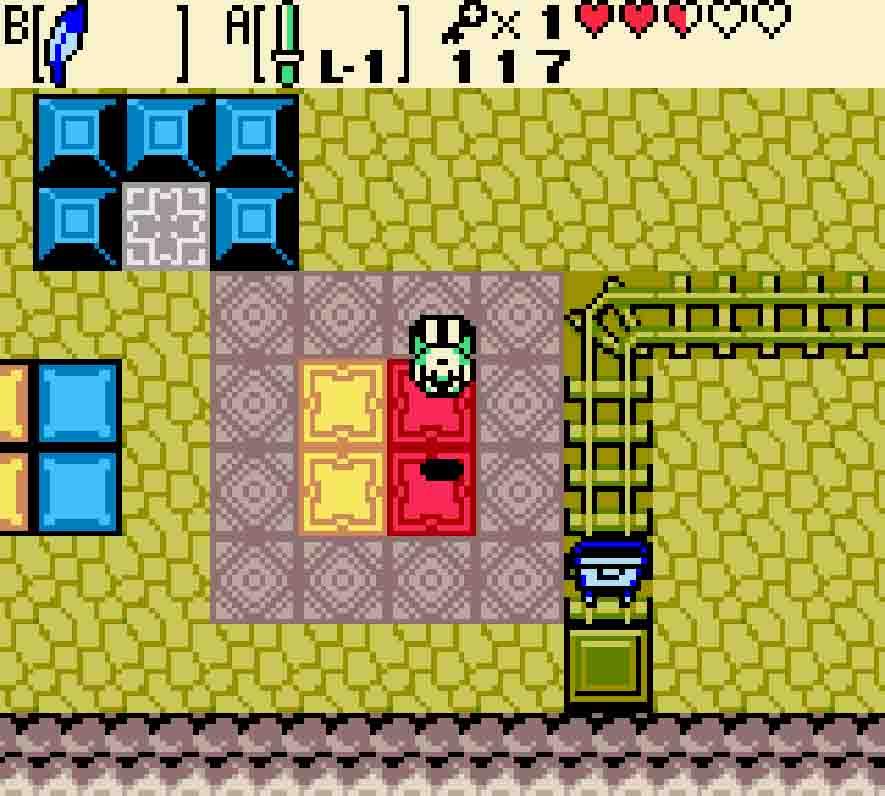
There won’t be any enemies in the next room, but there is a rather curious puzzle to solve. You’ll have seen a puzzle just like this in the previous dungeon, but this one requires a bit more cleverness. Once again, there’s a multicolored cube, and you have to place it in the darkened square. The torch in the room indicates that it expects the cube to be red-side-up when it’s placed there, but simply pushing the cube there will cause it to be blue-side-up.

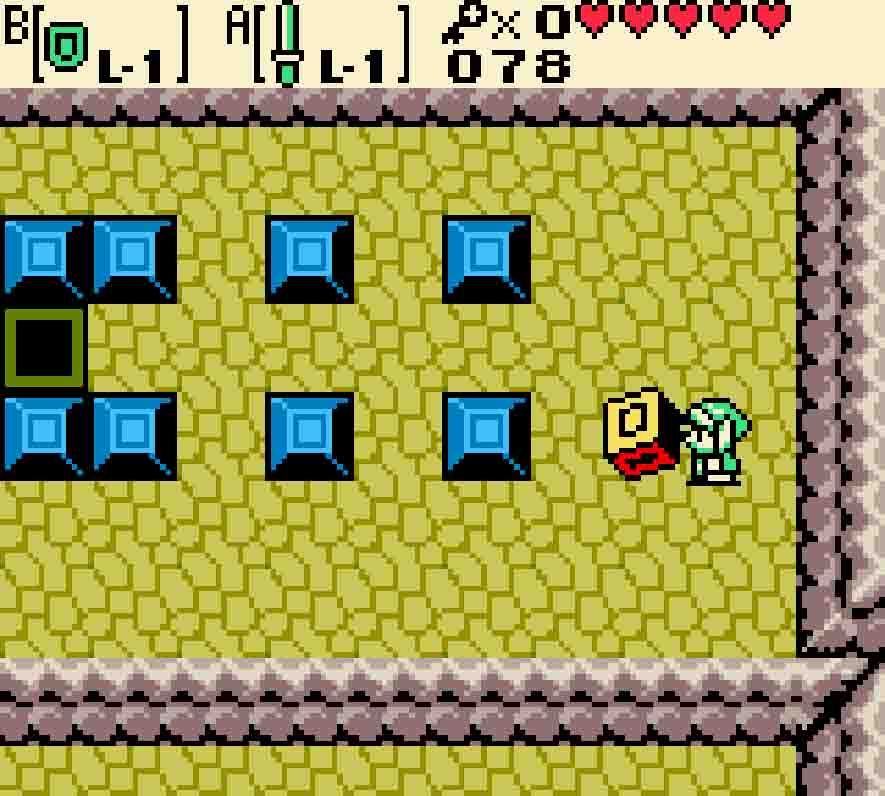

You need to push this cube red-side-up into the hole.
To solve this conundrum, you’ll have to fiddle with the cube a bit to get it on the right color. Push the cube three squares to the right, causing it to be red-side-up. Then push it down one square, revealing its yellow face. Push it to the left once, making it blue. And then when you push it back up into the central corridor, it’ll now be red-side-up once again. With that, you can simply push it all the way to the black square, causing its red side to be revealed there. Once you’ve done so, the door northward will open.
There you’ll be enclosed by a few pesky blocks. Push them out of the way, and then you’ll have to deal with the snake-like Ropes. They’re relatively harmless, but once they see you they’ll rush for you, so be prepared. You’ll see a crumbled wall on the east. Use one of your newly acquired Bombs to blast it open. Once you head east, you can extract the dungeon’s Map from the chest.
Unlock the eastern wing
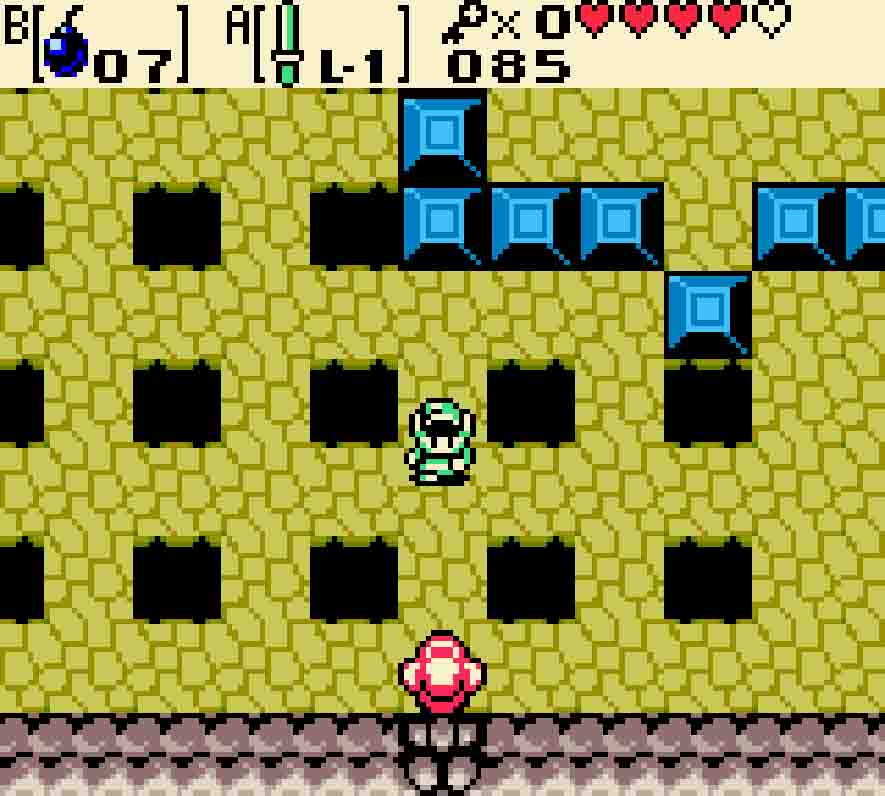
Return to the west, and then clear out any Ropes left over as you make your way to the northwest exit. Keese will await you there, but you won’t be in much position to reach many of them, so simply continue on westwardly.
You’ll be entering a maze of blocks, and two Sparks will be swarming. Sparks, which actually make their way here via Super Mario Bros. 2 (at least in some form), simply stick to the outer walls and blocks and circle them endlessly. You’re going to be in some tight quarters here, so make your breaks to safety when you get the chance, and eventually you’ll head to the west.

Watch out for the Sparks here. 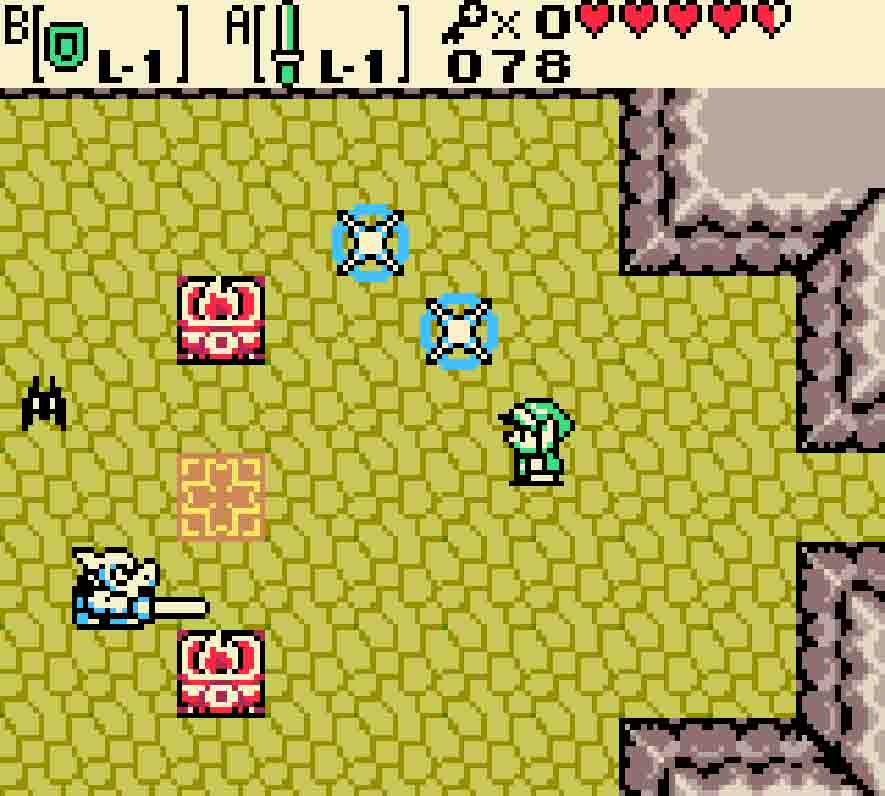
Kill the enemies here for a small key.
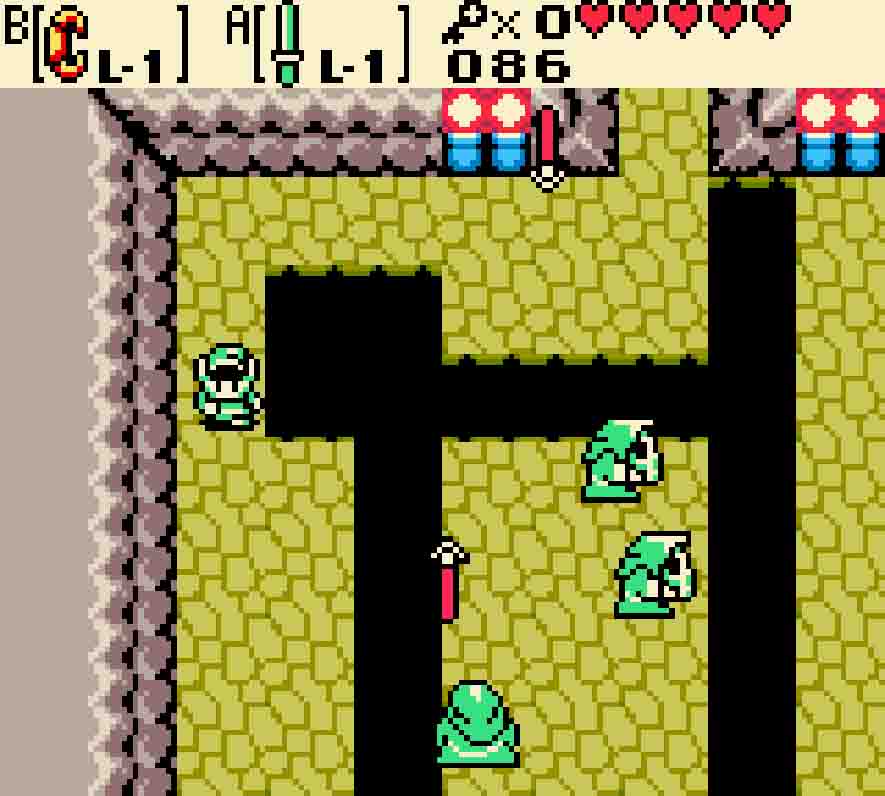
Your final challenge on this end of the dungeon is a few more Keese and one Pig Warrior. The Pig Warrior has a sword, so the easiest way to defeat him is to either stand above it but to the side or slightly below and to the right of it. Kill all the enemies, and a key will then drop down from the ceiling. With it, you can unlock the door near the beginning of the dungeon.

This means you’ll need to backtrack back to the beginning. Head east twice as you avoid the Sparks, and then south twice. Once you head east, you’ll return to the room with the Spiked Beetles. They might have respawned by now, so certainly be on the lookout for them milling about near the top of the room. Kill or avoid them; then hurry and unlock the door to the east.
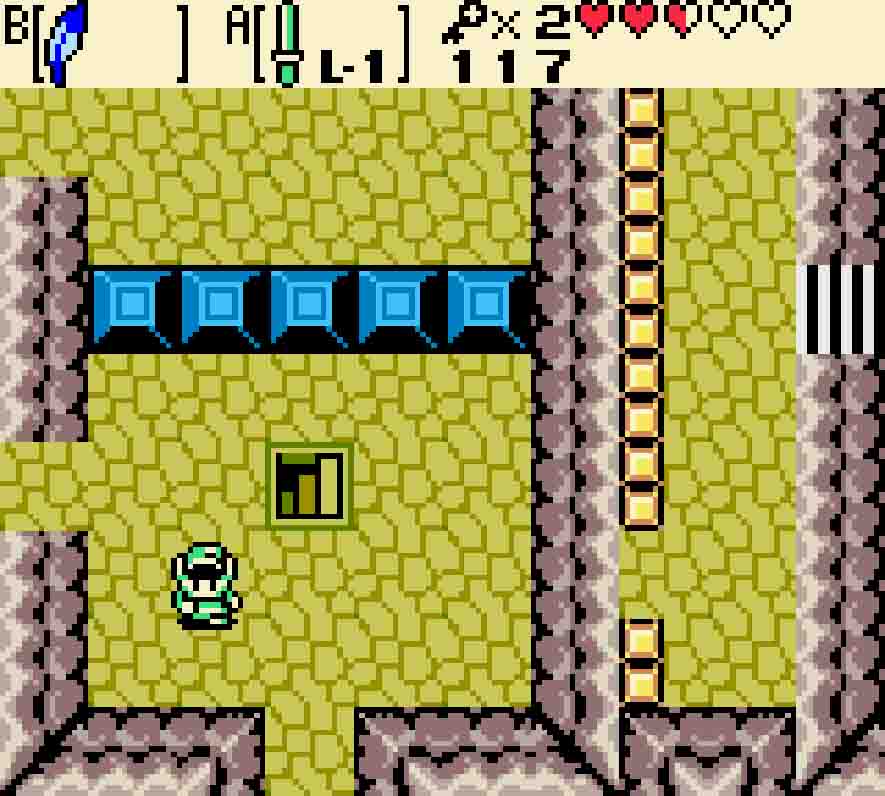
Collect a key and the Compass
There’s a handful of Ropes in this next room, and because of their tendency to rush at you, you should spend a moment to eliminate them. There are two exits to this room, and the first one you should follow is by bombing the wall to the south to create a new exit.
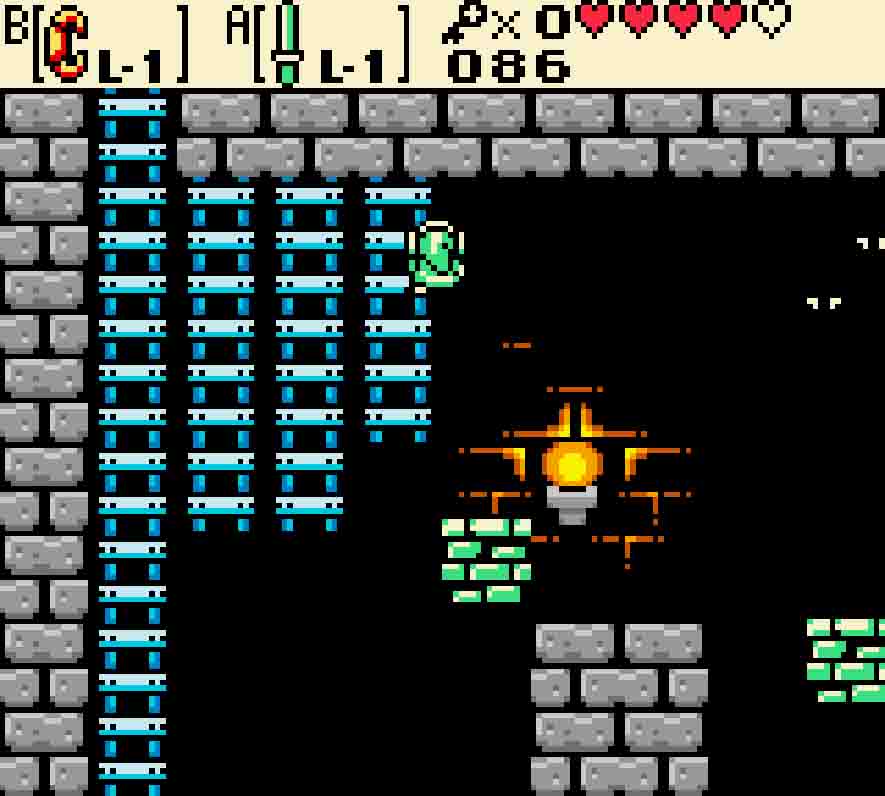
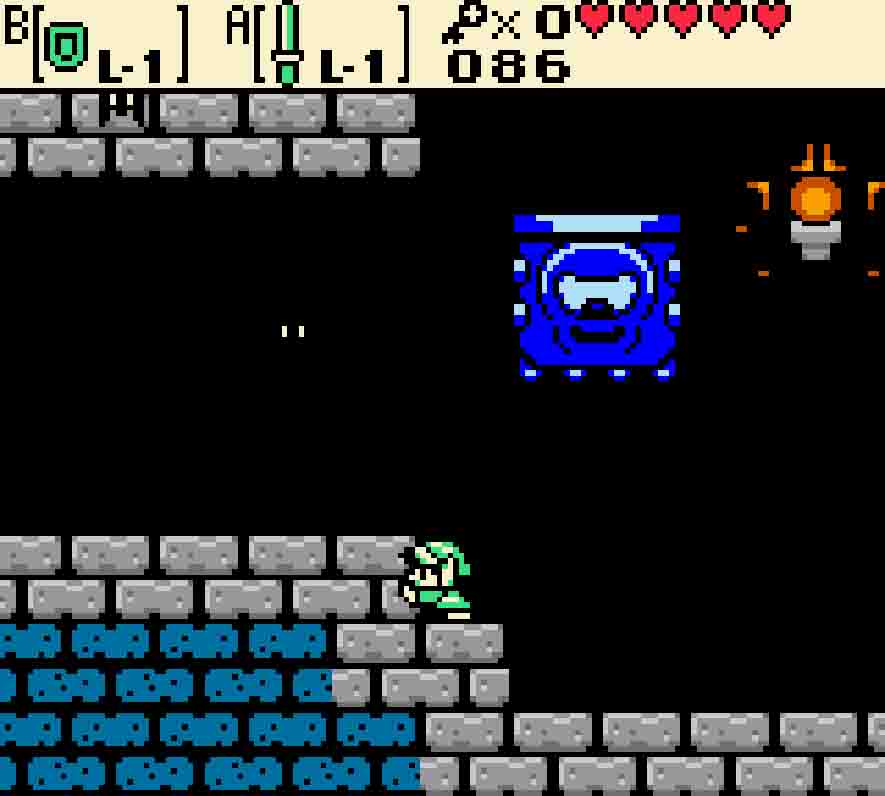
Kill the Pig Warriors and the Zols in the next room, and then descend down the steps into a side-scrolling basement. Use the ladders at the top of the room so that you can drop onto the vertically moving platform, all the while careful of the Keese meandering the room. Drop onto the platform, and then make use of the remainder of the platforms to continue your path to the right.
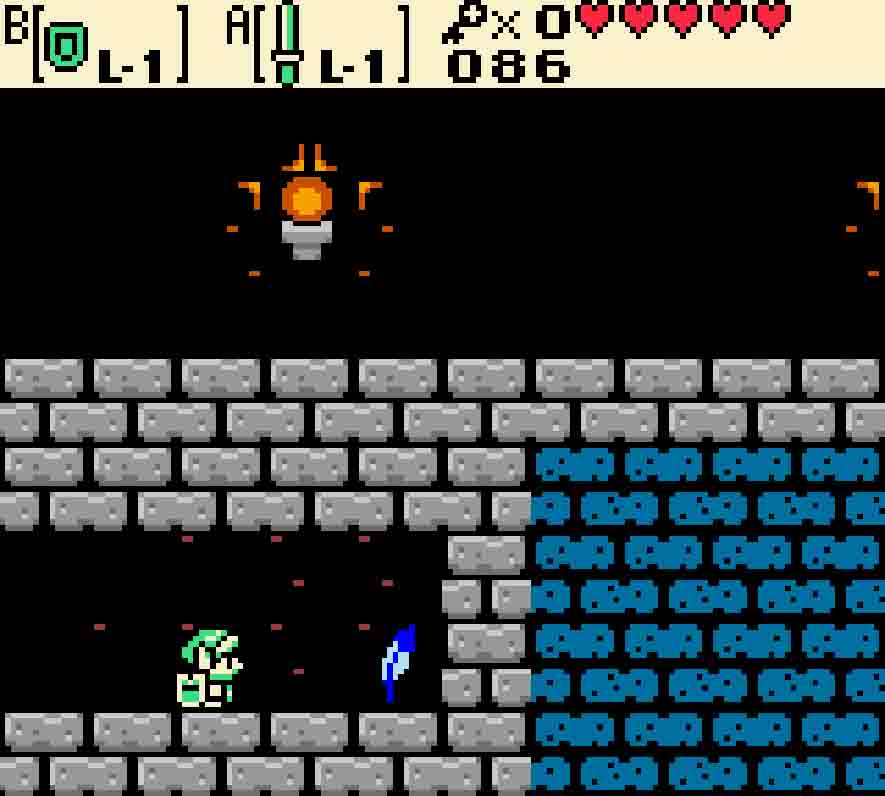
You’ll then encounter a giant Spiked Thwomp. Like all Thwomps, it will try to crash down on you the moment you pass under it. Carefully make your way down to the actual floor, being careful to not go too far after triggering the Thwomp. Once it starts to raise back up, quickly skirt under it, and then use the floating platform on the far right to reach the ladder heading back upward.


Be on your guard as you emerge upstairs, as a flurry of Ropes will almost guaranteed rush at you within moments. Kill them all, and then a chest will appear. This will have a much-needed small key for you to collect. However, this is now a dead end, so you’ll need to return to the stairs and then carefully make your way left across the side-scrolling basement.
Once you emerge back onto the dungeon’s main floor, head back north. In that room, push the one block that’s not in line with the others to the side to access the chest within the enclosure. This will grant you the Compass.
Defeat Swoop
Head north. There’ll be two Pig Warriors to kill there, but otherwise this room won’t be too interesting. Surely that chest will tantalize you, but you can’t get it, not yet at least. Use the key you recently acquired to the door leading west.
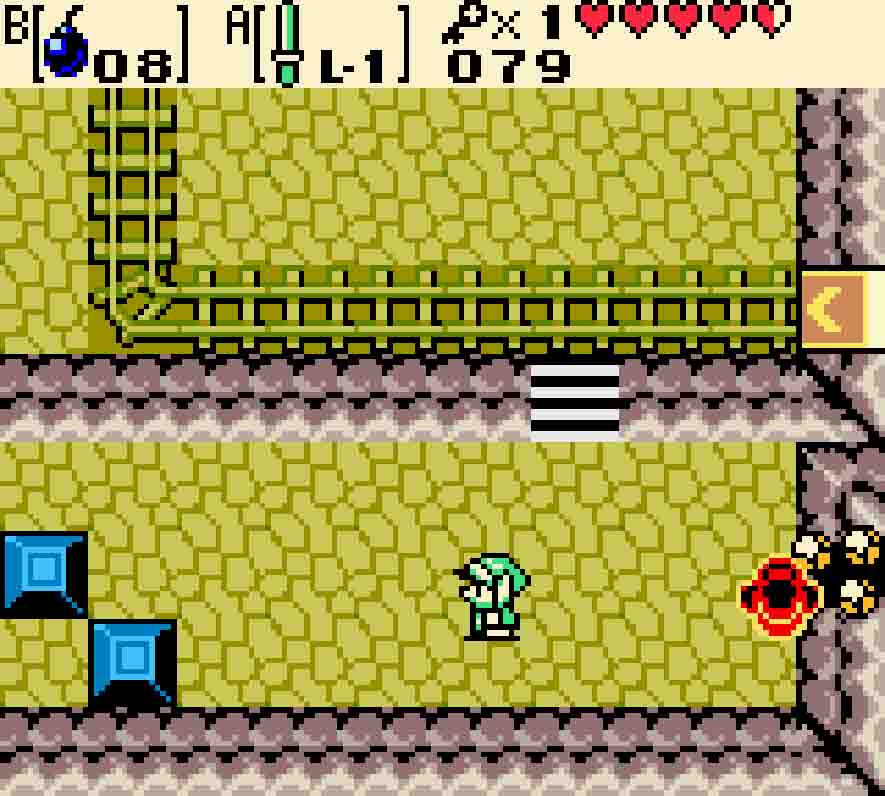
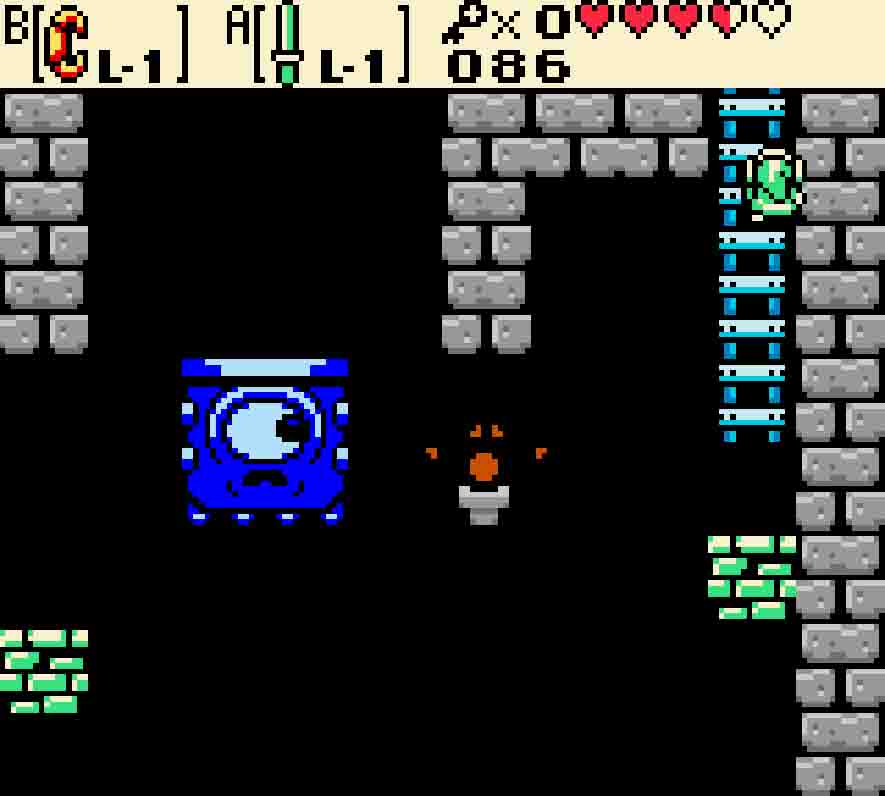
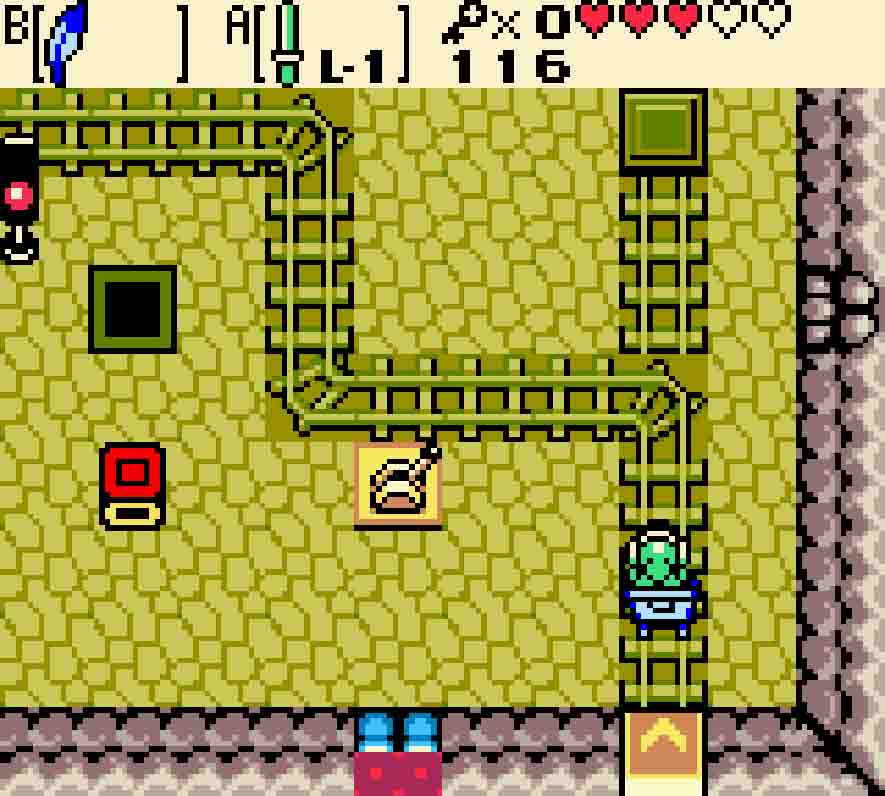
Here you’ll encounter minecarts for the first time in the game. Minecarts will roll along train tracks, taking you from one destination until it hits some end of the line somewhere. Along the way, certain doors will open up to allow the minecart through, but those doors won’t open up elsewise. Deal with any Keese that get in your way, but then approach the minecart to hop into it.
It will take you along a fairly long journey west, then north, and then west. Along the way, enemies will try to approach you, so keep your sword at the ready to deal with them. At the end of the line, head north, and you’ll encounter the dungeon’s mini-boss.
This mini-boss is a bird by the name of Swoop. It’s not exactly a particularly engaging boss, though it does have perhaps one surprise to it later. Swoop really only has one attack to speak of. It will hover through there air for a moment, and then it will charge up an attack. When it attacks, it will quickly swoop down to the ground, causing the ground to shake slightly. In so doing, it will actually loosen the square of tile, making a pit that will drop you down to the level below the room (provided it doesn’t land on one of the unbreakable blue tiles). Should you fall, any damage Swoop will have taken will be restored, but then the pits should have been restored.
Swoop will hover before striking, so watch for the telltale sign. 
After hitting the ground, it will punch a hole in the floor.
To kill Swoop, charge up a Spin Attack while it’s hovering. Once it starts charging, wait a few moments, and then move at the last moment to avoid its attack. While it’s down on the ground, unleash your Spin Attack to damage it. It will take back to the air, and then you simply rinse and repeat. After several attacks, Swoop will actually do two consecutive dive bombs, but that’s the only real surprise it has. Just be prepared for that, but the odds of you falling to the floor below still won’t be great. Should you fall, simply make your way east, climb the stairs, and then you’ll be back in this room once you head west.
When Swoop is defeated, it will leave a fairy behind as well as a teleporter to the dungeon entrance.
Get Roc’s Feather
With Swoop defeated, head through the northernmost door heading eastward. The path forward will be blocked by a locked block, so you’ll have to take the stairs down since you don’t have a key. This will take you to the basement proper. Two Anti-fairies and a Shrouded Stalfos will be there. Anti-fairies are fairly evil as they move somewhat quickly in diagonal patterns, though the Stalfos will be a piece of cake so long as you avoid the spears it throws. From the two passages to take, head southward.
The next room is actually somewhat annoying. There’s a central island surrounded by a pit with a trio of Shrouded Stalfos on it. Despite the gap between you and them, you can kill them, though it might take a bit of patience. Otherwise, avoid their spears as you walk carefully around it. Watch out for the Zol right next to the doorway.
Two more Shrouded Stalfos are here too. And there are curious red and yellow tiles in this room as well, but you can’t actually deal with it yet. For now take the stairs upward. This will put you in another side-scrolling tunnel. Kill the Keese in the room and head to the right. Again, there’ll be another Spiked Thwomp, and you’ll have to be extremely careful to not be hit when you trigger it thanks to the precarious step downward. Naturally, as it ascends again, rush under it and head right. You’ll eventually find a feather lying on the ground. This is Roc’s Feather, and it will give you the power to jump.
Claim the Feather that’s being guarded by the Thwomp.
Collect the basement’s keys
Head back to the left, walking under the Spiked Thwomp after it is on an upward trajectory. If you use Roc’s Feather to jump on top of it, you’ll find a secret tunnel overhead that will contain 30 Rupees at the end of it, which is pretty sweet. Eventually, head back down to B1F.
Now you should be able to deal with the colored tiles. The yellow tile is actually the interactive one whereas the red tile is the hint tile. The idea is that you want to make the two tiles the same color. The way to change the yellow tile’s color is to jump over it with Roc’s Feather. However, do be careful as you do this as the entire little peninsula over the pit is made of crumbled floor, meaning that it will give way if you stand in one spot for too long. Be light on your toes as you hop over the yellow tile twice to change it from yellow to blue to red. Once the tile is red, the door eastward will open.
Keese will flutter in the next room. Use Roc’s Feather to jump over the various gaps in the floor as you make your way to the right. Finally, you’ll want to hop in the minecart at the room’s far end. As the minecart takes you northward, be on the lookout for a switch along the way, and hit it once as you pass by. These types of switches will reroute the train tracks. The net effect is that the minecart will hit the closed gate and reverse course. The reroute will send you towards a station platform in this room instead of the one in the previous room.
Use a Bomb on the broken wall to the east to open up a doorway, and then head through. You’ll face down a Keese and two Sword Stalfos. Sword Stalfos are slightly more dangerous than their cousins, but that’s mainly because they’re slightly trickier to kill. Once you do defeat them, a chest with a key will appear. Then you can head back west.
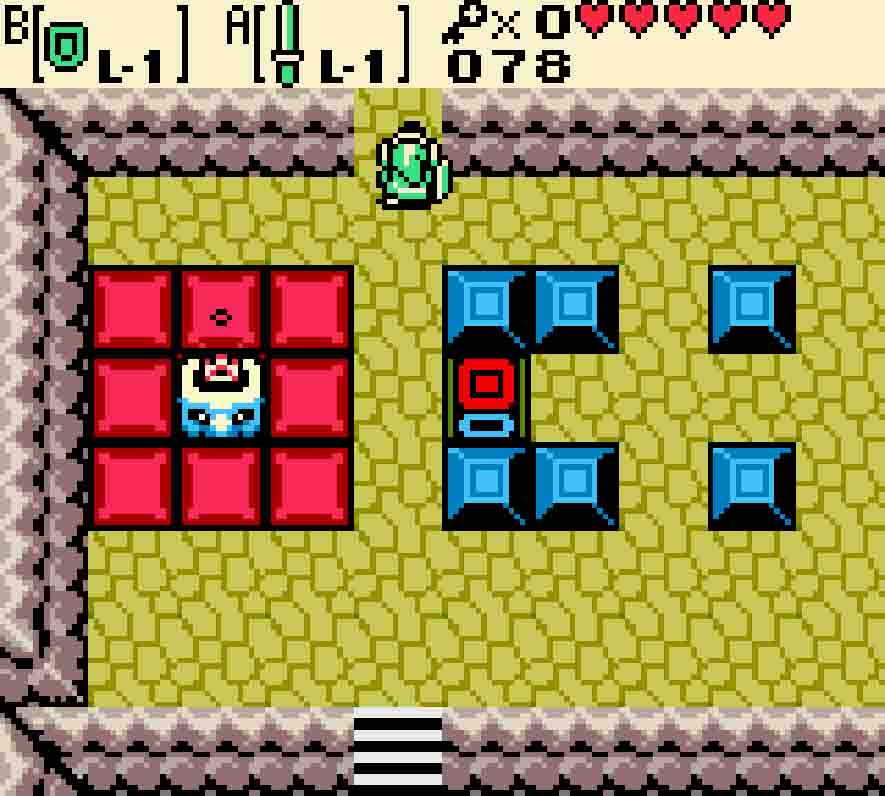
Again, you’ll spot another multicolored cube in this room as well. As mentioned before, whenever you’re in doubt, blue is the color that symbolizes “go” throughout the game. So here you’ll want the cube to rest blue-side-up when in the destination position. Simply moving it up won’t work as it will end up being red. As a result, push it left one square to make it blue, then down one to make it yellow, and then right one to make it red again. Finally, push it all the way up into the destination block. It’ll land blue-side-up, thus opening the train tracks. Now you can hop in the minecart to let it carry you west.

Manipulate the cube so that it’s blue-side-up.
You’ll then encounter one of the most annoying enemies in the game: the Peahat. The Peahat will occasionally fly up into the sky, and when they do so they’re completely invulnerable to all attacks. They’ll fly about rather unpredictably. From time to time, they’ll land, and only then can you kill them with your sword. As such, it might be easiest to just not bother with this provided it leaves you alone. Again, you’ll notice some hopping tiles — a quartet of them, and there’s a similar quartet that serves to show what pattern you need to create.
To form the pattern, you’ll need to hop over the left two red tiles once and the right two right tiles twice. If you do it correctly, you can actually change two tiles at once by jumping at the edge of one of the pair of tiles. When you match up the tiles, a key will fall down from the ceiling, giving you a second key.
Ride the final minecart
Head west, and then quickly avoid the enemies here as you make your way back to the staircase. Upstairs, use one of your two keys on the locked block. However, instead of climbing in the minecart to the right, hop down off the cliff to the left and head south.
Avoid the Keese as you carefully jump over the narrow pits along the northern wall. Reach the train tracks, and then walk along them until you find the offshoot path. Notice how the gate is down? Once again, you need to make the tile blue to represent “go.” So use Roc’s Feather to jump over the hopping tile twice to do that. The gate will open up magically.
Head south here first. 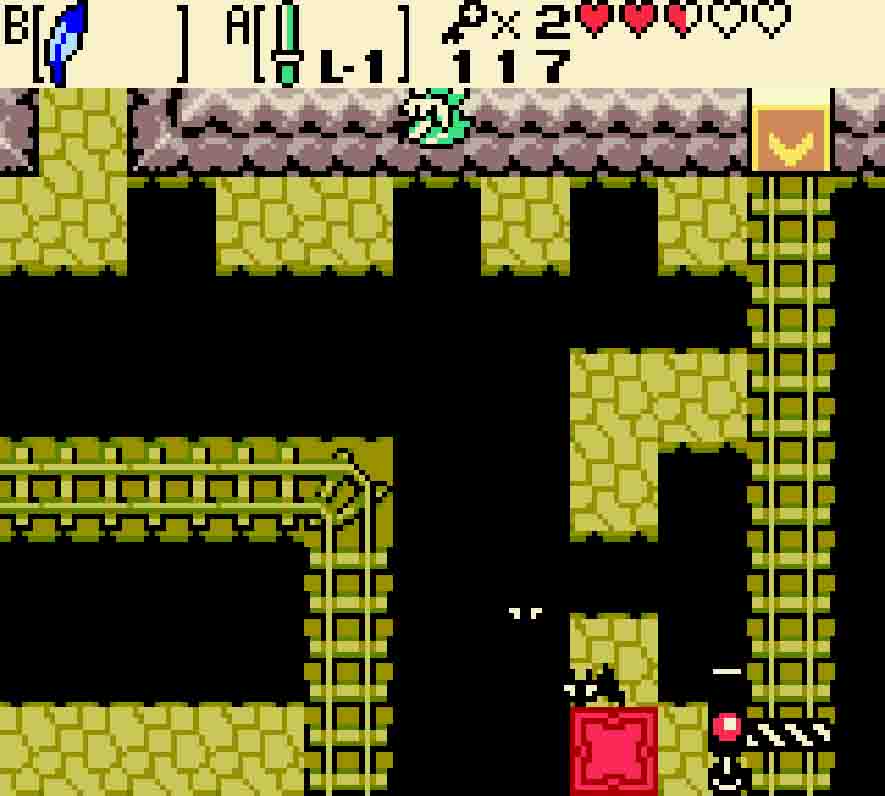
Hop over the gaps. 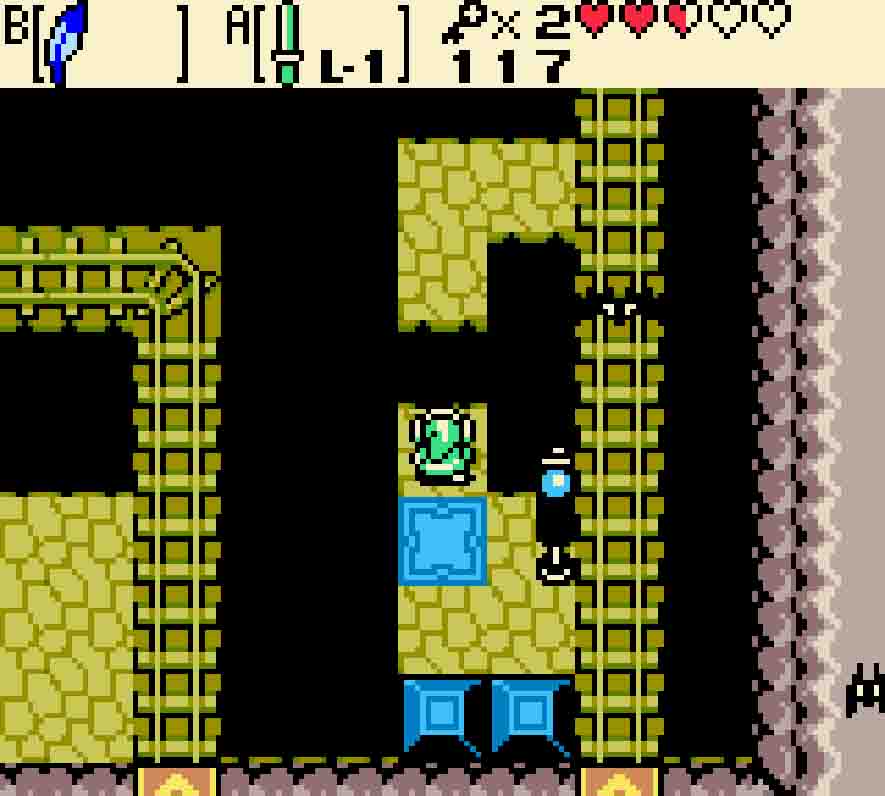
And open the gate.
Use the Feather to hop over the gaps and return north. Then go west through the lower door and return east from the mini-boss’ lair through the upper door. Now, you can ascend the stairs and hop into the minecart on the right-hand side of the room. The minecart will take you south, past the gate you just opened up, south again, and then east two rooms.
Find the Boss Key
At this point, if you so desire, you can hop over the narrow gap to the island in the room’s center to take down the two Pig Warriors upon it, guarding a chest. The chest only contains a Gasha Seed, but it’s still useful to have. Then head north.
This room is a rather annoying one. Two Pig Warriors will be tossing spears from time to time, and a Peahat will be swirling around the room. The recommendation is that you kill all three of them. You have another task to do in this room, and you really don’t want to be dealing with them while doing it. Once they’re dead, return to the four clay pots in the corner of the room.
You’ll want to destroy all of those pots except the upper-right of those four pots. You might notice that there’s a switch in this room that will open the door to the east, but this switch has to be weighed down to work, and this leftover pot is the thing that will do the weighing down. As such, with your Power Bracelet, push the clay pot up five squares so it is just past the 1×1 pit on the left side. Use Roc’s Feather to jump into the corner, and then push the pot three squares right until it hits the wall. Jump to the top side of it, and then push it down two squares. Jump to the left side of it, and then push it until it rests on the button. Finally make your way east.
A single Anti-fairy will be circling the room, but otherwise there’s nothing here but two locked doors. You only have one key, but you can get the second key to the room to the south.
Kill all the Pig Warriors you see there, and then you’ll be able to pay attention to the multicolored statues in the room. As per the theme of the dungeon, you will need to push these statues in order to mimic the display on the left. However, there’s a catch: the color of the hopping tile just above these statues indicates which colored statues can be successfully pushed. The color starts out as red, so only the red statues can be pushed until you change the color.
Step One
To recreate the pattern, start by changing the hopping tile to yellow.

Step Two
Then push the yellow statue left two spaces so it sits upon the central blue tile in the pattern.
Step Three
Flip the hopping tile to blue.

Step Four
Push the leftmost blue statue up to the top-center position, the next statue to the bottom-center, the third statue to the center-right position, and the last statue to the center-left position.

Step Five
Finally flip the hopping tile to red.
Step Six
The first and third red statues can simply be pushed down to the upper-left and upper-right positions respectively. Then push the second statue left, down, and right into the lower-left position. Lastly, push the last statue and down and left to the bottom-right position.
This will cause a key to drop down onto the lightly-colored tile in between the two sets of statues. Collect it, and then head northward and unlock the door to the east.
The entire floor will be red. It looks empty, but there are actually a handful of Color-changing Gels everywhere. They’ll all be camouflaged, and that camouflage actually grants them complete invulnerability. However, you can thwart their plan by hopping over the interactive tile in the middle of the room. That will change the color of the floor tiles, both revealing the Gels as well as making them vulnerable. You’ll still need to be quick however, as they’ll adapt before too long. Continue flipping the tile and destroying the Gels until they’re all gone. You’ll know when you’re done as a chest will appear, and you’ll then have the Boss Key in your possession.
The enemies cannot be hurt when they have camoflague. 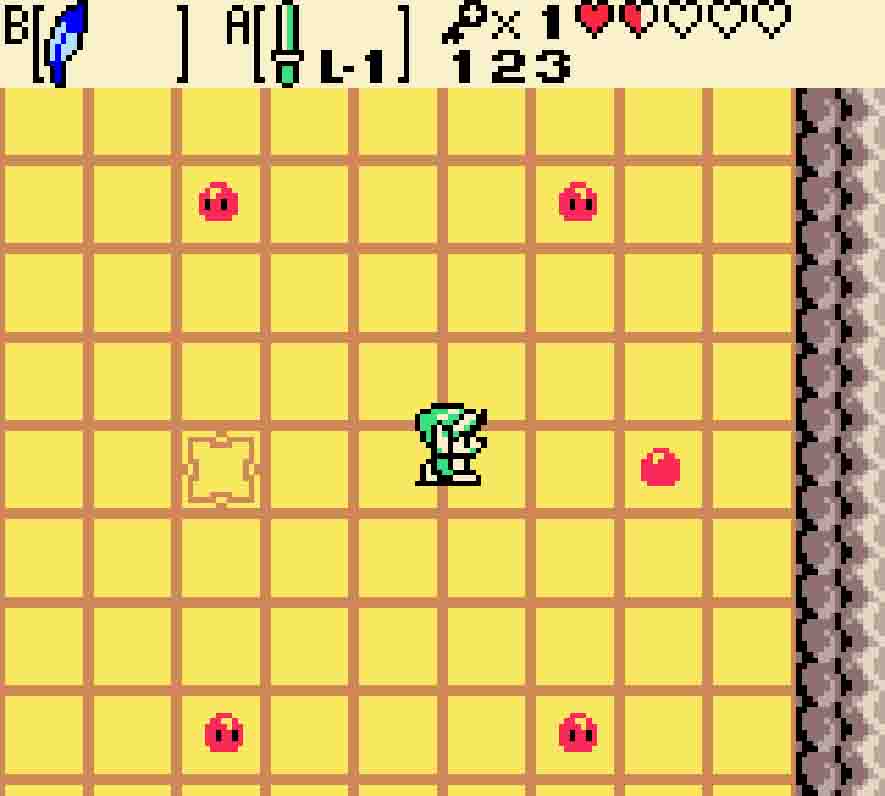
Flip the floor’s color with the Feather to buy a moment to attack.
Defeat the Head Thwomp
Head back west. Avoid the Anti-fairy and then head to the north. Watch out for the Keese and the two Sparks there as you make your way up and around. Then you can unlock the door to the boss’ room to the right. You’ll enter in, but there’s no boss there. Pick up the pots to restore some hearts and Bombs. Then use the stairs to head up to fight the dungeon boss in a side-scrolling showdown.
The boss is the Head Thwomp, and this boss is more annoying than dangerous. Once you fully ascend the steps, the stairs below will disappear, trapping you here. You’ll want to quickly climb up the stairs at either end of the room to find your way to relative safety. Until you attempt an attack on the boss, the upper-left and upper-right “corners” of the room are absolutely safe, and the Head Thwomp can’t hurt you. It will occasionally issue some fireballs from its head, but they can’t reach up this high. And, in truth, there’s no reason you even need to step off of these platforms if you don’t want unless you need to pick up more Bombs, which occasionally will be distributed below.
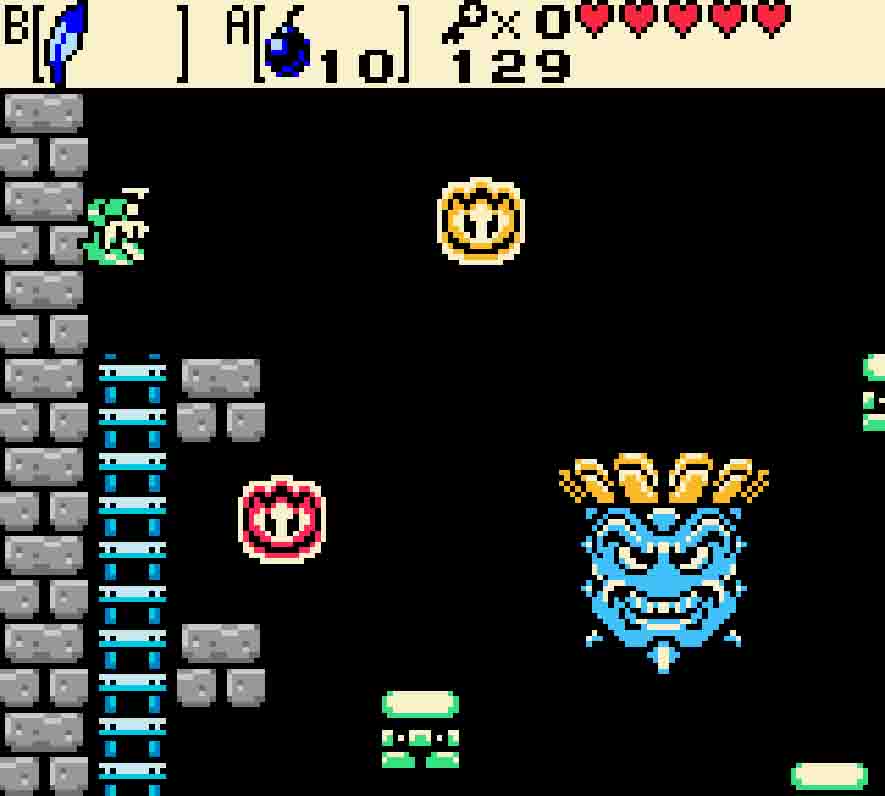


Boss Thwomp has several attacks to keep you on your toes.
To damage Head Thwomp, you will need to throw a Bomb such that it lands atop and then into the cavity inside its head. From the stationary platforms, it’s actually a little bit of luck and a little bit of skill as slight variations will cause it to bounce differently, thus changing your timing and success. If you are successful, Head Thwomp will start spinning like a roulette wheel, and whatever color it lands on will potentially cause a counterattack.
- Green: Like its normal attack, it will cause Podoboos to emerge from its head. These won’t be able to reach the upper platforms, so you should be safe from their wrath if you stay there.
- Blue: Head Thwomp will send out a host of small fiery projectiles. These will swarm in a circular pattern. The upper stationary platforms are mostly out of the way, but you may need Roc’s Feather to dodge the projectiles.
- Purple: Head Thwomp will crash into the ground, causing debris to fall down from above. If it lands on purple, you’ll quickly want to climb down one level of the ladder and hide beneath the upper stationary block to avoid things from falling down on you. Then ascend back up to the upper level.
- Red: You really want Head Thwomp to land on red. Unless Head Thwomp lands on red, it won’t actually take real damage. Landing on red will remove one life point from the boss and cause it to drop a restorative heart.
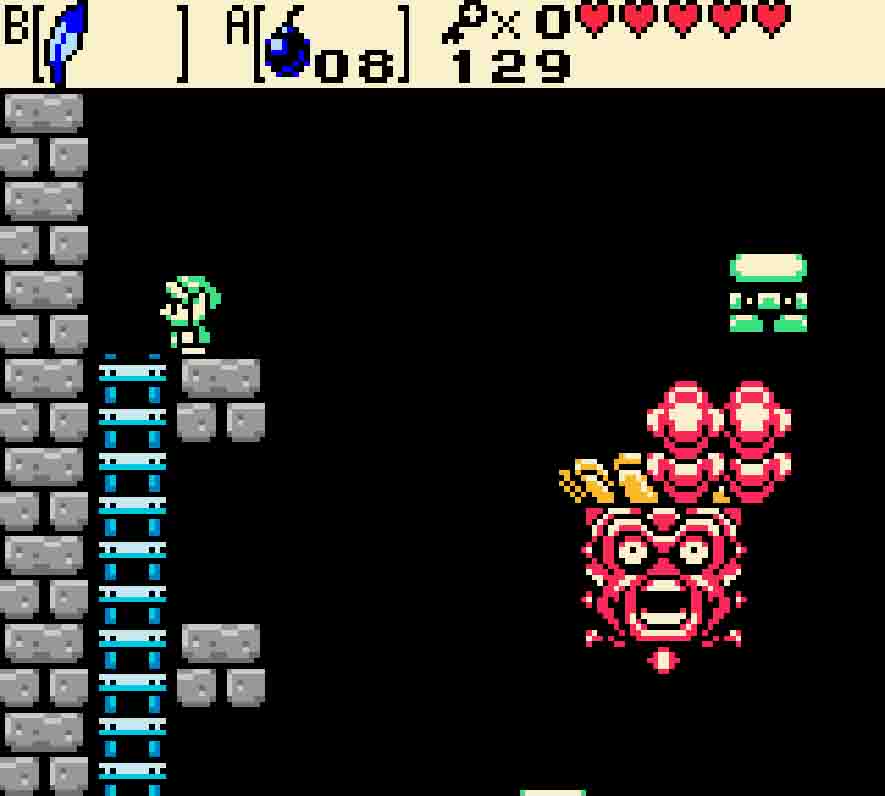
Which color Head Thwomp lands on is identical to which color it was when the Bomb lands in its inner cavity. So to your best effort, you’ll want to time your Bombs so they land inside the boss when its red face is visible. That means you’ll need to initiate your throw when it looks green or perhaps blue. As you get successful red roulette results, Head Thwomp will continue rotating faster and faster during its waiting cycle, further complicating the timing. Collect more Bombs when you start to run low, but keep at it. Eventually, you’ll take down Head Thwomp.
It will leave behind a Heart Container and open a path back downstairs. Follow it to collect the Ancient Wood, the second Essence of Time.