


Chapter 1: Lynna City & Yoll Graveyard
Table of Contents
Meet Nayru, Oracle of Ages
The game starts off with no music, and you have no items. There’s also not really any choice about where to go. To start simply head north. As you do so, you’ll eventually hear screams from further up the road. When you go to investigate, you’ll see a trio of Octoroks harassing an old woman. Upon seeing you, they’ll immediately flee. The woman will greet you, but you might recognize her without her introduction. She’s Impa, Princess Zelda’s nurse traveled far from Hyrule to the land of Labrynna. She’ll let you escort her for now.
As you head west, Impa will notice a particular stone with a triangular crest that matches the one on your hand. She’ll ask you politely to move it for her as, for some reason or another, she’s unable to do so. The rock, though it looks heavy, will immediately budge to your touch. Once the rock is out of the way, proceed to the north.
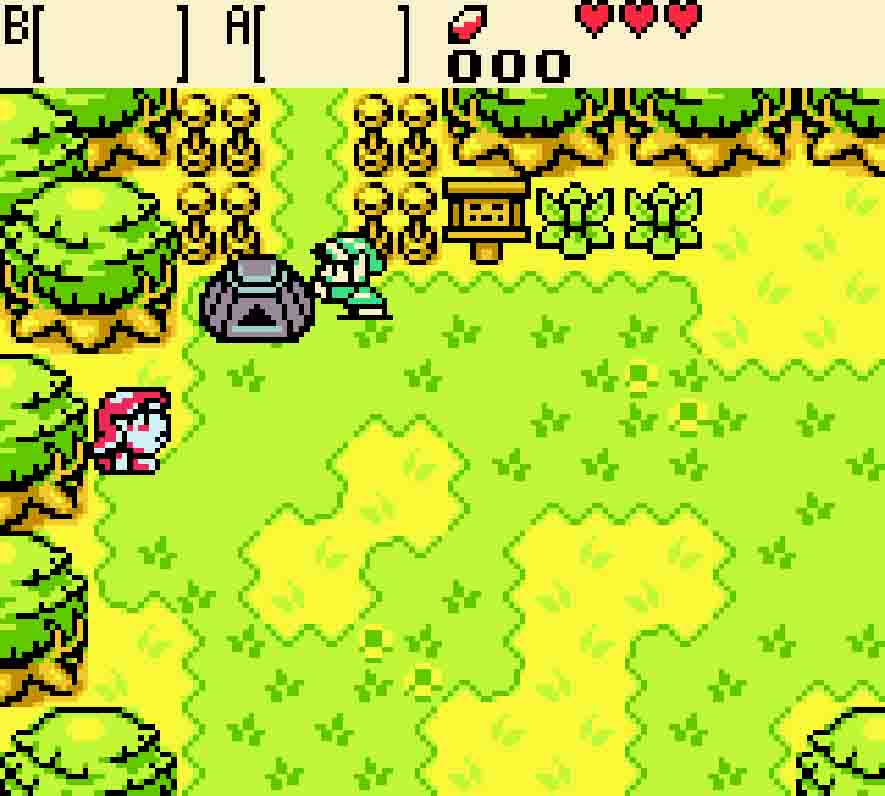
This Triforce-marked rock will allow you to enter the grove. 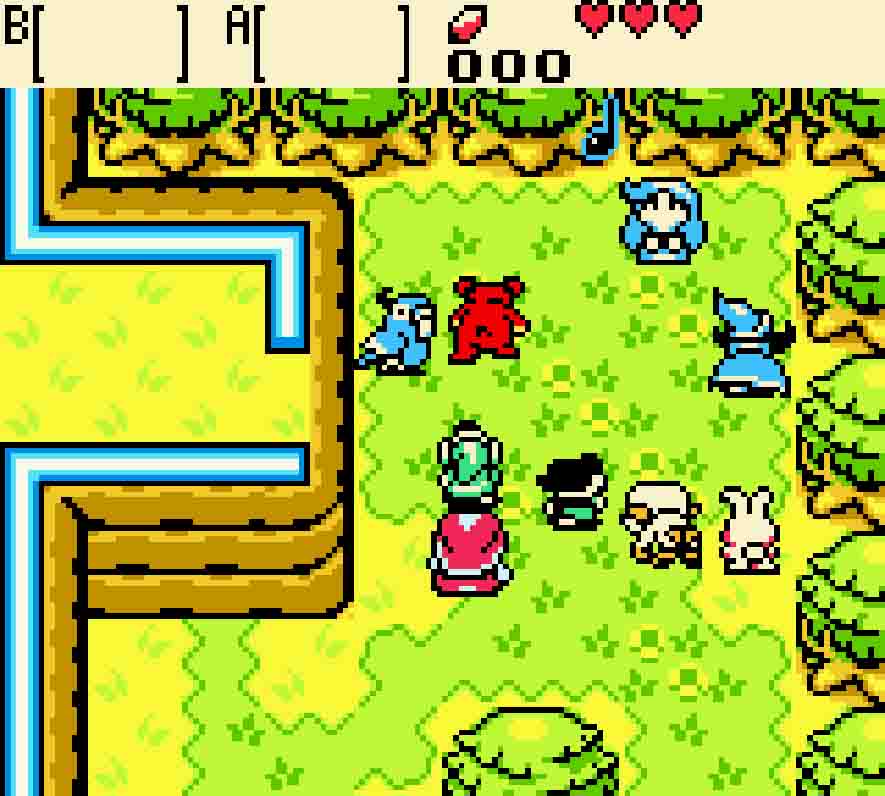
Talk to the bear after you’ve spoken to everyone else.
Two screens further north, you’ll meet the girl who is singing that beautiful melody, and apparently she’s captivated the minds and hearts of a few people as well as a handful of animals to boot. You won’t be able to approach the girl without talking to all of the animals that are in your way. Talk to each of them, but talk to the red bear near the left side to force him to move. Once he does and finishes talking to you, you’re free to approach the girl, whose name is Nayru. She’ll tell you she’s the Oracle of Ages, a fact she keeps rather private.
But that secret is enough to make everything go pear-shaped. Apparently the woman you let into this sacred grove was possessed by the evil sorceress Veran, and she’s going to possess the oracle and take control of the timeline for her own selfish wishes. Unfortunately, there’s nothing you can do as, once she takes possession, harming Veran requires killing Nayru herself. She unfortunately escapes, heading back through a time portal. And within an instant, history begins to change.
But before you can go, Impa, coming to her senses, realizes what happens. She’ll give you your directives and tell you that you need to go after Veran. And to help you, she’ll give you a Wooden Sword.
Linked Game variation
In the Linked Game, you will already start the game with your Wooden Sword. Instead, Impa will give you the Wooden Shield.
Follow Veran into the past
That portal is high up on a cliff, but it’s adjacent to the Maku Tree’s grove. As such, you’ll need to visit her. To start, head south twice to leave the sacred grove, and then head south one more time. There are some bushes blocking the westward direction, but your sword will mow them down easily enough. Head west, and you’ll be in Lynna City.
Feel free to explore around Lynna City. There are a lot of people here, and a lot of things to see and do. However, your real directive will be to the north. Head north twice, passing Vasu the ring jeweller’s house, and you’ll see that the gate to the Maku Tree is closed off, preventing you easy access. However, there is a backup route there, and that’s by exploring the Maku Road. Head into the cave just to the left of the entrance.
The present-day Maku Road is simple. There’s no enemies. There’s no tricks. It’s simply a nice, casual walk ever northward until you reach the stairs heading back up at the end of the cave. Once you reach there, the Maku Tree will greet you. But it won’t be long until Veran’s machinations start to affect her too. Suddenly, the Maku Tree disappears, apparently killed off back in time.
Take the cave just outside the gate to the Maku Tree’s home. 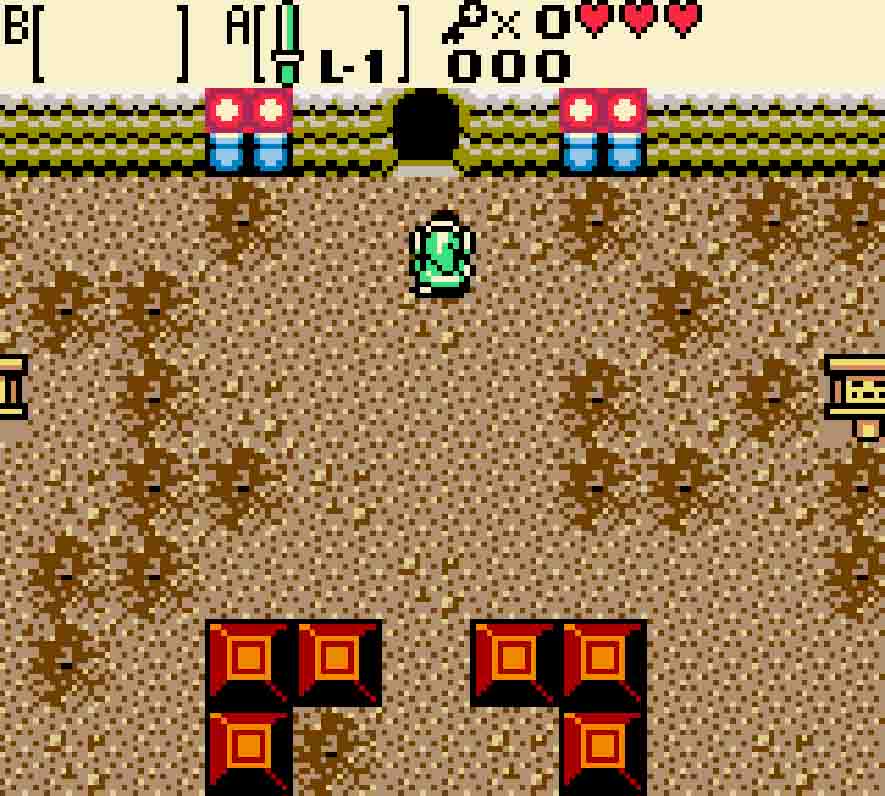
Maku Road is a cave without any complexity; just head north.
Head east, and you’ll once again meet up with Ralph, Nayru’s loyal friend and protector. He’ll charge head first into the time portal, leaving you to follow behind him.
Obtain the Shovel
Doing this will put you 400 years back in Labrynna’s history. And in the short span of time that you can see, Veran has been up to work. The sun never sets, and workers are laboring endlessly on the Black Tower, a creation of Queen Ambi’s royal decrees.
Climb down the cliffside using the ladder, and head south and west to re-enter Lynna’s borders. However, in this ancient era, it’s not Lynna City but Lynna Village, and you can tell that you’re looking at a more primitive time. You might think all you need to do is visit the Maku Tree, but unfortunately the gate is still closed, and there’s heaps of rubble blocking the cave. You’re going to need some equipment to take care of that.
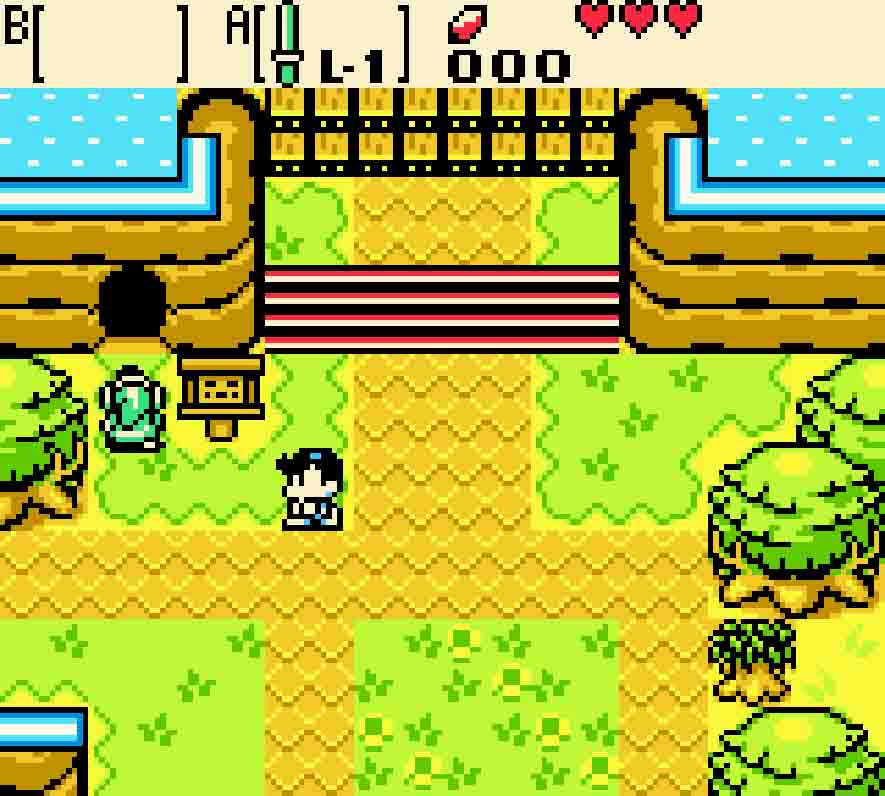
Take some time to explore the village if you want. However, the path forward from here is in the Black Tower itself. Head south one screen, west three screens in order to pass the river that runs through town, and then south twice to enter the Black Tower area. The music here is ominous, and talking to anyone here will give you a sense of dark dread. Follow the pathway around and speak with the guard in front of the tower. He’ll let you in, but he’ll give you the forewarning that you might get yelled at if people see you milling around and not working.
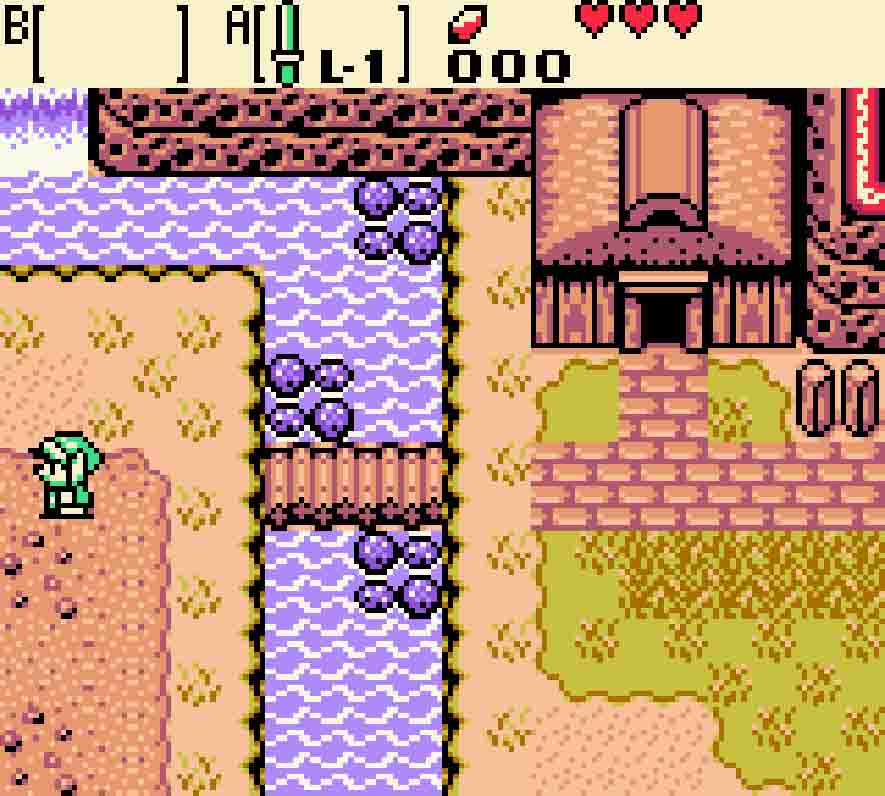
Head westward across the bridge as you travel through Lynna Village. 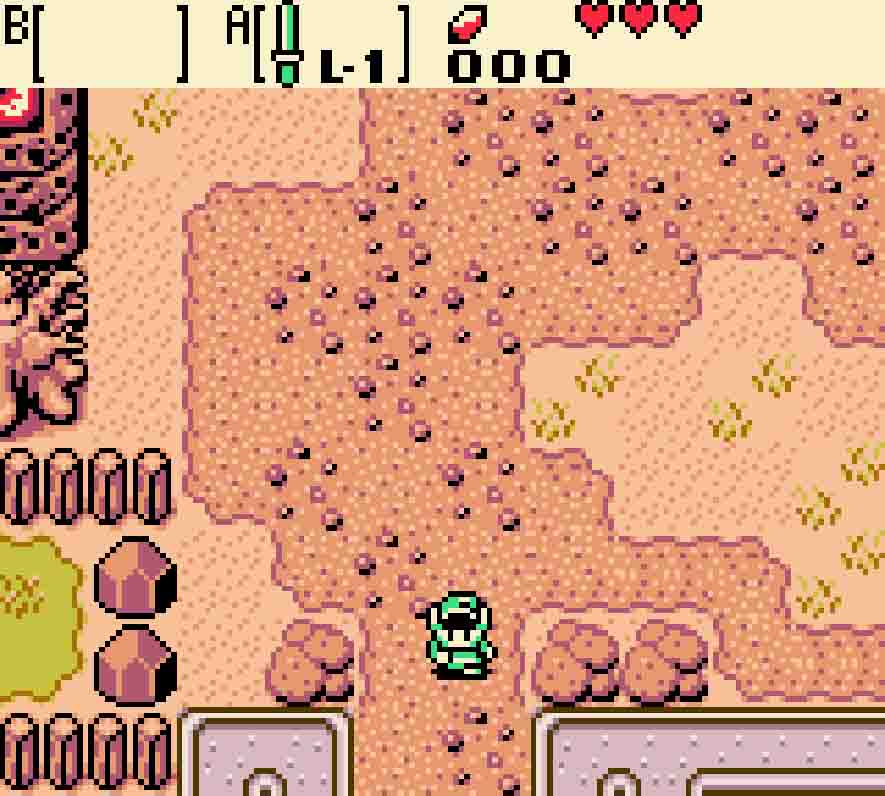
The southwest exit from the village heads to the Black Tower. 
Once inside, talk to the Foreman, who is the furthest person through the constructed zone thus far.
Head inside, and there will be a host of workers, foremen, and castle guards overseeing the work. There’s only one person you need to talk to here, but he’s at the furthest point in the Black Tower’s lower floor. To find that foreman, follow the main hallways east, north, and then back west. It’s the only way you can go, which helps. At the far end, look for the foreman standing next to a 2×2 hole. Talk to him, and he’ll think you’re volunteering to help. In thanks, he’ll give you a Shovel and tell you to start digging.
Save the Maku Tree
And dig you shall, though probably not where he wants you to dig. You can take a shortcut out of the Black Tower by digging up the dirt next to the foreman and then heading back south. You’ll need to dig again there, but now you’ll be just in front of the exit, allowing you to head out.
Piece of Heart
Once you exit the Black Tower, there’s a Piece of Heart just waiting for you to claim, and this will be the first Piece of Heart out of twelve.

It’s time now to head back to the northeast corner of Lynna Village so you can save the Maku Tree. Leave the Black Tower the way you came in. Once you make it out, simply reverse the way you came: Head north, east three times, and then back north. Dig up the dirt just in front of the cavern entrance, and head into the cavern.
The past-era Maku Road isn’t as nice and easy as it was in the present. You’ll actually have to work your way through it this time. The first room is still easy, so just head north. However the second room’s door will be sealed tight. If you remember anything about the present-day version, you’ll know all you need to open the door is to push the lone block near the door north one square. The door will open, and you can continue going.
You’ll now face your first true enemies of the game: Keese. These are relatively harmless as they just flap around, occasionally coming to rest and roosting for a bit before moving onward. Push the central block in your enclosure either left or right to open up your pathway. Then kill the Keese. There’s no northern passageway this time, and the westward door is locked. So you’ll need to go east.

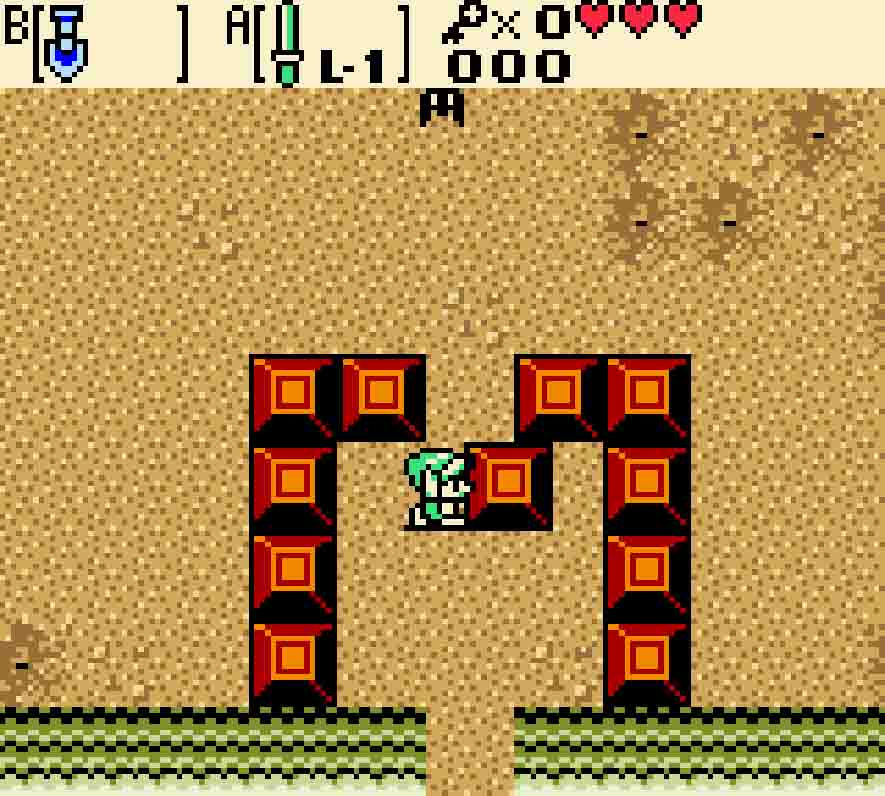
This iteration of Maku Road is all about block-pushing puzzles.
The next room will feature a few red Gels. Gels usually come from red Zols after you defeat them. They can’t harm you; however, they can jump on you and slow you down for a period of time. Kill all of the Gels in order to unseal the doors, and then simply head north.
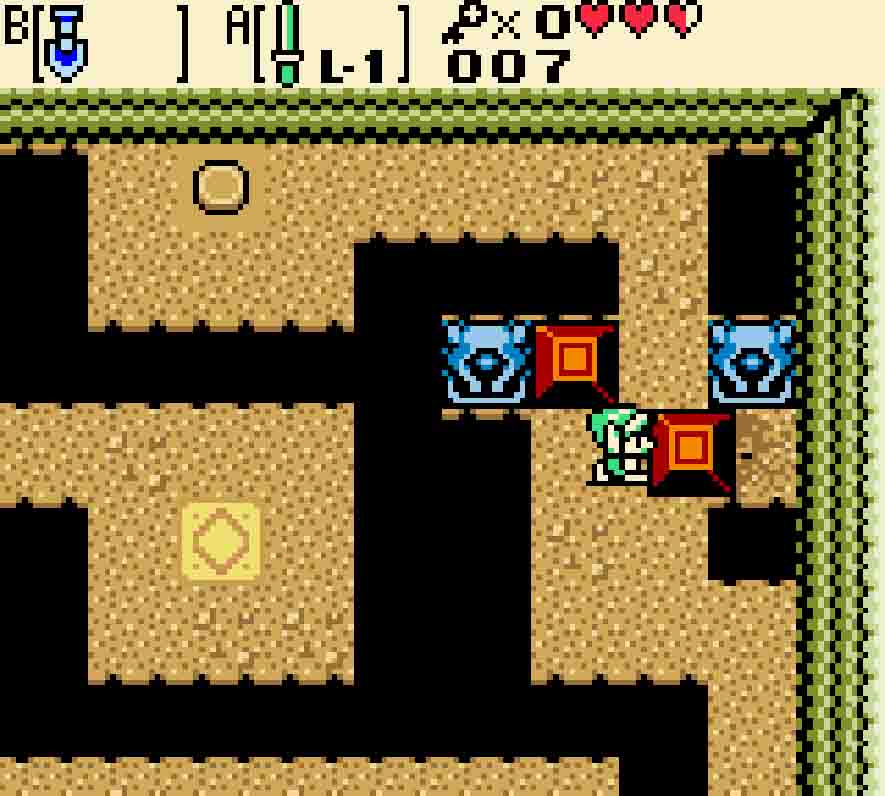
You’ll have to do some tedious work here. Push the first block up so that it falls into the pit, then head around the room counterclockwise. When you reach the pair of blocks on the right side, push the left one up and the right one right. Then continue around the narrow walkway to hit the floor switch at the far end, causing a chest to appear. This means you’ll need to circle your way all the way around to get the chest, which of course contains the key you need.
Return south and west to the three-way room. Then unlock the door heading westward. The doors are sealed here, but there’s an obvious switch that needs pressing. However, it’s trapped in by a nasty configuration of blocks. This puzzle won’t let you screw up, and it’s much easier than it looks as a result.
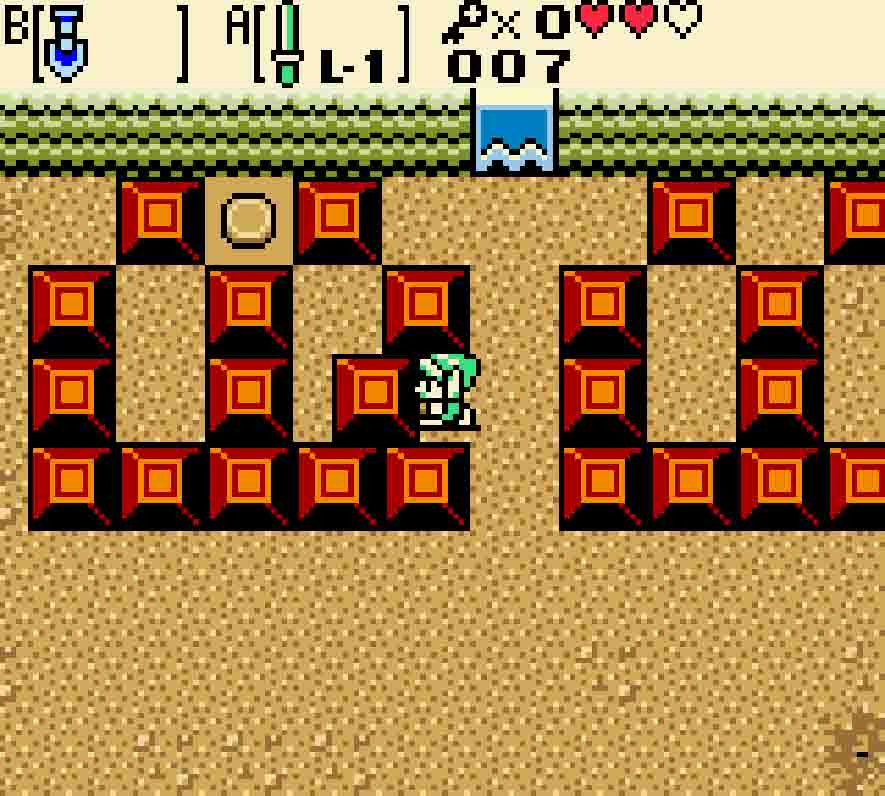
Step One: On the right-hand side of the left “crown-like” block shape, push the second lowest block one square to the left.
Step Two: Move into the space where the block once was, and this will allow you to push the block above you north one tile.
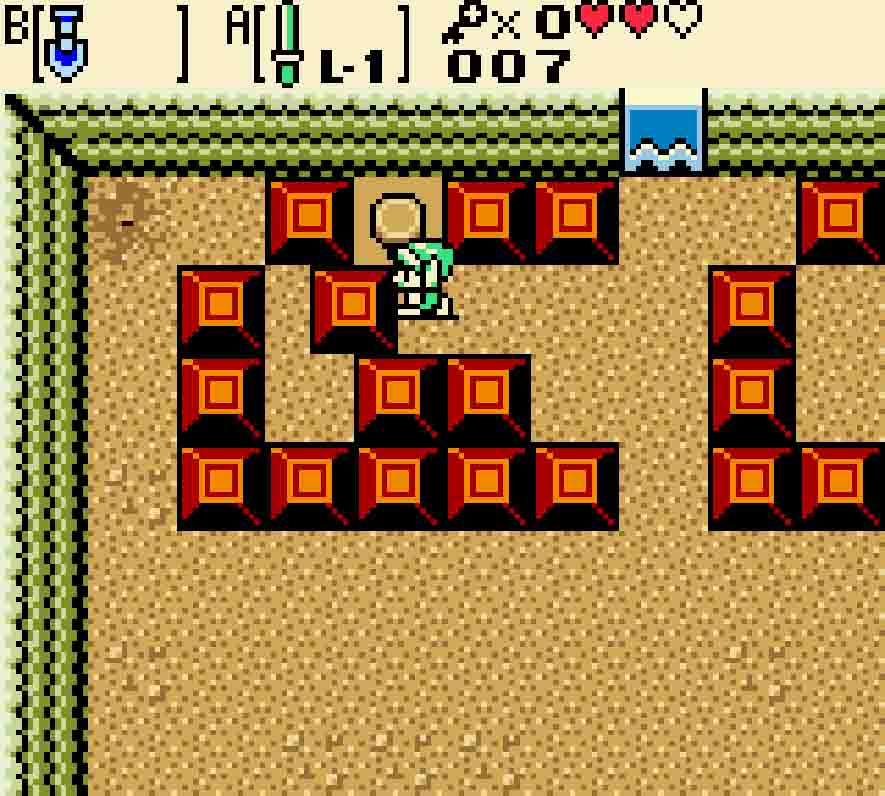
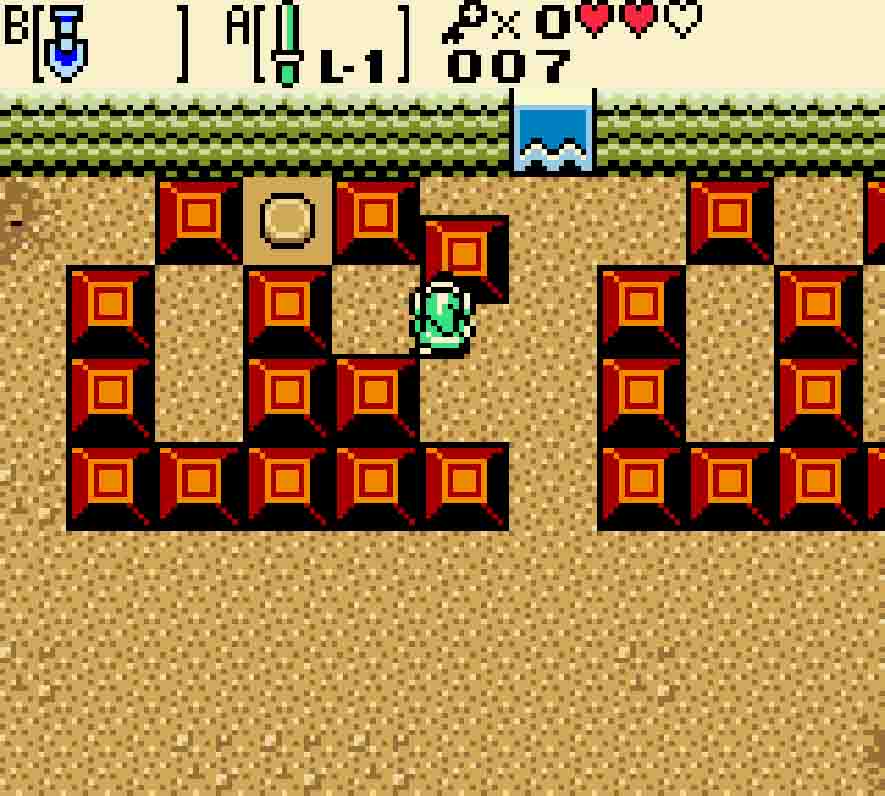
Step Three: Head to the left now, and push the block directly in front of the switch to the left, allowing you to simply walk north and depress it.
The door will open, and you’ll encounter your second enemy of the game: blue Stalfos. These guys won’t give you too much grief, and they’re the most benign sort of Stalfos. So go up to them without fear and kill them. And then once you’re done with that, you’ll need to push the lone block on the right side of the room any direction in order to continue onward.
Piece of Heart
There’s another easy and obvious Piece of Heart here to start your collection. Don’t worry; later Pieces of Heart won’t be quite so easy.
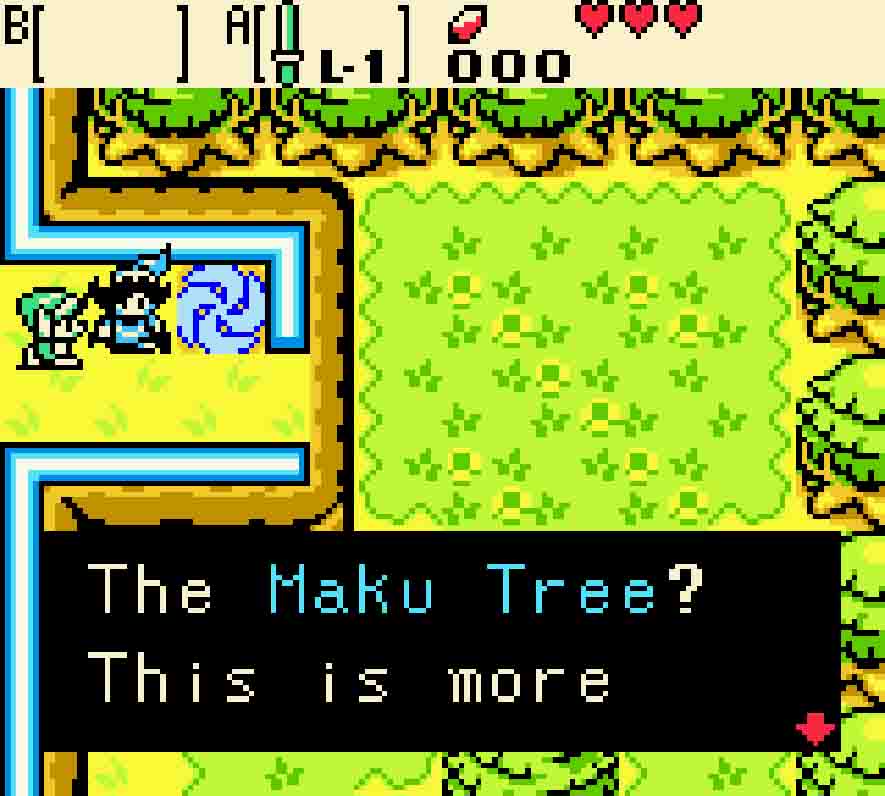
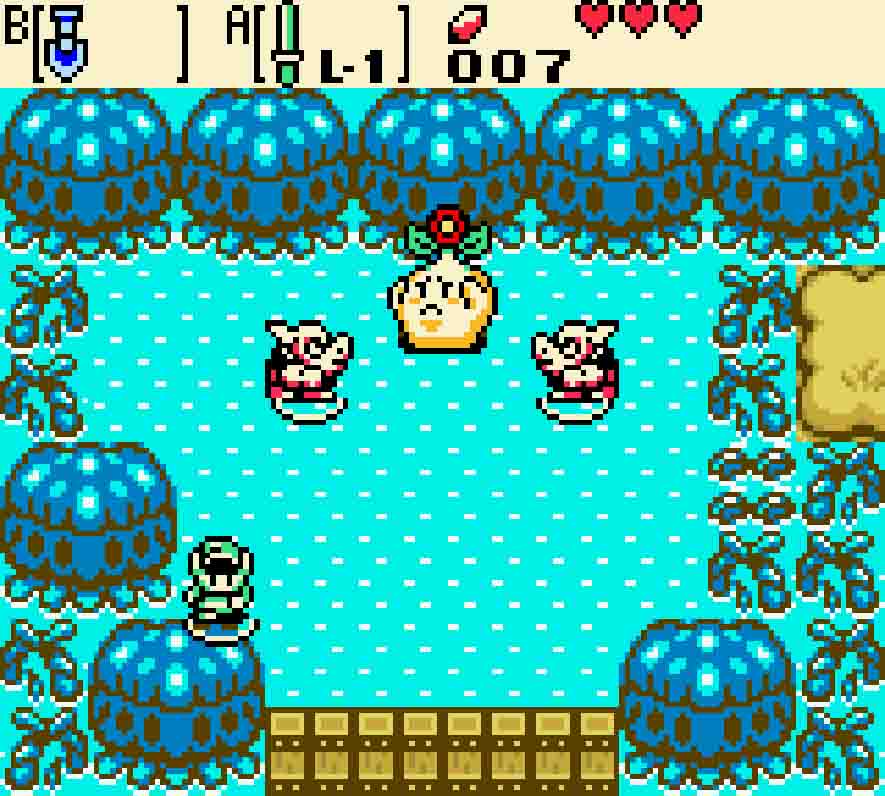
Now you can simply head up and out of the cave to find the now much younger Maku Tree. Fight off the Pig Warriors that are facing it, and the Maku Tree will be saved. She’ll open the gate in front of her, but note that this means it’ll also be opened in the present-day version of Lynna City. She’ll also promise to give you a big reward if you visit her after she grows up. And we promise it won’t be carrying through with that marriage proposal she gives you.
Gain the Seed Satchel and Graveyard Key
Head south to the corner of Lynna Village. You’ll notice that there’s an active time portal here. Step into it, and you’ll be transported back to the present era. The gate guarding the Maku Tree is now wide open, so return north. Talk to the Maku Tree, and she’ll give you more marching orders. But more importantly, she’ll give you the Seed Satchel, already full with 20 Ember Seeds. She’ll then tell you to start by heading to the Yoll Graveyard, where you can find the first Essence of Time.
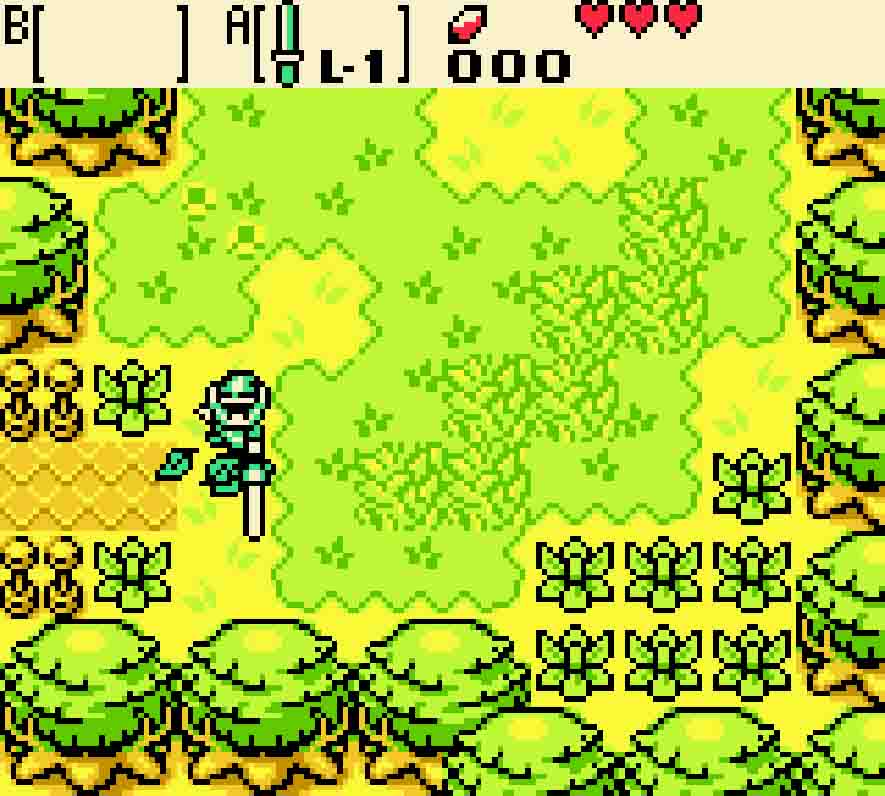
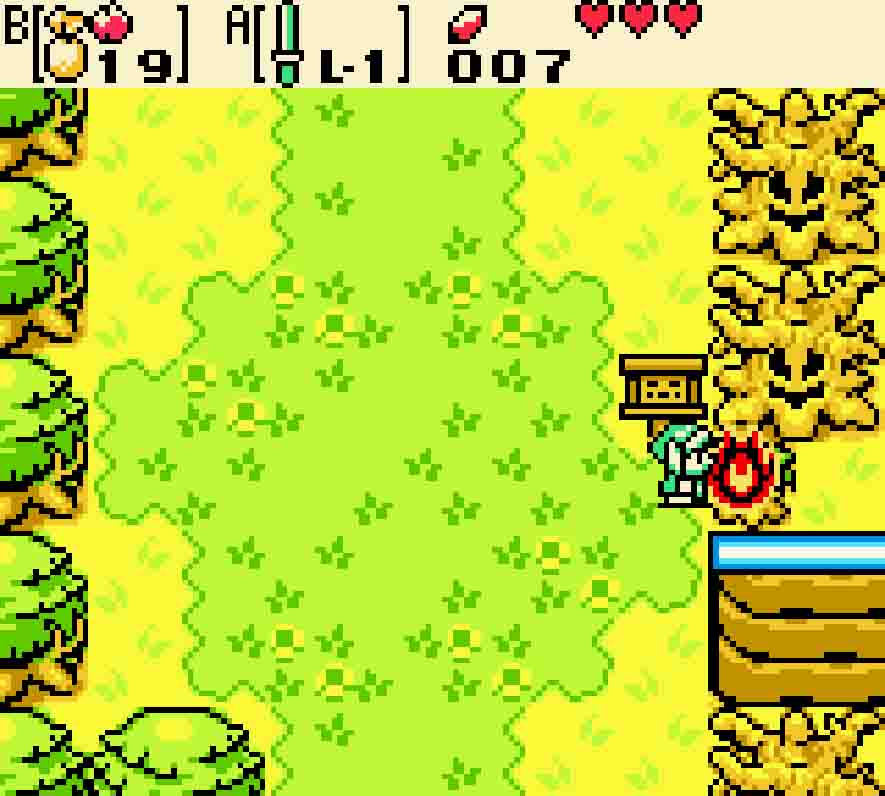
The easiest way to reach the graveyard is to head east into Nayru’s grove. Hop off the tall cliff and head south twice. Retrace your steps back east and south one screen. There you’ll find an eastward passageway protected by a rather nasty shrub. Equip the Seed Satchel and use an Ember Seed to burn down this tree as well as the tree on the screen to the east.

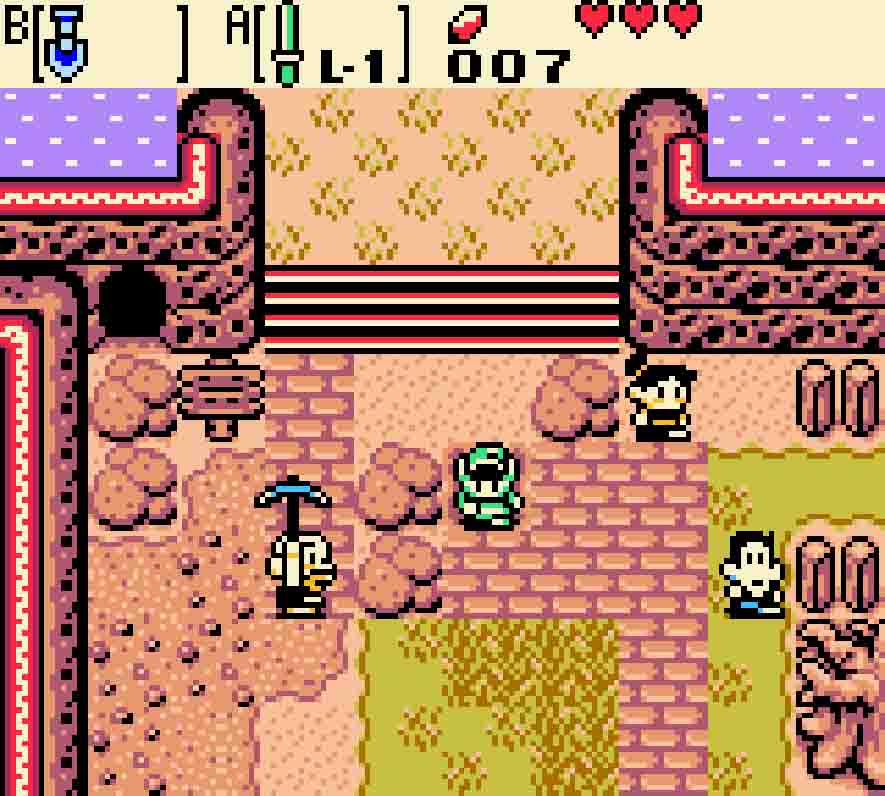
Head east once more, and then when you have the choice to go north or south, head south. Once you return west, you’ll find three kids who are telling ghost stories to one another. But they’ll give you a bit hint about where a treasure is located before they cowardly turn tail.
Cross the bridge to the south, and then head east twice, passing several graves. You won’t be able to access the first dungeon from here. However, if you burn the southmost bush on your side of the screen, you’ll find a secret staircase leading deep into the earth. Head into it, and then light the two unlit torches in this room in order to light it up. When you do, a key will drop from the ceiling. It’s the Graveyard Key, just what you need to access the first dungeon.

Use an Ember Seed to enter this secret cave. 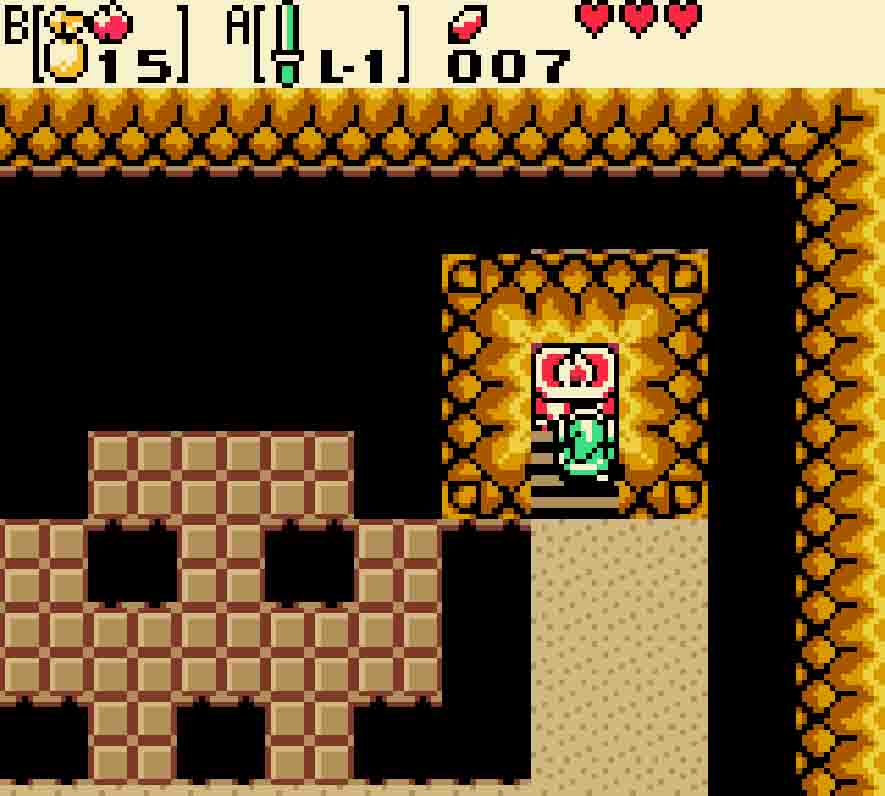
Inside, light the two torches with more Ember Seeds. 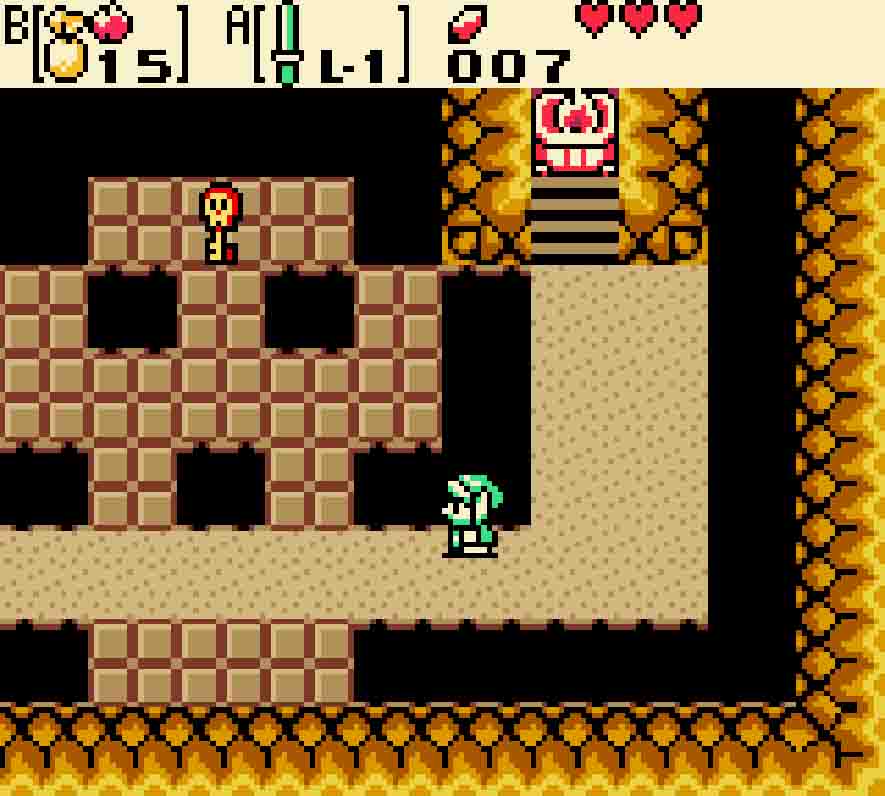
This will cause the key you seek to drop down from the ceiling.
Enter the Spirit’s Grave

Return from whence you came. Head out of the cave, and then head back west, north, east, and north to return to the three-way intersection from before. This time head north, and you’ll find that there’s a wrought iron gate blocking the way. However, you now have the key to it. So stick your key into the slot and follow the trail eastward.
As you follow the trail that leads southward, you’ll encounter a few Crows along the way, your first overworld enemies. These guys will take to the air and flap at you in a straight line, but only if you harass them by getting a little too close. If you avoid them entirely, then they won’t bother you.

Cross the bridge over the river, and soon enough you’ll be back on the screen where you got the Graveyard Key, though this time you’ll be on the correct side of the screen. Head inside to access the first dungeon.