Inside the Deku Tree
Table of Contents
Once you’ve claimed the Kokiri Sword and broken the bank to buy the Kokiri Shield, the Kokiri Villager Mido will open the path to face the Great Deku Tree.
Following a brief conversation with the Great Deku Tree, its mouth will open, and Link, accompanied by Navi, will be sent to explore Inside the Deku Tree and defeat the evil lurking within.
Obtaining the Fairy Slingshot
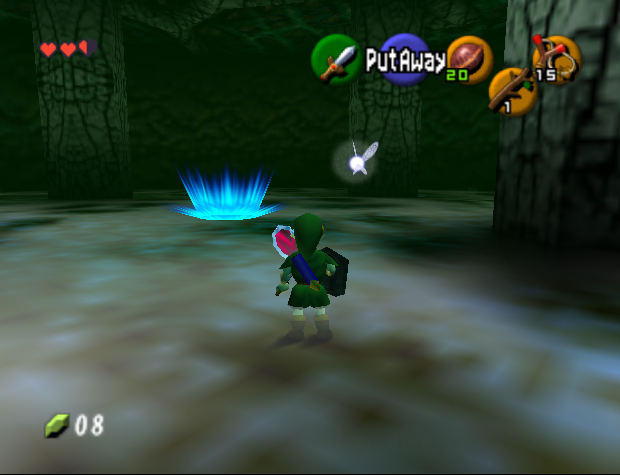
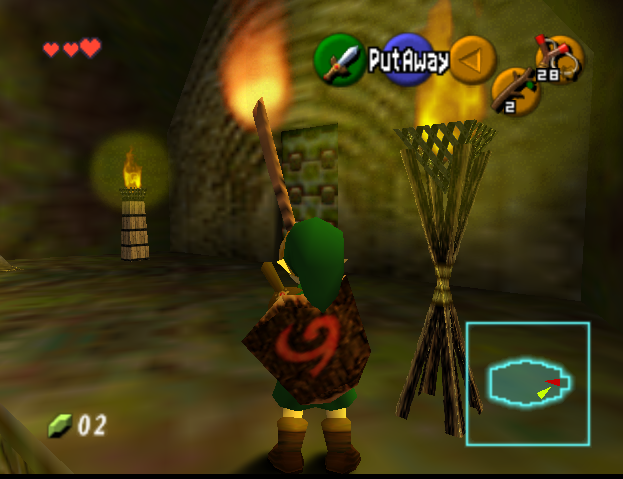
As soon as you enter the dungeon, take a look to the left and climb the ladder to the raised platform. Run around to the right and open the Large Chest, awarding you the first (of many!) Dungeon Maps.


Once you’ve put the map away, follow the path around the trunk of the Deku Tree. Take a small, “Young Link”-sized leap across to the next platform, and exit through the door ahead of you.
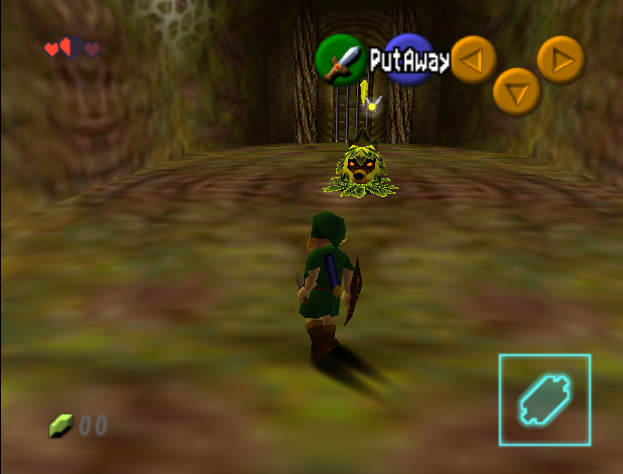
You’ll encounter a new enemy in the next room, one of the many parasites inhabiting the cursed Deku Tree: the Deku Scrub. The Deku Scrub is a simple enemy to defeat but may get repetitive the further you go through the dungeon.
As you enter the room, the Scrub will lift from its bed in the center and start spitting nuts at you. The easiest way to deflect the nuts is to take out the Deku Shield and use it to block, firing them back at the Scrub. Once the scrub is hit, it’ll get up and start running around the room. Chase after it and click “A” to speak to it. After the conversation, the door will open. Go through the door to the next room.
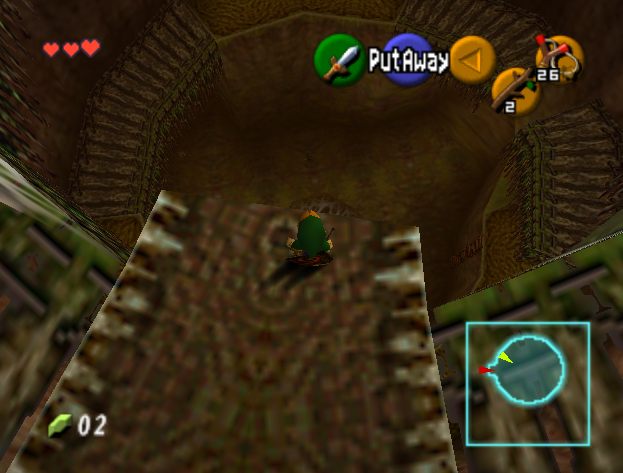
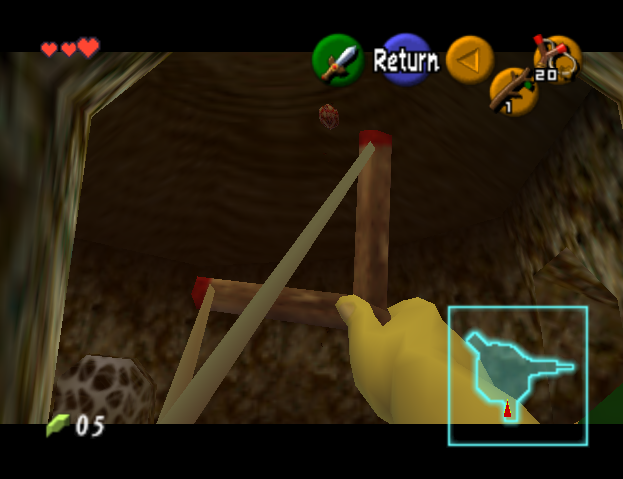
The next room has a single platform suspend over a sharp drop and a single Large Chest on the other side. Simply, jump onto the platform and hop across to the chest (but don’t take too long—the platform will drop!) Open it to reveal the Fairy Slingshot.
Turn around to face the door on the other side. You’ll notice the platform has vanished and the path to the outside has been blocked. You will also notice a ladder hanging on the wall above the exit. Open the Start Menu and take the newly acquired Slingshot for a test run. Facing the door, target the ladder with the Slingshot, and fire! The ladder will drop down. Jump to the surface below, take the ladder to the platform, and exit to the previous room.
Finding the Compass
Now you’ve obtained the Fairy Slingshot, it’s time to scale the Deku Tree! You’ll need to retrace your steps to where the Dungeon Map was found, and then look upwards to the right. There are some vines for you to climb, but watch out for the three Skullwalltula (giant spiders!) at different intervals as you scale the vines.
As a precaution, it might be wise to take out the Slingshot and knock them down beforehand. If they see you, they’ll turn purple and charge at you, knocking you down to the ground and taking a fair bit of damage, too.
When you reach the top of the vines, take a right and drop to the platform below.
Run around to the right, ignoring the Skultulas hanging from the vines, to find a door to the left. Go through to the next room.
Similar to the room where you obtained the slingshot, you’ll notice a large area over the ledge and a Large Chest straight ahead. However, it’s not as simple this time. You’ll need to raise the platforms in the middle of the room to chart a route to the chest at the end. First, stand on the button to the right of the first platform. The platforms will rise. Jump across each platform, taking your time (but not too much time, otherwise the challenge will reset), and reach the chest to obtain the Compass.
To return to the entrance, it’s quite simple: Leap off the ledge, run to the vines leading to the first platform, and climb. You’ll notice the door is locked.
You should have a Deku Stick by this point, but if not, step on the button again and jump to the left alcove to find and defeat the Deku Baba. Taking it down will yield a Deku Stick. All you’ll need is to light a Deku Stick with the torch and take the flame to the other pyre to unlock the door. Return to the main room.

Beneath the Web
As soon as you re-enter the main section of the dungeon, notice the gaps within the webs where a Skultula’s shadow hangs. Slowly approach the shadow to summon the Skultula, then wait for it to turn around to reveal its soft underbelly. Slash it to inflict damage. It’ll spin around again to face you, so wait for it to turn back to finish it off.
Using the space where it was, take a deep breath, prepare the Kokiri Sword, and run off the edge to break through the soft webbing on the ground floor. You’ll end up in the basement. This is where the dungeon’s third act takes place.

Once you land in the basement, climb to the nearby platform and step on the switch to ignite the torch that was hidden behind the thick webbing. Take out a Deku Stick and light it using the torch, then jump to the platform submerged under the water and jump to the lowest platform.
Note: be careful where you stand. You could easily fall into the water and lose the flame!
Use the lit Deku Stick to ignite the webbing to reveal a door. Go through the door.
You’ll encounter the 2nd Deku Scrub in this room, so use the same technique as the first one we defeated: deflect the nut, chase the scrub, then tap ‘A’ to start a conversation with it. When you speak to this one, though, take note of the numbers it gives you: 2…3…1.
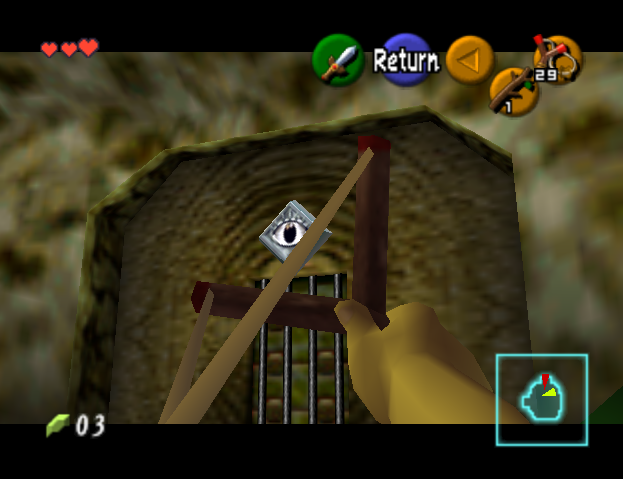
To leave the room, whip out the slingshot and fire at the eye above the exit to release the door. Go through to the next room.

This room is slightly more complicated than anything you’ve faced in the dungeon to date. Ahead of you, you’ll see a platform floating up and down the body of water under the rotating spike. If you jump onto the platform immediately, the spikes will knock you off and inflict damage as the water level is too high.
To the left of the platform, beneath the water, you’ll notice a switch. You’ll need to swim down to press it, but you only have three seconds to do so, so time it perfectly. Immediately after activating the switch, the water level will lower. You now have a few seconds before the water level will return to normal. Return to the first platform, then jump onto the floating platform. Providing the water hasn’t risen, you should go straight across to the other side.
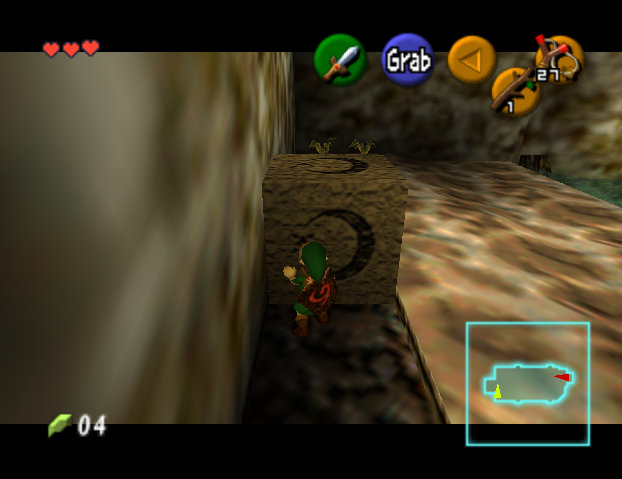
Jump to the next platform once you’re there, then slay the Skultula. Walk to the left side of the block and walk toward it, then hold down the “A” button to push it forward. Once it stops, climb on top of it and climb over the ledge. Go through the door.
Defeat the Deku Babas in the next room, then ignite a Deku Stick on the torch close to the entrance. Using the lit stick, run to the unlit torches and set them alight to unlock the door at the other side of the room.
In the next room, you’ll encounter a new enemy in the next room: the Gohma Larva. These one-eyed blights pack a punch and cause significant damage when they make contact. The easiest way to beat them is to remove the eggs hanging from the ceiling before they drop down and hatch.
To do this, first, take out the Skultula hanging from the ceiling. Now, wait before taking any steps toward the center of the room. Take out the slingshot and aim upward to the ceiling, the Gohma Larva eggs will be writhing, aching to drop to the ground. One hit from the slingshot will take them out.
You’ll notice in this room that a few paths are branching off in different directions, with both hidden by spider webs. You’ll also see a lit torch to the left of the room. Use the torch to ignite a a Deku Stick, then turn around and set the web alight, revealing a crawling space. Crawl through it to reach a familiar room.

The Final Rooms
At this point, you’ve back-slashed the web-slinging Skultulas, descended to the depths of the Great Deku Tree, and cracked eggs. Now, it’s almost time to clear out the plague that has infested the protector of the Kokiri Forest.
Once you’ve crawled out from the previous room, you’ll see that you’ve returned to the place where you landed after descending to the basement. This time, though, you’ll be looking down at the torch you lit.
Ignore the Deku Babas scattered across the platform and run straight to the block on the left. Push it into the water. Take two hops over to the lit torch on the ground level, whip out the Deku Sticks, and set it alight. At this stage, you’ll need to carry the lit torch over to the block and use it to burn the webbing on the ground. Be careful, though: If you misstep and fall into the water, the stick will extinguish. And If you go too slow, the stick will die on its own. Timing is key.
When you’ve burned the webbing, you’ll drop down to the lowest level of the Deku Tree and into a small pond Swim to the shore, where you’ll find three Deku Scrubs lined in a row. To enter the boss room, you’ll need to solve a puzzle. Luckily, we already know how to solve it. You’ll need to deflect the Deku Nuts in a specific order: 2…3…1. In this situation, the scrub to the left represents “1,” with the middle one being “2,” and the last one being of course “3.”
Once you stun the last scrub, he’ll start to run away. Run up to the scrub to prompt him to open the door. If you don’t catch him in time, the puzzle will reset.
Before you enter the boss room, be sure to stack up on hearts, Deku Seeds, and Deku Nuts. You’re going to need them.


Boss Battle: Parasitic Armored Arachnid: Gohma
Upon entering the boss room, you’ll notice an eerie silence. No threat, no haunting music, — but there is a terrifying arachnid waiting to take you down. Unfortunately, we’ll have to defeat it to escape the dungeon and free the Deku Tree from its curse.
Walk to the center of the room and take out the slingshot. Aim upward at the ceiling and look at the boss to initiate a cutscene to introduce Gohma. Immediately after the cutscene finishes, she’ll start pursuing you.
The trick is to get as close as possible to her so she raises her head. Once she does and her eye begins to glow a different color, Z-target her and shoot her in the eye with the slingshot. This stun her and cause her to fall to the ground. Quickly begin to strike her with your sword to deal as much damage as you can before she gets back up.
After a few hits, Gohma will stand back up, run to the nearest wall, and climb back up to the ceiling. You’ll start to hear a few noises her, which is natural: She’s giving birth. Eggs will begin dropping to the ground and spawning Gohma Larva, the same we saw earlier in the dungeon. Take out the eggs before they hatch. Otherwise, you may lose some hearts. When you’ve slain the Gohma Larva, the queen will drop down to attack you.
Once she’s on the ground, you need to wait for another opportunity to shoot her eye. Repeat this whole process a few more times to defeat Gohma for good.