


11. Stone Tower Temple
Table of Contents
The Map
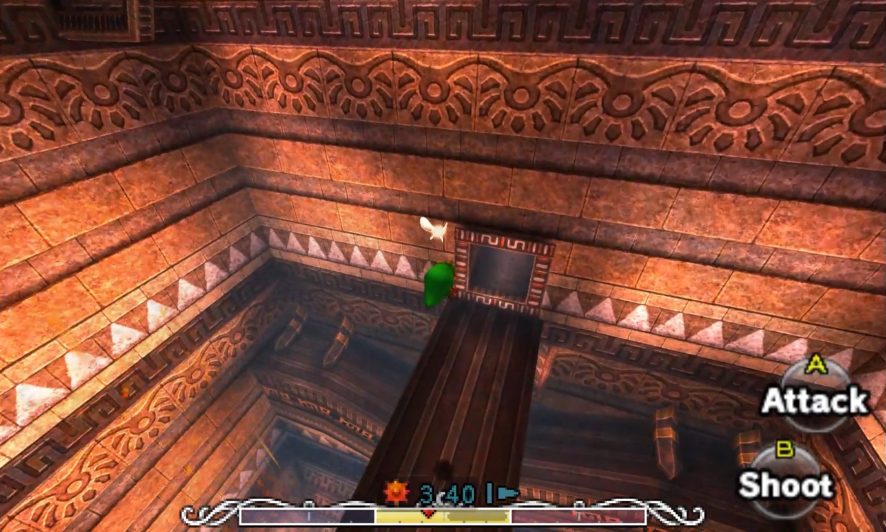
The opening room has both Dragonflies and Real Bombchus to content with. Use your shield against the Bombchus and your arrows against the Dragonflies. Don’t descend the ladder into the center of the room just yet but instead to the left-hand side and enter the door on the upper level there.
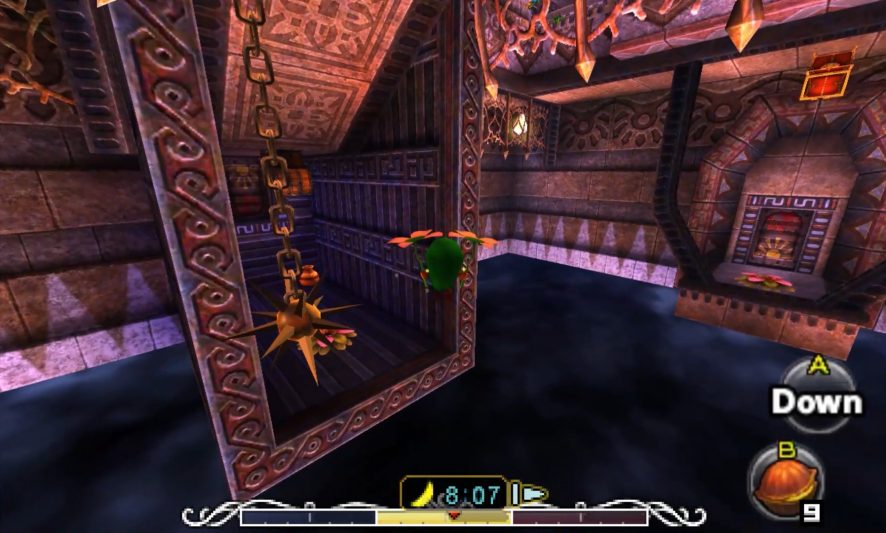
Real Bombchus will plague this room as well. Either dispatch them with long-distance weaponry or face them with your shield raised when they charge you to block the blow. This room has four switches on the ground that need pressing. You might think that four statues will be enough, but that’s not actually the case as Deku Link’s statue isn’t actually heavy enough to depress any of the switches. Instead, there is a cracked wall directly forward that you can blow up with a bomb; hopefully one of the Real Bombchus drops you one when you kill it. This will lead you into a room full of large crates with two smaller crates on the other side.
Use Link to roll into the bigger crates to reveal the smaller creates behind. Pick one of them and carry it to the switch just to the right as you’re heading back to the way you came in. Then, take the other passageway to lead to another four-way intersection. The left path leads to an extremely large switch, and you will need to use the Elegy of Emptiness with Goron Link to depress it. The forward and right forks both contain smaller switches; use Link and Zora Link statues accordingly. Once all four switches are depressed, the gate in the right fork will open. As you head into this new space, you will see a locked door, a staircase leading down, and a curious section of floor that’s colored differently. Place a Bomb on the section of the floor, and it will blow up the floor, causing light to shine down to the room below it. And that’s a good sign to head downward as any, so take the stairway down into the basement.


In the basement, go and stand in the column of light descending from above, and use the Mirror Shield to shine light onto the block with the sun insignia on it. It will vanish, revealing a chest on the other side of the lava pit. Put on the Goron Mask and walk across to where the chest lay. It will have the map in it!
The Compass
You’re not quite done with this room just yet. There is a Small Key here that you will need to unlock the door upstairs. Four of the six Armos statues in this room are actual enemies, and those are the two near the Map’s chest and the two in the lava. As Goron Link, give them a good punch. This will activate them and cause them to come towards you. Punch them again before they touch you, and now they will start flashing. When they’re flashing, run away from them as they will explode in just a few moments. Once you defeat the four of them, a chest will appear in the middle of the lava. Use Goron Link to open it, and you will claim your key. Head back upstairs once you have it, and then go through the locked door.
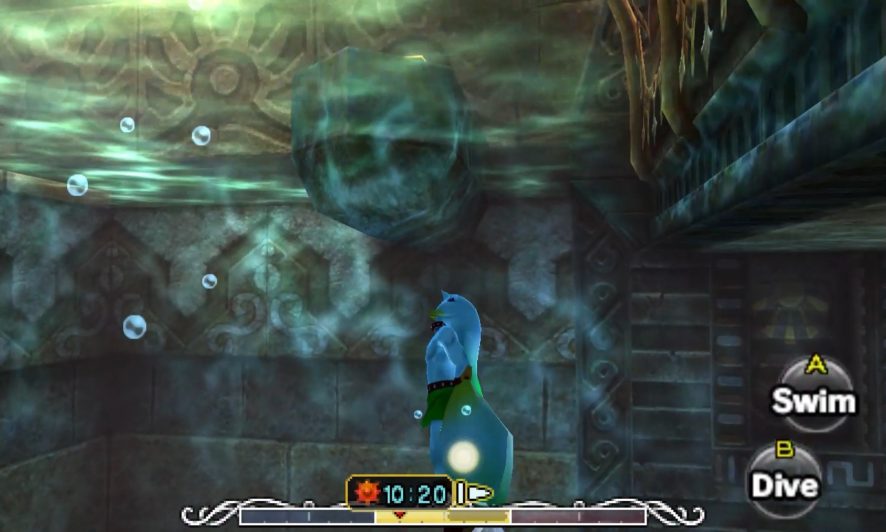
The next room will have an underwater section in the middle of the room with ledges on opposite ends and a bridge in the center. You can’t yet get to the center bridge, but you can get to the far side. Put on the Zora Link mask and dive down to the bottom. Swim across to the opposite edge and perform a dolphin jump to flop onto the far ledge with a chest on it. This will contain another Small Key. Once you have the key, dive back down into the water and turn right to see a Dexihand over a small underwater corridor. Use the fin boomerangs to destroy the enemy, and then head through the door in the passageway.

The corridor will lead you to a rather large aquarium of a room. The aquarium contains Desbreko and Bio Deku Babas in it, nothing you haven’t handled before. But you don’t need to head to the bottom. Instead, rise up to the surface, and then climb onto the land bridge in the center. If you face south, opposite the way you came in, you’ll see a mirror up ahead. The bridge has a light beam falling on it from the heavens above. Stand in it and then aim your Mirror Shield at the mirror ahead. This will cause the mirror to charge up with light. Hold the beam of light there for a few seconds to fully charge the mirror, and then run forth. The mirror will be emitting light, which you can then reflect onto the sun insignia on the block, and doing so will cause the block to disappear.
This will first reveal a chest and secondly reveal a door. That door goes back to the opening room of the dungeon, so it’s less important. However, the chest is much more important. Be careful approaching the chest as there is a Real Bombchu right next to it that’s been trapped back there. Open the chest when you can, and you will get the Compass.


The Light Arrows
With the Compass acquired, head back to the north end of the room and unlock the door with your key to proceed.
Immediately as you enter the room, you will see an incredible number of sun insignias everywhere, but there’s no beam of light to be found. Quickly bring out the Goron Mask and put it on. There’s a strange round pillar just in front of the door, and you can use punches to knock the sections away, revealing a beam of light for you to use. About this time, the room will start becoming infested with Black Boes; unfortunately, they’re going to spawn infinitely in this room, with each one dead bringing another one back, so they’re going to be a perpetual nuisance, even if they are easy to kill. Stand in the beam of light and aim your Mirror Shield at the magic mirror on the left side of the pillar in front; hold this for about 10 to 15 seconds or as long as you can before the Black Boes come to bother with you. Once you have done so, run forward and use the light emitted from the mirror to charge the mirror on the left wall. Whilst crouched in the light from the mirror, the Black Boes will just phase through you, so you’re invulnerable here. Once the light from the first mirror goes out, proceed to the light from the second mirror, and use it to light up the sun insignia on the block in the back to make it disappear and reveal a passageway heading north. Take it, avoiding the Nejirons that spawn behind it.


It’s time for Deku Link to shine here. Throw on the Deku Mask and dive into the Deku Flower at the entrance. Jump out and then push your way forward into the upward jet stream directly in front of you. Each of these jet streams will give you a full boost of power, meaning you have a full range of motion after you pass through them. Continue onward until you reach the second jet stream off along the far corner in the room. Take some time here to reposition yourself if you can as the next one is tricky to maneuver to. The third jet stream is on the left side of the room, and if you have a bad trajectory heading out from the second jet stream, you may not have enough air power to make it to the third. If you can make it to the third, however, you’re all set as the platform containing the exit is directly ahead. Land there and, before entering the door, take off the Deku Mask. You’re going to be fighting the mini-boss in the next room, and you won’t want to go in completely vulnerable to fire.
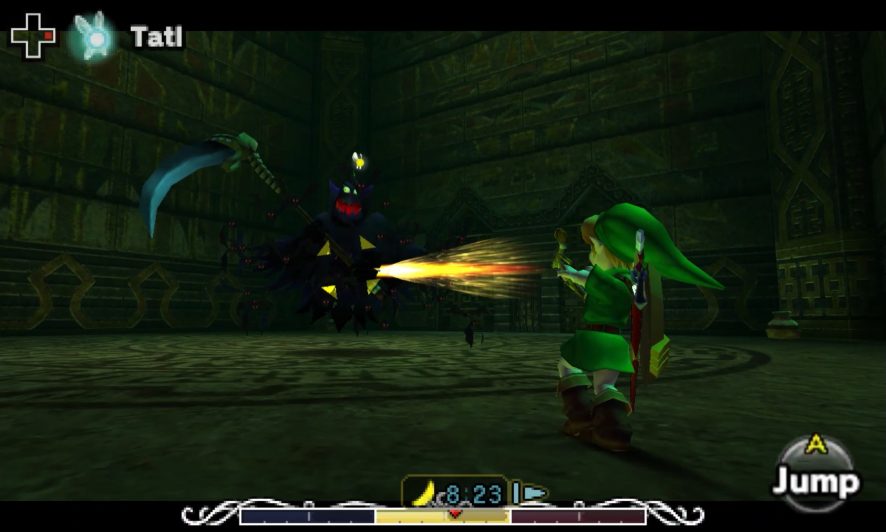
Because you’re about to fight the Garo Master. The Garo Master, while similar to his lesser Garo, can’t be defeated in an equivalent fashion. Like the Garo, he will sweep forward to you with his swords drawn, but hitting him with your shield won’t make him vulnerable. In fact, ironically, the only way to make the Garo Master vulnerable is to have him not hit you. Keep some distance between you and the Garo Master. When he charges at you, dodge out of the way by moving left or right. If he remains there behind you, rush over and hit him if you have enough time. If he doesn’t remain there, he’s about ready to jump on you. Look for his large shadow to appear under Link, and use that instant to quickly move forward. Once he drops, turn around and hit him in the back. Quickly retarget him and hold up your shield as he will attempt a counterattack by spinning about in place.

Defeating him will cause him to tell you the oh-so-obvious secret of this temple. When you get the light arrows in just a few moments, shooting them into the red jewel-like emblems will cause the temple to be inverted. Just moments later, he will disappear from sight in a flash, and a chest will appear in the room’s center. Thus, you will now have the Light Arrows, and you can perform the trade-secret technique he just taught you.
Inverting the Temple
Your next goal is to leave the temple. You might have remembered seeing one of those red gems just outside the temple, and that’s precisely the one the Garo Master mentioned. For starters, head through the southern door.
Here, jump up onto the little ledge extending out from the starting platform. From there you can jump onto a long bridge-like platform just above it. There’s a Hiploop up there, but he’s got a new trick. Use the Hookshot to steal the Hiploop’s mask, and then run up to it to defeat it the way you know how. Guard against its attacks, and then strike it with your sword when you have the opportunity. Should you fall off the ledge, there’s a Hookshot target on the ceiling near the beginning of the room. Once defeated, head through the door ahead.
You’re now going to be standing atop the bridge above the pool of water you encountered earlier. This bridge, unfortunately, has a rather powerful enemy: an Eyegore. Equip your bow with ordinary arrows and approach it to activate the enemy. Once it starts moving, get reasonably close to it in order to provoke it, and then immediately back away as it will throw a rock at you and damage you if you remain too close. The blue eye will turn yellow when it is provoked, and that’s your cue to hit it with an arrow. After several arrows, the Eyegore will be defeated, and a chest with a Stray Fairy will appear behind you.


This will bring you back to the opening room. Either jump off of the central platform by jumping left over the gap or clear out the Real Bombchus going forward and make for the ladder straight ahead. Either way, you’ll want to leave the dungeon to make your way for that red jewel.
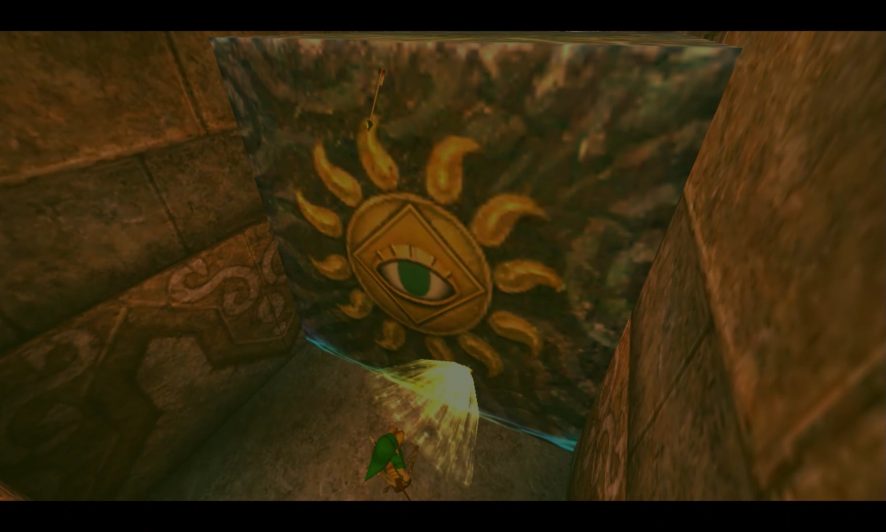
Once outside, there are three switches surrounding the entrance to Stone Tower Temple, one straight forward, one to the left, and one to the right. Step on the one to the right and play the Elegy of Emptiness to lock the switch in place. With just that the middle block of the three-block set moved out, go stand on the left or right blocks of the trio and aim a Light Arrow at the gem revealed by the middle block’s omission. And whatever you do, don’t look down. Oh wait, the camera automatically does that for you… great.

Sneaking through the Second Floor
You’ll reappear outside on the opposite end of the… endless sky from the inverted Stone Tower Temple. Cross over the four waypoint stone islands hovering there in order to get back into the temple, and head in.
The temple will look amazingly familiar in some respects, but it will play entirely differently. Each room’s enemies are replaced with new ones. Each room’s features will be completely foreign. Put your expectations into a box for now, and play the dungeon entirely afresh despite your map telling you that you’ve been through most of the rooms. As a side note, it should be said that, while the dungeon is technically inverted, that’s not entirely accurate. Each of the rooms has been inverted, and what was once the basement is now the second floor, but the layouts of each of the floors remain identical. East right-side-up is east upside-down instead of being the logical west.
The main entrance chamber now has but thin bridges connecting the various parts of the room. Head forward to the Majora’s Mask symbol in the middle and then head along the right bridge, entering the door at the top.
This will lead you to the room that used to be an aquarium. Now it is a huge upward jet stream perfect for Deku Link’s flying acrobatics. First, shoot the sun insignia with a Light Arrow to make it burn away, and then you’ll find the large empty chamber that just leads up. The goal is to get onto the overhanging bridge just above your current position. Hop into the Deku Flower and fly into the jet stream off to your right. That will take you above the bridge that used to be above you; fly back to it and land on the bridge. You’ll see an armored Hiploop there, so you know the drill. Take off the Deku Mask and use the Hookshot to remove the armor before killing it with your sword.
Proceed northward into the hallway, and you’ll find a switch in the corridor. It causes a chest to appear behind you, so go back and retrieve it to get a Small Key, especially since there’s no ledge to speak of whatsoever beyond that corridor. With that in your pocket, drop down to the bottom of the room, and jump into the jet stream on the west side of the room to fly up to the very top of the chamber, which should deposit you near a doorway guarded by two spikes. Carefully sidestep those Spikes, and go through that doorway.
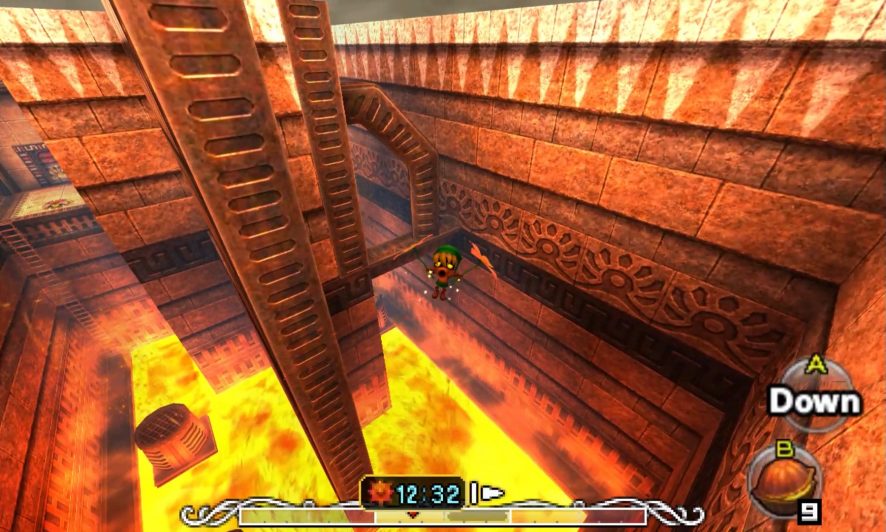
Ahead is the first of two rooms in which you will be navigating the upside-down and right-side-up versions of the room simultaneously. The room you enter into will have a floor that you can’t climb up and a ceiling that’s made entirely of lava. However, there is a red gem on the other side of the room. Fire a Light Arrow into the gem in order to re-right the room. Put on the Goron Mask to wade through the lava, and then once you’ve reached terra firma on the far side, become Link again and fire another Light Arrow at the gem to turn the room upside down again and reveal the doorway.


The next room contains two Chuchus—one that provides arrows and another that provides magic power. In addition to just being general nuisances, they will provide you enough ammo for Light Arrows as you’ll need to be turning this room upside down and right side up a fair bit. Of course, should you run low on either, go ahead and farm the Chuchus for the ingredients you need. To your right is a block, and off along the far wall is the spot where that block needs to go to open the door at the far side. However, it’s not just a simple matter of pushing the block as you have to navigate a maze of sorts on both the ceiling and the floor.
Immediately fire an arrow at the red jewel. Right side up, the block is to your left; hop down and move the block forward three spaces. Hit the red jewel again to turn the room upside down. The block is now on the right side of the room; move it left seven spaces to align it with the socket on one axis. Use a Light Arrow to re-right the room once more, and then move the block forward three spaces, as far as it will go. Use one last Light Arrow to turn the room back upside down again, and then you should be able to plug the block into the socket to open the door going forward. Climb to the top of the block and then head up to the platform to exit the room.


And next, it’s time for your favorite enemy: Wizzrobe. The best place to stand is in the corner just to the right of you as there is one position you can’t see from the left corners. Plus, it keeps you away from the lava dripping down from the ceiling of the room. Hit him with arrows whenever he appears, making sure to target the dancing one when he splits into multiple copies of himself. When you defeat him, he will create a chest on the platform above you. Hookshot to that chest, and you can reveal a Stray Fairy by opening it. Head through the stairwell down to the main floor.
The Boss Key
The last Small Key you need is in this room filled with switches. There are three regular Poe ahead. Either use your Hookshot to bring them in for a sword hit while it’s visible or just shoot them with Light Arrows. They will leave behind its remains, but they’re useless, so just pass them up. Use the Deku Flower to fly to the far side of the room, and when you get there, look up and turn right to find the passageway containing all of the switches from earlier. Use the Deku Flower to reach that passageway, and you will meet a new enemy: the Death Armos. You can defeat these by hitting their flashing weak points with Light Arrows and then standing near them, but for the most part, they’re just as easy to avoid.
Navigate the maze by turning right and then left to find the one switch that’s on the floor this time around. Stand on it and play the Elegy of Emptiness, everyone’s favorite tune. That will cause the fire to dissipate from around the treasure chest. Hookshot to the chest, get the last Small Key and then avoid the Death Armos there.
And now it’s time to start wrapping this dungeon up. Return back to the half of this room with the Poes and jump back down to the Deku Flower. Exit through the doorway to the right on that platform.


You’ll now be in the room that contained the small pool of water and the Eyegore. It still has an Eyegore, but it’s well out of range. Before attempting to cross this room, hang an immediate right and head through that doorway.
You will now be on a small platform in the far corner of the opening room, and just above you is another platform with a Death Armos and a switch. Fire a Light Arrow at the Death Armos to invert it, and then jump up to it. Get out of the way because it will try to squash you and then blow up immediately thereafter. Standing on the switch will cause a chest to appear in the room… except it will appear upside-down way up on the ceiling of the room. Interesting. There’s nothing more to do here, so just head back through the door.
Back in the empty chamber, use the Hookshot to blow up some of the Spikes in the center of the room. Don the Deku Mask, and then use the Deku Flower to fly over to the hallway that the Spikes were guarding. That will have another Deku Flower for you to use, and with that, you can fly over to the far entrance.

You’ll be back in the “aquarium” room, but this time you’ll be within a secluded little alcove away from the jet streams. Take off the Deku Mask so you can dispatch the Blue Bubbles ahead with your shield and sword. The bubbles will respawn, so watch out. The crates on the far end will have some supplies, and they mean there’s an obvious fight up ahead.
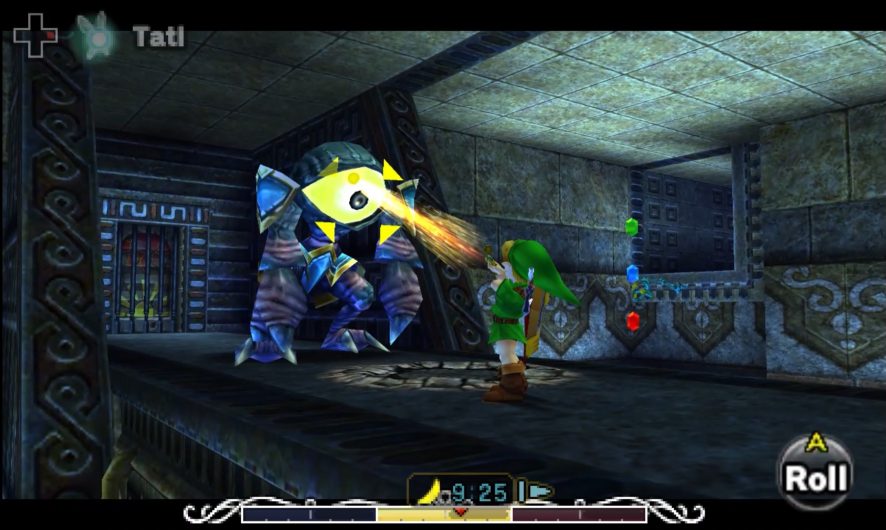
That fight is the second of the mini-bosses, Gomess. This mini-boss is shockingly simple and seems to have extremely little complexity. Gomess is surrounded by a flock of Keese that will get in the way and attack you if you try to damage the mini-boss. So what you need to do is target Gomess with a Light Arrow to send the bats a-flying. Once done, move in and guard with your shield, as Gomess will probably try to swing at you with his scythe. After he does so, his yellow heart will appear again, and that’s when you should hit him with your sword. He’ll counterattack by whipping his scythe about, so defend yourself until he’s done, then back away. Repeat this process, going from Light Arrow to guarding to attacking to guarding, and Gomess will pose no threat. Once he’s dead, the flock of Keese will vanish, and a blue chest will appear in the next room, granting you the Boss Key.

The Giant’s Mask
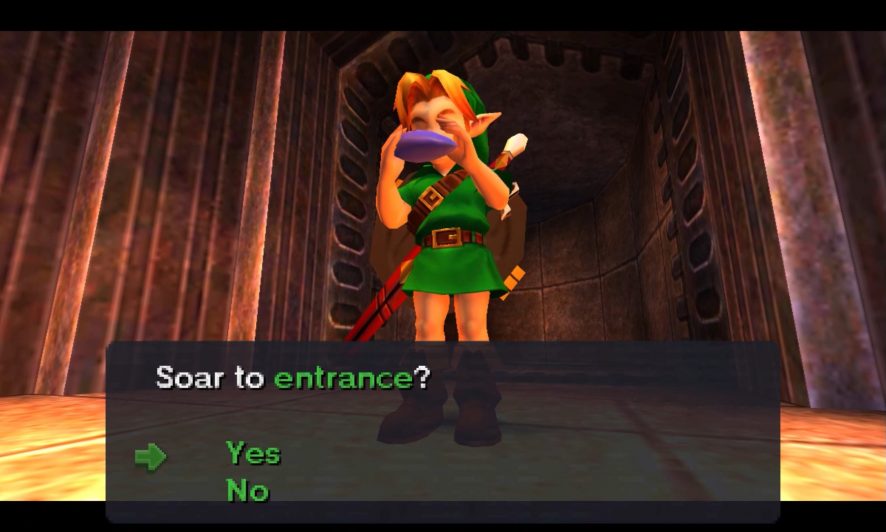
The path back to the temple entrance from here requires a lot of backtracking, so the easiest thing to do is to play the Song of Soaring in order to return to the Stone Tower Temple entrance. The choice is yours, but the Song of Soaring is much, much quicker.
Once you’re back, do you remember that inverted chest you activated a while back on the ceiling of the room? That’s actually critically necessary now. That chest is ever so barely within reach of your Hookshot, but it is just within reach. Fire your Hookshot up at the treasure chest, and—even if you can’t open it (unless you reinvert the temple)—it will serve its immediate purpose for now by bringing you up to a doorway that leads towards the Boss Door.
This is the room with the Eyegore in it that we passed through not too long ago. Except, this time you’re going to have to face the Eyegore. This Eyegore is slightly different in that it does have a passive mode while you’re not provoking it. It will shoot lasers across the room if it’s bored and has nothing to do; however, it’s easy just to stand off to one of the edges of the bridge to dodge those lasers. Otherwise, it’s no different this time. Provoke the enemy, wait for its eye to go yellow, and then shoot it with an arrow. Once it’s defeated, you’re actually going to get one more special surprise for this dungeon: the Giant’s Mask! It’s a secret transformation mask that you’re going to need in just a few moments. More on that later. Proceed through the next door.

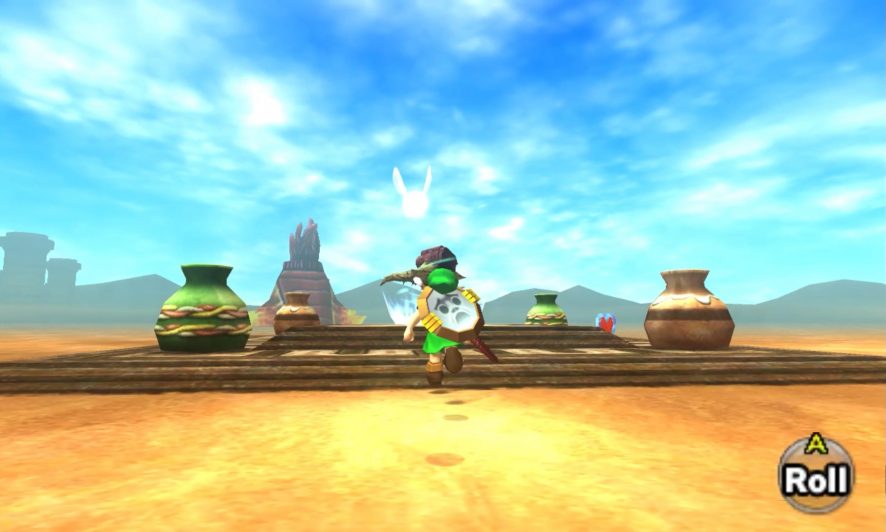
The next room will have a spiky log that comes down just in front of you. Be wary of it, and when you have a chance, hit the Crystal Switch directly in front of you with your Hookshot. This will cause yet another mysterious inverted chest to appear on the ceiling. But there’s a reason for that too. Look up and aim your Hookshot at that inverted treasure chest. Don’t be overeager to run too far forward once you get up to the upper platform, however. There’s another spiked log up there going horizontally. However, there’s a Hookshot target on the far side of the room, just on the opposite side of that spiked log. Target it and fire, and then you’ll drop down on the far side of the room. The Boss Door is just below you, so drop on down, but don’t go in just yet. Turn around, and you’ll see a Beamos; kill it with a bomb, and then head for the clay pots at the far side of the room. Two of those pots will fly at you, so be ready with your shield, but the other pots will have hearts and magic before you face the boss.
Once you’re ready, head through the Boss Door.
The boss’ chambers just so happens to be in the Garo Master’s chambers when the temple was right side up. However, inverted, there’s this gargantuan pit that rests before you, similar to Gyorg’s chambers in the Great Bay Temple. Jump on down, and you’ll fall into the sky. Get ready to fight!


Boss: Giant Masked Insect: Twinmold
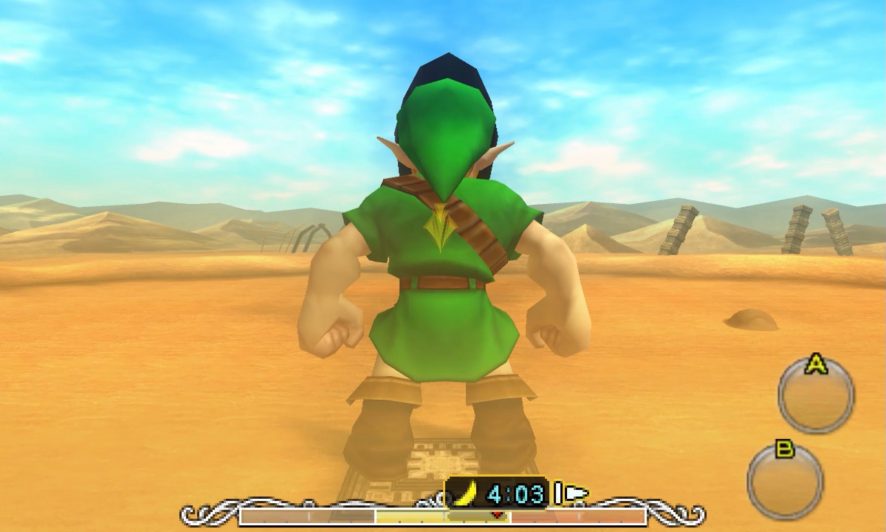
Twinmold is a pair of wormlike creatures that dig through the sand and then pop back out flying through the air. That’s really all they are; they’re not clever creatures with complex strategies. They may fly semi-erratically, but they’re not complicated creatures. You’ll be dropped into the fight on a dais in the center of a desert, and you’ve got two main strategies for defeating Twinmold.
The first option, which is perhaps the more fun of these options, is to put on the Giant’s Mask and use your sword. This is the only part of the game where you can use the Giant’s Mask, and you should abuse that privilege. The Giant’s Mask will continuously drain magic from your magic pool, so you do have an effective clock on its usage. Both Twinmold and you can destroy the various stone structures off in the distance, however, and this can drop arrows and magic both, so pay attention to it if you see it go. While a giant, you can damage Twinmold either by hitting it in the head or in the tail. If you start to run low on magic, take the Giant’s Mask off to conserve it, especially as it will be hard to run out to the structures broken by Twinmold to retrieve additional magic without the benefit of being twenty times larger to cover that distance before it disappears.
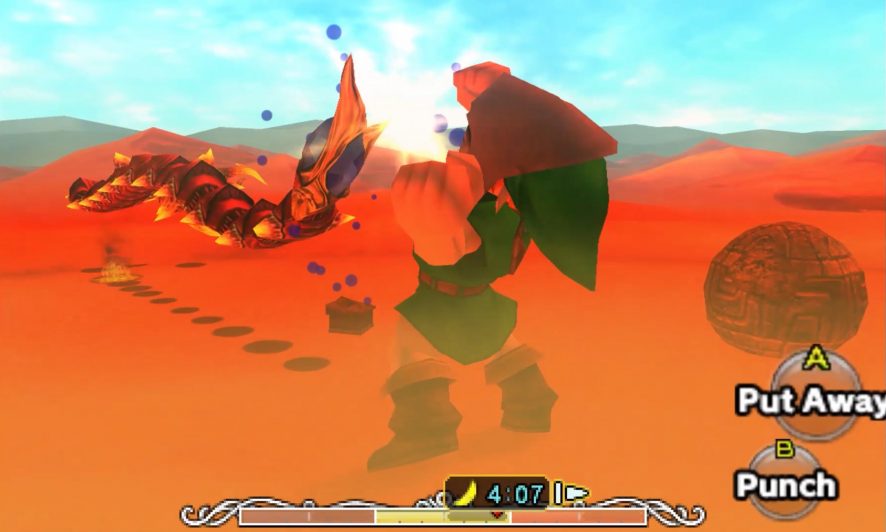
The second option, which should be your backup option, is to use arrows. There’s no precise safe place in the arena, but the starting dais is at least safe enough that Twinmold won’t pop out of it. When targeting Twinmold, you’ll want to aim for the head or the tail, just as you would as Giant Link, though the tail is easier to hit and damage.
If you run out of arrows and magic, well, this is going to be a waiting game to find more. Or if you want to throw the fight, just wander way out into the desert, and you’ll eventually clip out and be dropped at the start of the dungeon so you can recharge.
Once you’ve gotten Twinmold taken care of, return to the starting dais to collect your Heart Container and Twinmold’s Remains. Now you’ll be off to meet the last of the four Terminian protectors. He’ll instruct you to call them at the Clock Tower in Termina, but he also requests that you forgive your friend as well. Of course, he’s talking about the Skull Kid. He’ll drop you off at Ikana Canyon.

With the four Terminian deities in your pocket, it’s time to finish up this cycle. Head back to Clock Town and play the Song of Time to save your game.