
5. Snowhead Temple
Table of Contents
The Map
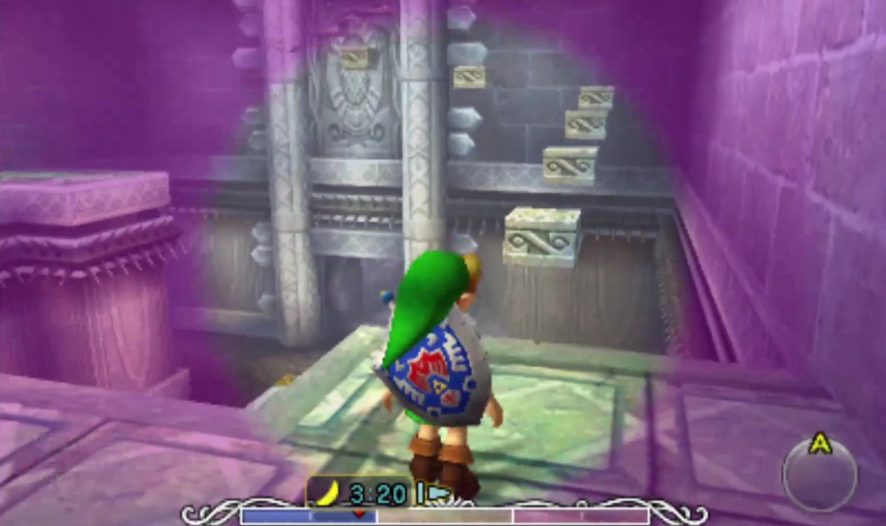
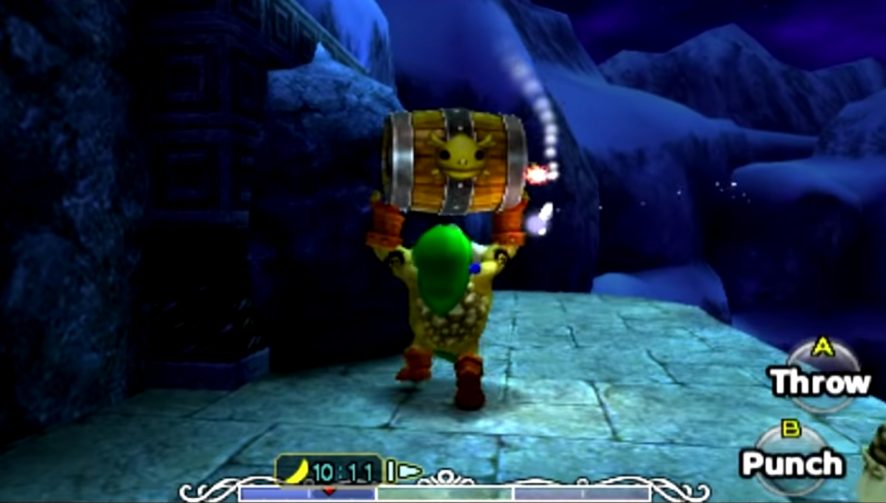
In this small entrance room, you will be immediately assaulted by some White Boes; they are easy to defeat with spin attacks or a well-timed Goron Pound. Once the opening room is clear, you can use the sword to shatter the icicles in front of the grey stone block to the north. Tatl will mention that that block seems really heavy, so only Goron Link has the strength to move it. Don the Goron Mask and push it forward in order to access the back half of the opening room. There’ll be a White Wolfos waiting for you. Dispatch him or ignore him, and then take the door to the east.
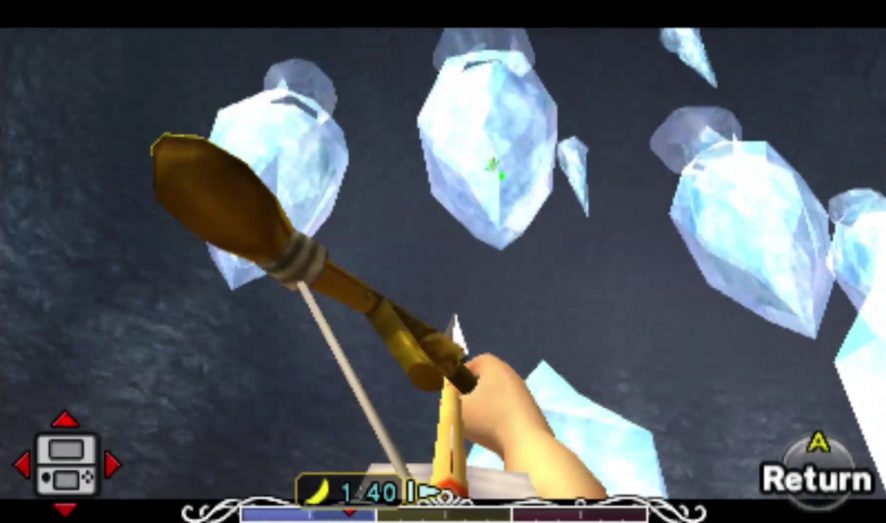
The next room has a bridge in it that extends out over a lava pit. There’s a gap in the bridge that you just can’t hop over; however, you can charge up a roll as Goron Link on the icy floor to cross the gap. Be wary of the Freezards that blow gusts of icy wind across the bridge though. Before you roll across, don the Great Fairy Mask and use your bow to pop the bubbles containing the First and Second Stray Fairies; one on the eastern wall across the gap, and one within the alcove at the top of the stone pillar below the bridge. (N64 players will find the First Stray Fairy in a bubble beneath a small platform to the north of the room, instead of along the eastern wall). If you fall, use the nearby ladder to climb back up and try again – once you do land on the far north side, head upstairs to the second floor.
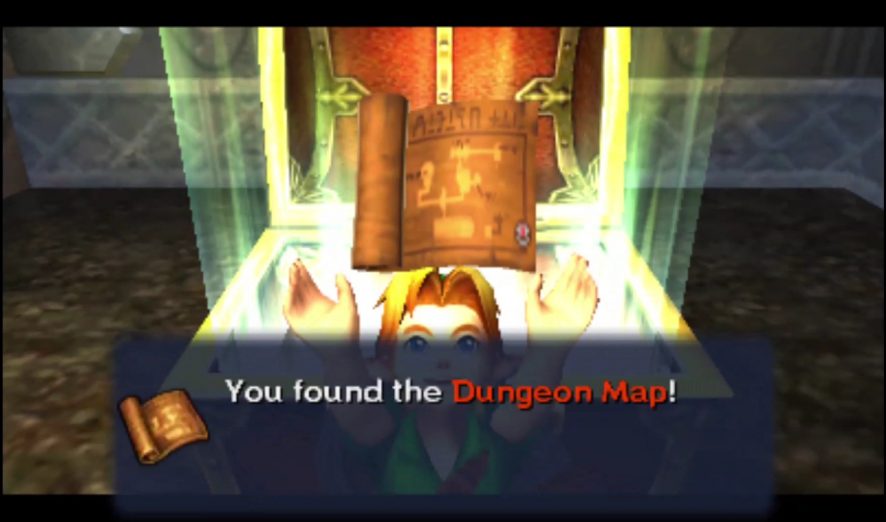
You’re now on the second floor. Be careful when you enter this room, a Real Bombchu can be found running around; dispatch it from a distance with an arrow. Defeat the Freezard and open the chest to get the Dungeon Map. The Third Stray Fairy can also be found in this room floating nearby.
The Compass
Back on the first floor, turn right, heading through the door into this dungeon’s hub room, which you will be visiting frequently. For now, take the nearby staircase down to reach the basement. Thankfully, because of his tough skin, Goron Link is immune to damage by lava. Make your way across the lava pits and locate a large floor switch, avoiding flaming Red Bubbles as you go. The switch will reveal a chest in another pit, open to free the Fourth Stray Fairy.
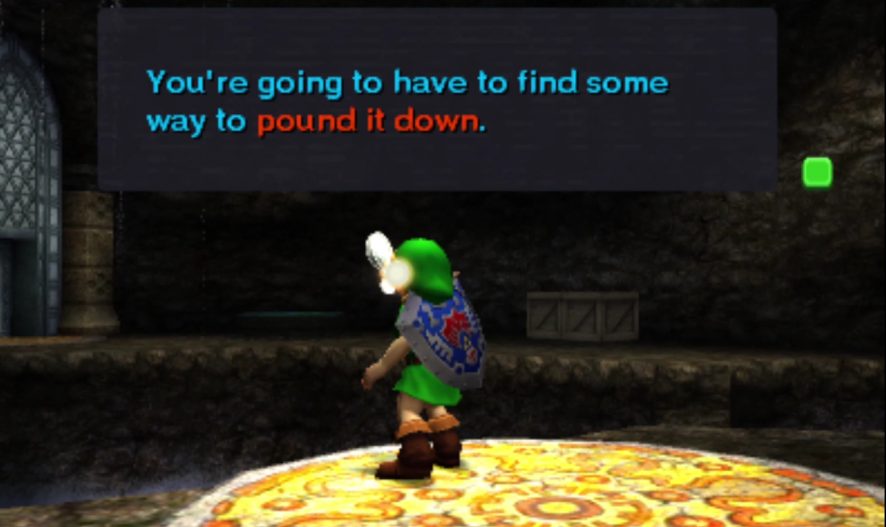
Return to the floor above and create a shortcut to the dungeon entrance through the red-framed door by shooting an arrow through the adjacent torch into the chunk of ice. With that, head through the yellow framed door. Inside, two grey blocks stacked on top of each other can be shifted, revealing an alcove containing a chest – open it to find a small key. Grab hold of the blocks and begin pushing them all the way to the west, where they will slip down into place, causing a chest to appear a higher ledge that you will return to later.

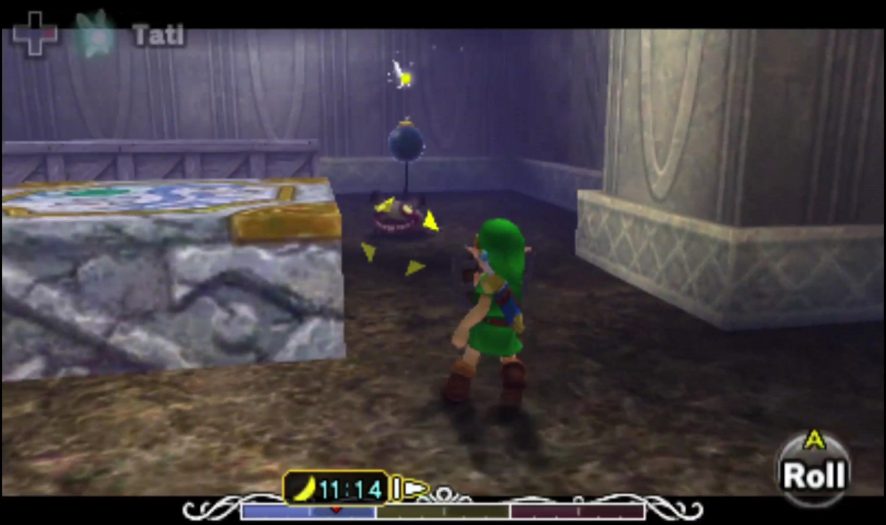
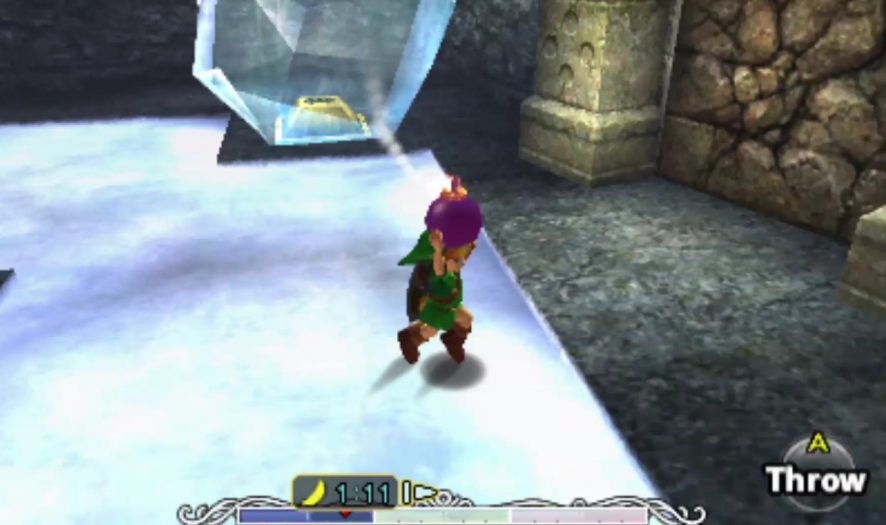
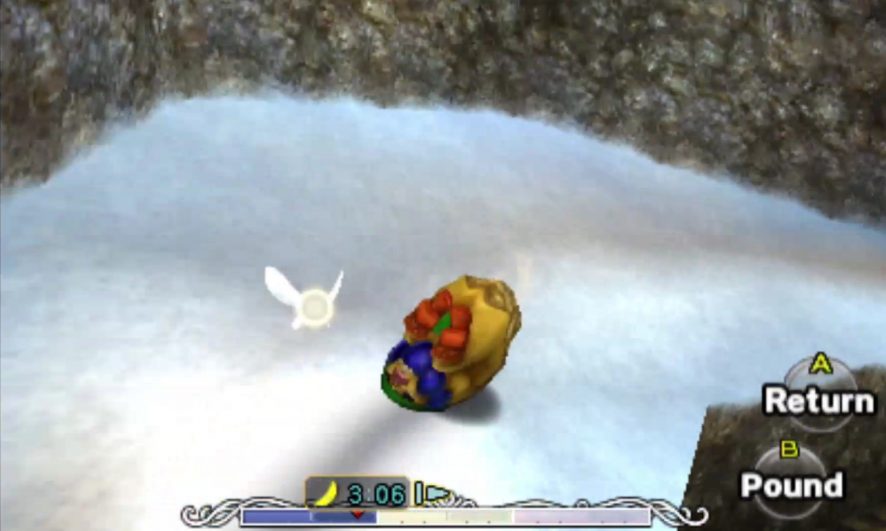
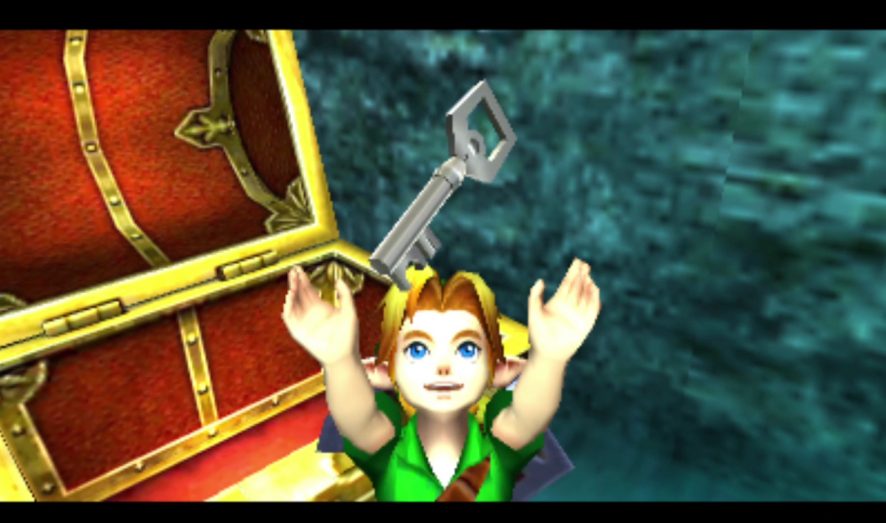
Return to the dungeon entrance and use your newly acquired Small Key to enter the locked door to the west. Two White Wolfos inhabit this room, hiding behind blocks of ice. Defeat them and open the conspicuously placed chest to find the Compass. A cracked wall to the far west can be destroyed with a bomb or the Blast Mask, revealing a staircase leading upwards. Before you proceed, destroy the crate sitting atop the stone pillar nearby with a well-timed bomb throw to release the Fifth Stray Fairy.

The Fire Arrows
Upstairs, you’ll see large stalactites similar to the one you shot in Termina Field. Strike each of the stalactites on the ceiling with a couple of arrows to clear the iced-up stoned pillars below, some of which contain red rupees, begging to be liberated. After that, destroy the large snowball on the northern ledge, revealing a chest containing a Small Key. Another chest is hidden much more deviously. On the southern wall, there is a suspicious, discolored section of wall and a ledge of snow. Use the Lens of Truth to reveal a false wall. Jump across the pillars through the wall into a hidden alcove. Open the chest here to free the Sixth Stray Fairy. With that, use the Small Key to proceed through the locked door into the next room.
In the next room, avoid the snowy lower area as much as possible – White Boes spawn infinitely here, so there’s no point in fighting them. Don the Great Fairy Mask and equip the Lens of Truth. Shoot the bubble floating in a hidden alcove on the ceiling to free the Seventh Stray Fairy. This room houses a timed switch puzzle – to begin, perform a Goron Pound on the first yellow switch to the south. This will raise a yellow pillar nearby, allowing you to jump across to the eastern ledge in your Hylian form. However, this action also raised a yellow pillar, blocking off the exit to the north. Goron pound the green switch on the eastern ledge – this will raise a small green pillar on the snowy ground, but only for a short time. Quickly head south to the yellow pillar that you jumped across to earlier and slam it down, unblocking the northern exit. You will now be stuck down where the White Boes spawn, but the small green platform you raised is the perfect height for Link to climb and jump up to the eastern ledge. Enter the unblocked door to continue onwards.
You will now find yourself on a narrow ledge on the second floor of Snowhead Temple. Charge up a roll and hit the ramp at full speed to cross the gap to the northern platform. If you fall, you can play the Song of Soaring to return to the dungeon entrance, then head through the western path through the switch-puzzle room to try the jump again. If you cross successfully, carefully roll across the sloped track to the east – luckily, a net will catch you if you slip, allowing you to try the maneuver again. After you make it over, look to your right to see a door across the gap encircled by a white arch. Once again, you must charge up a roll and cross another jump onto a narrow platform, this time from east to west. Enter the door ahead to face the mini-boss of Snowhead Temple.
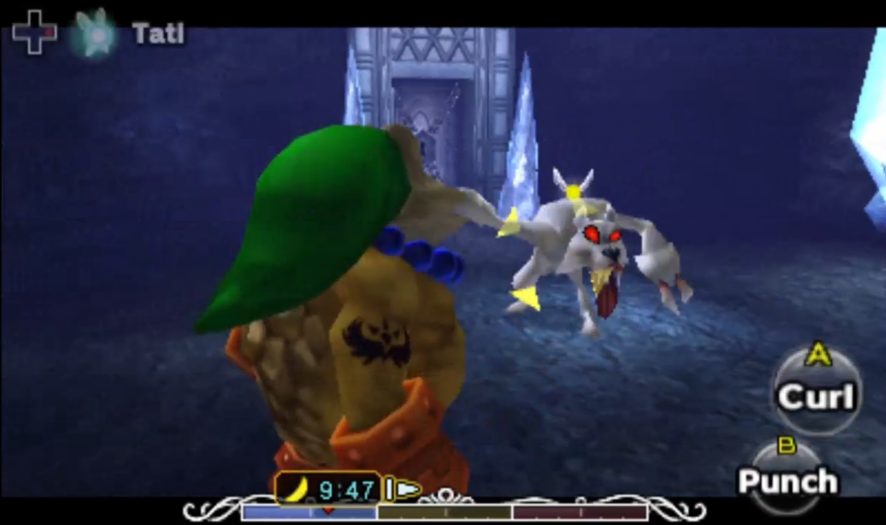
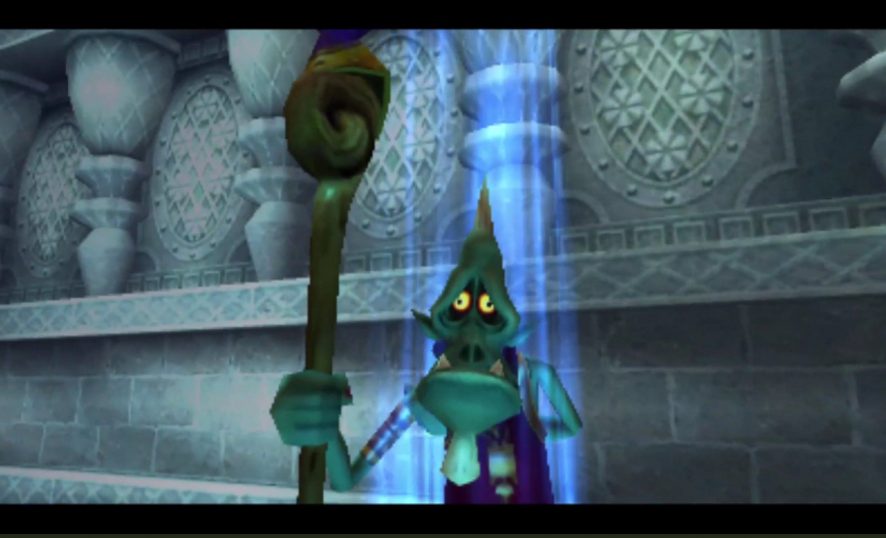
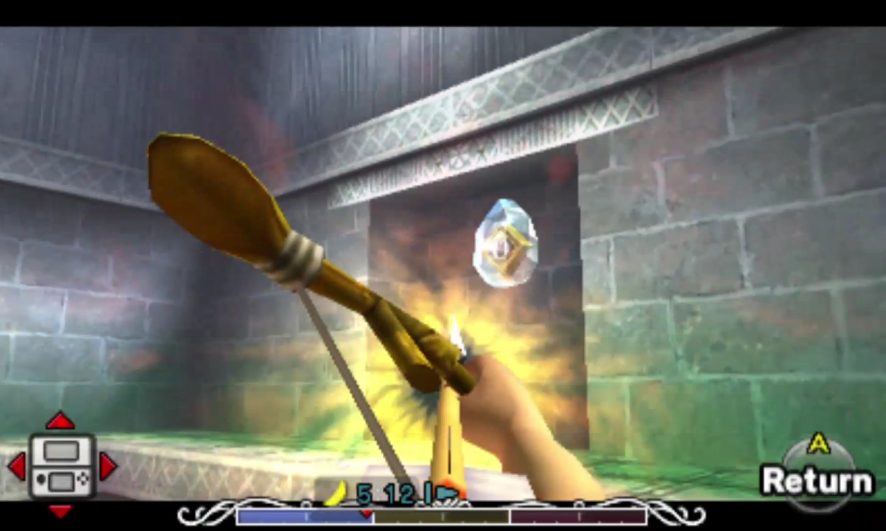
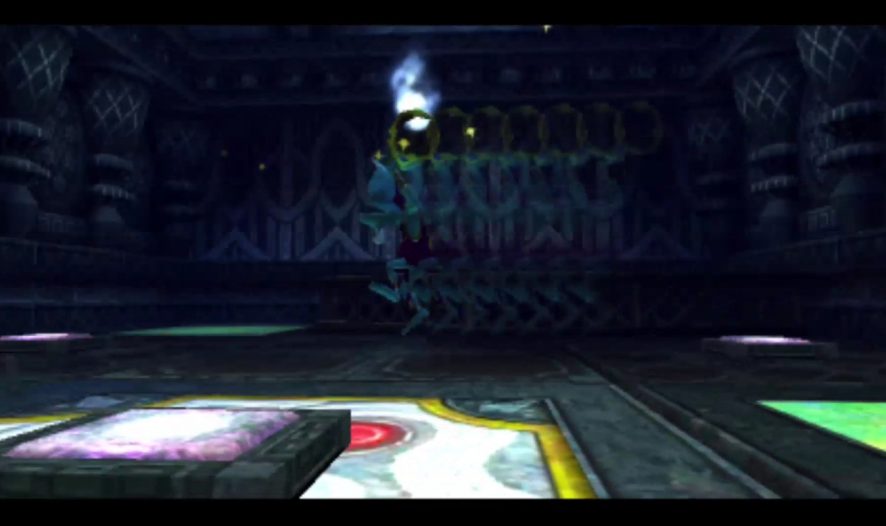
Once you enter, a creepy wizard called Wizzrobe will appear to challenge you. He will teleport between tiles in each corner of the room. Stick to the center of the room – Wizzrobe will flee if you get too close to one of the tiles. Wait until he has materialized fully, he will begin to charge up a bolt of magic ice to fling at you. This attack is your cue to move in and strike with a Goron fire punch or a swing of your sword. After a few hits, he will change tactics, attempting to trick you by splitting into multiple copies of himself. Tatl will identify the real Wizzrobe and highlight him yellow, use this to your advantage and score a few more hits until Wizzrobe is defeated…for now. A chest will appear after the fight – open it to receive the Fire Arrows, allowing you to melt blocks of ice and light far-off torches.
Raising the Central Pillar
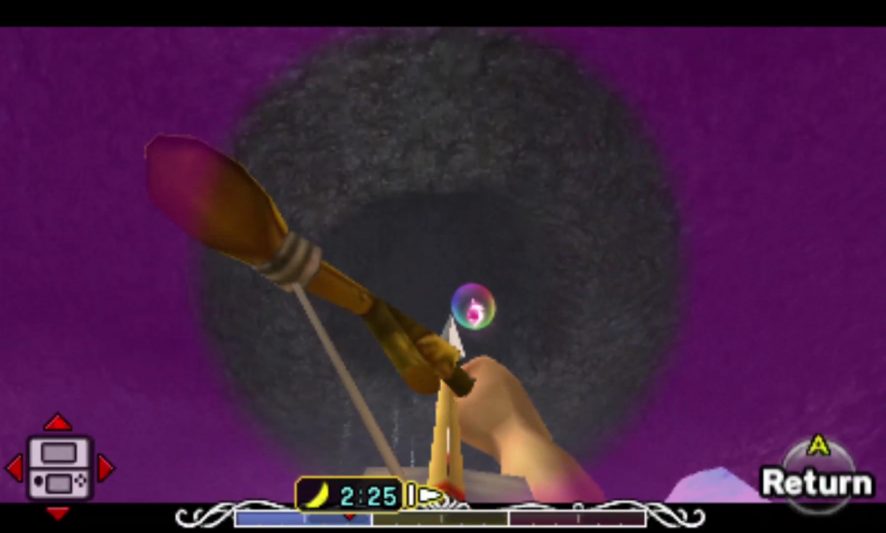
Exit this room the way you came in and jump back across the gap as Goron Link. Head through the eastern door directly ahead – you will find yourself on the upper ledge in the room containing a Real Bombchu. Use your shiny new Fire Arrows to melt the icy eye switch on the southern wall, which will activate the central pillar as a shortcut, allowing you to quickly access the second floor. Using the Lens of Truth in this room will reveal a hidden alcove high up on the northern wall. Carefully leap up the invisible platforms, taking your time until you reach the alcove. Open the chest here to reveal the Eighth Stray Fairy.
Play the Song of Soaring to return to the entrance, then continue through the western door into the room where you found the Compass. Defeat the White Wolfos pair here then melt the large blocks of ice throughout this room; one will reveal a grey block and the other will reveal a floor switch – press this to make a chest appear on a higher ledge. The block we now have access to can be used as a platform to climb to the higher ledges – be wary, however – the floor is slippery with ice and the block will slide. Shove the block north, east, and then south. Next, climb the block and jump the gap to reach the chest – open it to free the Ninth Stray Fairy. Drop back down and then shove the block west, north, and then west once more. Again, climb the block and jump the gap to reach the higher ledge to the north and enter the door. We are now in the room where you pushed the double-stacked blocks into place. Hop across the room, using those stacked blocks as a bridge in order to reach a chest containing the Tenth Stray Fairy.
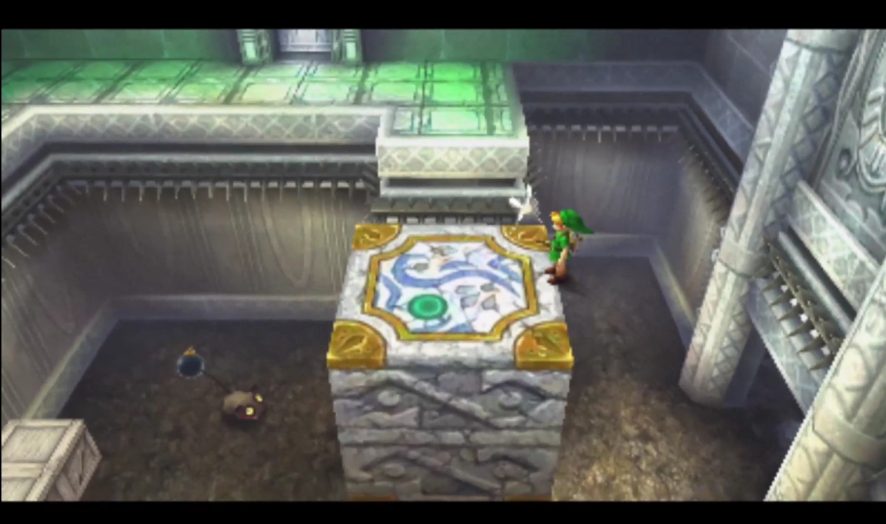
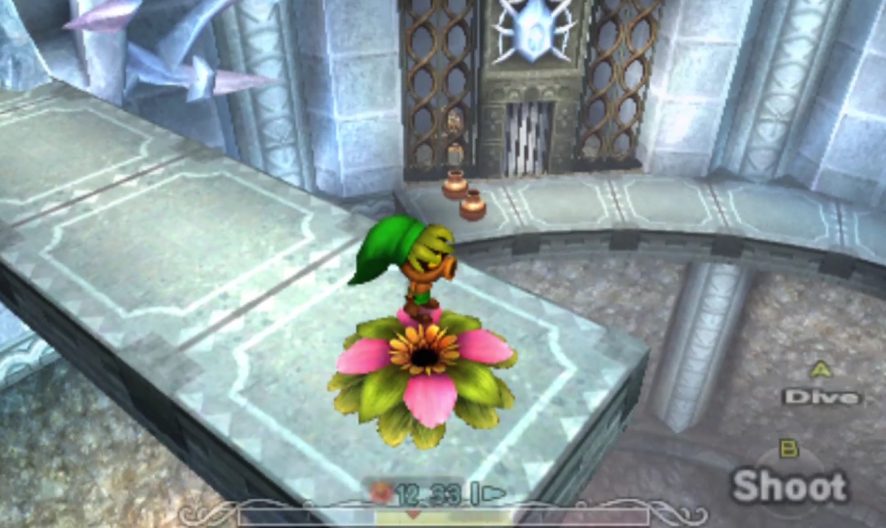
Drop down to the lower level and exit this room to reach the central hub room once again. Turn left and use a Fire Arrow to defrost the green framed door, then enter. This room contains a number of narrow platforms and three Freezards, which you can defeat easily with Fire Arrows (the pots near the door can be smashed for arrows and magic if you’re running low). Once they are dispatched, a chest will appear to the north. Hop across the platforms to reach it and free the Eleventh Stray Fairy. If you fall to the lower level, Deku Flowers can be unfrozen and used to climb back up. Use Fire arrows to light the three torches spread across this room to unlock the central door, then enter. Here you will find another large switch for Goron Link to pound. Doing so will raise the monolithic central pillar in the hub room, giving you access to some rooms much higher in the dungeon.
Cutting Down the Central Pillar
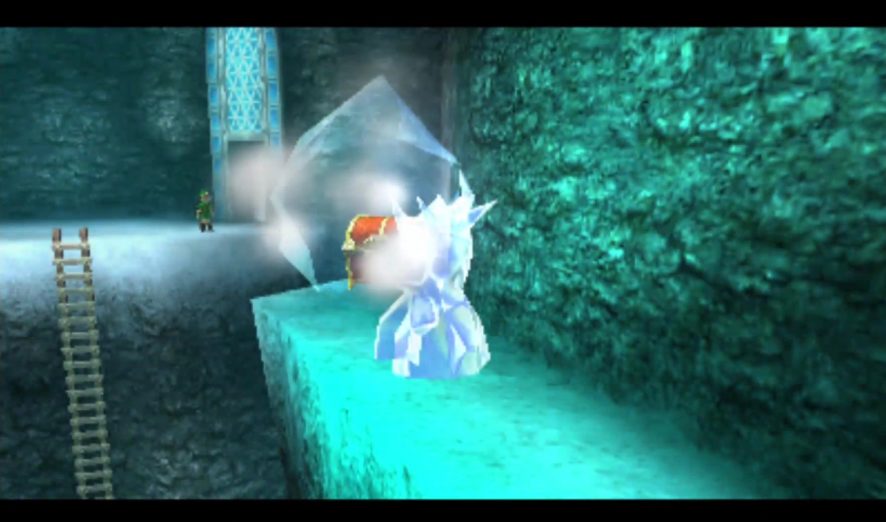
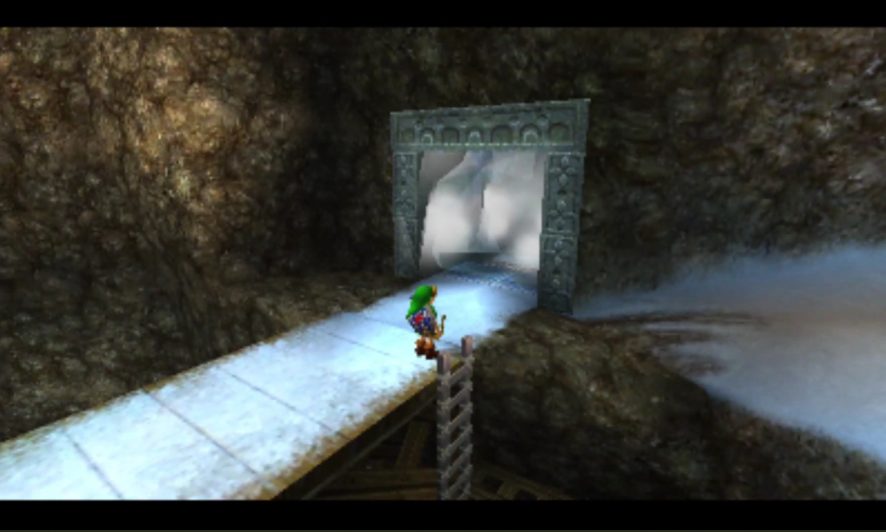
Play the Song of Soaring once again to return to the dungeon entrance, then head through the eastern door to return to the room with the broken bridge. Use Fire Arrows to defeat the Freezards in this room and then thaw the ice-encased chest on the western ledge. Jump the gap as Goron Link and open the chest to find a Small Key.
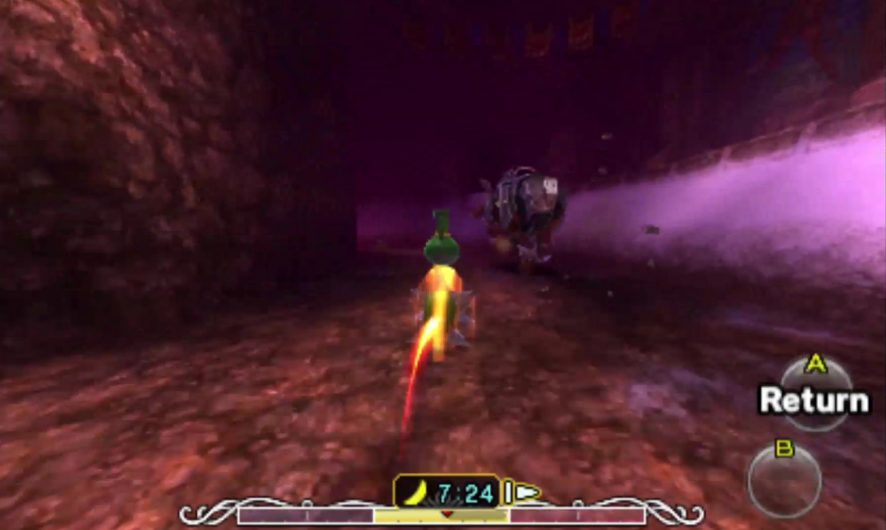
Next, head up the staircase to the north to reach the Real Bombchu room again. Use the shortcut we unlocked earlier to reach the second floor and proceed through the nearby door to the hub room. From here, you have a good view of the huge pillar you raised earlier. Notice the slabs of ice contained within the pillar; approach them and don the Goron Mask. These slabs can be knocked clean across the room with a fire punch, lowering the pillar slightly. Do so for both slabs to lower the pillar to the appropriate height and then roll around the snowbank to the east to reach a stairwell that’s frozen solid. Let loose with a Fire Arrow to clear the way and proceed up to the third floor.
Before you attempt to lower the central pillar further, walk out across the narrow bridge about halfway and turn to the east. Below you, indented in the eastern wall, is another hidden alcove – the snowy ledge is a clue that something good is hidden here. Use the Lens of Truth to reveal the peculiar alcove and make a leap of faith towards the snowy ledge – rolling before you leap (or equipping the Bunny Hood for extra speed) will make the jump easier. If you fall, you can proceed through the dungeon as normal to reach the third floor again. When you land the jump, open the chest to free the Twelfth Stray Fairy. Use the Deku Flower on the edge of the alcove and glide towards the walkway to your left – use the stairs once more to reach the third floor. Next, Roll down the western snow bank towards a locked door, then use fire punches to destroy the icy slabs and lower the pillar two more times.
The Boss Key
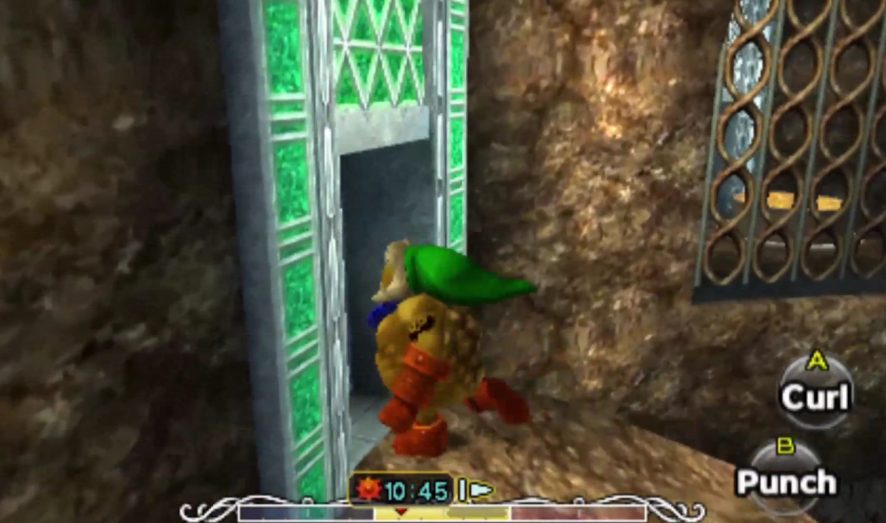
Head back to the locked door to the west and enter to reach a room filled with Eenos, who will fling snowballs at you. Dispatch the smaller ones with your sword but beware, the larger variants will split into multiple smaller Eenos when damaged. Much like Freezards, Fire Arrows will decimate these frosty foes in seconds. A strange icy ledge on the southwestern wall is a dead giveaway that something good is hiding within – use the Lens of Truth to reveal a bubble containing the Thirteenth Stray Fairy. With that, melt the ice blocking the stairs to the north and proceed to the fourth floor.
In this ornate room, two Dinolfos’ stand guard. Defeat them with your sword, Fire Arrows, or with Goron Link’s hefty punches, remembering to dodge their dangerous fire breath. Each foe will release a Stray Fairy when dispatched so collect the Fourteenth and Fifteenth Stray Fairies once the battle is done. You have now collected every Stray Fairy in Snowhead Temple and will be visiting a Great Fairy to collect a useful reward later, but for now, head through the eastern door.
You’re now at the very top level of Snowhead Temple, but the gap in front of you is too far to jump, so simply drop down onto the central pillar and turn to the south, where the walkway is blocked by giant snowballs. Smash through them as Goron Link or melt them with Fire arrows, then head up the stairs to reach the fourth floor once more. Here, you can charge up a Goron roll on the slippery floor and jump across to the northern walkway. Ahead lies the boss door, which is locked. Instead, use the Deku Flower nearby and glide to the lower walkway to the east and enter the unbarred door.

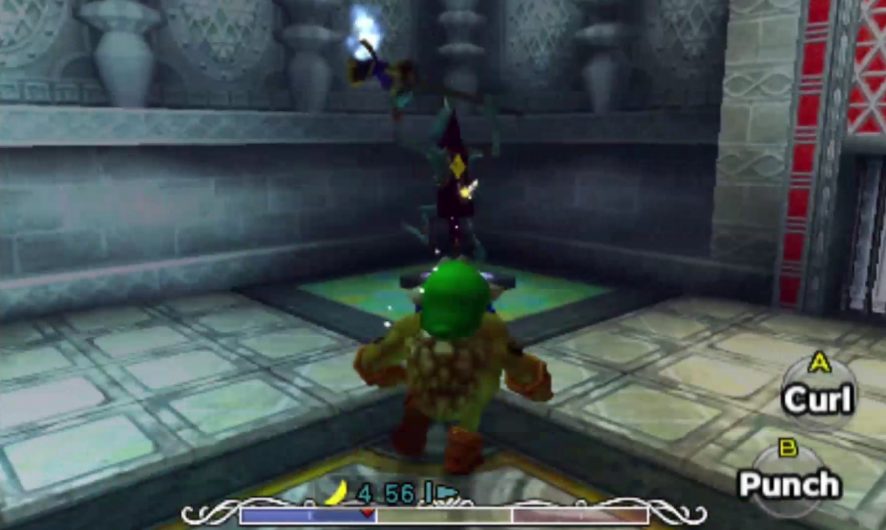
Inside, Wizzrobe appears once more to face you. This fight is exactly the same as the last, except that Wizzrobe has more locations to teleport to, meaning spotting him as he warps between teleport tiles can be more challenging. Fight him the same way as before, using Fire Arrows for more damage. Again, Wizzrobe will split into multiple false copies – Tatl will help you identify which copy is real. Once he is defeated, head through the northern door to continue.
Here, open the ornate chest – your reward is the Big Key. Exit the nearby door to return to the hub room for the last time. Follow the ledge and drop down onto the central pillar. Head back up the stairs to the south and roll across the gap as Goron Link to reach the boss door, which you now have the means to open. Summon your courage and enter to face the final challenge of Snowhead Temple.
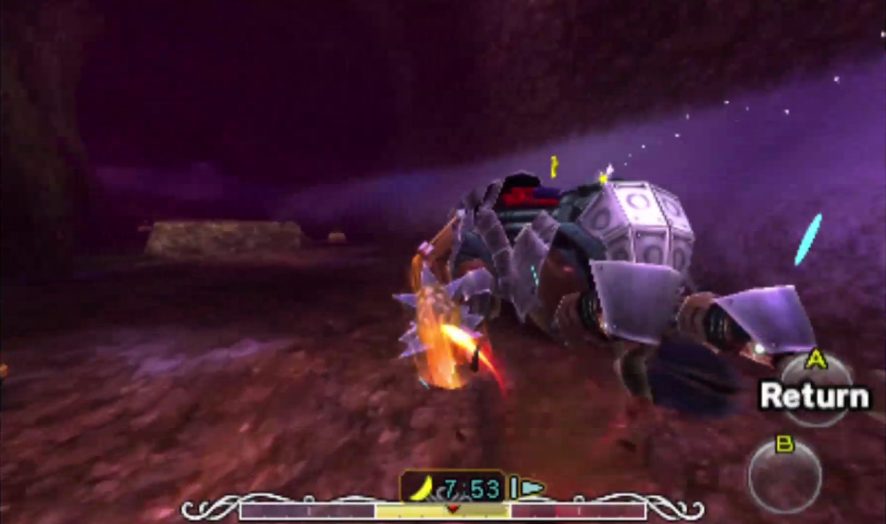
Boss: Masked Mechanical Monster: Goht
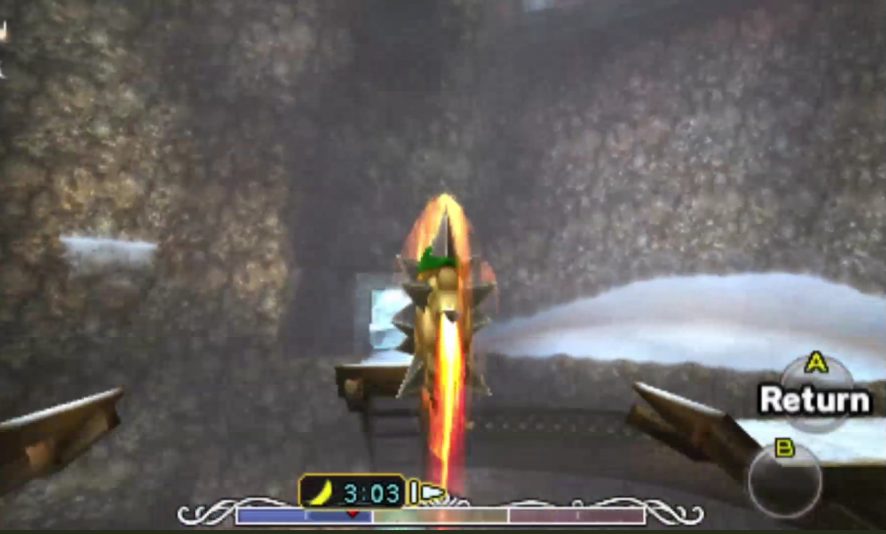
Inside, the boss is waiting for you, encased in ice. To stir the monstrous creature, let loose a Fire Arrow. The ice will thaw and Goht will break free of the surrounding debris and begin charging forward straight past Link. To catch up, don the Goron Mask and begin charging up your roll to full power. Your goal is to either crash into Goht’s legs a few times to send it sprawling or use a ramp to fly into the air and crash down on its back. Once you do, Goht will be helpless for a short time. In the 3DS version, a large eyeball will emerge from Goht’s armored body – let loose as many Fire Arrows as you can before Goht regains its strength and begins charging again. Green jars can be smashed as you roll to regain magic, and pots containing arrows can be found near the entrance door.
As you chase Goht around the doughnut-shaped arena, you must dodge various obstacles as you get closer to the beast. Stalactites will fall from the ceiling and Goht will kick boulders towards you when you get close. If you lag behind too far, Goht may stop and turn to face you – beware, the beast will fire bolts of electricity towards you which can be difficult to dodge.
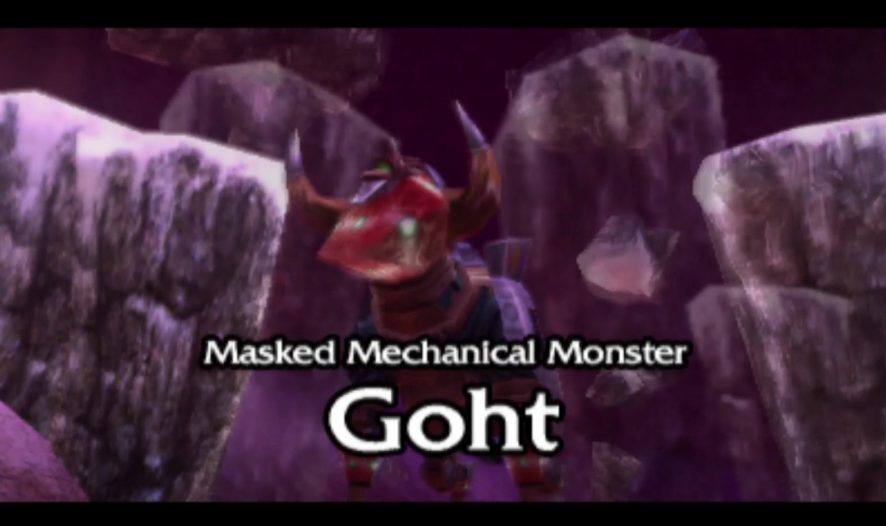
As the fight progresses, Goht’s speed will increase and his attacks become more desperate – he will launch bombs in your direction from a canon on his behind. Keep up your efforts, doing as much damage as you can to his eye and eventually, he will be defeated, running wildly into a wall and being crushed in a rockslide. What a way to go!
After the fight, don’t forget to collect the Heart Container Goht leaves behind to increase your life energy by one full heart. Step into the glowing blue light to collect Goht’s remains and free the spirit trapped inside his evil mask.
A familiar cutscene will begin to play, showing you another Guardian giant. When it ends, you will find yourself back in Mountain Village, where a drastic change has taken place as a result of your efforts against Goht – Spring has arrived in the mountains! Your first task should be to return the Stray Fairies you collected in Snowhead Temple before you forget. Play the Song of Soaring and warp back to Snowhead, then head up the narrow path towards the Temple. You can speak to the enormous Goron who was blowing a blizzard before but he won’t remember much. The Fairy Fountain is located around the east side of the base of Snowhead Temple. When you revive the Great Fairy of Power, she will reward you with a super-charged spin attack ability that has a much wider reach – handy!
The Quest for the Gilded Sword
Now that Spring has sprung in the mountains, there are a number of very useful goodies to collect, including a permanent sword upgrade. However, to attain this, you will need to begin a fresh three-day cycle. Soar to Clock Town and deposit any rupees you have in your wallet, then play the Song of Time to revert to the dawn of the first day.
As always, play the Inverted Song of Time to slow the flow of time and then soar to Snowhead. You will notice that the mountains are now engulfed in the cursed blizzard again, meaning you will have to defeat Goht again to make it Spring. Enter Snowhead Temple as you did previously and step on the warp-tile shaped like Majora’s Mask to teleport straight to Goht’s lair. Defeat him in the same fashion as before and you will be warped back to Mountain Village in the Springtime.
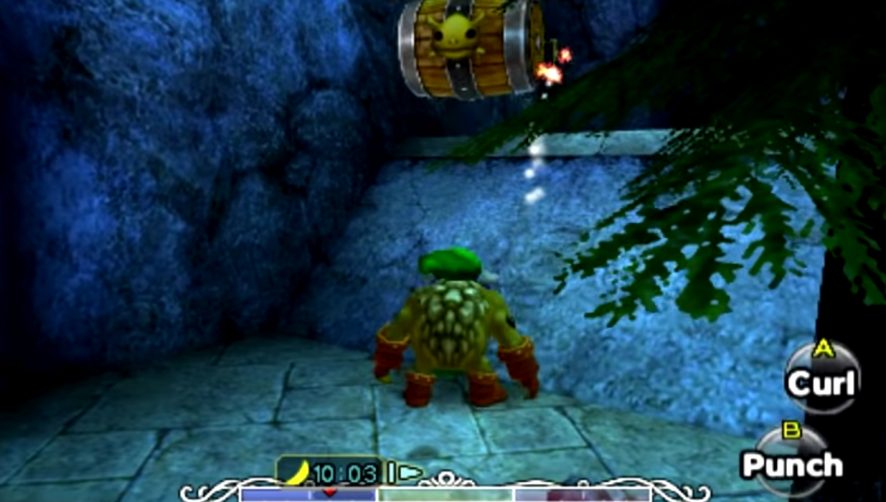
The first item you will need for your quest is a Powder Keg, a special Goron-made explosive, more powerful than regular bombs. Head towards Goron Village, carefully crossing the bridges across the newly thawed lake. Avoid the Wolfos that appear on each isle and continue on your way. Head northwest once you enter the village to a cave in the wall which was previously frozen shut in a block of ice. As Goron Link, roll down the ramps and speak to Medigoron, who will offer to sell you the explosives you need. However, as a test of your skill, he will first request that you use a special Powder Keg to destroy the large boulder blocking the entrance to the Goron Racetrack.

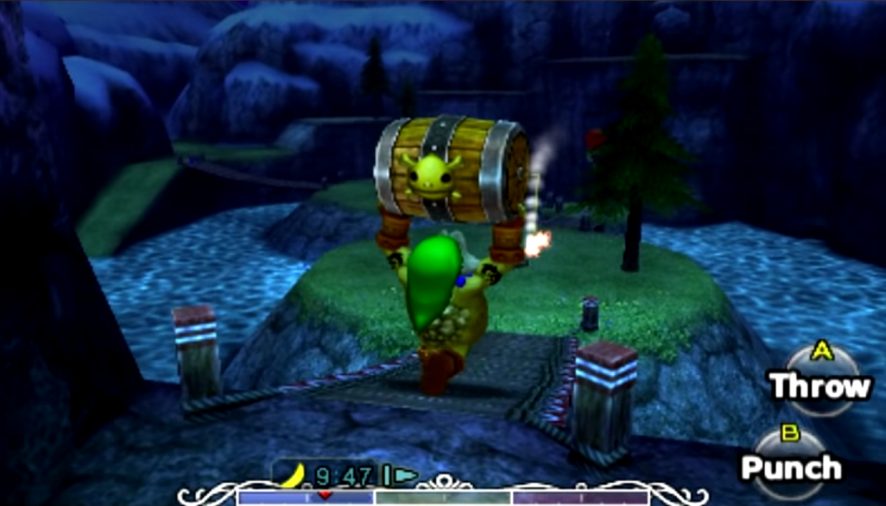
This particular Powder Keg has an extra-long fuse, allowing you time to reach the boulder before it explodes. To exit the cave, throw the Powder Keg up each slope and quickly roll up after it, proceeding to the next slope. Once you’re back in Goron Village, pick up the Powder Keg and head to the nearby steps, then climb the circular ramp to the west. Continue along the western wall until you reach the village exit. Carefully carry the payload across the bridges that connect the islands here, avoiding enemies you encounter along the way. You cannot attack while carrying the Powder Keg, so careful evasion will help you get through safely. Once you’re across, throw the Powder Keg up the slopes in the same way you escaped Medigoron’s cave. At the top of the ledge overlooking the area, place the Powder Keg next to the boulder, just in time for it to explode, clearing access to the Racetrack. If you have time to spare, shooting the Powder Keg with an arrow will detonate it immediately. Before you enter, however, return to Medigoron to prove your worth, and he will reward you with another Powder Keg, and the ability to purchase them from him any time for 100 rupees. When you are ready, return to the Goron Racetrack and get ready for a fun and challenging race.
The Goron Races
The Goron Racetrack can be a difficult minigame to complete successfully, but there are a number of strategies you can employ to make the race a little easier.
Firstly, take a tour of the track if you are unfamiliar with its layout to get a feel for the corners and slopes. Once you are prepared, talk to the Goron Elder’s Son at the start line to begin the race. Before the race begins, you can inch forward in front of the other racers, but crossing the start line before the gun will end the race immediately. Try to maintain maximum speed while you are rolling by smashing green magic jars along the track to refill your magic meter, – running out will put you at an extreme disadvantage. Also, avoiding the other Gorons will help, getting hit once will cause Link to start flashing red, if you are hit again while flashing, Link will come to a stop and the other racers will leave him in the dust. This is particularly important while crossing bridges throughout the track – if you are knocked off, it is impossible to catch up to the other racers. You can smash into the other Gorons to propel them away from you if you think the coast is clear – this is a useful tactic on the final stretch if you are being tailed by a speedy Goron. Avoid obstacles like muddy patches and trees, these will slow Link to a crawl or stop his momentum entirely, which is difficult to recover from. Ramps can also be a hazard, as being hit in midair by another racer will send you sprawling. Lastly, stick to the inside of corners as much as possible to get ahead of the competitors.
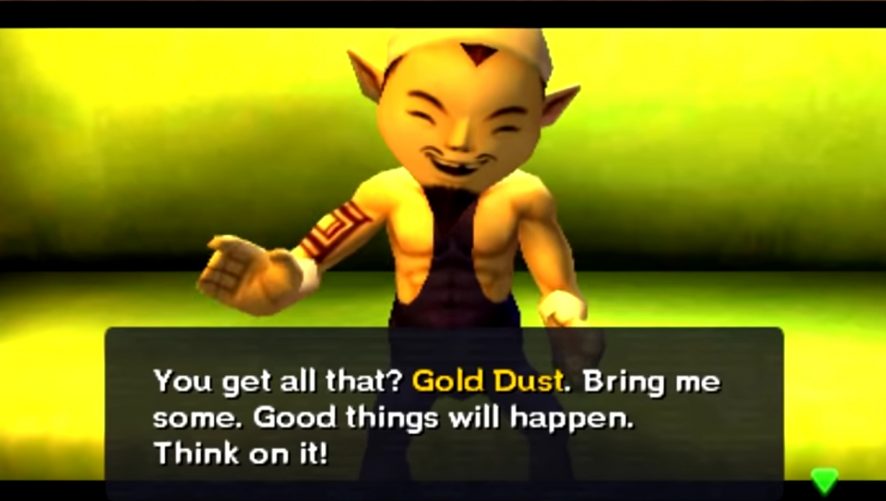
If you fail the race, don’t be discouraged. Practice as many times as you want, the race is free to enter and there is no penalty for not winning. Once you do come in first place, though, you will be awarded a nifty price – a Bottle filled with Gold Dust! This prize will come in handy very soon.
Upgrading the Sword
With Gold Dust in hand on the first day, you are ready to upgrade your sword, provided you have 100 rupees to spare. During the day, Dodongos can be found in the north of Termina field; they can be defeated for a quick boost of cash. Once you have the rupees, soar to Mountain Village and enter the mountain smithy. Talk to the owners Zubora and Gabora, who will offer you a temporary upgrade for 100 rupees. Agree, and you will leave your sword for them to work on until the morning of the second day. To speed things up, play the Song of Double Time to skip ahead and retrieve your shiny new Razor Sword, which does twice as much damage as the regular Kokiri sword – it will break after 100 swings and revert to its original state, however.
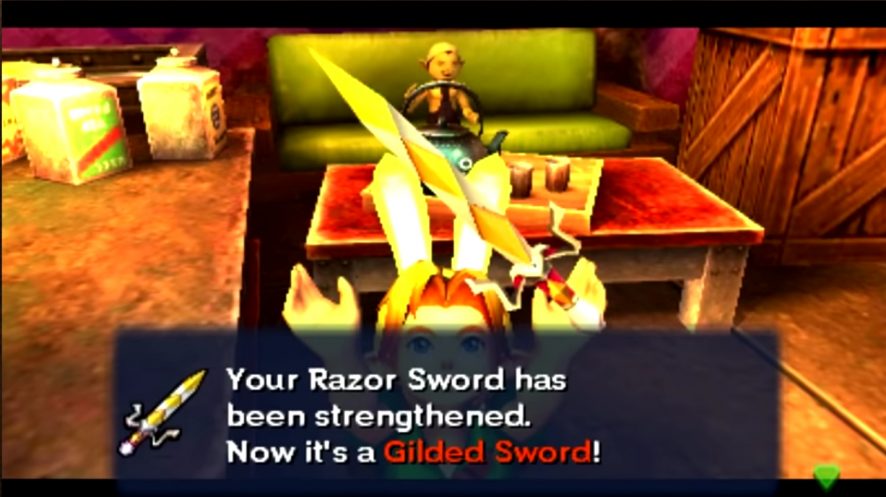
If you talk to the smithy again, Zubora will hint at a secondary upgrade that requires a rare and expensive material. Luckily, you just earned a whole bottle full of Gold Dust! Let them take your sword a second time, free of charge, and return on the morning of the third day to collect the Gilded Sword. This stylish sword does double damage and will never break, perfect for the avid adventurer to take on his journey.