


4. Snowhead Mountain
Table of Contents
Climbing Snowhead Mountain
With one dungeon behind you, your next objective lies to the north in the chilly mountains of Snowhead. The fastest way to get there, as Tatl will tell you, is through the northern gate of Clock Town. However, there are some important upgrades you can collect that will make your journey easier.
The Town Shooting Gallery is located in East Clock Town – look for the giant Octorok sign out front. Make sure you have at least 20 rupees first, then enter and speak to the man at the counter to play this mini-game. To win, you must use the Hero’s Bow to shoot red Octoroks in rapid succession without hitting any blue Octoroks. Starting each round from one side and moving across the targets as you shoot helps save time. If you can score more than 39 points, the owner will reward you with the Silver Quiver, a useful upgrade that will allow you to carry up to 40 arrows. Once you have mastered the patterns of this game, you can play a second time and win a Piece of Heart, provided you shoot all 50 red Octoroks without striking a single blue Octorok – even one mistake will remove precious time from your counter, making it impossible to finish the task in the allotted time.
With these prizes now yours, collect some more rupees and soar to the Southern Swamp. From here, head north to the area where Tingle floats around, then head East along the path. The building at the end of this trail is your destination, the Swamp Shooting Gallery. This mini-game is slightly different from the Town Shooting Gallery but has a similar concept. The goal is to shoot every enemy that travels through the frame in quick succession to accumulate a perfect score of 2120 points. The enemies that appear are Mad scrubs and Guays which appear in groups three times each. Occasionally, Wolfos will run across the range as well. Mad scrubs will appear out of the ground and Guays will fly across the sky from either the left or right side of the range. Two elusive Mad scrubs can be found high atop the rock outcrop to the left and perched in a tree to the right. Each enemy group will produce a telltale sound to signal their approach – it is important to listen well to each group and prepare to shoot when they appear. Getting a perfect score will net you the Gold Quiver, which can carry a whopping 50 arrows, making your quest much easier. Like the Town Shooting Gallery, a Piece of Heart can be won by playing the game a second time and achieving another perfect score.


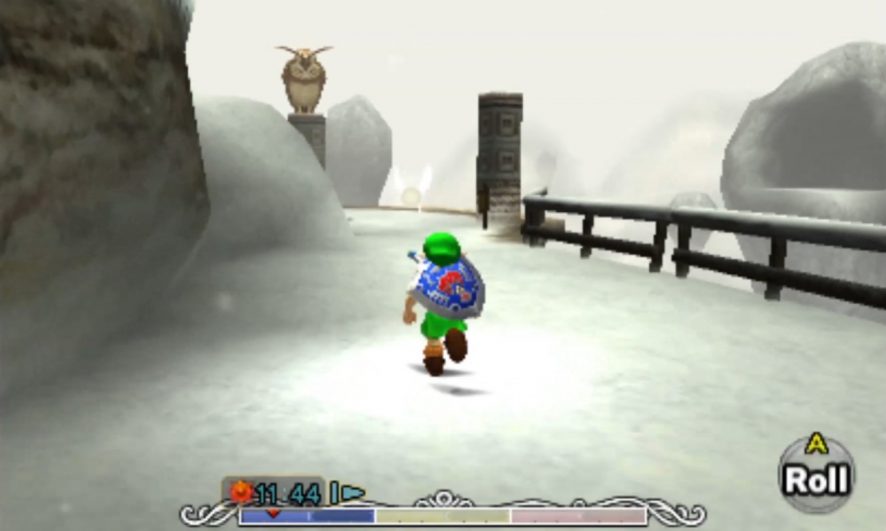
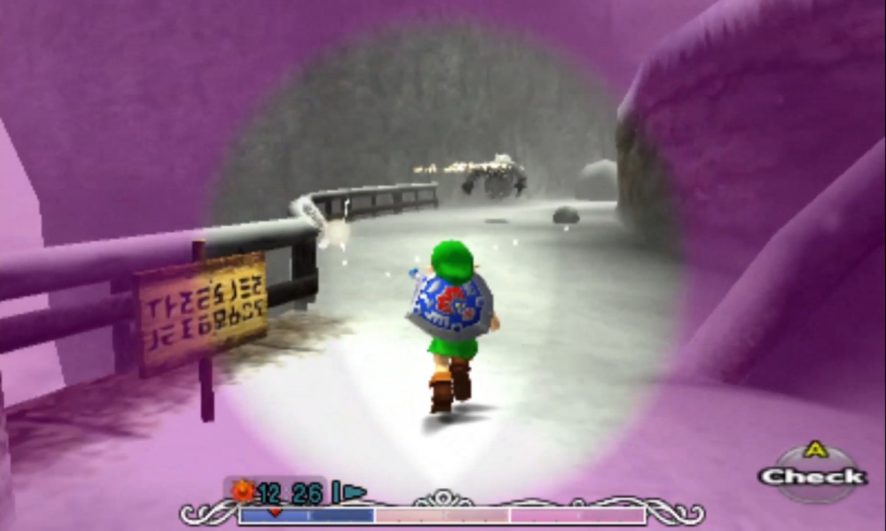
Now it’s time to venture northward. Deposit any remaining rupees and play the Song of Time to maximize the amount of time you have to explore the mountains, then prepare to exit Clock Town through the northern gate to continue. Once you leave the city, you will find that you have to pass through a large canyon to get to the northern side. Just before you get to the ledge, you’ll see a steep staircase heading westward, so take that down into the canyon. During the day, Dodongos can be found here and defeated for healthy rupee rewards, keep that in mind if you ever find yourself short on cash.


Continue up the trail and you will find your way blocked by large blocks of ice. Touching any of the icy blocks in this game will freeze you, so keep your distance. However, if you look up, you’ll see a stalactite of ice hanging precariously above. Take out your Hero’s Bow and aim two shots at the stalactite; it will fall and crash down onto the blocks of ice, shattering them and clearing the path.
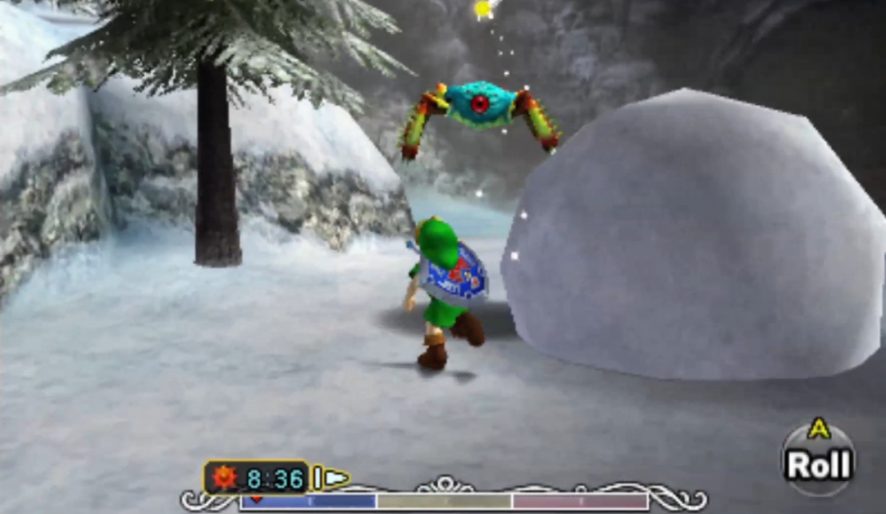
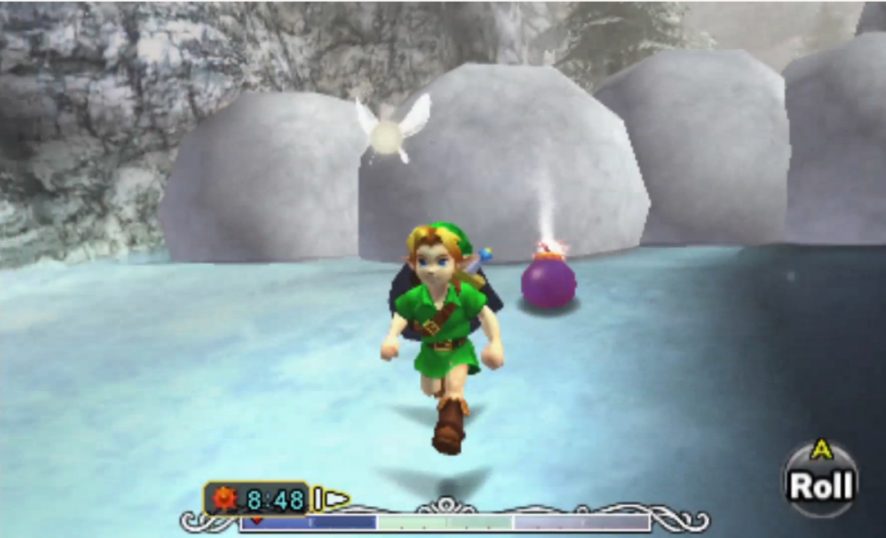
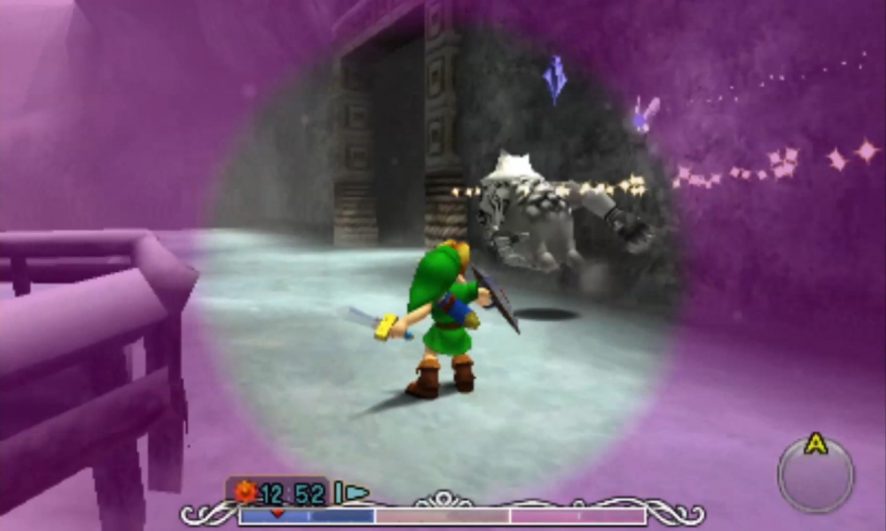
In the next area, you will be met with Tektites. They’ll jump up out suddenly from the snow to attack Link. Telltale scratching sounds in the snow give them away, so avoid or slay them and continue north. Midway through this section, you will encounter large snowballs impervious to Link’s sword. Use a bomb or the Blast Mask to clear the path and continue up the trail.
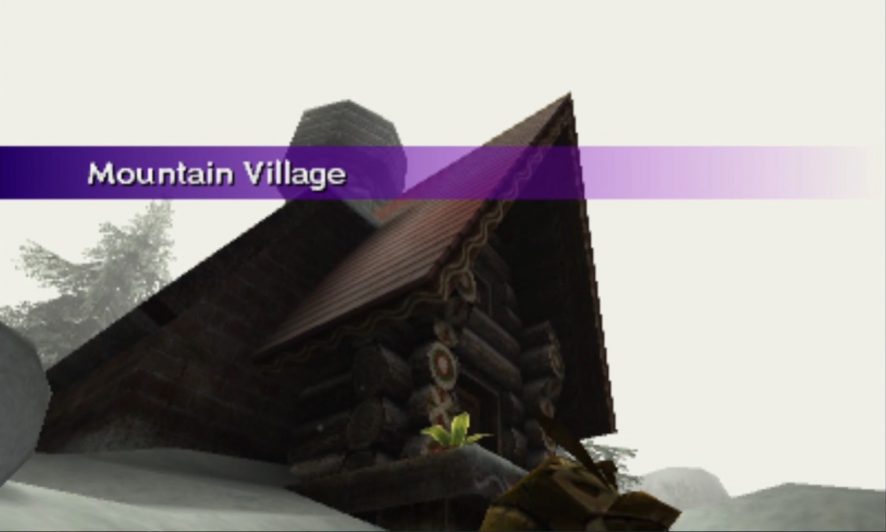
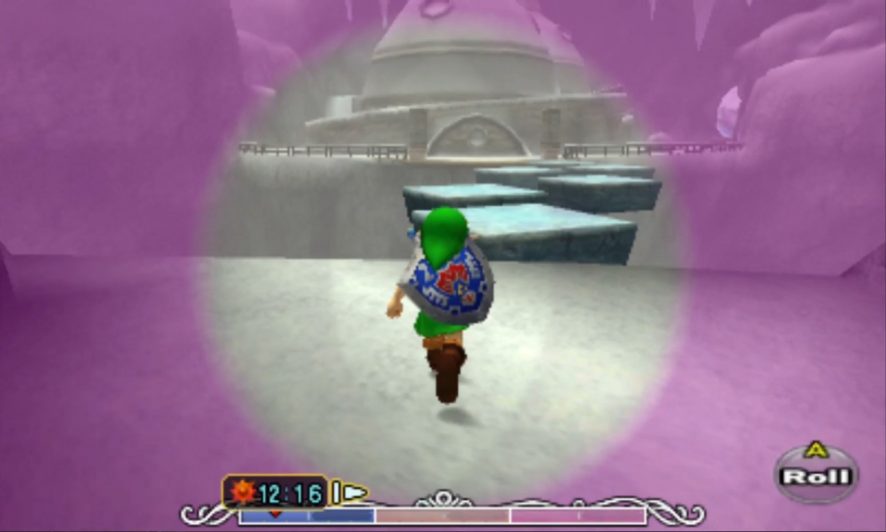
Mountain Village
This chilly area houses a large building, nearby is another Owl Statue which you can activate for another useful warp point. Inside the building are two smiths who will offer to sharpen your Kokiri Sword for 100 rupees. This upgrade is not permanent, however, and will take a substantial amount of time to complete, so it’s best to ignore this offer for now.
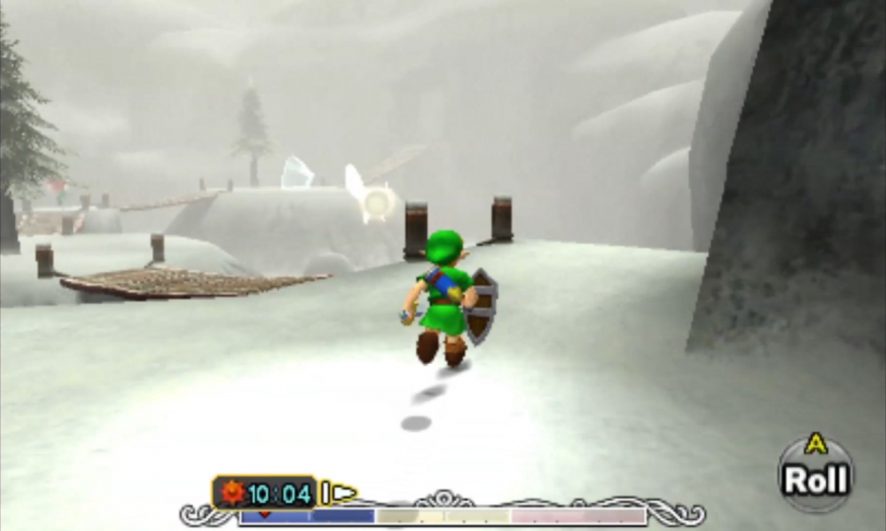
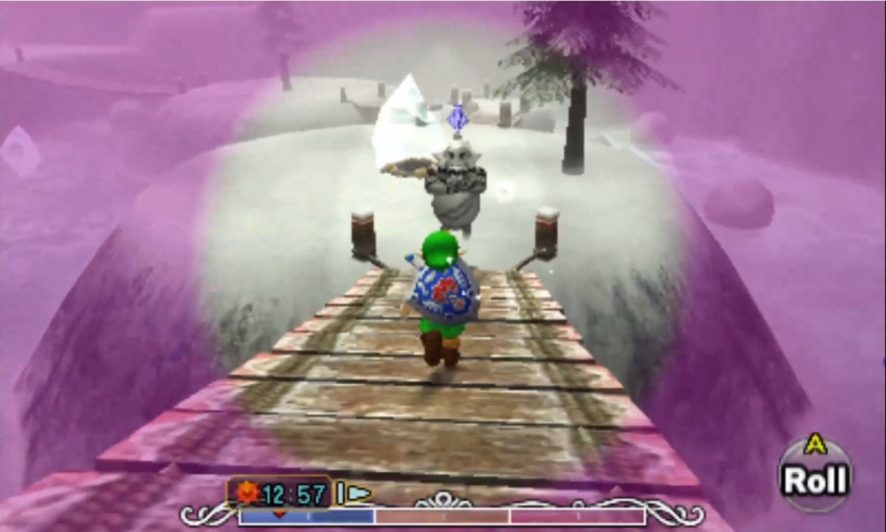
To the right of the Mountain Smithy’s building, the trail continues to the Goron Village. In the next area, navigate across the small bridges and you will notice Tingle floating on high along the way. Shoot him down and he will offer you a local map for 20 rupees. Slay or avoid the White Wolfos that attack on each island and continue across the final bridge to Goron Village.
Goron Village
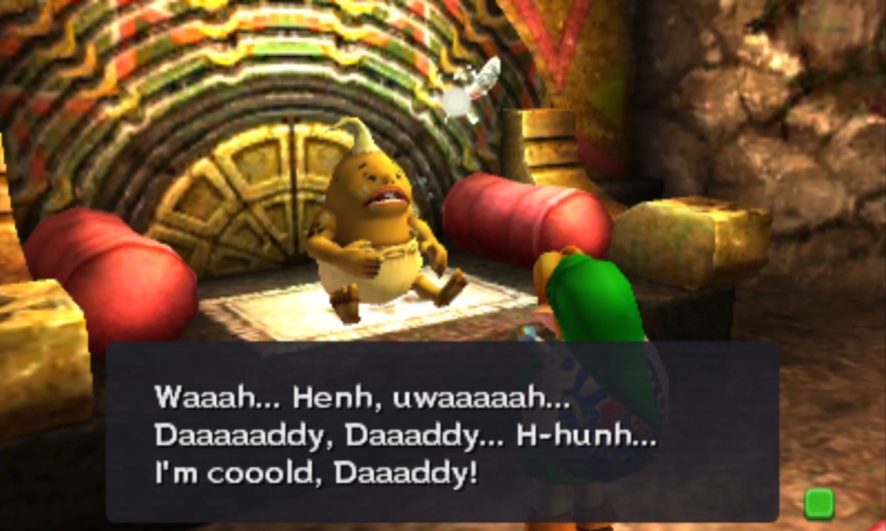
As you enter, you’ll see a lone Goron standing in the frigid cold. He’ll offer to open the hefty door on the level below, allowing you to enter. Once he performs a Goron pound, leap off the ledge quickly and head inside before the door slides shut again. Inside, you will find the Goron tribe taking shelter from the harsh weather. Follow the ramp up and enter the throne room to find a baby Goron – the Elder’s son. You may have already noticed by his ear-splitting screaming that he is upset – it seems his father is missing. Head back the way you came and exit back to the village.

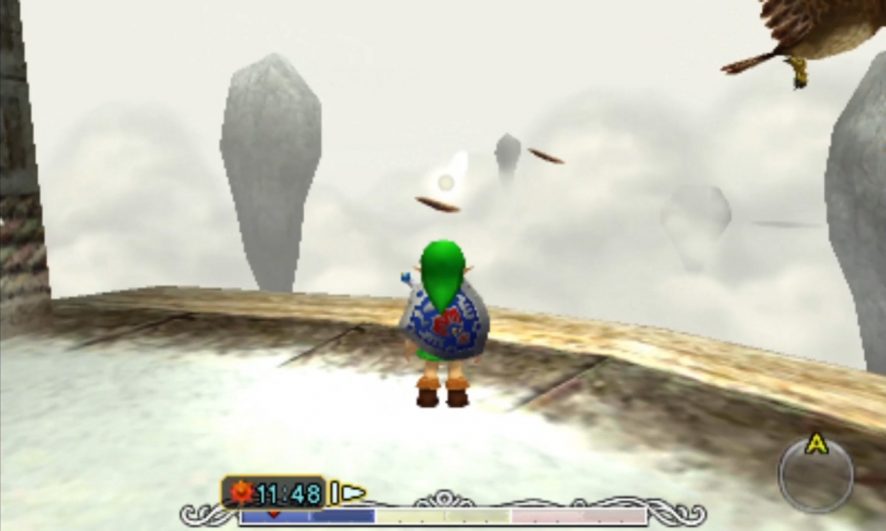
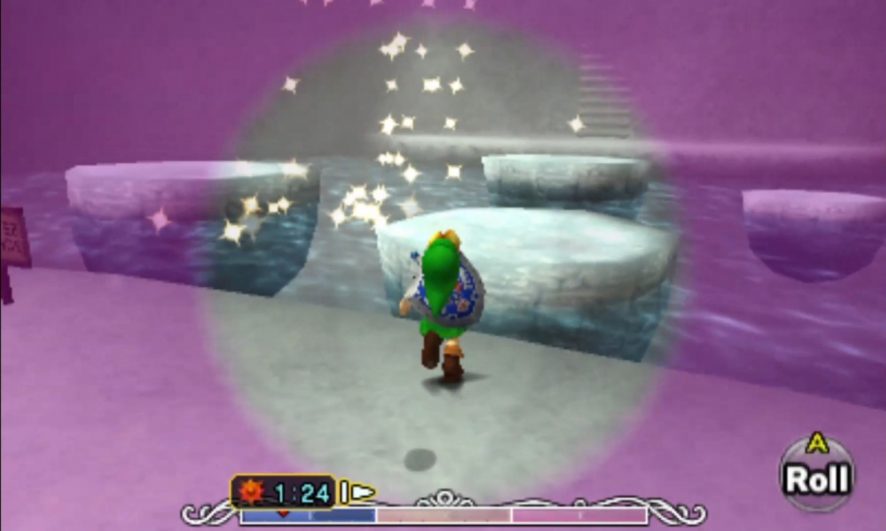
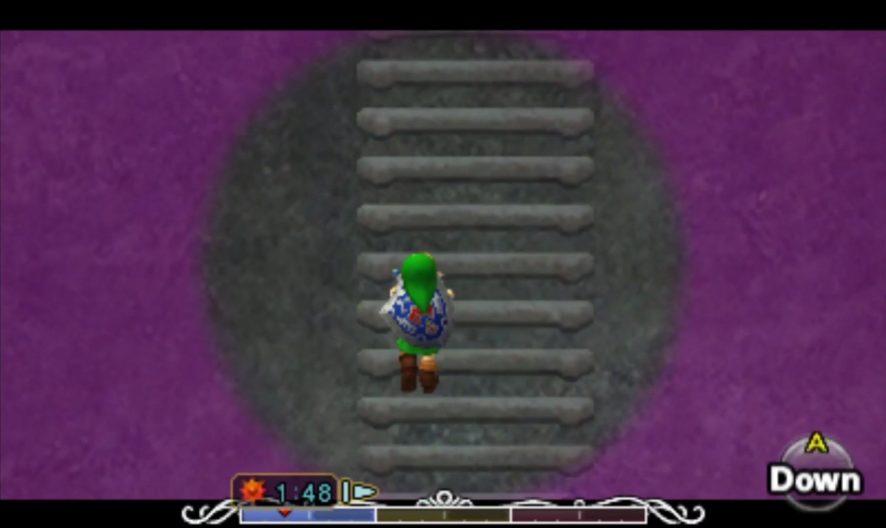
Travel to the fenced cliff face of the area on the opposite side you entered from, where you will find everyone’s favorite owl to greet you. After a brief chat, the owl will take to the air and fly across what seems to be an empty chasm. However, there are invisible blocks within that void. While you may not be able to see them, Kaepora Gaebora will drop feathers from his wings that will land on these platforms, marking a path across the chasm. Each feather will mark the center of one of the square ice blocks, so carefully jump in the direction of each feather until you reach the other side.
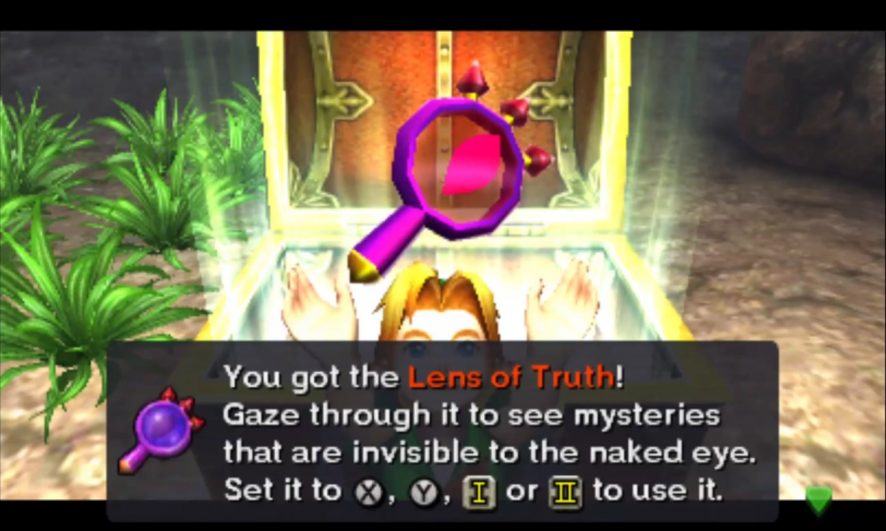
Once inside the shrine, open the chest to receive the Lens of Truth, which will allow you to see otherwise invisible objects. There are two other treasure chests in this room, however. The first one is contained within the boulder to the left of the Lens of Truth; that one contains 50 rupees. There’s also an invisible chest behind the Lens’ chest that you can see with the Lens of Truth, but there is also an invisible Skulltula guarding it; opening it will net you 20 rupees.
The Ghost of the Goron Hero
When you leave the Shrine, the feathers will be gone, so you’ll need to use the Lens of Truth to see where the blocks are floating. Once you have crossed the chasm with the Lens of Truth, you will see a ghost floating above the snow. This is the ghost of Darmani, a Goron Hero. He will ask you to follow him as he flies off, so follow him and see what secrets he has to share!
As you follow him, you can conserve your Magic Meter by turning off the Lens of Truth when you have a decent idea where he’s going. Thankfully, even with the Lens of Truth off, you can see his shadow on the ground, so you can still track him even if you can’t see him directly. He will first fly clockwise around the area until reaching the gate to the Goron Village, but he won’t go inside; instead, he’ll be flying up the ramp, turn left, and then continue upwards to leave this area. When you reach the entrance to the open area where you bought the map from Tingle, turn on the Lens of Truth to meet up with the ghost, and then watch him proceed through.
In the next area, Darmani is waiting for you at the bottom of the first rope bridge. Go there and turn the Lens on to activate his flight sequence. Be careful about the White Wolfos as you follow him; he will fly over all of the islands in turn and make his way back to the Mountain Village.

Again, in this area, activate the Lens of Truth to find Darmani and walk up to him. He’ll fly off again in normal fashion, so chase after him with or without the Lens activated. He will fly over to a pool with chunks of ice floating within it. Equip the Deku Mask to aid you in crossing and once you have, activate the Lens to reveal a hidden path of climbable ladders leading upwards.
Follow the ladder upwards, and when you get to your first branch heading left and right, choose right. At the next branch, go left. At the final branch, go right again. This will take you all the way to the top of the wall, where you will find some cold Gorons and Darmani’s ghost waiting. Follow him into the cave beyond.
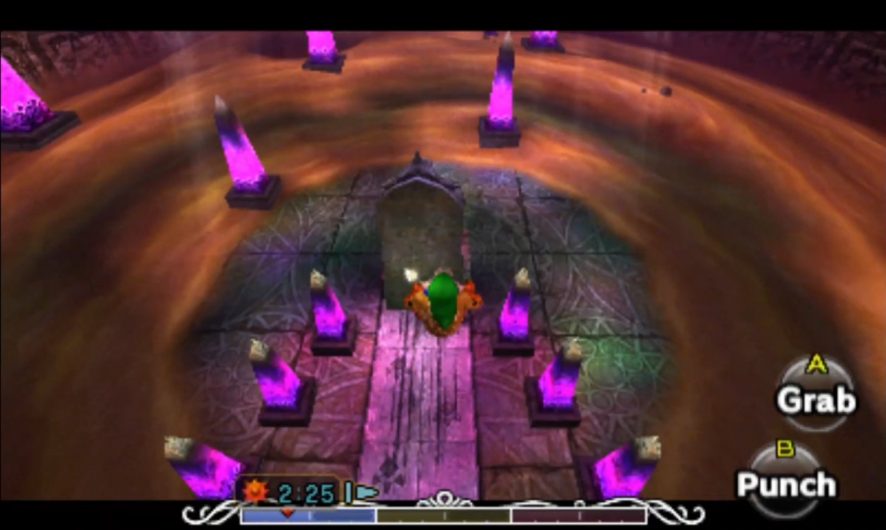
When you talk to him, the Goron shade asks if you can use magic to restore him or, if that is not possible, heal his sorrows any way that you can. You cannot bring him to life, but you can provide for him in a different way using the Song of Healing. Play it for him, and you will receive the Goron Mask, allowing you to transform into a Goron at any time. Goron Link has a number of unique and useful abilities, including curling up into a ball, allowing you to traverse landscapes with unmatched speed.
Go around to the back of the gravestone and pull the grave one space back. This will cause the hot springs to fill the room with steaming spring water, useful for melting chunks of ice. While you’re here, use your empty bottle to grab some Hot Spring Water. It will revert to regular Spring Water in a short time, so hurry out of the cave to your next goal.
The Goron Elder
Once outside of the cave, jump off the cliff for a quick way down. Be mindful, however, that Goron Link is unable to swim because of his mighty frame, he will instead sink like a stone, so avoid deep pools when you can. Continue across the Mountain Village back to the area with Tingle and the White Wolfos.
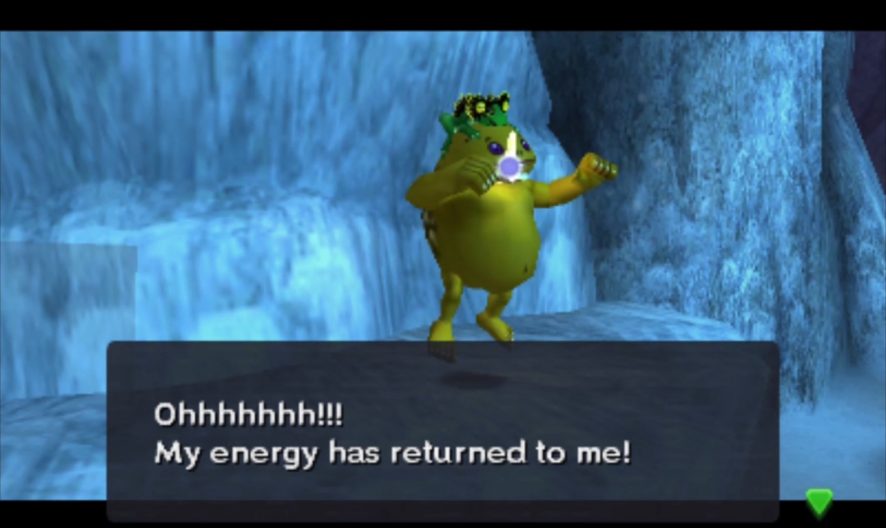
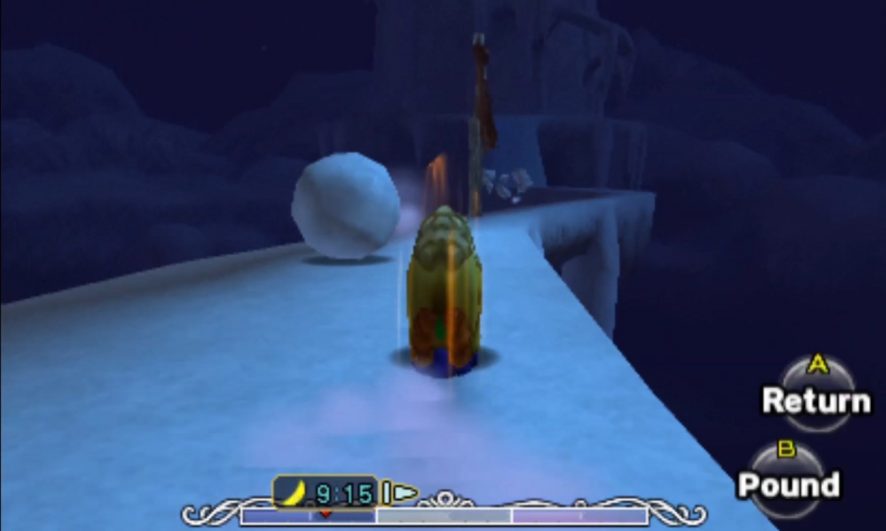
Once you’re there, Goron Roll again and hug the left wall. You’re looking for the gigantic snowball to the left of the last of the three islands on the frozen lake; you’ll know you’ve reached the right one when Tatl glows green and hovers above it. Use a Goron Punch to break the snowball, revealing the frozen Goron Elder inside, then quickly use the Hot Spring Water to thaw him. Once unfrozen, talk to him twice, making sure to keep the Goron Mask on. Because you visited his crying son already, he will teach you the first half of the Goron Lullaby to calm his distraught son. Being the Elder comes at a price however, he’s somehow forgotten the rest!


With the first half of the Goron Lullaby in hand, you’re ready to head back to the throne room. Use the Goron Curl to roll up the steep hillside of the island to your immediate right, and then head over the left bridge to return to the Goron Village.
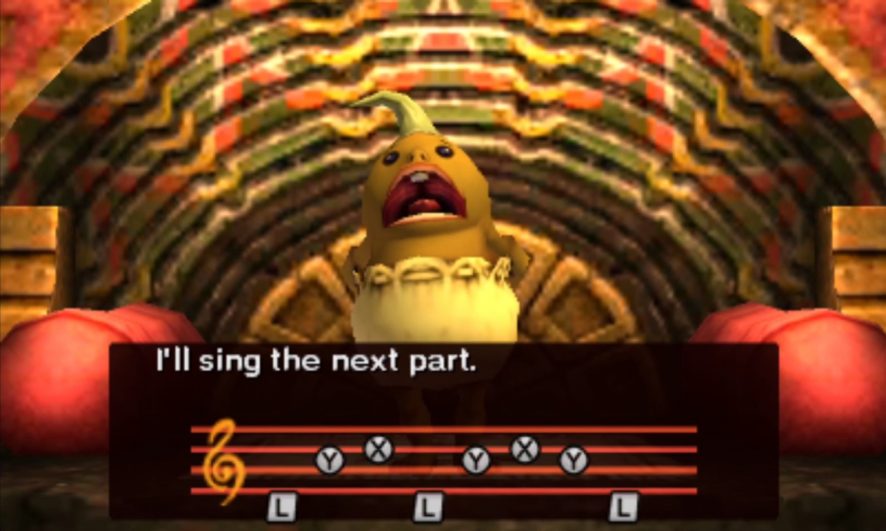
Now that you’re a Goron, you don’t need the lookout to open the gate for you. Fall off of the ledge to get to the entrance to the Goron Village. Curl into a ball and then pound the ground, and the gate will open. Return to the throne room and whip out your set of Goron drums with the Ocarina to play the Goron Lullaby intro for him. The baby Goron will remember the full song, and then he will teach you the full Goron Lullaby to him – an incredibly relaxing melody. This will finally calm the baby Goron and he will stop crying and fall asleep. The Gorons will really appreciate this, taking the opportunity to have a nap themselves!

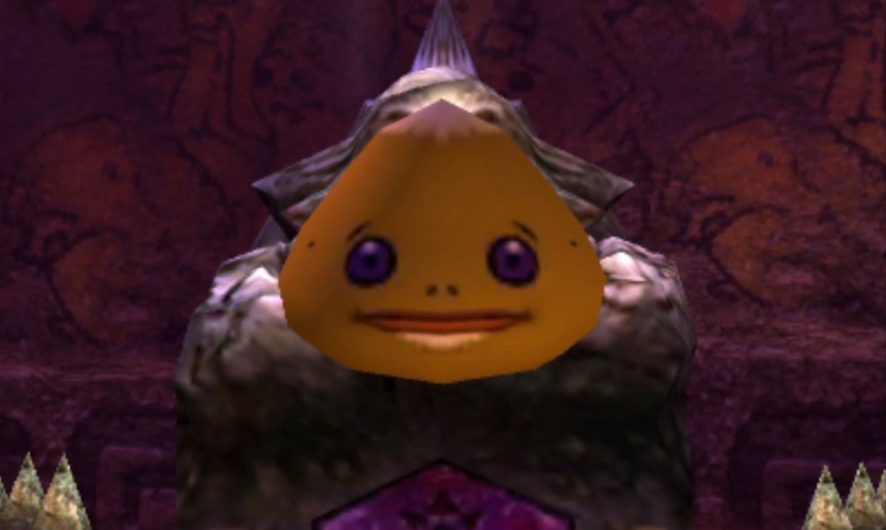
When you learn the Goron Lullaby, the torches in the throne room will be lit, allowing you to take a Deku Stick and set all the unlit torches leading down towards the entrance ablaze; don’t forget the torches in front of the giant Goron head statue – looks familiar, hmm? Once all the torches are lit, the chandelier above will begin to spin. Roll back up to the overlooking floor and you will notice a ramp leading directly towards the chandelier’s jar-shaped torches. Charge up a roll on the slippery red tiles and fly off the ramp, aiming for the spinning jars. It may take a few tires, but eventually, a lump of rock-sirloin will fall from its hiding place. Head down the ramp and pick up the rock-sirloin – you are headed back for Mountain Village with it. Be careful of enemies as you travel with the Goron delicacy, avoiding them when possible. Cross the bridges and be wary of White Wolfos in the area between Goron Village and Mountain Village. When you arrive, go west towards a high ledge; on top, you will find a shivering Goron sporting a funky cap. Throw the rock-sirloin up on the ledge and the hungry Goron will be so grateful for the food, he will reward you with Don Gero’s Mask, which can be used for a lengthy sidequest later on.

Journey to Snowhead
With the Goron Lullaby in hand, it’s time to travel to Snowhead, which is near the Owl Statue and just over the bridge. Before exiting, make sure you at least have a decent amount of magic; if you don’t have any, smash through some of the snowballs in the Village to recover some.
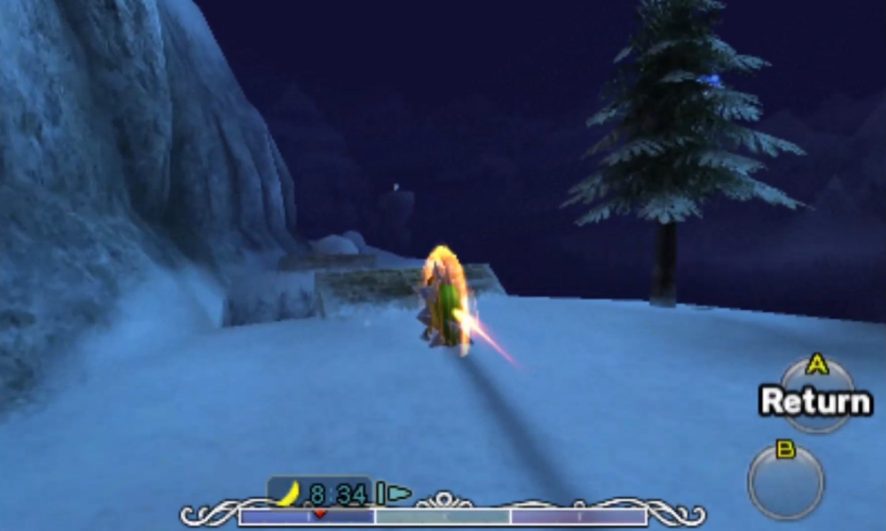
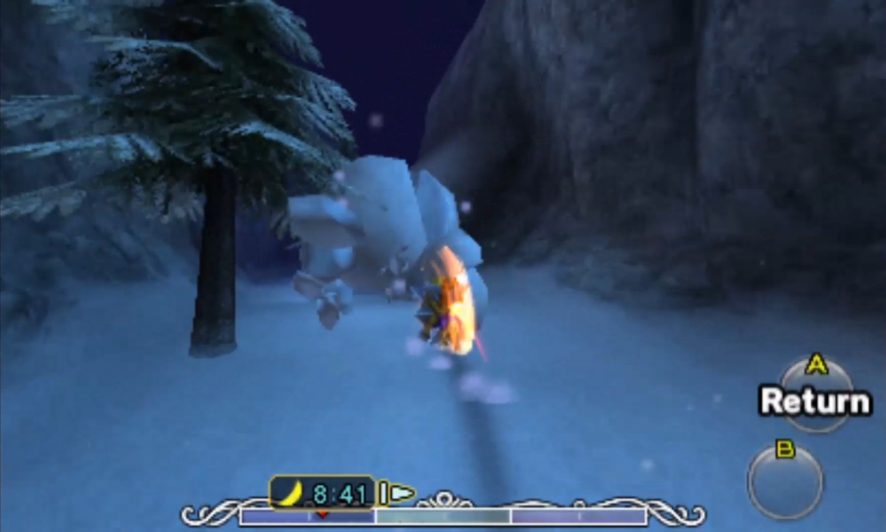
And now the fun begins. You’re going to be rolling down a series of slaloms and across jumps with Goron Link while smashing into snowballs falling from the mountains. Once you enter the area, stand still, curl up and start rolling. Make sure you have enough ground to reach full speed before the first jump Hit it head on; you’ll barely clear the jump if you’re successful. Then curve about the next area, smashing into snowballs as they barrel down on you – they can yield extra magic. There’s a second jump ahead that’s hidden behind a large snowball. Smash through it and clear the jump. If you manage to make it this far, you’re golden the rest of the way, even if you fall out of your Goron Roll. Exit through the pathway at the end of the area.
Once here, you will find an Owl Statue at the entrance to the area. Remove the Goron Mask and activate it to gain another useful warp point. By now, you have probably accumulated around 200 rupees; if not collect some and make your way back to Goron village for a useful upgrade. Near the eastern wall of this area is a Deku Scrub will trade your Big Bomb Bag for the Biggest Bomb Bag, complete with 40 bombs, all for only 200 rupees. If you talk to the Deku Scrub as Deku Link, he will mention his dream to return to the swamp, meaning you can gain a new Title Deed here. Travel back to Clock Town and begin the trading quest again with the Moon’s Tear. Once you have acquired the Swamp Title Deed, exchange it to him for the Mountain Title Deed, and utilize the Deku Flower to fly to a high ledge above on the eastern wall to find a Piece of Heart.
This is an excellent time to return to Clock Town to deposit any remaining rupees and play the Song of Time when you are done with your affairs, saving the upcoming temple until the next cycle.
Entering Snowhead Temple
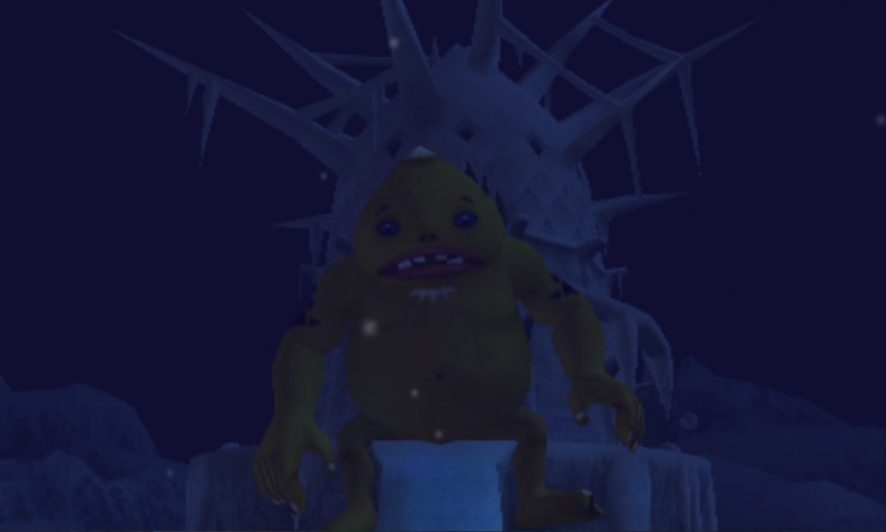
At present, the path to Snowhead Temple is impossible to traverse. Don the Goron Mask once again and bring out your drums to play the Goron Lullaby. This will reveal a giant invisible Goron in the distance that’s been blowing chilly air throughout the whole region. Playing the Goron Lullaby will make him so drowsy, he will fall asleep, keeling over into the crevice below, giving you access towards the Temple.
As you approach, avoid or destroy the rolling snowballs – Goron Link’s mighty fire punch makes this a breeze. When you reach the Temple on the large island, you will meet two White Wolfos Either defeat or avoid them and continue upward, walking clockwise around the rising path. This will take you higher and higher, and eventually, you’ll have to start destroying rolling snowballs Continue upwards to find the entrance to Snowhead Temple.