


7. Great Bay Coast and Pirates’ Fortress
Table of Contents
Great Bay Coast
Now it’s finally time to head out to Great Bay Coast. Leave Clock Town via the western gate and play Epona’s song to summon your steed. Head west across Termina field, using Epona to leap over the painted walls blocking your path – make sure to approach them at speed, otherwise Epona will halt before jumping the walls. Continue through the cliffs to reach the western shores of Termina.
Once you arrive, you can explore the beach, but Tatl will notice something floating out in the middle of the bay with seagulls hovering above. Dismount Epona and then swim out to investigate. You’ll discover that it’s an injured Zora in desperate need of help. Approach the Zora from behind and then gently push him to shore. Once he gets to shore, he will try to stand up and take a few steps, but he won’t make it very far. Go and check up on him. He’ll introduce himself as Mikau, the guitarist of the famous Zora band, the Indigo-gos. Mikau will explain with a shaky song the unfortunate events that have been plaguing the residents of Great Bay – including Lulu, the lead singer of the Indigo-gos – and begs you for help. Play him the Song of Healing in return to ease his troubles, and he fades away painlessly, leaving behind the Zora Mask.


This transformation mask will allow you to take on Mikau’s appearance and swim around Great Bay with ease. Mikau tasks you with recovering Lulu’s seven eggs from the Gerudo Pirates that haunt the coast and returning her voice before their performance at the Carnival of Time in three days – so get to it!
Pinnacle Rock
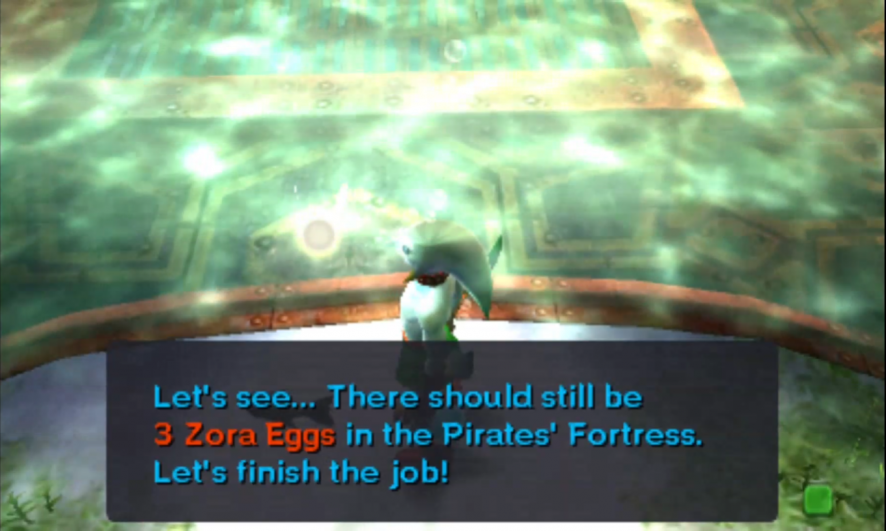
So there are seven eggs to get, and these eggs are divided up between two different areas. Three of the eggs are in Pinnacle Rock, so you’ll want to head there first. As a note, to transport the eggs from their hiding spots back to the Marine Research Laboratory, you will need an Empty Bottle to put them in. For Pinnacle Rock, if you don’t have three bottles yet, you will have to make multiple trips. If you want to get some bottles first, you should start working on getting the Gilded Sword, completing the Romani and Cremia sidequest, and getting most of the way through the Anju and Kafei sidequest.
Pinnacle Rock is the structure of large stony rocks breaking through the surface of the Great Bay off towards the north. Don the Zora Mask and dive into the water, swimming for the two large stony croppings between you and Pinnacle Rock proper. When you swim between the two pillars, you’ll enter the region of Pinnacle Rock.
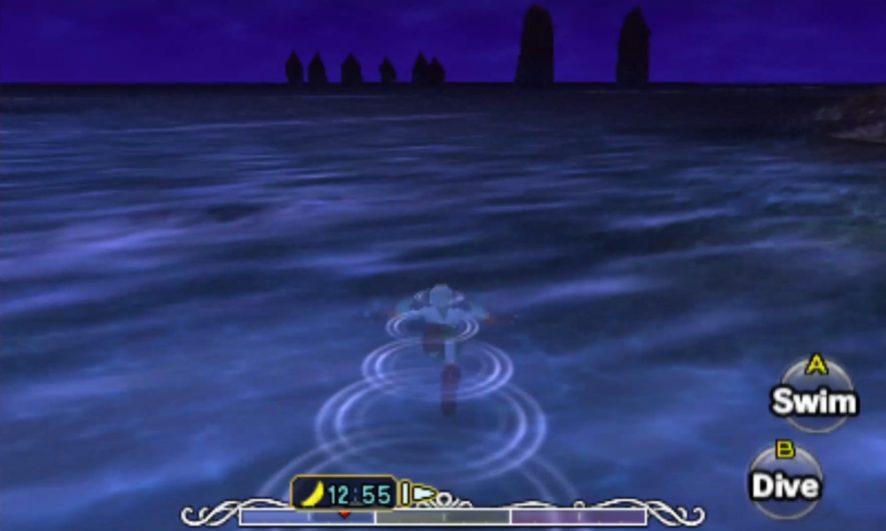

In Pinnacle Rock, the first thing you will want to do is dive. Move your way forward by walking along the bottom of the sea floor along the rocks until you reach the first signpost just where the sand meets the rocks. The sign warns you of murky water, and from here on you will need to navigate an invisible maze. If you stray away from the proper path, you’ll end up getting lost and be dumped back at the beginning.
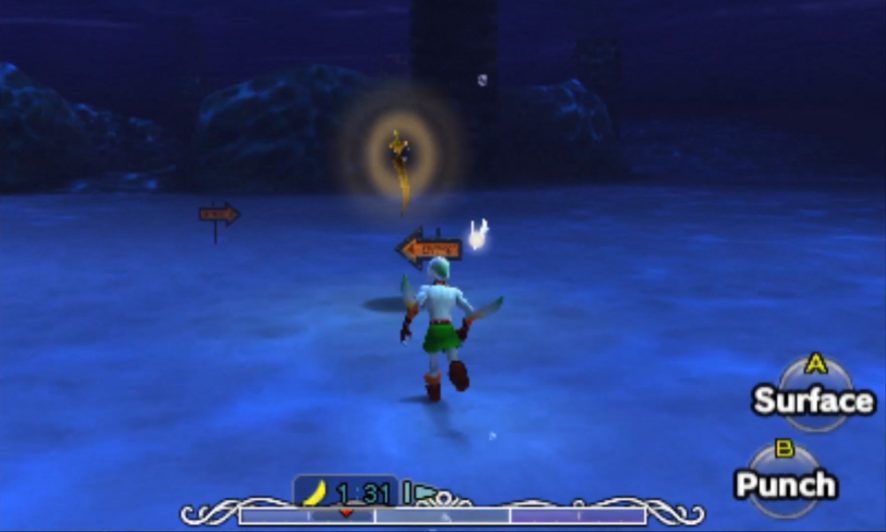
The signpost just ahead points off to the right, and that tells you the direction that you will need to walk in. Line up the camera with the direction that the signpost points and then walk straight. This first one is a little bit tricky because there are two signs that are in the general area of the first signpost’s direction, but only the second one further out is exactly in line with it. The second sign points left, as does the third. The third sign post is a little tricky because you won’t be able to immediately see the sign that it points to; keep walking forward, through a school of fish, and eventually you will see two signposts off in the distance; the leftmost one is the one you want. The fourth sign is actually incorrect as it points in the wrong direction; aim instead for the right sign that appeared as you were walking from the third to the fourth. That fifth sign is correct, and that should lead you directly into the mouth of Pinnacle Rock.

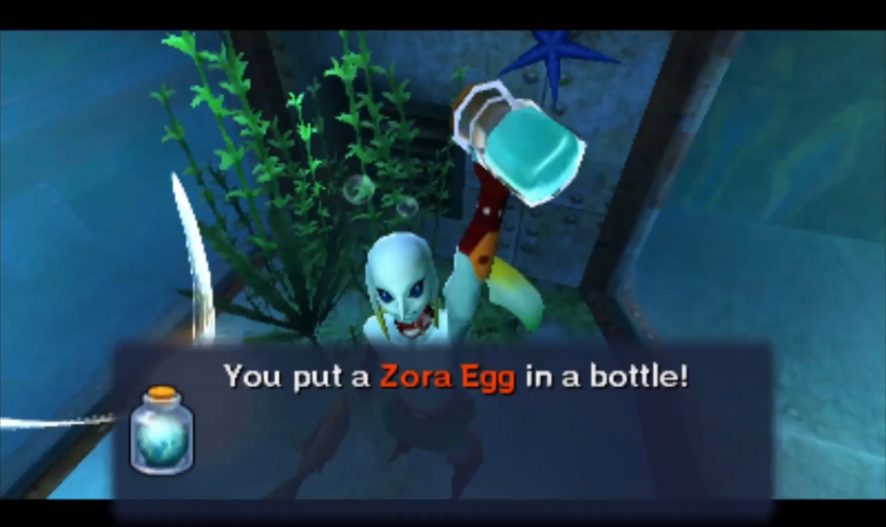
First descend to the very bottom of Pinnacle Rock. One of the two serpents at the very bottom of the pit has one of the two eggs. In order to kill the serpents, creep forward just to the side of one of the openings until the serpent’s head comes out from the alcove. Then, use Zora Link to swim into the hole up next to him, and use your electricity to zap its extended body. This should make the serpent retreat back into its cave, but it’s not defeated yet. Get out of the way as fast as you can and repeat the process. After two hits, the serpent will disappear forever, and you can get the egg. Throw it into a bottle for the time being.


With one egg down, slowly begin to surface. The next two serpents up from the bottom two don’t have eggs, but one of the two on the third level do. The third egg is being kept by one of the serpents on the fourth level. Once you’ve obtained the third egg, go ahead and surface, then swim out of Pinnacle Rock. You don’t have to worry about following the signs this time; once you hit one of the walls of the invisible maze, you’ll be teleported out.
Marine Research Lab
Your next goal is to get these three eggs back to the Marine Research Lab. That is the building in the middle of the water raised up on wooden pylon that you passed on the way here. Swim out that direction, and when you land on the platform, you should find the Owl Statue for this area. Go ahead and strike it so you can teleport here later. Also, if you want a map of Great Bay, Tingle is high overhead; shoot him down with an arrow to buy his map for 20 rupees.
Once you’re done with that, head on inside. The man therein urges you to get the eggs to him as soon as possible, and so climb up the ladders to the sides of the big tank at the back, and dump all of the eggs you’ve found into it. Once all your bottles are empty, you’re ready to get the other four eggs.

Entering the Pirates’ Fortress
The remaining four eggs are being held by the Gerudo pirates at the north end of the Great Bay. Head all the way north and, at the bottom of the ocean floor on the eastern half of the rock wall, you will see some large wooden planks with the symbol of a skull and crossbones on them. There are four in total, and if you hit the second one from the left by swimming into it, it will break, revealing a tunnel through the wall. Enter through the tunnel.
Rise up to the surface and stand at the mouth of the cave. You will see several pirates standing upon little boats circling in the waters. This entire section is a stealth section; if you are seen, you will be summarily thrown out of the fortress. So for this part, you will mostly want to keep to the water. Jump into the water just after one of the pirates has floated by and then turn towards the left and swim. Eventually you will see a large ramp from the bottom of the ocean floor leading upwards on the far wall. Occasionally some skeleton fish called Desbreko come after you; they can be defeated by activating your electric attack.


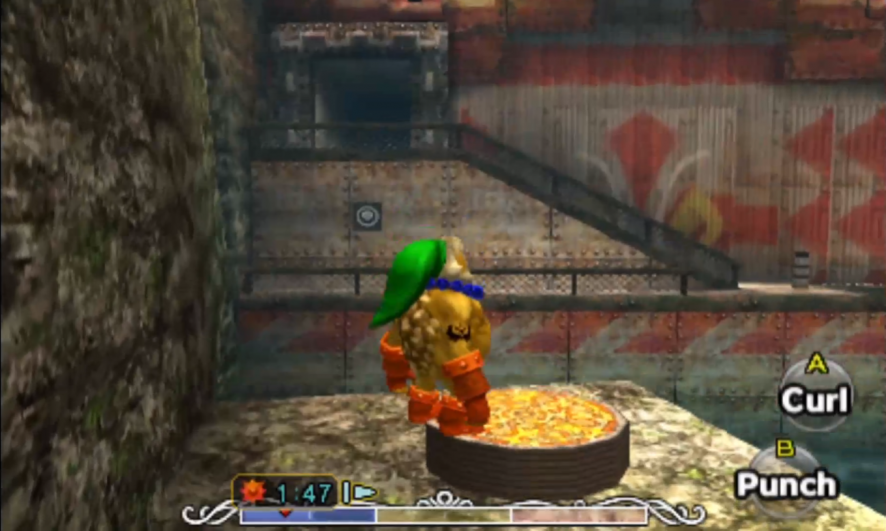
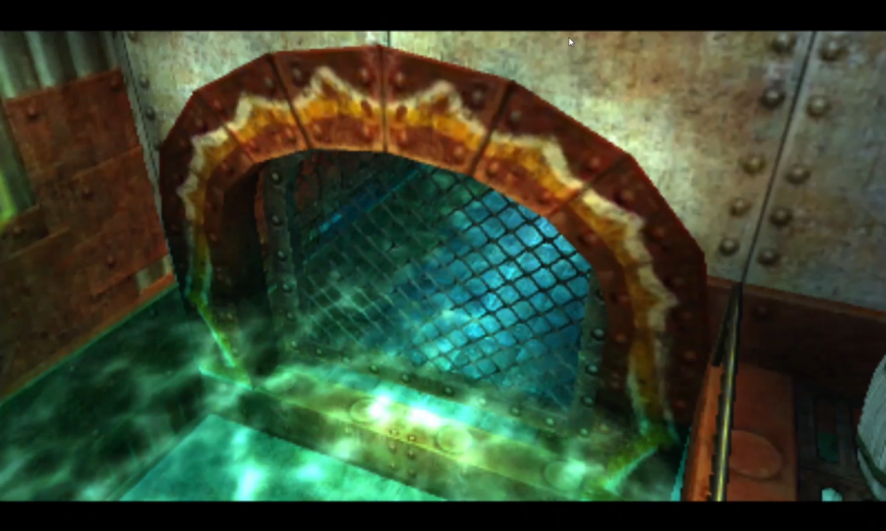
When you approach the ramp, perform a dive so that you land on it. Continue to walk along it towards the surface, and you’ll arrive at a small ledge just underwater with another ramp leading up above the surface. From here, you can see the hulls of the pirate boats pass by just overhead. Wait for one to pass by, and then hightail it above water. Follow the platform around, and when you reach the edge, you will see a Goron switch. This will open a gate underwater into the steel fortress. Dive back into the water, careful of the sentries, and then swim along the steel wall until you reach the open gate, and then head on through.
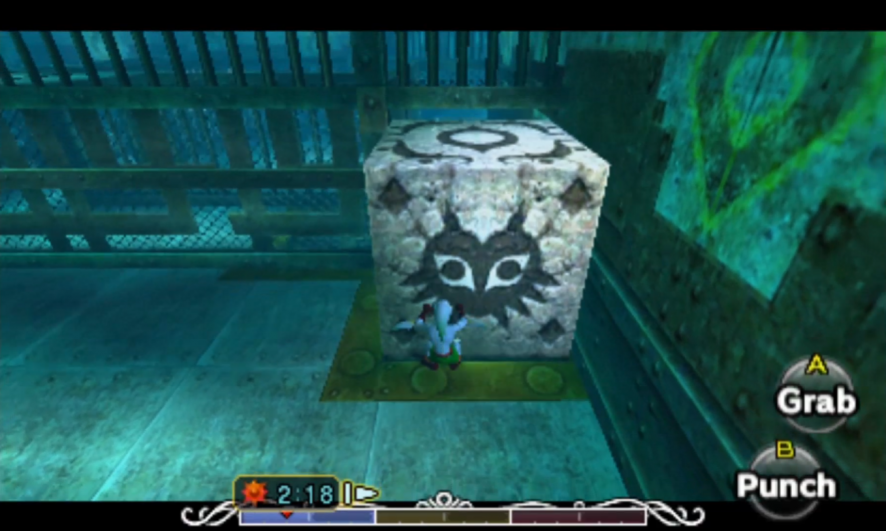
Continue through the passageway around the corner. You will see a series of gates that you have to pass through. First, there is a wooden plank that you just have to ram by swimming at it. Ahead of that, you’ll need to drop to the floor and pull a block out from the gate. You won’t be able to pass it just yet, but there’s a wooden plank in another gate off to your left to destroy. Head through there, and then destroy another plank just beyond it to reach a second sliding block. Push it forward one space and then run off to the right, following the maze until it reaches the other side. It will deposit you at a vent that will push you up, so allow yourself to enter it.
The next area has a few spike traps scattered along the floor. These don’t move, so they’re fairly harmless. Swim over the first two, but dive down to the floor before you get caught in the jet that will push you back out of the fortress. Pass under the jet, avoid the third spike, and then resurface. You’ll find a ledge and a door to continue forward.
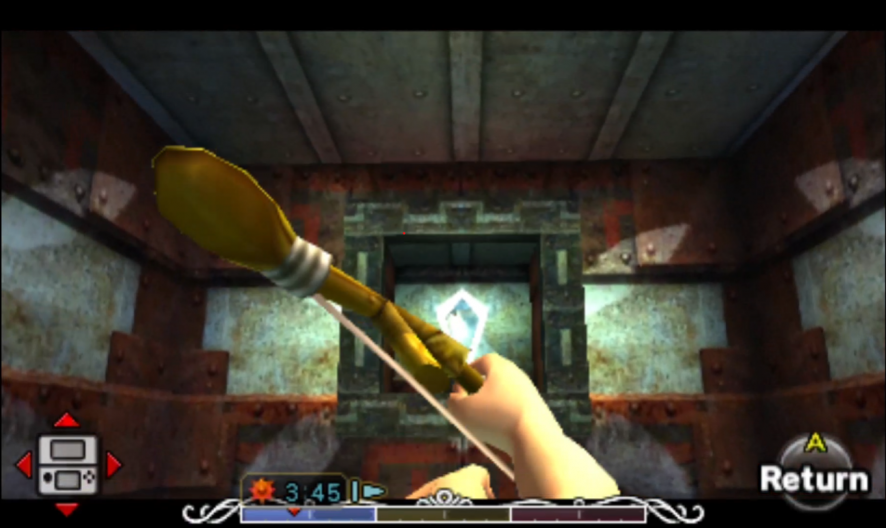
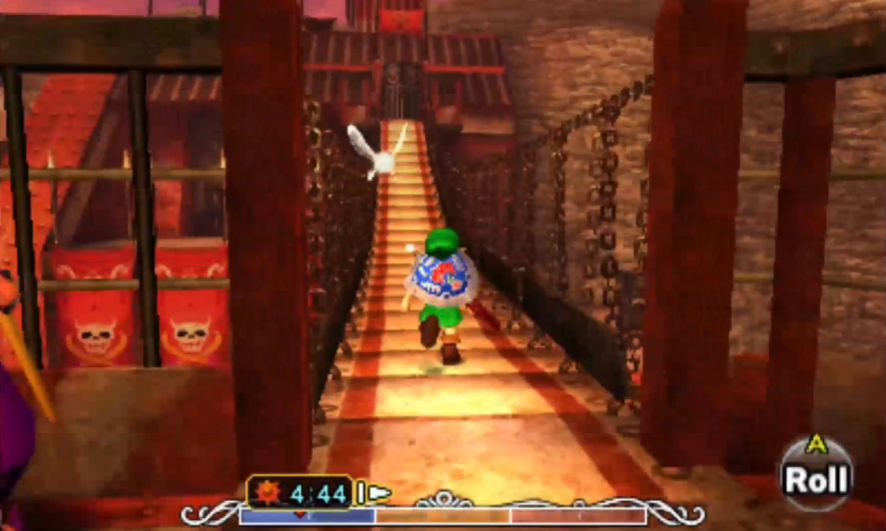
Avoid the next few spikes here, and then jump up onto the ramp leading out of the water. Climb the staircase opposite the jail cell containing the Piece of Heart, and then turn right at the top to find a Crystal Switch. You can use Zora Link’s fin boomerangs in order to activate it, which will open up a grate that leads out of the area. However, the gate is timed, so be quick. Run down the staircase, jump into the water, and swim through the new path before it closes.
This is the final section of the Pirate’s Fortress, which again combines a jet of water with spikes. Stay on the surface and just skim across it, staying above the water jet while avoiding the spikes. Go around the corner and climb up a ladder. You’ll almost immediately step onto a switch, which unlocks a Crystal Switch. Quickly go stand on the metal grate to the left, turn around, and use Zora Link’s fin boomerangs to hit the Crystal Switch before the regular switch times out. This will activate a stream of water that pushes you up.
Once you see a platform above you, jump off immediately or else you may get pushed into a Spike. Finally climb the ladder; there’s a telescope at the top, but that’s not what you’re interested in. Turn around, and use your fin boomerangs to hit the Spike in front of you; it will slam into the Spike beyond it, and the two will explode. This will reveal a Crystal Switch, which you should also hit to unseal the door down below you. Drop down, and then exit through the door.
Outside now, follow the metal gangway until you get to the doorway further in. This will lead you to the insides of the Pirates’ Fortress.
The Hookshot
Remember, this section of the game is a stealth section. If you get caught, you’re getting thrown out. Worse yet is that you can’t outright kill the guards. You can hit them with arrows or whatever you like, but that will only momentarily knock them over and stun them; they will rise back up in just a few seconds.
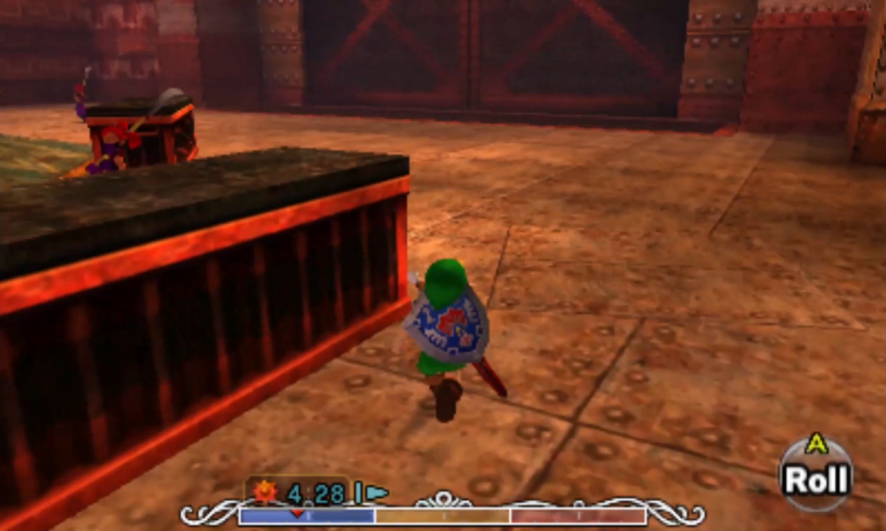
Your first goal is to head to the base of the watch platform in the center of the area. You should be safe by immediately running up to the grouping of three boxes directly ahead. Once you do this, be wary as there will be a pirate approaching clockwise around the center from you. Quickly duck to the left of the trio of boxes and let an arrow fly around the pirate inconveniently marching a square around the ladder; if you’re successful at hitting her, make a break for the ladder as you should be clear. If not, wait until the ring of pirates pass in order to wait for another opportunity.
Before you reach the top of the ladder, be cognizant of the fact that there is a pirate on the bridge leading from the watch tower to the palace ahead. She may be coming back your way, at which point, you should make sure not to pop out too early. If she’s far away or looking the other way, that’s your chance to fling an arrow at her to stun her, and then conveniently pass by while she’s passed out. Quickly hurry through the door on the other side.
As you head into the room, Tatl will get upset over a bee that buzzes its way into the main palace chamber. Link will wander over, and he will overhear a conversation between the pirates. Perhaps you should have gone here first before Pinnacle Rock as you have the three eggs that they’re looking for. Oops? At any rate, they’ll mention that the eggs are a clue to the next dungeon, and you can certainly bet that they’re the ticket there. However, you can disrupt their plans by snitching the four eggs they’ve got first. Once they’re done talking, look for the bees’ nest inside their sanctum and shoot it down. Don’t worry about lining it up between the bars as they can’t block your arrow shot. Hitting the nest will evacuate the room, and it’ll show you a glimpse of a treasure chest that is yours for the taking.
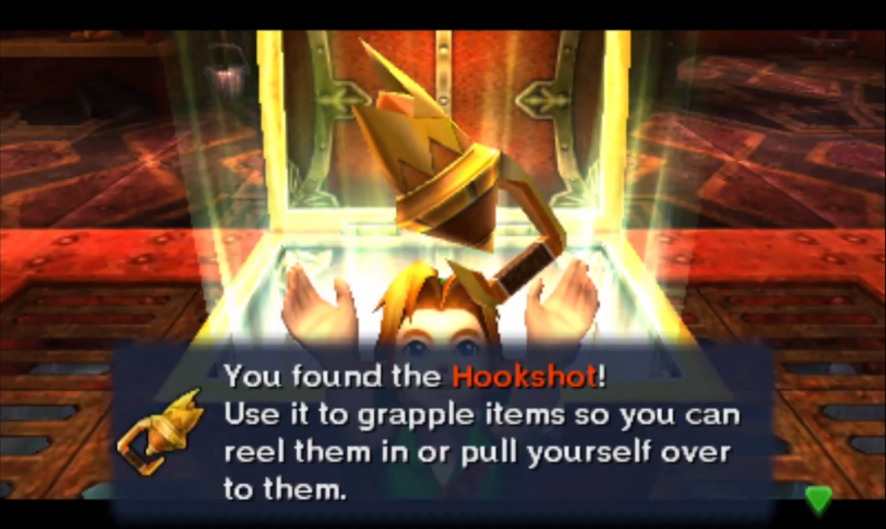
You’re done here, so head back out the way you came in. Once you get outside again, immediately turn left and drop down a platform, and then head through the door you’ll find there. This, conveniently, is the room you were just spying on, and you can get the treasure now. It’s the Hookshot, which you might have guessed given all the rectangular pillars milling about outside.
The Four Zora Eggs
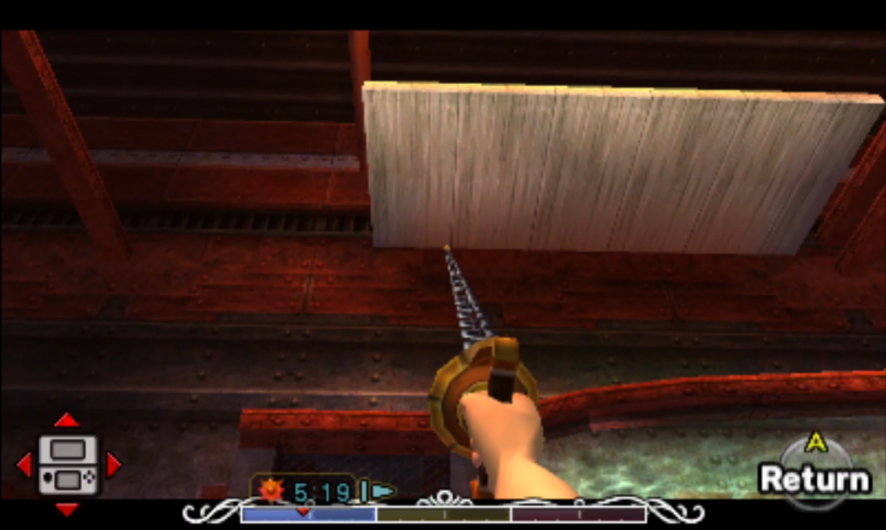
Speaking of the Zora Eggs, there’s one inside the room you’re currently in, just to the left of the treasure chest. Equip the Hookshot, and look over the tank to see a wooden plank on the ceiling. Use the Hookshot on it, and it will carry you up over the tank.
Once you’re on the ledge, put on the Zora Mask and descend to the bottom and prepare to face a Shell Blade. The clam will open its mouth, exposing its weak point briefly before it attacks. Try to punch it before it charges at you. If you miss your opportunity, defend until it is stationary again. Once it’s dead, scoop up the egg into your now Empty Bottle. One down, three to go. Climb out of the tank and exit the room.
As you exit, descend the steps to the left and then hop off onto the platform below. This is a safe zone from all the guards. Follow this platform to the right until you see a Hookshot pillar on the platform above you. Hookshot to it, and then there are two doorways here that you can enter. The right one leads out, so head into the one on the left.
This will put you into a room that is guarded by a single pirate with lots of barrels to use as cover. Sneak around the pirate by sticking to the outsides of the room, and then enter the door on the far side when you can. Inside the next room is a pirate that will attack you, ready to defend the egg at all costs. It pays to be defensive in the fights with the pirates. Attack when you have the opportunity and the upper hand. If you’ve upgraded your sword, the pirates aren’t that tough.
Head into the next room, and there’s a Zora Egg in a tank, guarded by another Shell Blade. It’s the same deal. Enter as Zora Link and attack when it exposes its inside. Take the egg and place it in a bottle, and then exit the room.

You’ll drop off onto the platform you were on just before entering this egg’s room. Head left until you reach the other wall, then drop down to where the guards are roaming. Hug this wall until you reach the doorway where you originally entered this area, and then Hookshot onto the pillar on the next raised platform. When you have done so, turn left, and you can Hookshot a second pillar and enter a new doorway.
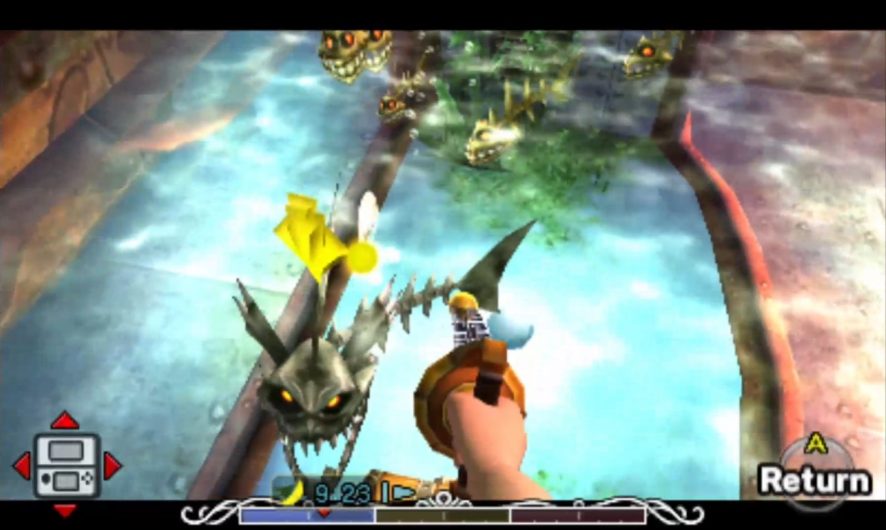
This room is guarded by a single pirate. Wait for her to travel to the right side of the room, and then dash far to the left, going around the corner and up to another doorway. Inside is, yes, another pirate for you to destroy. And just beyond her is, yes, another Zora Egg. This one is guarded by several Desbreko, however. Climb to the top of the tank, and then use his Hookshot to fire into the swarm of skeleton fish. If you manage to kill the big one in the tank, the rest of them will die automatically. Go in and claim your egg, and then leave the room.
The last egg is found in a similar location to the first. Return to the entrance to this area, and then Hookshot up the two points that you just used to get the most recent egg. However, now instead of just entering the doorway, turn around again and Hookshot up one more platform. There will be one pirate guard pacing this bridge up here; take her out with an arrow and then move past her into the doorway.

This room has three guards within it, circling a treasure chest. The treasure chest, which contains 100 rupees, is extremely hard to get while also not getting kicked out of the fortress, but getting it is still fairly easy. However, getting the egg is easier. Shoot a pirate as she is directly in front of her, either with the Hookshot or an arrow, and then jump down off the ledge and run for the raised platform along the right wall before going through the door. There is another pirate, another Zora Egg, and another Shell Blade, in sequence. Rinse and repeat.
Now you just have to get out of here. The easy way is to get caught by the guards. Shockingly, they won’t search you before they toss you out, so you can keep all four eggs for yourself. This will just throw you out of the inner courtyard. You can get caught out here to toss you out the rest of the way.
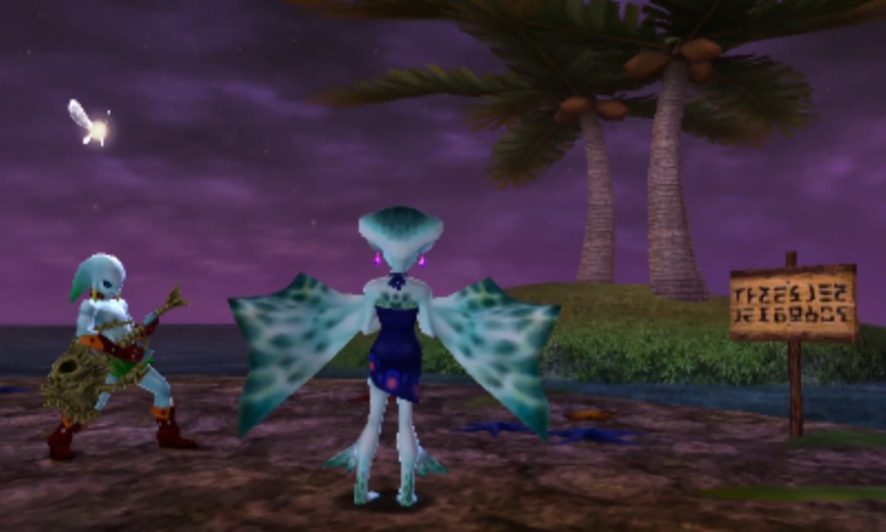
Restoring Lulu’s Voice
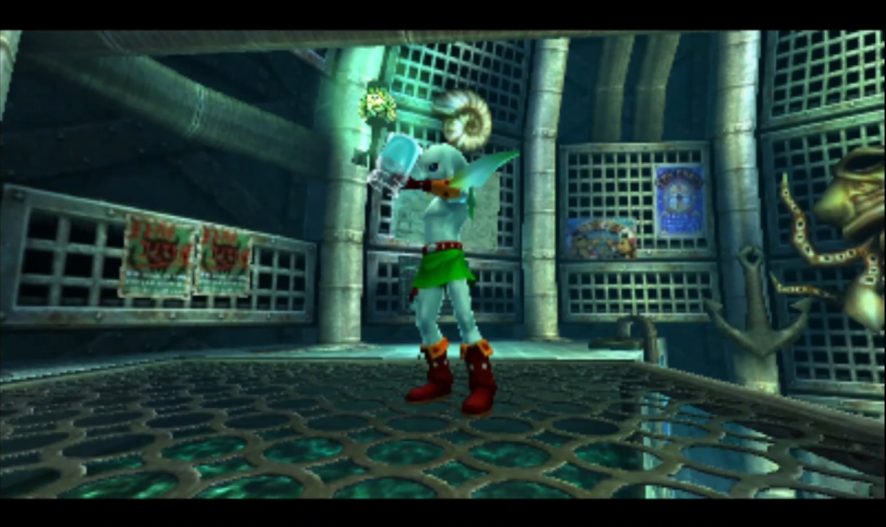
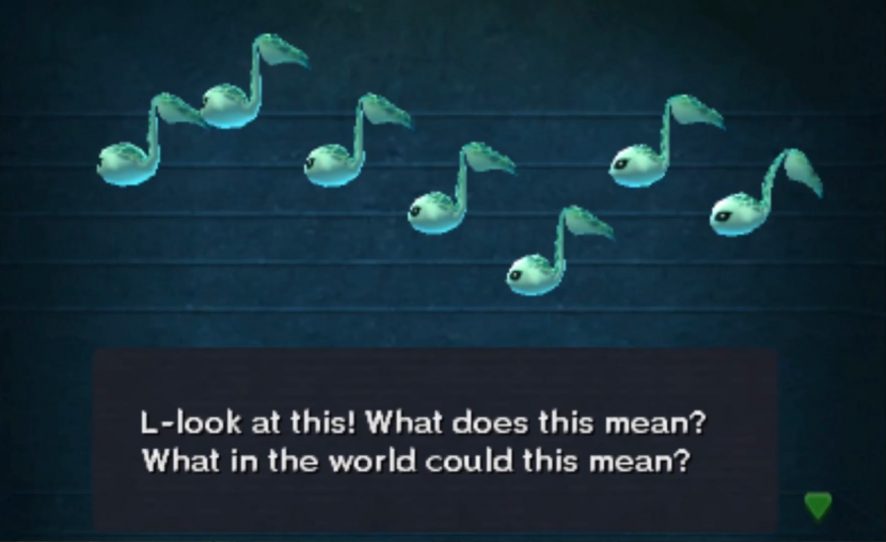
Head back to the Marine Research Lab, and dump all four of your Zora Eggs into the pool therein when you get there. Jump off from the top of the tank and then approach the glass of the tank to watch the Zora Eggs hatch. The tadpole-like creatures will immediately form a rather interesting formation, and this will look oddly like a music staff and music notes. Huzzah, you’ve got an Ocarina melody! Put on the Zora Mask and use your Ocarina to bring out your fish skeleton guitar so that you can play along. The Zoras will dig the groove that you’ve got going, and this will teach you the New Wave Bossa Nova. According to the researcher, it’s the Zora melody that invigorates singing voices. This might sound vaguely familiar to you as Lulu, the mother of the tadpoles, has lost her voice. Looks like it’s time to pay her a call.

Leave the Marine Research Lab and then head towards the southern part of the shore. Enter through the rocky archway to head to South Great Bay. Immediately head out into the water, and swim underwater into roughly the central part of the area. You’ll see a massive rock formation underneath, and you can swim through a hole within it and then into another rocky structure that looks like a shark’s mouth.
This will dump you into Zora Hall, the home of the Zoras. Once you get into the main rehearsal hallway, head right, and when you get to the first major corridor leading to the right, go that way and then hang an immediate left. This will bring you to the backside and above water portion of Zora Hall, and it’s there where you will find Lulu. As Zora Link, play the New Wave Bossa Nova for her. This will suddenly awaken the singer’s voice after sadly pining for lost Zora Eggs.
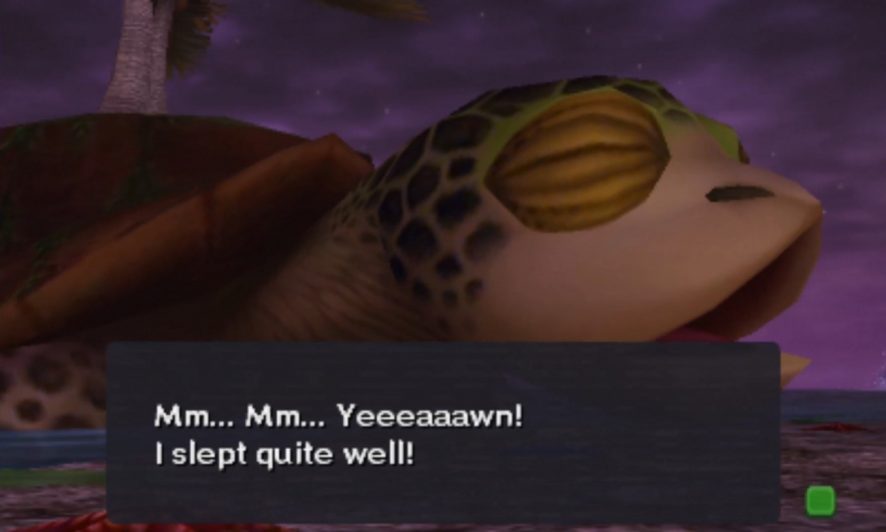
Your guitar and her singing will awaken a rather large sea turtle, and it is him that will carry you to the Great Bay Temple.
However, as always, there is the matter of wanting to have a full three-day cycle prepared for us. And given that this is the water temple of the game, you’d do good to ensure that you have the time. Conveniently, there’s an Owl Statue right nearby, so go ahead and strike it, and then return to Clock Town to begin your three-day cycle anew.