10. Ancient Castle of Ikana
Table of Contents
The Gibdos’ Shopping List
With the Music Box House playing its dulcet tones and the Gibdo Mask acquired, it’s time to take up Sharp’s offer to take us to the Ikana King. However, there’s just one thing stopping you. Actually, there’s more than one thing. There is a secret passageway that goes from outside Ikana Castle to inside its stony fortress. However, several Gibdo stand in your way. And worse yet, you can’t just fight them. You have to give them what they deeply desire before they’ll clear the way. And to do that, you have to get the items they need from all over the world. So it’s time to go shopping so we can get to Ikana.
Pull out the Song of Soaring and make for Clock Town. Your first stop should be the Bomb Shop. Head in, and then talk to the Goron on the right side of the room, making sure to keep the Goron Mask equipped when you do so. You can buy a Powder Keg from him for 50 rupees, so go ahead and do that.
Next up is the Trading Post over in West Clock Town, right between the Curiosity Shop and the Bomb Shop. However, you’re not really there to actually make any real purchase. When you enter, in the little river running through the shop is a swimming fish. Jump into the creek and grab the fish, shoving it into a Bottle. While you’re here, make sure you have at least 11 bombs, 10 Deku Nuts, and 4 arrows. If you don’t have bombs, you can either choose to buy some while you’re here (for only 30 rupees) or you can try to find some elsewhere by killing enemies or destroying grass bushes. Similarly, you can get 10 Deku Nuts for 30 rupees while you’re here, or you can head into the southern part of Termina Field and farm Deku Babas until you get 10, your choice. The same goes for the arrows as well.
Leave the shop, and also make sure you have 50 rupees before moving onward. You have one more actual business expense still to go.
Speaking of southern Termina Field, that’s your next stop. Head through the southern gate in South Clock Town, and keep on heading south until you get to the hollow wooden log halfway between Clock Town and the Southern Swamp. If you stand in the dead center of the hollow log and drop one bomb at your feet (and of course, then get out of the blast radius), a hole will open up in the ground. Drop down the hole, and you’ll find two cows down there. Walk up to one of them and play Epona’s Song. The cow will be so moved by your beautiful music that it will give you a bottle of milk. Once you have the milk, head back top side.
For the last item on your shopping list, pull out the Ocarina and play the Song of Storms one more time, this time heading for the Southern Swamp. Immediately wander over to the boat tourism off just inside the swamp, put on the Deku Mask, and talk to the Business Scrub in the Deku Flower there. (If for some reason you’ve already sold him the Deed to Clock Town, he’ll be in Clock Town instead.) As Deku Link, he will sell you Magic Beans for 10 rupees a piece. Buy five of them.
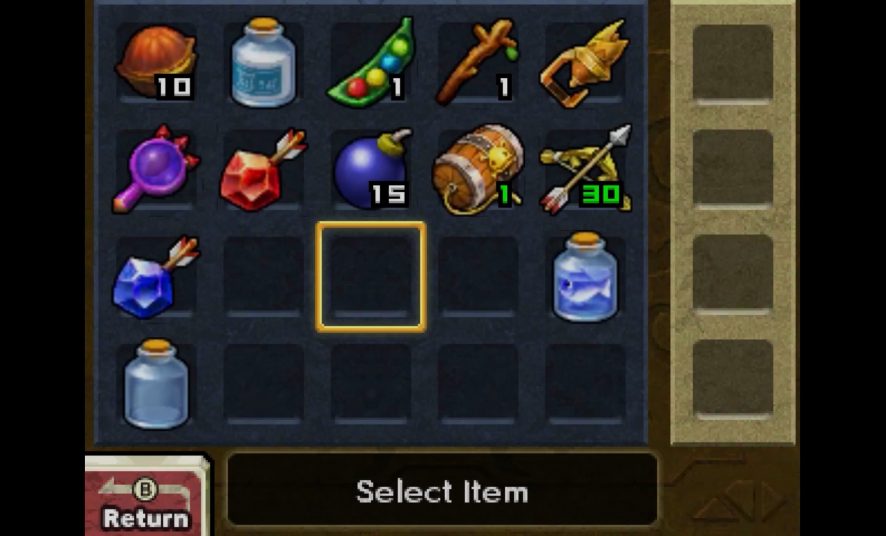
So to summarize, by now you should have at least 10 Deku Nuts (only 1 required on 3DS), 10 bombs, a fish, a bottle of milk, 5 Magic Beans (only 1 required on 3DS), and one Powder Keg. Once you’ve got all those, head back to Ikana via the Song of Soaring.

Beneath the Well
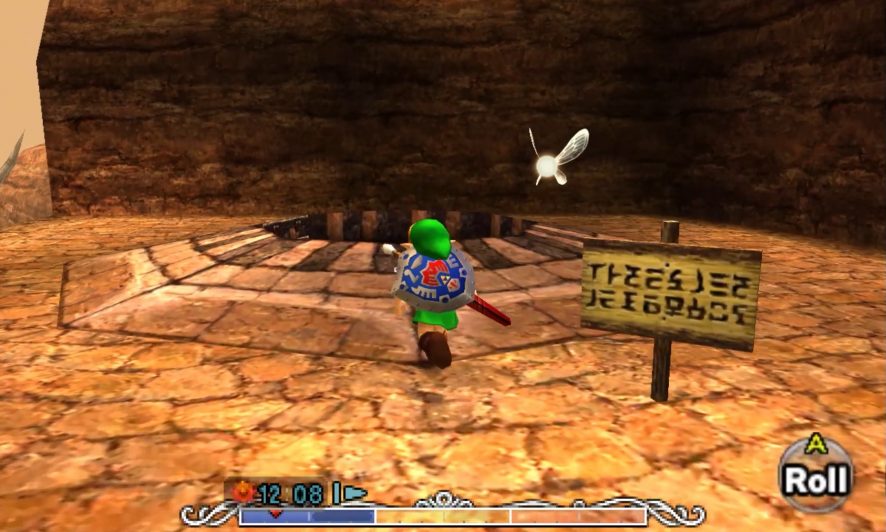
Back in Ikana, follow the path up Ikana Valley until you get roughly where Tingle is. Continue following the path as if you’re heading to Sharp’s cave; however, before you get there, you should see a ramp leading upward on your left. Follow that ramp upward. There will be a large tree there as well as a small mound surrounding a large well. Equip your Gibdo Mask, and then descend down into the pit. Once you get to the bottom (either by climbing down or falling), head into the room at the bottom.
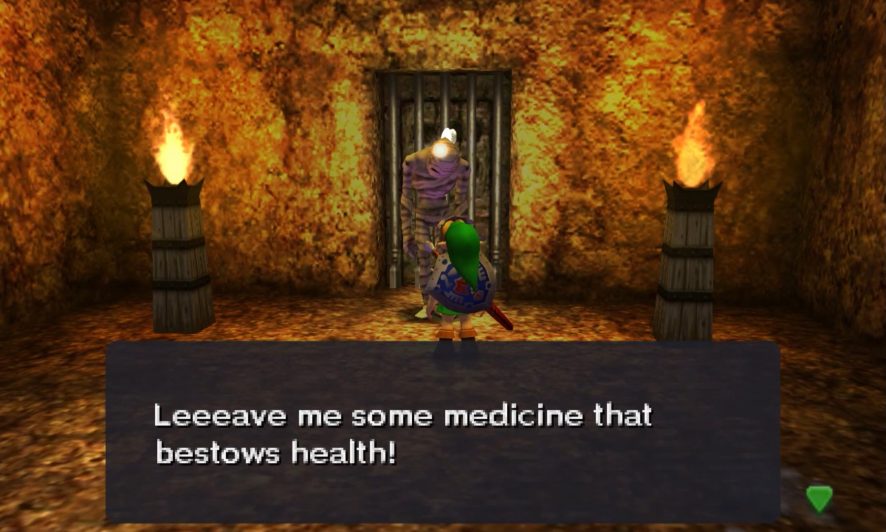
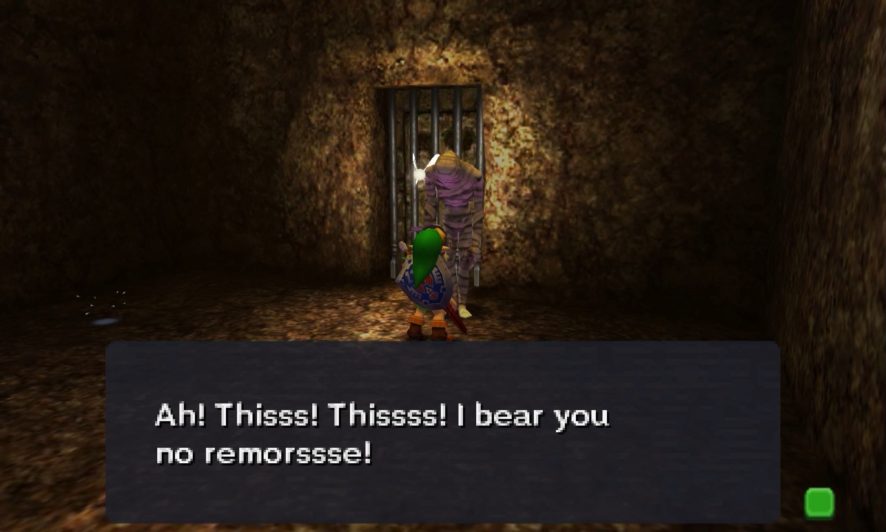
The moment you enter this mini-dungeon, turn right. You will see a sealed door with a Gibdo standing in front of it. You can talk to the Gibdo since you have the Gibdo Mask on. Talk to him, and he will ask you to give him those Magic Beans you just bought. Select it as one of your items and hand it over, and he’ll let you pass.
When you enter the next room, you’ll encounter an Ice Keese; dispatch him and then keep on moving to the east. There will also be a Wallmaster that will attempt to drop down on you from the ceiling, so be careful if you see a shadow underneath Link alongside a creepy noise. There are two Gibdo in this room. You first want to talk to the one on the eastern door, who will ask for your Deku Nuts. Hand them over and head through the door.
The next room has some Fire Keese in them, so kill them. There’s also a magical eye that periodically shoots fire; you don’t need to worry about whatever’s on the other side, so just leave it alone for now. There are two Gibdos in this room, one on the eastern wall and one around the corner on the northern wall. Talk to the northern Gibdo, and he’ll ask you for 10 bombs. Hand them over, and head through the next room.
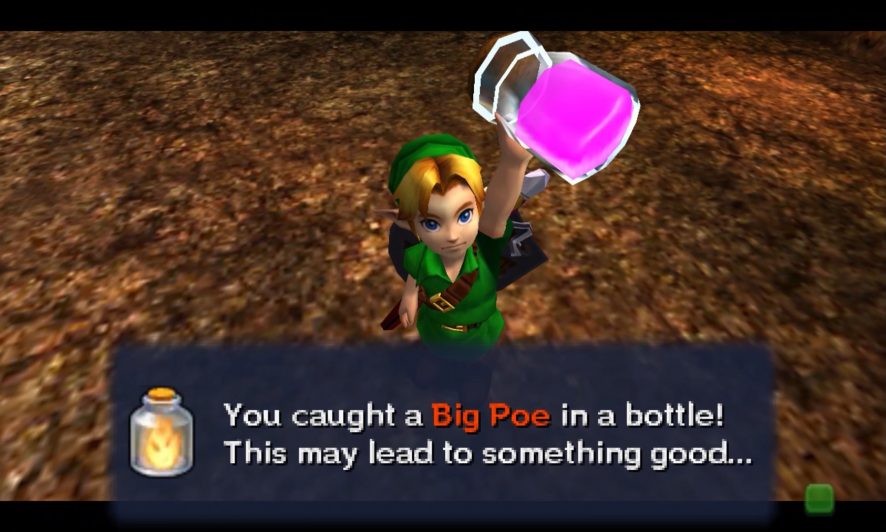
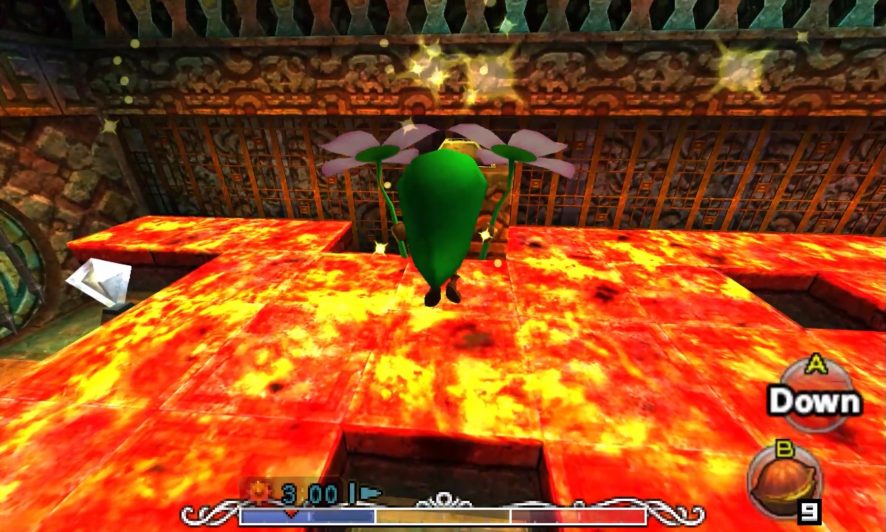
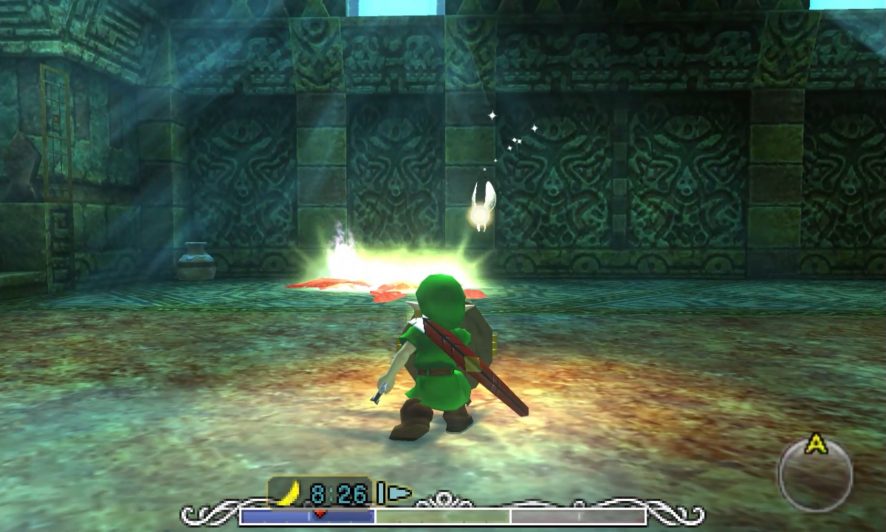
This room is a dead-end that contains 4 blade traps that move back and forth in straight lines. Move into the center of the room, and that’s when a Big Poe will appear. Target it as soon as you can, and then move out of the way as it starts to spin as it will try to crash into you. Once it’s done spinning, fire an arrow into it; if you’re shy on arrows, the clay pots in the room will have some for you. When the Big Poe disappears, be prepared to turn the camera around as it will spawn behind the camera; reorient the camera so that you can retarget it, and then dodge and fire an arrow. Once you hit the Big Poe five times, it will die and leave its spirit behind. Scoop that up into a bottle, and then leave the room.
Retrace your steps until you get back into the room with the Ice Keese, where you previously gave the Gibdo Deku Nuts. Go talk to the other Gibdo on the north wall and give him the fish within your bottle. He will allow you to proceed forward.
The next room will have a room full of Deku Babas to one side; they’re more or less no concern to you. A row of clay pots will also line the right-hand side of the room, but these are filled with Black Boes, so you can leave them as well. The only thing at this point that is of importance is the Gibdo at the far northern end. Give him the Big Poe that you captured a few rooms earlier, and he will let you proceed.
Be wary in the next room as there is a Wallmaster that’s willing to scoop you back up; make sure to defeat it before proceeding into the more treacherous part of the room. Ahead are four spiked logs that are sliding back and forth, both horizontally and vertically. The four logs are actually in one set of three, followed by a single log later. The group of three is the trickiest, but make a break for it through them when the vertically moving log moves to the ceiling. Once through the first set of three, pause momentarily to let the fourth log cycle from ceiling to floor and back to the ceiling before attempting to pass it. The Wallmaster might show up again around this point, so deal with it as you will. Ultimately, you’ll want to talk to the Gibdo on the right-hand wall after you’ve passed all of these spiked logs. He will ask for milk, so hand that over to him. He’ll fall away and let you through into the final area.
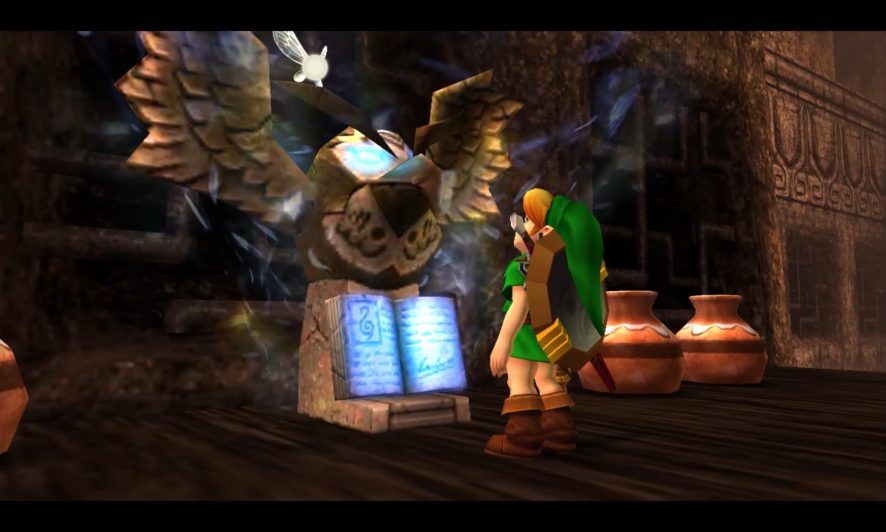
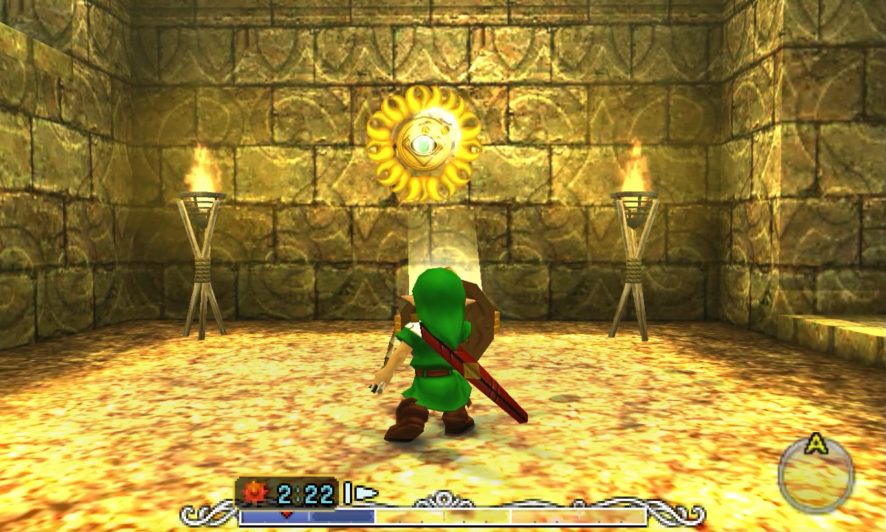
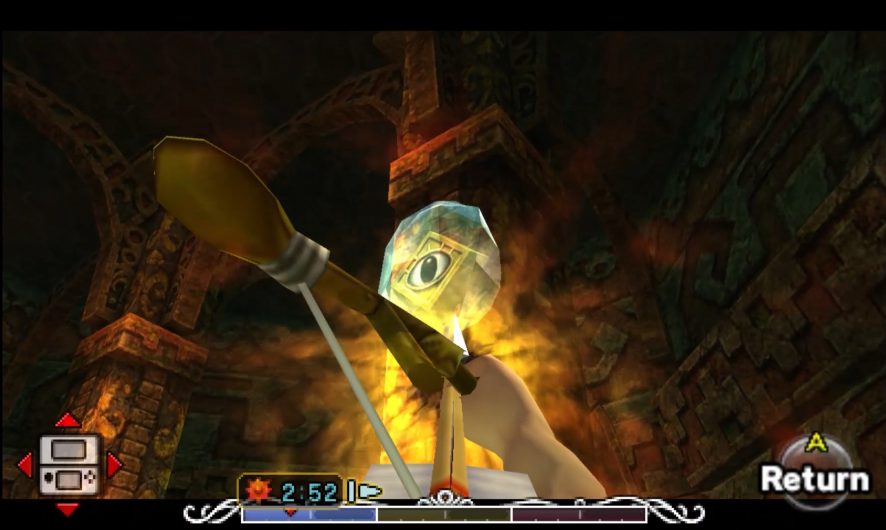
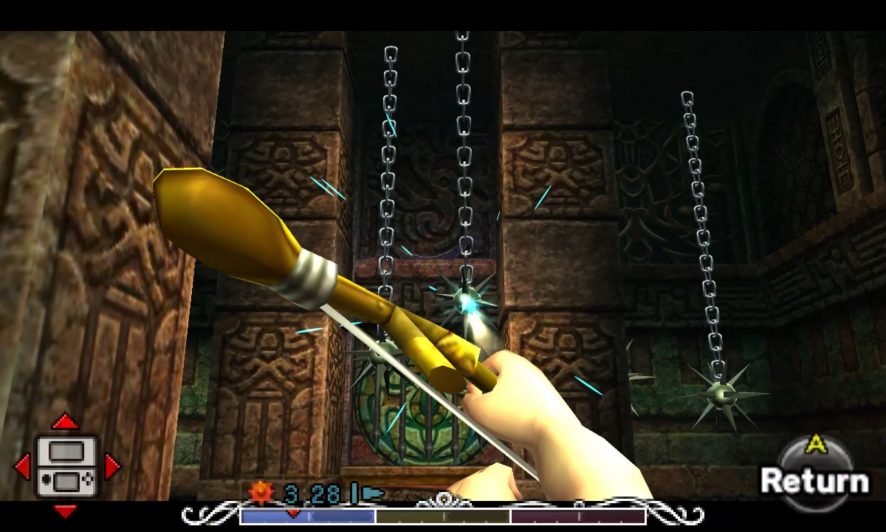
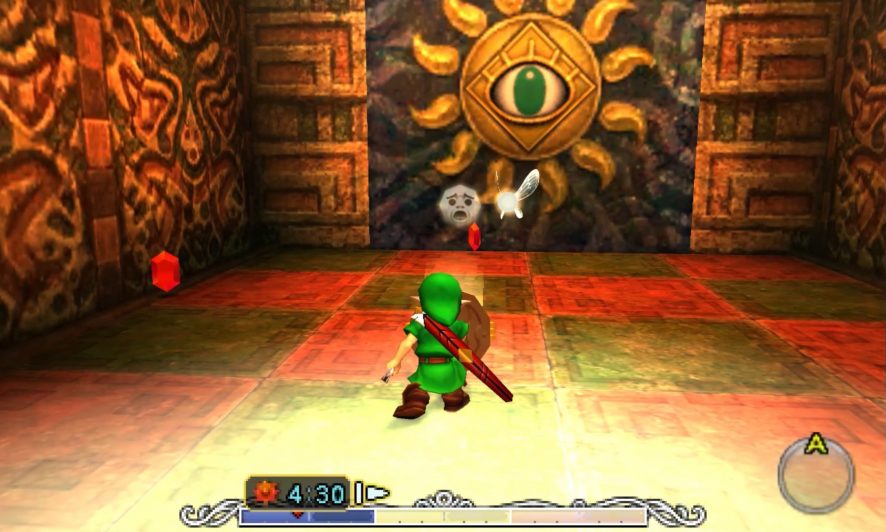
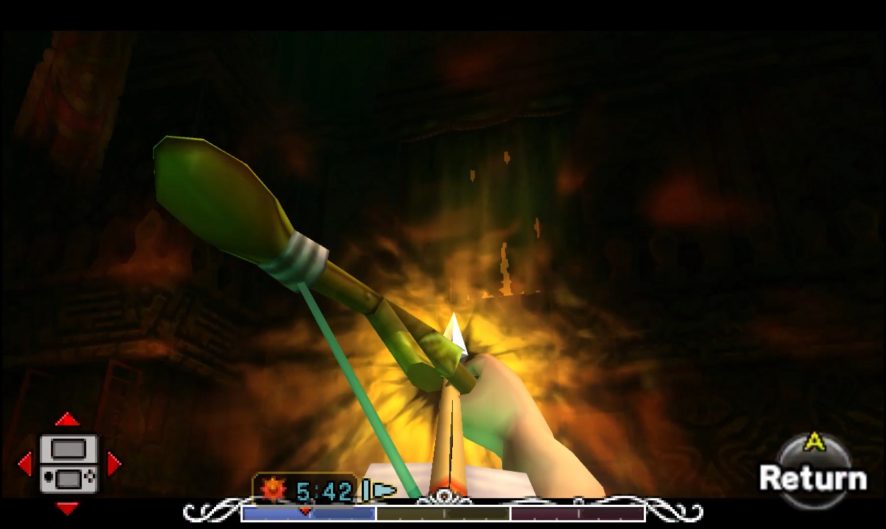
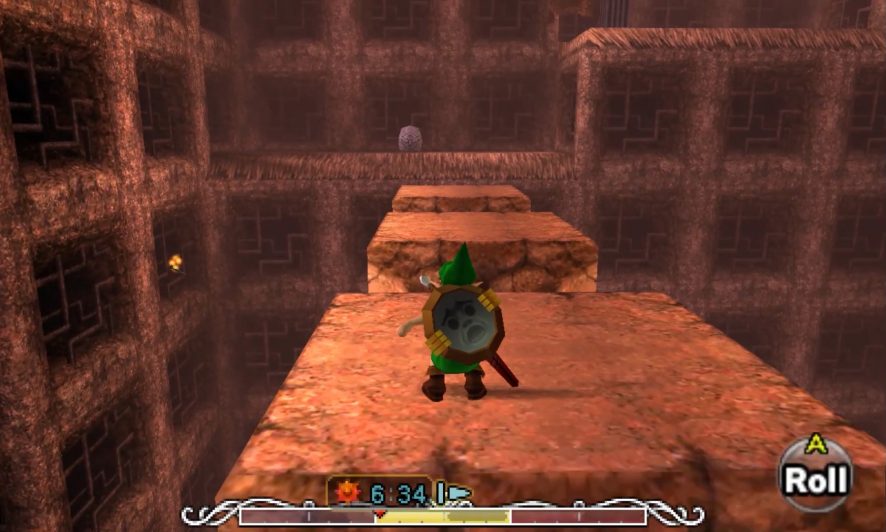
The last room contains four unlit torches. There’s no light source, so you’ll have to use Fire Arrows to do your bidding. Shoot a Fire Arrow into all four of the torches, and when you do that a chest will appear. Congratulations, you now have the Mirror Shield, which is the thematic weapon for the mini-dungeon coming up. Step back into the light and hold the shield button. Aim the light upward onto the sun face on the block directly opposite the chest. Also, shine the light using the Mirror Shield onto the depiction of the sun on the wall to your right. This will cause the block to disappear as well as create a ladder leading up to the tunnel the block opened up. Climb up and head on through.

Ancient Castle of Ikana: North Wing
You’ve made it within the walls of the Ancient Castle of Ikana. And now your goal is to meet with the Ikana King. Climb up out of the well to get into the courtyard. Walk around to the front of the inner palace and walk on through the door.
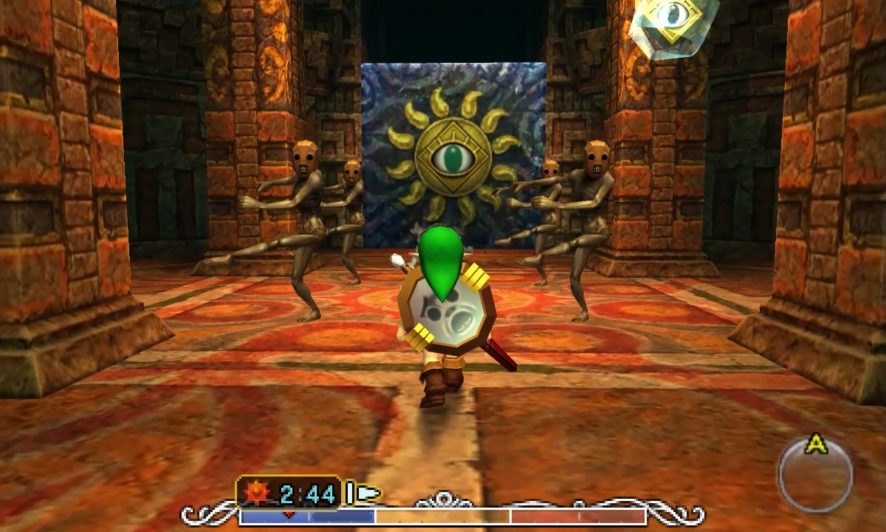
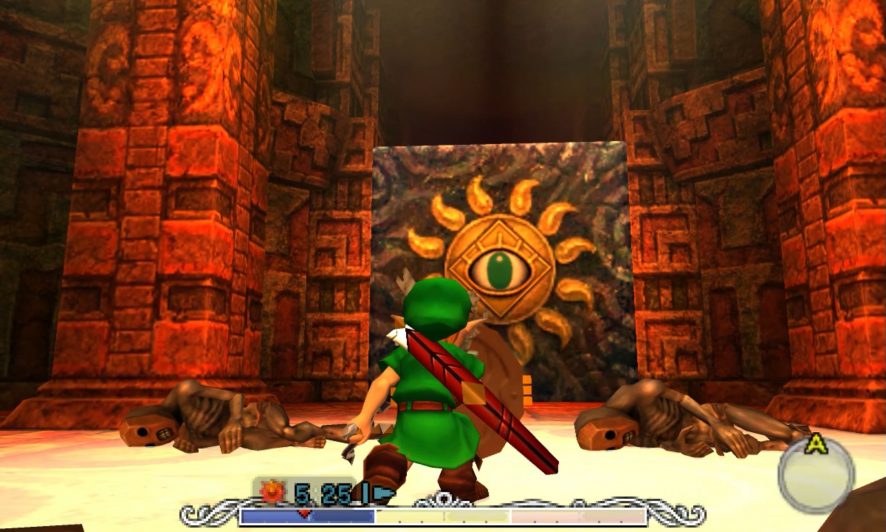
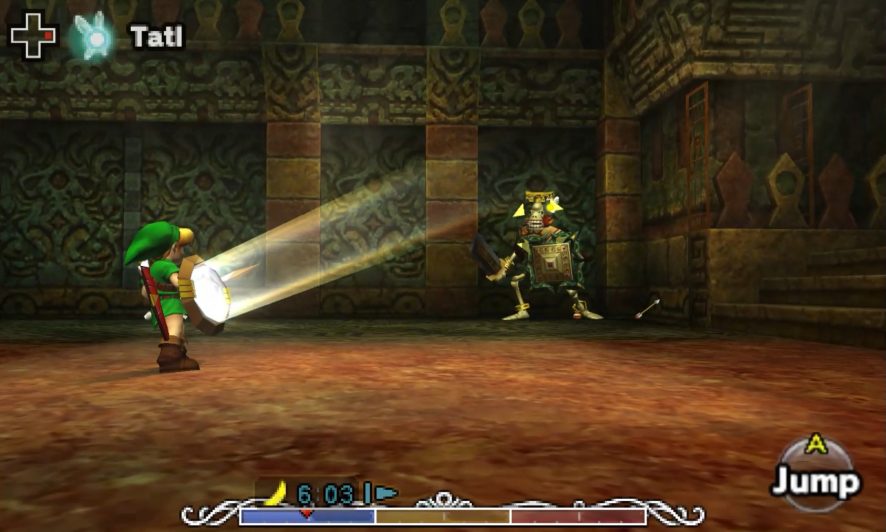
When you get in, you will discover that there are ReDeads within. These function effectively like Gibdos in that they will attack in much the same way and also react similarly to the Gibdo Mask. For that reason, it’s preferable that you keep the Gibdo Mask on for most of this dungeon. Plus, it’s just entertaining. You can kill the ReDeads easily with the mask, and they drop 20 rupees a pop. But the real task should be to send Fire Arrows through the frozen eye sculptures found on both the left-hand and right-hand pillars; note that the iced-over eye on the left-hand side is on the opposite side of the pillar from the entrance, so you will have to go to the other end of the room and turn around to find it. This will unseal the doors on both the north and south sides of the entrance chamber. Head north.
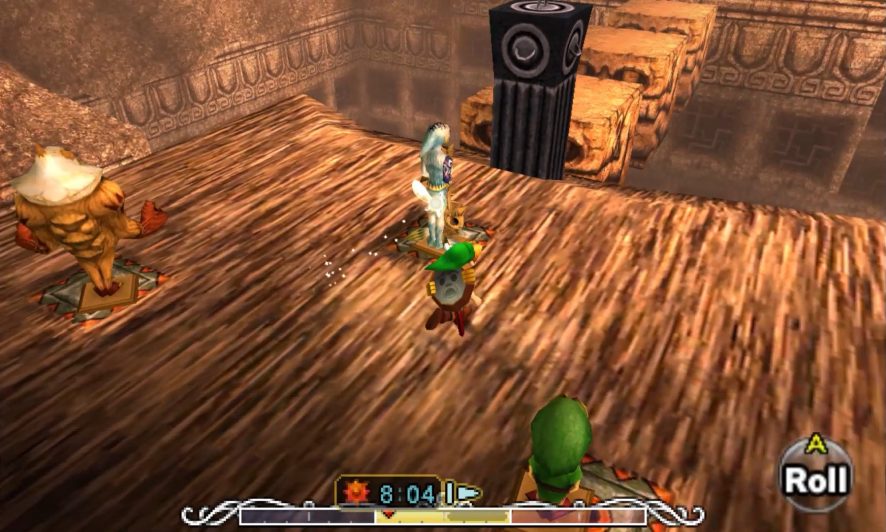
The next room has two Crystal Switches, and hitting either Crystal Switch will activate a false ceiling that will raise up for a few moments before crashing back down to the floor. If you activate the switch, you will notice that there are Deku Flowers underneath the lowered ceiling. You won’t have much time to get where you need to go, so you need to move with confidence and precision. To start, on your side of the room, and after the ceiling raises, dash as fast as you can to the other side of the room; stand directly in front of the sealed exit door. The second dash is much, much tighter than the first one. Put on the Deku Mask, and then use a spin attack to hit the Crystal Switch by the exit to raise the false ceiling. Quick spin and dash to the second Deku Flower from the exit; quickly dive into it, aim toward the platform with the Switch off to the left, and fly over. If you aren’t able to get the correct position to dive into the Deku Flower immediately, abort the run and head back to the exit to try again, or otherwise you’ll lose a heart to the ceiling. Once standing on the pillar, remove the Deku Mask to activate the Switch, which will unseal the door. Jump off toward the exit, and then enter the next chamber.
Now you have a pit, several Spikes, and a few very inconveniently placed Skulltulas. First thing’s first; use the Hookshot or an arrow to push the two spikes lining the center corridor into one another to clear them out. Once you have a flight path along the center, don the Deku Mask and dive into the Deku Flower. Fly to the other end of the room, and then remove the Deku Mask. Edge towards the north side of the platform, and then look northwest. You’ll see that you have a good trajectory to hit the soft stomach of the Skulltula nearest you. Aim your Hookshot at that underbelly to kill it. Then don the Deku Mask again and head back to the room’s entrance via the Deku Flower.
Upon landing, look to the right, and there you’ll see, in the corner, a small platform with a switch on it. Dive into the Deku Flower, fly over, and then remove the Deku Mask once you’re on the switch to unseal the door. Look up, and now you have a prime shot at the second Skulltula on this side of the room. Kill it, and then bring out the Lens of Truth to discover one hidden platform. Use the hidden platform to jump to the real platform where the Skulltula you just killed was, and then use the subsequent platforms to make it to the exit.
The final room on the first floor is at least much simpler than the ones before it. Two Blue Bubbles guard your path. Assume the defensive until they hit your shield; this will cause them to lose their blue flame and drop to the ground. Strike them with the sword to kill them. Once dispatched, head up the stairwell and through the next doorway.
This will take you outside, above the castle courtyard that allowed you entrance to the palace. Climb up the stone steps to the very edge of the palace’s roof, and you will have a view of the courtyard below as well as many Deku Flowers and a Switch above it. There’s a Piece of Heart available for the not-so faint-of-heart via the use of the Crystal Switch, but the first order of business is to hit the switch in the center of the castle. Climb out onto the front of the palace, put on the Deku Mask, and dive into the Flower. Use it to fly over to the Switch. Doing so will move a block to expose a hole in the surface of the castle. With that done, it’s time to go back in. Drop down, put on the Gibdo Mask, enter the palace by the front once again, and this time head south.
Ancient Castle of Ikana: South Wing
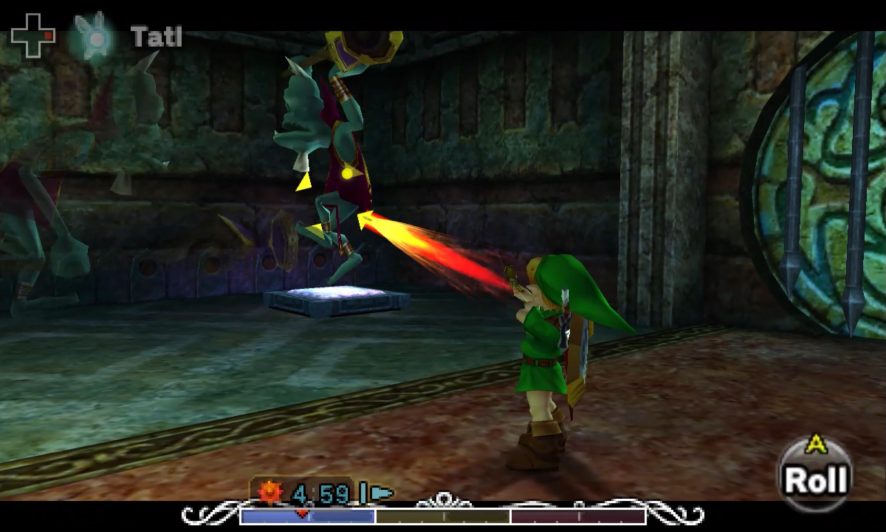
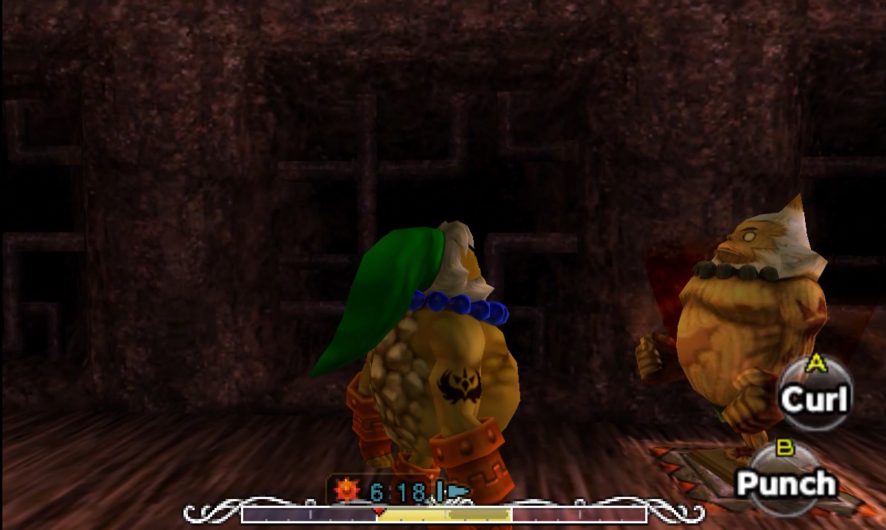
The next room has a Floormaster. They will jump up into the air and hover right before rushing at you in a straight line. Floormasters are quite vulnerable to the sword, but they’re even more vulnerable to light. If for some reason a combination of the light shining down and your Mirror Shield don’t accidentally kill it, block the first hit to drop it to the floor, and then strike with your sword. This will break it into three smaller Floormasters, so clean up the mess the same way. Once done, use your Mirror Shield to reflect the light onto the sun face on the block in the room. It will disappear, leaving four ReDeads behind it. Keep the Gibdo Mask on and either kill or bypass these guys to go to the next room.
It’s time for another mini-boss fight, and this one is pretty familiar. Wizzrobe is back, and you defeat him the same way. Seclude yourself into one corner, and get your bow out. Once Wizzrobe appears and starts dancing, fire an arrow at him. Eventually, he’ll create clones of himself but always look for the one dancing because that’s the one you need to hit. Rinse and repeat, and you’re done. Head out the new exit, making sure to keep the Gibdo Mask equipped.
Because you’re going to be walking into the midst of a ReDead dance party. Either kill them or pass them and head on upstairs and through the next doorway.
You’ll be outside again, but this time on the inside of the massive fence that you saw from the other side. Head around towards the front of the palace, throw on the Goron Mask, and drop a Powder Keg right on the rather cracked, lit façade. It will blow up, and light will suddenly be shining down into the entrance room. For all that is holy, put on the Gibdo Mask first, and only then drop down through the hole to see what damage you’ve created.
Once you land, you will be surrounded by four ReDeads. But you did put on the Gibdo Mask, right? So you don’t have to worry about anything. You’ll be standing in the middle of a beam of light, so use the Mirror Shield to finally light up the sun face on the block in front of you to remove it. Then proceed through the next two doors into the throne room to the east.
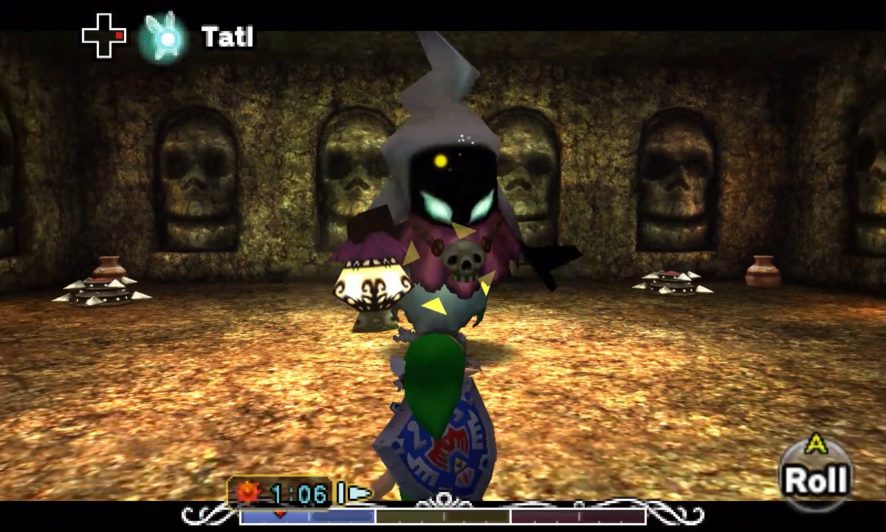
Boss: Igos du Ikana
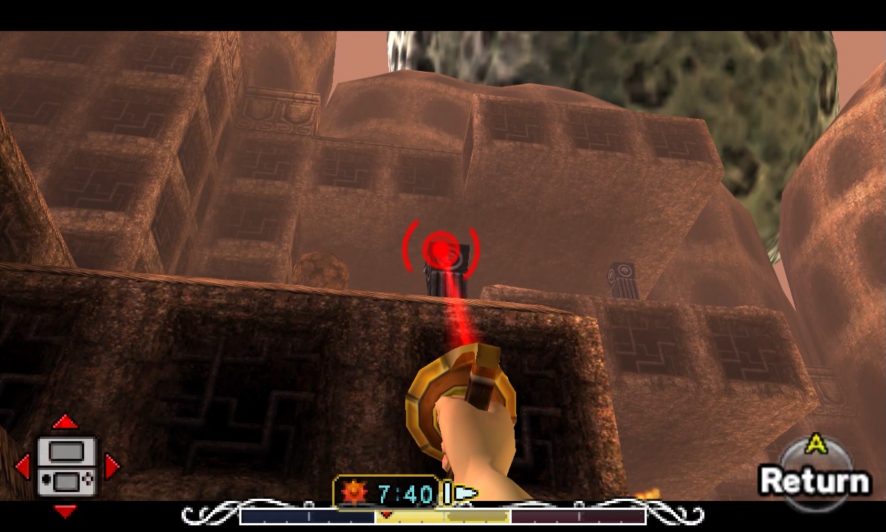
And now it’s time for the boss fight of this mini-dungeon. The first thing that the Ikana King does is lower the curtains to the room, enshrouding it in darkness. And then he sends his two Stalfos goons after you. But you can’t defeat these guys without light, so get out your Fire Arrows and shoot the two curtains up on the right-hand wall. Once you have one of the curtains open, shining a patch of light down, standing within that beam of sunshine gives you immunity to their attacks. They won’t approach the light, leaving you the capacity to work as you see fit.
Once the room is lit, their moment of weakness exists just before and just after they attack, with the bigger window being afterward. Either anticipate their moves and smack them with your sword or wait defensively with your shield until they strike and then go in, the choice is yours. As a precautionary note, these two guys will attack in tandem, so targeting one won’t necessarily put the other one on autopilot. Once one (or both) of the Stalfos knights are downed, retreat to one of the two beams of light in the room and shine your Mirror Shield at the bodies to decompose them. If you don’t manage to shine your shield at them, these guys will come back to life after a few moments, so make that a priority, especially since you’re practically untouchable within the light.

After you kill the king’s two knights, he’ll decide that he has to get his own work done. King Ikana is similar to his two guards in that his moments of weakness are just before and just after his sword strikes, but he’s got a few more tricks up his sleeve. He likes to leap over you and attack from behind if you attack him just after the window of opportunity passes. He will also breathe out this noxious purple gas that will hurt you. Midway into the fight, he will detach his body from his head and fly about the throne room as a ghostly body uses his shield and sword against you. If he manages to do this, you’ll want to stay away from both body and head as they will work in tandem to destroy you, and there’s nothing you can do to prevent it; you might even consider donning the Goron Mask and rolling around the room to be quick enough to dodge them both.
As you fight the Ikana King, try to stand as near to the beams of light shining in as possible as you won’t be able to reflect the light entirely across the room. If you manage to drop him near the light, stand in it and reflect the light to him to utterly destroy him. Once you do, the king Igos du Ikana will teach you the Ocarina Song necessary to make your way into Stone Tower Temple, the Elegy of Emptiness. Playing the song will leave behind a ghost image of yourself that will stand there until you play it again, and you can leave behind a twin image once for each of Link’s forms. With this, you can begin to ascend Stone Tower.
With the Elegy of Emptiness, leave the King’s chamber until you get to the room with the dancing ReDeads, and then play the Song of Soaring to warp back to Ikana Valley to leave Ikana Castle.
Ascending Stone Tower
Back in Ikana Canyon, head back up the ramps as if you’re going to Sharp’s grave, but this time pass it and take the next exit from the area on the left, which should lead you through a sculpture of a giant mouth. This will bring you into a vertical chasm with a bottomless pit below you.
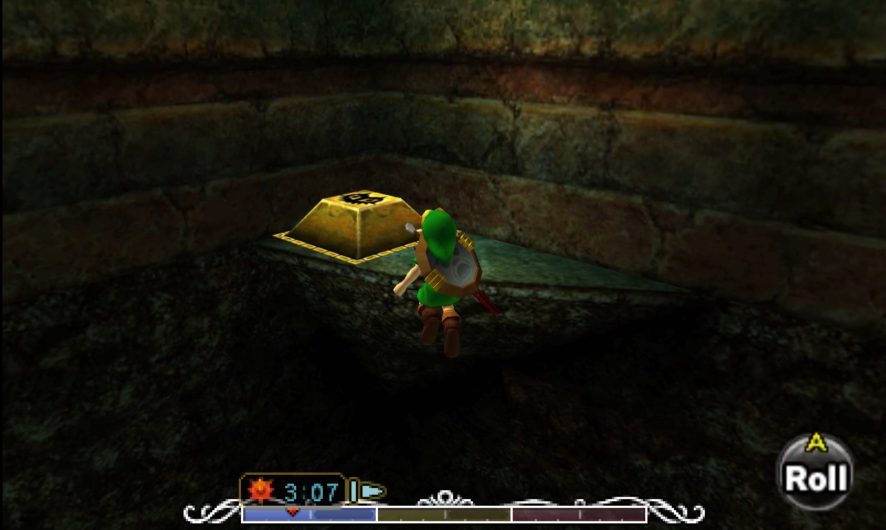
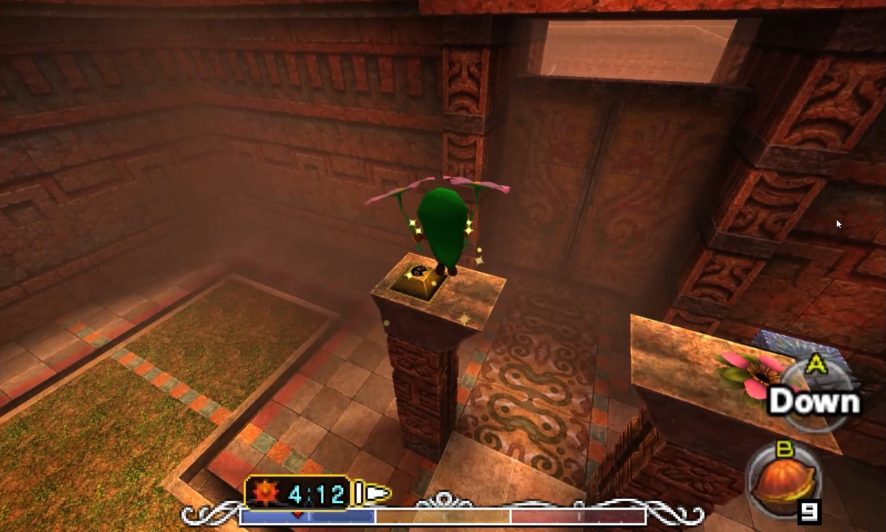
Start by hopping over the three hovering platforms ahead of you to get to the north side of the area. You will see a switch here; it’s not useful yet, but it will be soon. When you get to the other side, turn to the left and use the Hookshot to ascend to an upper platform. Be careful as you do so as there’s a Beamos lying in wait for you; it will shoot lasers from its eyes that progressively inch towards you. If you want to kill it, chuck a bomb at its eye; else, if you want to ignore it, just move fast. Quickly step onto the switch, which will cause one of the blocks to rise up. Play the Elegy of Emptiness to create a statue that will hold the switch down.
Turn around and look up; there should be another Hookshot point above you. Hookshot up to it, and then put on one of the transforming masks. Stand on the switch to raise a second of the three blocks, and then play the Elegy of Emptiness once more to hold it down. Once done, head back down to the switch that you left alone. Put on a different transforming mask. Step on this switch to cause the third block to rise up, and then play the Elegy of Emptiness to hold it down with Link’s statue.

With that done, return to the switch where you left the Zora Link statue by following your steps going up. If you turn south when you arrive at this platform, all three of the blocks hovering in space should now be at your level. Jump across the three blocks to head to the south side. Beware as a couple of Fire Keese might follow you across. Once you reach the other side, you will see three switches. These three switches do nothing on their own but instead mimic the effect of the three switches that currently have statues on them. You don’t actually need these depressed unless for some reason you’d like to go back down, but that’s what the Song of Soaring is for, so leave these be.
Instead, look up to the right, and you should see a Hookshot point that leads to a switch. Again, this switch won’t be helpful right this moment, so leave it alone for the moment. Instead, there should be a second Hookshot point up to the left. Hookshot up to hit. There will be a Beamos up there guarding the switch; either bomb it or avoid it. When you get to the switch, stand on it as Link, and play the Elegy of Emptiness to move Link’s statue to this point. While one of the original three blocks will move back down to its original position, a different block will move into a rather conducive position for you.
Move down to the switch that you just passed up. Put on the Zora Mask, step on the switch, and play the Elegy of Emptiness yet again. Again, one of the original set of blocks will go down, but another of the second set will be in position. With that, return to where Link’s statue is using the Hookshot, and then look to the right to find a third Hookshot point. Again, Hookshot up to it, and you’ll find a switch there. Switch to Goron Link, play the Elegy of Emptiness on that switch, and now you’ll have the second set of blocks in position at your level. And with that, it’s time to cross the three blocks to the northern side of the chasm. Again, on this side, you will find three switches, and they naturally mimic the functionality of the currently depressed switches, so they’re useless for the time being.
Turning right from the three switches, you’ll find your next Hookshot point. Ascend to it, being careful of the fact that rolling boulders will roll on either side of it, so aim for the top of the point to grab onto the ledge if you can. Climb up onto the Hookshot point and then turn right. You can hop down safely in this direction as the boulders will be rolling along either side of the Hookshot pillar. Carefully walk to the edge of the platform and then use the Hookshot to aim upwards, directly in front of you. There should be another Hookshot point that you can now hit. Go up yet again, aiming again for the top of the Hookshot pillar so you can grab it and climb up. Aim once more, this time upwards and slightly to the right. A third Hookshot pillar will beckon. Climb up yet again.
This time you will finally be greeted with a trio of switches and an Owl Statue. Congratulations! You’ve made it to the top of Stone Tower, and now you’re almost ready to enter the fourth and final dungeon. Hit the Owl Statue with Link’s sword to activate it, and definitely consider this a good time to head back to Clock Town and play the Song of Time. You might also consider bringing at least one Green (or Blue) Potion into this temple, possibly two if you don’t have the extended Magic Meter from Snowhead’s Stray Fairies. Once you’re feeling brave enough to enter Stone Tower Temple, stand with your back to the Owl Statue, looking forward at the switches and the long gap to the temple, and proceed as follows:
First, step on the right switch as Link and play the Elegy of Emptiness. Second, step on the left switch as Zora Link and play the Elegy of Emptiness. Lastly, step on the center switch as Goron Link and play the Elegy of Emptiness. This should align the final set of three blocks in such a way to—with your Goron Mask off, mind—cross over to the gap to the north side and enter the temple.