


1. Mysterious Forest
Table of Contents
Retrieve your Shield and Sword

You wake up in an unfamiliar house and immediately see a young woman. Is it Princess Zelda? Unfortunately, no, but she looks just like her. She introduces herself as Marin and explains that you are on Koholint Island.
Jump out of bed and speak to the man nearby, Tarin, to receive the Shield. He picked it up after Marin found you on the beach. The Shield will help you to defend yourself, but you need to find your Sword before you can really begin your adventure.
Leave the house and follow the path west and then south. There are no enemies while you are in Mabe Village, but you will begin to see Octoroks after you pass the children playing catch.
As you leave Mabe Village, you’ll see a few cliffs that you can jump down. Jump down the cliffs and continue south to reach the beach, Toronbo Shores. You will encounter enemies along the way, but you cannot destroy them right now. You can use your Shield to push the enemies away or to block projectiles.

Pass the library. 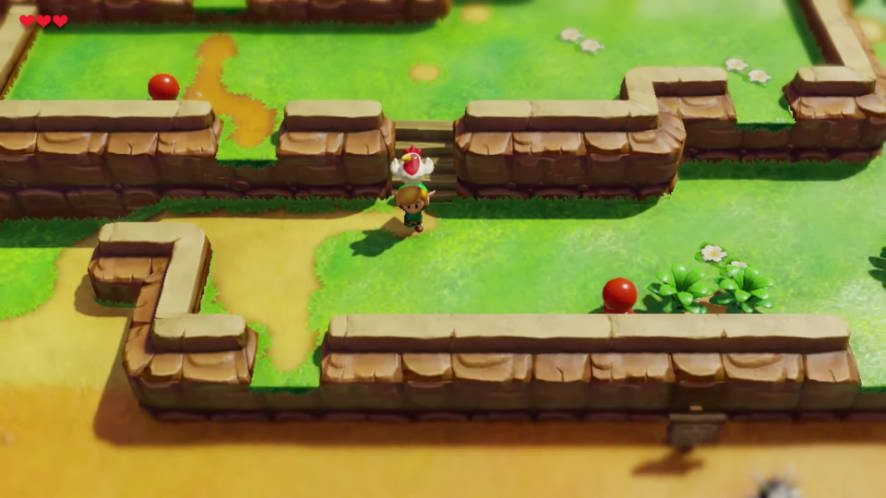
Then, follow the path to reach the beach. 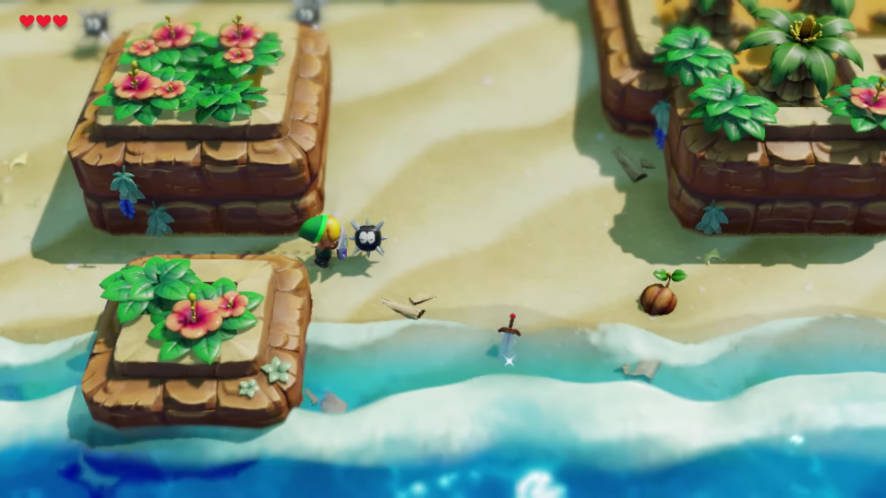
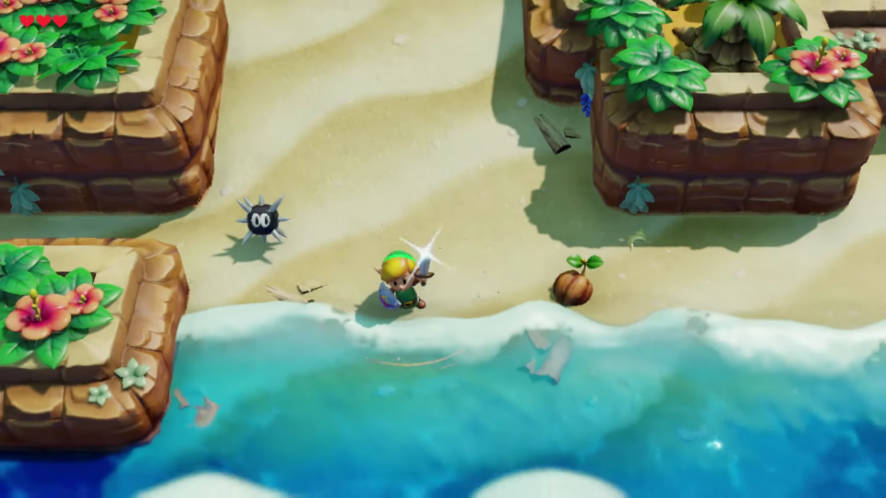
Use your Shield to push the Sea Urchin to reach the Sword.
When you reach the beach, you will encounter two new enemies, Leevers and Sea Urchins. Leevers will appear from under the ground and then chase you, but Sea Urchins do not move.
The Sword is on the shore, so you need to continue walking south, but you also need to move to the east. When you begin to see the spiky Sea Urchins, you know that you are heading in the right direction.
Push the Sea Urchins away with your Shield to find your Sword in the sand along the shore. As you approach, you will meet the Owl for the first time. He will guide you during your adventure and give you some hints about where to go next.
Enter the Mysterious Forest
You need a key before heading to the first dungeon. The key is hidden in the Mysterious Forest north of Mabe Village. Return to Mabe Village by following the path north. You can’t jump down the cliffs this time, so you’ll have to go around them.
The entrance to the Mysterious Forest is north of the library you passed earlier. The path is blocked by bushes that you can cut down with your newly reclaimed Sword. As you enter, the Owl will greet you again, and then leave you to explore the forest.
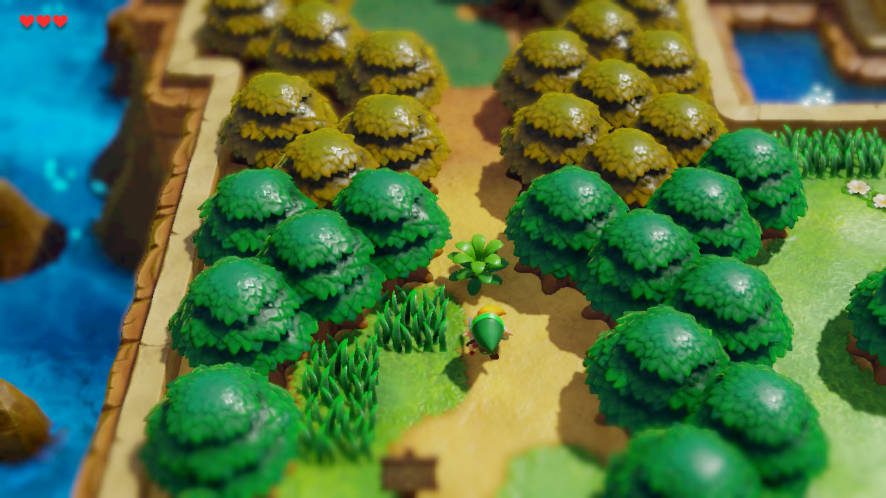
The forest entrance is north of the Mabe Village well. 
Travel east to find the cave entrance.
Shortly after you enter the forest, you will encounter Moblins for the first time. Moblins throw projectiles like the Octoroks you fought earlier and take a an extra hit.
After you enter the forest, travel east until you find cave entrance covered by a hollowed-out log.
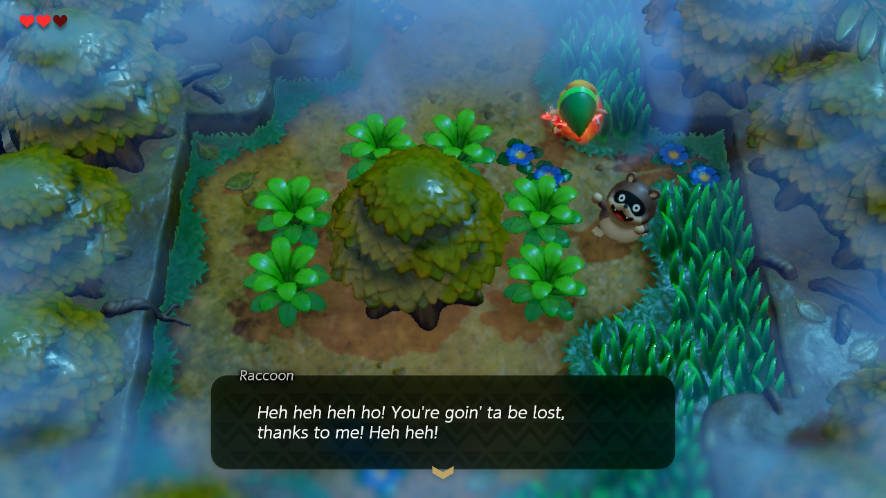
Watch out for the raccoon!
If you go the wrong way, you may encounter a raccoon. If you ignore the raccoon’s warnings and do not turn around, you will be teleported to an area on the other side of the forest.
Pick a forest Toadstool
Enter the cave, and you will immediately be greeted by a group of bat-like Keese. Keese do not move until you approach, and then they will fly around the room. They can be defeated by a Sword strike.
The floor of the room is covered in cracks. If you stand on the cracked floors for too long, it will crumble beneath you and cause you to fall into the void and take damage. You can’t jump over the holes yet, so if you create a hole in an inconvenient place you need to exit the room and re-enter to reset the cracked floors.
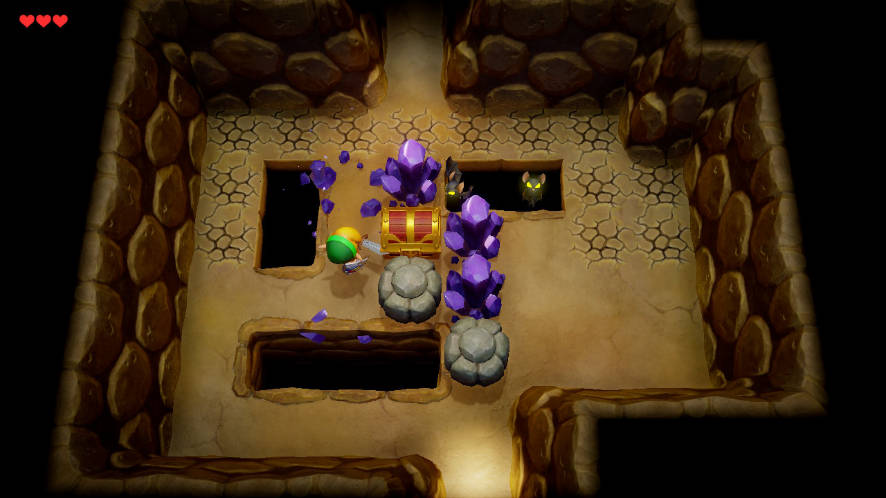
You can avoid most of the cracks by taking the easier route through the room’s center. You can cut down the crystals with your Sword to create a path without cracked floors.
If you do walk across the cracked floors, just keep moving until you reach the exit on the northern side of the room.
There is an optional treasure chest in the center of the room. You can open it if you cut down the crystals and push the stone out of the way. The chest contains 50 rupees, which will help you purchase some required items from the Mabe Village shop a little later.
Quickly move through the next room; there is only one path. Two Zols will pop up out of the ground; they can be quickly defeated by your Sword.

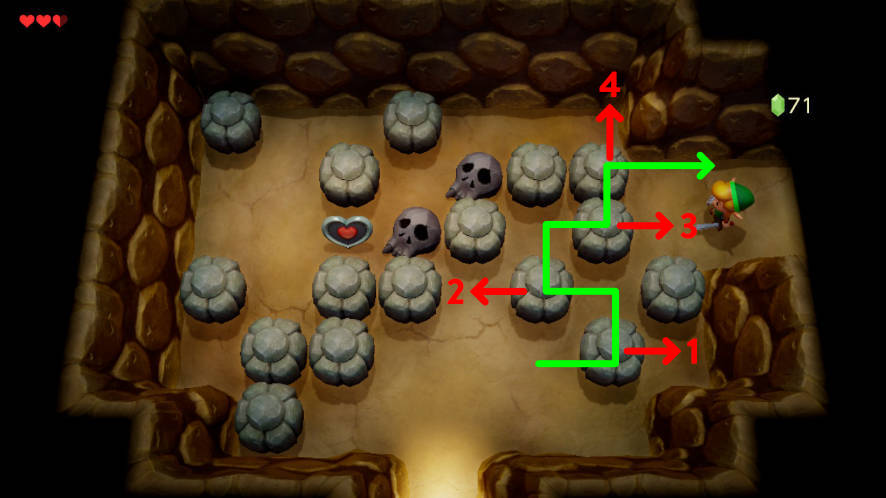
The third and final room contains the first real puzzle of the game. Don’t be too distracted by the Piece of Heart in the room; you don’t have the item you need to reach it. You will have to remember to come back later.
You need to push the stones to reach the cave’s exit. There are four stones in a diamond pattern. First, push the north stone to the left. Then, push the west stone to the left. That will clear a path to the exit.
Outside, you’ll find a toadstool. Pick it up and then go right back into the cave you just left! We need to have your toadstool made into something useful.
Ask the Witch to brew Magic Powder
You need to take the toadstool to Syrup the witch. Her hut in Koholint Prairie to the east of the forest. To reach her hut, first, make your way back through the cave you just came through. Interestingly enough, the sliding stone puzzle is actually more tricky this time around.
Once again, focus on the stones in the diamond pattern. Push the south stone to the right. Then, push the west stone to the left. Third, push the north stone to the right. Finally, move the stone that was just north of the diamond-pattern; move it north.
Once the puzzle is cleared, you can run through the remaining two rooms to exit the cave.
Now, you need to navigate a new area of the forest. Beginning at the cave entrance, travel north until you reach another cave. This cave is surrounded by boulders that you cannot lift right now. Turn east and continue until you exit the forest. If the change in setting isn’t obvious, look for the Piece of Heart surrounded by holes in the ground. Once again, the game is teasing you with a reward that you cannot obtain yet, but you have to come back to this area later.

Turn east when you find a second forest cave. 
Then, turn south when you find a Piece of Heart. 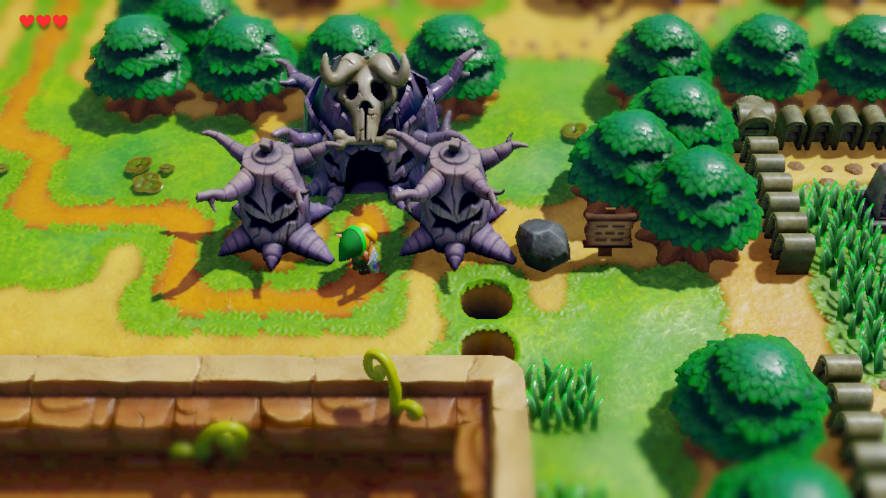
The witch’s hut is quite distinct. You can’t miss it!
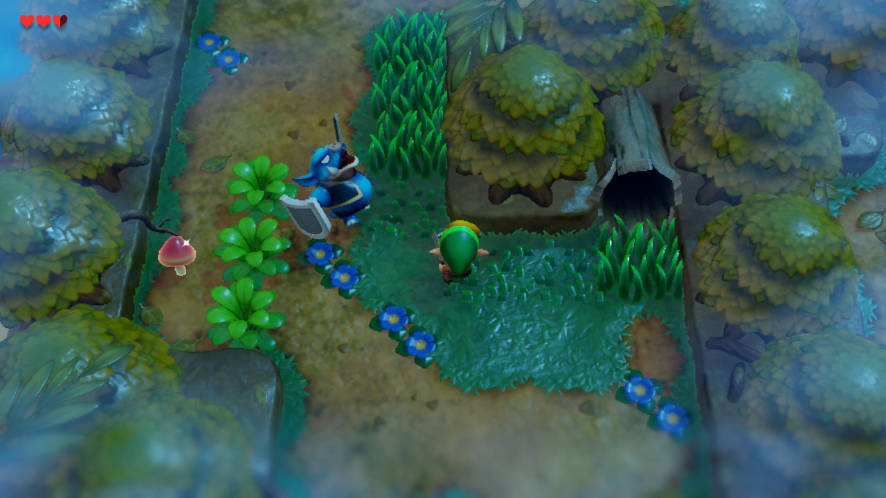
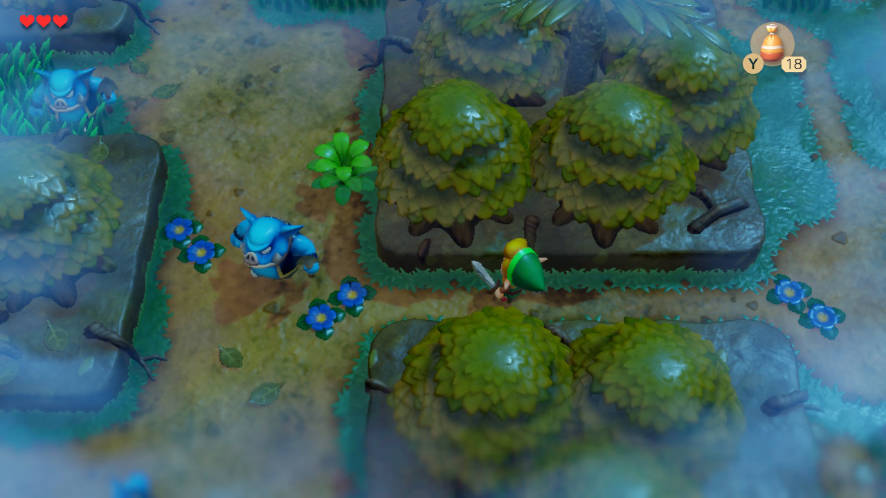
Pass the Piece of Heart and turn to the south. Here, you’ll encounter a Zora and a Buzz Blob. You have to dodge both for now; the Zora is out of reach and the Buzz Blob cannot be hurt by your Sword.

Follow the path south and then east to reach Syrup’s hut which is flanked on both sides by spooky-looking trees. You can’t miss it!
Enter the witch’s hut and speak to Syrup the witch. She will notice your Toadstool, take it, and use it to brew Magic Powder. Magic Powder is used to light torches and transform some enemies (like the Buzz Blob that you couldn’t hurt earlier!). More importantly, for now, the Magic Powder will help you deal with the raccoon you may have encountered in the forest earlier.
GameBoy Only: Equip the Toadstool
In the original version of Link’s Awakening, the Toadstool is an item you equip. You need to give the Toadstool to the witch; you cannot just talk to her. You need to equip the Toadstool, stand beside witch, and use the Toadstool to receive the Magic Powder.
“Defeat” the forest raccoon to claim the Tail Key!
Now, it’s time to deal with the pesky Raccoon causing trouble in the forest. Leave the witch’s hut and retrace your steps back to the forest. Follow the path north and then west.
When you reach the cave entrance that is blocked by boulders, turn south and travel until you find the first cave that you visited. Then, turn west to walk toward the forest entrance, but then quickly turn back to the north.
There, you will find a raccoon standing beside a tree.
Stand next to the raccoon and sprinkle some of your new Magic Powder on it. The raccoon will bounce around and then suddenly transform into…Tarin, Marin’s father, the man who gave you your shield at the start of the game.

Apparently Tarin had gone into the woods hunting for mushrooms, and transformed into a raccoon after biting into one.
The raccoon was preventing you from traveling north, but now that its gone you can continue north into the next area. There, you will immediately find a treasure chest. The Tail Key, the key that opens the first dungeon, is inside!
Once you have it, the Owl will once again speak with you and inform you that Tail Cave is south of Mabe Village. The first dungeon awaits!
