


Fire Temple: Lost Gorondia Rediscovered
Table of Contents
The Fire Temple is located in the Eldin region. It is the finale of Yunobo of Goron City, a Main Quest. Your primary objective is to activate five locks to open a central chamber to find the source of the Marble Rock Roast causing conflict among the Gorons.
Dungeon Notes
- As soon as you enter the dungeon, walk straight ahead and try to open the gate to learn about the locks and proceed with the rest of the dungeon.
- The locks are activated using Yunobo’s Charge ability to ring a large gong.
- You can solve the dungeon’s puzzles in multiple ways. We are listing what we perceive to be the intended solutions, but you can bring your own Zonai Devices or climb walls to solve the puzzles through alternative methods.
First Lock
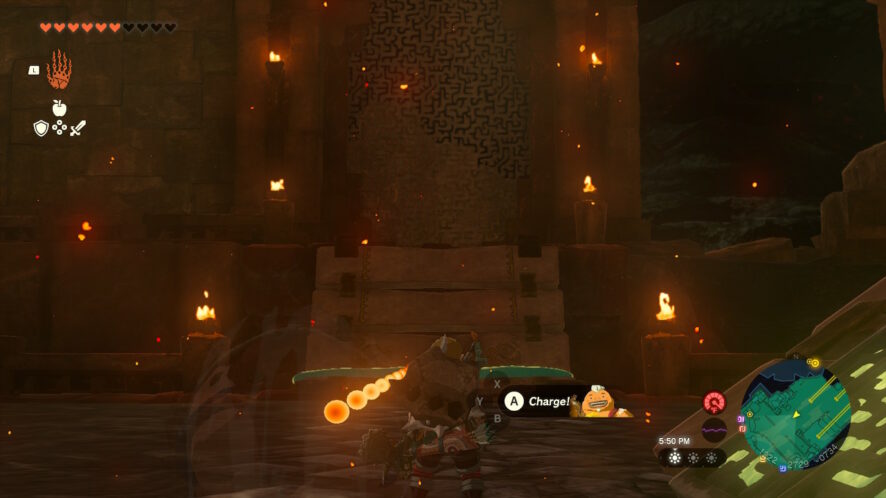
Follow the path to the south and defeat the Soldier Construct. Then jump across the cooled lava platform.
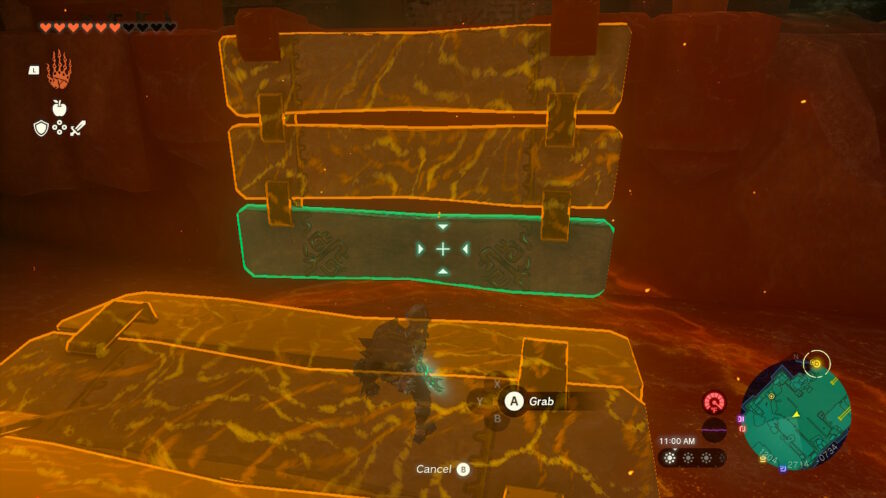
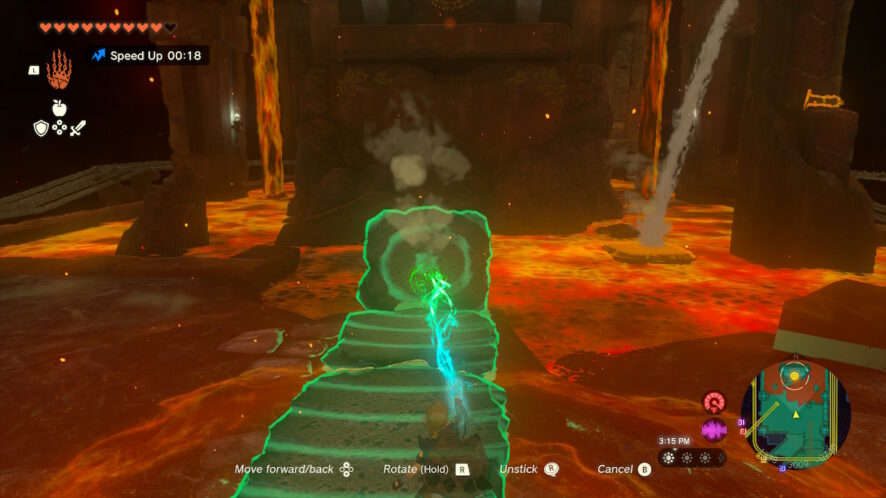
After jumping across, use Ultrahand to pick up three cooled lava platforms and stick them together to create a bridge to cross the next lava river.
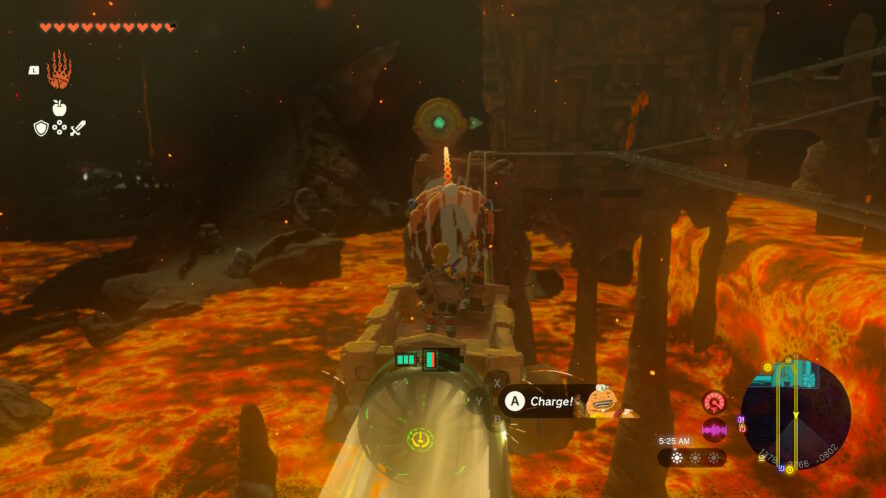
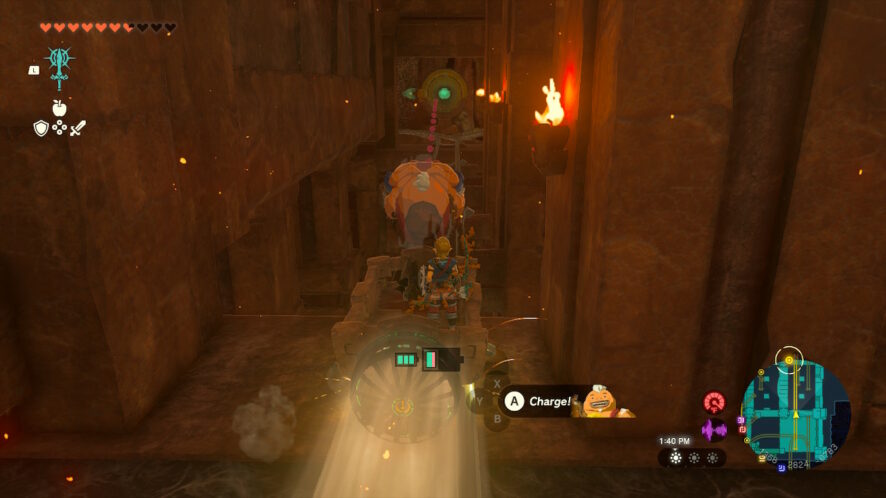
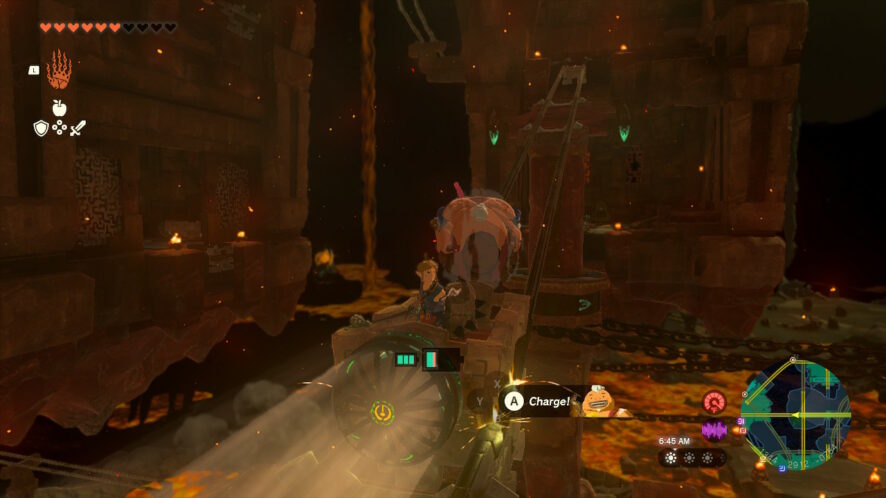
Jump in the nearby mine cart and activate it. While riding the rail, use Yunobo’s charge ability to hit the target and change the direction of the rails. You want the arrow to be pointing straight ahead.

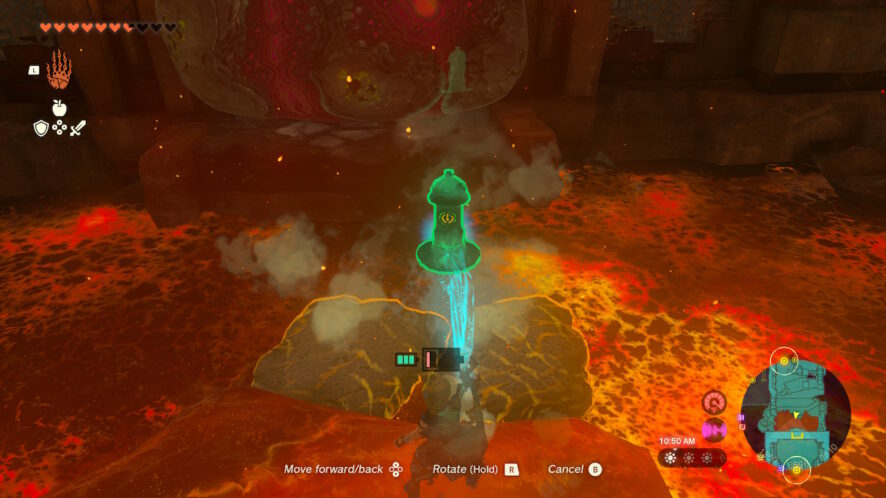
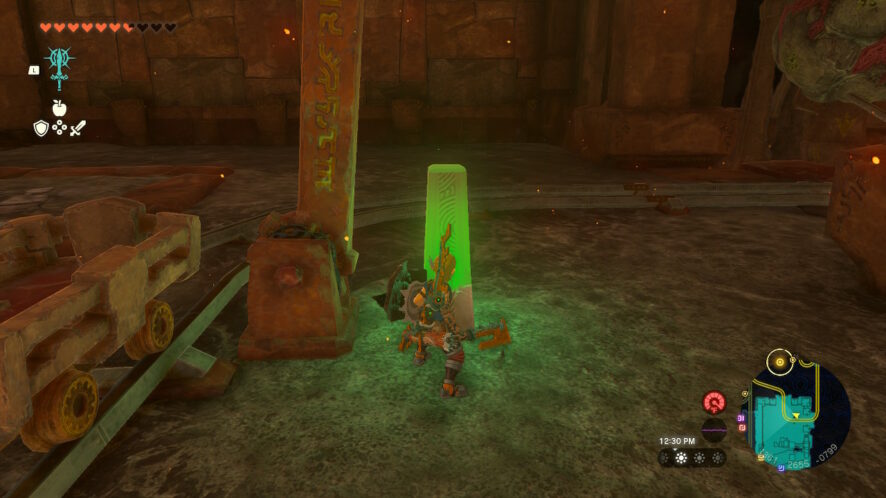
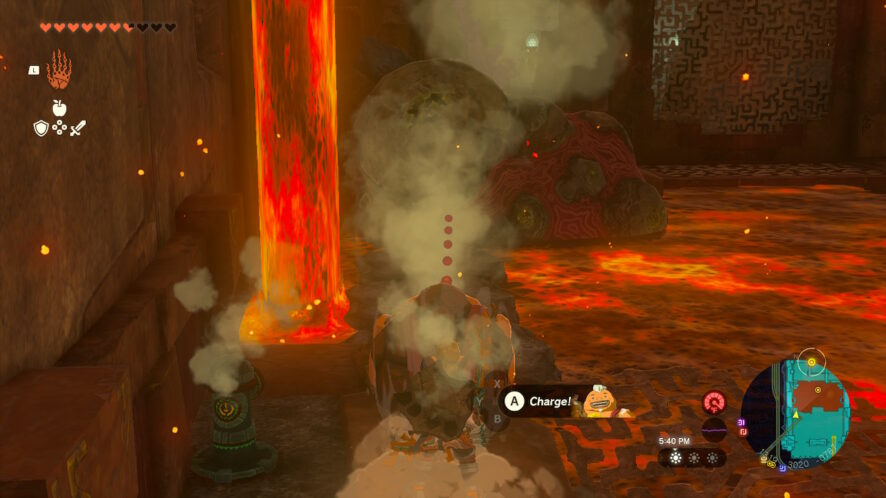
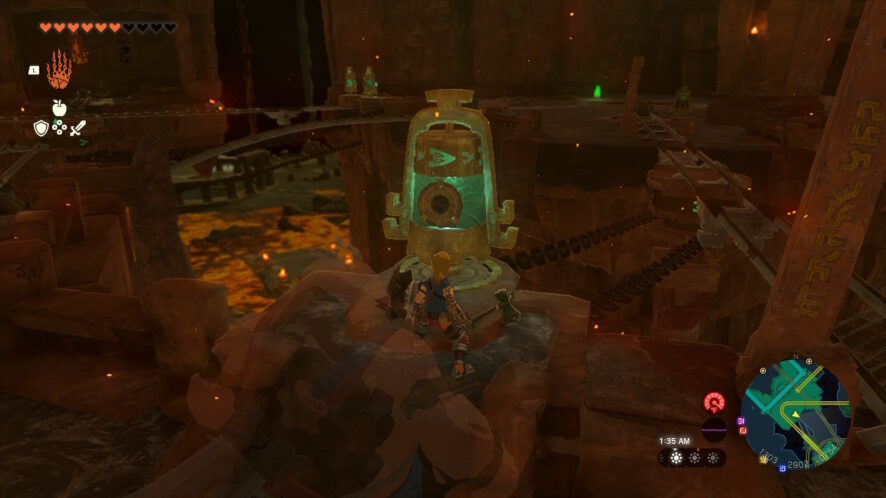
When the mine cart stops, defeat the Flame Like-Like. Then, pick up one of the Hydrants near where the mine cart stopped and use it to create a path of cooled lava leading to the blocked doorway. Use Yunobo’s Charge to smash the rocks and open the way to the first lock.
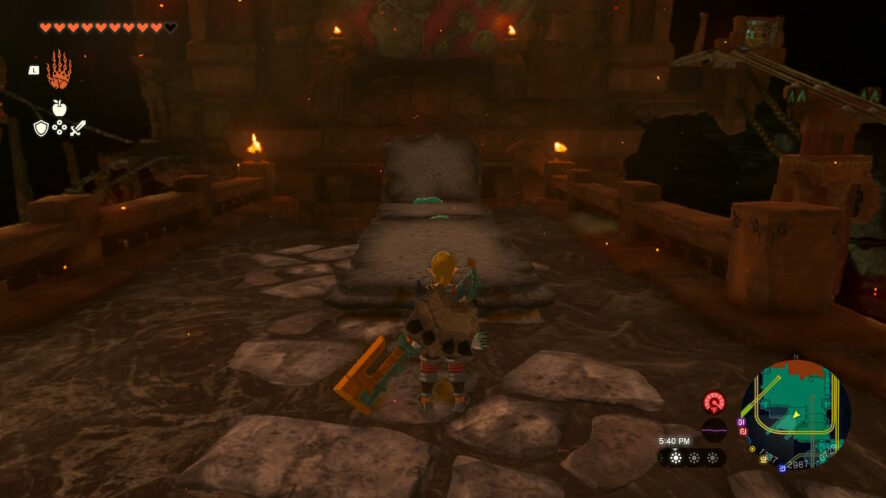
Enter the room and use Yunobo’s Charge to ring the gong and open the lock.
Second Lock
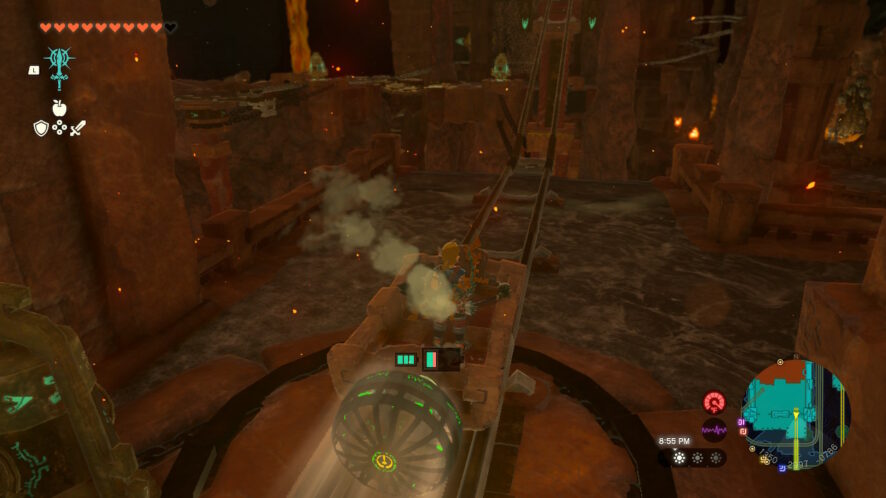
Return to the mine cart; hit the nearby switch to open the path for the mine cart to continue. Ride the mine cart further and use Yunobo’s Charge to break any rocks blocking the tracks.
When the mine cart stops, strike the nearby bell to make the cart turn back around. Then, ride the mine cart again, but quickly use Yunobo’s Charge to hit the target and change the direction of the rails to point to the right.
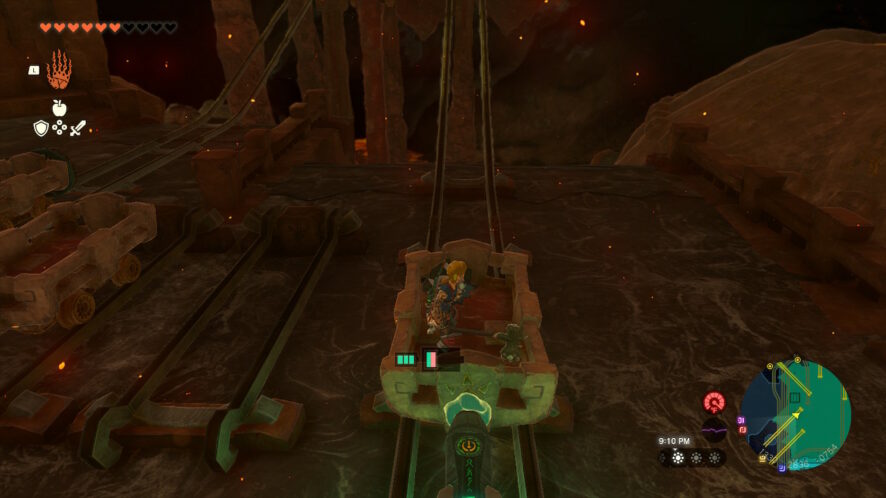
When the mine cart stops, walk across the bridge to the left to find another mine cart. Hit the nearby bell to lower the path of the rails. Place a mine cart on the tracks and ride it until the path ends.

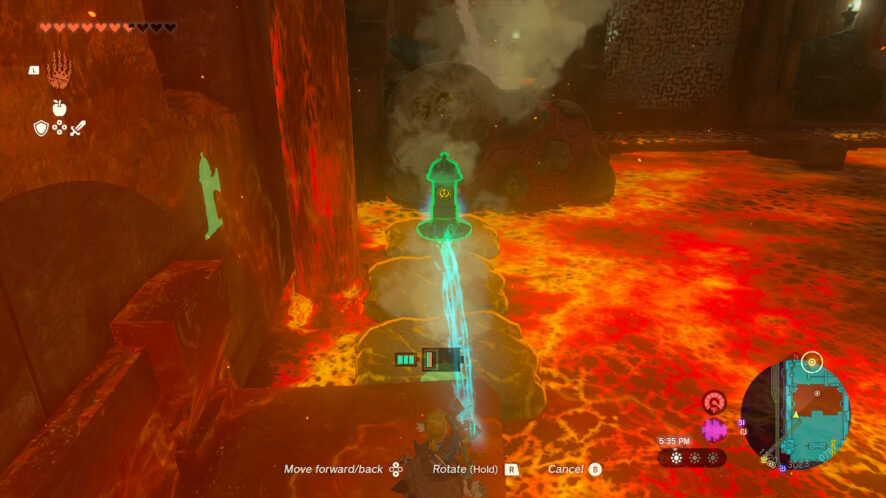
The next room is full of lava. Use Ultrahand to pick up a Hydrant, face it toward the lava, and walk to the west side of the room. Use the Hydrant to create a path of cooled lava platforms behind the small waterfall. When you have a complete path, use Yunobo’s Charge to break the rocks.
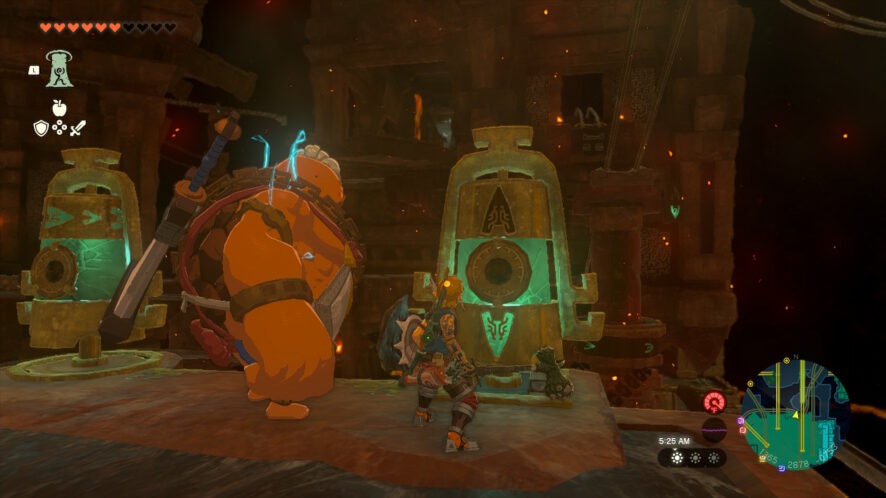
Attack the cooled lava platforms to create a bridge or jump across the cooled platforms to cross the lava lake and reach the north side of the room. Defeat the Soldier Construct and ring the gong to unlock the second lock.
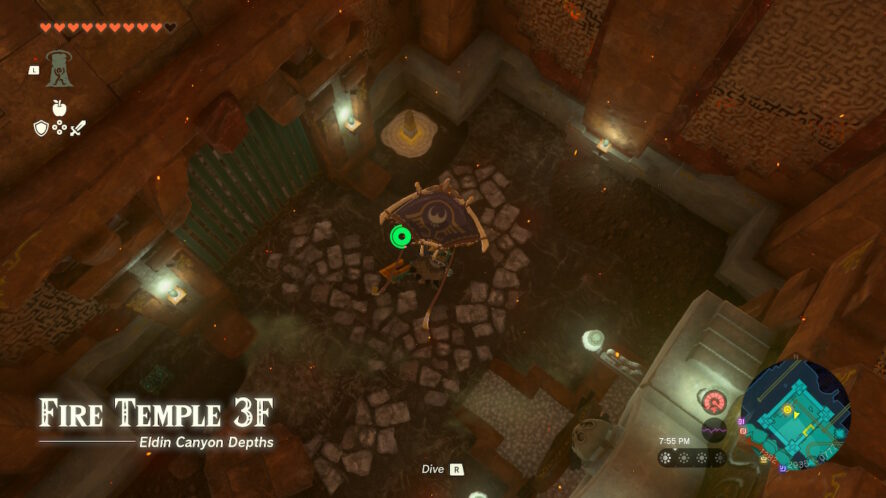
Third Lock
Return to the mine cart across the lava lake. Hit the bell near the mine cart to turn it around, but do not ride it yet. The rail needs to be adjusted to take you to a higher floor. Shoot arrows to the other side of the rails to hit another bell across from you. This will adjust the rails to take you higher to floor 3F.
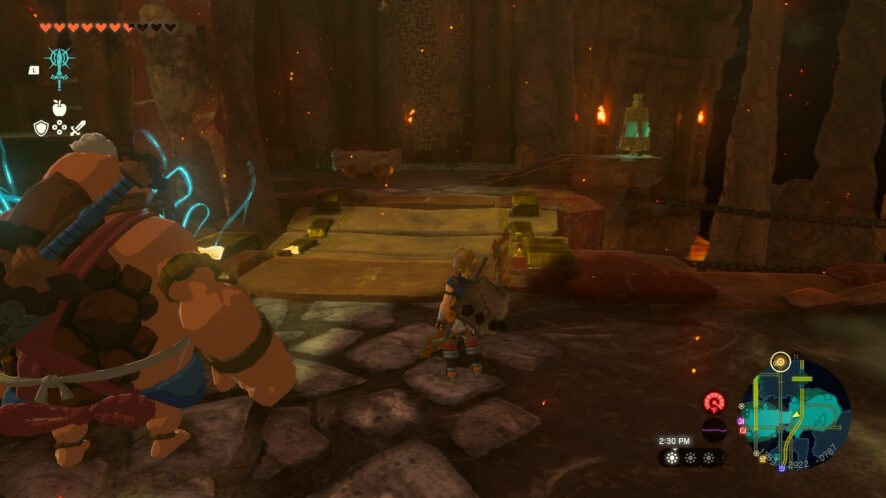
When you arrive at floor 3F, fight the Captain Construct to keep it out of your way. Then, strike the crystal switch to activate a shortcut to the lower floor.
On the southwest side of the room are two sets of rails and mine carts. Use Ultrahand to attach one of the nearby Rockets to the back of a mine cart and place it on the broken rail on the right side. Jump in the mine cart and activate it to launch across the broken real and reach the next area.
Pass by the large broken bridge and walk to the far side of the room to find a very small broken bridge. Use Ultrahand to stick the two pieces of the bridge back together. Then, stand in front of the bridge and use Yunobo’s Charge. This will launch Yunobo up the wall and onto the ceiling, where he will break a large rock that is blocking the way.
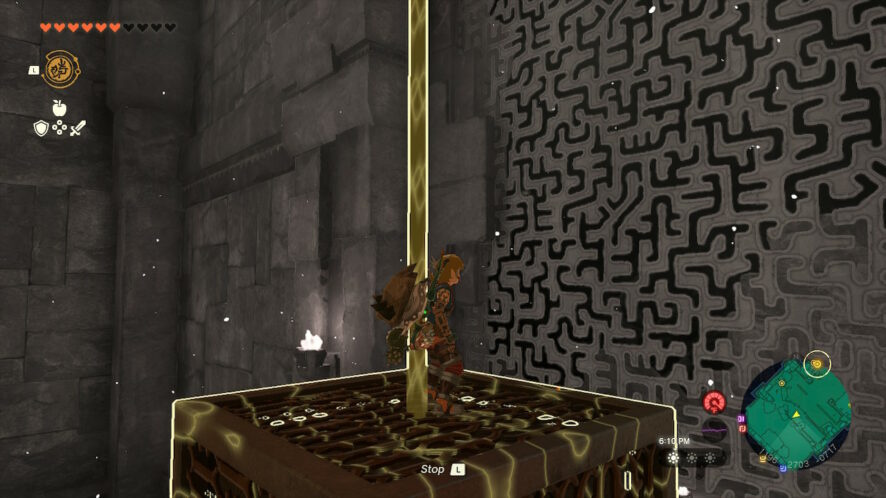
A block will fall to the ground when the ceiling is broken open. Stand on the block and use Recall to reach the next gong. Use Yunobo’s Charge again to unlock the third lock.
Fourth Lock
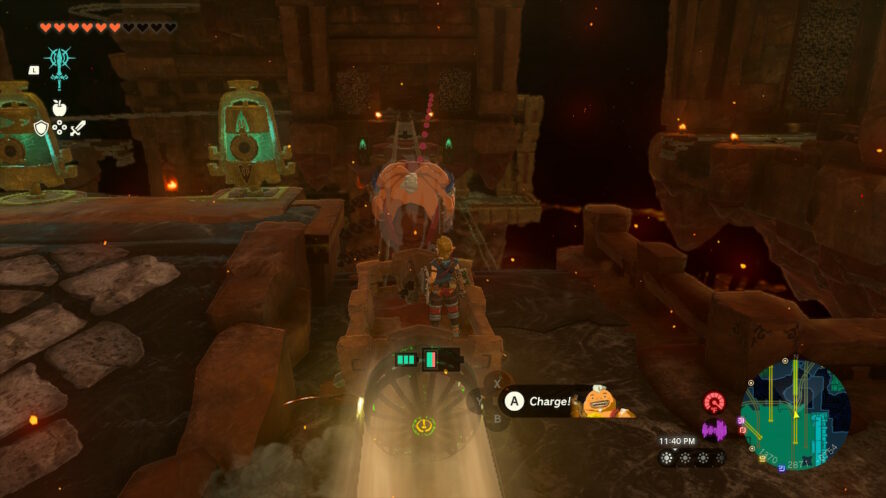
Fall down the hole and then hit the bell to lower the unbroken mine cart rail. Ride a mine cart back to the room where you fought the Captain Construct on floor 3F.
On the other side of the room, ride the mine cart near the crystal switch. Use Yunobo to destroy any rocks that block the rails. When the mine cart stops, pick up another nearby mine cart and place it on the next rail. Then, ride to the next stop.
When you stop again, you will notice a rail that leads to a dead-end. This will be important soon.
Hit the nearby bell to rotate part of the rail to reconnect it. Then, ride a mine cart again on the newly reconnected track. This will take you back to the room where you fought the Captain Construct — you have gone in a circle.
Walk back to your left to the area near the crystal switch. There are two bells that have not been struck. These bells control the connections that fix the dead-end track you encountered a minute before. Strike both bells to reconnect the track. The left bell’s arrow should point to the right and the right bell’s arrow should point down. Then, walk back to the mine cart you just got out of and ride it again to reach a new area.
When the mine cart stops, switch to the next mine cart that is nearby. Near the end of the next rail, a Construct in a mine cart will ride against you to push you back. Use Yunobo’s Charge to destroy the Construct.
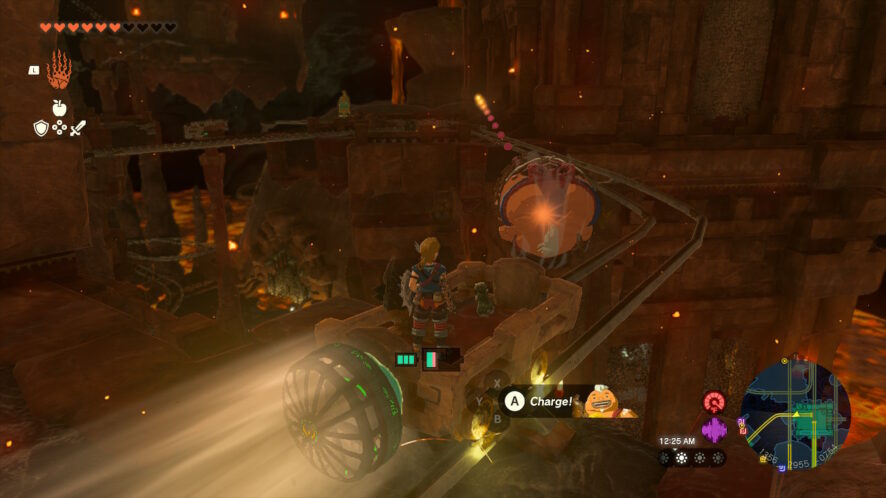
Walk to the right and across a bridge to reach a dead end. There is a floor below you; jump down. Hit the bell to lower the track and ride the mine cart down to a larger area.

The gong is visible across a large pool of lava. It is also much higher than the floor.
Use Ultrahand to pick up a cooled lava platform and use it to create a ramp to the right of the gong. There is a large rock blocking the flow of water. Aim Yunobo’s Charge at the ramp to launch Yunobo into the large rock and release the Hydrant water flow. This will begin making new cooled lava platforms.
Attach several cooled lava platforms together to create a large ramp. Center the ramp with the gong and use Yunobo’s Charge to launch Yunobo at the gong.
Fifth Lock
Pick up the ramp you made to unlock the fourth lock and carry it to the southwest side of the room. The floor is missing here and a doorway is blocked by a large rock. Place the ramp in front of the rock and use Yunobo’s Charge to launch Yunobo at the rock and break it.

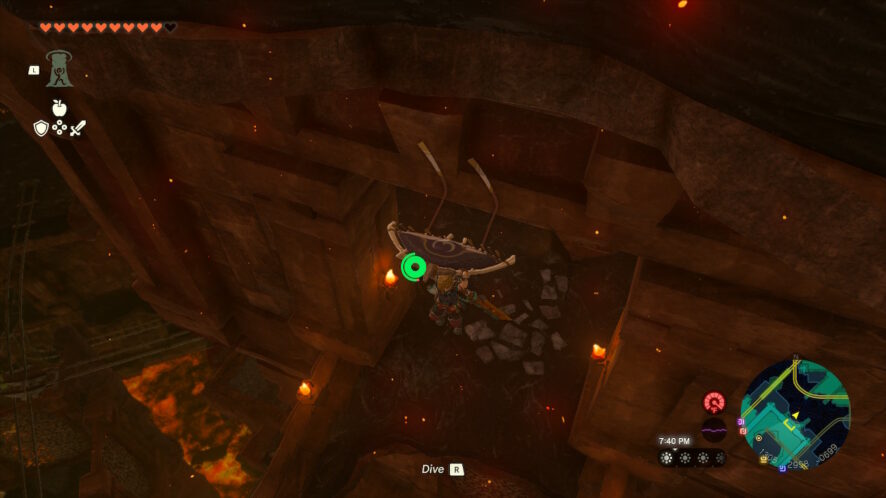
Return to the mine cart and ride it back to the previous area, then use Ascend to reach the higher level. Walk back around the corner and glide down into the doorway you just reopened.
There is nothing in the room except a big hole. Jump into the hole and glide down to reach the fifth gong. Hit the crystal switch to open the gate and return to the main lock at the entrance of the dungeon.
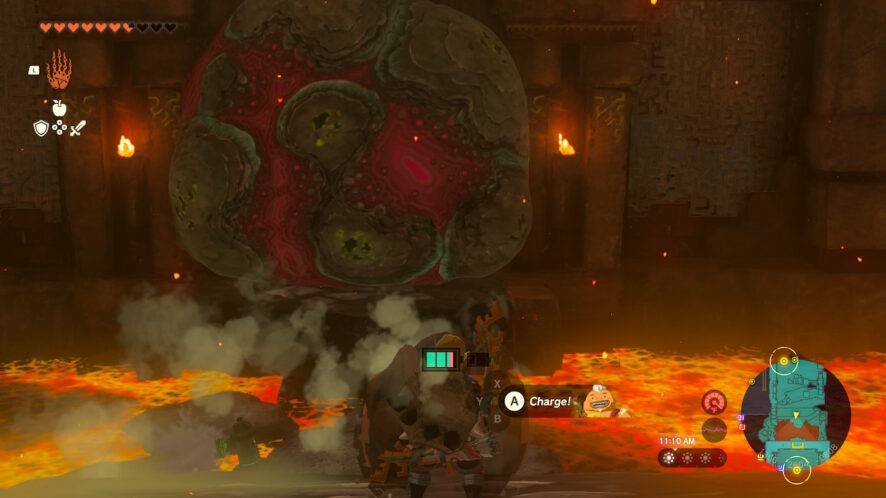
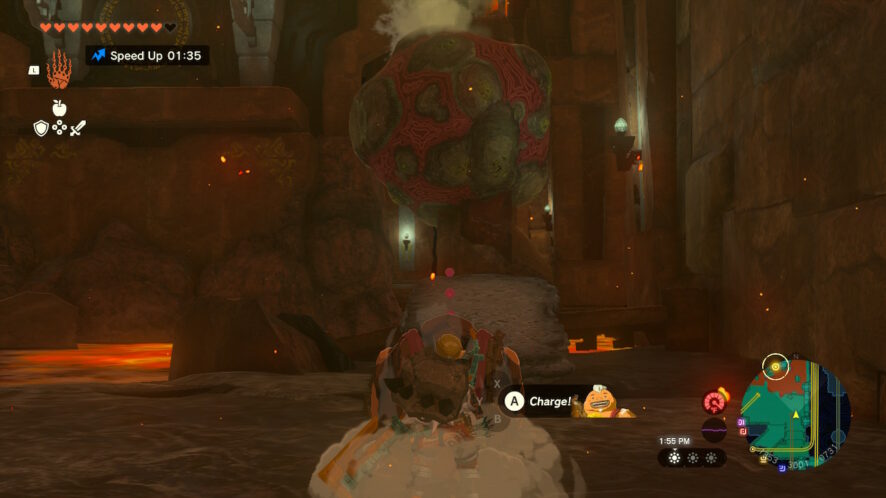
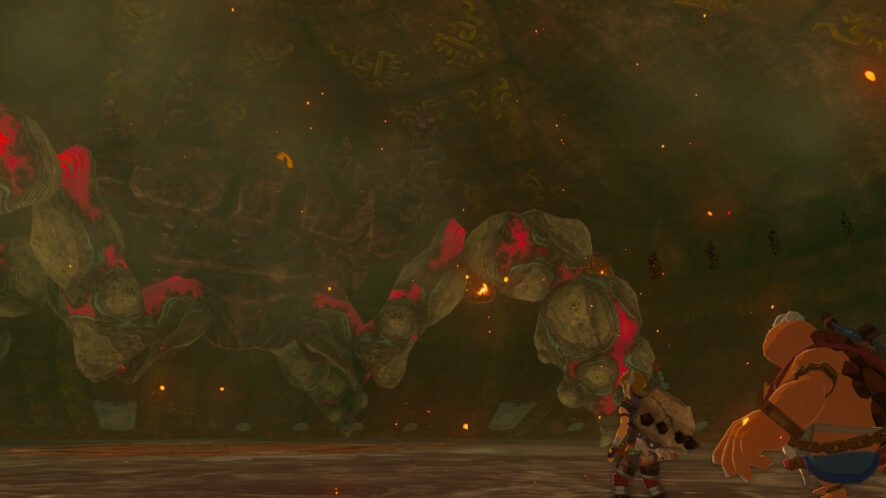
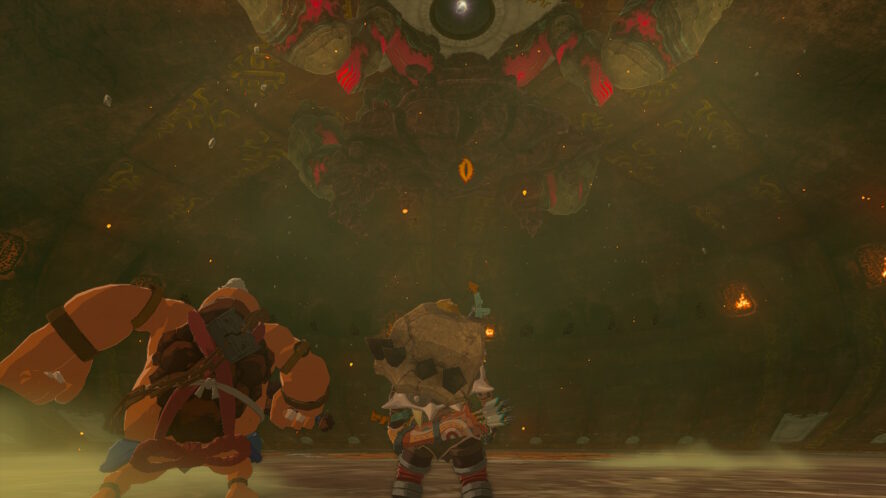
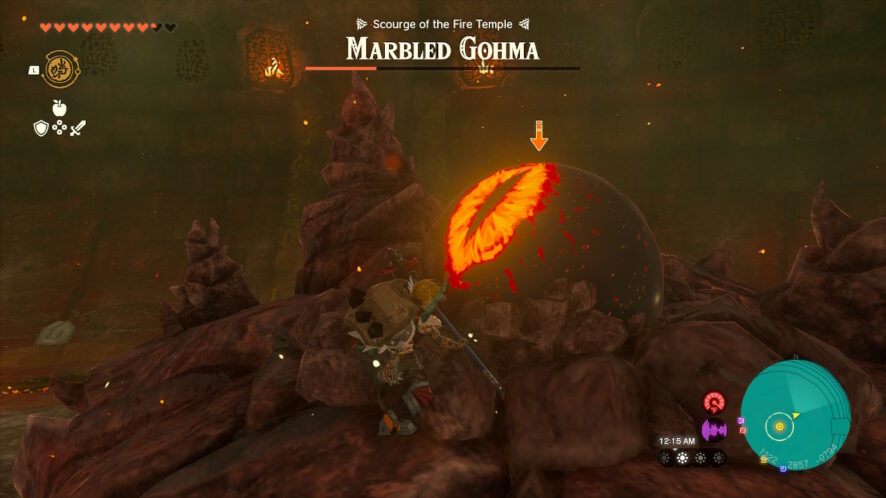
Boss: Marbled Gohma
To begin the fight, use Yunobo’s Charge to launch Yunobo up the ramped walls and onto the ceiling to break the rocks. The mechanic of launching Yunobo up the ramped walls is important for the fight later.
Marbled Gohma’s weak point is its single eye on top. You can damage it with any type of weapon, including arrows shot from a distance.
Use Yunobo’s Charge to weaken Marbled Gohma’s legs. When two legs are destroyed, the boss will fall to the ground, and you can climb on top and attack its eye with melee weapons. You can also use Ascend to reach the eye sometimes, but this is more difficult.
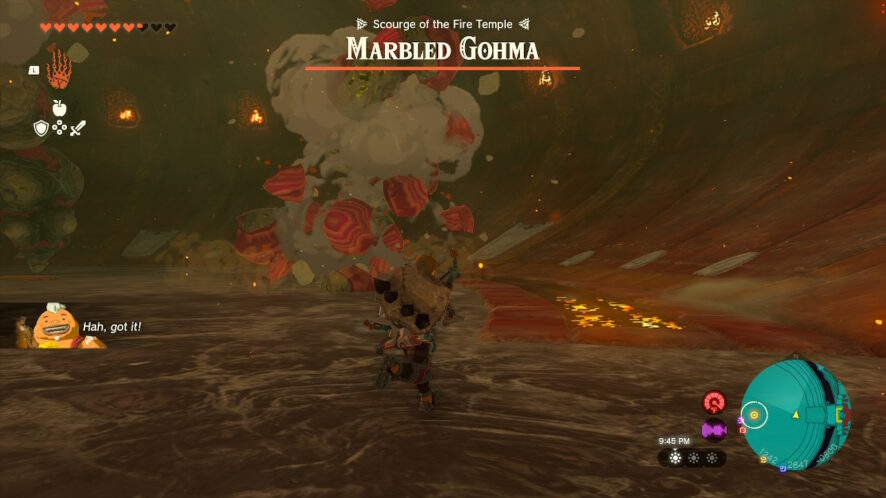
Marbled Gohma will spit rocks that can only be destroyed by Yunobo’s Charge. The rocks will explode after a few seconds, so run away to avoid damage. A good strategy is to destroy one rock with Yunobo’s Charge and to use Recall on a second to send it back toward Marbled Gohma and prevent the explosion from hitting you.
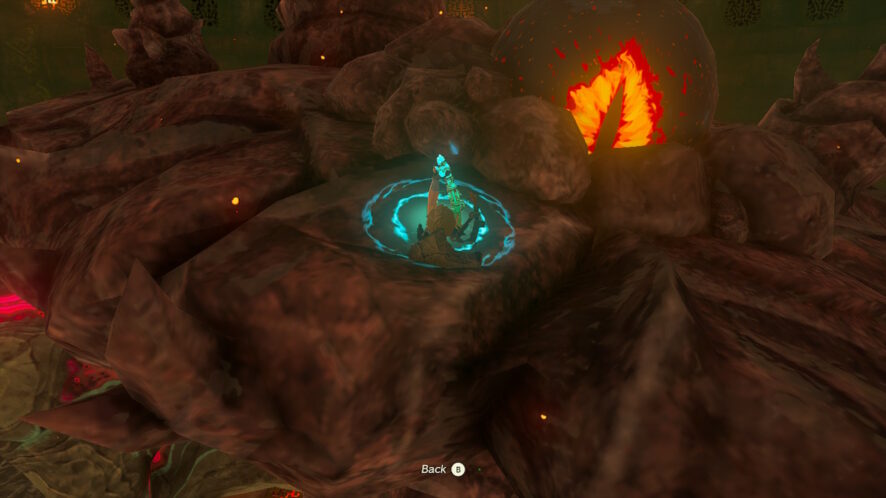
When Marbled Gohma is half defeated, it will retreat to the ceiling.
The general strategy is the same, but this time you need to launch Yunobo up the ramped wall to strike one of the legs. It is a little trickier to aim and you need to move quickly to line up a good shot. When one leg is weakened, Marbled Gohma will fall from the ceiling and its eye will be easy to reach and attack. After several seconds, it will retreat to the ceiling again. Repeat the same process until you defeat it.