


8. Great Bay Temple
Table of Contents
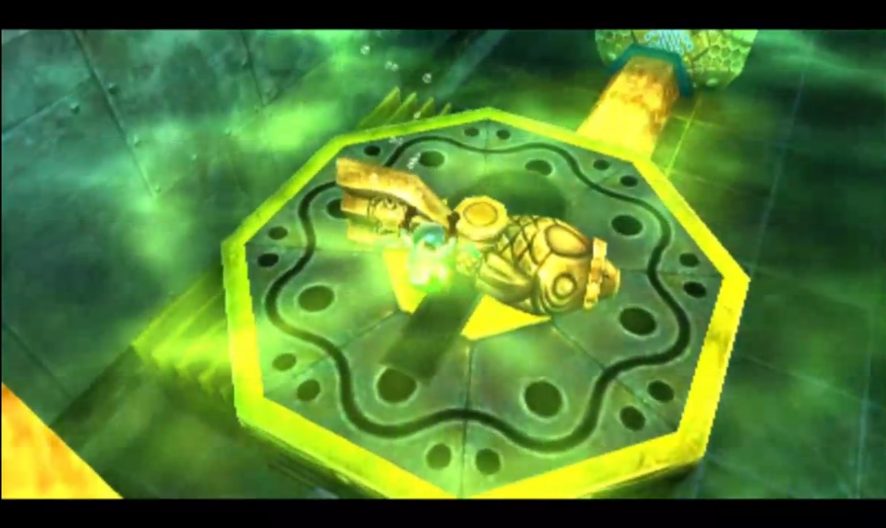
The Map
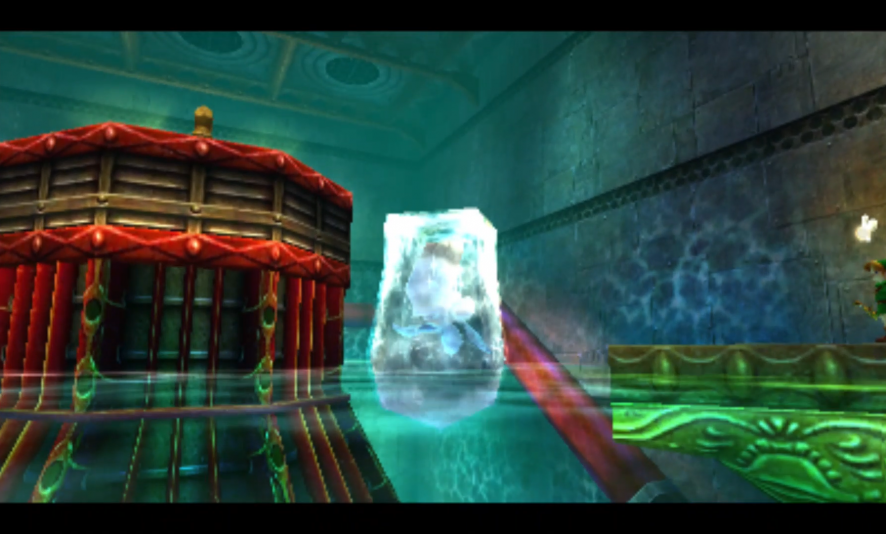
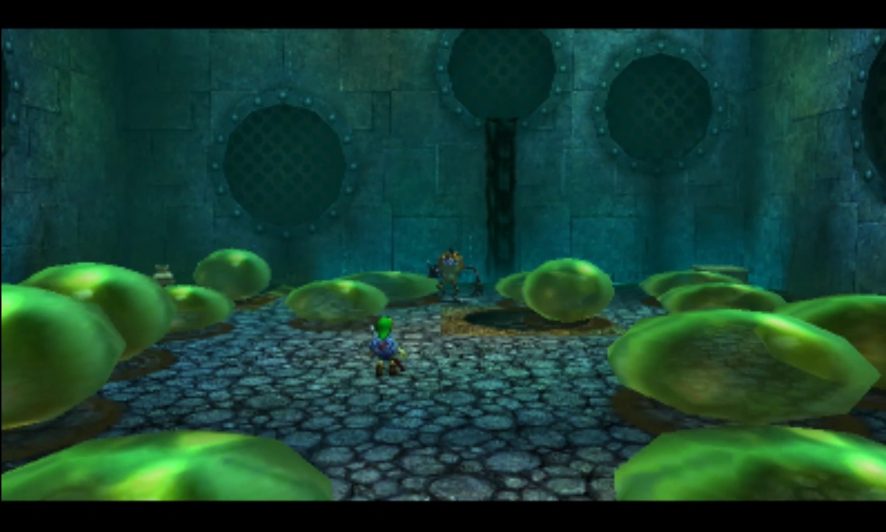
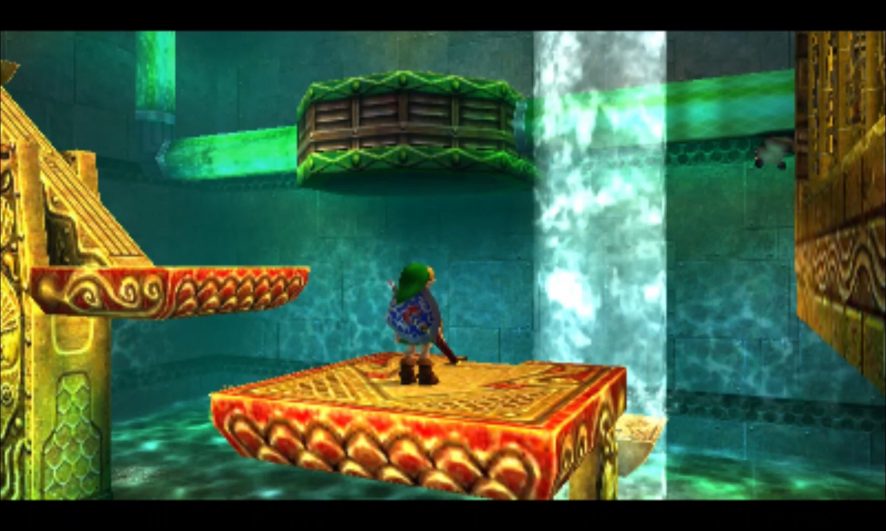
To board the giant turtle, take off the Zora Mask and use the Hookshot on the trees atop the turtle’s shell, and he will take you straight away to the foggy landmass in the distance that is Great Bay Temple. Gerudo pirates will attempt to get there ahead of you, but they won’t be successful, so at least you won’t have to compete with them. Once the turtle lands, you’re officially in the dungeon. Head straight on up the ramp through the first door.
The next room contains a massive waterwheel, but the construct isn’t quite operating according to design at the moment. Take a minute to look at the yellow pipes; for the most part, there are flashing with grey stripes of color traveling along those pipes. That indicates that water is flowing through those pipes; the red pipes don’t have that, and that shows that the water circuit is currently broken somewhere along the pipeline. For now, you just want to fix the yellow network as one of the branches of the yellow pipeline isn’t working. Throw on the Zora Mask and swim to the back right corner of the room; you’ll find a spigot underwater that you can turn. Dive to the bottom and then grab onto the half of the spigot; it’ll restore the water to the broken part of the yellow pipeline. Also of note that there is also a yellow spigot at the water’s surface; don’t touch this for now as that will turn off the water flow that’s manipulating the waterwheel overhead, making it so you can’t go anywhere.

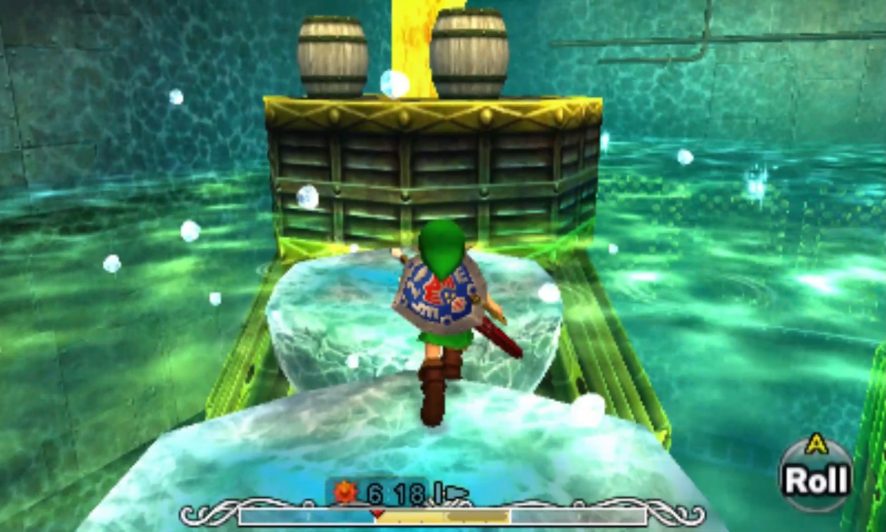
Return to the entrance of the room, and, eventually, you will see a vertically moving platform on either side of the starting platform. With the door at your back, take the right elevator, and jump off onto the platform above; be careful, as there are two Skulltulas that would like to surprise you. Dispatch them, and then, moving toward the back of the room, jump into the stream of water when it’s at its low point. It will raise you up to another platform dead ahead, so jump over to that. This will lead you to the next room in the dungeon.
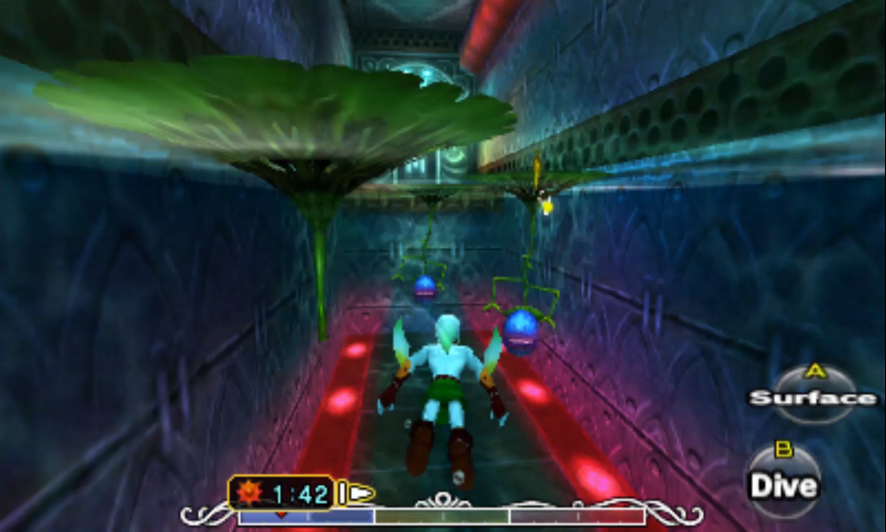
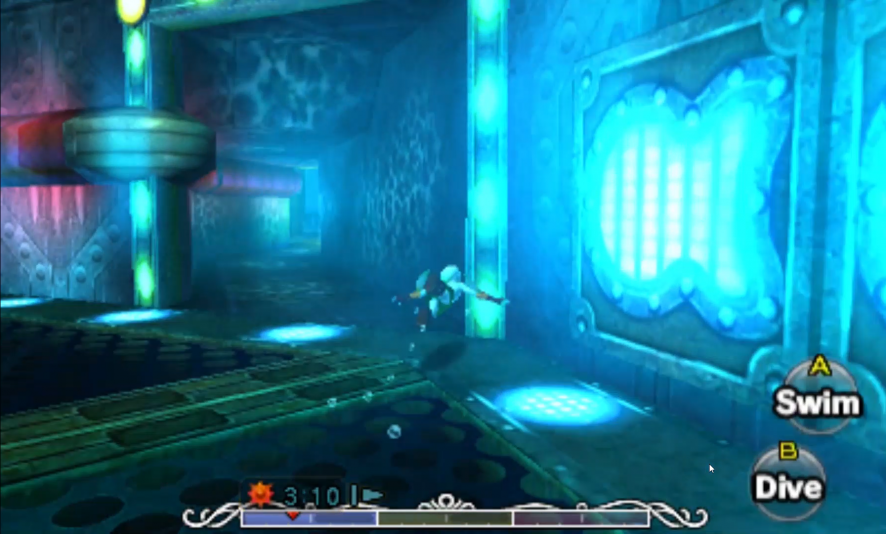
Here you’ll understand what the waterwheel’s purpose is: It’s powering a massive turbine that’s cycling the water throughout the entire dungeon. Deep within the churning water below, there are tunnels leading to other parts of the dungeon. Depending upon which direction the turbine (and the waterwheel) is during, certain of those tunnels have streams of water going down them (outflows) while others have water coming the other way (inflows). This dungeon is about managing access to the parts of the dungeon that you want at any given time since so much of the dungeon are one-way paths. Grab your Zora’s Mask and head just below the surface of the water; toward the surface, you will see a tunnel on the east side of the room that has a red and green pipe going down it; head in that direction.
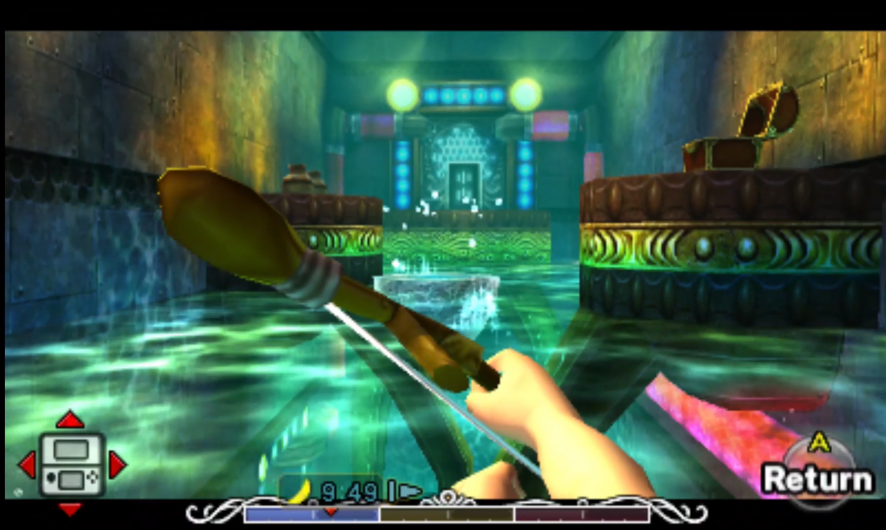
There will be some skeleton fish when you emerge; use your electricity to make quick work of them. Toward the north end of the room, you will be able to find a platform on the surface that you can climb onto. Do so and take off the Zora Mask. You can use the Hookshot to pull yourself to the large chest in the room, and then that will give you the Map.


The Compass
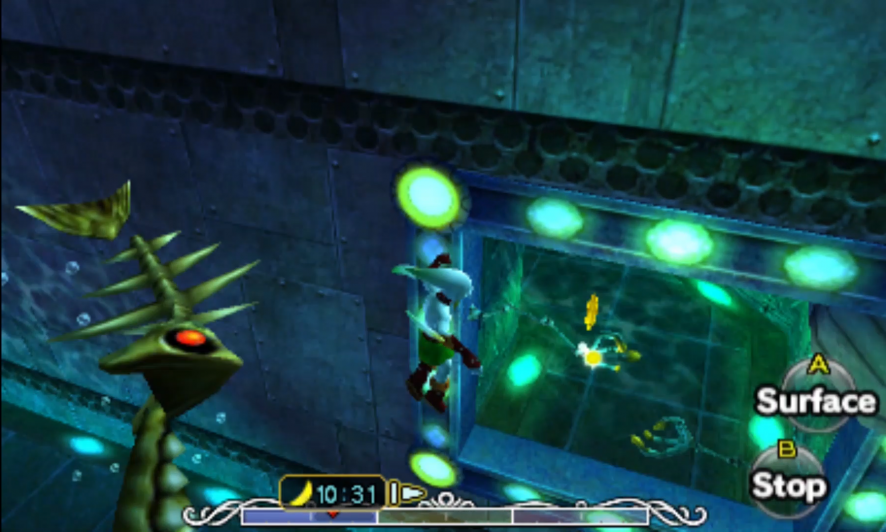
Put the Zora Mask back on and dive to the bottom of the room and look for the outflow; it should have just a single red pipe going down it, and it’s guarded by two hand-like creatures called Dexihands. Use your fin boomerangs to take them out, and then swim down the tunnel.
The next room will introduce you to a variant of the Deku Baba, the Bio Deku Baba. You can destroy them quickly with the electric shield, or you can attempt to use your fin boomerangs on them (but with such a tight space to work with, you may not have success). If you don’t use the electricity shield, hitting them will cause them to drop, and then they’ll attack you from the ground. Simple strikes will kill them. You can avoid these if you want, but killing them is always satisfying. Head to the far end of the room and climb up onto the platform to go through the door.

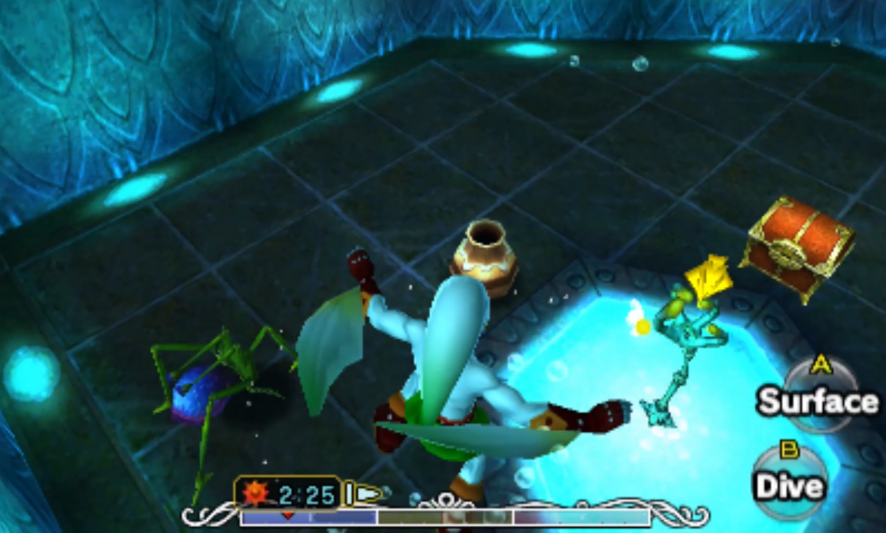
This next room comes with a cautionary note; there is an outflow of water in the watery pits to the left and right sides of the entrance; do not jump in them just yet as they will take you back to the turbine, and that means you’ll have to backtrack to this point to get the Compass. But do jump in the large body of water straight ahead and then sink to the bottom. There are Bio Deku Babas overhead and a Dexihand on the floor’s surface, guarding a treasure chest. There’s also a Real Bombchu wandering about in the room. Defeat the Dexihand and open the chest to get a small key. Defeat the Bio Deku Babas while you’re killing things, and then rise back to the surface. Climb on top of the lily pads, and you can then use those to hop up to a second treasure chest, which contains the Compass.
With that taken care of, you’re done here, for now, so hop across the lily pads back to the start of the room, and then jump back into the water current to head back to the turbine room.
The Ice Arrows
Back in the turbine room, head for the very bottom of the rotating water. Remember that the waterwheel is controlled by both the yellow and the red pipelines? Well, the red pipeline is the flow that will allow us to eventually spin the turbine in the other direction. As such, you’re going to want to swim through the tunnel that has a single red pipeline coming out of it.
The next room will start with a couple of skeleton fish and the Shell Blades. The Desbreko is still vulnerable to the electric shield, and the Shell Blades will expose their weaknesses before attacking. Defeat these the same way you have in previous encounters. Once you surface, there’ll be two Octoroks on the southern half side of the room; watch out for him. You should see a red pipe that descends from above going into the water. You will be able to climb this pipe out of the water in order to head to a locked doorway above. Do be careful, as there’s a Real Bombchu climbing around the pipe. If you can’t get a good shot, try just haphazardly aiming your fin boomerangs while targeted on him; it may just come around and hit him on the way back when he’s out of sight. Once you’re rid of him, unlock the door and enter.
The next room serves little purpose but as a recharge point before facing the first mini-boss. The Green Chuchus in this room will spawn infinitely. Make sure you get as many arrows and as much magic as you can before heading through the next door.
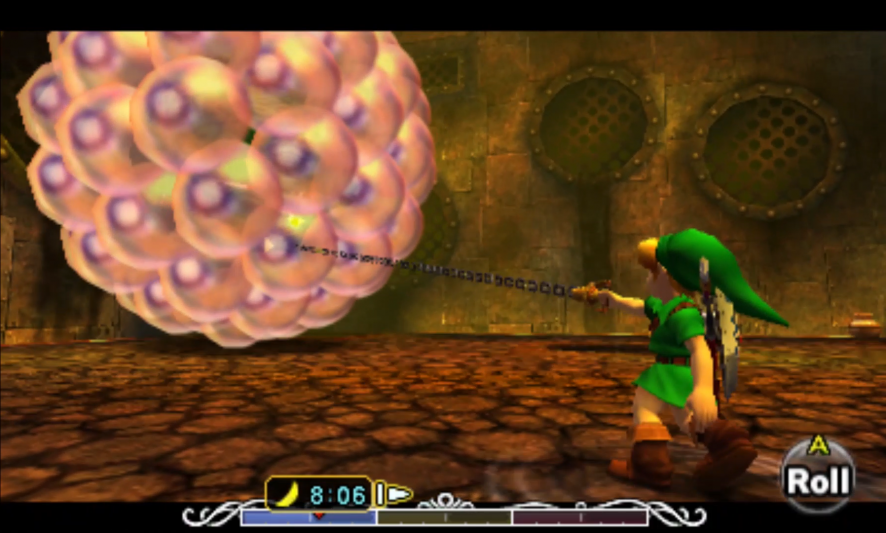
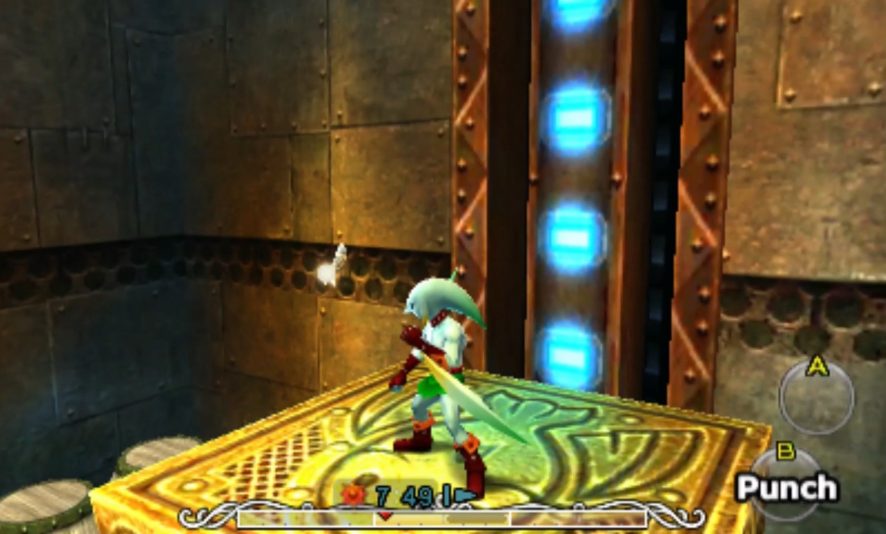
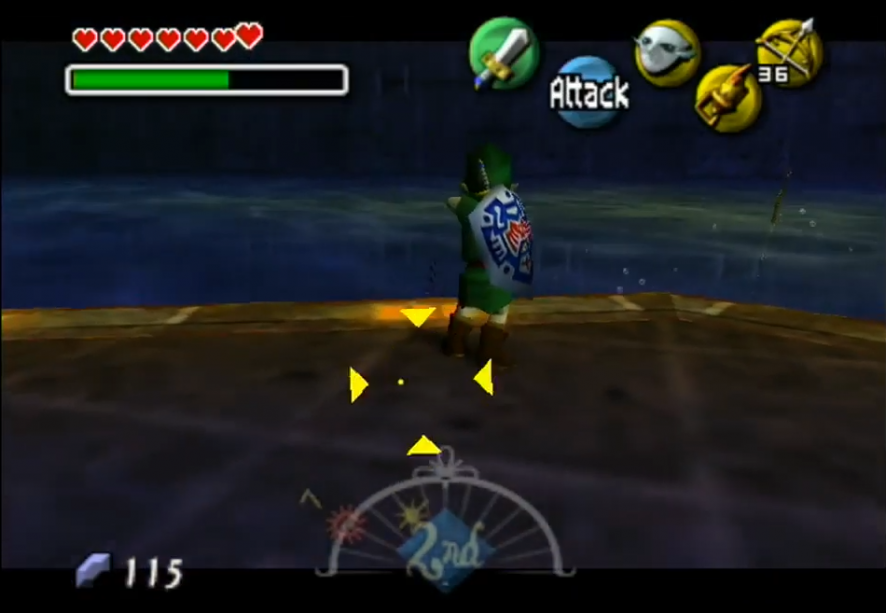
You might not see the mini-boss when you first come in; when it doubt, look straight up. You’ll see a creature with more eyes than you’ve ever seen in your life. Link, meet Wart. Take off the Zora Mask if you still have it on and get your Hookshot ready. Your goal is to Hookshot each of the eyes off of Wart’s body and then slash at them with your sword. Occasionally one of them will fall off on its own to bounce over and attack you, and if that’s the case, then it’s a free hit. If you’re feeling daring, a Fire Arrow will send many of them to the ground at once, allowing you to clear it much more quickly though with a little bit more risk to your health.
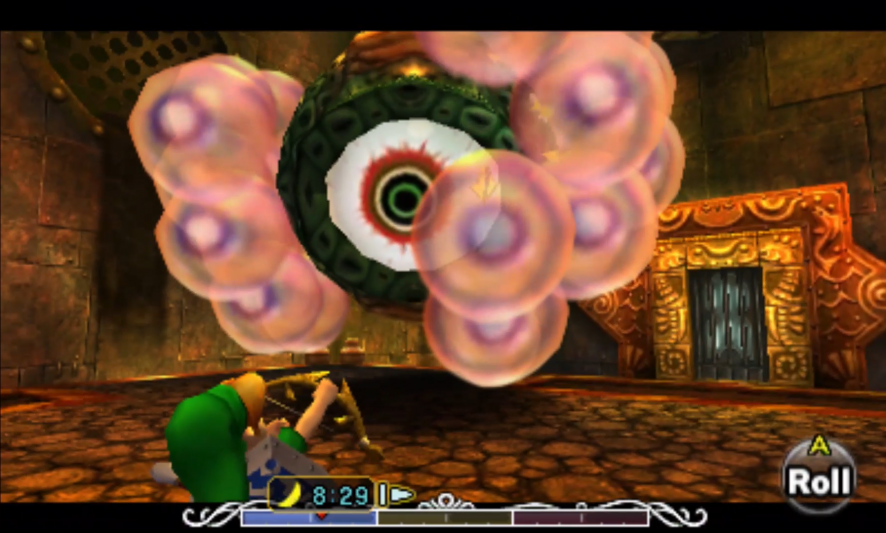
Eventually, when you start to clear some large patches of Wart’s surface where the smaller eyes aren’t, you can shoot Wart in his own eye with the Hookshot. After a few hits, whatever eyes that remain on Wart will fall off, and Wart will start dashing about the room. It’s only now that you’ll be able to target him directly. Once you’ve dealt with all of the eyeball blobs dancing through the room, back yourself into a corner of the room; Wart can’t actually touch the very corners, so you will be safe. Using regular arrows, hit Wart in the eye when the eye opens and you have a clear shot. Though you can target Wart, it’s almost easier to aim manually as he moves so quickly. After a few hits, he will be defeated, and he’ll drop a chest, giving you the Ice Arrows. Notice a theme yet?
The Red Pipeline
Leave the mini-boss room and then head straight through the room with the Chuchus. Take the chance to recharge yourself with arrows, magic, and health as you do. Jump off of the ledge and then head to one of the southern corners you’ll find platforms at the water’s surface’s height and also an Octorok. Equip your ice arrows and give the Octorok an arrow to the face; this will freeze it completely solid and also provide you with a jumping platform. Jump up from the platform onto the newly formed ice block and then up to the spigot at the top of the central platform. Pull it a quarter turn, and now the red pipeline is finally flowing. The problem is that it won’t be flowing all the way out to where we need it.
Dive down off of the platform and then use the Zora Mask to dive down. You’ll need to follow the red pipeline all the way through the dungeon to make sure the water flows all the way back to the waterwheel early on in the dungeon. You won’t be able to follow it directly as the red pipe heads back through the inflow (how you came in). But the other tunnel that’s the outflow from this room heads to the same spot anyway. Head through there, and you’ll be back in the turbine room.

If you take a moment to look at the red pipeline as it snakes throughout the various passageways of the turbine room, you’ll notice that, while it’s not making its way back to the waterwheel, the last stop where it still is making its way to was the passageway you dove into to find the map and the compass. So near the surface, look for the tunnel with both a red and green pipeline flowing into it, and enter through there.
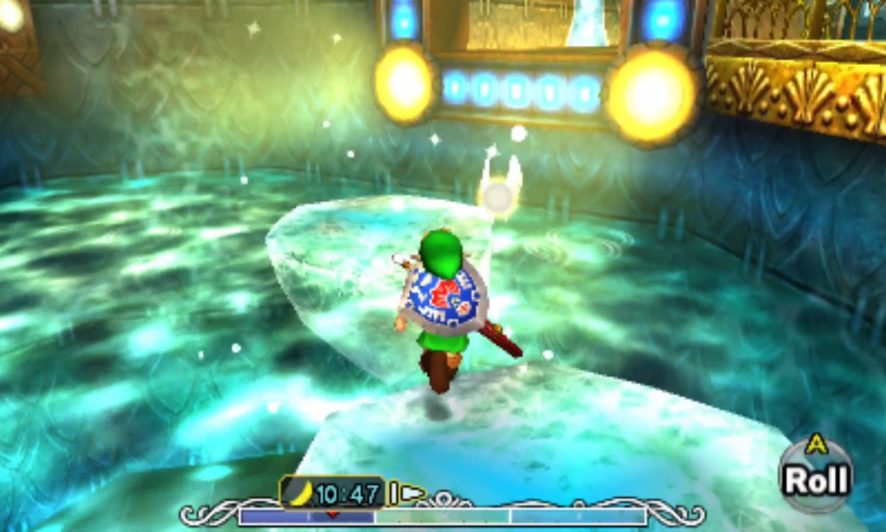
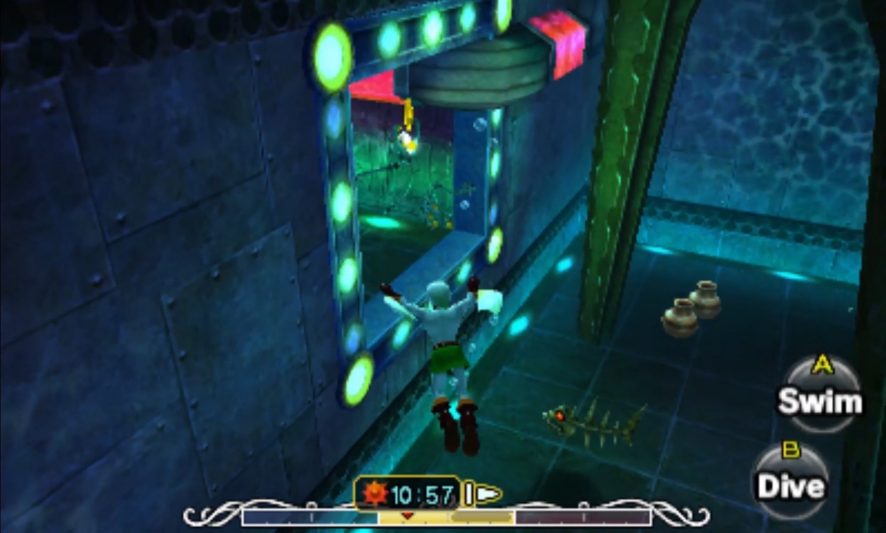
The skeleton fish will be back, so kill them with electricity as normal. If you look to the doorway on the south wall, you’ll see that two red pipes lead through the wall, and only one of them is flowing with water; there’s a blockage somewhere within there. You have to get to that room. If you’re good with Zora Link’s dolphin jump out of the water, you can dolphin jump up to the platform with two clay pots on it opposite the Map chest. If you’re not so great, head back to the platform that you can climb up to, and then Hookshot to the Map chest. Then fire Ice Arrows directly at the water’s surface in a southerly direction (towards the door); when you do so, an ice block will appear at the water’s surface. These don’t last long, so work quickly. Jump onto the ice block and continue making ice blocks until you can jump onto the tall platform where the door is. Go through that door.

This room will contain a spigot for the red pipe; unfortunately, you can’t reach the spigot. There’s a Real Bombchu up on that platform and a White Chuchu bouncing around. That Chuchu will respawn indefinitely, and that’s a good thing. Kill it once and, while you’re waiting for it to respawn, go to the platform with the red spigot and place your back against it. Get ready to fire an Ice Arrow. The Chuchu will respawn, and as it jumps close to you, shoot it with an Ice Arrow to freeze it. It’ll be frozen solid, and you can use that block to climb up to the spigot. Jump up to the spigot platform, and raise your shield so that you’re immune from the Bombchu’s blast. Turn the spigot, and the water is flowing again. Hooray! Head back out of the room to the north, avoiding the likely now thawed Chuchu.
The Boss Key
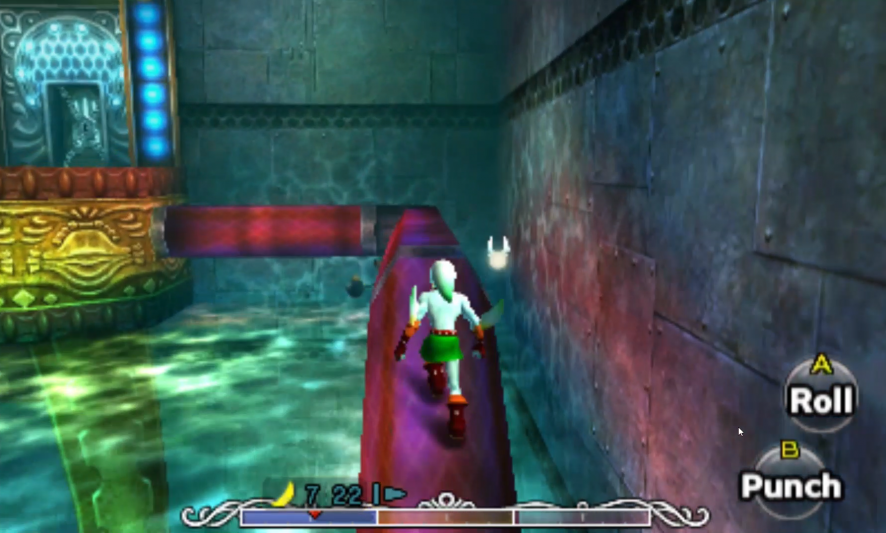
Now it’s just a matter of following the red pipeline backward. Follow the room’s outflow by following the red pipeline leading away from the former blockage after killing the Dexihands in the way. You’ll pass through the room with the Bio Deku Babas once more, and you can leave them alone if you didn’t kill them the first time. This will bring you to the room that had the Compass and the Small Key. However, this time, there’s more that we can do. On the north wall, you’ll see a blue passageway with icicles on the floor. Fire an ice arrow at the water’s surface somewhere in the general vicinity of that passageway. Swim along the surface of the water and climb up onto the ice block. If it’s close enough, you’ll be able to jump straight up to the ledge; if it’s too far away, use that ice block to create an ice block slightly closer.
Once you’re up in the ice tunnel, destroy the icicles with your sword to restore your magic. But be careful not to go too far, as there’s an ice block blocking the way forward. Use a Fire Arrow to melt it, and then continue onward. And be prepared, because now you’re going to face the second mini-boss.
Gekko is back to torment you, and this time he’s using Chuchus as his protection. Slowly weave your way through the Chuchus to pursue Gekko. Be wary if there’s a Chuchu directly between you and Gekko, as he’ll then hurl the Chuchu at you. Once you manage to hit him with your sword, he will gather all of the Chuchus to him and jump up to the ceiling, protecting him. Look for his shadow on the screen, and don’t let him come directly above you while he’s doing this, or else he’ll slam the Chuchus on top of you and deal several hits before letting you go. As quickly as you can, when you have time for a clean shot, use an Ice Arrow to freeze the Chuchu mass so that its sheer weight will cause it to come crashing to the floor. This will separate the mass of Chuchus, and you can pursue him again to hit him. Repeat this process a few times, and Gekko will go down.
Once defeated, you can head out the leftmost of the two doors on the southern wall. This will lead you directly to the Boss Key. From here, you can climb up the golden grate structure into the hole and then jump out into the water. From there, use Zora Link to swim back out to the turbine room.
Finishing the Red Pipeline
Now the red pipeline is completely restored, or at least all the way back to the waterwheel room. The turbine is still spinning in the same direction, so there’s still one final blockage back at the waterwheel. Come to the surface in the turbine room and grab hold of one of the ledges so that you can get ashore. There should be ladders that will lead you upward to near the top of the room, where you can use the spinning blades of the turbine to navigate your way over to the southern bridge between the turbine and the wall. Head south back into the room with the waterwheel.
When you get there, you will see that there’s one final blockage in the works with the final red spigot blocking the flow of water. You need to get to the top of that platform to turn it. If you look to the right, you will see a pillar of water being spit out from the red pipe on the near wall. Directly above that is an easy-to-miss Hookshot target. Aim for that Hookshot point, and it will drop you straight on the pillar of water heading upward. From there, you can easily hop on over to the red spigot to start the red water flow onto the waterwheel.

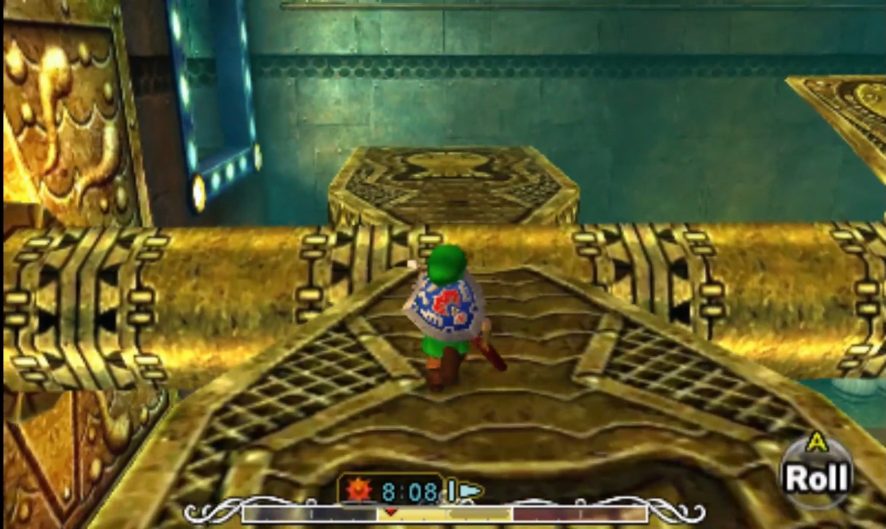
This, unfortunately, will stop the waterwheel, so now you have to turn off the yellow water that’s powering the turbine. That’s just a simple matter of heading to the yellow spigot at the water’s surface and spinning that a quarter turn. Now the waterwheel is being powered again, but this time in the opposite direction. With that done, head back to the door leading to the dungeon entrance, hop on the left elevator going up, and then work your way back around the room, being mindful of the Skulltulas.
The Green Pipeline
Back in the turbine room, we have to finish the green pipeline. The green pipeline is what will eventually let us get to the boss’ chamber. The green (and yellow) water comes from the room directly to the north of the turbine room, so wander onto the bridge between the southern exit and the turbine, and wait for one of the turbine’s blades to pass underneath before jumping onto it. Let it spin you about, and when you reach the northern side, climb up onto the ledge. There’s a waterfall spilling down the ladder heading upward, but you can freeze it by firing an Ice Arrow at the water streaming down. Once done, climb the ladder and continue in the room that’s above.

This room has a school of skeleton fish and one Tektite. Kill the Tektite with your sword, and then optionally go kill the fish with Zora Link’s magic. Once done, head back to the platform at the south, and make a series of ice blocks using your Ice Arrows in order for you to gain a platform from which you can jump to the green spigot at the far side of the room. Once upon the platform, turn the spigot, and the green water will now be flowing. Head back south into the turbine room.
Now you have to follow the green pipeline all the way through its dungeon trek. Hop into the churning water and look for an outflow tunnel that has both a green and a red pipe going down it. Swim through that tunnel, and be wary of enemies that inhabit the tunnel as you are carried through it. You will eventually end up in a room with several Spike traps. There are also some skeleton fish in the water, which unfortunately respawn as you kill them.
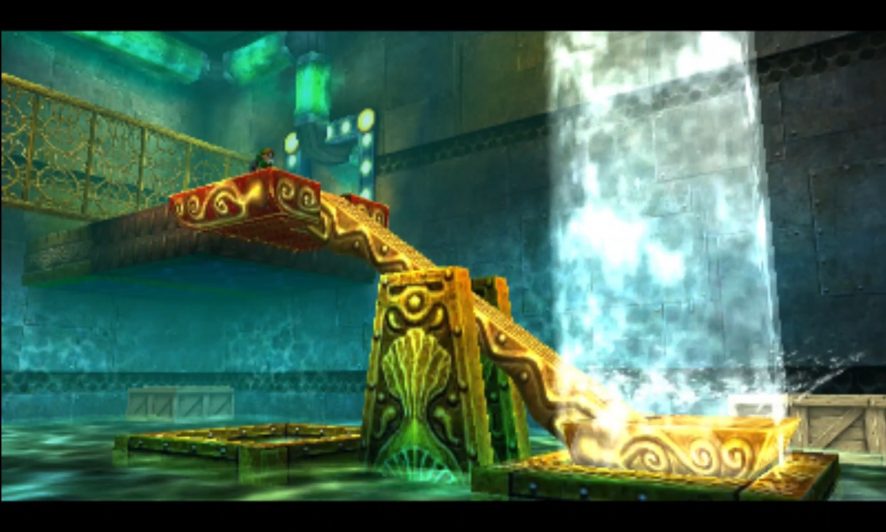
Go to the northwest corner of the room to find a platform at the surface of the water. Climb up to it, and wait for the elevator to come down to you. Hop onto it and ride it up. As you face southward, you will see a large waterfall coming from the ceiling. While your platform is high in the air, shoot an Ice Arrow at the ceiling in order to freeze it, thus stopping this waterwheel from spinning. This will allow you to jump down onto the now motionless waterwheel axis and walk along it to the blade mechanism on the south wall. Turn right, and then hop through the exit in the southwest corner of the room.
This will bring us to the first room that’s blocking the green water from flowing. There are three seesaws in this room. There’s one immediately in front of you as you enter and then two other ones further in the room, one of which is raised up higher than the other. Go to the furthest ground-level seesaw, and stand on the lower end of it. Look in the direction of the opposite end of your seesaw, and then up; you will see a waterfall up above that’s frozen. Hit it with a Fire Arrow to rain down water onto the opposite end of your seesaw so that you are then lifted up to the same height as the lower platform of the higher seesaw. Jump to that other ledge, and then look up and melt the waterfall that will then pour water to the higher ledge of the higher seesaw. That will lift you up even higher such that you can jump to the platform with the green spigot. Twist the green spigot so that the water continues flowing.
Drop down from the green spigot, and then walk over to the so-far unused third seesaw near the entrance door. Stand on the lower side of the seesaw, and once again melt the frozen waterfall above the opposite end so that you are then raised up to the doorway out of the room.
This will bring you back to a rather familiar room, which you’ve been in so far twice. Unlike the last two times, however, the water is following in the opposite direction in this room, so the gateway directly in front of you underwater is now the outflow instead of the inflow. Don the Zora Mask and head out through the outflow back to the turbine room.
There’s one last passageway to tread from the turbine room. Near the bottom of the turbine, look for a passageway with just a single green pipe leading into it. That’s where to go, and that’s where you’re going to find the passageway to the boss. Head through there, and you’ll almost be at the end.
There’s one final blockage along the green pipeline in this room, and thankfully, the one piece of the green pipeline that we need working on is also in this room, so you’re done with the turbine room forever. Once you get into the room, look for where the green pipeline comes out of the water and goes aboveground. Climb up onto the pipeline and follow it until you finally get to the last green spigot. Give it a turn, and it’ll activate one final water pillar that you can hop across to get to the boss door, just on the other side. Open the door, jump into the large pit within the next room, and then get ready to go fishing.
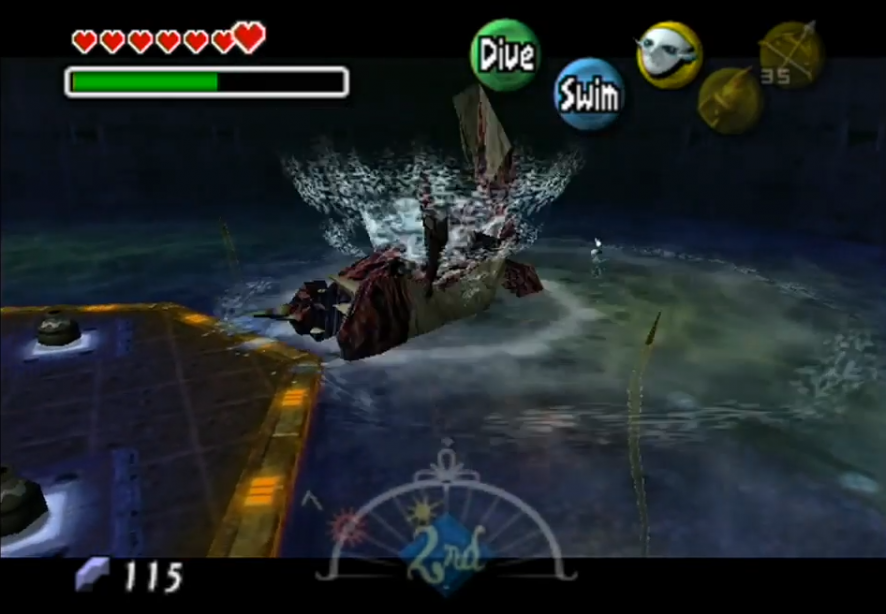
Boss: Gargantuan Masked Fish: Gyorg
Gyorg can be one of the easiest bosses or one of the most difficult bosses of the game depending upon how good you are with Zora Link’s maneuverability. He has a ridiculously simple pattern to follow, but it’s getting out of the water and back to safe land that will make or break you on this boss.
The best things to have equipped are the Hookshot and Zora Link. Start out as Link with the Hookshot armed. Locate Gyorg deep beneath the water; if you can’t see him directly, look for a stream of bubbles coming up to the surface, which will indicate that he’s directly below them. If you can’t find him quickly, stay near the center of the podium in the center as Gyorg will either ram the podium, which will knock you backward and potentially into the water if you’re too close to the edge or make a leap over the platform, which you should attempt to dodge. After that, or if you manage to find him quickly, target onto him and let the Hookshot fly. If it misses, back away to the center; however, if it hits, immediately don the Zora Mask and jump into the water.
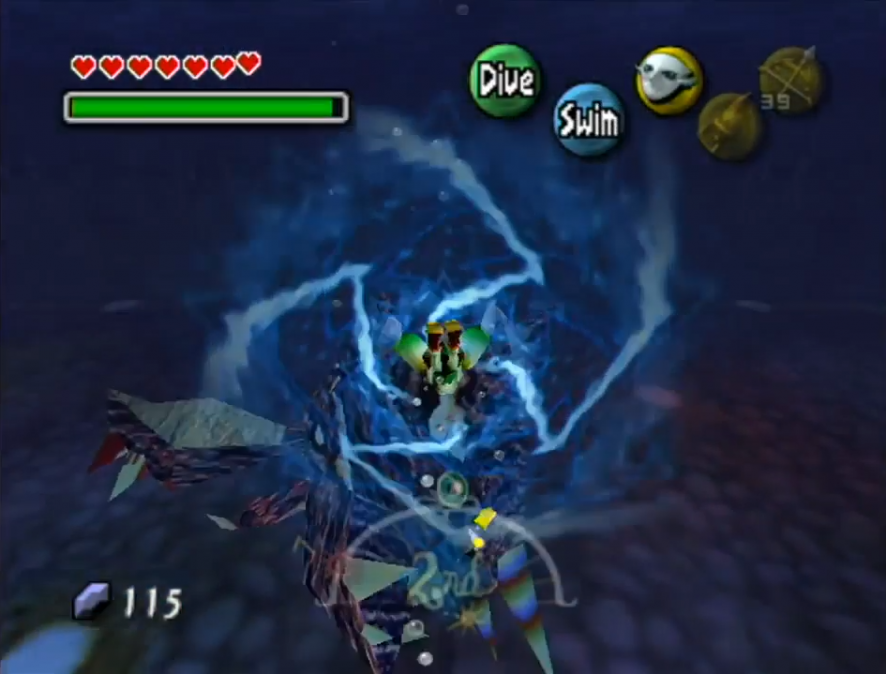
Timing is of the essence here, as he won’t remain stunned for long. Either dive or swim down to Gyorg and activate your electricity shield when you’re near. Once you’ve managed to score a hit, run for it. Get back to the surface as fast as you can. If at all possible, try to do a dolphin jump back onto the platform; if you manage to do that, you will save yourself several hearts’ worth of damage. If you can’t, do your best to get back to the platform, but you will probably get caught by Gyorg’s sharp teeth in the process. He’ll do somewhere around two and a half hearts of damage each time, so it’s nothing to scoff at. Once you do get ashore, take off the Zora Mask and arm the Hookshot to repeat the process.
After a few hits, Gyorg will release some fish into the water. These aren’t too troublesome to worry about, though if you get caught in them, they will slow you down. However, oftentimes that school of fish will be nowhere near where Gyorg is, which is good for you. You can activate your electric shield as Zora Link while dashing through them to get some much-needed hearts. Keep at it, and eventually, Gyorg will go down. Good riddance.

Grab your Heart Container first and then get Gyorg’s Remains, and you’re off to meet the third guardian deity. The deity will ask you to help the last of the four of them, and hopefully, with one more deity, you’ll be able to show down the Skull Kid and Majora’s Mask. Three down, and there’s one to go.
The giant turtle will leave you off at Zora’s Cape, and that pretty much ends the day. Head back to Clock Town, and play the Song of Time to return to the First Day.