


3. Woodfall Temple
Table of Contents
The Map
From the platform with the Owl Statue, use the Deku Flower to fly over to the large island containing the dungeon. Aim the camera carefully before you leave the Flower; it’s a tight flight without any leeway at all, so you’re going to need every inch of distance you’ve got. Once over there, you can head into the dungeon.
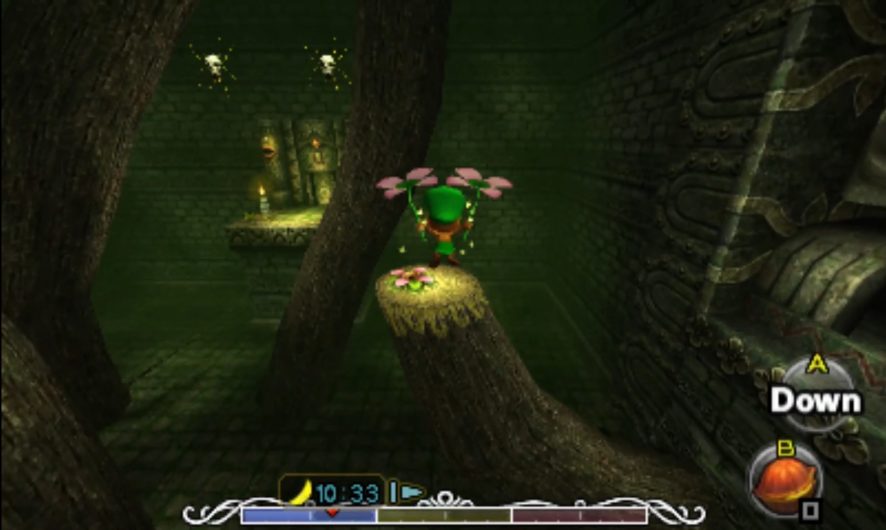
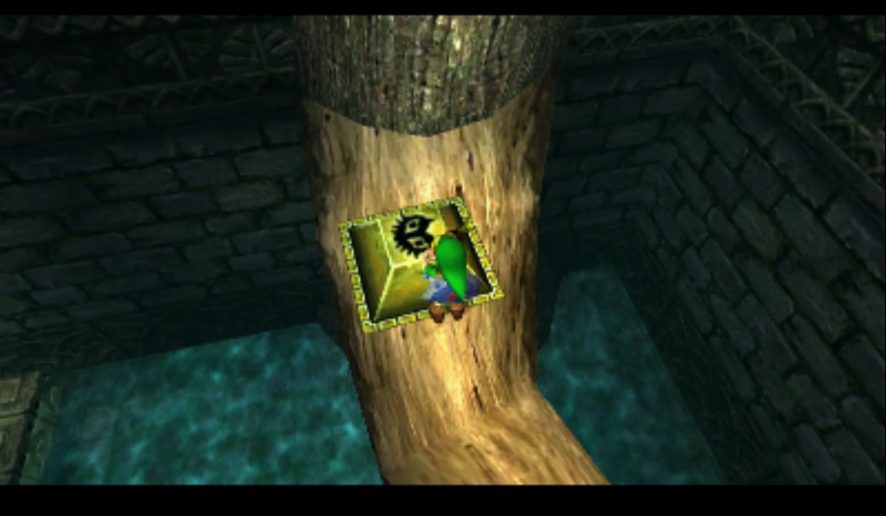
When you enter this cavernous entrance room, don the Deku Mask and use the Deku Flower on the starting podium and fly to the left towards a tree stump. If you happen to fall, there are ladders on either side of the starting platform, but you will have to deal with some Black Boes creeping along the floor. All you need to do to kill them is to use the Deku spin attack; however, they will always respawn, making them persistently annoying enemies. Use the Deku Flower to fly to the second Deku Flower on the right side of the room, collecting the first stray fairy floating in the center of the room. Alternatively – for free fairies like this one – Link can don the Great Fairy Mask to lure them over, making them easy to obtain. Once you arrive at that small platform, open the small chest to release the second stray fairy. Next, fly to the platform to the north end of the room, being wary of the two Skulltulas that descend at the corners of the platform; as you’re making your landing, aim for the center of the platform, and you should be safe.

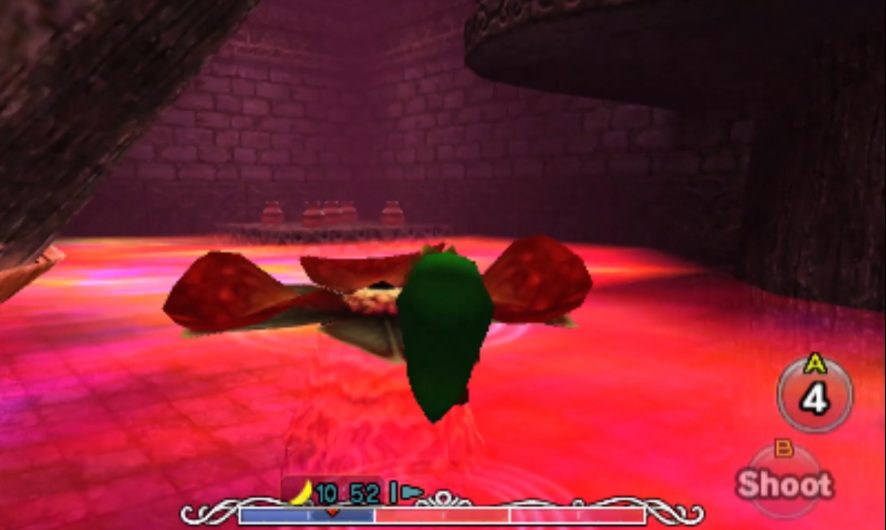
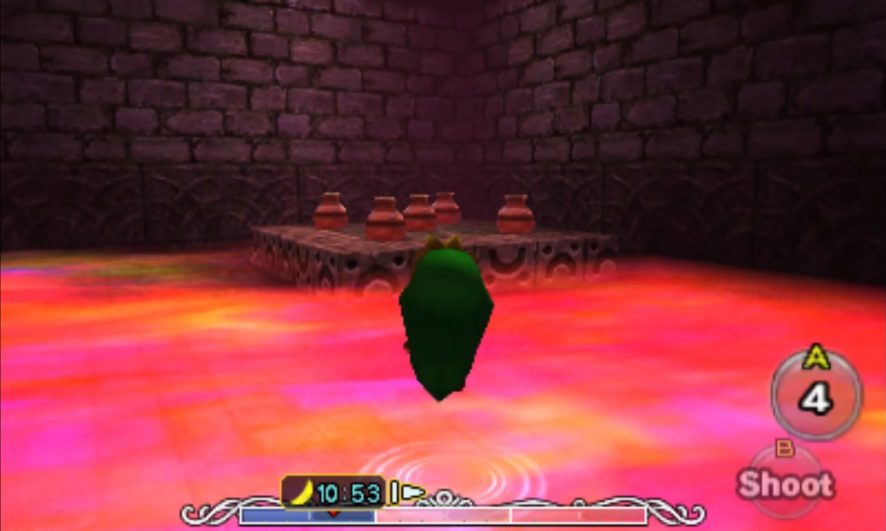
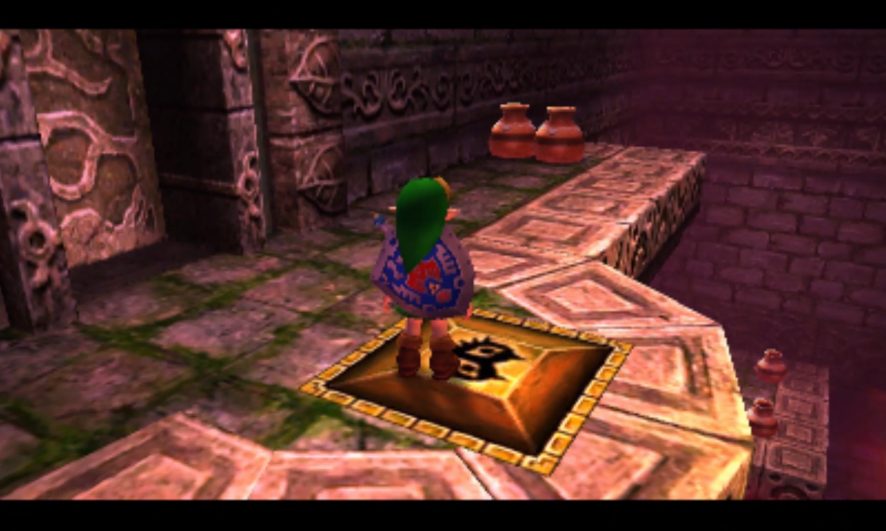
Head through the door, and you’ll arrive in the room that serves as the hub for this dungeon. Head down the large tree limb to the left, and kill the Deku Babas that appear as you descend, which will free the third stray fairy. You’ll find a locked door on this side, and since don’t have a key yet, head to the east side of the room instead. You will see, atop the poisoned water, carnivorous flowers. If Link steps on them, they’ll be trouble, but Deku Link is light enough to hop across safely. Hop along the water onto the first lily pad and continue around the large structure in the room’s center from lily pad to lily pad as you make your way to the right side of the room. In the southwest corner of the room sits a platform with five jars; smash them to reveal the fourth stray fairy. Once you reach the other side of the room, go through the door.
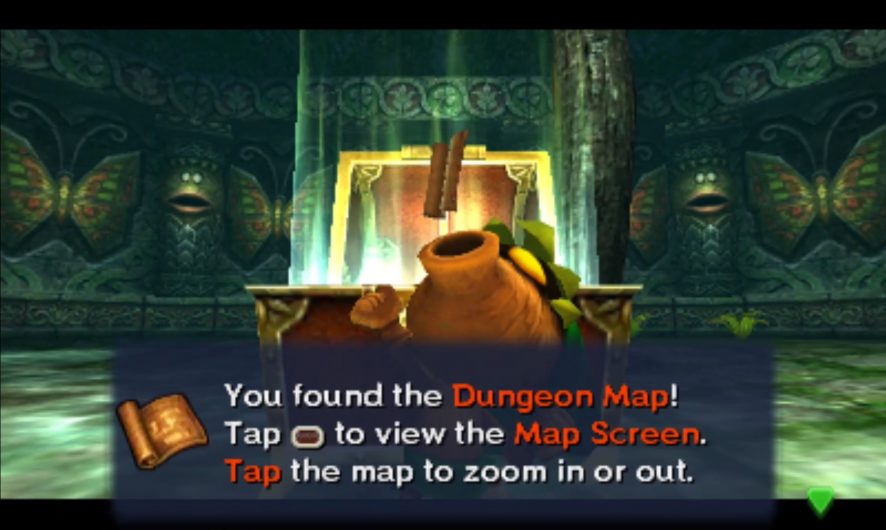
In the third room, there are more carnivorous lily pads. Hop from the platform to one of the closer lily pads so that you can make your way to the Deku Flower in the center. First, use it to grab the chest along the northern wall in order to get a Small Key. With that out of the way, return to the Deku Flower and use it to reach the eastern room. This room is where we’ll face our first real challenge. There are three Snappers in this room. Their only weak spot is their stomachs, which they never expose directly. The only way to defeat them is to dive into a Deku Flower and then emerge just as they pass over the top of it. Once you have dispatched them, the door you came in through will open, and a treasure chest will appear. Open the chest to get the Dungeon Map.

The Compass
With that, return to the hub room that we passed earlier. Once again, use the carnivorous lily pads to go around the central structure of the room until you arrive at the locked door. You can utilize the Deku Baba that guards this door to harvest Deku Sticks which are important for the next room. Use the Small Key to enter the locked door.
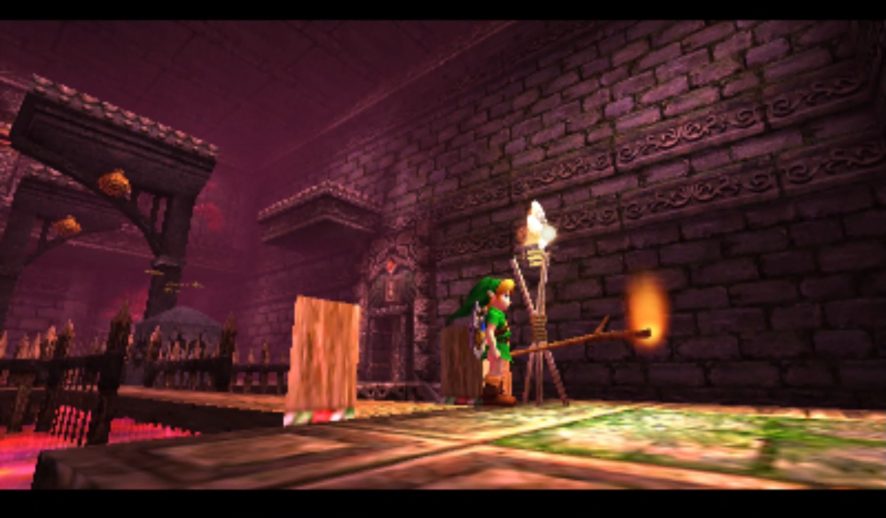
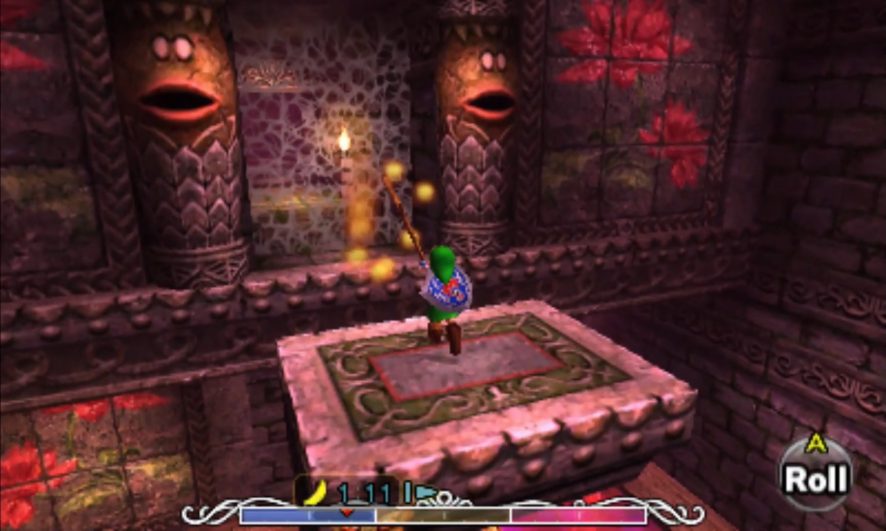
Here, there is a stone block in the center of the room that you can push or pull. Push it forward one space and then turn right, following the catwalks around to the corner of the room where a Skulltula awaits you. Defeat the Skulltula when it shows its back to you to release the fifth stray fairy. Note that there’s a lit torch here and that there’s an unlit torch on the south side of the room near the sealed door. Before pulling out your Deku Stick just yet, continue around the catwalks until you reach the stone block again; shove it forward two spaces so that you now have a quick and easy path between the lit and unlit torches. Then backtrack to the lit torch, pull out a Deku Stick, light it, and then run as fast as you can to the unlit torch. If you’re fast, once you light the torch, you can extinguish it before you fully consume it by drawing your sword. The door to the south will open when the torch is lit, so proceed on through.
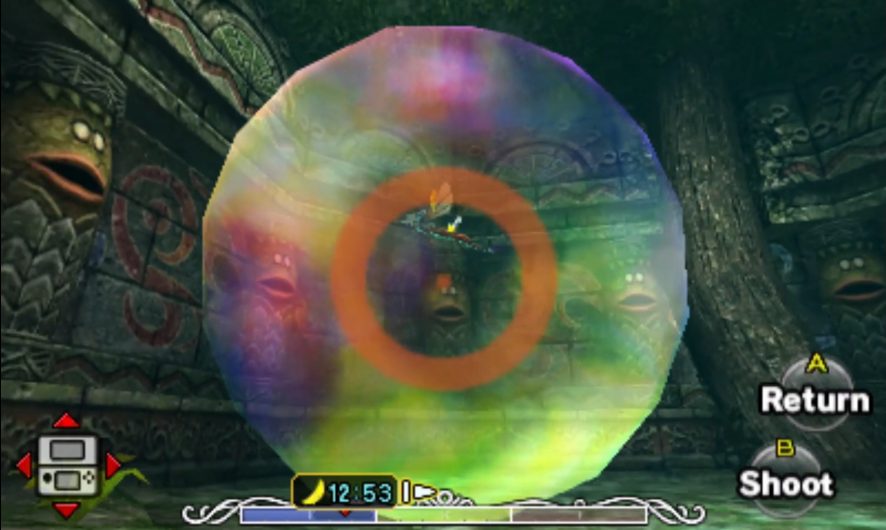
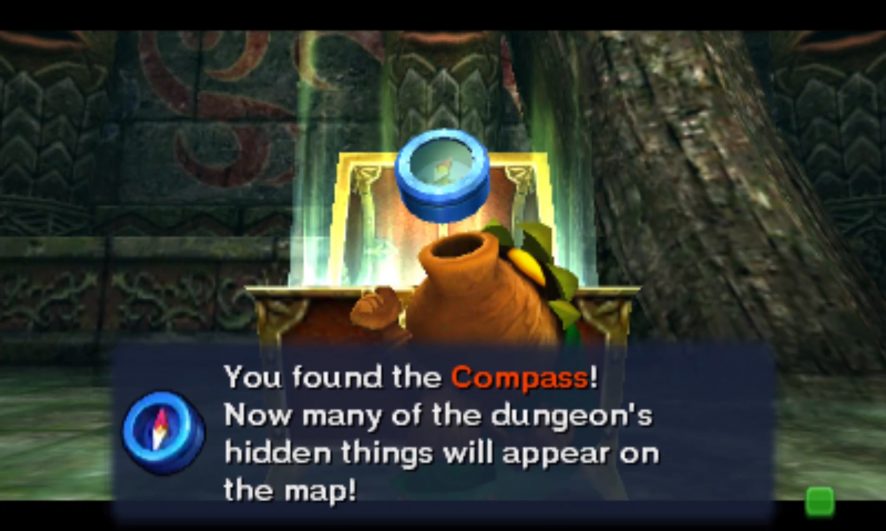
In this room, you’ll find two more Dragonflies. You can either dispatch them by using the Deku Flowers on the floor, or by shooting them with a Deku Bubble. Defeating them will make a treasure chest appear, giving you the Compass.
The Bow
Once you reenter the stone block room, shoot down the beehives on the ceiling with Deku Bubbles – one will release the sixth stray fairy – then remove the Deku Mask to become Hylian Link once again. Immediately to the left of the door to the compass room is a path that leads to a staircase upward, and at the top of that staircase is an unlit torch. You need to use a Deku Stick once again to carry the light from the torch directly to the upper level of this room. Once you’ve done so, extinguish the Deku Stick immediately if you can.
You will then notice there’s a spider web in front of the passageway leading north out of the room. You need to carry another flame from the newly lit torch across the precarious platforms over to the web. Continue forward, wary of two Deku Babas just inside of the corridor formerly protected by the web. After dispatching them, you can continue forward to the staircase to the second floor.

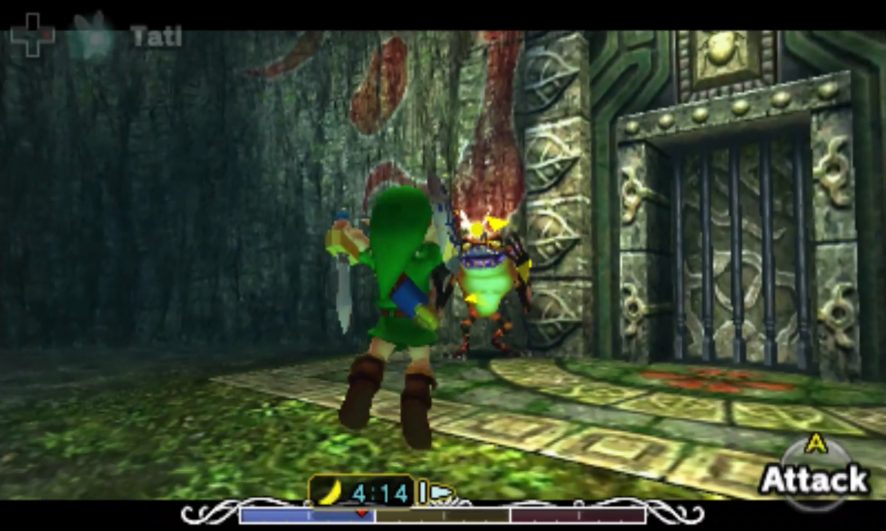
The moment you arrive on the second floor, the lights will dim, and Tatl will mention that she senses a lot of evil here. A number of Black Boes will emerge from the darkness; the easiest way to dispatch them is by spinning wildly as Deku Link. Once you take care of them all, a chest will appear. Open it to free the seventh stray fairy. There are three unlit torches on the southern side of the room, so again use a Deku Stick to light all three torches in sequence. This will open up the door to the other room on the second floor.


In the next room, you’ll be standing on a ledge with a Deku Flower, and ahead are moving platforms with more Flowers on them. Before attempting to cross the gap, however, descend the stairs and release the eighth stray fairy in the room’s northeast corner. Ascend the stairs again and wait for the closest platform to swing all the way right, and then fly to it as it starts coming back toward you, avoiding or destroying the circling Dragonflies in the process. The second moving platform moves in an L-shaped pattern, so wait for an opportune time when it’s moving towards you before jumping out. Finally, pop out of the final flower to make it to the far platform, which provides you a set of stairs leading back down to the first floor.
You’ll now be on the upper level of the central hub room. Immediately turn right and free the ninth stray fairy. Head south along the eastern wall and you’ll arrive at a doorway as well as a switch. Remove the Deku Mask if you have it on and stand on the switch; this will create two ladders next to you that will allow you to climb between the upper and lower landings of this room. With that, take the door heading east back into the room with all of the carnivorous lilies.
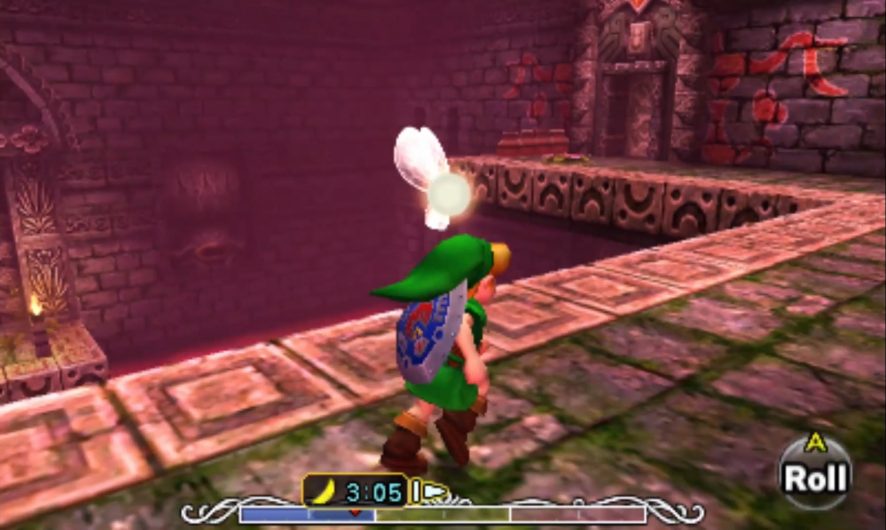
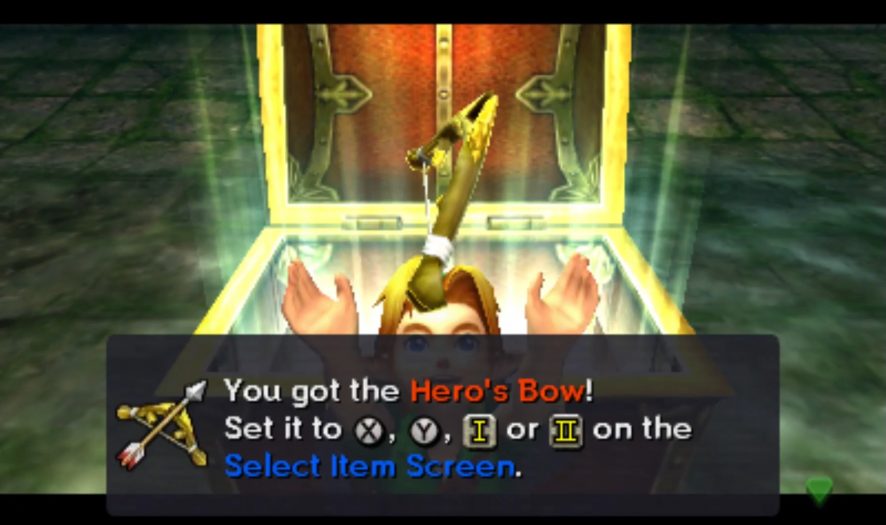
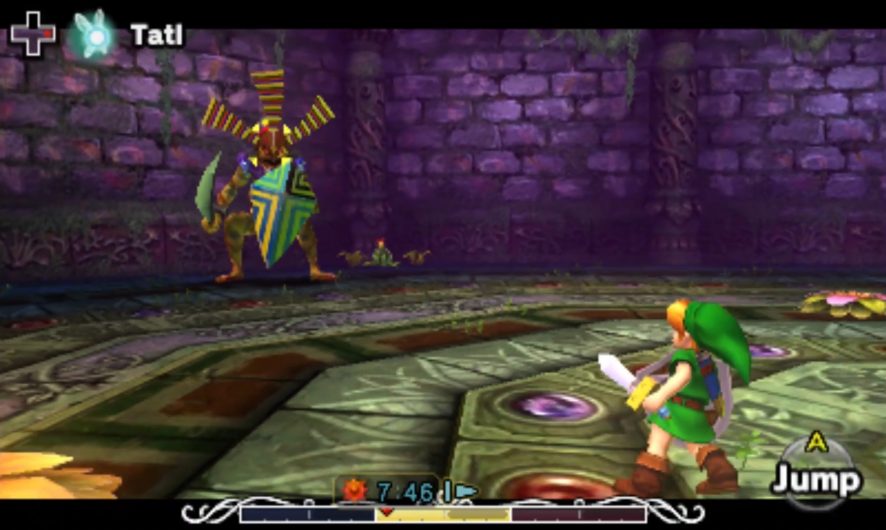
This room’s upper landing has a simple walkway leading to a doorway on the south wall, but before you enter, destroy the beehive near the door you came through to free the tenth stray fairy. Take the door, and prepare yourself for a fight. As soon as you enter the room, a Dinolfos appears. Keep your shield up to defend against the Dinolfos’ blade and then strike him with your sword as he recovers. After taking a hit, the Dinolfos will spew flames from its mouth, so backflip to avoid this attack. If you catch on fire, roll to put the flames out. Ignore the Deku Flowers here; Deku Link is especially vulnerable to fire. Once you beat the Dinolfos, a treasure chest will appear containing the Hero’s Bow, an essential weapon for any green-clad adventurer!

The Big Key
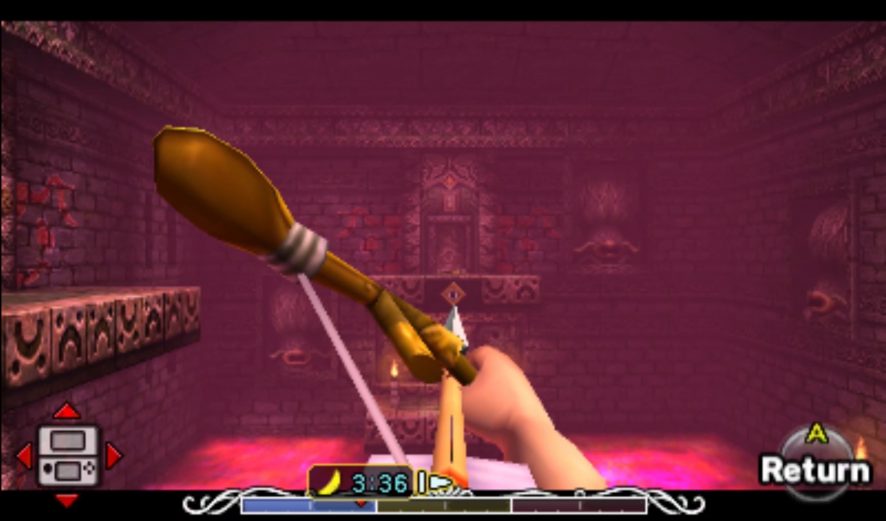
With this treasure in hand, you can leave this room. Directly across from you, an eye switch will be visible on the upper ledge. Shoot this switch with an arrow and the platform in the center of the room will move vertically between the upper and lower levels. Put on the Deku Mask and dive into the Deku Flower at your feet. Fly over to the central Deku Flower, and then fly north when it’s at its apex to get to the upper ledge. Head through the door, and prepare for another mini-boss fight.
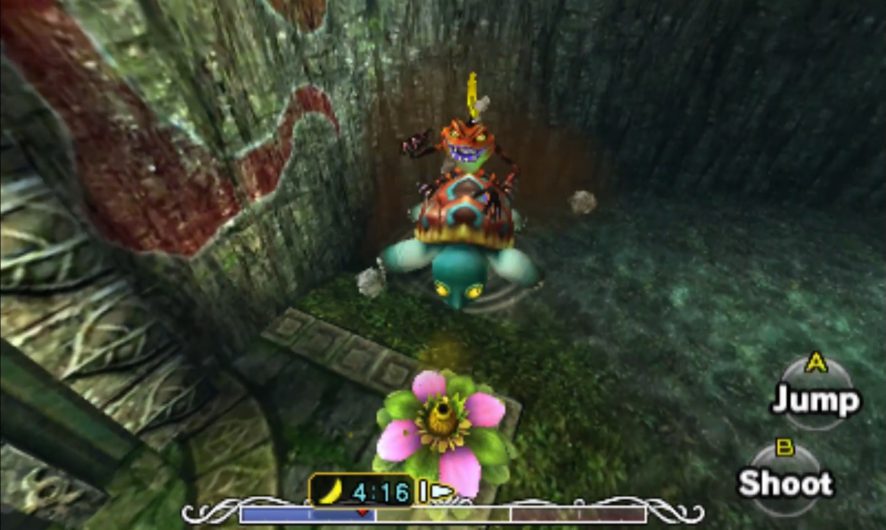
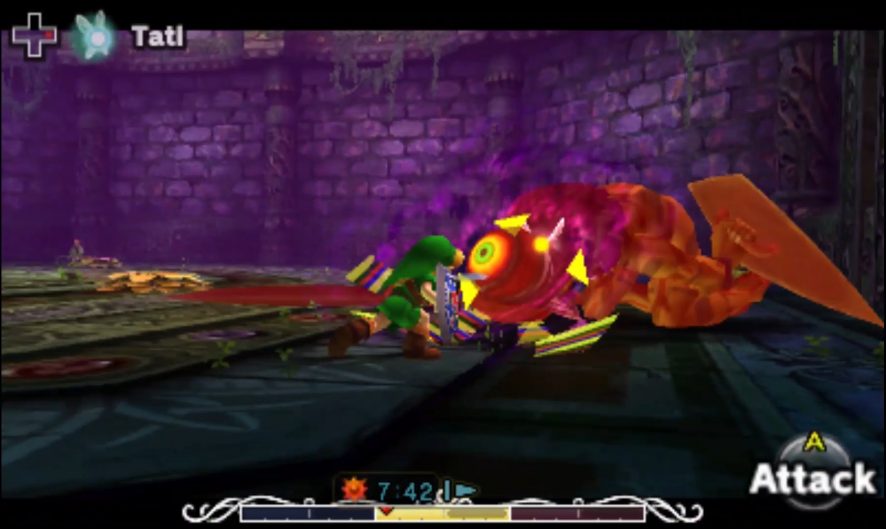
This time you’re fighting Gekko and you can make quick work of him with Link’s sword or your shiny new bow. After two hits, he will summon a large Snapper to ride, which moves quickly.
When Gekko is atop the Snapper, transform into your Deku form. Dive into any Deku Flower and wait for Snapper to come to you. As he passes over, launch yourself out of the flower. This will cause Snapper to retreat into his shell, and Gekko will go flying off. Alternatively, if you equip the Blast Mask, you can cause an explosion when Gekko approaches, which will also stun the Snapper and send Gekko flying. At this point, you’ll need to get your bow ready. Gekko will climb up the walls to the ceiling out of melee range., If you target Gekko, however, you can let an arrow fly at him. After you hit him with an arrow, he’ll fall back onto the ground and mount the Snapper again. Repeat the process a few more times, and Gekko will be no more. The northern door will unlock and you can through the door to obtain the dungeon’s Boss Key.
The Boss Door
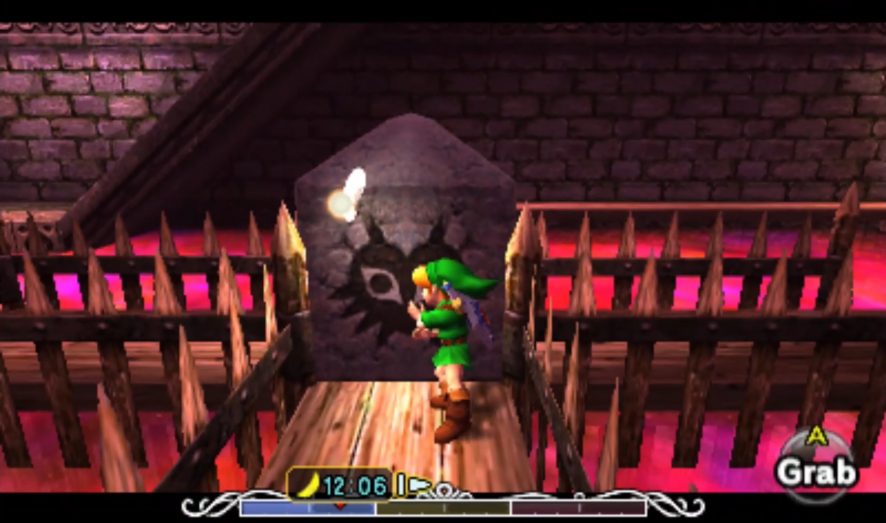
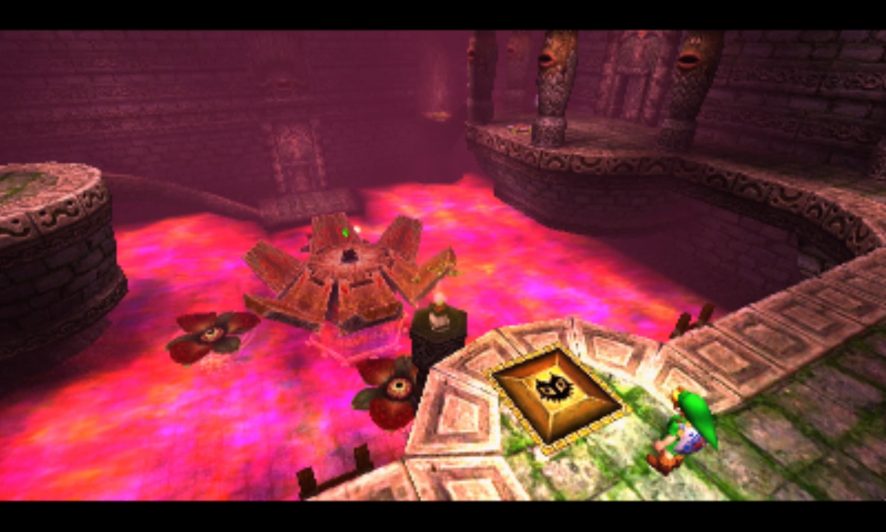
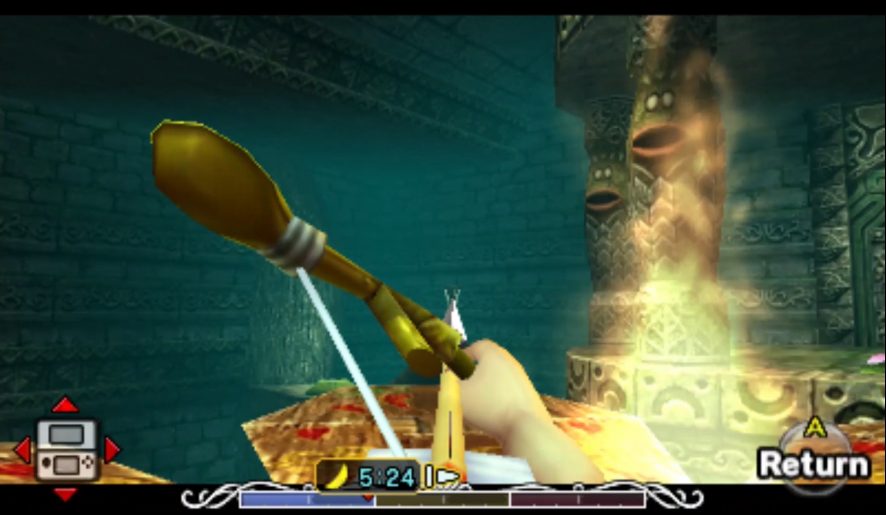
Leave this room and then use the Deku Flower in the next room to head west. You should now be back in the central hub room. Activate the floor switch in front of you to make ladders appear, creating quick access to the second level. Take note of the unlit torch on the shrine below you. Use the bow to line up a shot that passes through the lit torch and hits the unlit torch on the structure.
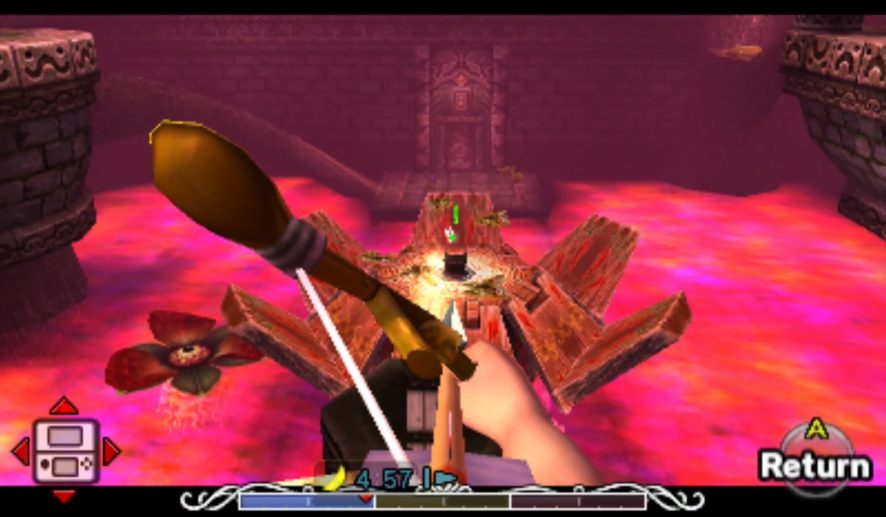
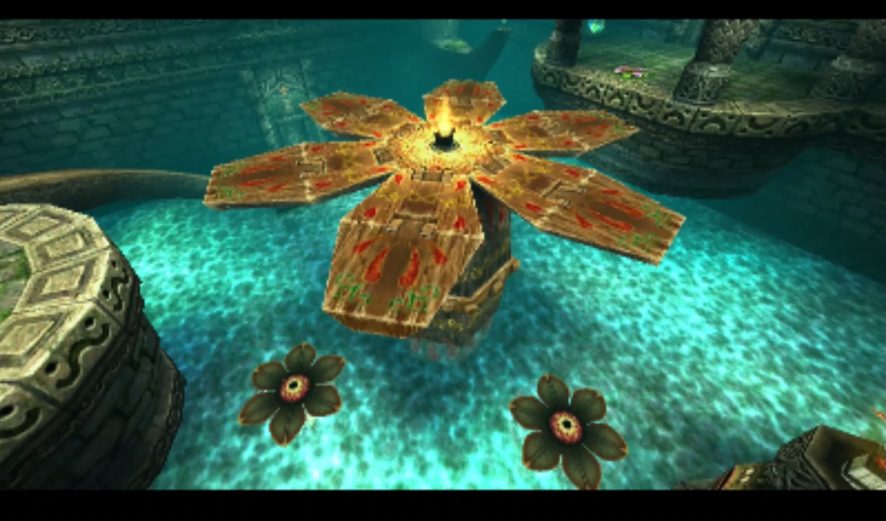
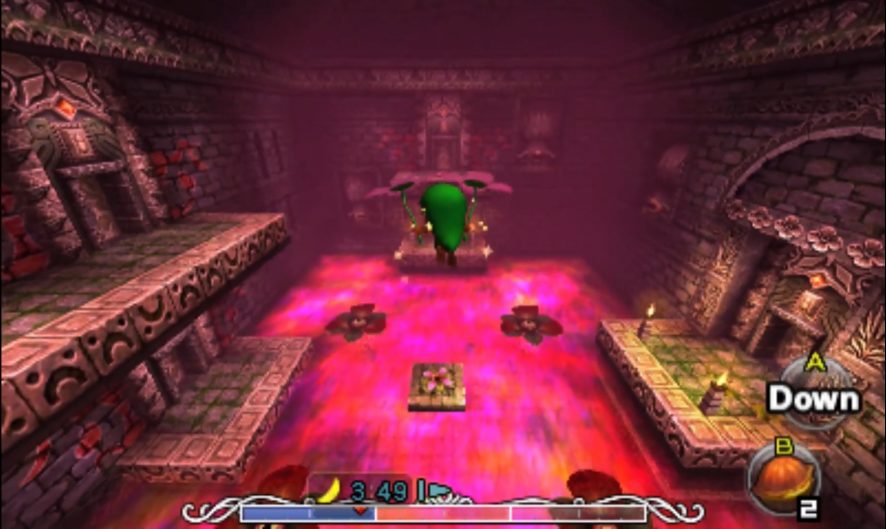
Doing so will change a number of things in the dungeon. You will notice the flower-shaped platform in the center of the room will rise and begin to turn, purifying the poisonous water and destroying the carnivorous lilies below, making them safe to approach in your Hylian form.
With the shrine activated, head to the northern end of the ledge and use the Deku Flower to glide to the protruding tree branch in the northwest corner. Step on the switch to make a chest appear back on the ledge to the south. With the water purified, it is safe to jump down and swim to the west, where you can climb back up to where the chest now rests. Open it to release the eleventh stray fairy.
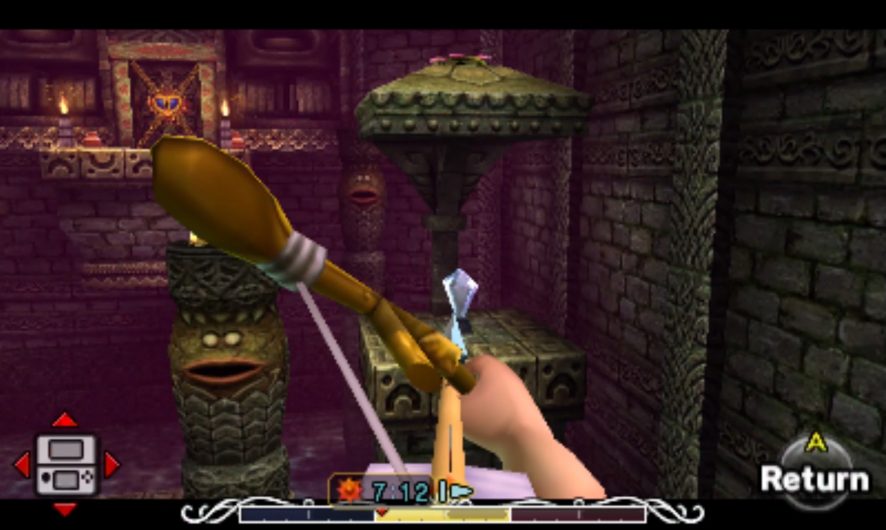
To unlock the door to the north, you must light the torch resting on the same protruding tree branch. Leap across onto the spinning shrine and when the lit torch in the center passes through your vision, unleash the arrow so that it passes through the fire and lights the other. With that puzzle completed, head through the northern door.
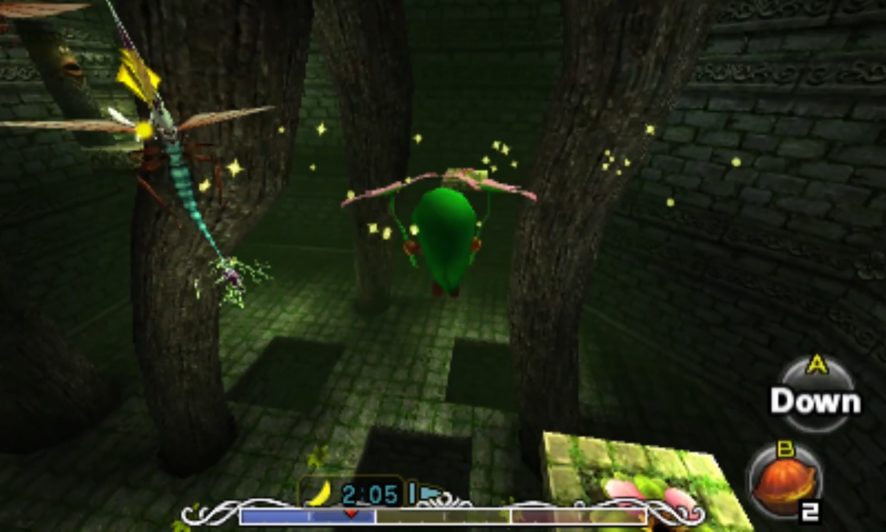
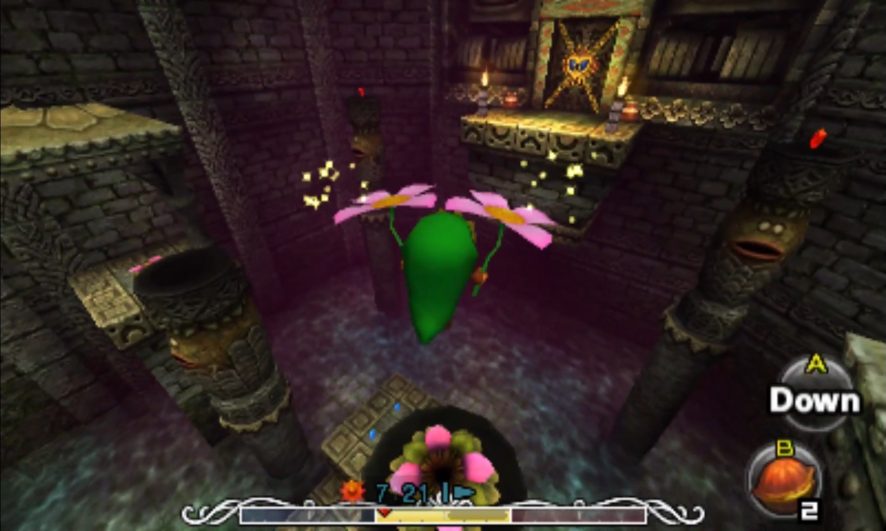
This large room contains two Dragonflies fluttering about the room; you should take them out first with your bow. Next, climb down the ladder and use Deku Link to ascend the alcoves collecting both the twelfth and thirteenth stray fairies. Return to the first Deku Flower, this time ascending the eastern alcoves, where you can free the fourteenth stray fairy. The final fairy is visible in a circle of flame atop the left-hand pillar, trapped in a bubble. The easiest way to obtain her is to shoot the bubble with an arrow and equip the Great Fairy Mask, which will attract the fifteenth stray fairy. From here, shoot the crystal switch on the eastern platform which will extinguish the flames on the pillars. Then, leap across the gap to the platform with a roof-like structure. Use the Deku Flower here to fly across to the right-hand pillar where another flower can be used to reach the roof of the eastern platform containing the crystal switch you struck earlier. Use the final Deku Flower here to glide to the northern ledge where the locked boss door looms. Use the Boss Key to unlock the door and enter to fight the game’s first dungeon boss.
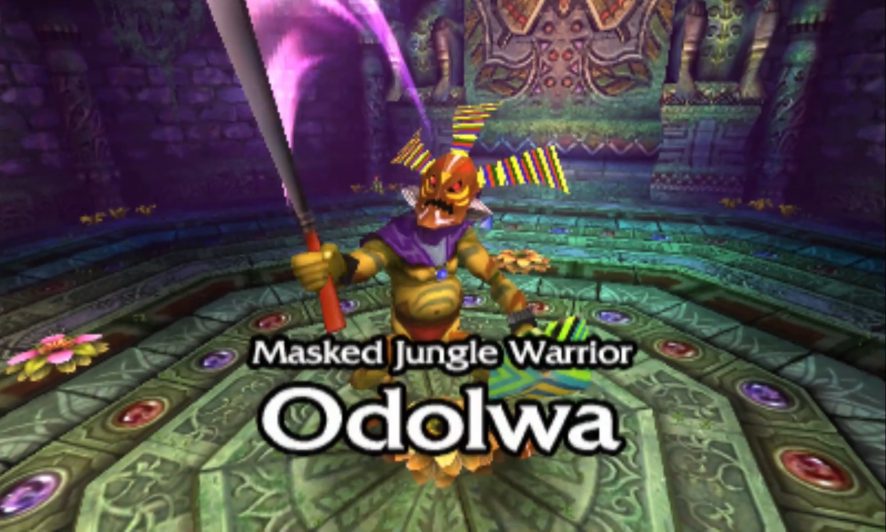
Boss: Masked Jungle Warrior: Odolwa
Odolwa is a towering warrior armed with a colorful shield and devastating machete-like blade. Keeping a target lock on him is an important tactic to defeating this foe. At close range, Odolwa uses his blade to swipe at you or kicks Link away if he gets too close for comfort. Watch for long-range swipes and keep an eye on him as he leaps around the large room.
Link can use his trusty Hero’s bow to stun Odolwa when he isn’t guarding himself. These chances include when Odolwa is running around or performing dances to intimidate you. Once he is stunned, attacking his legs will cause him to tumble down. Link can also transform with the Deku Mask and burrow into the Deku Flowers scattered around the room. While hovering above Odolwa, you can drop Deku Nuts to knock him over. While he is incapacitated, Link can strike the ominous-looking eye to deal damage to Odolwa.
Once you have dealt a decent share of damage to Odolwa, he will perform a chant to summon a number of spider-like enemies to harm Link – sword slashes or arrows take care of them nicely. Odolwa can also summon a swarm of moths to harm Link. Using the Blast Mask or placing a bomb will vaporize these annoying pests.
If you’re running short on hearts, the spider creatures tend to drop hearts, so back away from Odolwa and focus on them in the short term. Otherwise, keep persisting against Odolwa and working at attacking him. Eventually, he will fall and will yield to you a Heart Container. Step into the light to obtain Odolwa’s Remains.
Once you do, you will be transported into an ethereal place where you will meet one of the four guardian deities of Termina. The Giant will teach Link the Oath to Order, an important song used much later in Link’s journey.
Tatl will give you a nice compliment for defeating the evil being and even apologize for her earlier behavior. But your work isn’t done just yet. You may have defeated the boss, but there’s still some good humanitarian work yet to be done, and that starts with taking the Deku Princess back to her father.
Rescuing the Deku Princess and the Monkey
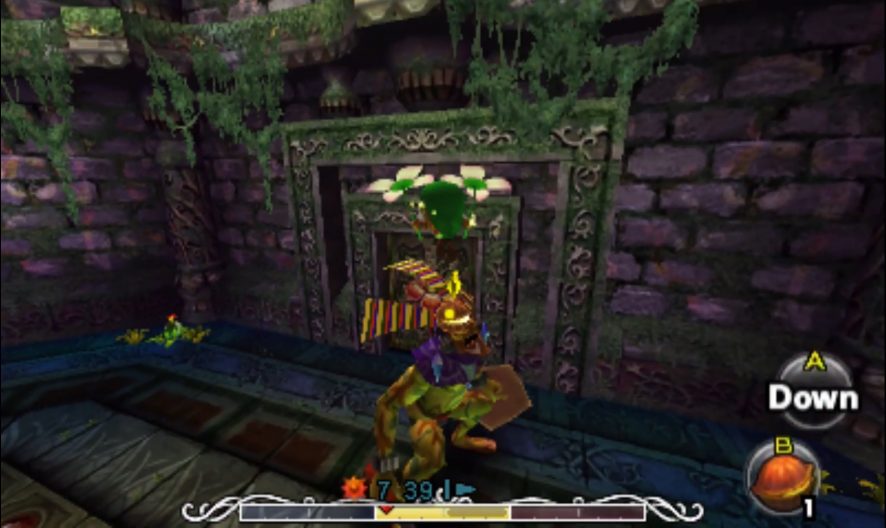
You’ll be left in a separate room within Woodfall Temple containing the Deku Princess’ prison. Take your sword and slice through the vines keeping her trapped. You’ll find the princess inside, and she’ll thank you for rescuing her. But she will become enraged when she realizes that her father accused the monkey of kidnapping her. And so she asks Link to immediately bring her back to her father to straighten everything out. The only thing we possess to carry the Princess home is an empty bottle. Your bottle is empty, right? If you did buy a potion or catch a fairy first, you’ll need to empty it now.
Walk up to the princess, swing your bottle, and then leave the dungeon into a restored Woodfall area. There’s a convenient path created that leads you out of Woodfall and back to the Southern Swamp. However, before you return to the palace, it is imperative you visit the Great Fairy in Woodfall to return the fifteen Stray Fairies you collected in Woodfall Temple. Her cave can be found in the western wall of Woodfall, simply use Deku Flowers to scale the platforms around the area as you did to enter the dungeon. N64 players will be rewarded with an improved spin attack, whereas 3DS players will gain double the magic power they had before. With those rewards in hand, return to Southern Swamp. Once you’re there, you’ll see the pier leading from the Deku Palace just across the way. Jump into the water and swim across, or fly across and hop your way to shore, whichever suits your preference.
Next, head through the grand doorway to the Palace itself. Disguise yourself as Deku Link once more before passing your way through the guards and into the King’s Chambers. Once you’re inside, pop the cork on your bottle to let the Deku Princess out. She demands the instant release of the imprisoned monkey and, what’s more, offers to give you a reward for all your hard work. Now it’s time for you to collect that reward.
Leave the King’s chamber and exit the palace by going past the two guards. As you’ll leave, you’ll see lily pads going in both directions. Left would take you back to the Outer Palace Gardens, but going right will take you in the direction of the Deku Shrine. As Deku Link, hop along the water, following the lily pads until you reach a cave entrance at the far end.
The Deku Shrine
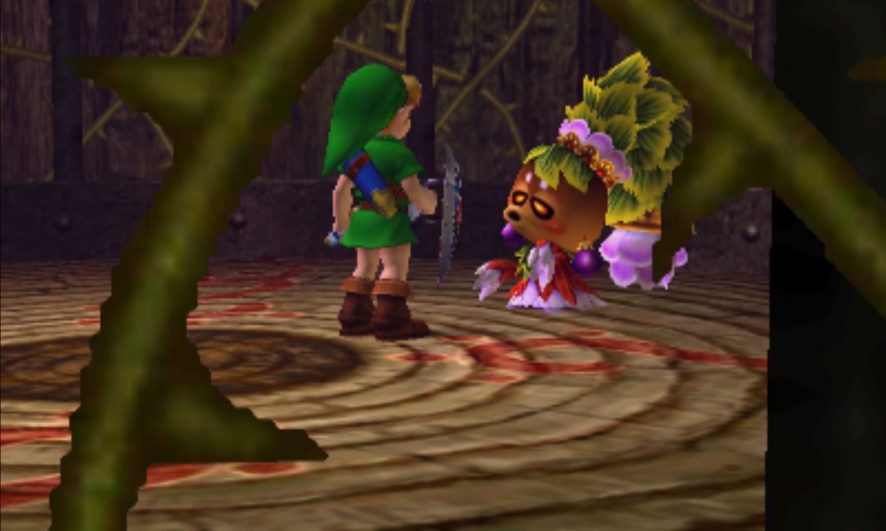
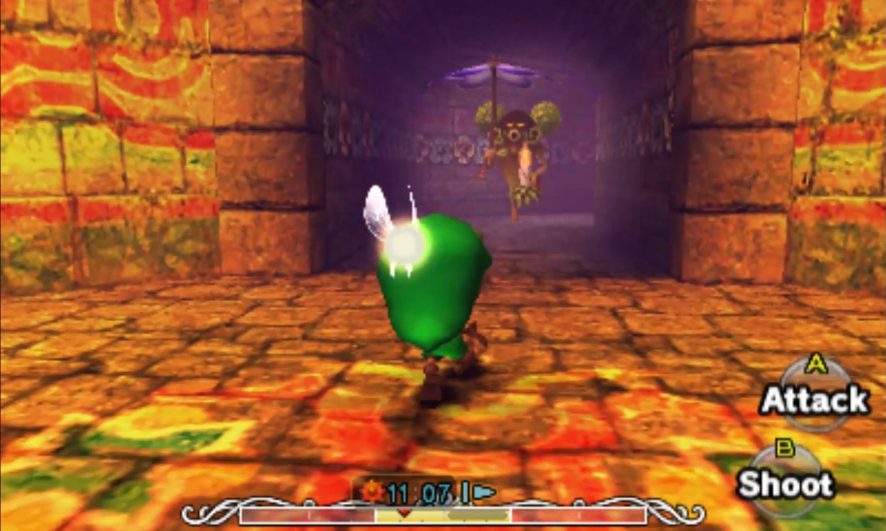
Therein you will meet the Deku Butler, who says that he will lead you to the reward that has been prepared for you. Get ready for an epic chase akin to Dampé’s race from Ocarina of Time.
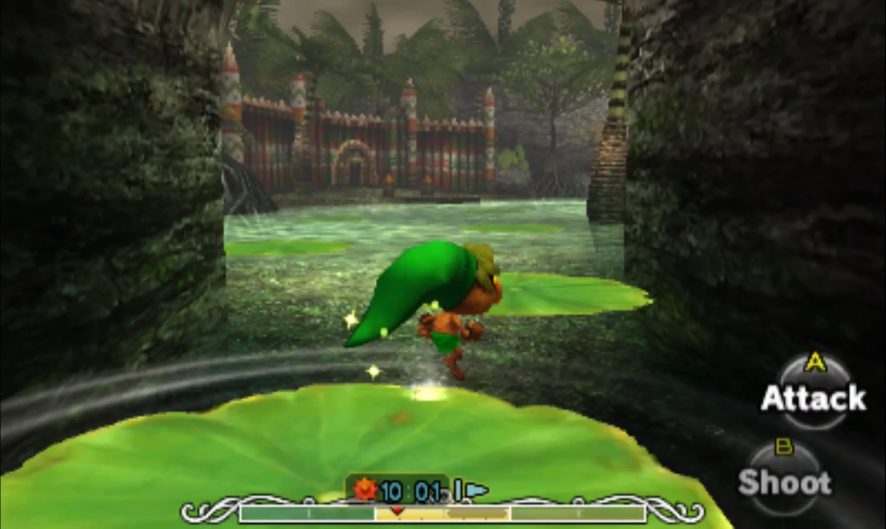
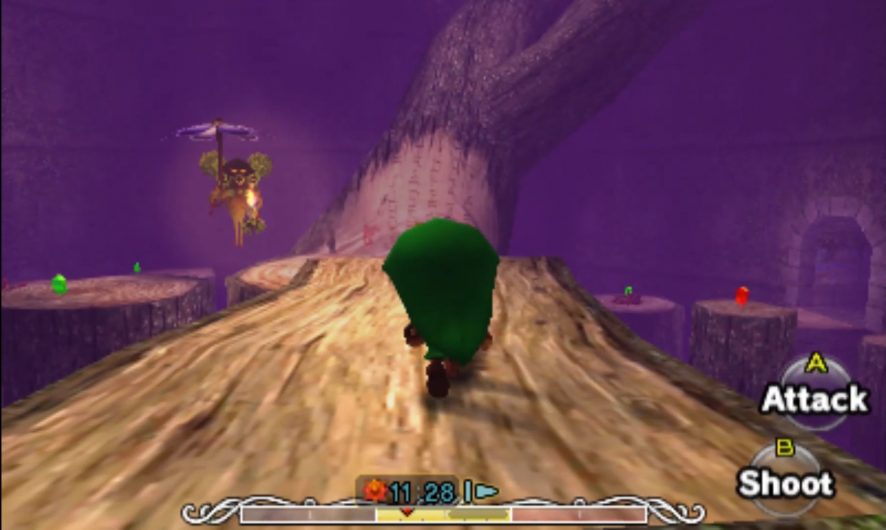
At the start, follow the corridor to the right then take a left and then another left. Carefully climb the ramps upwards, then hop across a small pool of water; wearing the Deku Mask helps speed this section up as you will hop right across the water instead of accidentally jumping in. Take a right, then a left, then another right when you see two blue flames. Hop across another small pool and continue onward, turning left when you pass two white flames. This should bring you into an open room with a deep pit below, and a number of stump platforms. For this section, remove the Deku Mask and take either the safer left path, with larger platforms, or the right which will reward you with red rupees for your skill and bravery.
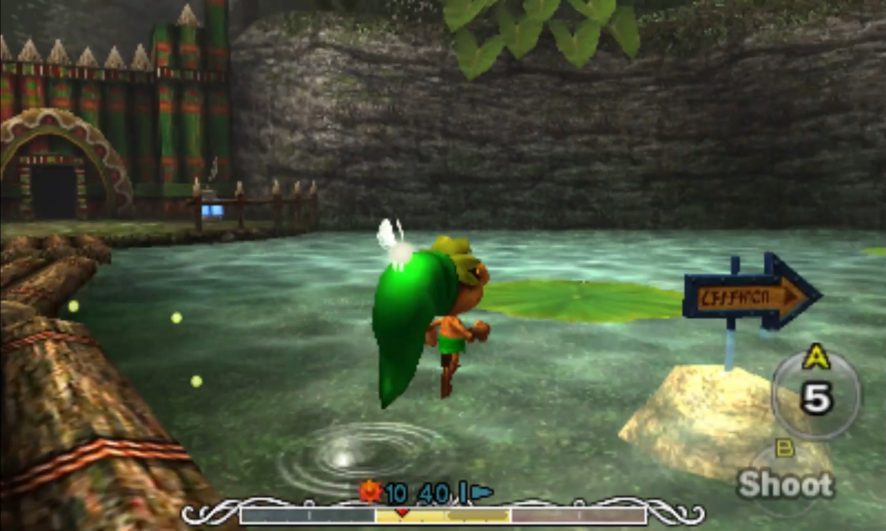
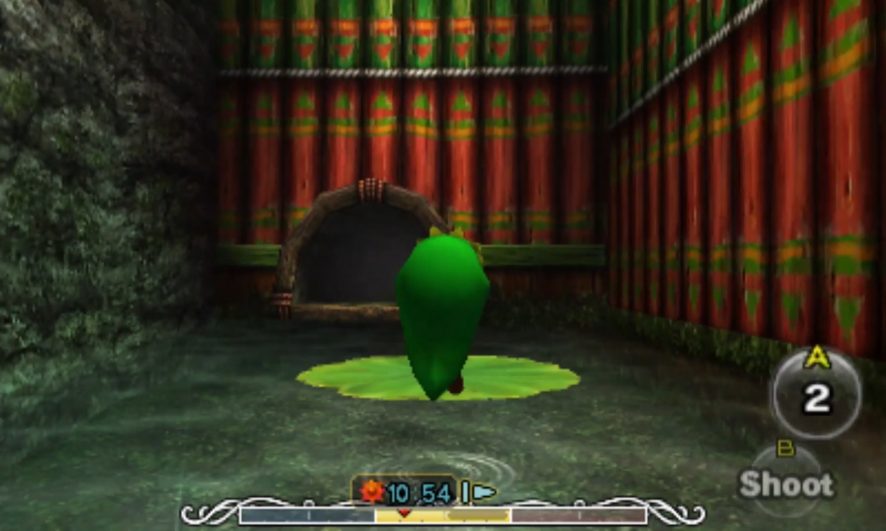
Once you’re across, don the Deku Mask again, and continue onward. Take a right, then a left, which will lead to a cistern with floating platforms. Speedily hop across the water here and continue onward. Take a left at the fork and then continue forward past a torch and a curious Mad Scrub.
Once you turn the next bend, you’ll be in a room containing a fire maze. Remove the Deku Mask just in case; Deku Link and fire are a bad combination. When you enter, follow the right wall along three spaces, then cross all the way to the opposite side of the room. From there, do the same and cross to the other side, following the Butler to the exit of the maze. Switch back to Deku Link when you get to the steps, and then use his spin to speed up the stairs. Be careful not to stay on the slides when your spin attack ends or else you’ll fall behind.
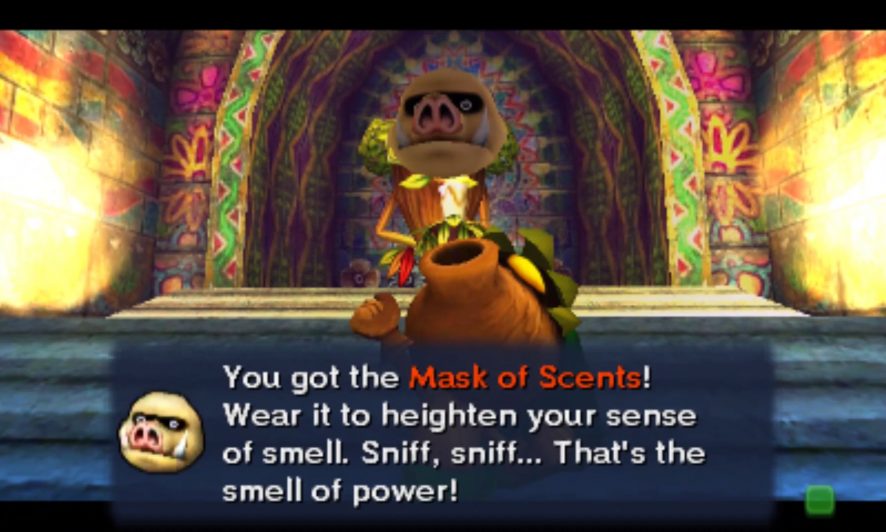
After going around the next corner, you’ll want to take a right, following the path that a boulder rolling by came from, and then another left at the purple flames. You’ll be going up another staircase with slides, and then you’ll enter a hexagonal room with multiple paths. Take the leftmost path and continue onward. Take a right at the purple flames and you will arrive at another open room. Take the Deku Mask off and then shoot an arrow at the crystal switch directly ahead to remove the flames from the stump platforms. Jump across the gaps and continue onwards. Take a left and then a right, following the rupees to the end of the maze. Finally, you’ve earned your reward from the Deku Butler, the Mask of Scents.

With that, you’re done with Woodfall, but there are some goodies you can now collect while the Swamp is purified. If you return to the Swamp Tourist Center after completing Woodfall Temple, you can play a challenging mini-game with your shiny new bow (assuming you have saved Koume from the woods of mystery).
Speak with Koume and she will challenge you to play a new shooting game now that the Swamp is clear of poison. Agree and you will be placed on one of the Swamp tour boats. The aim of the game is to shoot the dangling targets below Koume as many times as possible in one trip around the entire Swamp. Try to avoid hitting the witch herself, after a few hits she will end the game regardless of your progress. Hitting at least 20 targets will net N64 players a Piece of Heart, and 3DS players an additional Empty Bottle. With these prizes in hand, feel free to soar back to Clock Town and deposit your remaining rupees. When you are ready, play the Song of Time to return to the dawn of the first day and prepare for the next step in your adventure.