


Chapter 3: Fairies’ Woods
Table of Contents
Return to Lynna City
Once you leave the Spirit’s Grave, you’ll need to return to Lynna City, which will serve as the main hub for most of your travel throughout the game. Once you head north, you’ll likely encounter Maple for the first time. If you haven’t met her yet, she’s the witch’s assistant that flies around all of Labrynna (and Holodrum) running errands for the witch Syrup. If you get the chance, literally run into her whenever you see her.
Side Quest
While you’re in Yoll Graveyard, you have the capacity to pick up the third, fourth, and fifth fourth Pieces of Heart, though two of those three Pieces of Heart are randomly acquired, so it may take some time to gather them. You can also begin the trading quest by acquiring the Poe Clock. Also, if you’re playing a Linked Game, you can get the first of ten password secrets to gain a Heart Container.
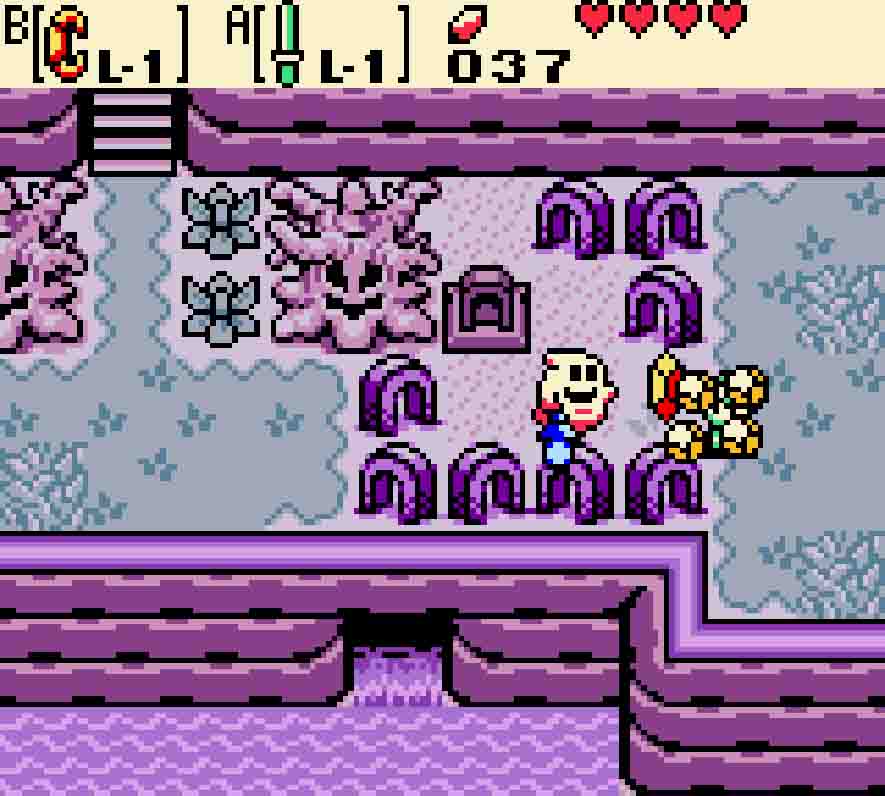
You’ll need to burn your way out of Yoll Graveyard. 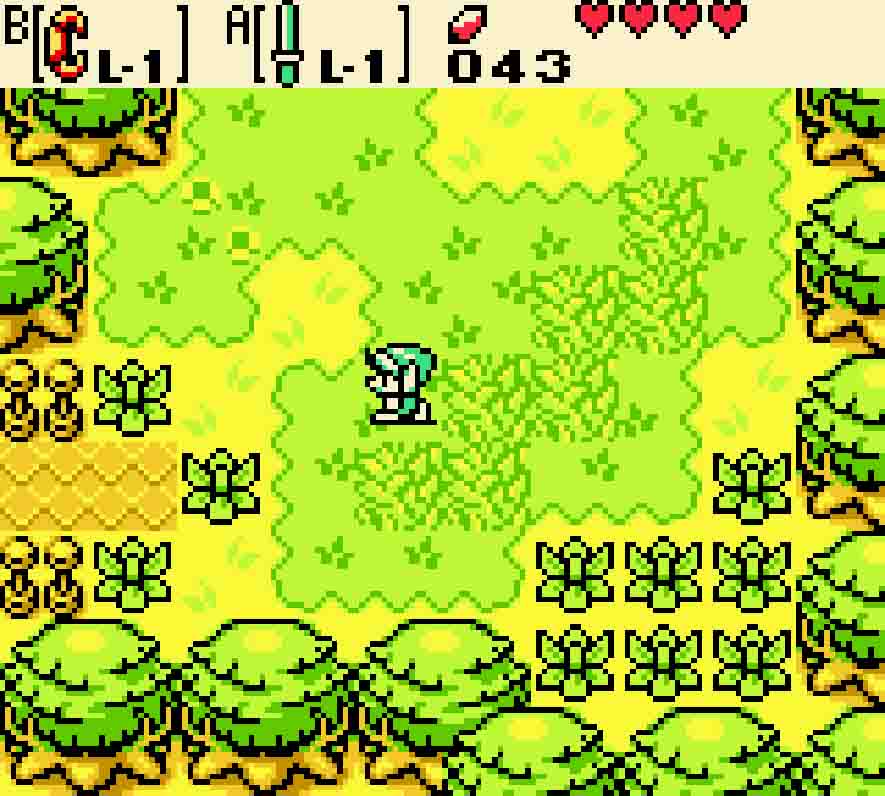
Then, just follow the path back to Lynna City.
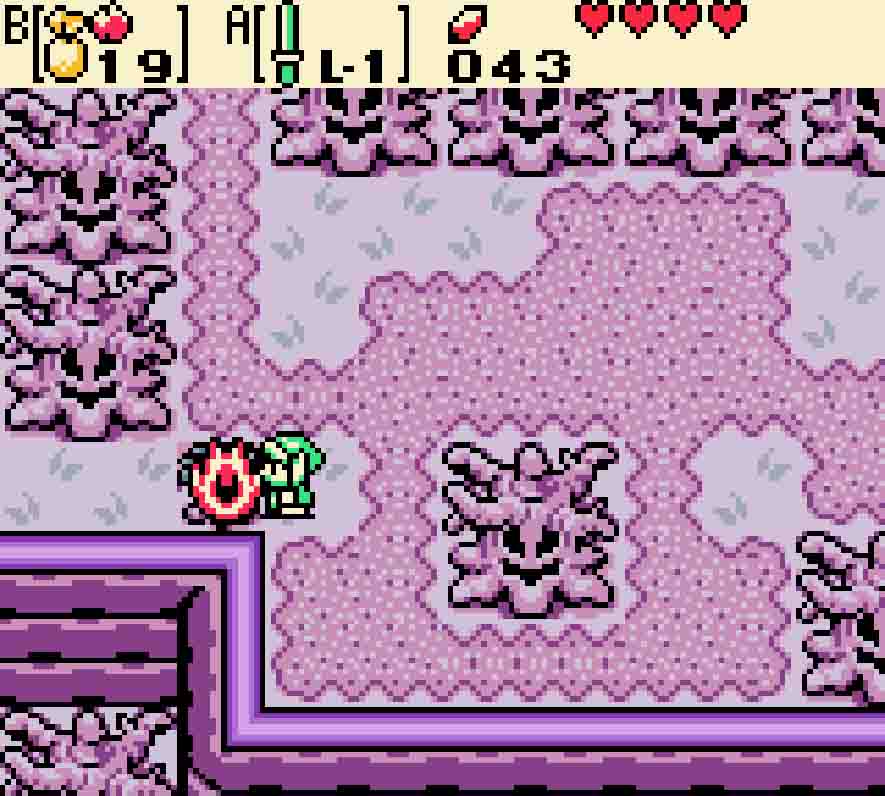
You’ll now return to very familiar territory, and you’ll simply need to follow the pathway north, west, and then back south to reach Lynna City. The city won’t have changed much, but certainly you can go talk to Vasu to appraise your rings or do any extra exploring you didn’t do the first time around.
Encounter the trickster fairies
Once you’re ready to head out, you’ll want to leave Lynna City via the western gate just near the Black Tower. From the Lynna City shop, head north to Vasu’s, then west three times over the bridge to the west bank, south once crossing over the bridge there, and then west twice. That will put you on the outskirts, and from there enemies can show up once again.

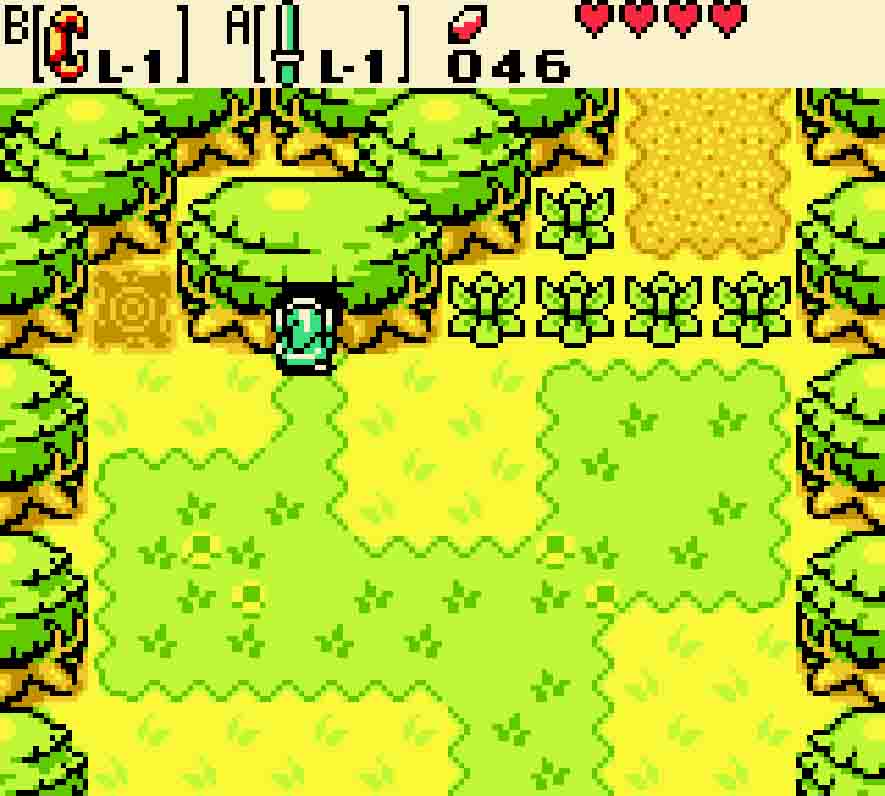
Pick up the rock directly in front of you and continue west. As you do so for the next two screens, you’ll really only have to contend with one Octorok. However, once you head south into the Fairies’ Woods, then there’ll suddenly be more. Octoroks and Moblins primarily will haunt these woods, but neither of these are completely treacherous. The early part of the woods only provides one main path to follow: Head east to start, and then continue south. Potholes will prevent you from continuing south, so you’ll be forced to head west. This will provide you your first glimpse of the second dungeon. Easy, you’re almost there!
To reach the dungeon, head south, west, north, and then… oh, before you’re able to reach the dungeon, three fairies — the namesake of the woods — will spring out of a tree to greet you. And they’re interested in having a little fun by playing a game of hide and seek. All you have to do is find them, and then you win. But until they’re all caught, the entire forest will be manically warped, causing the various exits to loop around. And that means heading east won’t lead to the dungeon you sought. In fact, you won’t be able to get to the dungeon at all until you find these three fairies.

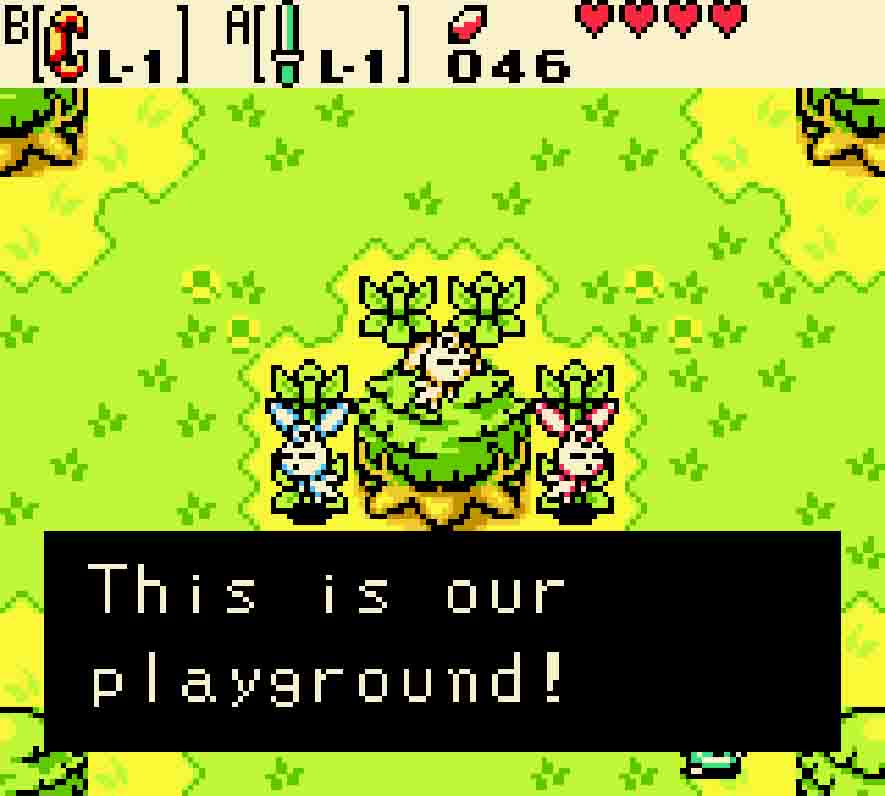
Win a game of hide and seek
The game will show you exactly where the three fairies are hiding, but actually getting to those screens to find them is of course the hard part. Two of the fairies are hiding on screens that have only one path that leads to them, so without a guide you’ll need to obsessively check your map and have a good memory of which screen is which.
To navigate the woods, let’s call the screen you encountered the fairies on “home base.” After you find each of the fairies, they’ll return here, just as if you were playing a real game of hide and seek. Home base, of course, has a lone tree in its center surrounded by bushes.
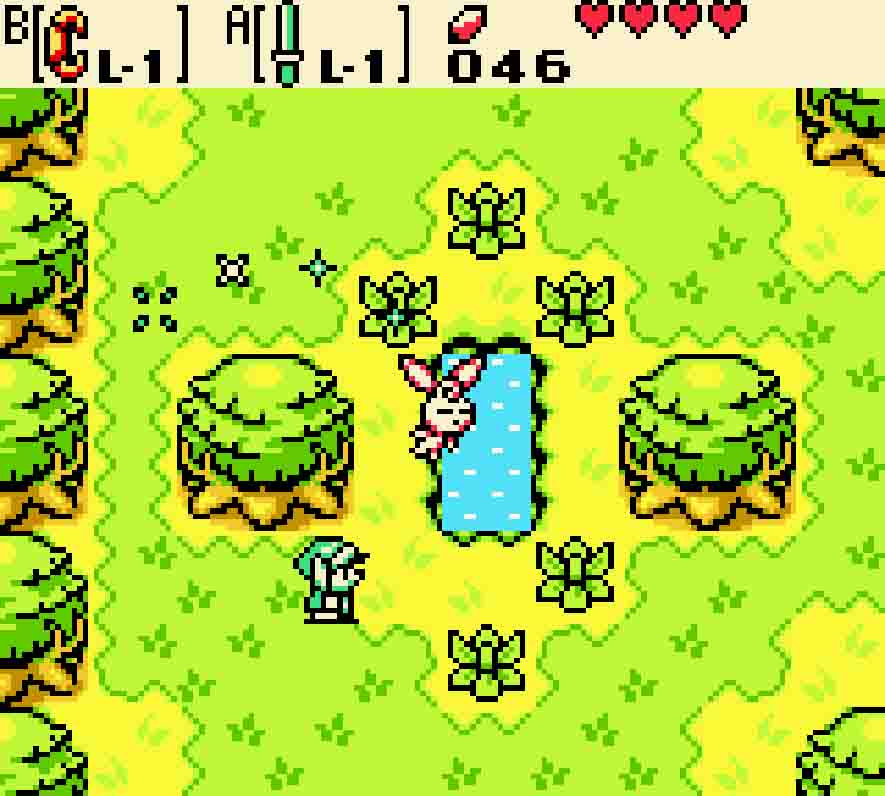
To get to the red fairy, you’ll need to travel west twice from home base. This will bring you to a screen that has two trees in the center with a small 2×1 lake in between them. Cut down the bush in the lower left (roughly seven o’clock if you look at the bushes and trees as the face of a clock). The red fairy will be caught and will return home. To return home, simply head east once.
To get the yellow fairy, from home base you’ll want to travel west and then south. You will arrive at a seaside screen that has a treasure chest accessible only from the sea in the middle of the screen. To the treasure chest’s left are two bushes. The yellow fairy is hiding in the bottommost bush. Chop it down, and the yellow fairy is yours. To head back to home base, wander west and then north.
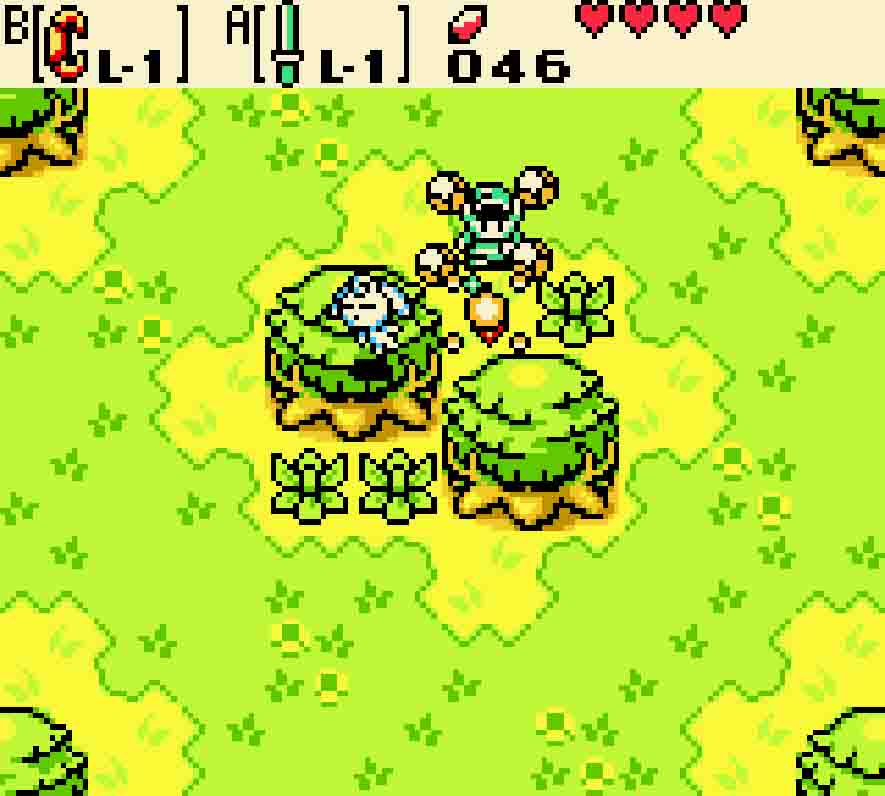
To get the blue fairy, you’ll need to travel north, south, and then north again. Oddly enough, you won’t get a sense of déjà vu as you do this as heading backwards will generally return you to the screen you came from. You should end up at a screen with two trees, slightly offcenter from one another, with two rocks and two bushes next to them. Lift up the northernmost rock to find the blue fairy. If she’s the last one you found, you’ll immediately head home. But if not, to get home you just have to head east.
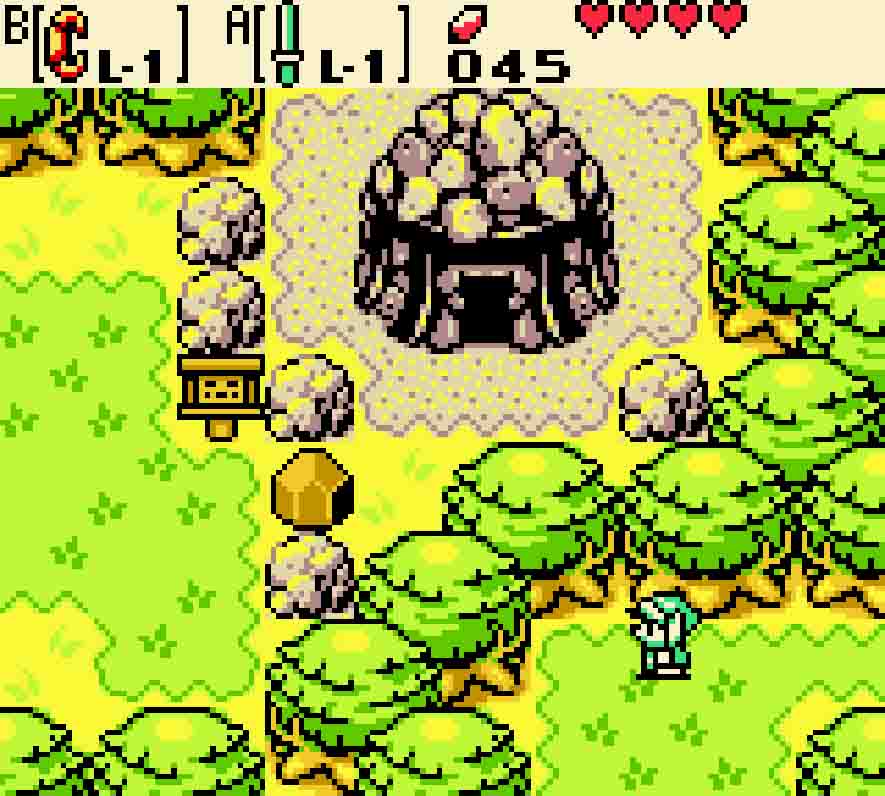
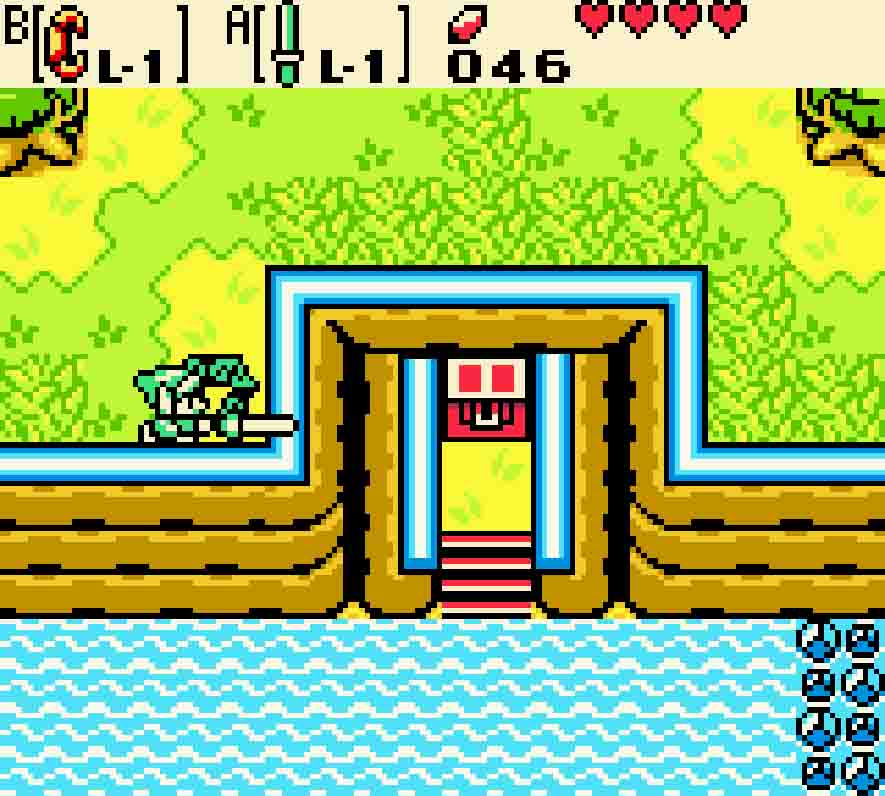
Destroy the second dungeon
Once you have all three fairies, they’ll tell you how much fun they had, and they’ll return the whole forest to normal. Finally you can now go and open the second dungeon. So simply head east.
There’s a rock in the way, so lift it up. Just as you’ll be about to throw it, suddenly an earthquake occurs, and the dungeon will collapse in on itself. Looks like you just happened to move a load-bearing rock! The Maku Tree will speak to you, giving you the hint that maybe you can still enter the dungeon by returning to an earlier time when it’s still whole. Perhaps Nayru might have left something that would enable you to do this?

Obtain the Harp of Ages
And so you need to begin your journey back through Lynna City to Nayru’s house. Head north twice to leave the Fairies’ Woods. Then simply head back east twice in order to re-enter Lynna City’s city limits.
You should know your way through Lynna City by now. Head north one screen by crossing the bridge, and then head east all the way until you reach Vasu’s Jewelers. It takes as much time to head north or south from this point. If you head north, head up to the Maku Tree’s screen, then travel east. Jump off the cliff, and simply head south, east, and north to arrive at Nayru’s dwelling. Enter the hollowed out tree to find her little cozy treehouse.
If you talk to Impa, she’ll tell you she feels a draft in the room. You’ll notice that, just behind her, is a statue of a fairy. You’ll notice that it can be pushed to the left. Do so, and then you’ll find a secret doorway just behind it. Head in and go downstairs. There you’ll find a raised pedestal, and on it will be the Harp of Ages.
Nayru’s home is just to the east of Lynna City. 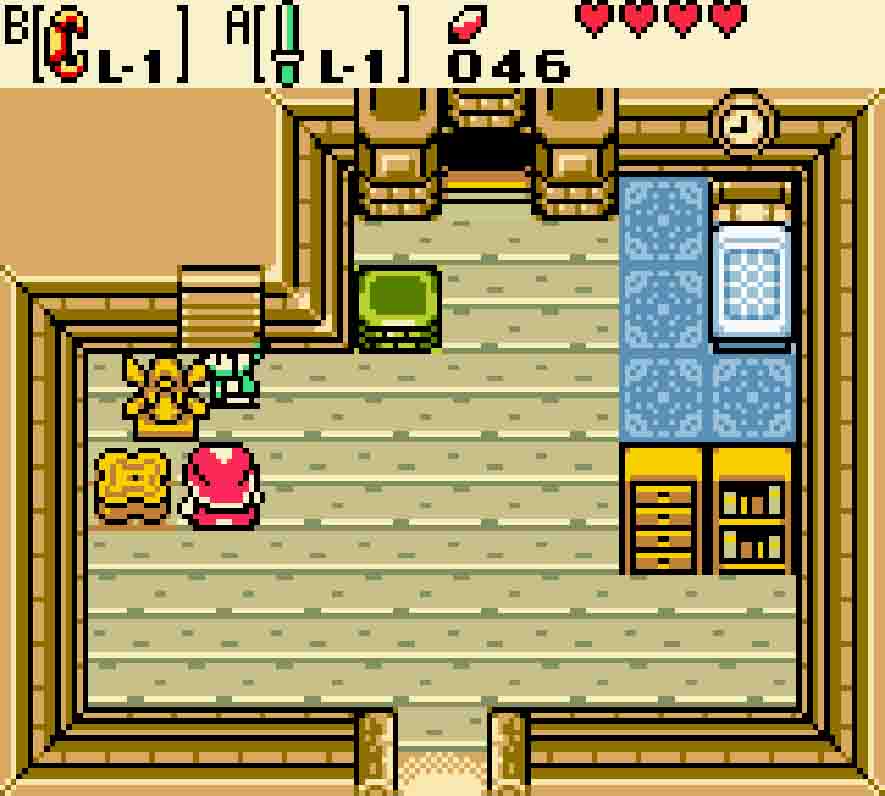
Push the fairy statue to the side. 
Nayru’s Harp and the Tune of Echoes will be your great reward.
When you pick it up, a hologram of Nayru will appear, telling you that she must have been sent across time, but that you must be a truly worthy hero to wield the Harp. She will teach you the Tune of Echoes, and this tune will activate all of the Time Portal sigils scattered throughout the land. With this, you’ll be able to free travel back and forth between the past and present. As such, now you can take advantage of this to reach the second dungeon!