


Chapter 13: Eldin Volcano – Second Visit
Table of Contents
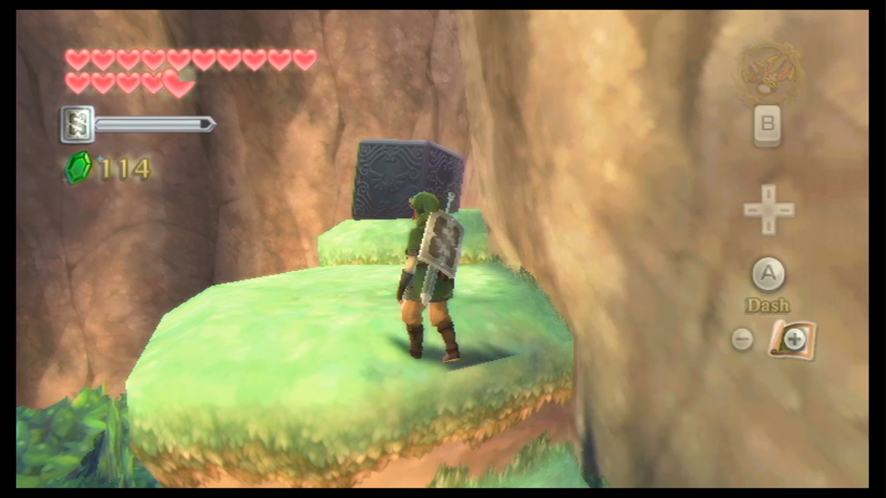
Preparation for Eldin
There’s a lot of stuff we can get now that we activated a few Goddess Cubes, beat another dungeon (therefore activating some side quests) and retrieved the Clawshots. As usual, we’re going to start by grabbing some of the goodies in the newly-activated Goddess Chests. If you want to head to the next area, skip to the next section.
Goddess Chests
- Goddess Chest #16 is found within Skyloft, on a small island to the north of the waterfall. You have to use the Clawshots to get to the top of the waterfall and then drop down to the island. It contains a Gold Rupee.


- Goddess Chest #17 is found to the west of Beedle Island, in the northeast section of the Sky. Land on the lower part of this island and then dive into the water. Swim up to the other side – performing a water dash to get out onto the ledge – and open the Goddess Chest to receive a Heart Medal. When equipped, the Heart Medal will increase your chances of finding Recovery Hearts.

- Goddess Chest #18 is found to the northwest of Fun Fun Island. It is on an island where we got a Goddess Chest earlier in the game. This time, land on the island and climb down the vines to reach the chest, which contains a Life Medal. When equipped, a Life Medal will add a full heart to Link’s heart gauge.

- Goddess Chest #19 is found within Skyloft. Head to Gondo’s Scrap Shop and go into the storage area to find an activated Goddess Chest. This chest contains a Gold Rupee.
- Goddess Chest #20 is found on an island to the northwest of Fun Fun Island. Land on the smaller area of this island and you’ll see a gate that’s blocking off the path. Above this gate are patches of vine, so grapple yourself to the vines with the Clawshots and drop down to reach the Goddess Chest, which contains a Potion Medal. When equipped, the Potion Medal will improve the duration of certain potions.
- Goddess Chest #21 is found within Skyloft on top of the waterfall. Use your Clawshots to reach the top. It contains a Piece of Heart.


Finish up gathering the treasures in the Goddess Chests, and then head back to Skyloft.
Fledge’s Workout Sidequest
Remember that quest we started earlier but never continued? The one with Fledge’s workout routine? If you didn’t continue it last time you had the opportunity, we should try and continue it now. If you head to Fledge’s room in the Academy at night, you will see that he’s still doing push-ups, and has greatly improved since we last spoke to him about it. However, he still wants you to go get another stamina potion for him.
Sleep in a bed somewhere and then go to the Bazaar the next day. Purchase a Stamina Potion from Luv’s Potion Shop in the Bazaar and then head back to Fledge’s room at night to give it to him. After drinking it, he will continue on with his workout with more energy than ever before.
Normally, had you done this earlier, you wouldn’t have been able to complete it any further, HOWEVER, we have finished the Sandship and the rest of this sidequest is already available.
You’ll probably have to sleep to the next night to activate the rest of it. Once you’ve done so, go see Fledge in his room and you’ll see he’s doing push-ups a lot easier now, and from what he tells you, he’s greatly improved . . . like, a LOT. And apparently, it’s just a warm-up. He will thank Link for all the help and will give you 5 Gratitude Crystals as thanks.
Now that we have that quest out of the way, we can tackle a few other Gratitude Crystal quests.
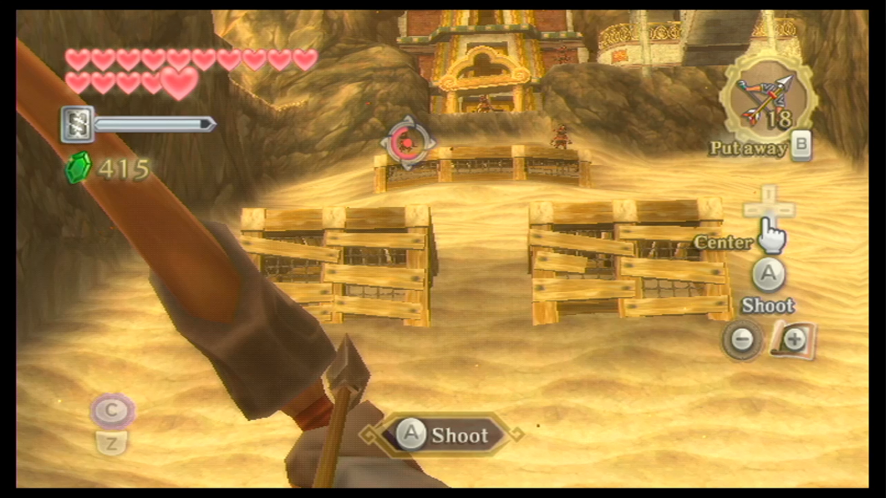
Now that we finished Fledge’s work-out sidequest, you can find him during the day at the Sparring Hall, and he has this neat little mini-game set up for you to play, which involves the use of your Bow. The mini-game will involve Fledge throwing pumpkins into the air and you hitting them with a single shot from your Bow.
For every pumpkin you hit, you will receive 10 points, HOWEVER, if you can shoot multiple pumpkins in a row, you will receive 10 additional points per pumpkin – up to 50 points maximum (so if you land 3 consecutive hits, it will be worth 60 points). The top prize for this mini-game is a Piece of Heart, which you can get by scoring 600 points. As hard as it sounds, it’s actually quite simple once you get the hang of it.
Other Sidequests
There are a couple more sidequests we can get to, so let’s get them over with now while we’re here.
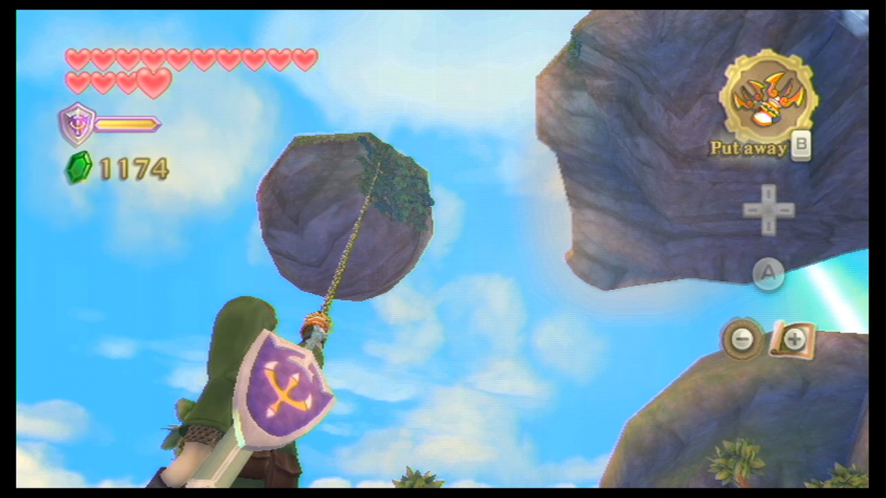
First things first, there’s a sidequest we can do now that absolutely REQUIRES the Clawshots to do, so that’s pretty much the reason why we couldn’t do it until now. If you visit Luv the Potion Shop Owner’s house at nighttime (it’s located on the eastern side of Skyloft), you’ll find her restless husband, Bertie,who has been kept awake by their baby, who hasn’t been able to sleep well since losing his precious rattle. According to Bertie, a bird snatched it and then flew away with it.
Find a bed somewhere to sleep in until the day. The baby rattle is located in a bird’s nest that’s perched on top of the windmill in the center of Skyloft. The windmill is actually just above Kukiel’s house, but we can’t reach it from there, so we’re going to have to find another way up, and this is where our Clawshots come in. You’ll have to use them to climb up to the top of that massive waterfall, and then run and glide your way towards the windmill. There’s a bit of dust on the rattle, but you can easily clear that away with the Gust Bellows.
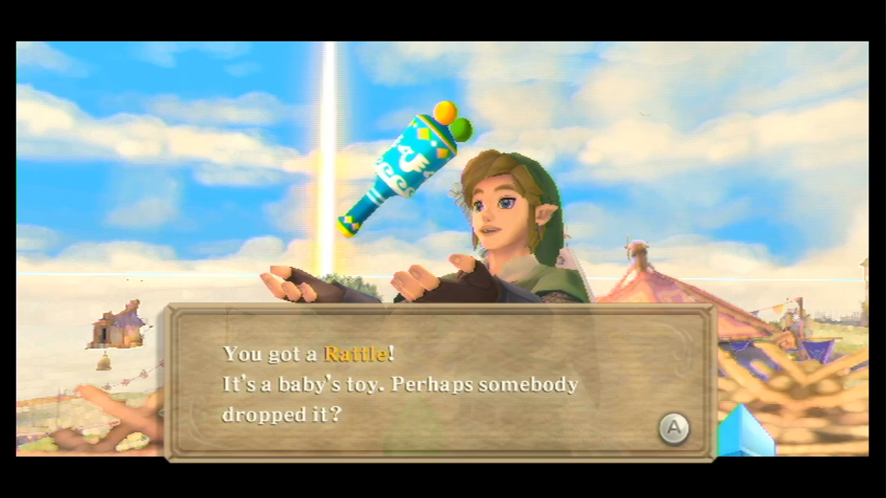
Once you’ve retrieved the rattle, find a bed to sleep in until nighttime and then go speak to Bertie again. He will be so relieved that you found the rattle and that he – and the baby – can finally get a good night’s sleep. You will also receive 5 Gratitude Crystals.
The last sidequest we’re going to do is the one we’ve pretty much been working away at since we started playing this – the Peatrice sidequest. Thankfully, if you followed this guide, we’ve talked to Peatrice quite a few times between going to Skyloft and finishing dungeons, so by now, the event should be triggered to start this sidequest. If this does work, you’ll notice that when you speak to Peatrice at the Bazaar she’ll call you ‘darling’. Once this sidequest has activated, go to Peatrice’s house at night, located to the east of the Bazaar.
When you’re here, you’ll meet Peater, the guy who runs the Bamboo Island mini-game – and he also happens to be Peatrice’s father. When you speak to him, he will tell you that he’s worried about the safety of his daughter because she has an admirer. He will then ask you to keep a watch out for this guy – although you’ve probably already figured out that this ‘guy’ is you. Once you’re done talking to Peater, go to bed until the next morning.
Head to the Bazaar and you’ll see that there’s a speech bubble over Peatrice’s head. When you speak to her, she’ll say that she wants you to visit her at her house the same night. Which means we’ve got to find another bed somewhere and sleep until nighttime again.
Once you’ve done so, head back to Peater’s house and speak to Peatrice. She will ask you what your feelings are towards her. These are one of those sidequests in Skyward Sword that has two endings – it doesn’t matter which ending you choose, you will still receive 5 Gratitude Crystals.
Option 1 –
The first way to end this sidequest is to admit that you like Peatrice. She will be overjoyed at your response, and will grant you 5 Gratitude Crystals.
Option 2 –
The second way to end this sidequest is to completely blow off her confessio nand completely crush her heart. Sleep in the bed in the house until the next day and then speak to Peater. He will be happy that Peatrice is no longer being watched by her ‘admirer’ and will give you 5 Gratitude Crystals as a reward.
That was the last sidequest we can do for now, however there are still some individual Gratitude Crystals we can collect. One of the Gratitude Crystals will also lead you to Piece of Heart #14.
- Located on top of the waterfall in Skyloft. Use your Clawshots to reach thetop and collect the individual crystal.

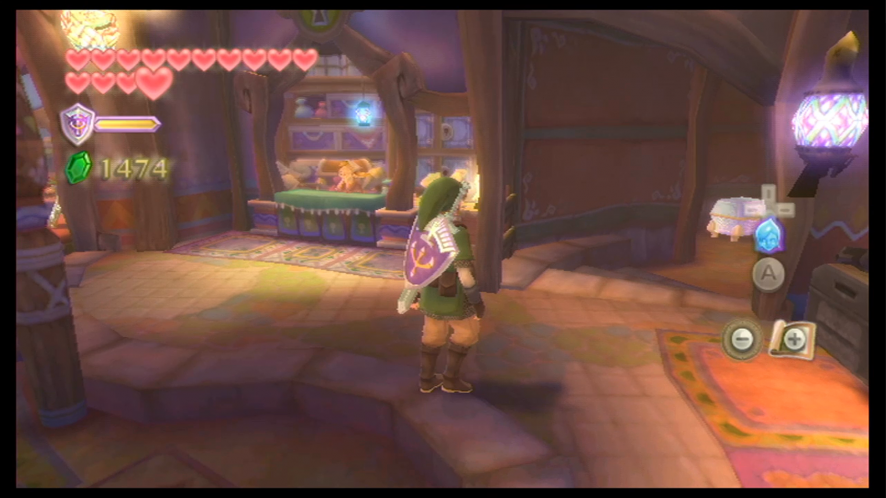
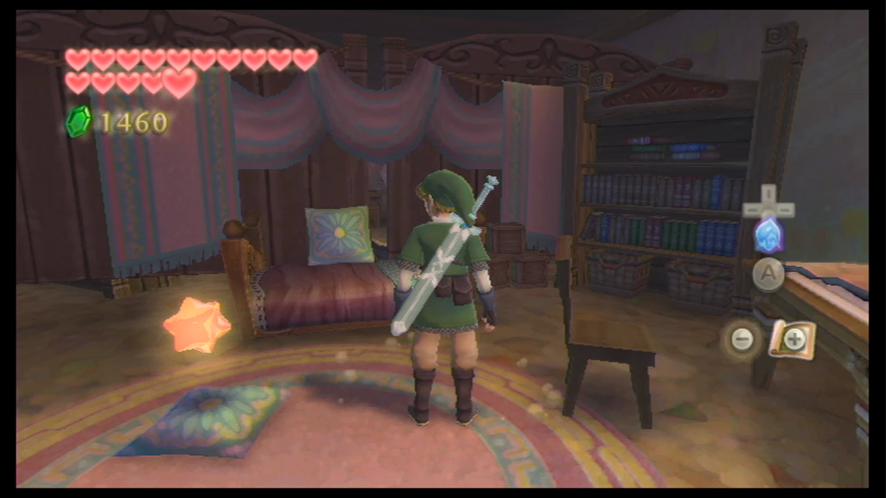
- Located inside of Zelda’s room at the Academy. Climb up to the top of the Academy roof and find the small chimney with the target inside. Once you’ve done so, use your Clawshots to latch onto the target and drop down below. Head through this passage and pick up the Gratitude Crystal in Zelda’s room – you can also open her dresser to find Piece of Heart #14.
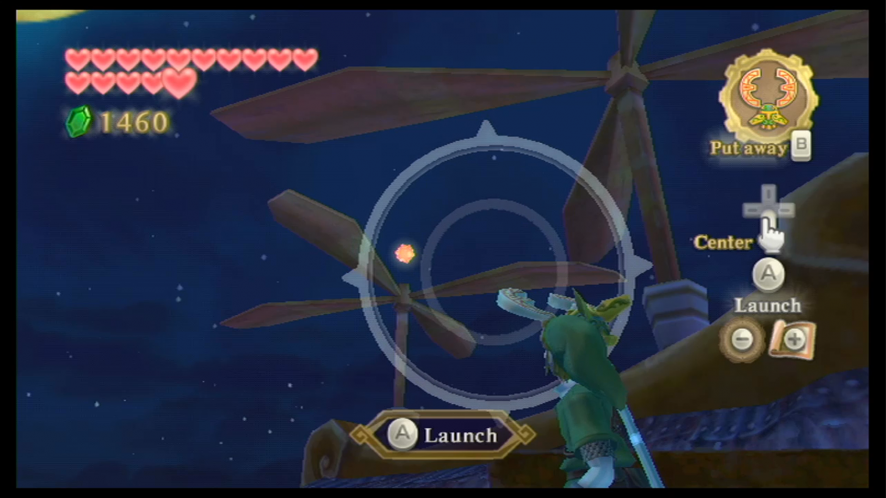
- Located on Beedle’s Island at night. You’ll have to sleep in the bed in Beedle’s Airshop to access the island at night. When it’s nighttime, head outside of the shop and head up to the propellers on top of the shop to find a Gratitude Crystal – you’ll have to use your Beetle to grab it.
If you’ve been collecting all the Gratitude Crystals that we covered so far in this guide, you should have 55. Fortunately, Batreaux will give you a reward for 50 crystals, so head down to Batreaux’s home underneath the graveyard to receive the next reward – a Giant Wallet, which can hold up to 5,000 Rupees.
We only have a couple things left to do, and that’s to check Beedle’s Airshop for new items on sale, as well as go to Gondo’s Scrap Shop at the Bazaar to make somenew upgrades.
If you collected all the specific rupees in treasure chests that were covered in this guide, you should have about 1200 rupees in hand. At this point in the game, Beedle will only have 2 items for sale – a Piece of Heart and the last Adventure Pouch upgrade. If you really want that extra slot in your Adventure Pouch for carrying around more bottles or medals, then you can go ahead and pay up the 1200 Rupees.
After you’re done at Beedle’s, we can head down to Gondo’s Scrap Shop. Now’s a good time to completely upgrade your Shield or Beetle if you haven’t already done it, however we’re going to mainly pay attention to the new upgrades we can now get for our Bow. The Iron Bow is a stronger bow and can launch arrows further than the regular Bow.
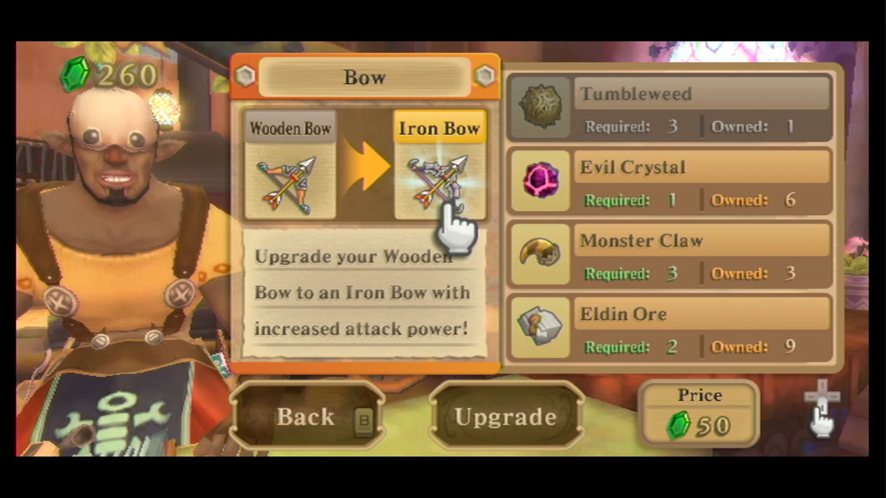
To upgrade your Bow to the Iron Bow, it requires:
- 3 Tumbleweed
- 3 Monster Claws
- 2 Eldin Ores
- 1 Evil Crystal
- 50 Rupees
After the Iron Bow upgrade, you can make the final upgrade to your Bow, which is the transition to the Sacred Bow, a sacred item powered by the Goddess and much stronger than the Iron Bow.
To upgrade your Iron Bow to the Sacred Bow, it requires:
- 5 Tumbleweed
- 3 Lizard Tails
- 2 Evil Crystals
- 1 Goddess Plume
- 100 Rupees
While you’re at the Bazaar, you can also head over to see Rupin at the Item Shop – now that you have the Bow, you can buy a Quiver off him, which will allow you to carry more arrows at once.
The Silent Realm
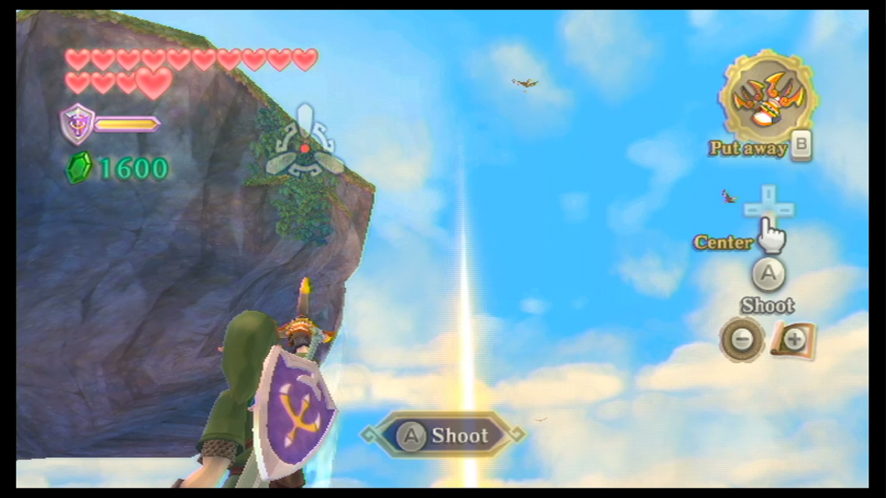
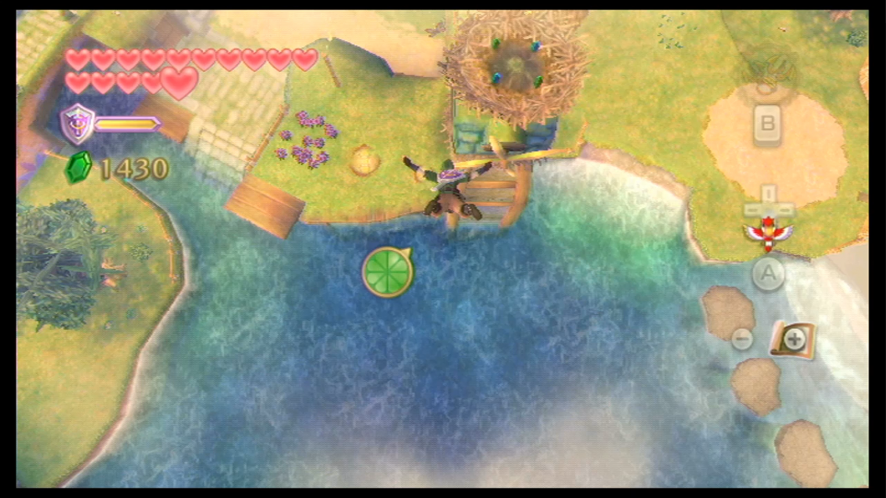
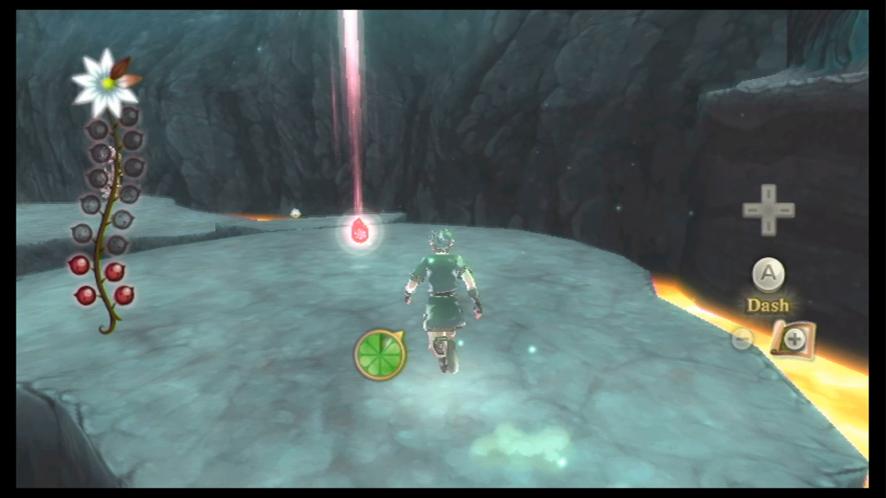
Once you have finished all your tasks in Skyloft, mount your Loftwing and head to the Eldin Region. When the landing map appears, select the Volcano Ascent as your landing point. When you use your dowsing ability to search for the trial gate leading to the Silent Realm, you’ll find it just after the bridge near where we landed. Once you’ve reached the entrance, play Din’s Power on the Goddess’ Harp with Fito activate it. Stab the symbol in the center of the flower symbol to enter Din’sSilent Realm.
Din’s Silent Realm is quite more difficult than the previous two, as the area is much bigger and there are a lot more Guardians to avoid. There are also lots of areas where there is Waking Water that you’ll definitely have to try your best to avoid – along with that, there are tears on the sliding area that leads to the bottom of the volcano that you will have a bit of difficulty grabbing. And of course, because the Eldin region is so much bigger, getting a Light Fruit won’t always reveal every tear to you because you won’t be able to see them all in one area – they’ll be in other areas that you can’t see directly, so you’ll have to go on a hunt for the ones you can’t directly see from a certain spot.
Below is the location of all the tears in the Eldin Region.
To the right of where you enter the Silent Realm, on a platform. Just run around and head up to reach the tear. 
Take a left from the Silent Realm entrance and head down the path to reach the steep sand slope. Right before starting the slope is where you will find the tear. 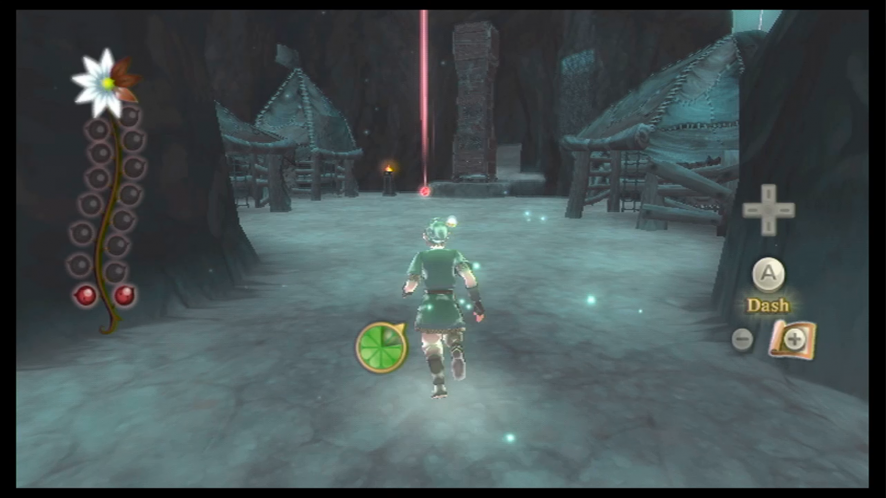
Dash up to the top of the sand slope from where you found the second tear and then take a right from here to reach one of the Moblin’s camps, where you will find the tear sitting on the ground. 
Head back to the slope and slide your way down and take the right turn onto the separate path that leads to the tear,sitting next to an Earth Guardian. 
Head back down to the bottom of the slope, then head to the platform where we found the first tear and take the left turn into the tunnel. Head through, and when you reach the two-way fork, take the right turn, away from the air geyser. Take a right once you’re out of this cave and you’ll find the tear perched on vines down below this ledge. 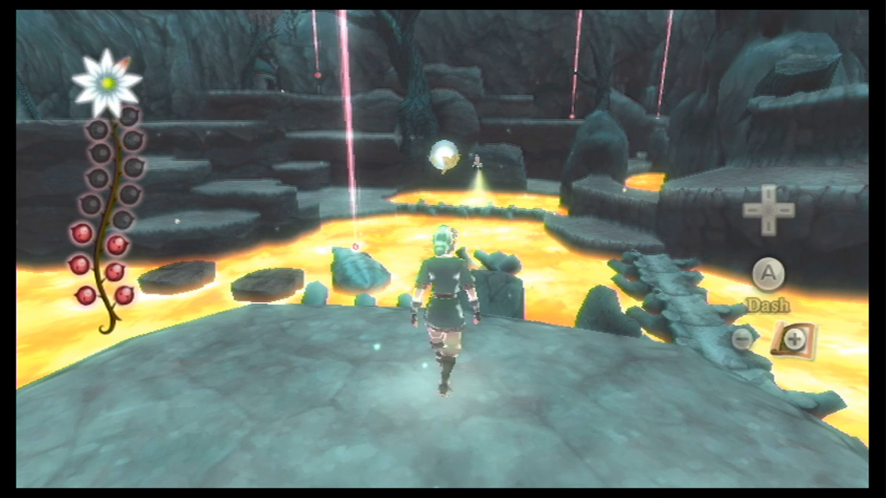
Climb back up from the vines and head straight forward from here to reach a seriesof platforms, one with a tear sitting on it. 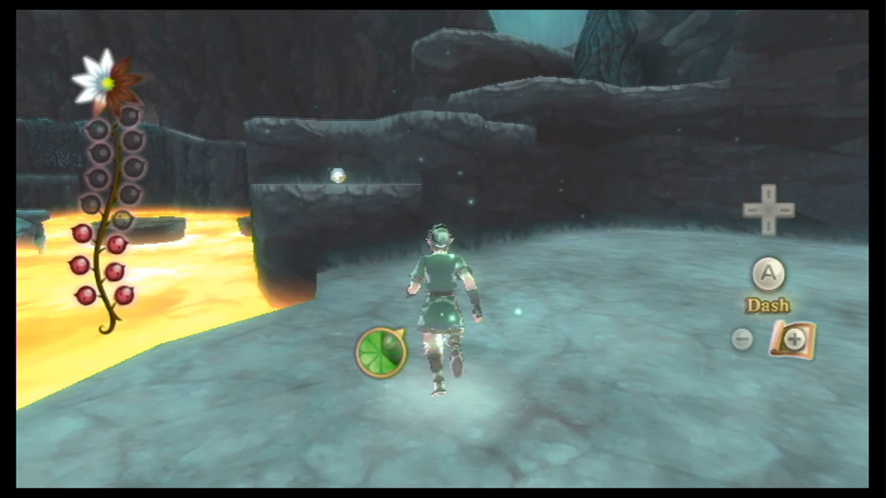
Head back to the tunnel and head straight forward from here and then drop down to the level below. Quickly dash across the bone bridge here to the other side, climb up onto the next higher platform, and then take a right onto a blocked pathway that ends with the tear’s location. 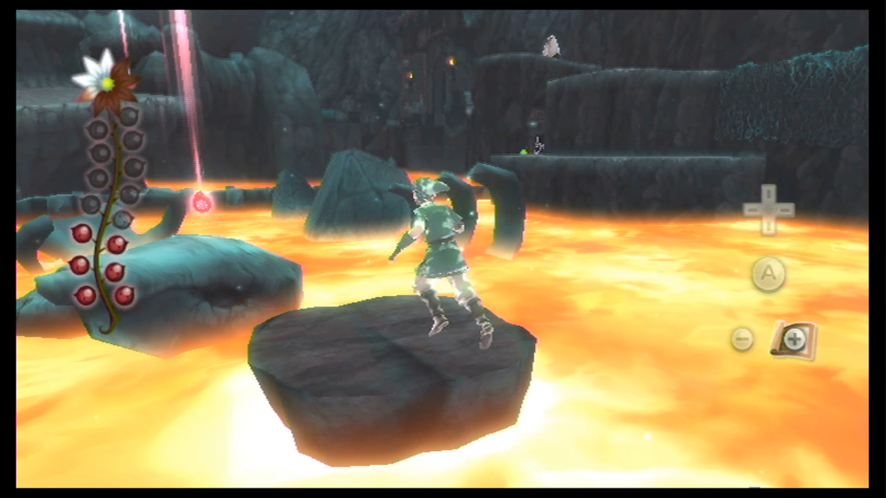
Dash across the next bone bridge, climb the first two platforms to your left and then drop down to the platform below to reach the stone slabs that will take you across the lava to the tear. 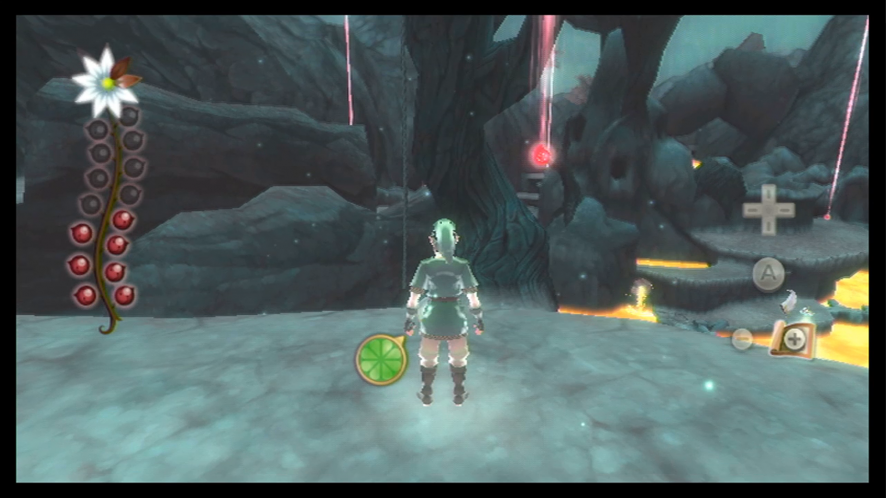
Head back to main ground from where you grabbed the previous tear and then climb up the set of platforms here to reach the highest point. There’s a rope hanging here, so you’ll have to grab onto it and swing over to reach the tear. 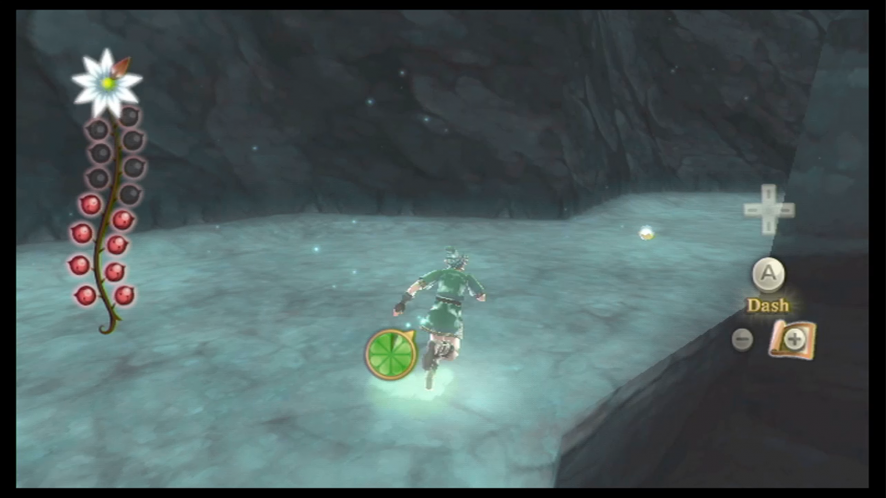
Swing back over to the main platform where you jumped from and head past the Earth Guardian in this area to reach a platform below where the tear is sitting. 
Drop down from the rope you used to reach the previous tear and head around to your left, down another path, and then continue to your left until you reach the next tear at the end of a pathway. 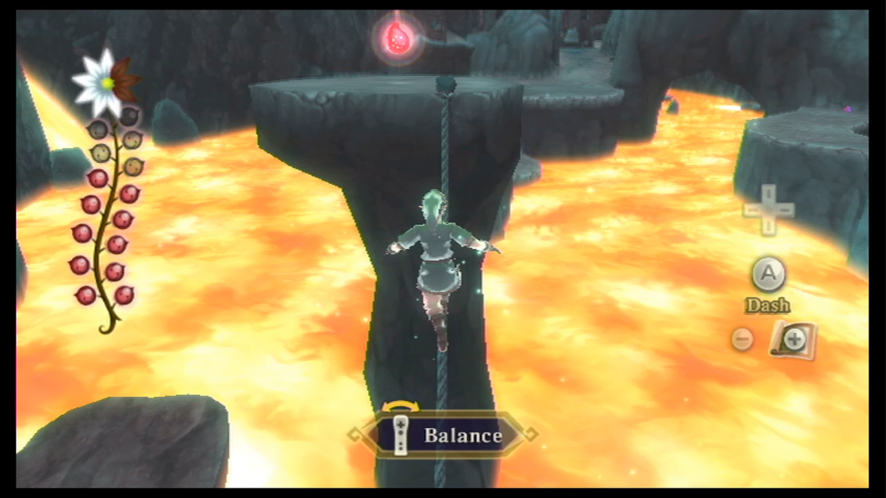
Head back down the path from where you found the previous tear and look for the tunnel you can crawl through. Head through and cross the tightrope to reach the tear. 
We’re going to have to scale the mountain to reach the next tear, so backtrack your way to the air geyser we ignored before and ride it up to the next level. Head down the next path and – ignoring the sand slope – up the next slight hill area to reach the tear where it’s sitting in front of a closed-off area. 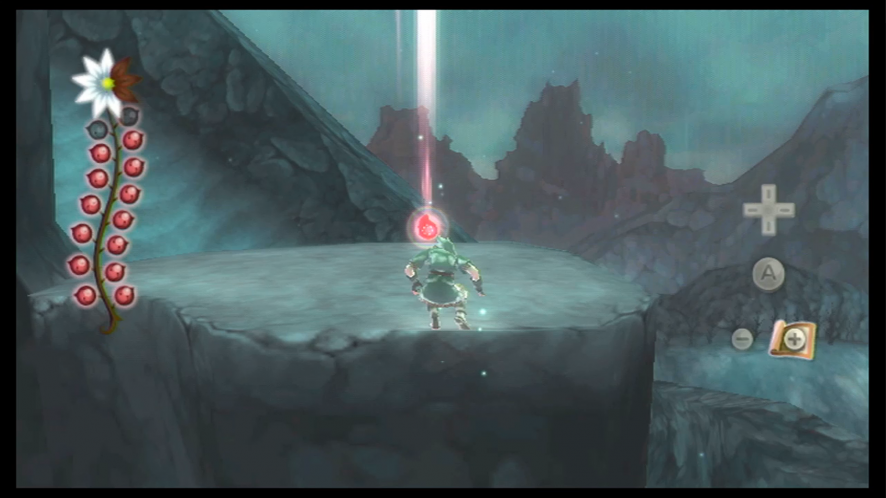
Turn back and head down the sand slide. When you fall and land onto the next, bigger sand slide, take the path that’s third from the left, and then stick to the right at the next turn to reach a platform that’s protruding from the slide. Jump into the air geysers to ride over to the tear. 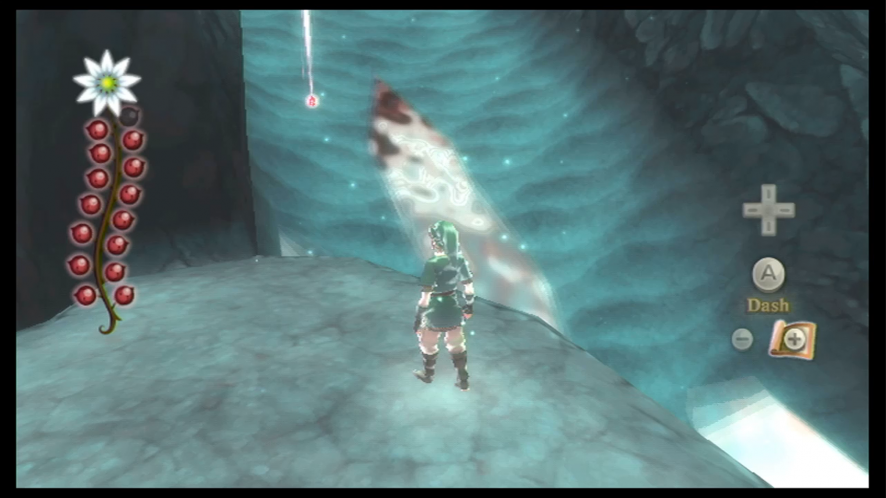
Face in the opposite direction (back up towards the top of the sand slide) and you’ll see the tear sitting here. You can actually jump down and then dash up quickly to get the last tear.
Once you have successfully collected all 15 of Din’s Tears and made it safely back to the Silent Realm entrance, you will be rewarded with the Fireshield Earrings. These earrings make it easier for Link to withstand large amounts of heat.
The Volcano Summit
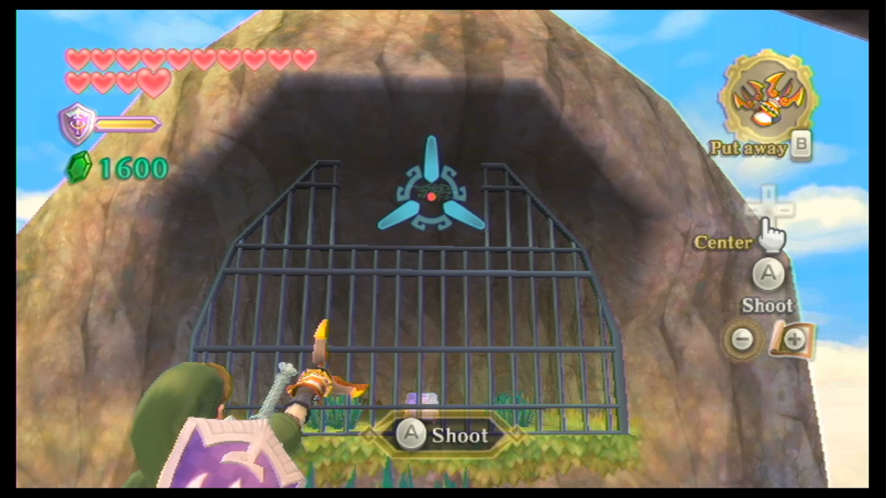
When you have left the Silent Realm, head east to the giant wind geyser. If you didn’t blow up the boulder last time we were here, you can do it now with a Bomb. Ride the geyser up the mountain.
Head south and eventually the Fireshield Earrings will ‘activate’ with a ringing sound. We can now get through this hot area for a longer period of time. Head up along the left side and head through the next exit to reach the Volcano Summit.
When you go straight ahead, you’ll encounter some Fire Keese and Red Chuchu, so go ahead and defeat them. There’s a Bird Statue here, so save your progress. If you turn right, you’ll run into a new species of Spume – the Cursed Spume. Although they are very similar to the Fire Spume, they spit a discolored ‘curse’ at you – if it hits you, you will be unable to use your sword and items for a brief period of time. You can use your Bow to quickly kill them off.
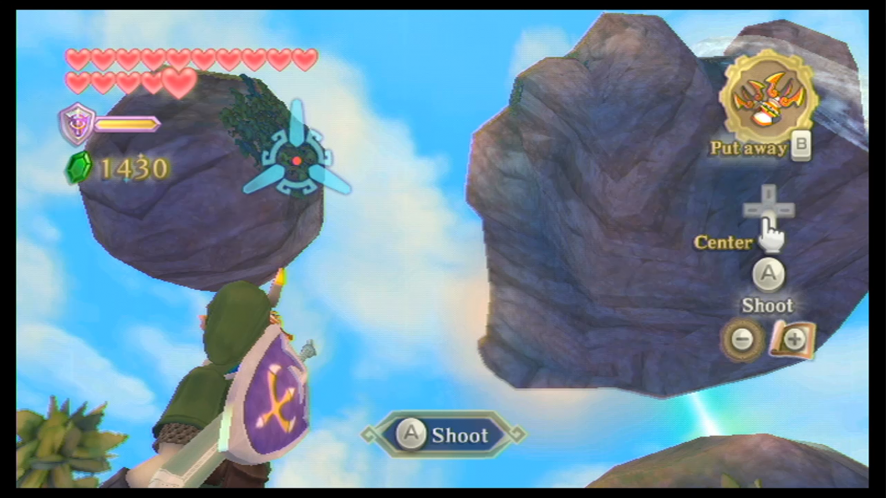
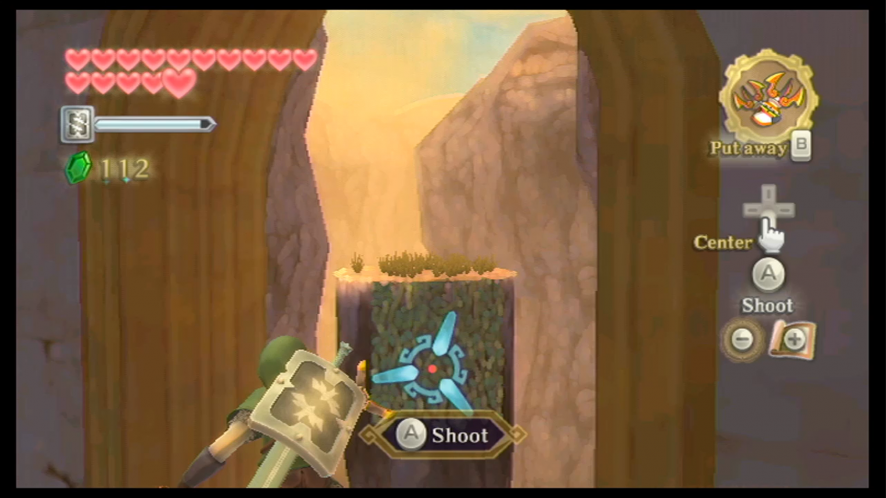
If you turn your attention to your right, you’ll see the first Goddess Cube in this new area. The only problem is that it’s quite far and we won’t be able to reach it with a Skyward Strike, so we’ll have to activate this Goddess Cube at a later time.
Head back to the Bird Statue and then jump down to the next level below. Defeat the Keese that are flying around here and then run by the Cursed Spume to reach the exit of this cave.
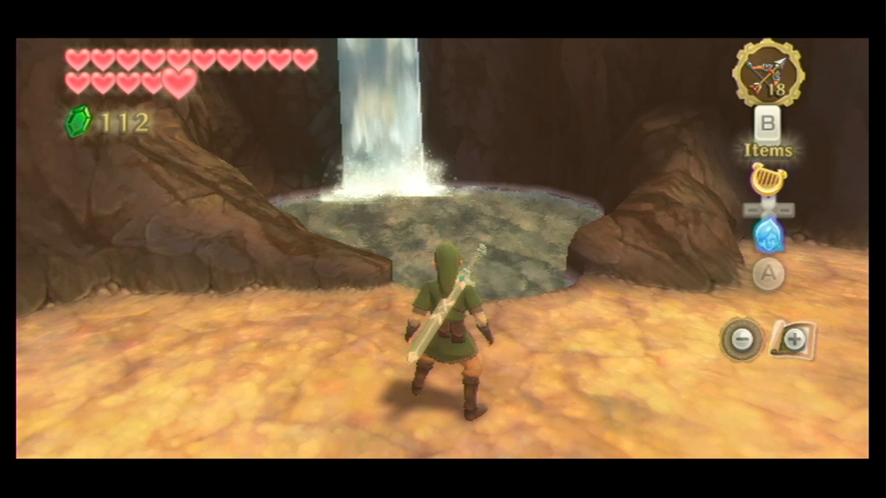
When you are outside, there will be a small waterfall to your left. This waterfall is going to be used later on in this area, so fill as many as your empty bottles as you can with the water. This will allow us to be prepared for when the moment arises so that we won’t have to run back here again.
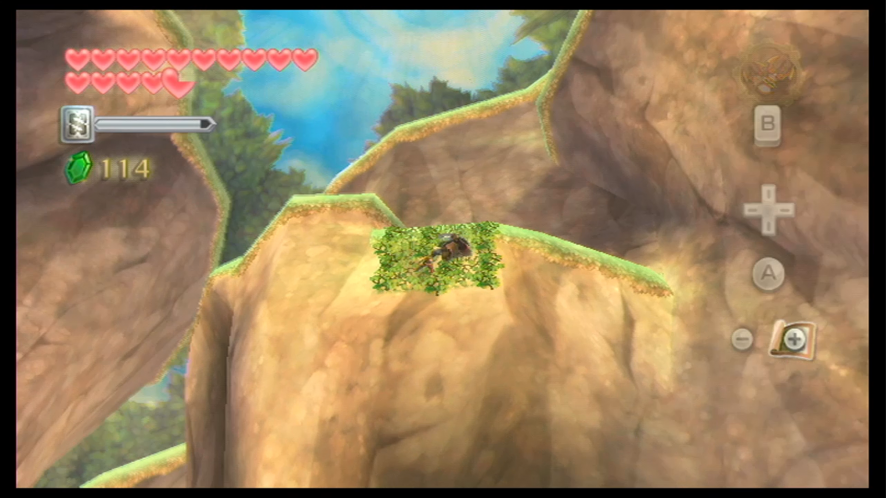
Right in front of the waterfall is a spot that you can jump off of, as well as a large pillar. We can’t see it from here, but there is actually a Goddess Cube behind it. Jump off the ledge here and glide over to the platform behind the pillar. Activate this Goddess Cube with a Skyward Strike. To get back up from this platform, equip your Clawshot and latch yourself onto the vines. Keep making your way up these vines until you make it back up to the waterfall area.

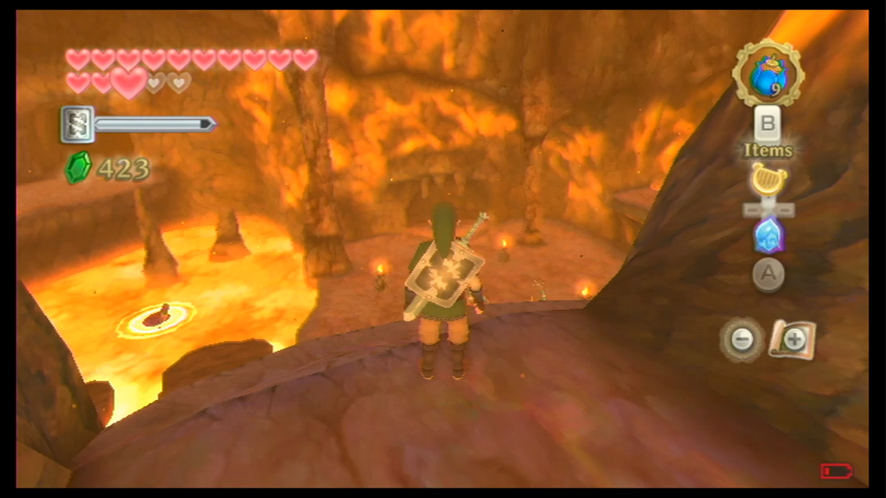
Head back into the Volcano Summit and take a left turn. There’s a pretty big Red Chuchu here, so make sure you take it down before you keep heading up this next ramp. Gorko the Goron can be found in this next area. Upon talking to him, he will explain to you that can’t get any further because of the wall of fire blocking his path. Along with this event, Fi will give you the ability to dowse for Goddess Cubes (although, I don’t see why she didn’t give us this ability earlier).
If you look to the right of the wall of fire, you’ll see a frog head structure mounted on the wall, and its tongue is sticking out. Take out one of the bottles of water you collected back at the waterfall and pour the water onto the frog’s tongue. This will actually cease the flames on the path.

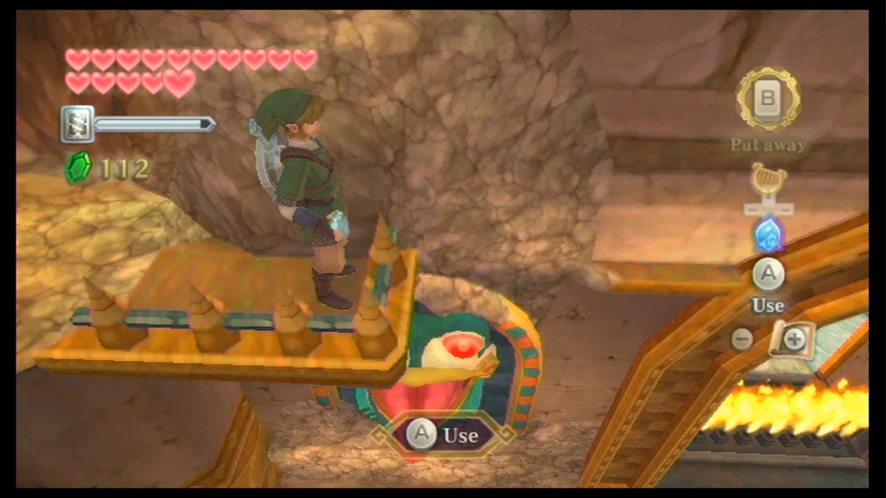
Head to the next room past where the flames were and you’ll find another frog structure as well as another wall of fire. This time, however, we can’t get to the frog’s tongue directly because the ground in front of it is broken up. If you turn to the left, you’ll see some vines growing along the wall. Use the Clawshots to latch onto them and then jump to the next platform so that you’re right above the frog’s tongue. Just like before, use one of your bottles to pour water on the frog’s tongue and stop the flames blocking the path.
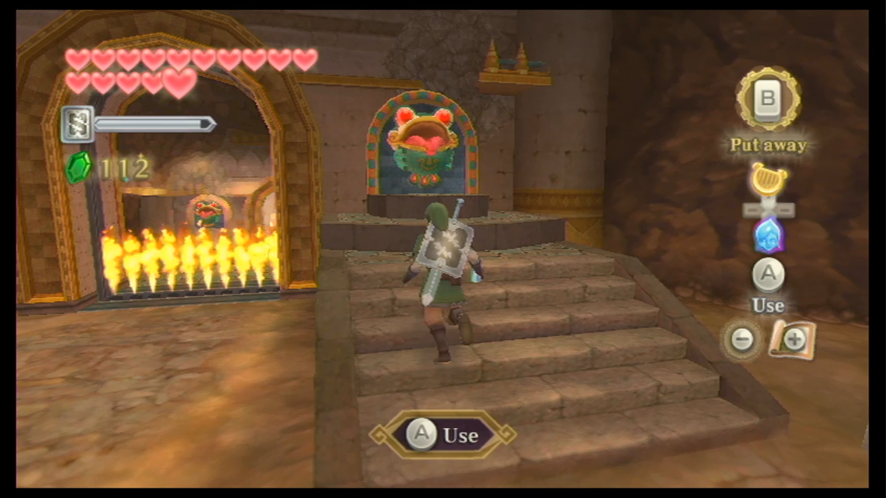
Head through to the next area and we’ll finally be at the entrance to the next dungeon, the Fire Sanctuary. There’s just one problem – there is another wall of fire blocking our path, and the frog structure above the door is HUGE. Even if we were to somehow get up there to the frog structure, one bottle of water isn’t going to stop the flames. We’re going to need something bigger.
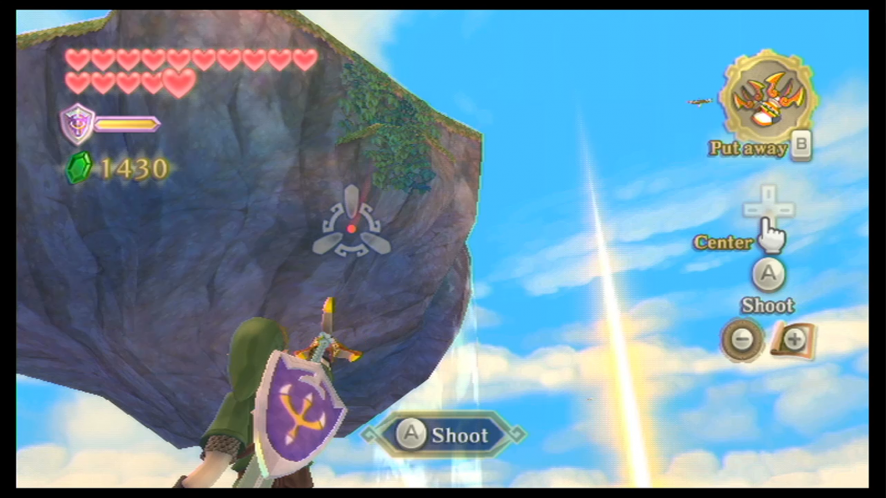
Before we progress any further with this, we may as well get to that Goddess Cube we saw earlier but couldn’t get because it was too far away. Turn to your left and you’ll see that there is a window here. Jump up onto it and then use your Clawshots to latch yourself onto the vines. You’ll run into a Lizalfos, so take him down before you progress to the next set of vines. Keep heading along the vines until you reach Goddess Cube #23, and then activate it with a Skyward Strike.
Now, we’re going to have to find something much bigger than a bottle to carry water in. When you think about it, Faron the Water Dragon had been sitting in a big bowl-like structure when she was injured earlier in the game. Let’s head to the nearby Bird Statue and return to the Sky.
When you’re back on your Loftwing, let’s head for the Faron Region. At this point in the game, there are two more Goddess Cubes we can activate – however, one is in Deep Woods and the other is in Lake Floria, so they’re on opposite sides of the forest. It’s completely up to you if you want to collect them.
As stated earlier, the first Goddess Cube we can collect is in Deep Woods, so when the landing map comes up, select the Forest Temple Bird Statue to land at. Head to the right side of the Skyview Temple entrance and you’ll find some vines on the wall above the entrance. Before we wouldn’t have been able to get to these vines, but now that we have the Clawshots, we can easily latch ourselves onto them. Land on the top of the entrance structure and then latch yourself onto the next set of vines. You will then reach Goddess Cube #24, so activate it with a Skyward Strike.
The next one is at the Floria Waterfall. You may actually find it faster to just return to the Sky via the Forest Temple Bird Statue and then land in Faron Woods again, only at the Floria Waterfall. When you’ve arrived at the waterfall, make sure you’re facing the direction that leads to where Faron’s main chamber is. When you’re facing this direction, look to the left and you’ll see some vines up above that you can grab onto with your Clawshots. Head up to the vines to reach Goddess Cube #25. If you also look at another high platform you will see that there is a lone Gold Rupee sitting there, so fly your Beetle over to it to grab it.
Now that we’ve activated those two Goddess Cubes, head to the chamber of Faron the Water Dragon. After speaking with her, she will agree to let you have the water basin that she used to heal herself in (honestly, it’s amazing how she managed to fit in there in the first place). Fi will call Scrapper to take the water basin back with you to Eldin. Swim back to the Bird Statue at the Floria Waterfall entrance and return to the Sky again.
Unfortunately, this isn’t going to be as easy as we thought it would be. Now we have another hassle to deal with – instead of getting the option to land where you want to in Eldin, you’re automatically taken to the Volcano entrance, which means we’re going to have to scale the whole mountain again, all while protecting Scrapper and the water basin from monsters. And of course, the Bokoblin and Moblins decided to take this opportunity to completely take over every corner and open area in the volcano, so this is going to be a tricky feat.
The moment you start, take the left path – this is a pretty quick shortcut up to the top of the volcano that will make our trip a little less difficult and long. Although, before you head up this shortcut, you’ll want to use your Bow to take care of the Bokoblin. Make your way along this pathway. If there is a boulder in the way that you didn’t blow up earlier in the game, go ahead and blow it up using your Bombs.
Eventually, you’ll reach one of those steep sandhills. The first thing you will definitely want to do is equip your Bow and take out the three Bokoblin Archers. Quickly run up to the first platform in the hill and wait for Scrapper to catch up. Once he has, make the rest of the dash up the sandhill.
When you’ve reached the top, you’ll see a Moblin to your far right. Unlike the many other times, we’re going to have to actually defeat this Moblin instead of avoiding it, as it could definitely cause trouble for Scrapper. An easy way to take care of it without taking it head-on is to grab one of the nearby Bomb Flowers and tossing them at him. It will only take four straight hits from Bombs to defeat him. Although, if you fully upgraded your Bow to the Sacred Bow from the earlier section, you can actually shoot it down with three arrows.

Keep going until you reach the end of this pathway. Climb up the vines here, and then keep heading along the next pathway (there’s a Chuchu here, so you may as well take care of it). You’ll soon reach the second steep sandhill, as well as another large group of Bokoblin. At the top of this hill, there are a total of five Bokoblin Archers. You can actually kill them all with your Bow if you aim very carefully. Once you’ve defeated all five of them, dash up the hill to the platforms and defeat the other two Bokoblin. Once you’ve taken care of them, you can safely reach the top of this hill.
When you’re at the top, take a right turn and quickly defeat the three Blue Bokoblin. You’ll run into another Moblin here, but this one is using a big iron shield instead of a wooden shield, so Bombs won’t work this time. To defeat Moblins of this kind, you have to run over top him by dashing at the shield and then delivering several sword slashes to his backside. You have to be very efficient with your strikes and make sure he stays away from Scrapper and the water basin. And like before, if you upgraded your Bow to the Sacred Bow, you can easily kill him with five arrows.

After defeating the Moblin, head up this ramp until you reach a spot where there are three Bokoblin Archers and another iron shield Moblin. Quickly shoot down the Bokoblin with your Bow, and take care of the Moblin the same way as before.
Head across the bridge and then follow the next pathway to enter the Volcano Summit. Defeat any of the Fire Keese you run into and then head up the sandhill to the left. When you drop down, you’re going to have to defeat two Lizalfos, so do it quickly – it can be done quicker with arrows or Bombs. Afterward, jump over the gap and head to the next spot.
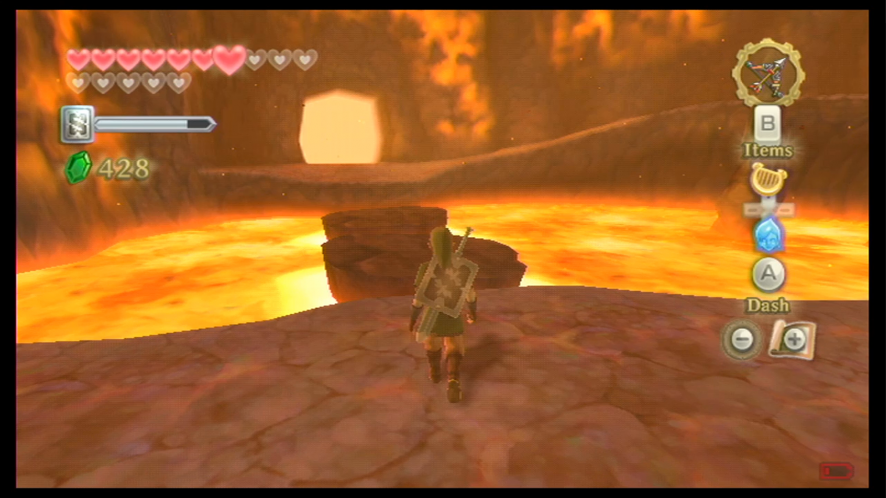
Thankfully, there are no enemies here, so just head straight for the entrance of the Fire Sanctuary. When you’re there, Scrapper will automatically pour the water in the basin onto the frog structure’s tongue, which will put out the wall of fire. Save your game at the Bird Statue and then head into the Fire Sanctuary.