


Chapter 10: Ancient Cistern
Table of Contents
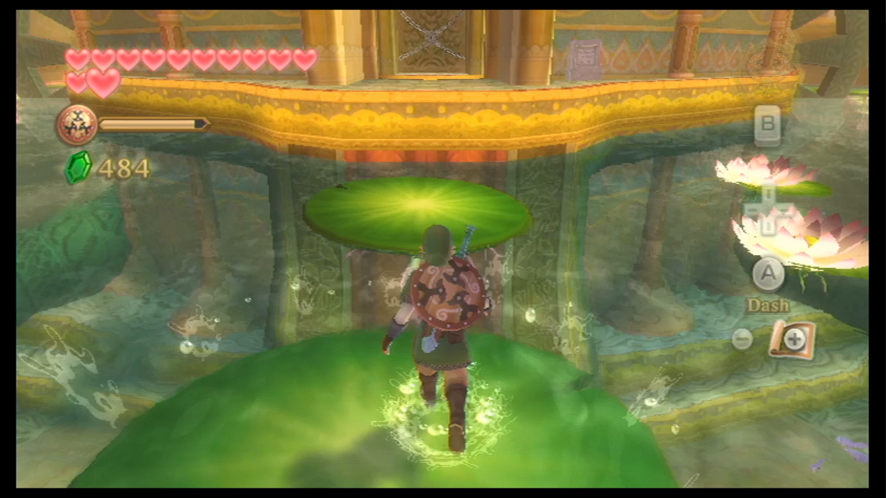
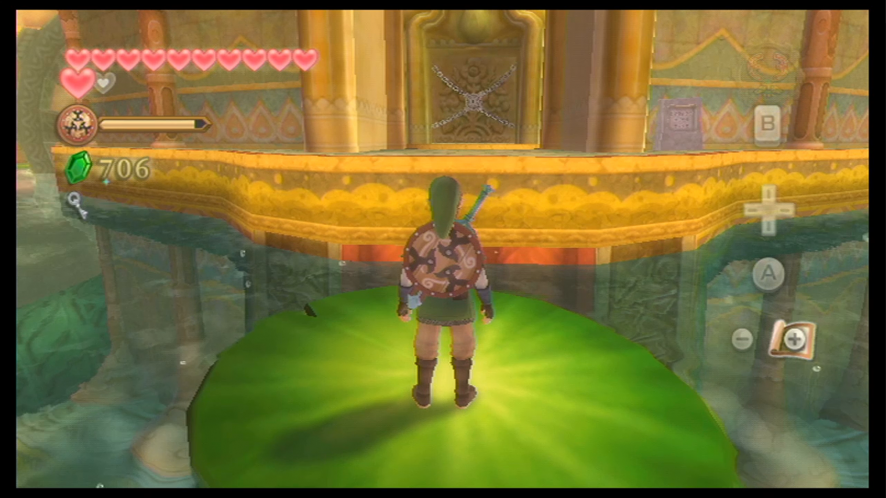
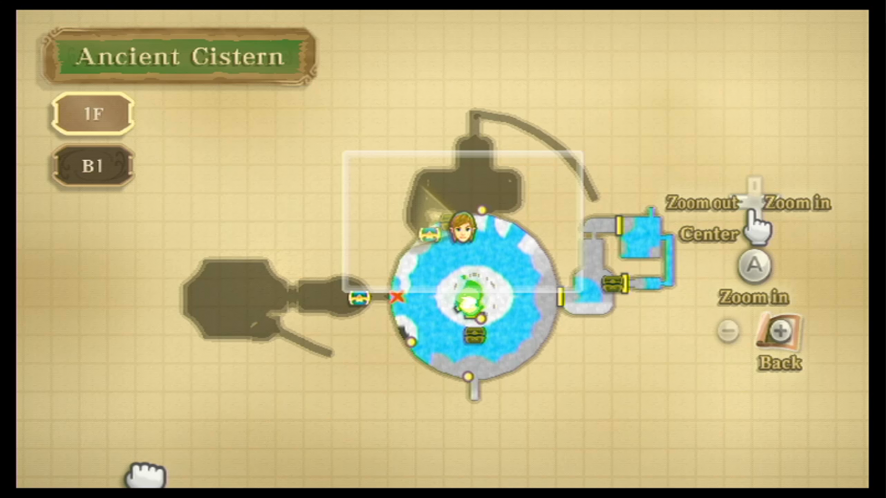
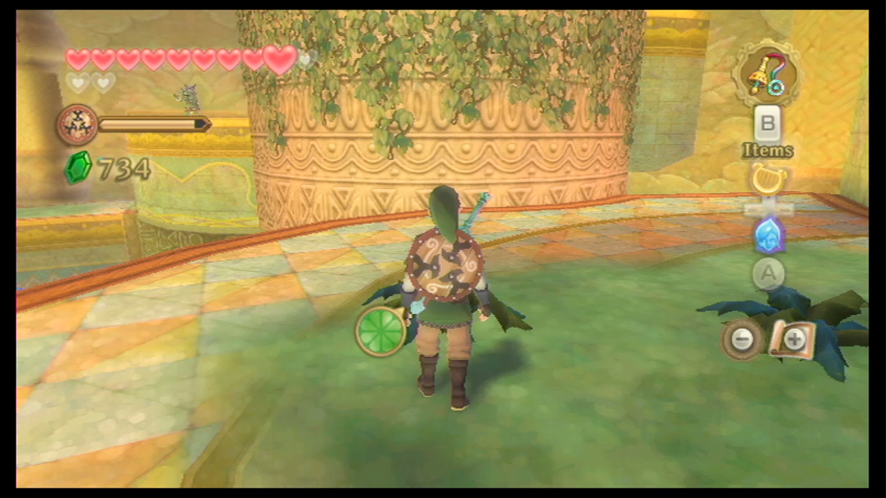
Entering the Dungeon
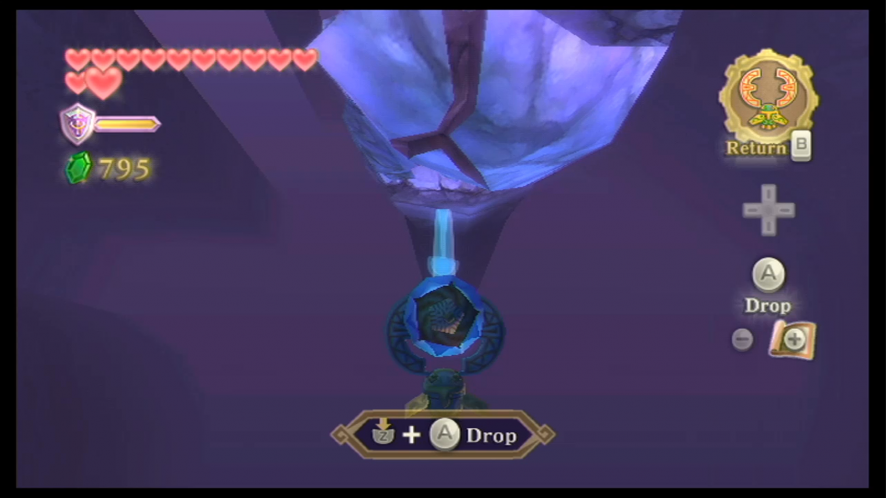
When you’ve entered the dungeon, go straight ahead and make your way across the lily-pads by jumping on them, and then go to the stone tablet on the right and read it. The tablet will depict the ‘secret’ of the dungeon, which is “Back, Rear, Back of the Right Hand, and Back of the Left Hand”. The directions written here apply to the massive human-like structure in the center of this main room.
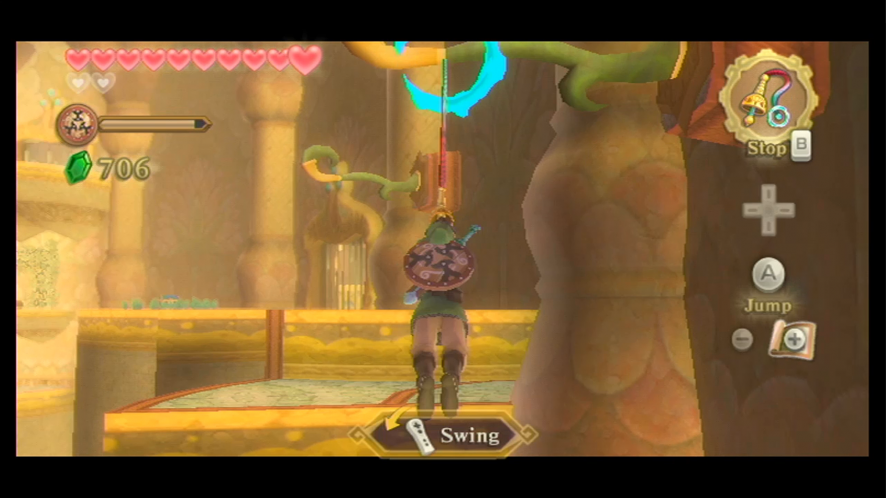
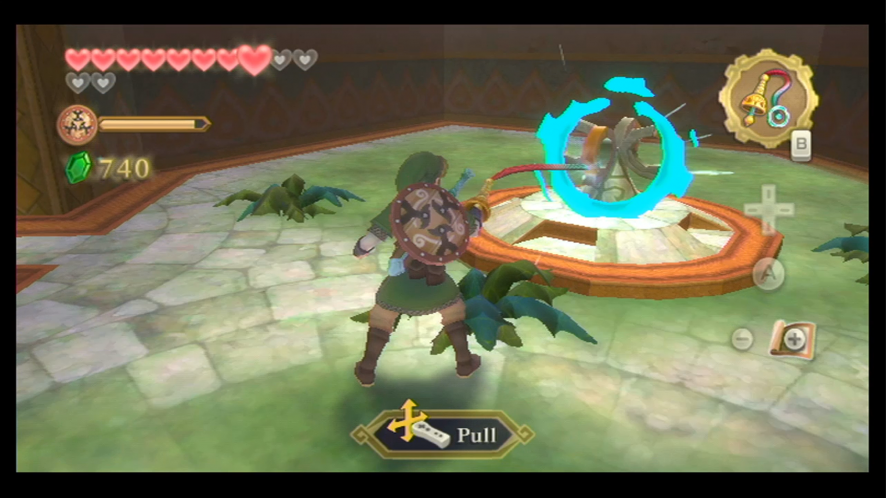
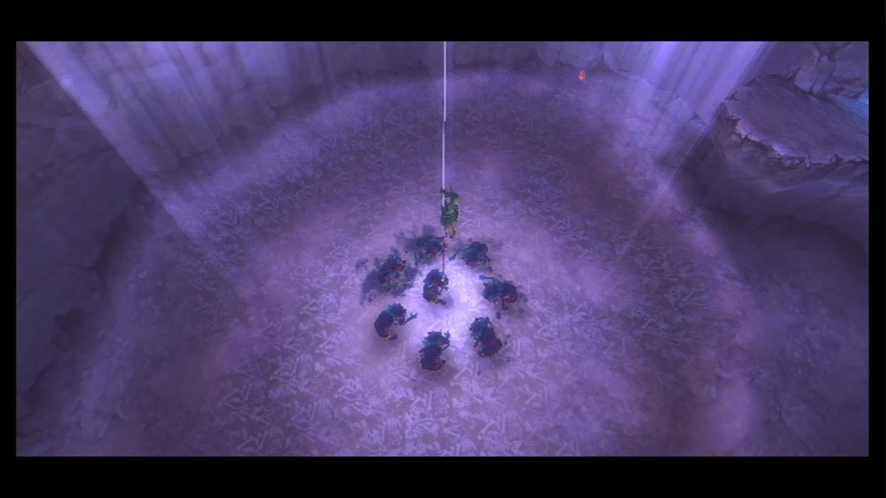
Jump into the water and then swim around to the backside of the statue. You’ll see that there’s a symbol on the top part of the statue that’s darkened. If you swim to the rear part of the statue, you’ll see that the bottom part is also darkened. You’ll also encounter some Blue Chuchu, which can be defeated with a mere water attack.
Swim back around to the front of the structure and you’ll see that the statue has two hands as well. If you look behind the right hand, you will see that the left side of its symbol has a shaded part on it as well. Behind the left hand, you’ll find that the right part of its symbol is shaded.
Each hand has a silver rupee hovering above it, but if you try to collect it, the hand will close on you, so you’ll have to perform a water attack to get the rupee and get out before the hand crushes you.
Now that we’ve found all the shaded parts, we can assume that the ‘code’ for this room is Top, Bottom, Left, Right. We don’t need this information quite yet but remember the pattern for later as it will be needed later on in the dungeon.
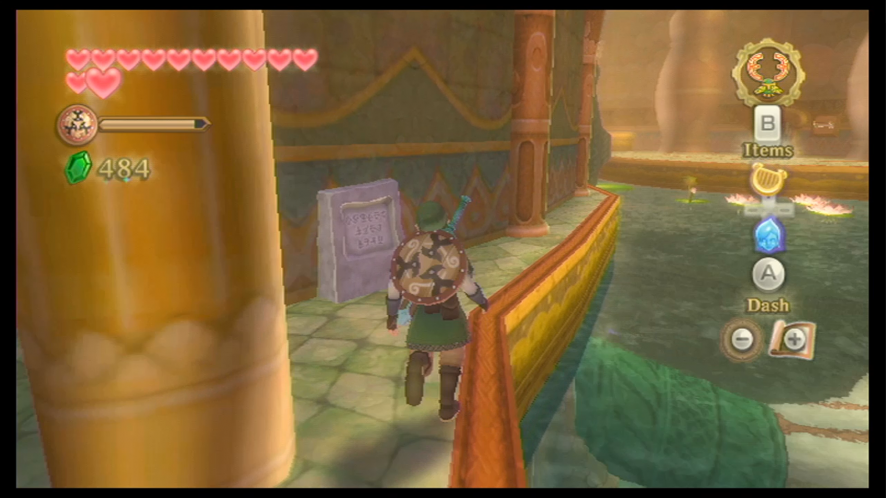
Head over to the eastern side of this main room and you’ll find a door that’s been closed. Pull down the nearby lever to open it and then go inside. Jump down below and then head to the north end of this room, cutting through the Skulltula webs and other enemies along the way. If you look around the corner of this corridor, you will end up by a locked door along with another stone tablet. The tablet tells you to strike the gemstones wisely, with the help of the temple’s ‘secret order’.

Turn to the locked door and you’ll see that there are four gemstones. Strike it in the order we learned from the last room – top, bottom, left, right. Once you do this correctly, the door will open.
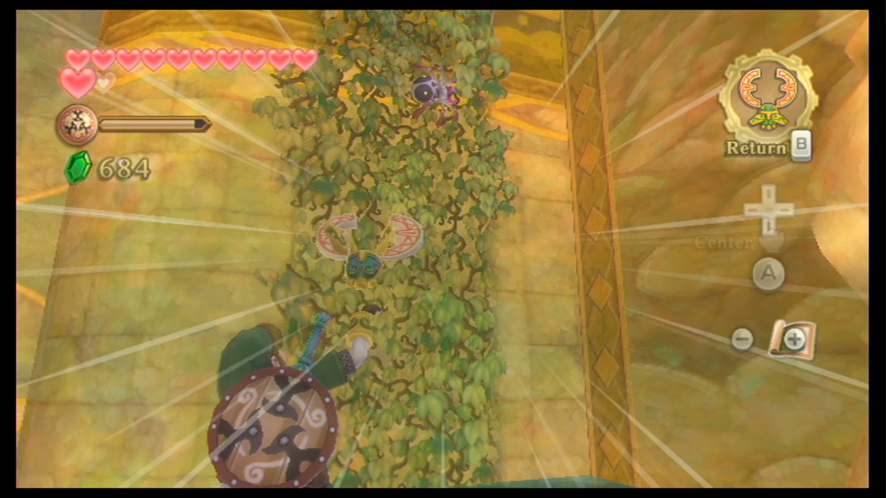
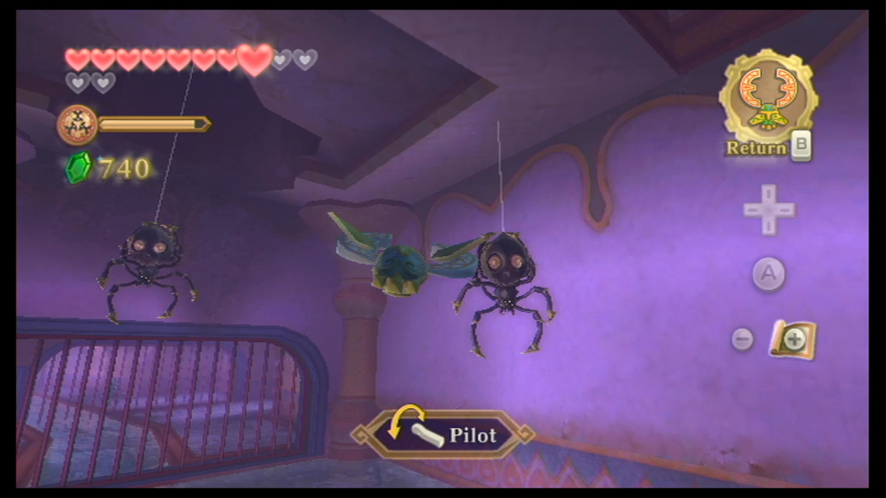
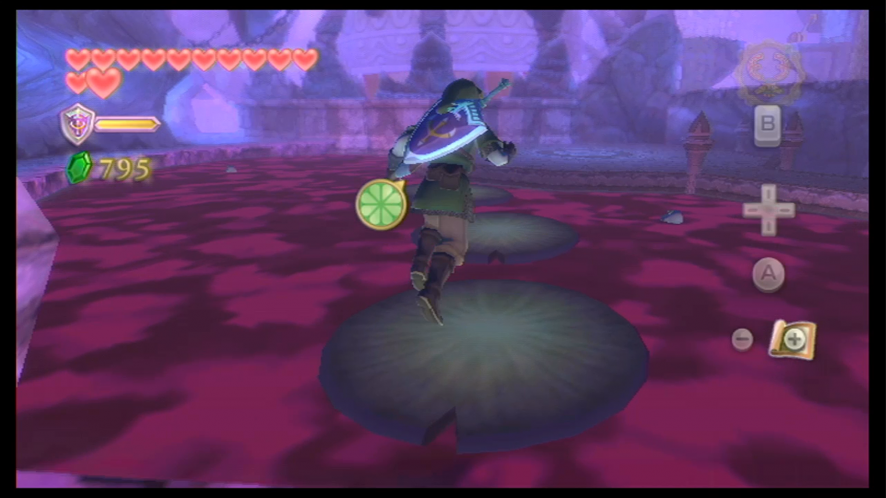
Once you’re in the next room, equip your Beetle and use it to cut down the two Skulltulas’ webbing. There is a passageway at the east end of this room, but you can’t get there yet as it is underwater and there is an upside-down lilypad in your way. Head over to the southeast section of the room where the Walltula is perched up on the vines and kill it, and then climb up. Jump off the next ledge so that you land on the lilypad – your weight will cause it to flip over, clearing the way for you to swim into the passage.

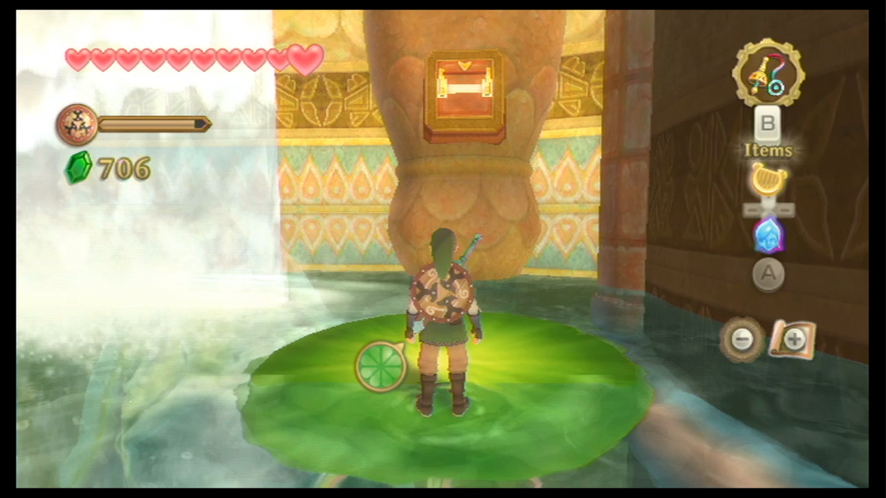
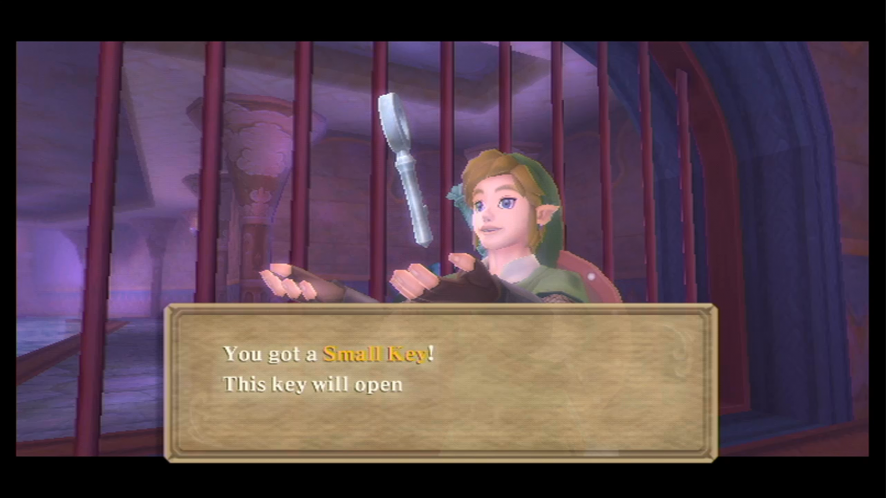
Keep swimming through this corridor, breaking any wooden blockades along the way with a water attack. When you’ve reached the end of this tunnel, climb up the vines and head through the next door. Inside you will find a treasure chest, so open it to get a small key. There is a ledge here so jump off and then use the water geyser to reach the ledge that’s up higher. Defeat the Deku Baba and then jump off the next ledge. Go through the door and you’ll be back in the main room of the dungeon.

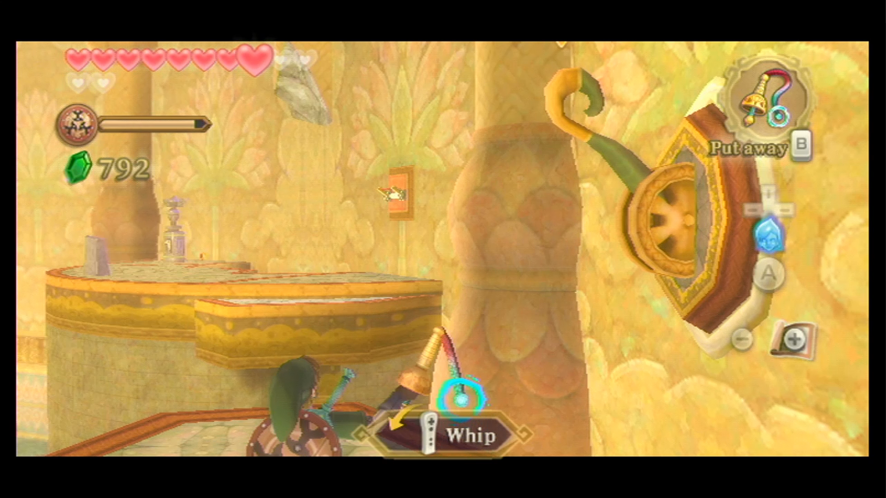
The Whip
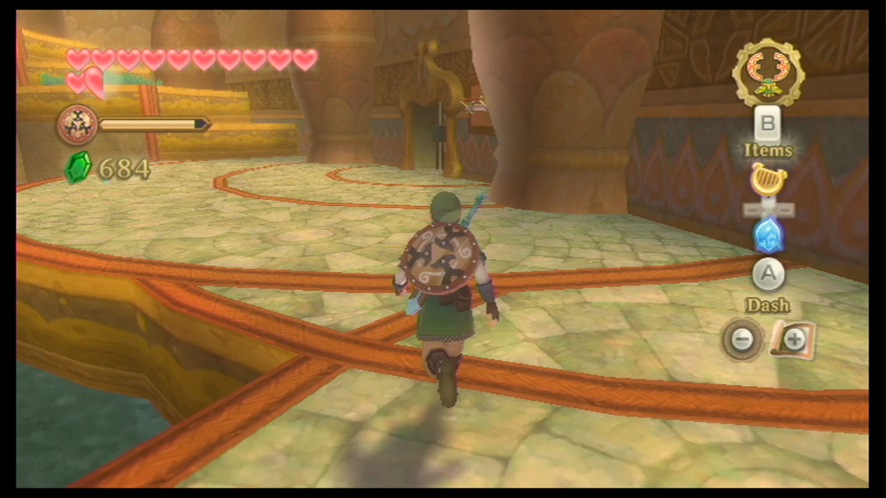
Now that we’re back in the main room of the dungeon and have a small key, let’s head to the south end of the room near where we entered the dungeon, where the locked door is located. Jump across the lilypads to reach the ledge it’s sitting on and then open the door. Jump down to the ground below and you’ll encounter the Stalmaster, the dungeon-mini boss.
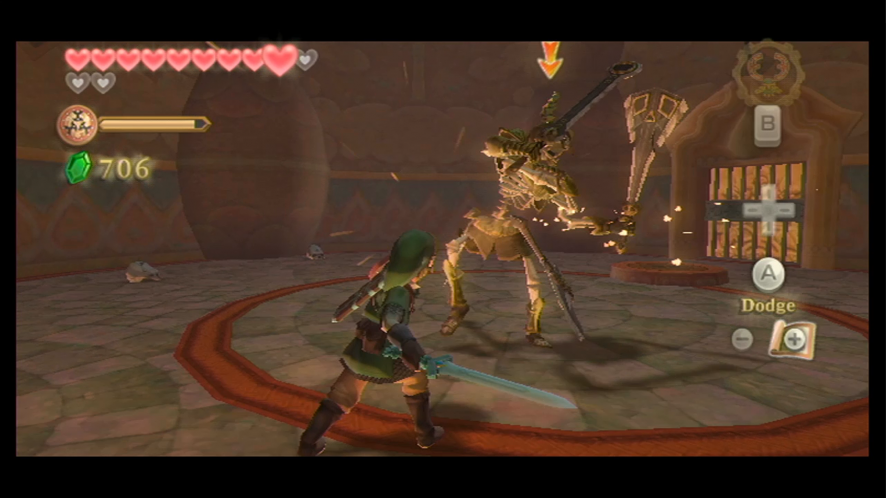
Fighting the Stalmaster is somewhat similar to fighting a Stalfos, however, he has two swords and can block in two directions. You’ll have to determine the spot in which he has an open guard and then slash in that direction. He can change his guarding direction quickly so you’ll have to be quick in attacking. When the Stalmaster is preparing an attack, jump back so that you don’t get hit. The Stalmaster is also quick to chase you, so if you have to run off for whatever reason, it won’t take long before he catches up to you. Some of his attacks – if he can land a hit on you – can involve two strikes in a row, so be careful and try your best not to get hit.
Once you’ve inflicted the Stalmaster with a few hits, he will pull out two more arms, giving him a total of four swords to defend and attack with. Most of the time he will block from three directions, but he is capable of doing it in four directions as well. You will have to be very accurate and quick when placing your attacks on him.
One strategy is to wait for him to block with all four swords and then just do a straight sword attack, as the center of his guard will always be open when he uses all four swords. However, now that he has four swords, he can do up to four straight attacks, so be careful and keep your distance from him as much as you can.
Even after inflicting more hits on him, the Stalmaster won’t be down yet – he’ll start to change his defense, making him even faster. He will change so quickly that it will be hard to determine his guard and react in time, so the best strategy you can go with is to just guess his guard and strike right off the bat – if it’s incorrect, quickly jump back so that he doesn’t hit you. Once you strike him a few more times, the Stalmaster will have finally been defeated.
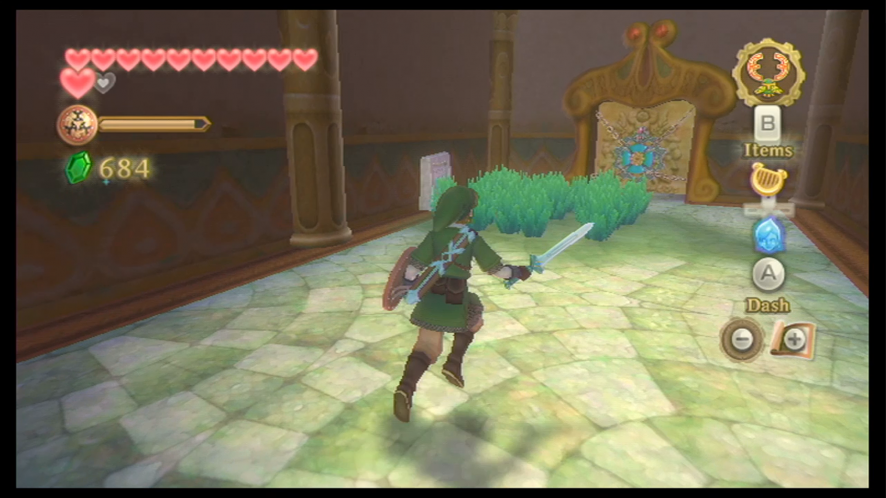
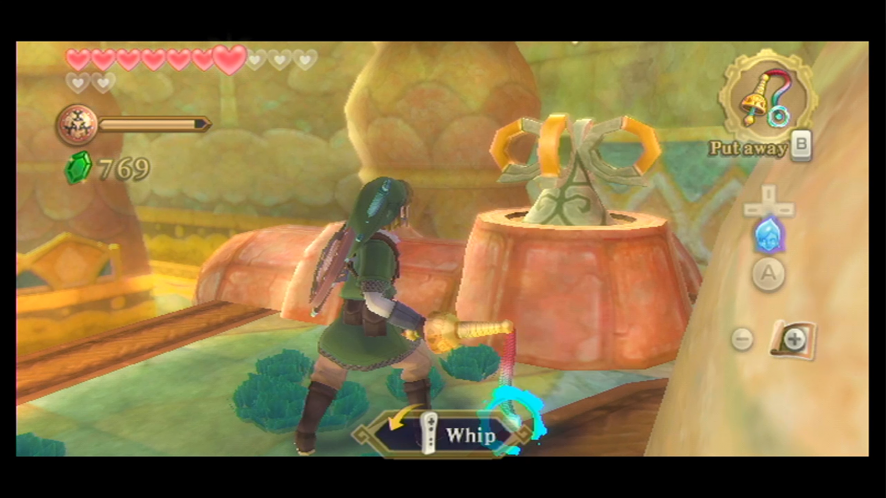
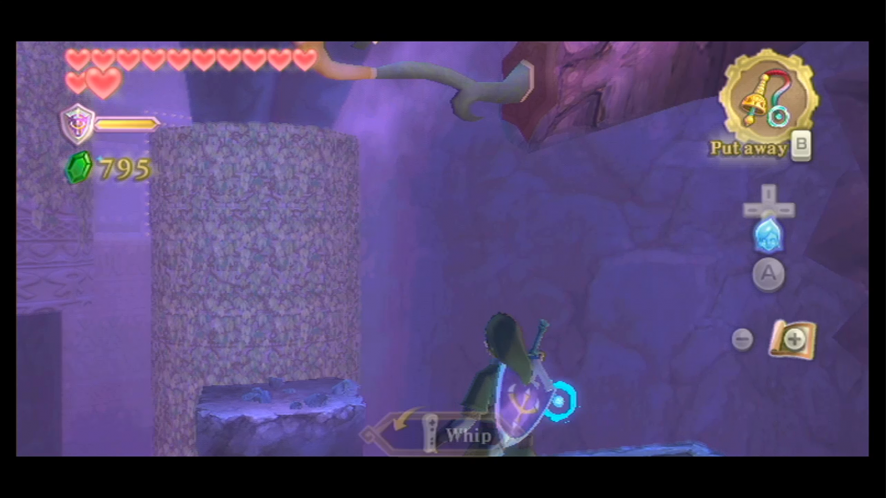
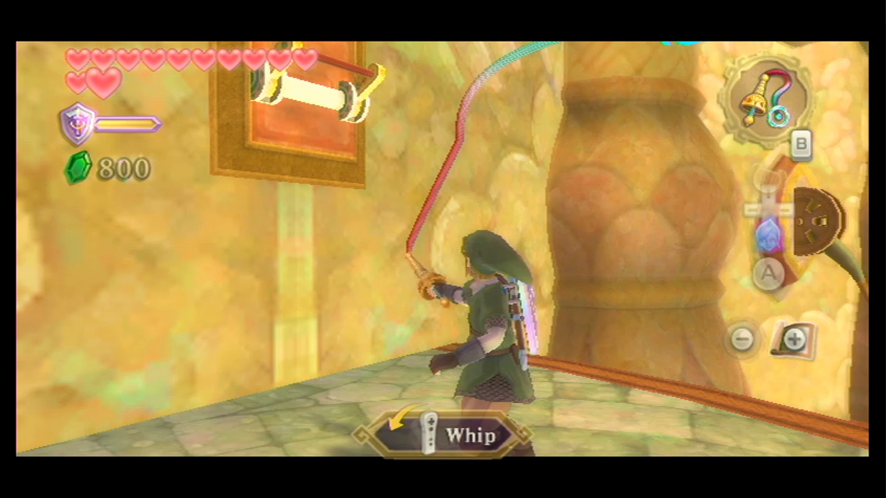
When you’ve defeated the Stalmaster, head through the newly unlocked door. The treasure chest will contain this dungeon’s item, the Whip. When you’ve obtained this handy item, go back to the room where you fought the Stalmaster. You’ll see that there is a sort of key in this room. Equip your Whip and use it to turn the key – this will cause a water geyser to appear, which will allow you to reach the next floor. We don’t need to pay much mind to the other keys yet, so let’s leave through the door to be back in the main room.
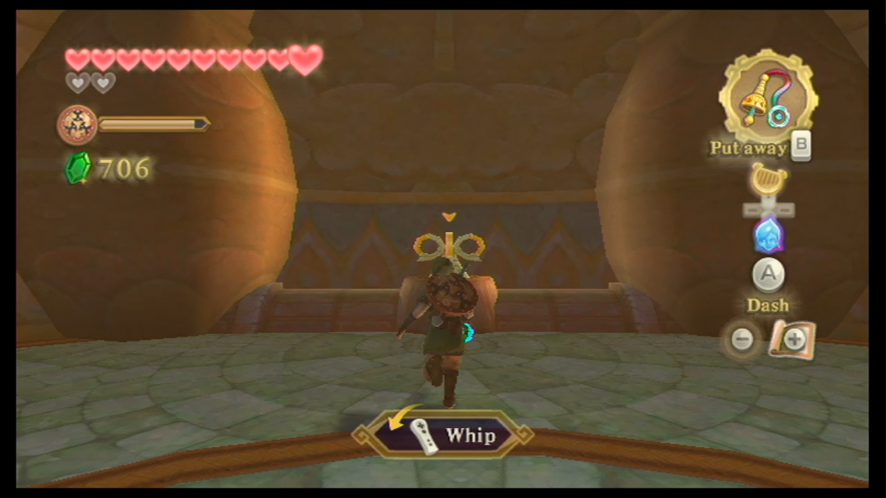

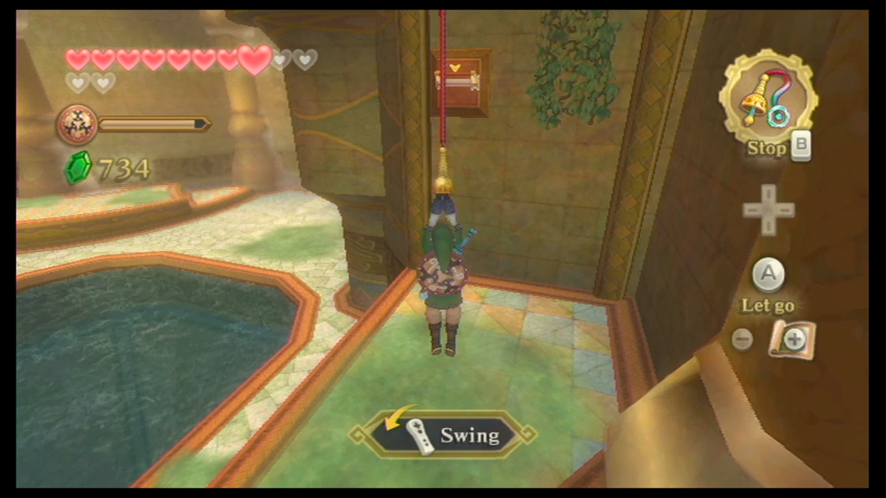
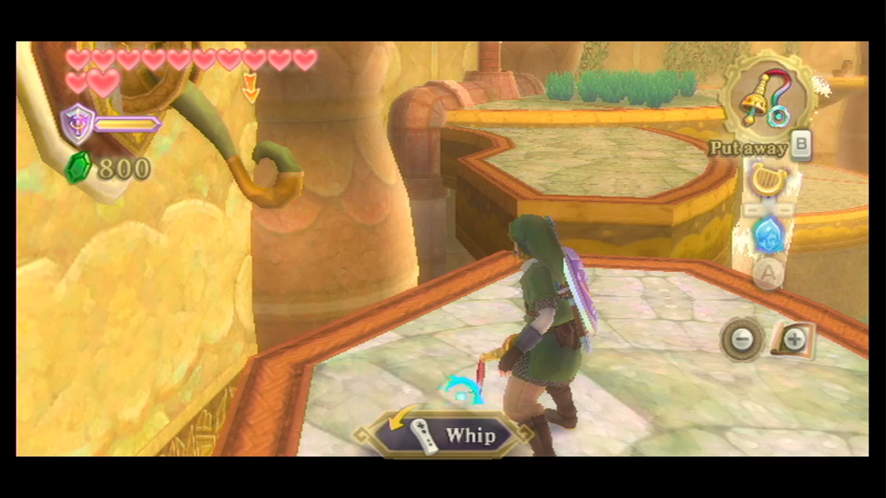
Jump over to the outer platform of this room and walk in a counter-clockwise direction. There will be gaps that Link will be unable to jump over, but thanks to our new Whip, we can use it to target the poles above each gap. When you grab onto these poles, Link will be able to swing across. Keep heading across this path until you reach a treasure chest. Upon opening it, you will have the Dungeon Map.
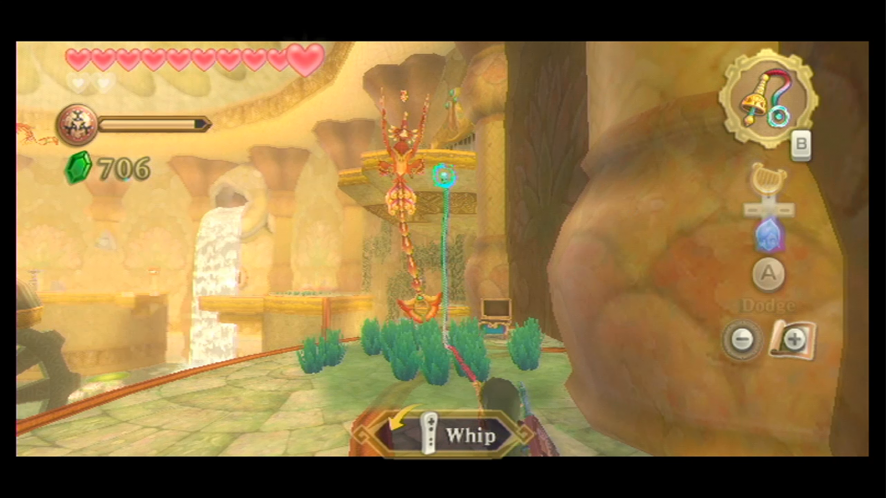
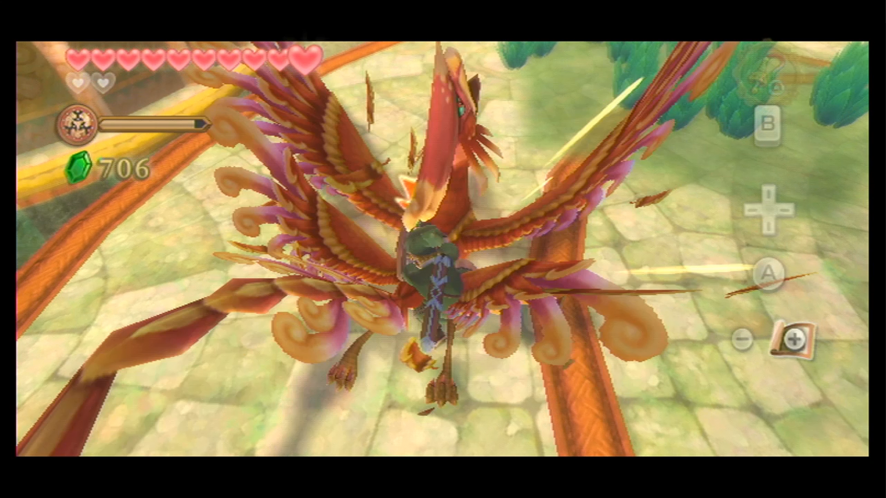
You’ll soon encounter the Furnix, which is a large bird that flies around and will eventually target you. When it lowers its tail, lock onto it and swing your Whip at it. Once the Whip has wrapped itself around the tail of the bird, pull it towards you and then strike it with your sword until it has been defeated. You will see that there is also a locked gate here, but we can’t open it yet, so let’s just jump down below into the water.
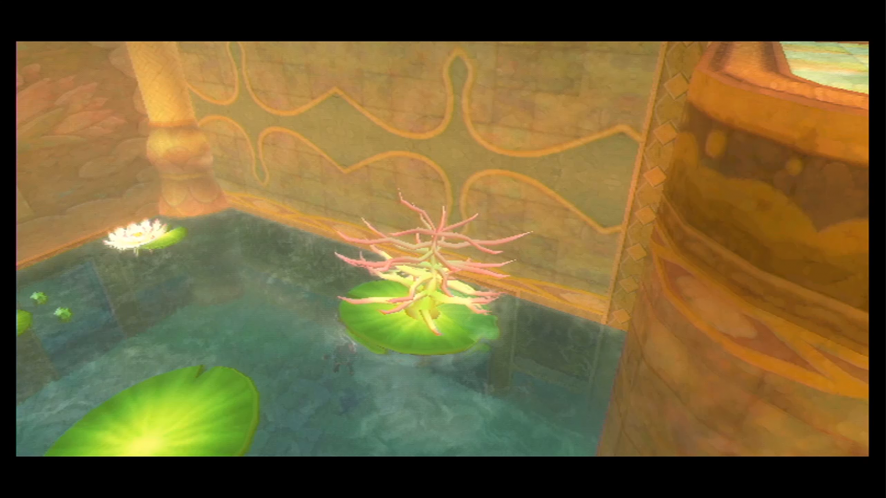
You’ll see that there is an ‘X’ marked on your map on the west side of the room, so let’s swim on over there. Jump onto the lilypads here and you’ll see that one of them is flipped upside-down. Latch onto the spiny part of the lilypad with the Whip and flip it over. Jump onto this lilypad and then grab onto the nearby lever with your Whip. This will cause the water to stop flowing in another location.

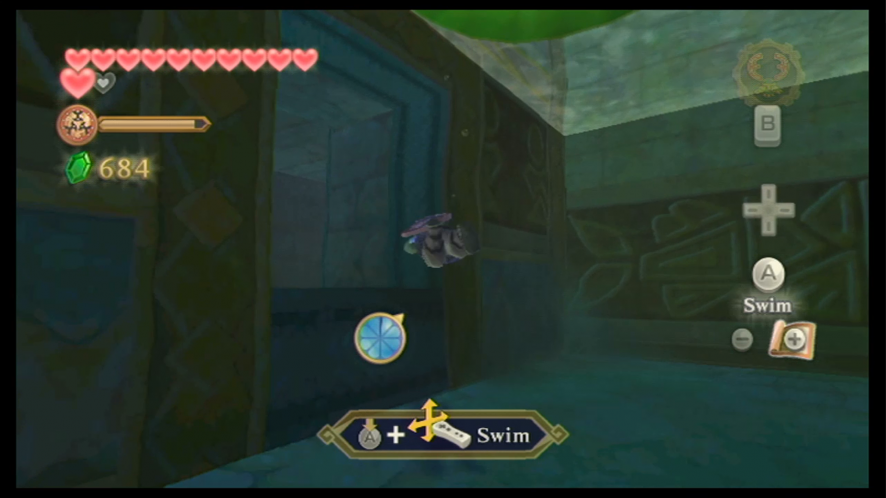
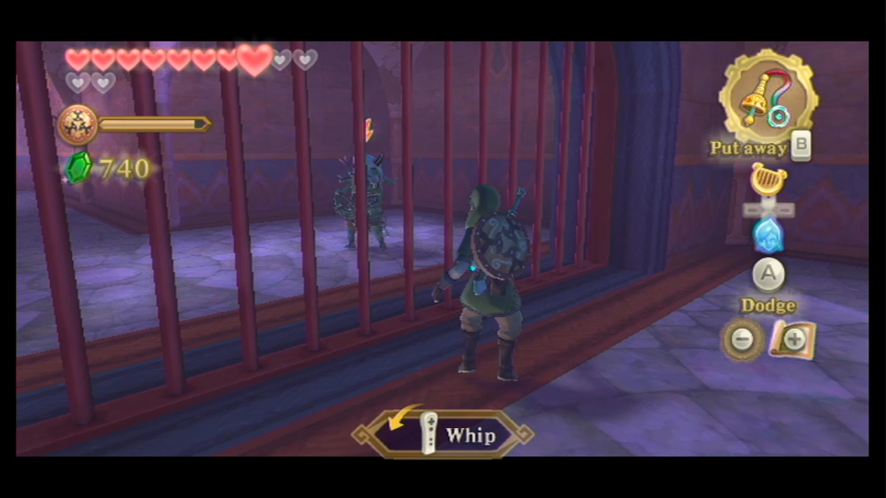
Jump back into the water and swim into the nearby hole. Keep going along through a long corridor until you resurface on the other side. Walk to the east end of this room and then open the treasure chest to get a red rupee. Defeat the Skulltula and then head over to the closed gate. Equip your Whip and use it to latch onto the lever, and then pull it down to open this gate.
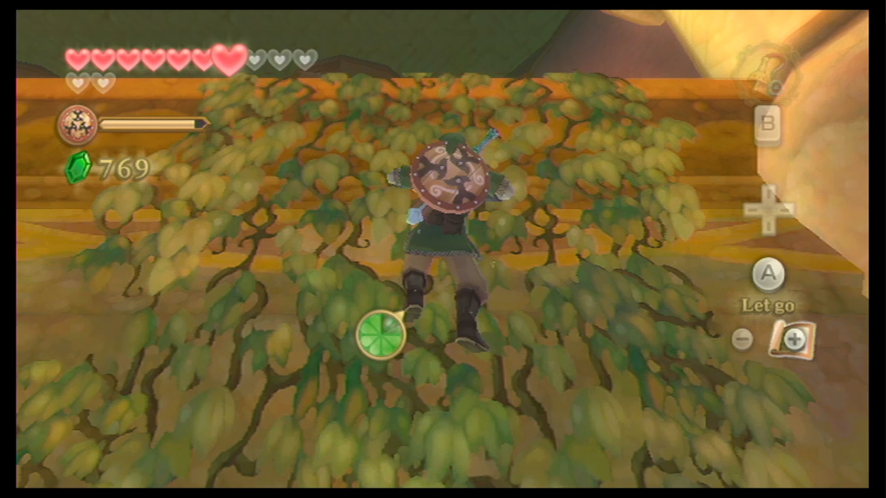
The next area has some Chuchu and Bokoblin, so defeat them and then climb up onto the ledge on the right. There is a bar above, so latch onto it with your Whip and swing yourself across, jumping onto the vines when the timing is right. Climb up these vines and then take down the Deku Baba.

You’ll see that there is a rotating column to your left and it’s covered with vines. Do a dash and jump to the vines and then climb up. If you’re running low on stamina while climbing, there is a platform along the way that you can rest on. Afterward, climb back onto the vines and let it take you to the next platform. Defeat the Bokoblin on this platform and use your Whip to latch onto the bar.
We can’t exactly swing across yet as the next spot is closed off with a gate, so instead of swinging across, stop swinging, and turn yourself to the left. Start swinging again and then jump off to latch yourself onto the lever. Pulling down on this lever will cause the gate to open.
Drop down off the lever and then equip your Slingshot. Shoot down the Walltula on the vines, and then turn around and climb up the vines. Use your Whip to latch onto the bar and swing across. This time you can latch onto the vines. Climb up and defeat the next set of Deku Baba, and then use your Whip on the key to activate a whirlpool in the ground.
Jump down into this whirlpool and you will be sucked into the area down below. I recommend saving your game at the Bird Statue in the west side of this room. Once you’ve done that, equip your Beetle and bring down the Skulltulas. The Skulltula in the middle will flip over the lilypad below it, so you will now be able to swim through the passage underneath it.
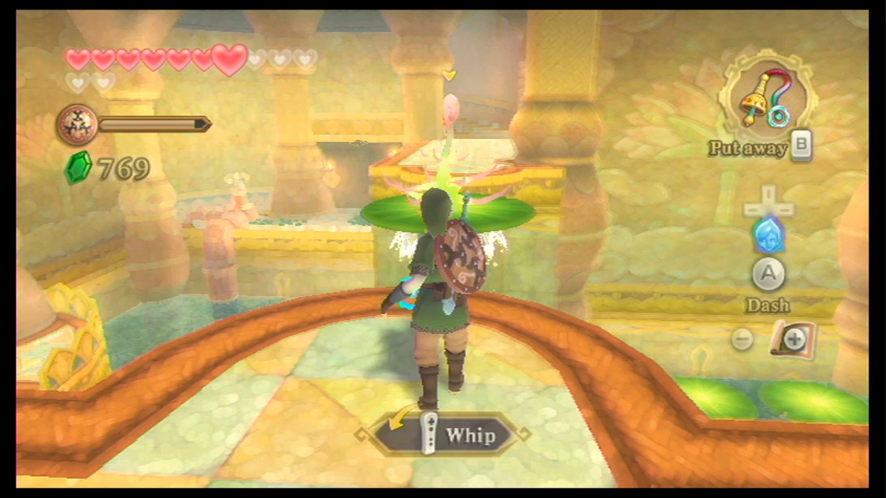
Once you’ve made it to the other side, you’ll see that there is a Green Archer Bokoblin on the other side of the fence. You’ll probably also notice that there is something shiny attached to him. Equip your Whip and use it to grab the shiny item on his belt – it’s a small key. Jump across to the door and use it to unlock it. When you’re in the next room, defeat the Bokoblin. Jump into the water and follow its current to reach the main room of the dungeon again.
Swim around until you’re at the east end of the room and use a water attack to jump up onto the platform. Equip your Whip and use it to flip over the lilypad. Switch to your Slingshot and use it to shoot down the Walltula and then climb up the vines.
Head up the ramp (taking care of a Quadro Baba as well) and you will see that there is a gap here that you cannot jump across. Look below and you’ll see that there is a lilypad. Jump down to it; landing on it will cause it to flip over. Jump into the water and swim underneath the lilypad, where you will find another pathway. Follow this path – watch out for any Froak along the way – and then re-surface on the other side.

Climb up the stairs here and then use your Whip on the key. After turning it, a water geyser will appear in the middle of this room. Jump back into the water and then climb up the vines at the east side of this room again. Run up the ramp and use the Whip to flip over the next lilypad. Now you can jump across safely. When you’ve reached the end of this path, use your Whip to pull down the next lever. The gate will open.

Climb down the vines that are located to the left of the door to the platform that’s just below the door we arrived in. There is a treasure chest here containing some rupees. Afterward, equip your Slingshot and knock down the Walltula that are climbing on the vines. Climb back up these vines and start to make your way to the western part of the room. Pull on the next key with your Whip and a water geyser will be activated; this will make this platform easier to get to later on.
There is a bar hanging from the west wall, so latch onto it and pull it down – the middle structure will lower by an entire floor. Jump into the water and then swim to the door on the structure.
Golden Sculpture
Once you’re inside the structure, drop down to the bottom floor. Go through the next door and you’ll find yourself in an underground area. Here you will encounter the Cursed Bokoblin, which will move slowly towards you and try to latch onto you. They have a lot more health than a regular Bokoblin, so you’ll have to deliver a final blow to get rid of them quickly.
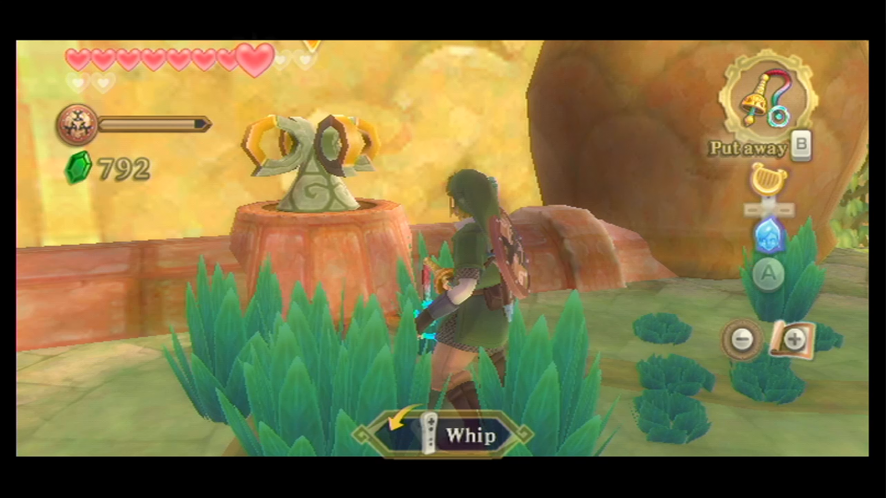
Run to the northeast part of this room and follow the pathway, defeating any Cursed Bokoblin you run into along the way. Jump onto the lilypads to your left and then use your Whip to flip over the third one. Turn your attention to the northeast part of the room and then look up – you’ll see that there is a figure that has two eyes here. Send a Beetle to one of the eyes and hit the diamond switch that’s located behind it. This will cause the liquid to stop flowing.
Head back across the lilypads and then make a left turn. Defeat the Fire Keese that are here; soon you will find a Bomb Flower. Use your Beetle to pick up the Bomb Flower and take it over to the boulder located off in the distance, towards the right. Drop the Bomb Flower over the boulder to destroy it. Once that’s done, head back across the lilypads and equip your Whip. Use it on the bar and swing across to the spot where the boulder used to be.
- Once you’ve reached the platform, jump over to the rotating column and start to climb the vines up to the top.
- Once the timing is right, jump to the next column and then climb over to the platform located to the left side.
- Latch onto the lever with your Whip and then pull it to the other side – this will cause the rotating columns to change their directions.
- Jump down to the moving column again and hold on until it turns you to the other side.
- Climb up the next ramp and then take down the Cursed Bokoblin here.
- Jump onto the vines and then jump to the platform on the other side when the timing is right.
- Climb up another set of vines and you’ll be back at the lever we just pulled. Pull it back to its original position and the columns will change direction again.
- Head back to the rotating column and jump back onto the vines, and then ride it to the platform that we haven’t been to yet.
- Once you’ve landed on the platform, defeat the Fire Keese and then jump down.
- Once you start climbing the rope in this room, some Cursed Bokoblin will begin to climb after you, so if one of the Bokoblin get too close and grab you while you’re climbing, shake the WiiMote and the Nunchuck to knock them off.
After reaching the top, turn left and then pull down the lever; this will cause a ramp to extend itself out. Head along this ramp and then use your Whip on the bigger lever to change the structure in the center of the room again. Turn around and then head down the rope we just climbed up.
Head over and then use the Whip to activate the key. This will make a water geyser, which will create a shortcut for us to get back up if we had to. Once you’ve done that, jump down into the pit to get to the treasure chest in the center. Upon opening it, you will receive this dungeon’s Golden Sculpture, the Blessed Idol.
As soon as you get this item, a large amount of Cursed Bokoblin will appear and the platform will begin to fall, so just run back up the ramp without paying any mind to the Bokoblin. When you’ve made it to the top, the platform will fall and a door will be revealed for you to go through.
When you’ve gone through this door, ascend this room via the water geysers – if you didn’t activate them earlier, activate them now by using the Whip to turn the keys. Ride the geysers all the way to the top floor and you will then be at the boss door. Once you’ve placed the Blessed Idol in the door’s lock, the ceiling of this room will open up for you to get through.
Climb up the next set of steps and then use your Whip to activate the four keys. Doing so will cause this structure to move up. When you’ve arrived at the final spot, prepare yourself for the next battle by saving at the Bird Statue and collecting any Recovery Hearts around the area.
Once you’ve done so, climb up the stairs to reach the area where you will fight the dungeon boss.
Ancient Automation Koloktos (Boss)
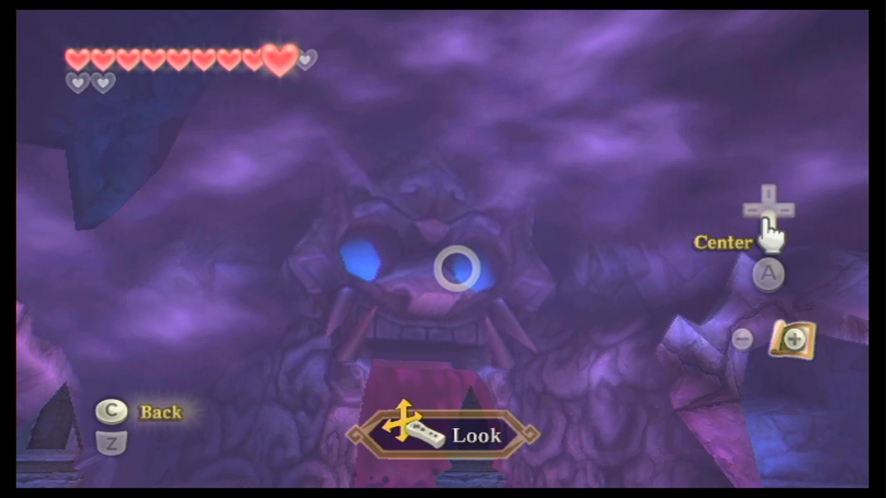
When you arrive in the boss room, you will go into a discussion with Ghirahim again, and then he will use his dark magic to activate the machine, Koloktos.
When Koloktos tries to hit you with one of his arms, move out of the way to avoid it and then quickly pull out your Whip. Use it to grab the arm and then pull on it – this will cause the arm to separate from the main body of Koloktos. Keep doing this until you’ve pulled off four of his arms.
Once you’ve done so, you’ll see that there is a red item in the center of Koloktos’ body, which acts as his weak spot. Once you get the chance to, charge in and strike it as many times as you can with your sword. After you’ve done this several times, Koloktos will reattach his arms, and you’ll have to repeat this process again.
After you’ve repeated the process a few times, Koloktos will grow feet and will equip six gigantic swords, one for each hand. He will now be able to chase you around the room and will strike you with three arms at a time. Dodge any attacks he throws at you and then quickly use your Whip again to pull the arms away. This will cause his swords to fall to the ground, so run over and grab the nearest one.
You can now use this sword to cut off the rest of Koloktos’ limbs. You can also do damage on the cage that’s covering over Koloktos’ weak spot. Once you’ve broken this cage, start striking his weak spot with the sword. Once you’ve struck it a few good times, Koloktos will reattach his arms again.

There is one more phase to this battle, and it mainly consists of Koloktos walking around the room and swinging all his swords in a frenzy. Cursed Bokoblin will also appear, but you can take care of these easily – if you don’t choose to kill them, it’s easy to avoid them as well. Do the same process of pulling off Koloktos’ arms and getting one of the swords and then striking the weak spot until you’ve killed Koloktos.
The First Sacred Flame – Farore
Once you have succeeded in defeating Koloktos, pick up the leftover Heart Container, and then go through the door. Approach the emblem and strike it with a Skyward Strike to activate it. There will be a brief cut scene in which Link receives the first Sacred Flame, causing the Goddess Sword to become stronger and longer in size – this will allow it to have further range and to do much more damage to enemies.
Fi will then inform you that our next destination is the Isle of Songs.
Nayru’s Wisdom
After you’ve spoken with Faron for a brief moment, head across the pond and use the Bird Statue to return to the Sky. As Fi stated earlier, we have to return to the Isle of Songs, which is located within the Thunderhead.
Once at the Isle of Songs, crawl through the crawlspace into the main tower, and then strike the emblem with a Skyward Strike like you did the first time. Once another cut scene with Fi has occurred, Link will learn a second song on the Goddess’s Harp – Nayru’s Love. This will lead us to the next trial.